STM32 Black Pill and STM Cube IDE to Blink On-board LED
by tanushree4587be23 in Circuits > Microcontrollers
314 Views, 1 Favorites, 0 Comments
STM32 Black Pill and STM Cube IDE to Blink On-board LED
ST Microelectronics has created their own IDE for programming their STM32 microcontroller devices. This is called STM32CubeIDE. This IDE integrates several ST software components that will make debugging and programming of your ST devices much easier. STM32CubeIDE is an all-in-one multi-OS development tool, which is part of the STM32Cube software ecosystem. STM32CubeIDE is an advanced C/C++ development platform with peripheral configuration, code generation, code compilation, and debug features for STM32 microcontrollers and microprocessors. It is based on the Eclipse®/CDT™ framework and GCC toolchain for the development, and GDB for the debugging. It allows the integration of the hundreds of existing plugins that complete the features of the Eclipse® IDE.
STM32CubeIDE integrates STM32 configuration and project creation functionalities from STM32CubeMX to offer all-in-one tool experience and save installation and development time. After the selection of an empty STM32 MCU or MPU, or preconfigured microcontroller or microprocessor from the selection of a board or the selection of an example, the project is created and initialization code generated. At any time during the development, the user can return to the initialization and configuration of the peripherals or middleware and regenerate the initialization code with no impact on the user code.
Key benefits

1- Debug made easy
STM32CubeIDE helps quickly debug your application through enhanced features such as live watch of data variables and special register views.

2- Faster development
Code editing, project build, board programming, and debugging are all integrated for a seamless and faster development cycle.
Supplies
To commence with the embedded programming, the following equipment and software installations are essential:
1. A laptop or desktop computer equipped with STM32CubeIDE and STM32CubeProgrammer.
2. An STM32 Black Pill development board.
3. A compatible USB cable for connection and programming purposes.
Please ensure that these prerequisites are met prior to beginning the tutorial to facilitate a smooth and efficient programming experience.
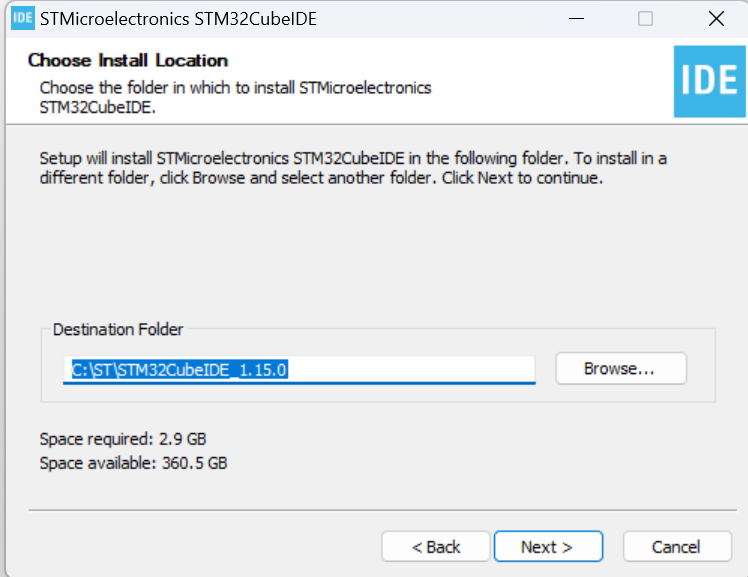
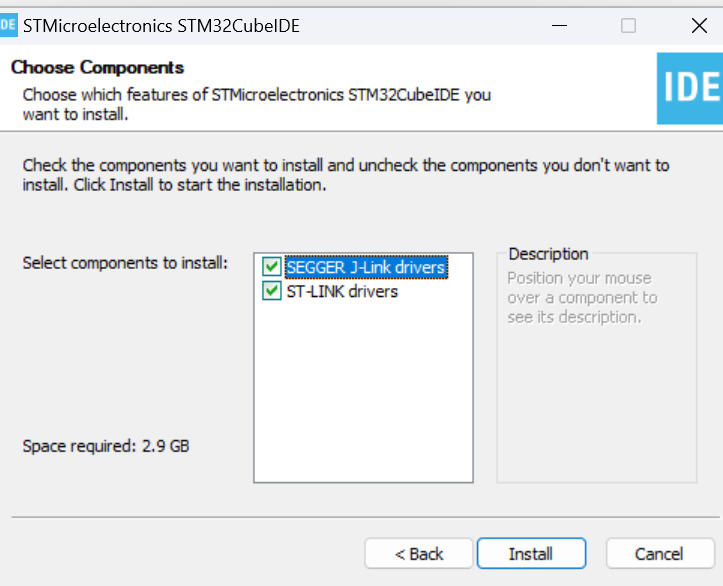
Install STM32CubeIDE
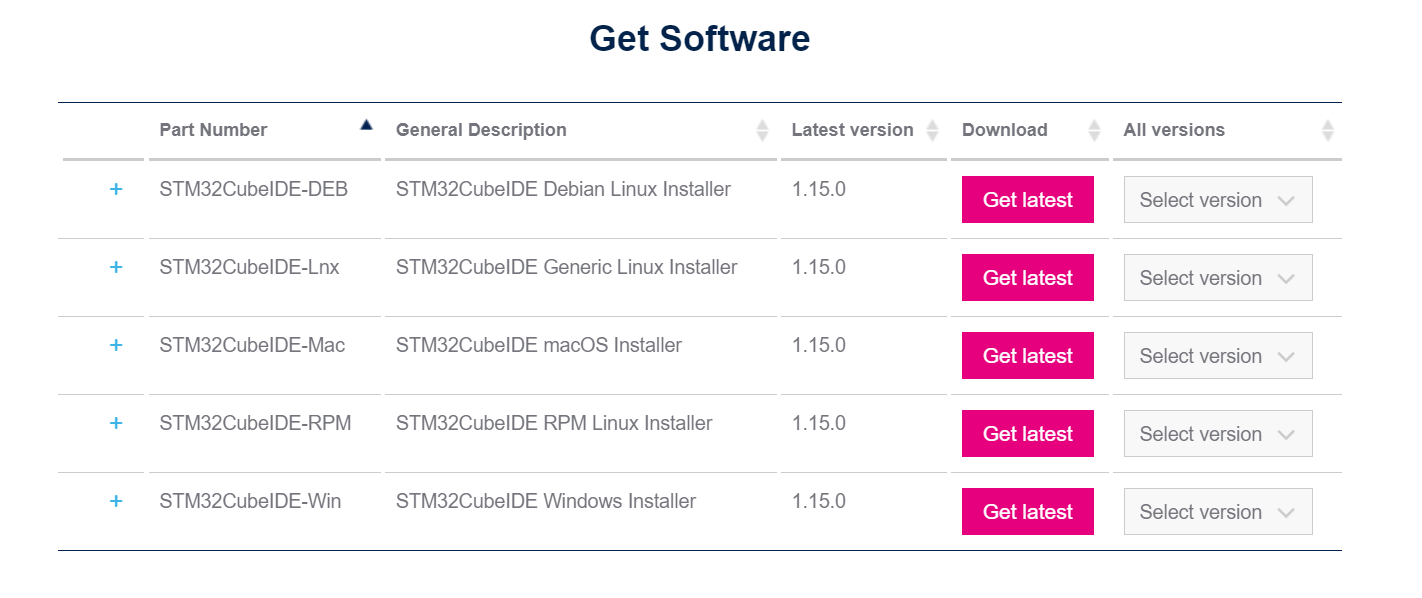


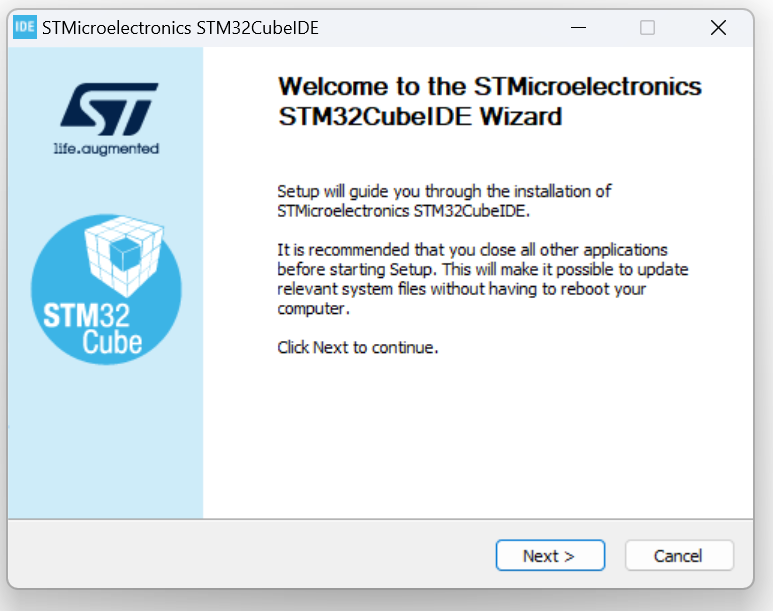
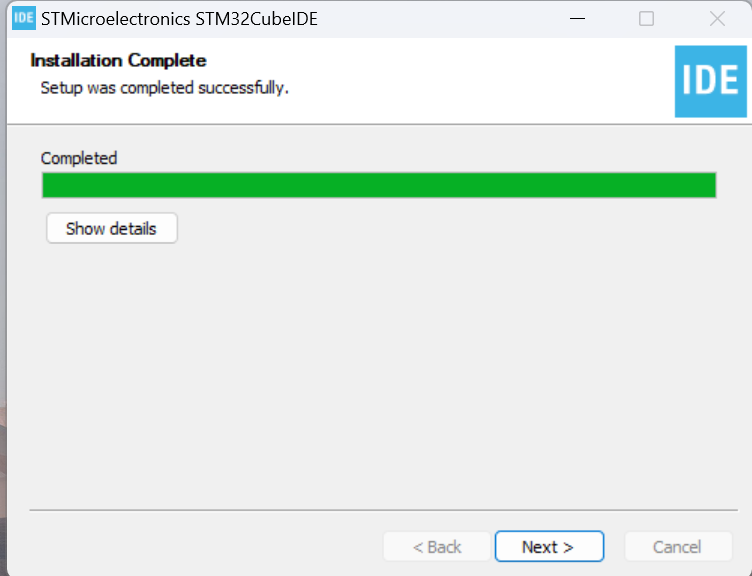
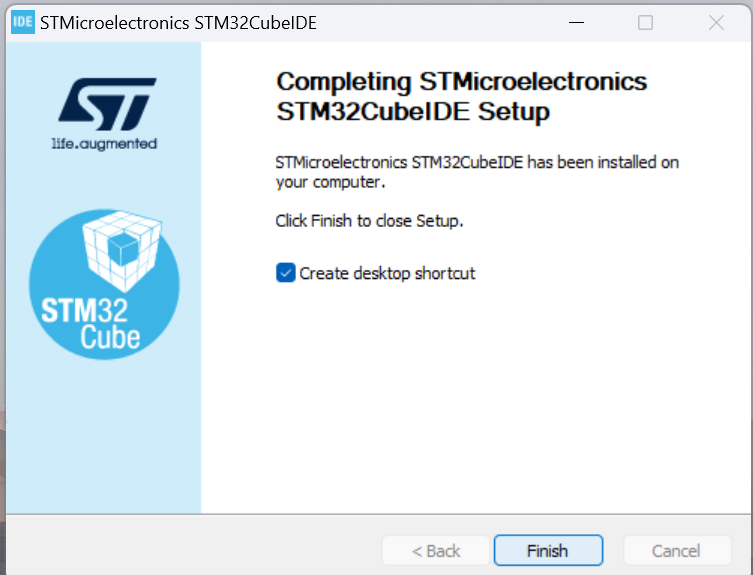

- Install the stm32CubeIDE .
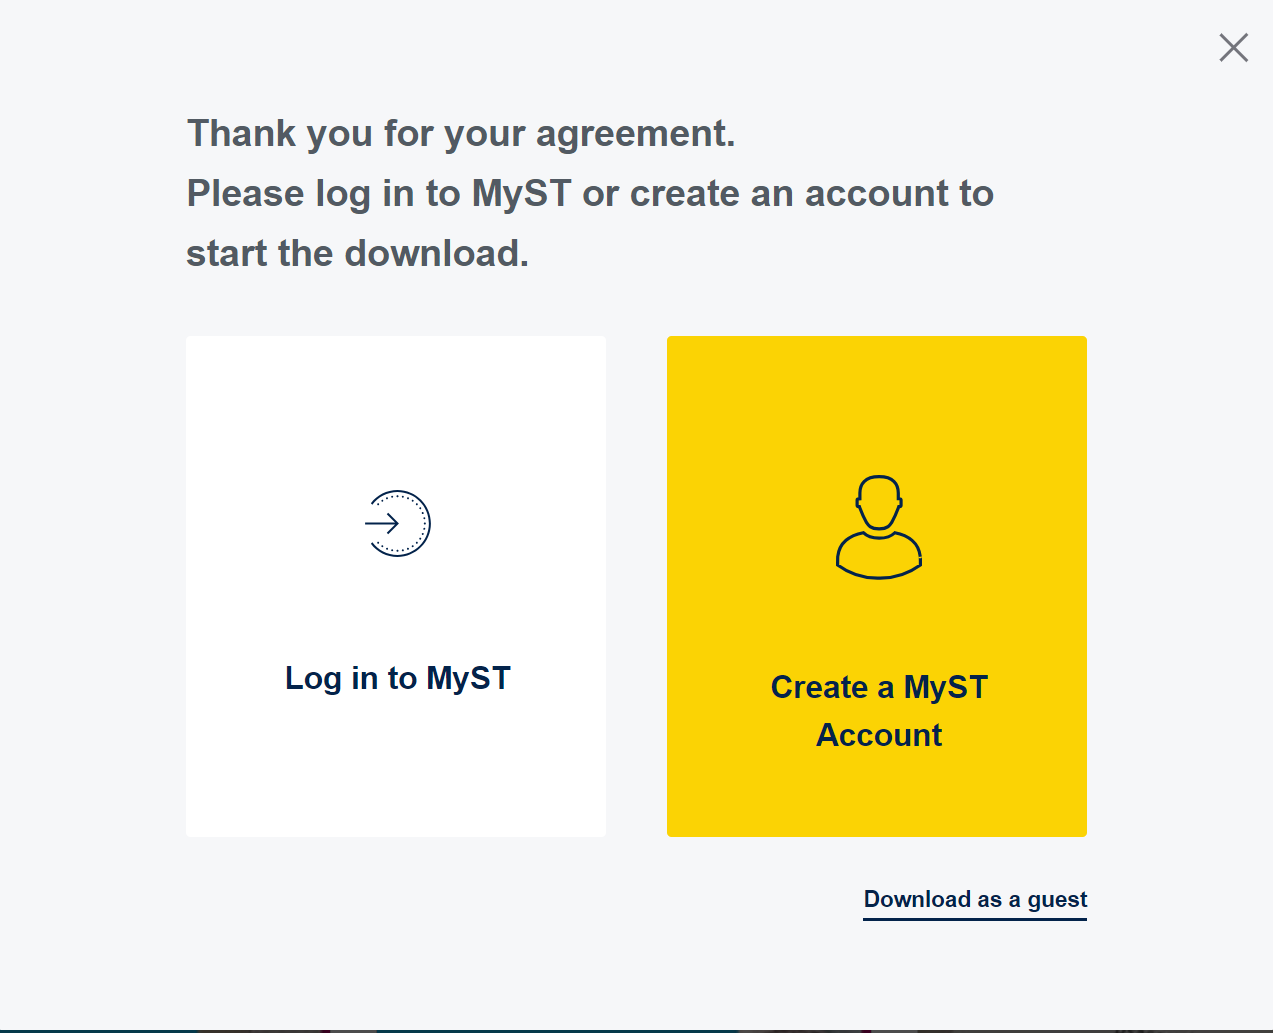
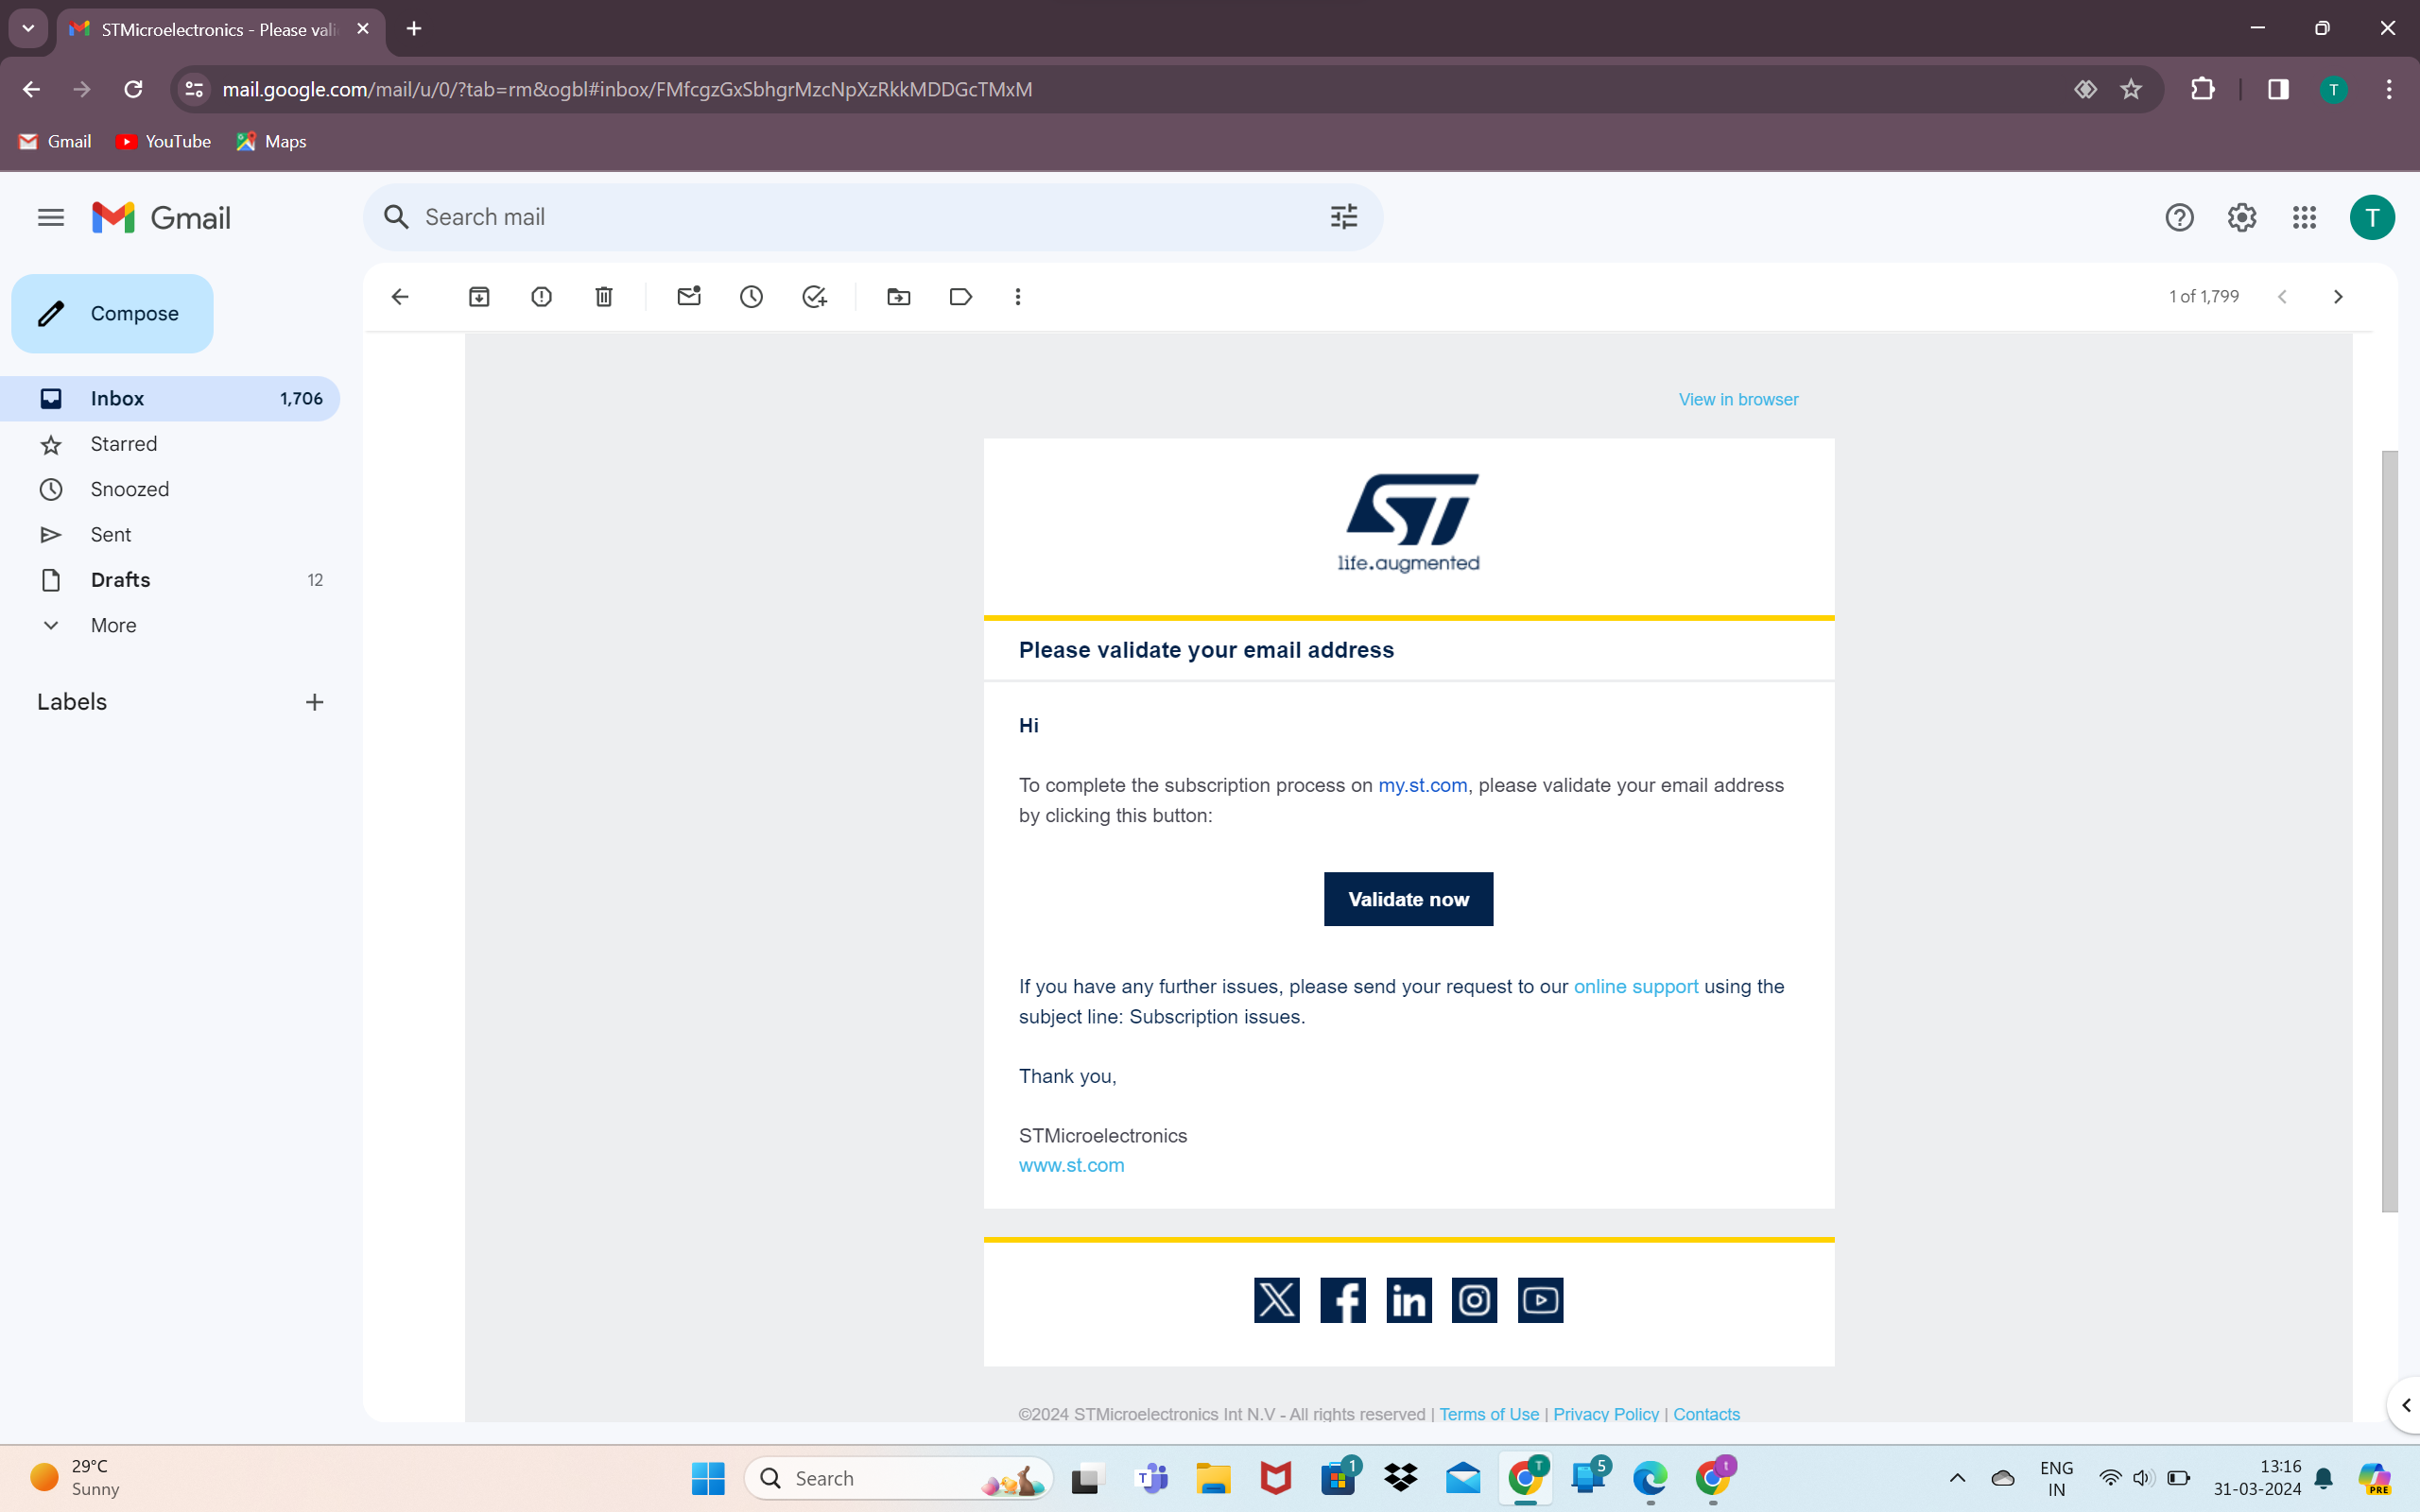
- Create the account on the software by clicking on Create a MyST account.
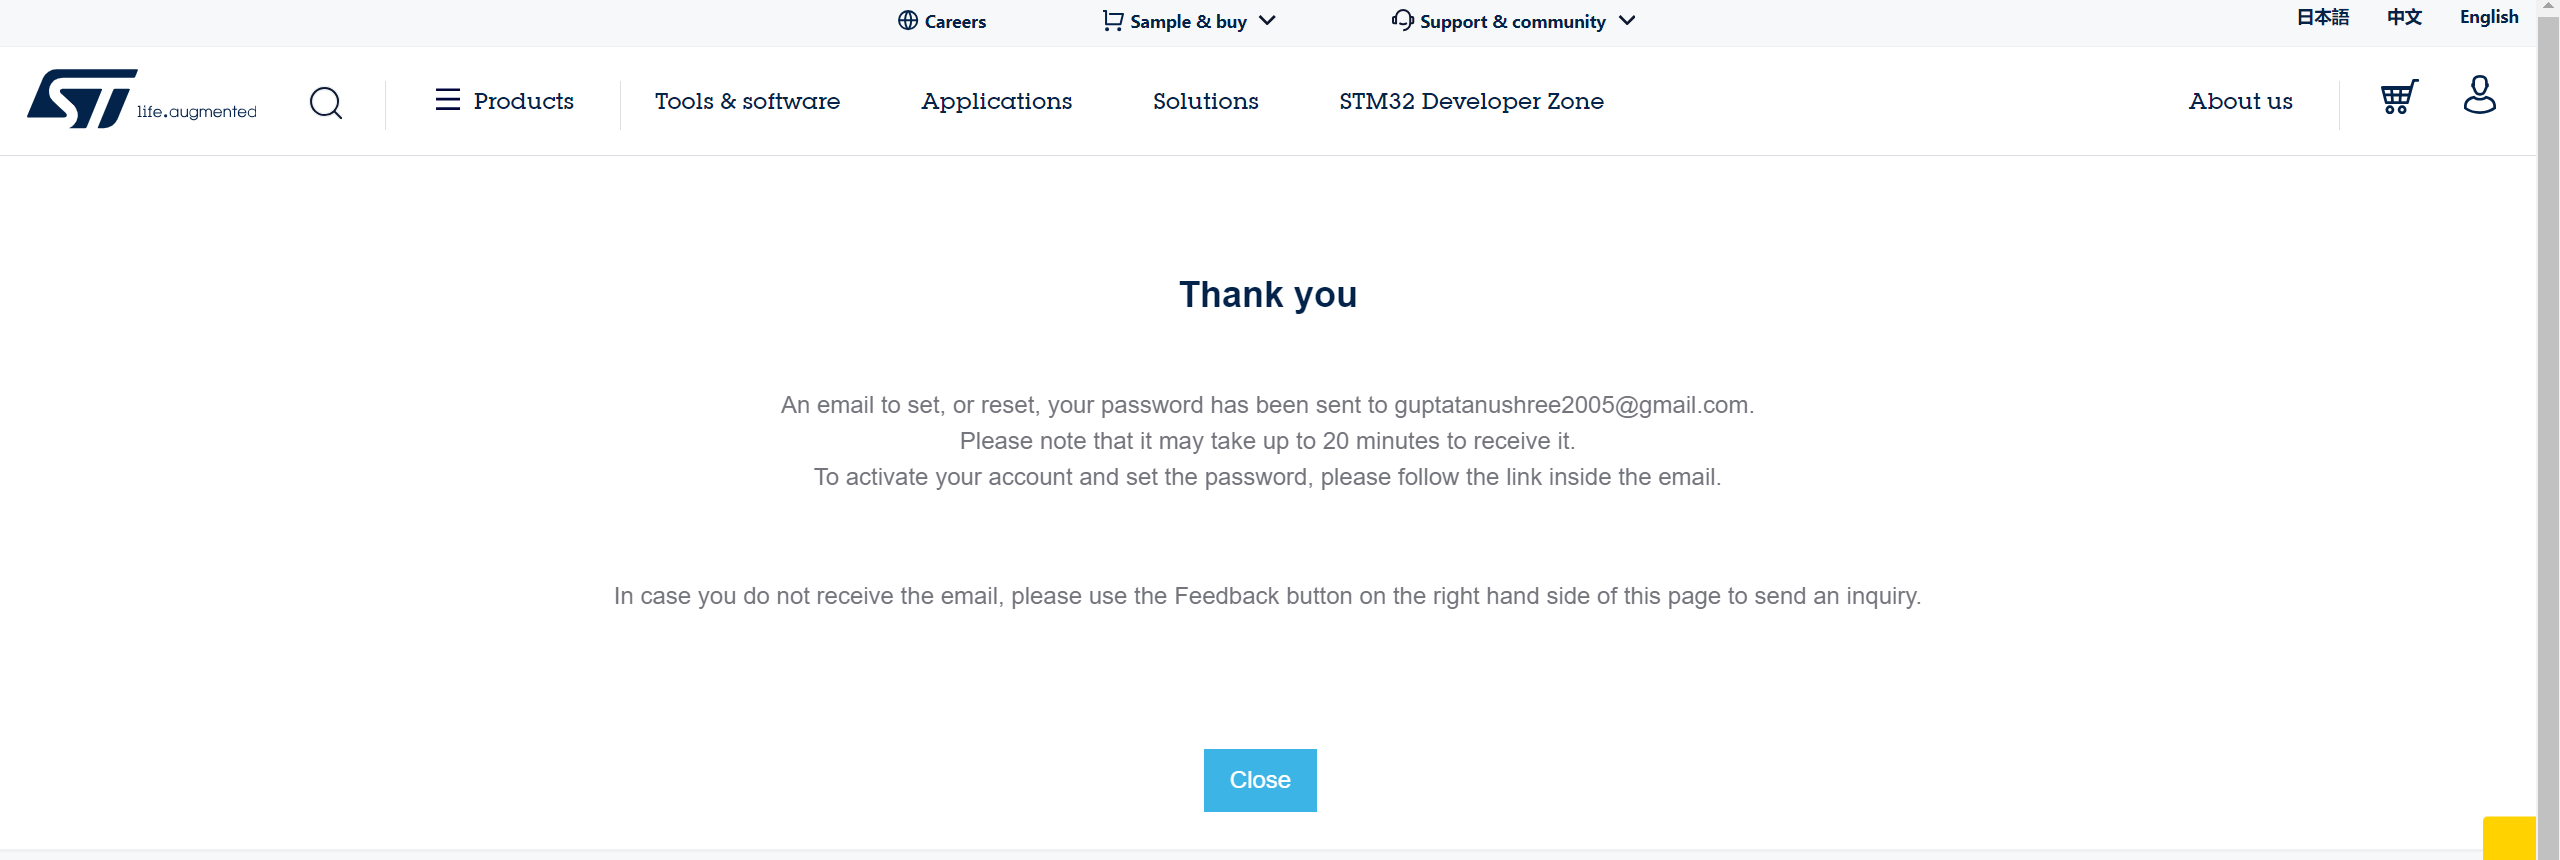
- After That validate your email.
- Extract your software.
- Choose the location for the software.
Making a New Project File in STM32CubeIDE
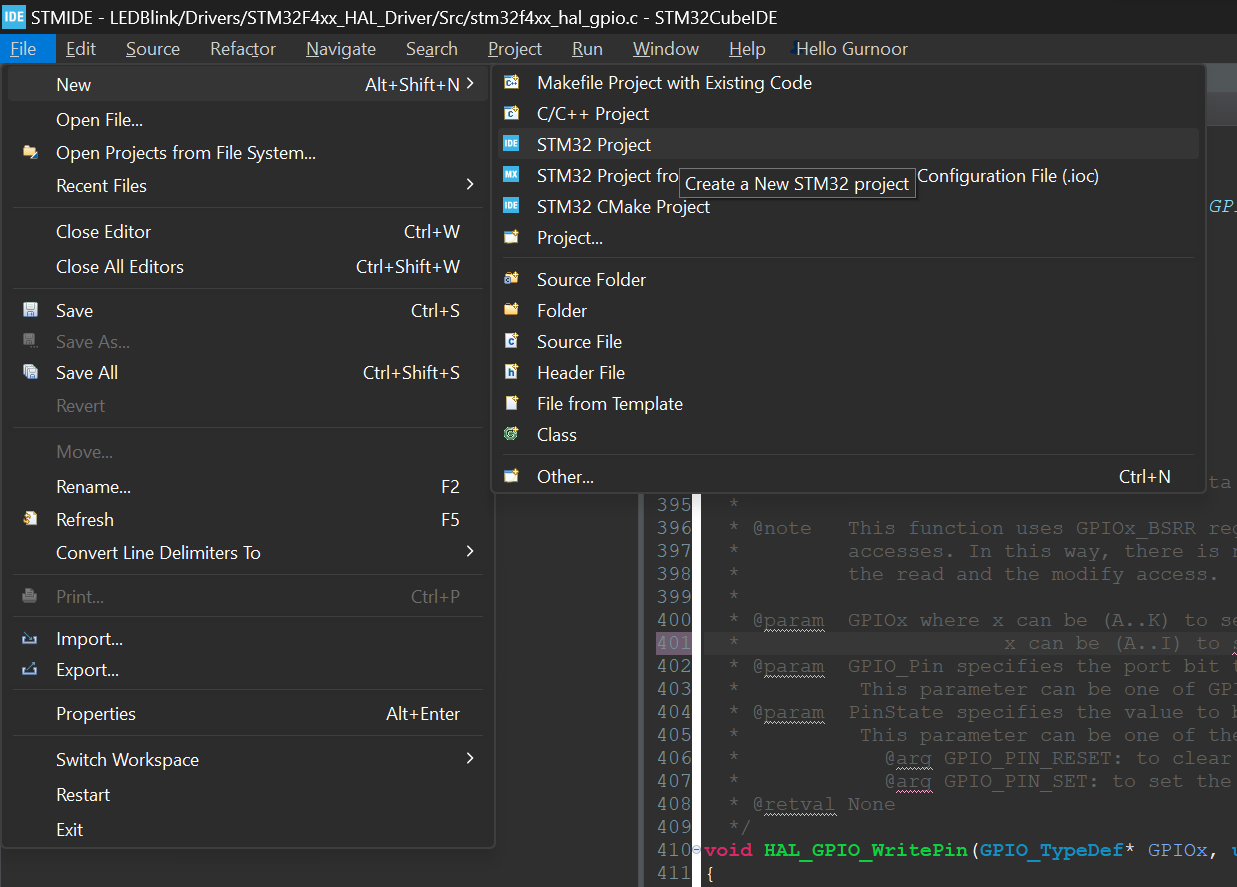
GOTO---->> File>New>STM32 Project.
ADD Configurations for Your STM Board
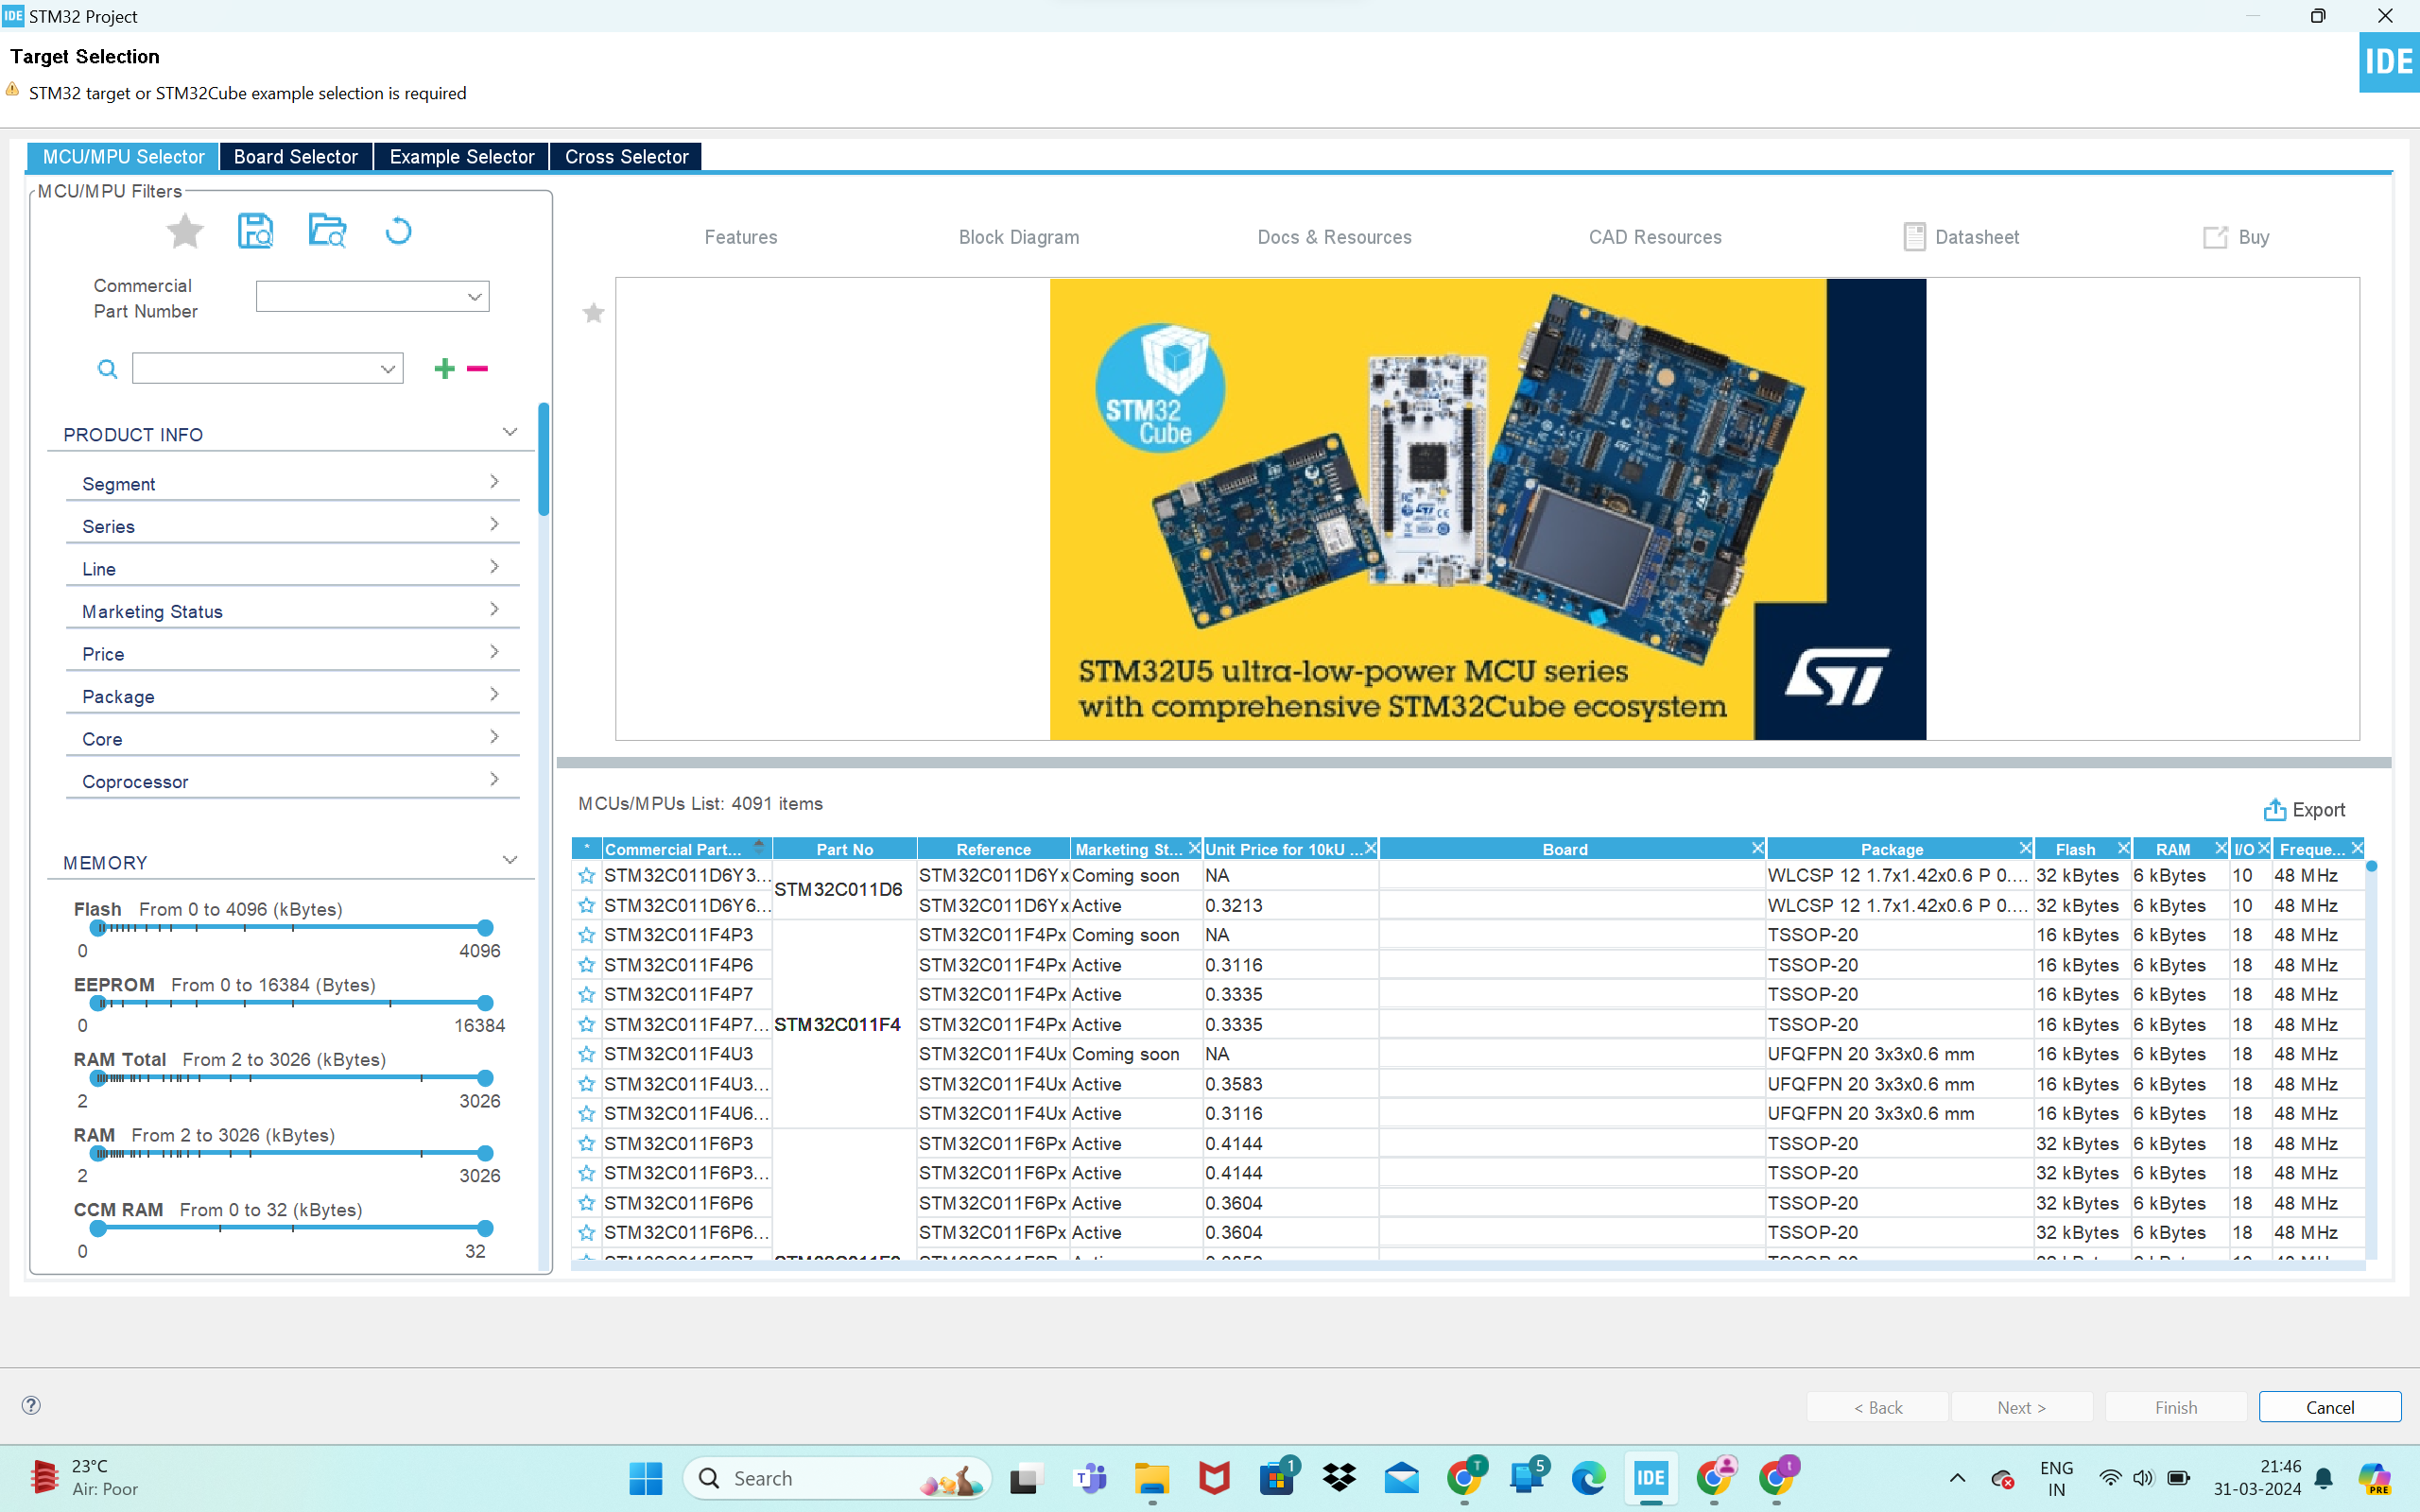
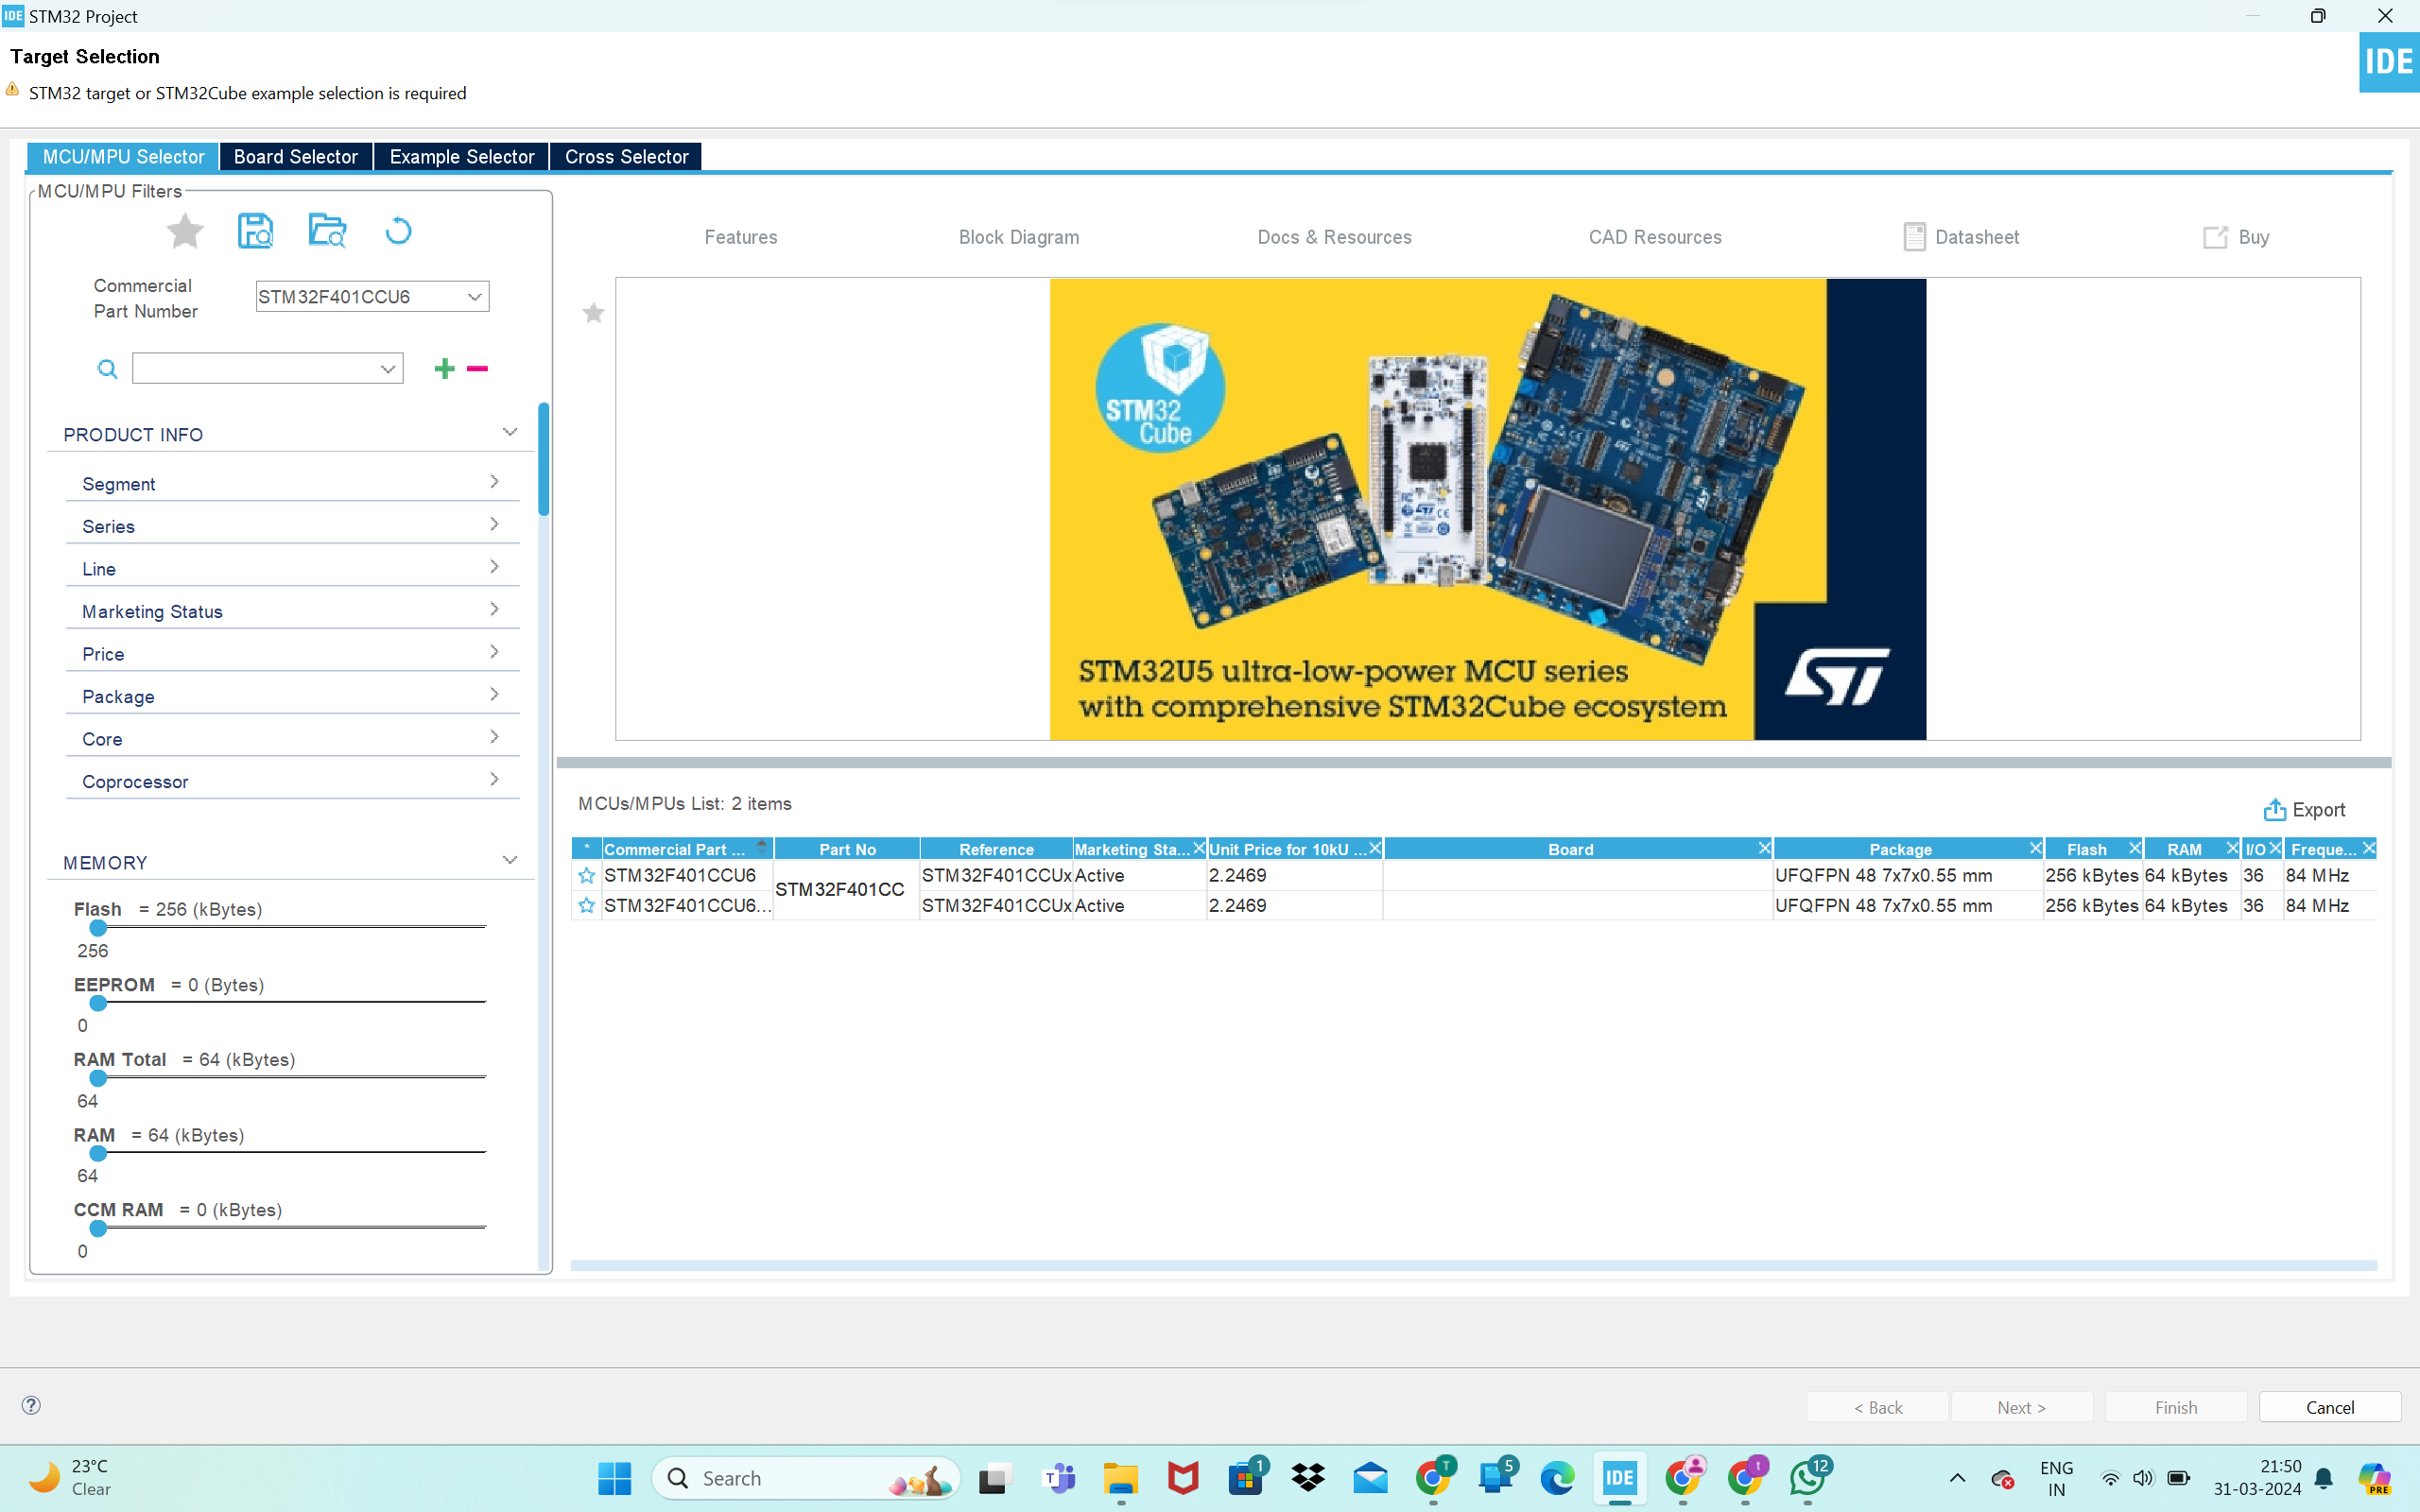
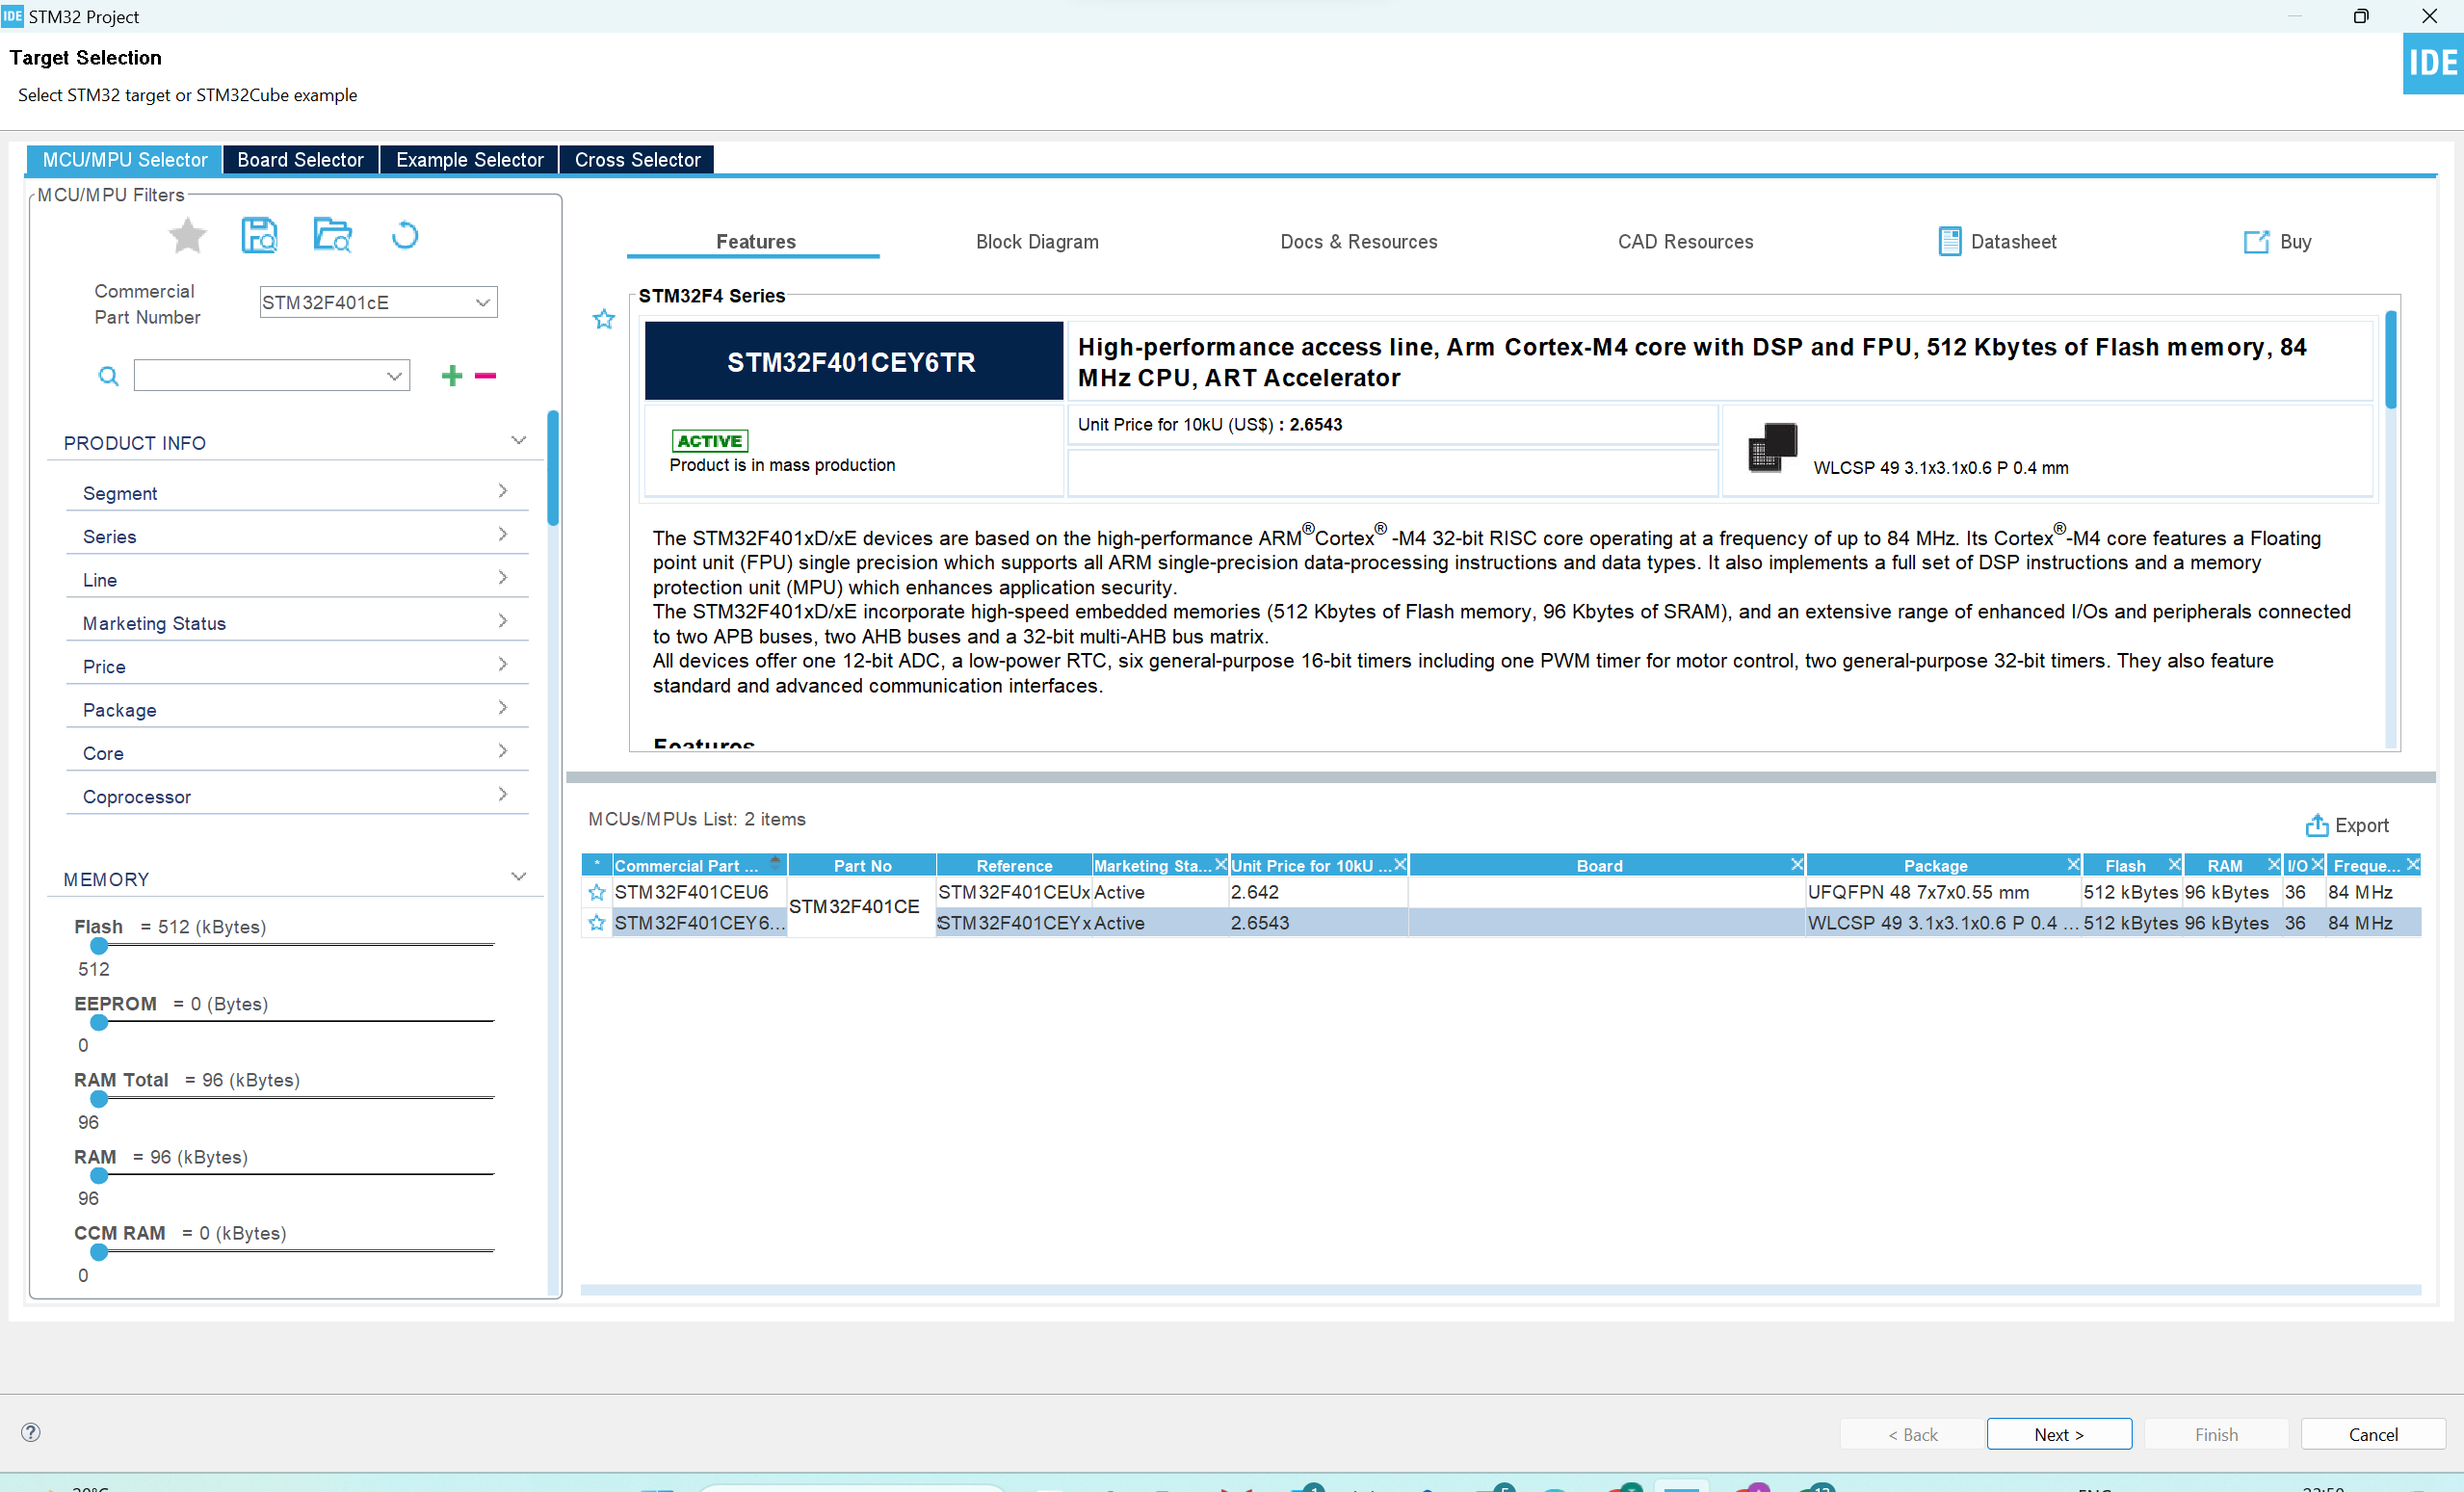
Search For Component- STM32F401CCU6 click on "Next".
Configuring Your Board
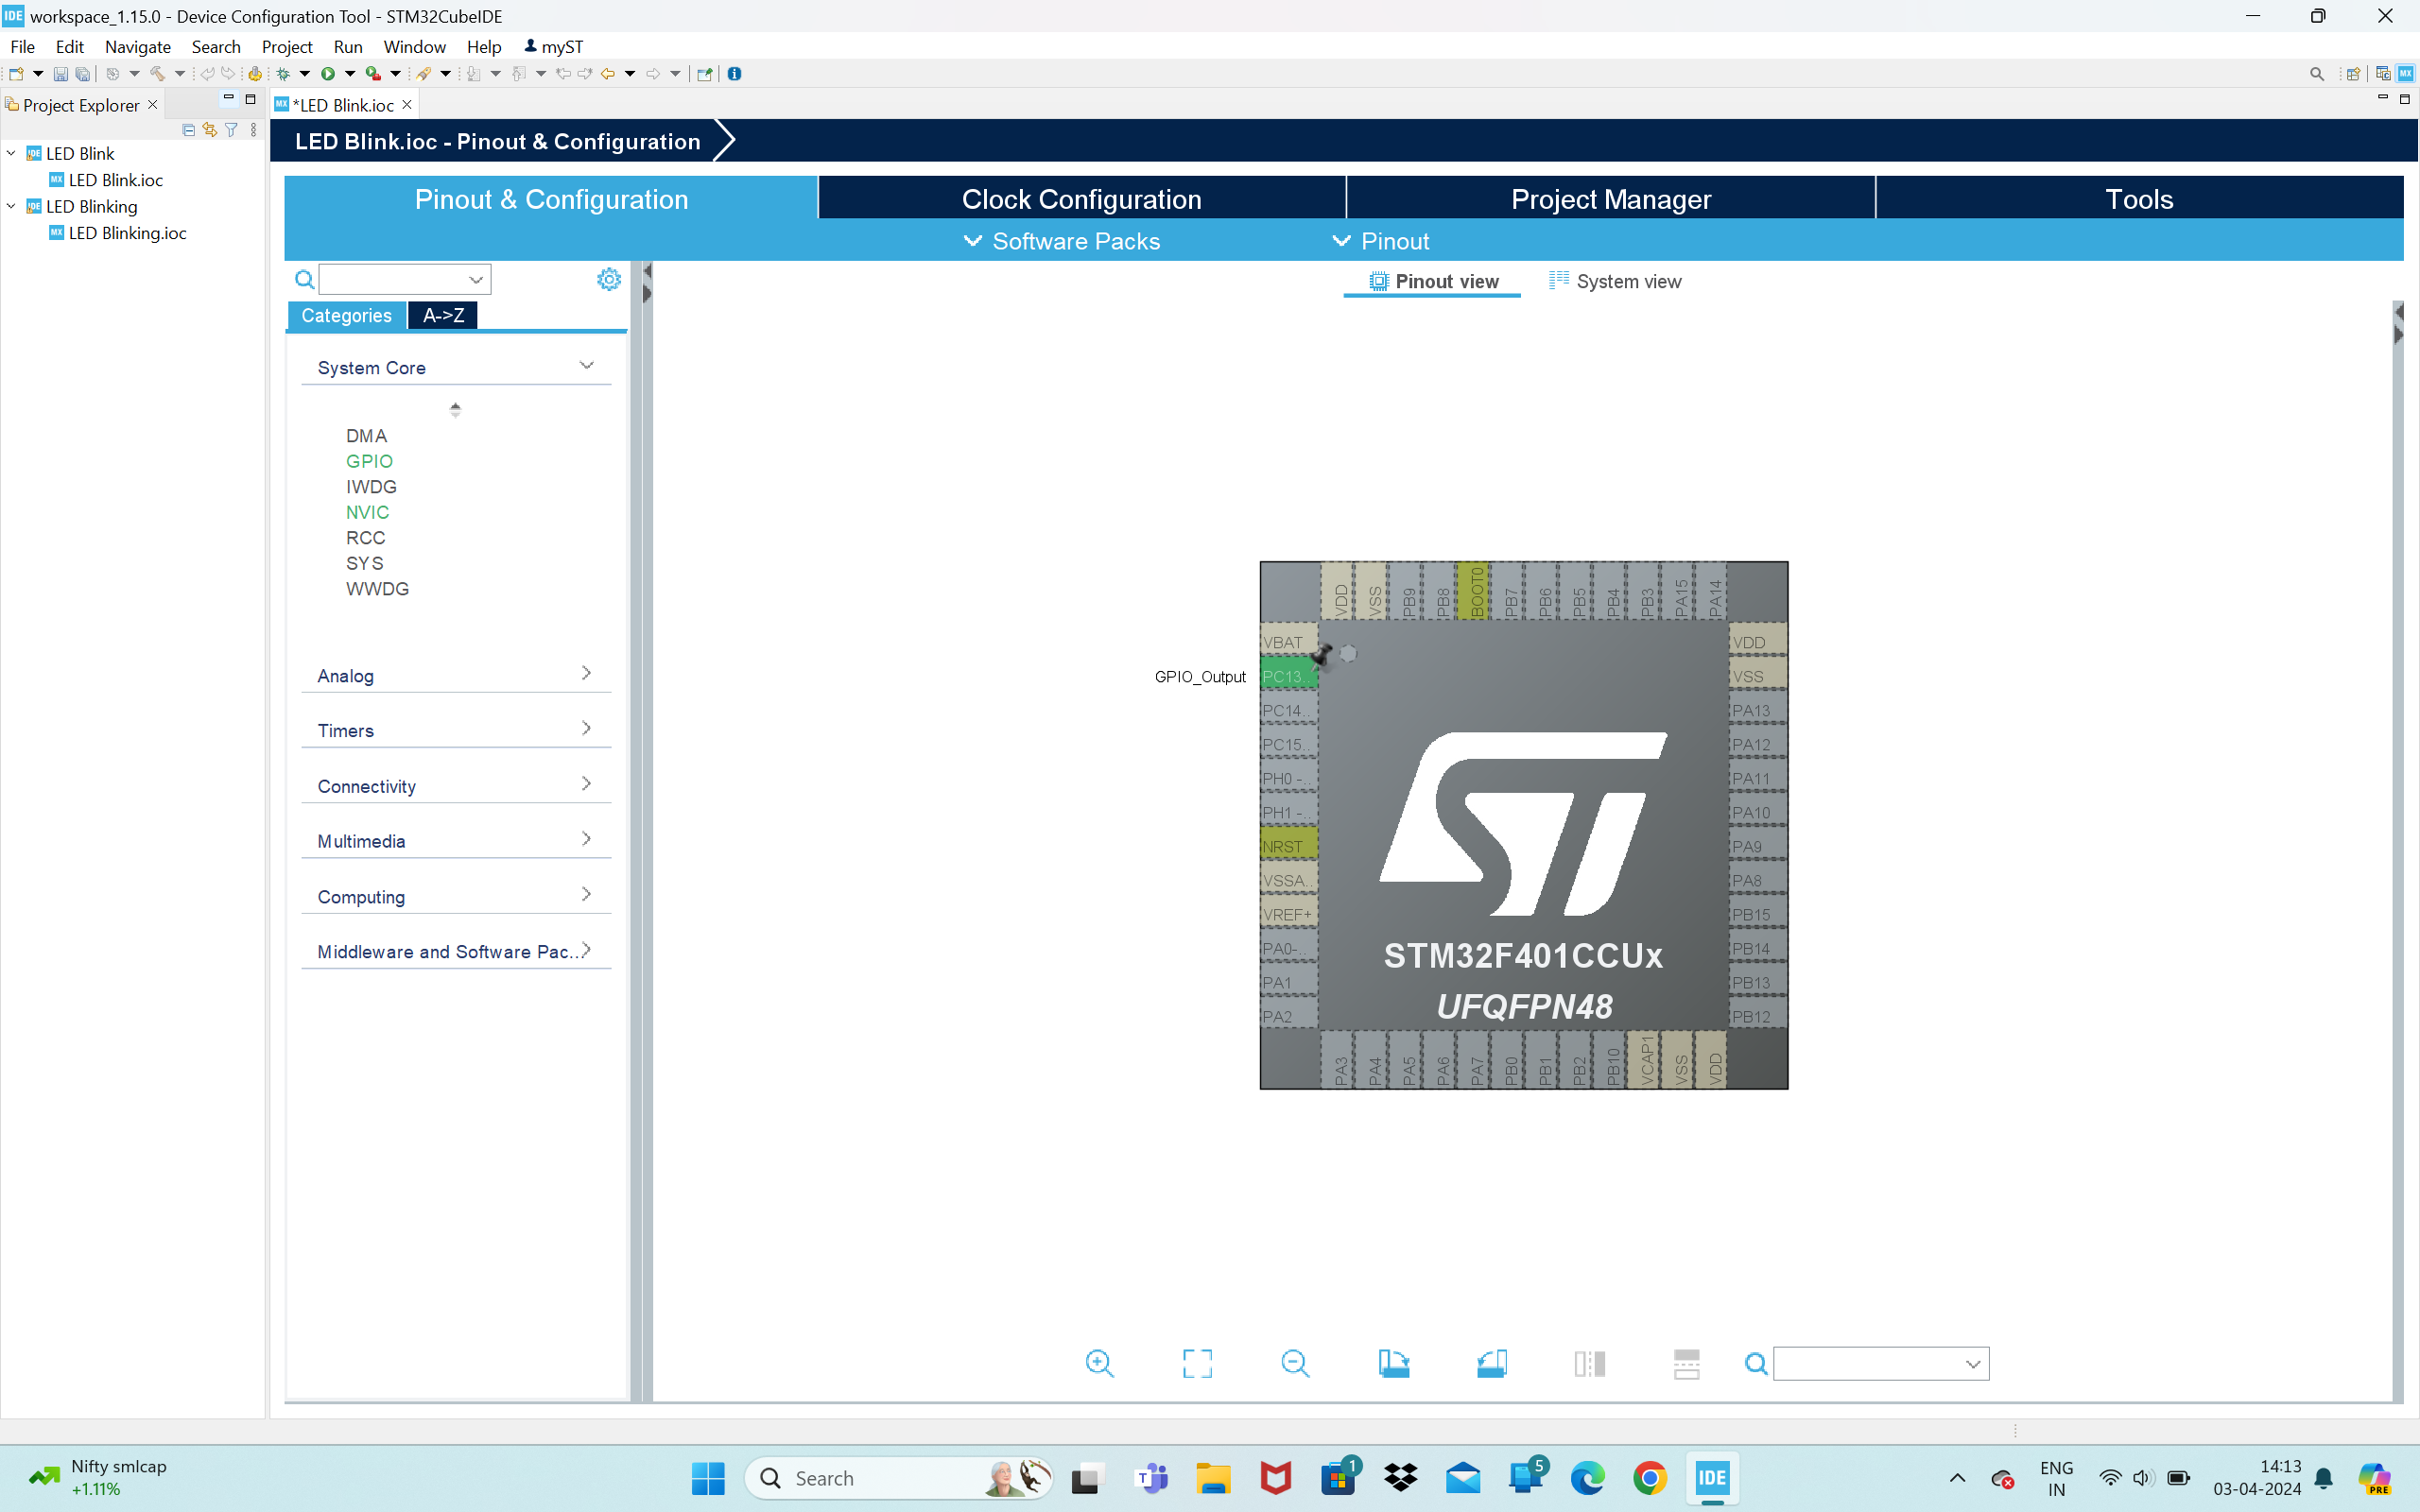
Configure Your Board As Shown.
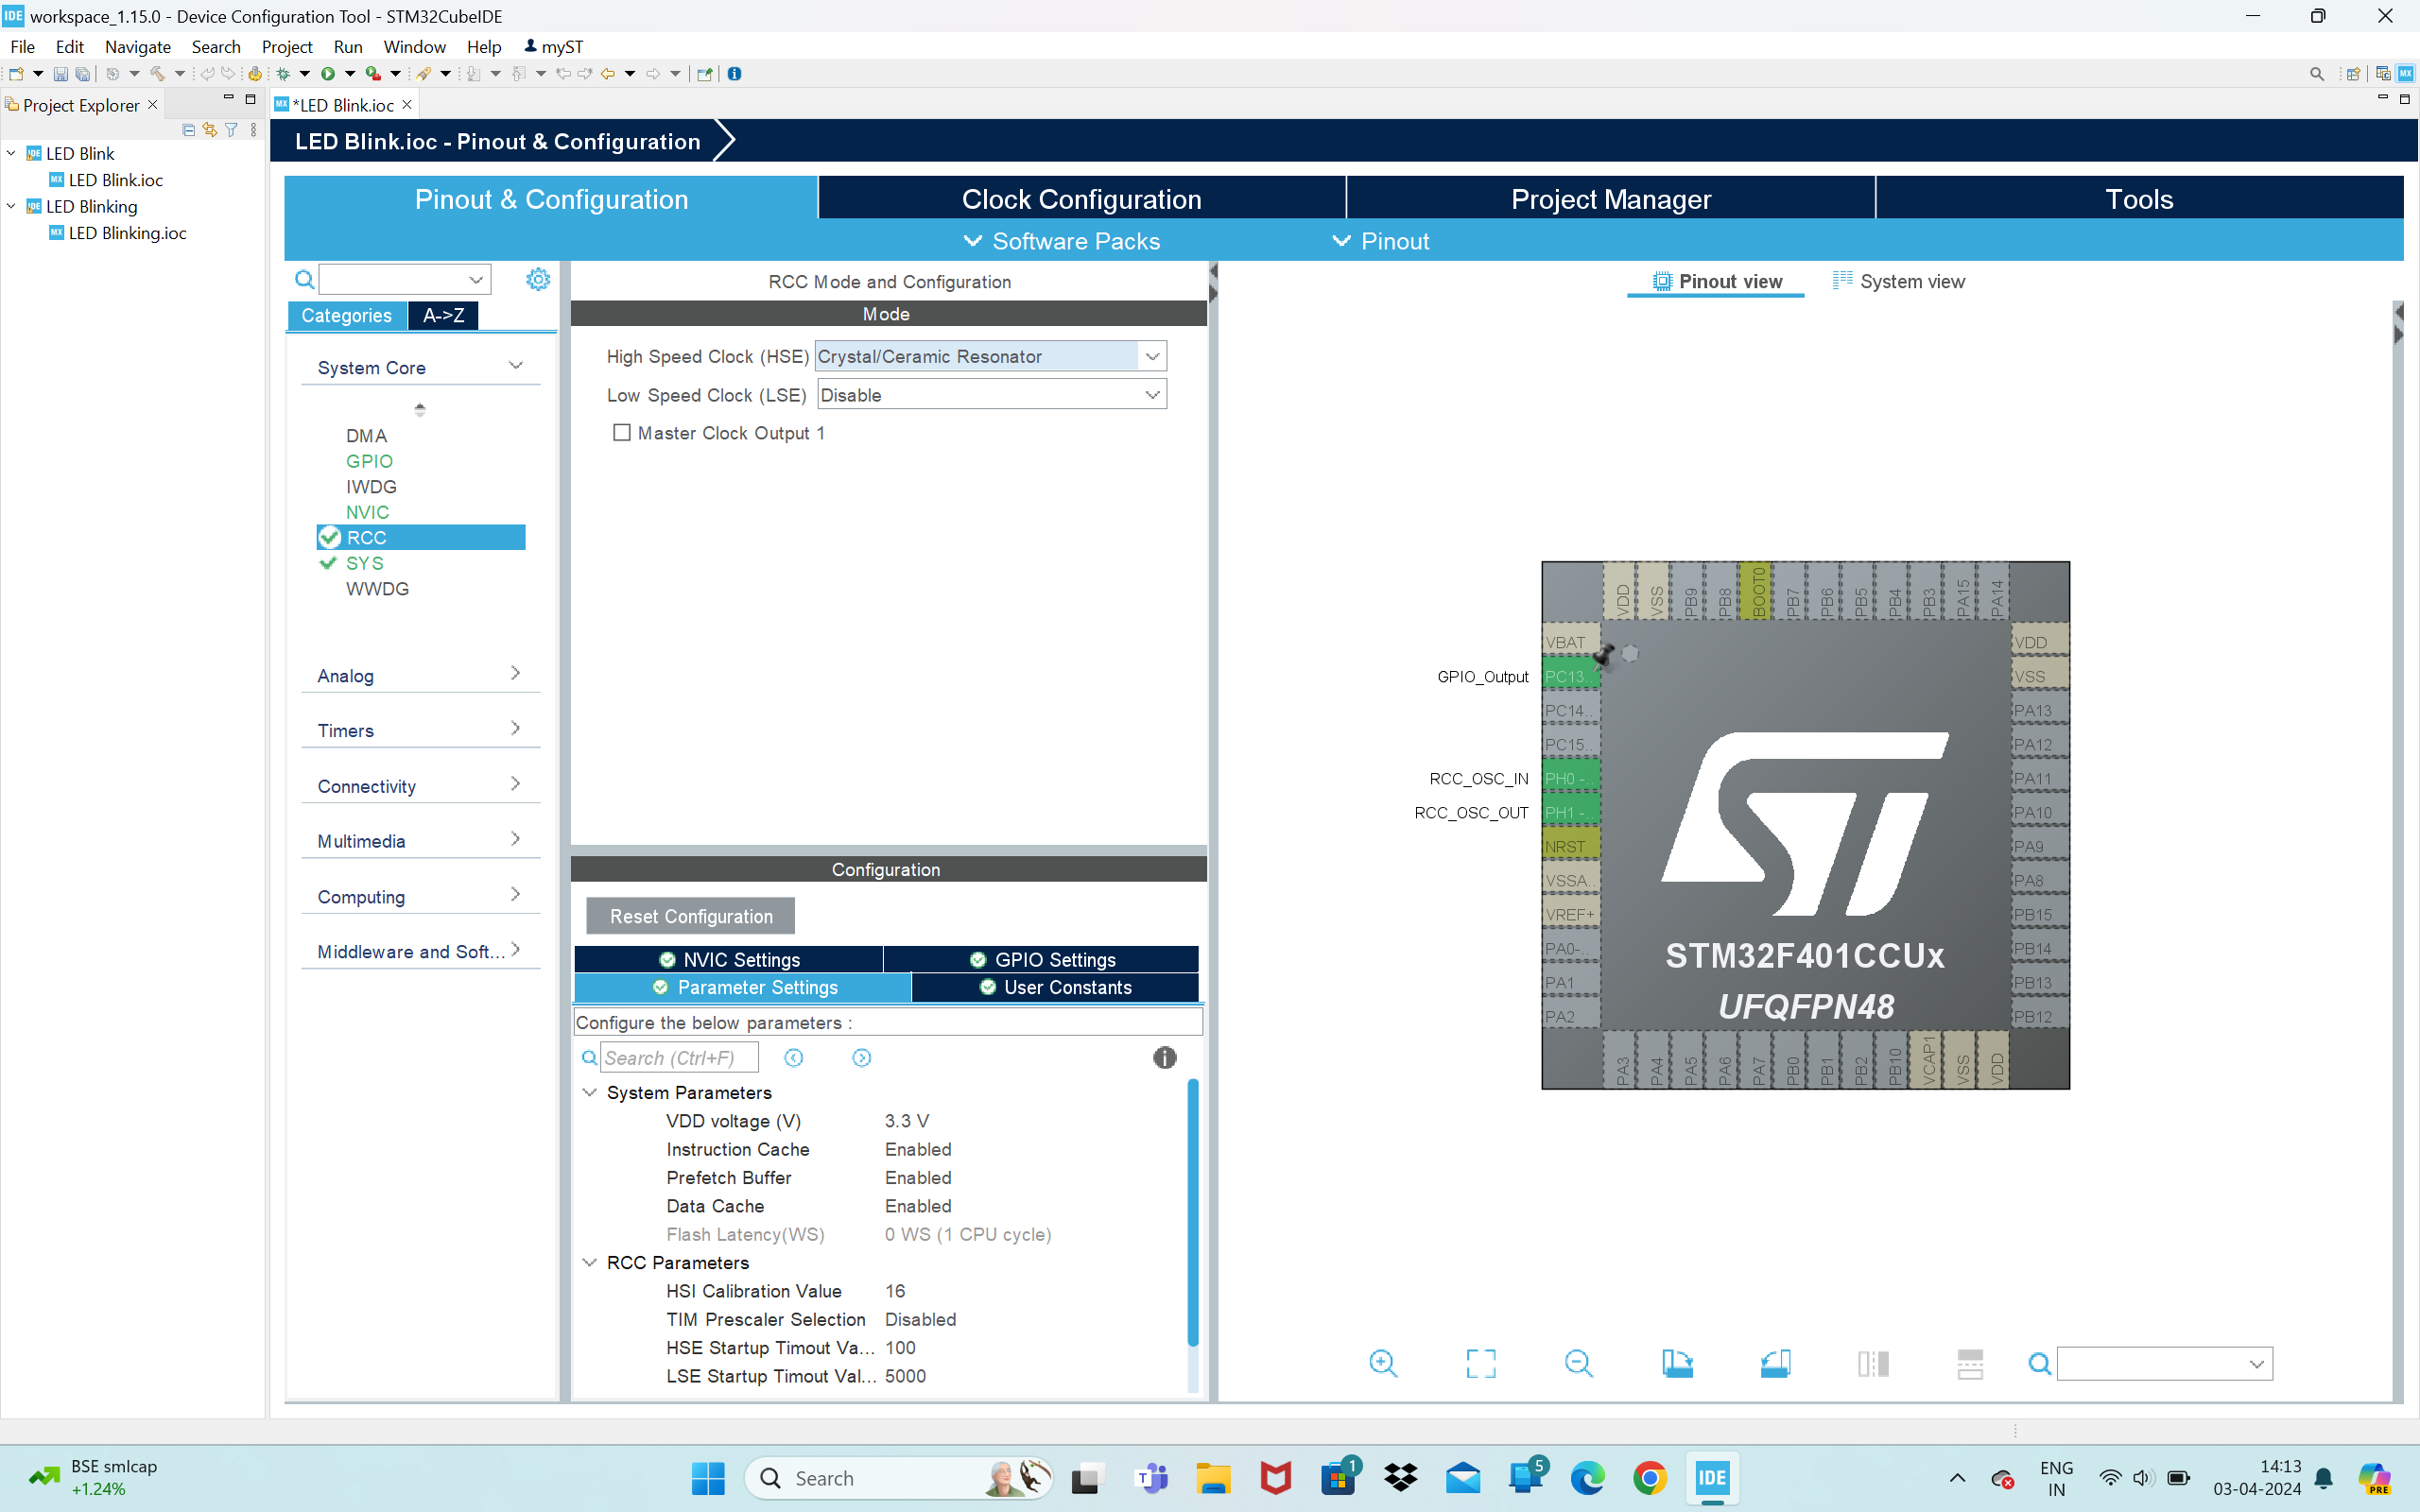
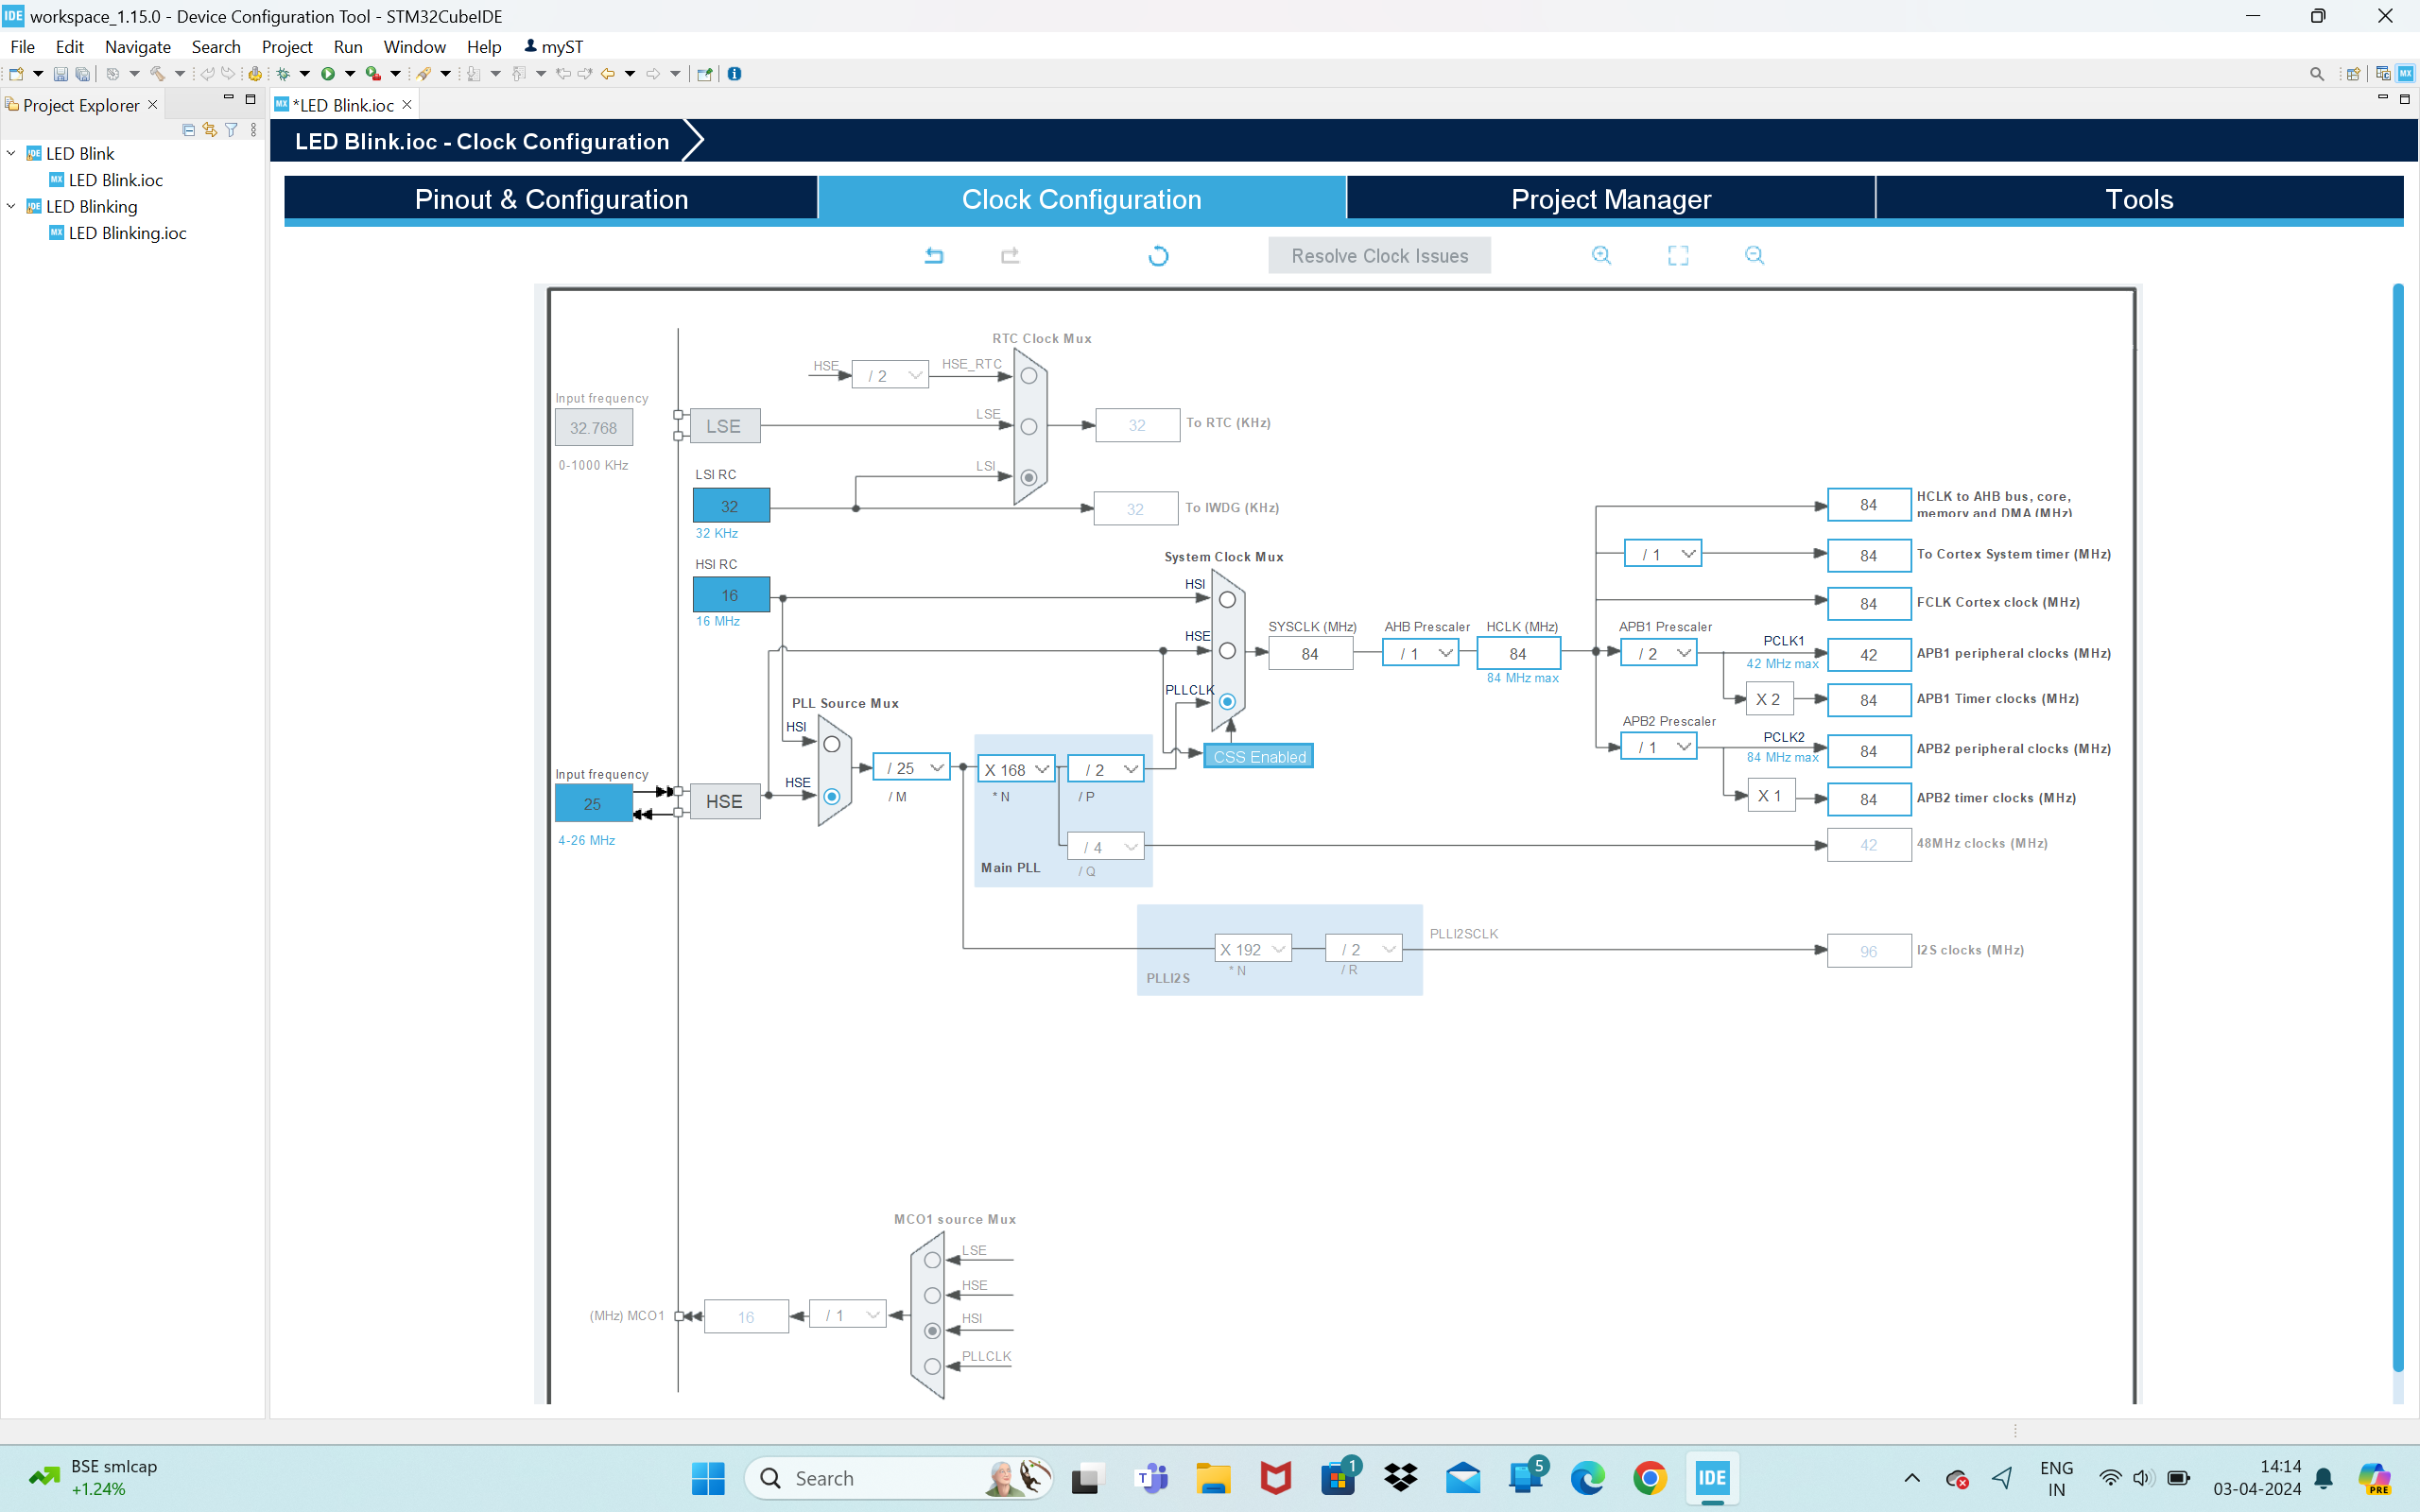
Configure Your Clock
Open Main.c File
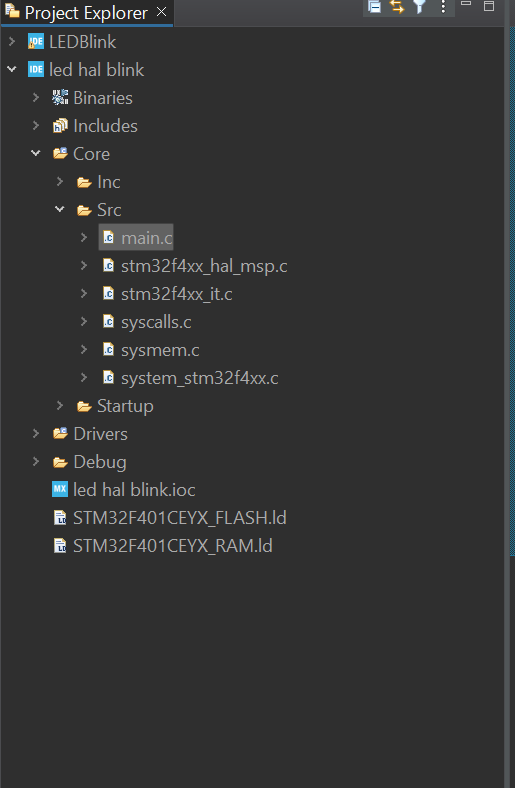
GOTO Project and find main.c file
Step 6: Goto While(1) in Main() and Add Your Code
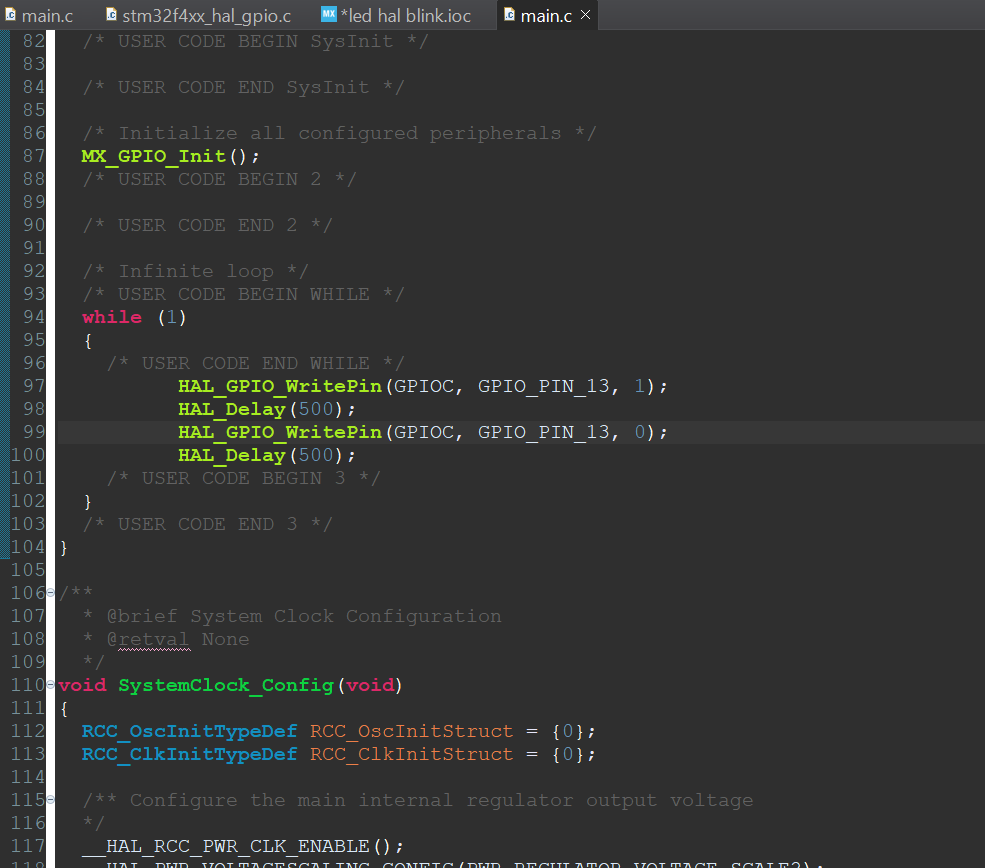
I used GPIO Pin 13 you need not necessarily use this input pin . You can opt for other GPIO Pins.
HAL_GPIO_WritePin(GPIOC, GPIO_PIN_13, 1);
HAL_Delay(500);
HAL_GPIO_WritePin(GPIOC, GPIO_PIN_13, 0);
HAL_Delay(500);
Debug
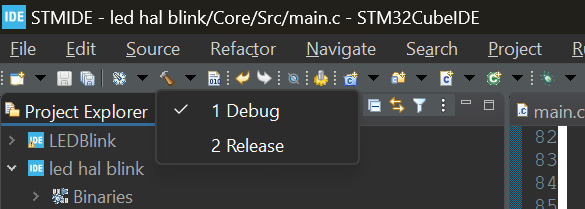
Open and Click On Debug.
Copy Path of .elf File Generated
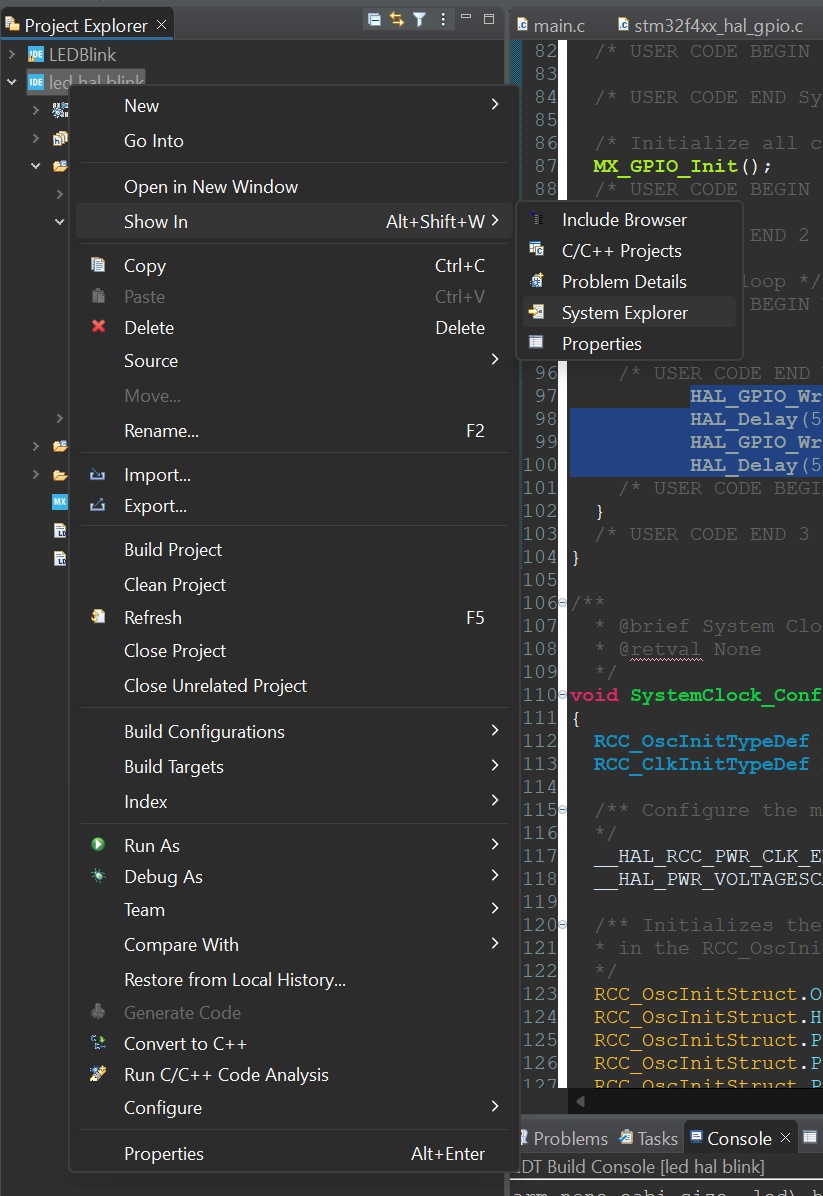
Right click on Project and click on show in system explorer and copy the path
Open STMCubeProgrammer and Connect to STM Board Via USB
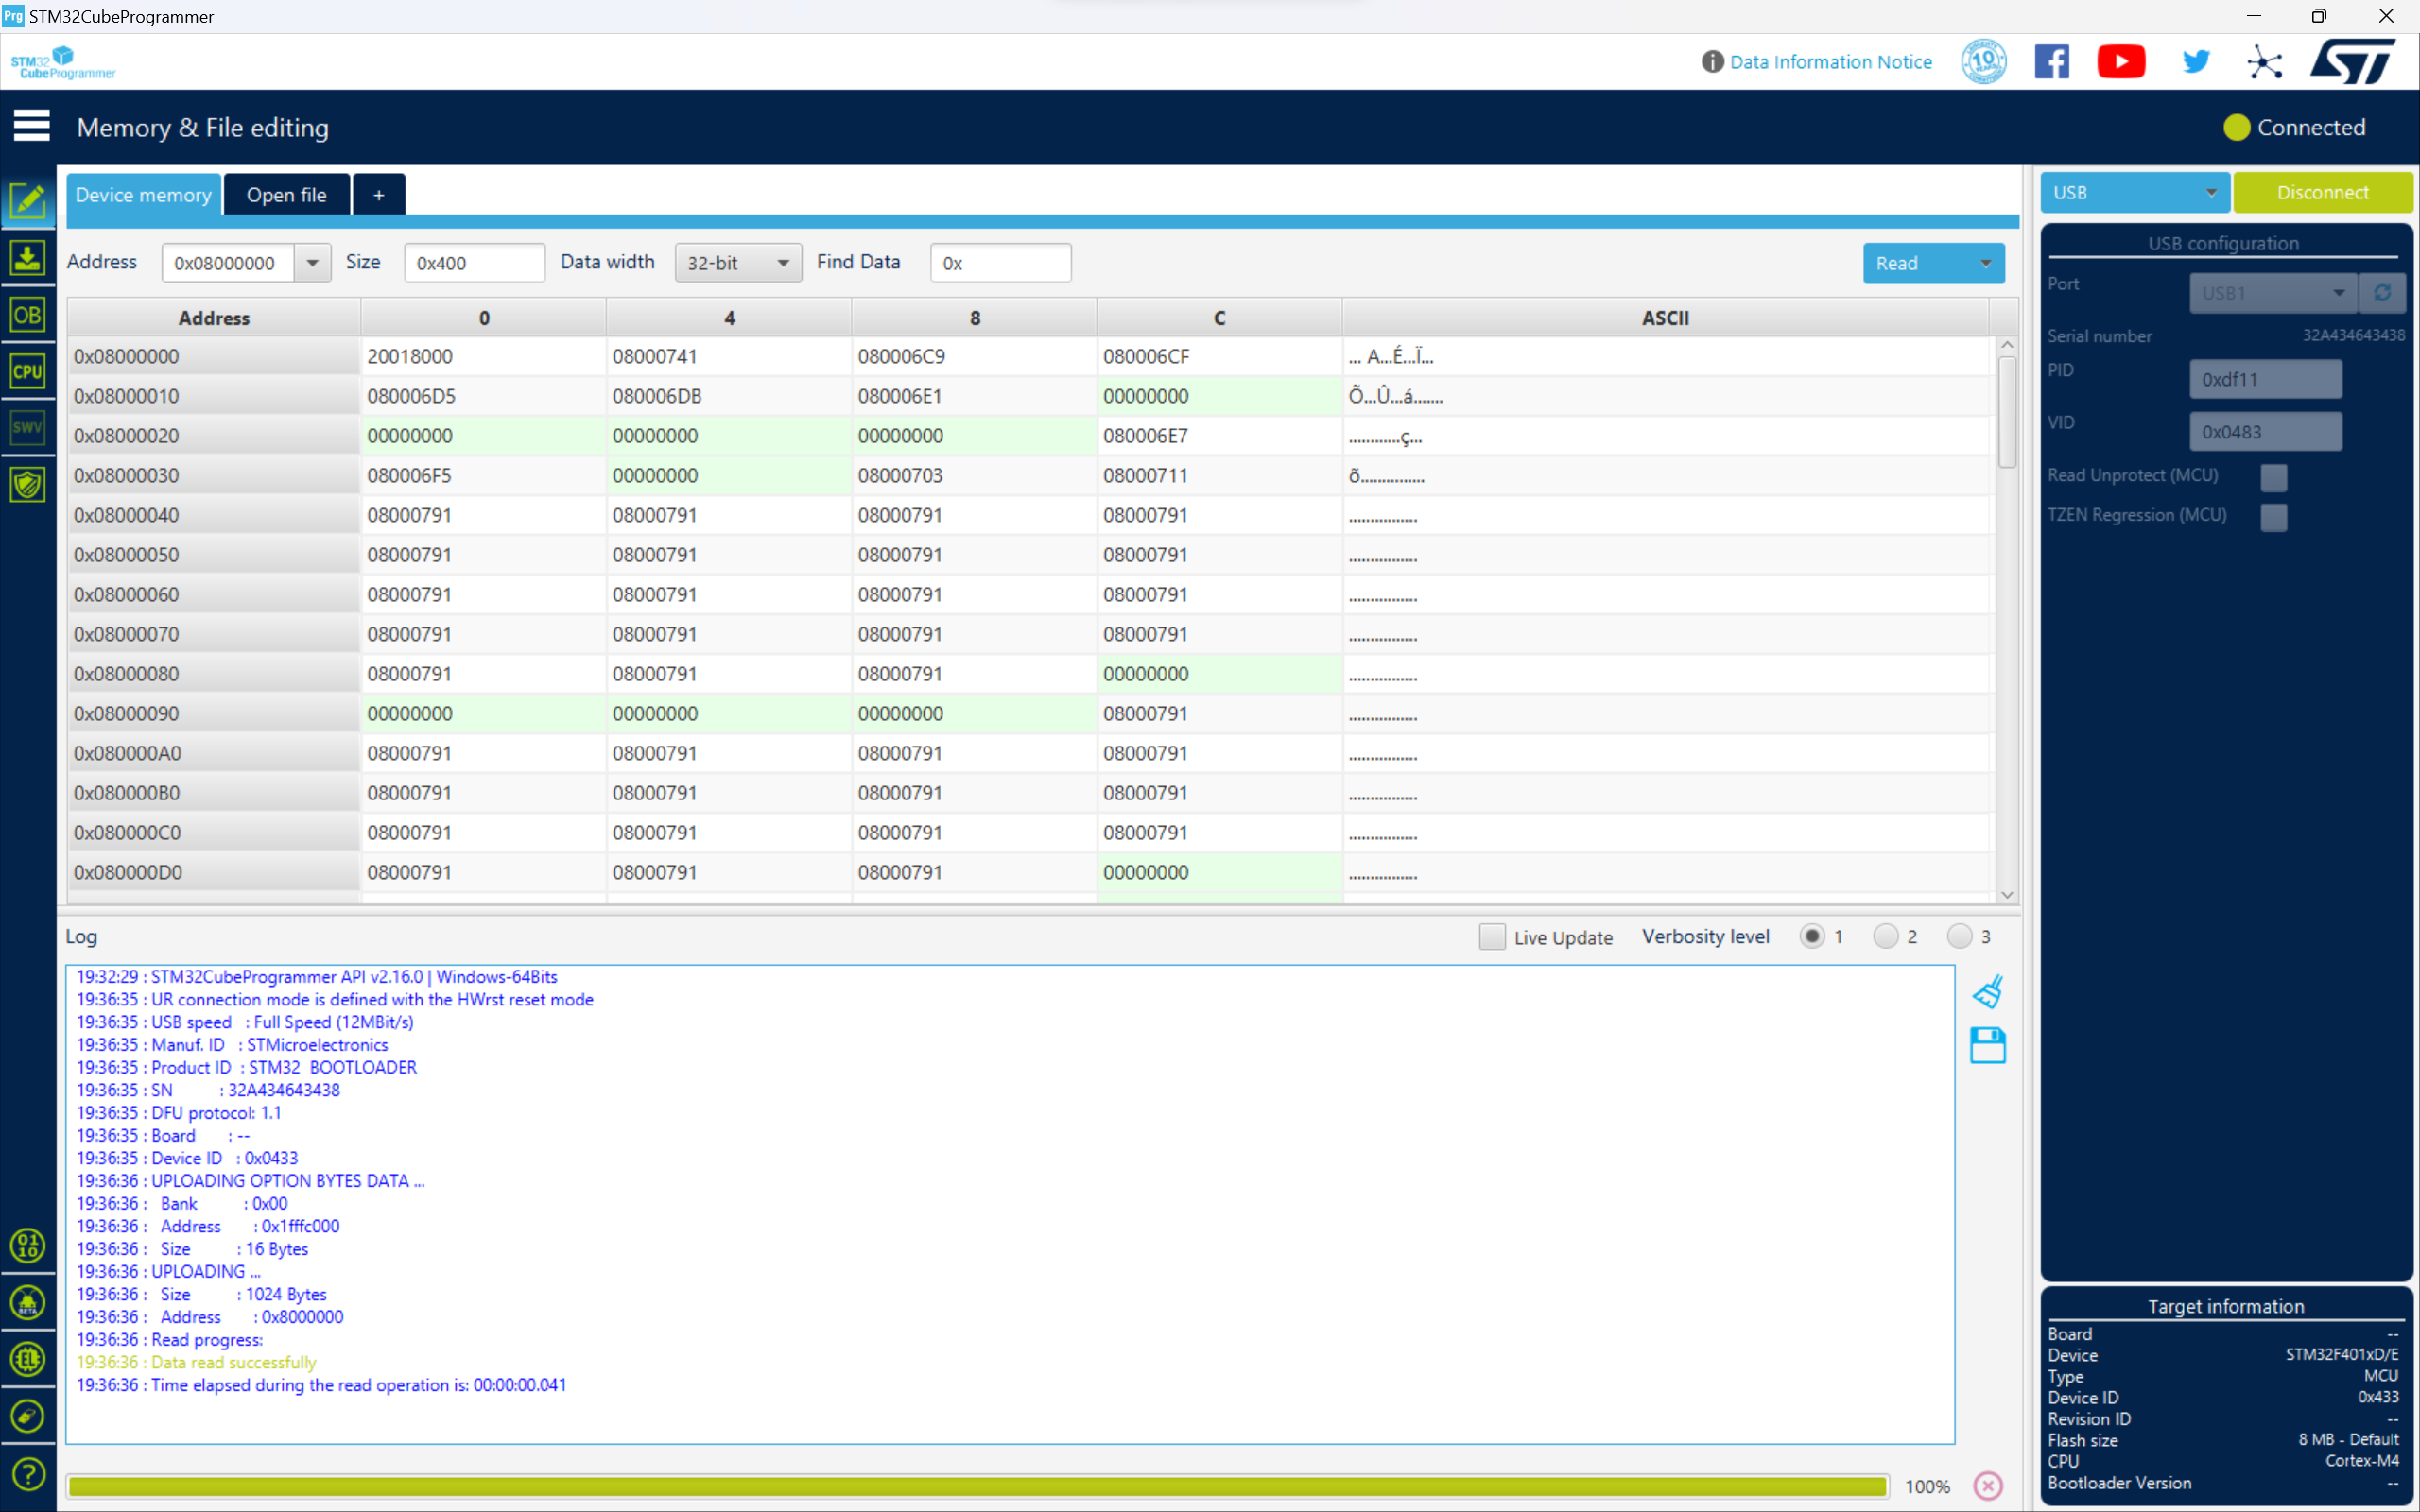
Click on Open File and Paste the Copied Path
Go to Download Options (Found in Toolbar on the Left)

Change Download Options and Click on "Start Automatic Mode"

Blink On-board LED
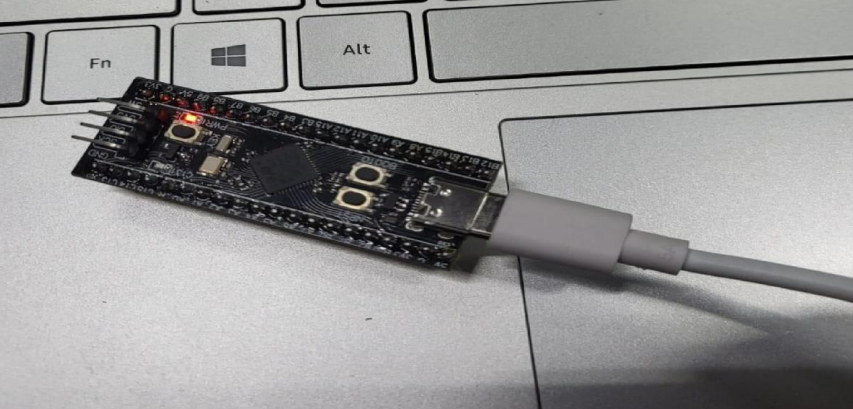
As we can see our on board LED is blinking.