STM 32 Black Pill
To Get Start With STM32 Black Pill and STM Cube IDE to Display “YOUR NAME” on 16x2 LCD Without I2C Module Using HAL Programming.
Supplies
- STM32 Black Pill
- LCD
- Female to Female Jumpers
- STMCubeIDE
- STMCubeProgrammer
- USB C Cable
Downloading
In the landscape of embedded systems, efficient communication between microcontrollers and peripherals is essential. The liquidcrystal_i2c.h library serves as a vital tool in facilitating this communication, particularly when interfacing I2C LCDs with microcontrollers like the STM32 Black Pill. By abstracting the complexities of low-level I2C protocol implementation, this library streamlines the development process, allowing developers to focus on higher-level functionality and user experience. Its inclusion simplifies code maintenance and promotes code reusability, making it an indispensable asset for projects requiring reliable and efficient LCD control.
Download the file from-
https://github.com/eziya/STM32_HAL_I2C_HD44780/blob/master/Src/liquidcrystal_i2c.h
Configure Your STM Cube IDE
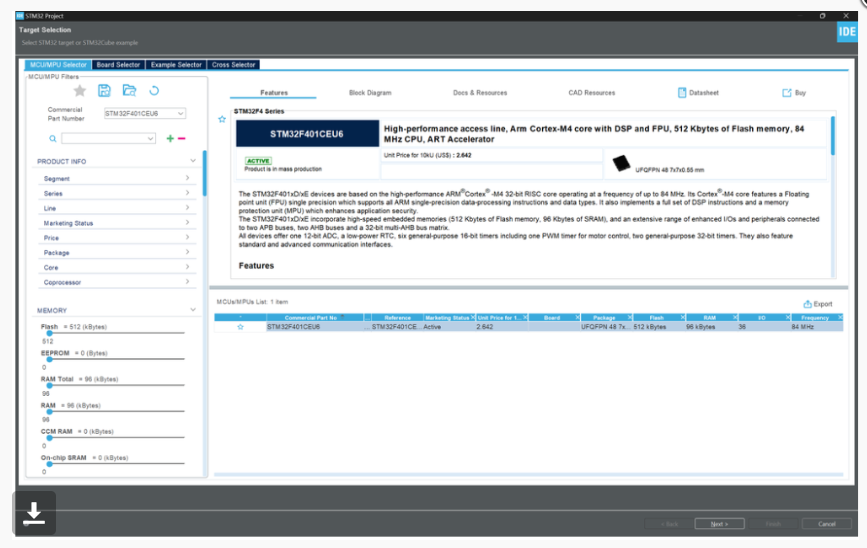
We will use STM32Cube IDE to program our STM32 board. Open the IDE and head over to a new project.
PIN Mode Selection Select Pin B6 and B7 for SCL and SDA Respectively
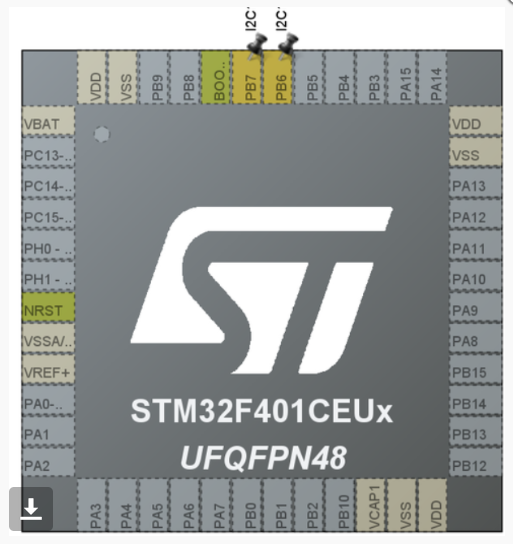
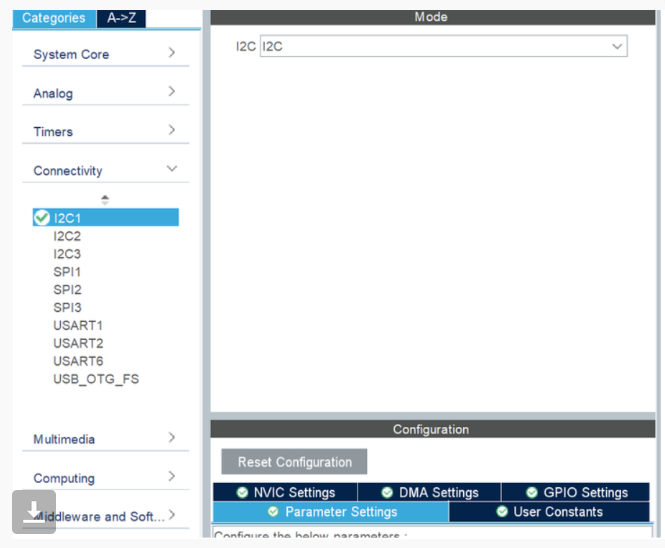
I2C Configuration
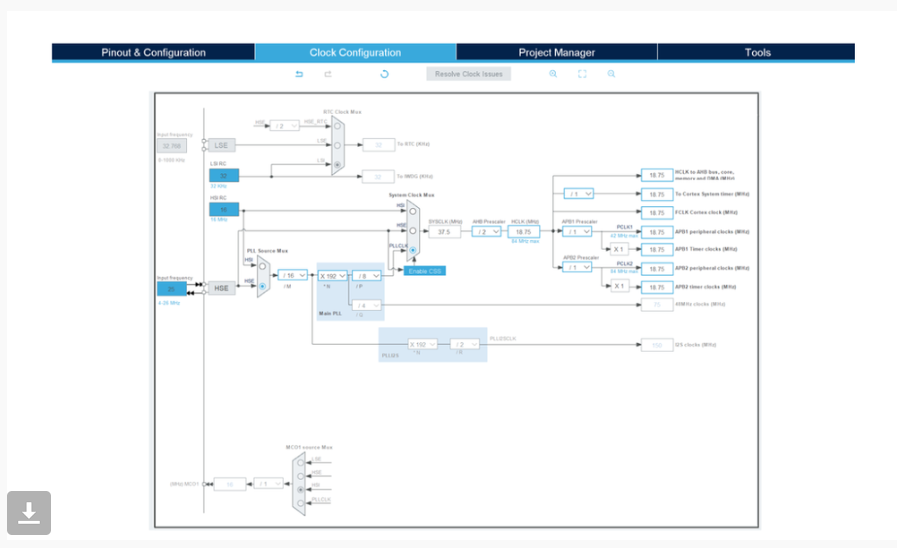
Configuring the Clock
Adding the Code
#include "main.h"
#include "liquidcrystal_i2c.h"
I2C_HandleTypeDef hi2c1;
void SystemClock_Config(void);
static void MX_GPIO_Init(void);
static void MX_I2C1_Init(void);
int main(void)
{
HAL_Init();
SystemClock_Config();
MX_GPIO_Init();
MX_I2C1_Init();
HD44780_Init(2);
HD44780_Clear();
HD44780_SetCursor(0,0);
HD44780_PrintStr("Abhinav");
HD44780_SetCursor(0,1);
HD44780_PrintStr("2310994502");
HAL_Delay(2000);
}
Debug and Building Binary File
Click on debug (On top left corner) to debug and generate binary file.
Opening the .elf File Created in System Explorer
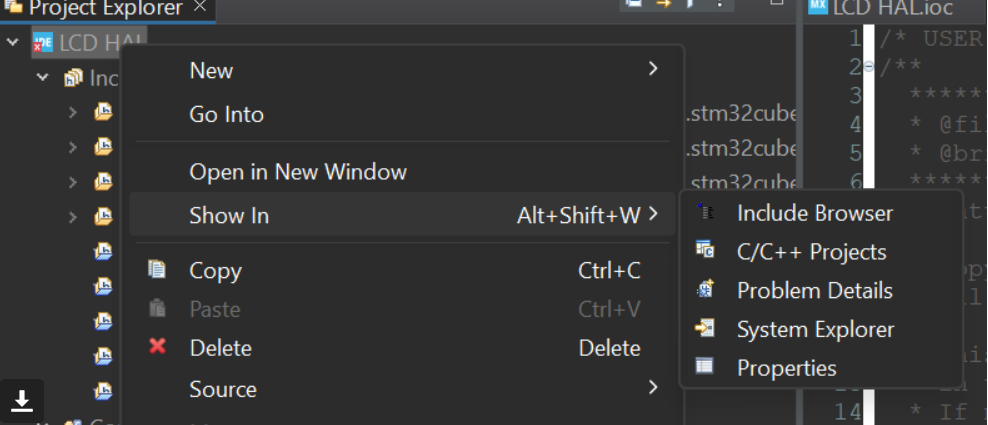
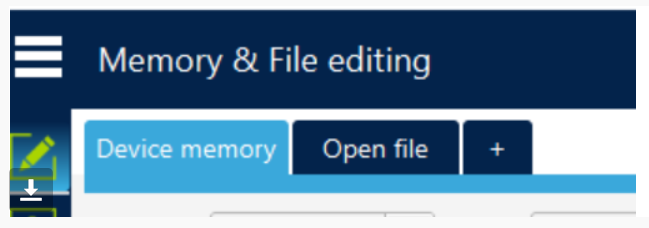
Open STMCubeProgrammer and Connect to STM Board Via USB
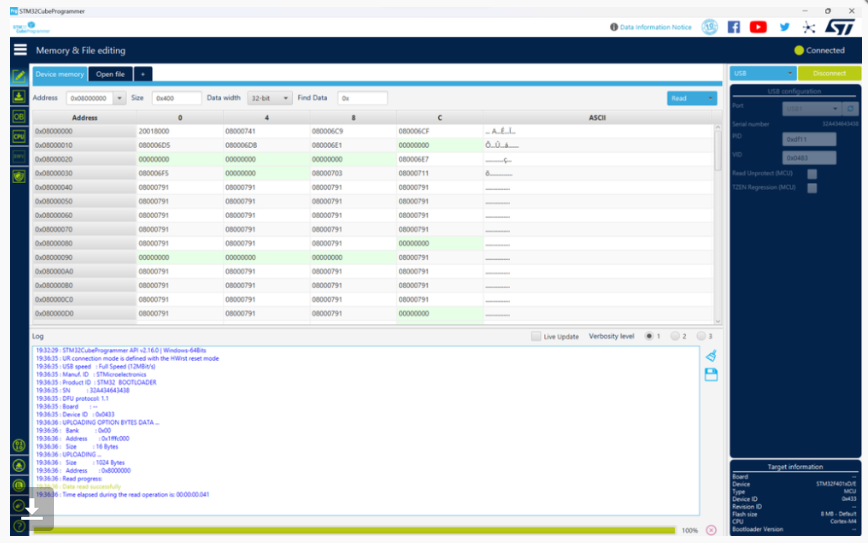
Click on Open File and Paste the Copied Path
