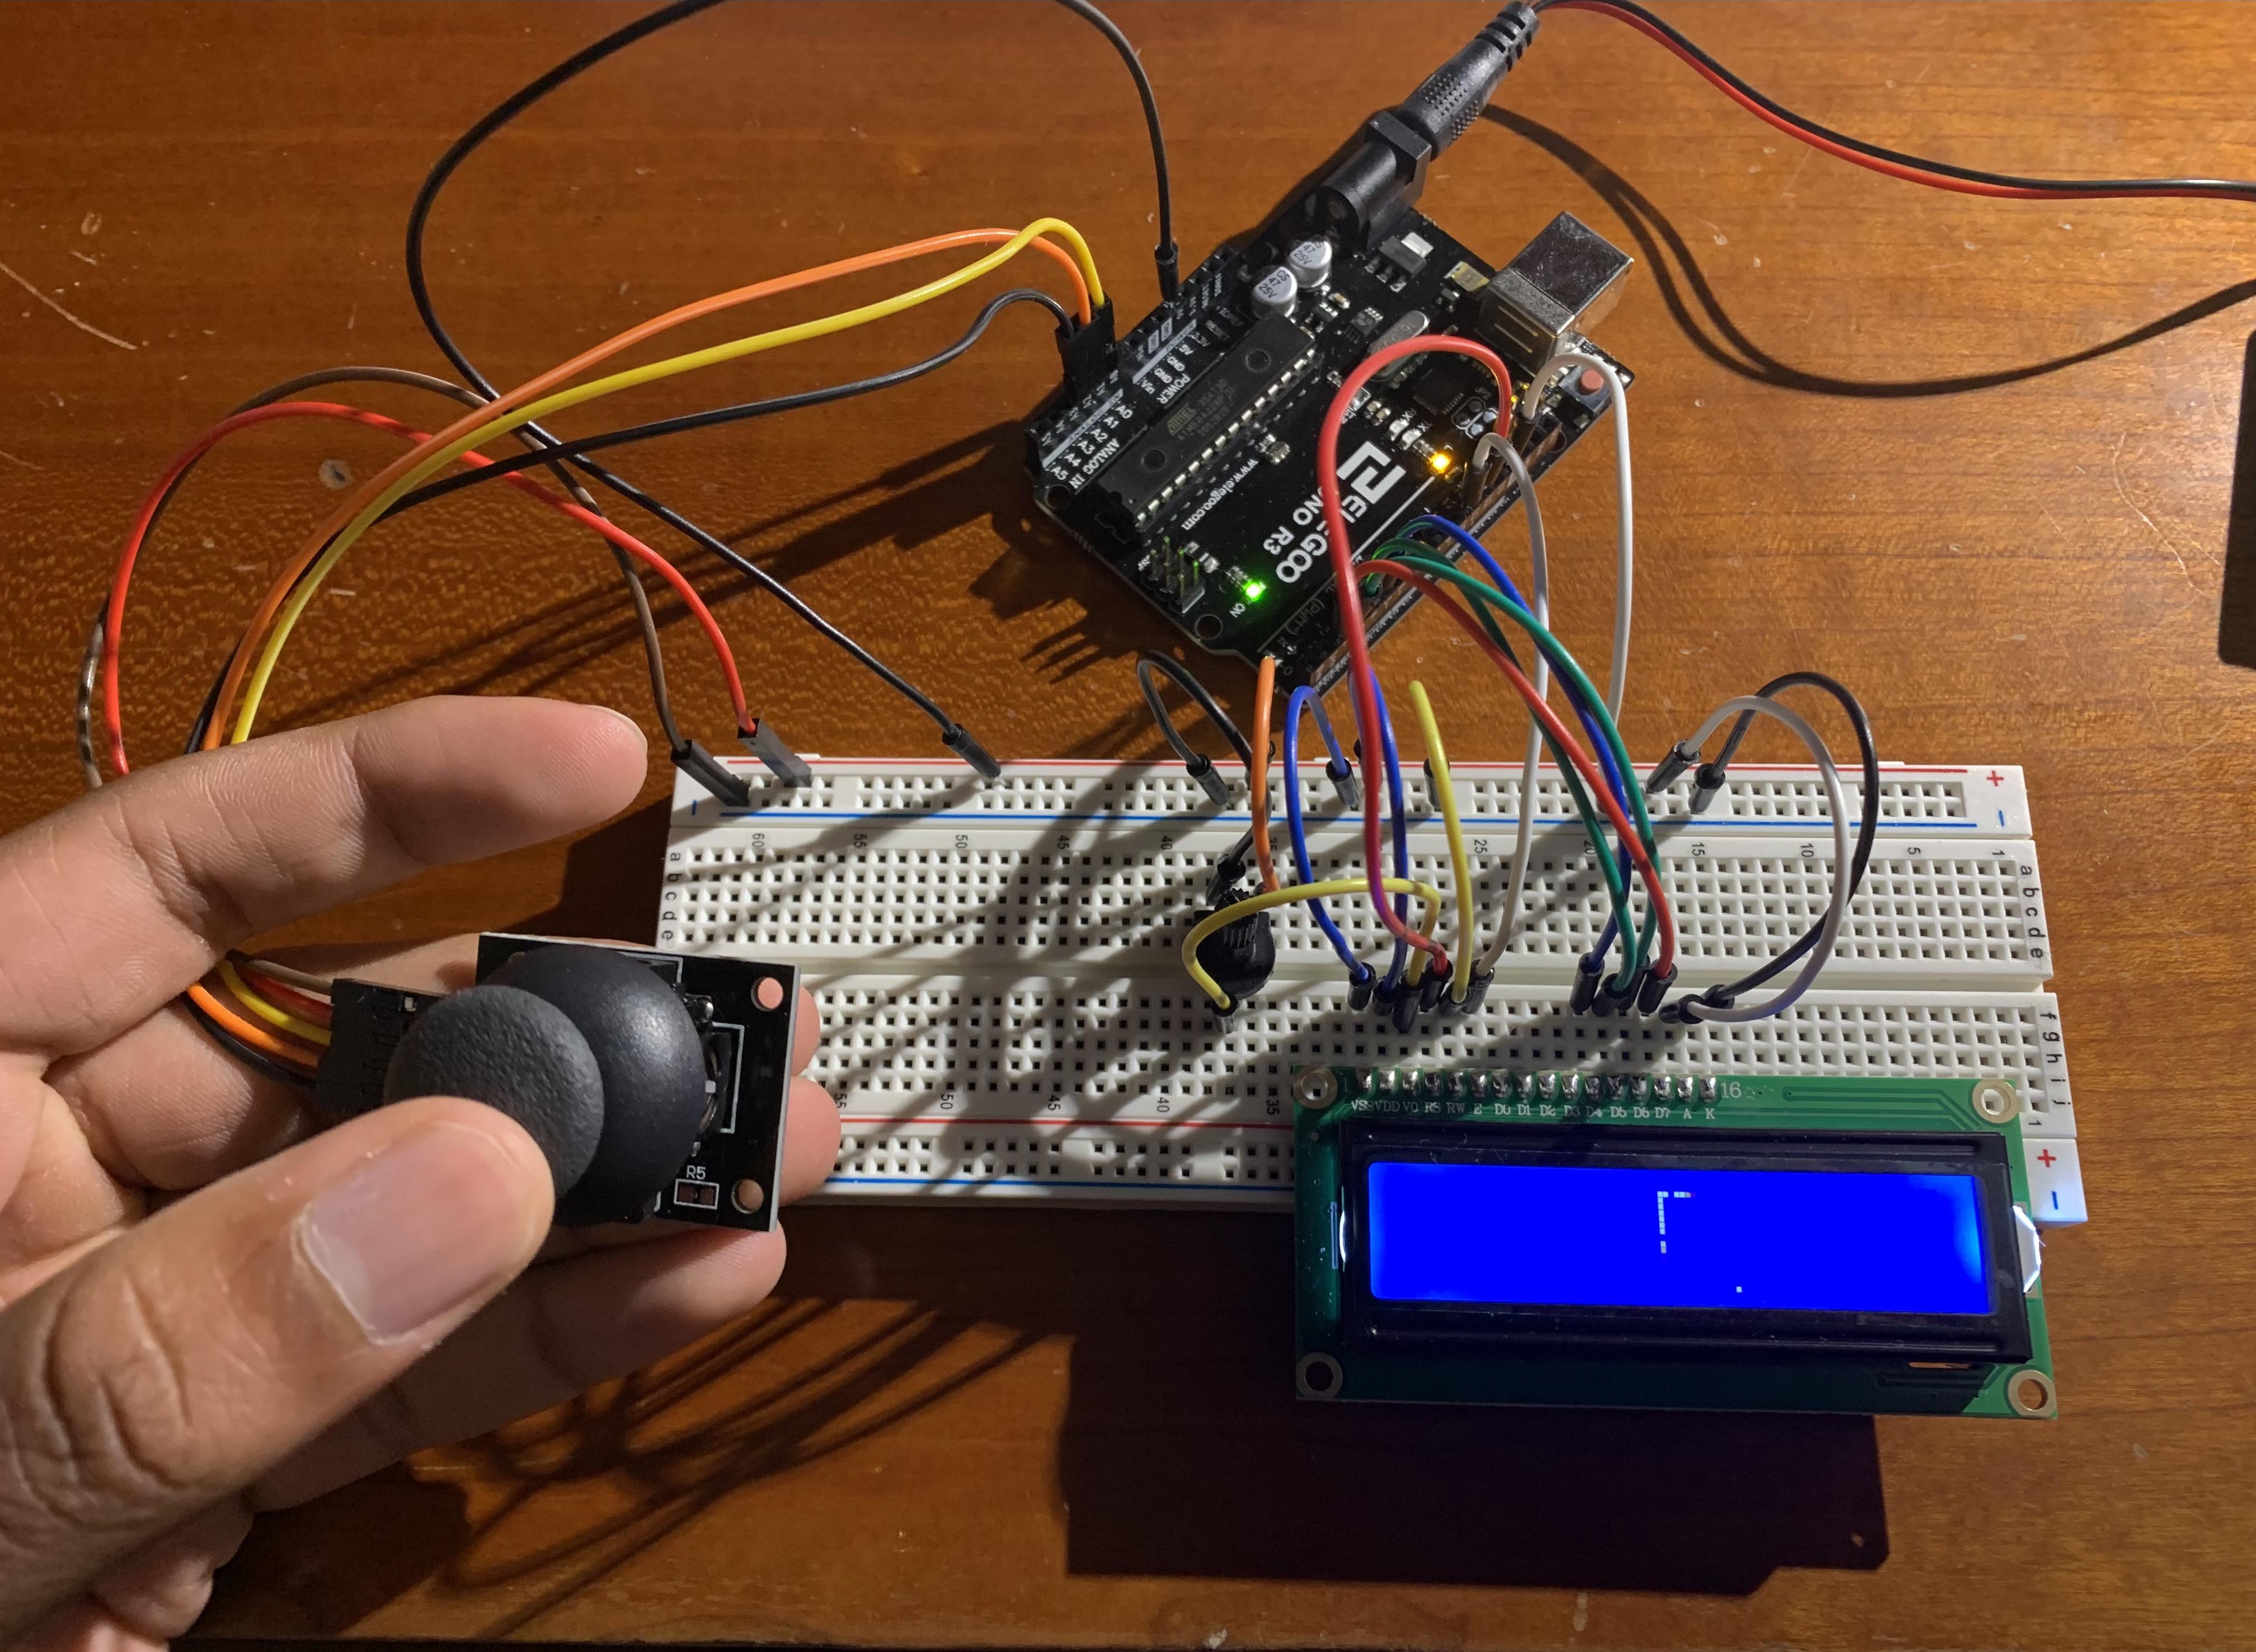
STEMQUEST Day 5: Snake Game

This Instructables provides a step-by-step walkthrough for making a snake game using Arduino Uno, LCD Display, and the joystick module. Daiwik and I will be going over the instructions on call as well, but this resource is there for you to consult in case there are any doubts while working on the project.
Supplies
- Arduino Uno Board
- Breadboard
- LCD Display
- Arduino Joystick Module
- Jumper Wires Stack (Male to Male)
- 4 Female to Male Jumper Wires
- Potentiometer
Connection List
After gathering the necessary materials, we can get started on making the project. First and foremost, make all the of following circuit connections:
Arudino Uno to Joystick Module:
- A0 --> VRx
- A1 --> VRy
- A2 --> SW
- 5V --> 5V
- GND --> GND
Arduino Uno to LCD
- GND --> VSS
- 5V --> VDD
- Potentiometer Middle Pin --> V0
- Digital Pin 12 --> RS
- GND --> R/W
- Digital Pin 11 --> E
- Digital Pin 5 --> D4
- Digital Pin 4 --> D5
- Digital Pin 3 --> D6
- Digital Pin 2 --> D7
- 5V --> A
- GND --> K
Breadboard Connections

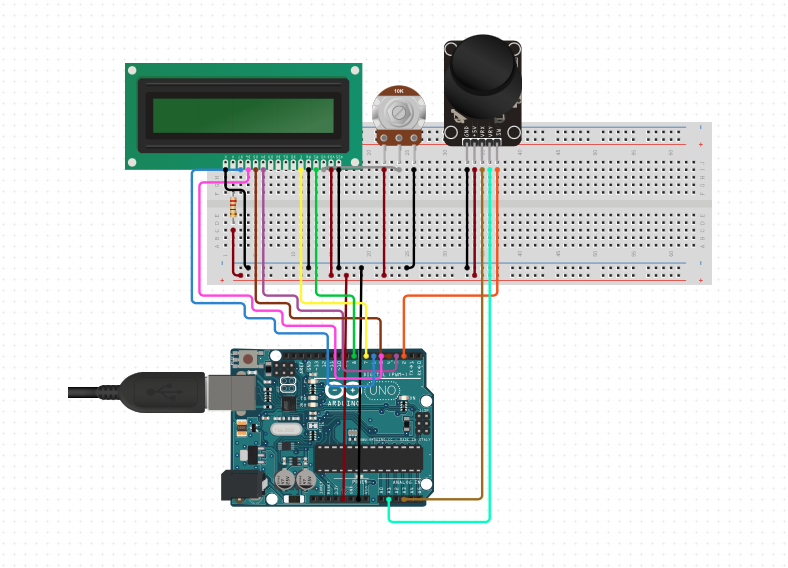
Follow the circuit diagram shown to make the connections for the LCD Display. Note that there is a resistor in the diagram. Ignore this part, you do not need to add in a resistor. Also, Daiwik and I will go over the specific connections for the Joystick module, but ignore the ones made in the diagram. Refer to Step 1 to see the true connections for this part.
Code and Run Program
Download the code for this project from the following link: https://drive.google.com/file/d/16Z2Gnej2rNQn22nB...
Open the file in the Arduino IDE and upload the code. Wait for the program to boot up. Enjoy playing the Snake Game on your Arduino Uno!