SMS Baby Monitor
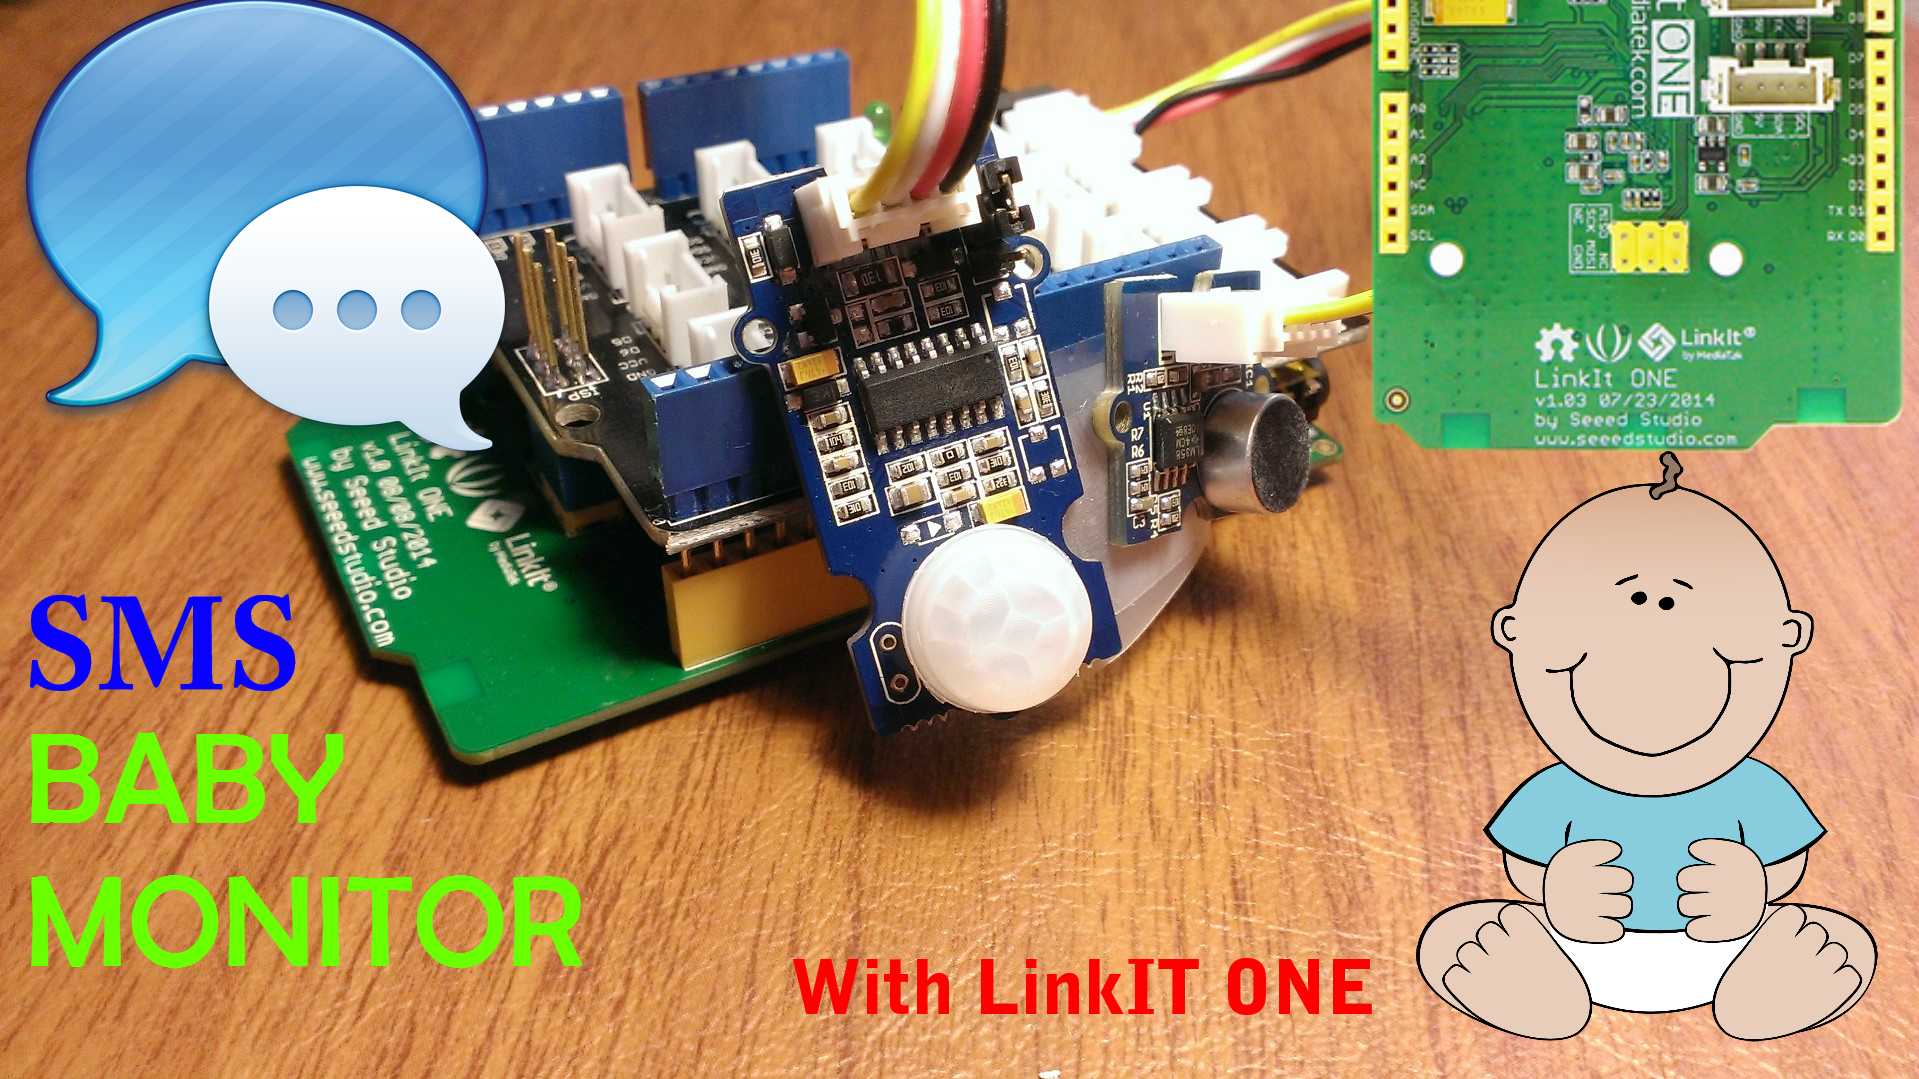
Sure, there are plenty of wireless baby monitors out there, but carrying around a big receiver everywhere can get annoying fast. There are other monitors that have apps on your phone, but they require you to be in constant contact with either a 4G network or to a WiFi network. Well, sometimes I'm out in the yard and I don't get either (we're out at the cabin, so 4G is pretty limited).
I decided to use the LinkIt ONE to solve my woes. With it's powerful capabilities to double as a GSM capable device, we can send text messages directly to our phone whenever we sense that our baby is awake!
Supplies
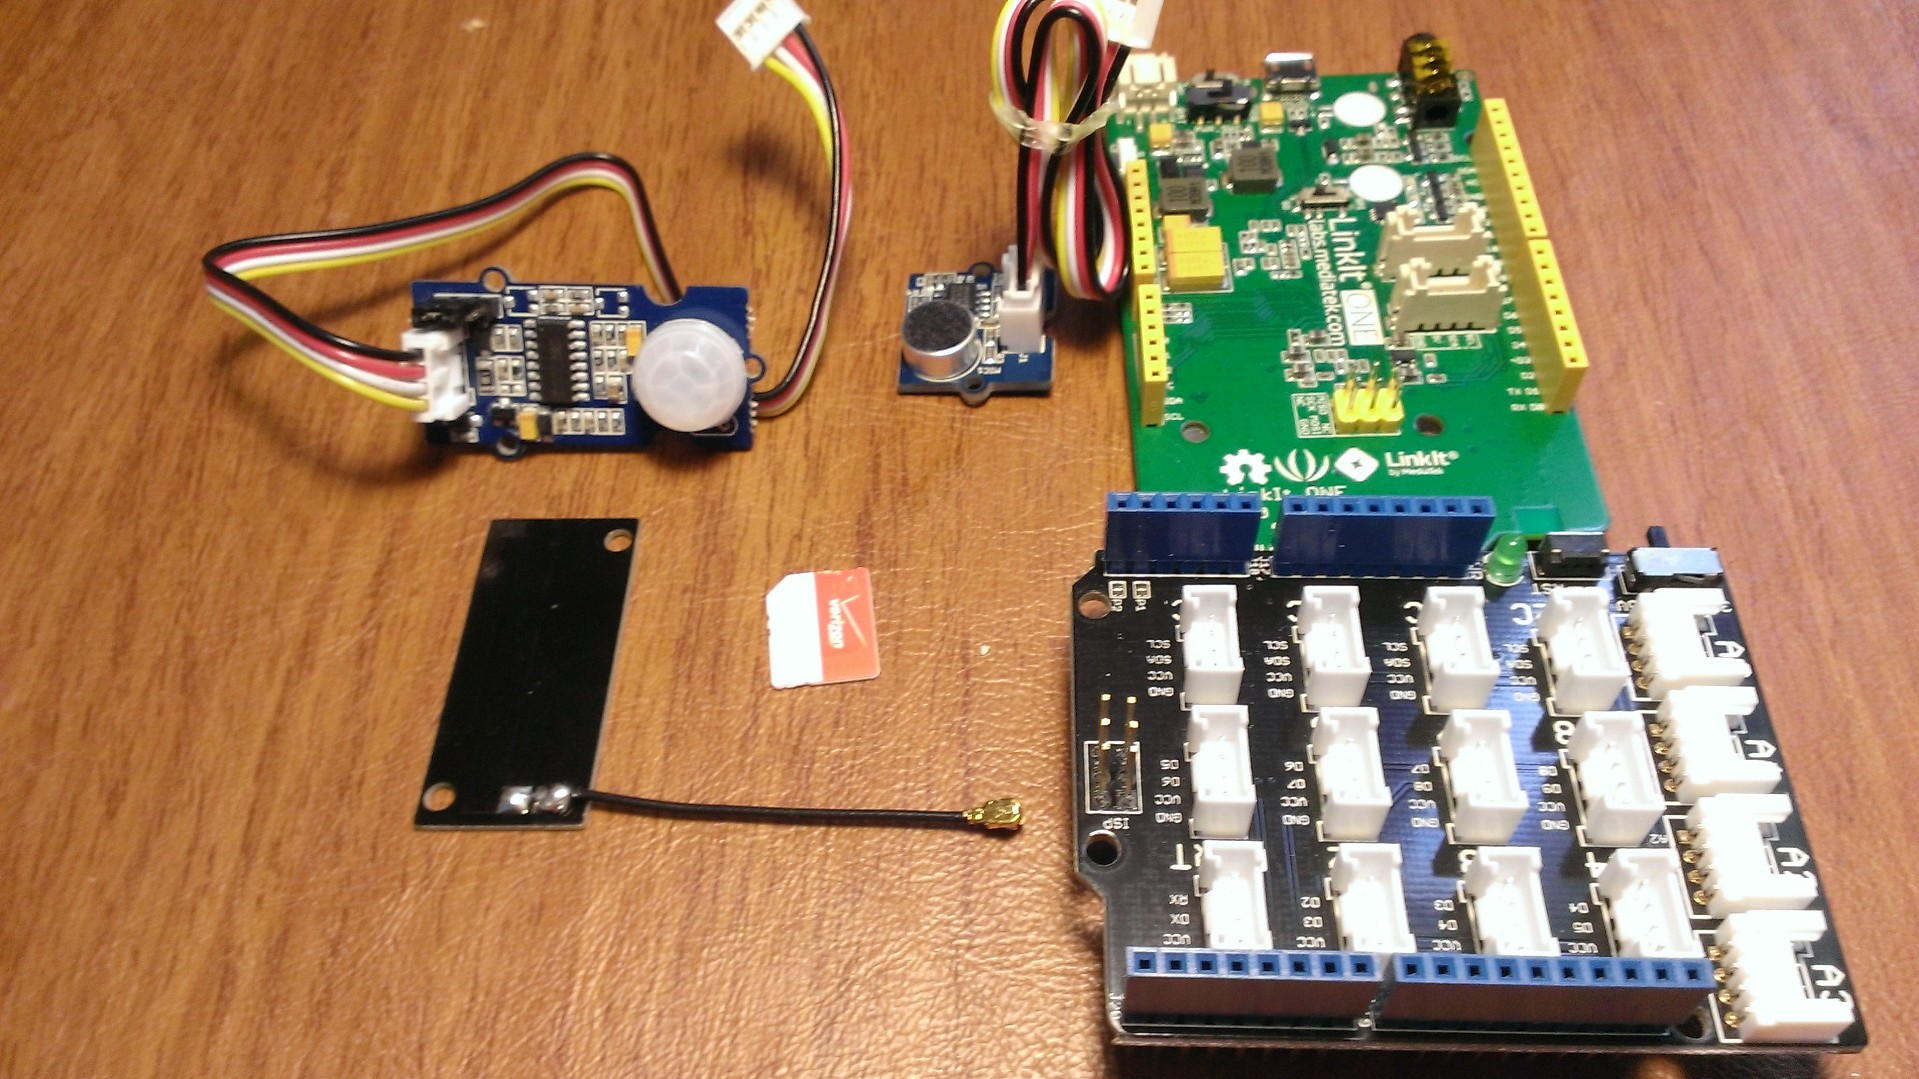
If you haven't picked up the Grove starter Kit for LinkIT ONE, I would highly suggest you do so. Grove sensors make prototyping with the LinkIT ONE a total breeze. We'll use some sensors from that kit, along with a few other Grove Sensors to create our project:
- LinkIT ONE Board
- Grove Arduino Board (LinkIT ONE and Arduino have the same pin layout)
- SIM Card
- Grove Sound Sensor
- Grove PIR Motion Sensor
Configure Your LinkIT ONE Board
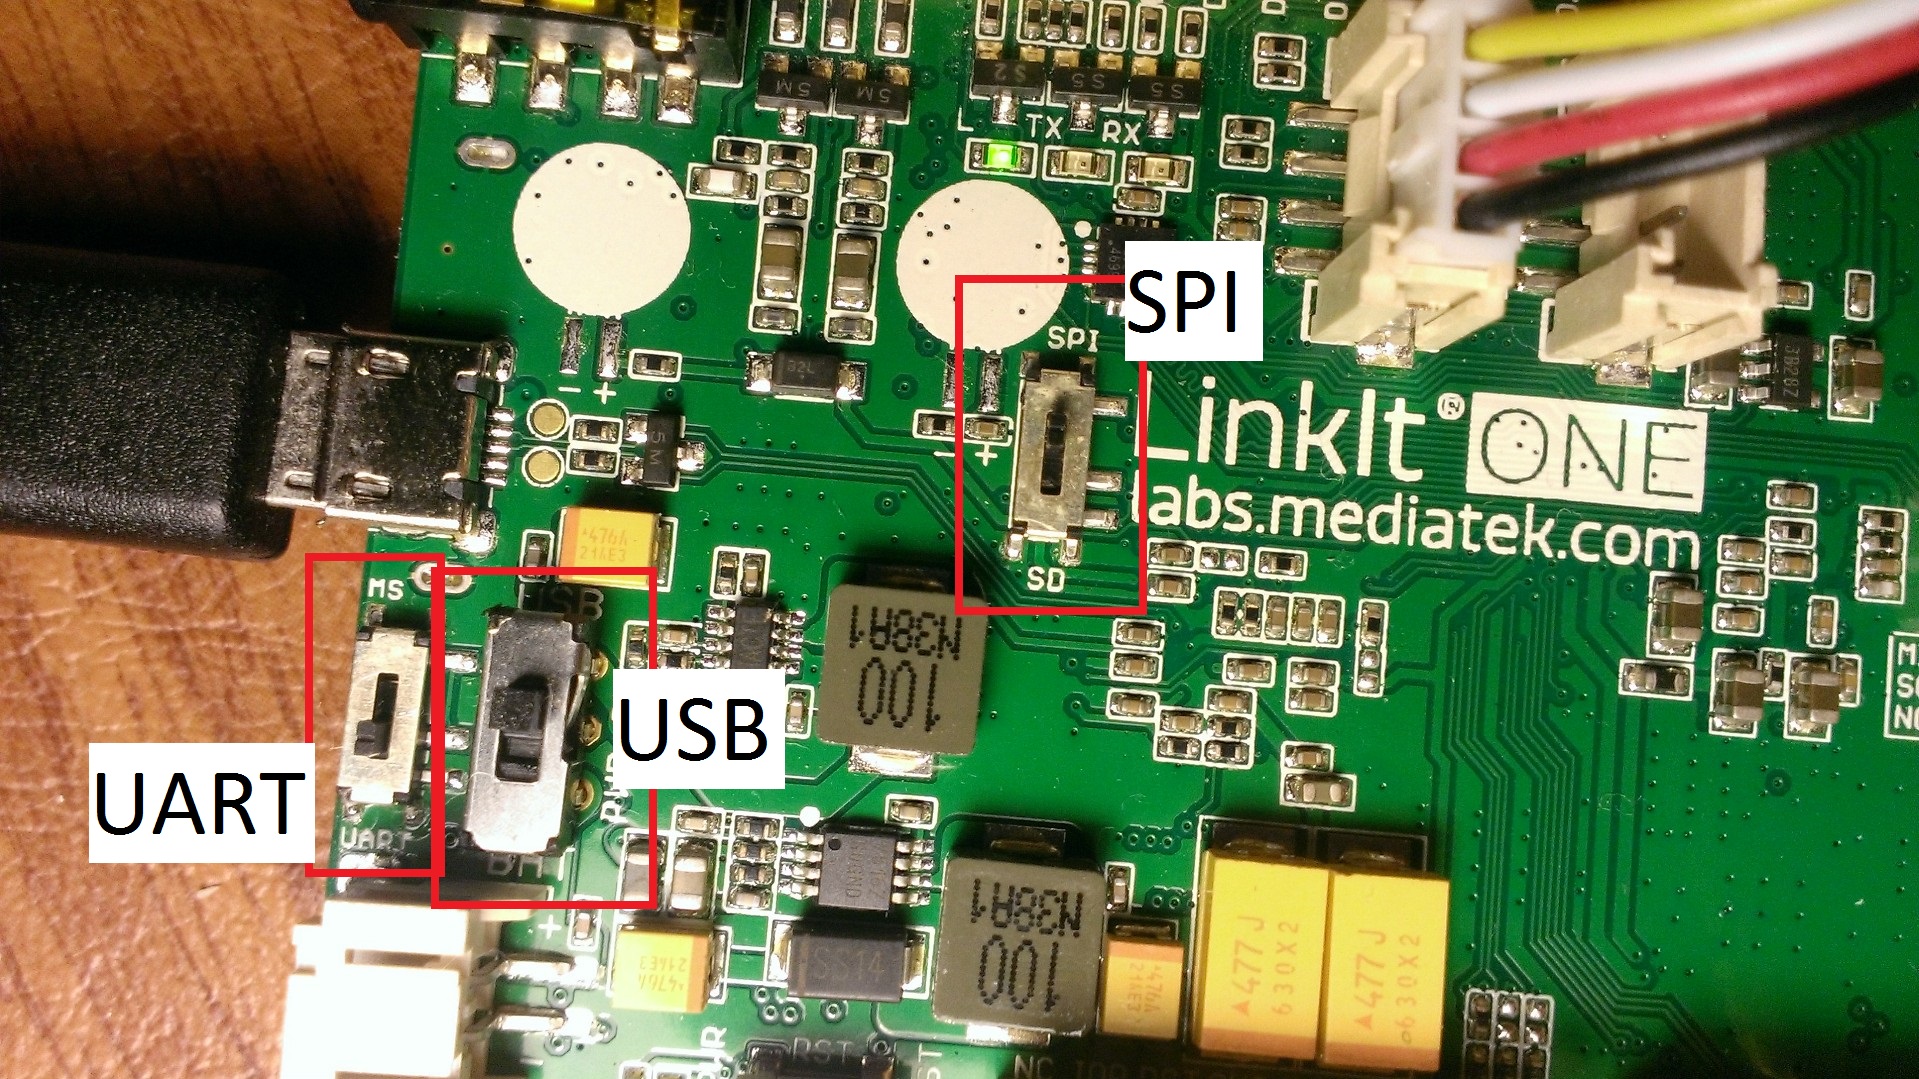
We'll need to modify some of the switches on the LinkIt One board in order to make it work. Along with the image attached, make sure that you have done the following
1. Set the MS -- UART switch to UART
2. Set the USB -- BAT switch to USB
3. Set the SPI -- SD switch to SPI
Insert Your Sim Card
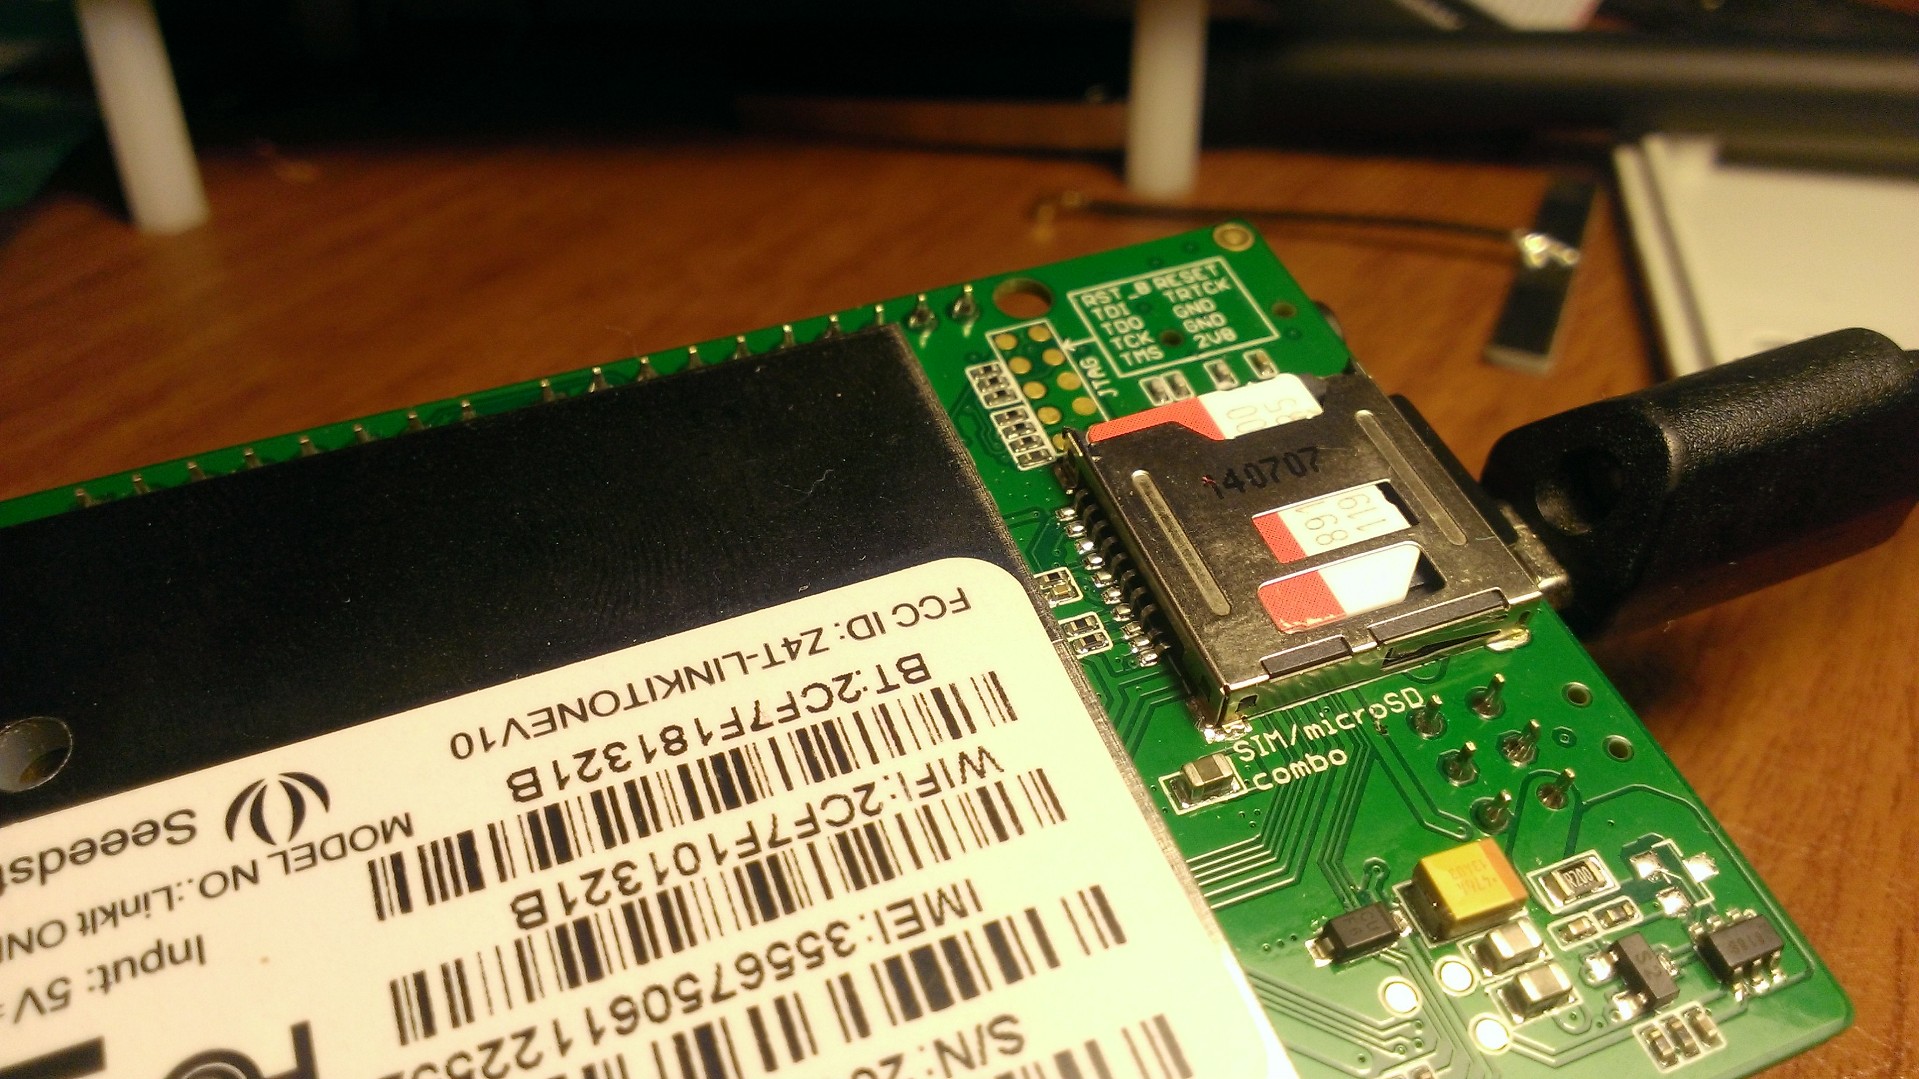
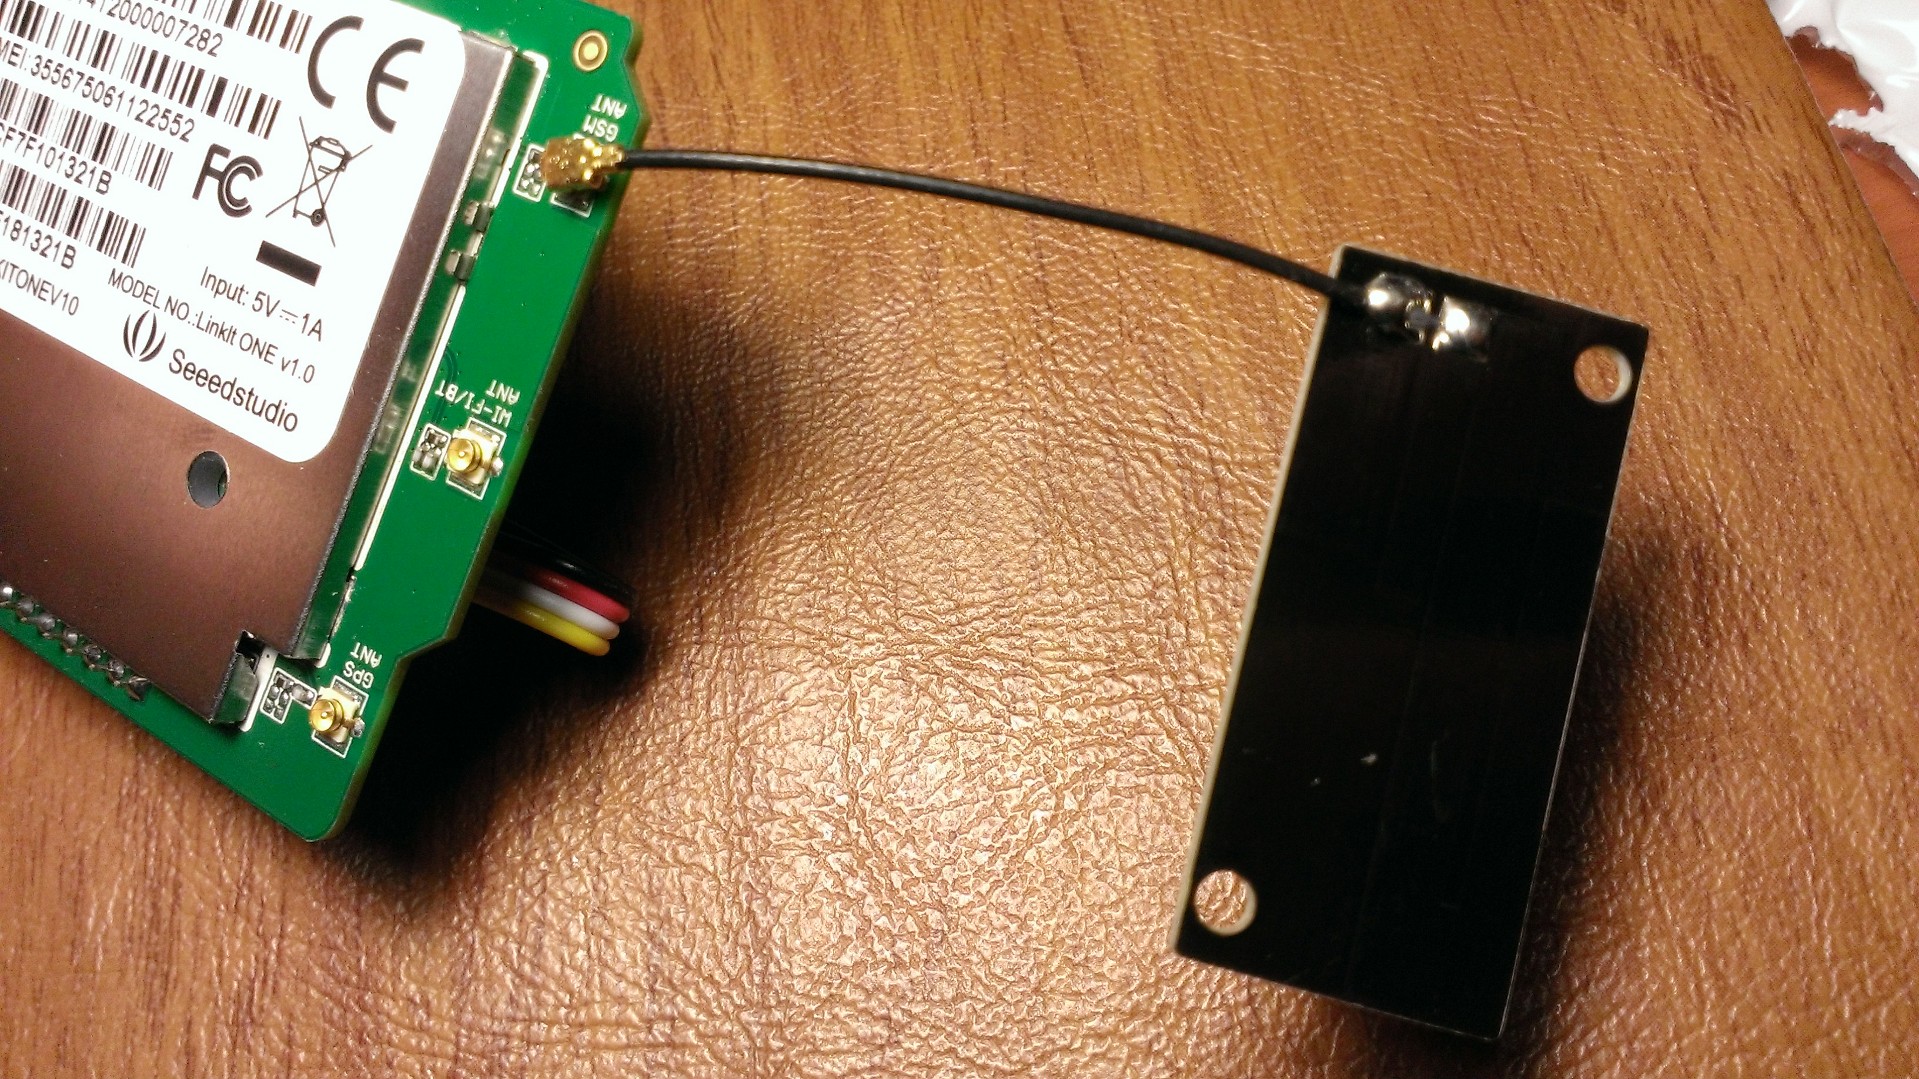
I know that most people probably don't have a pre-paid SIM card laying around. If you are just prototyping and want to see a proof of concept, feel free to remove it from your current cell phone (or one of your friends) just to try it out. If you get serious and want to make this a full-time gig, you will have to pony up for a pre-paid SIM.
Inserting the SIM card is a fairly straight forward process. Flip over your LinkIt One and look at the smaller big metal piece. You can see in the figure where I inserted my SIM card if you are confused.
After you have inserted the SIM card, be sure to attach your GSM antenna that came with your LinkIt One kit. This will allow you to get a cell signal.
Attach Grove Board and Sensors
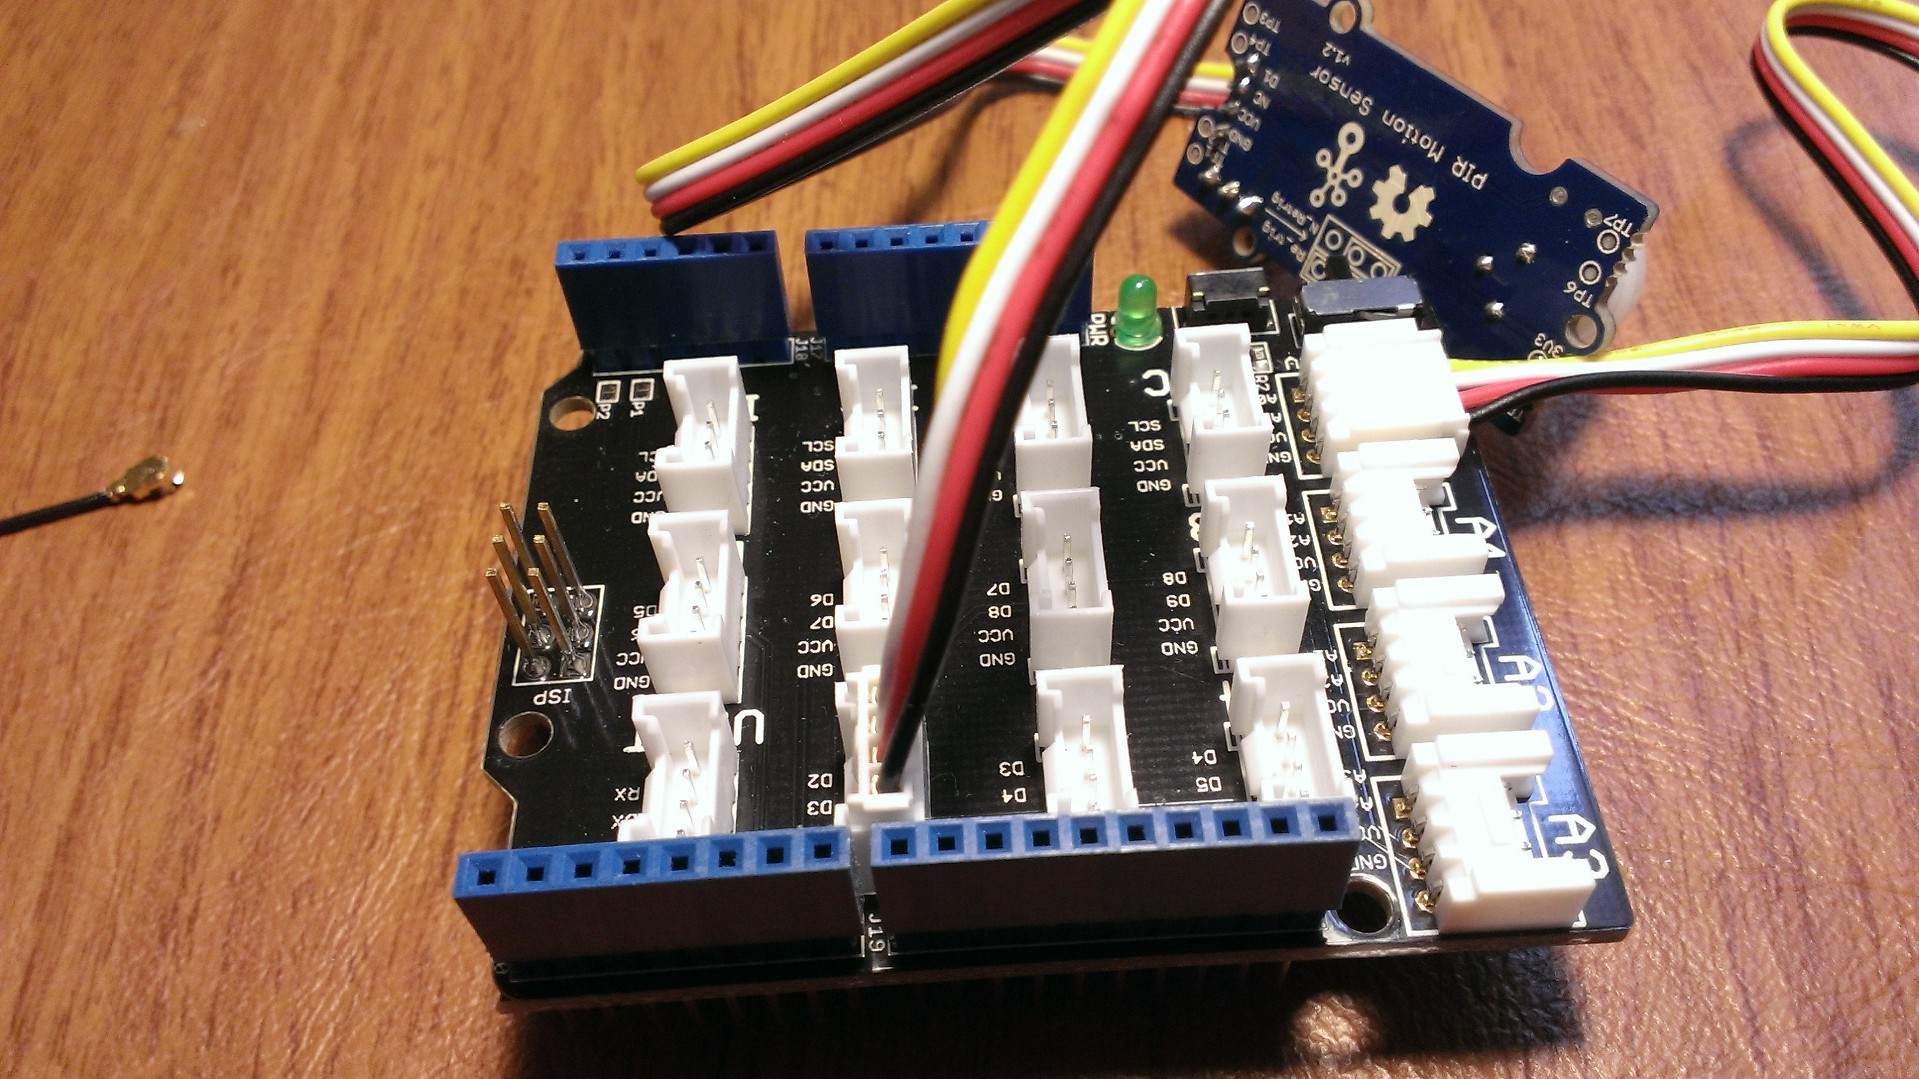
The LinkIT ONE has the same pin layout as the arduino, thus an arduino grove board extension fits on top of it in a very similar fashion. Simply line up all the pins and plug it in.
Then, you will want to plug the sound sensor into A0 (Because it is analog) and the Motion Sensor to D2. This should be very easily done as the Grove Sensors are simply plug-in-play.
Deploy the Code
The base 'thesis' of the code is this:
- If there is movement and noise, we assume the baby is awake, so let's send a text message alerting our tech-savvy parent.
- Once we have alerted the parent, let's wait 10 minutes so we don't constantly text.
You'll want to download the attached code file and deploy it to your LinkIT ONE Board.
Make sure you insert the proper phone number to text in your code! You don't want to be testing some random person (I put a 555 number in there as a default).
Downloads
Going Forward
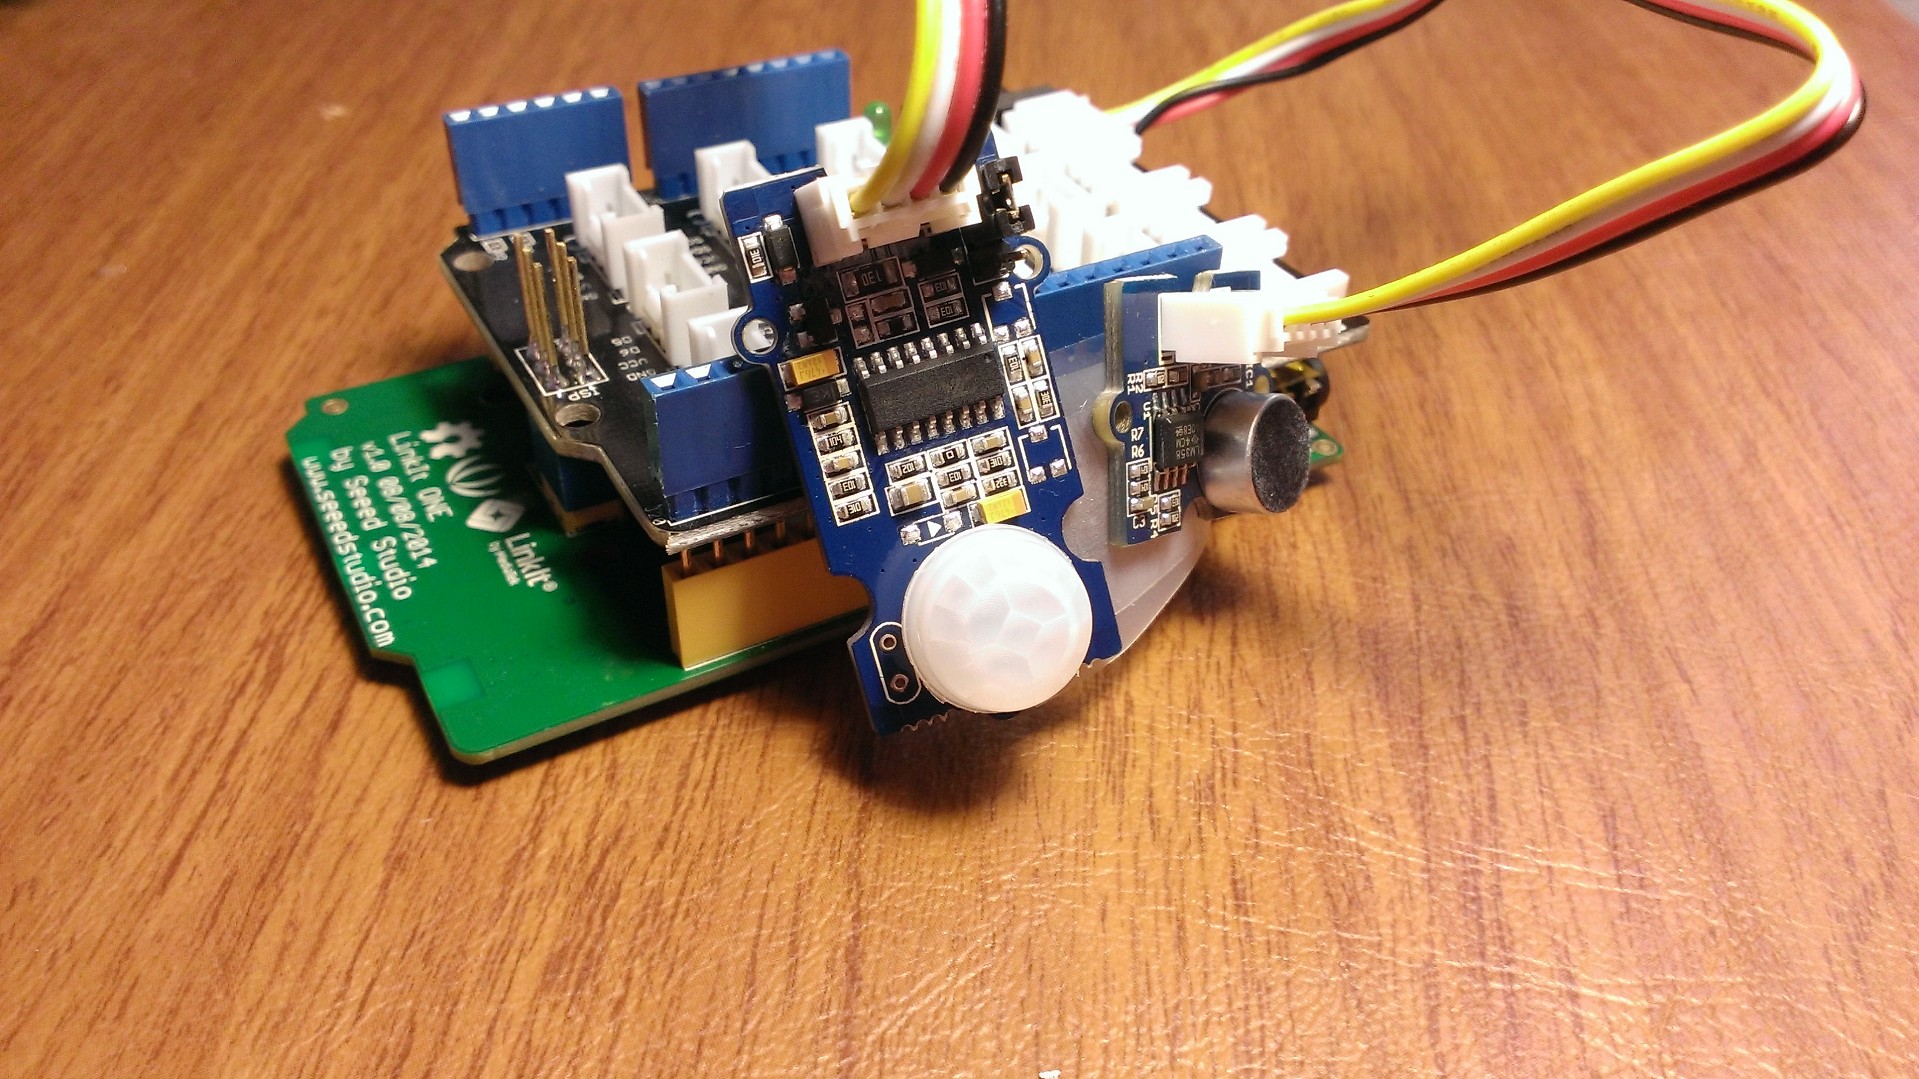
Now that you have built a full fledged SMS baby monitor! Congrats! Obviously we can see some other pretty useful applications for this type of board right off the back. Baby monitor turned Security device? Maybe even attach a WiFi antenna and sync with a webcam to take a picture at the same time! With the LinkIT ONE, the possibilities are endless!