SLEEVELESS COWL NECK HOODIE...MADE WITH AUTODESK SKETCHPRO 6 (TRIAL) and BETABRAND HOODIE TEMPLATE

by N1K1_1NC. in Craft > Fashion

1729 Views, 9 Favorites, 0 Comments

SLEEVELESS COWL NECK HOODIE...MADE WITH AUTODESK SKETCHPRO 6 (TRIAL) and BETABRAND HOODIE TEMPLATE
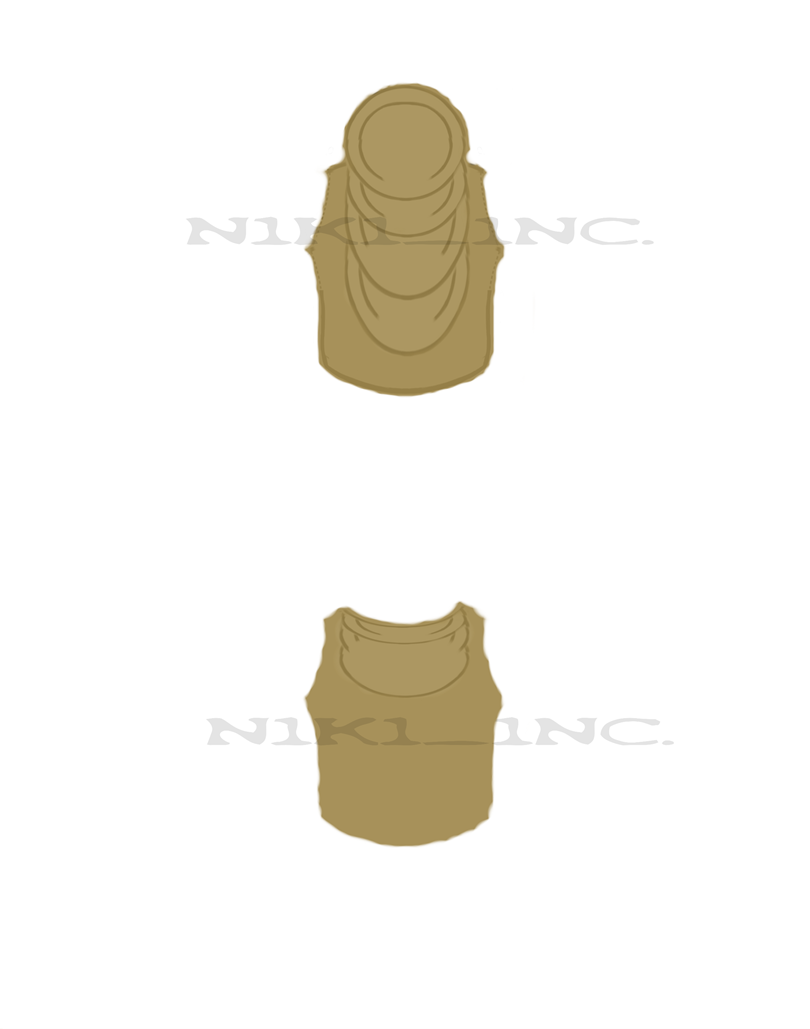
demosA8b22.png
MATERIALS: AUTODESK SKETCHBOOK PRO 6 AND BETABRAND HOODIE TEMPLATE

CROPPING and CREATING
DemoA1.png

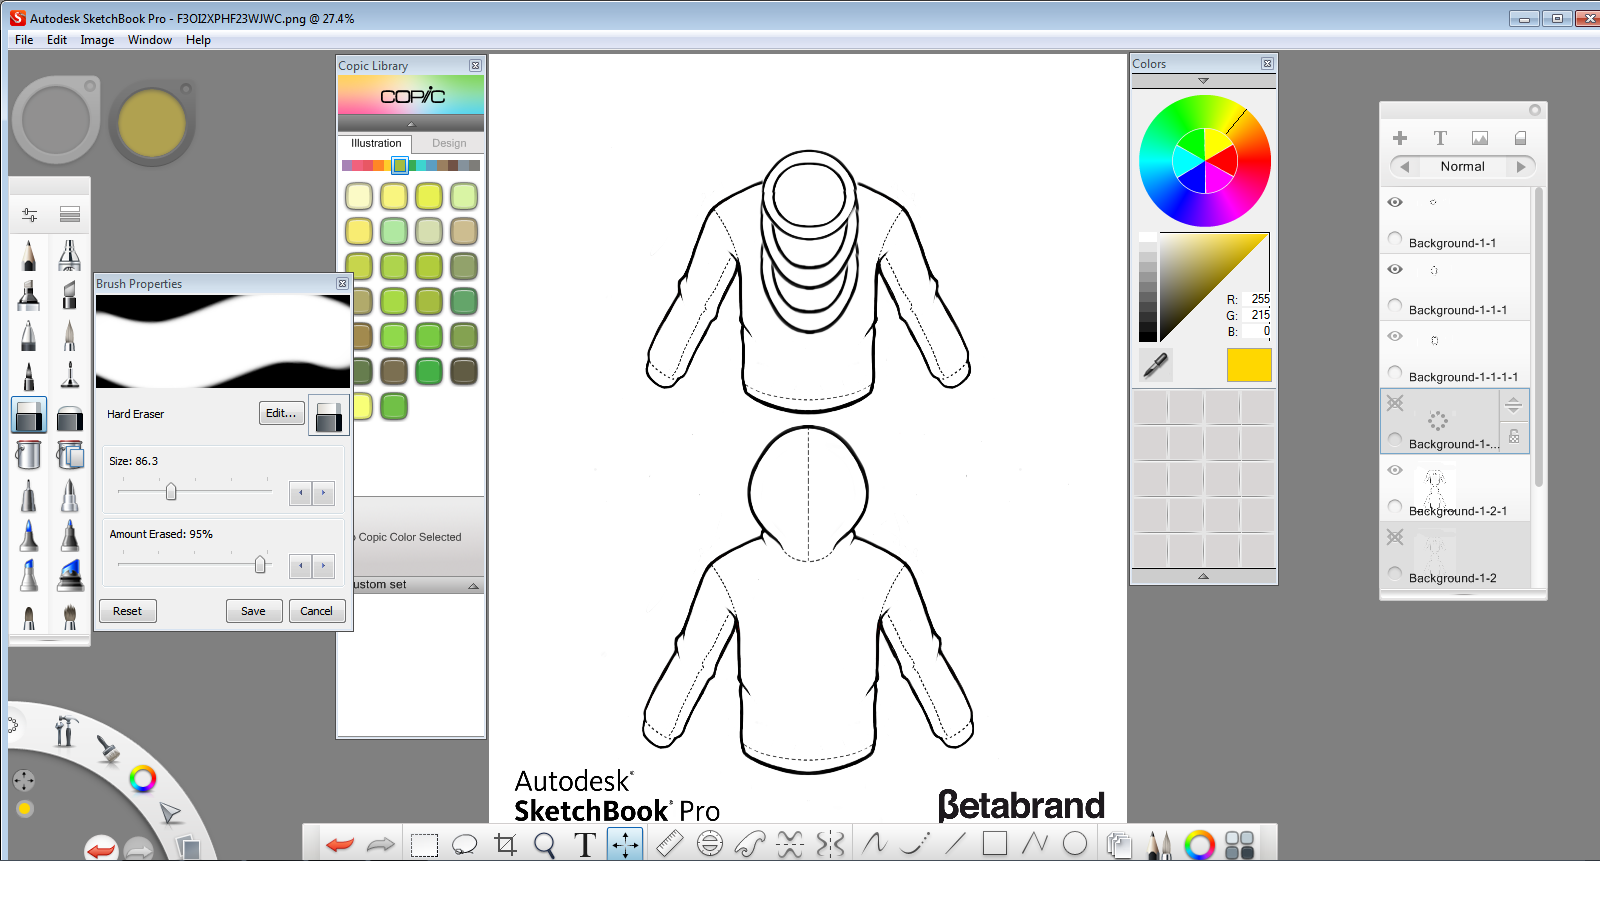
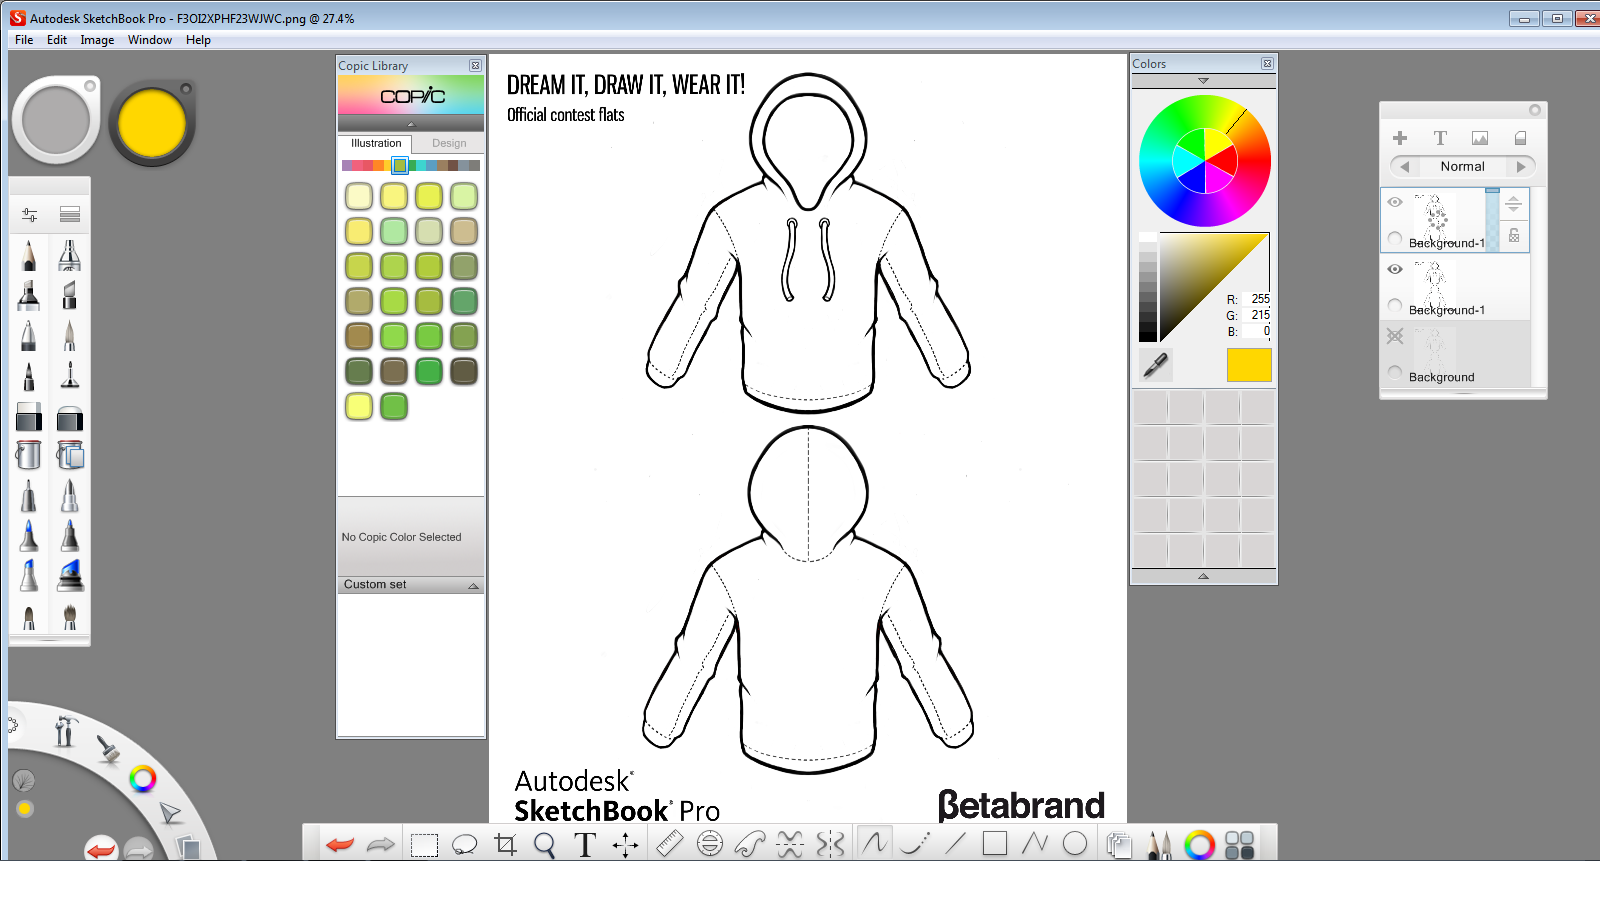
1.Take the Betabrand hoodie template and duplicate it twice. After you make your duplicates you will need to crop the top half (front view) from the bottom half (back view). Using your second duplicate layer you will need to crop the bottom half (back view) from the top half (front view. This would make it easier to create different looks for both front and back (top and bottom of template).

MIRRORS and CROPS
DemoA2.png
DEMOA3.png
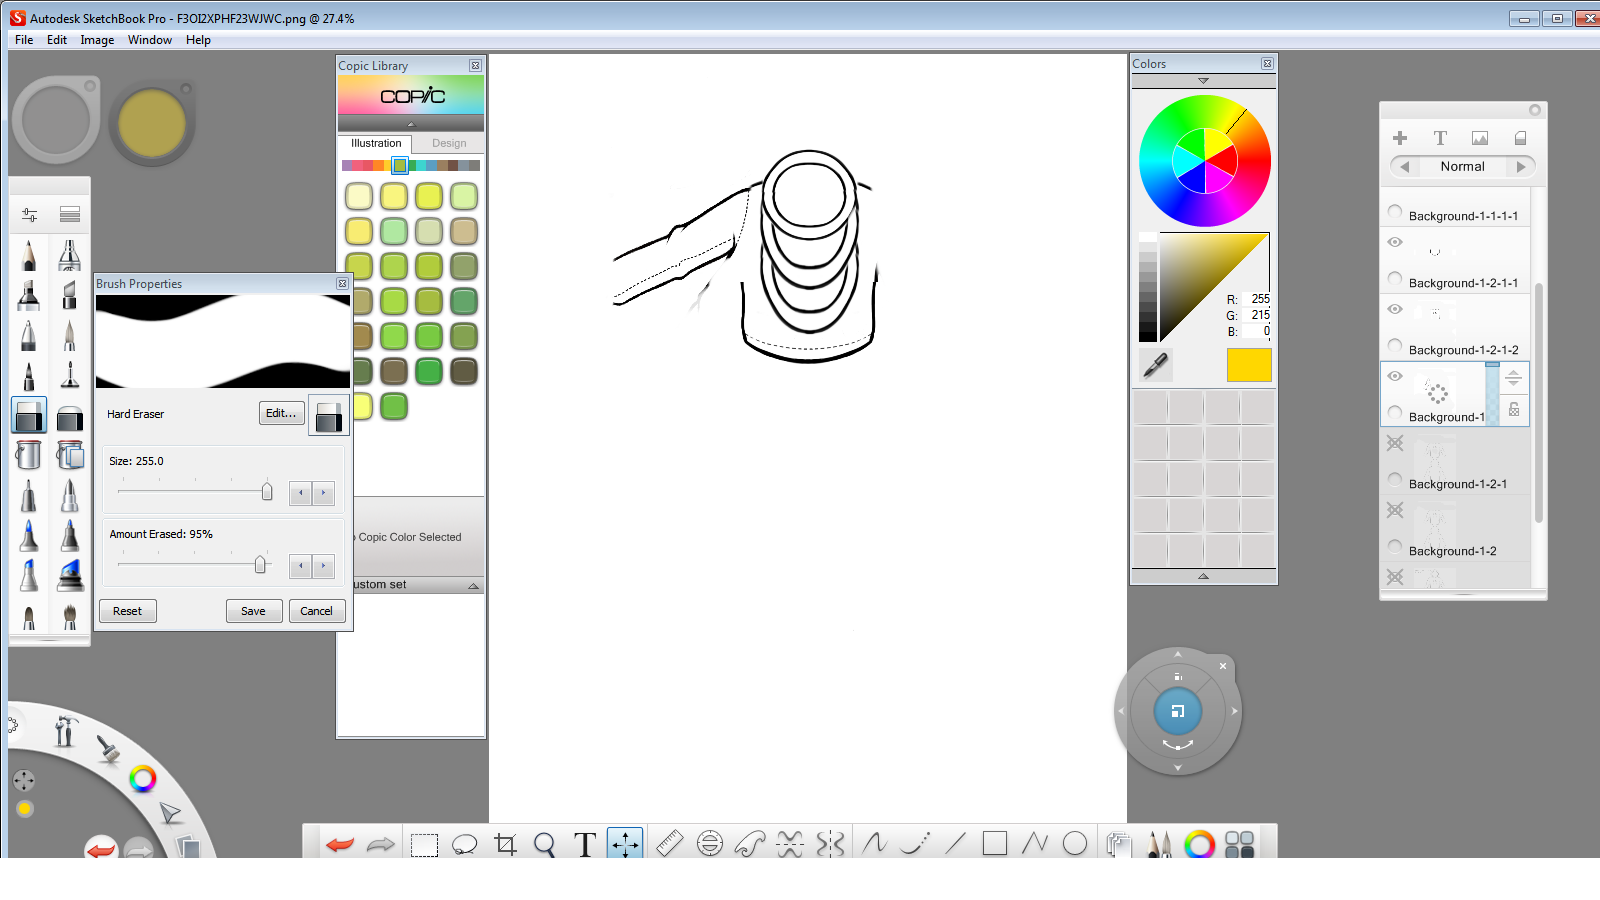
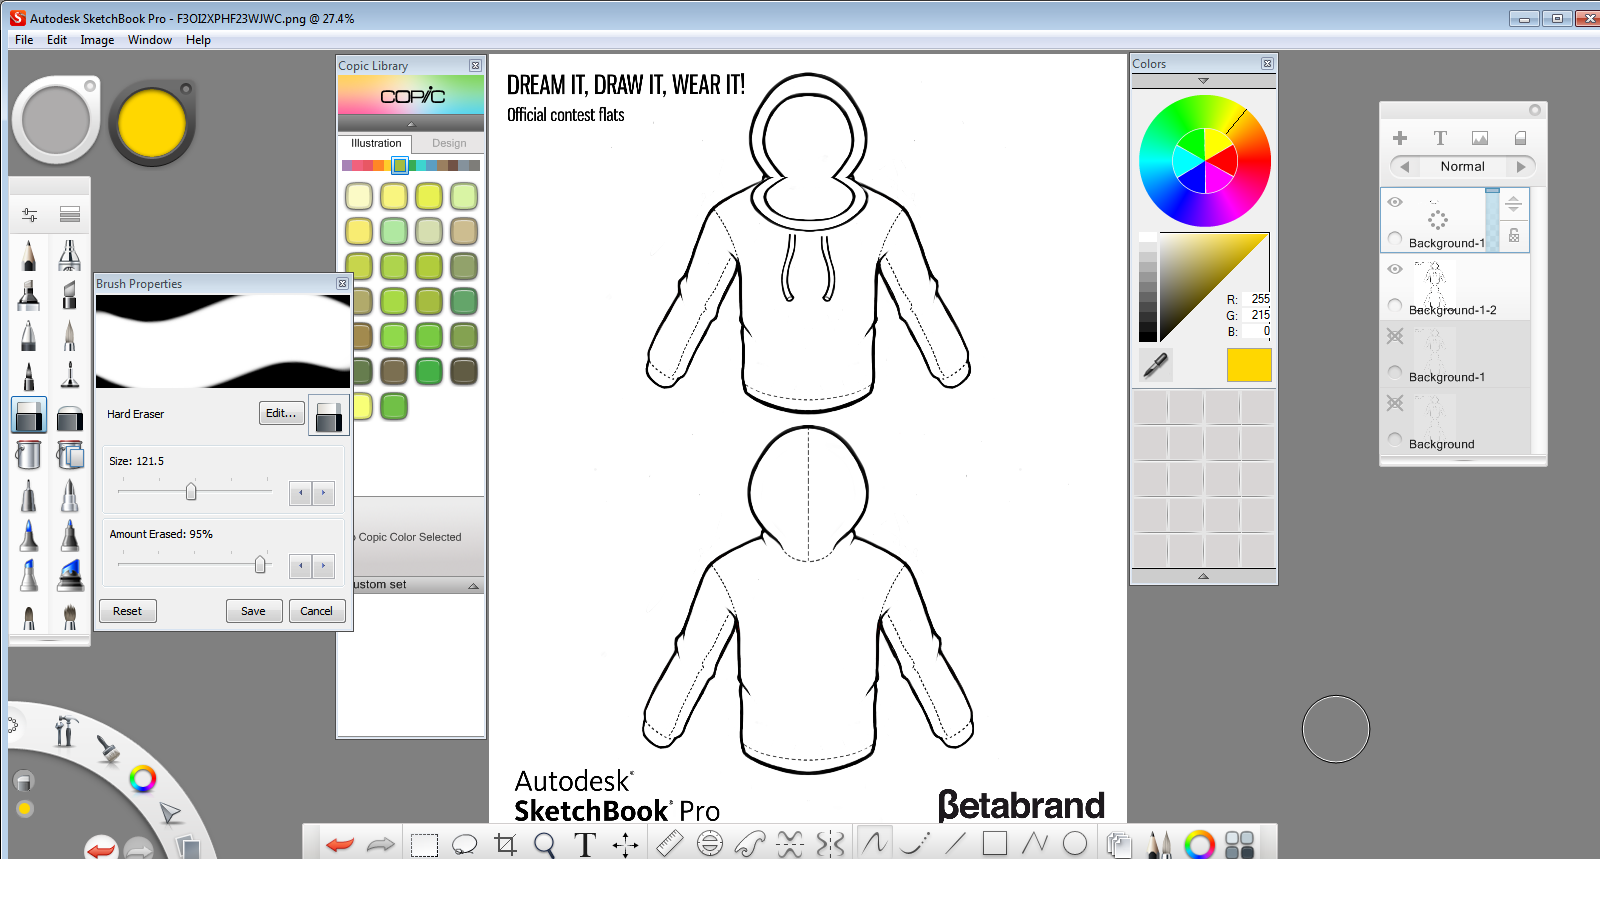
2. On the duplicate layer for the top half (front view) of the template you need to use the cropping and/or eraser tool to go around the hood portion. Once you've done that then use the MIRROR LAYER tool. Move the mirrored layer image to align with the hoodie layer underneath then begin to shape it. Take the mirrored layer and duplicate it then mirror that layer and use the MOVE TOOL to align it thus making a full circle. Next duplicate the FIRST mirror image layer 2 more times but you're going to want to make sure that it stays as the top layer above the duplicates. With each duplicate you want to drag it down using the moving tool and stretch for shape. Now go back to the one of the duplicate layers with the full hoodie and use your eraser tool to get rid of the part the hoodie that's still visible. Merge the 4 layers for the cowl neck and then duplicate it.

DUPLICATING and MIRRORING

DEMOA4.png
DEMOA5.png
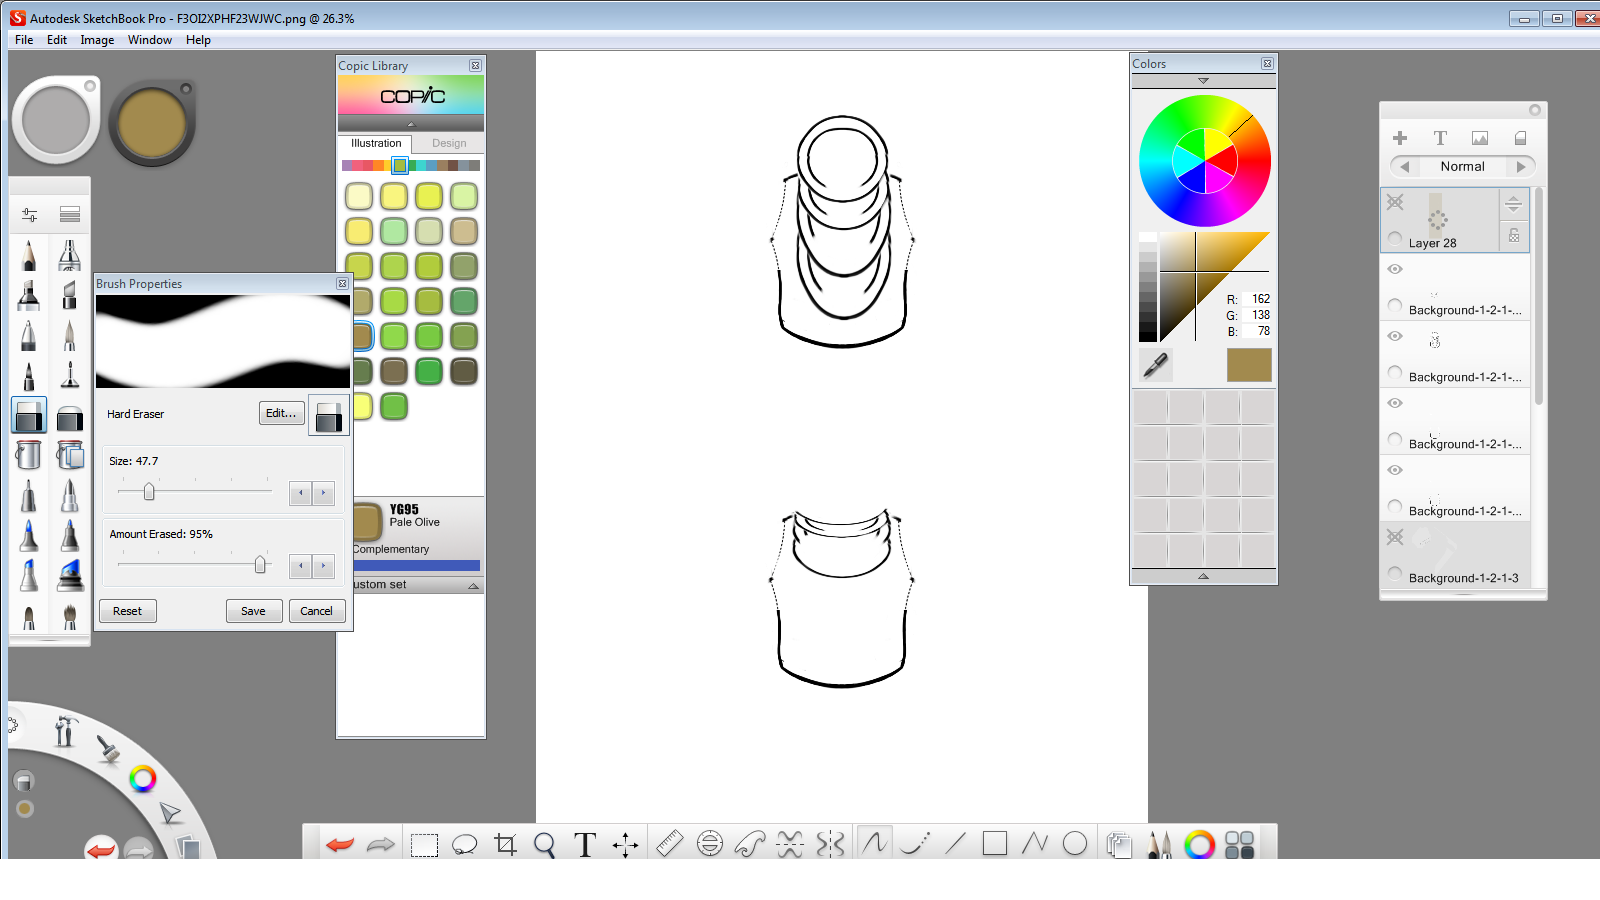
3. Hard part...creating a shape for the image. Making a duplicate of the hoodie layer again I cropped away from the middle of the image up. Then I took that layer and moved it up  to make the hoodie sit just above the waistline and below the belly button. I wanted to make this sleeveless but wanted to keep an outline to the garment. So I had to  duplicated the hoodie layer that no longer has the top of the hood and cropped around one of the arms. Using the cropped out arm and the moving tool I was able to rotate and drag it in closer to give the shape of the sleeves. This was also done to the bottom half (back view) of the template.  Take the duplicate layer of the merged cowl neck and move it down to the bottom half (back view) of the template. Stretch and shape hoodie portion of this shirt and erase any extra lines to define it more as a hood. Last phase in this step is to clean it up by erasing the sleeve of the arm but just keeping the original seams and once that's done duplicate it and use the MIRROR LAYER tool to give the garment shape.

COLORING and TEXTURING

DEMOA6.png

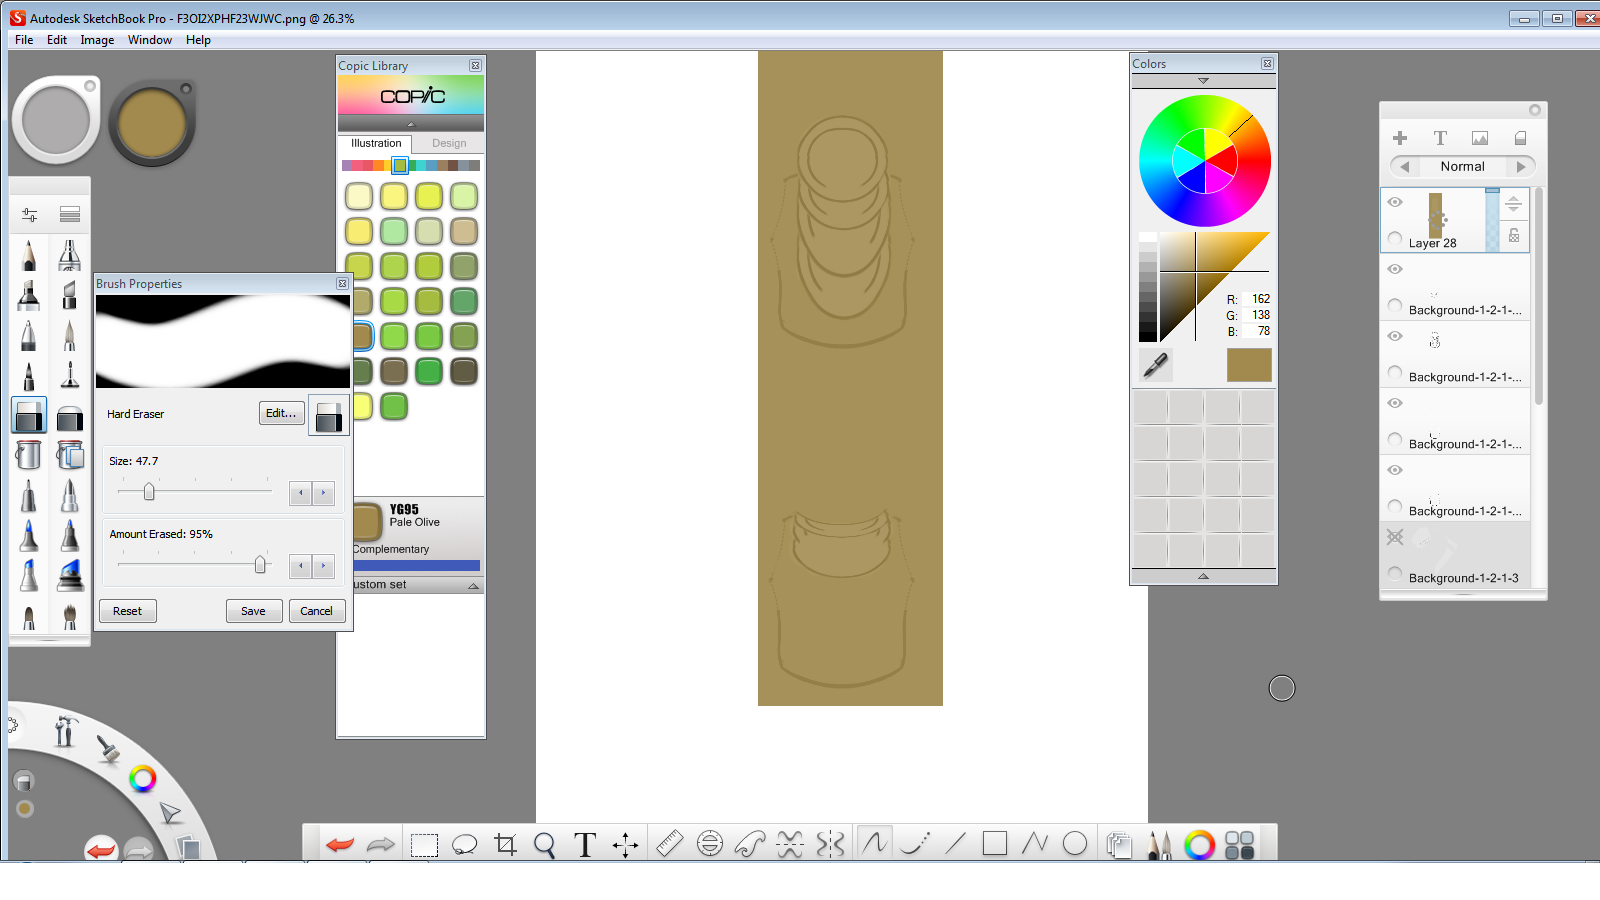
4.Create a layer and using the FILL tool, fill in the layer with a color of your choice. After filling in the layer you then would want to change the opacity of that layer making it lighter and the image visible underneath. If you want you can also create/add a texture to the template as well. Because I wanted to create a sheer effect where the cowl neck hangs and hoodie falls I had to this step twice. Once I've achieved the opacity I wanted I used the eraser tool on the first color layer to go around the cow neck and hood shape.

CLEAN UP and BRANDING
DEMOA8.png
demosA8b22.png

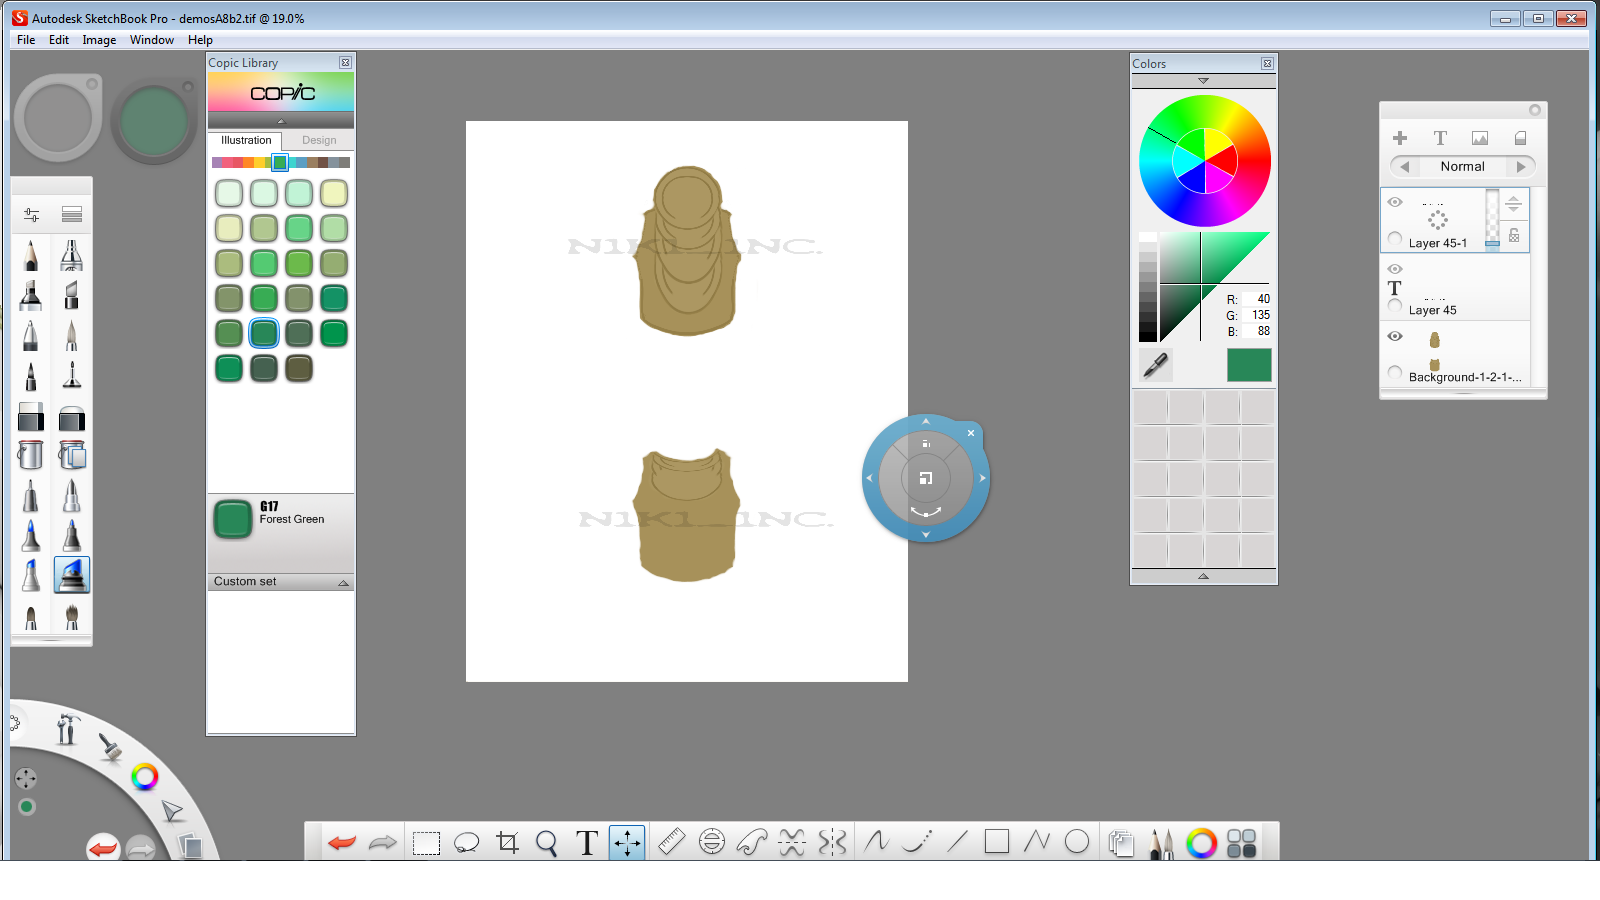
After applying a color/texture to the template you will have to now clean it up. Using the cropping tool on the color/texture layer try to crop as close to the outline of the template. Then follow up with the eraser tool to get in closer...giving it a cleaner look. After this step comes the branding with a watermark. I created a watermark using the text tool on a different layer then changing the opacity of it so that the image is still visible underneath. Lastly, you want to merge all the layers in order and delete layers that aren't needed in the finish product then save :)