Ryuk Costume


(Since I tend to get asked about selling the Shinigami, Rem and Ryuk have been sold. But hey, you can make your own!)
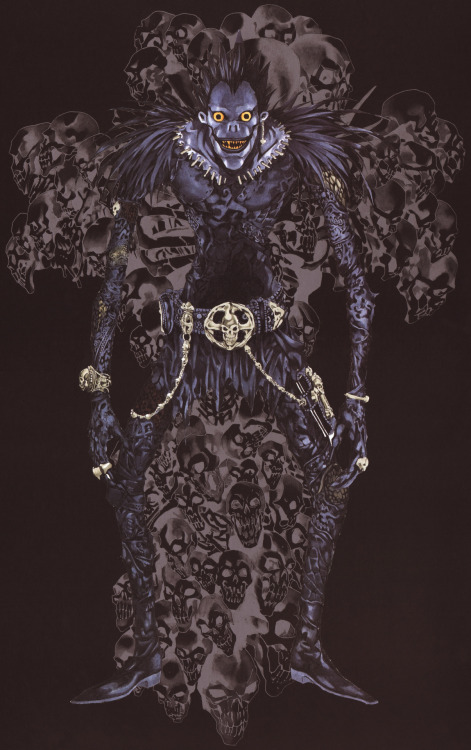
Everybody's favorite Shinigami.
Ryuk is a death god featured in the manga/anime/live-action-films called Death Note. Have no clue what I'm talking about? It's this guy right here! I based my costume mainly on an image from Takeshi Obata's Blanc et Noir (an art book by the artist of the Death Note manga. See previous link for the particular image I'm talking about).
This costume is made up of a long leather shirt, leather pants, leather boots, a pleather-and-leather belt, leather belt bag, leather notebook, 3 resin rings, 2 bracelets, earring, "arm skull", buckle, belt end, chain connector, pen, belt and notebook cross, shrink-plastic chain, staples and teeth, latex mask, resin eyes, "painted" and styled wig, and a whole lot of feathers. Everything was either made or heavily altered, including the boots.
The leather outfit was made of over 80 pieces of leather patch-worked together. I used an old ill-fitting trenchcoat, bought a few coats from Value Village and was given an old pair of pants from my brother in law. I took them all *completely* apart, so I was left with (mainly) rectangular pieces of leather. Individual pieces were drafted and cut out, given texture with a wood-burning tool and sewn to other pieces. Zippers, grommets, studs and cords adorned the pieces, along with kneepads and a spine (both of which were formed by soaking leather in water and leaving them around light bulbs and an ice cube tray). For the feather epaulettes, I pulled the tips of the feathers through fabric and dabbed a bit of hot glue on them to hold them in place. This feather-adorned fabric was sewing to giant shoulder-pads I had made (that were later sewn onto the shirt). There are over 350 feathers. I lost count.
I made a new head/upper-torso armature to sculpt on. Apparently I can no longer sit still, so when my husband was putting plaster of paris bandages on my back, then front, I kept jerking my head back, so the mold came out a little wonky. It was "good enough" for my purposes, so I cast a wonky copy of myself out of cement. I sculpted Ryuk's head over my armature using sulfur-free oil-based clay. I made a two-piece Ultra Cal 30 mold of the sculpt, then cast a latex positive. The mask was painted with acrylic paints mixed with a latex paint base. The wig was "painted" black and glued to the mask. The eyes were made by cutting two ping-pong balls in half and pouring resin into the halves. The middle of the eyes were drilled out, then the entire inside of the eyeballs were dremelled down so the pupils would fit inside them. The pupils were from broken sunglasses that I cut and dremelled down to a circle-ish shape. You could see quite clearly out of them - when they didn't fog up. Almost the various accessories (belt parts, rings) were also sculpted out of clay, then cast in either resin or latex. For a complete step-by-step on how I make my latex/resin masks, please take a look at my Terminator and Donnie Darko instructables (for those curious about resin casting) and my Asari Headpiece and Princess Leia Bikini (if you want to know more about latex casting).
This costume would not have been possible without all the Ryuk cosplayers out there; I looked at many-a-photo before I even started mine, and was delighted to see a enthusiastic crowd of people making this costume. On cosplay.com, QueenToast, SuzzyToast and fly_aguilera have some of the best Ryuks I have ever seen. Ryuk could also not have been done without the help of my husband, who helped bandaged me up in plaster-of-paris, and who helped/was *needed* to help get me into costume. Thanks to Marmbo/Clint Hay for some of the photographs. And thanks to my friend Rachel; it took three of us to transport cement back and forth between locations to make my new head armature!
The entire costume took over 2 solid months to make. I'm still recovering.