RuuviTag and PiZero W and Blinkt! a Bluetooth Beacon Based Thermometer
5148 Views, 13 Favorites, 0 Comments
RuuviTag and PiZero W and Blinkt! a Bluetooth Beacon Based Thermometer
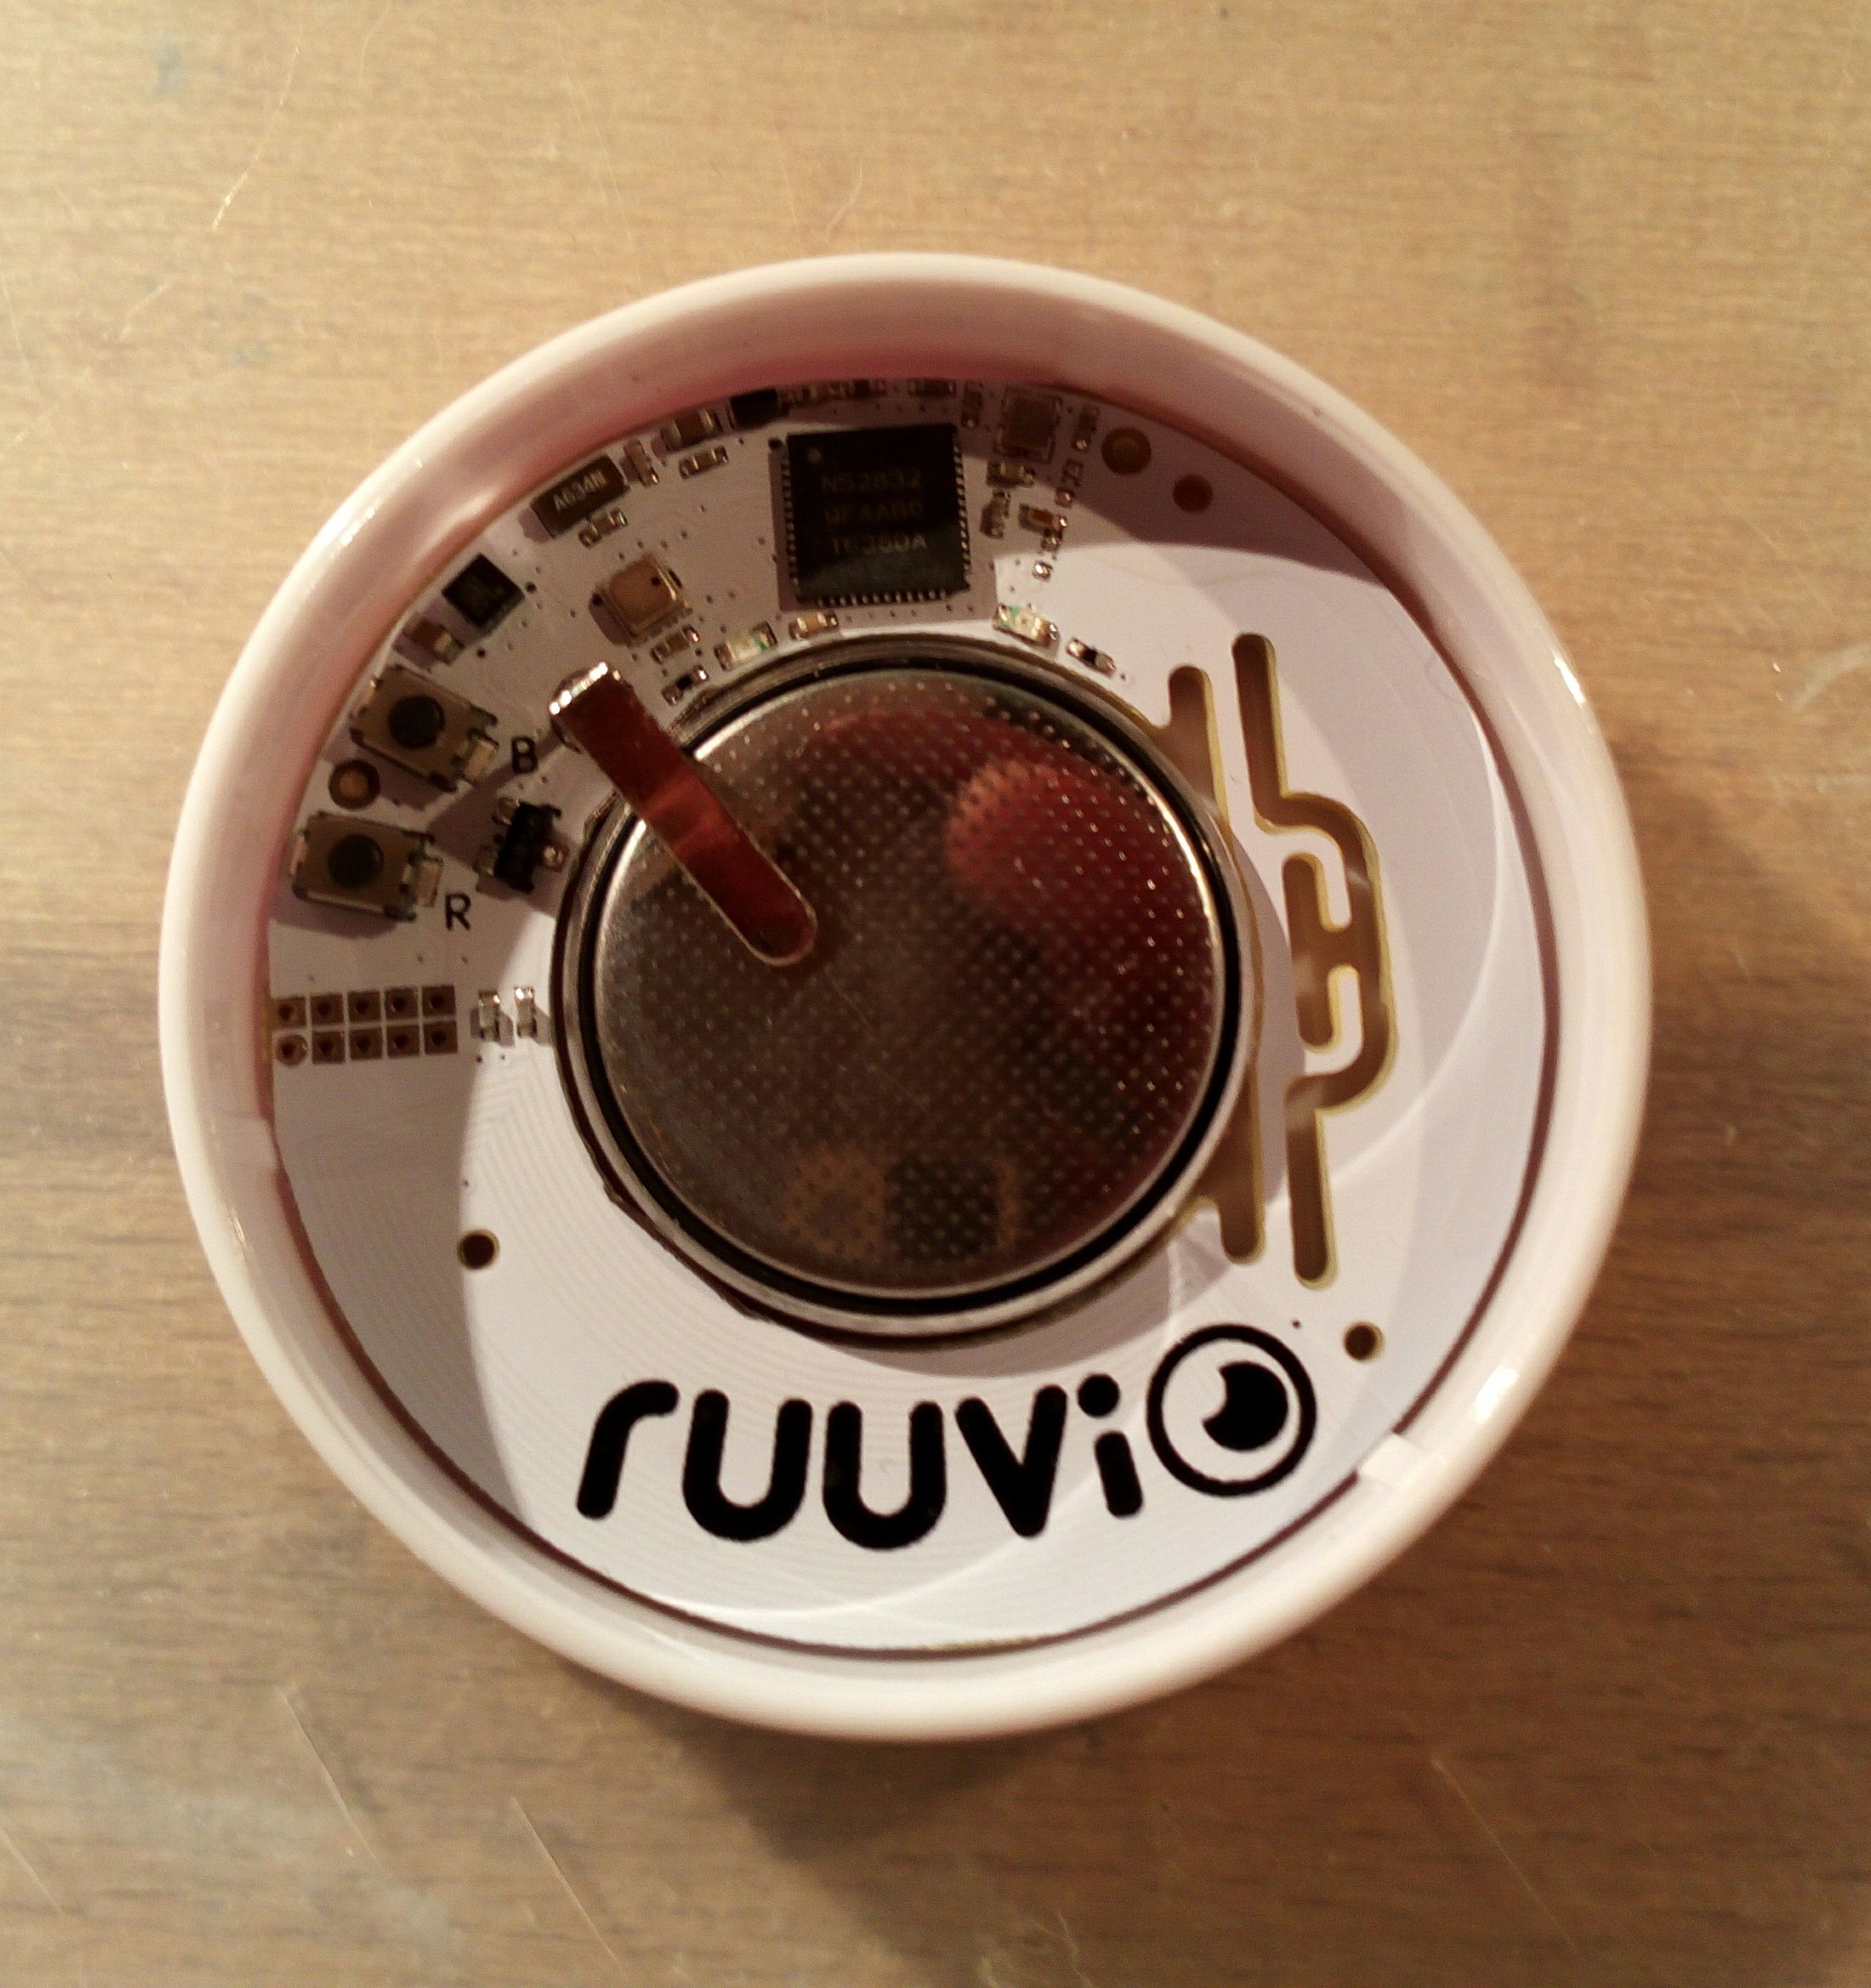
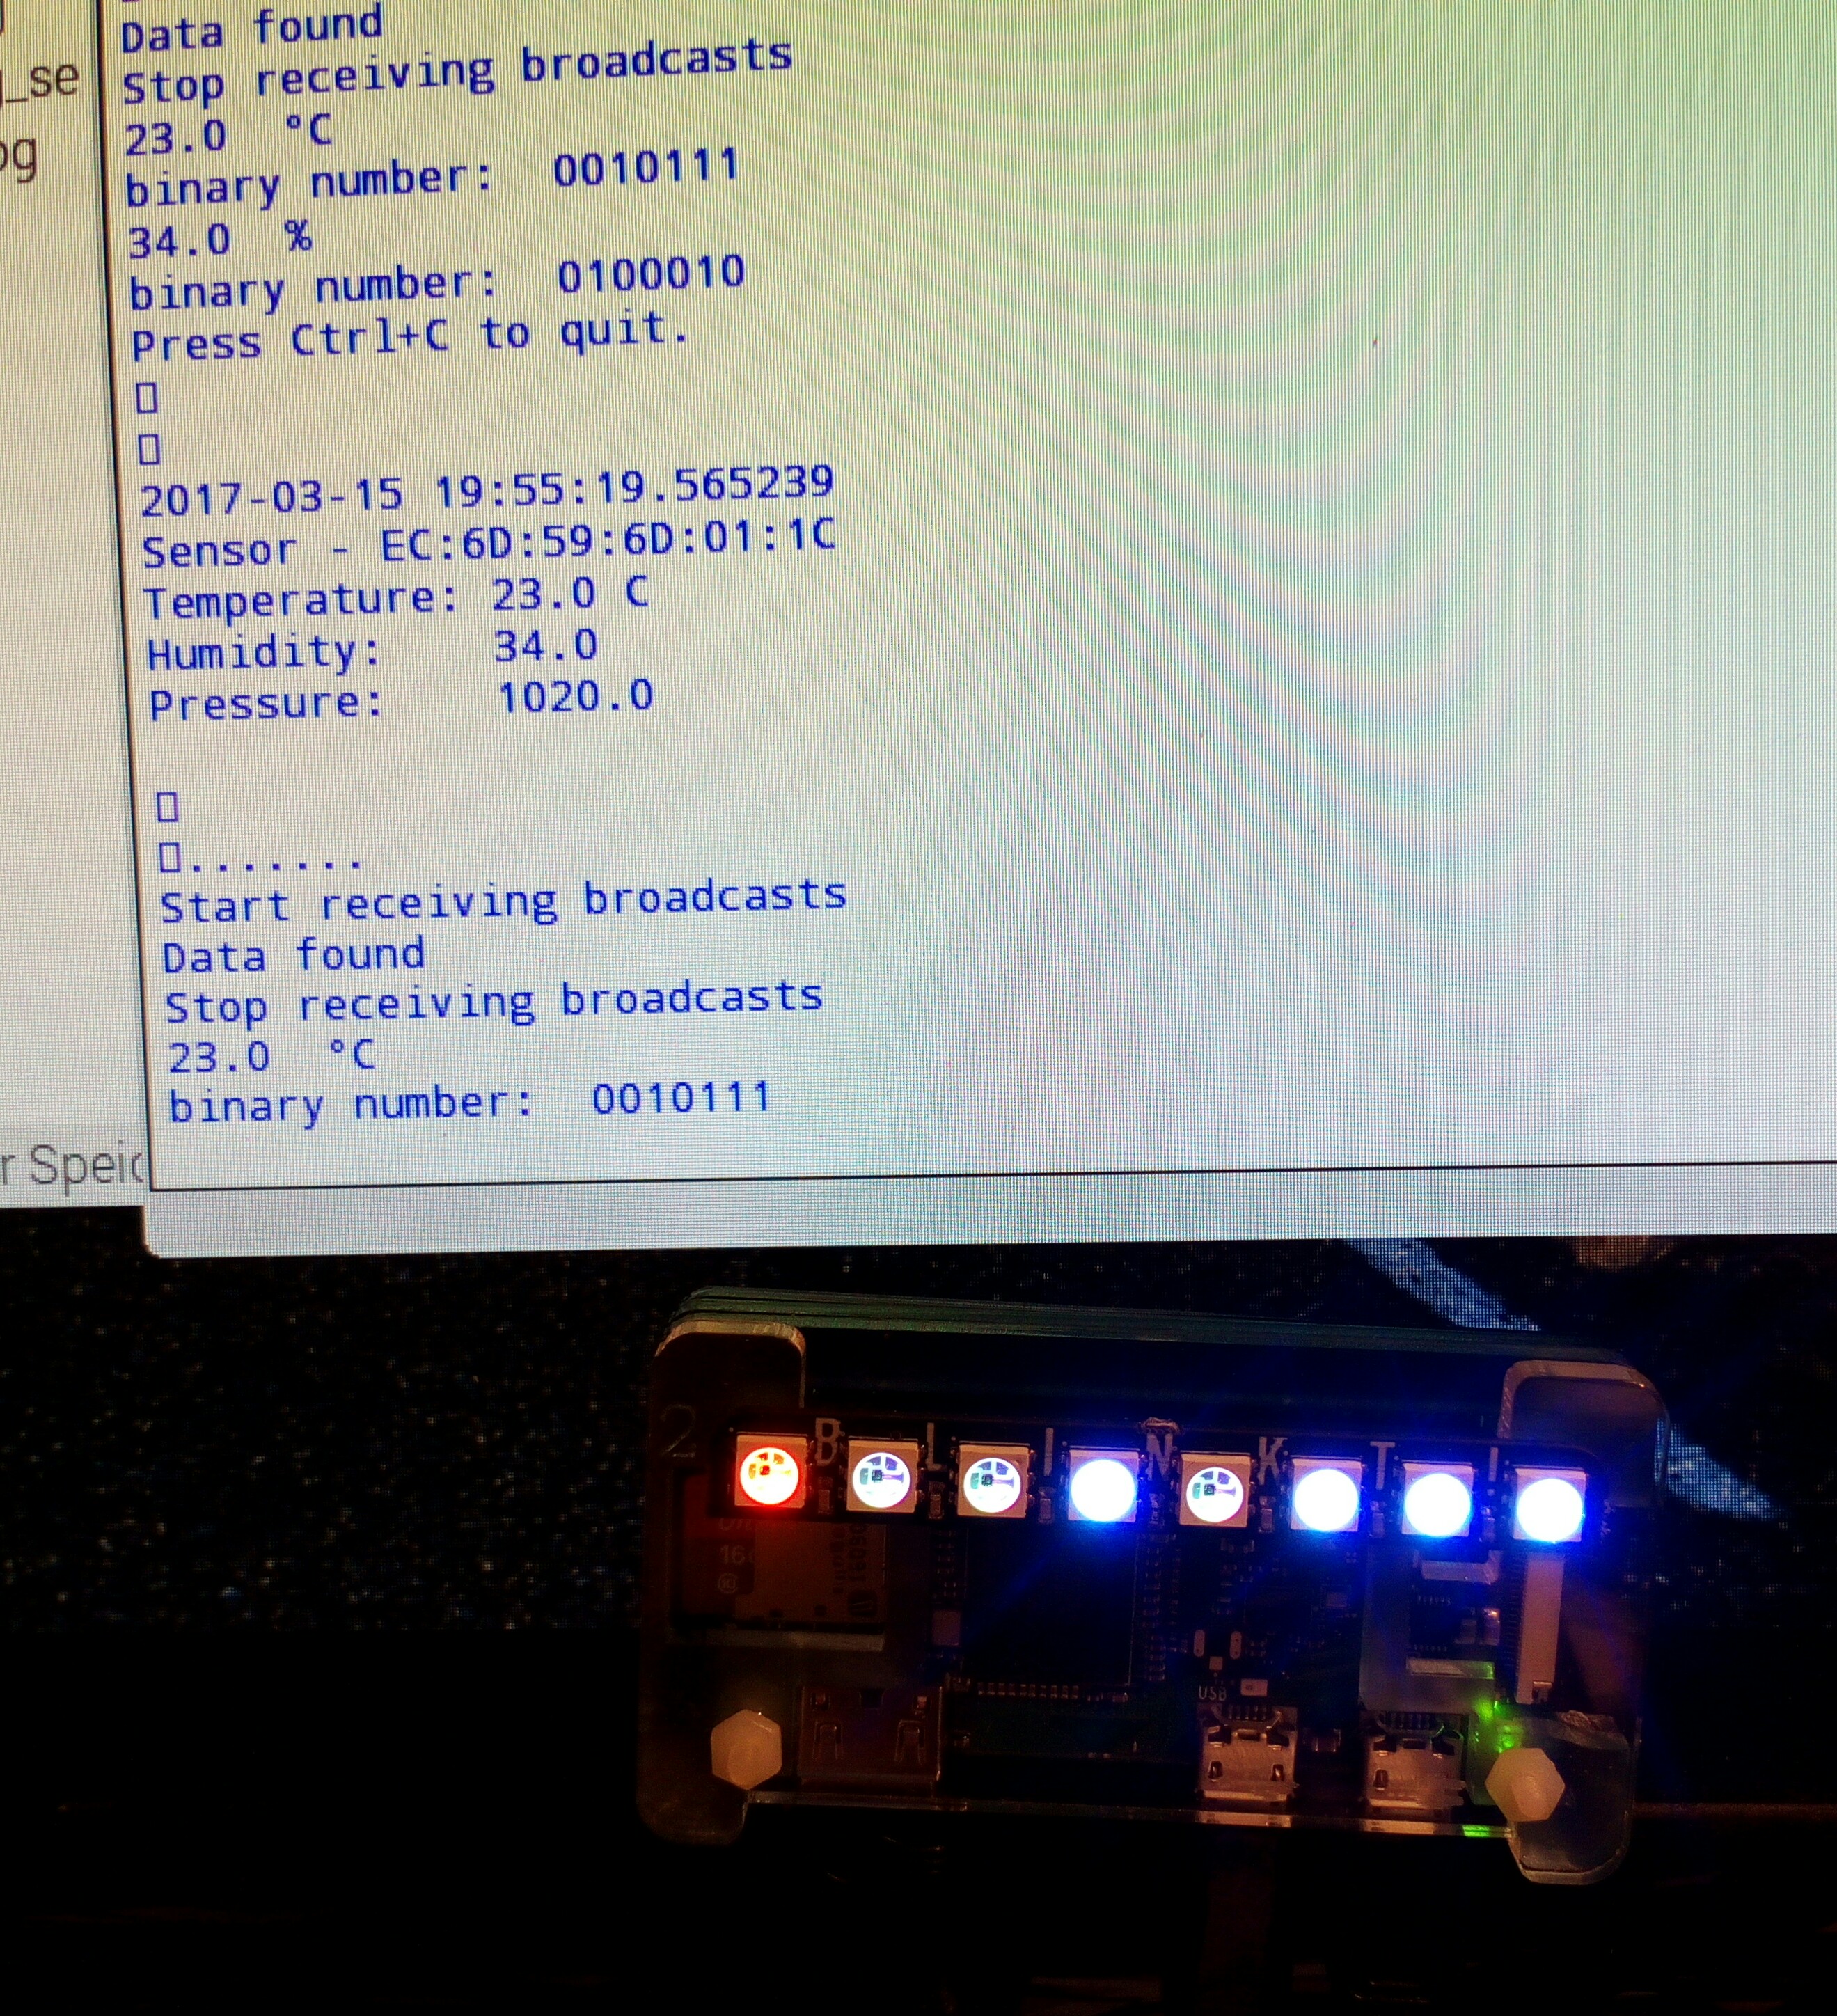
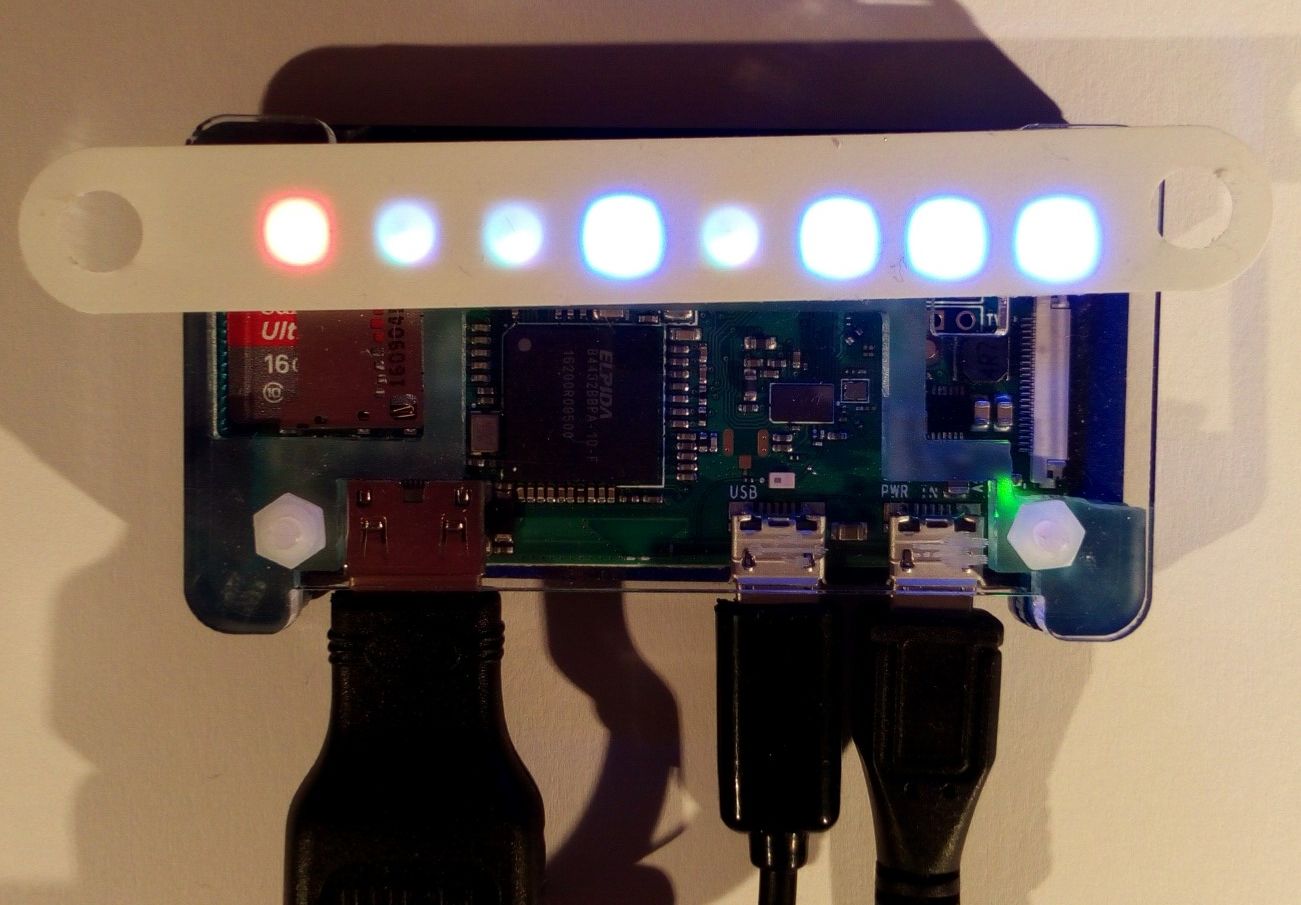
This instructable describes an approach to read temperature and humidity data from a RuuviTag using Bluetooth with a Raspberry Pi Zero W and to display the values in binary numbers on a Pimoroni blinkt! pHAT.
Or to put it short: how to build a state of the art and a bit nerdy thermometer.
The RuuviTag is an open source sensor bluetooth beacon that comes with a temperature/humidity/pressure and accelation sensors, but may also act as a standard Eddystone™ / iBeacon proximity beacon. It was a very successfully Kickstarter project and I got mine a few weeks ago. There is a Github with python software to read the RuuviTag using a raspberry, and I have used one of their examples, with some additions.
The Raspberry Pi Zero W is the latest member of the RPi family, basically a Pi Zero with Bluetooth and WLAN added.
The blinkt! pHAT from Pimoroni is basically a strip of eight RBG LEDs configured as a HAT for the Raspberry Pi. It is very easy to use and comes with a python library.
The idea was to read the data from the RuuviTag and display it using the blinkt! HAT. The values are displayed as binary numbers using 7 of the LEDs, while the eight one is used to indicate if humidity or temperature (+/-/0) values are displayed.
Setting Up the System
Setting up the system is easy:
- Switch on the RuuviTag (RuuviTag temperature sensor version) .
- Set up your RPi Zero W, RPi3, or any other RPi with bluetooth capacity added, following the instructions on www.raspberrypi.org.
- Place the blinkt! HAT on the RPi (while off).
- Install the blinkt! and RuuviTag software, as indicated on the corresponding GitHub pages.
- You now have to identify the MAC address of your RuuviTag
- copy the attached Python program, open it with IDLE for Python 3
- change the MAC address of the RuuviTag to yours, then save and run the program.
- feel free to modify and optimize the program.
The program comes as it is, to be used on your own risk, no liabilities are taken for any damages.
The Device and the Program
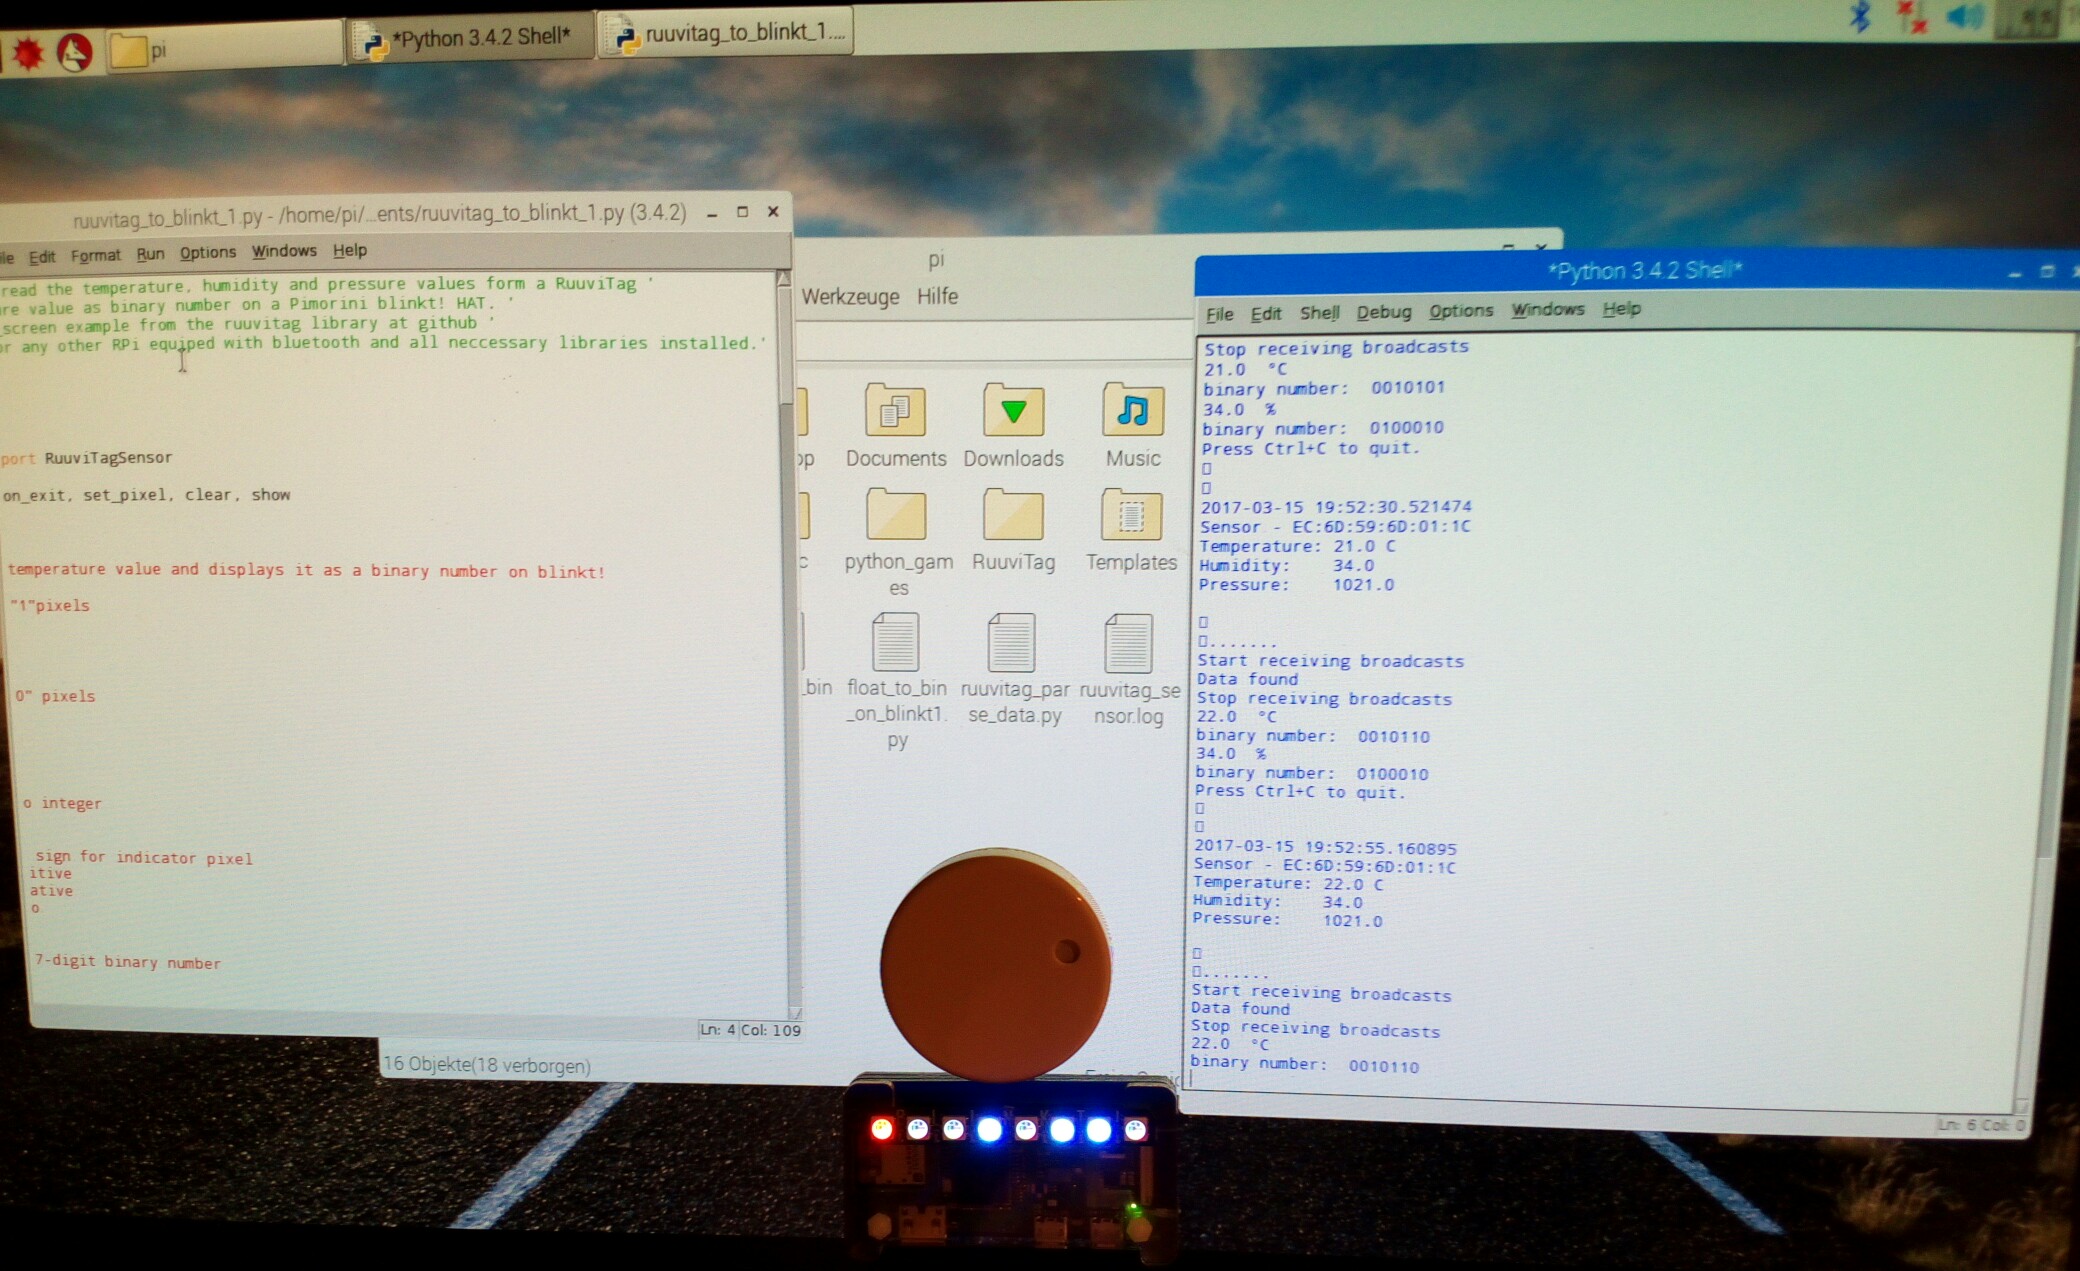
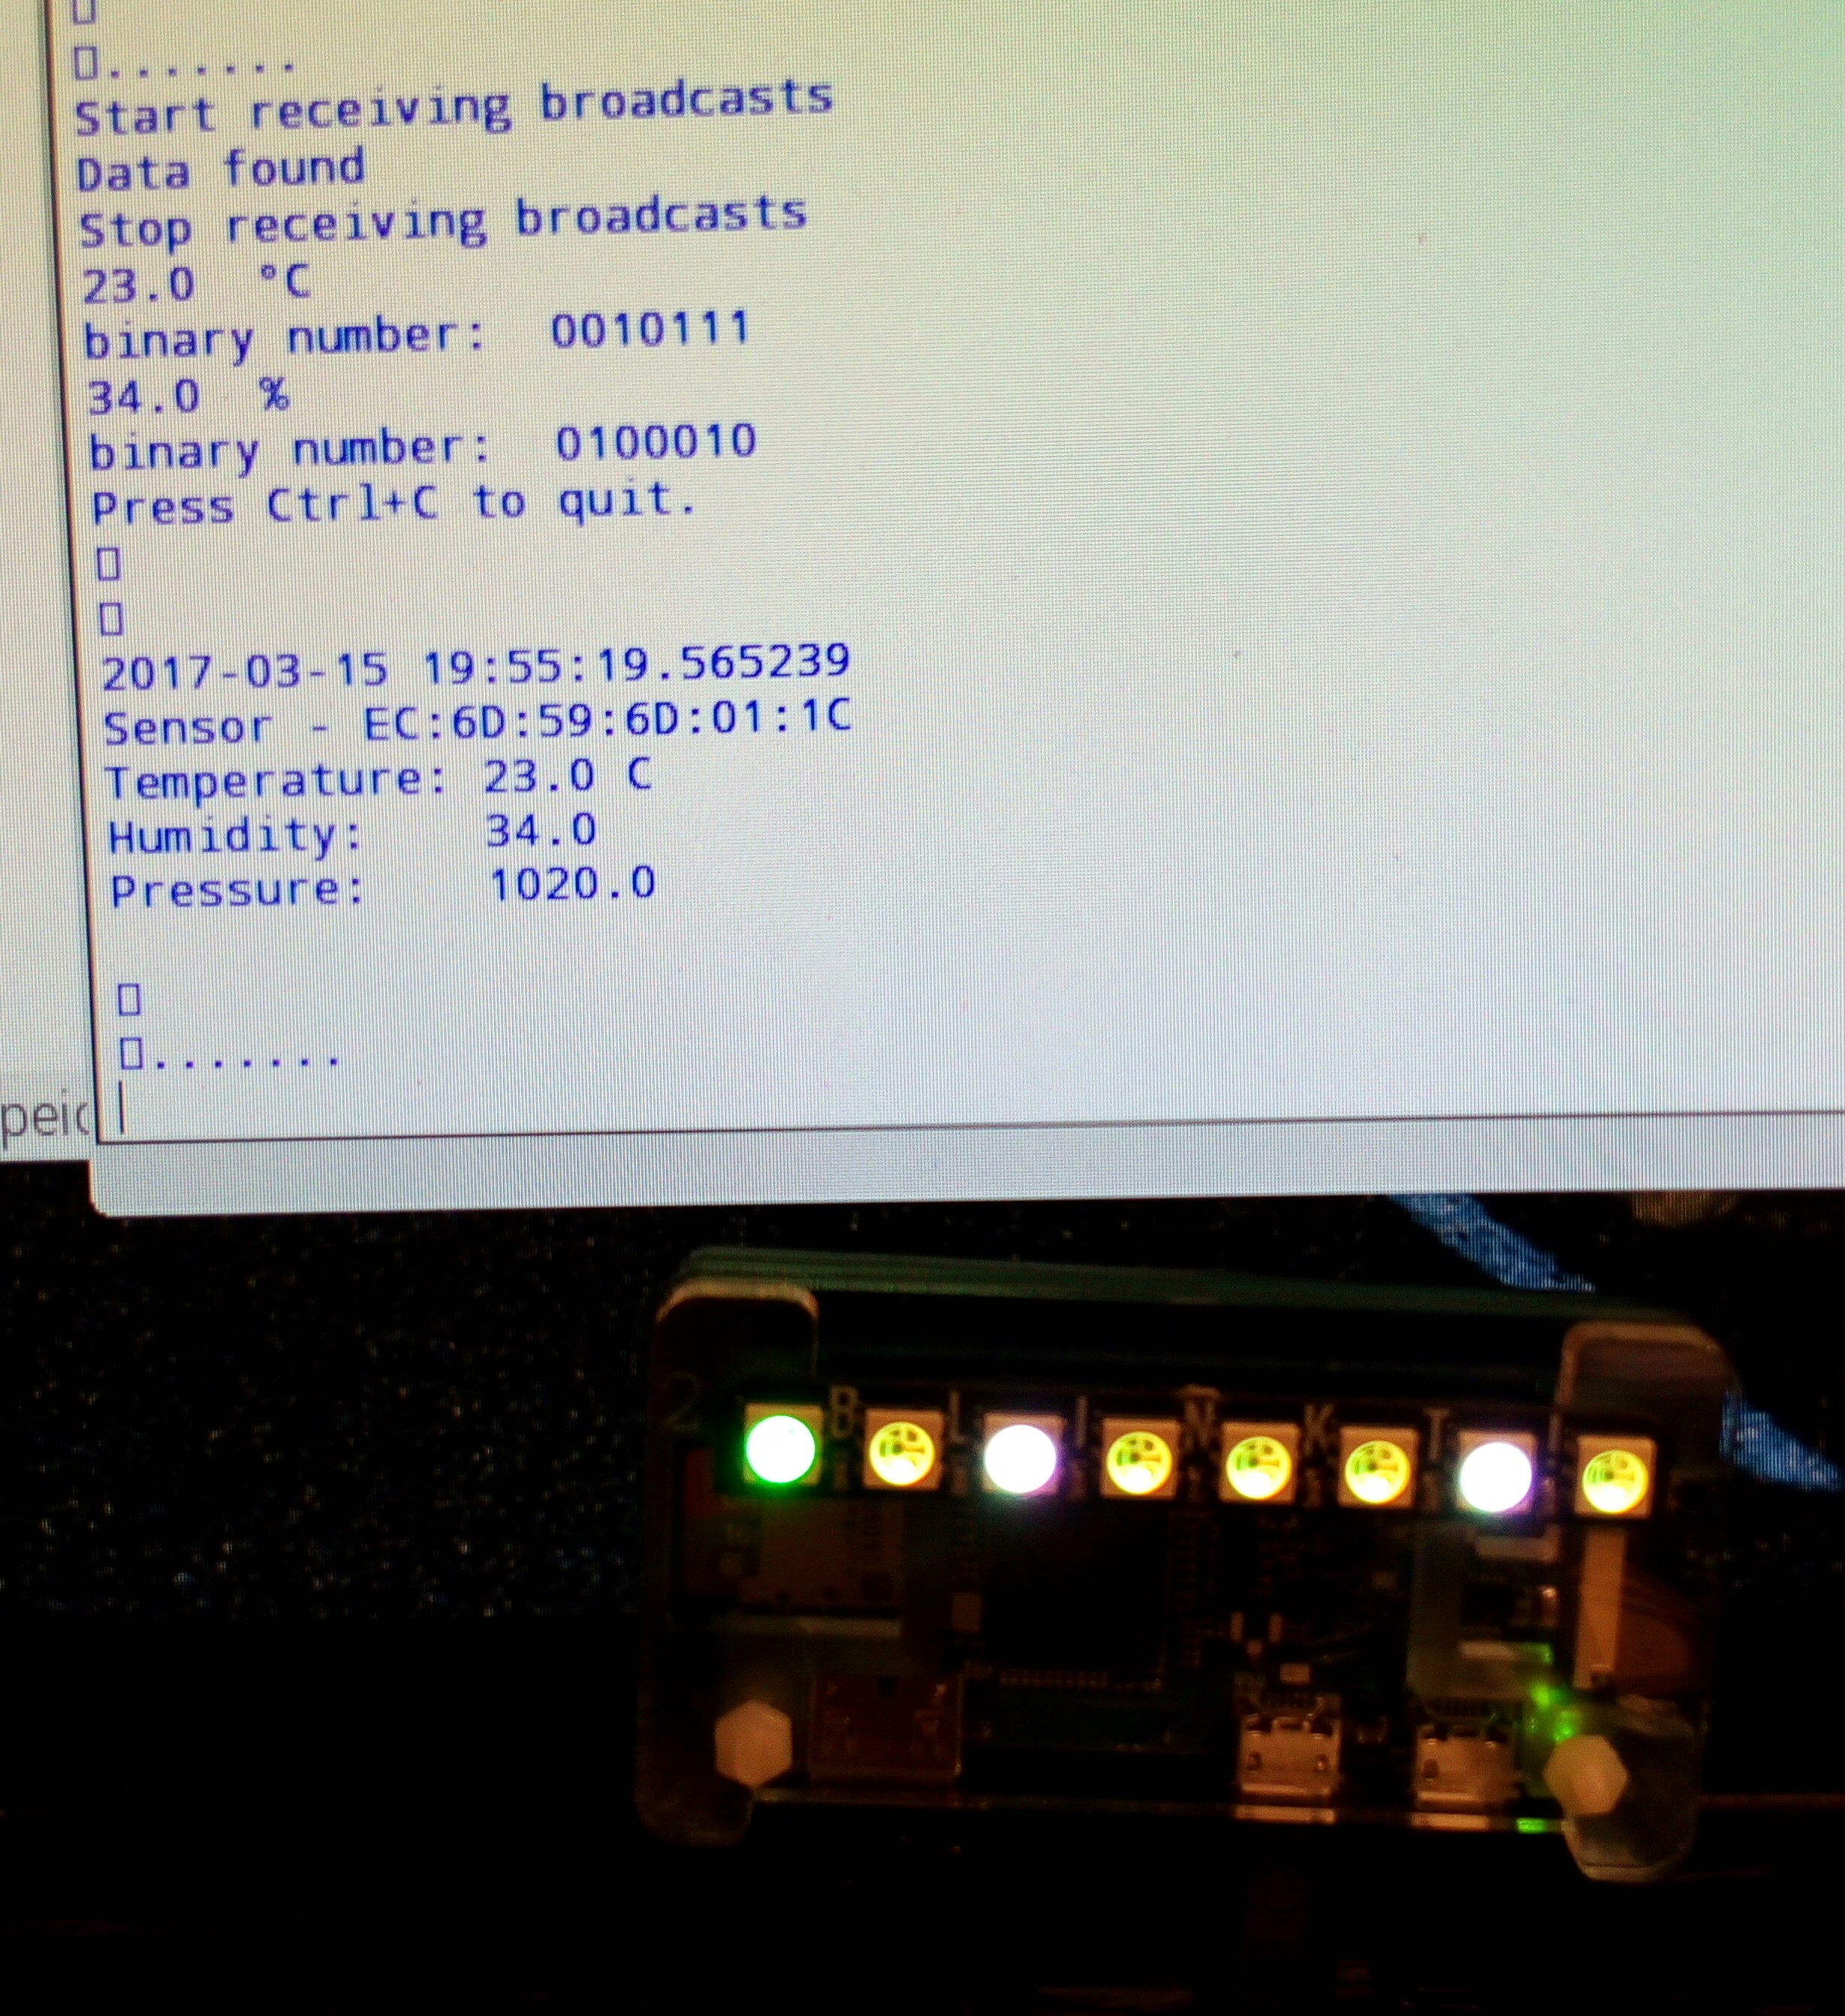
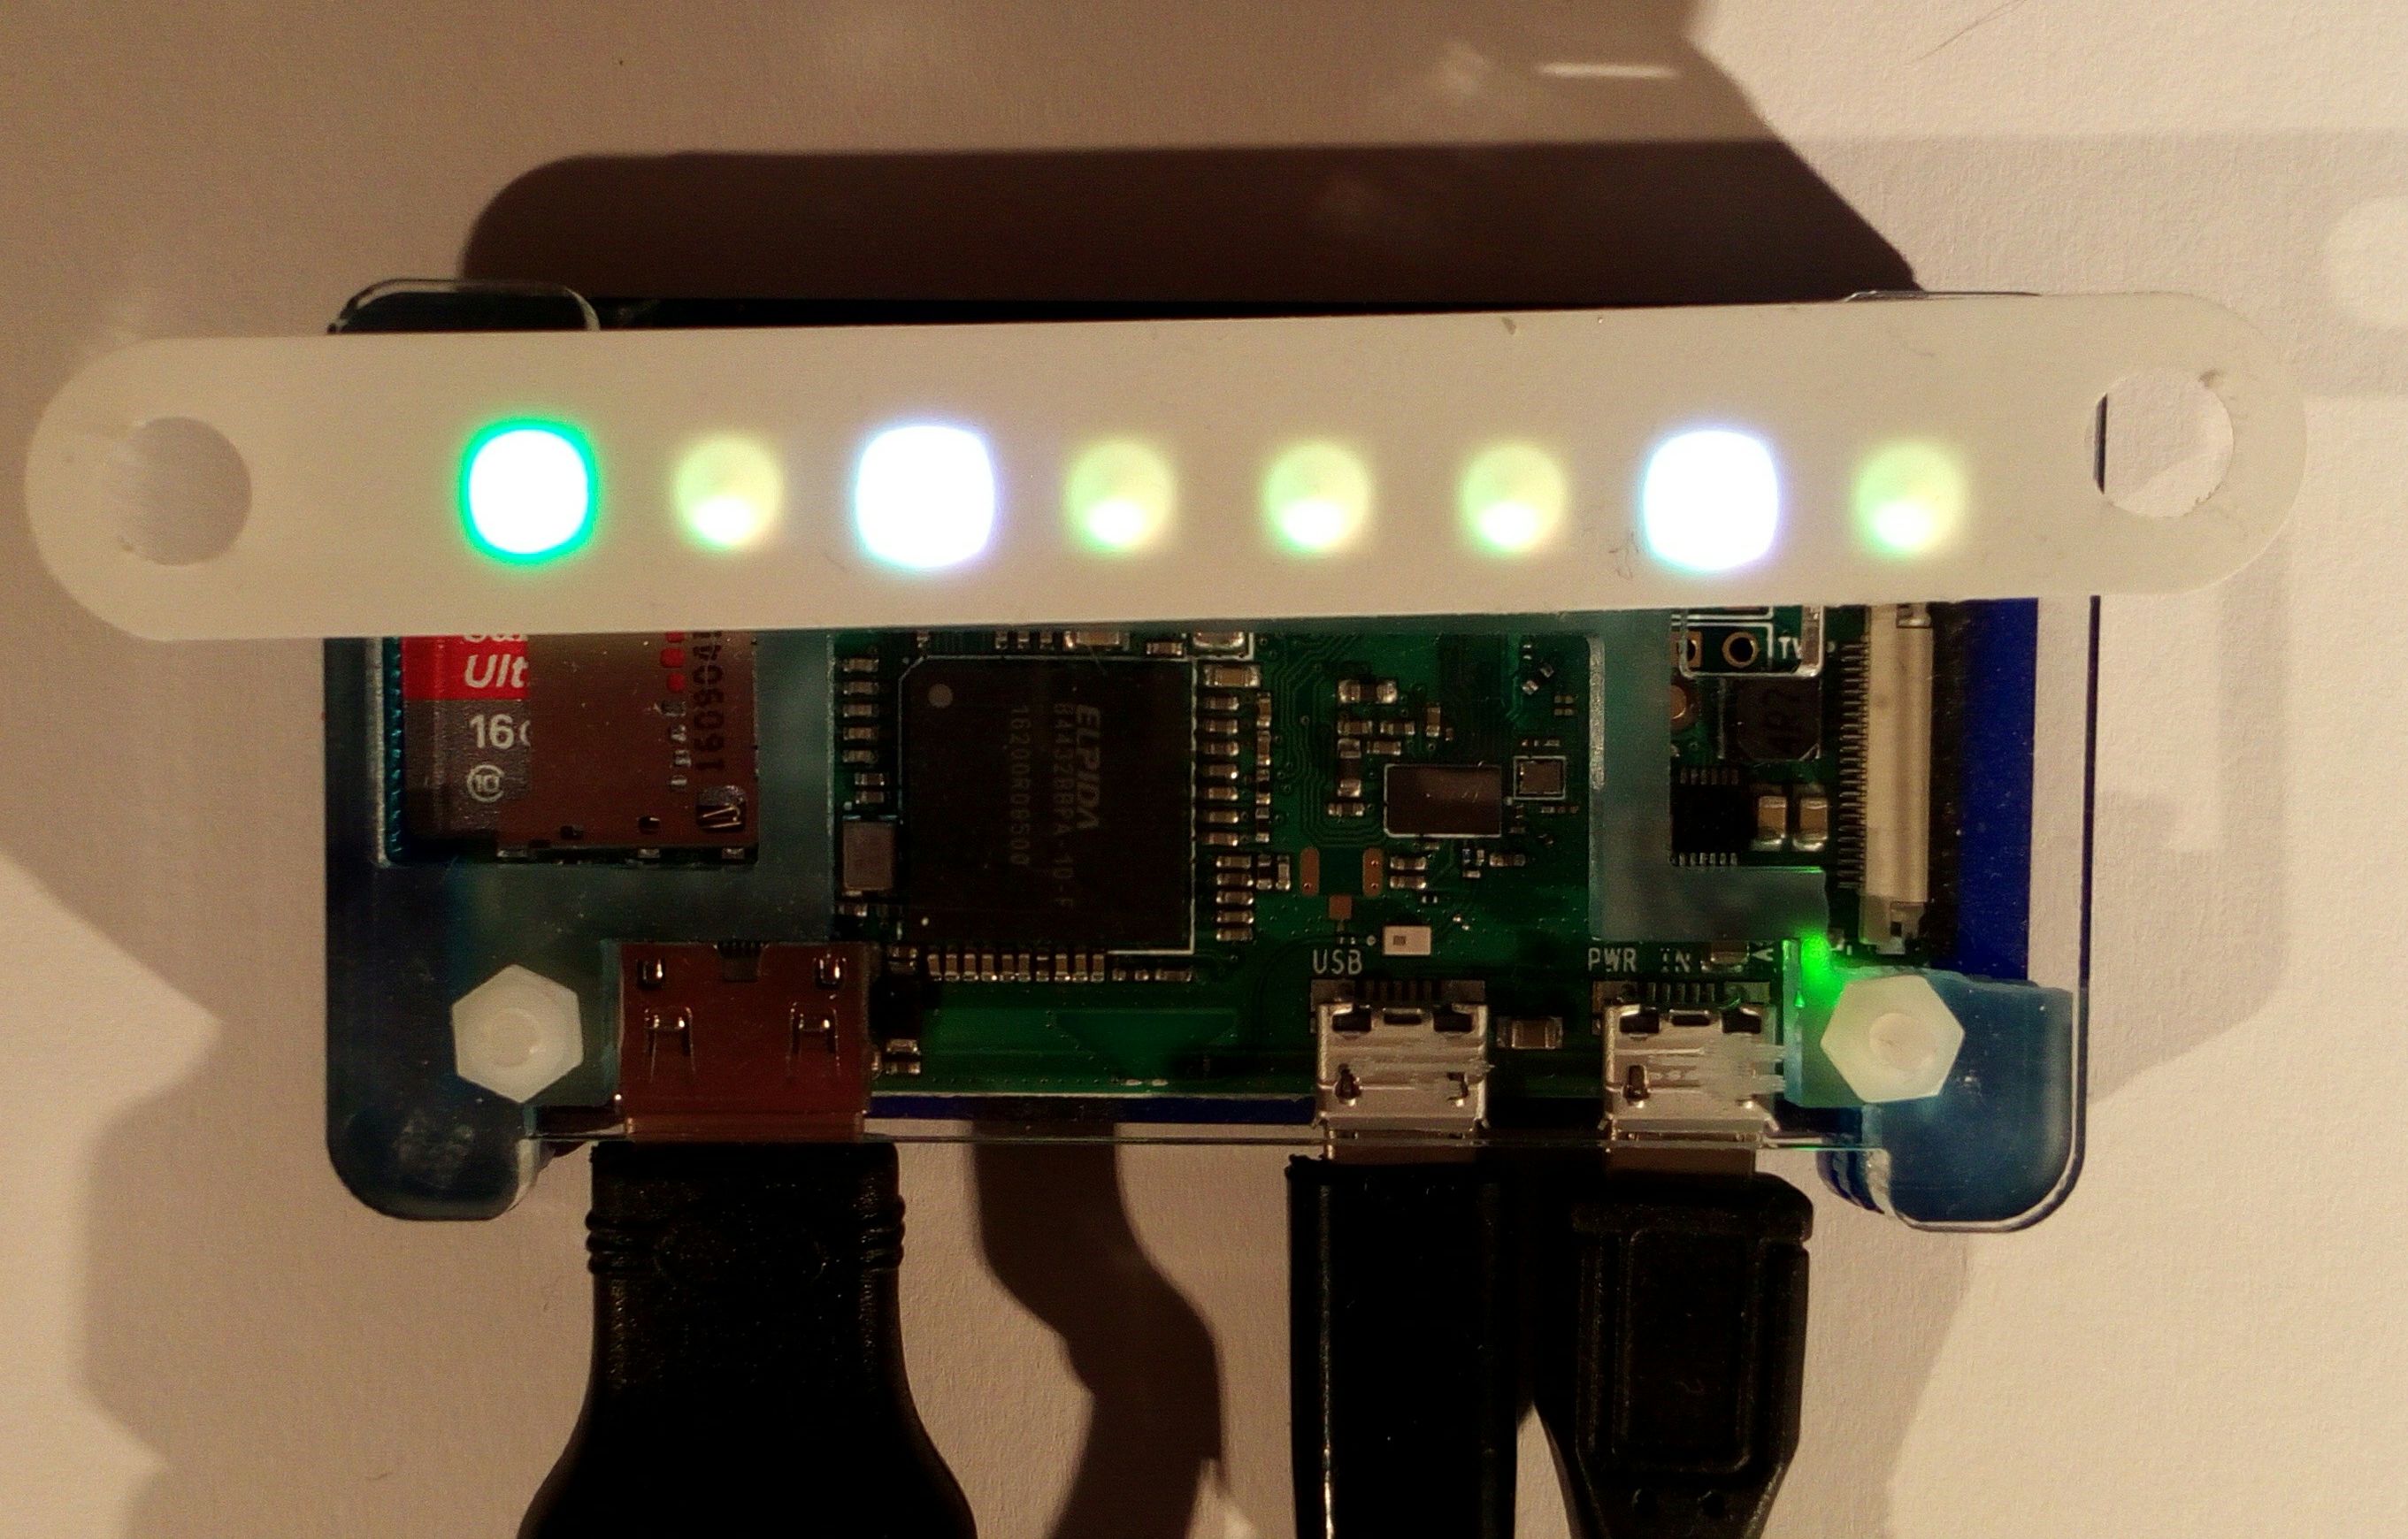
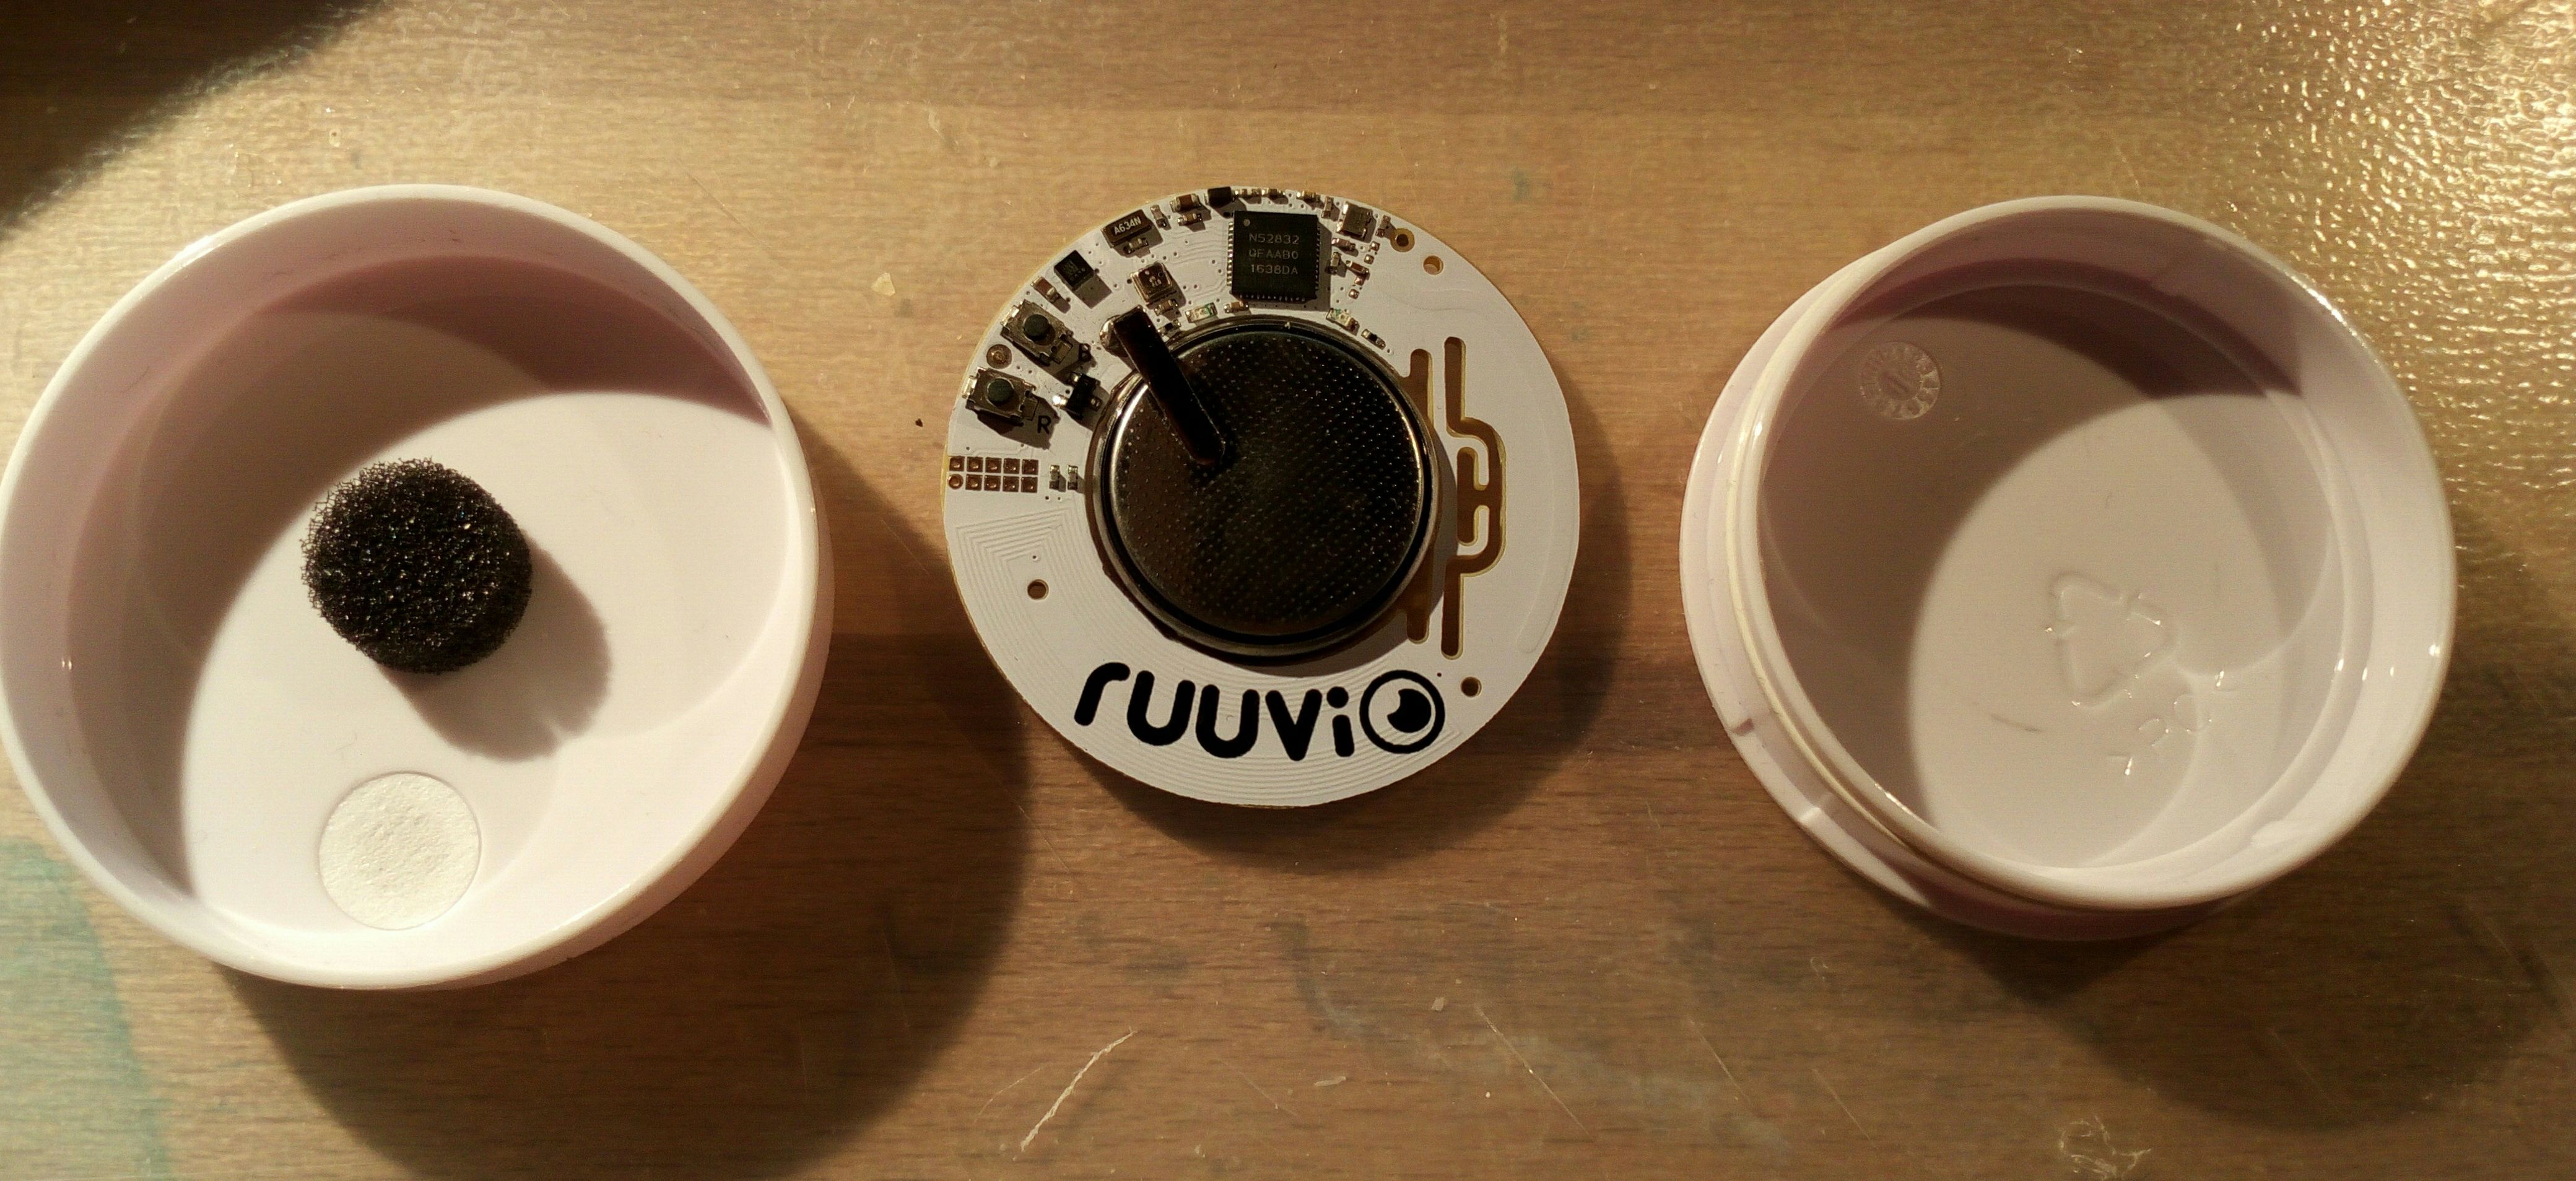
As mentioned above, the idea was to construct a simple and inexpensive system to read data from the beacon and display numerical values on the blinkt! HAT, or a similar LED strip.
The range of values for temperature to be measured with a RPi based system will in most cases be somewhere between - 50°C and +80°C, for humidity between 0 and 100%. So a display that can give values from -100 to +100 will be sufficient for most applications. Decimal numbers smaller as 128 can be displayed as binary numbers with 7 bits (or LEDs). So the program takes the temperature and humidity values from the RuuviTag as "float" numbers and transforms them into binary numbers, which then are displayed on the blinkt!.
As a first step, the number is rounded, analysed if positive, negative or zero, and then transformed into a positive number using "abs". Then the decimal number is converted into a 7-digit binary number, basically a string of 0s and 1s, which gets analysed and displayed on the last 7 pixels of the blinkt!.
For temperature values the first pixel indicates if the value is positive (red), zero (magenta) or negative (blue). Displaying humidity values it is set to green. To simplify the discrimination between temperature and humidity values the binary pixels are set white for temperature and yellow for humidity. To enhance legibility of the binary numbers, "0" pixel are not turned completely off, but instead are set much weaker than in the "1" state. As blinkt! pixels are veery bright, you can set the general brightness changing the parameter "bright"
The program displays the values and parts of the process also on screen. In addition you will find several muted (#) print instructions. I left them in, as you may find them helpful to understand the process if unmuted.
The values might also be stored in a log file.
Downloads
Program Code
The code was a bit debugged and optimized. You may now find version 3 (20_03_2017).
' This program is intended to read the temperature, humidity and pressure values form a RuuviTag '
' and to display the temperature and humidity values as binary numbers on a Pimorini blinkt! HAT. ' '' ' It is based on the print_to_screen.py example from the ruuvitag library at github. ' ' Requires a Pi Zero W, Pi 3 or any other RPi equiped with bluetooth and all neccessary libraries installed.'import time import os from datetime import datetime
from ruuvitag_sensor.ruuvi import RuuviTagSensor
from blinkt import set_clear_on_exit, set_pixel, clear, show
def temp_blinkt(bt): # this routine takes the temperature value and displays it as a binary number on blinkt!
clear ()
# color and intensity of "1"pixels : white r1 = 64 g1 = 64 b1 = 64
#color and intensity of "0" pixels : white r0 = 5 g0 = 5 b0 = 5
# Round and convert into integer r = round (bt)
# vz represents algebraic sign for indicator pixel if (r>0): vz = 1 # positive elif (r<0): vz= 2 # negative else: vz= 0 # zero # print (vz) i = abs(r) #print (i)
# transform to absolute, 7-digit binary number i1 = i + 128 # for i<127 -> results in a 8-digit binary number starting with 1 # print (i1)
b = "{0:b}".format(i1) # convert to binary # print (b)
b0 = str (b) # convert to string
b1 = b0[1:8] #truncate first bit print ("binary number: ", b1)
# Set pixels on blinkt!
# set binary number for h in range (0,7): f = (h+1) if (b1[h] == "1"): set_pixel (f, r1, g1, b1) # print ("bit ", h, " is 1, pixel ", f) else: set_pixel (f, r0, g0, b0) # print("nil")
# Set indicator pixel if (vz==1): set_pixel (0, 64, 0, 0) # red for positive values elif (vz==2): set_pixel (0, 0, 0, 64) # blue for negative values else: set_pixel (0, 64, 0, 64) # magenta if zero
show()
# end of temp_blinkt()
def hum_blinkt(bh): # this takes the humidity value and displays it as a binary number on blinkt!
clear()
# color and intensity of "1" pixels: yellow r1 = 64 g1 = 64 b1 = 0
#color and intensity of "0" pixels : r0 = 5 g0 = 5 b0 = 0
# Round and transform into integer r = round (bh)
# transform to absolute, 7-digit binary number i = abs(r) #print (i)
i1 = i + 128 # for i<127 -> gives a 8-digit binary number starting with 1 # print (i1)
b = "{0:b}".format(i1) # print (b)
b0 = str (b)
b1 = b0[1:8] #truncate first bit print ("binary number: ", b1)
# Set pixels on blinkt!
# set binary number to pixels for h in range (0,7): f = (h+1) if (b1[h] == "1"): set_pixel (f, r1, g1, b1) else: # mute to blank LEDs set_pixel (f, r0, g0, b0) # mute to blank LEDs
# Set indicator pixel set_pixel (0, 0, 64, 0) # green for humidity
show()
# end of hum_blinkt()
set_clear_on_exit()
# Reading data from the RuuviTag
mac = 'EC:6D:59:6D:01:1C' # Change to your own device's mac-address
print('Starting')
sensor = RuuviTagSensor(mac)
while True: data = sensor.update()
line_sen = str.format('Sensor - {0}', mac) line_tem = str.format('Temperature: {0} C', data['temperature']) line_hum = str.format('Humidity: {0} %', data['humidity']) line_pre = str.format('Pressure: {0}', data['pressure'])
print() # display temperature on blinkt! ba = str.format('{0}',data['temperature']) bt = float (ba) print (bt, " °C") temp_blinkt (bt) print()
time.sleep (10) # display temperature for 10 seconds
# display humidity on blinkt! bg = str.format('{0}',data['humidity']) bh = float (bg) print (bh, " %") hum_blinkt (bh) print ()
# Clear screen and print sensor data to screen os.system('clear') print('Press Ctrl+C to quit.\n\n') print(str(datetime.now())) print(line_sen) print(line_tem) print(line_hum) print(line_pre) print('\n\n\r.......')
# Wait for a few seconds and start over again try: time.sleep(8) except KeyboardInterrupt: # When Ctrl+C is pressed execution of the while loop is stopped print('Exit') clear() show () break