Running Animations on OLED DISPLAY SSD1306
by Arnov Sharma in Circuits > Arduino
25265 Views, 13 Favorites, 0 Comments
Running Animations on OLED DISPLAY SSD1306


.gif)
Hey guys what's up,
So you want to run an animation on this SSD1306 OLED display but don't know how to?
Let me help you out in a few easy steps.
also, here's the video of this whole process-
Supplies
So the first step of this process is to gather everything we need, which are-
- OLED display
- An ESP8266 based device which is NodeMCU
- jumper wires for connection with breadboard
- USB Cable
- GIF Image
Optimizing the Gif for the OLED Display
.gif)

.gif)
The main reason for choosing this gif was because of its black background as it will look great on OLED but here's an issue. Gif image is 1280px by 683px but our display is of 128px by 64px.
we need to resize this gif according to OLED Resolution and for that, I will be using EZGIF.
- Open EZGIF on your browser. (ezgif is a great online tool for resizing or editing images, gif, or another format. also, this is not sponsored by ezgif)
- select the resize option and upload the gif.
- we need to put the resolution of OLED in with and height block and resize the gif.
THEORY Part
.gif)
.gif)
Before Starting this whole process, let's first understand what exactly is a video, well in simple terms video is a combination of many many images that are being displayed one after another to create an illusion of movement or motion.
Each image has a different moment but by flashing them quickly, we see an illusion of movement.
Images that are being displayed one after another are Frames and we flash them or display them one after another at a rate of 30 frames per second in normal TV/Youtube videos that we see.
Splitting the Gif Image Into Frames
.gif)

Now let's get back to the previous step which was "Splitting the GIF into Frames".
we need to split this GIF into frames and then convert each frame into a C file and then upload that code into the nodeMCU. Each C file code will flash in a chaser sequence creating the illusion of movement.
In the EZ gif, there's an option for splitting the GIF
- Click on the split GIF option
- select the JPG format
- and download the frames in ZIP File
The gif that I used was pretty long, this resulted in many many frames and the size of all these frames might exceed the Nodemcu space so I pick 56 frames and put them in a separate folder for the conversion process.
The next step is to convert each image into a C file.
Converting the Images Into C File

.gif)


.gif)
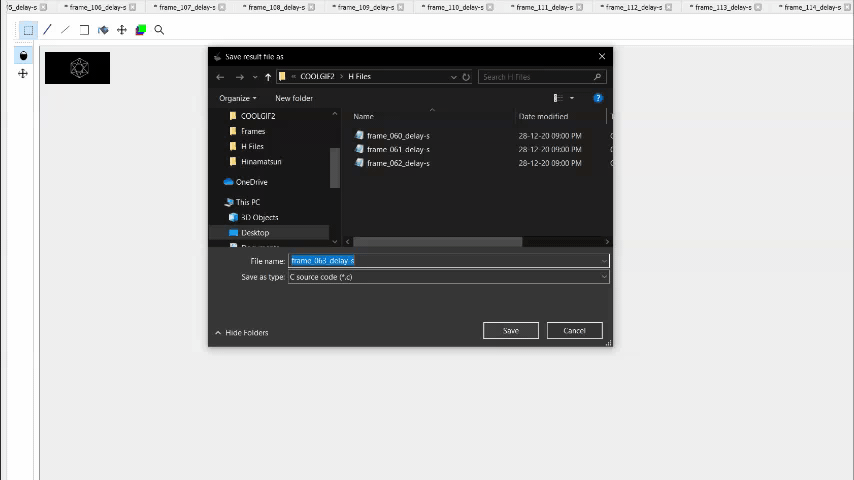
For converting Images/Frames into C file, I used this LCD Image converter which you can download and use.
- Now open the file menu and open the first image,
- Make a folder for C files to keep things nice and clean.
(this image is already optimized for OLED so we don't need to change anything in it)
- select convert
- save the c file in a separate folder
- redo this process 55 times.
Or just open multiple images and select convert all option in the files menu which is faster but this will still take time.
the result will be 56 header files that contain the image data in hex format.
CODE

.gif)

- Open the Converted Image C file.
static const uint8_t image_data_frame_060_delays[1024] = { 0x00, 0x00, 0x00, 0x00, 0x00, 0x00, 0x00, 0x00, 0x00, 0x00, 0x00, 0x00, 0x00, 0x00, 0x00, 0x00, 0x00, 0x00, 0x00, 0x00, 0x00, 0x00, 0x00, 0x00, 0x00, 0x00 }; // This 0x00 is our image in hexadecimal.- Copy the hexadecimal values between {}
- Open the main code and paste the hex vale between {}
const unsigned char Frame1 [1024] PROGMEM = { we copy the hexadecimal code from the first frame and copy it in main code here};
- Re do this process for 56 images
At end of this code, we call each frame in a sequence at time delay which can be edited to increase the frame rate
// Frame56
  display.clearDisplay();
  display.drawBitmap(0,0,Frame56, 128, 64, 1); //this displays each frame hex value
  display.display();
  delay(frame_delay);
if (frame_delay>50) frame_delay=frame_delay-20;
Downloads
Uploading the Code and Wiring


SSD1306 uses I2C Communication which only required two pins for connection SDA and SCL.
- Connect VCC of Nodemcu with VCC of OLED
- GND to GND
- SDA to D2
- SCL to D1
and that's it, now just select the right board and port in tool menu and hit upload.
RESULT
.gif)
So this took roughly 45 mins and the GIF itself is less than 7 seconds!
At least it's actually working properly and the result is pretty smooth so I'll give it a pass!
Bonus Thingy
.gif)
SAME KIND OF SETUP but the image was colored and it is being displayed on the TTGO T display board.
Will be posting an instructables on this soon!