Run a Servo With Chibitronics Chibi Clip
by hypergami in Circuits > Microcontrollers
736 Views, 5 Favorites, 0 Comments
Run a Servo With Chibitronics Chibi Clip
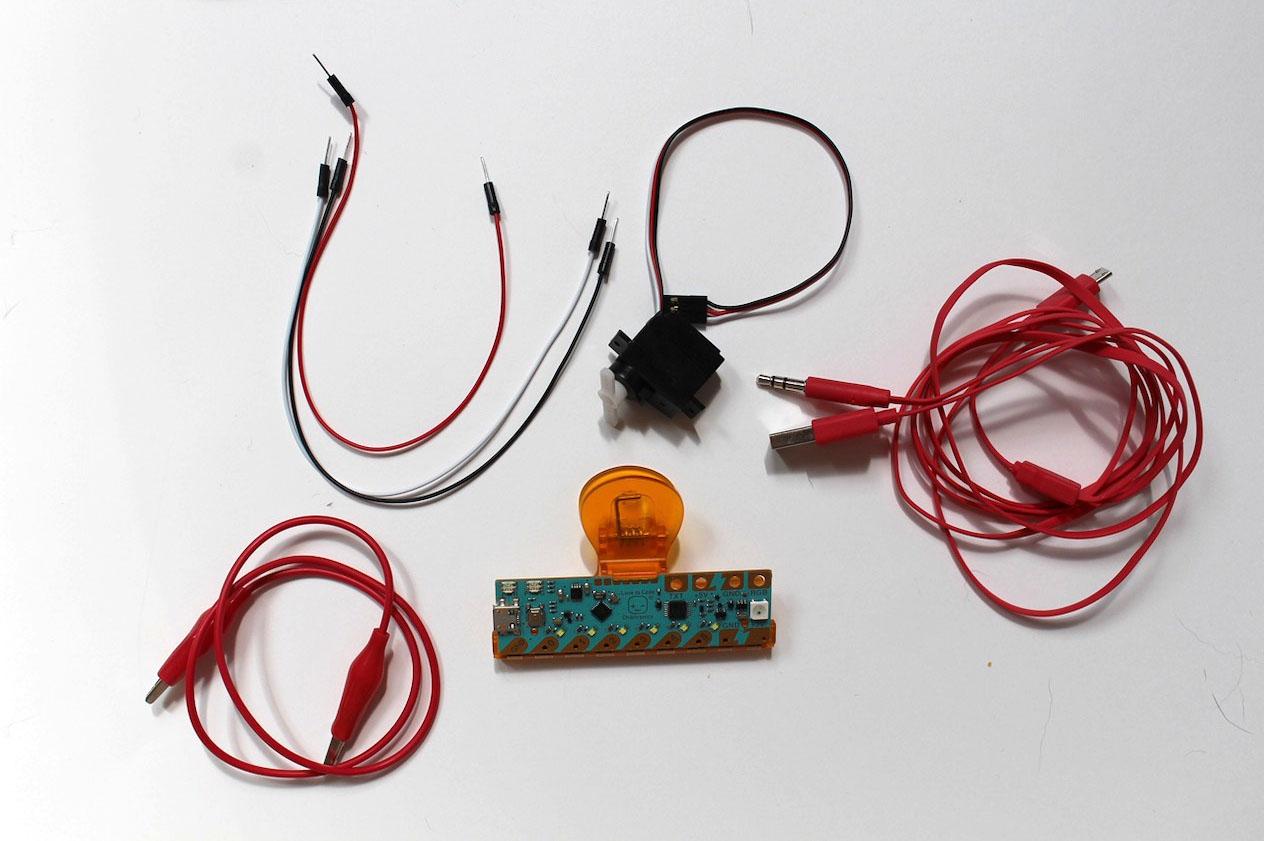
- Chibitronics Chibi Clip
- Cable that came with the clip
- 3 jumper wires
- micro servo motor
- (optional) alligator clip
Attach the Chibi Clip to the Computer
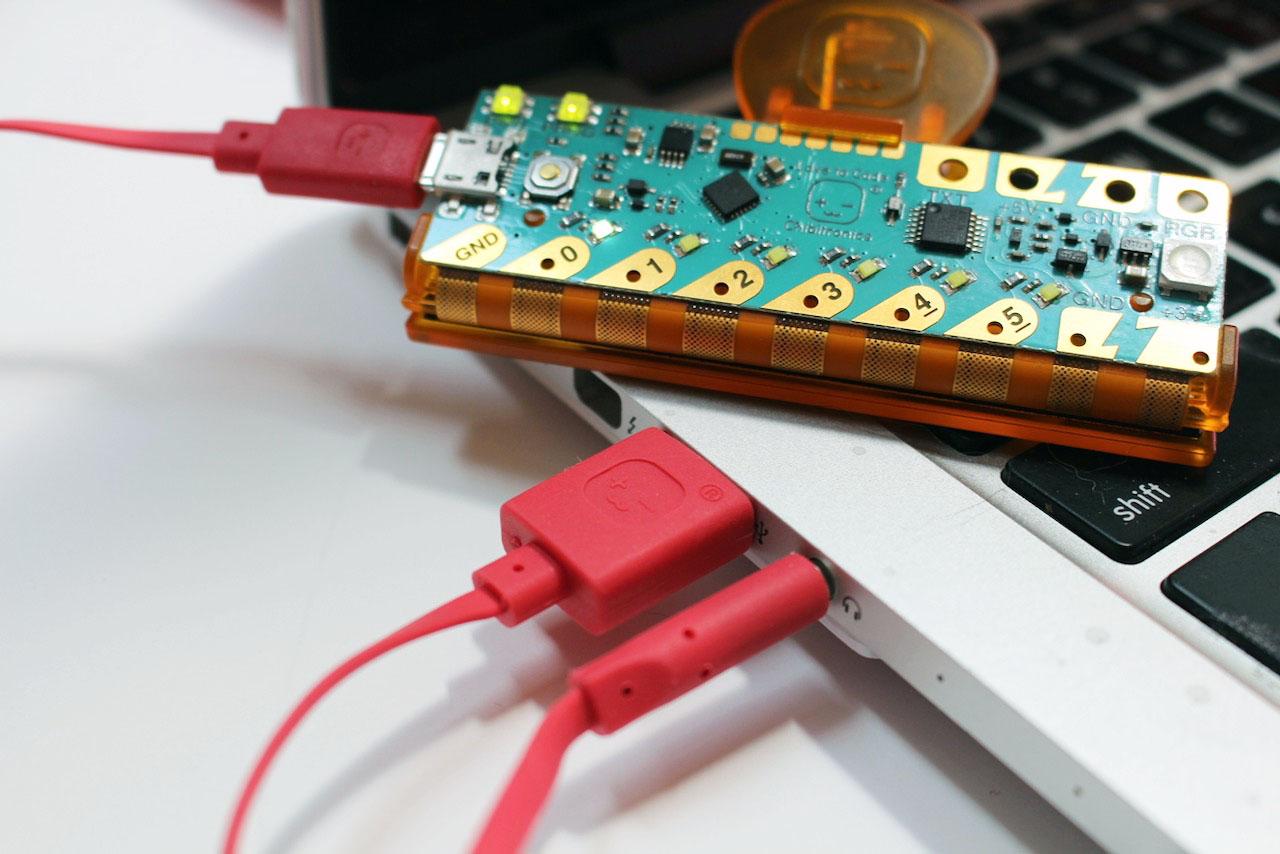
Plug the Chibi Clip into your computer. Don't forget to plug in BOTH the USB cable and the headset jack. The Chibi Clip draws power from the USB, and receives your programs through the headset jack.
Attach Your Jumper Wires to Your Servo Motor
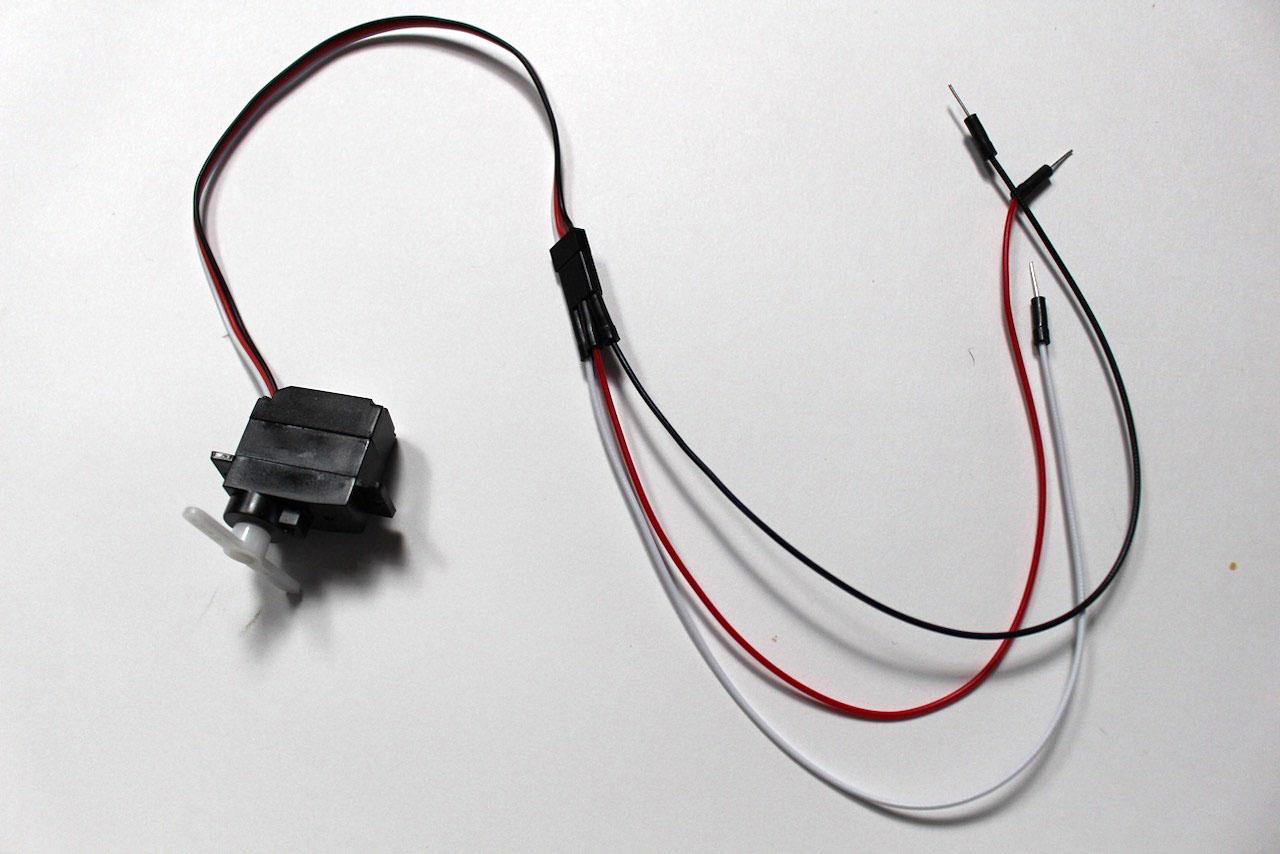
Most servo motors come with a socket end, so you will need to attach jumper wires to this so that you can insert the ends of the jumper wires into the Chibi Clip.
The color of the wires that you use doesn't matter, but to keep things tidy, we've attached attached jumper wires in color
Attach the Motor to the Chibi Clip
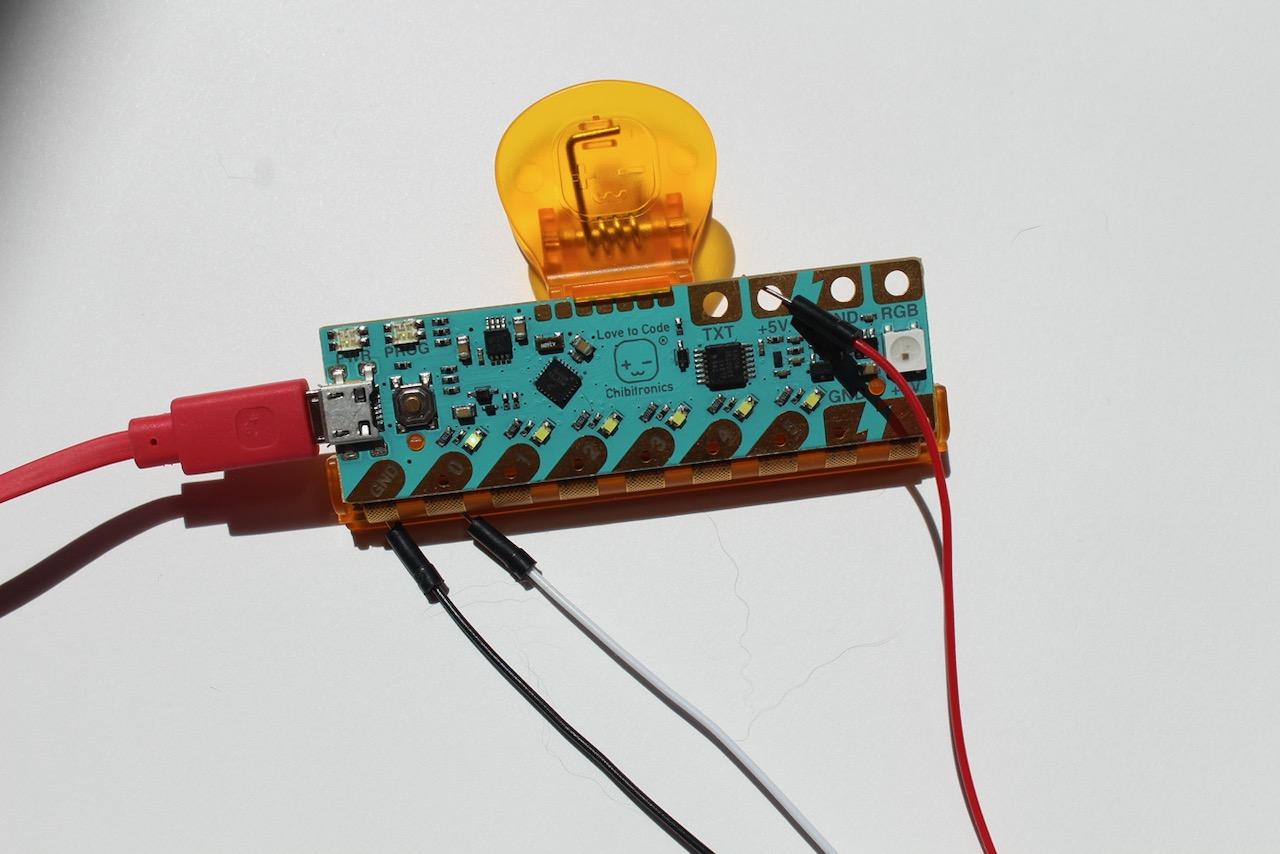

The motor has three wires: the red is "power", white (some motors use yellow) is "signal", and black is "ground". We are going to attach them to the corresponding parts of the Chibi clip.
There are many different ways to physically attach the wires to the clip. The main thing is to be sure that the wires remain in contact with the connection points on the clip.
Attach the black wire to the GND part of the clip; the white (or yellow) to the "0", and the red to the +5V at the top right on the clip. It is tricky to keep the red wire in contact, so you can use an alligator clip to create a better connection.
Upload Code to Your Chibi Clip
Now we need to upload some code to the Chibi Clip.
Go to: https://ltc.chibitronics.com/
Now, click on the "Examples" button, select Actuators -> Servo Sweep.
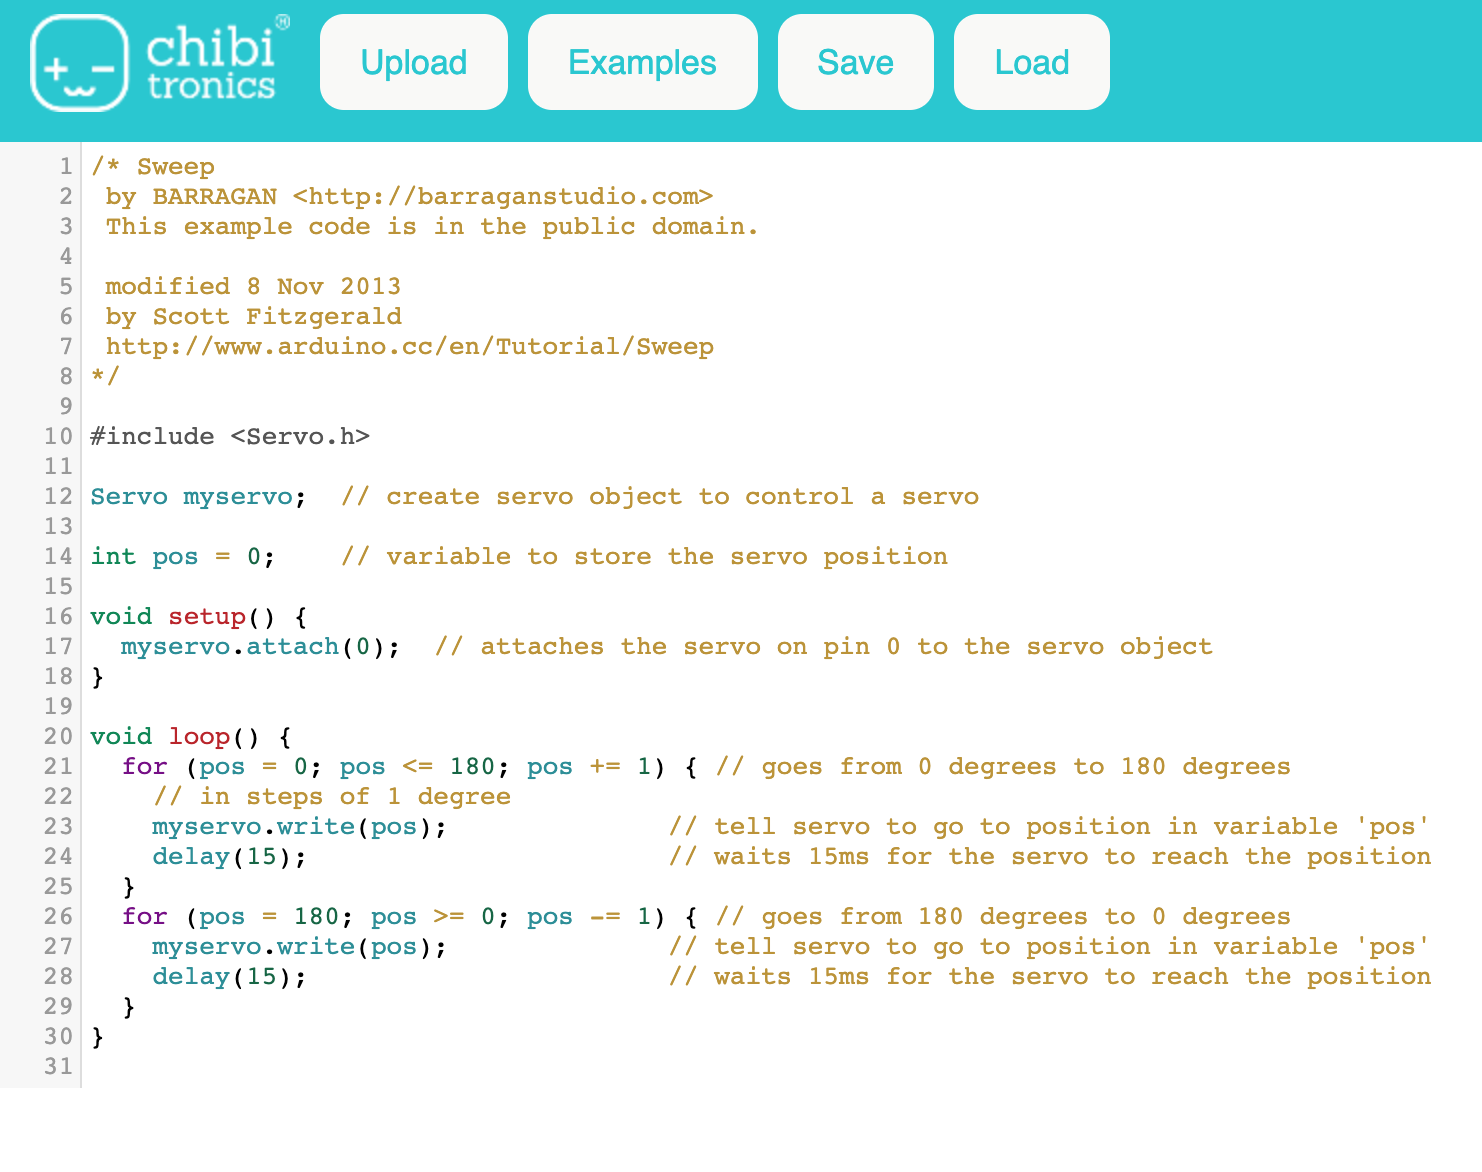
The code should look like the code pictured here.
What is this code doing?
If you are new to coding or Arduino, this might look a bit confusing. The first thing is to upload this to your Chibi Clip to see what it does. If you have never used a Chibi Chip, take a look here.
Once you successfully upload the code, you should see the servo turn back and forth.
/* Sweep
by BARRAGAN This example code is in the public domain.
modified 8 Nov 2013 by Scott Fitzgerald http://www.arduino.cc/en/Tutorial/Sweep */
#include
Servo myservo; // create servo object to control a servo
int pos = 0; // variable to store the servo position
void setup() {
myservo.attach(0); // attaches the servo on pin 0 to the servo object
}
void loop() {
for (pos = 0; pos <= 180; pos += 1) { // goes from 0 degrees to 180 degrees // in steps of 1 degree myservo.write(pos); // tell servo to go to position in variable 'pos'
delay(15); // waits 15 ms (milliseconds) for the servo to reach the position
}
for (pos = 180; pos >= 0; pos -= 1) { // goes from 180 degrees to 0 degrees
myservo.write(pos); // tell servo to go to position in variable 'pos'
delay(15); // waits 15 ms for the servo to reach the position
}
}