Rubber Band Helicopter/Quad-copter
by CameronHowe24 in Craft > Reuse
328 Views, 1 Favorites, 0 Comments
Rubber Band Helicopter/Quad-copter


.jpg)
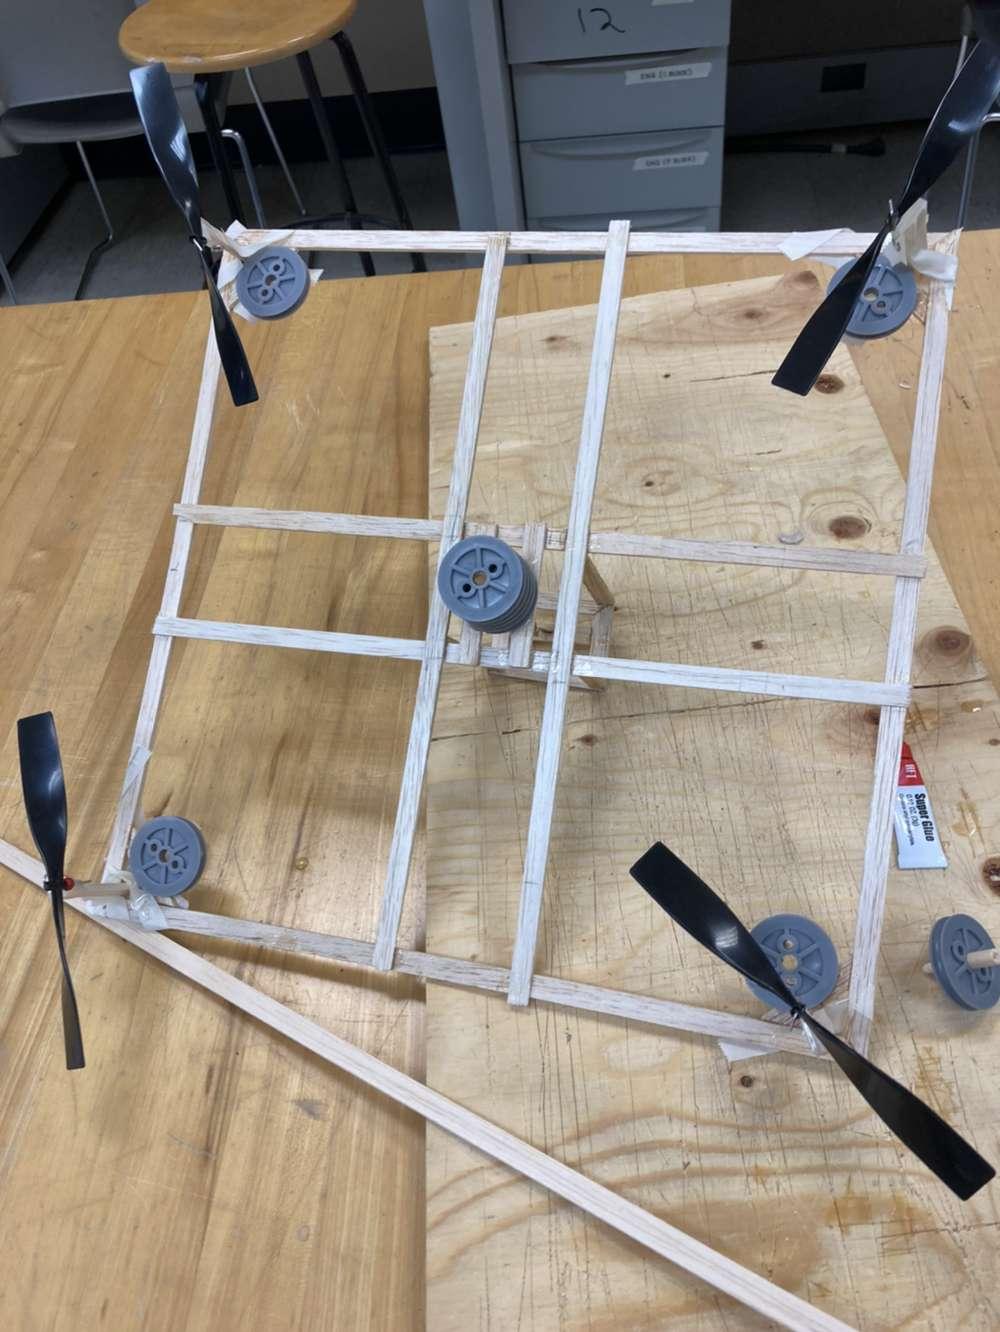
We were tasked with creating a rubber band helicopter in our Engineering class. Here is a step by step of the process and problems we encountered along the way. Even though our project didn't end up working perfectly in the end we learned a lot about the engineering process along the way. I hope that you enjoy my instructable and o hope that you can find a way to make a success out of our failure.
Research


Before jumping into our project we needed to do a lot of research about helicopters and their designs. I don't know about you but I'm not an aeronautical engineer. I think that the most difficult part was getting a decent design that would work all the time, and since drones are on the rise that's what we decided to focus pretty all of our research on. The second most important thing we had to research was the rotor shape. In the end, we used pre-fabricated propellers but we still designed our own. We had to do a lot of research about the forces acting on the copter and balancing them out so it all worked perfectly. By the end, we had about 5 pages of research for just this project alone
Designing


When I learned about this project my mind immediately went to a drone. When I was little my grandfather used to buy me small and inexpensive drones and we used to fly them until they broke. Once they broke we would take them apart and dissect them and try to fix them. Thinking about this I thought that we should make one just using rubber bands. So begins the design process. At first, we thought of an octocopter with 8 rotors. As we started building we realized that this was impractical and ended up going with just 4 propellers. I was disappointed that we wouldn't have 8 rotors but I was still hopeful that it would work. We came up with a very robust design and we believed that it would work perfectly. To execute this perfectly we needed to understand the forces acting upon our helicopter. These are Lift (going upwards), weight (how much it weighs), thrust (going forward), and drag (keeping it for going forward). With everything against us, we decided to add some weight for a lot more lift. We weren't really concerned about drag or thrust just because we were only concerned about going straight upwards no forward or back.
Building


So, after research and designing we eventually moved on to the fun part. With a solid plan and blueprint, we jumped right into it. Personally, I really enjoy getting my hands dirty with a project and really understanding every part of it. We didn't really run into too many problems with the initial building of the frame. It went fairly well and it came out very clean. We ended up using balsa wood because it is light yet durable. I was extremely happy working with this and the weight was kept very minimal. Everything was perfect until we reached the drive train and then from there, everything went to, well you know what. We were making great progress with the building until the drive train. This part took almost 3 days and it still didn't work. Regardless, the frame was perfect and I wouldn't change a thing.
Basic Plans and Dimensions


Here I have some images of our plans attached for you if you need them. They aren't perfect because I drew them by hand. If I were to do it again I would use a program like auto cad or onshape.
Here are the dimensions of our drone:
20 inches long
14 inches wide
5 inches tall
6-inch total props
rotors were 8 inches off the base
For wood you would need:
6 pieces at 20 inches
4 pieces at 14 inches
4 pieces at 6 inches
4 pieces at 8 inches
5 pieces at 2 inches
4 pieces at 5 inches
4 pieces at 4 inches
Change 1

One major change we made was the number of rotors. In our initial plan, we had 8 rotors. I was really excited about this but when it came time to build it was just so impractical that we scrapped the idea and went with just 4 rotors. I was pretty disappointed because I was really set on 8 rotors. Sometimes you just get too excited about something and overlook major problems. THinking back after being done I was crazy to want 8 rotors but if it worked it would have been awesome and I encourage you to try to get 8 rotors on there
Change 2

This change is very minor but it still had a huge impact on the build. At first, we were going to use our own homemade propellers but this turned out to be extremely impractical. One of the other groups in our class used their own ones they made and it was a huge fail and I am extremely happy that we used some pre fabed ones that we had in the classroom.
Material List/ Tool List

-Balsa Wood (used to create frame)
-Glue (super glue is a must no regular wood glue)
-Rubber Bands ( very strong ones)
-String (used to drive the propellers)
-Saw (mini miter box used for crafts)
-Masking/Regular Tape
-2 Hooks (used to hook rubber band to drive shaft)
-Wheels (Used for a string that droves rotors to run through)
-4 Propellers
-Knife (just a general utility knife for notching out wood)
-tape measure/ ruler (measuring the wood)
This was a fairly simple project and it didn't require an extensive amount of materials and tools. It is something that you can do at home without a giant shop and lots of high-end tools. This project also doest require a lot of skill and you can build it with very minimal carpentry skills. All you really need to know is not you cut yourself on the saw and knife. Common sense is the most important skill for this project
Conclusion/ Ending Results


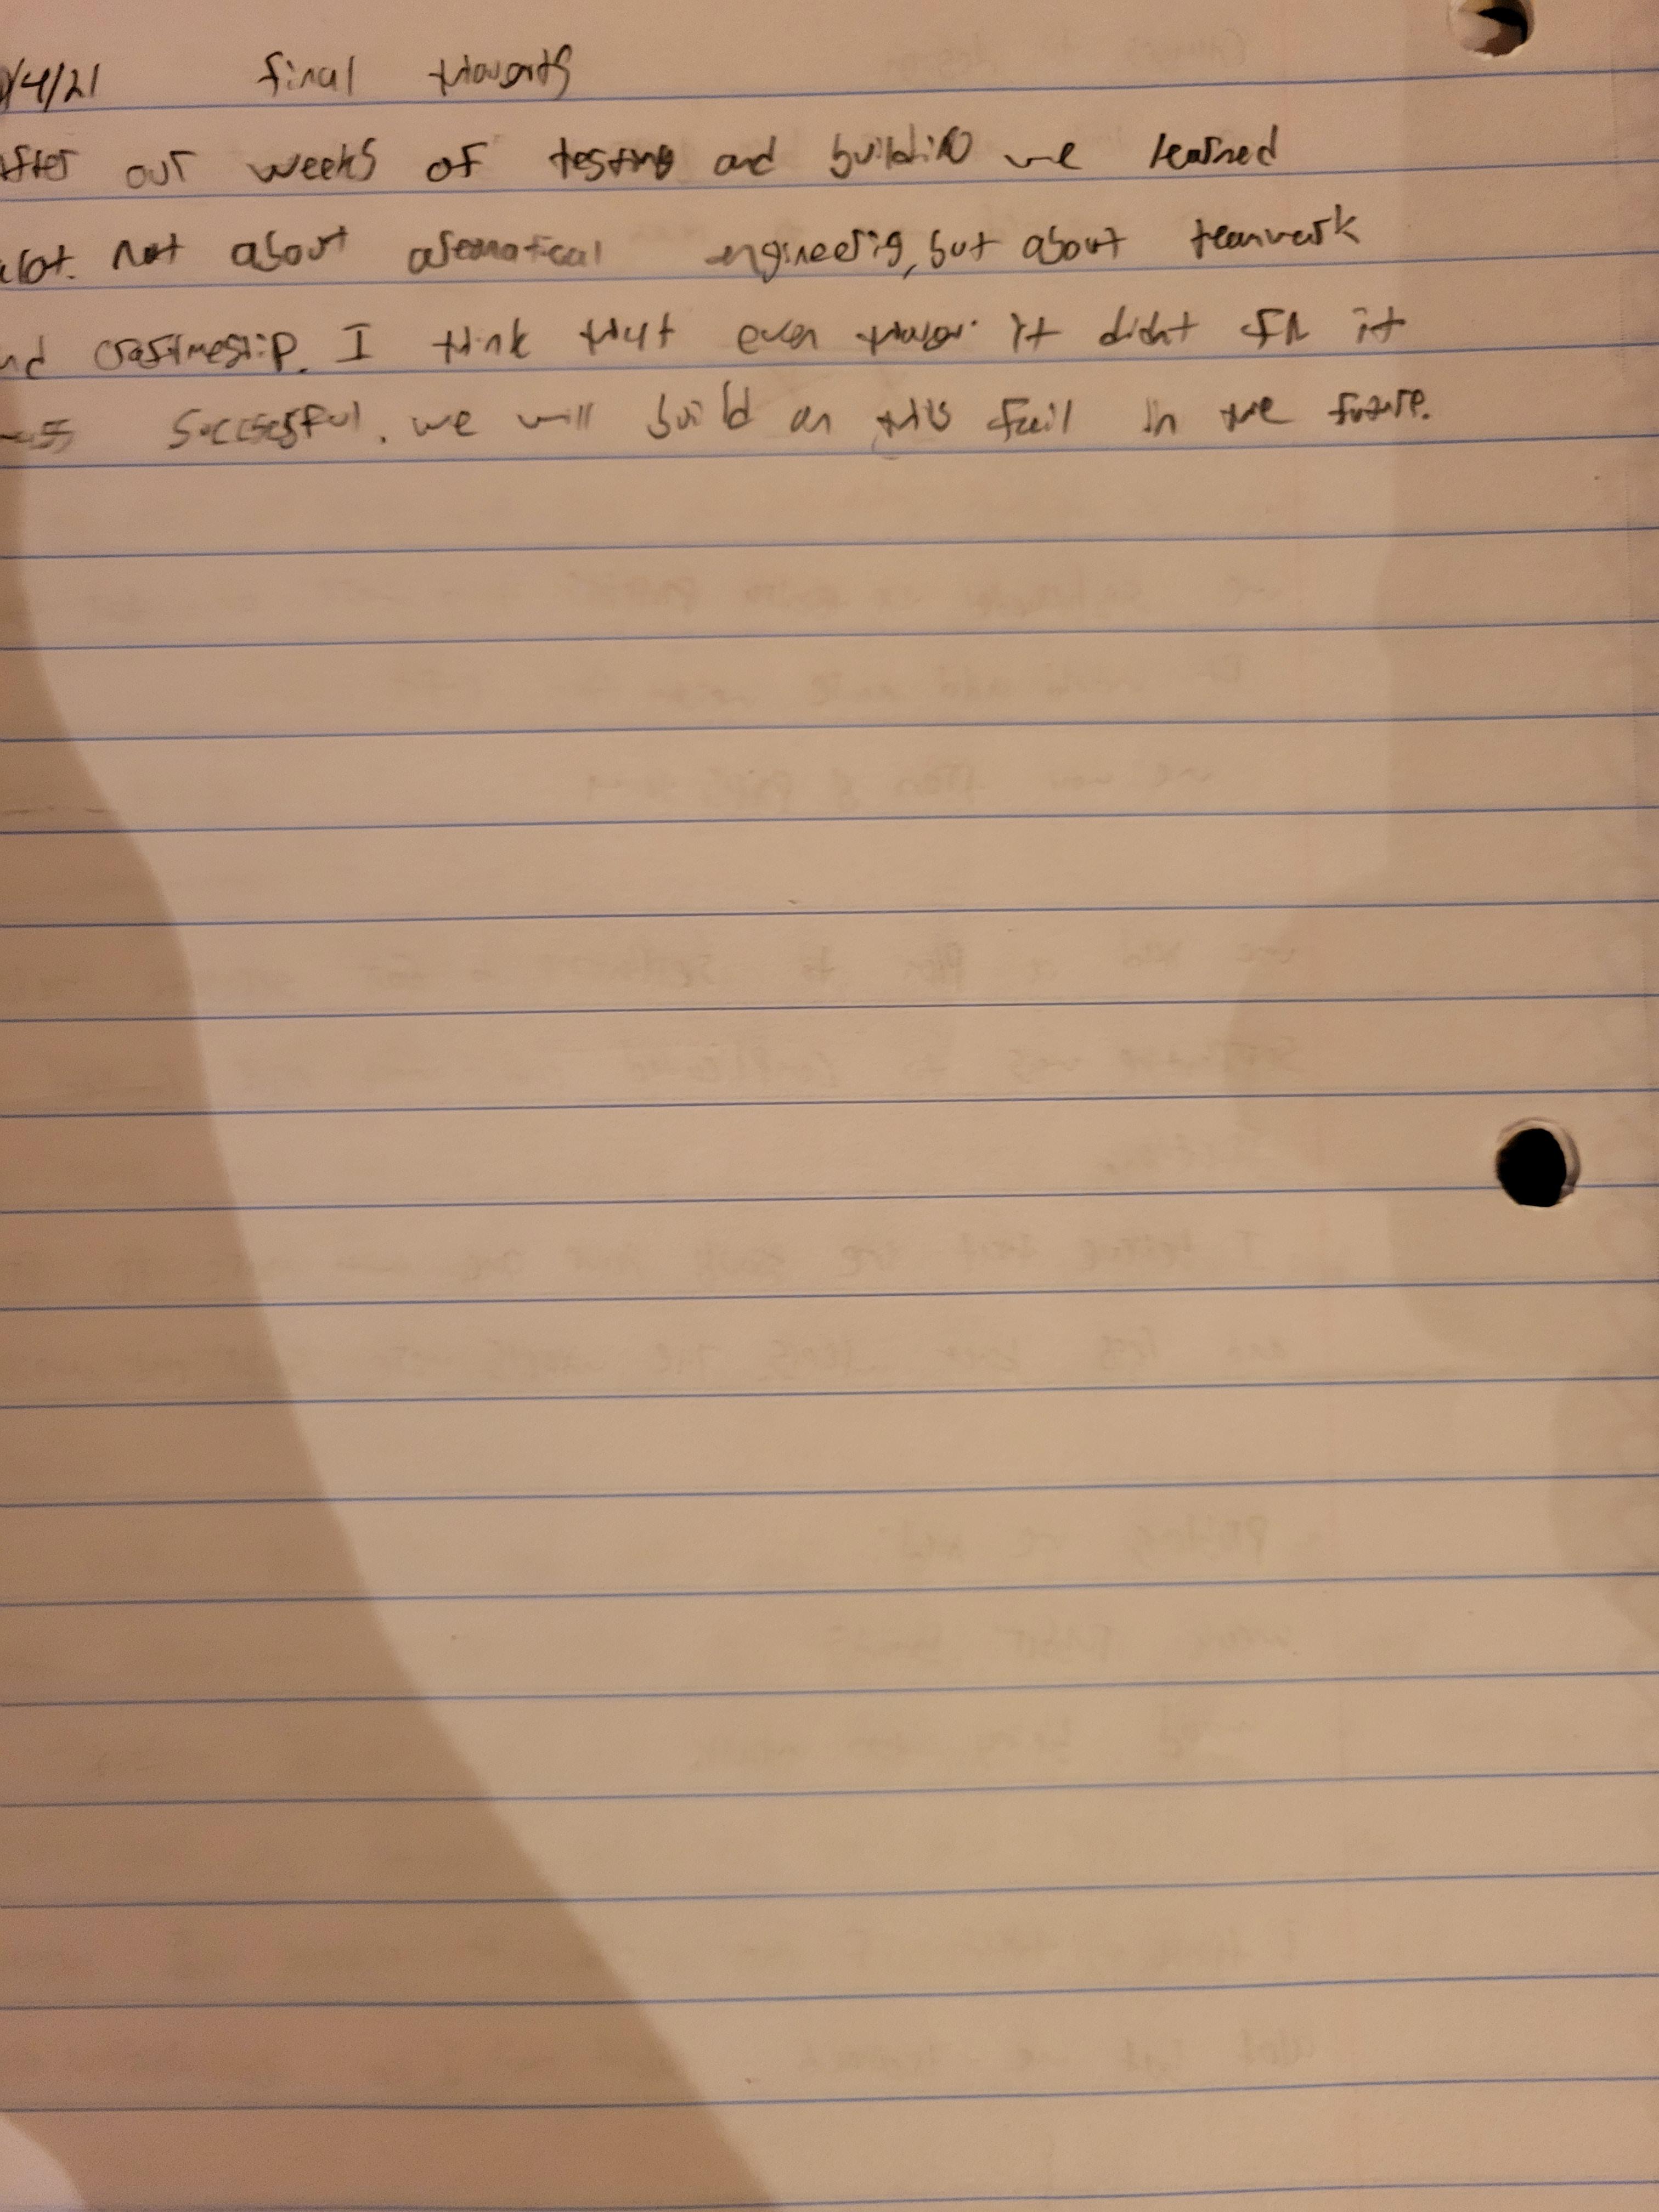
As you can probably guess it didnt end up working out so well. Tis is why we have no footage of our testing. We When we tried to bring it all together it ended up just pulling itself through and almost breaking. The storing pulled each propeller into itself. Regardless, we learned a lot from this project. Eventhoht it failed I would suggest giving it a try and maybe making it work for yourself. I definitely am going to revisit this at some point and try to redeem myself and create a flying drone just to prove everyone that doubted the project wrong. Even if it never ends up working out I will still have all the knowledge of the engineering process that will always be helpful in the future. THank you for taking the time to read my first instructable