Router:cut Short Radius
by bezerra_paulopftz in Workshop > Tools
1415 Views, 3 Favorites, 0 Comments
Router:cut Short Radius
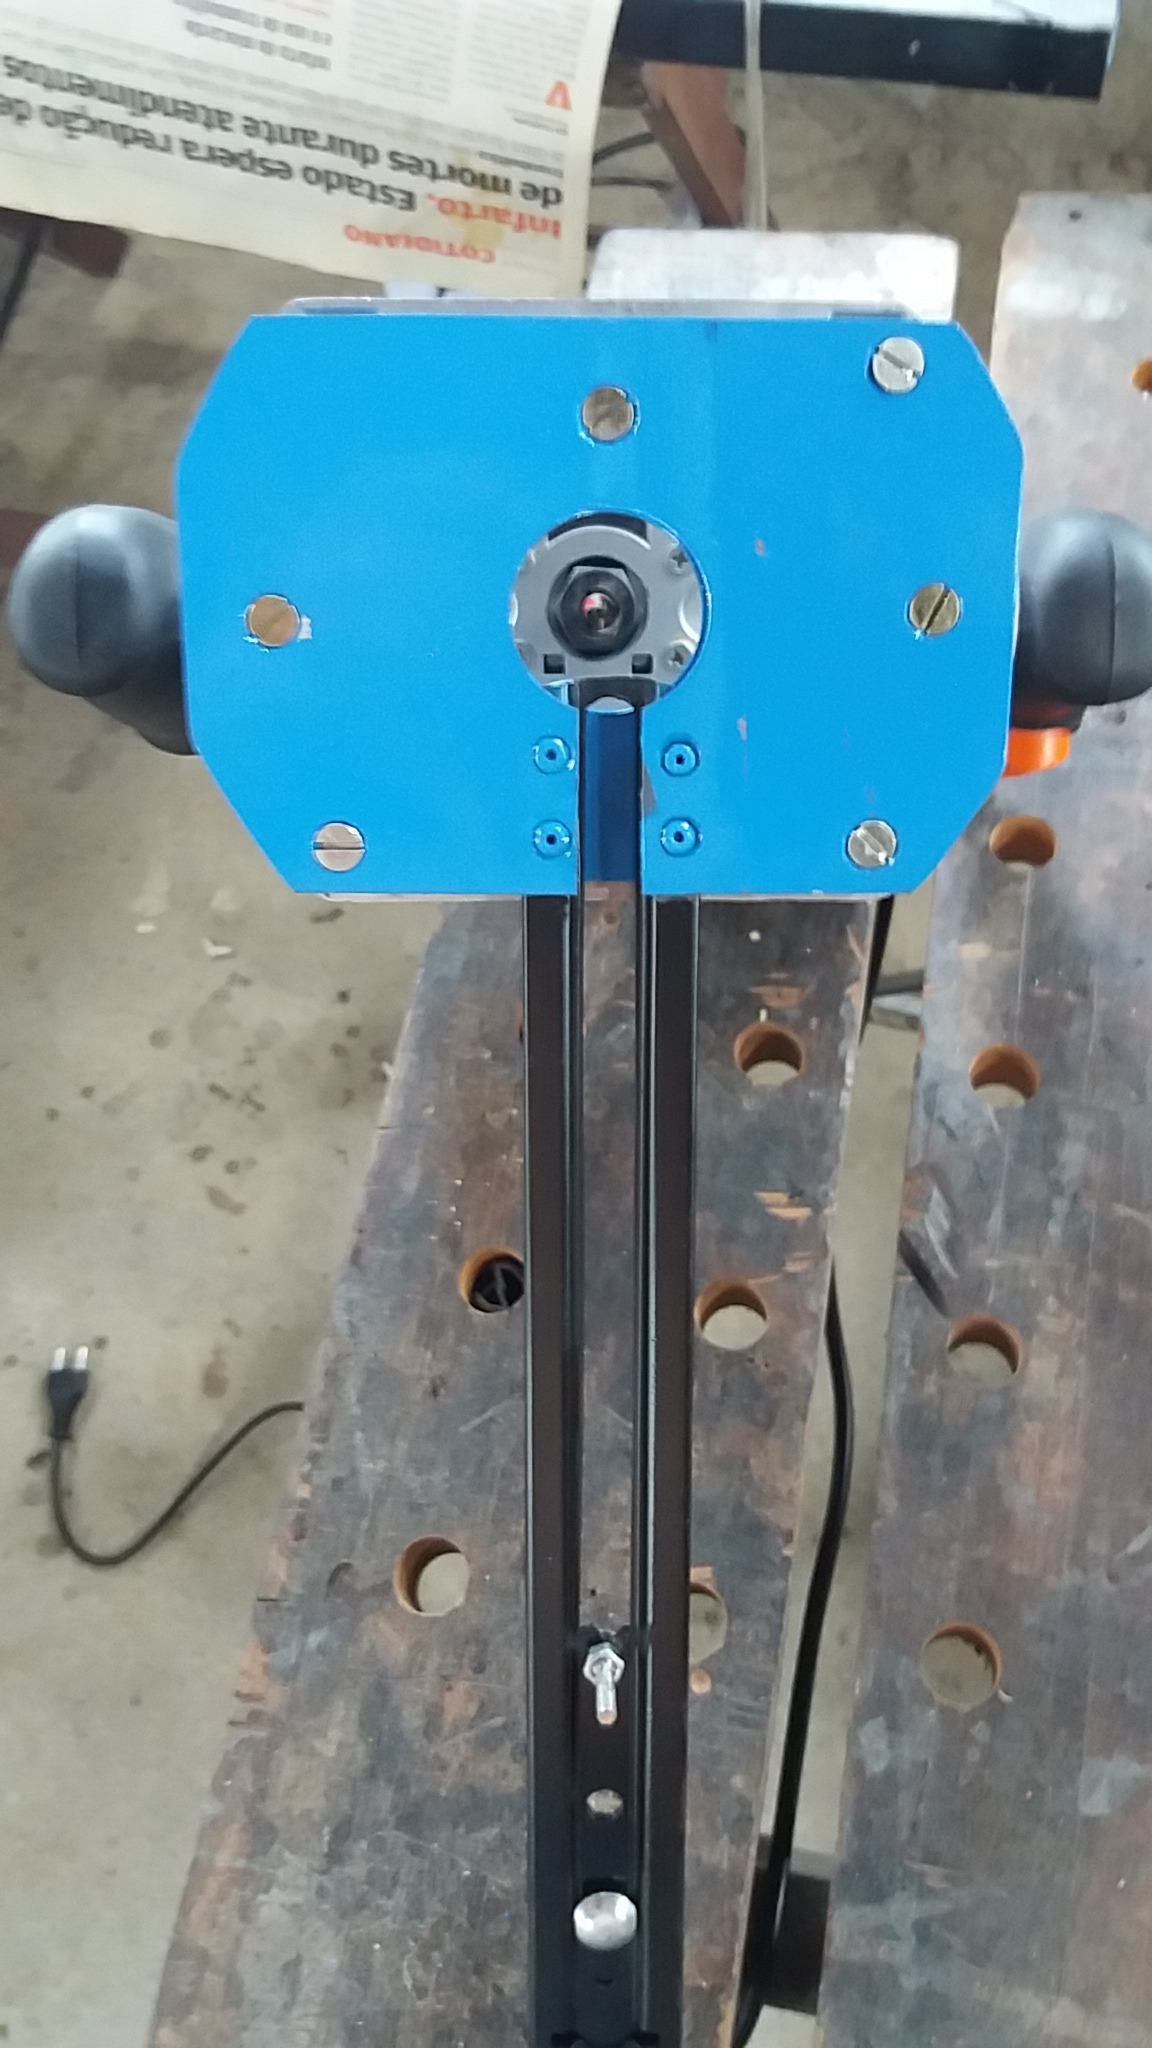
Looking for a tool that could make cut circular or semi circular I found in the market tools high cost. I then sought to develop a tool from materials that are easy to acquire and inexpensive. To my surprise I already had all of these materials at home. This is a tool that is easy to manufacture and use.
LIST OF MATERIALS
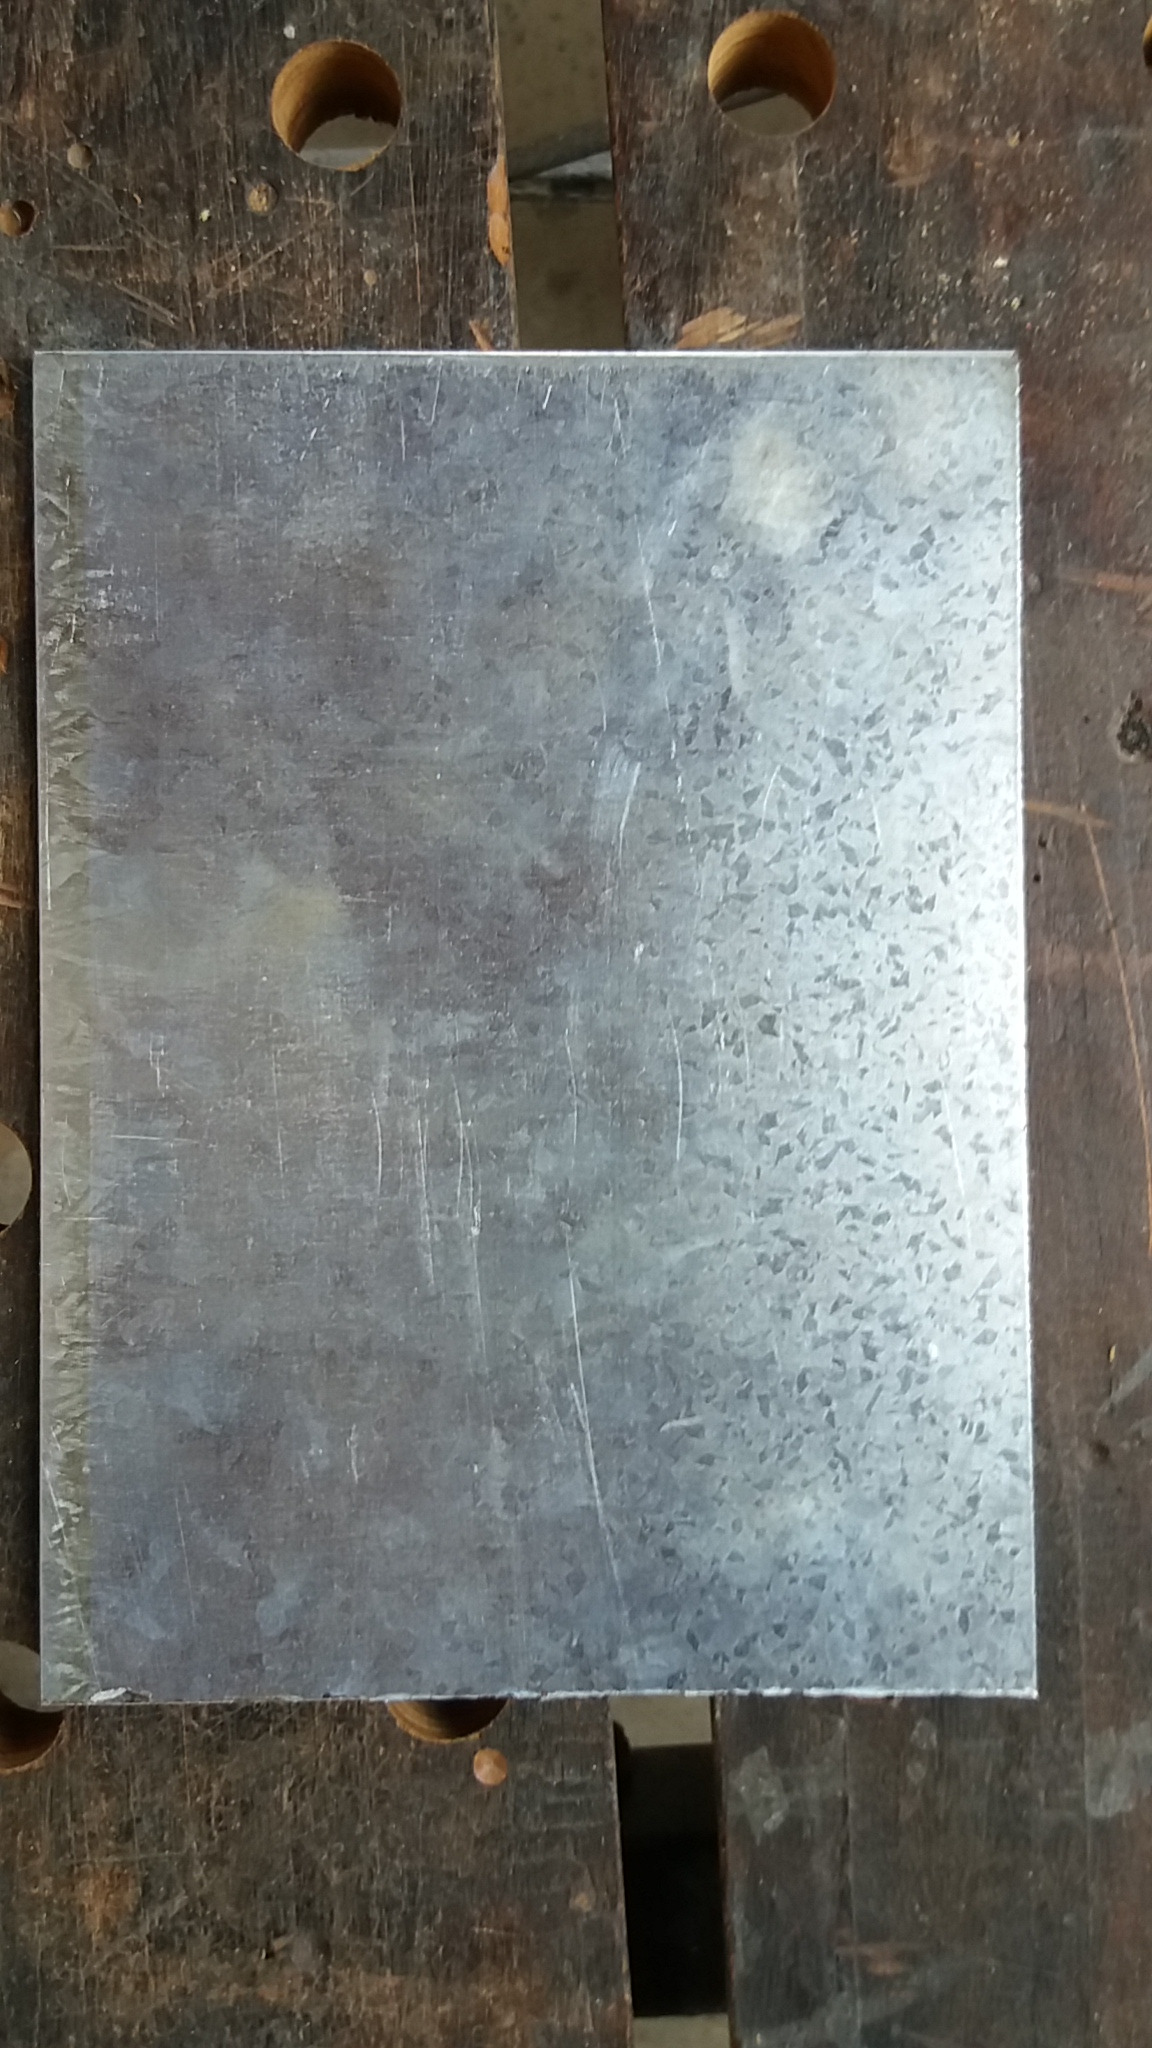
1 x 14 x 10 cm galvanized sheet 2.0 mm thick;
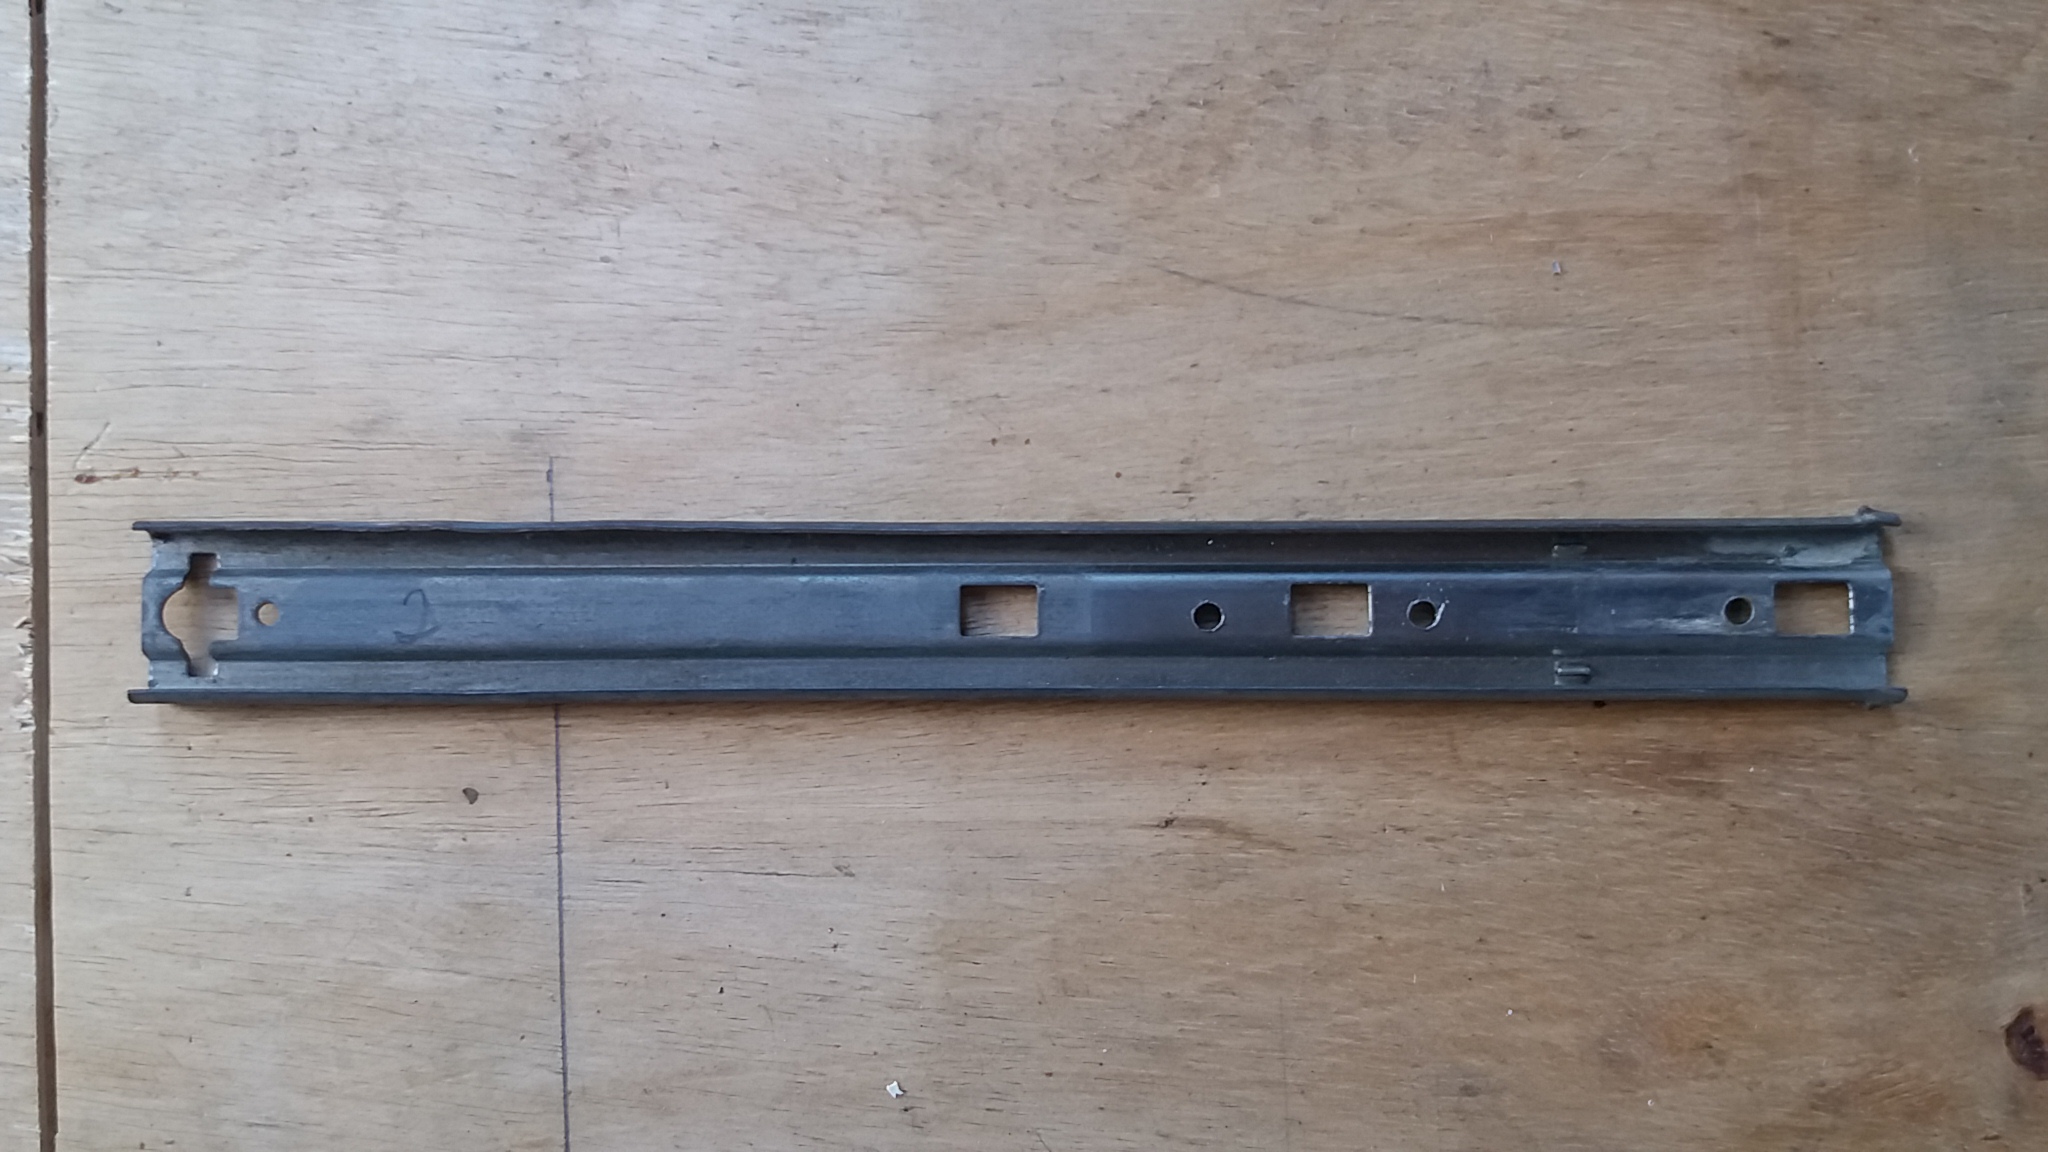
1 internal part of telescopic rail;
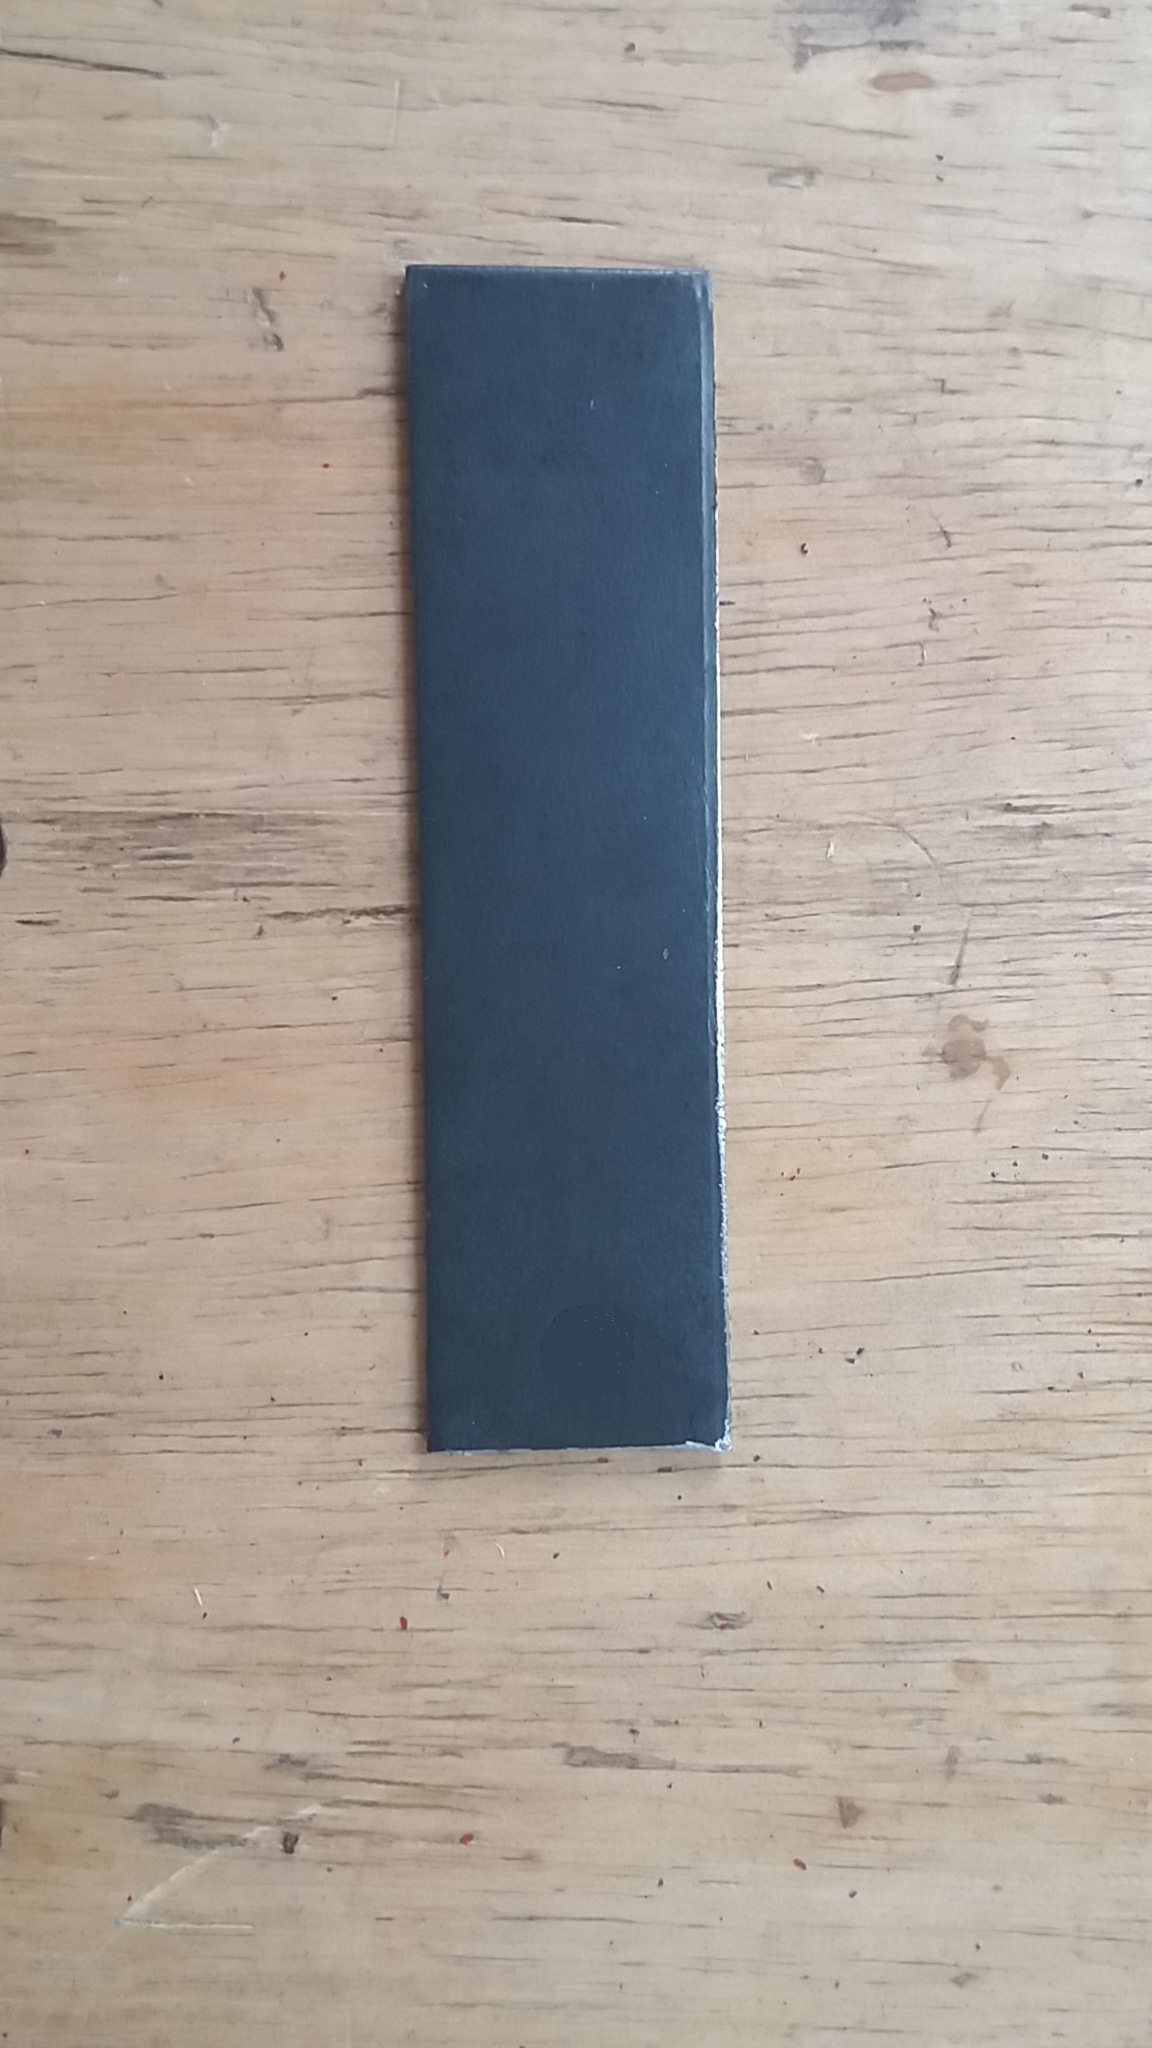
1 x 10 x 3 cm sheet 3.0 mm thickness;
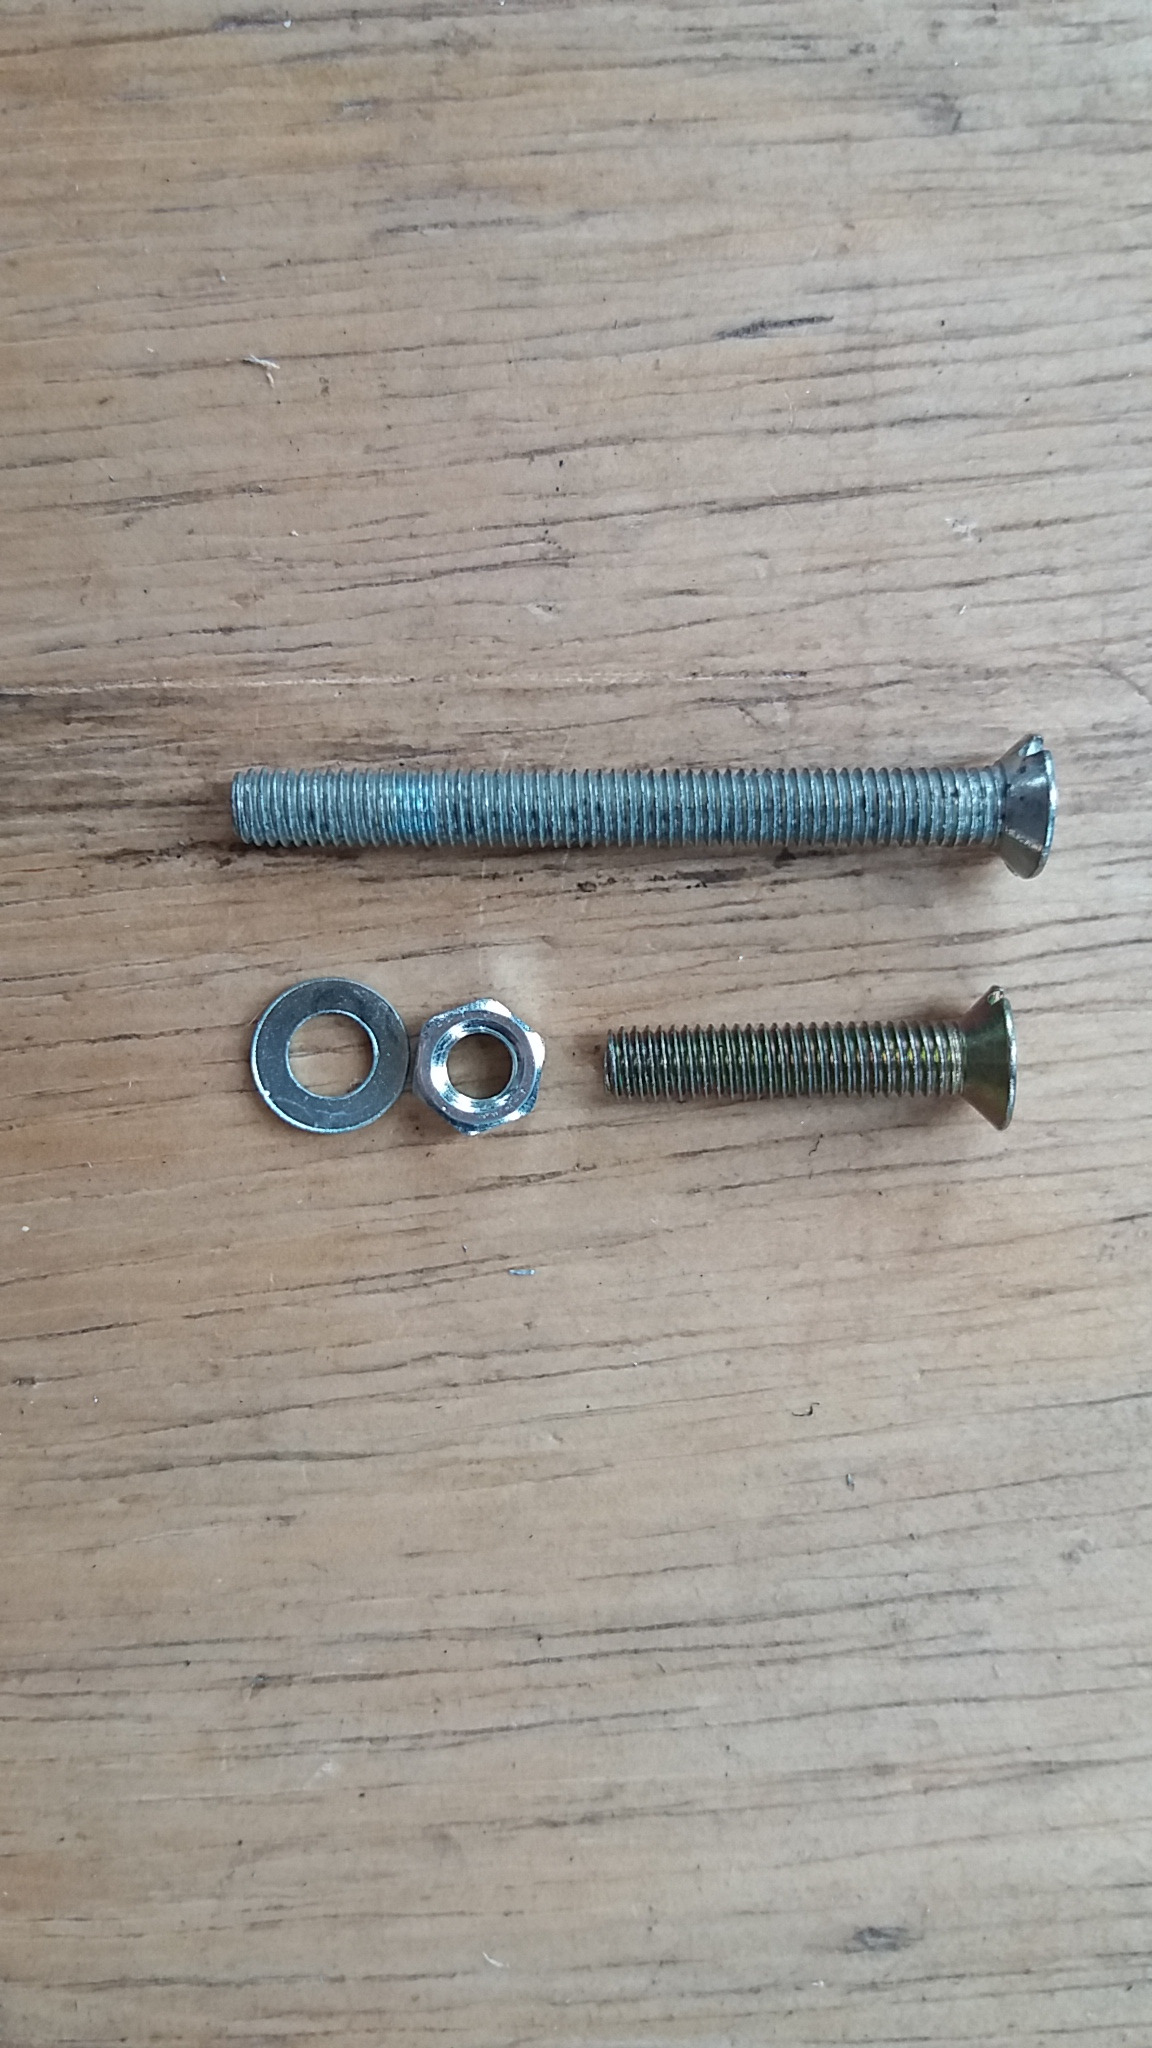
3 screws 6 x 25mm with nuts;
3 screws 6 x 50mm with butterfly nuts;
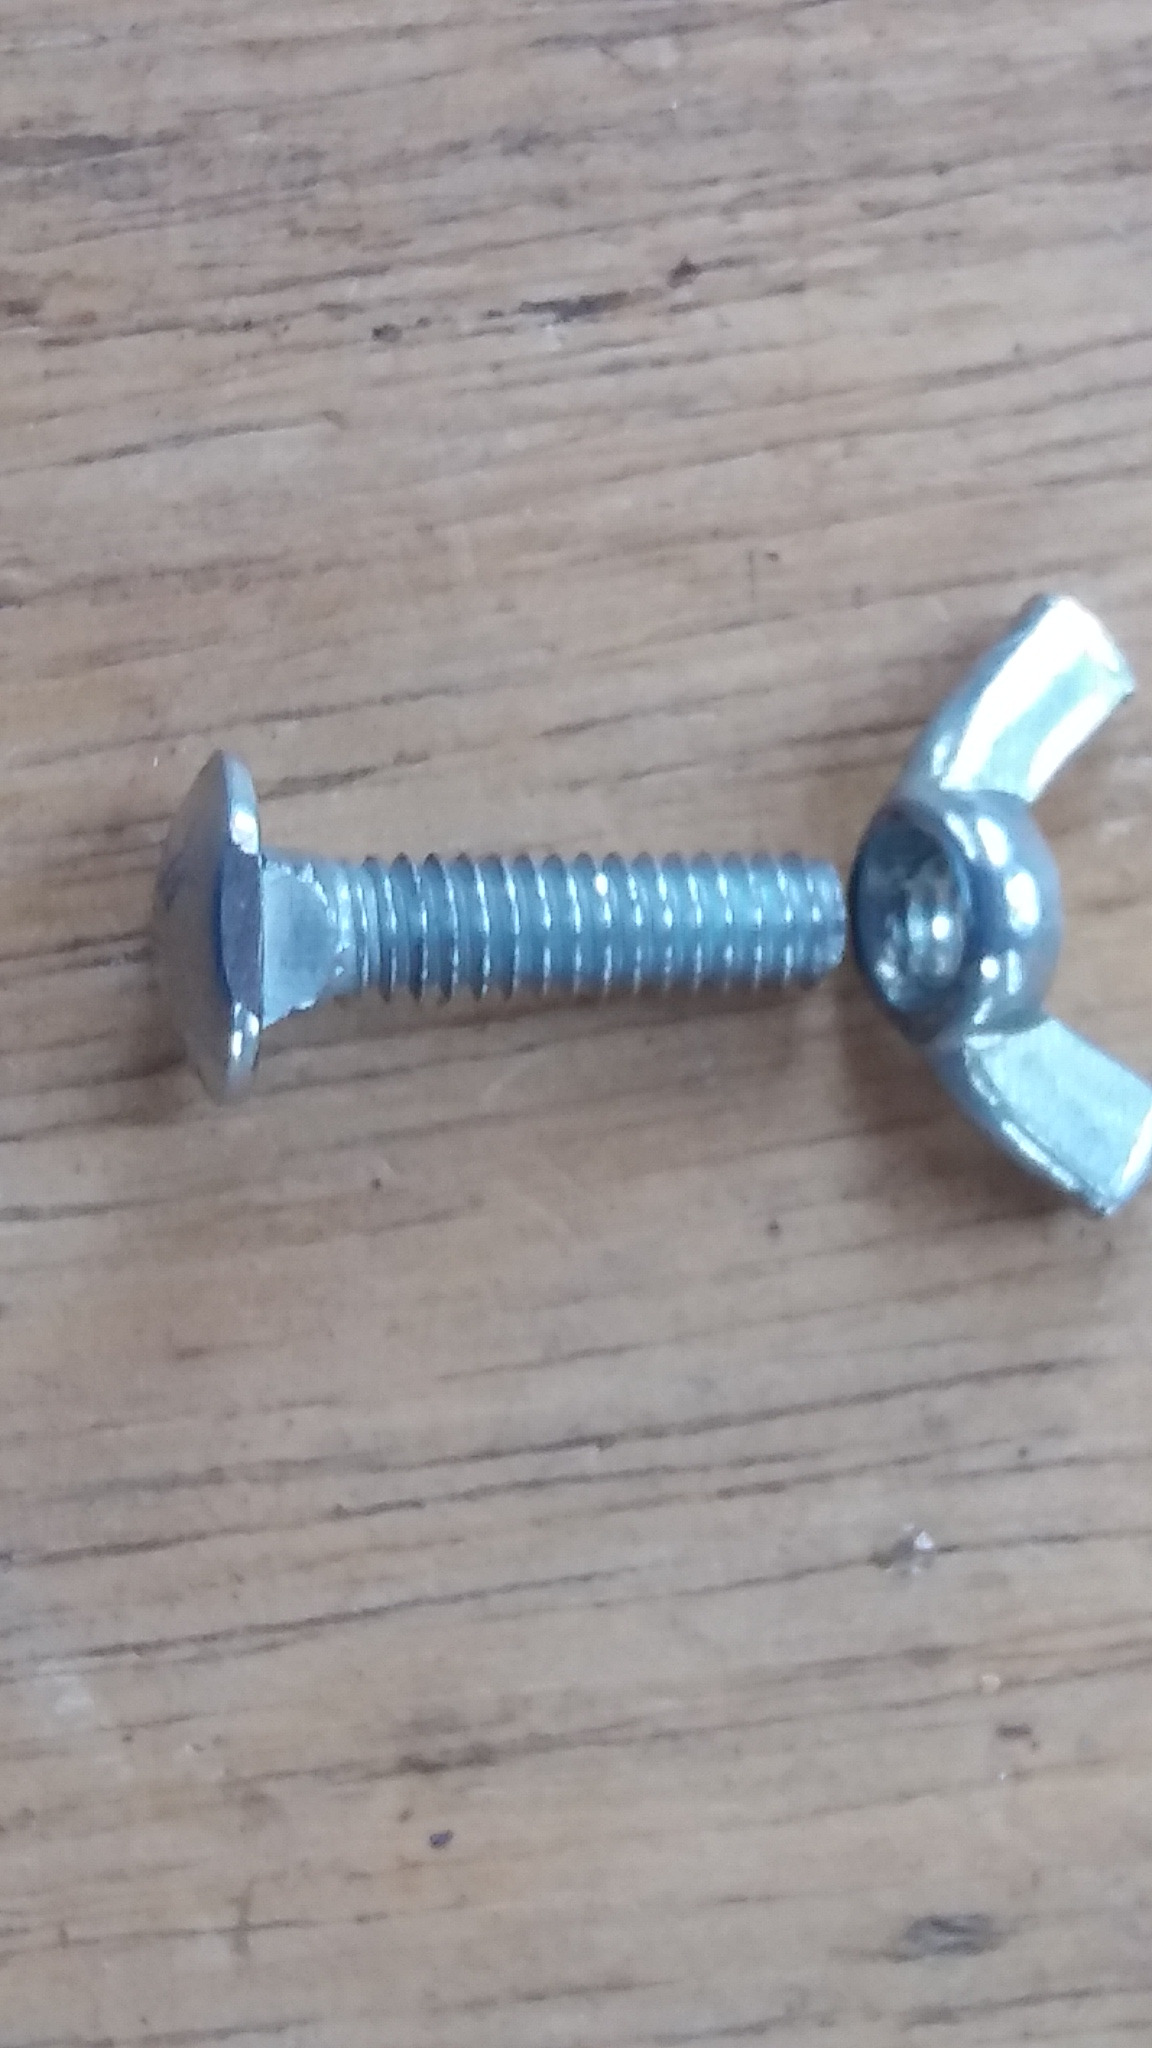
1 French screw 1 "x ¼";
1 ¼ "butterfly nut;
EXECUTION
1º step
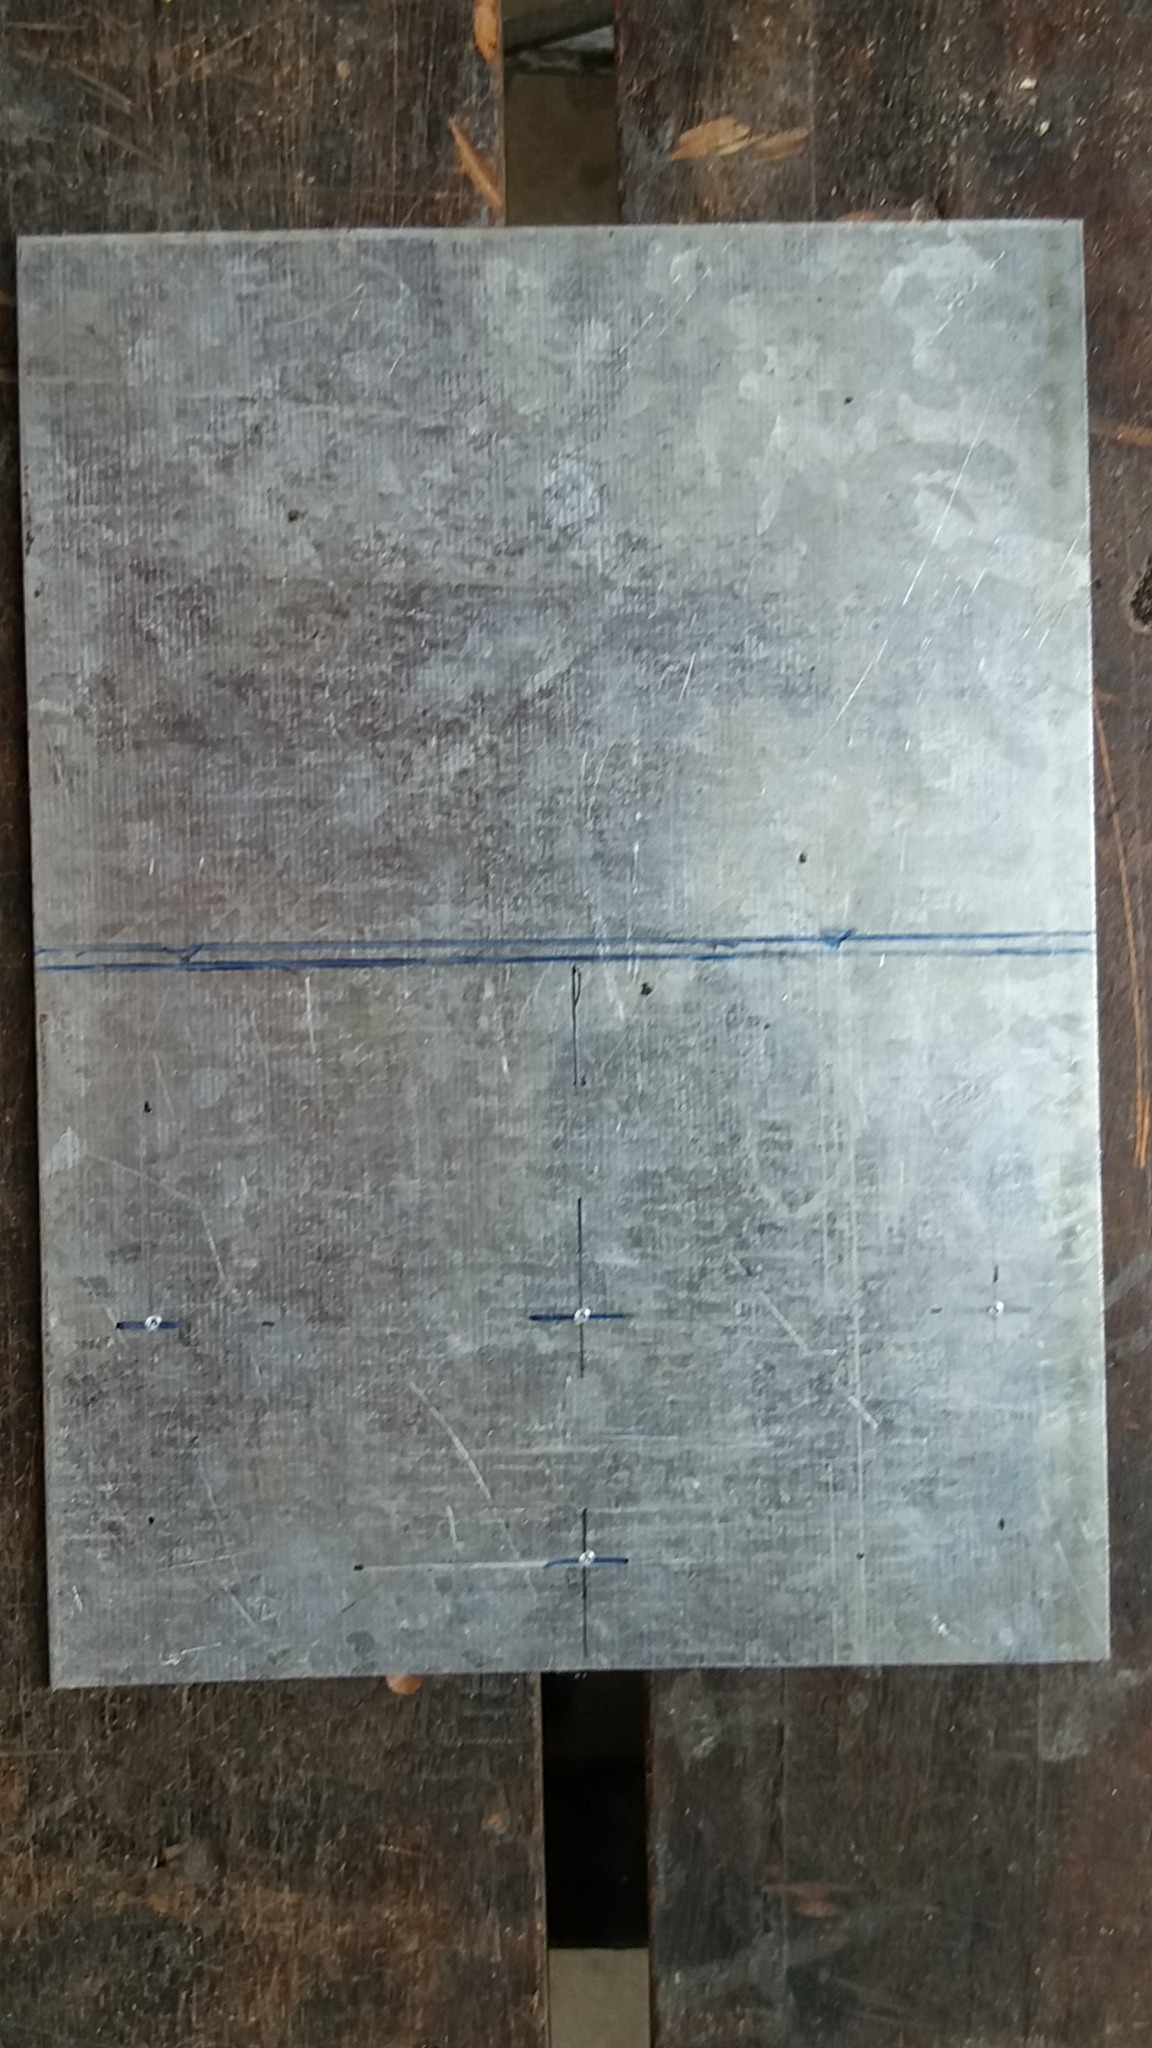
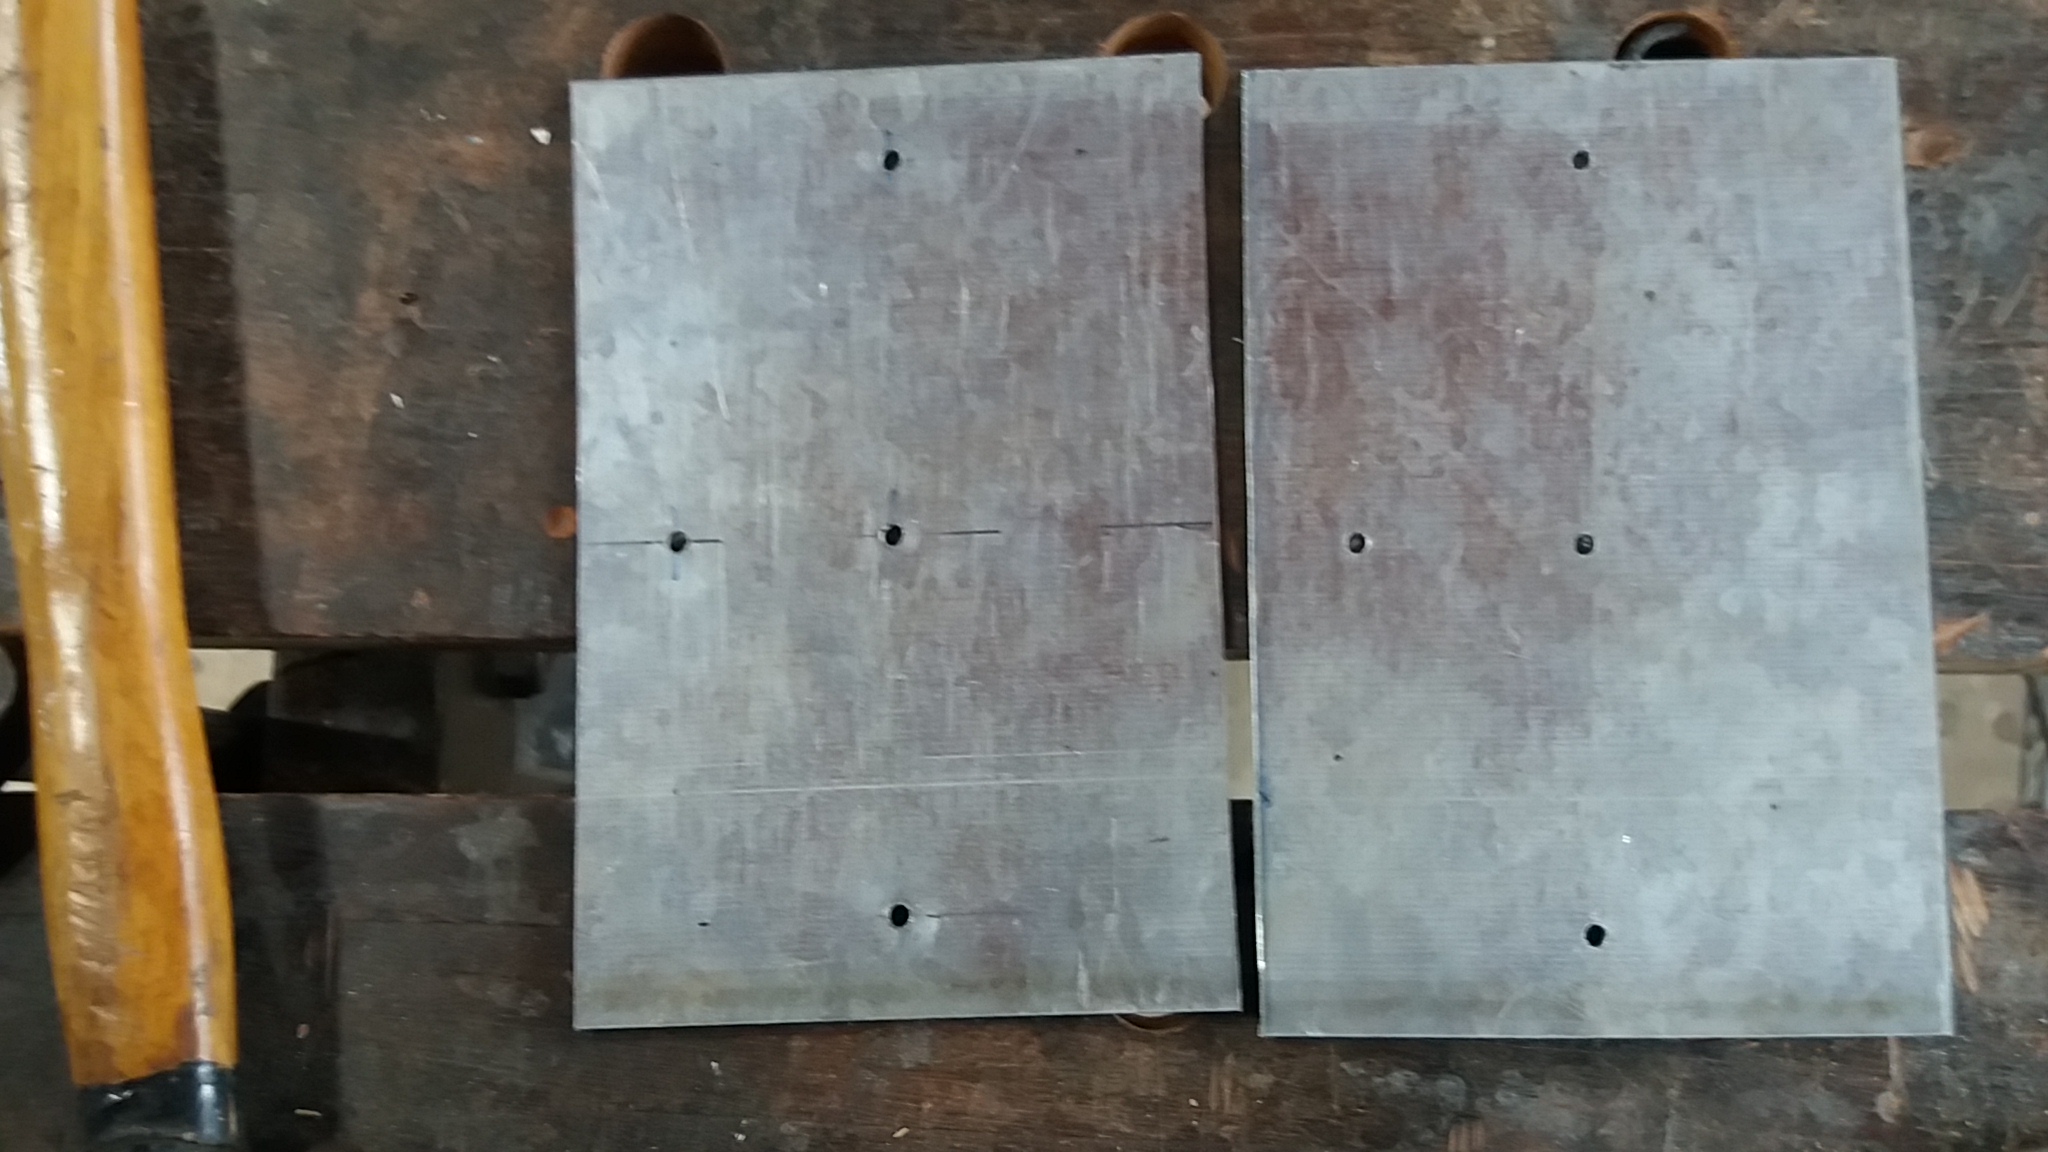
Initially the holes were marked that would serve to fix the two plates;
In the sequence 4 holes were made. One to the
center and three to the sides. The idea was to use these holes on one board to replicate on the other board so that they would match;
The cut was done in two equal pieces of 14 x 10cm;
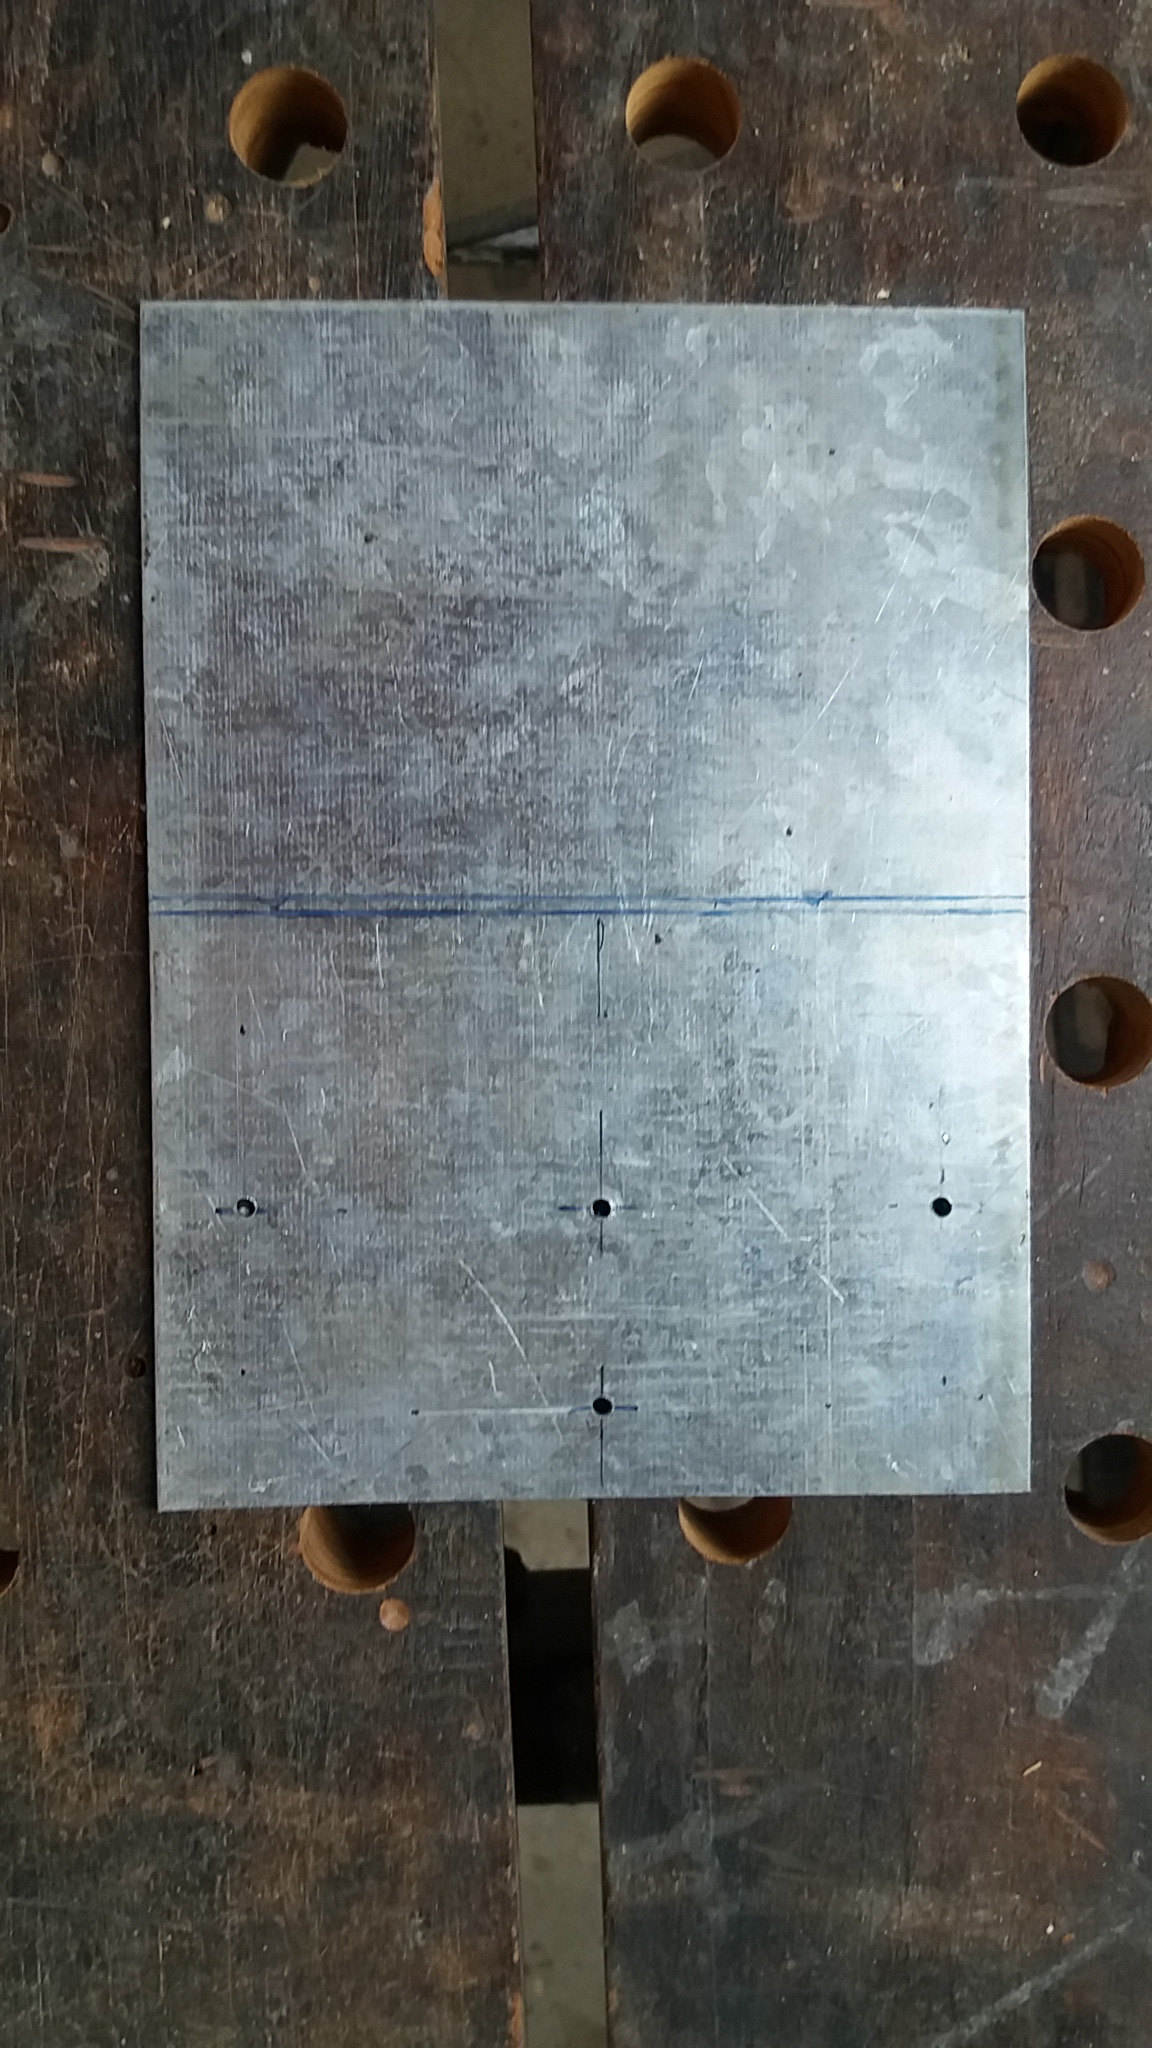
The two plates were overlapped and the holes (4) were made;
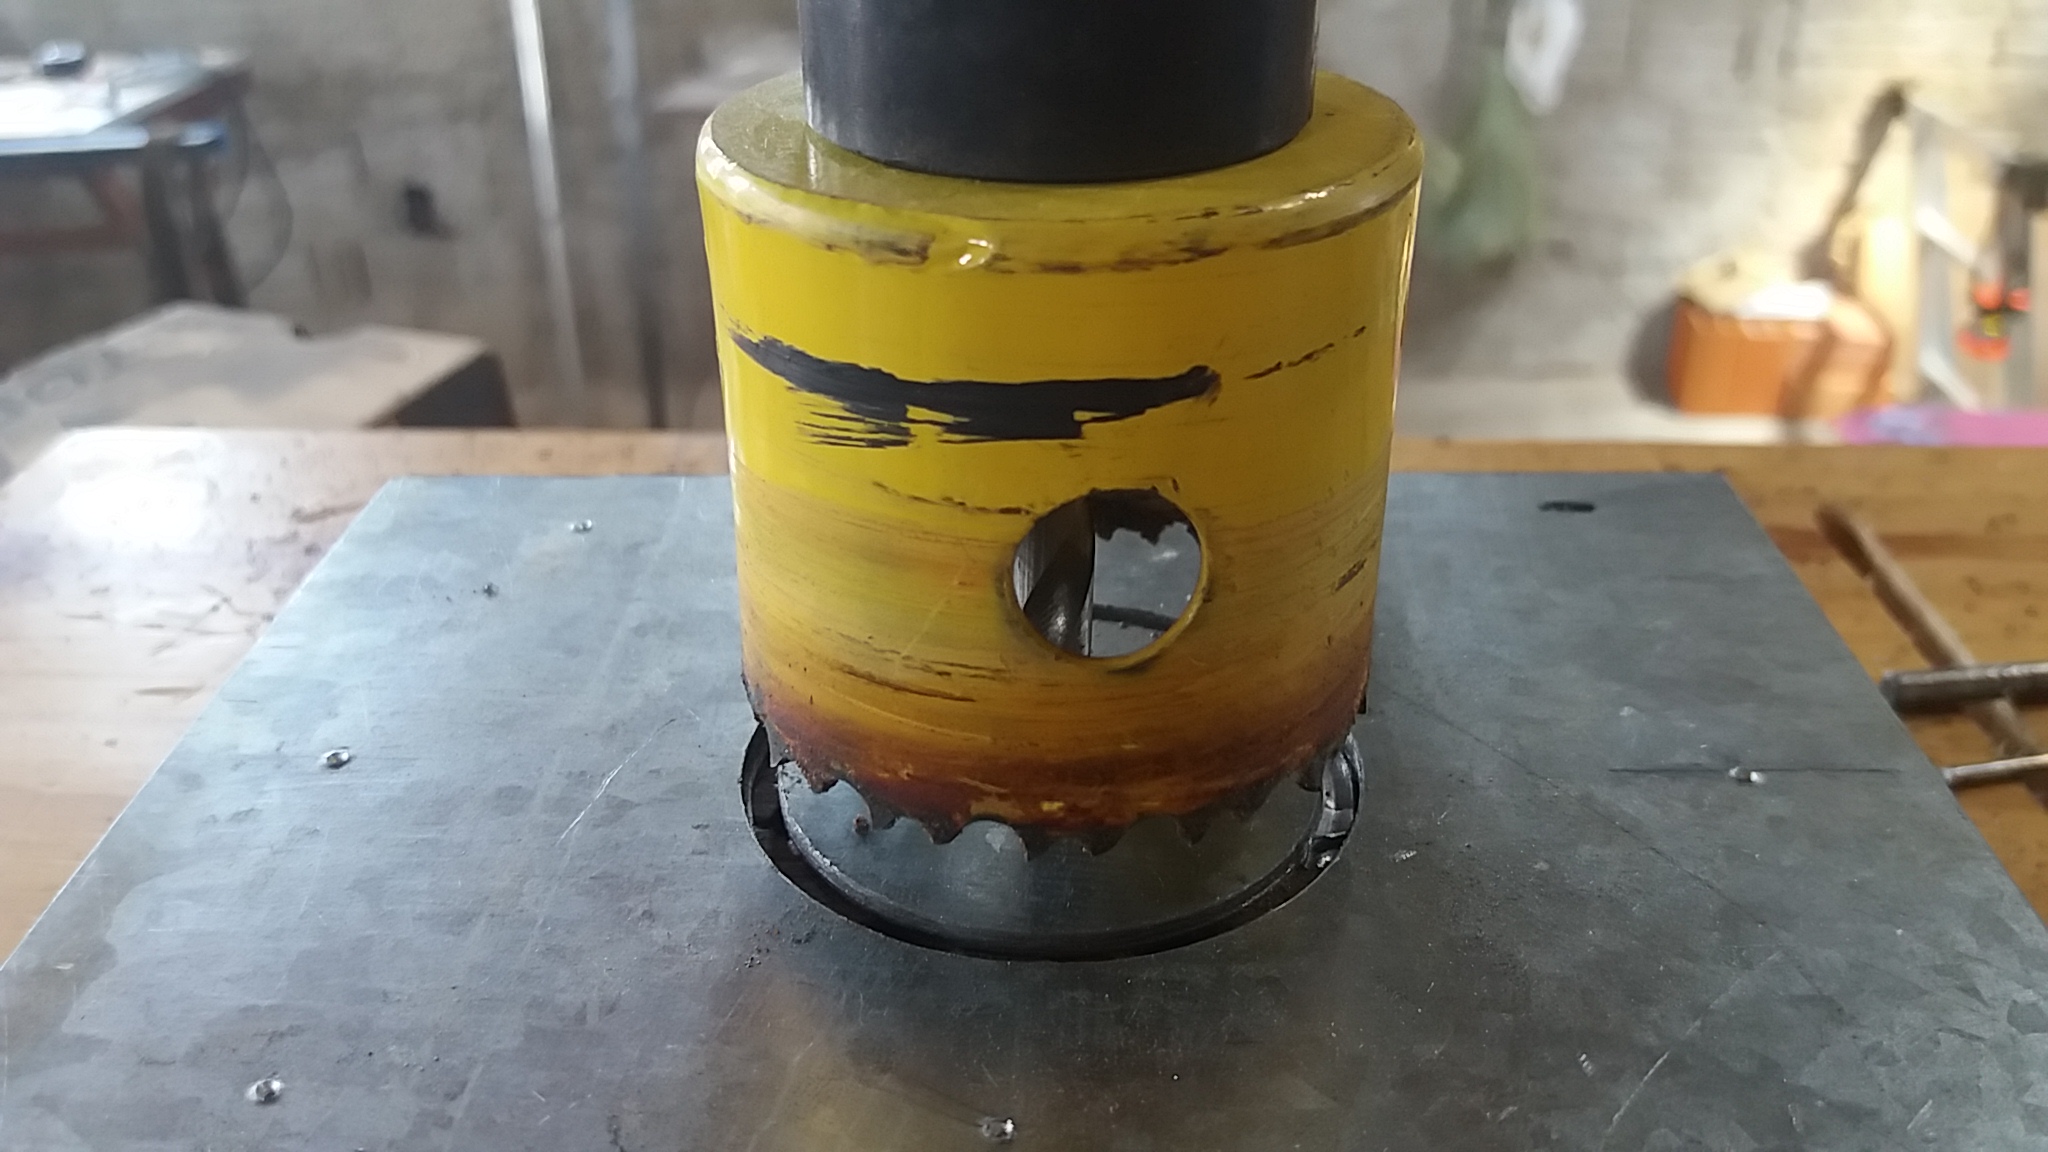
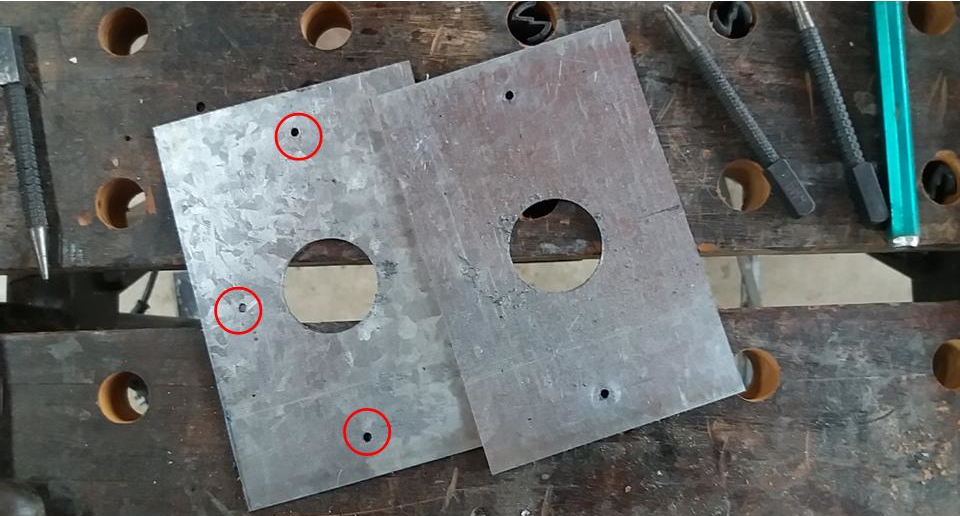
The center hole was widened with a saw-type drill bit for a diameter of 36mm;
With the central hole already in the final measure.
Open Threads
2º step
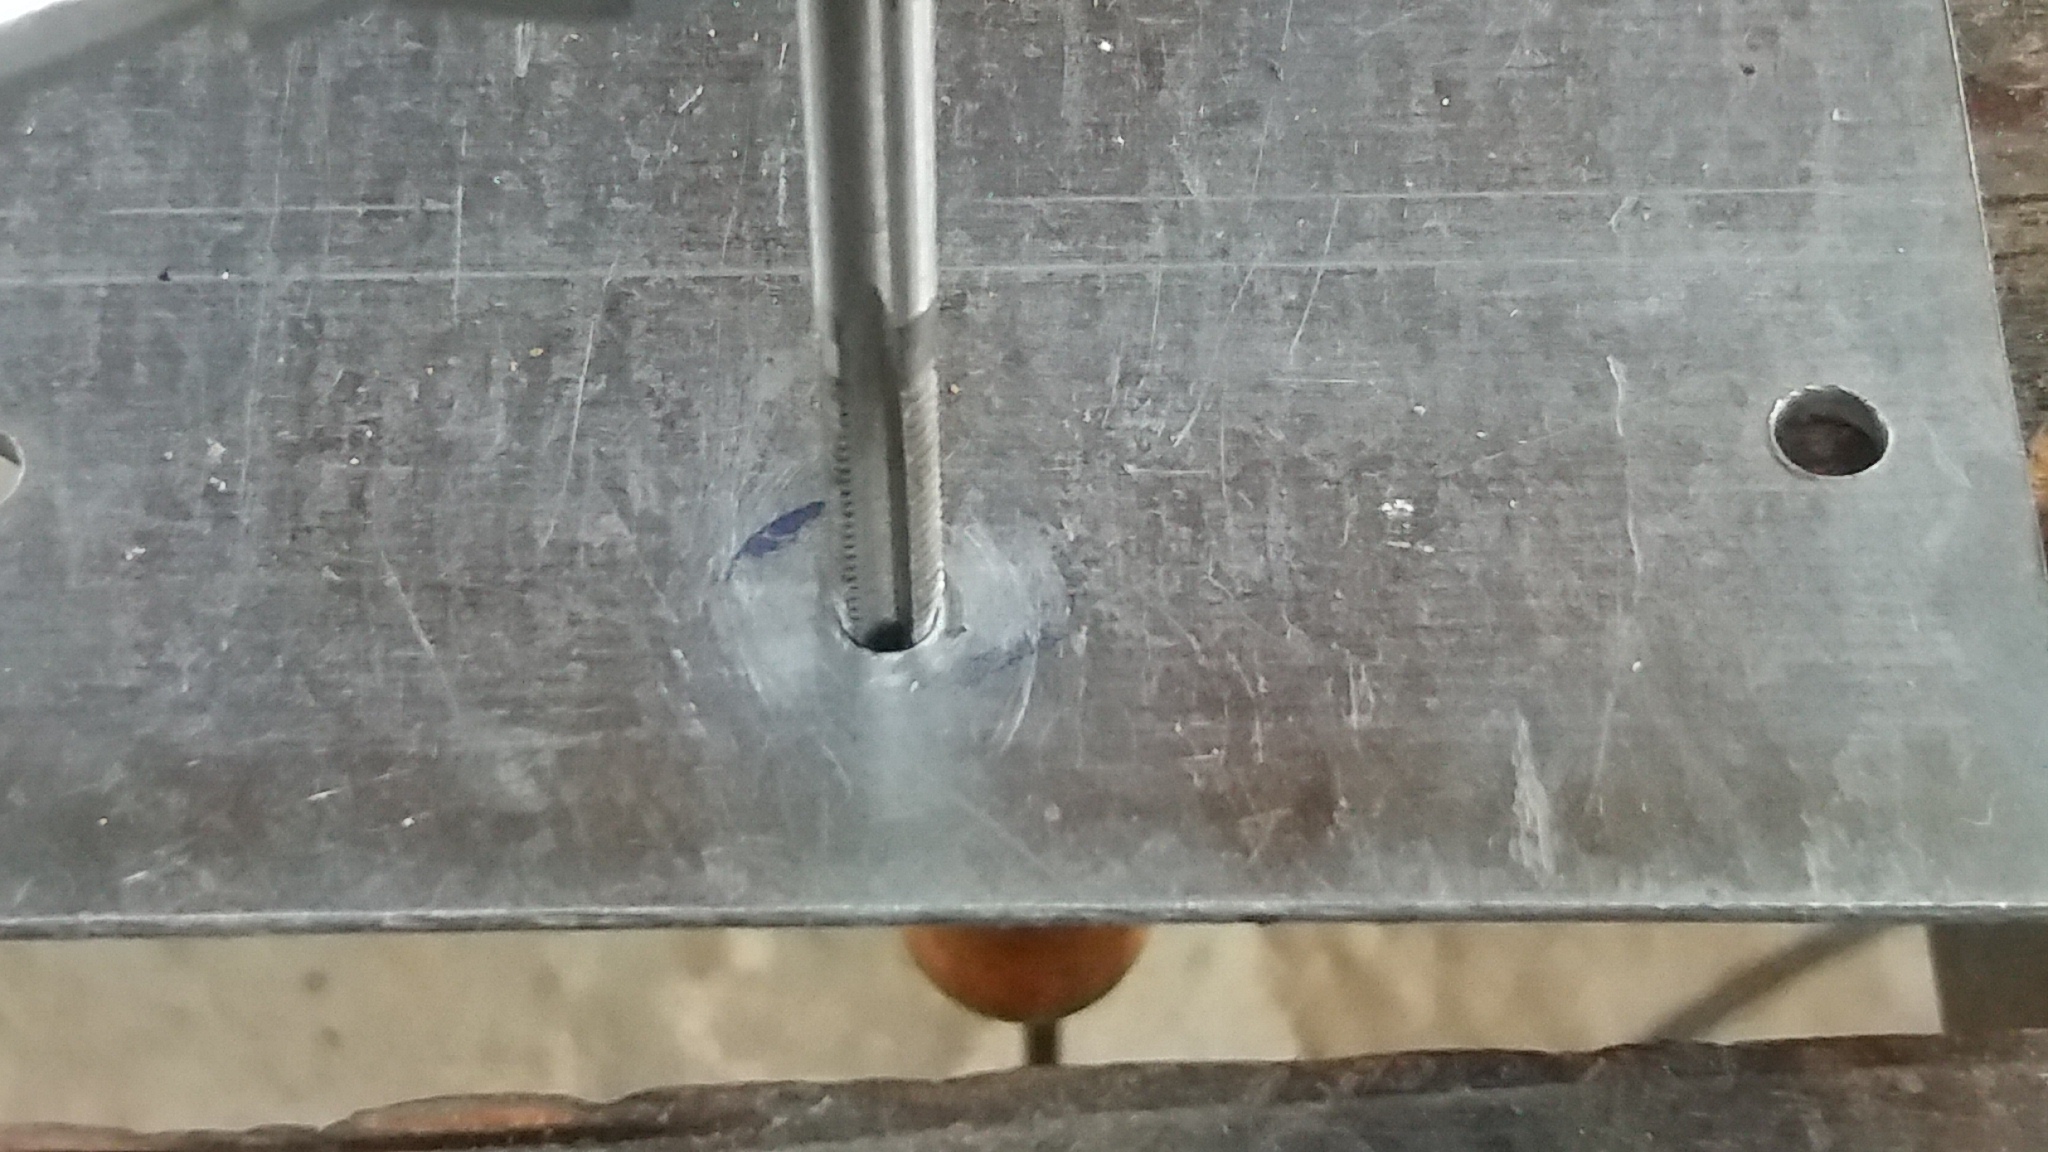
The next step is to open threads in the 3 side holes that served to
join the two plates;
5.0 mm threads were opened.
Head Assembly
3º step
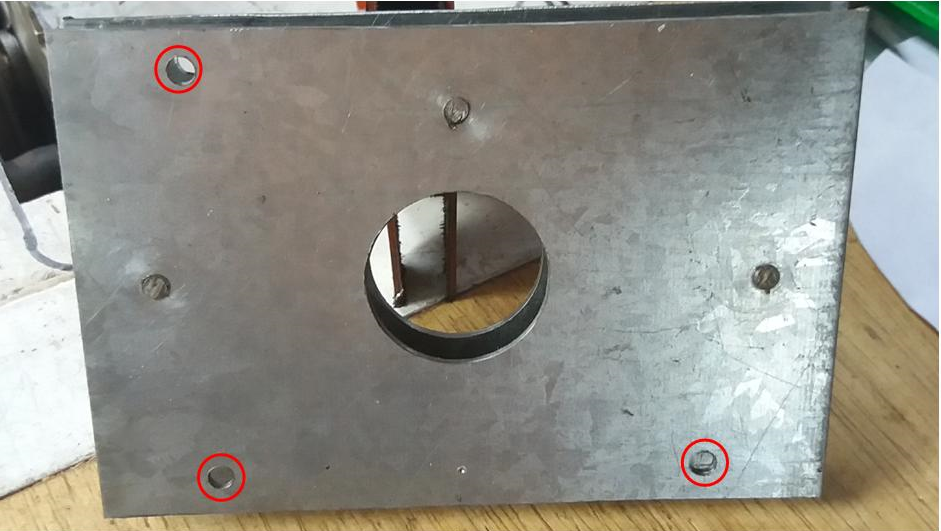
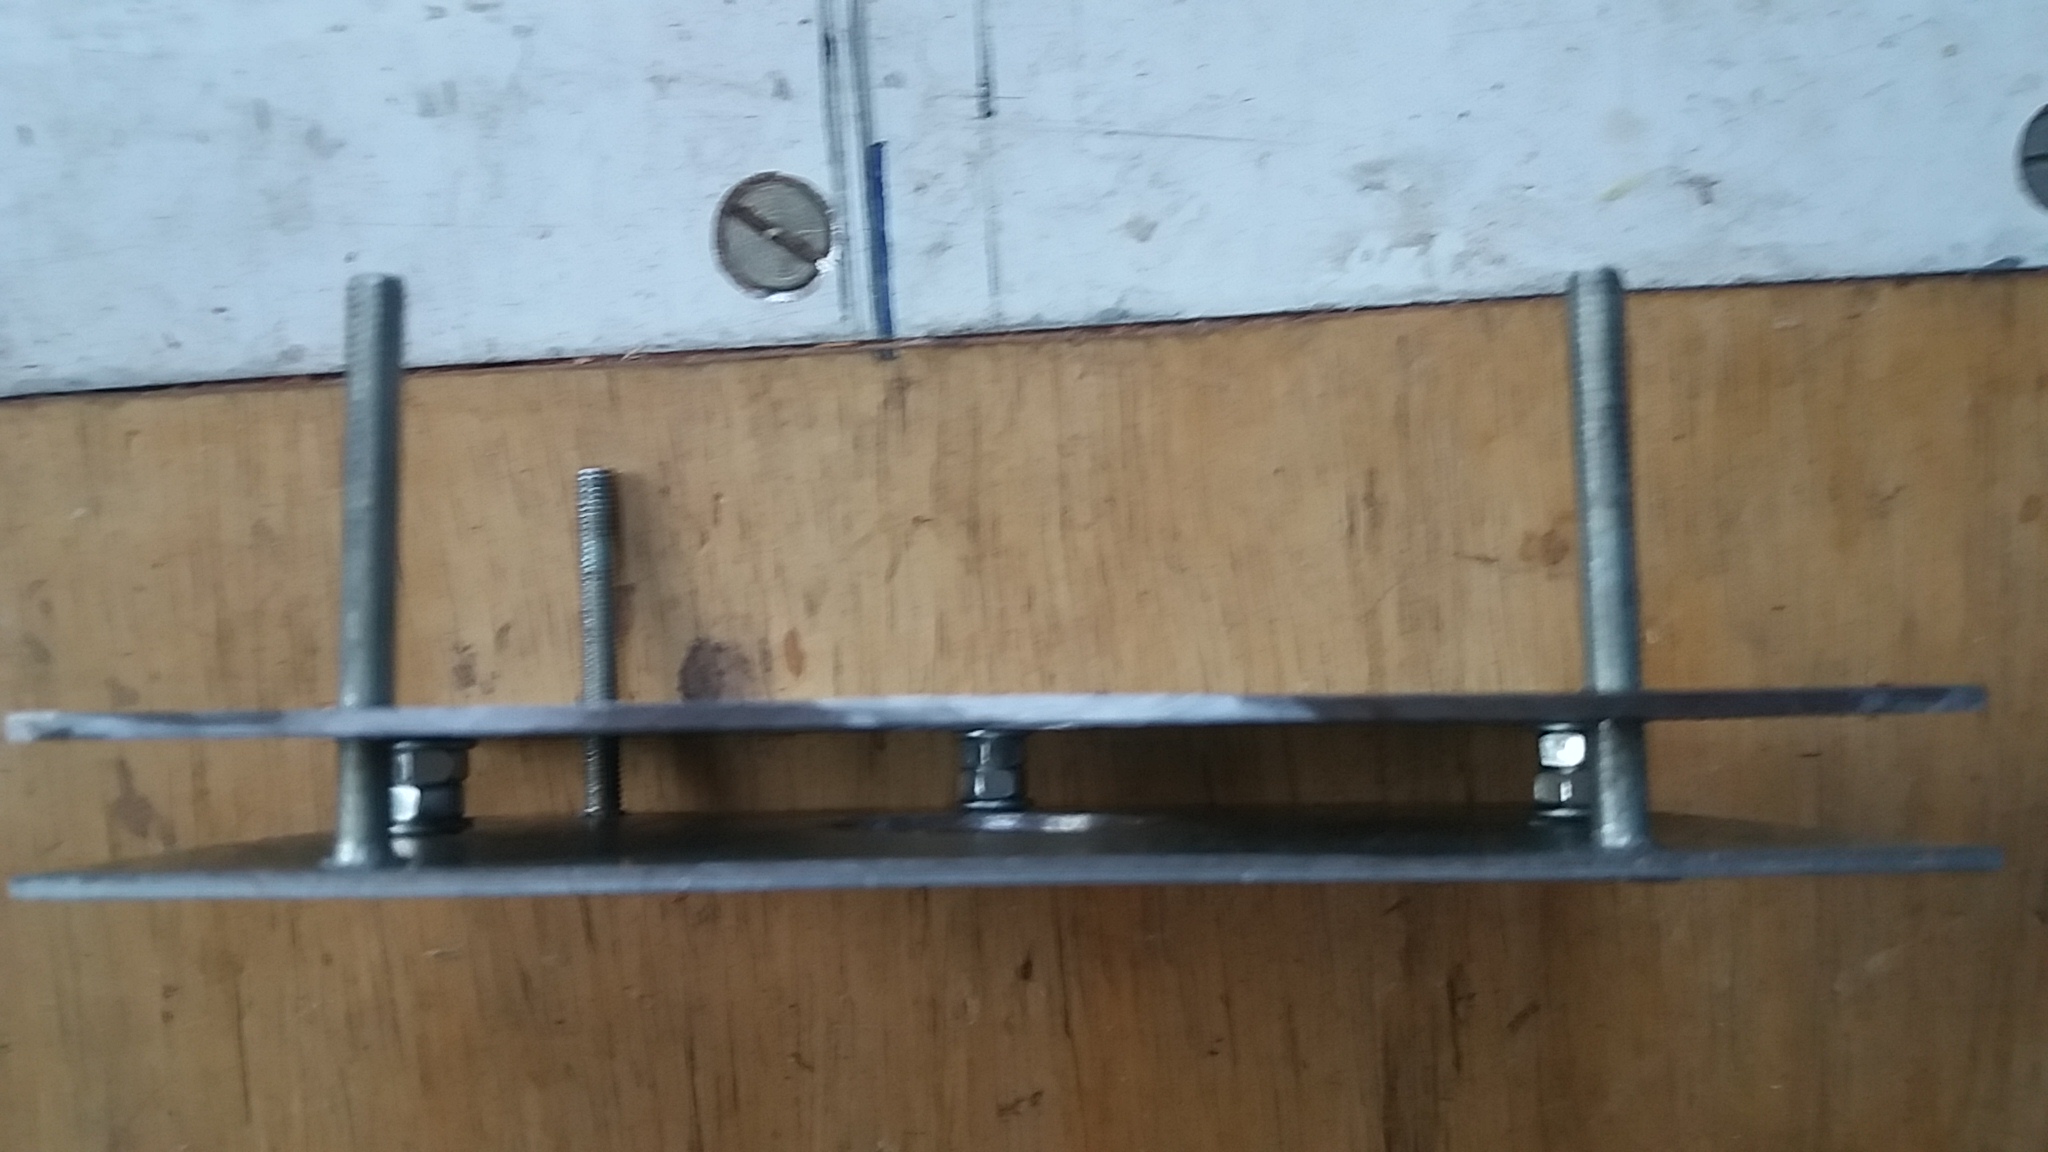
Using the base router as template were made 3 more holes. These served to fix the blade on the top plate; All holes were reamed allowing the screw heads to be at the same level as the plate; The photo shows the two plates already installed and the 3 holes for fixing the tupia. In these holes does not need a thread.
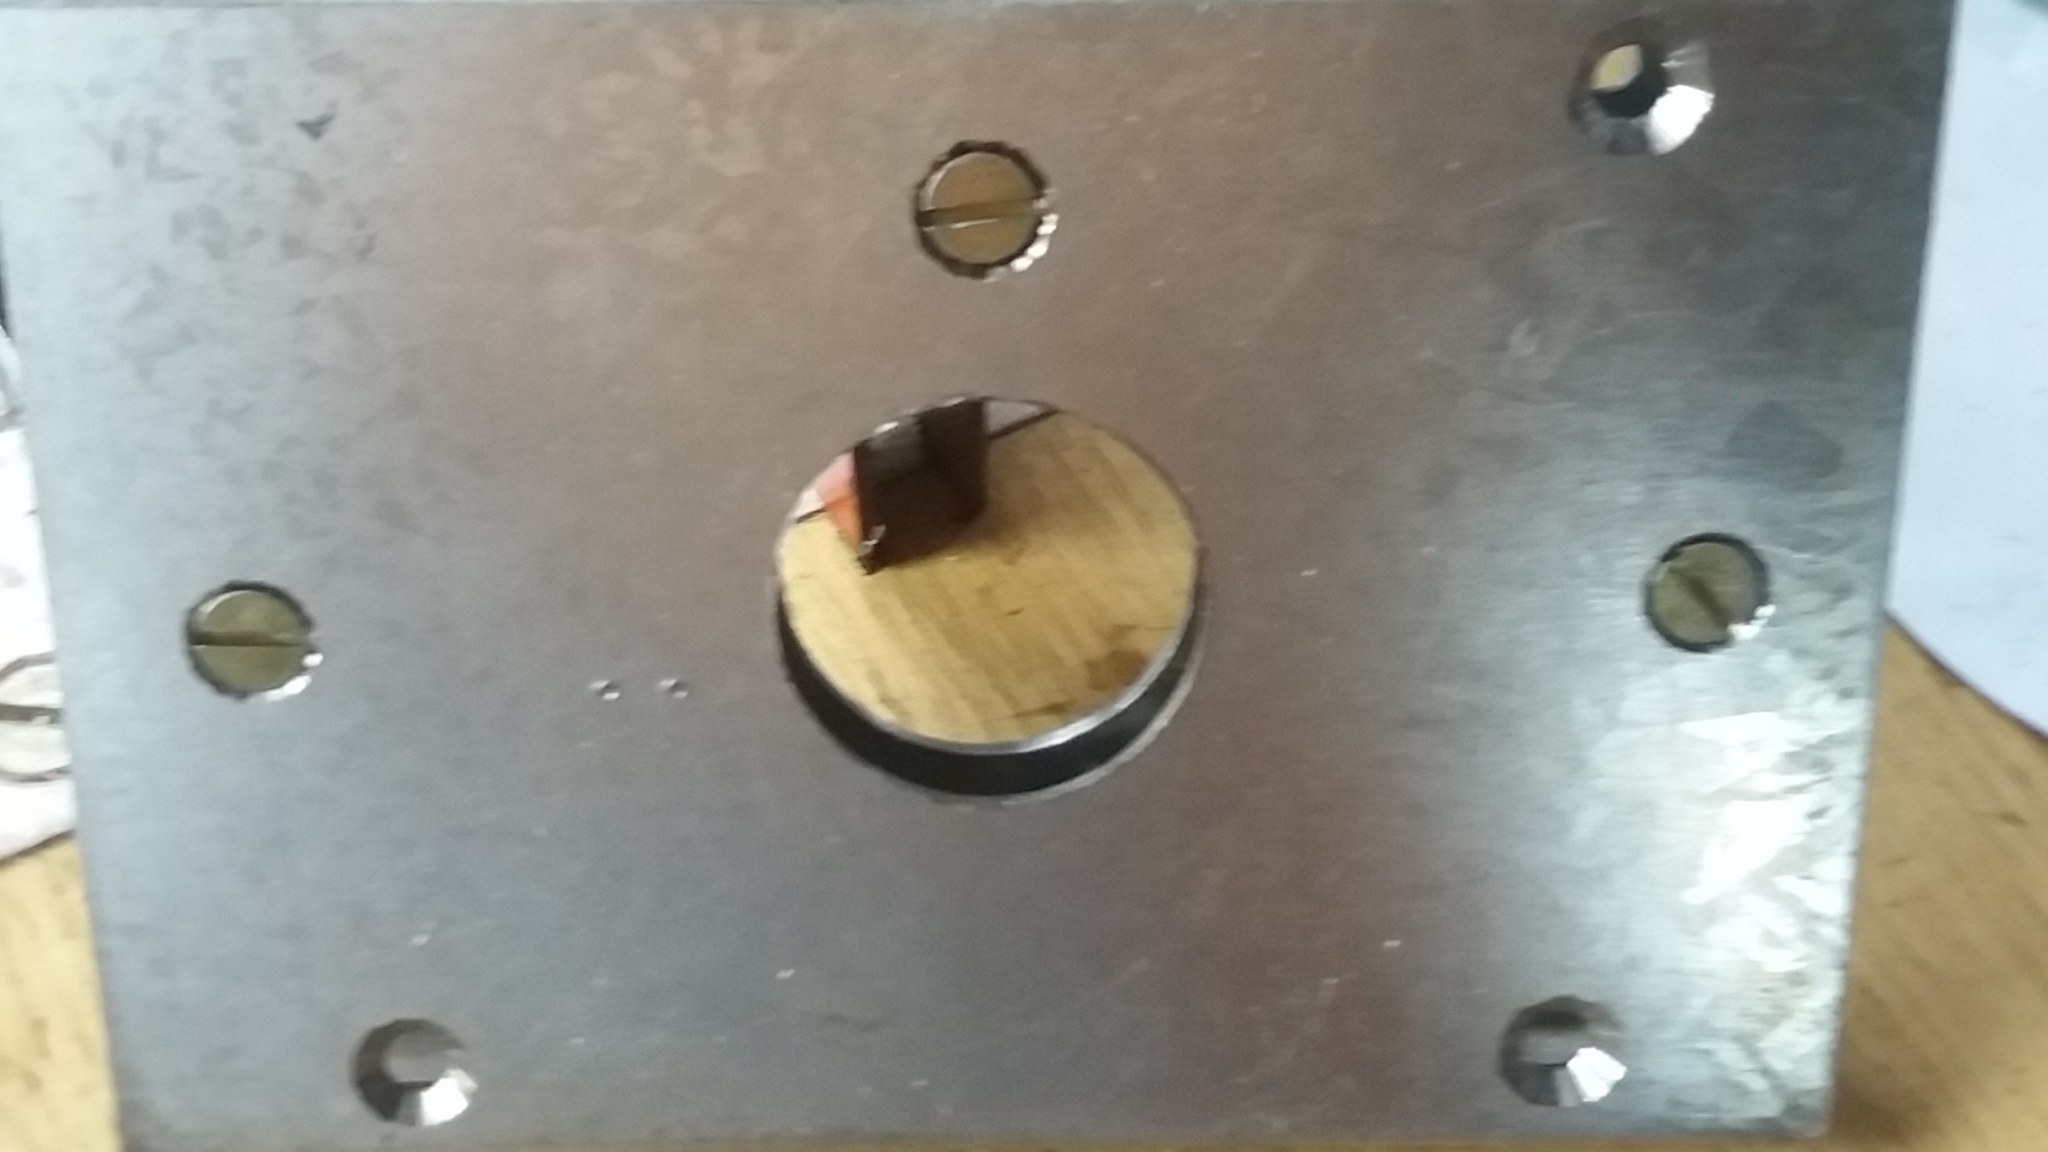
Foto 1:Bottom view;
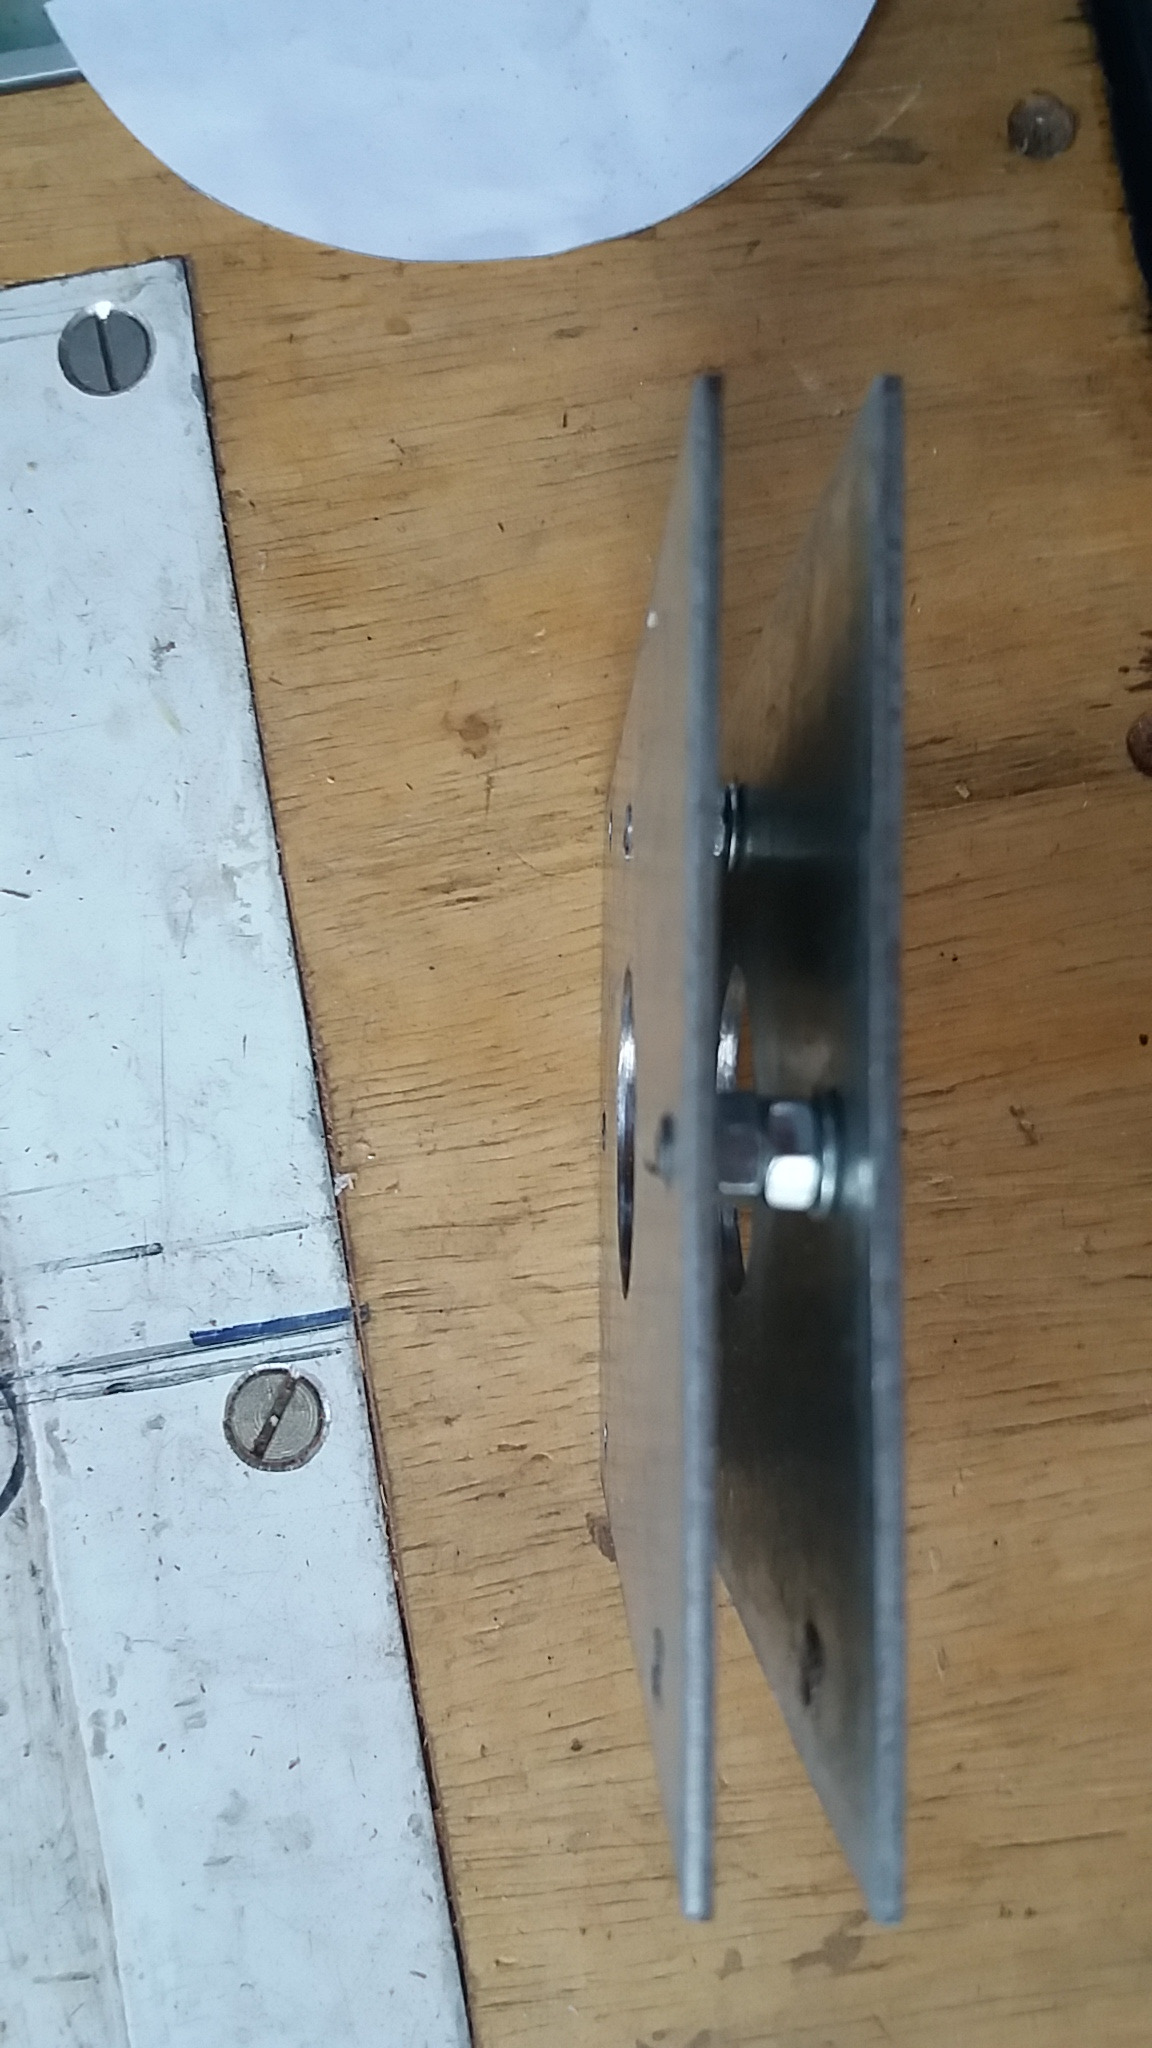
Note that a sequence of (1) two washer, (2) nuts and one (1) washer (W | NN | W) were placed between the upper and lower plate.
Foto 2:Profile view;
Foto 3:Top view(note the holes for fixing the router );
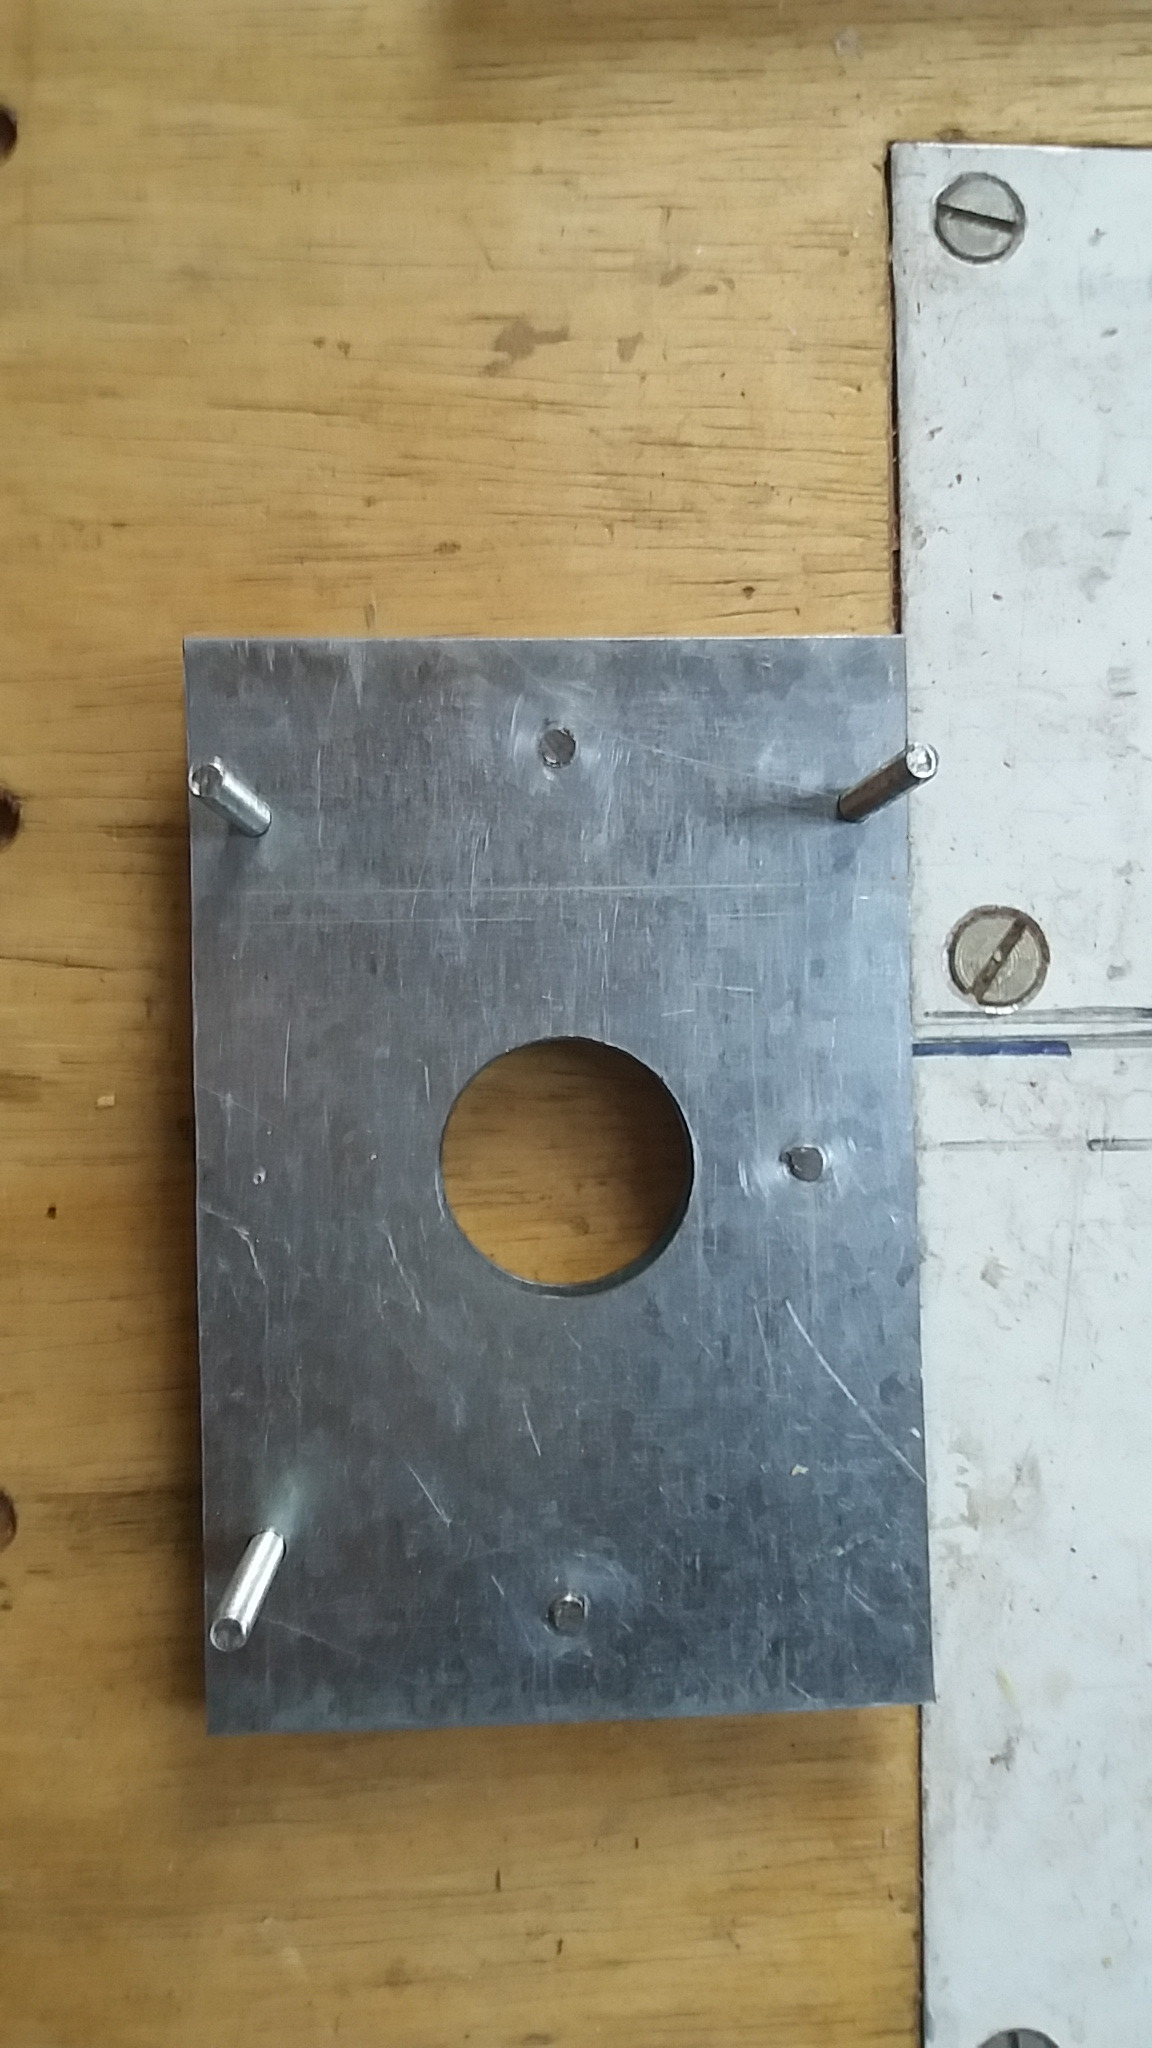
Foto 4:Top view with the screws to secure the router;
Foto 5:Profile view with the screws to secure the router
Arm Preparation
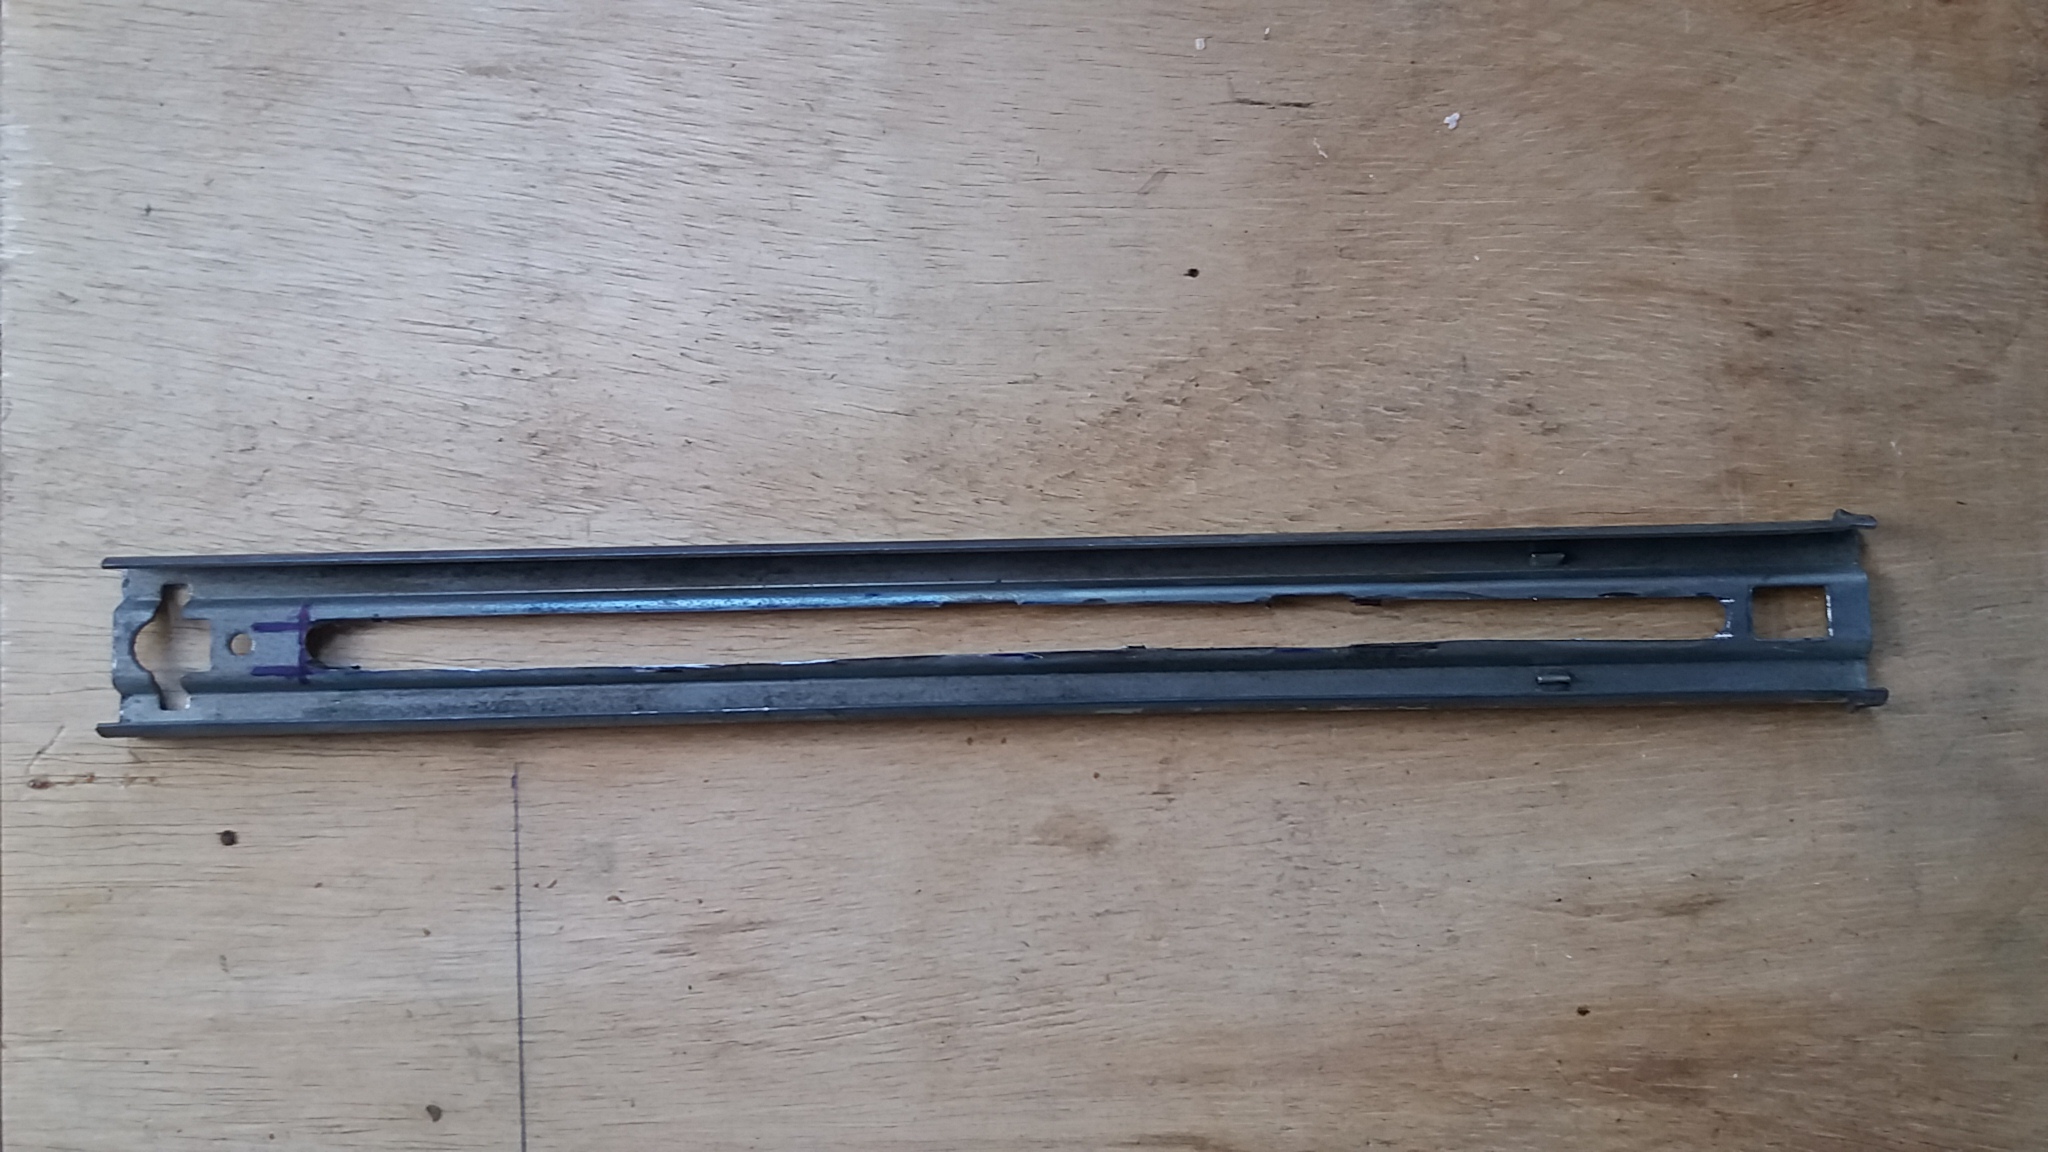
1º step
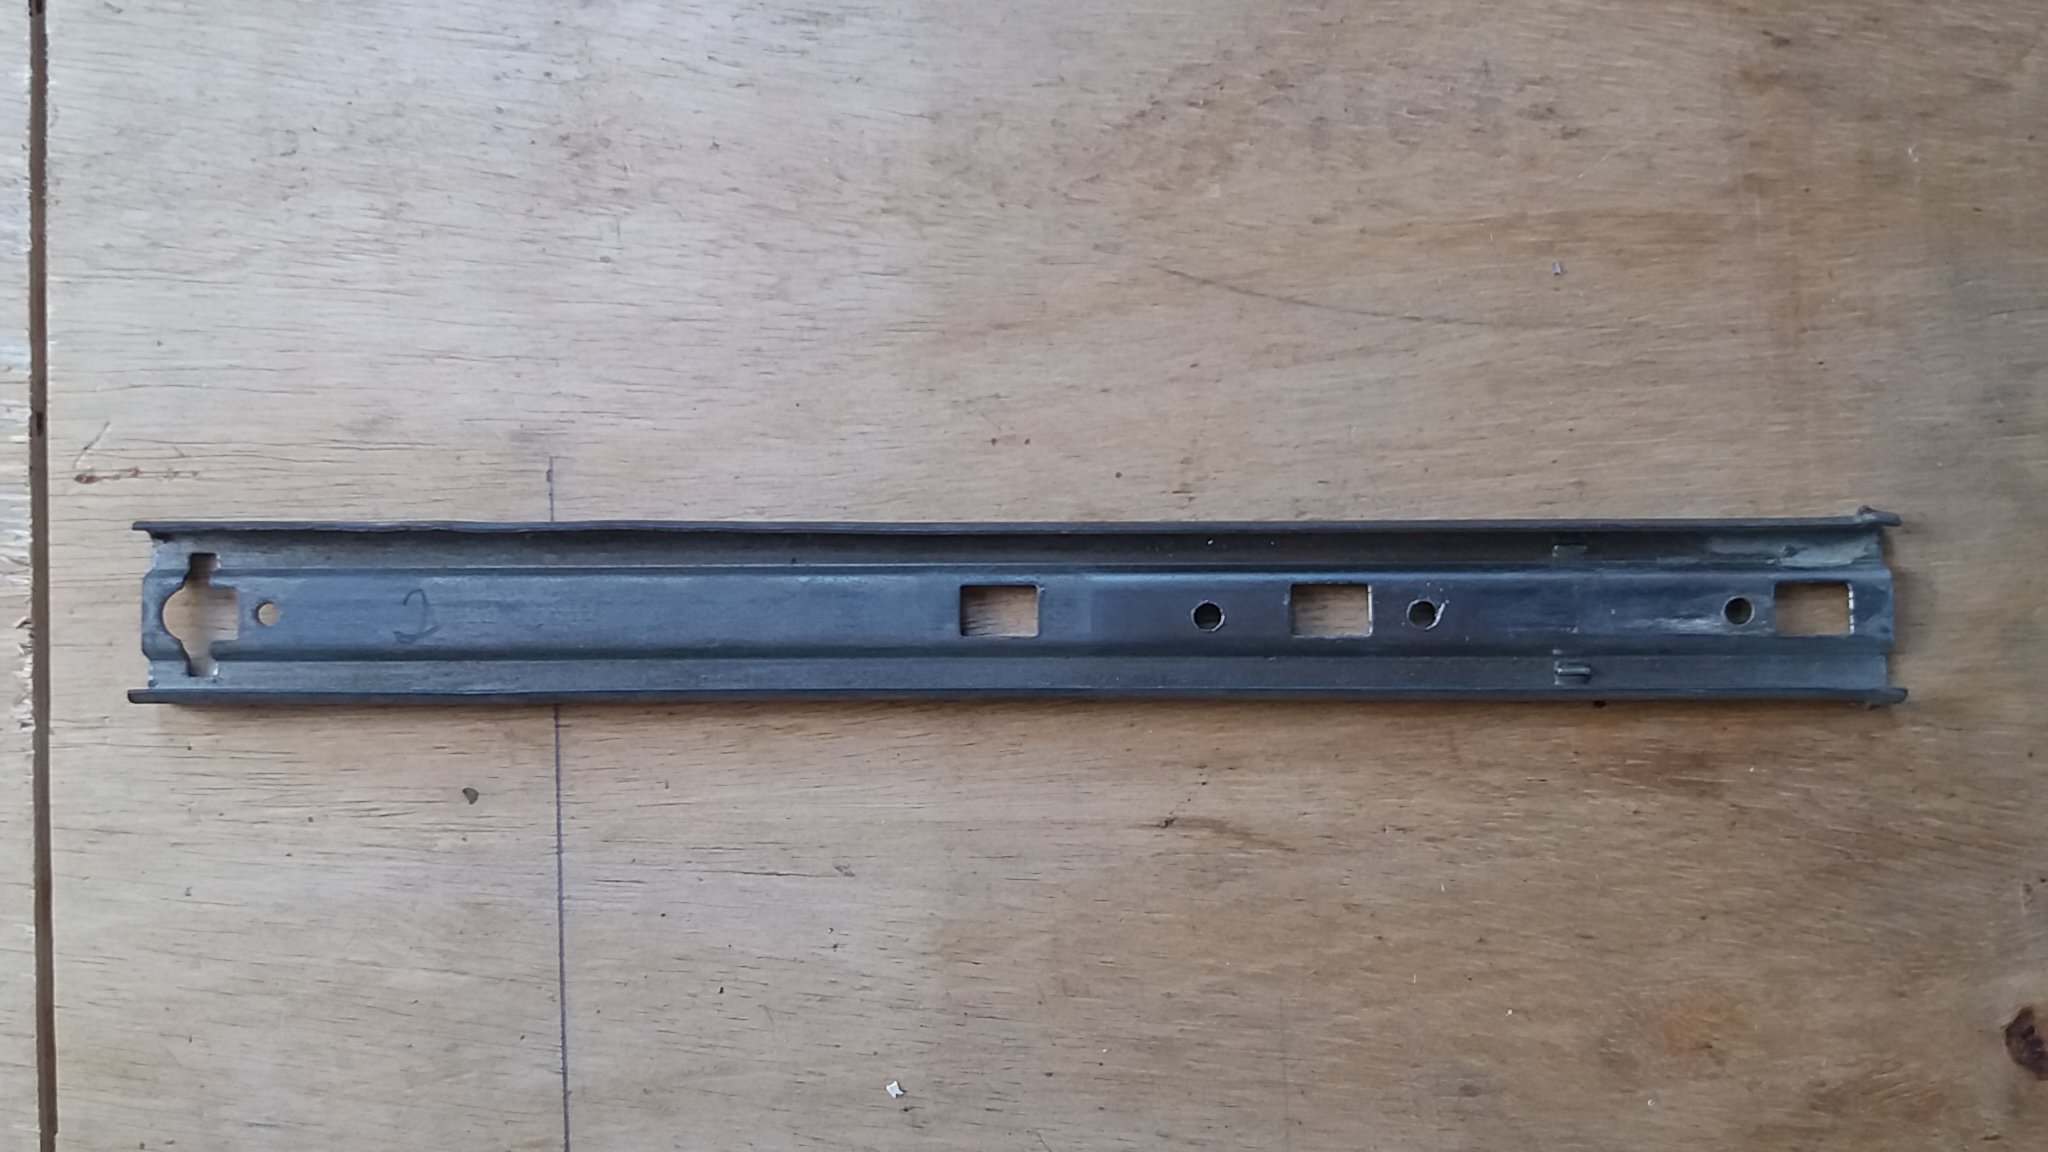
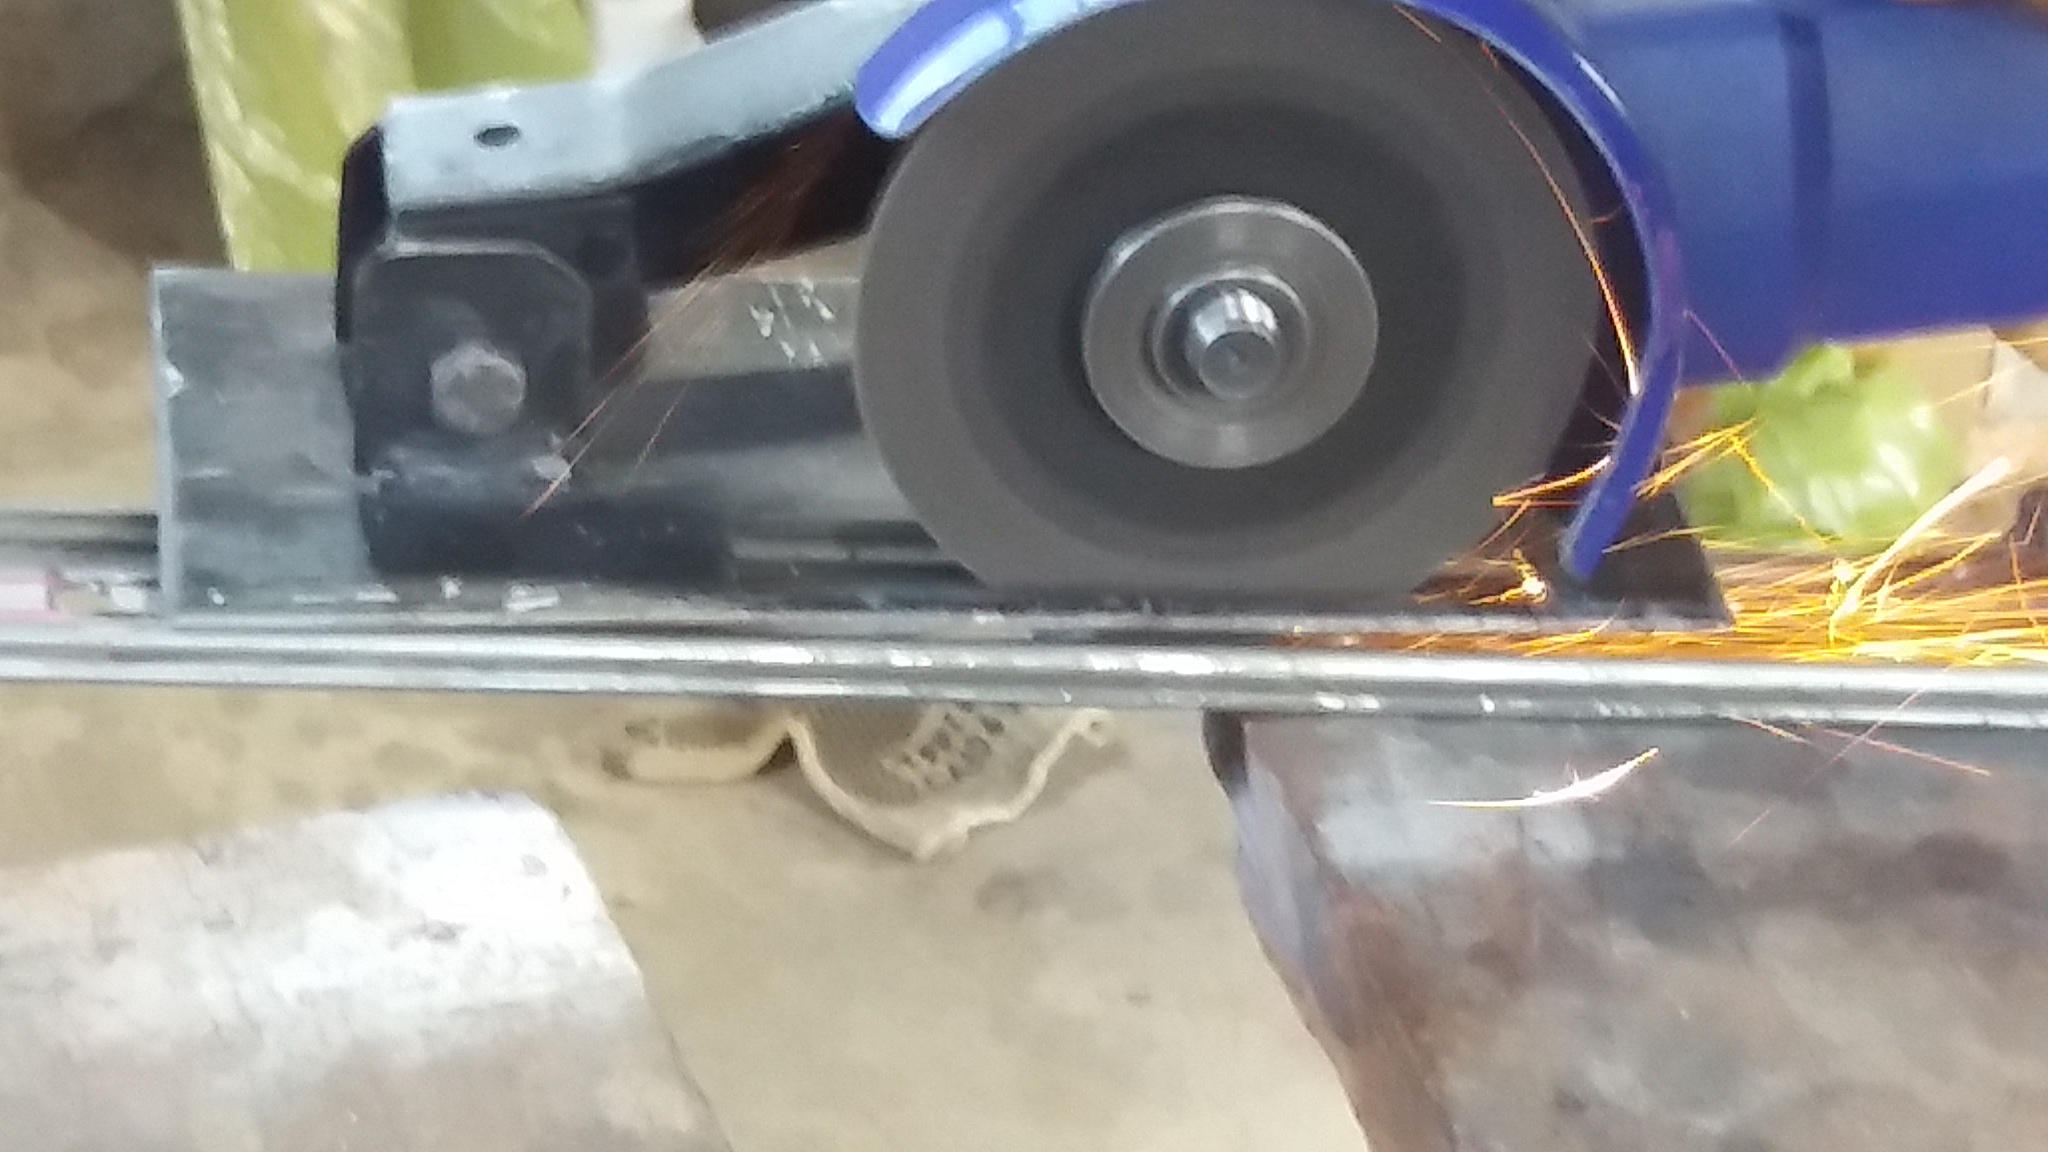
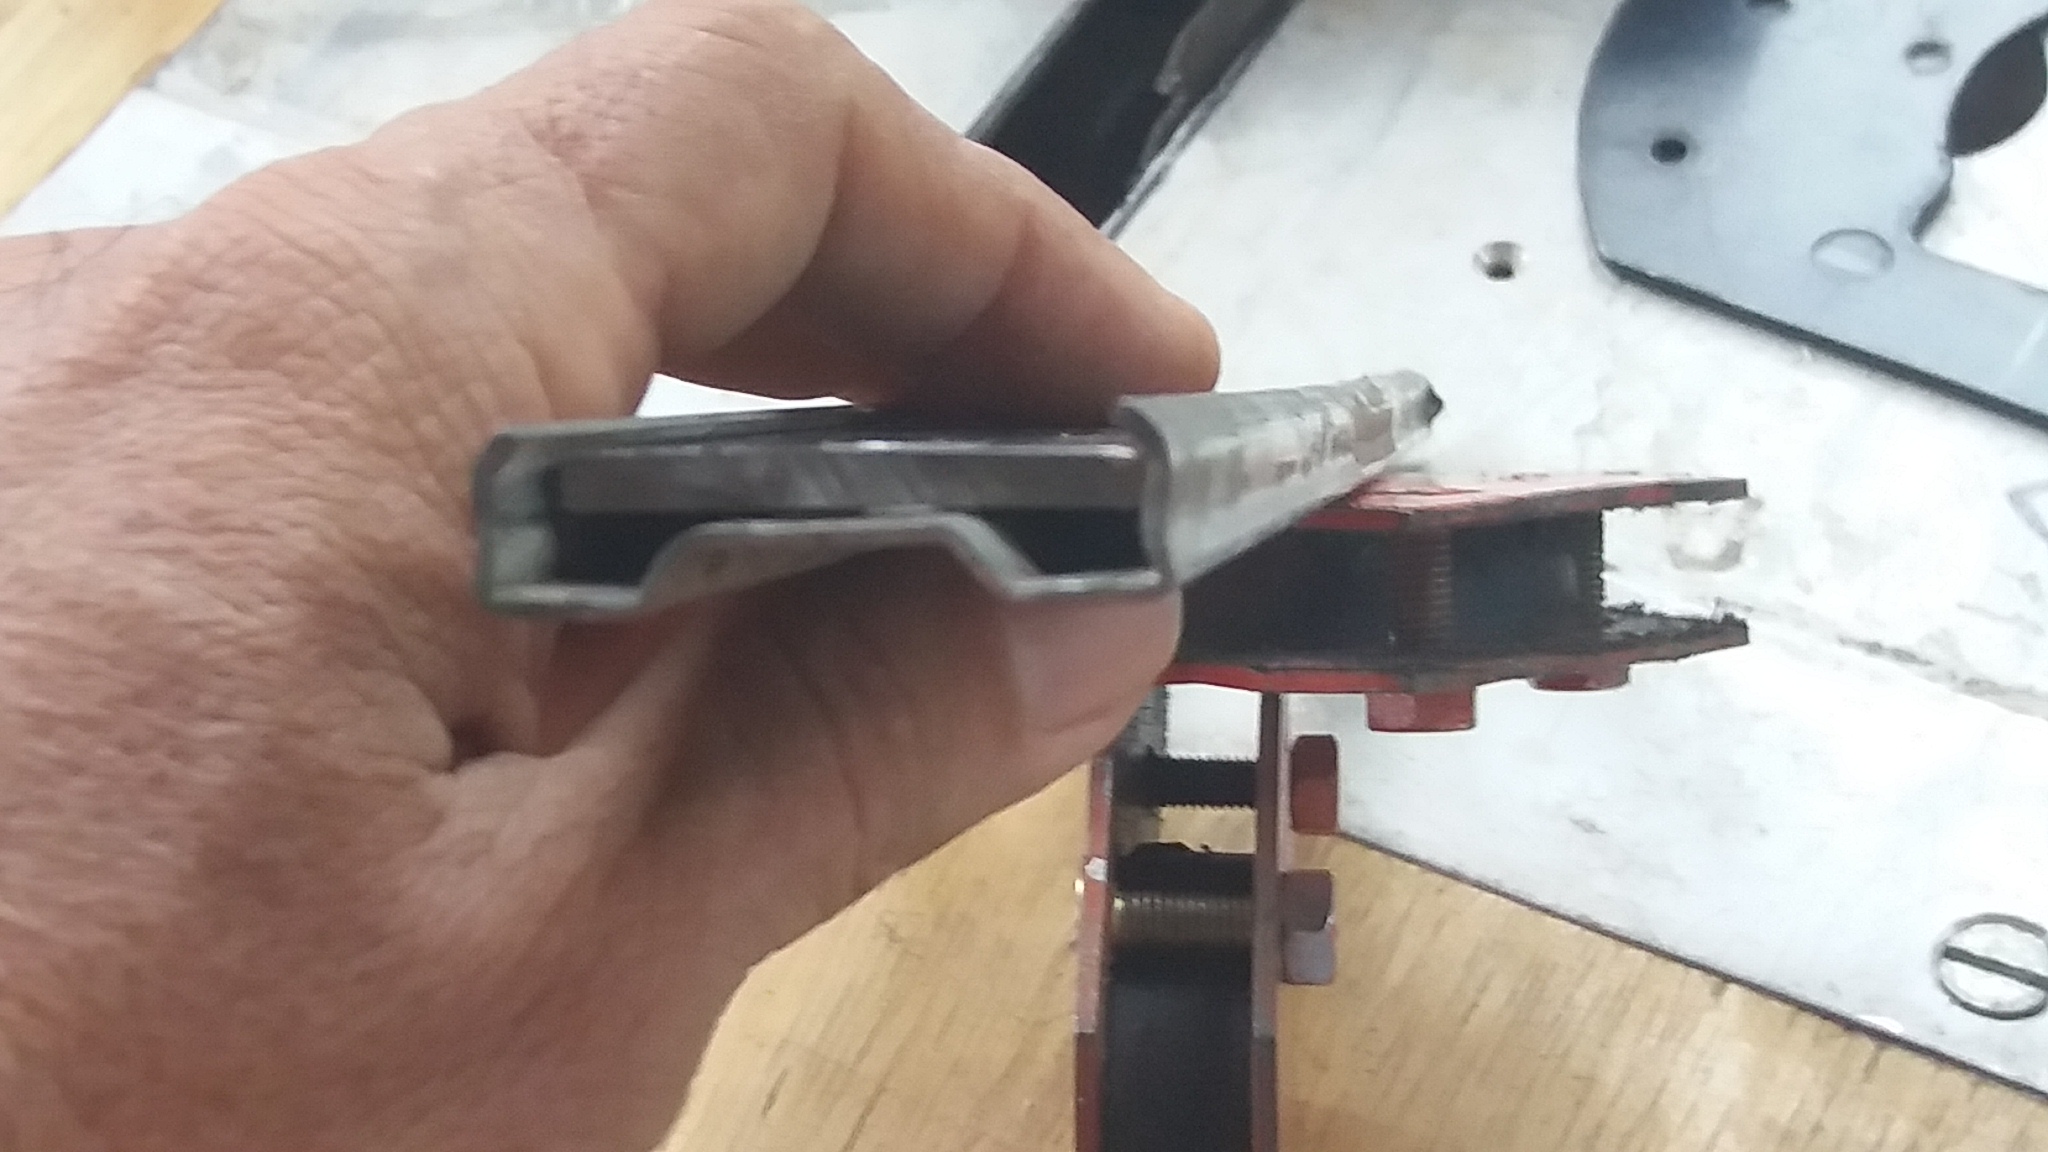
Using the outermost part of a telescope type rail as arm. This piece measures 35 cm;
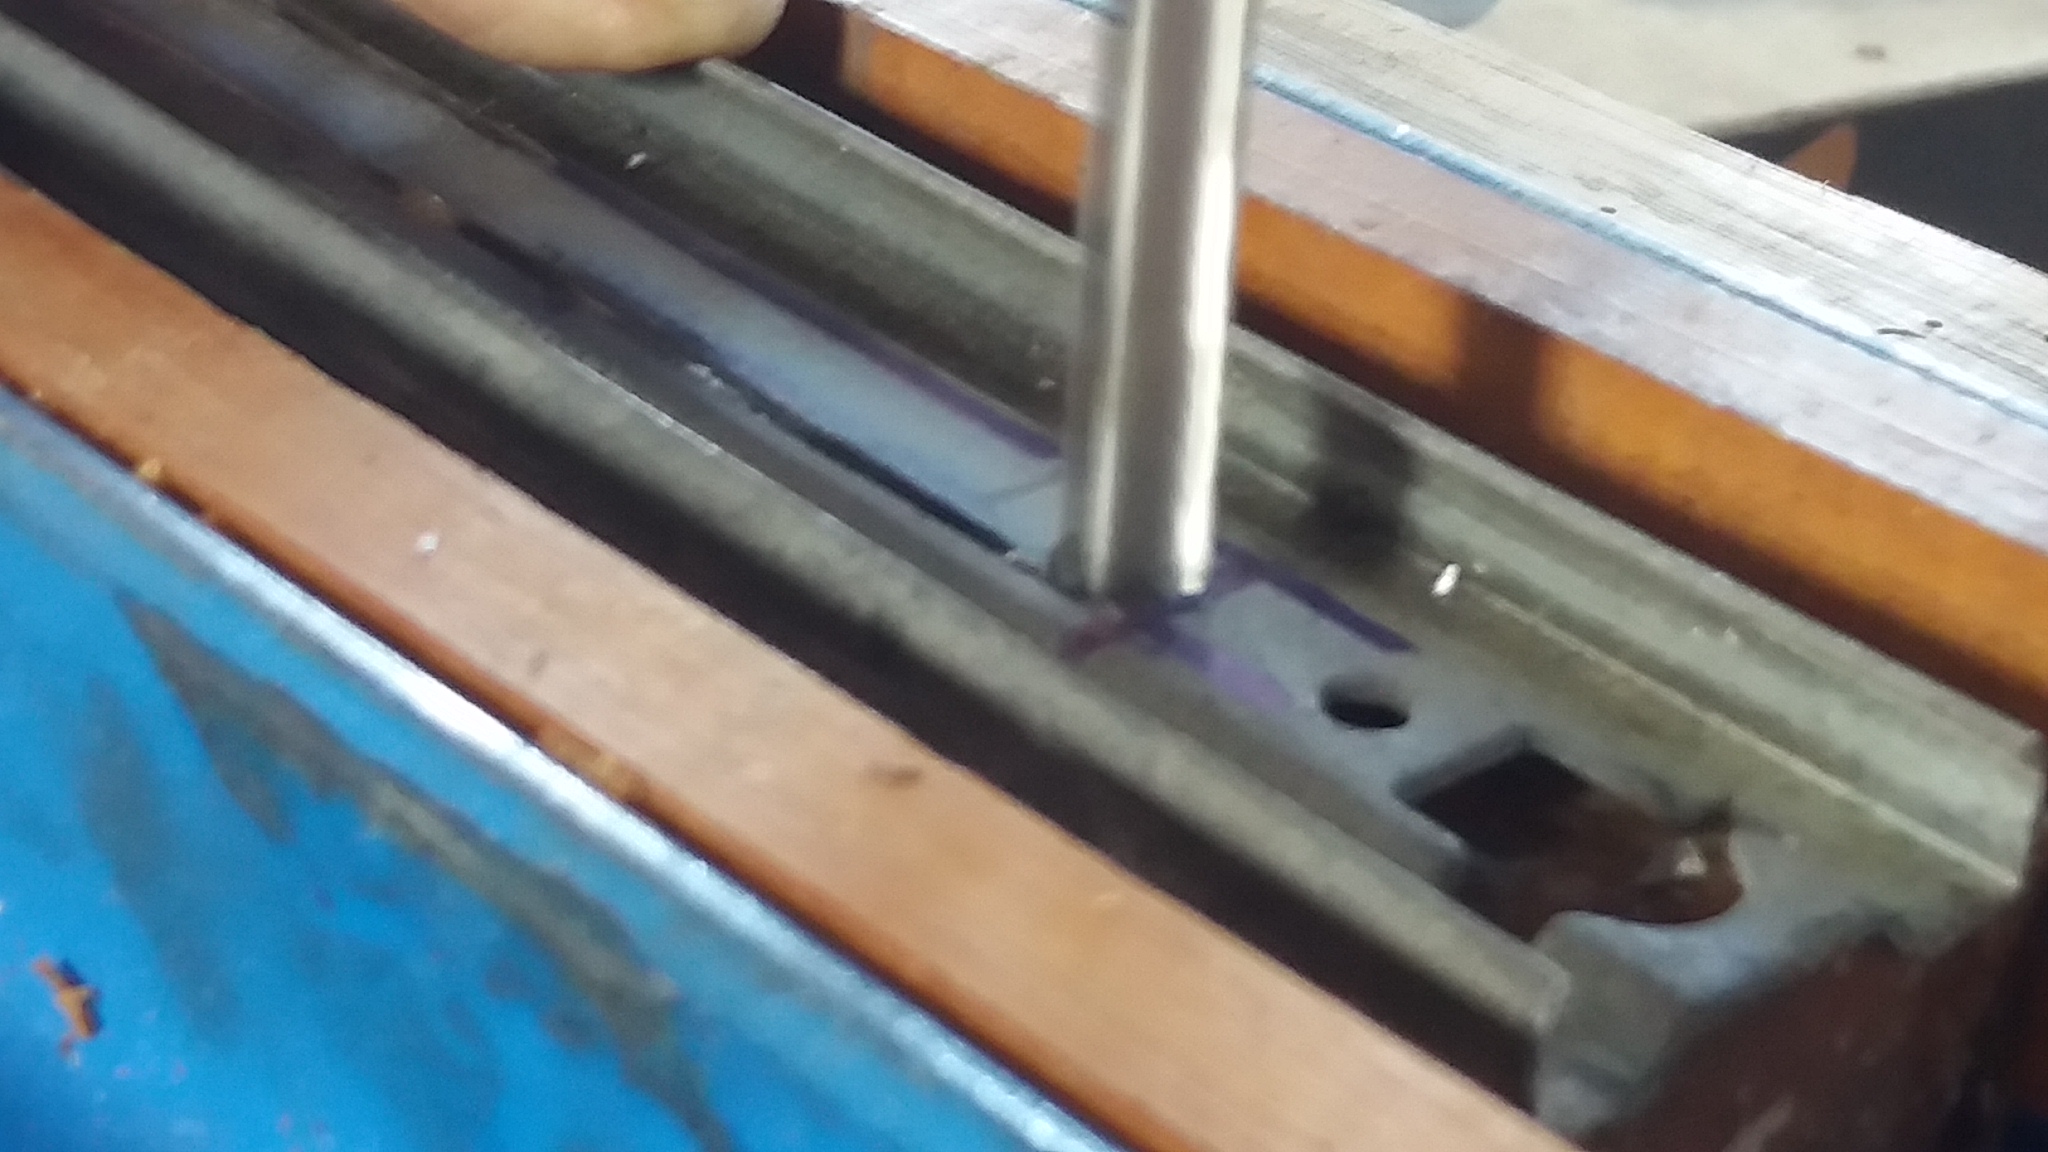
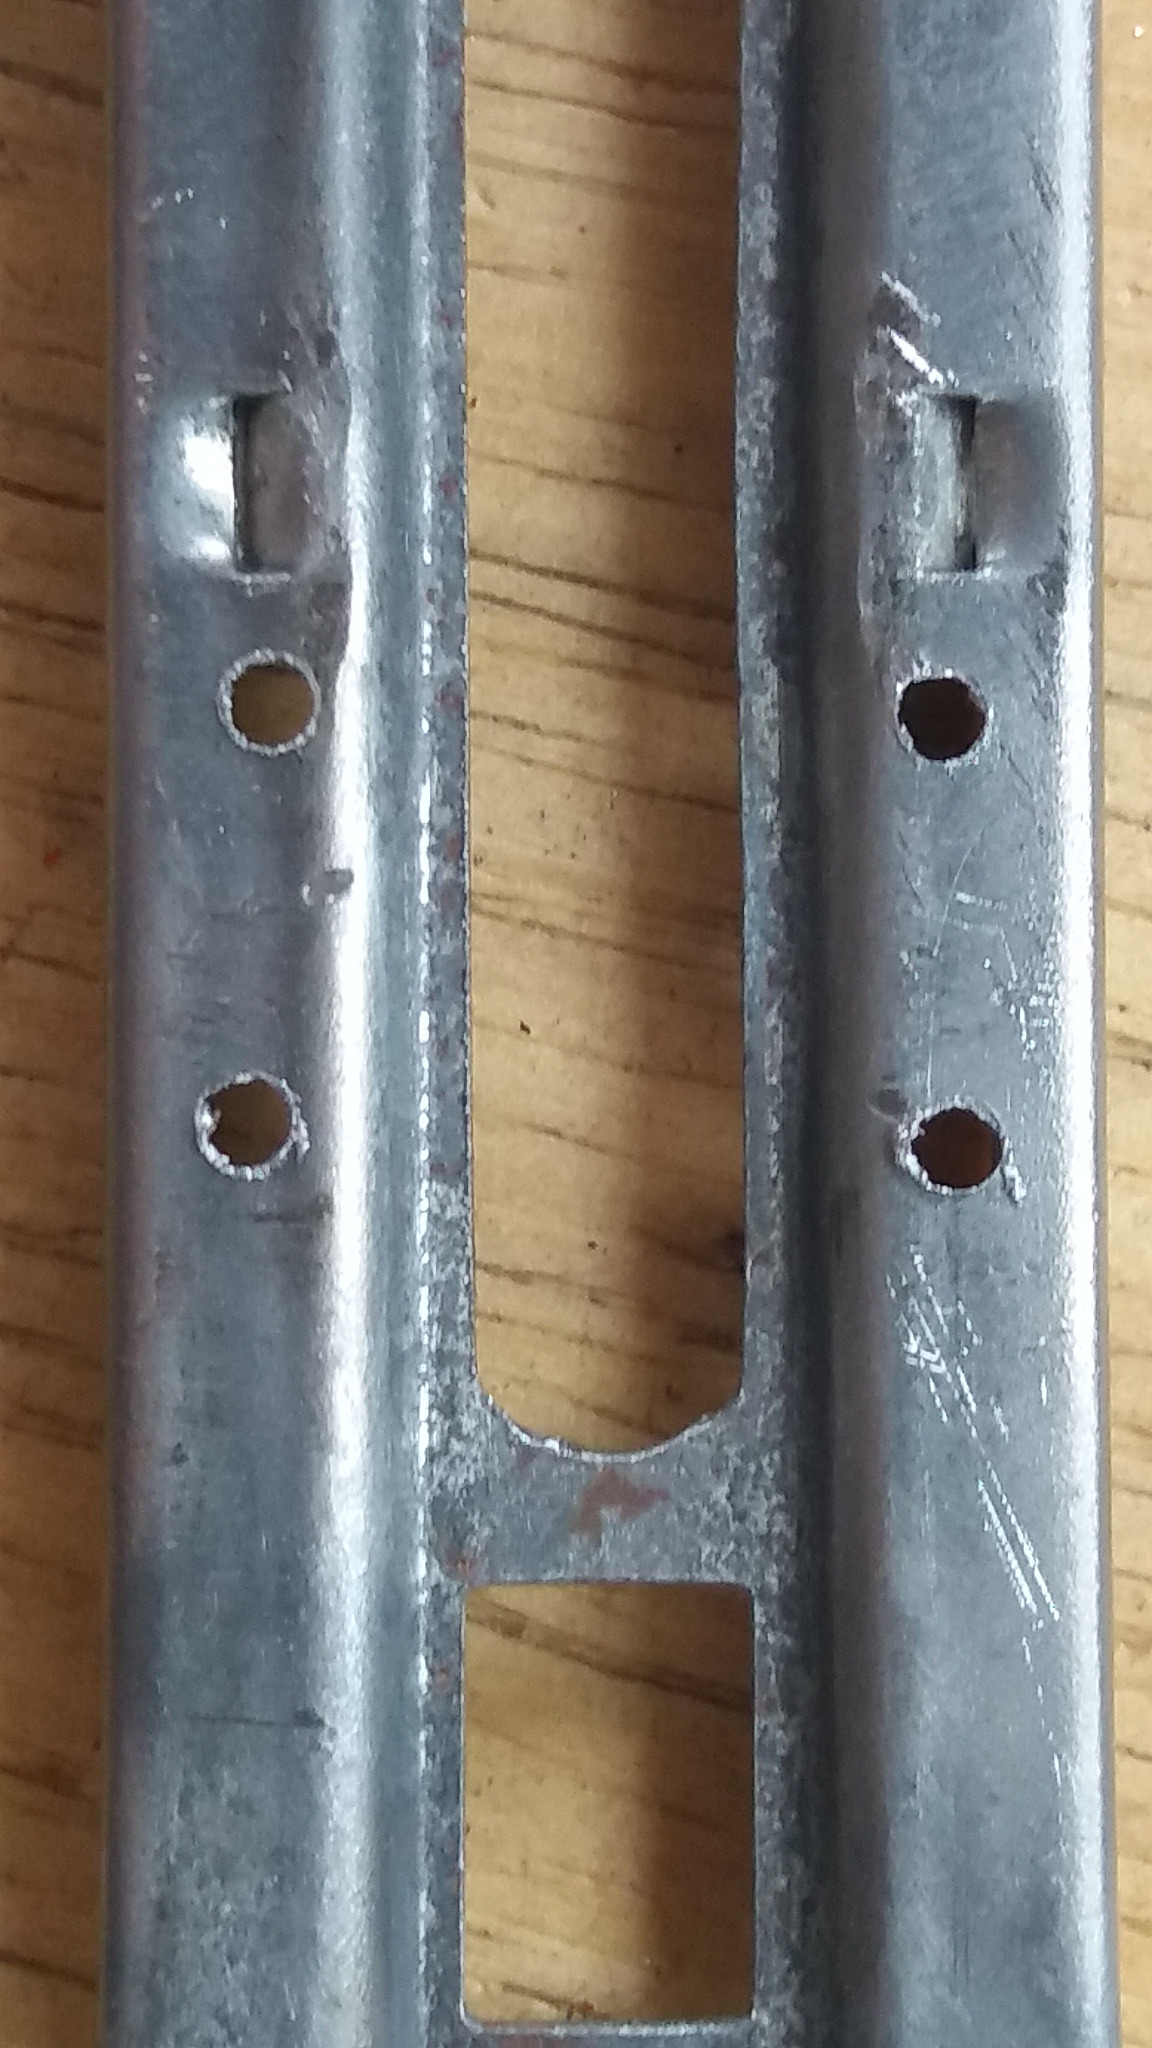
Open a slot in the longitudinal direction in the center part;
At the end we will have part as of the photo.
Arm Preparation
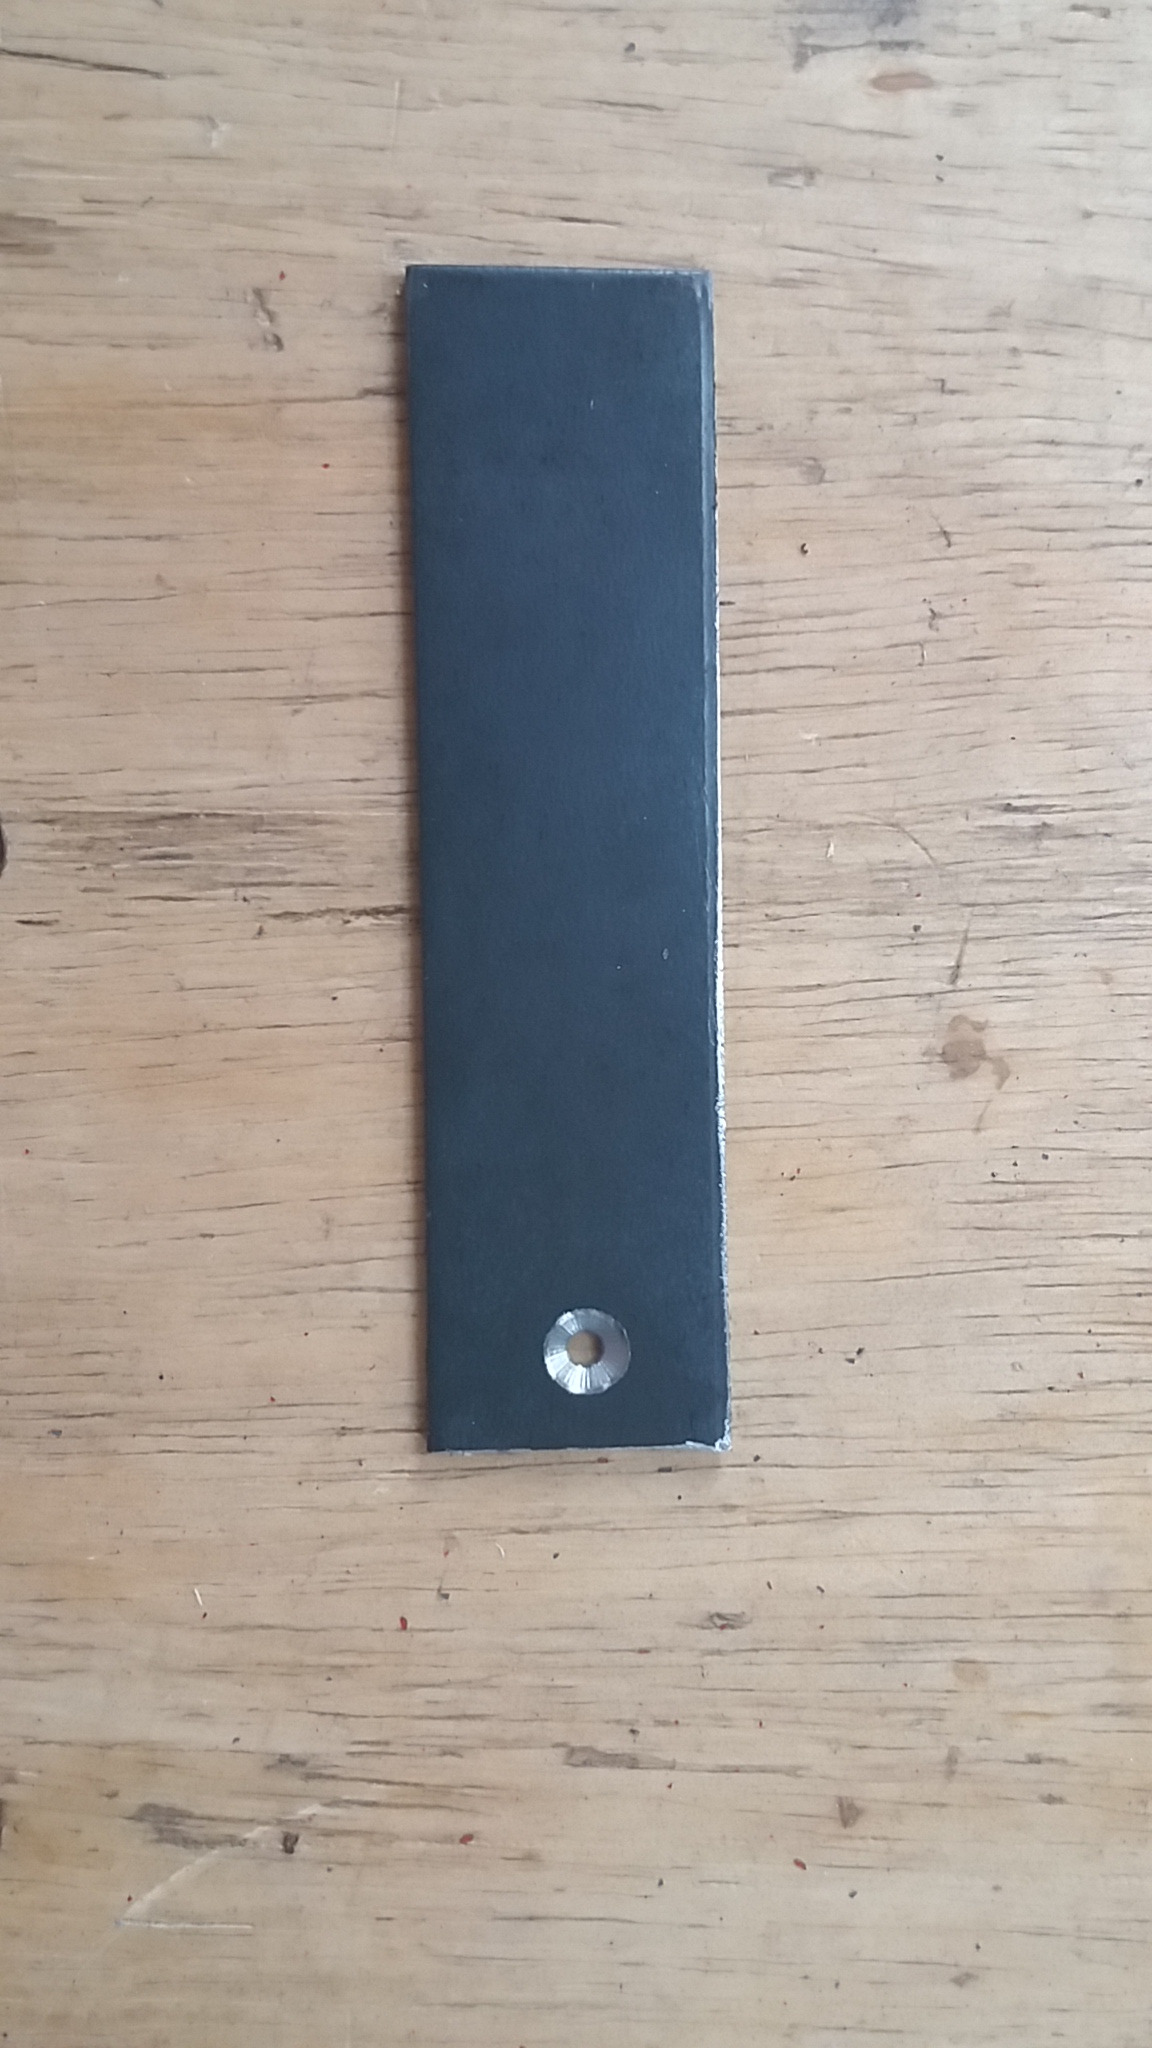
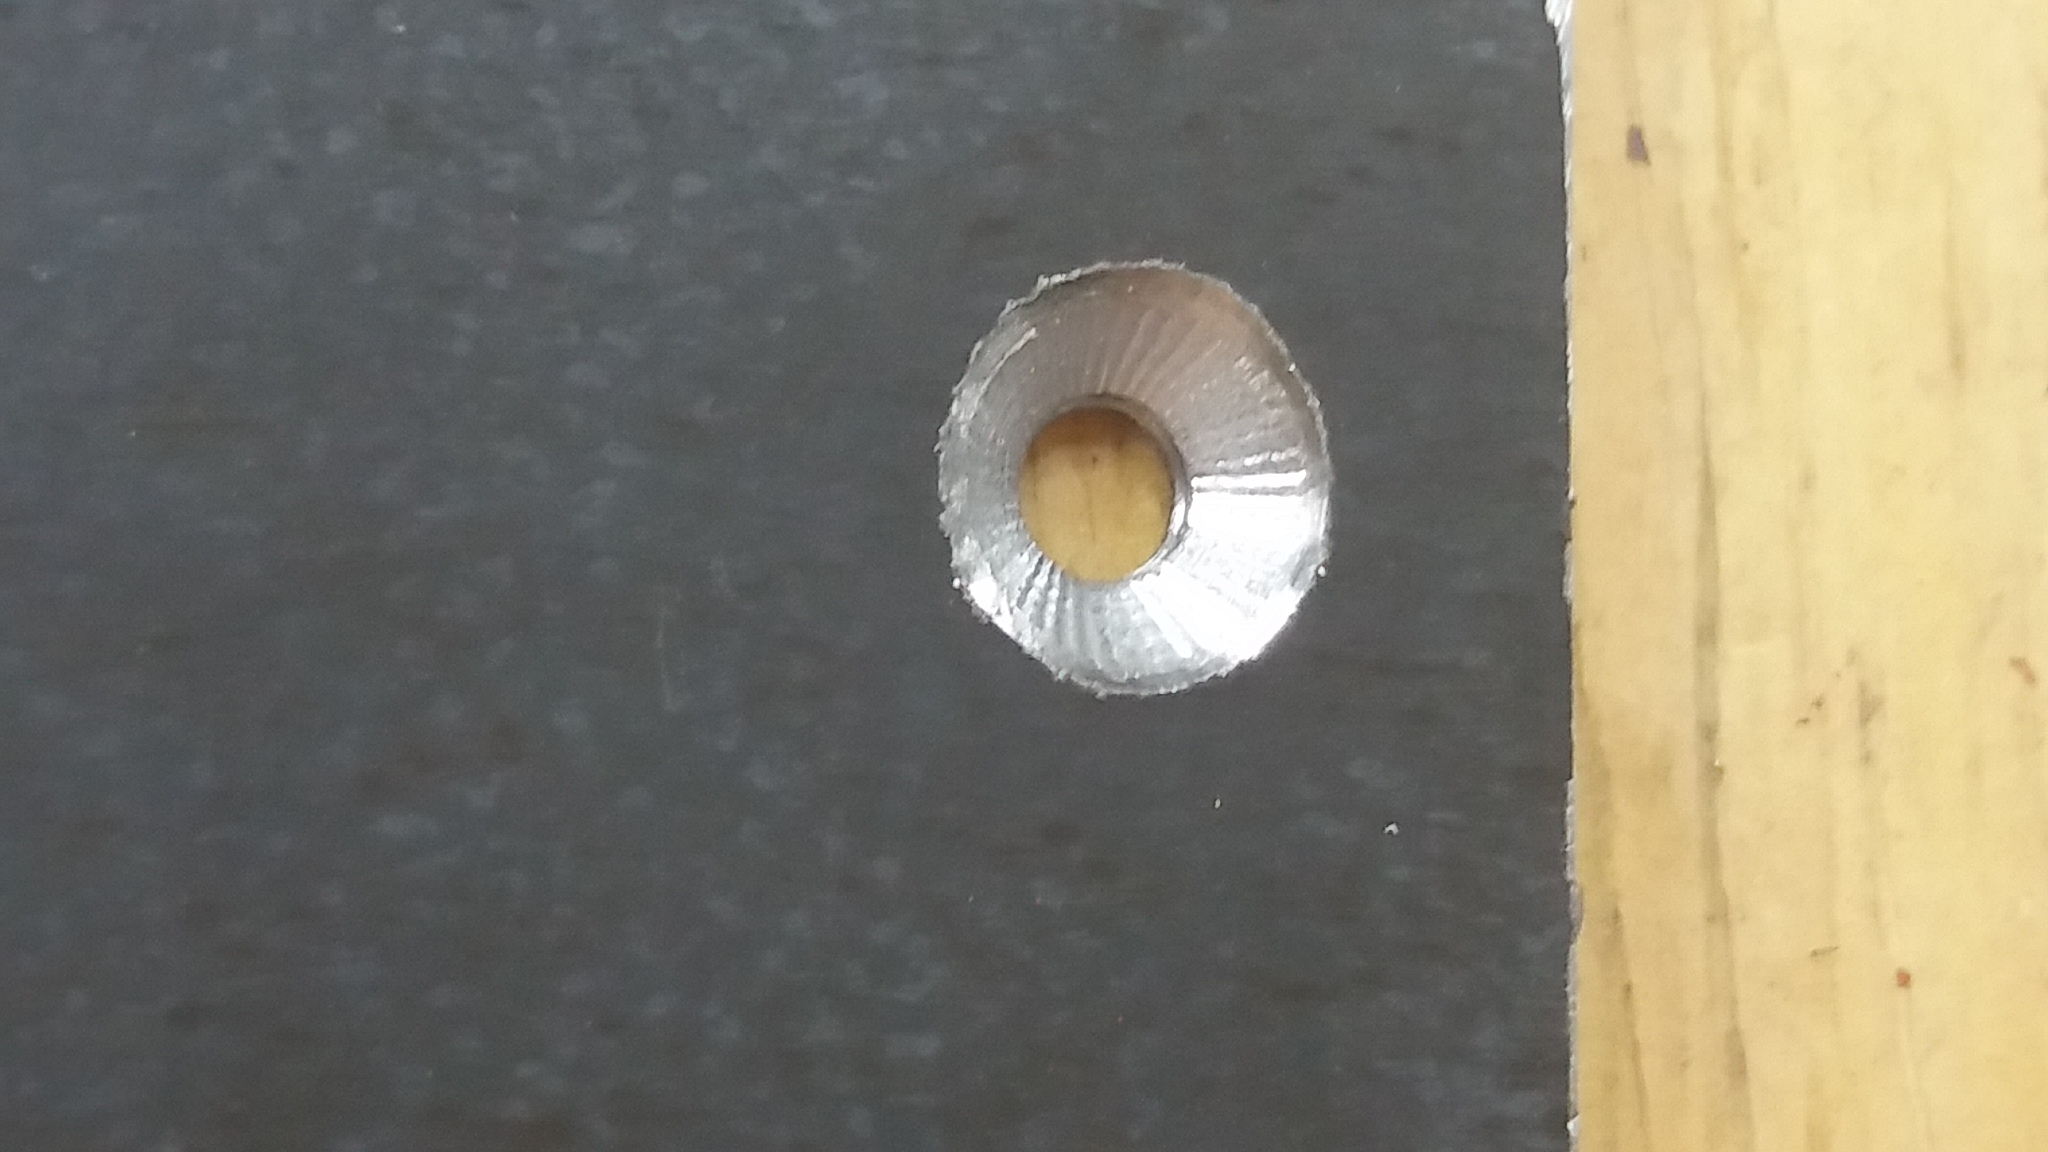
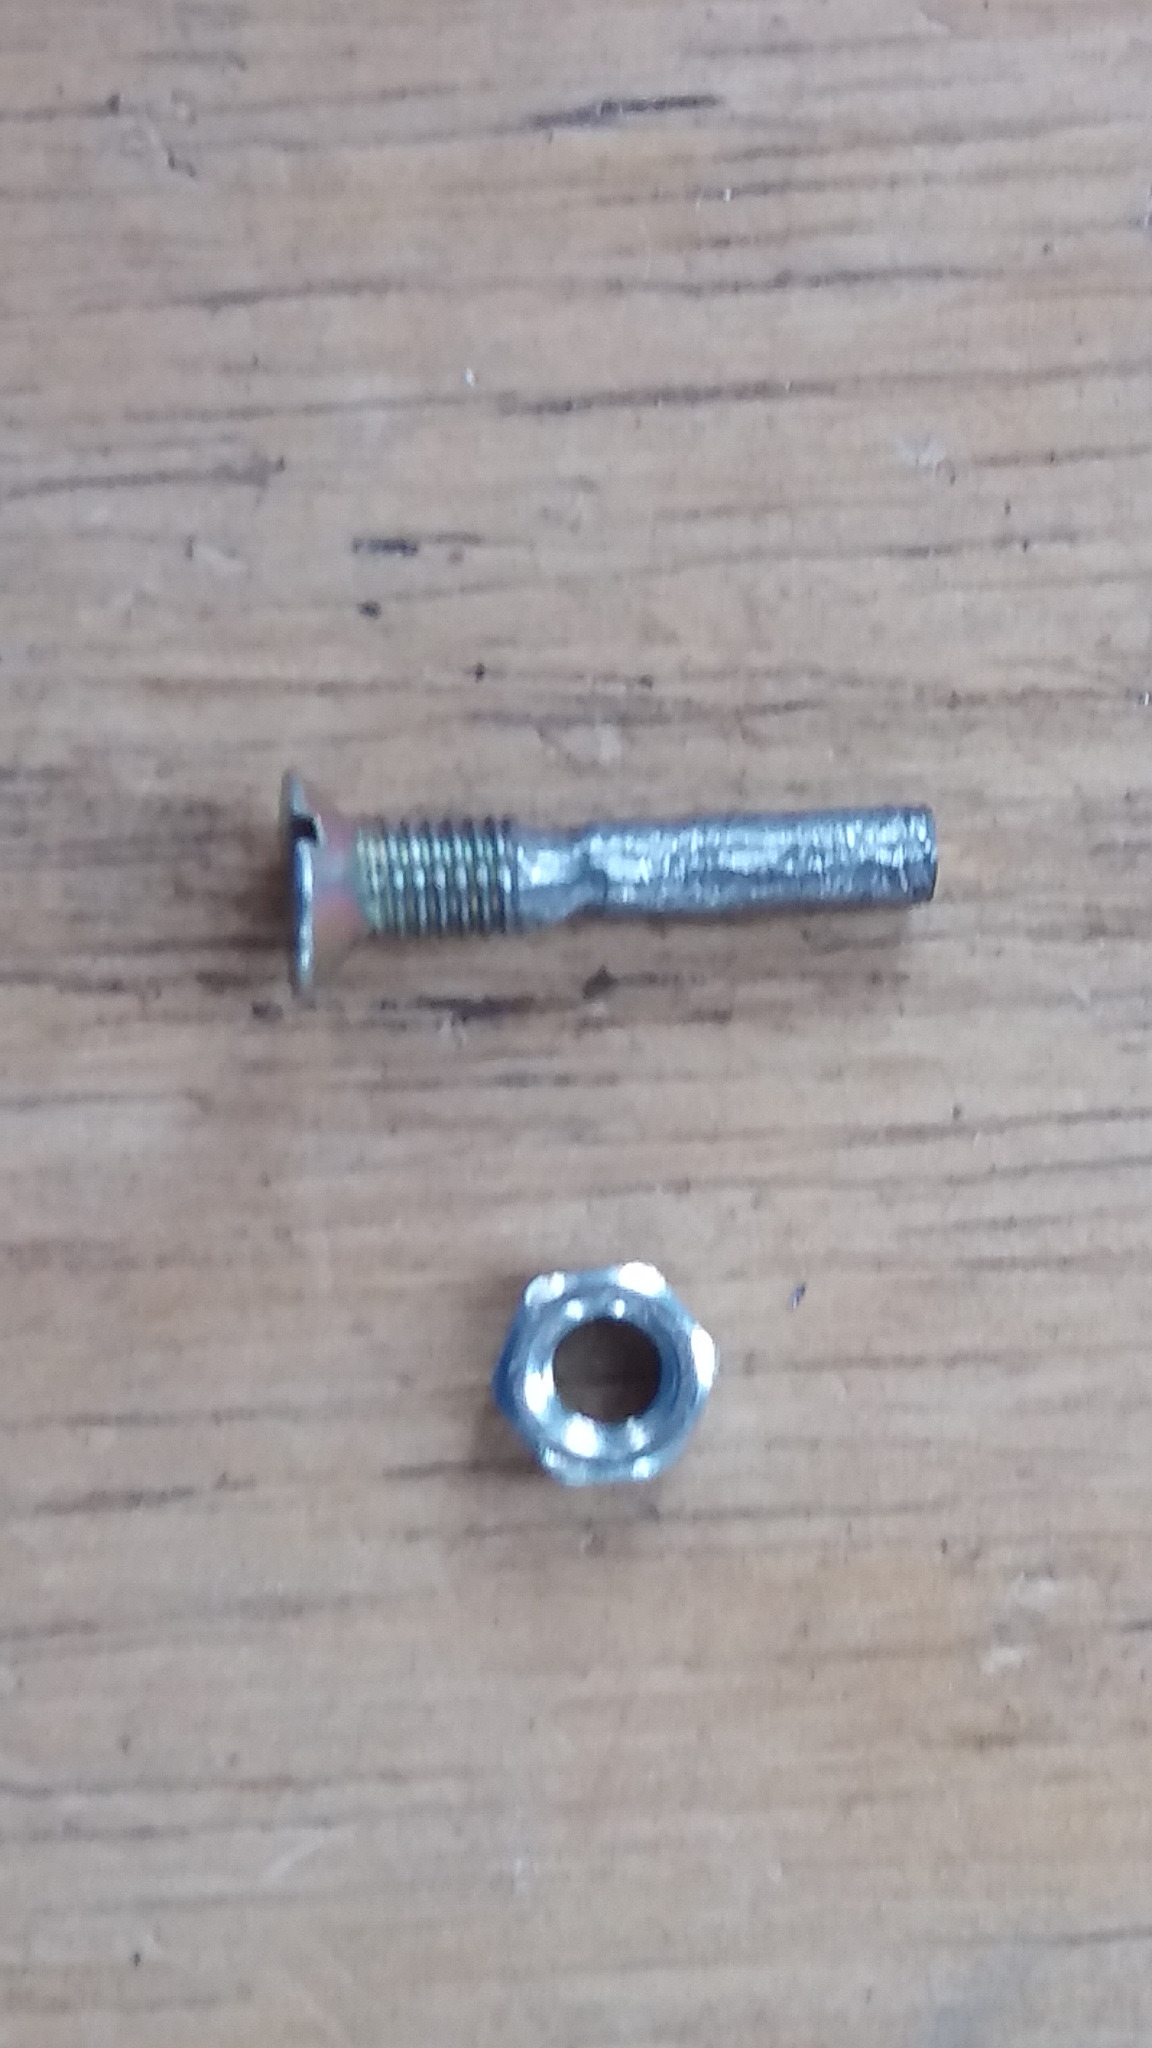
2 º step
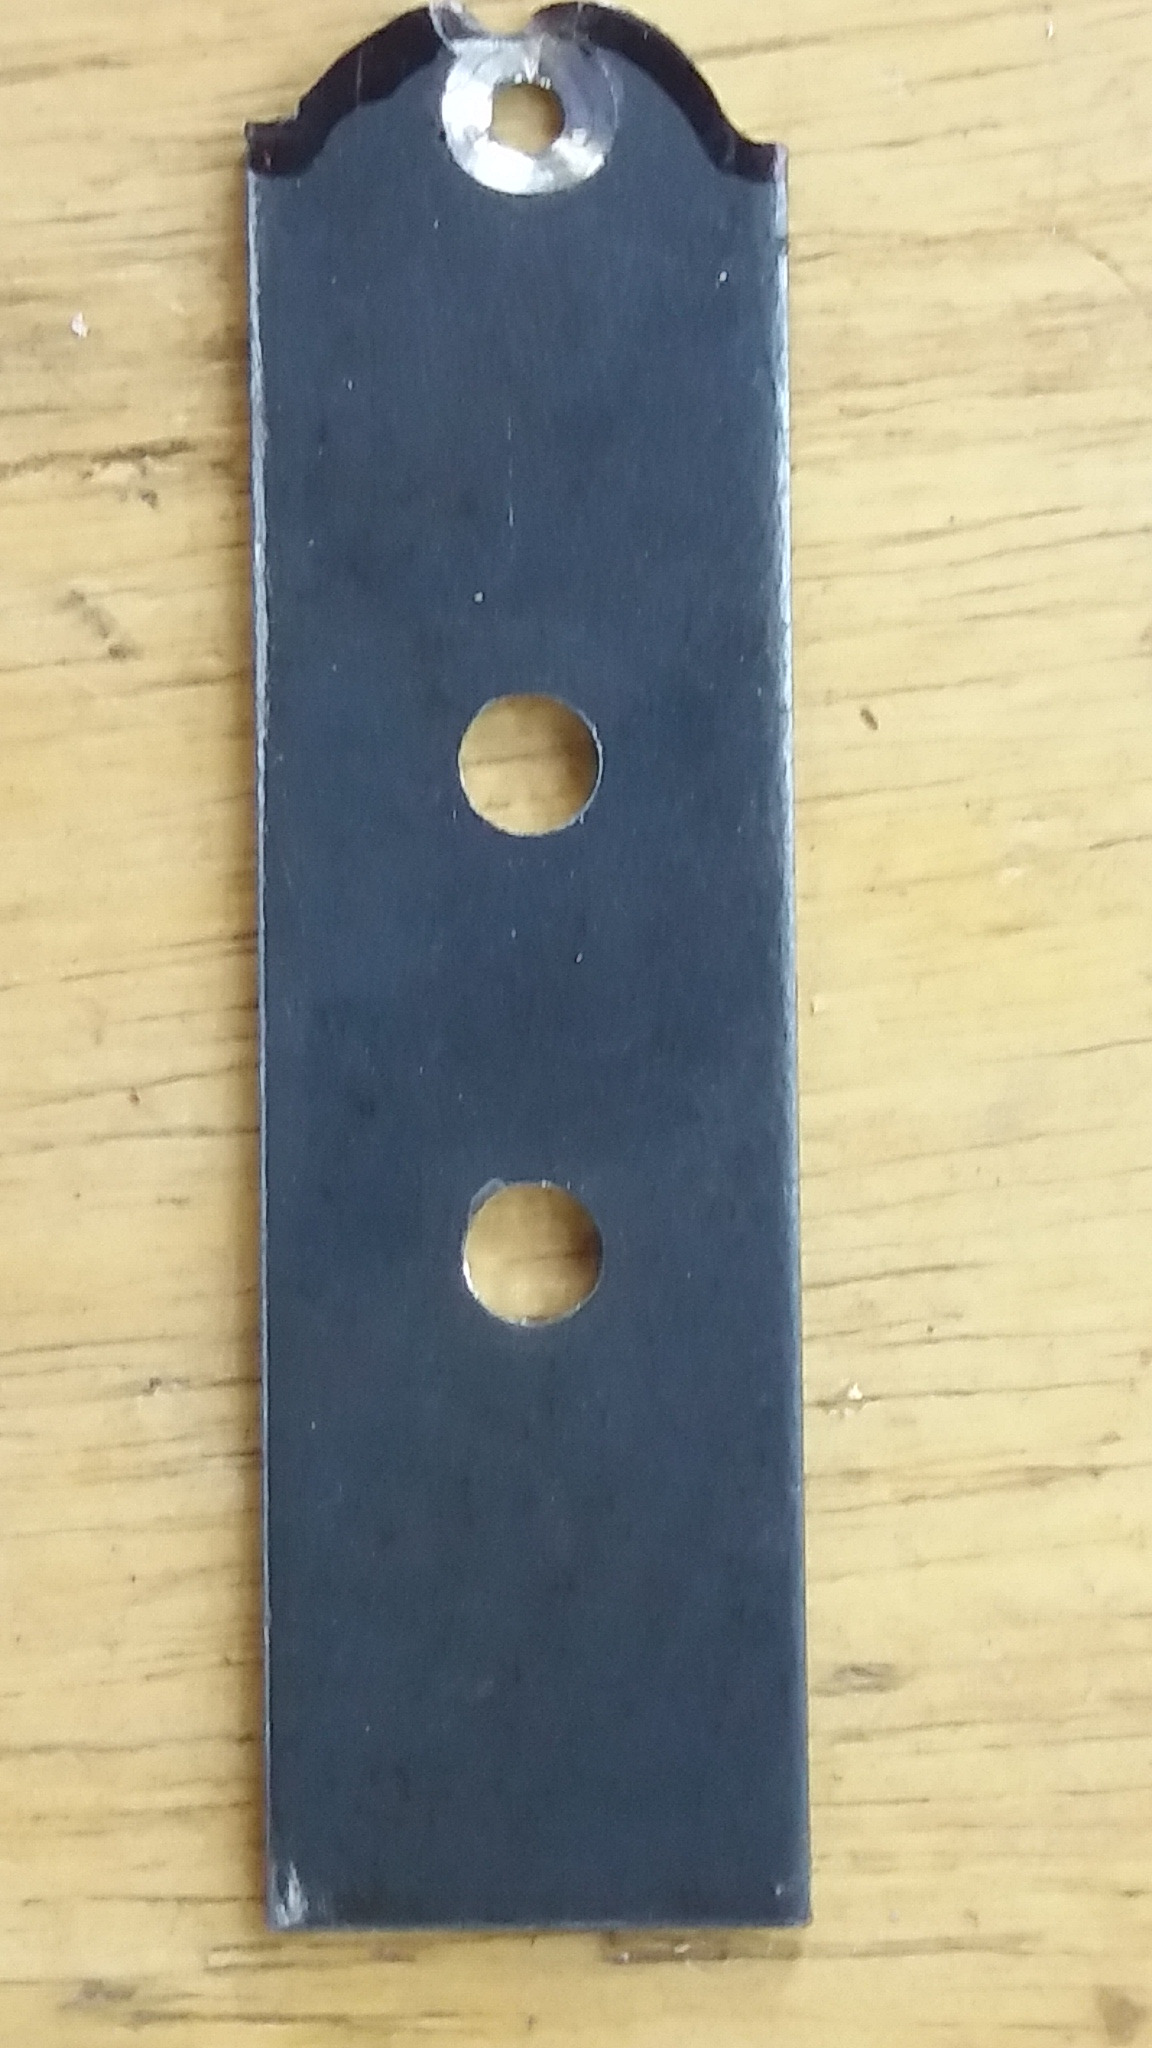
Using the piece of sheet 10 x 3 cm;
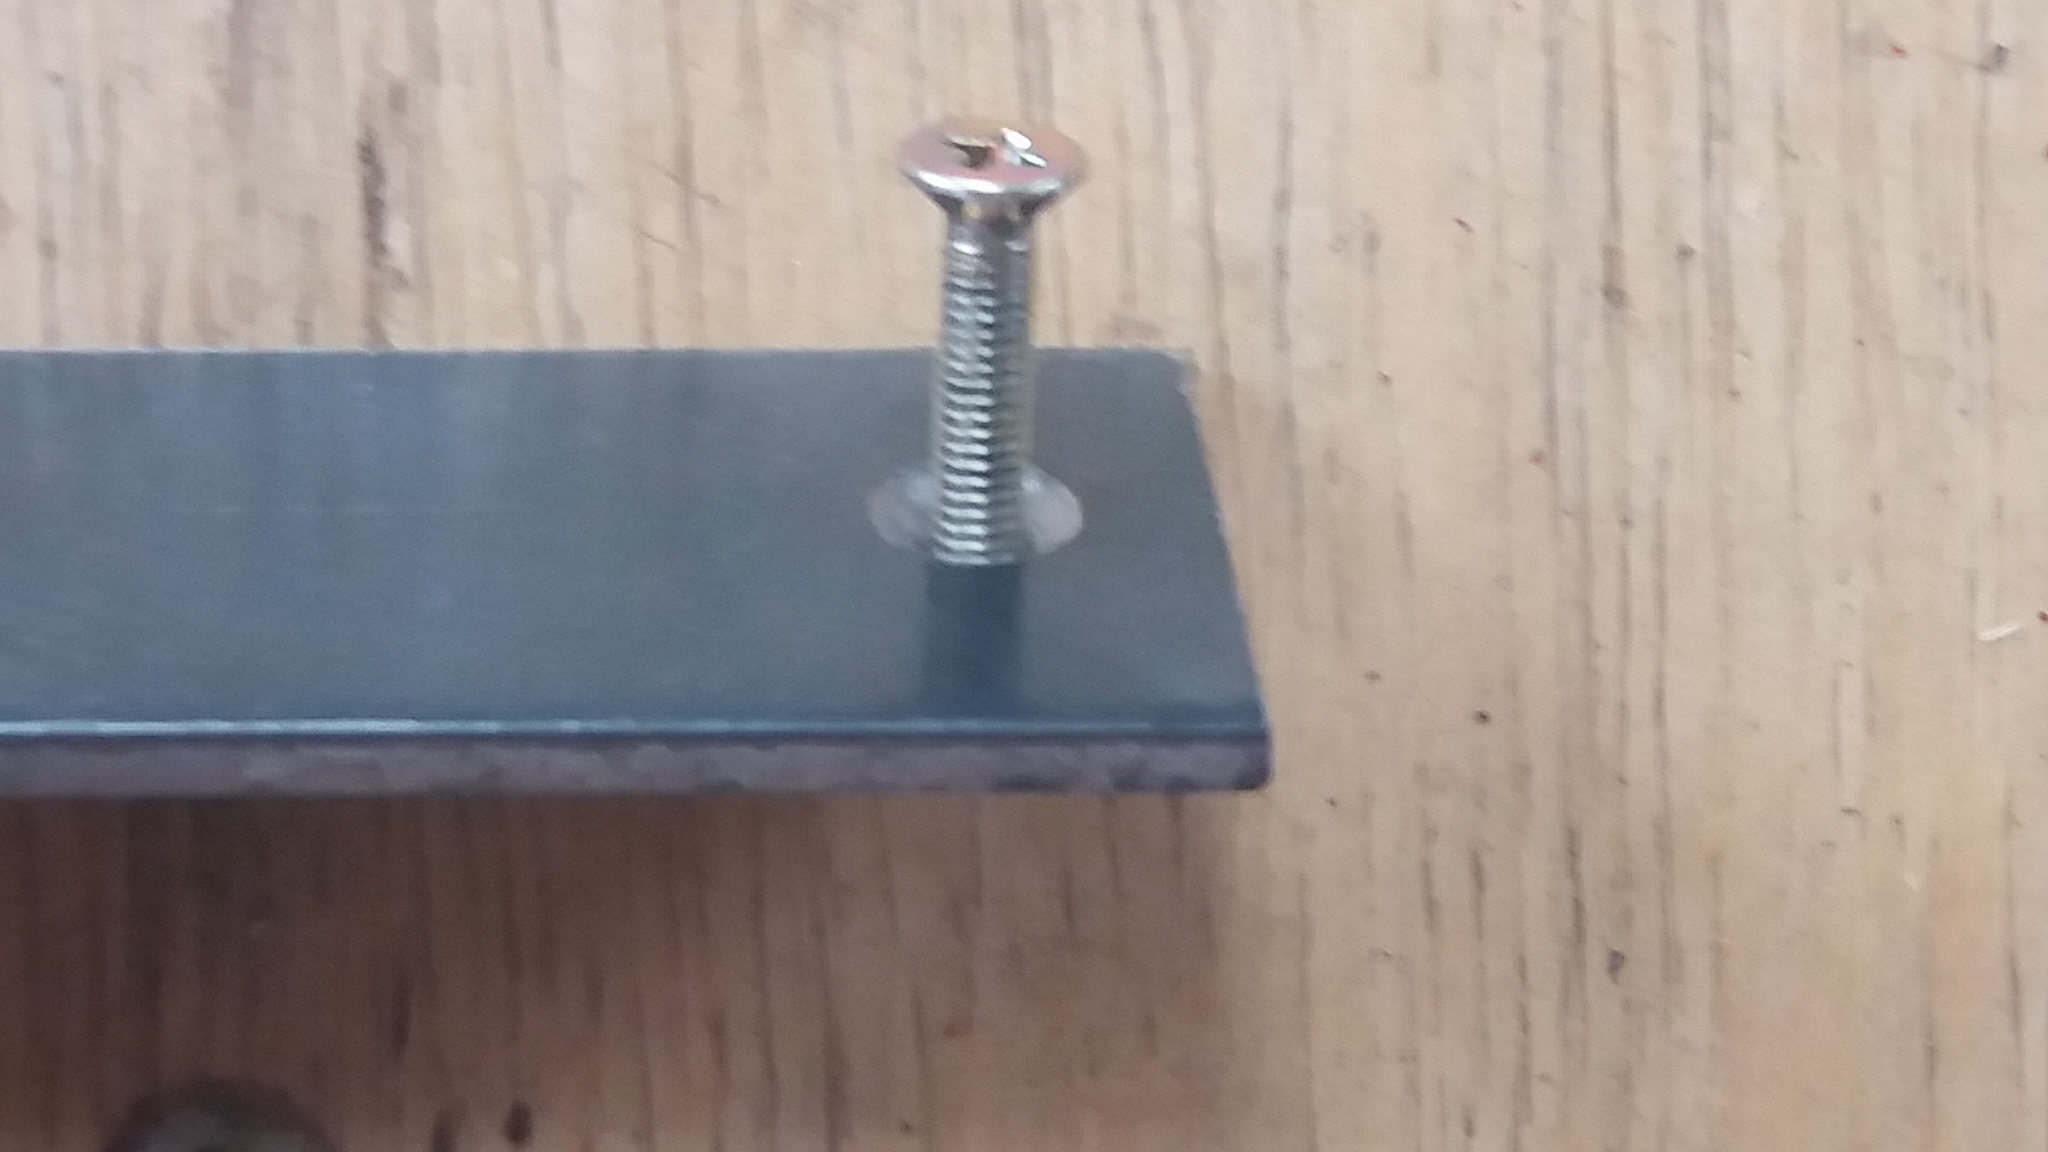
Drill a hole and open thread of 3-4 mm. This will serve as a central pin;
Roughing the tip of the screw;
Make another two (2) ¼ "holes.
Note that the plate slides easily into the rail profile.
At one end of the rail were made 4 1/8 "holes, two to two parallel. Look at the photo.
ASSEMBLY
1º step
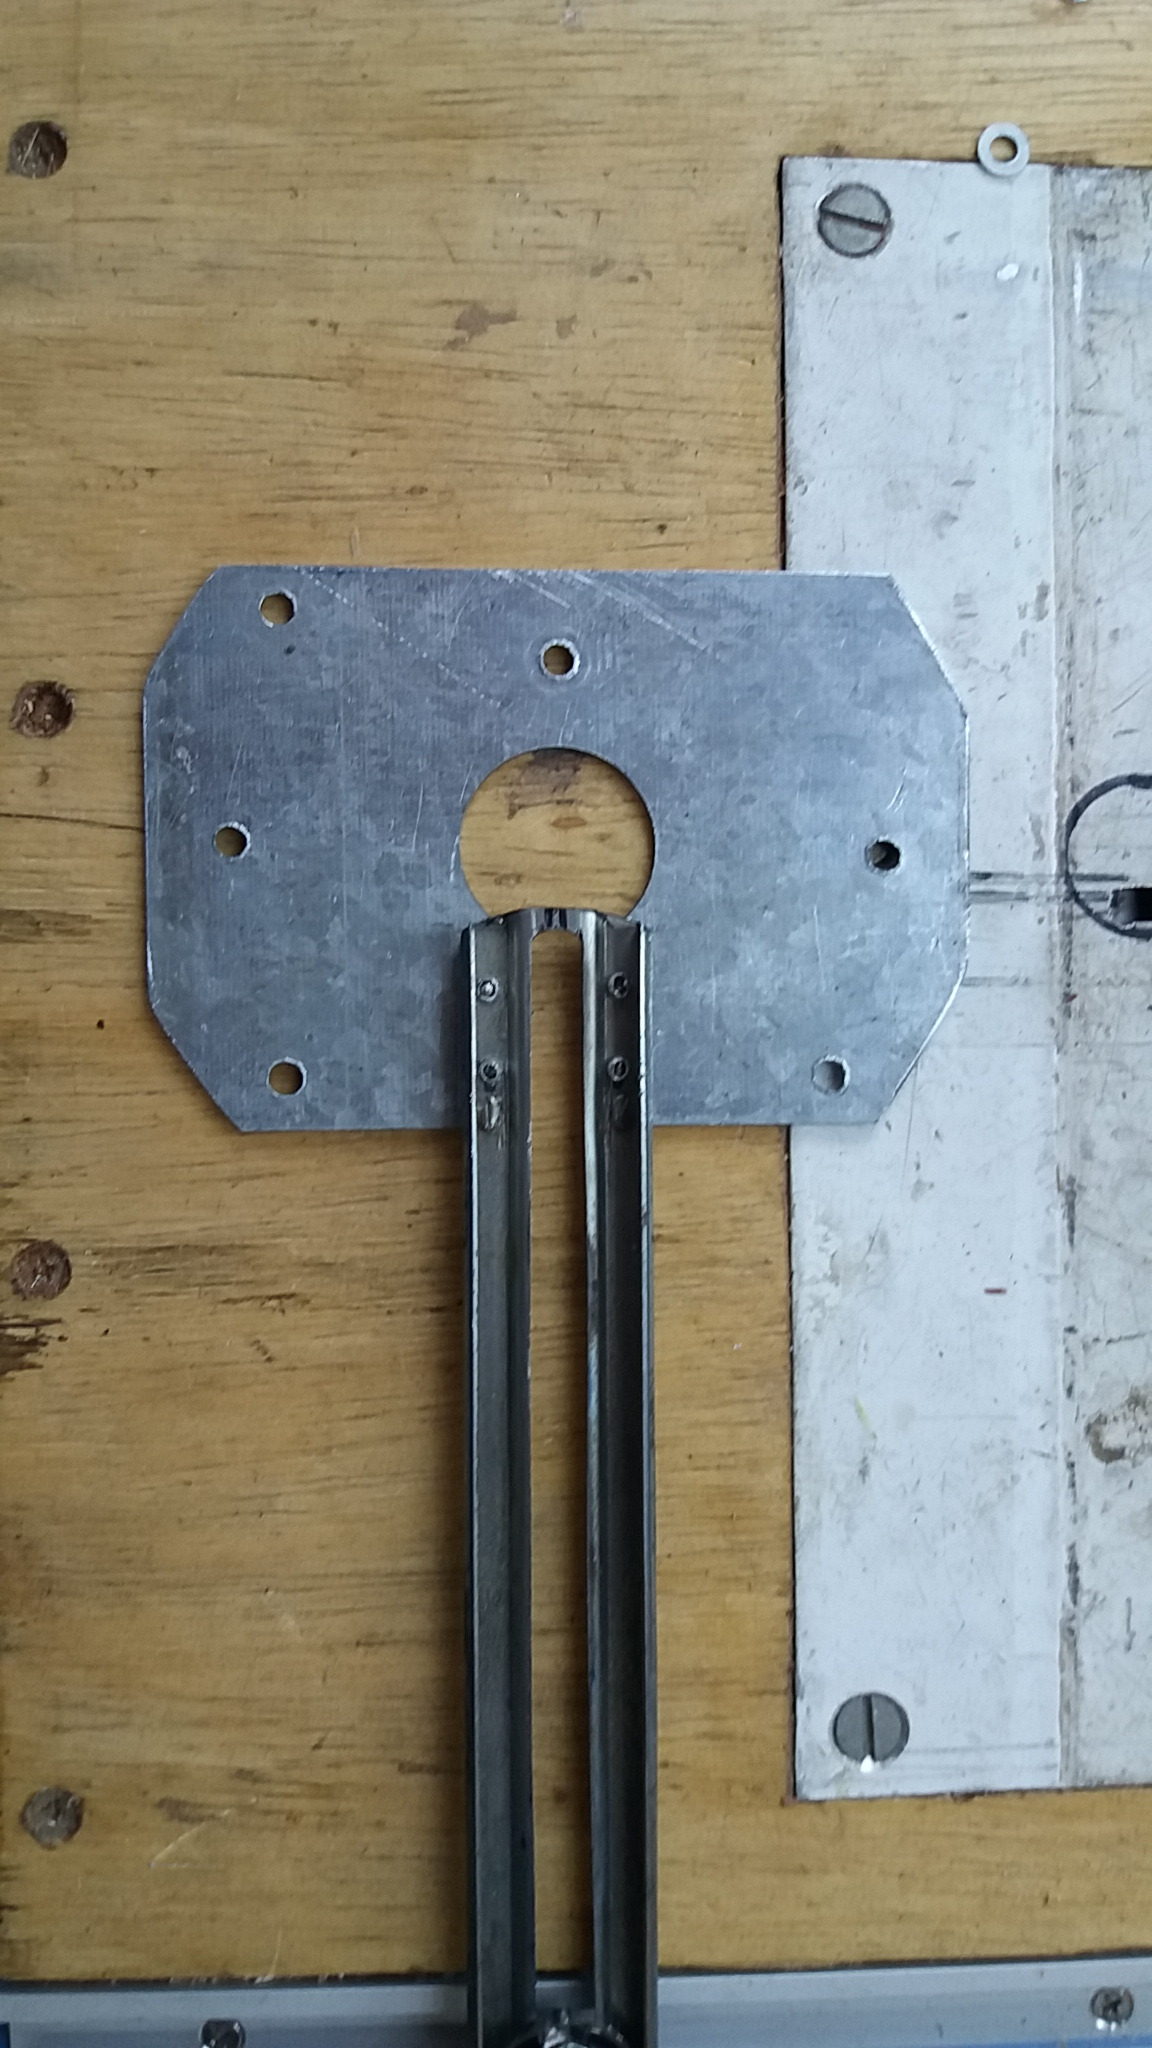
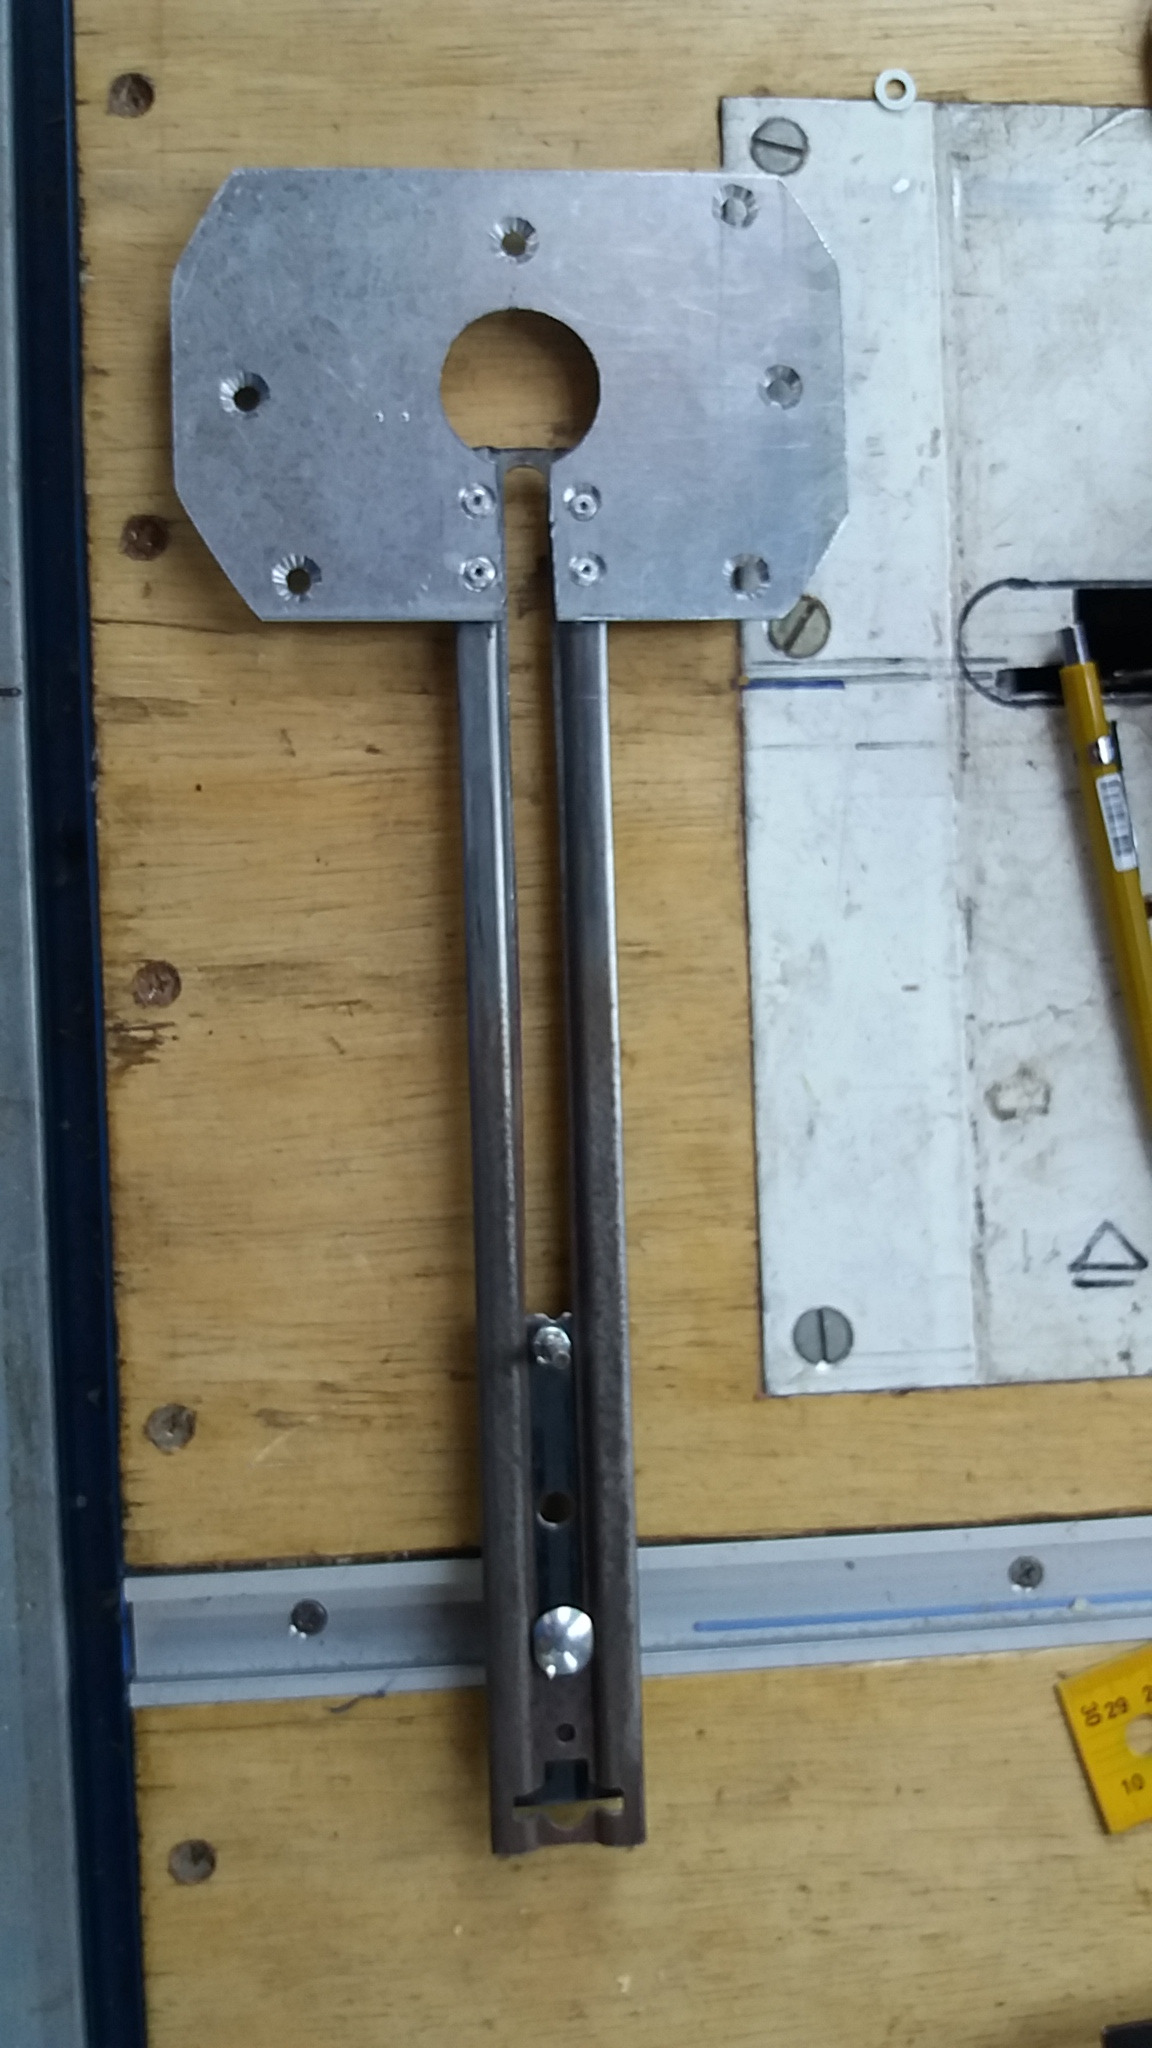
Foto 1 > Overlap the rail to the bottom plate.
Make 4 holes in the board using as a model the holes made in the rail;
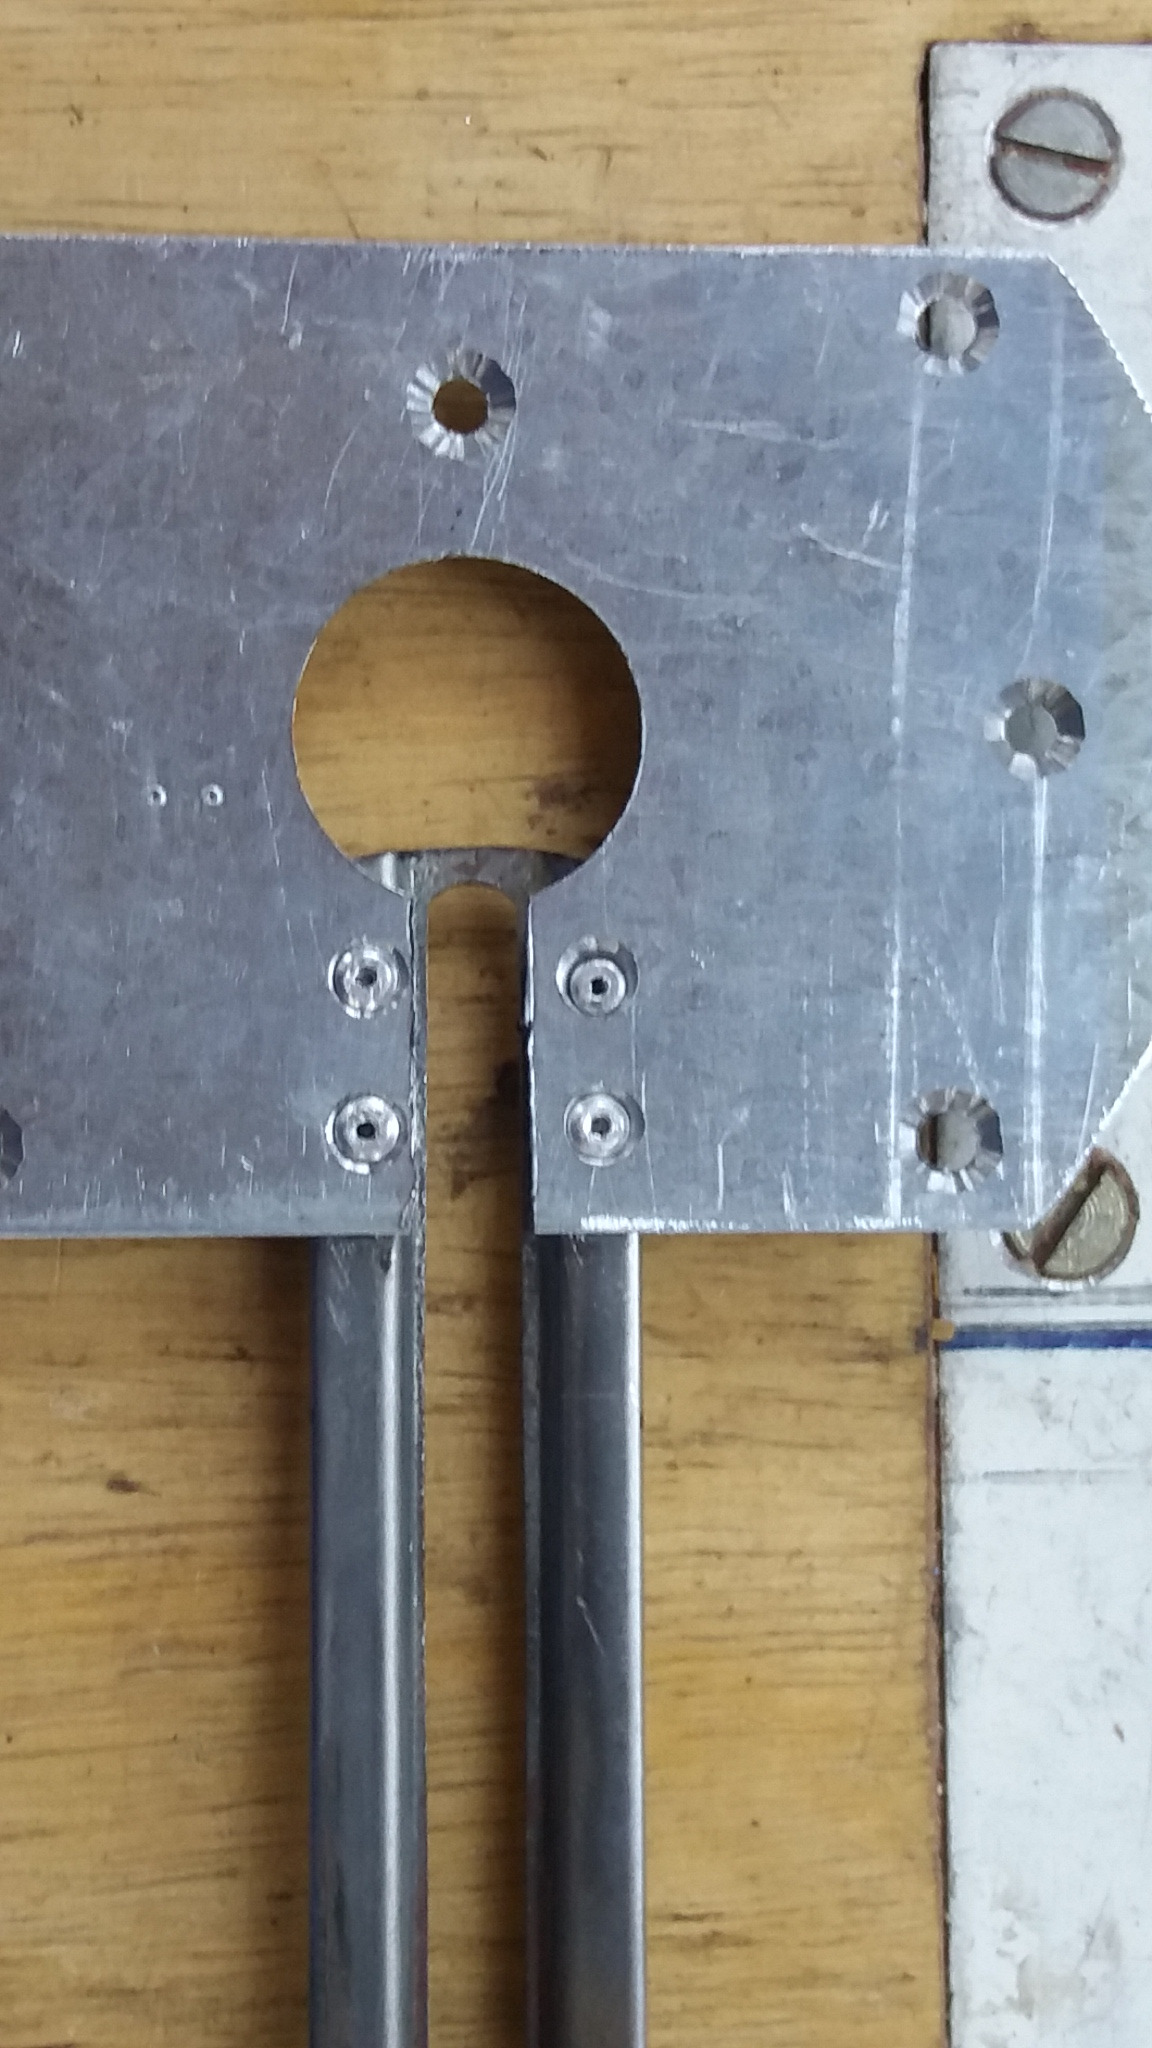
Foto 2 > Using filler rivets fasten the rail to the bottom plate.
After this phase we start to assemble the moving part;
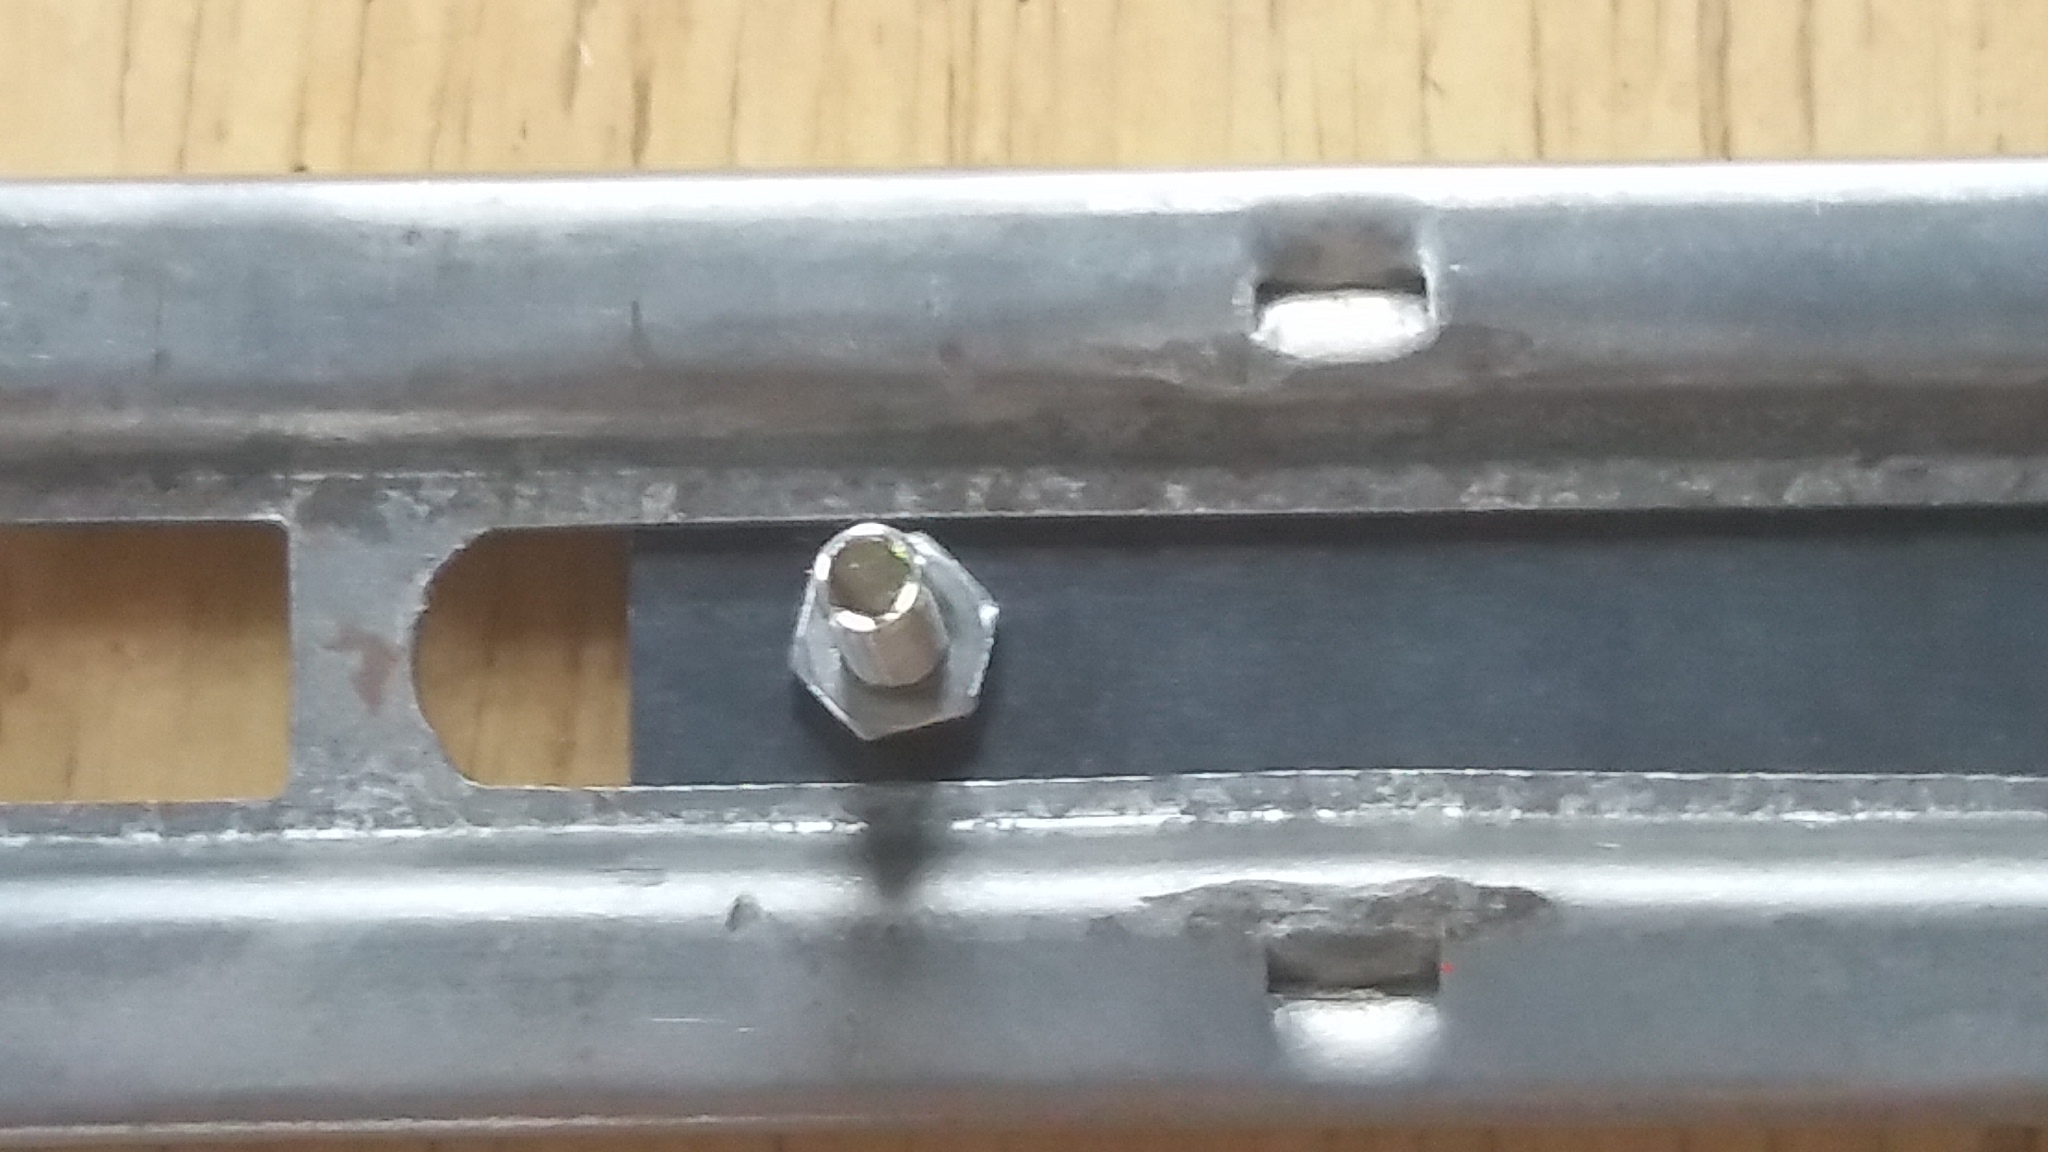
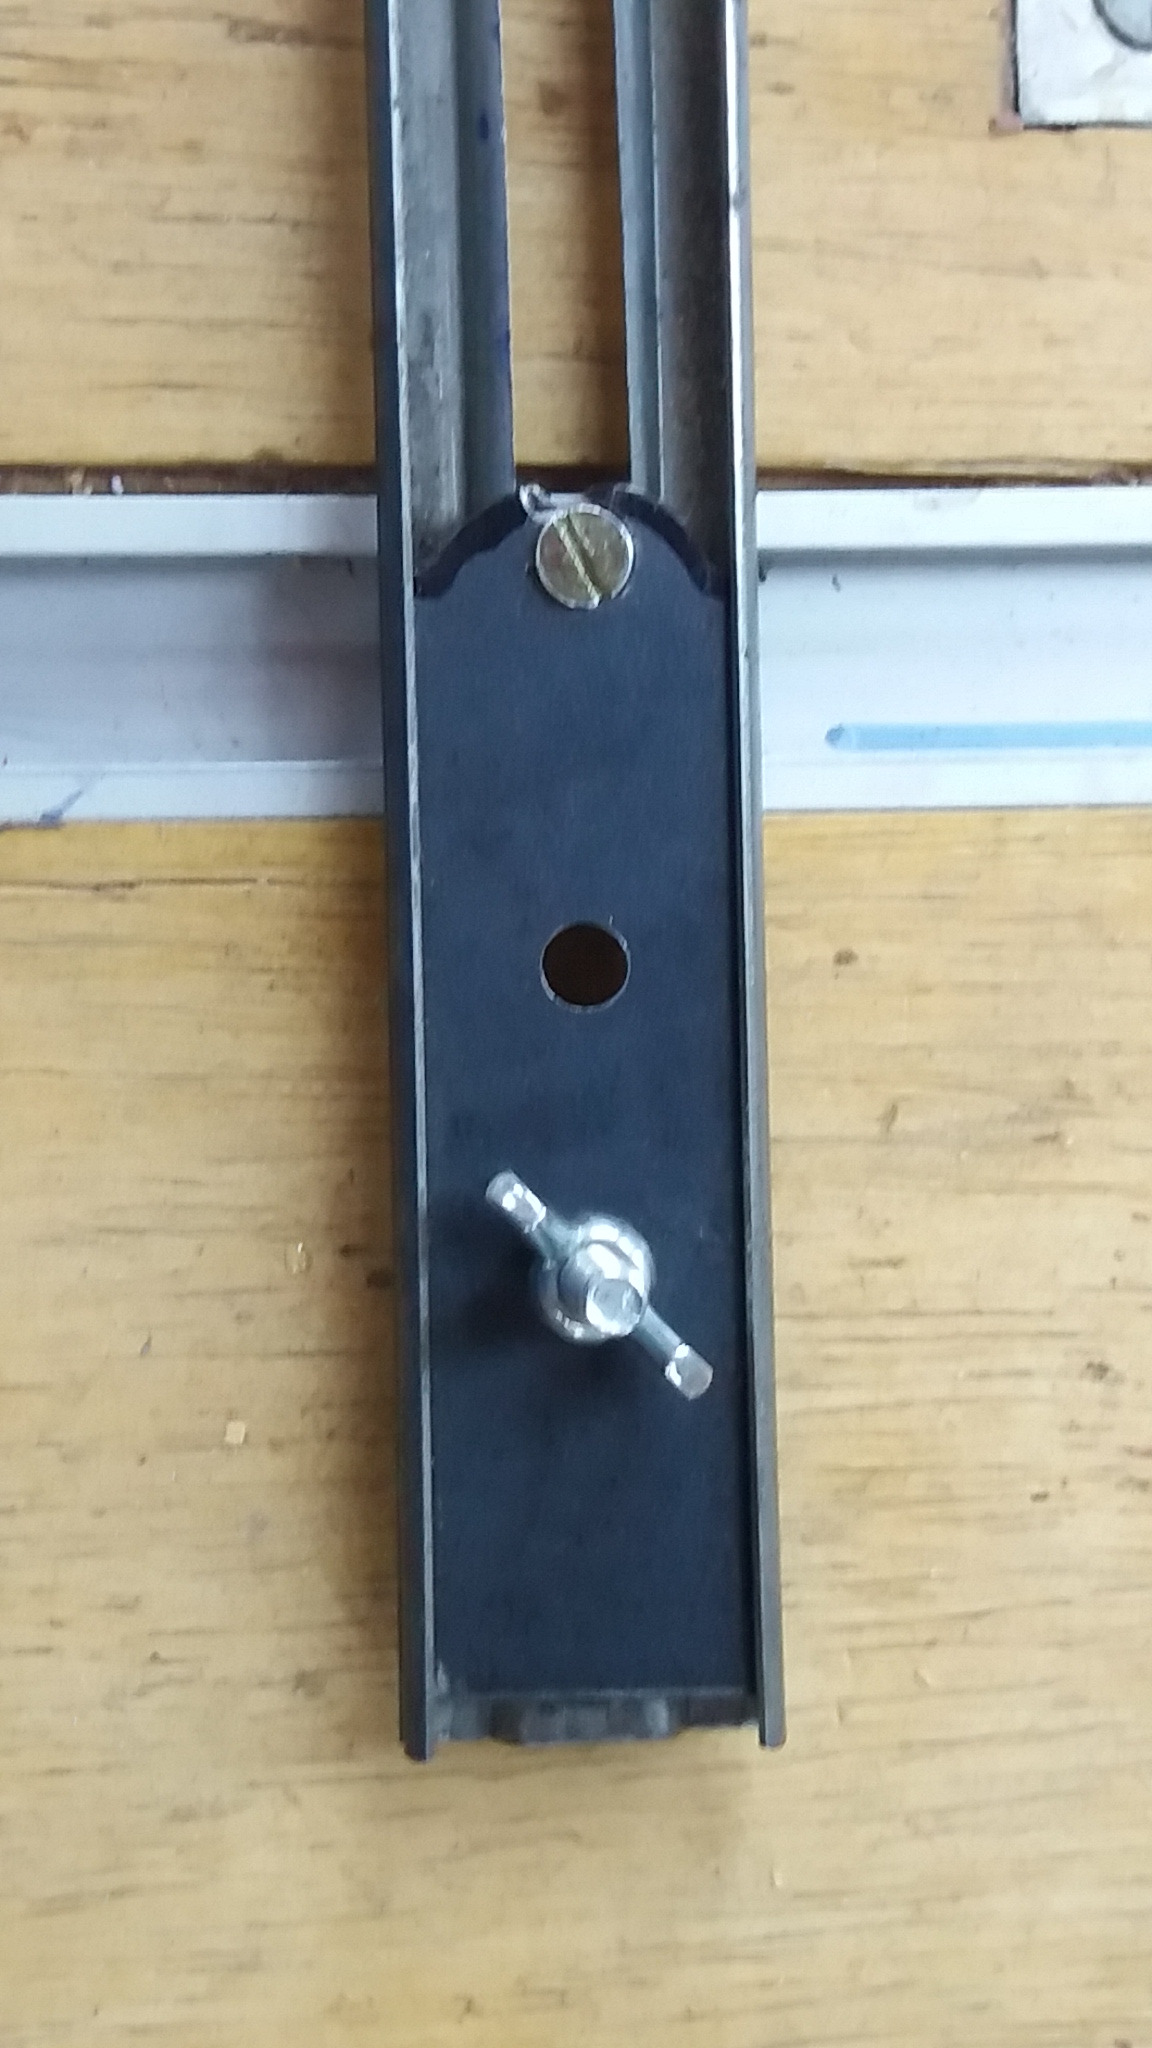
Foto 3 > Place the 10 x 3 plate, already with the holes inside the rail;
Place the centralizer screw attached to the plate as shown in the picture;
Foto 4 > Also insert the French screw. Watch the photo(Partial bottom view )
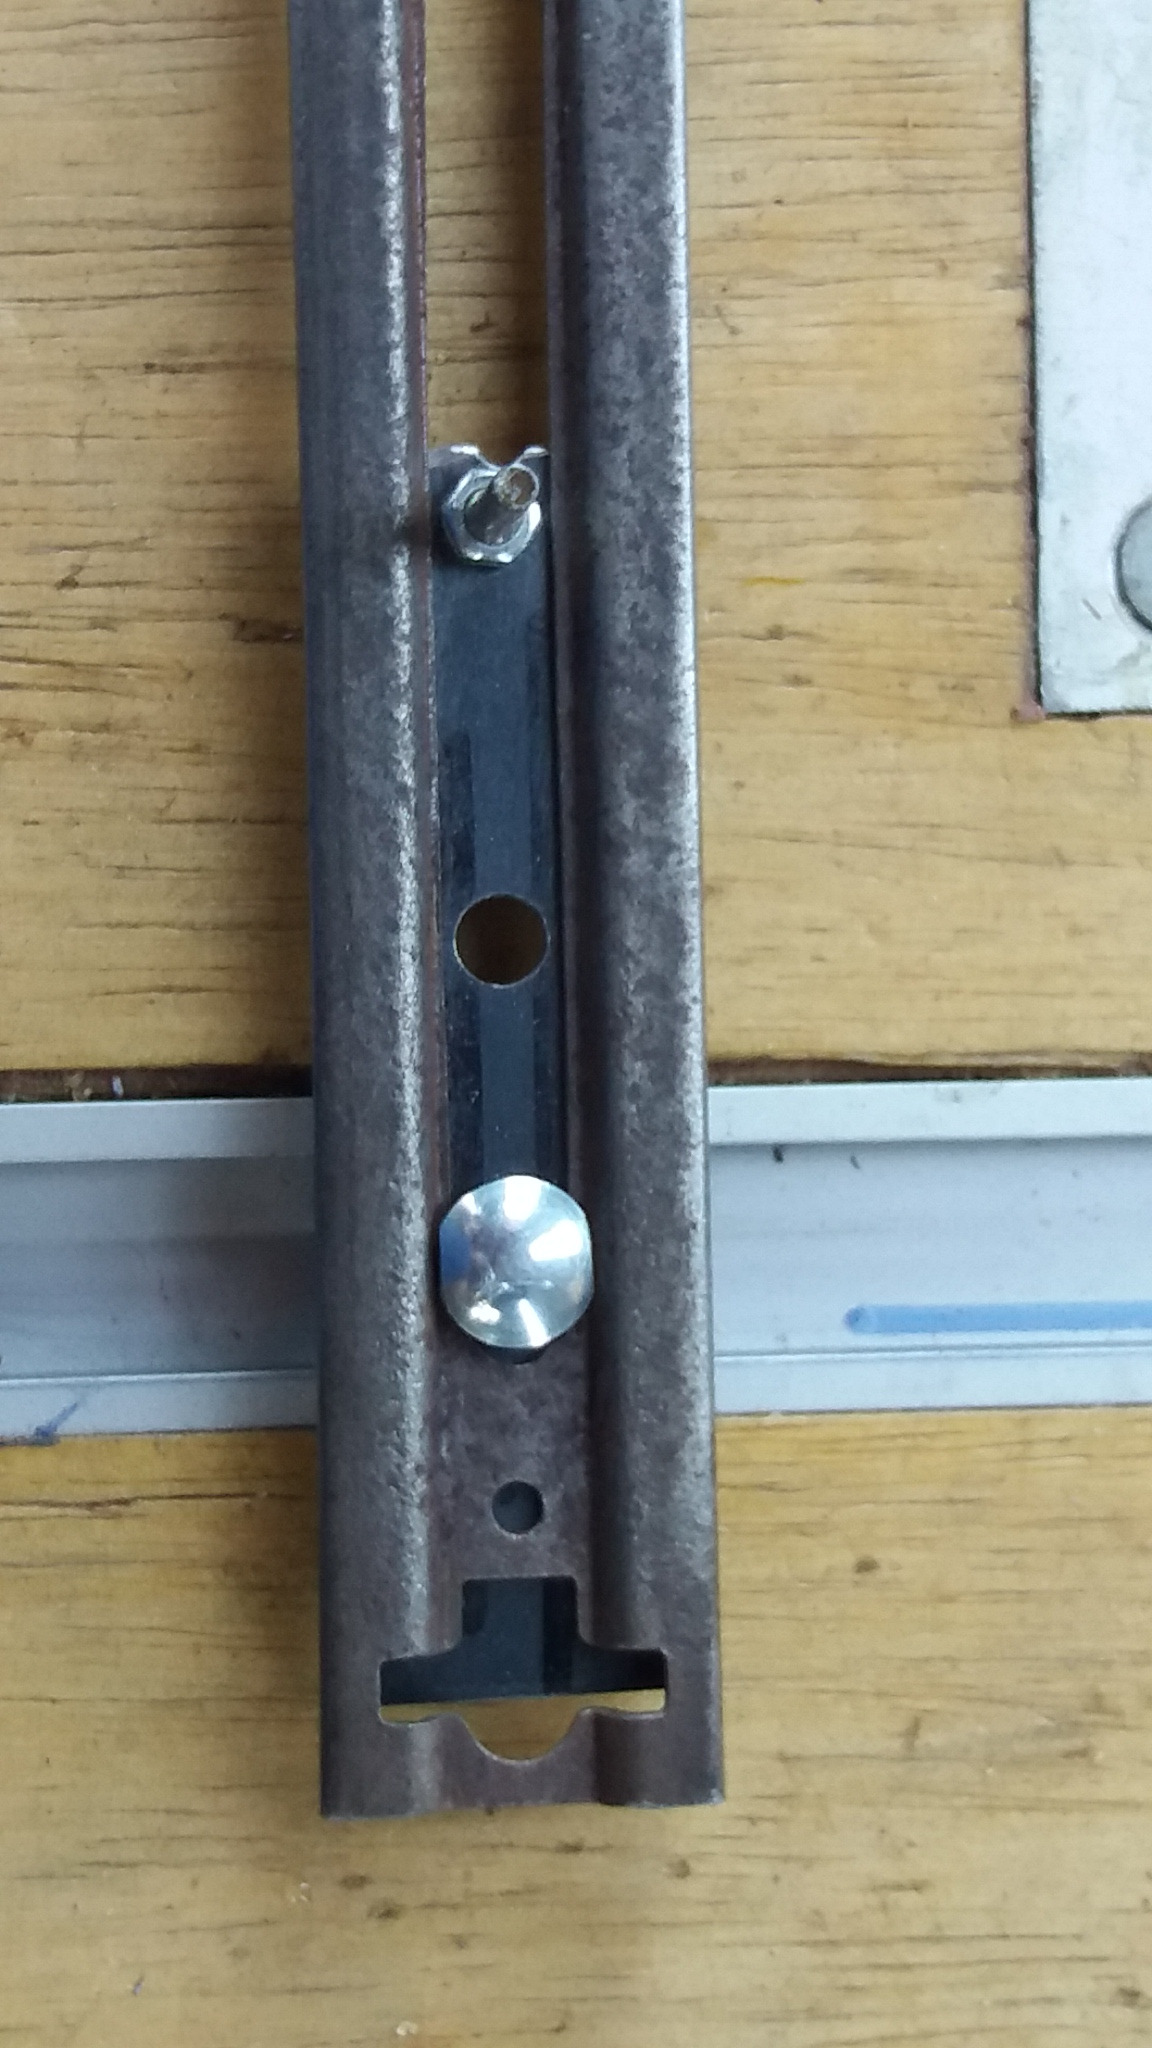
Foto 5 > Two holes were made to allow. It could be only one or three. The objectives of the holes and allow more options during the operation. Partial top view
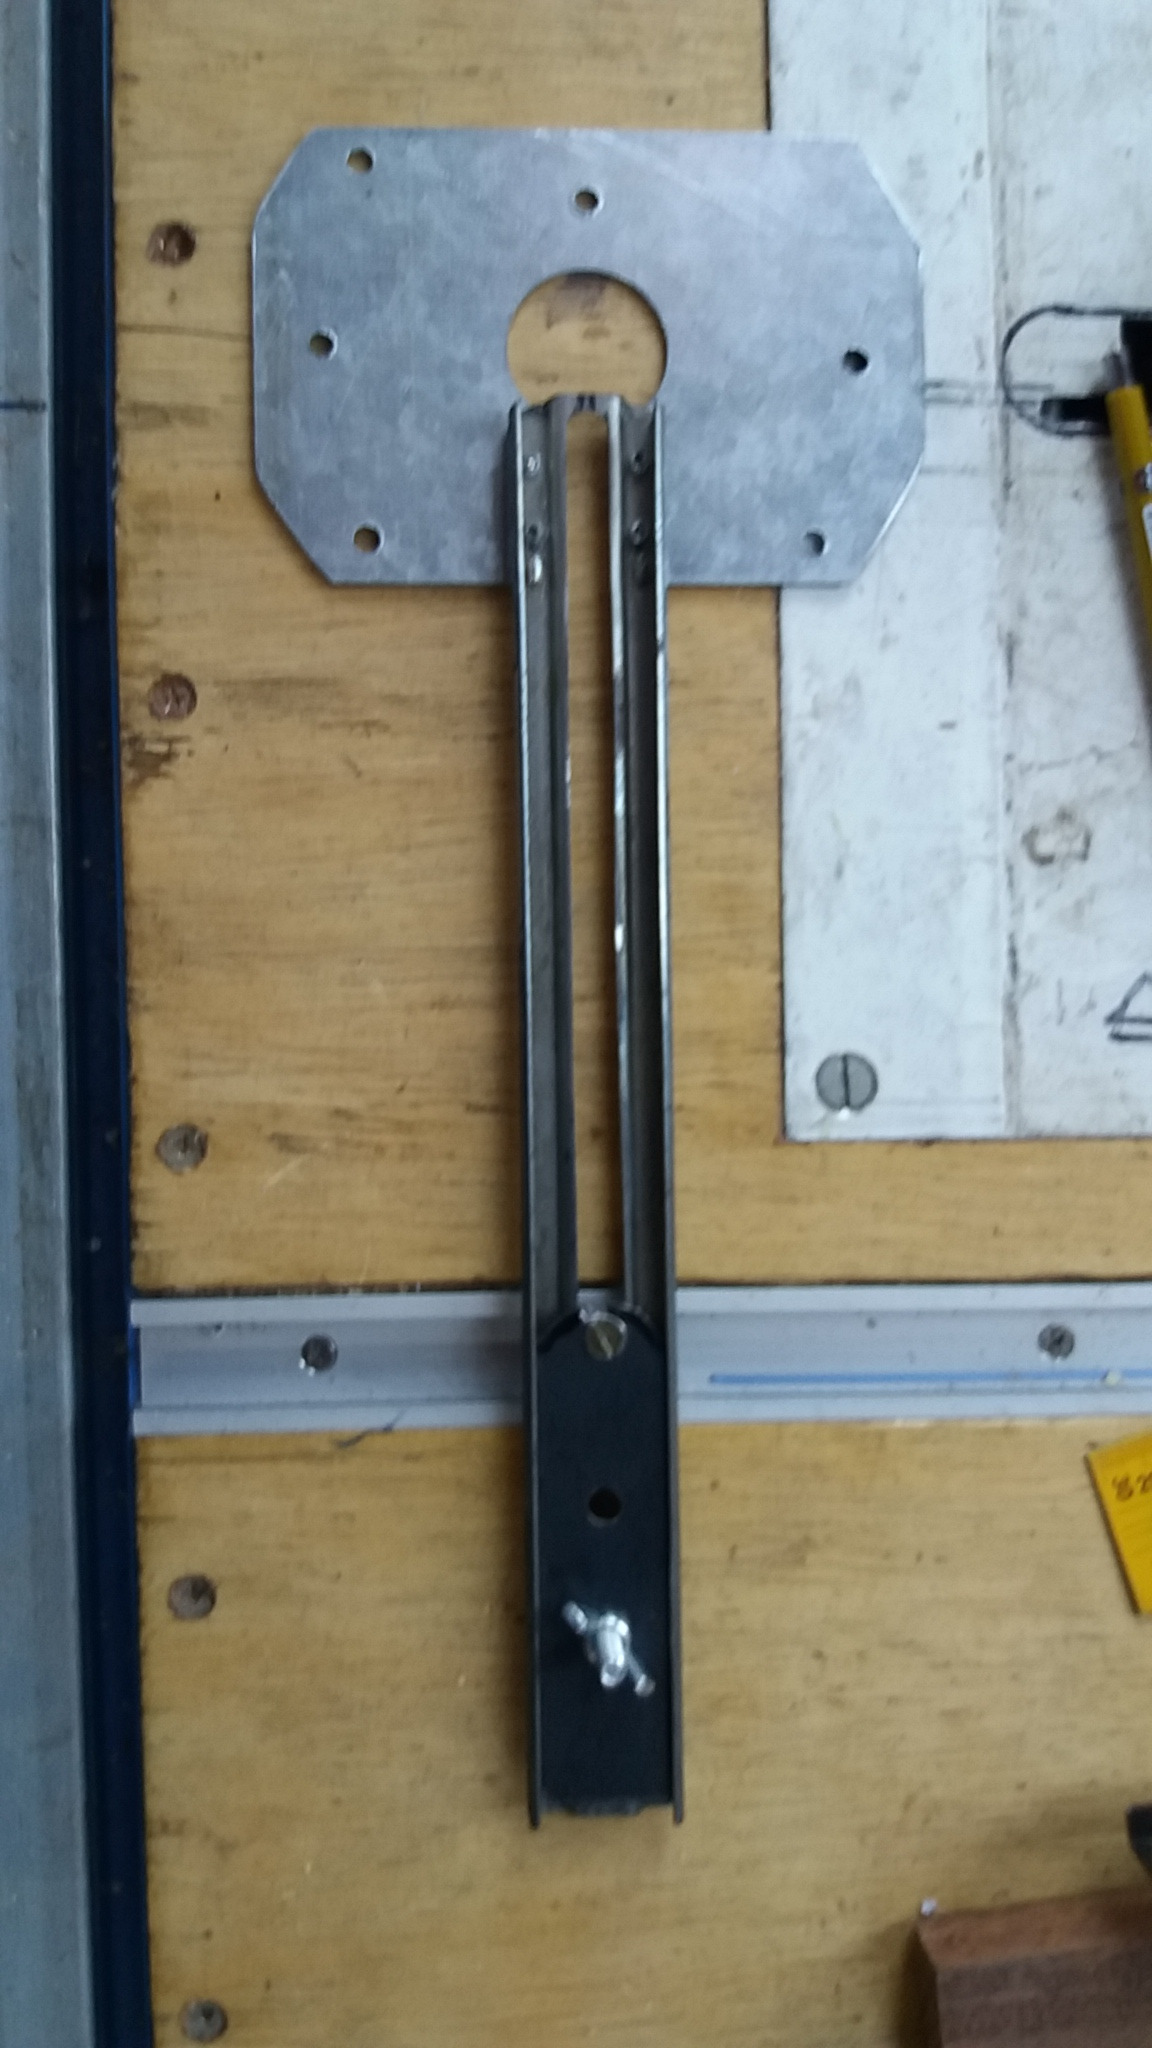
Foto 6 > Top view
Foto 7 > Bottom view
Foto 8 > Reassemble the two plates.
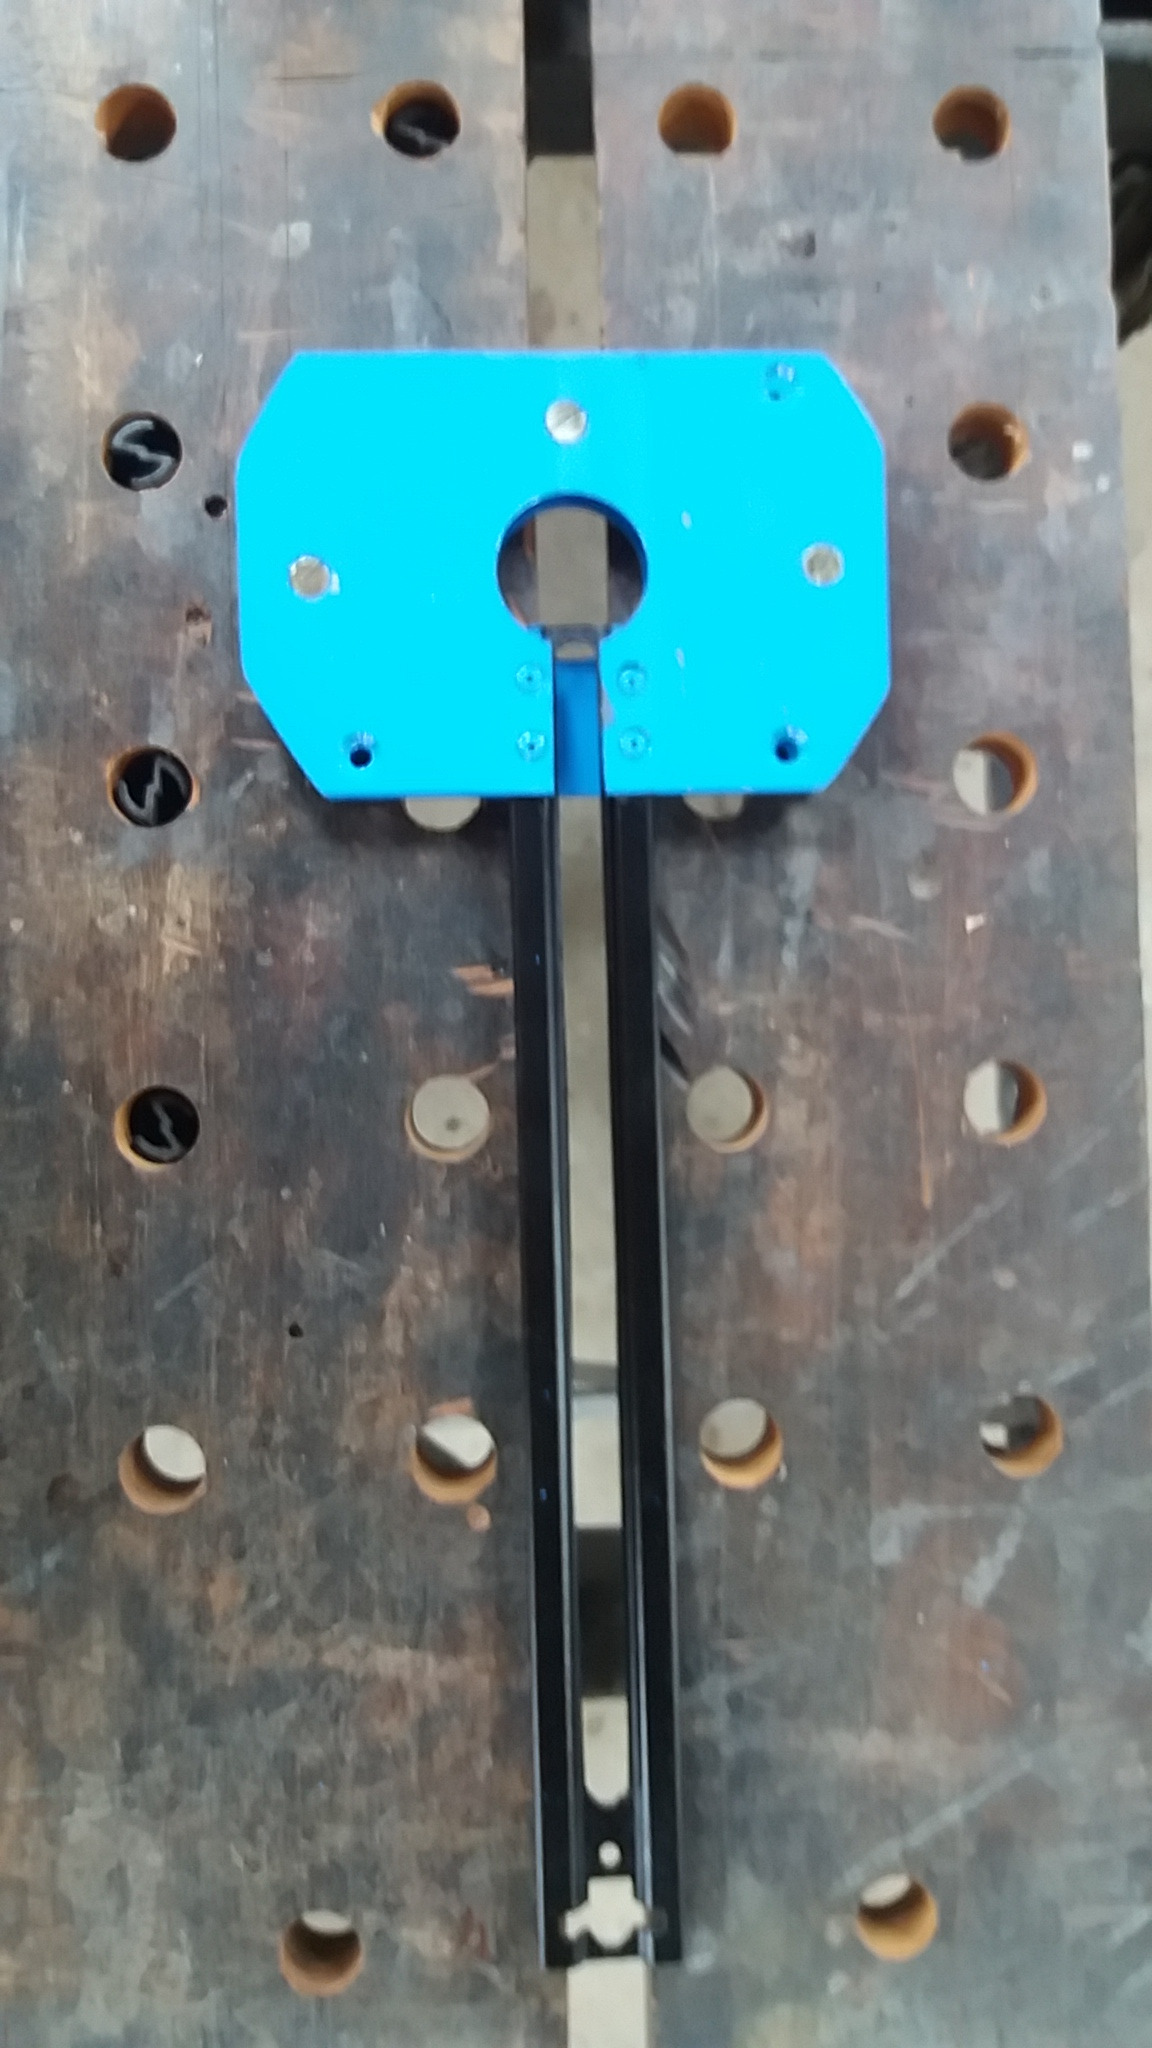
If necessary, do the painting.
At the end we will have a set mounted according to figure
TEST
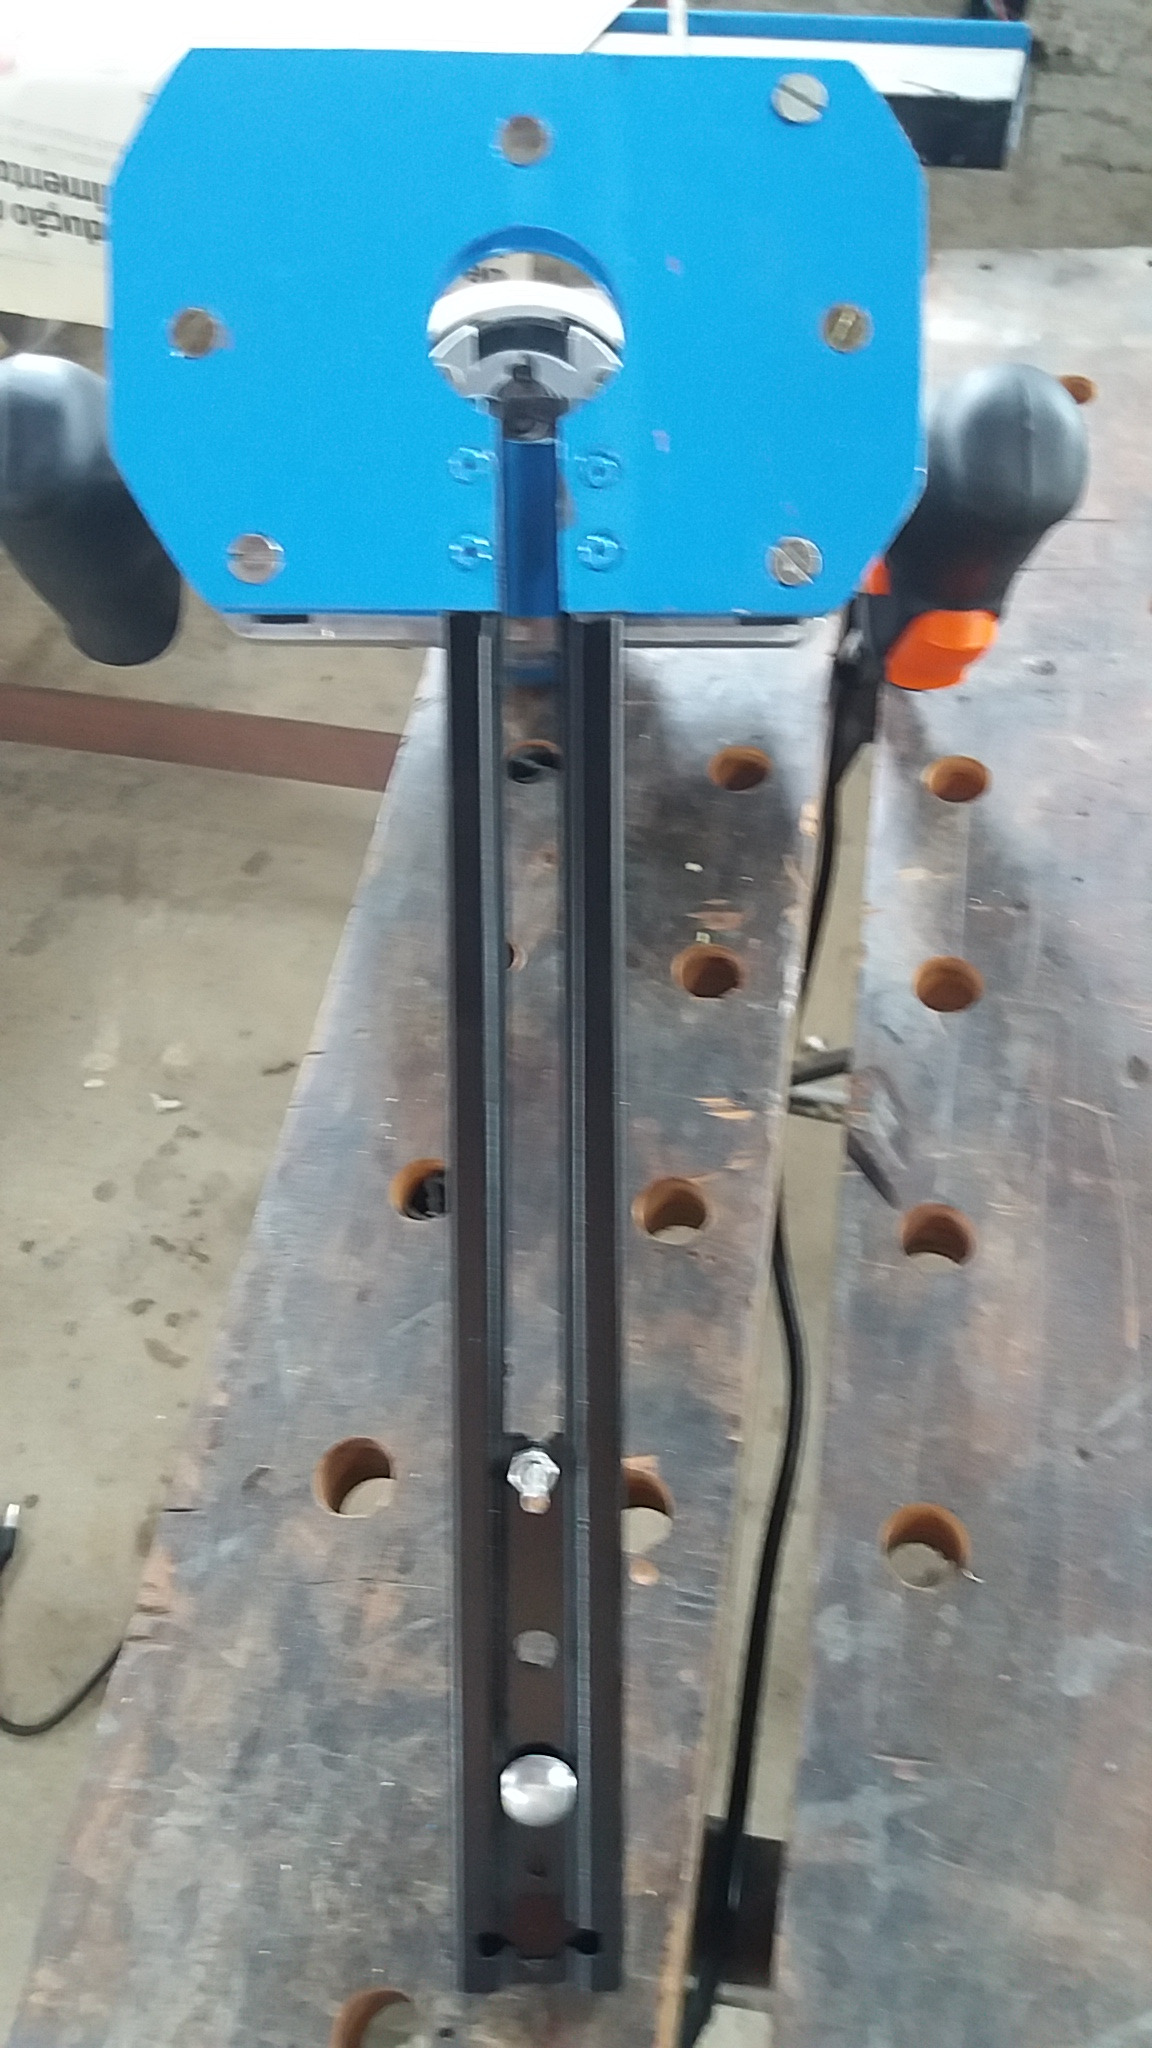
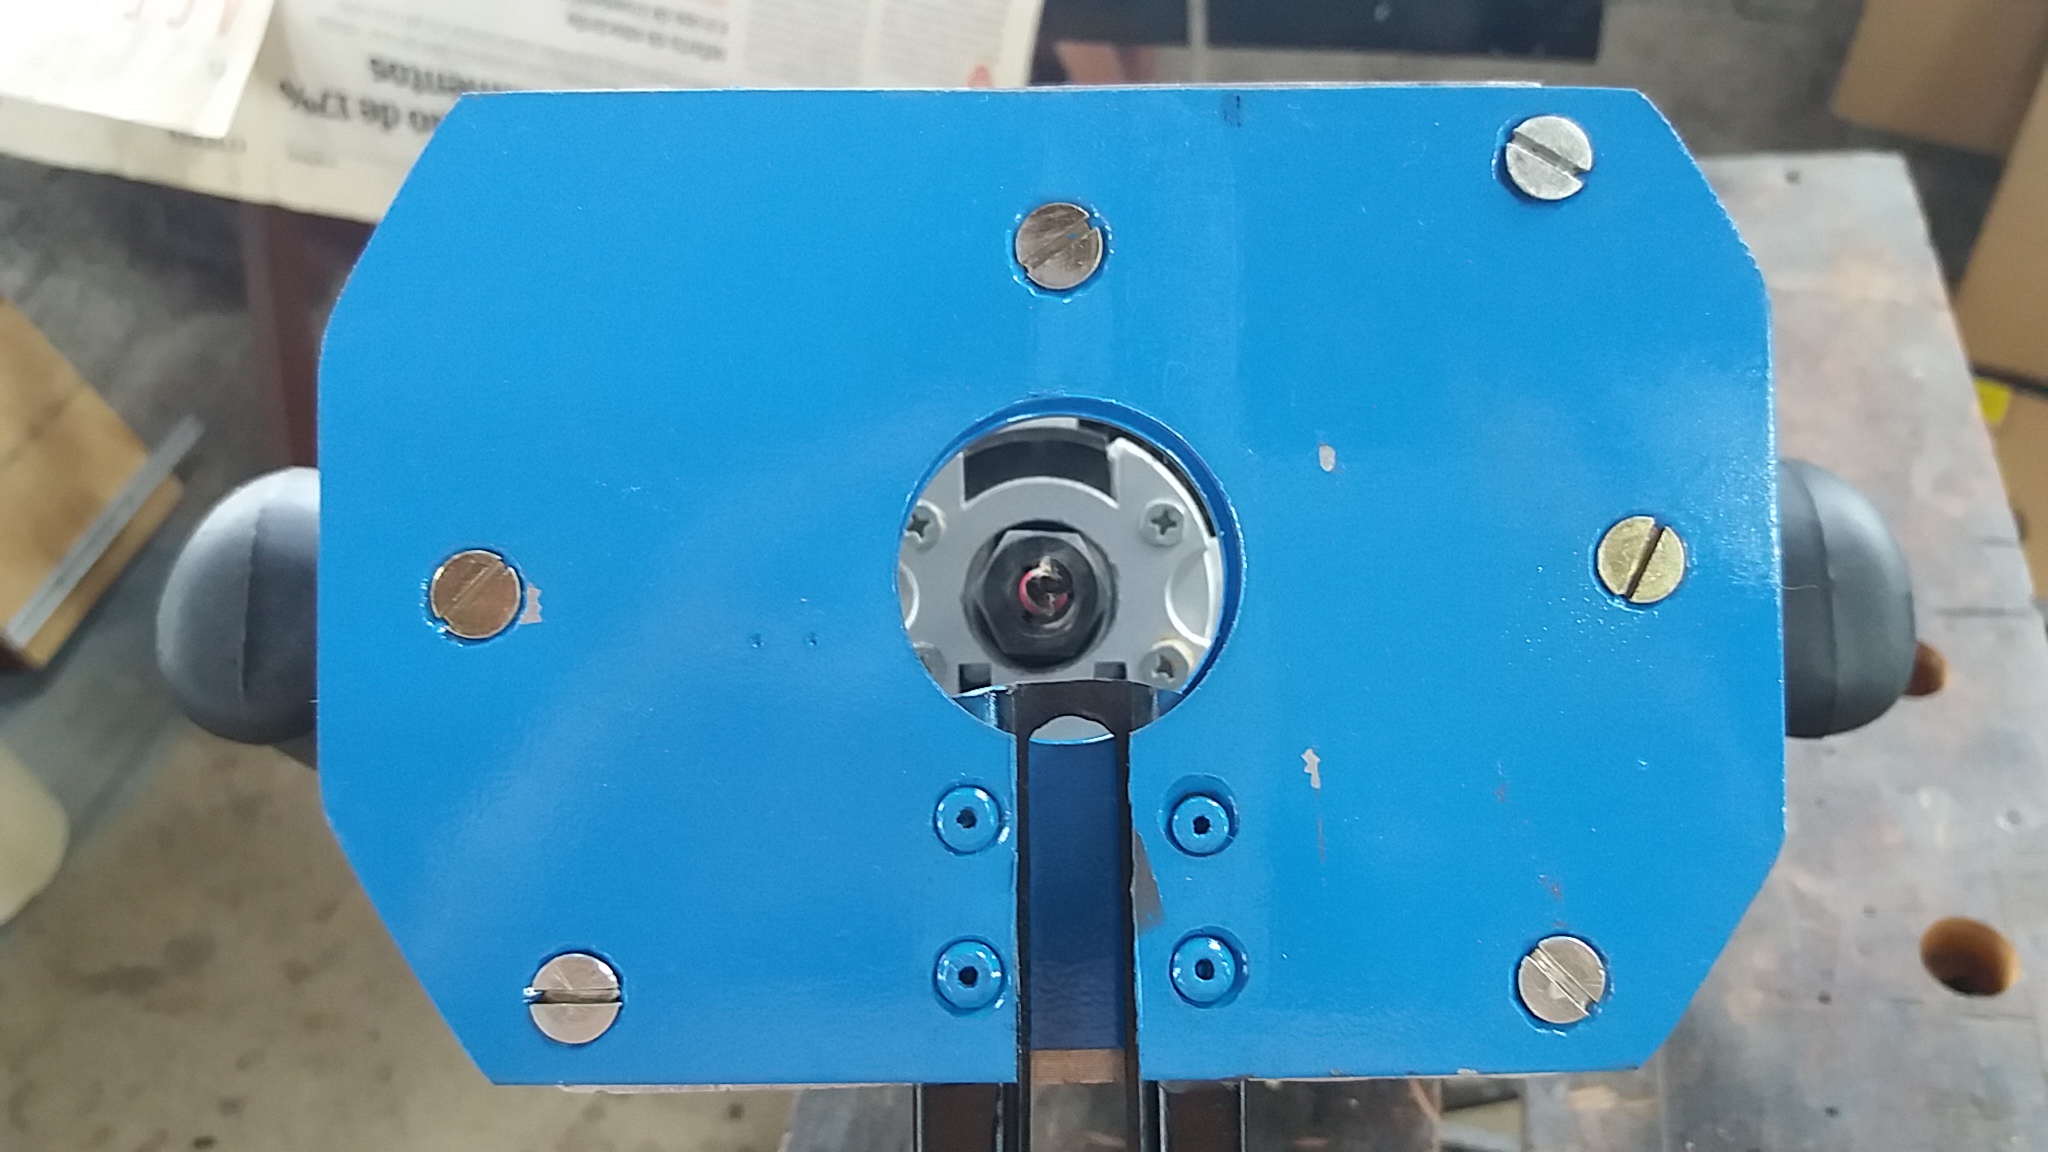
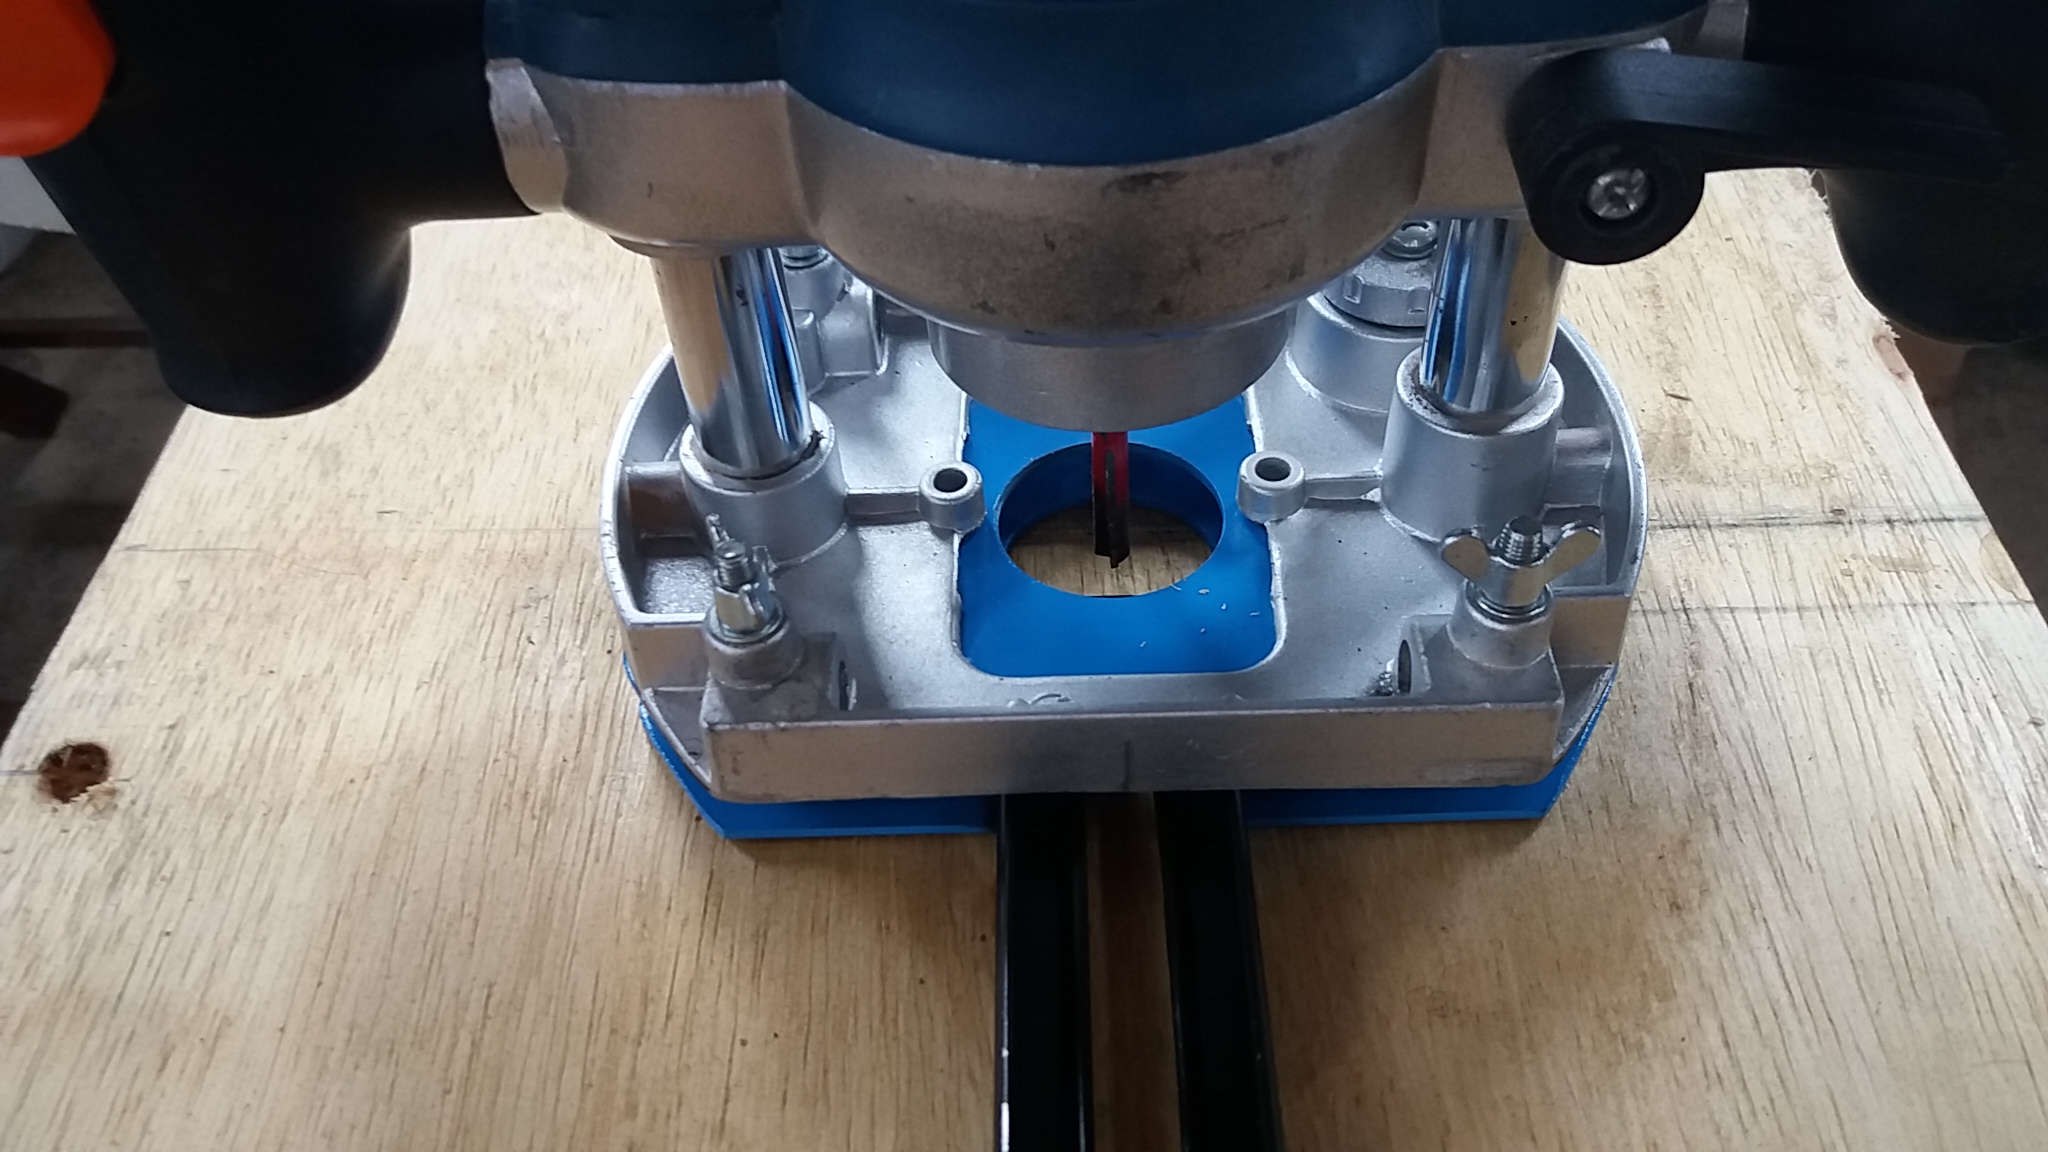
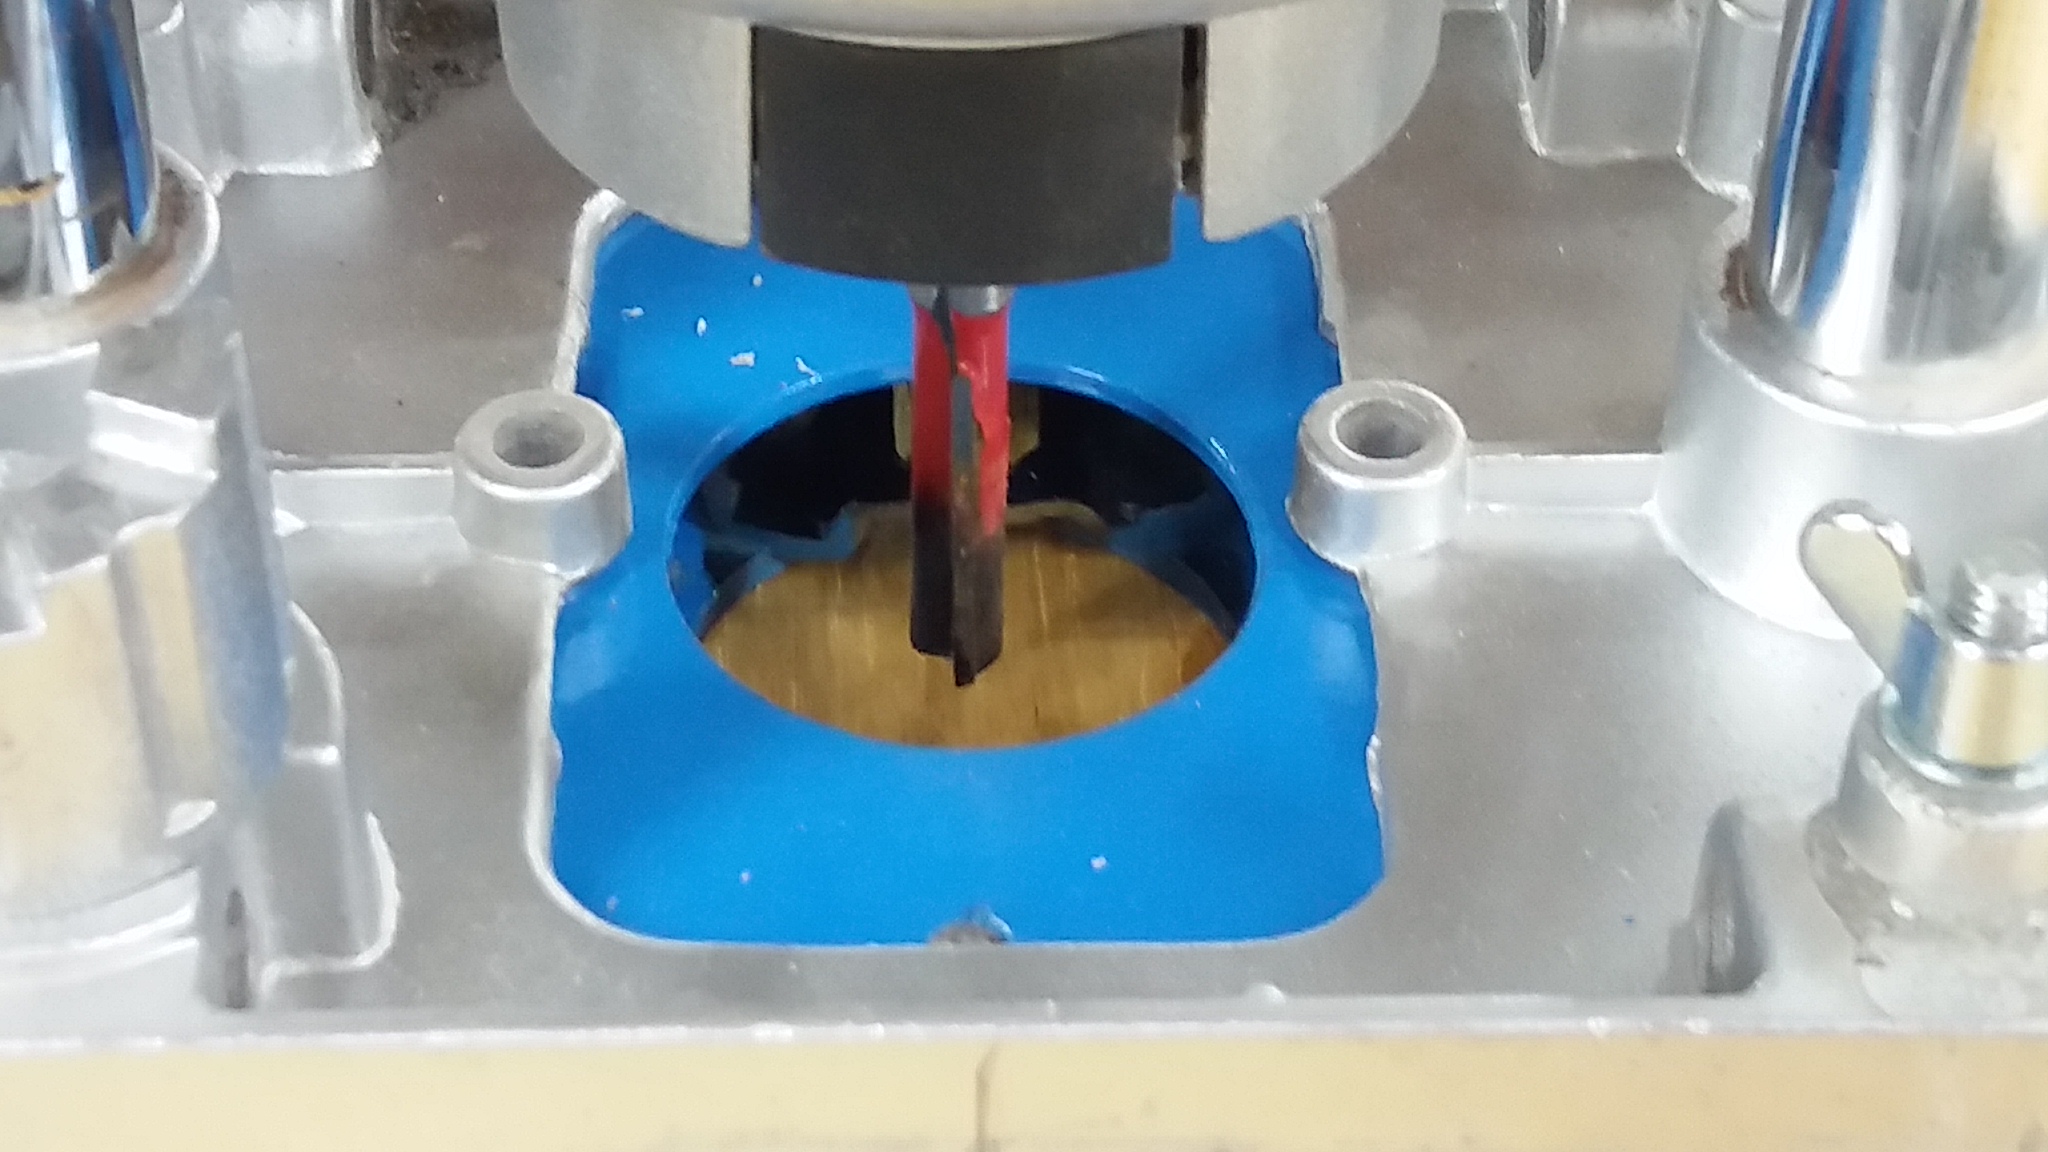
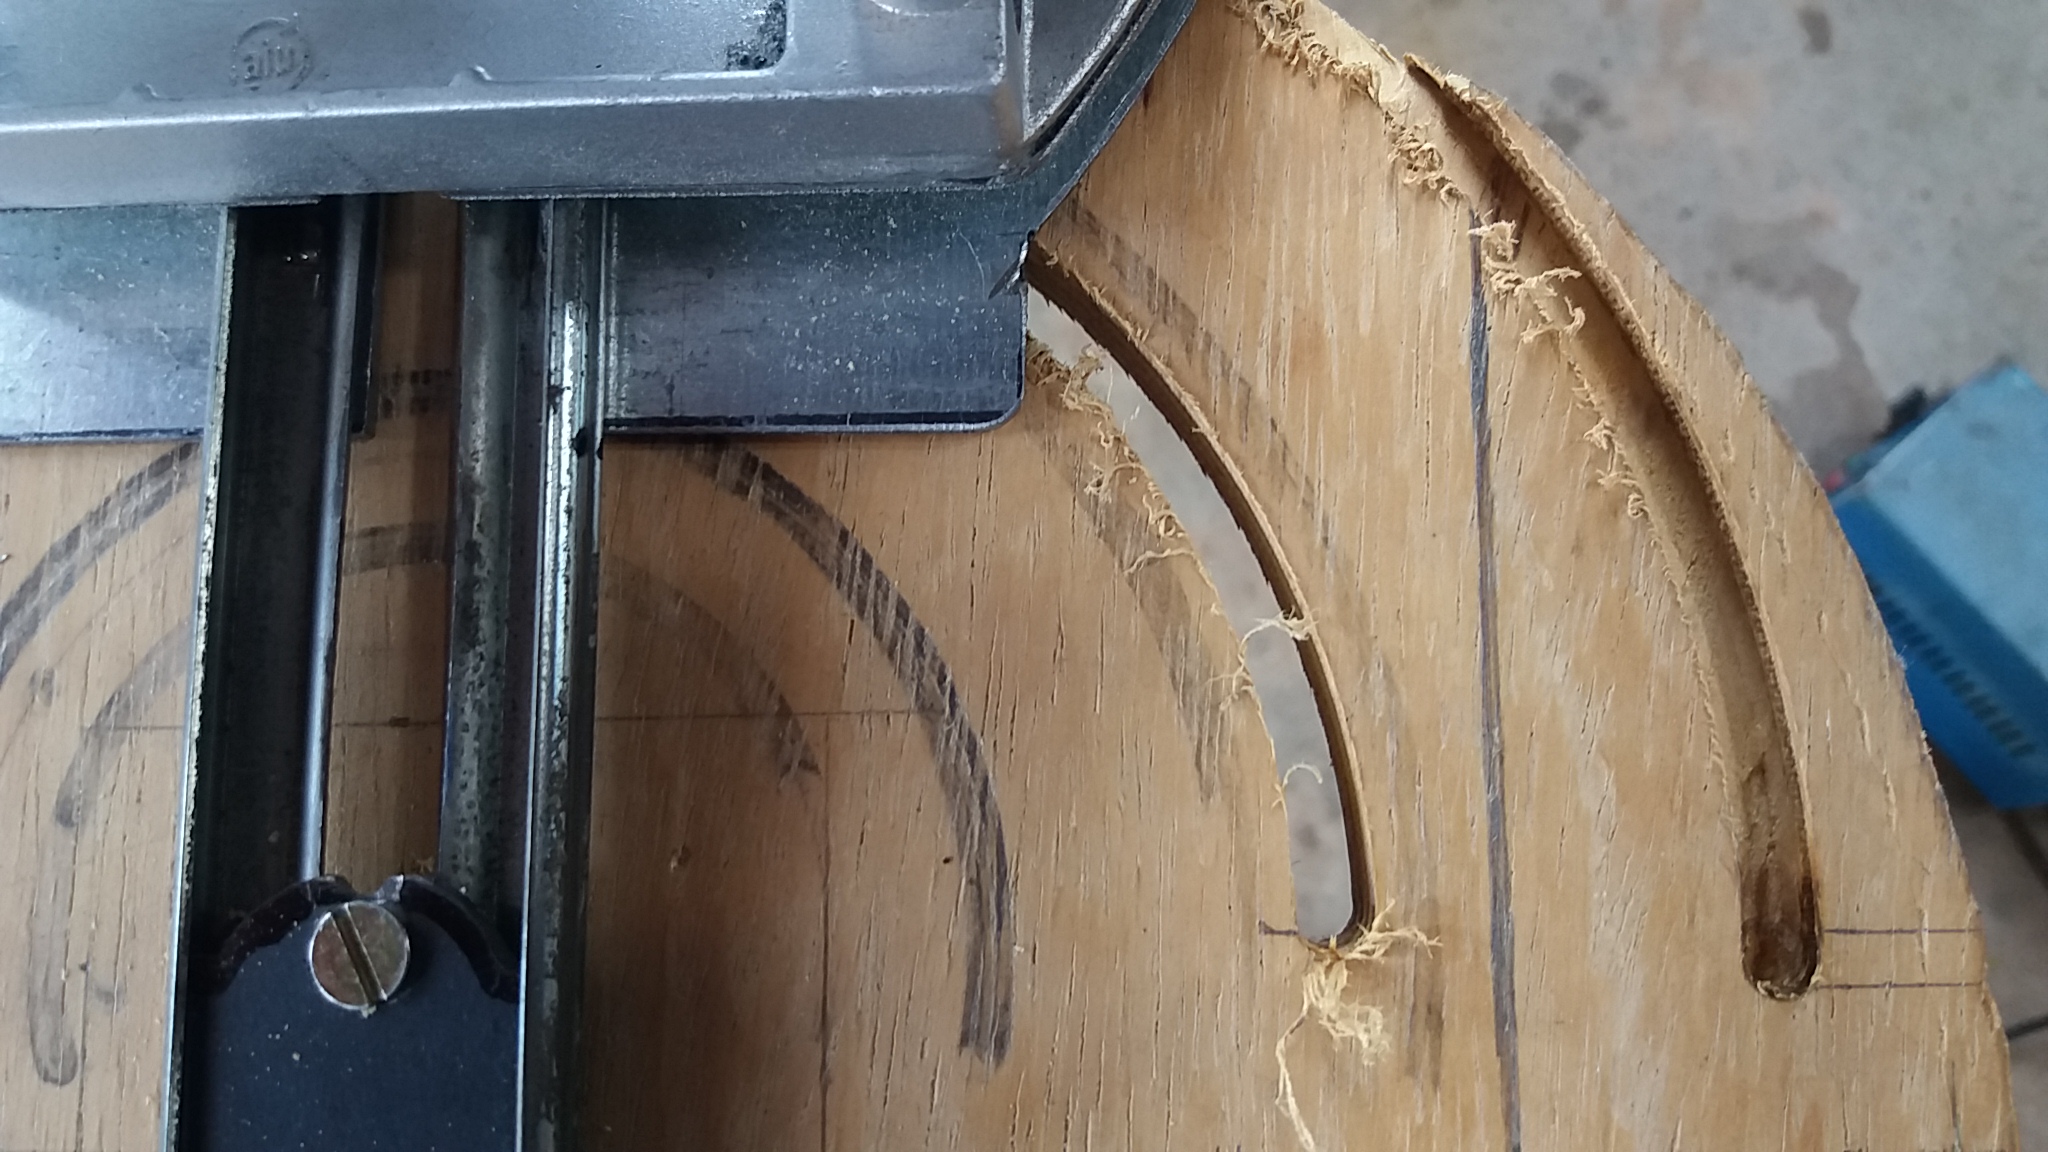
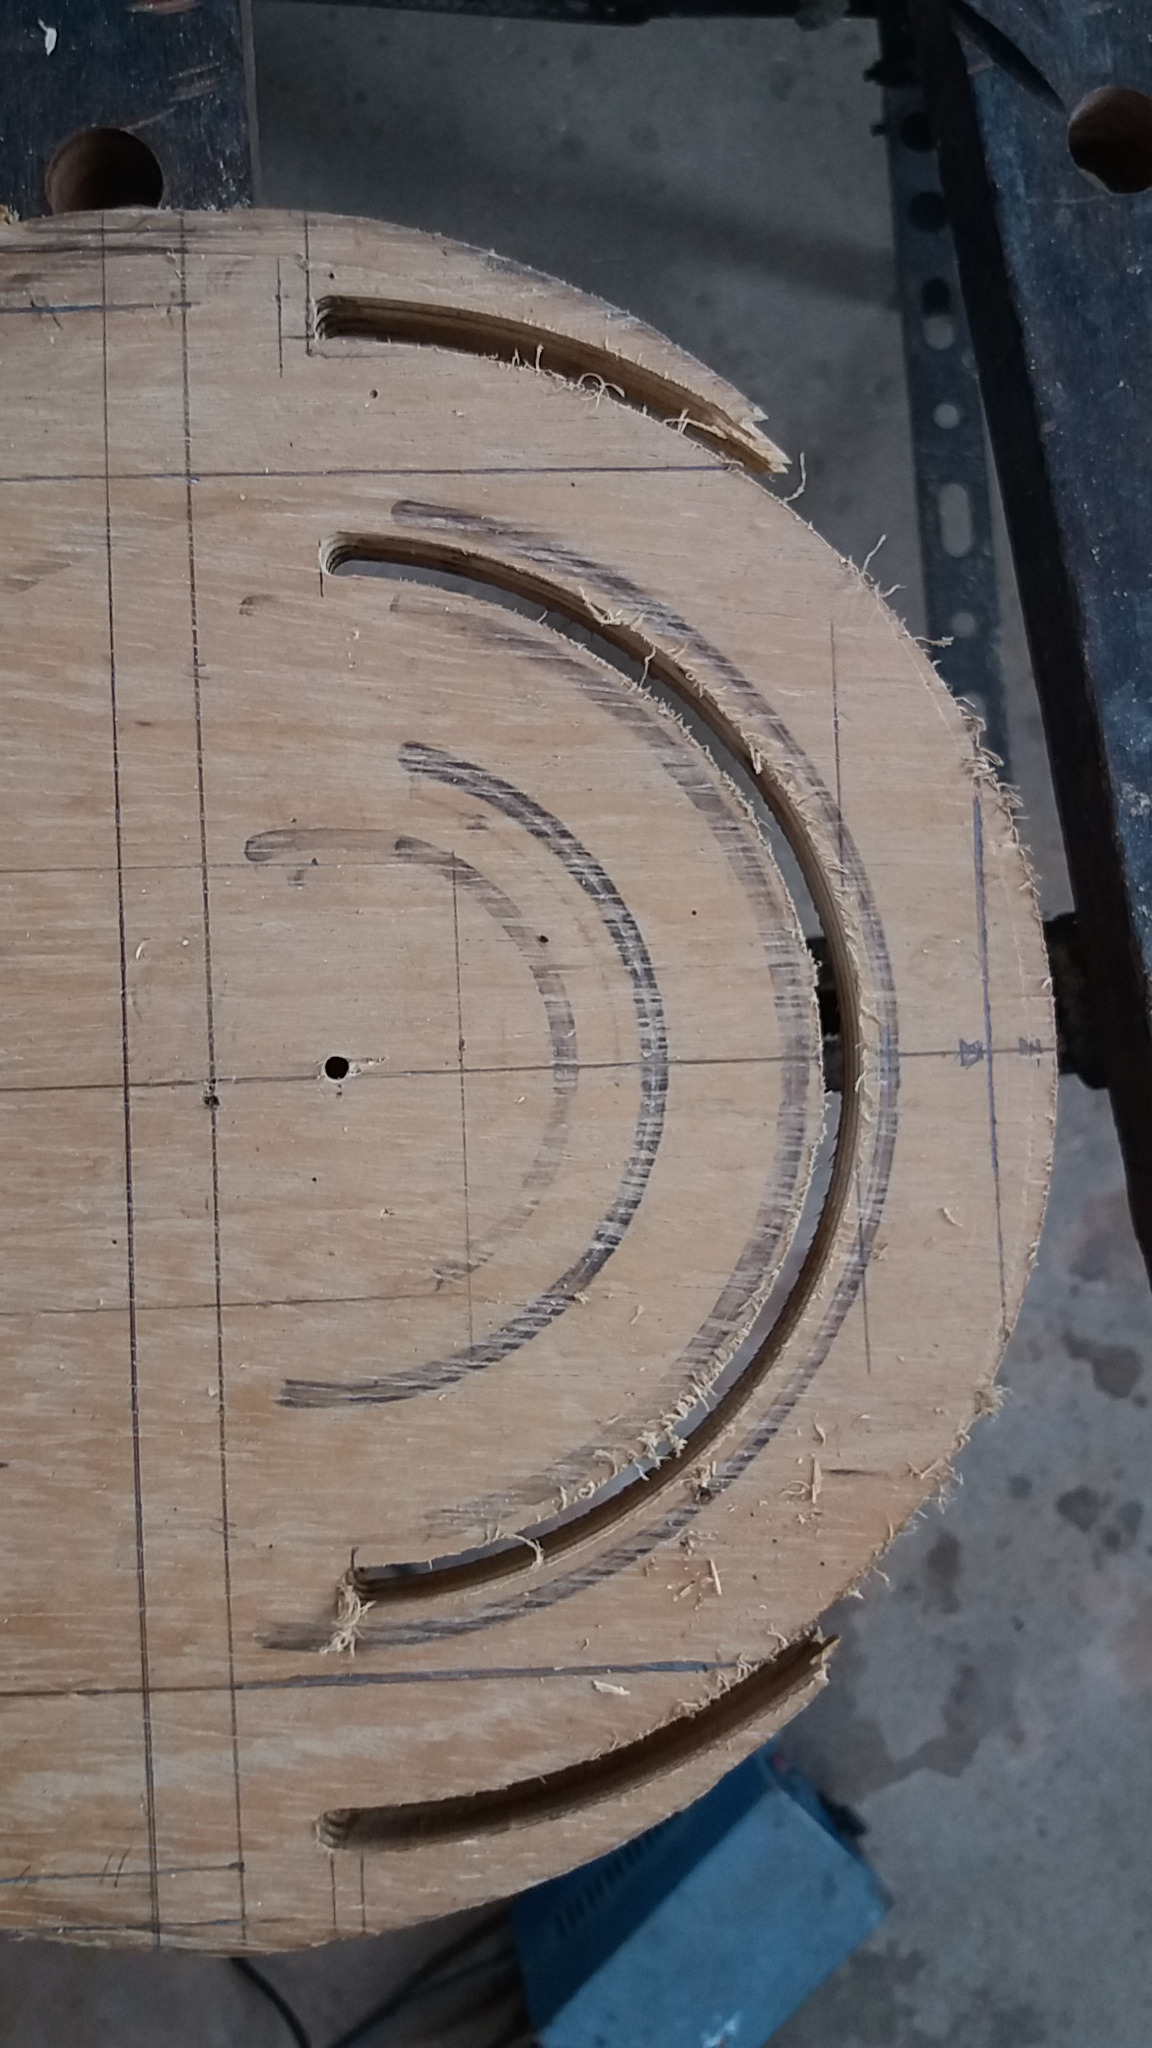
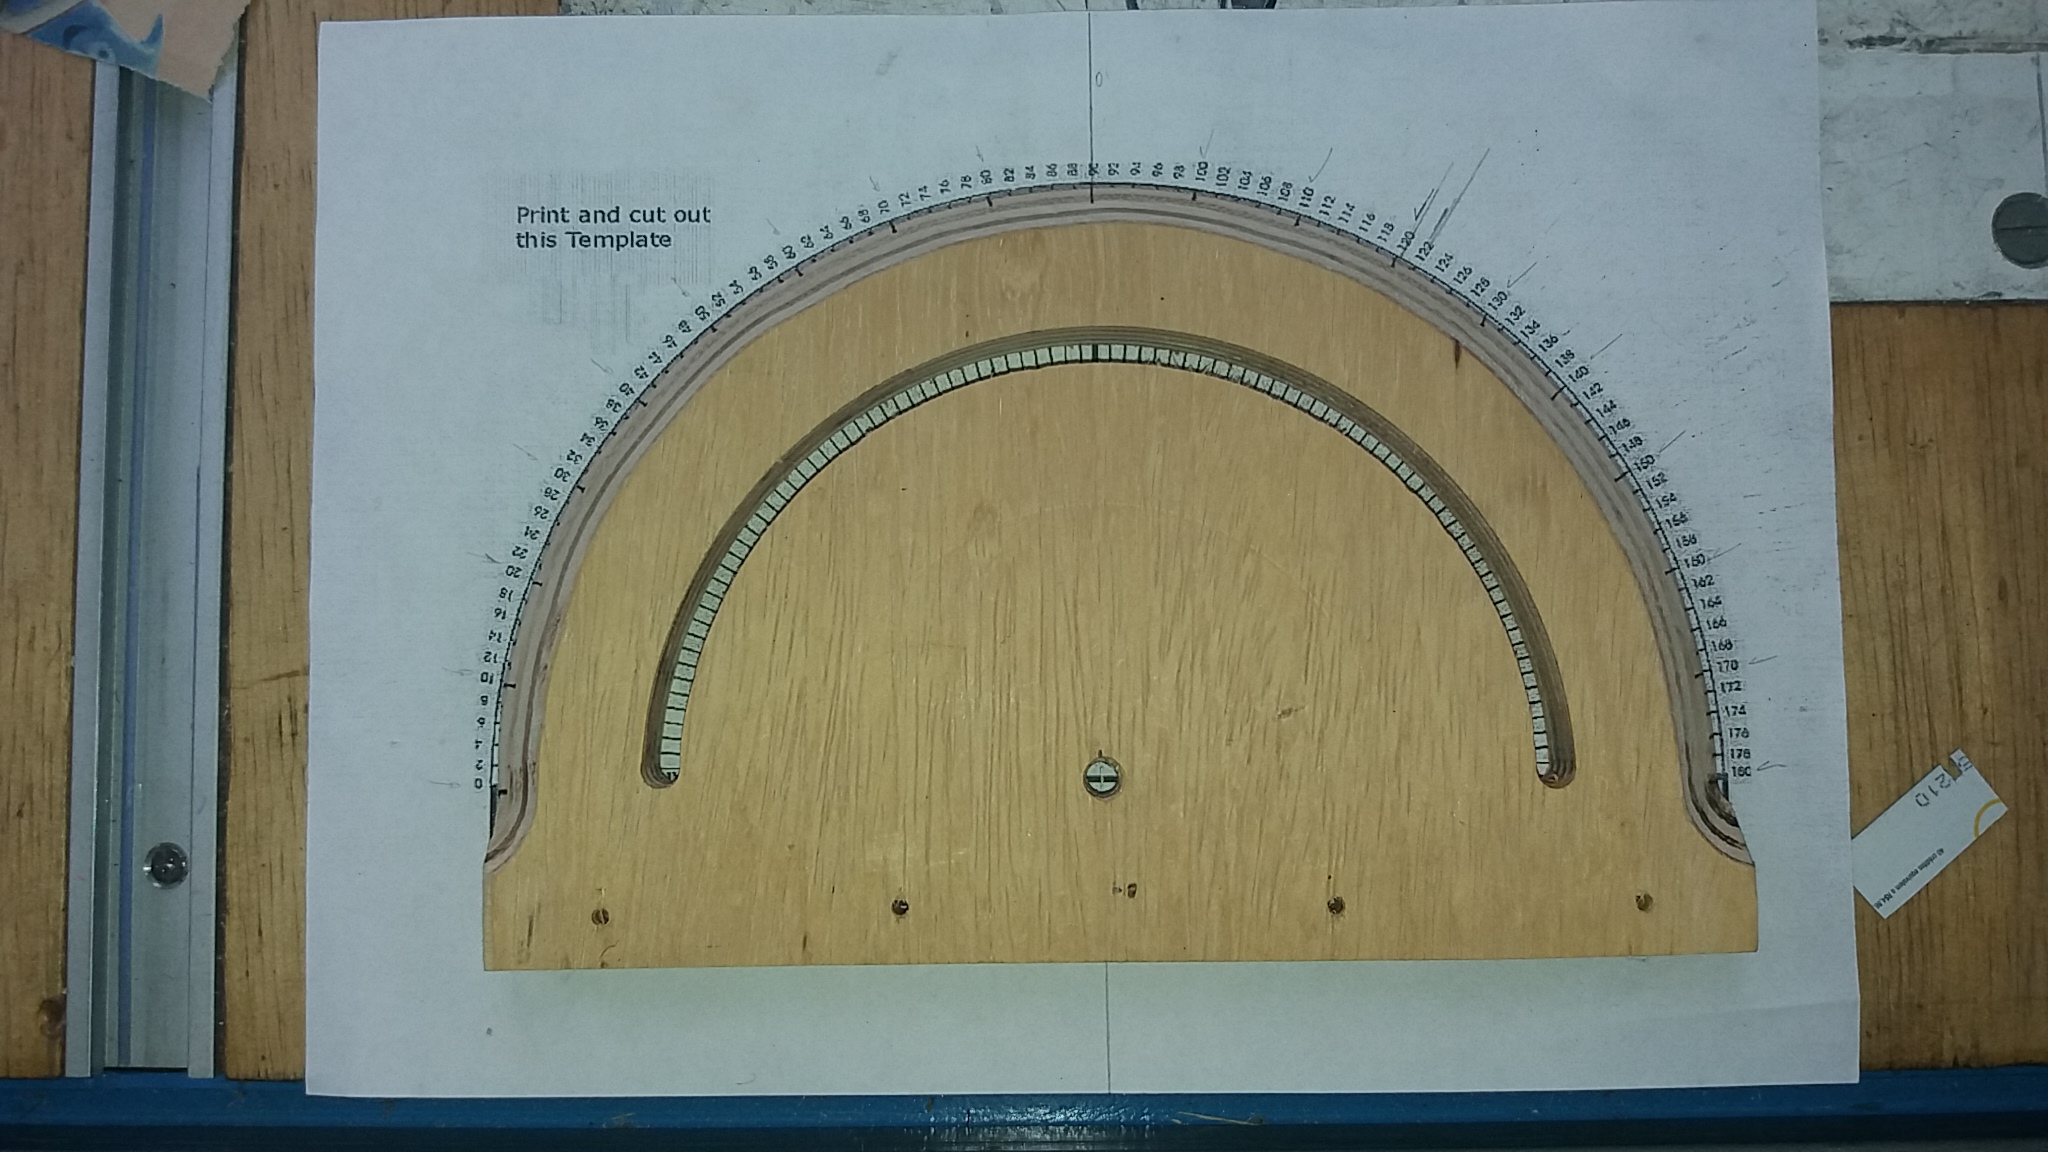
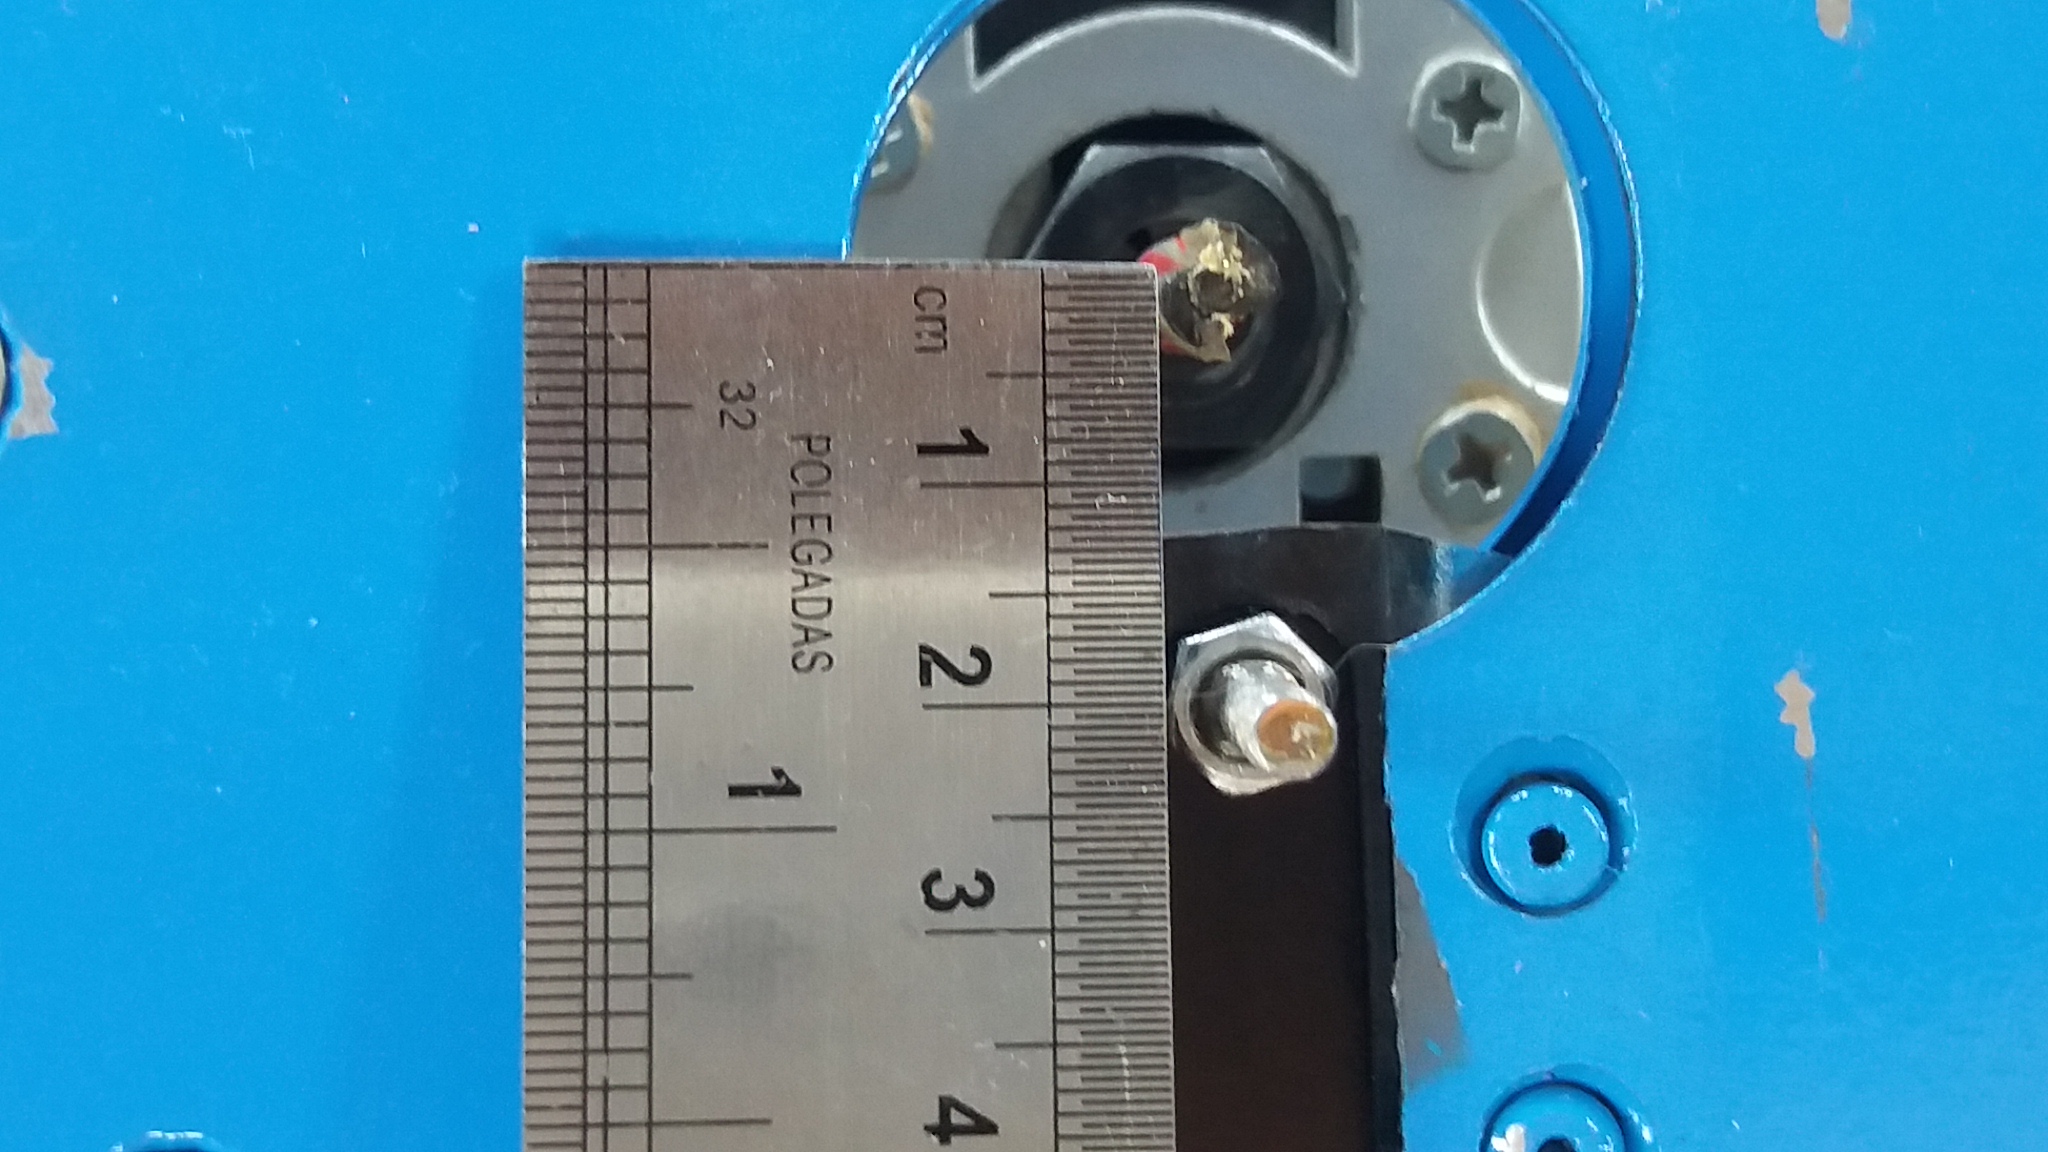
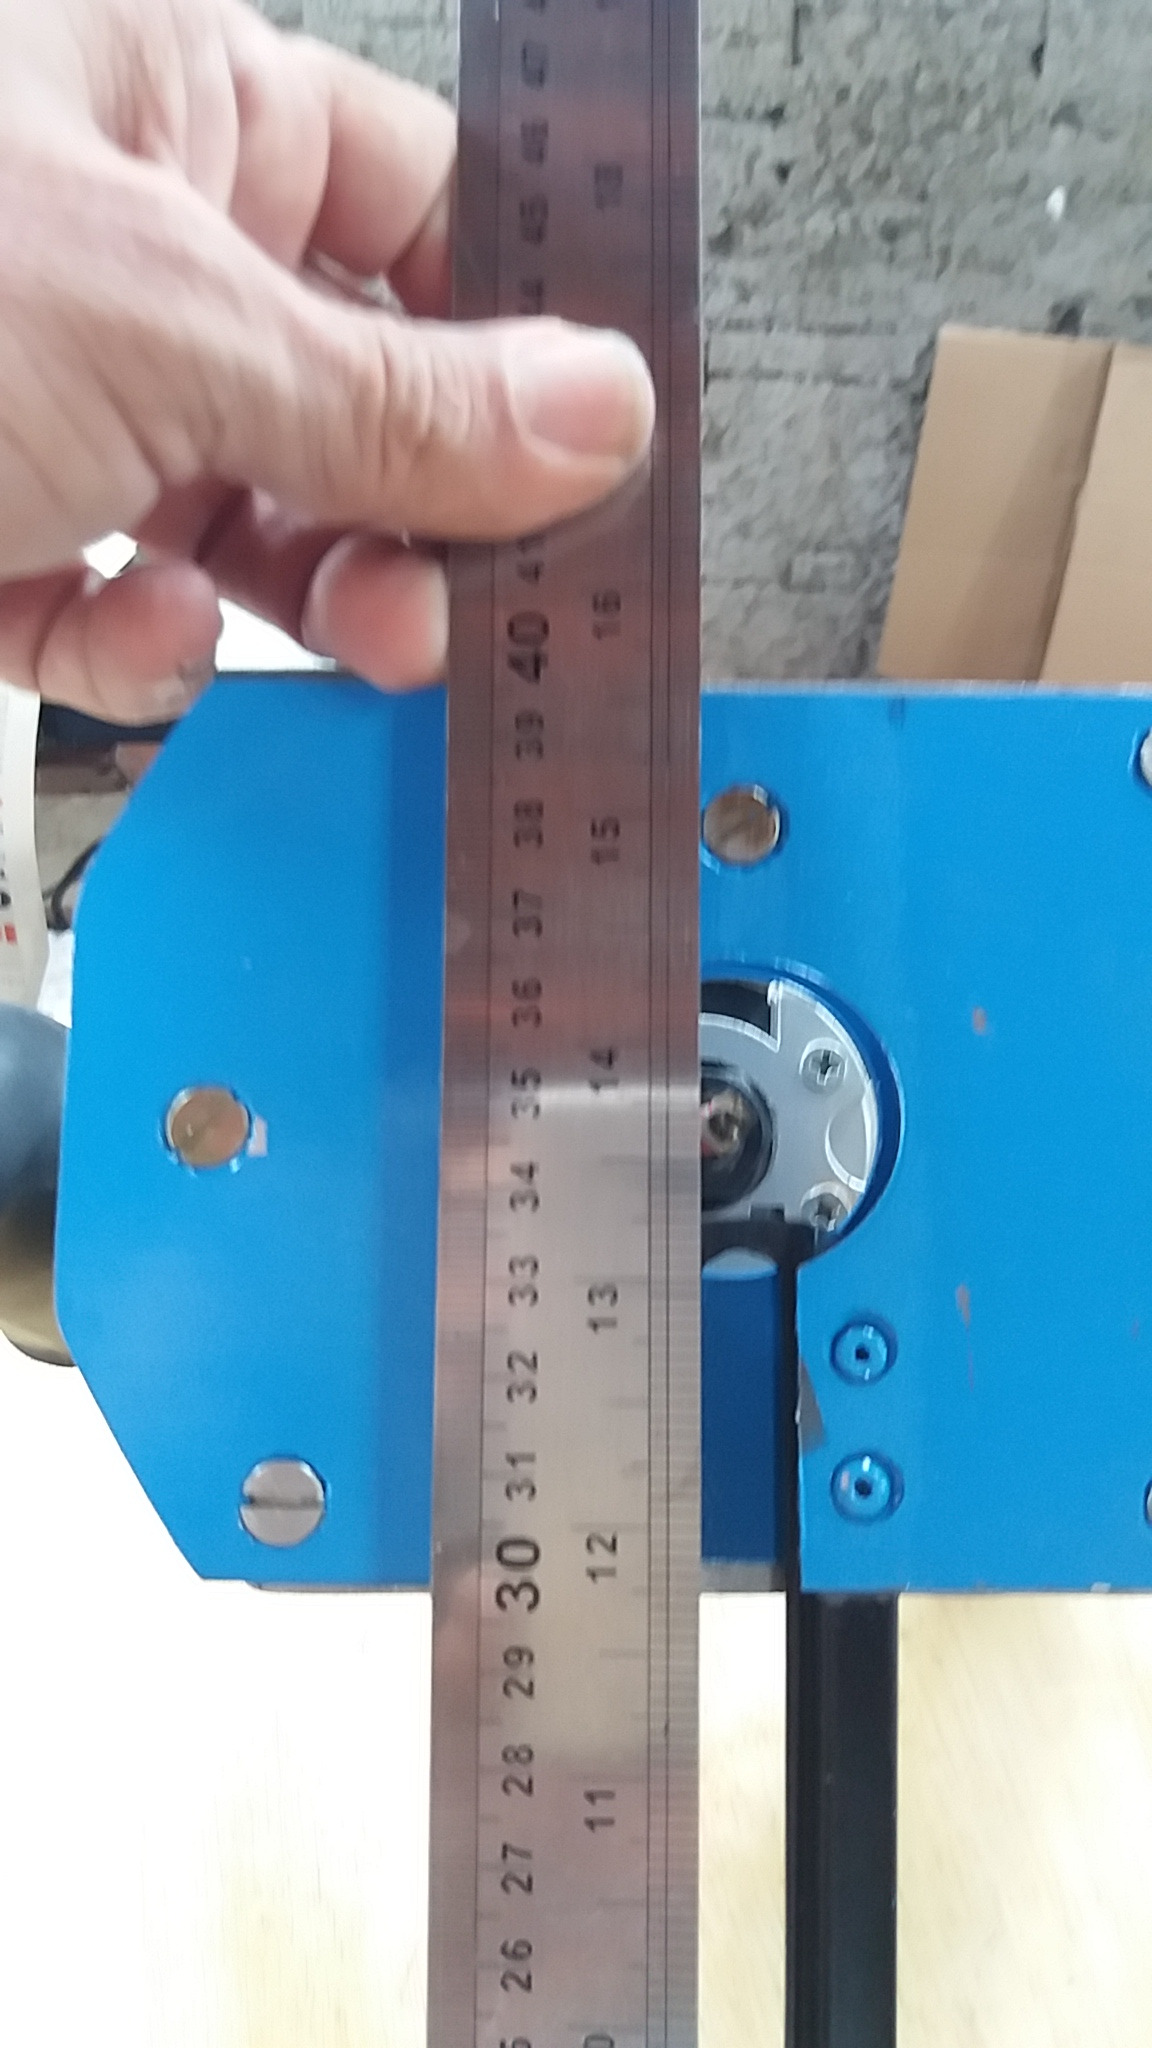
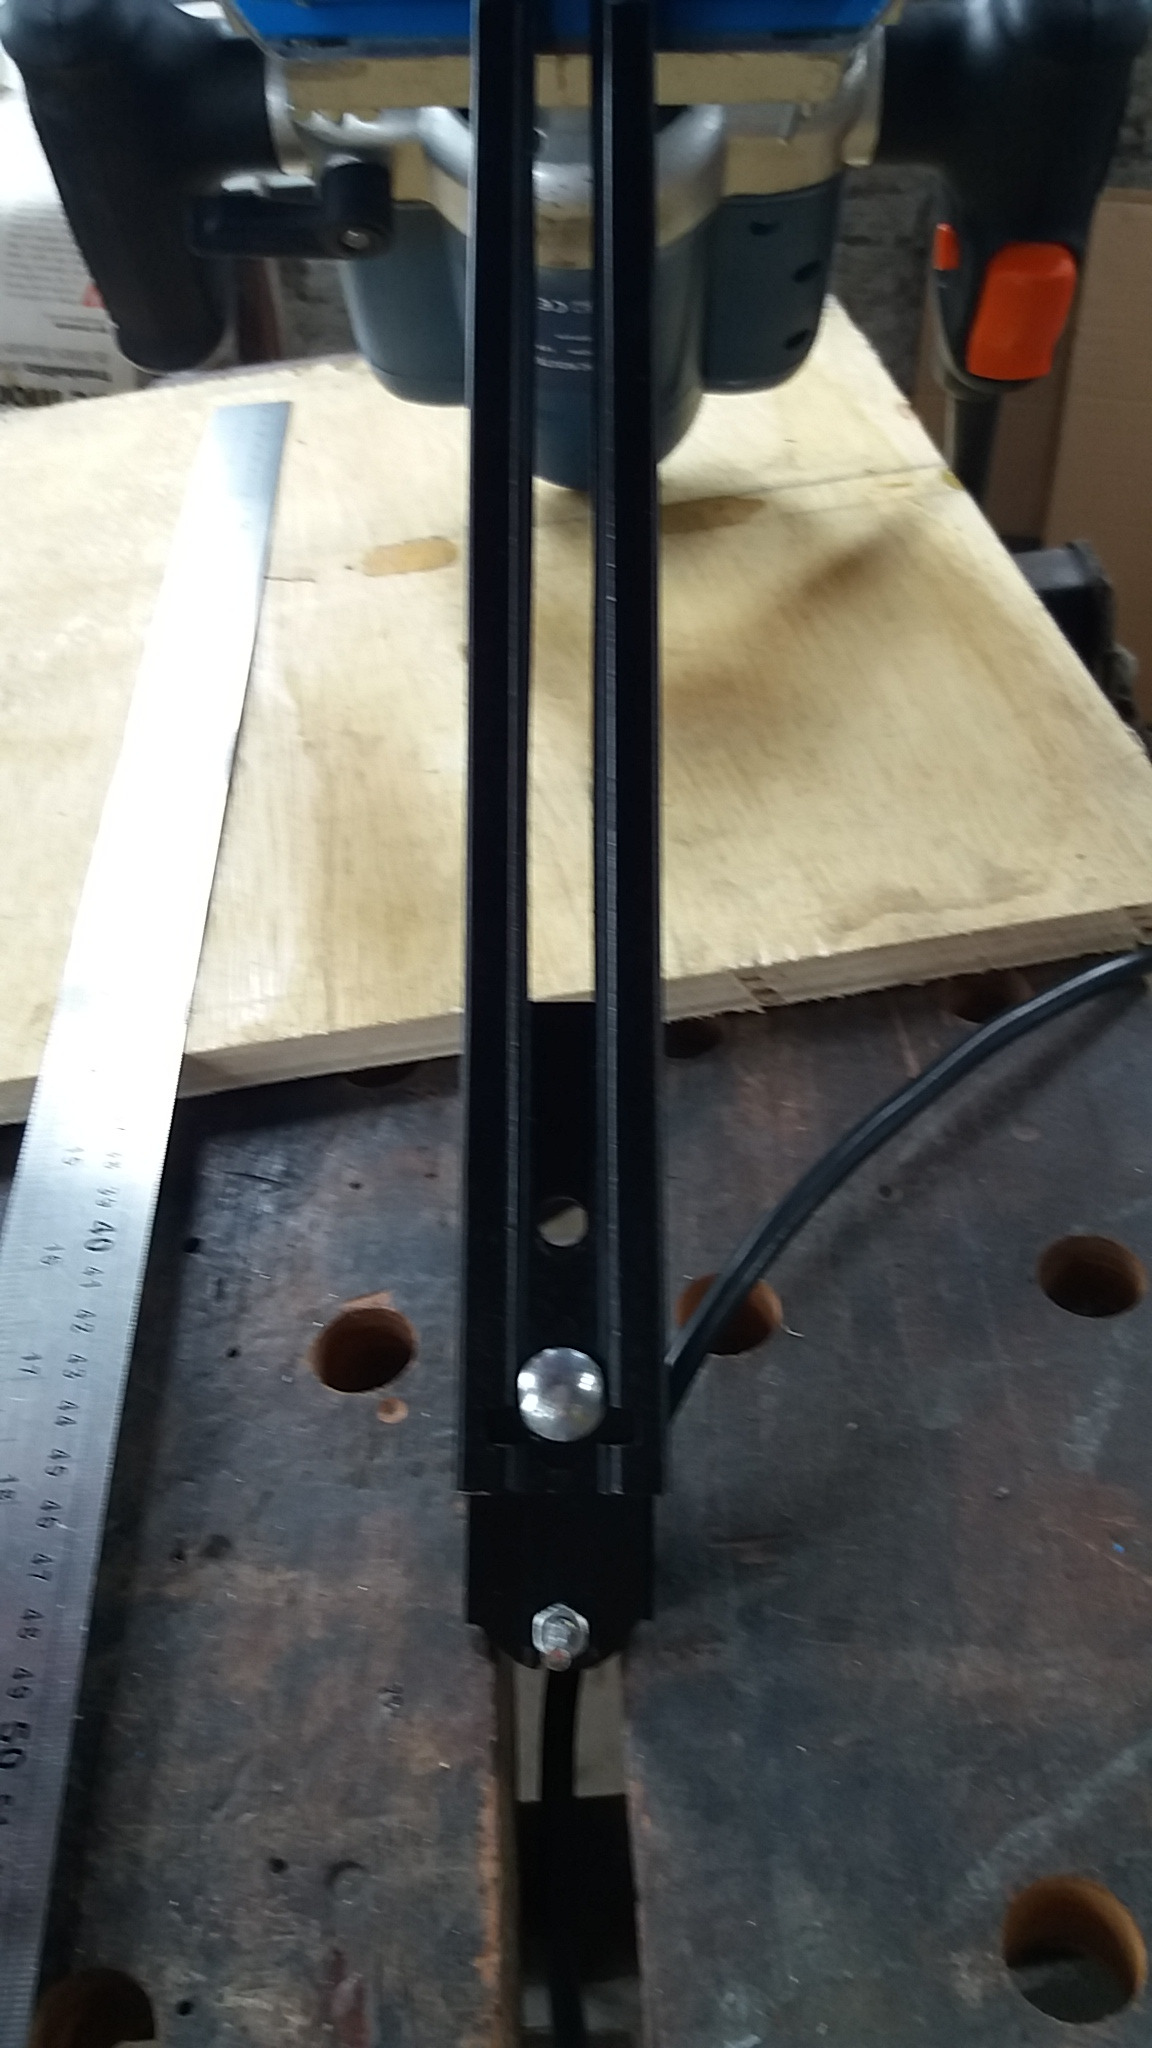
Mount using the three 5 x 50mm screws.
Only three screws were placed because it was not necessary to fit all four. However, if necessary;
Foto 1;2 > Bottom view;
Foto 3;4 > Top view;
Foto 5 > cutting execution
Foto 6;7 >The minimum radius of 2.0 cm that can be obtained is 20 mm and the maximum radius is 35 cm.
Foto 8 > If there is a need for a larger radius, a possibility is to reverse the direction of the plate with the screws and we will have a slightly larger radius.
If it is still necessary to increase the radius simply increase the size of the plate as needed.
Running cut.
1 Determining where the center of the cut is to make a hole (Ø 1/8 ");
2 With the tool mounted, insert the screw into the central hole of the material to be cut;
3 Then position the router at the beginning of the cut, dip and move the router from the point of origin to the end of the cut.