Rotary Button in DeviceScript
by KittenBot in Circuits > Raspberry Pi
914 Views, 10 Favorites, 0 Comments
Rotary Button in DeviceScript

Standard keyboards typically only have basic up/down keys. However, keyboards with rotary knobs have gradually emerged, serving different purposes such as adjusting keyboard modes or controlling media volume. Today, we will teach you how to create a mini keyboard with a rotary button using RotaryButton.
The RotaryButton offers three triggering modes: left rotation, right rotation, and pressing down.
Supplies
KB Brain RP2040 x 1
KB KeycapButton x 1
M3 copper pillar x 4
Round-head screwM3x8 x 8
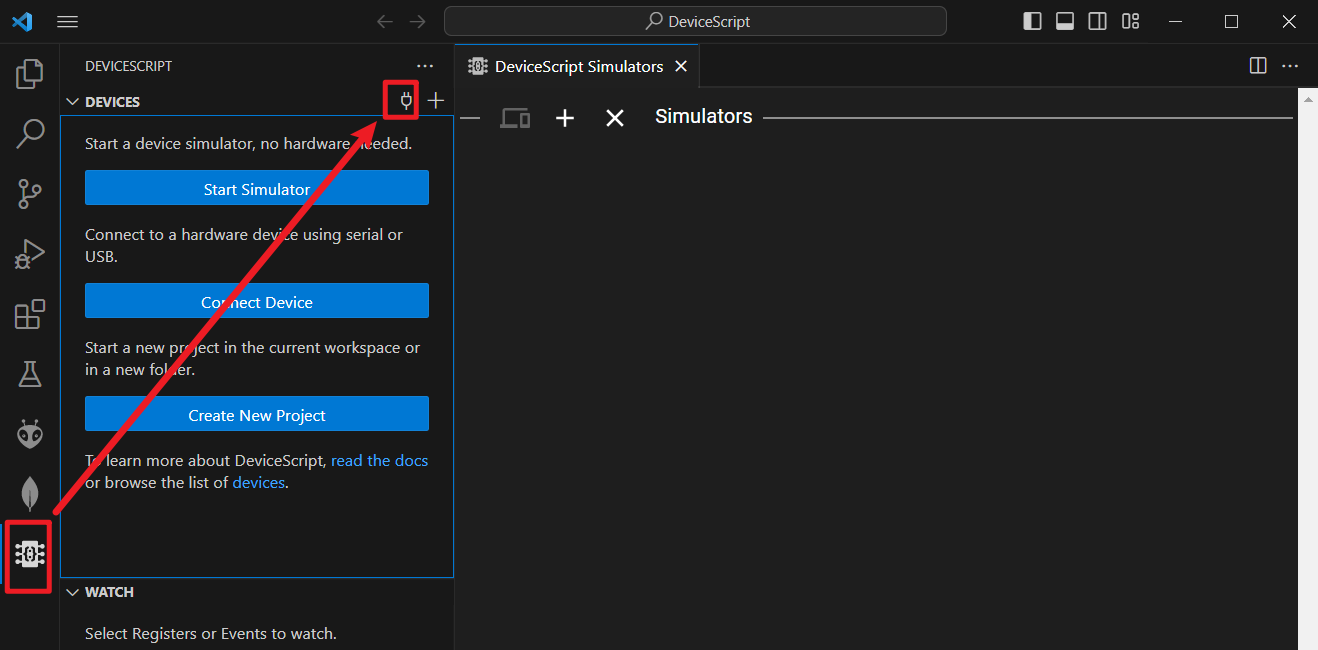
Launch Visual Studio Code
Choose DeviceScript.


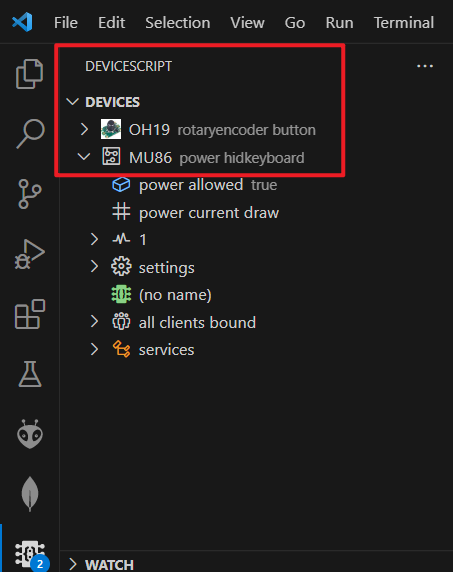
The software automatically detects two devices: the KB Brain RP2040 and one RotaryButton. (If you still can't establish a connection at this point, please refer to the configuration tutorial for DeviceScript provided in the initial article.)

Programing
Open the "main.ts" file in the DeviceScript environment.

Prior to importing the RotaryButton, it is necessary to bring it into consideration. As for the decision to use a RotaryEncoder, you can refer to the documentation provided here for further information. RotaryEncoderServer | Jacdac TypeScript - v1.33.4 (microsoft.github.io)

A helpful suggestion: You can also utilize code completion feature to aid your understanding.

We endeavor to compose a program that aims to retrieve the numerical alterations triggered by the rotary encoder.

import { startHidKeyboard} from "@devicescript/servers"
import { Button, RotaryEncoder, } from "@devicescript/core"

const r = new RotaryEncoder()
const btna = new Button("A")

let c = 0
const keyboard = startHidKeyboard({
})

r.reading.subscribe(async (value: number)=>{
    if (c !== value){
        c = value
        console.log("r=", value)
    }

})
Click to execute.

Upon execution, observable is the alignment between the values returned by console.log and the outcomes procured from the simulator.

Let us attempt to modify the program such that an increase in the value denotes the pressing of the "down" key, while a decrease in the value signifies the pressing of the "up" key.
import { startHidKeyboard} from "@devicescript/servers"
import { Button, RotaryEncoder, } from "@devicescript/core"
import * as ds from "@devicescript/core"
const r = new RotaryEncoder()
const btna = new Button("A")

let c = 0
const keyboard = startHidKeyboard({
})

r.reading.subscribe(async (value: number)=>{
    if (c !== value){
        if(value > c)
        {
            const selector=ds.HidKeyboardSelector.UpArrow
            const modifier = ds.HidKeyboardModifiers.None
            const action = ds.HidKeyboardAction.Press
            await keyboard.key(selector,modifier,action)
        }
        if(value < c)
        {
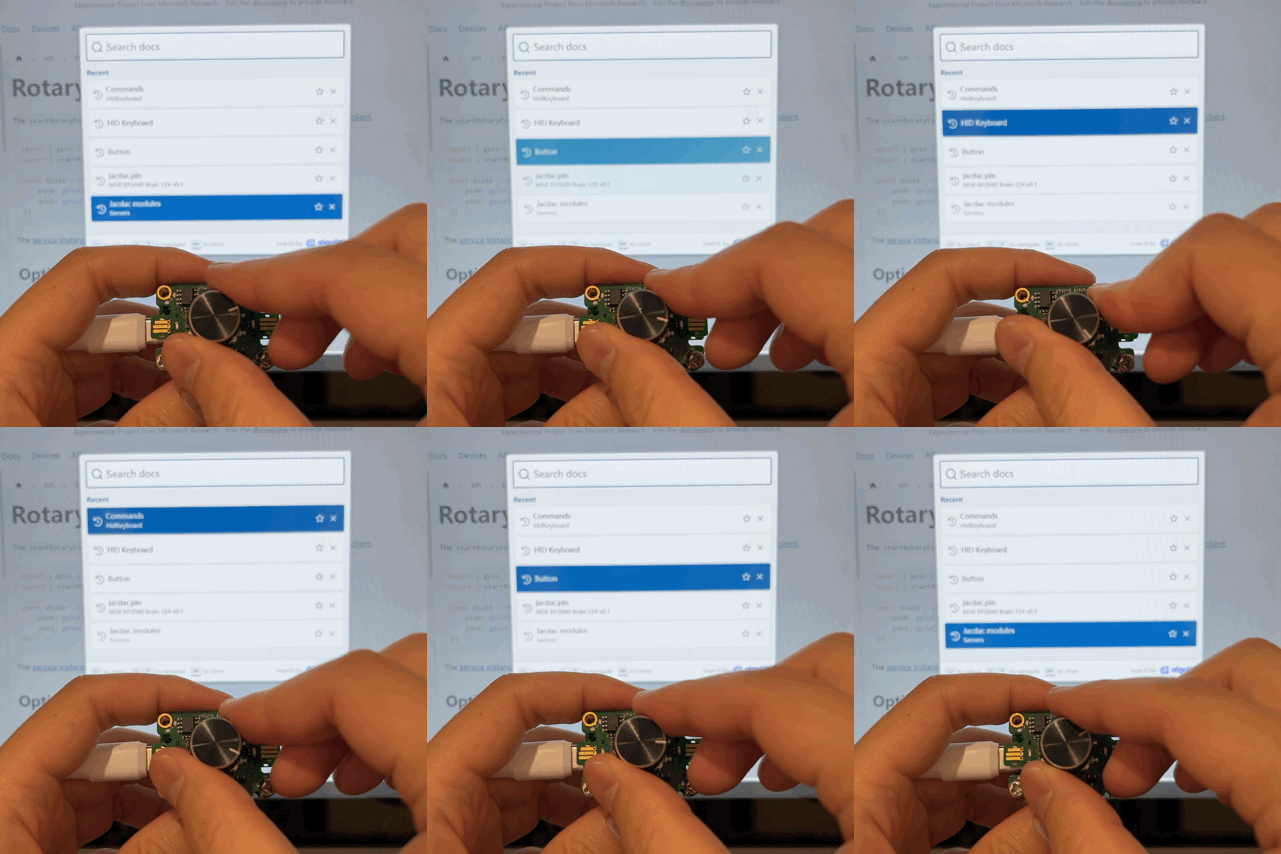
Experimental Findings

.gif)
Additional Tutorials Are Available for Further Guidance
This tutorial aims to swiftly familiarize you with DeviceScript.
For further study materials, you can refer to the following sources:
DeviceScript | DeviceScript (microsoft.github.io)
The TypeScript syntax documentation for Jacdac can be found at:
