Rooted Bricks
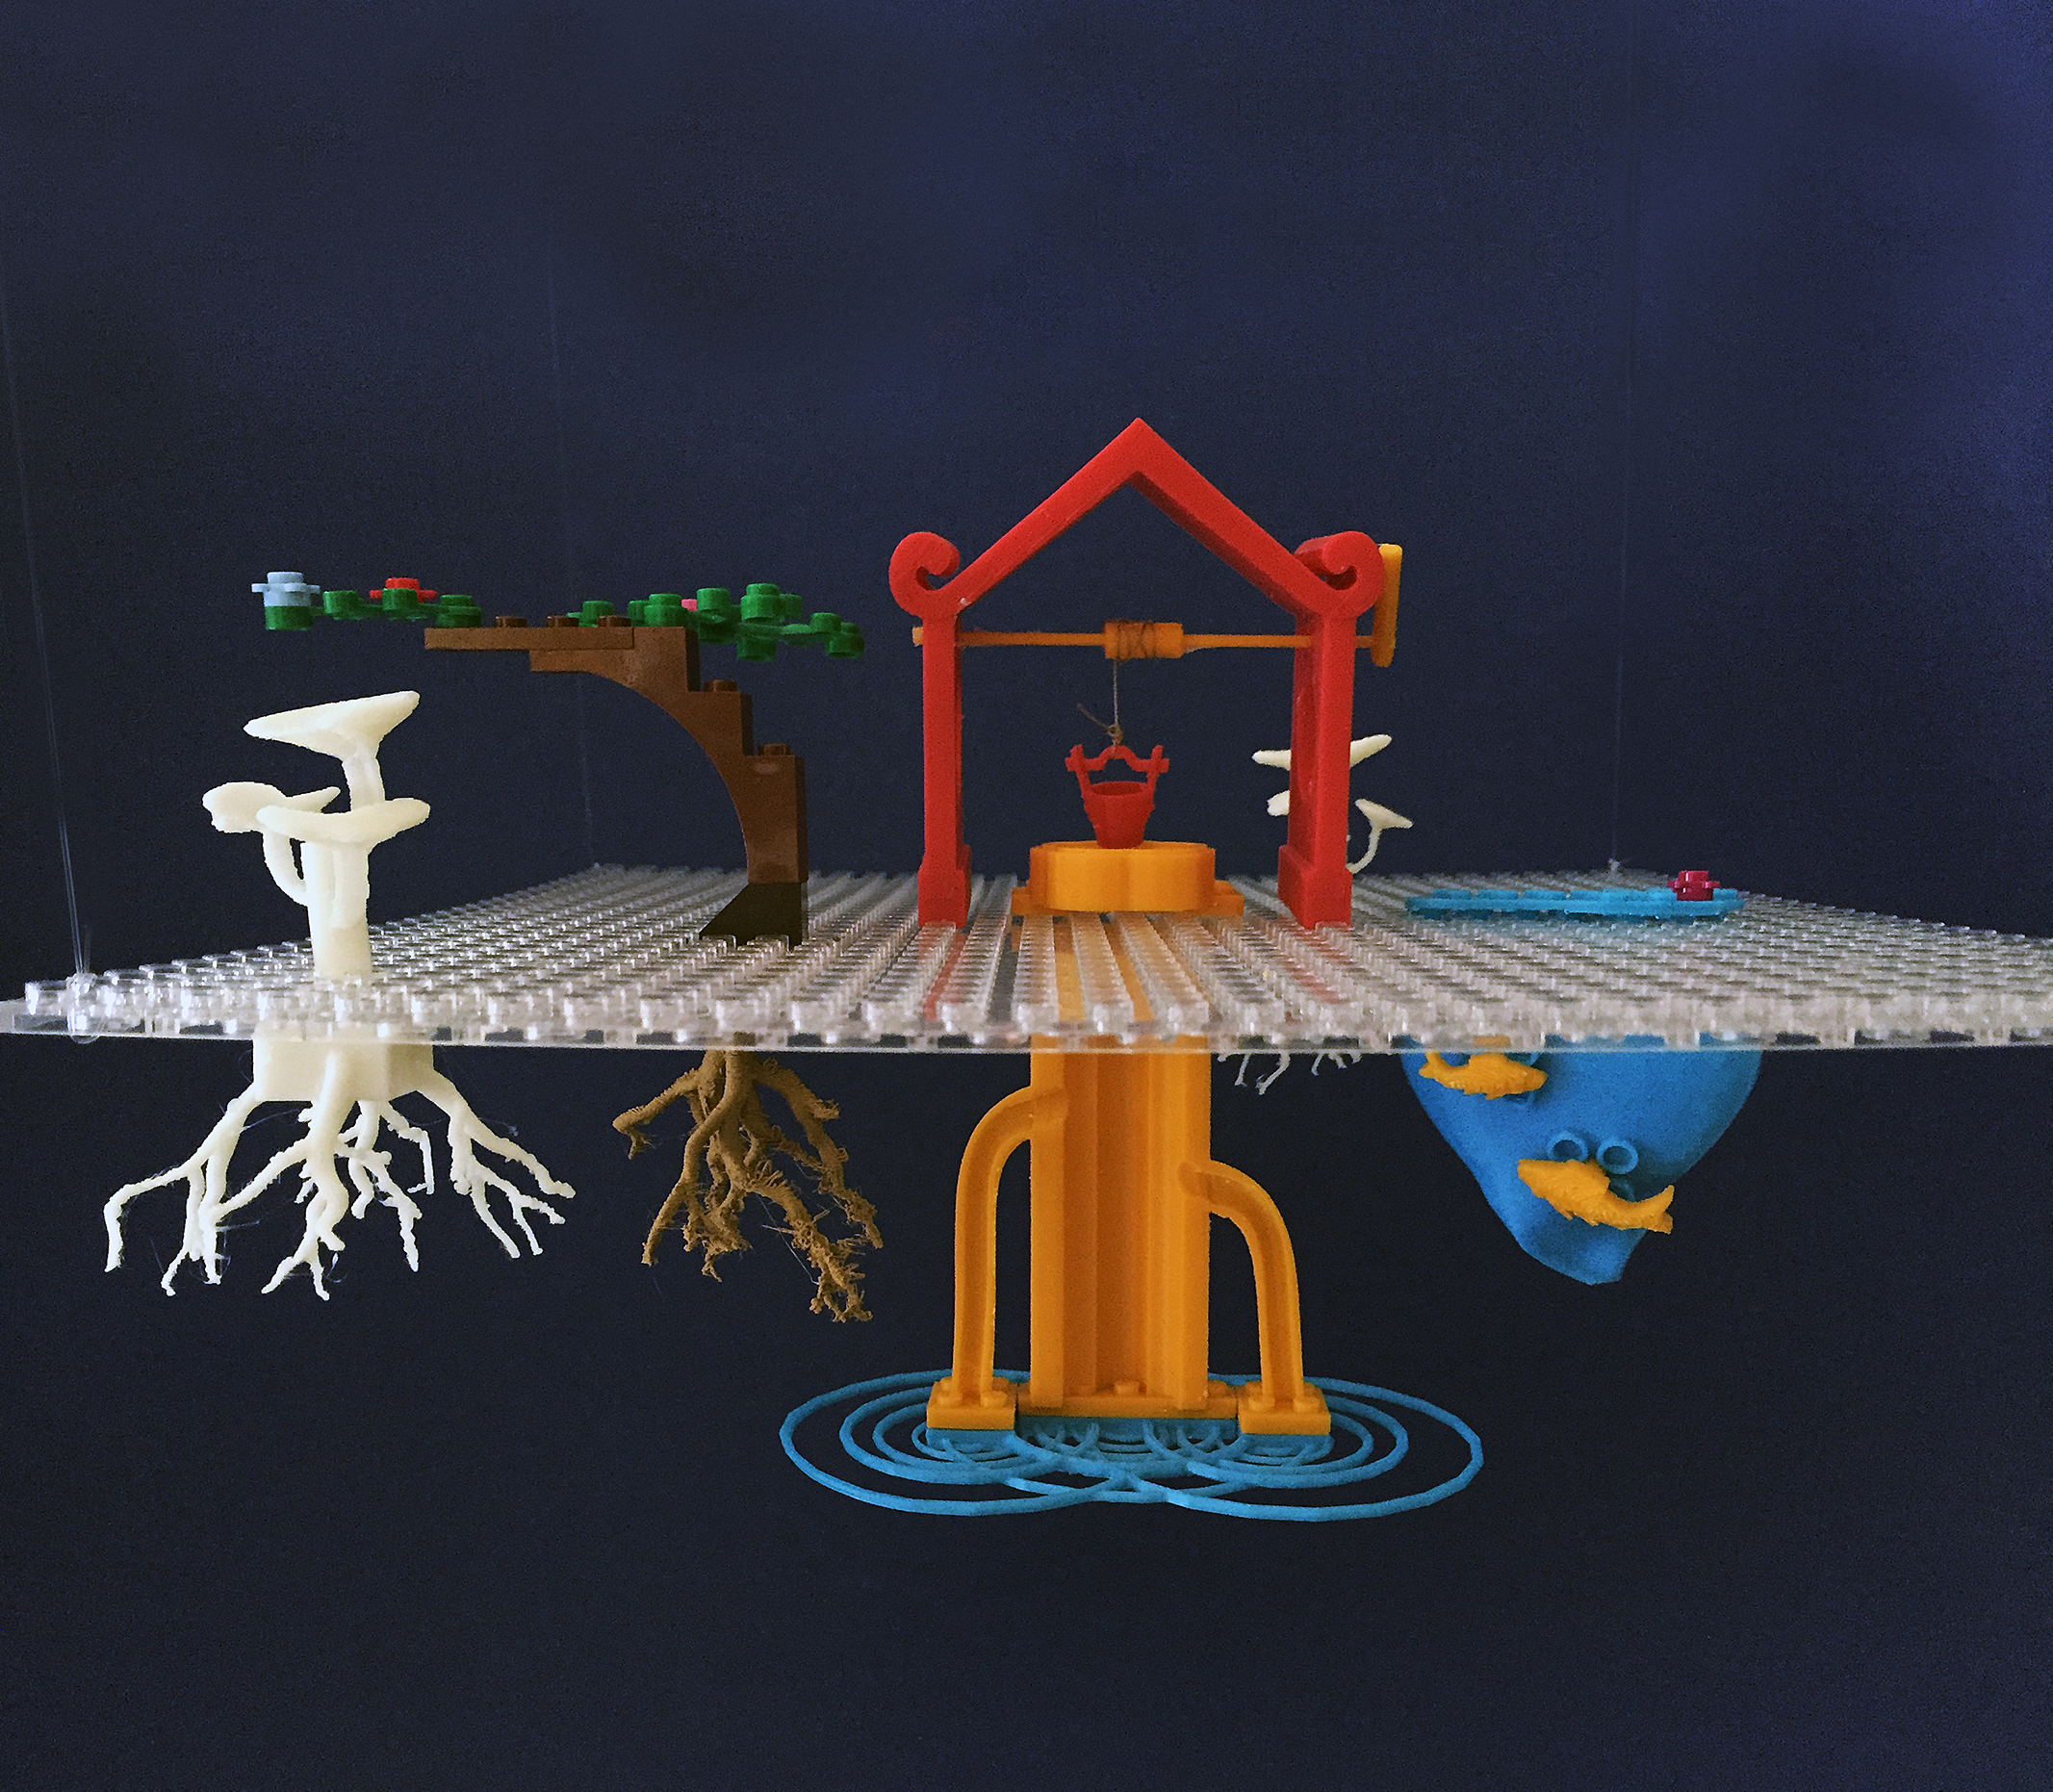
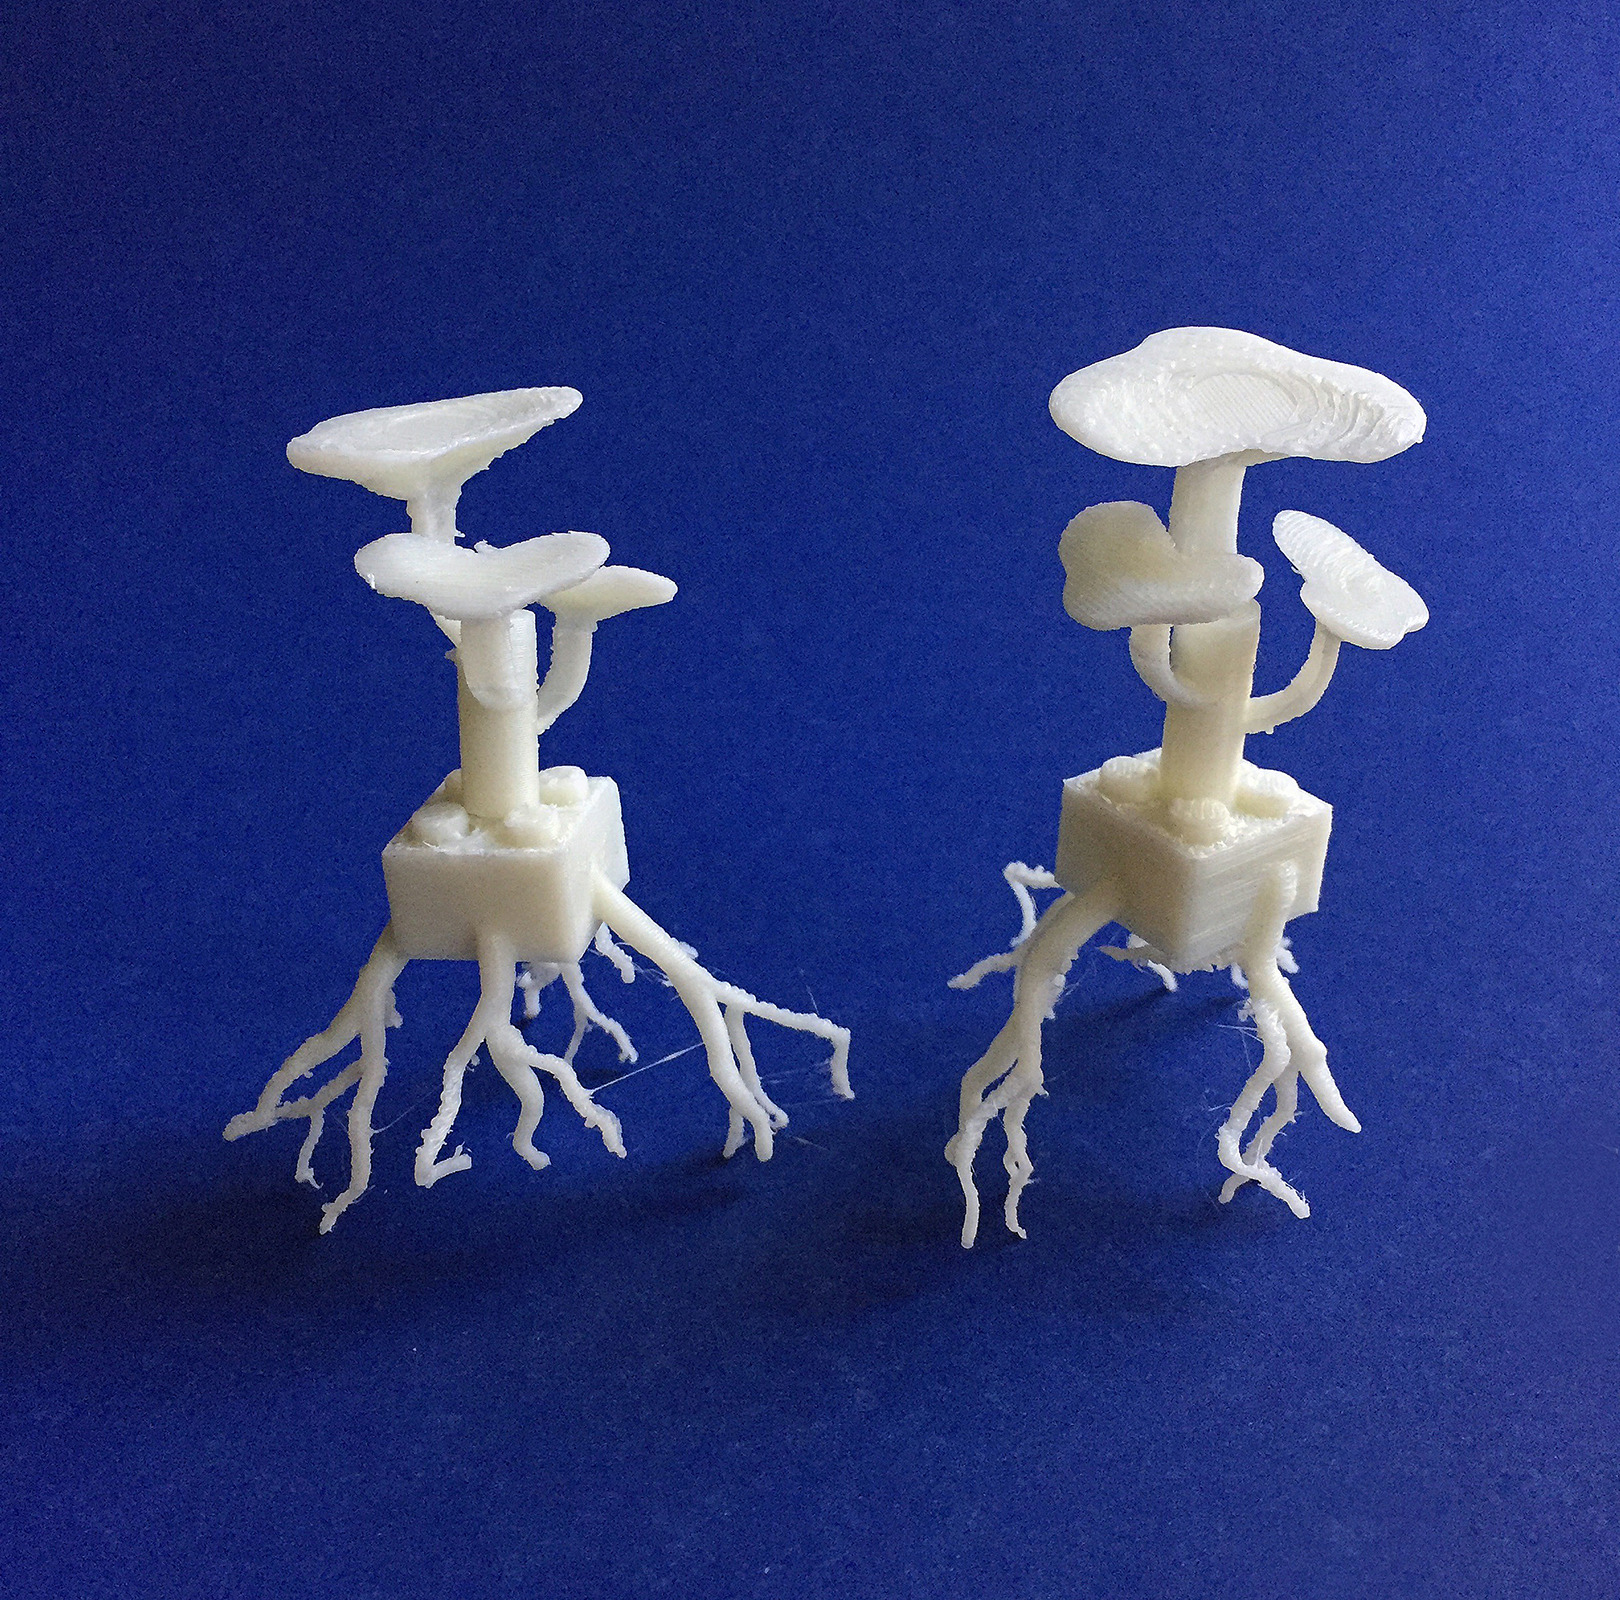
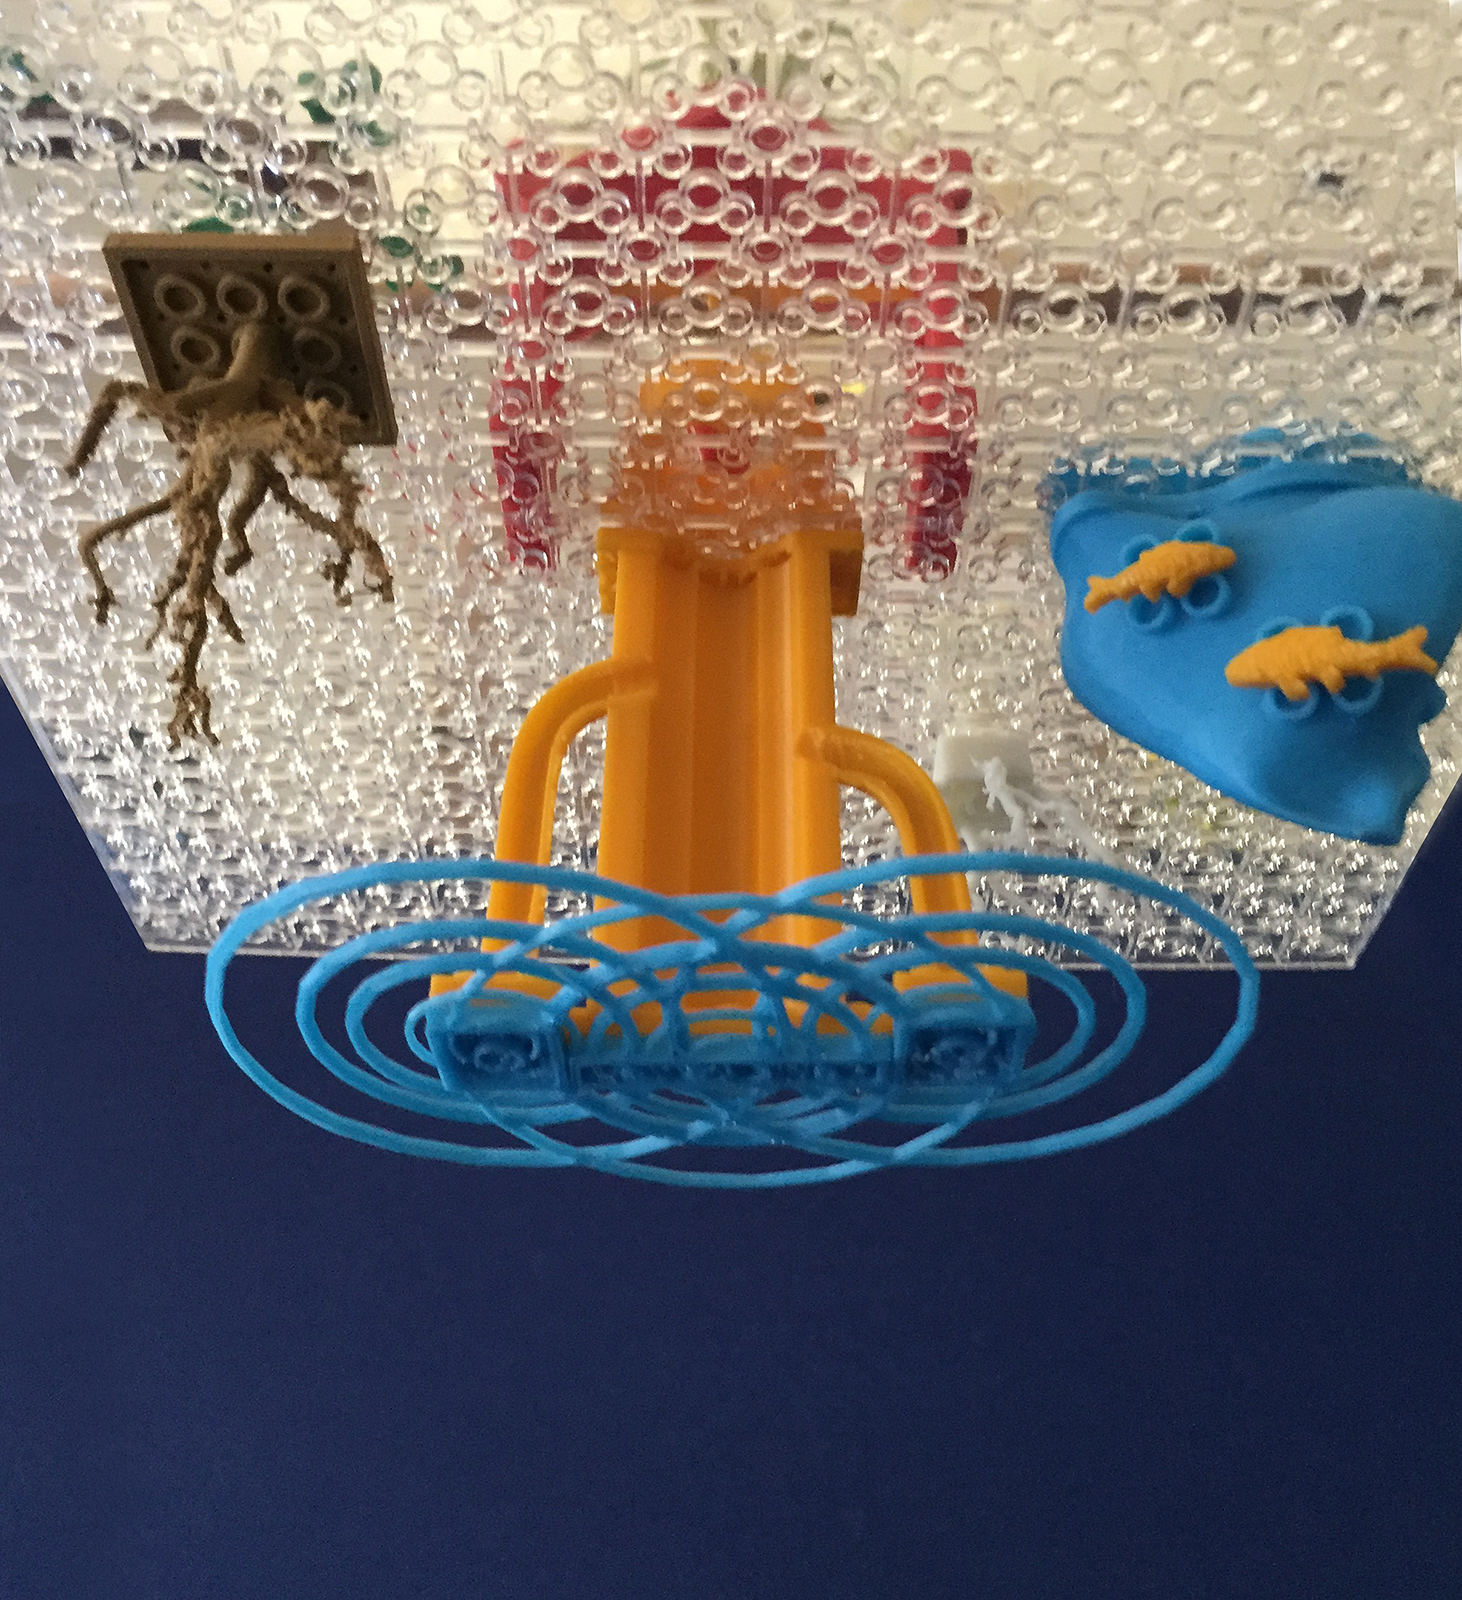
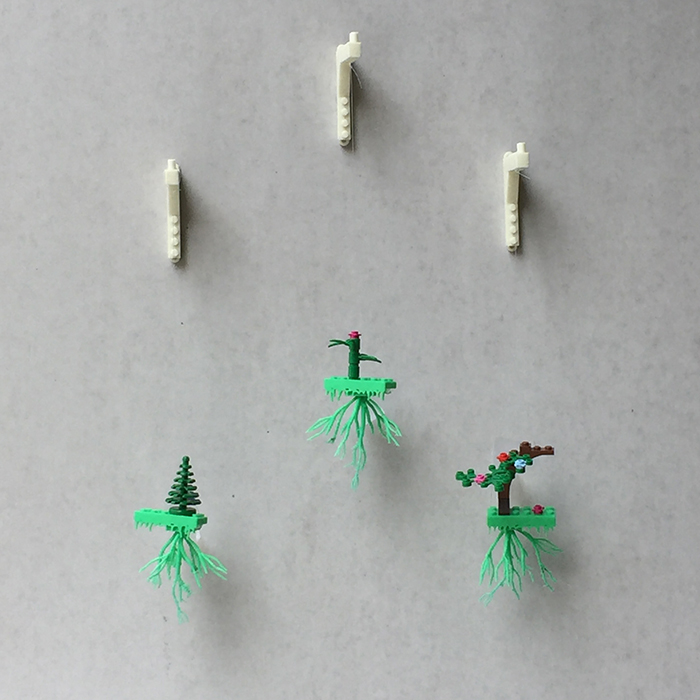
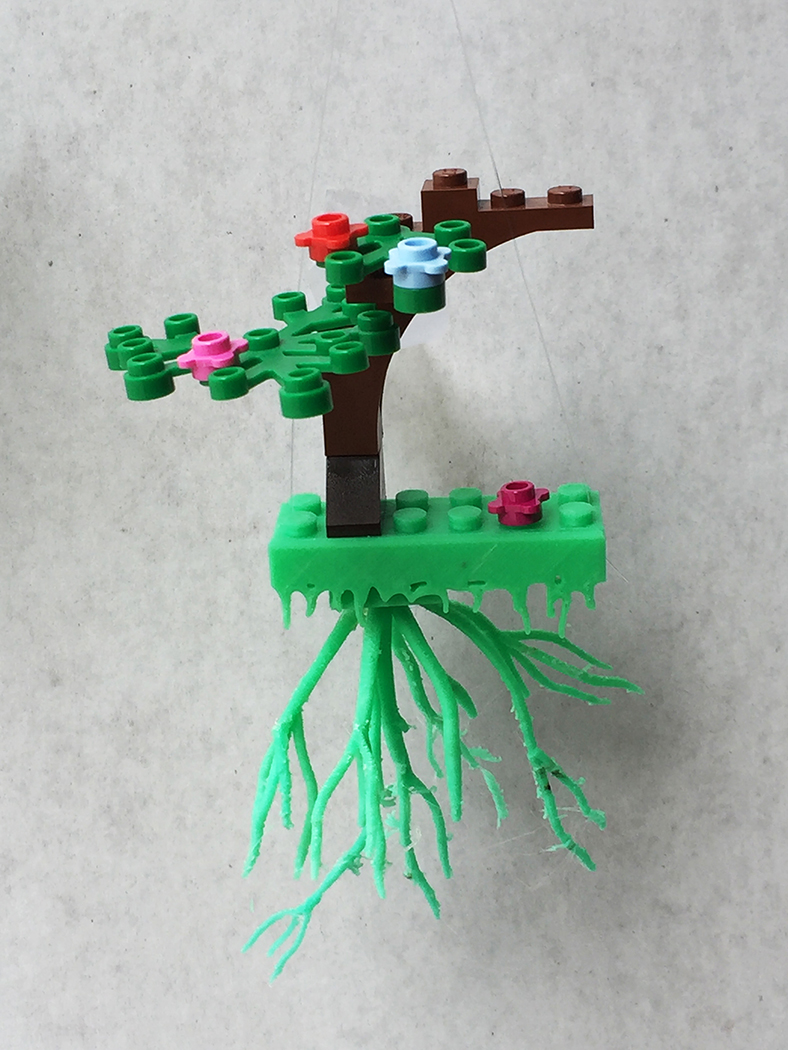
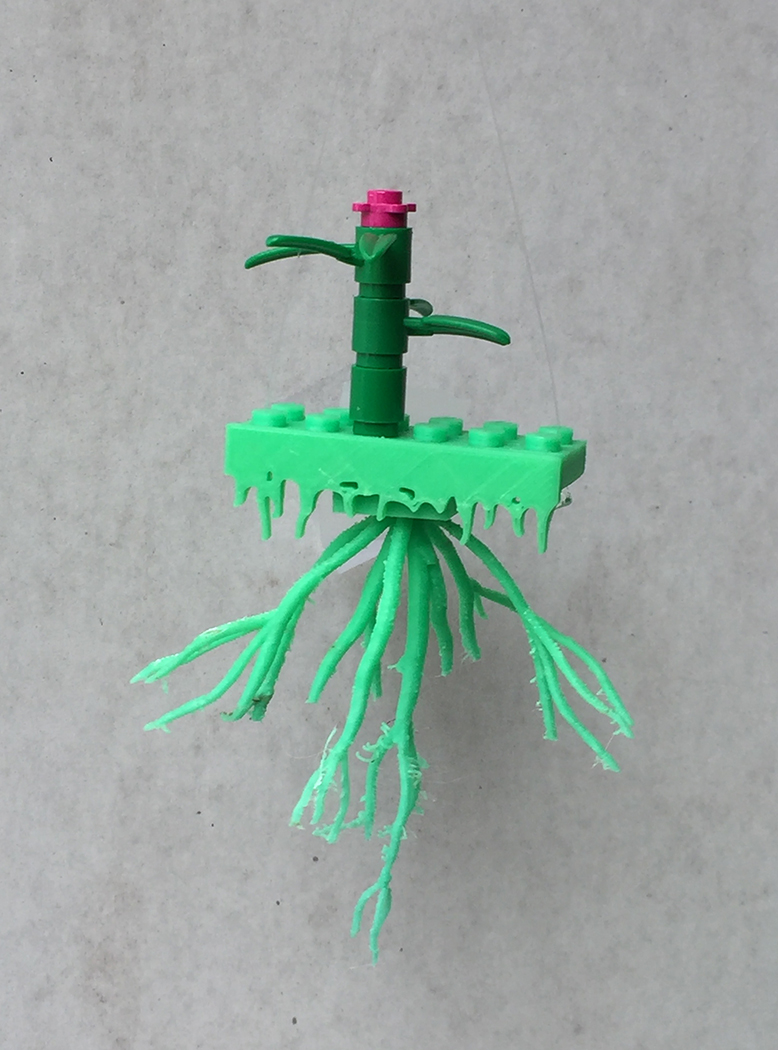
We are accustomed to imagining nature and built structures on the top of surfaces, but what about the unseen and untouchable landscapes below? Roots, mycelium, burrows, pipes and underground rivers are systems and structures that, if incorporated into construction play, might inspire youth to imagine with more complete systems in mind.
This Instructable demonstrates how to create 3D printed bricks that reflect natural elements below the build plane that are absent in standard building brick explorations. 3D printed brick elements inspired by the unseen nature underground can spark conversations centered on how, through play, we might more innovatively re-imagine our environments.
Materials and Resources
FDM Filament
Standard LEGO bricks and base build board (I purchased my clear build board off eBay). Drill small holes into the corners to suspend by fishing line.
pencils and paper
Tinkercad base bricks file: https://www.tinkercad.com/things/76kjYdrSGwv
Software
Fusion 360 (partial download), Meshmixer (free download), Tinkercad
Tools
FDM 3D printer, digital calipers (optional) or rulers
Sketch Your Concept
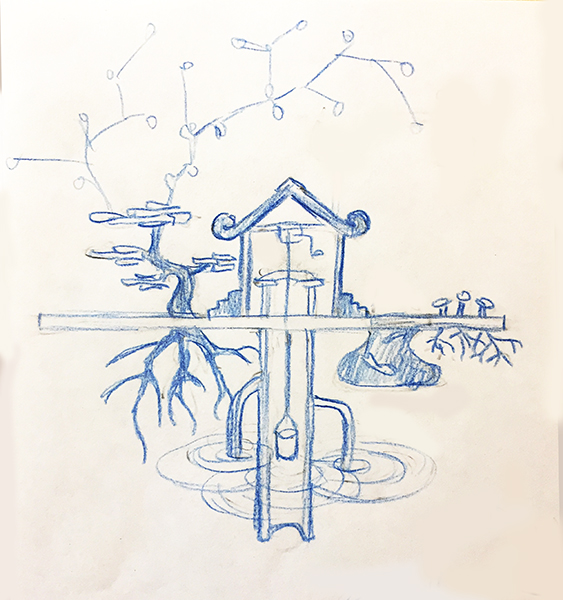
Sketch what you might add to a plastic building brick which snaps below a construction board. You can start by drawing a thin rectangle or line in the middle of your paper and then draw a scene that has connected components above and below that line.
Sketch Slicing Profile of Organic Shapes in Fusion 360

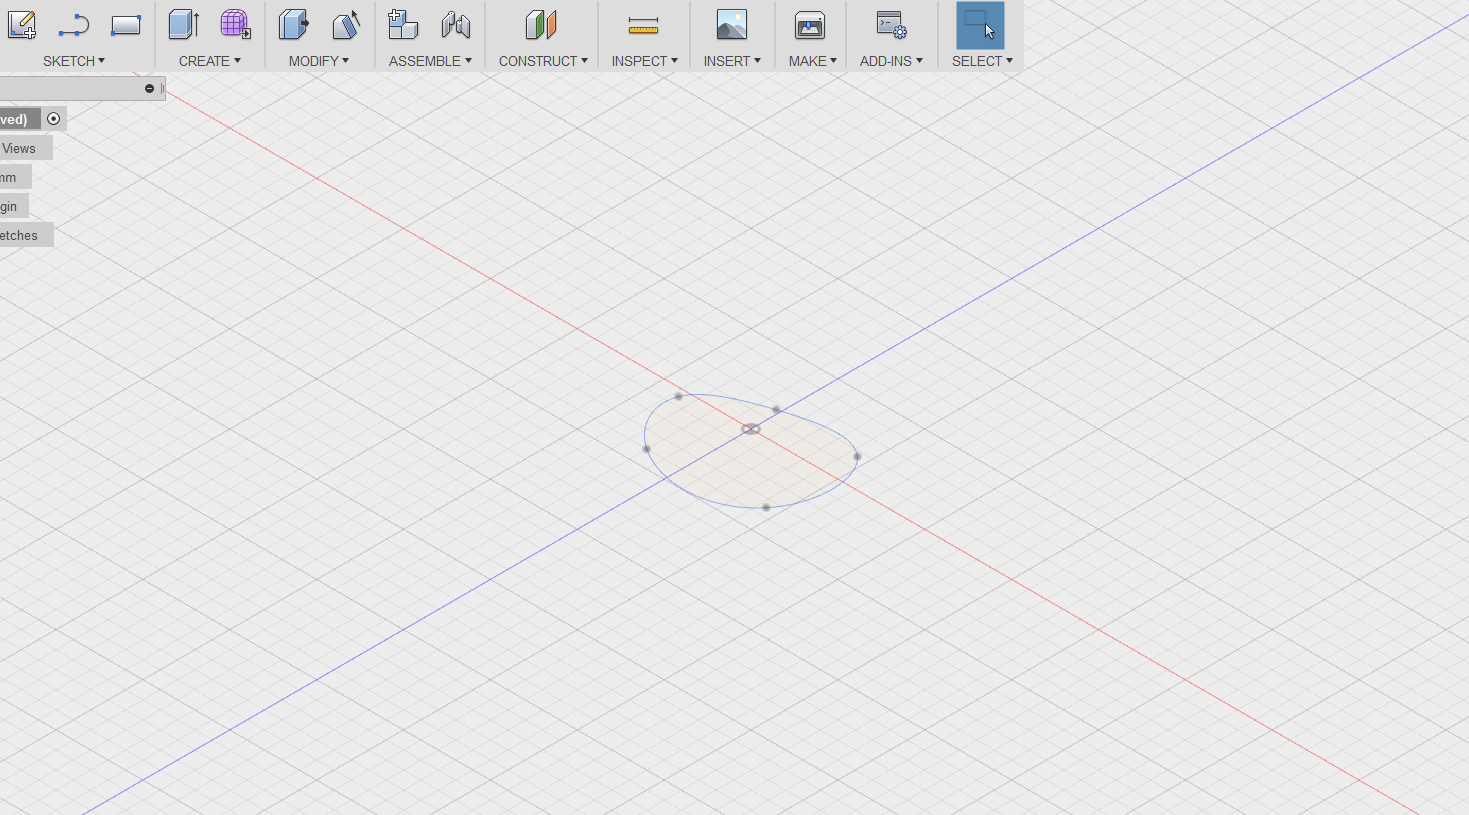
- To create organic shaped elements, such as roots and underground bodies of water, use Fusion 360. Our first step is to create the slicing profiles of the object that we will loft into a form.
-
Select Sketch;Spline
-
Select a plane to sketch on and draw a closed shape by dragging points with the spline tool.
-
When you have completed creating a closed shape, click Stop Sketch in bottom right of Sketch Palette.
Creating Offset Plane to Sketch Next Slice Profile

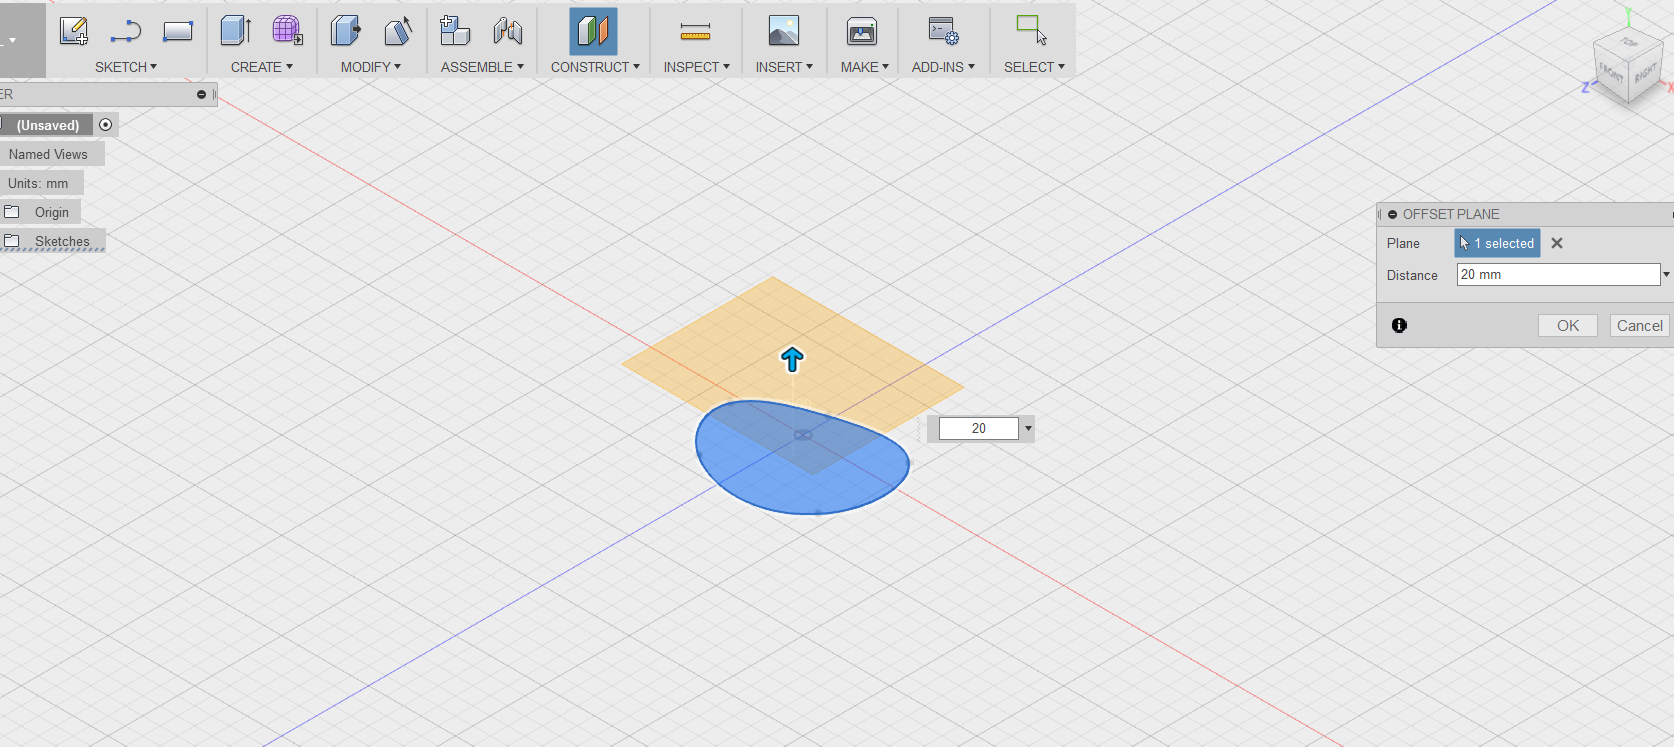
- Under Construct, select Offset Plane.
- Select the middle of your shape (it should be blue when highlighted).
- Type in 20 into the box to elevate the offset plane.
- Select Sketch; Spline and draw your second shape. It will be drafted on the offset plane you just created. This shape should be larger than the last one you created. When done with creating the shape, click Stop Sketch in bottom right of Sketch Palette.
Creating More Slices for the Form
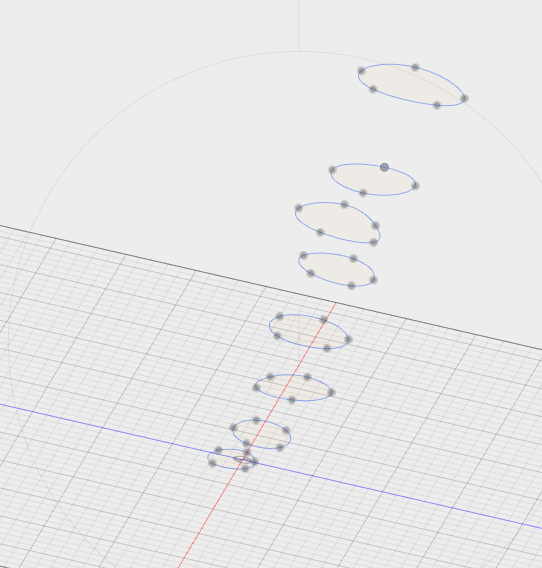
- Orbit to see your two shapes.
- Follow the previously described process for creating an offset plane to create additional shapes that are offset above each other.
Lofting a Form

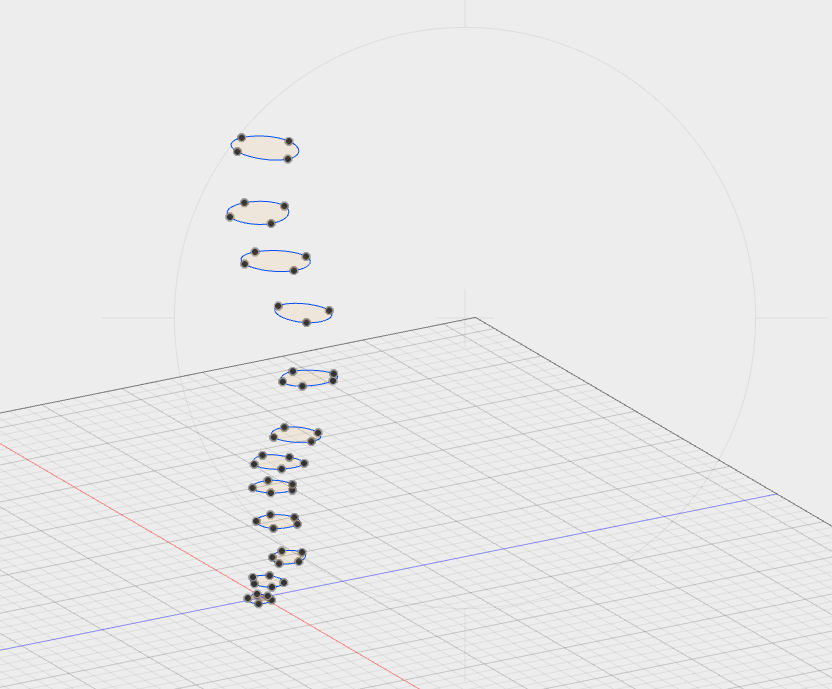
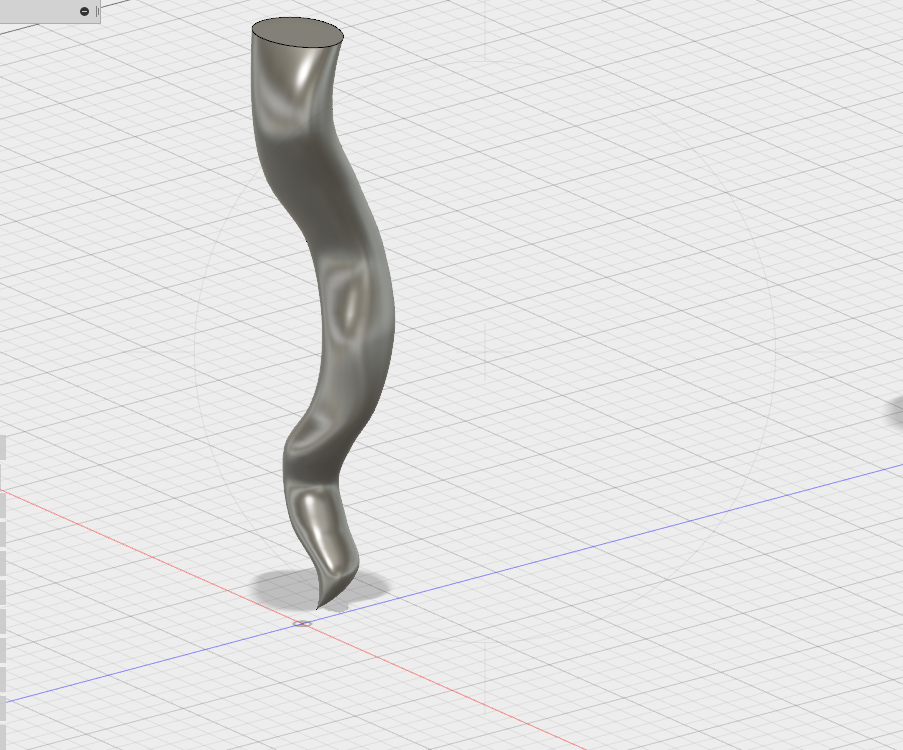
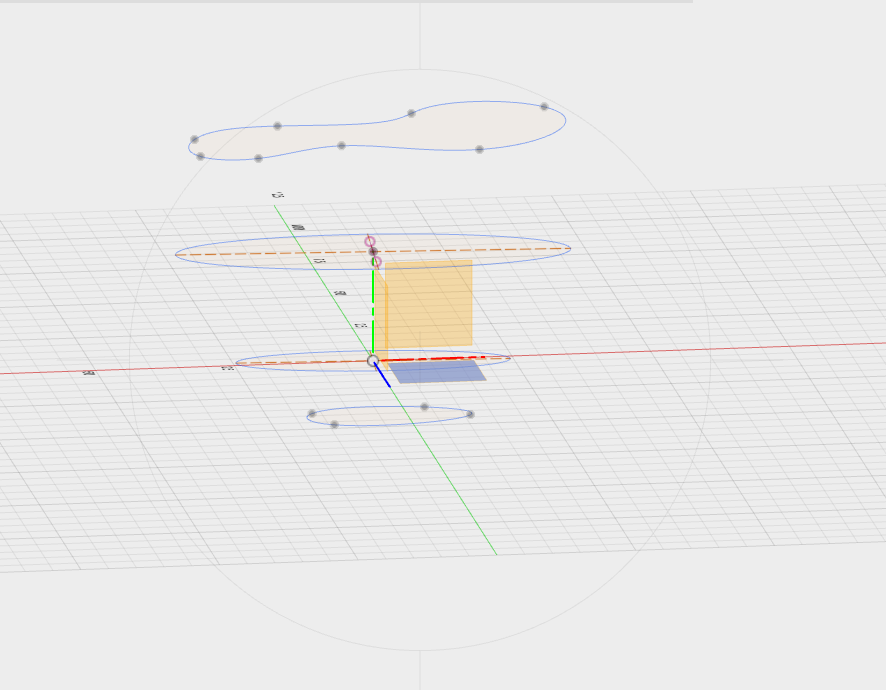
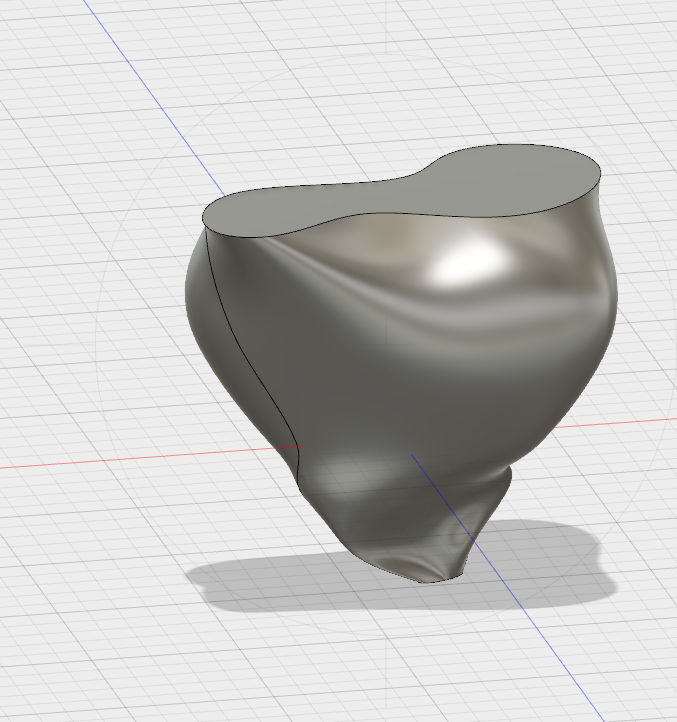
- After you have created the profile shapes you want in your form, select Create; Loft.
-
Starting from bottom to top, select each shape’s profile (the fill of the shape should turn blue to indicate that the shape has been selected). This lofting will create an organic form that follows the path of the shapes. There are two examples here: the first is a series of elevated paths that are lofted into a root. The second example is an underground volume form of a pond. In the same manner, a series of shapes were created with the spline tool and then were lofted to create this form.
Creating Additional Root Paths
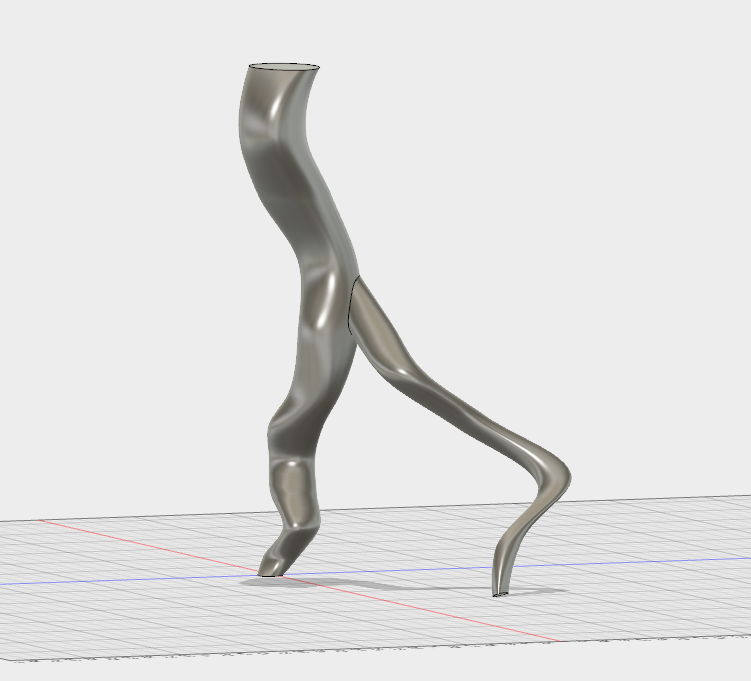
Create a second series of elevated rings to create a second root path. After Lofting the second root path, you can move it by selecting: Modify; Move. Select profile (shape) and path (line). You can combine the two forms by selecting both forms and selecting Modify; Combine.
Exporting File and File Reduction in Meshmixer

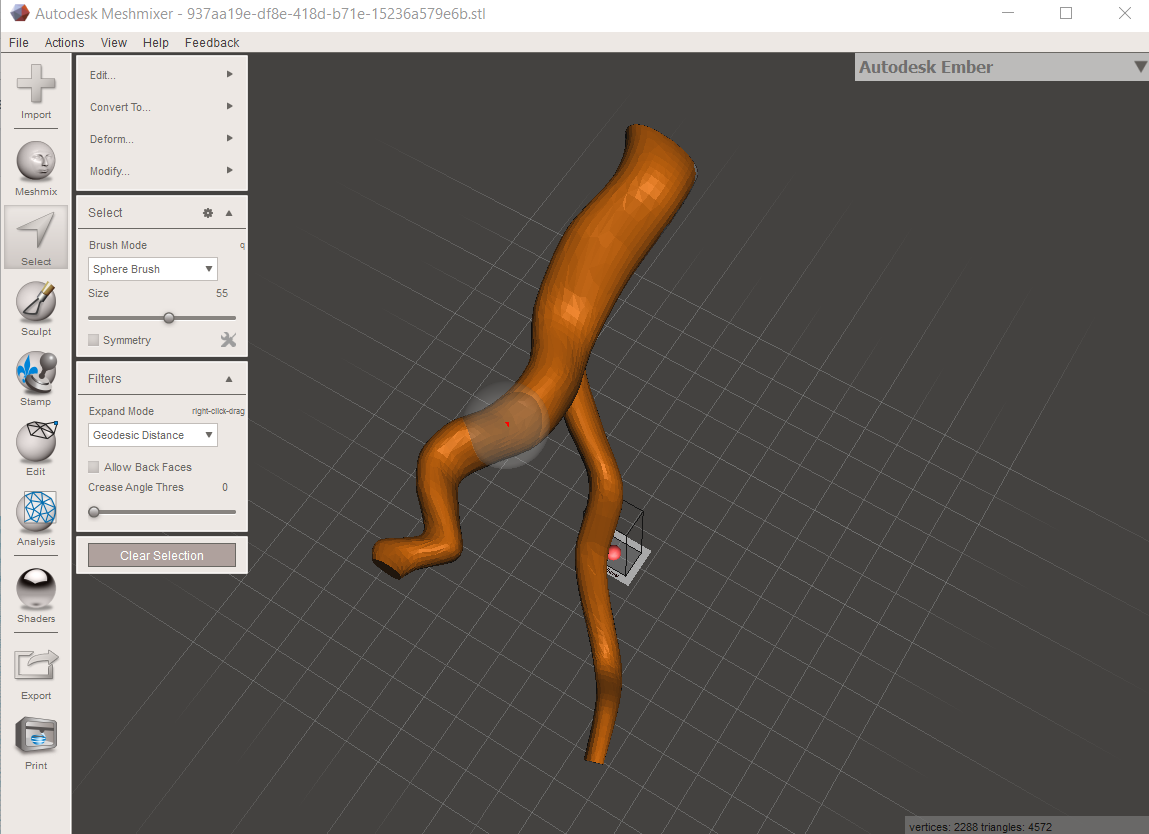
- Once you have your basic form in Fusion360, select Make; 3Dprint; Send to 3D Print Utility; Select Output: Meshmixer
-
Open Meshmixer. Select; Sphere brush. Select the whole object using the sphere brush.
-
Once the whole object is selected, choose Edit; Reduce 50%
-
Export the file as an .stl file.
Combining Elements in Tinkercad
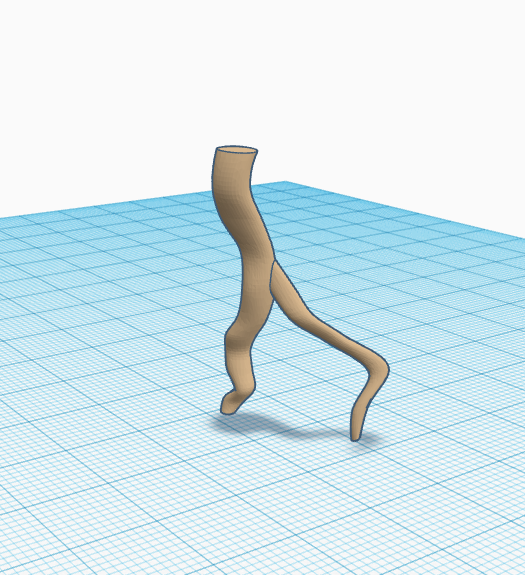
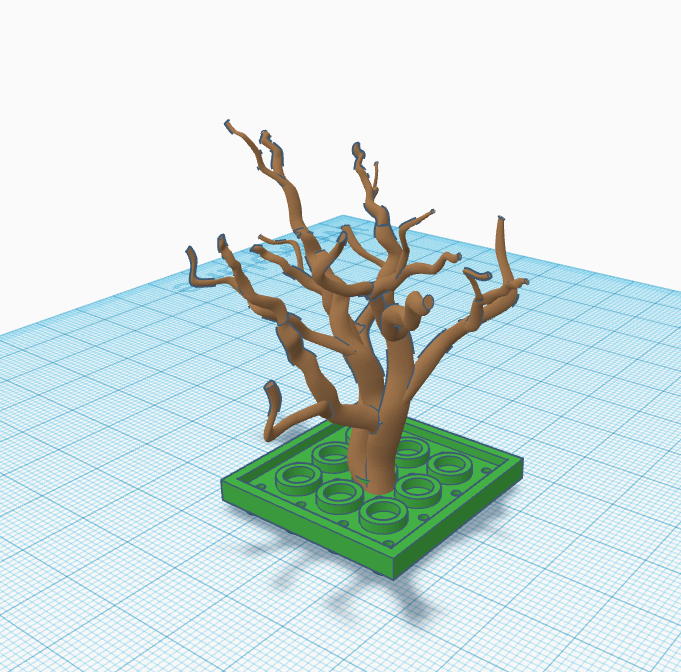
- Open up Tinkercad and create an account if you do not have one. Open up the #LEGO bricks file. It is compatible with LEGOS. Import the stl file which you created in Fusion360 and reduced in Meshmixer.
-
Scale and angle the design as you like. Copy and rotate it to create more branching roots in the network.
-
Group root parts and attach to bottom side of the building brick.
3D Print Your Design
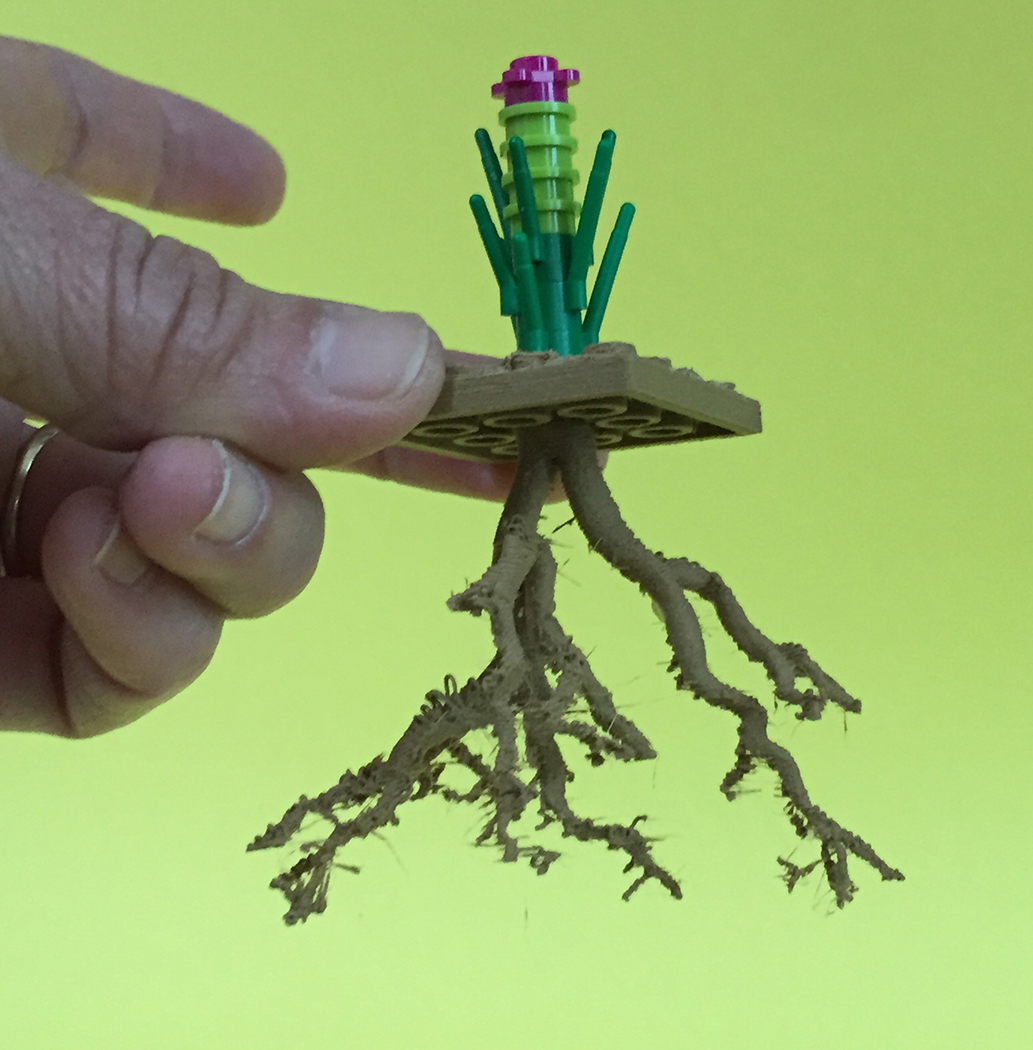
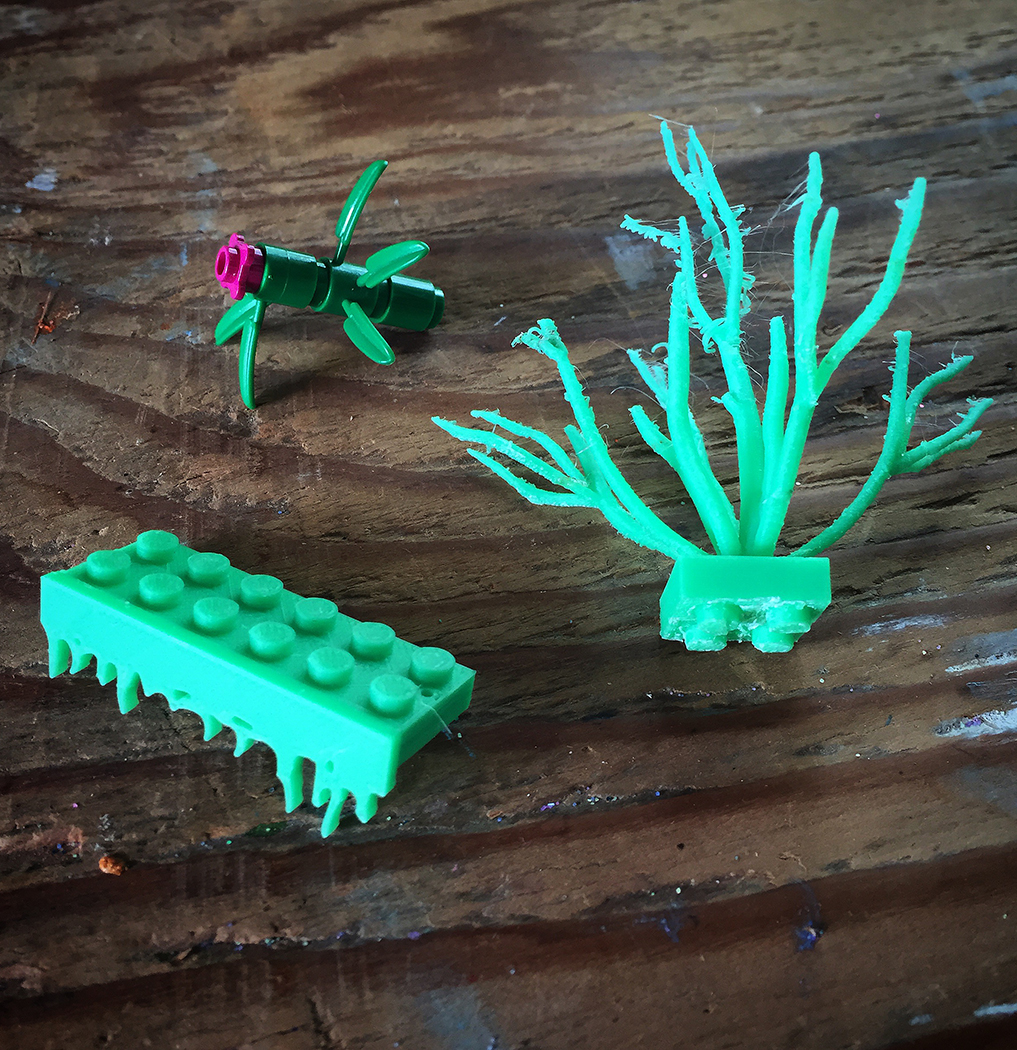
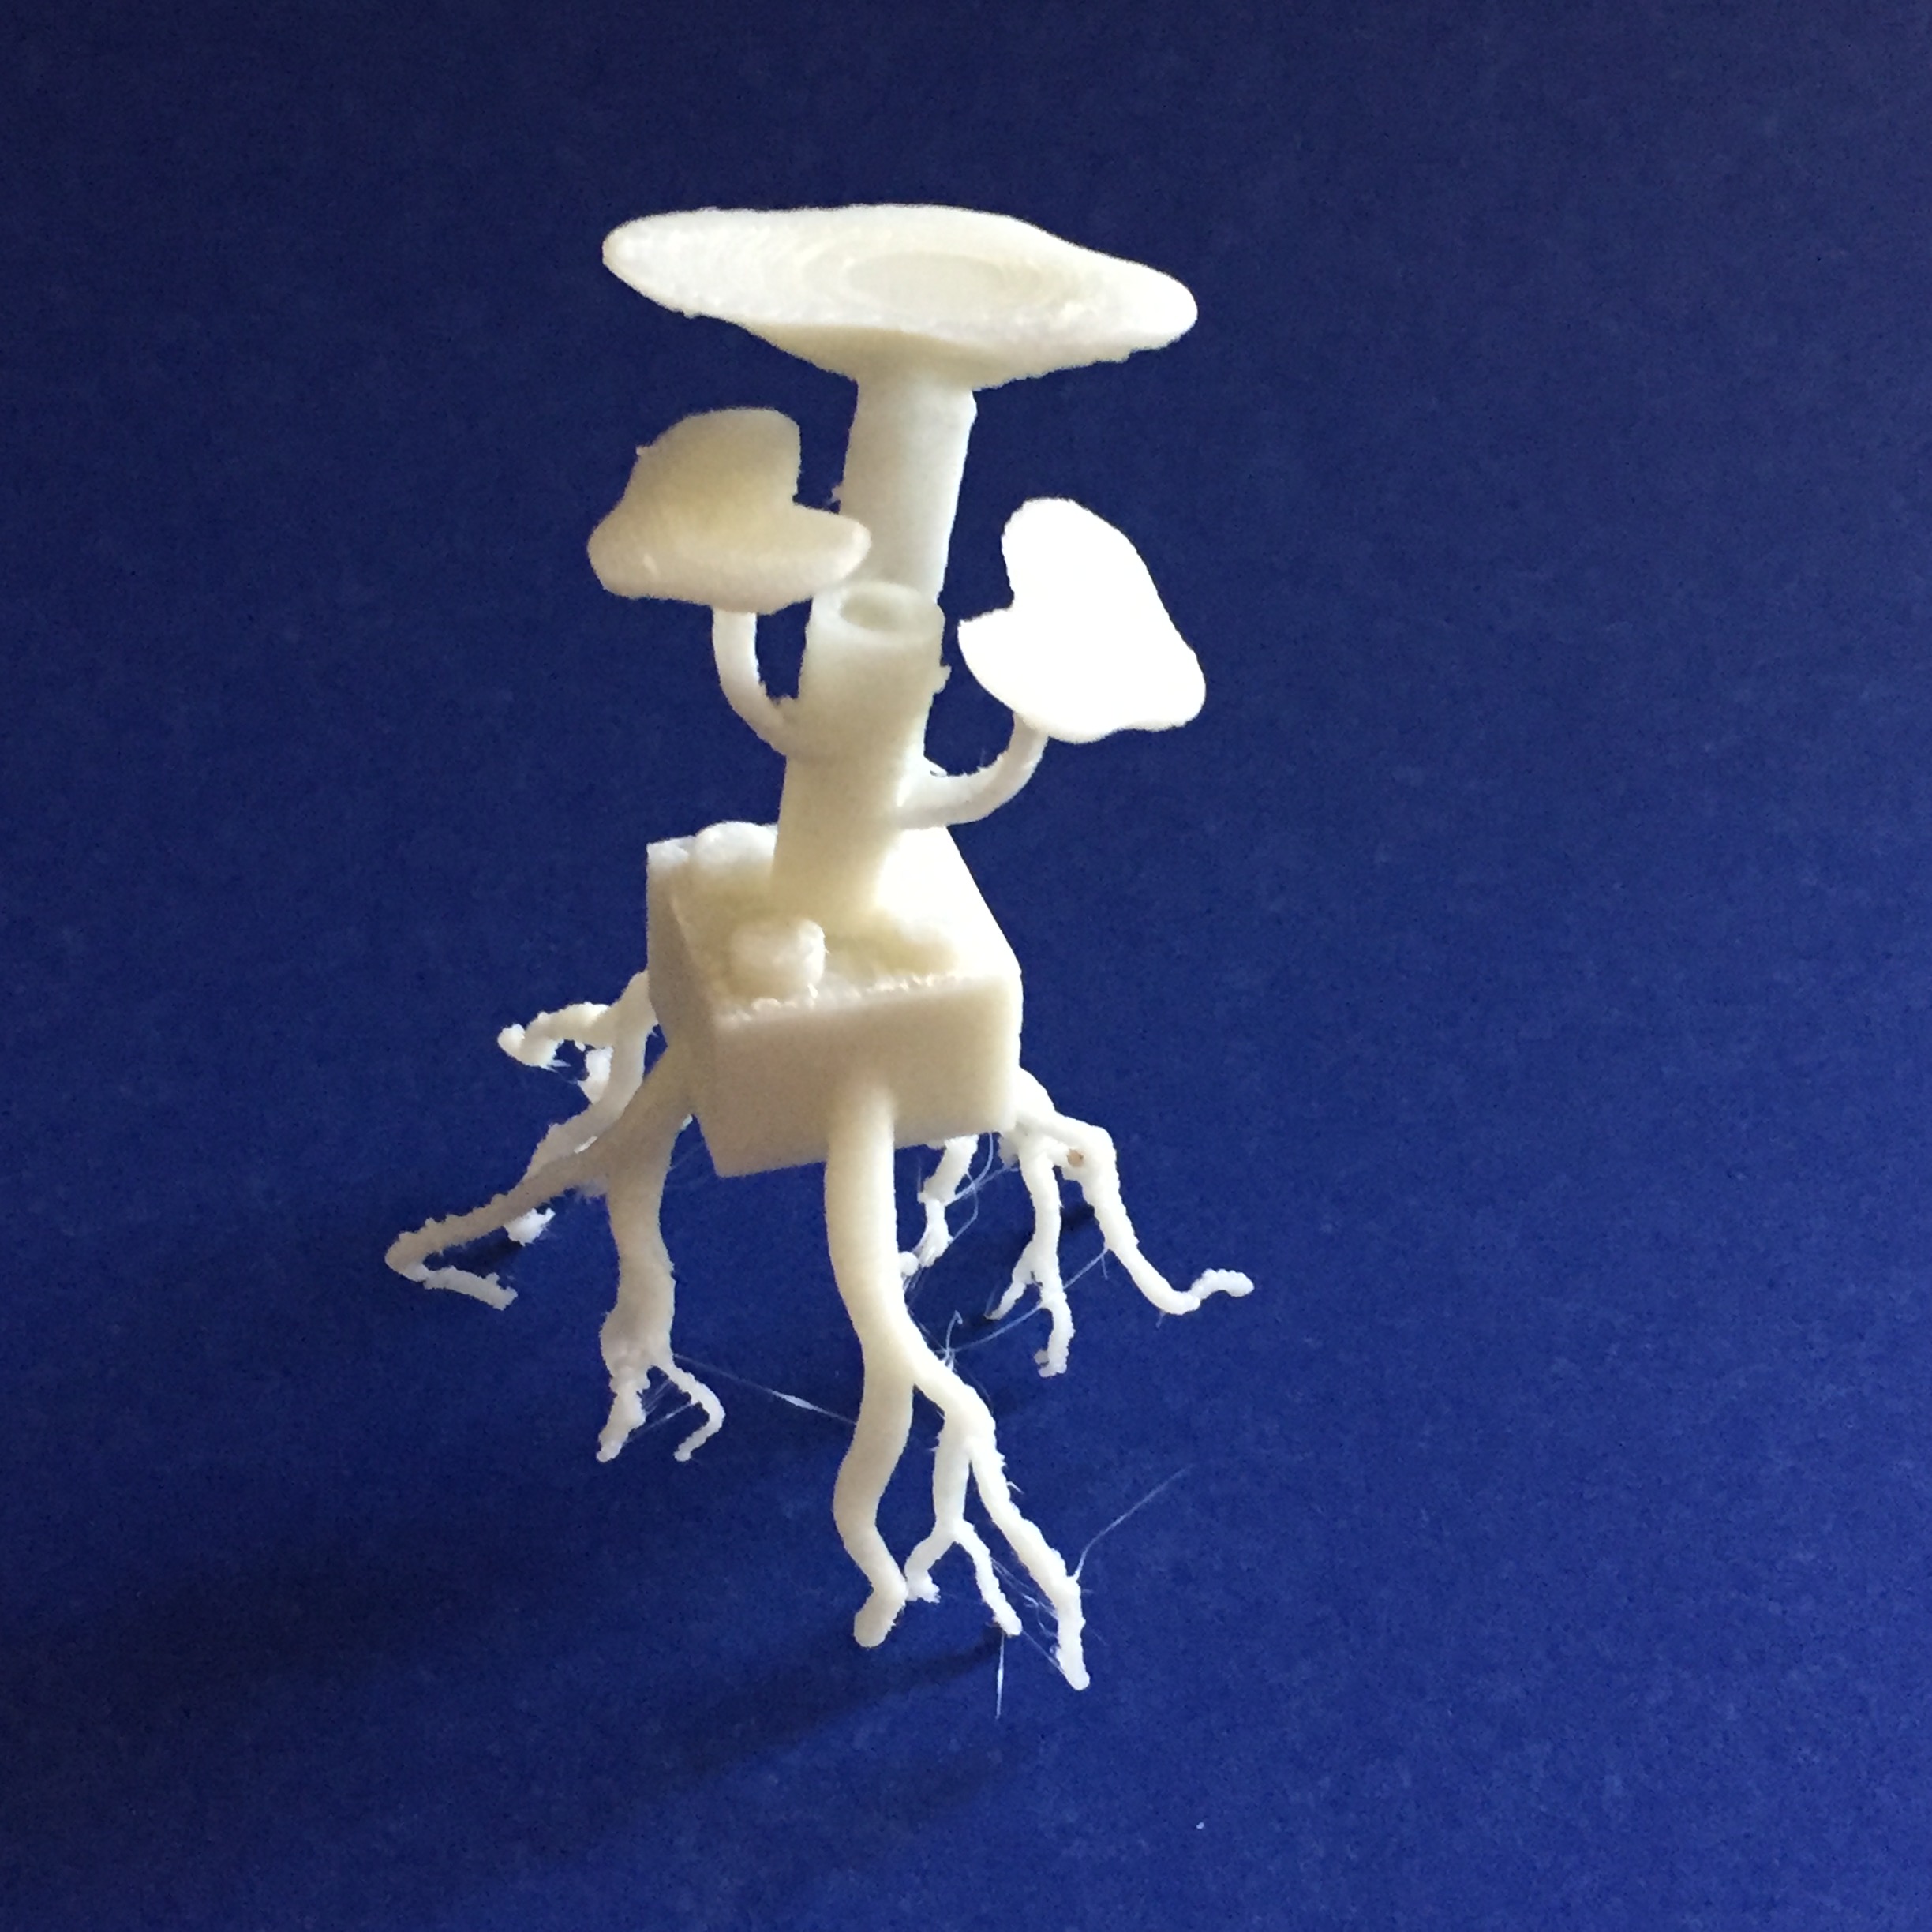
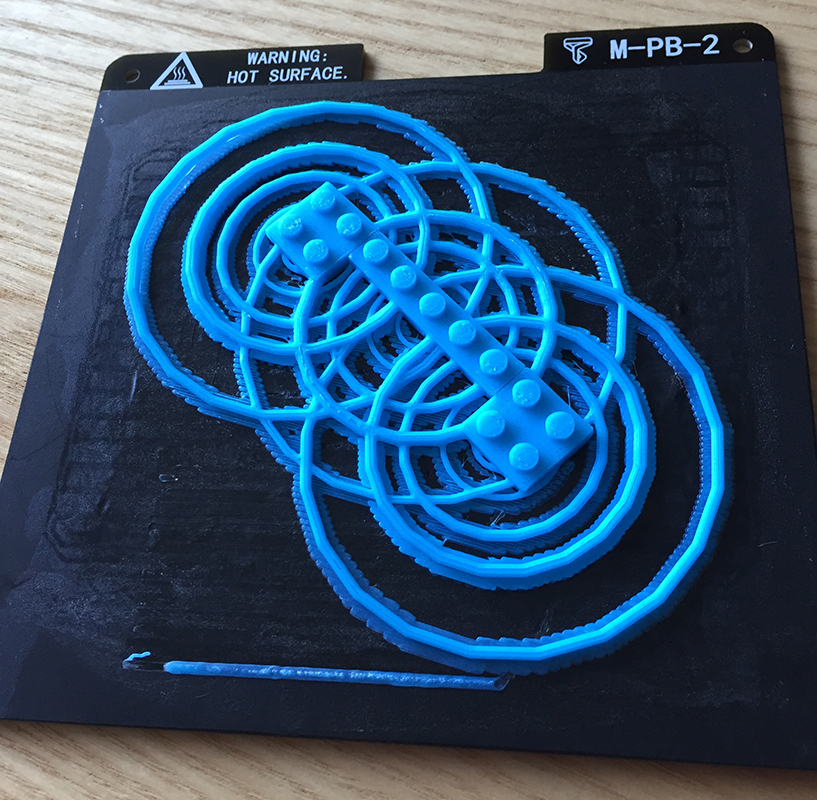
3D print with the underground natural feature facing upward. 3D print the file on a FDM printer using no supports. There may be wispy filament threads, but these will create a cool effect of finer root tendrils.
Other Objects in Your Landscape
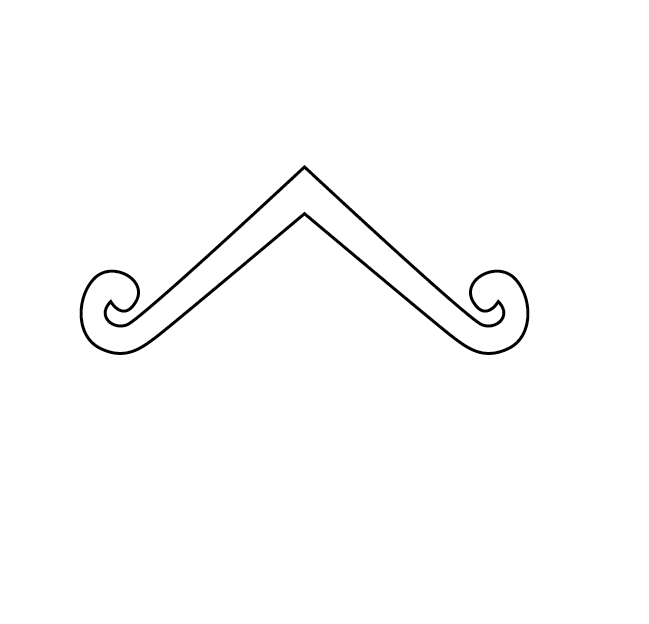
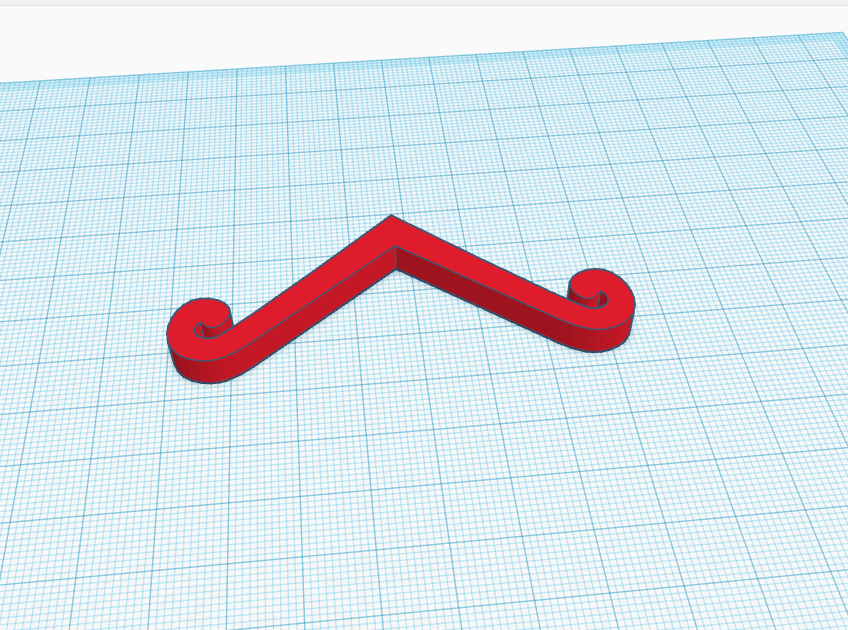
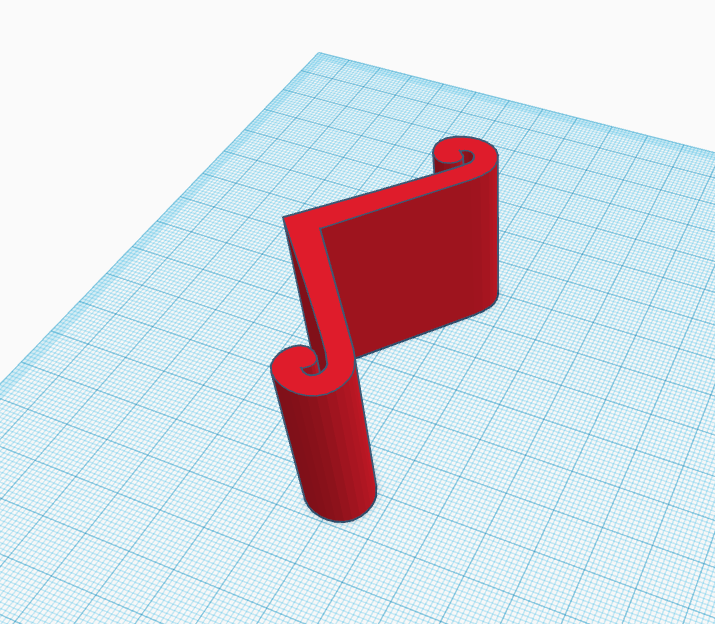
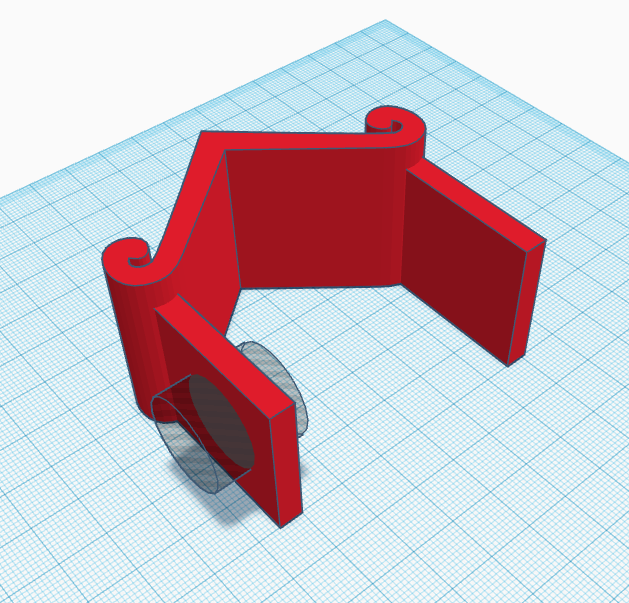
One way to create custom organic shapes that extrude in one axis is to create vector shapes in Illustrator or Inkscape and save these shape designs as a .svg files. These then can be imported into Tinkercad and extruded. Here is an example of a well's shed roof that was created as a shape in Illustrator and then saved as as svg file. It was imported into Tinkercad extruded, and attached to walls created in Tinkercad.
Creating Piping Using Sweep
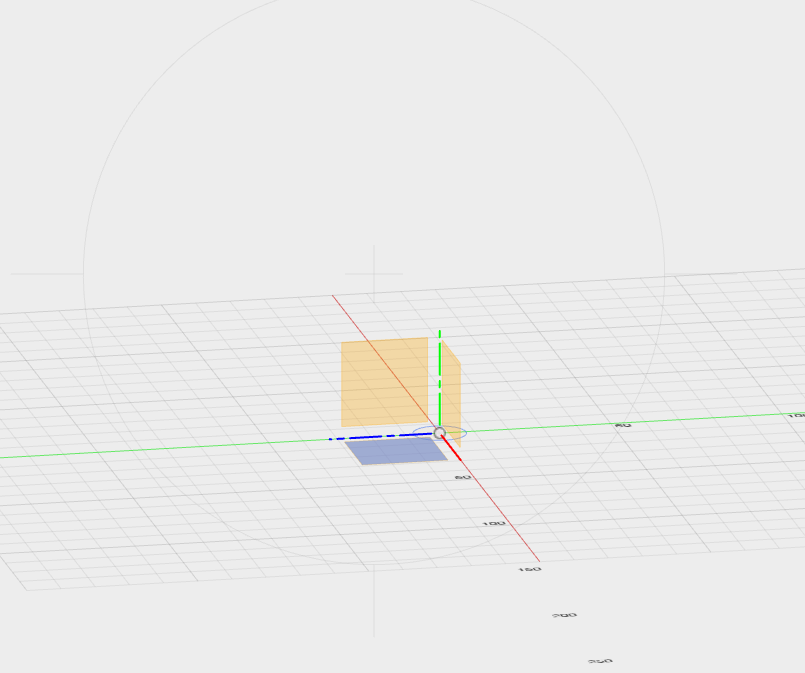
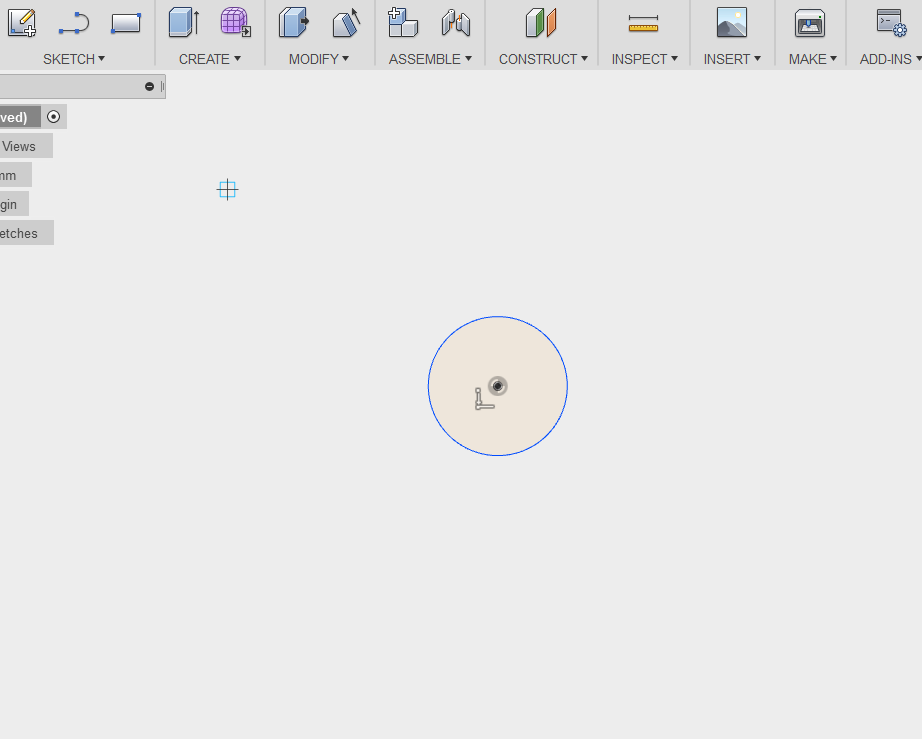
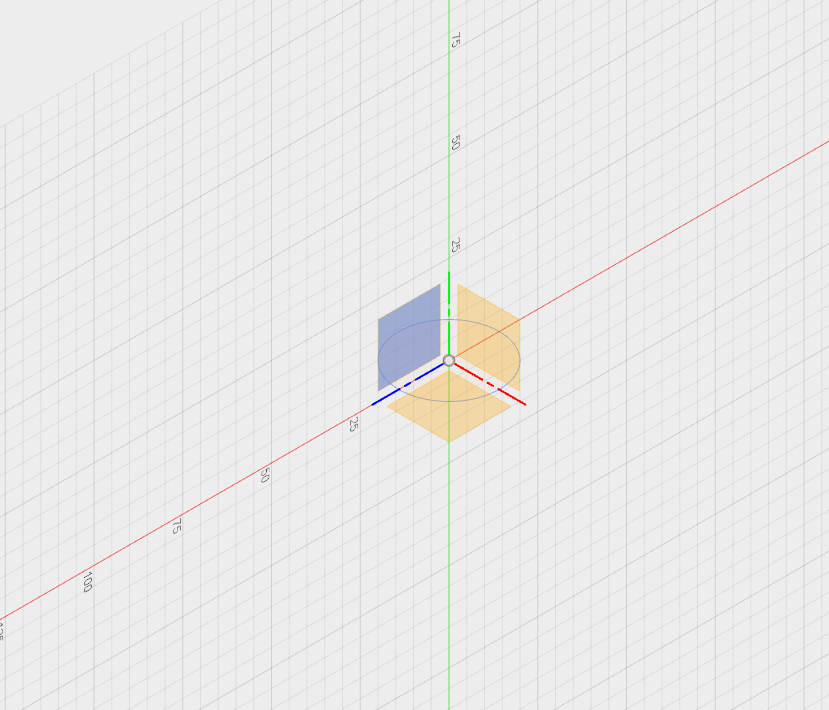
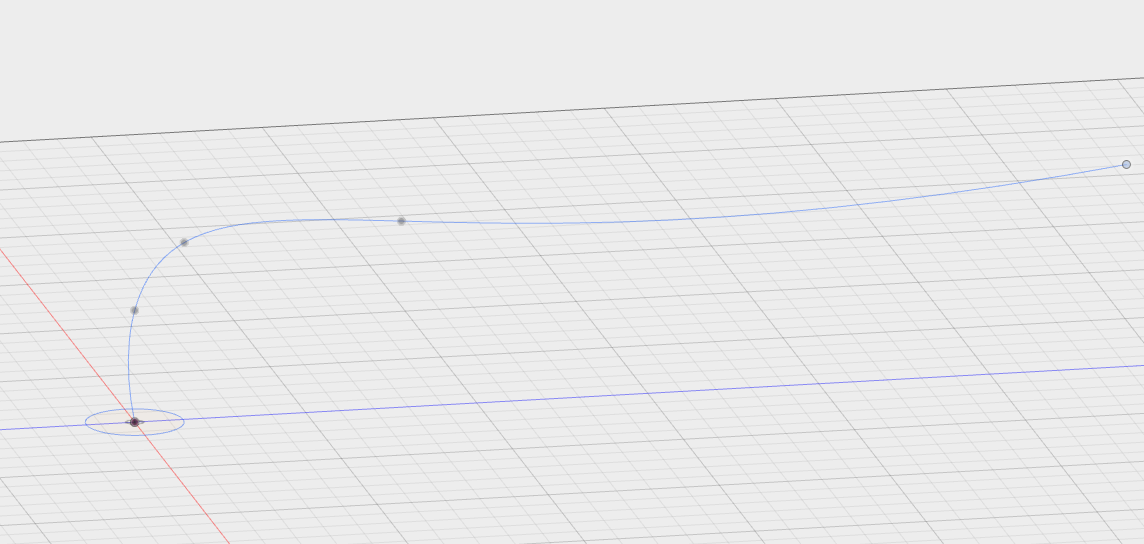
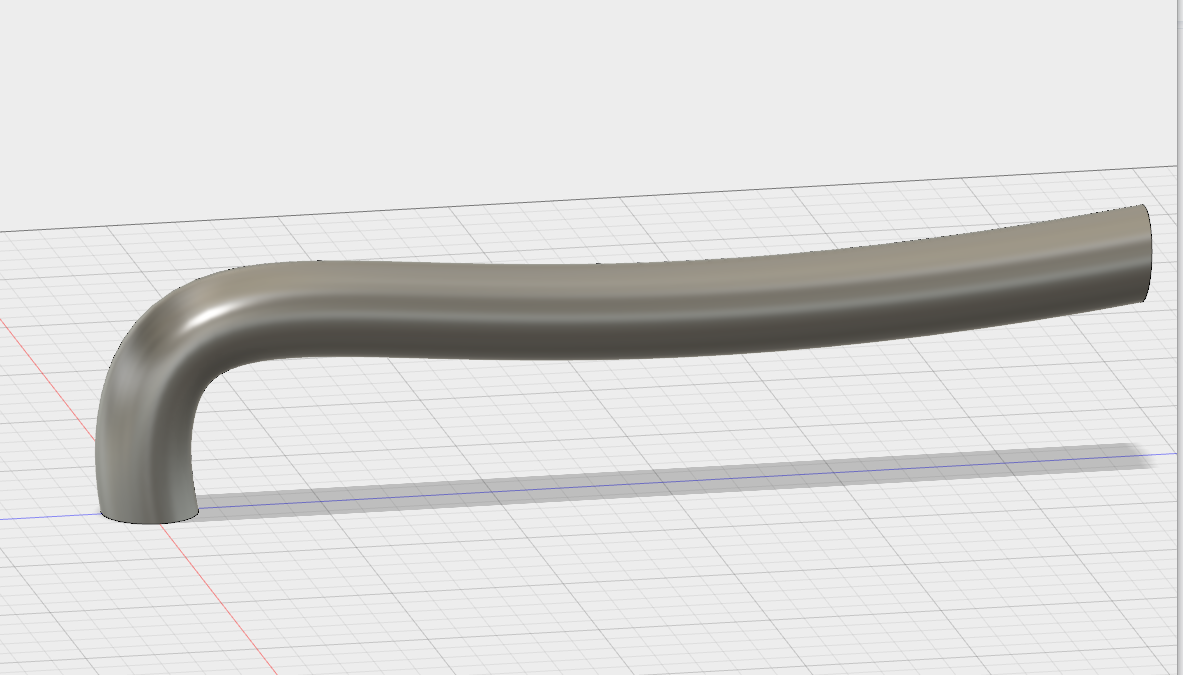
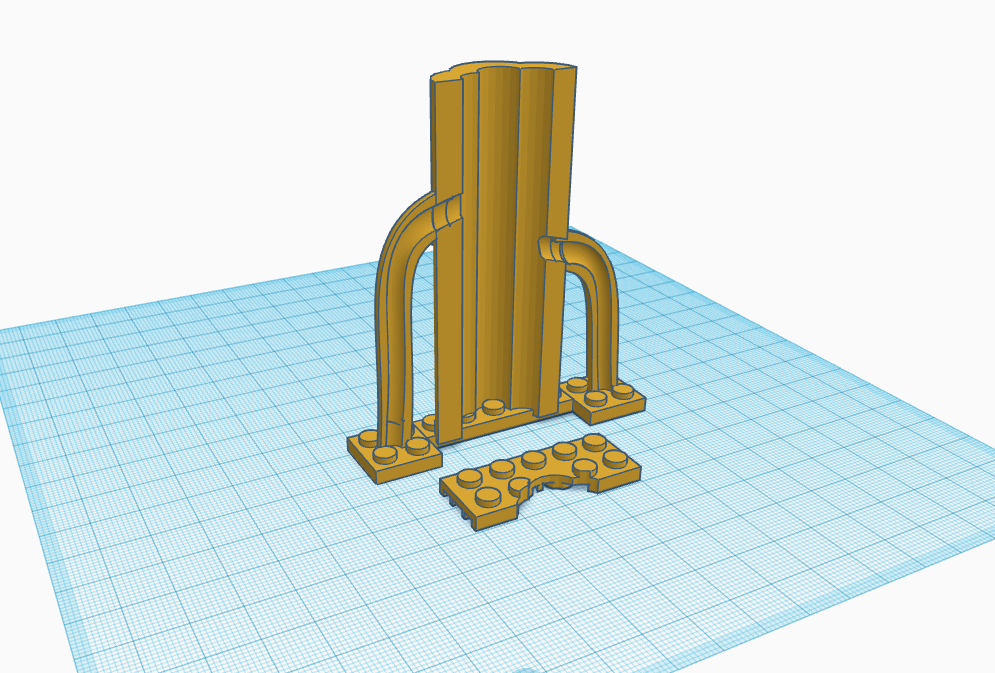
To create pipes and tubes that are underground, use the Sweep tool in Fusion 360. First, select the ground plane and then select Sketch;Circle; Center Diameter Circle and draw a circle. Select a side plane and then select Sketch;Spline and the view will shift so that you are drawing a spline perpendicular to the circle. Create a path with the spline tool that the tube will follow. Next, select Create;Sweep. A dialog box will come up and you will select the circle as the Profile, and the spline line as the Path and click OK. You will get an extruded sweep along the spline path that used the shape of the circle for the profile. These forms can then be exported as STL files and imported into Tinkercad.
Creating Composition of Landscape
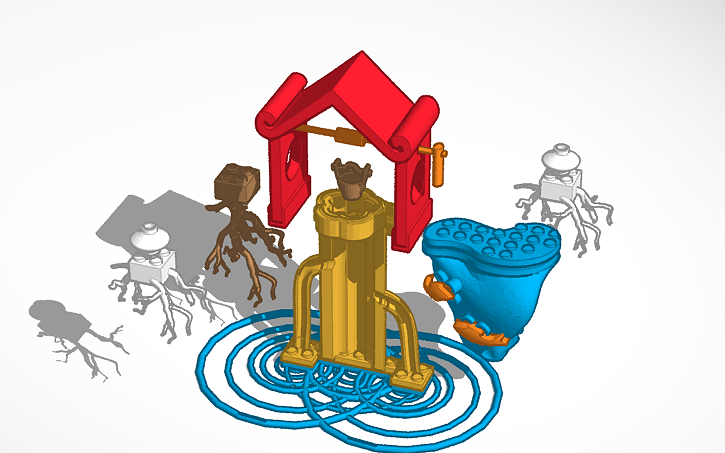
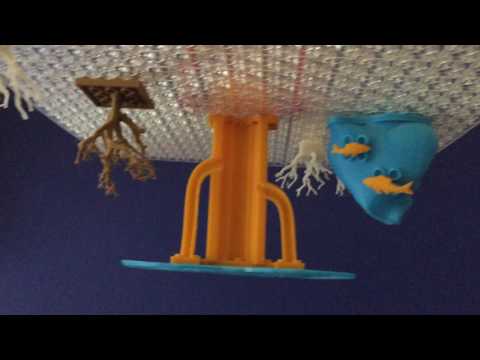
As you design your pieces, it is helpful to put all your parts in one Tinkercad file to ensure your scaling of parts is correct. Be sure that when you attach your parts to the brick connectors that you do not alter the scale of the brick connectors. When you are ready to 3D print your designs, create separate STL files of each object for printing. If you wish to share your designs with a broader community, include "rooted bricks" in your design name and share publicly in the Tinkercad gallery.
Happy Making!