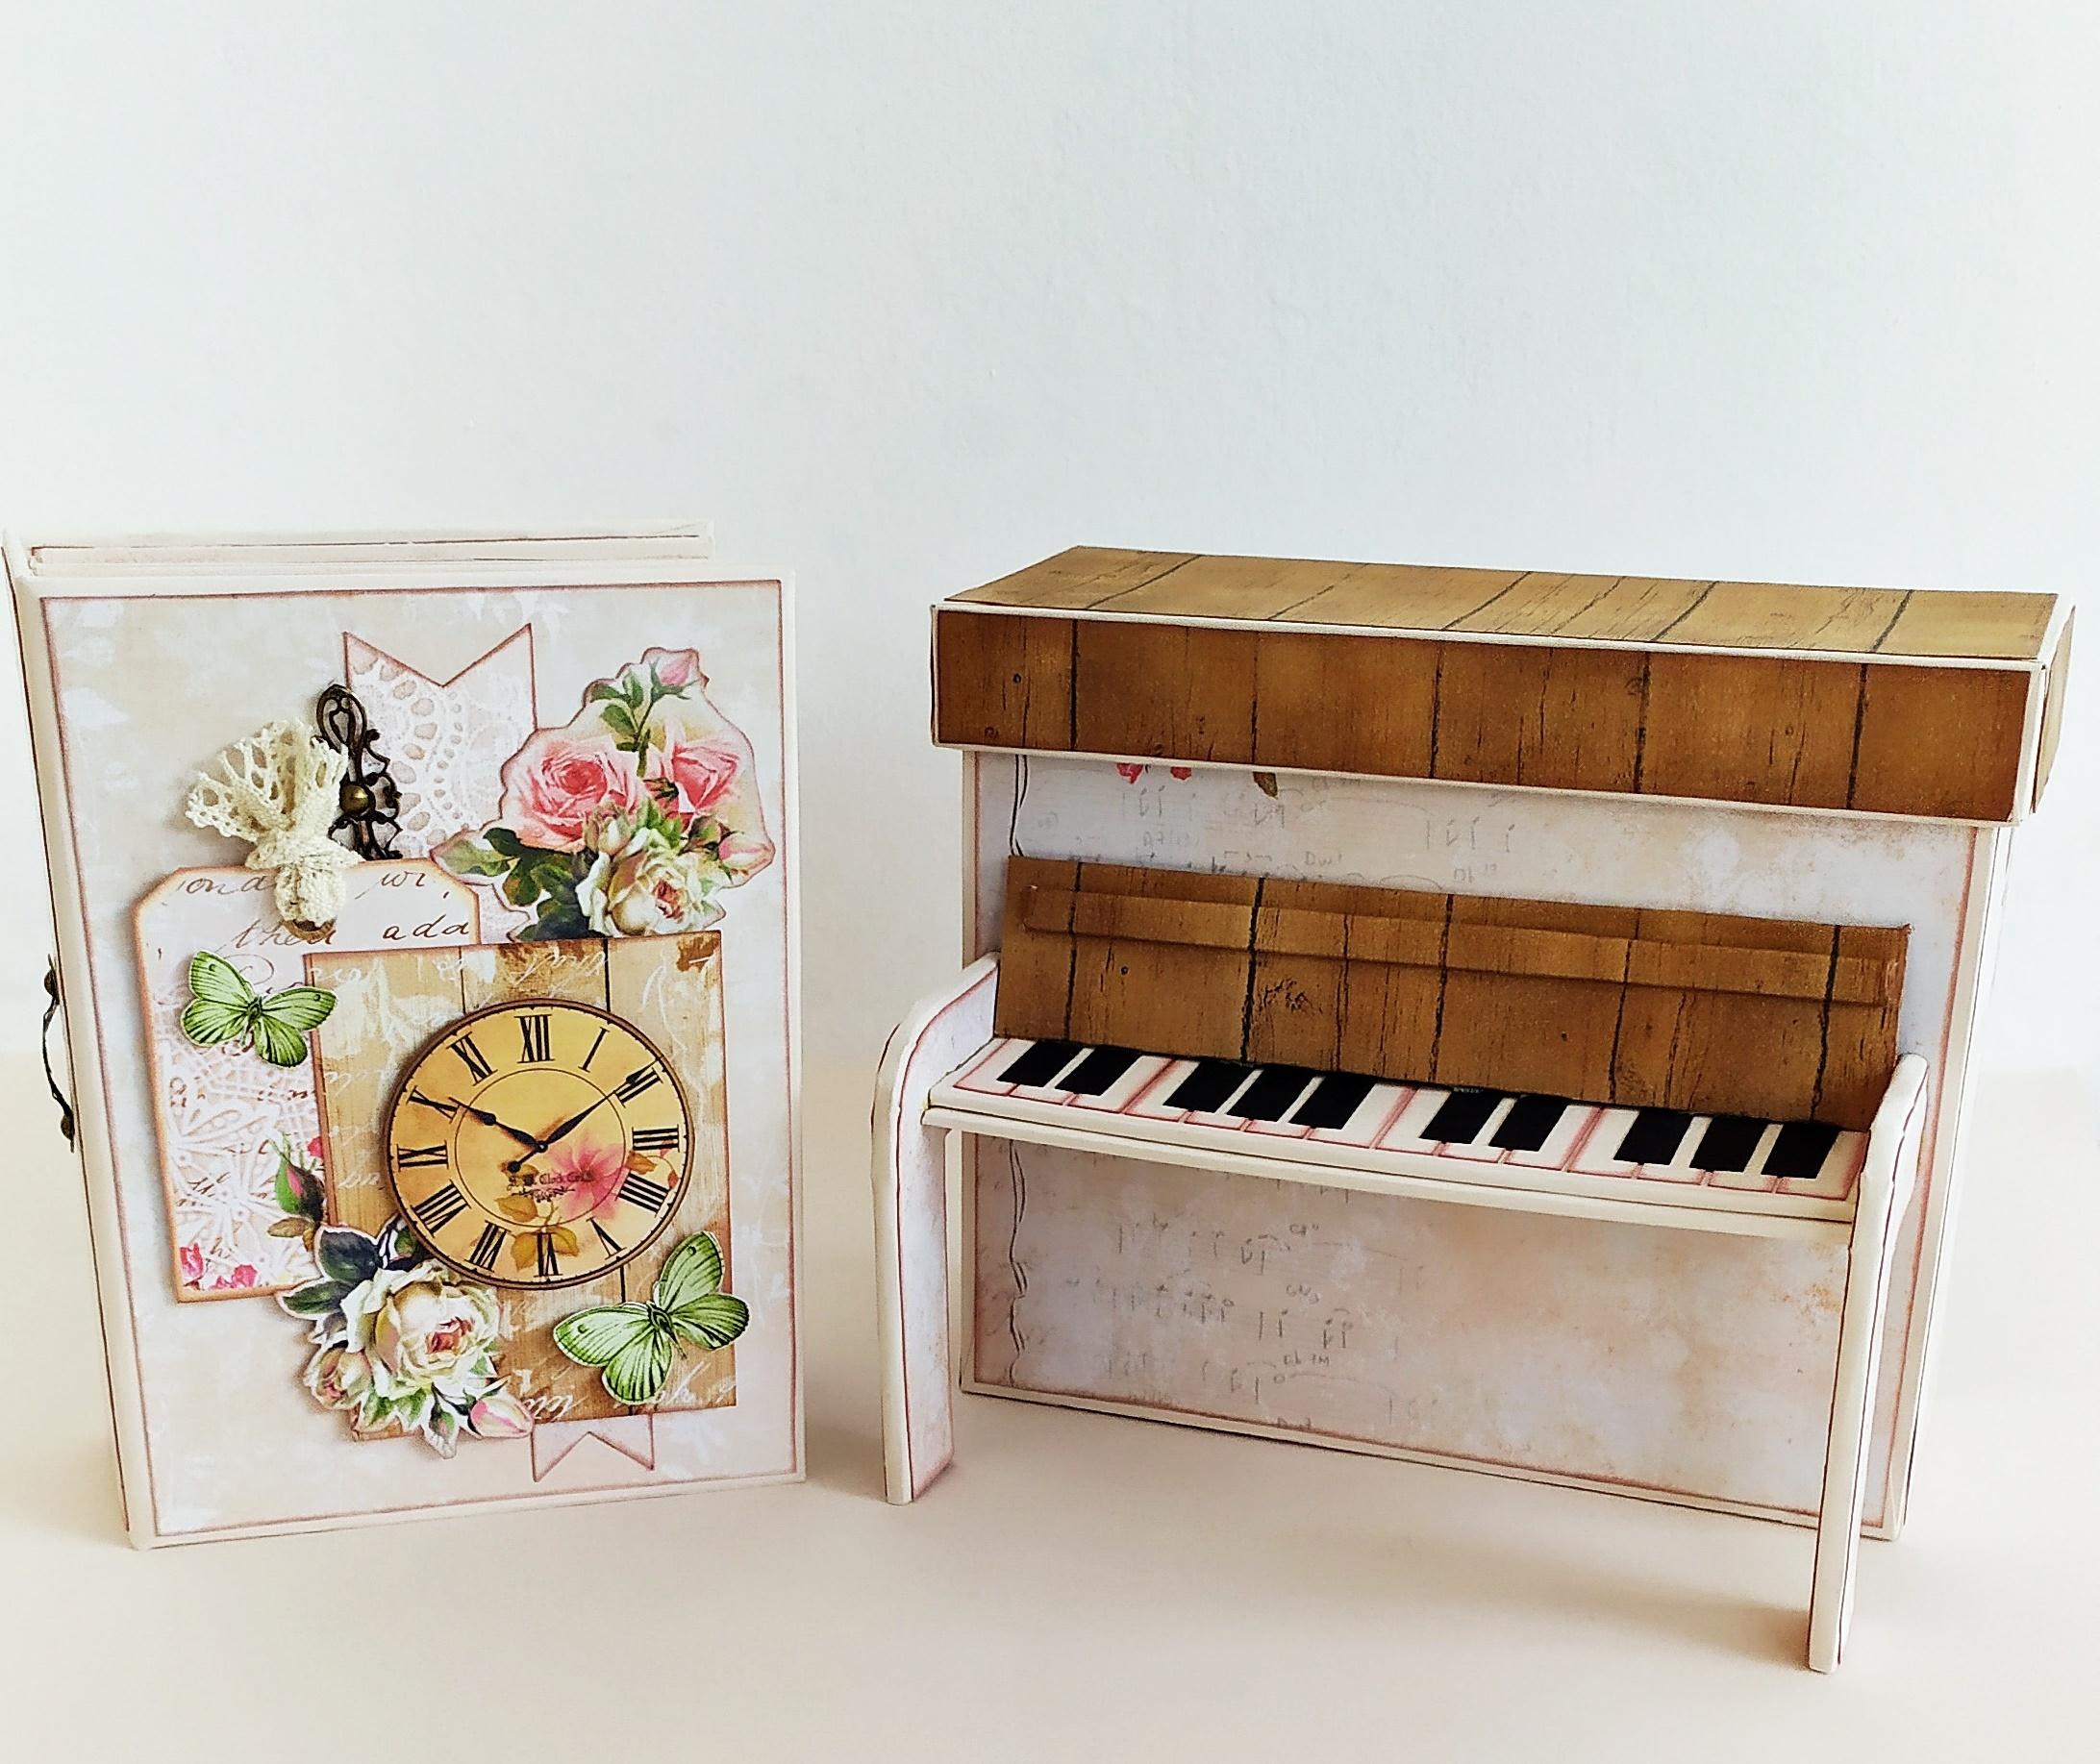
Romantic Scrapbook Photo Album With a Piano Box
2194 Views, 39 Favorites, 0 Comments
Romantic Scrapbook Photo Album With a Piano Box

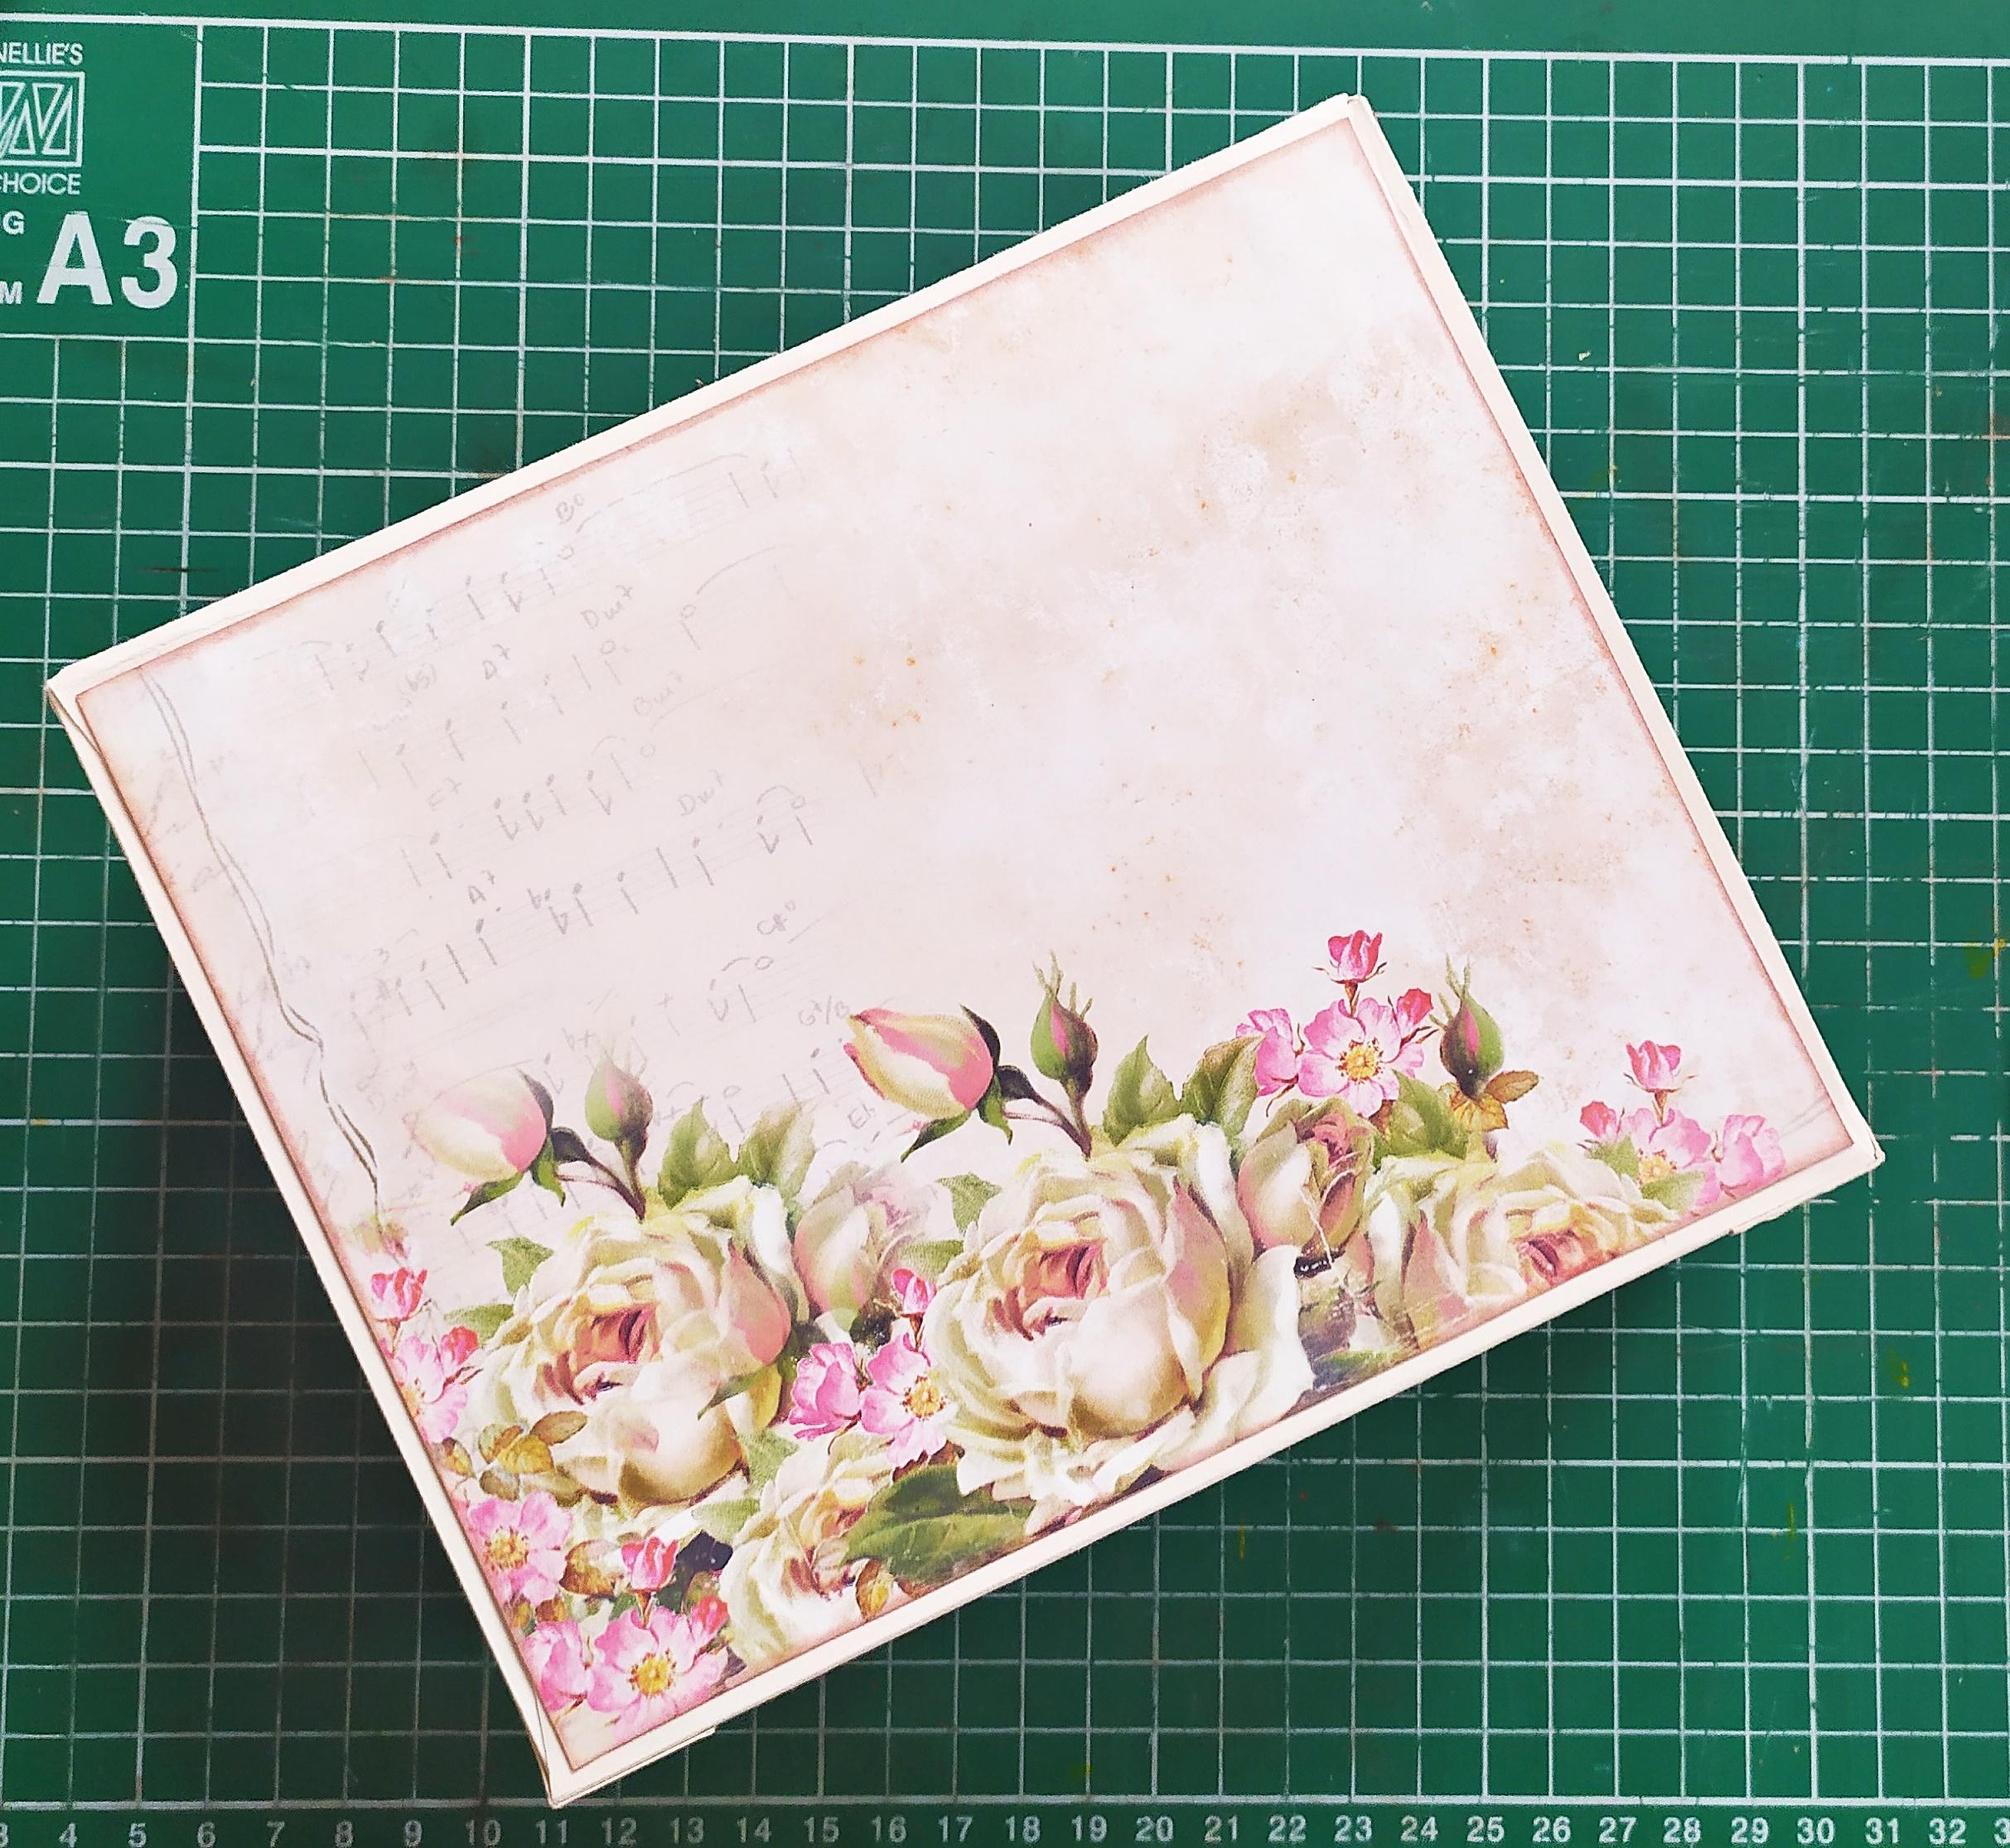
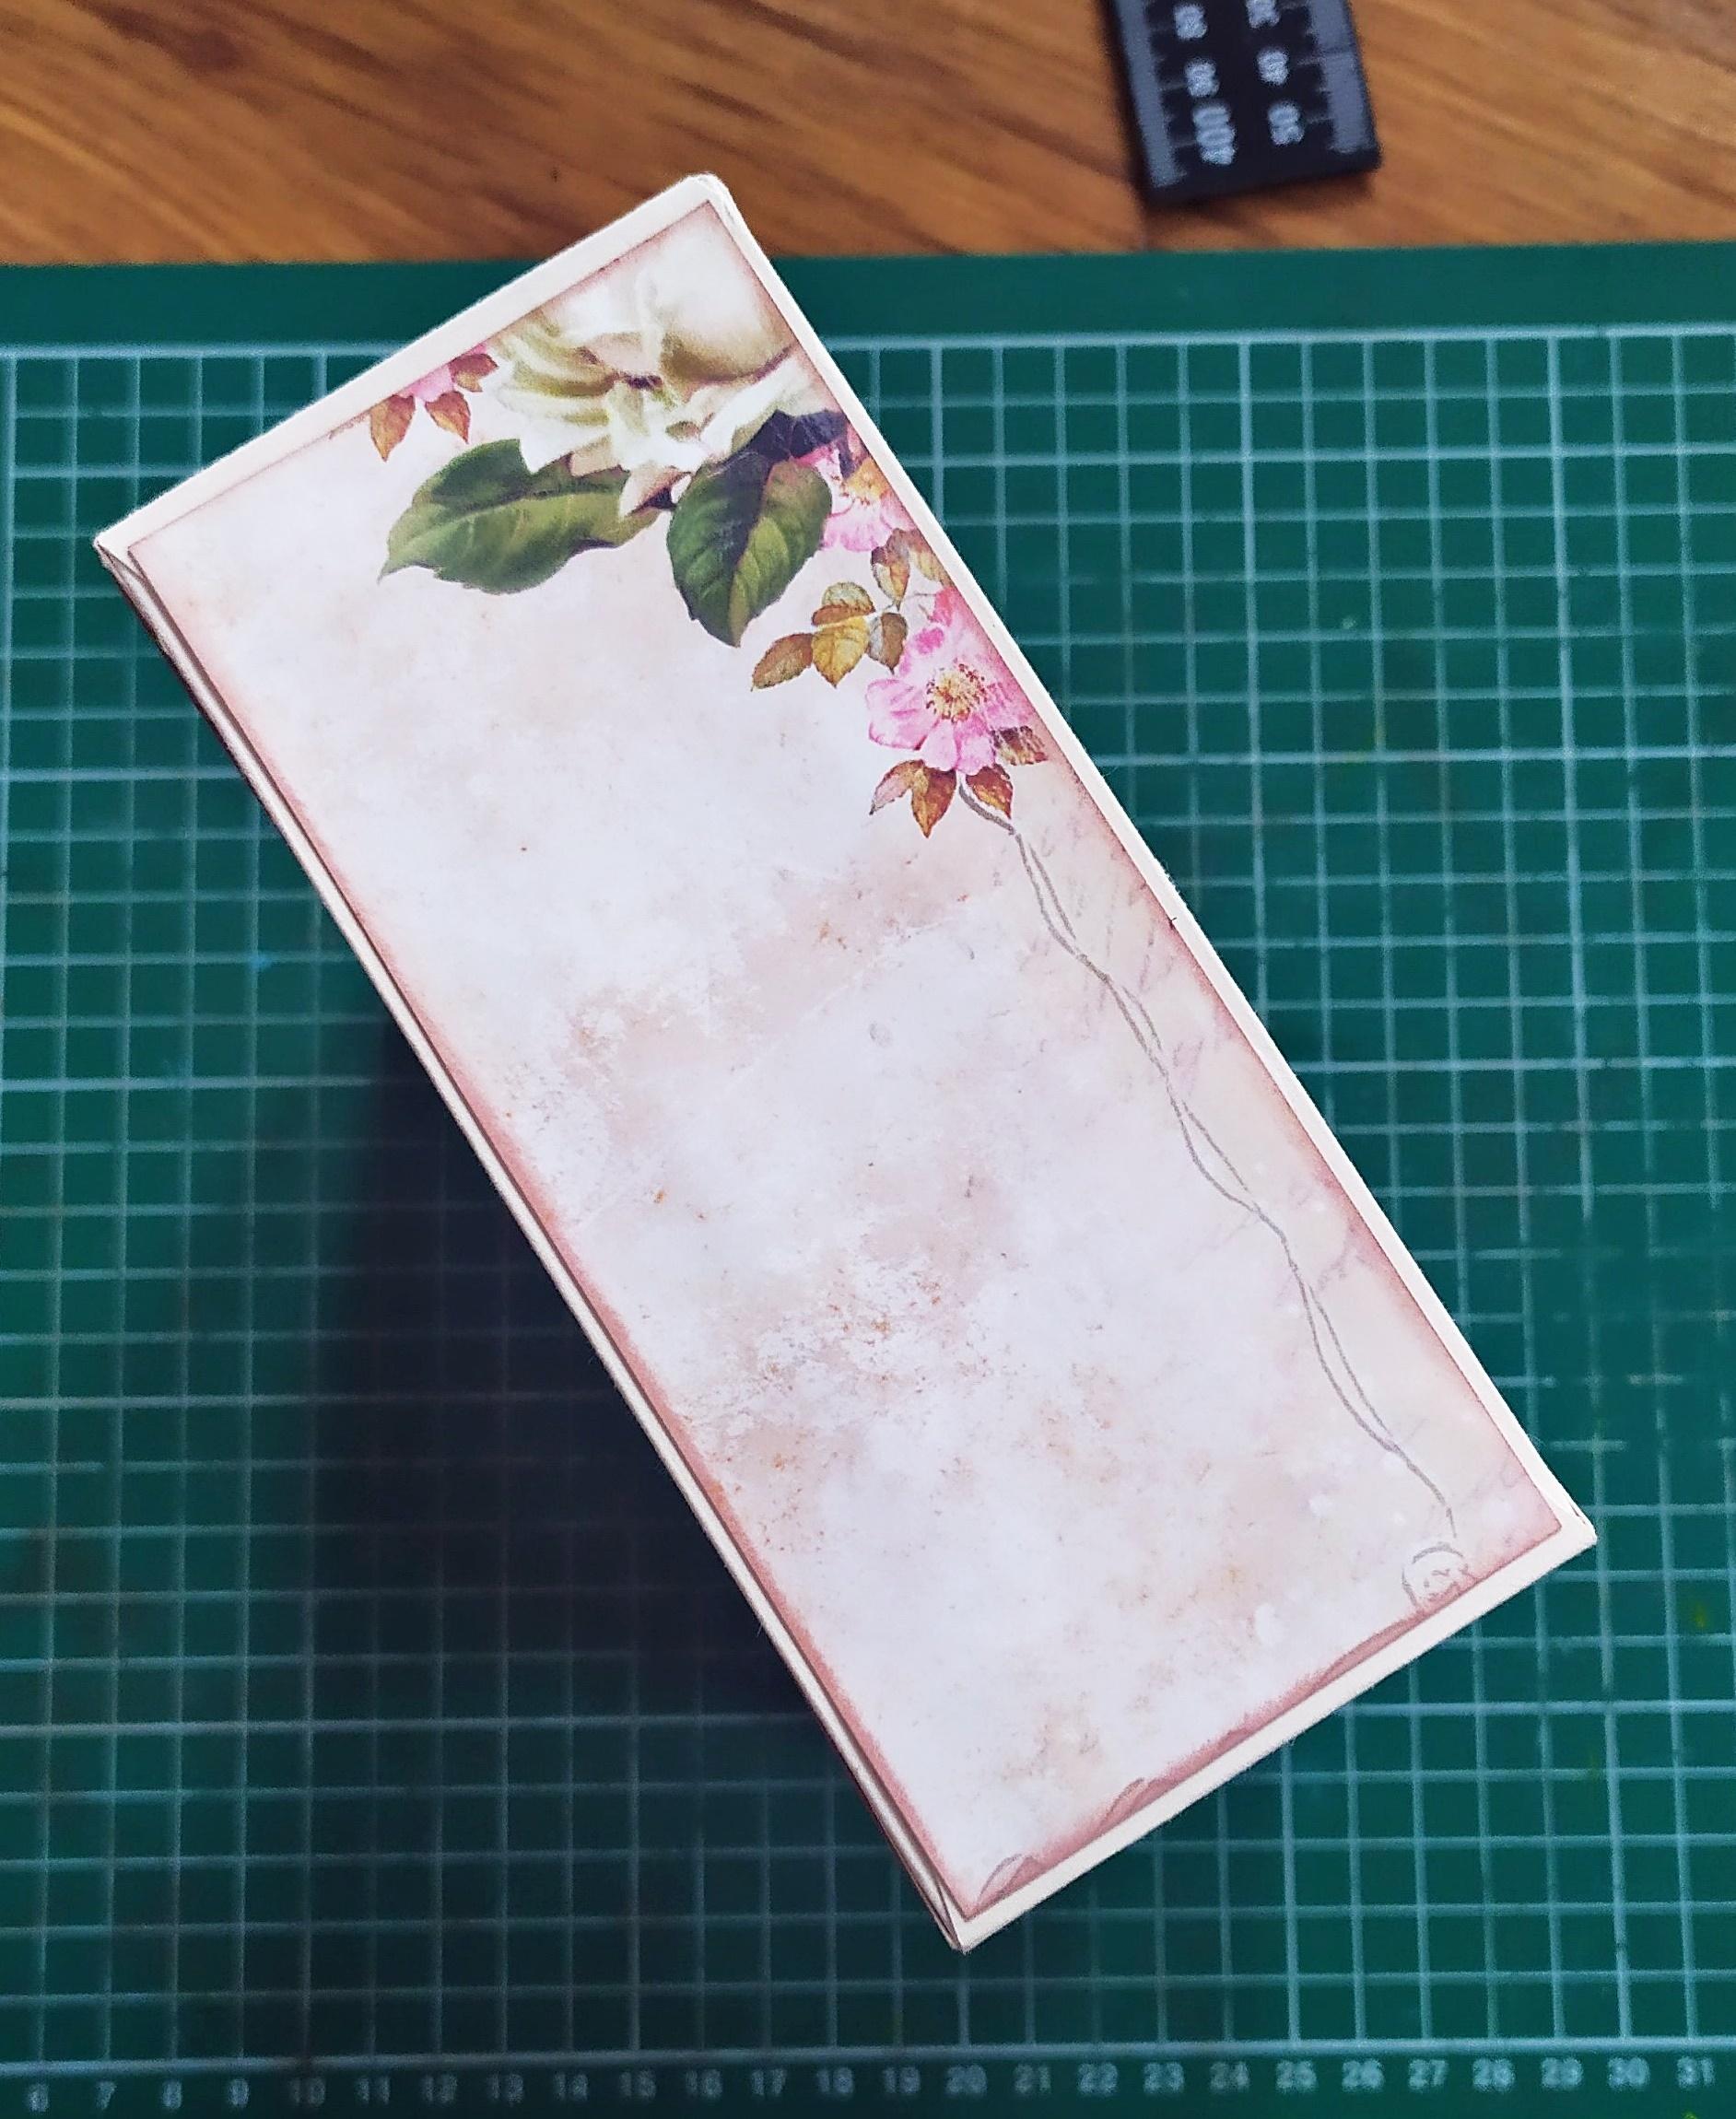
Lately I have been going through my craft supplies.I tend to organize them all the time yet they still somehow manage to get all over the place.It's all fun though because I never know what I will end up finding.I find things I forgot I had bought,like this beautiful paper set by Lemoncraft.It's called House of Roses and I remember absolutely falling inlove with this paper pack the moment I saw it.Naturally,I had to have it but I never really got to create anything with it.
Until this weekend.
I had gotten back to scrapbooking again and I thought this paper was perfect for the project I had on my mind.I decided I would make a scrapbook photo album.The idea for the piano box came after I made the album.
And that's how this set came to life!
In this Instructable I will be showing you how you can turn beautiful paper into an even more beautiful scrapbook album.
Let's get started!
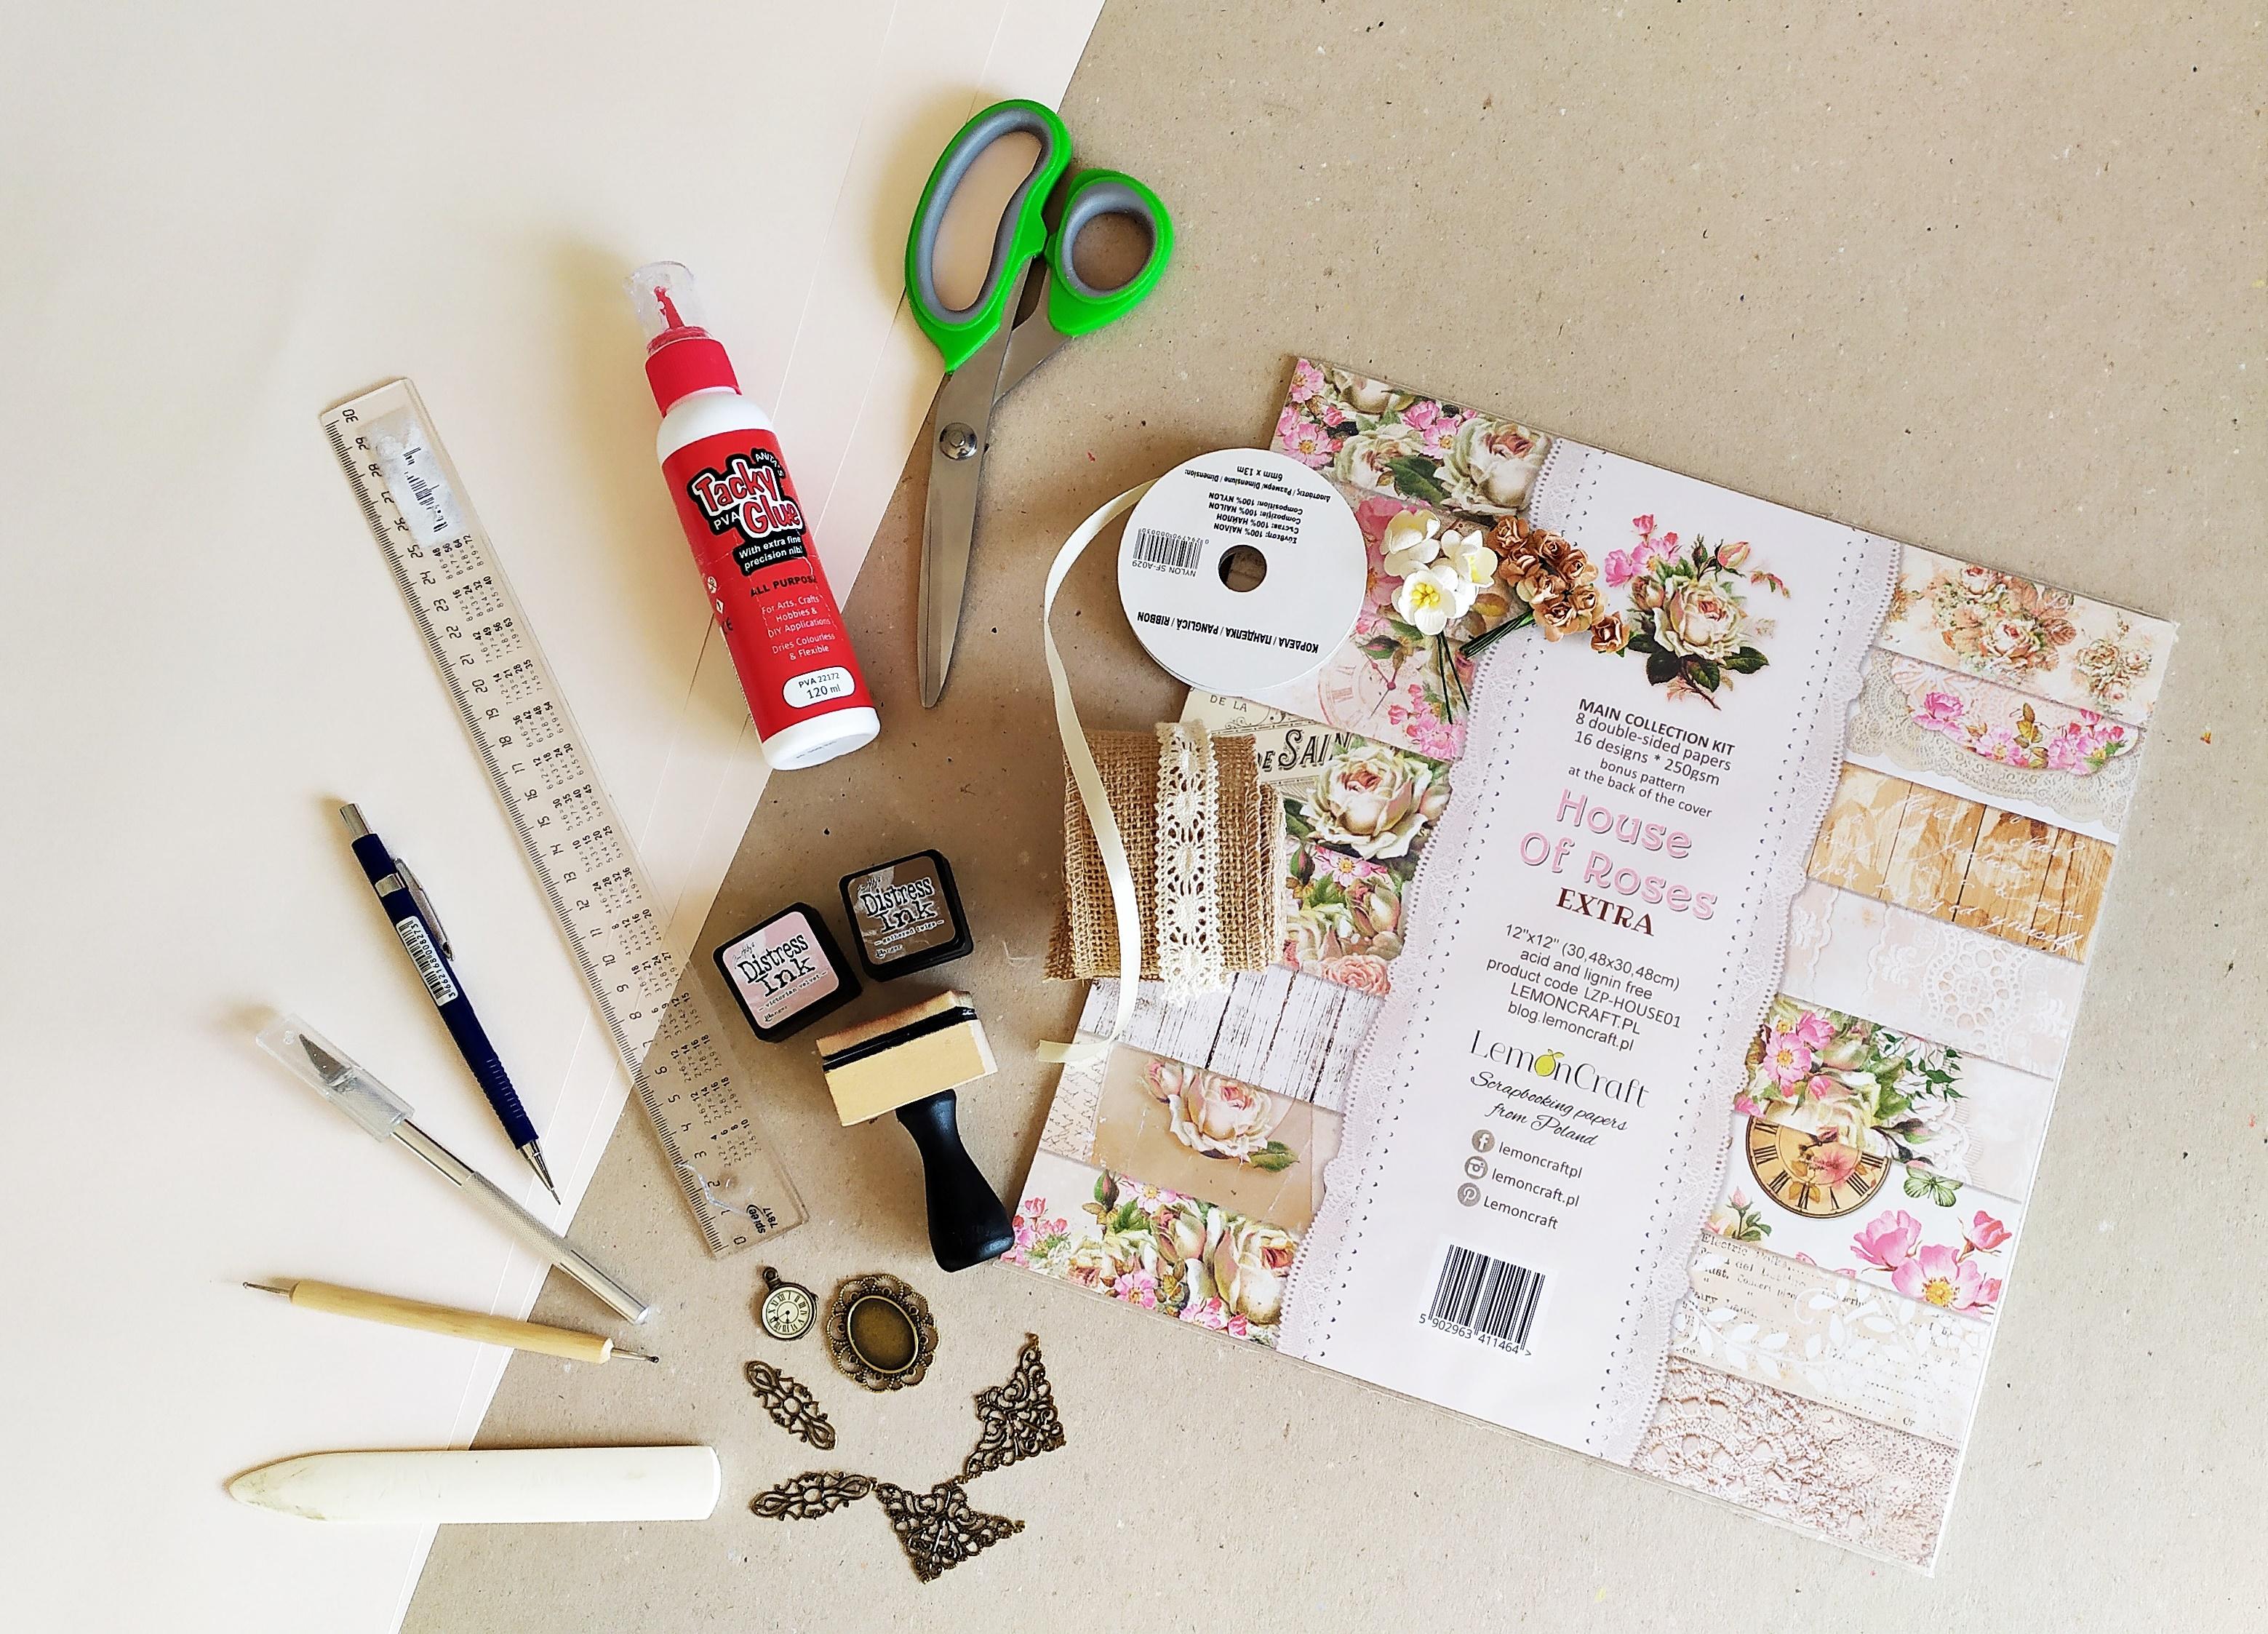
Supplies
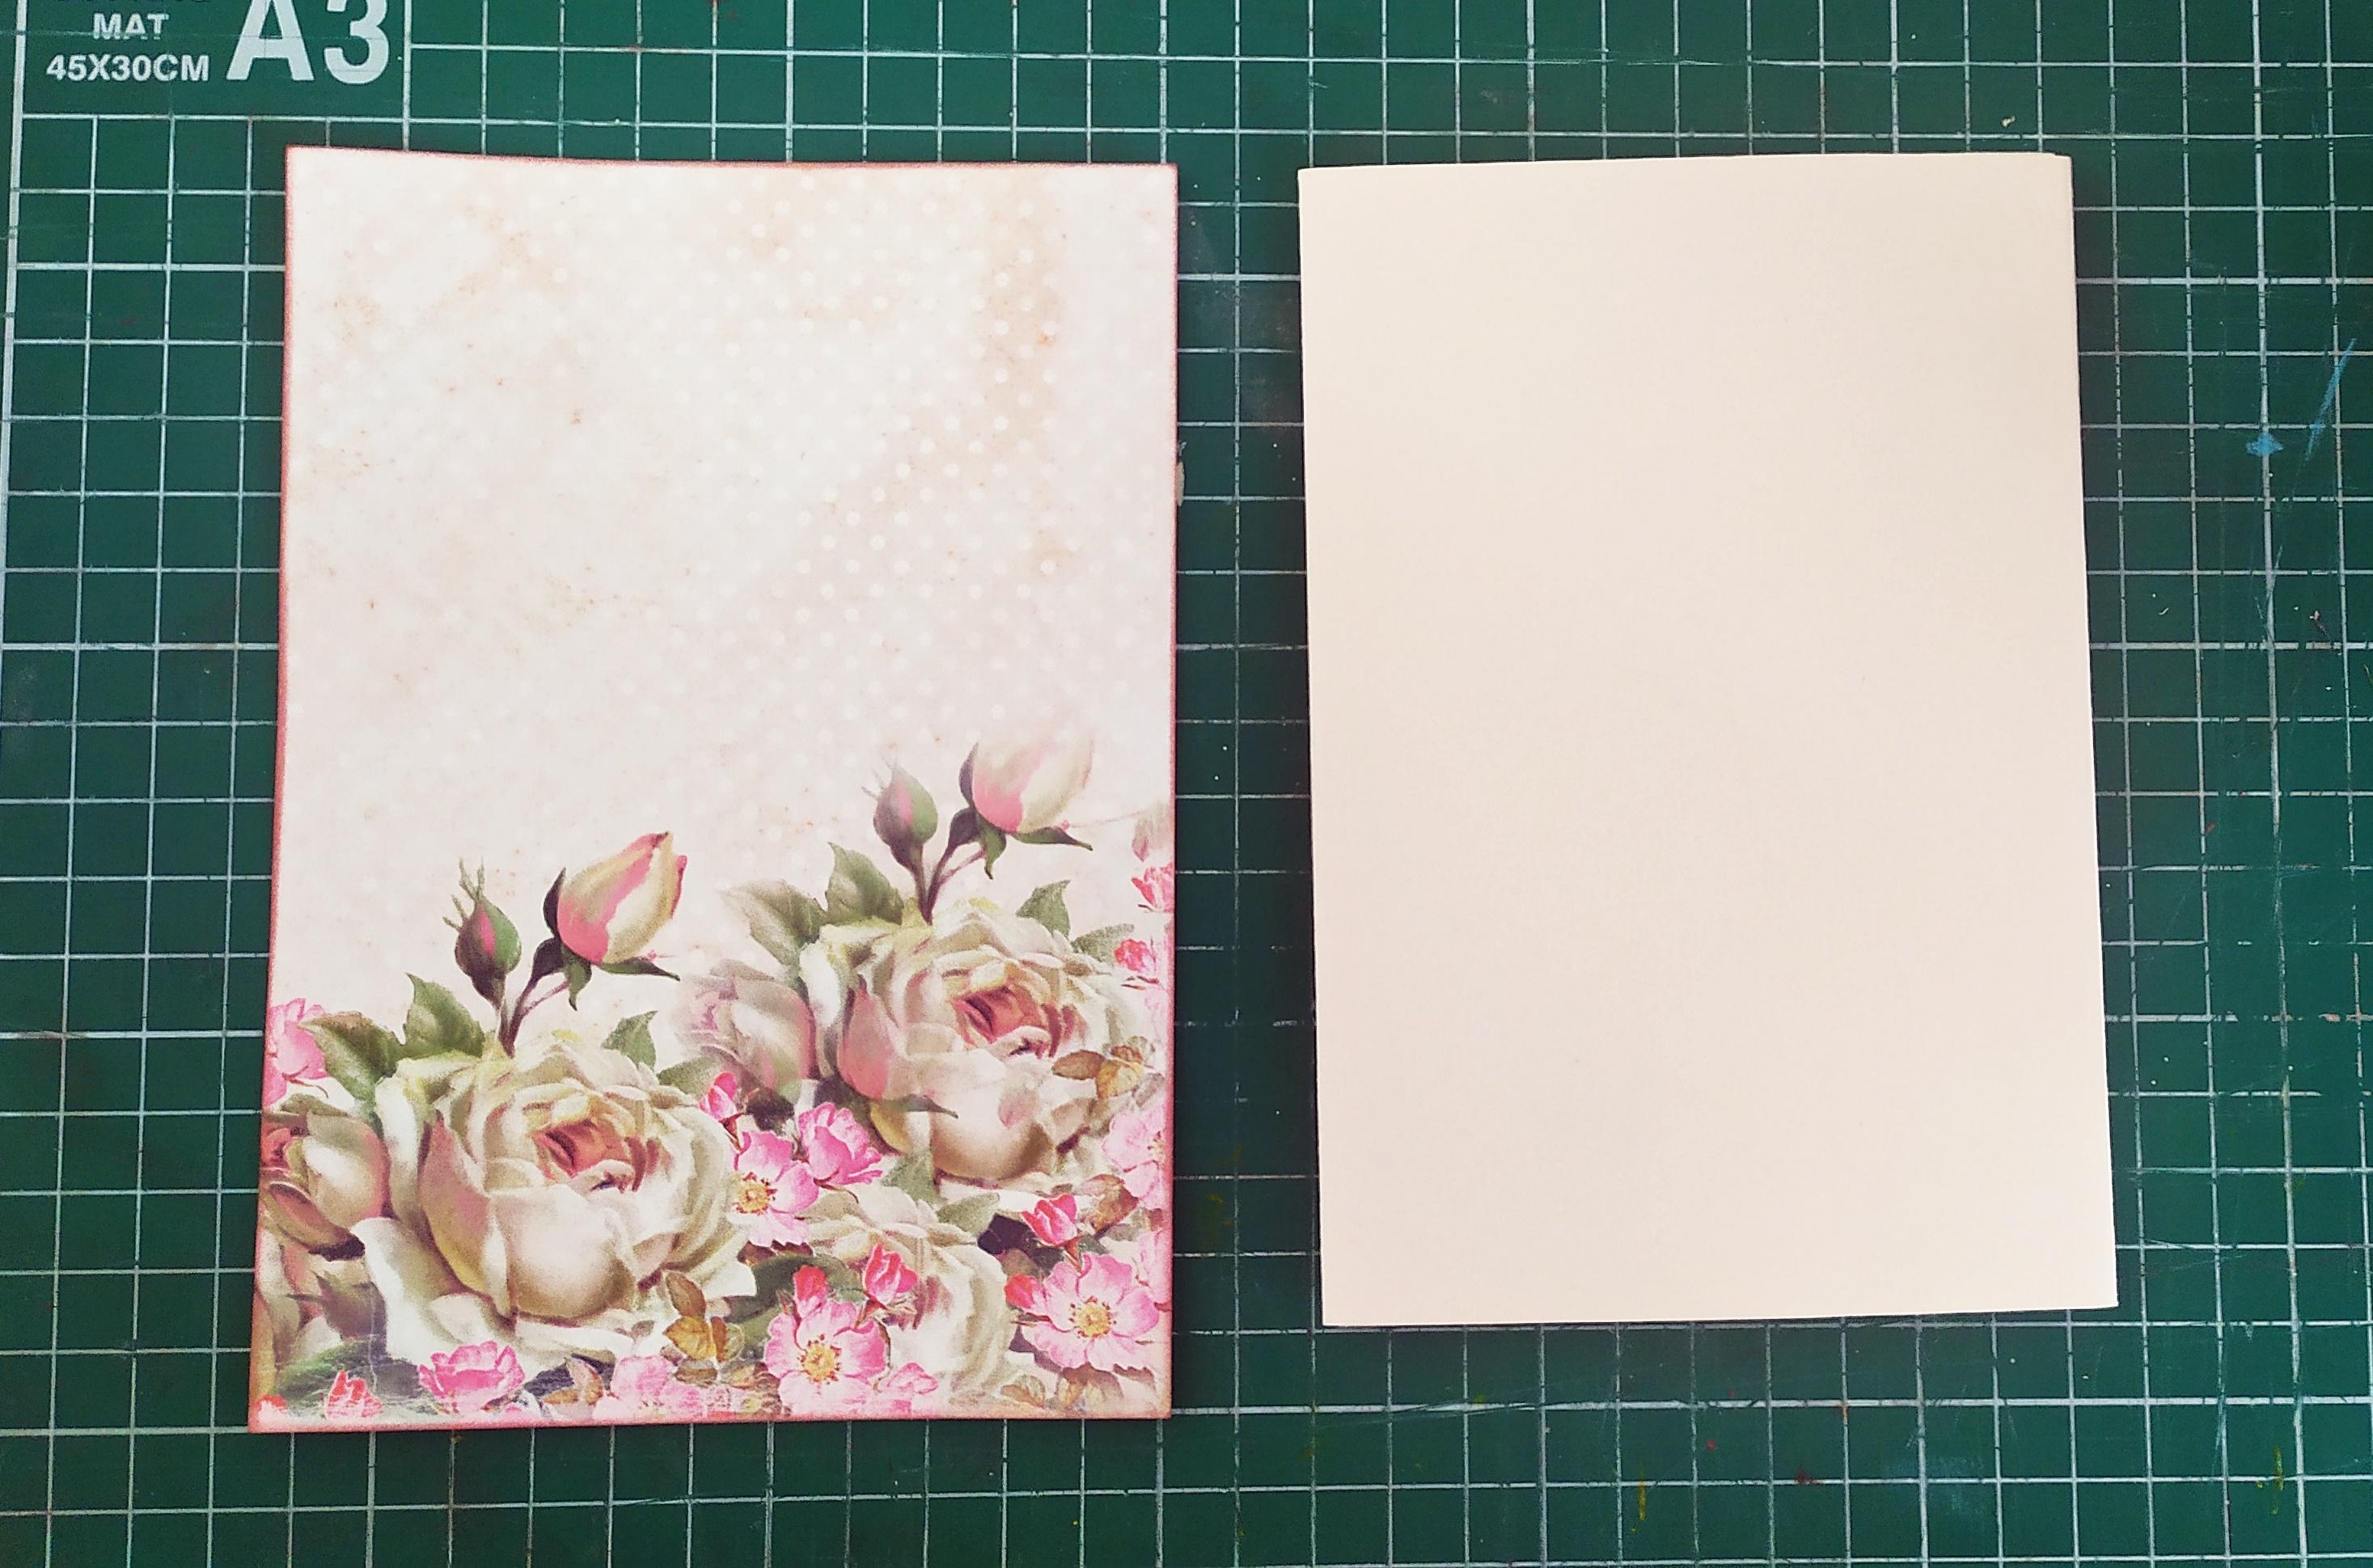
- Designer paper pack of your choice - mine is House of Roses by Lemoncraft (the size of the papers was 12x12'')
- Chipboard
- Cardboard
- Craft glue
- Hot glue
- Scissors
- X-acto knife
- Craft mat
- L square ruler
- A ruler
- A pencil
- Bone folder
- Tiny magnets
- Nail art dotting tool
- Ribbon
- Lace
- Metal embelishments
- Tim Holtz distress ink pad - I used "Gathered twigs" and "Victorian velvet"
- An Ink blending tool
Making the Base Part I
Every album needs a solid base to carry your precious memories.I will be showing you how to make the base of this album in three easy steps.
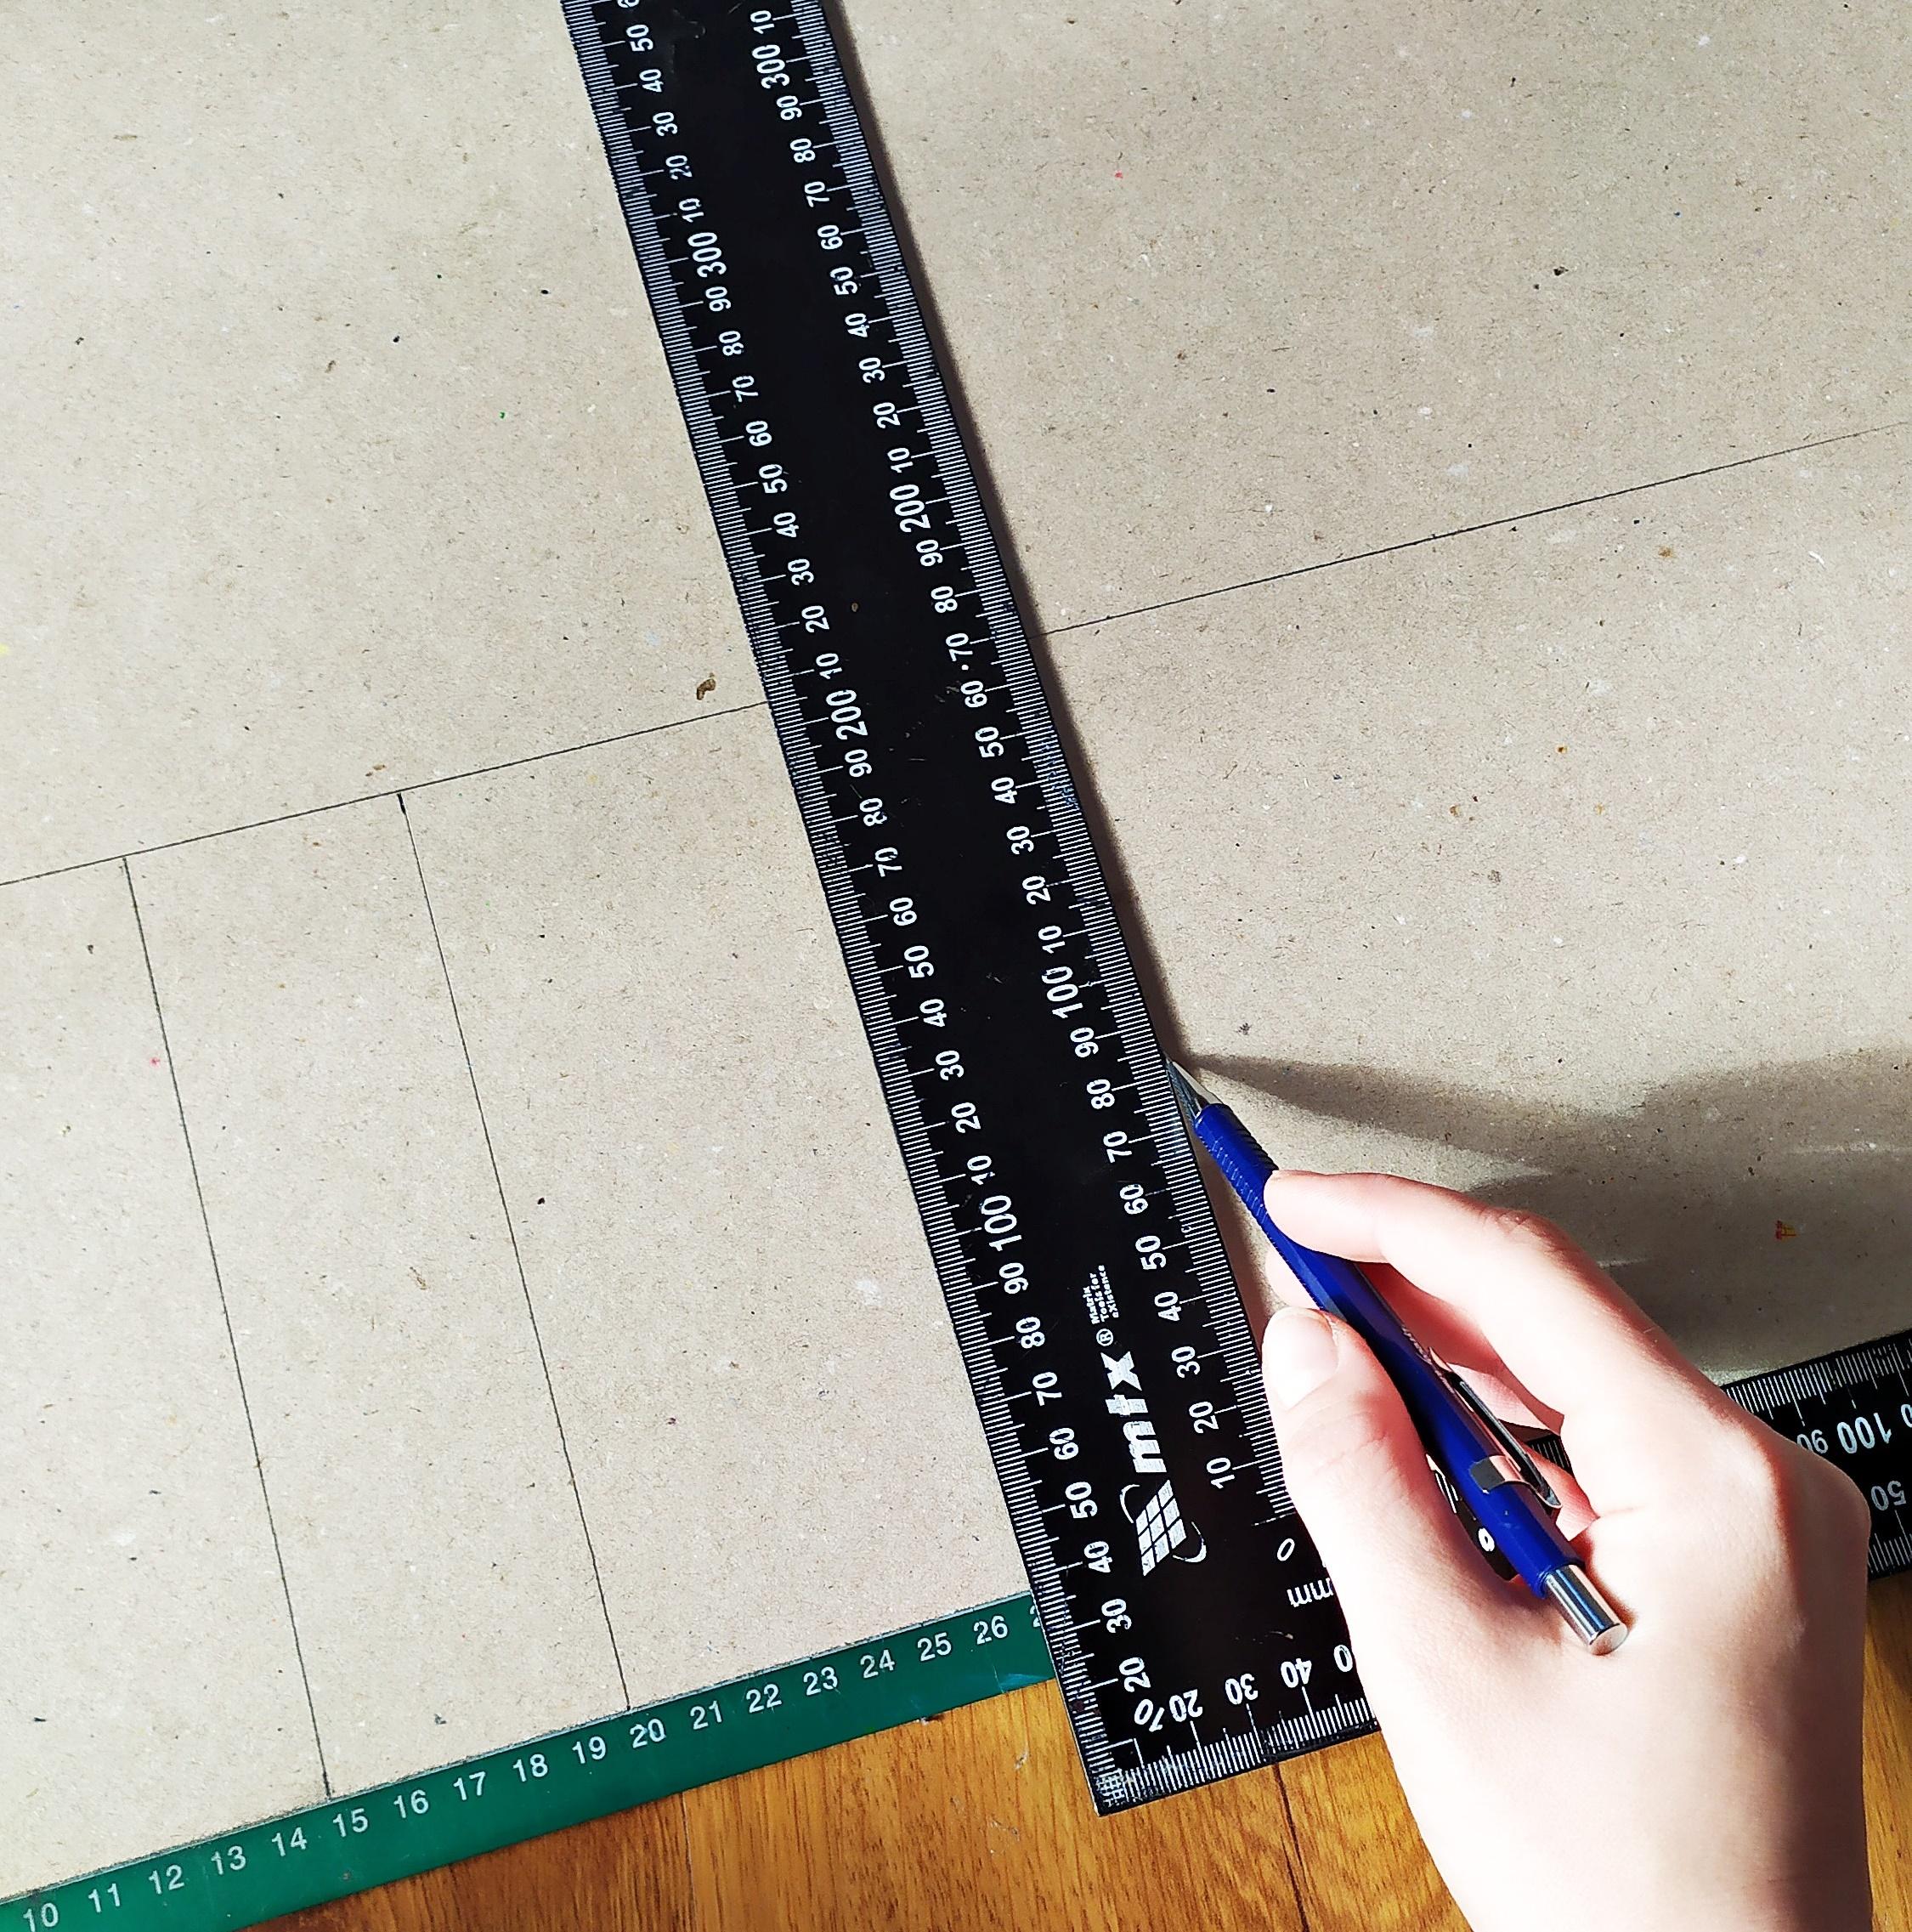
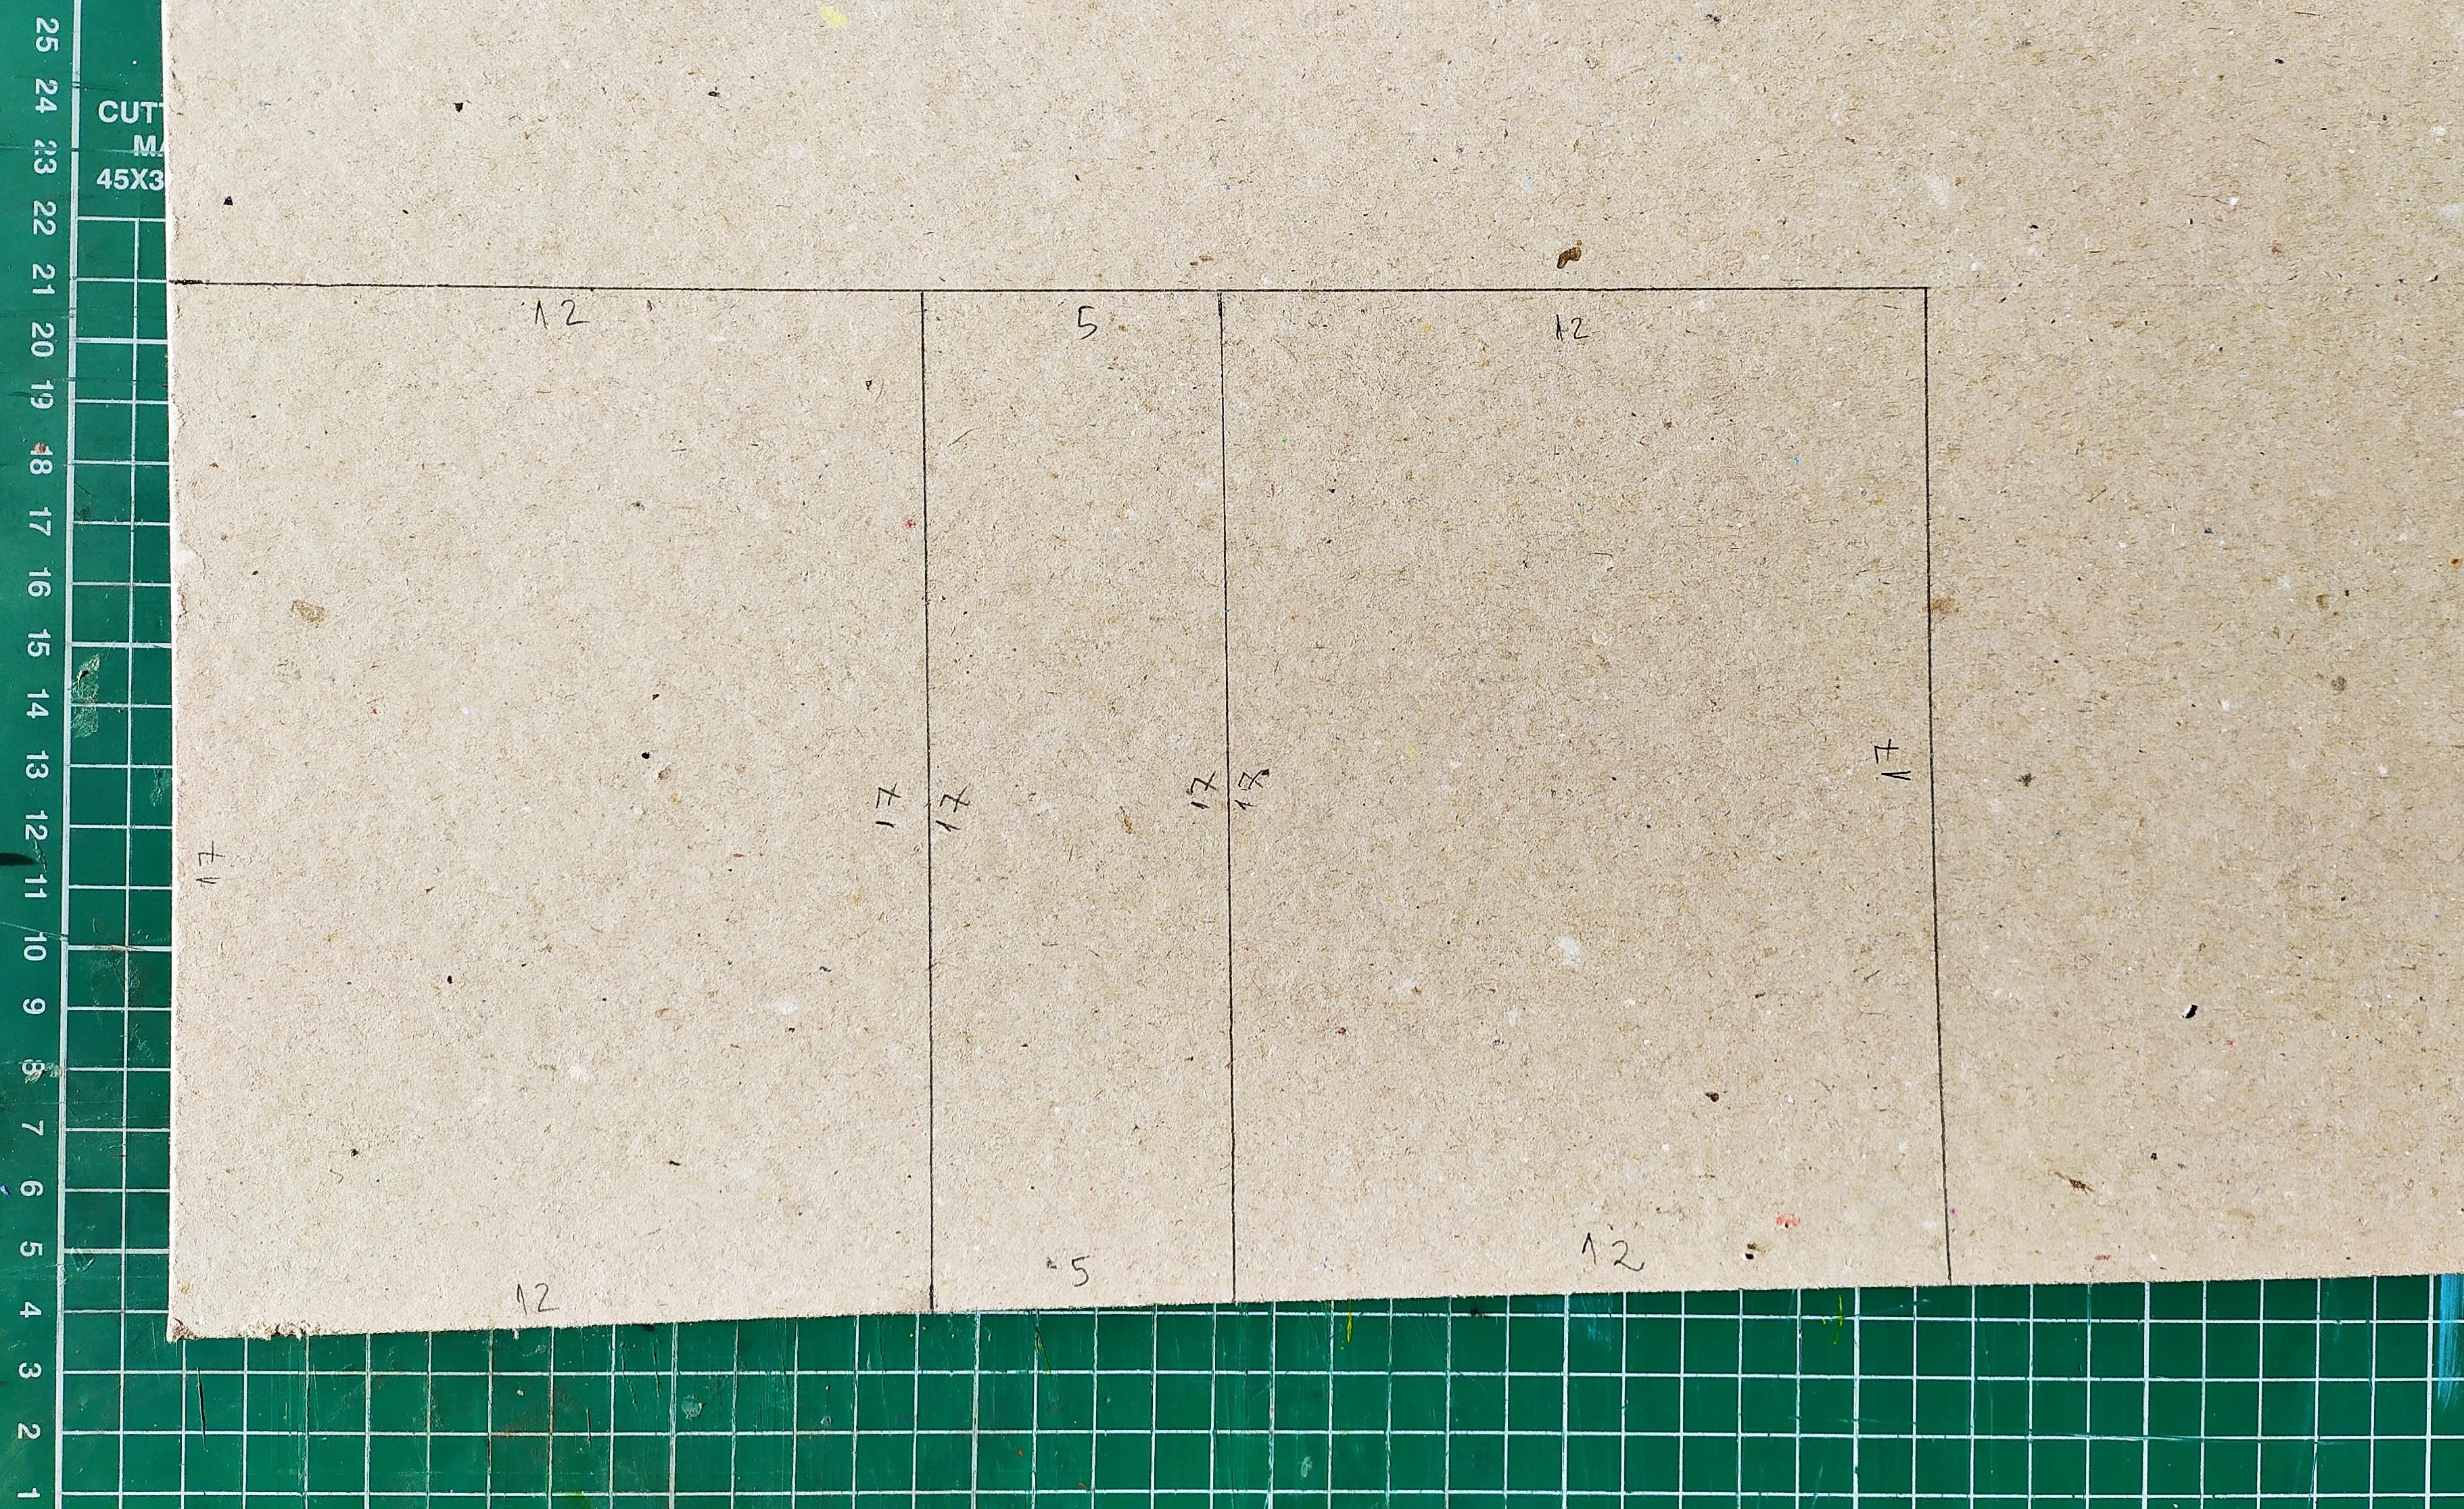
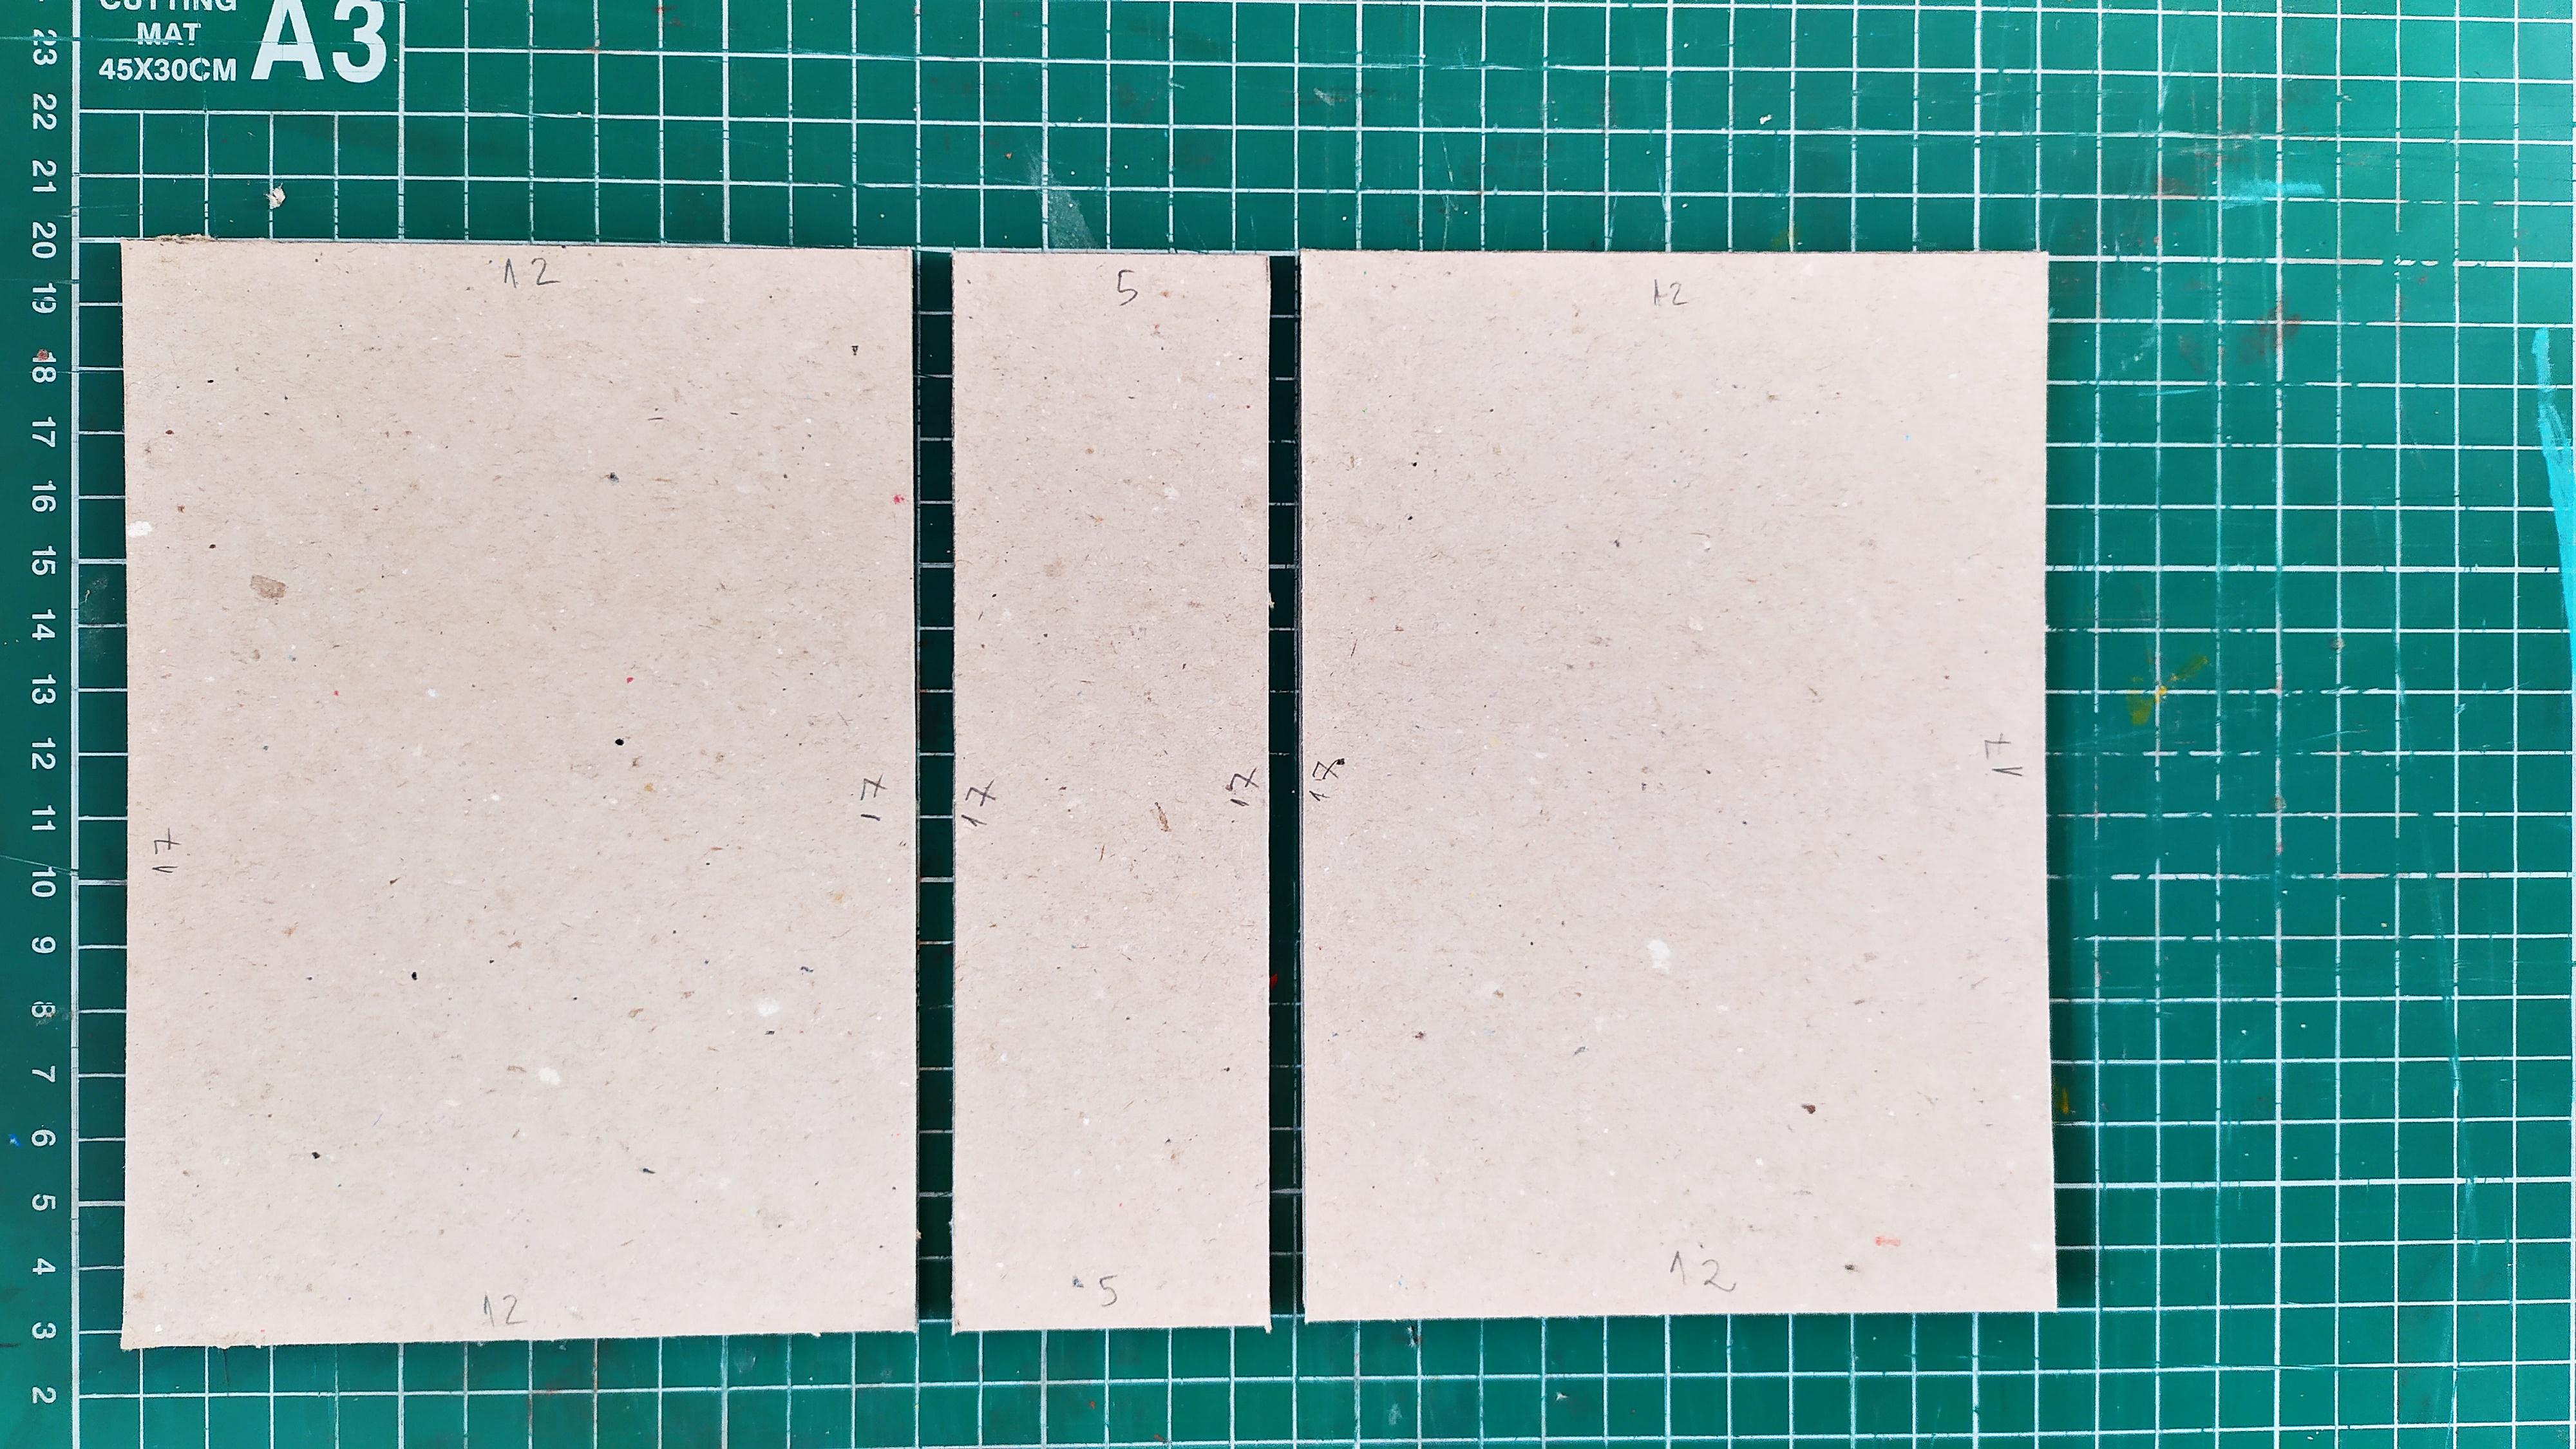
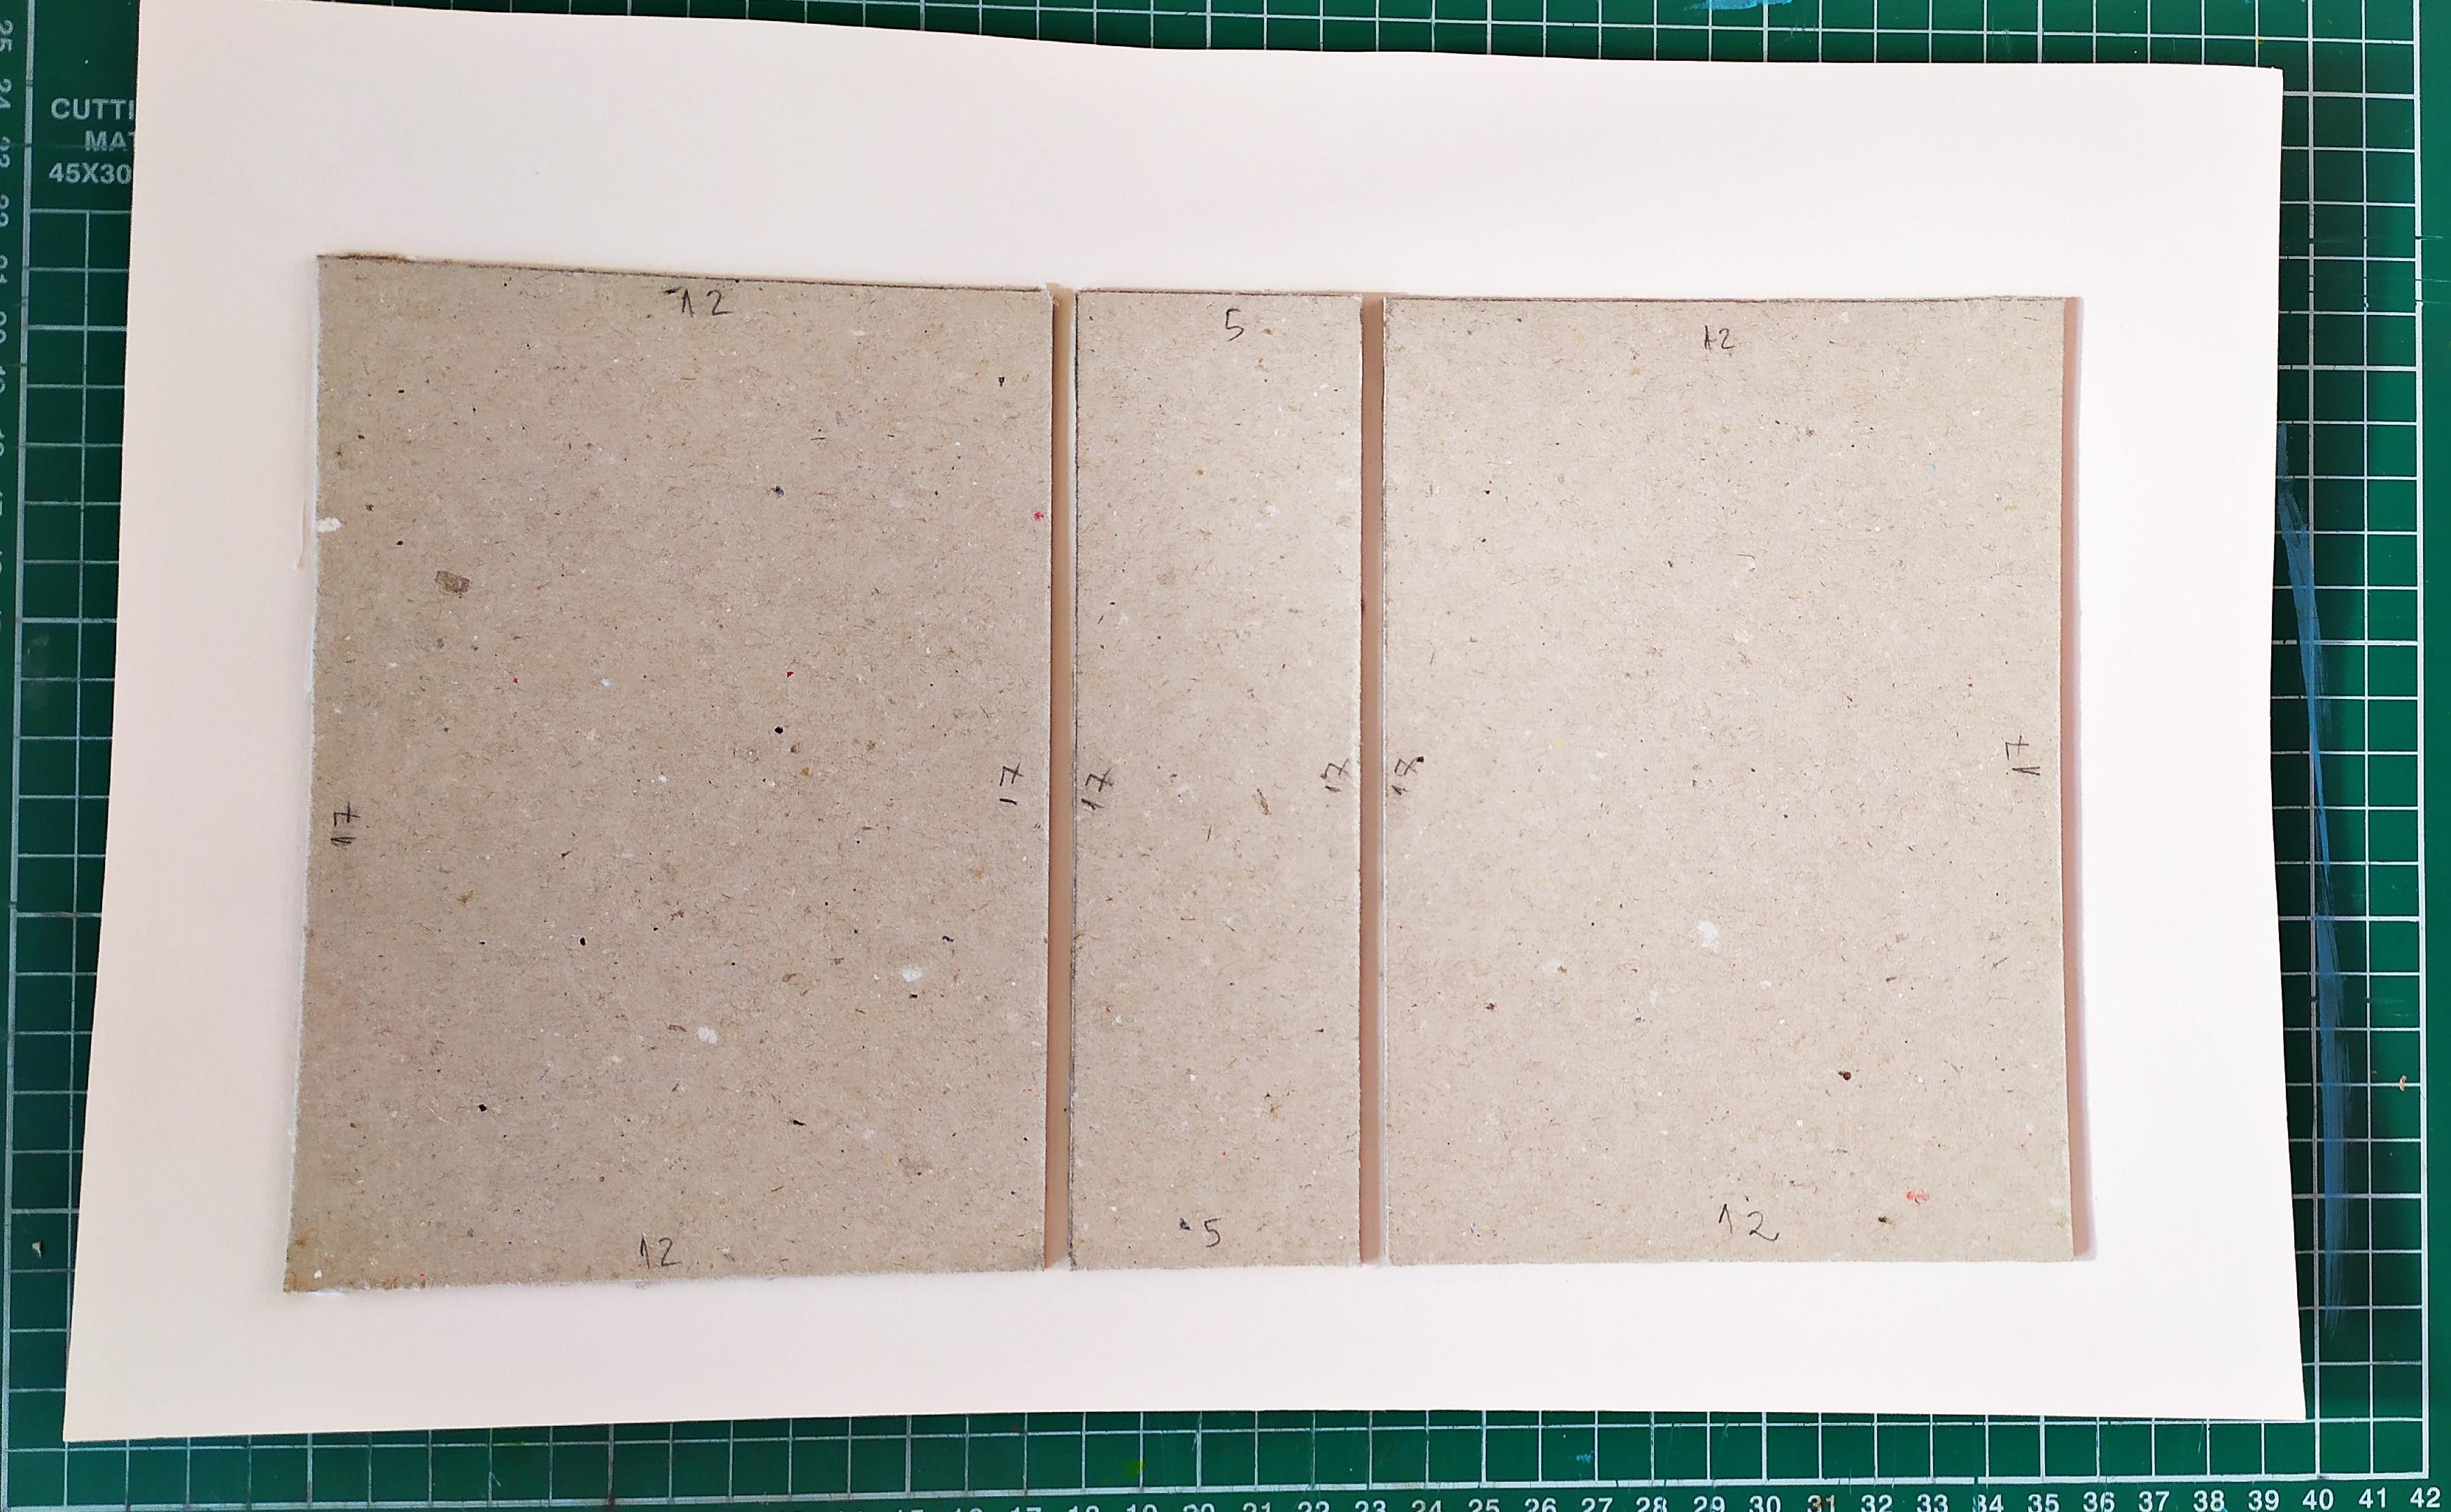
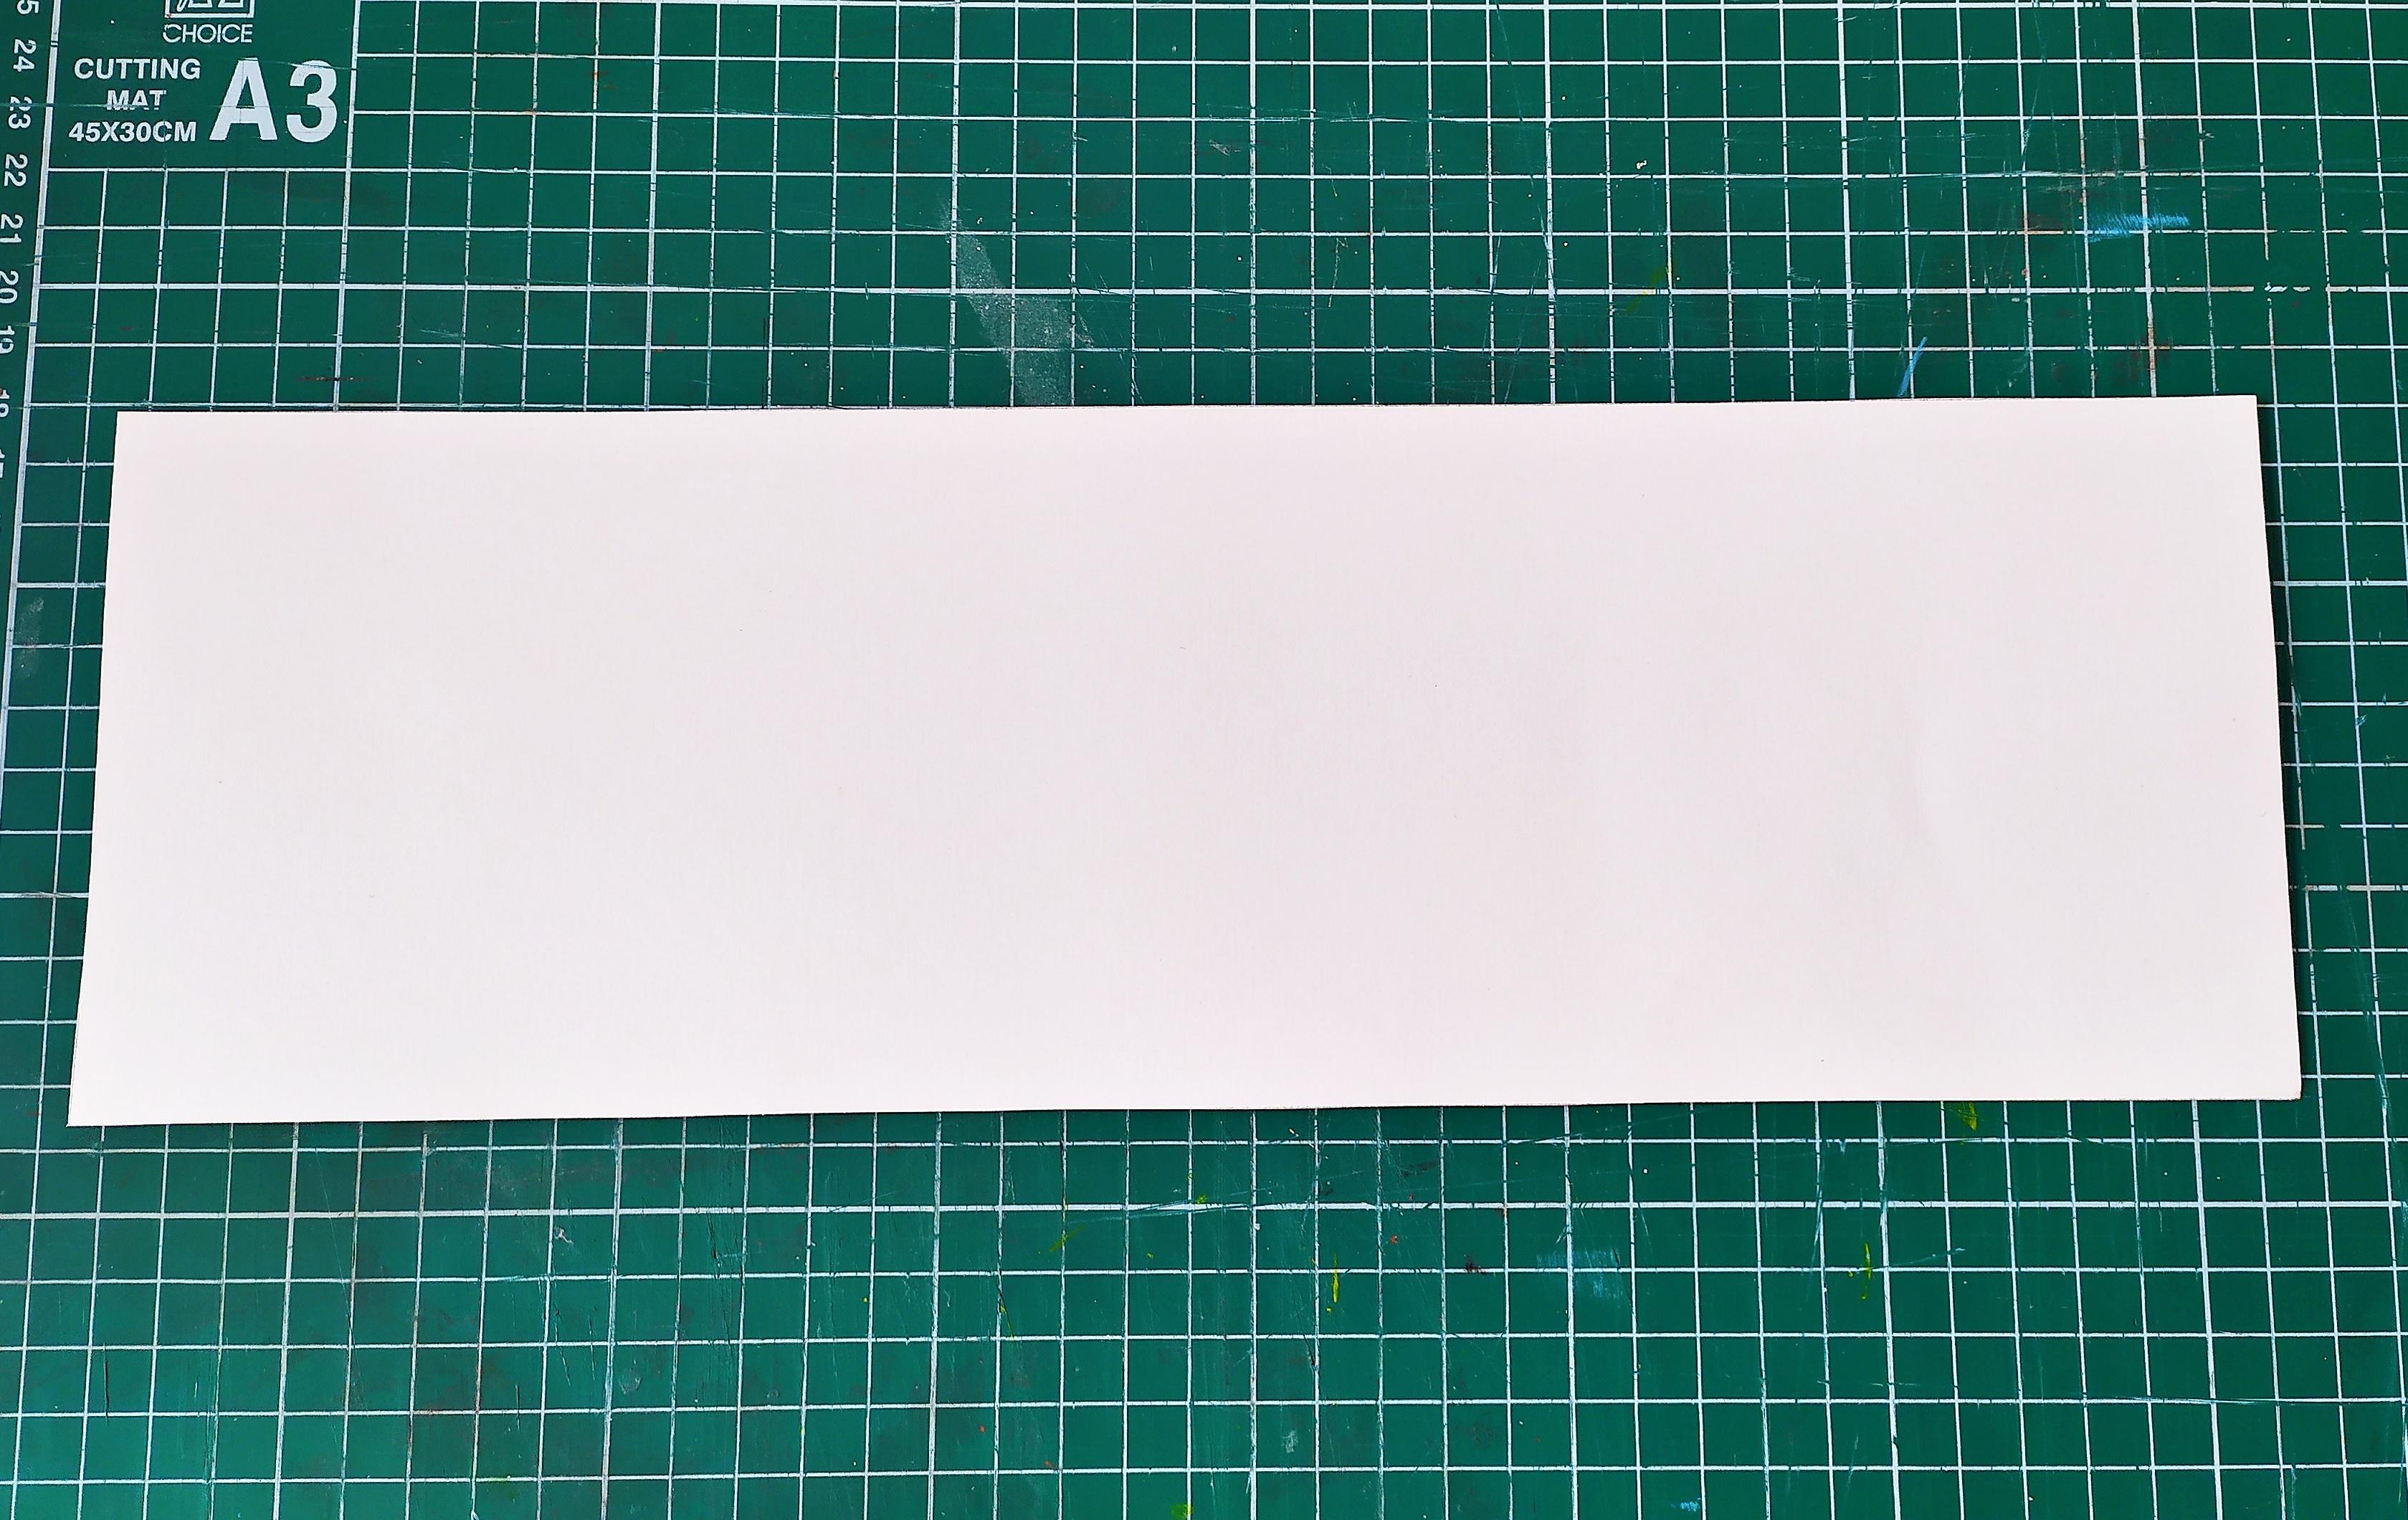
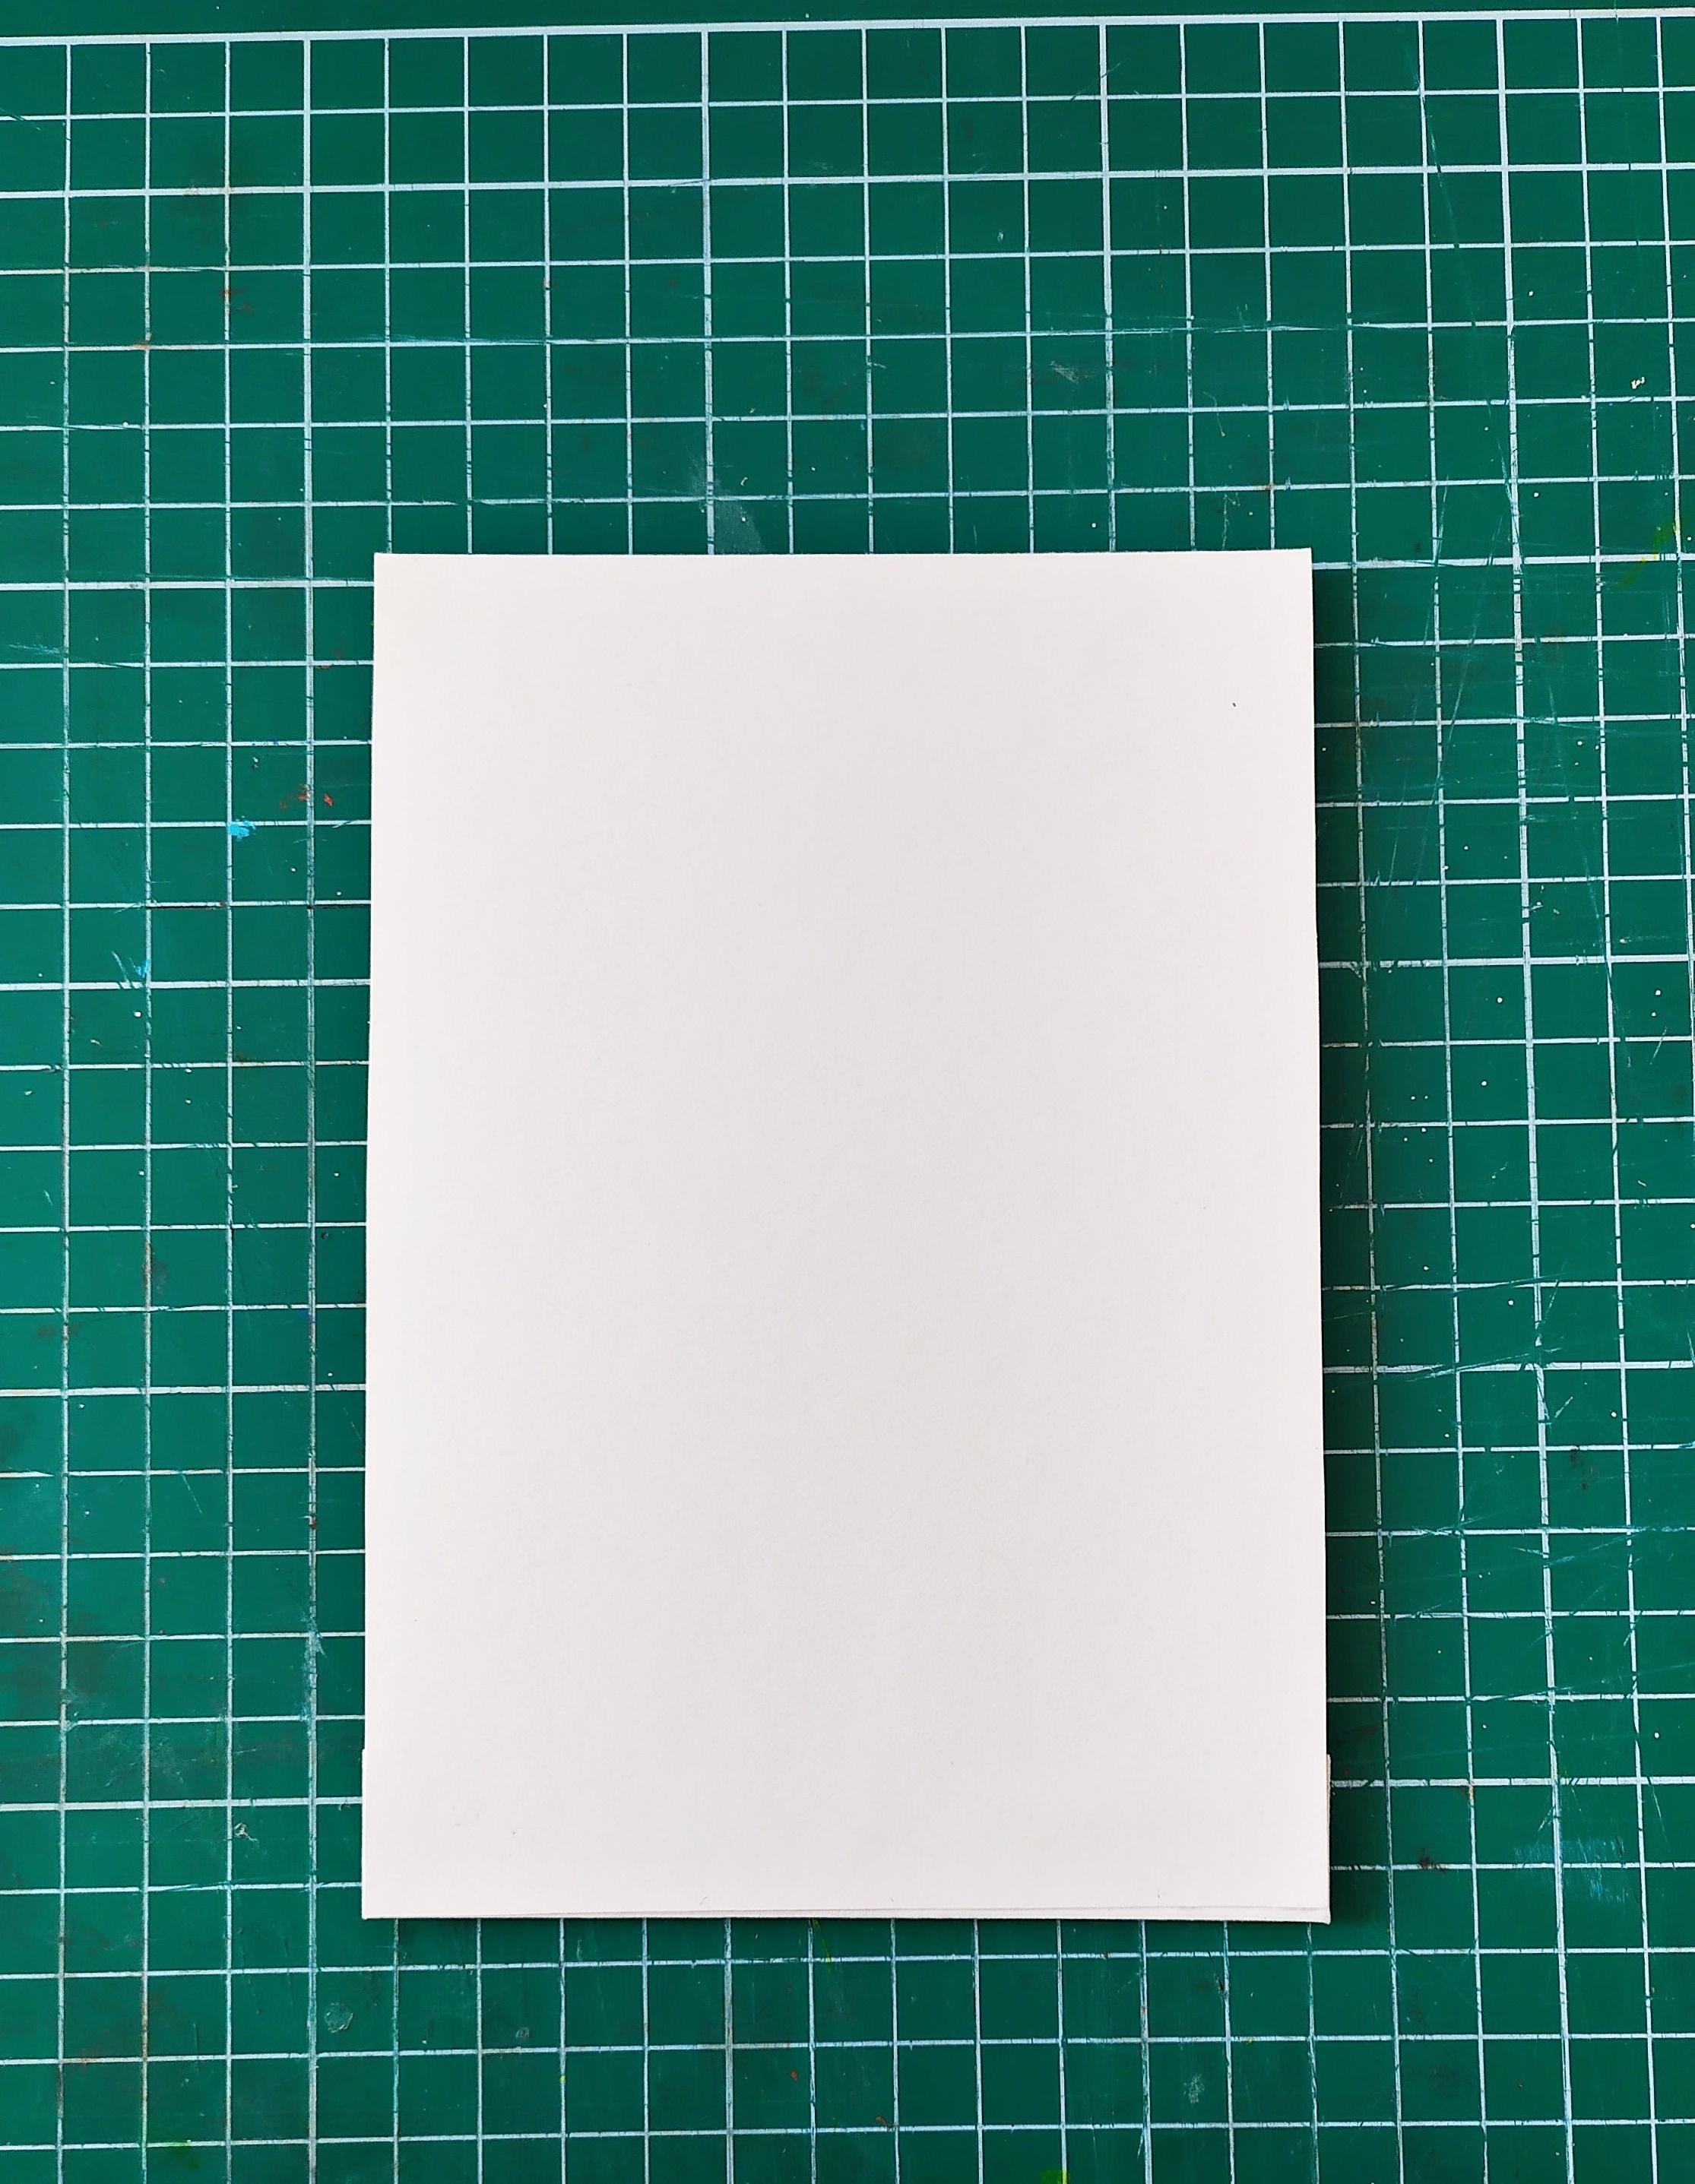
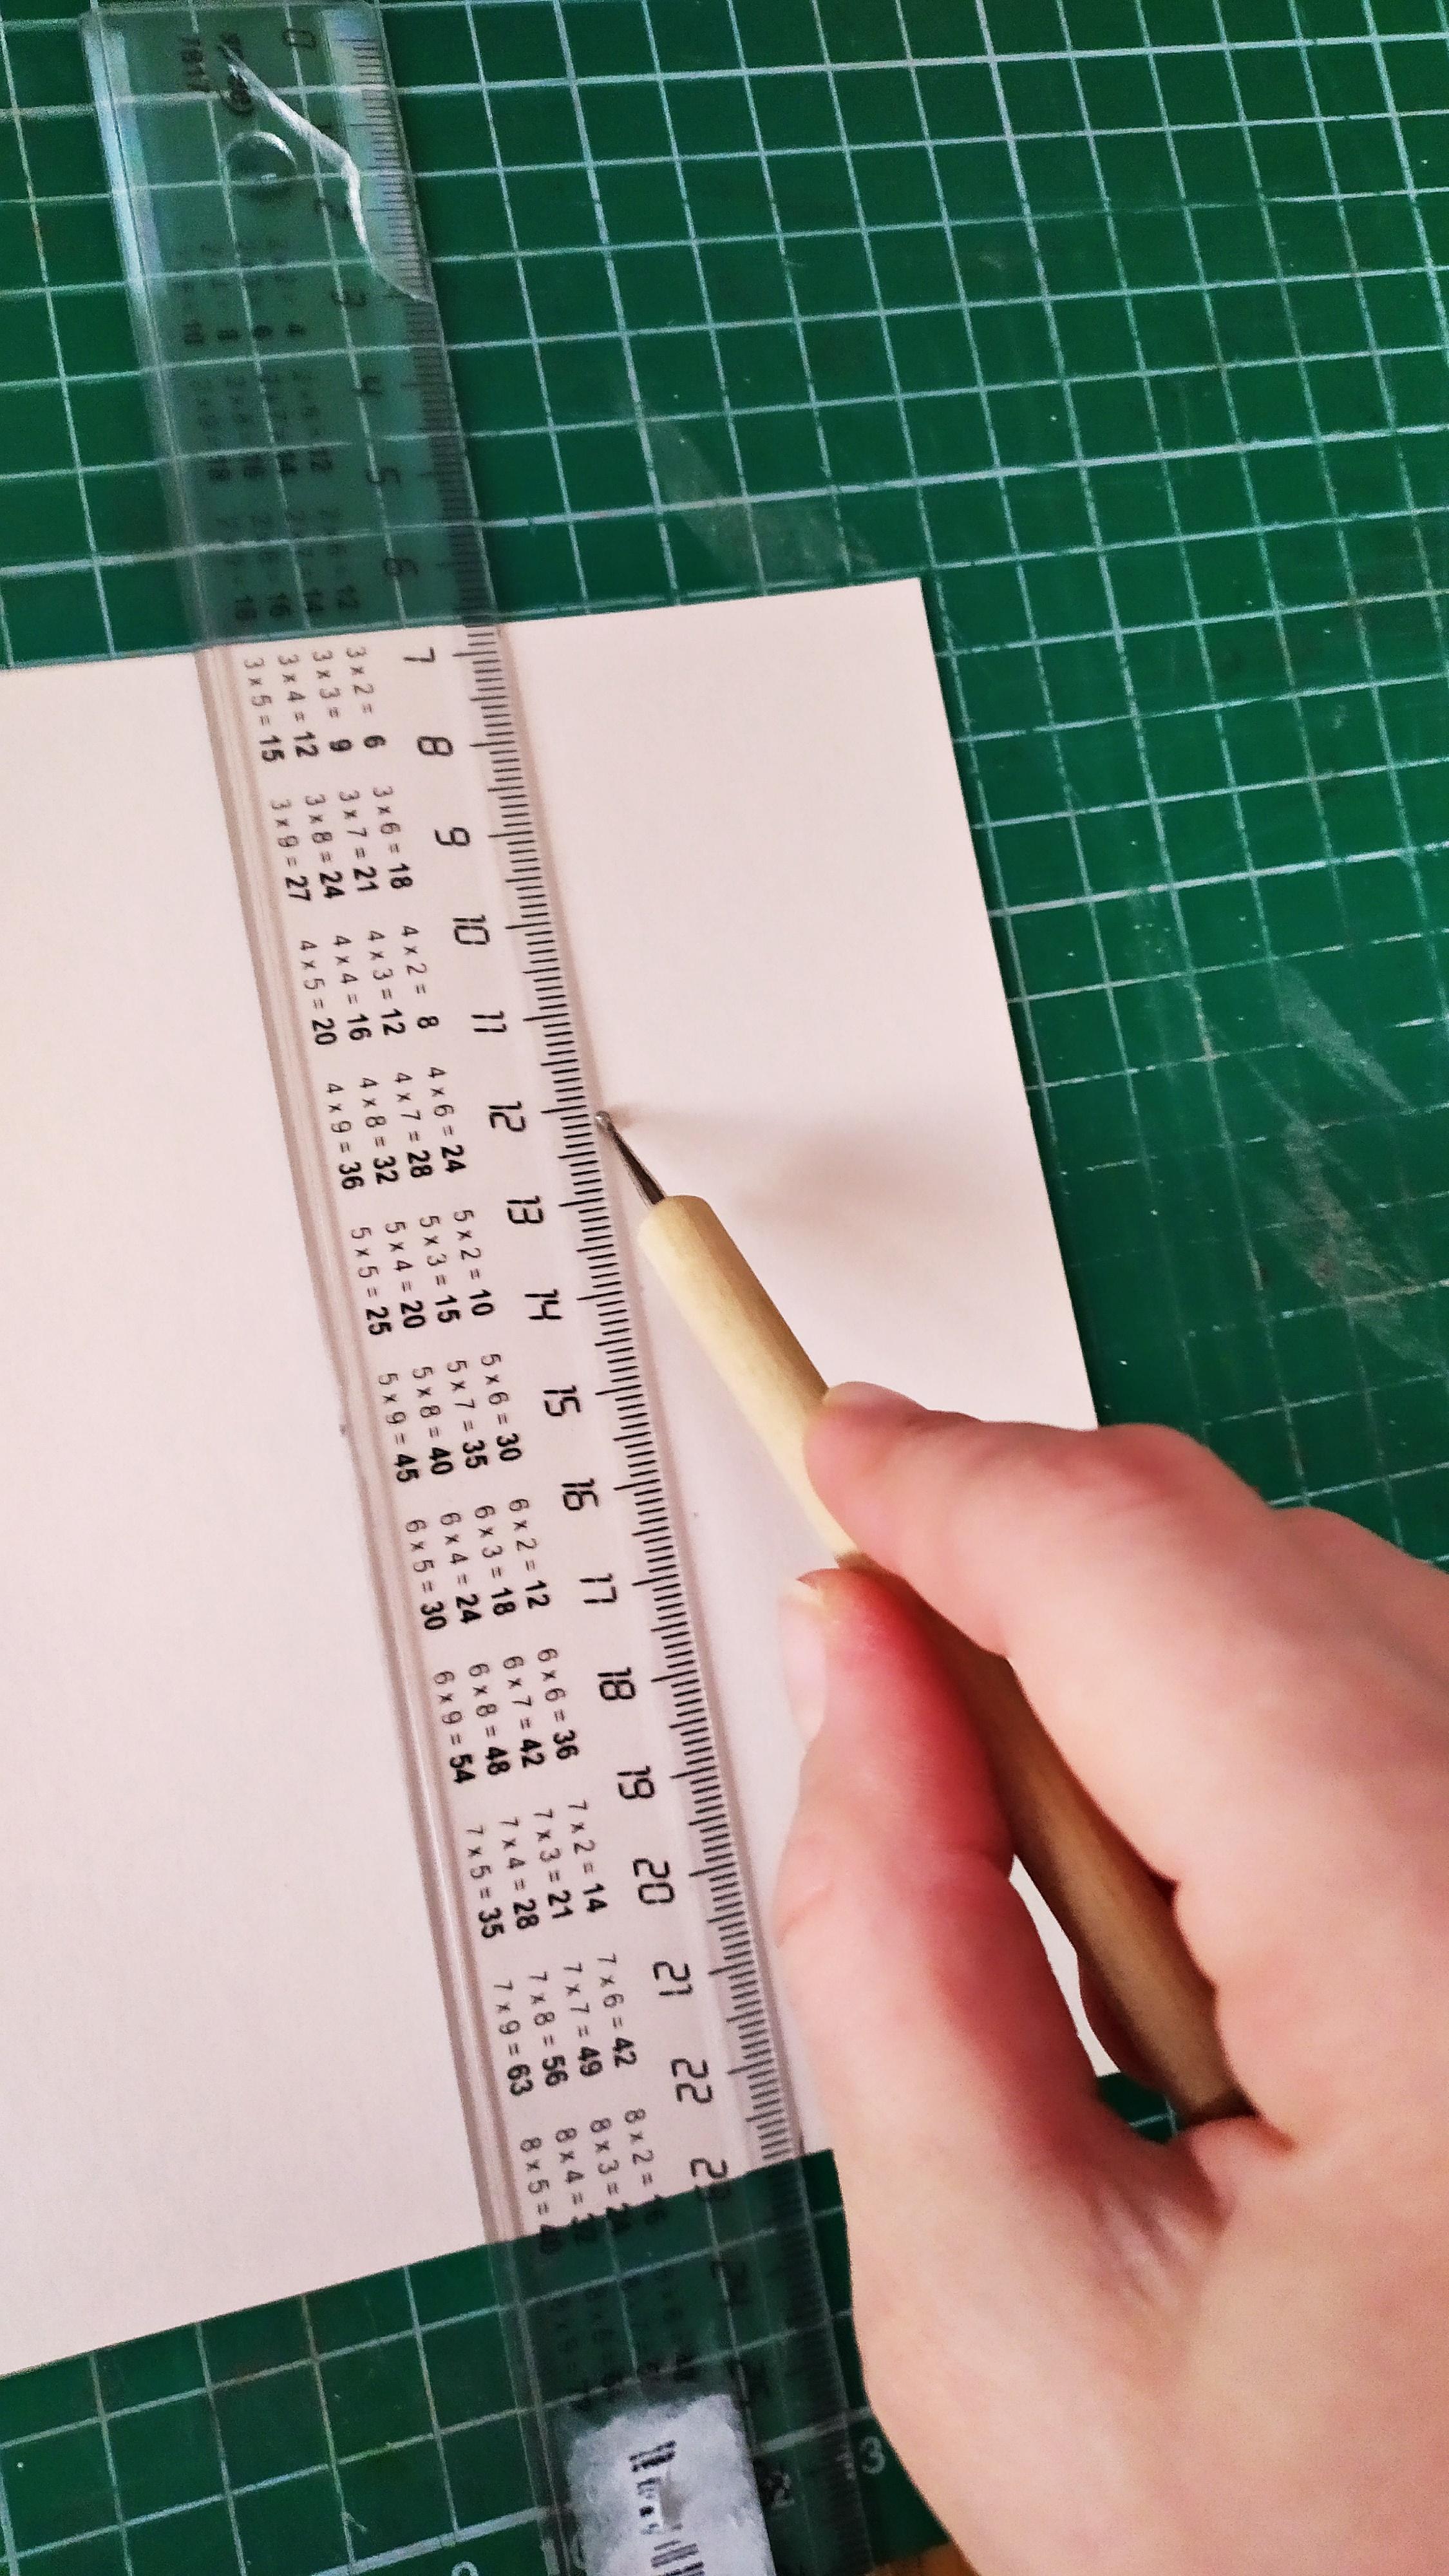
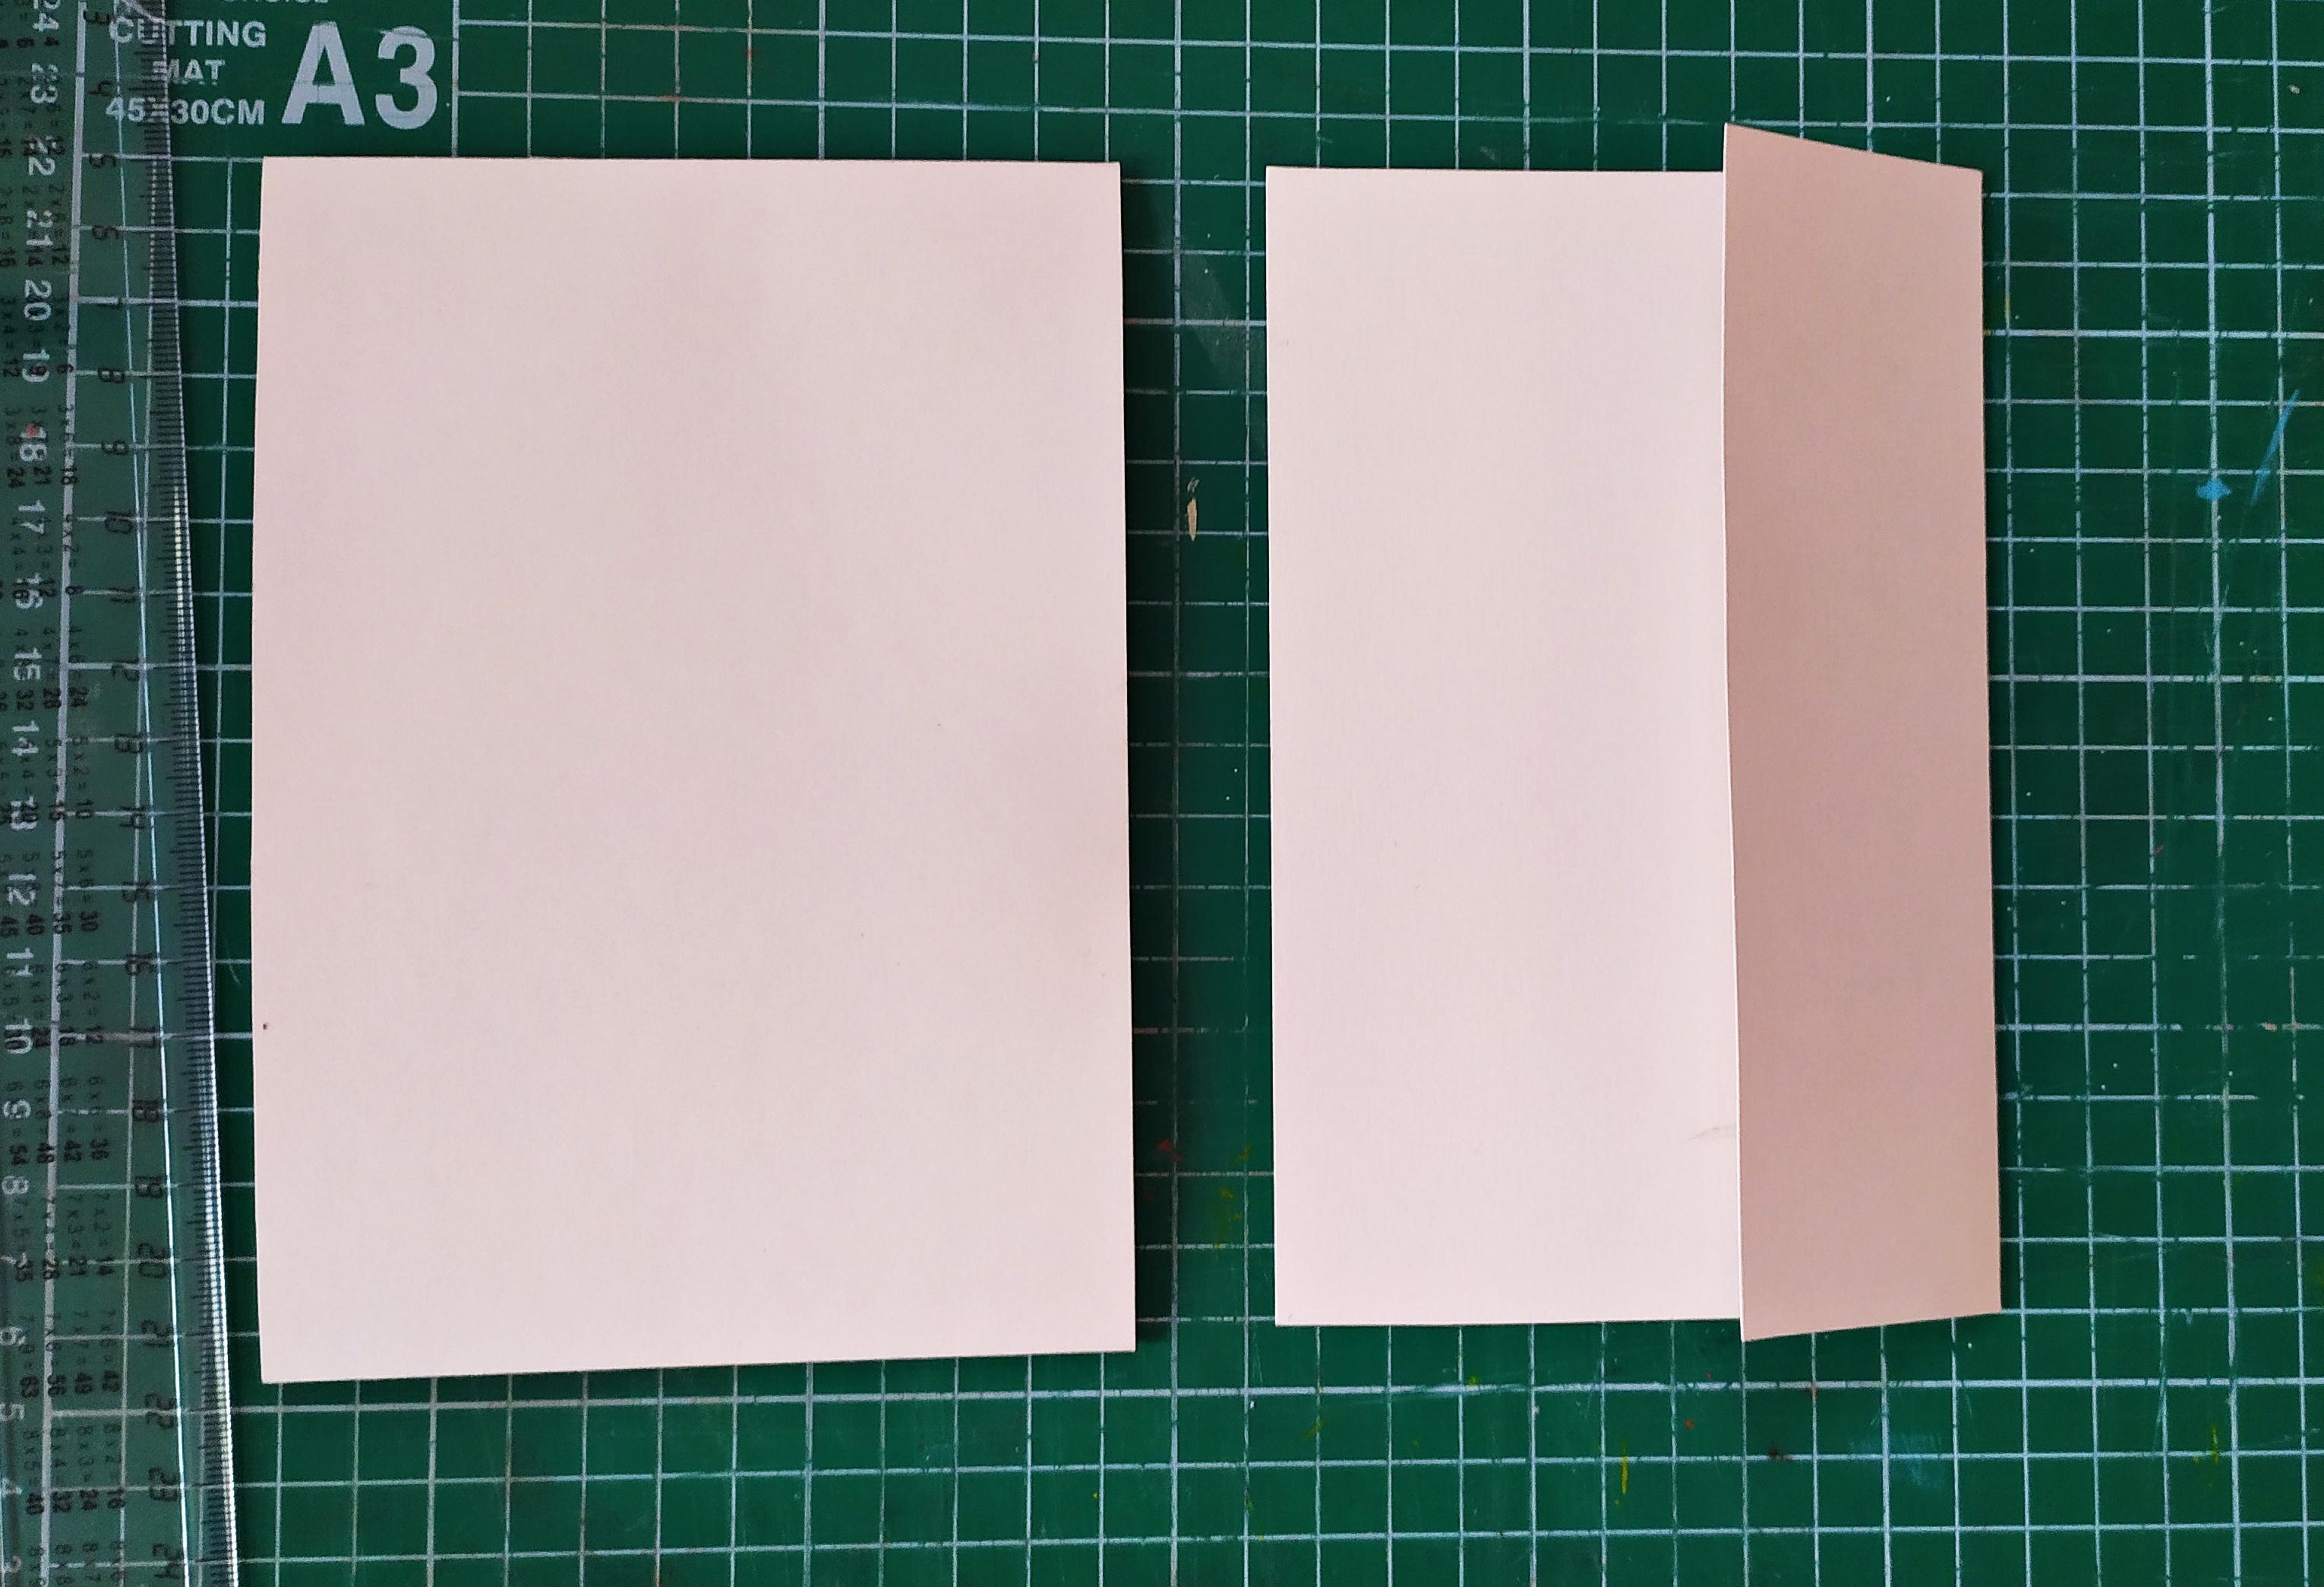
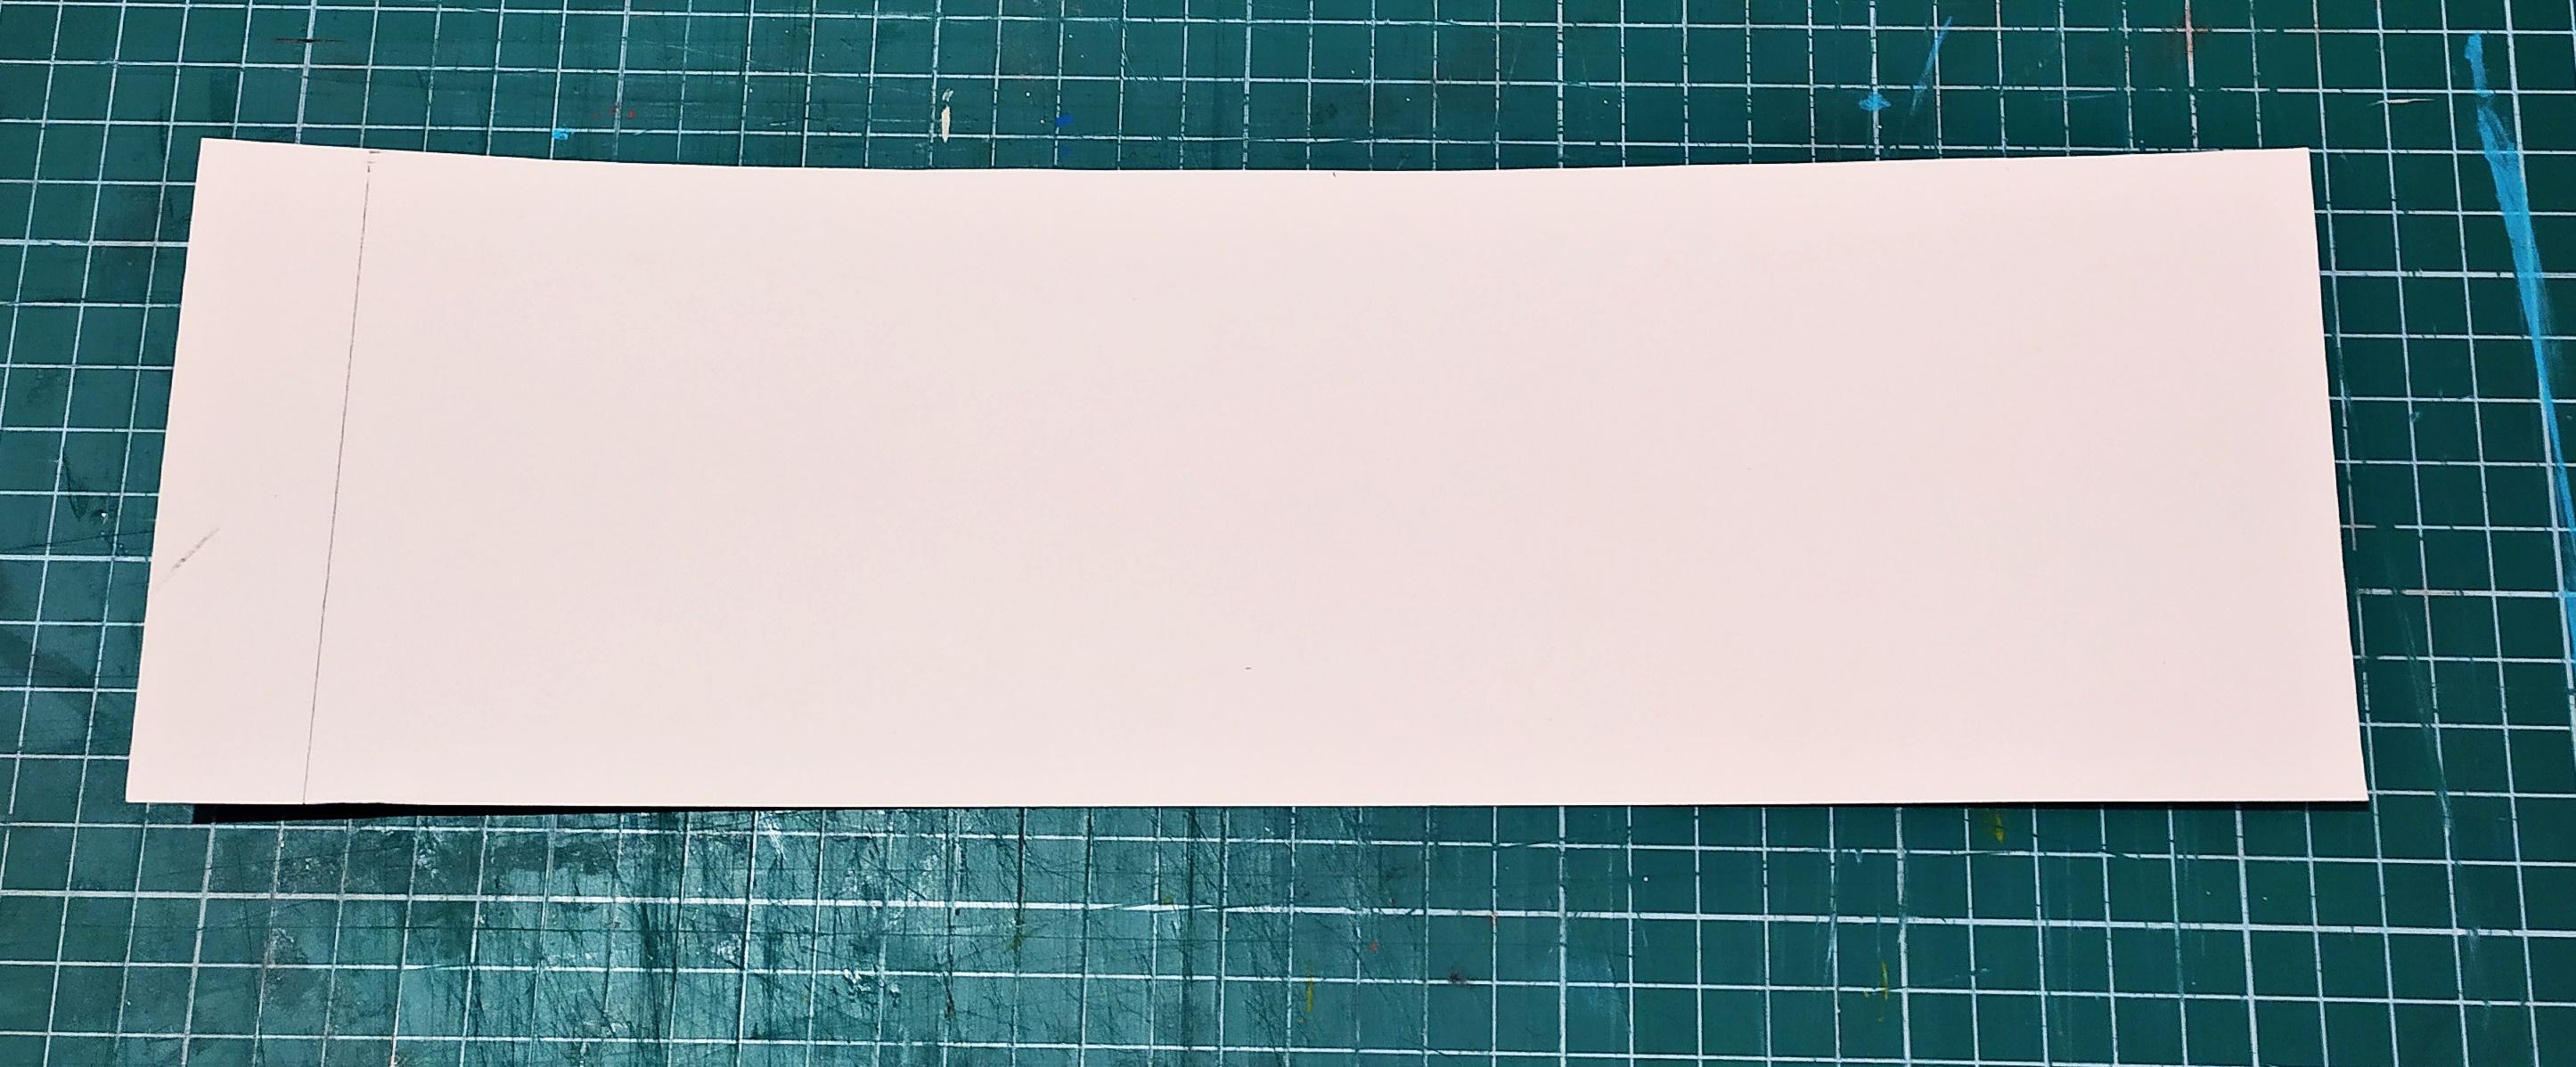
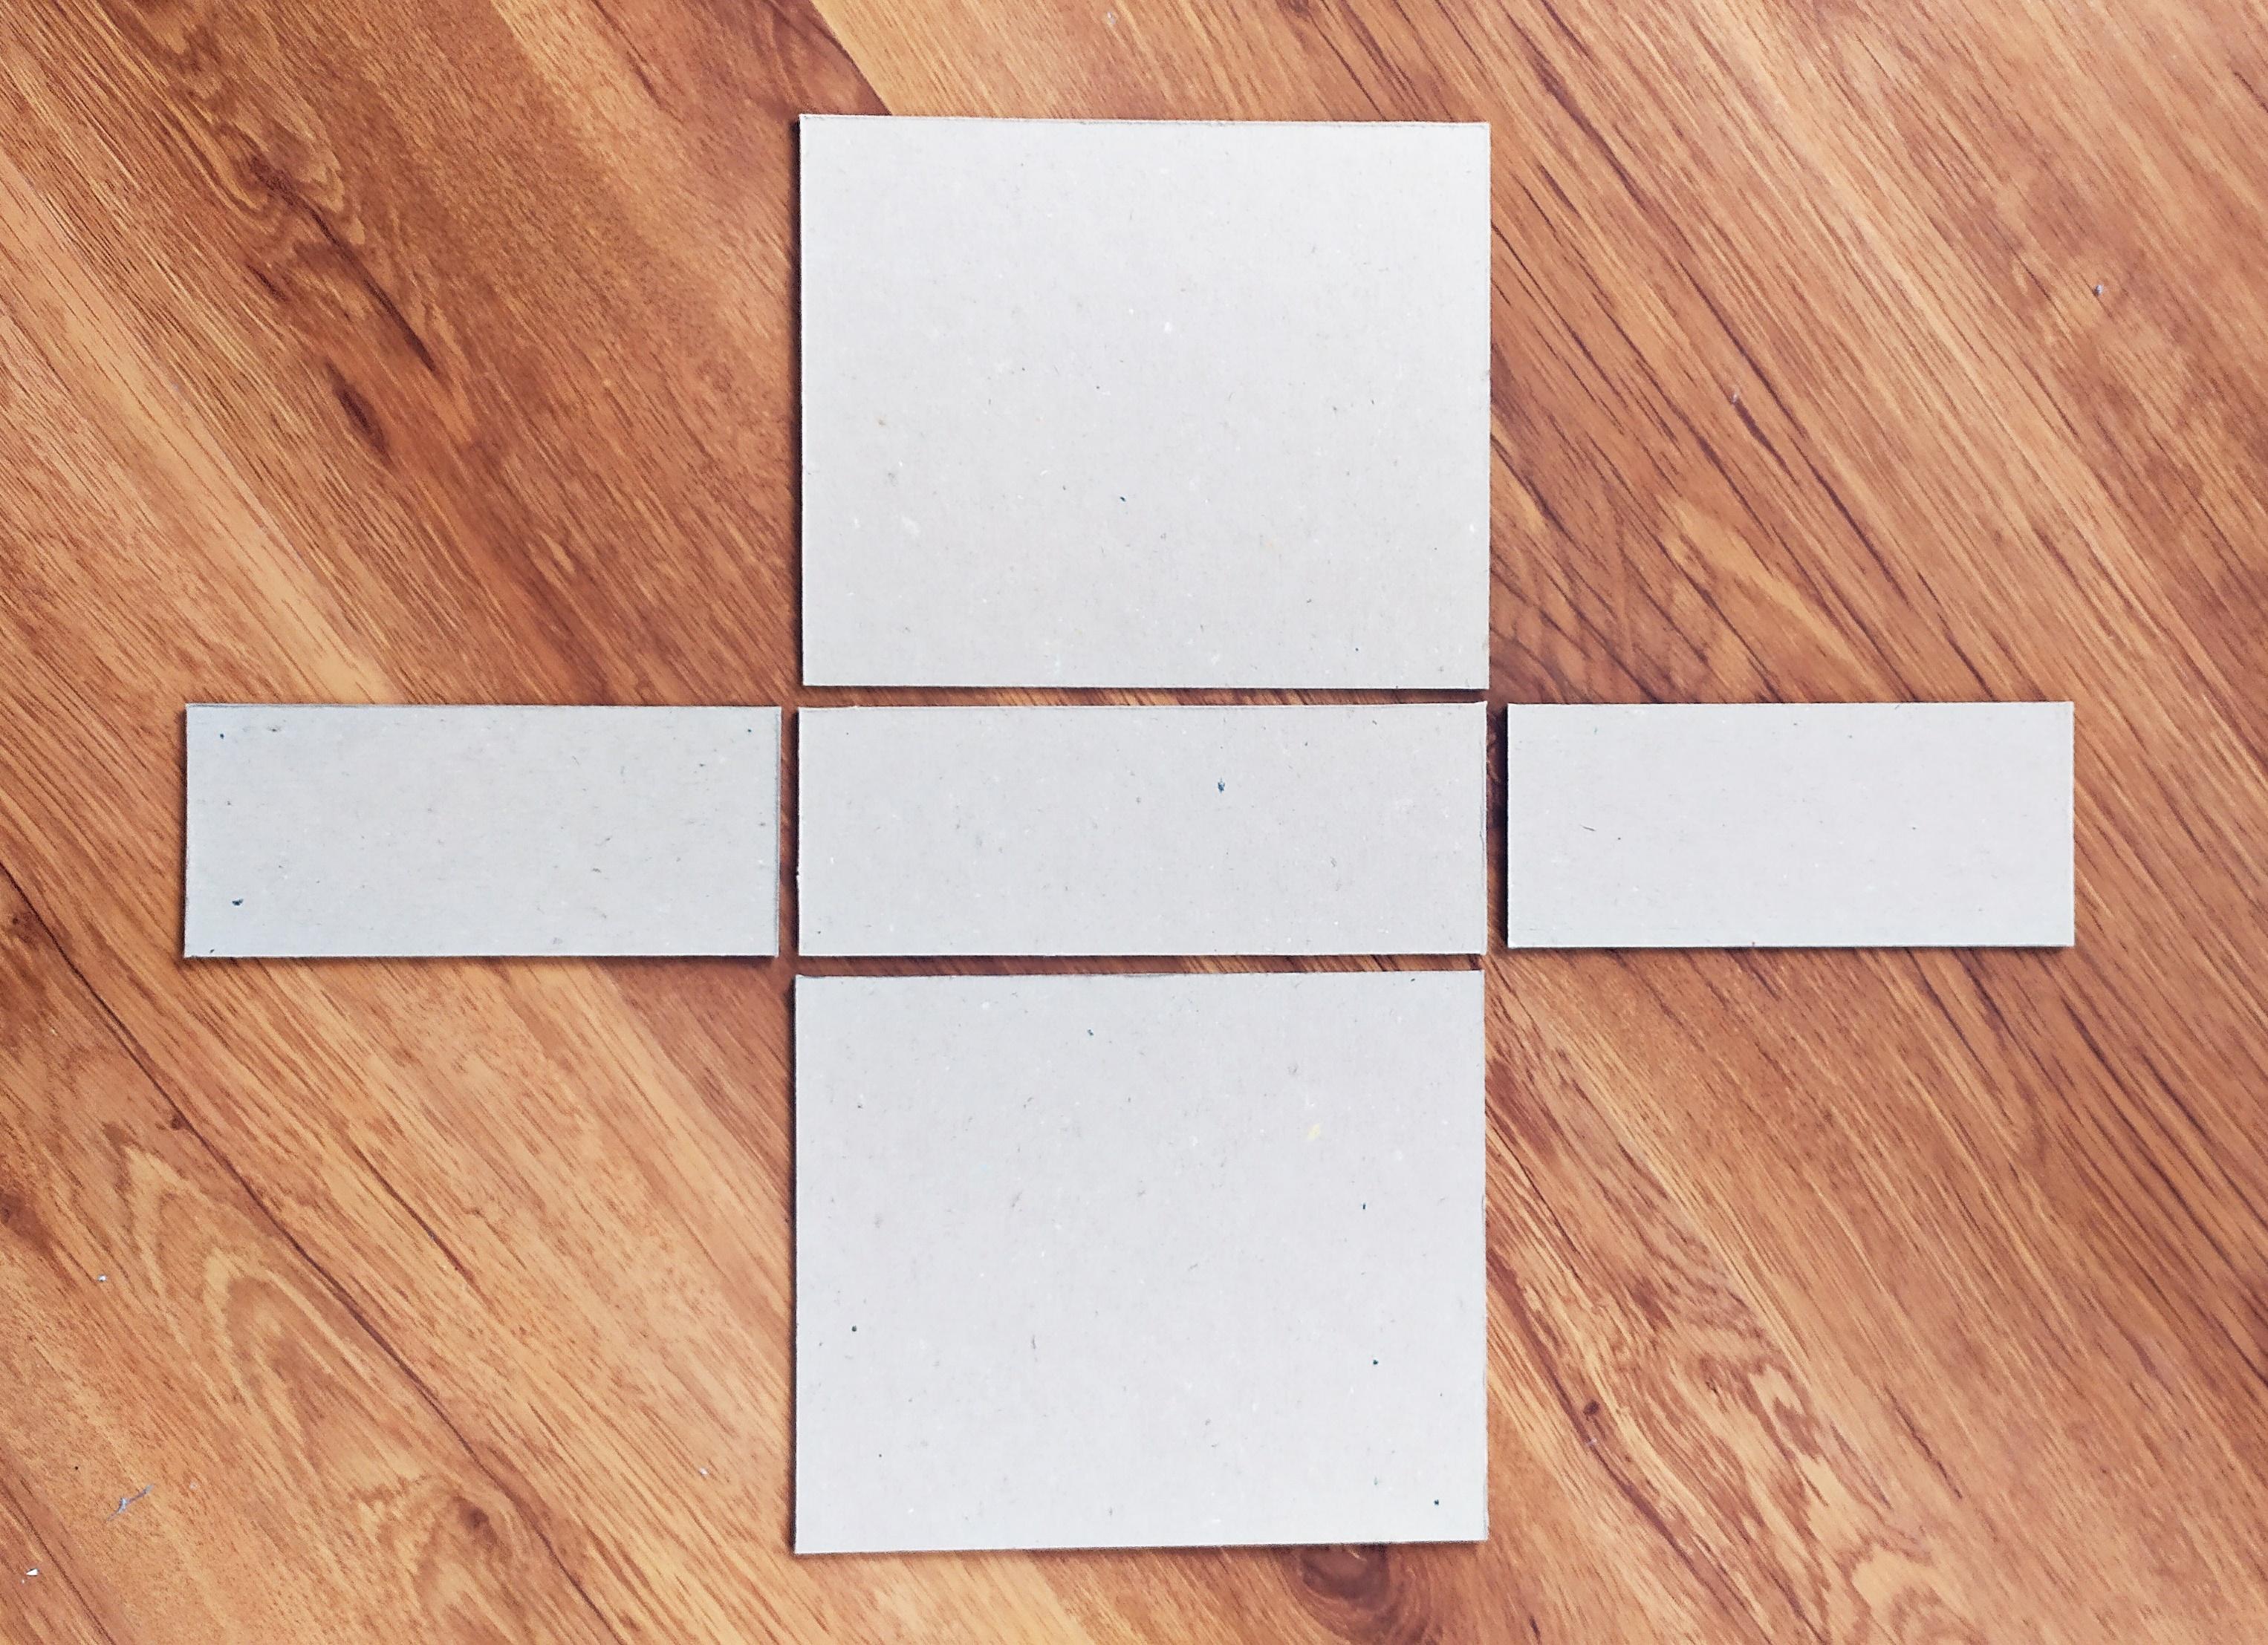
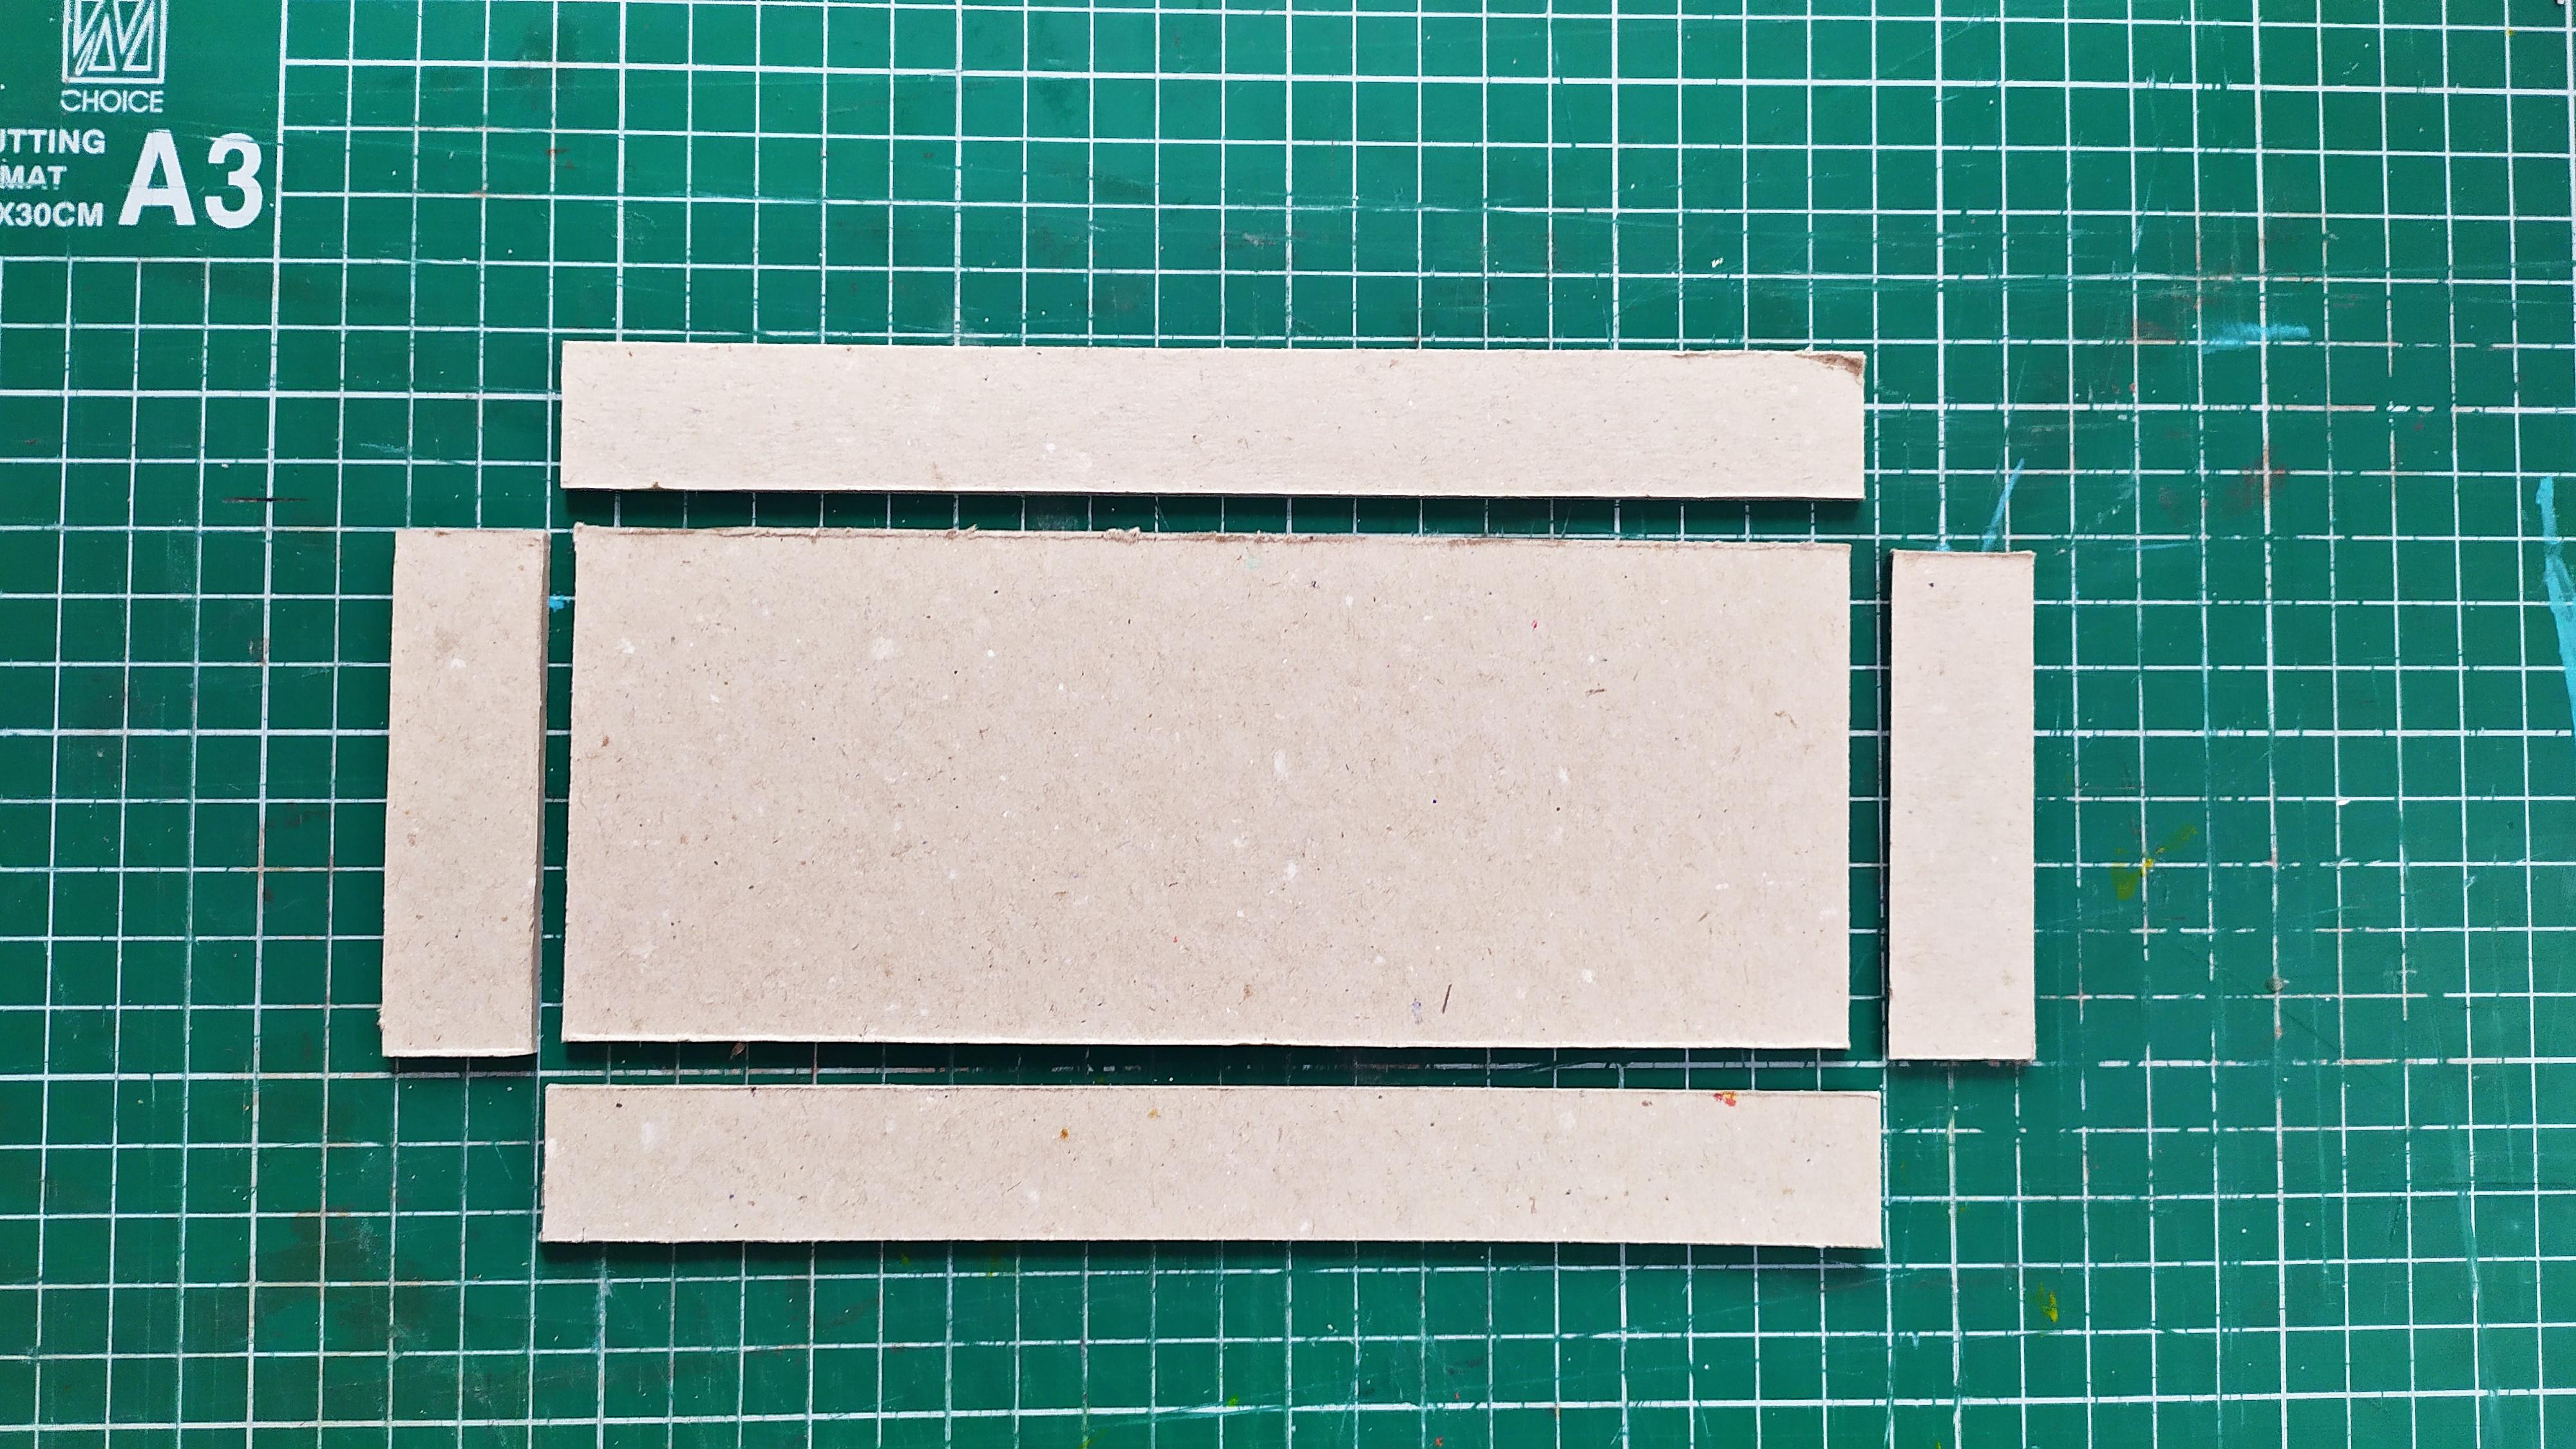
The first step includes measuring and cutting the thick chipboard.I used 2 mm thick chipboard and cut it with an X-acto knife.
You will need to cut three pieces:
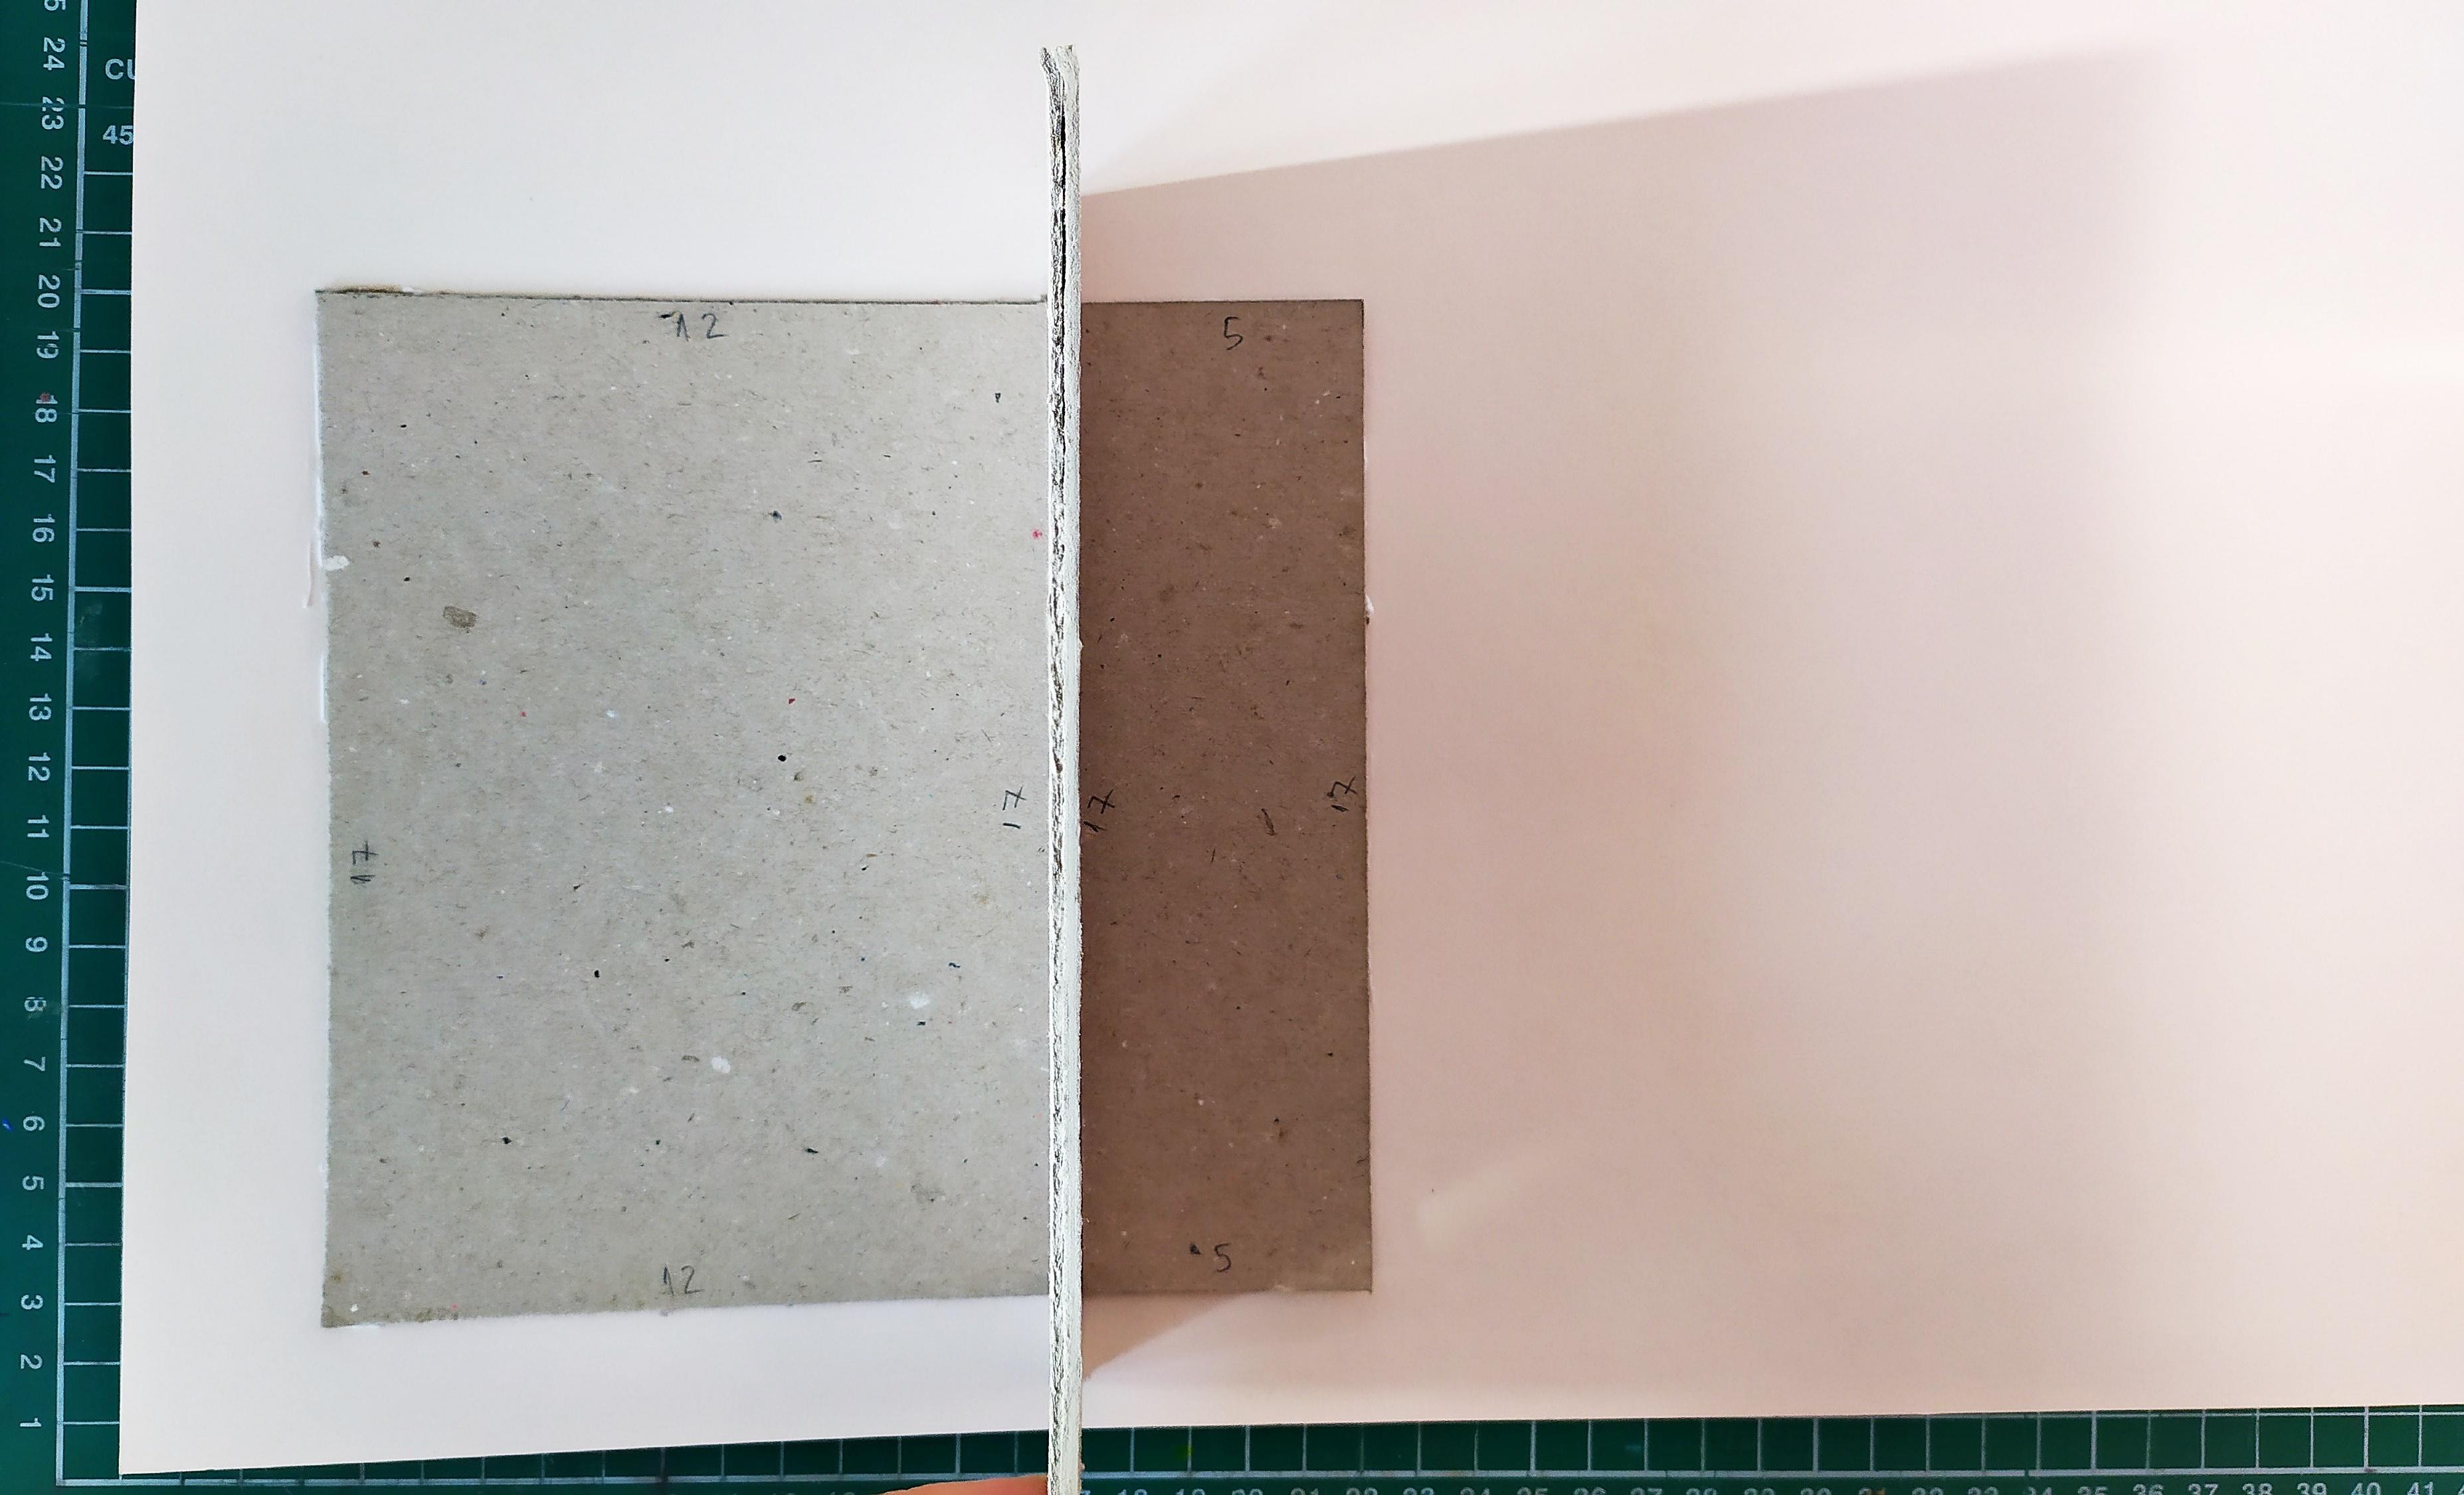
- 1.The front of the album: 12x17 cm
- 2.The spine of the album: 5x17 cm
- 3.The back of the album 12x17 cm
You are free to make any adjustments to the size of your album.
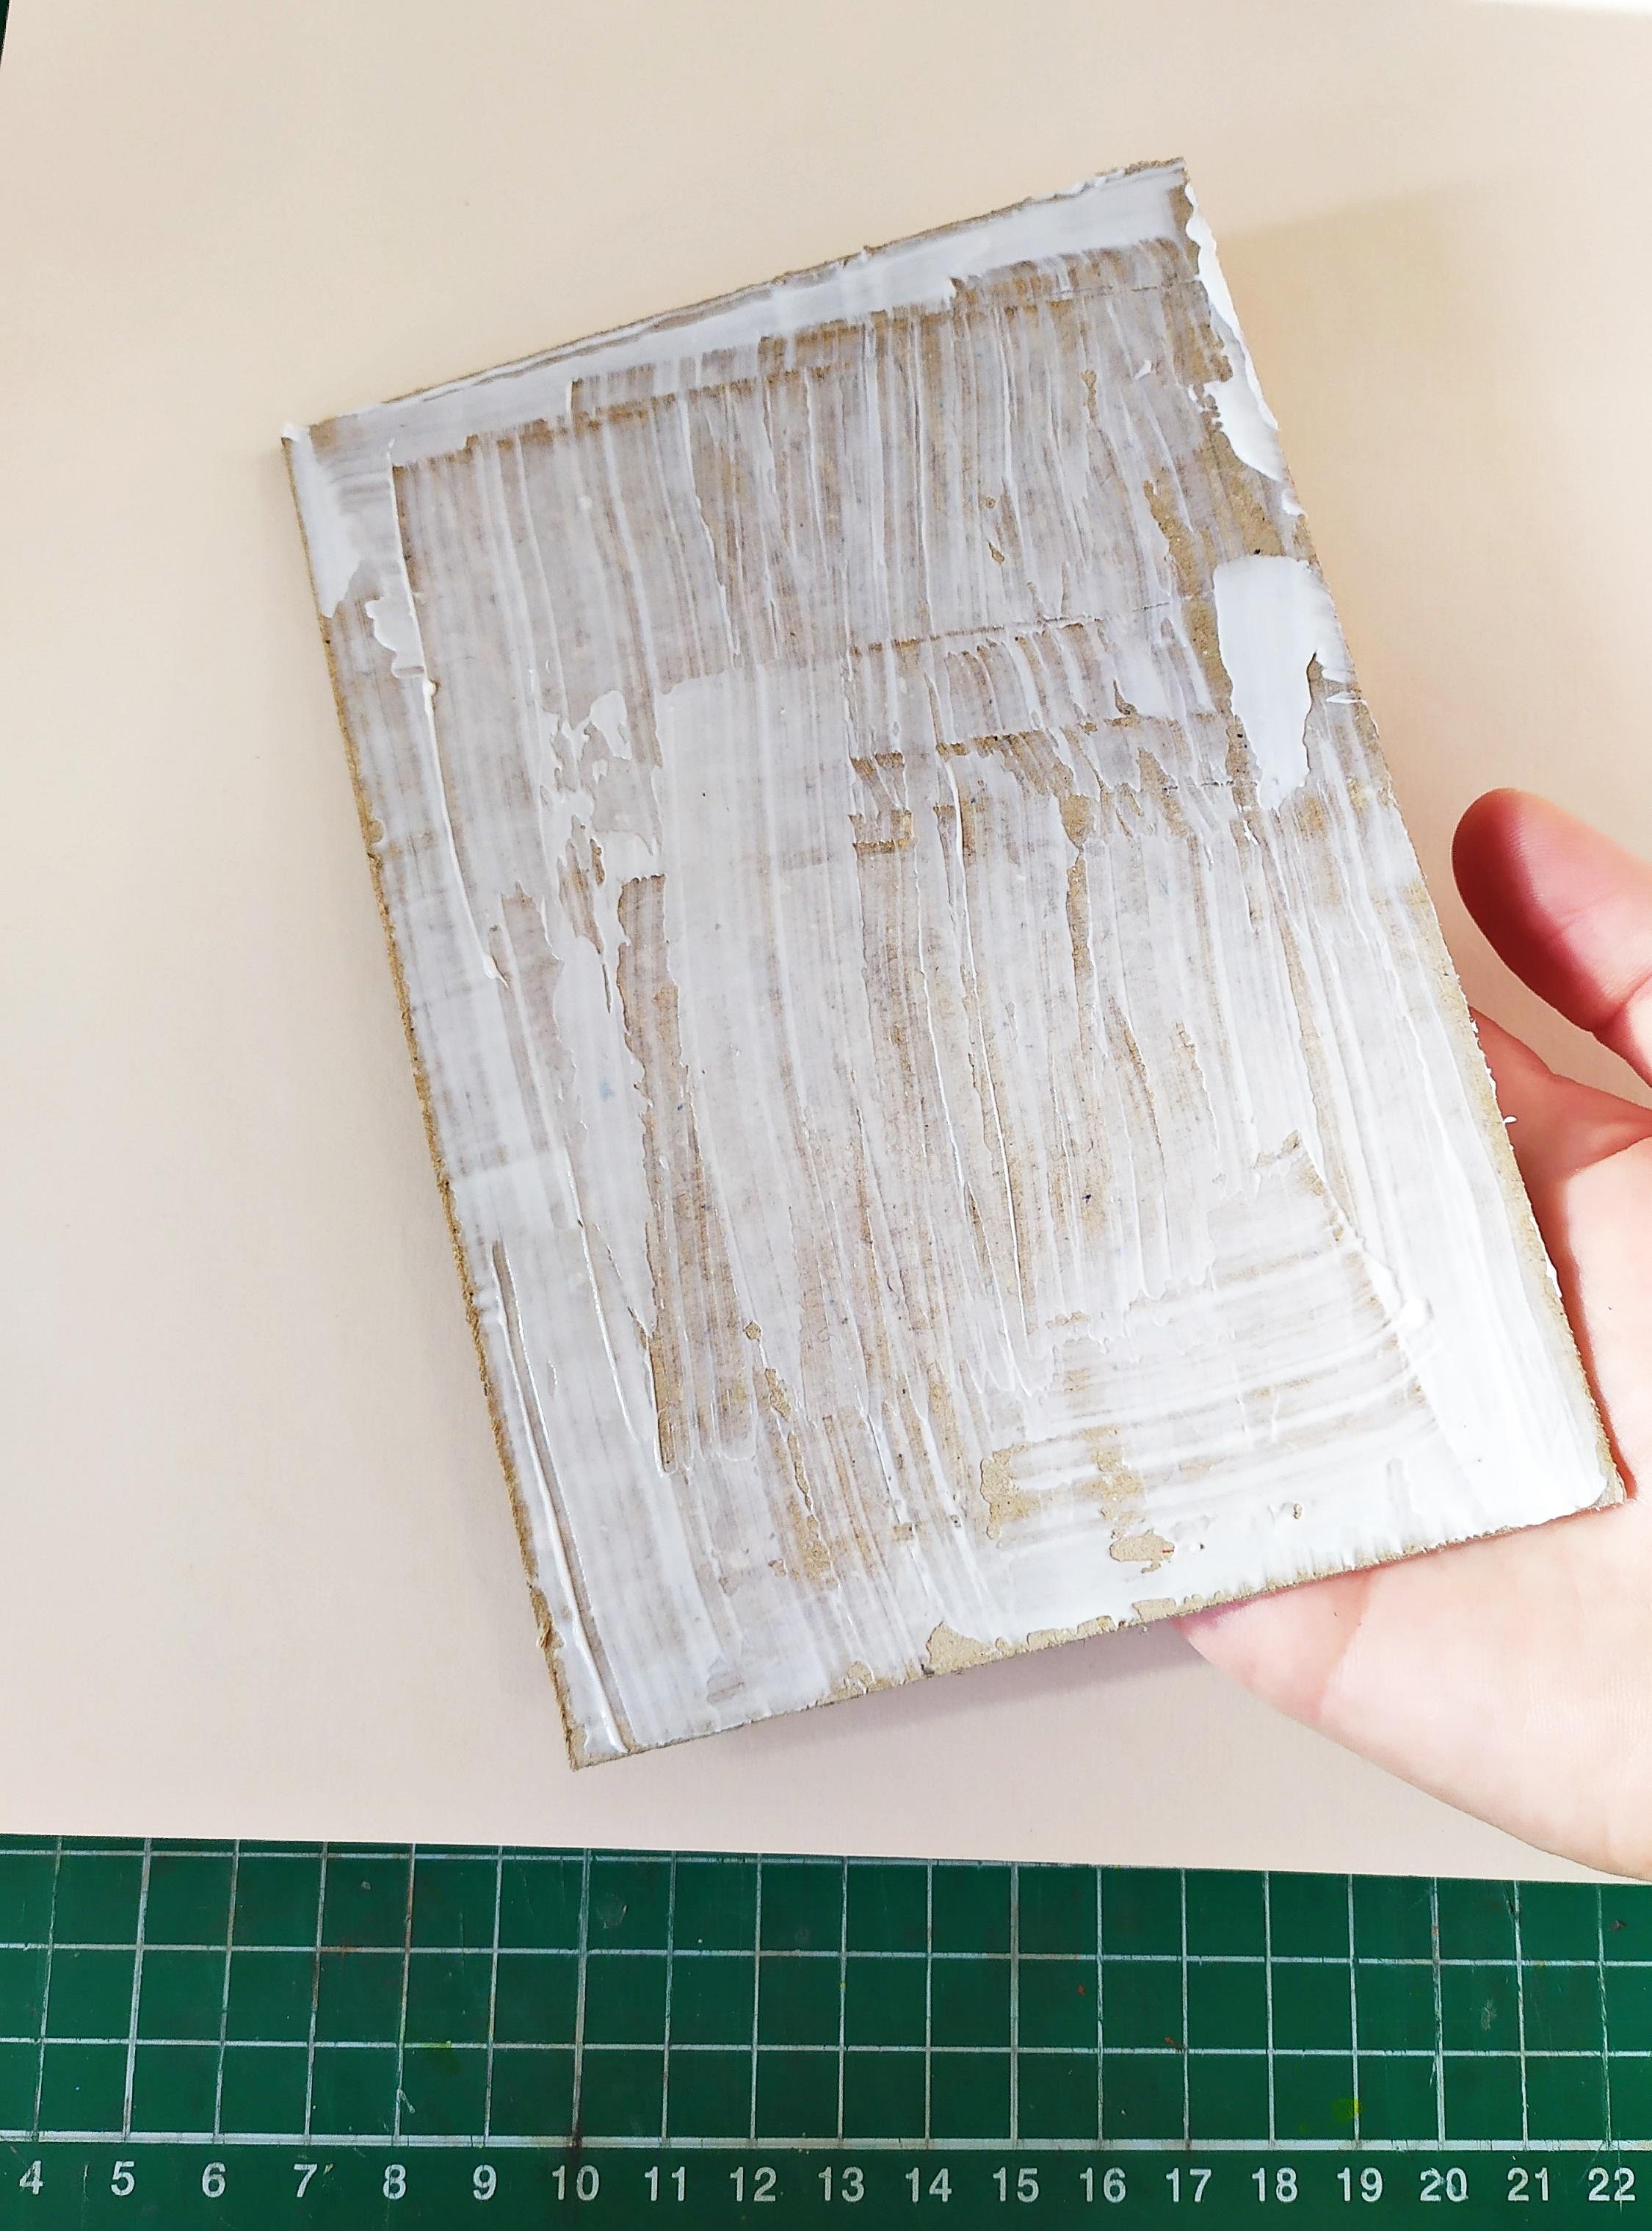
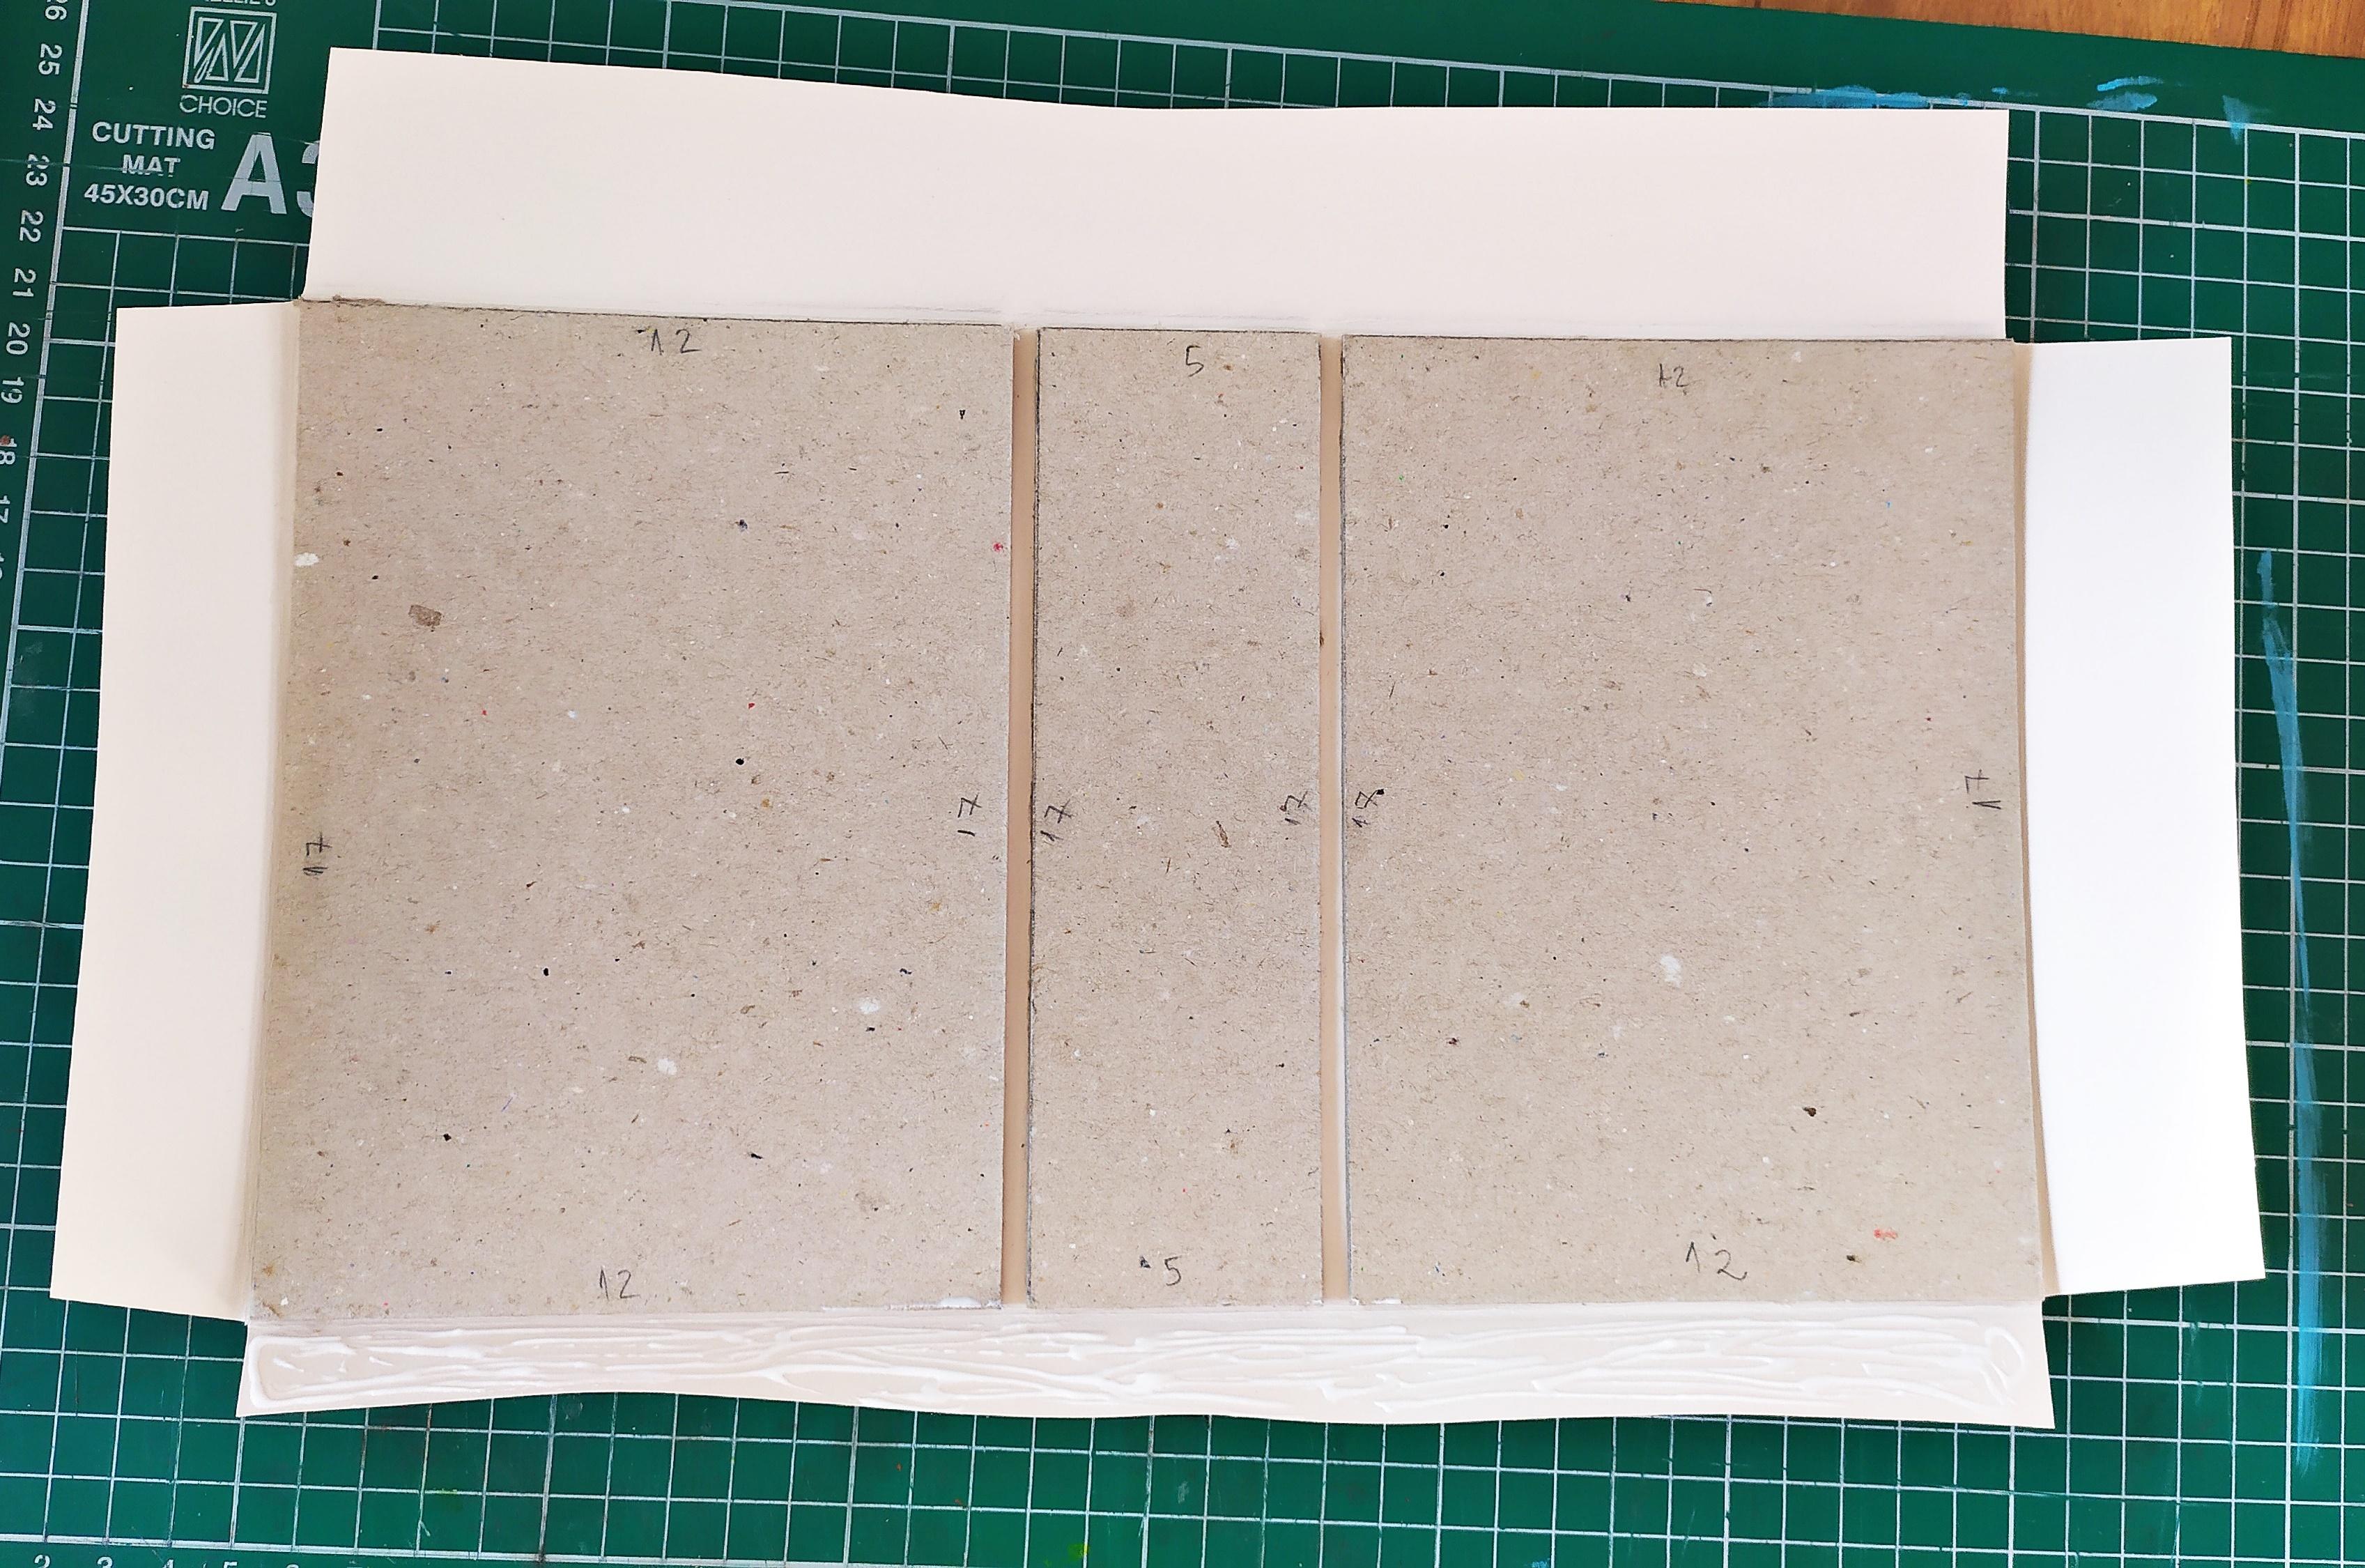
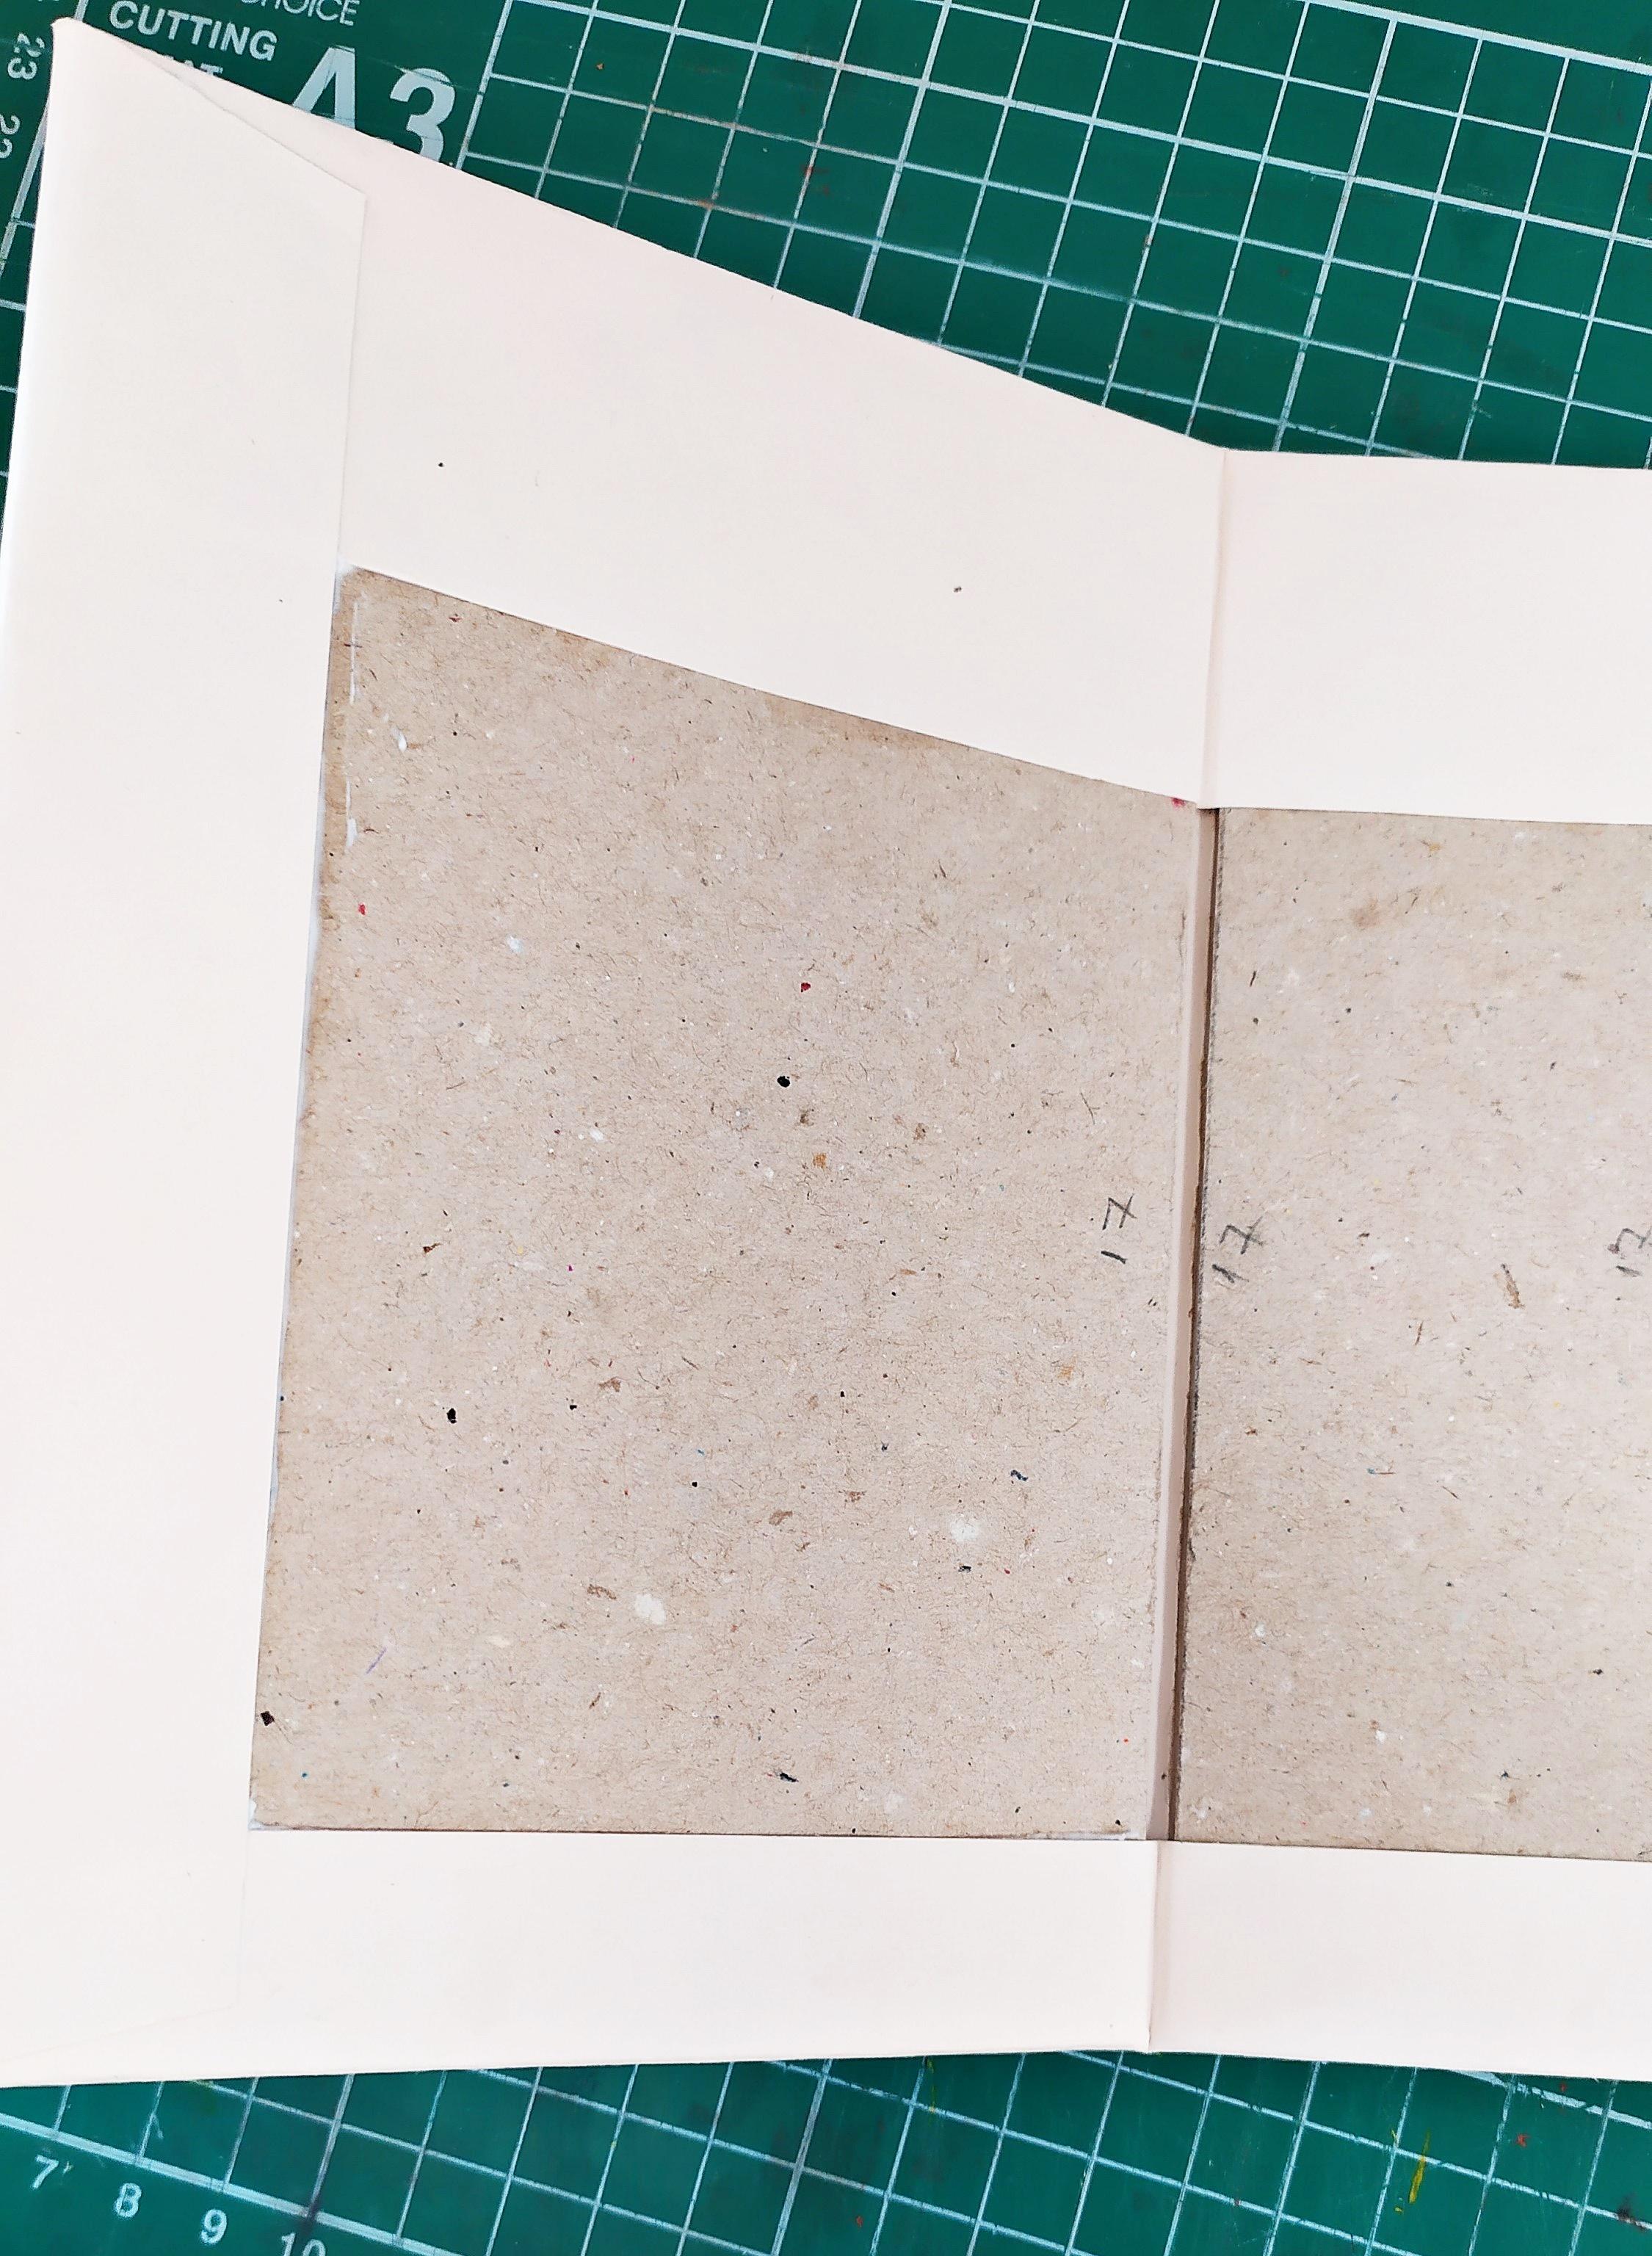
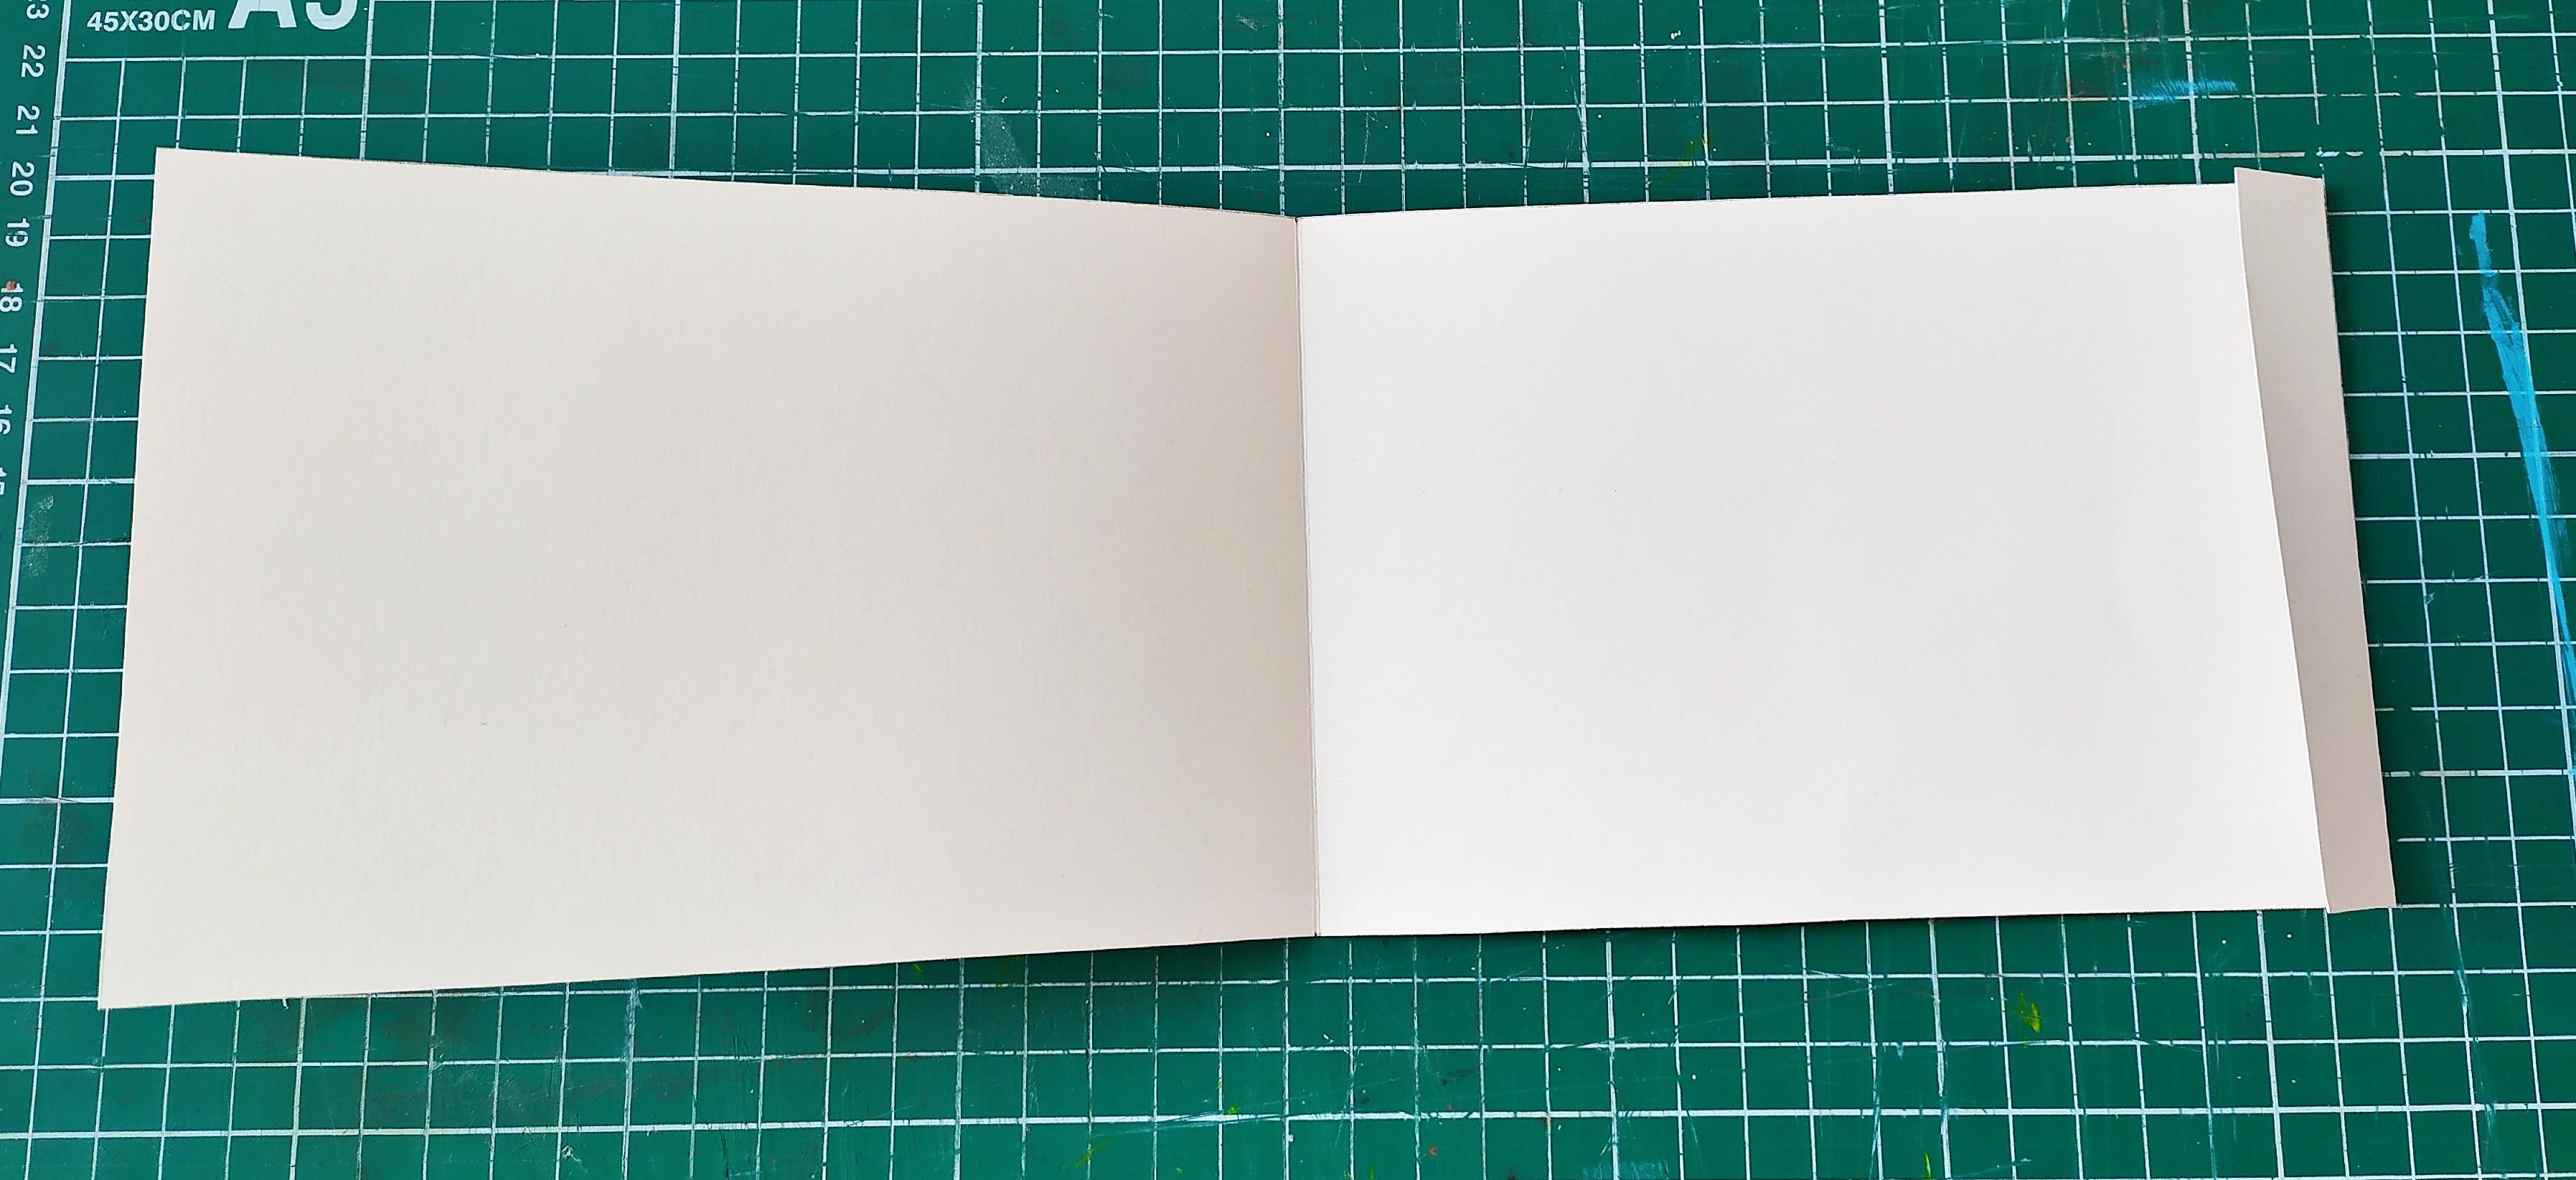
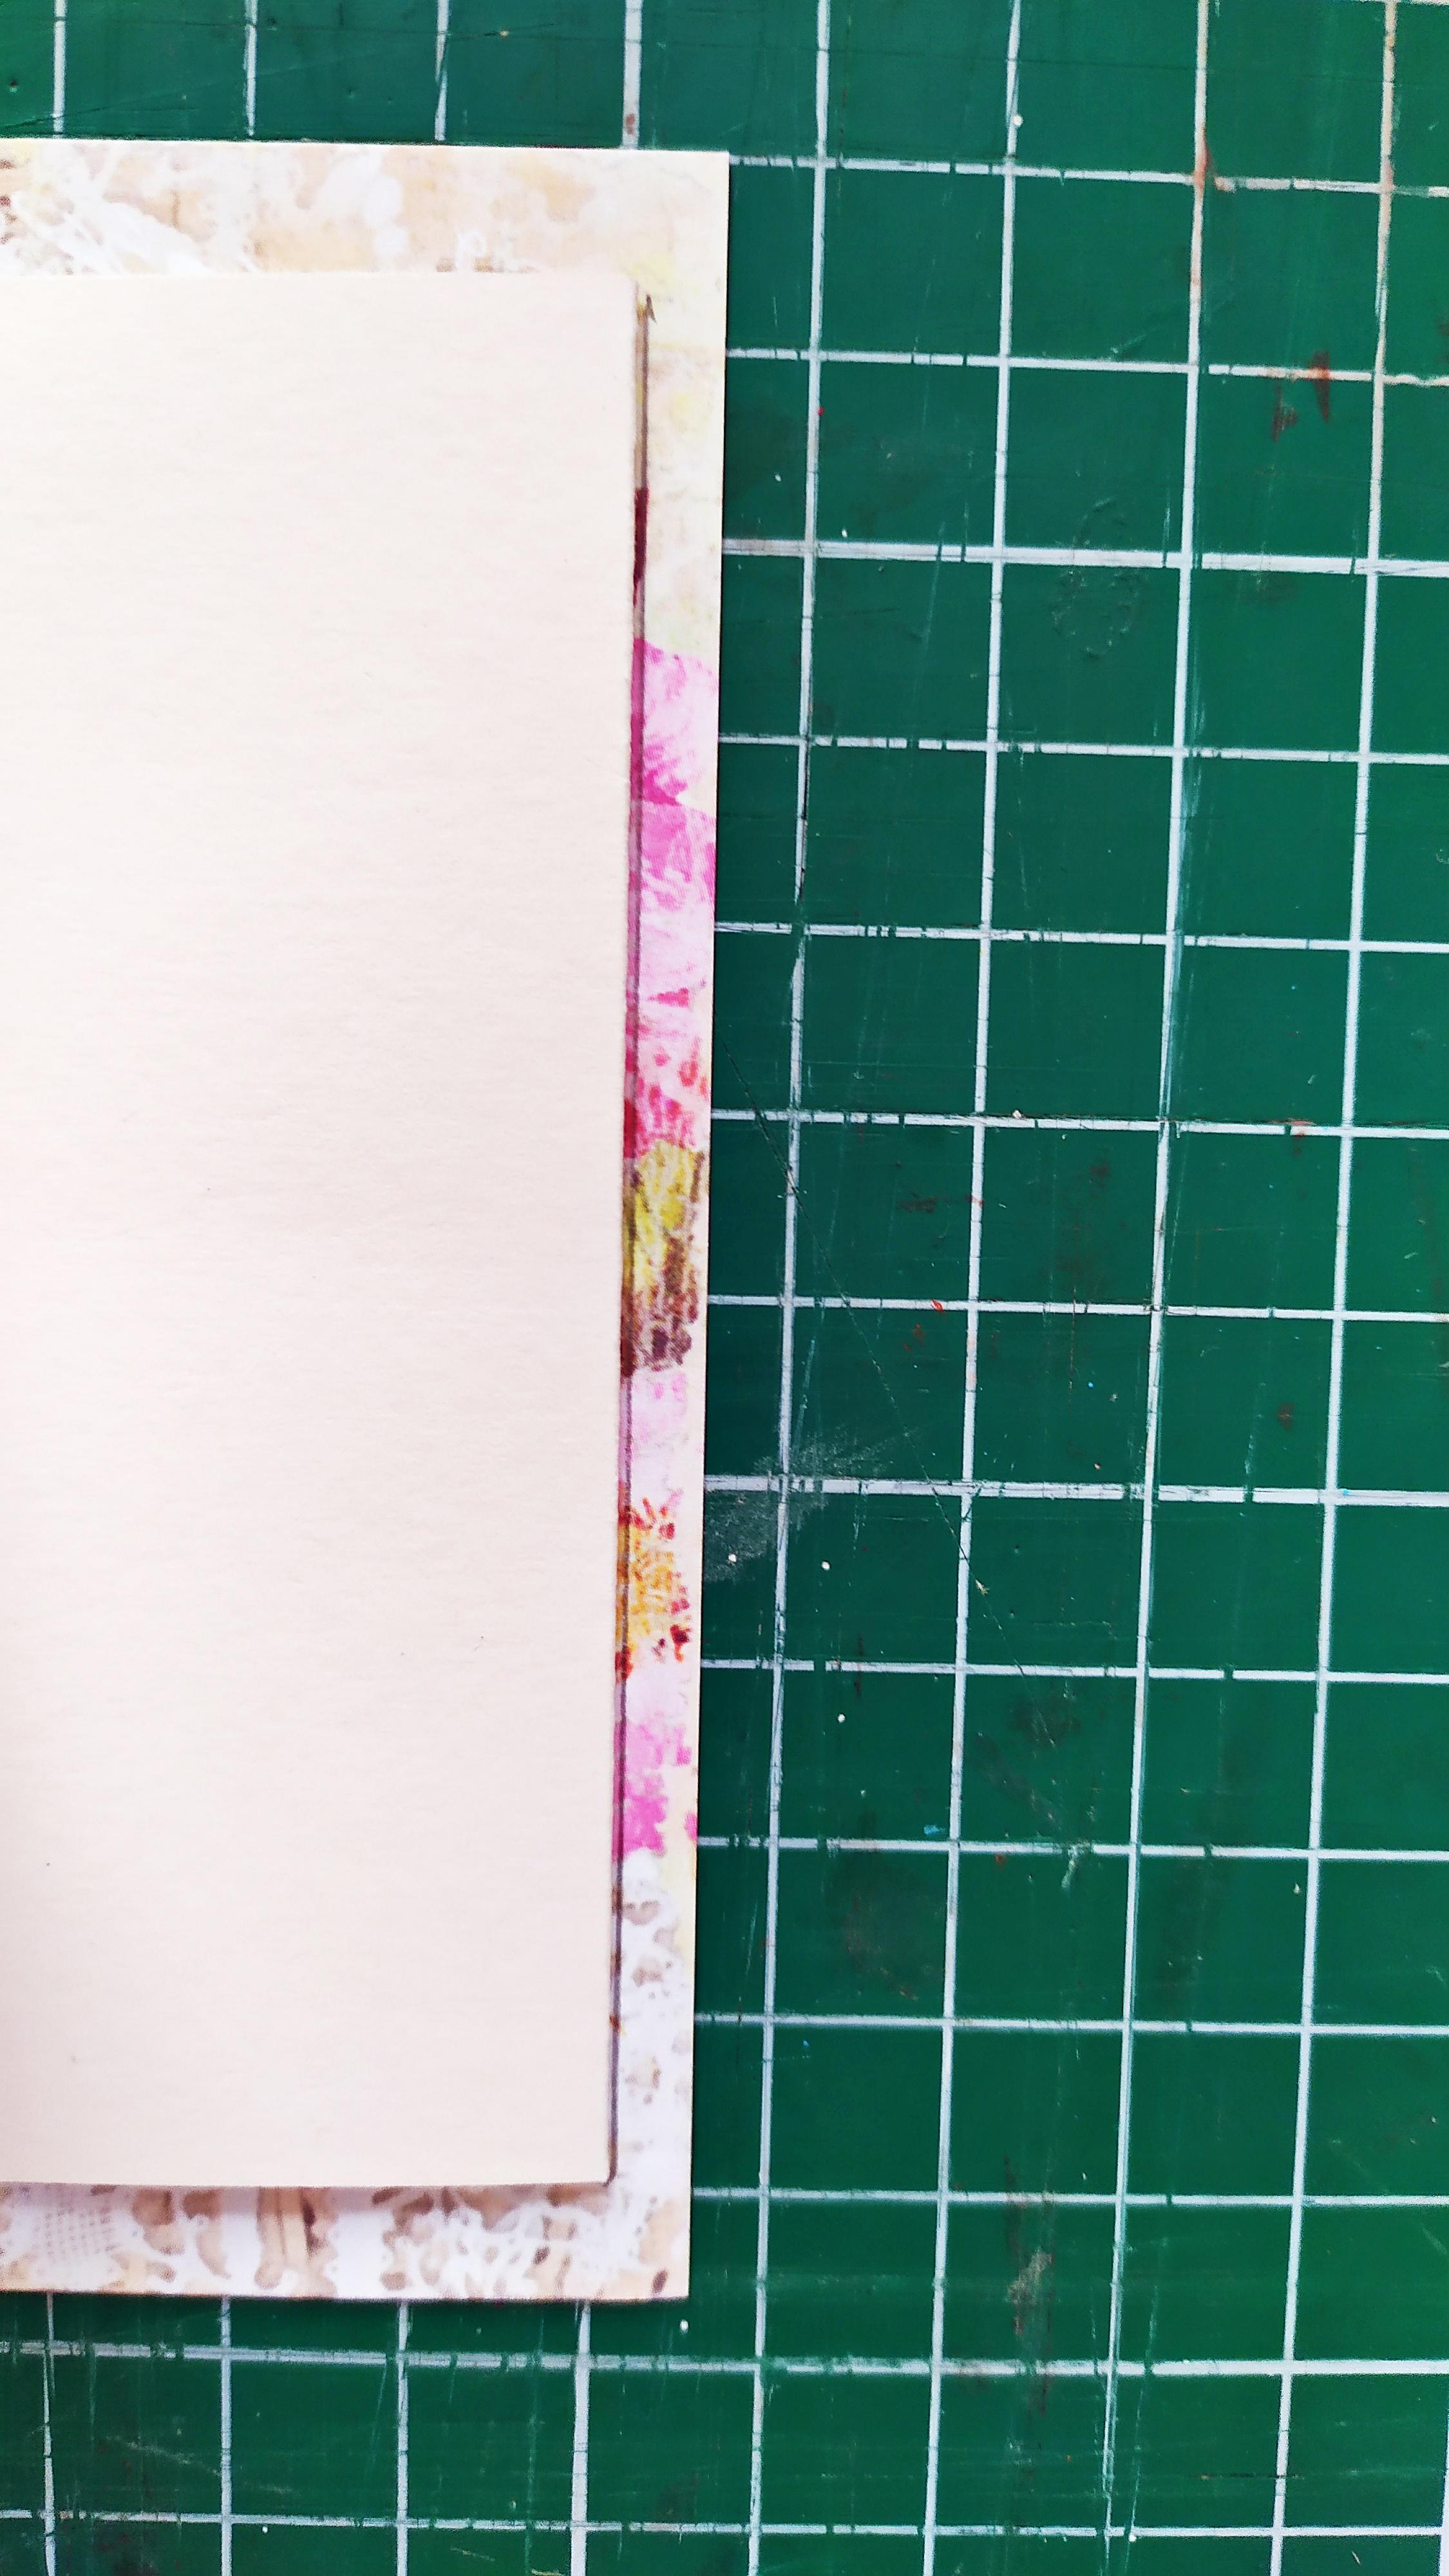
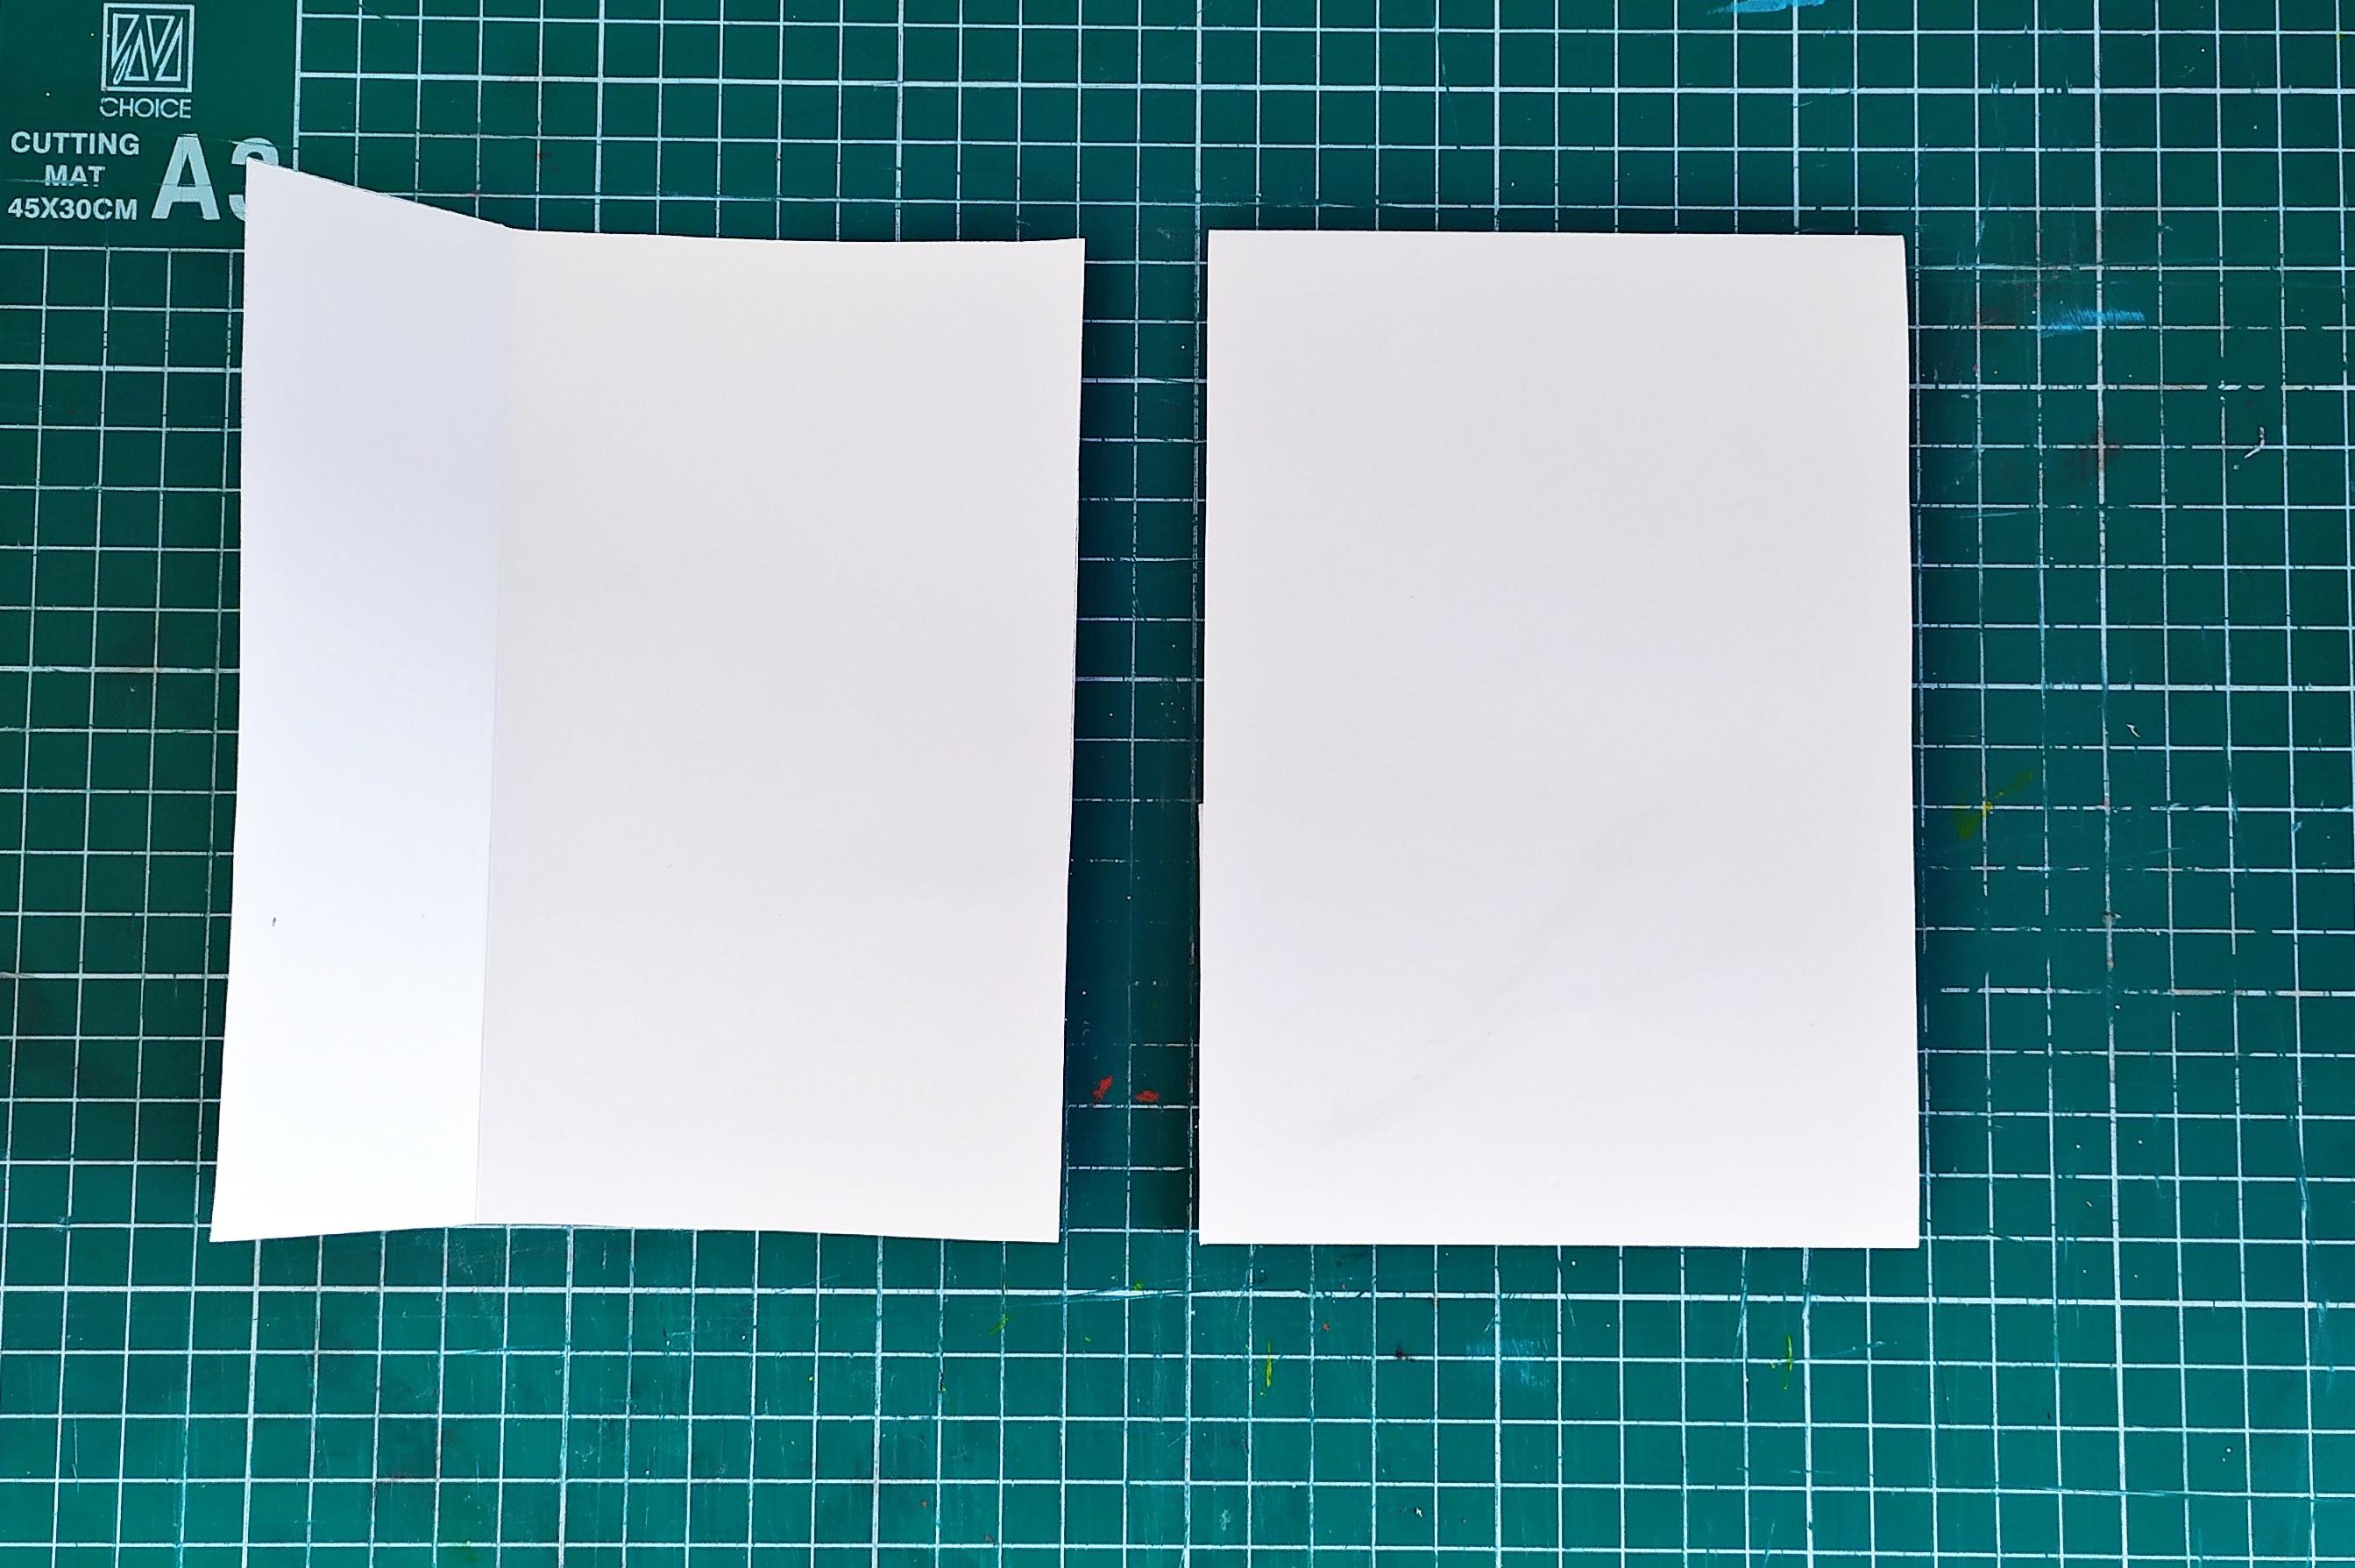
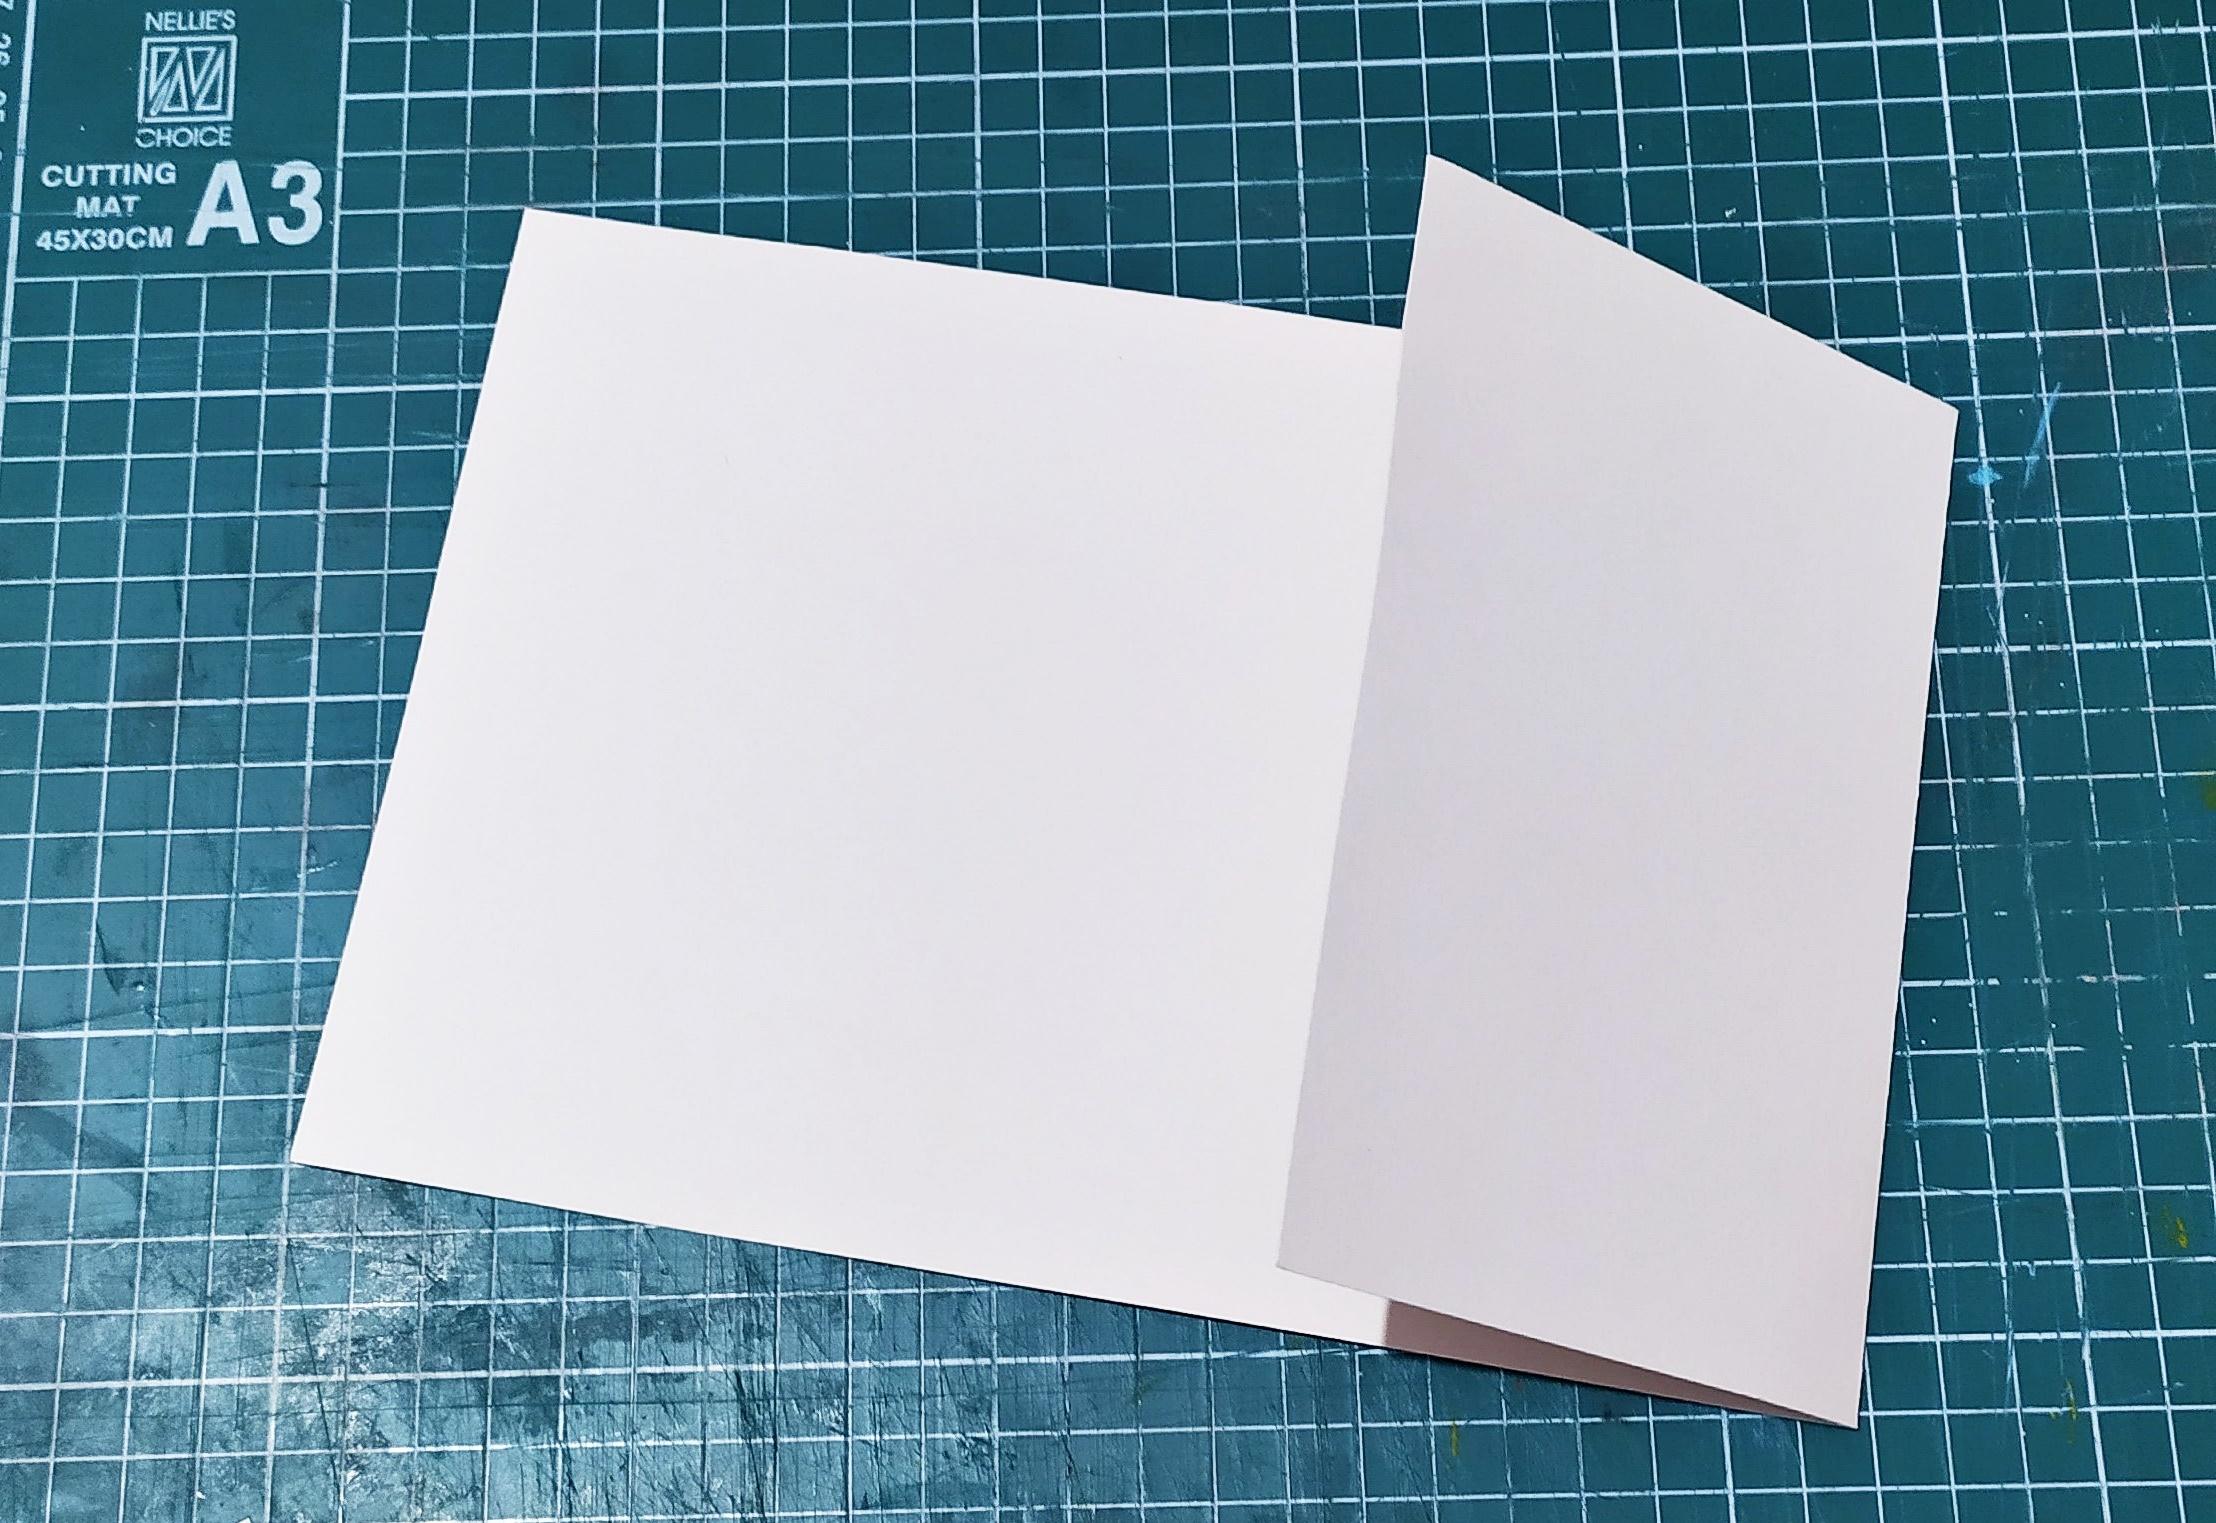
Once you've cut the three pieces,take the thick cardstock of your choice and lay it down flat.Glue each of the pieces to that cardstock,starting with the front cover.While gluing make sure to spread the glue evently with a brush and smooth everything out with a bone folder after gluing.
Before you glue the spine on,take two scrap pieces of chipboard and put them perpendicularly next to the glued front cover.This way you will have a little bit of space between the front cover and spine (about 4-5 mm).The space is required so that when you open and close the album the paper doesn't rip.Glue down the spine and repeat the same steps for the back cover.
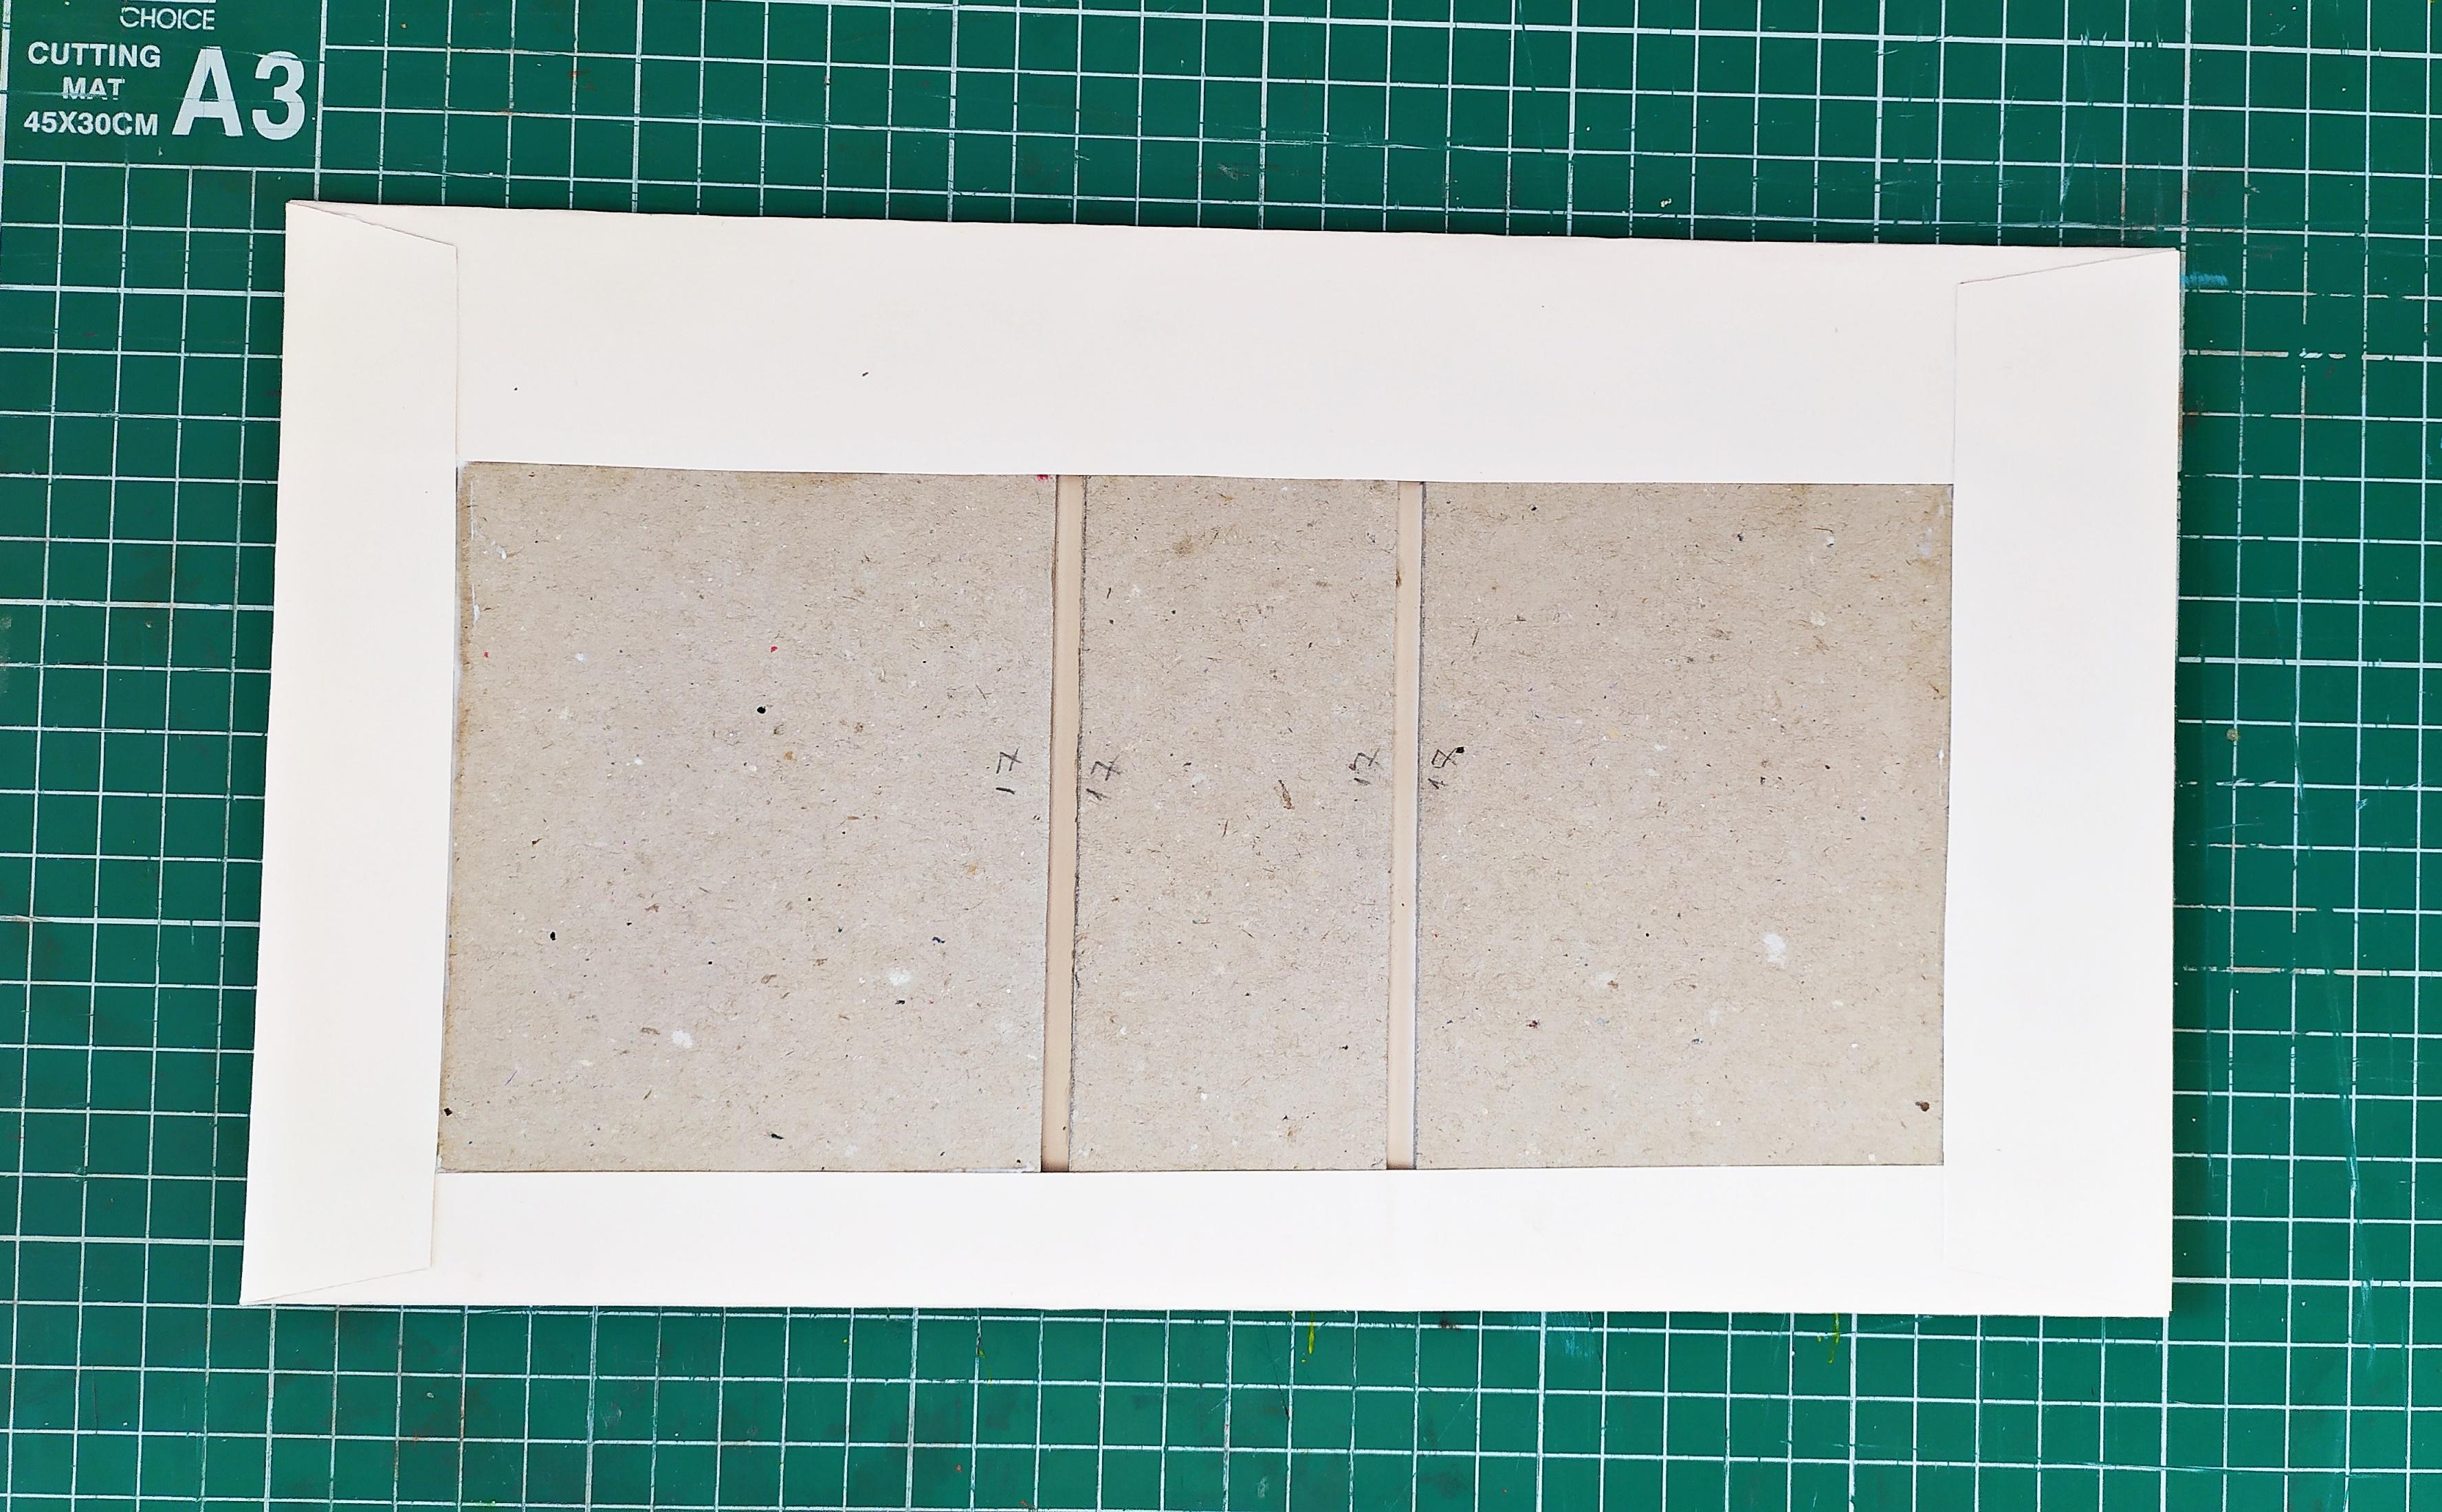
After everything is glued down trim the edges of the cardstock,leaving about 2 cm overhang on each side.
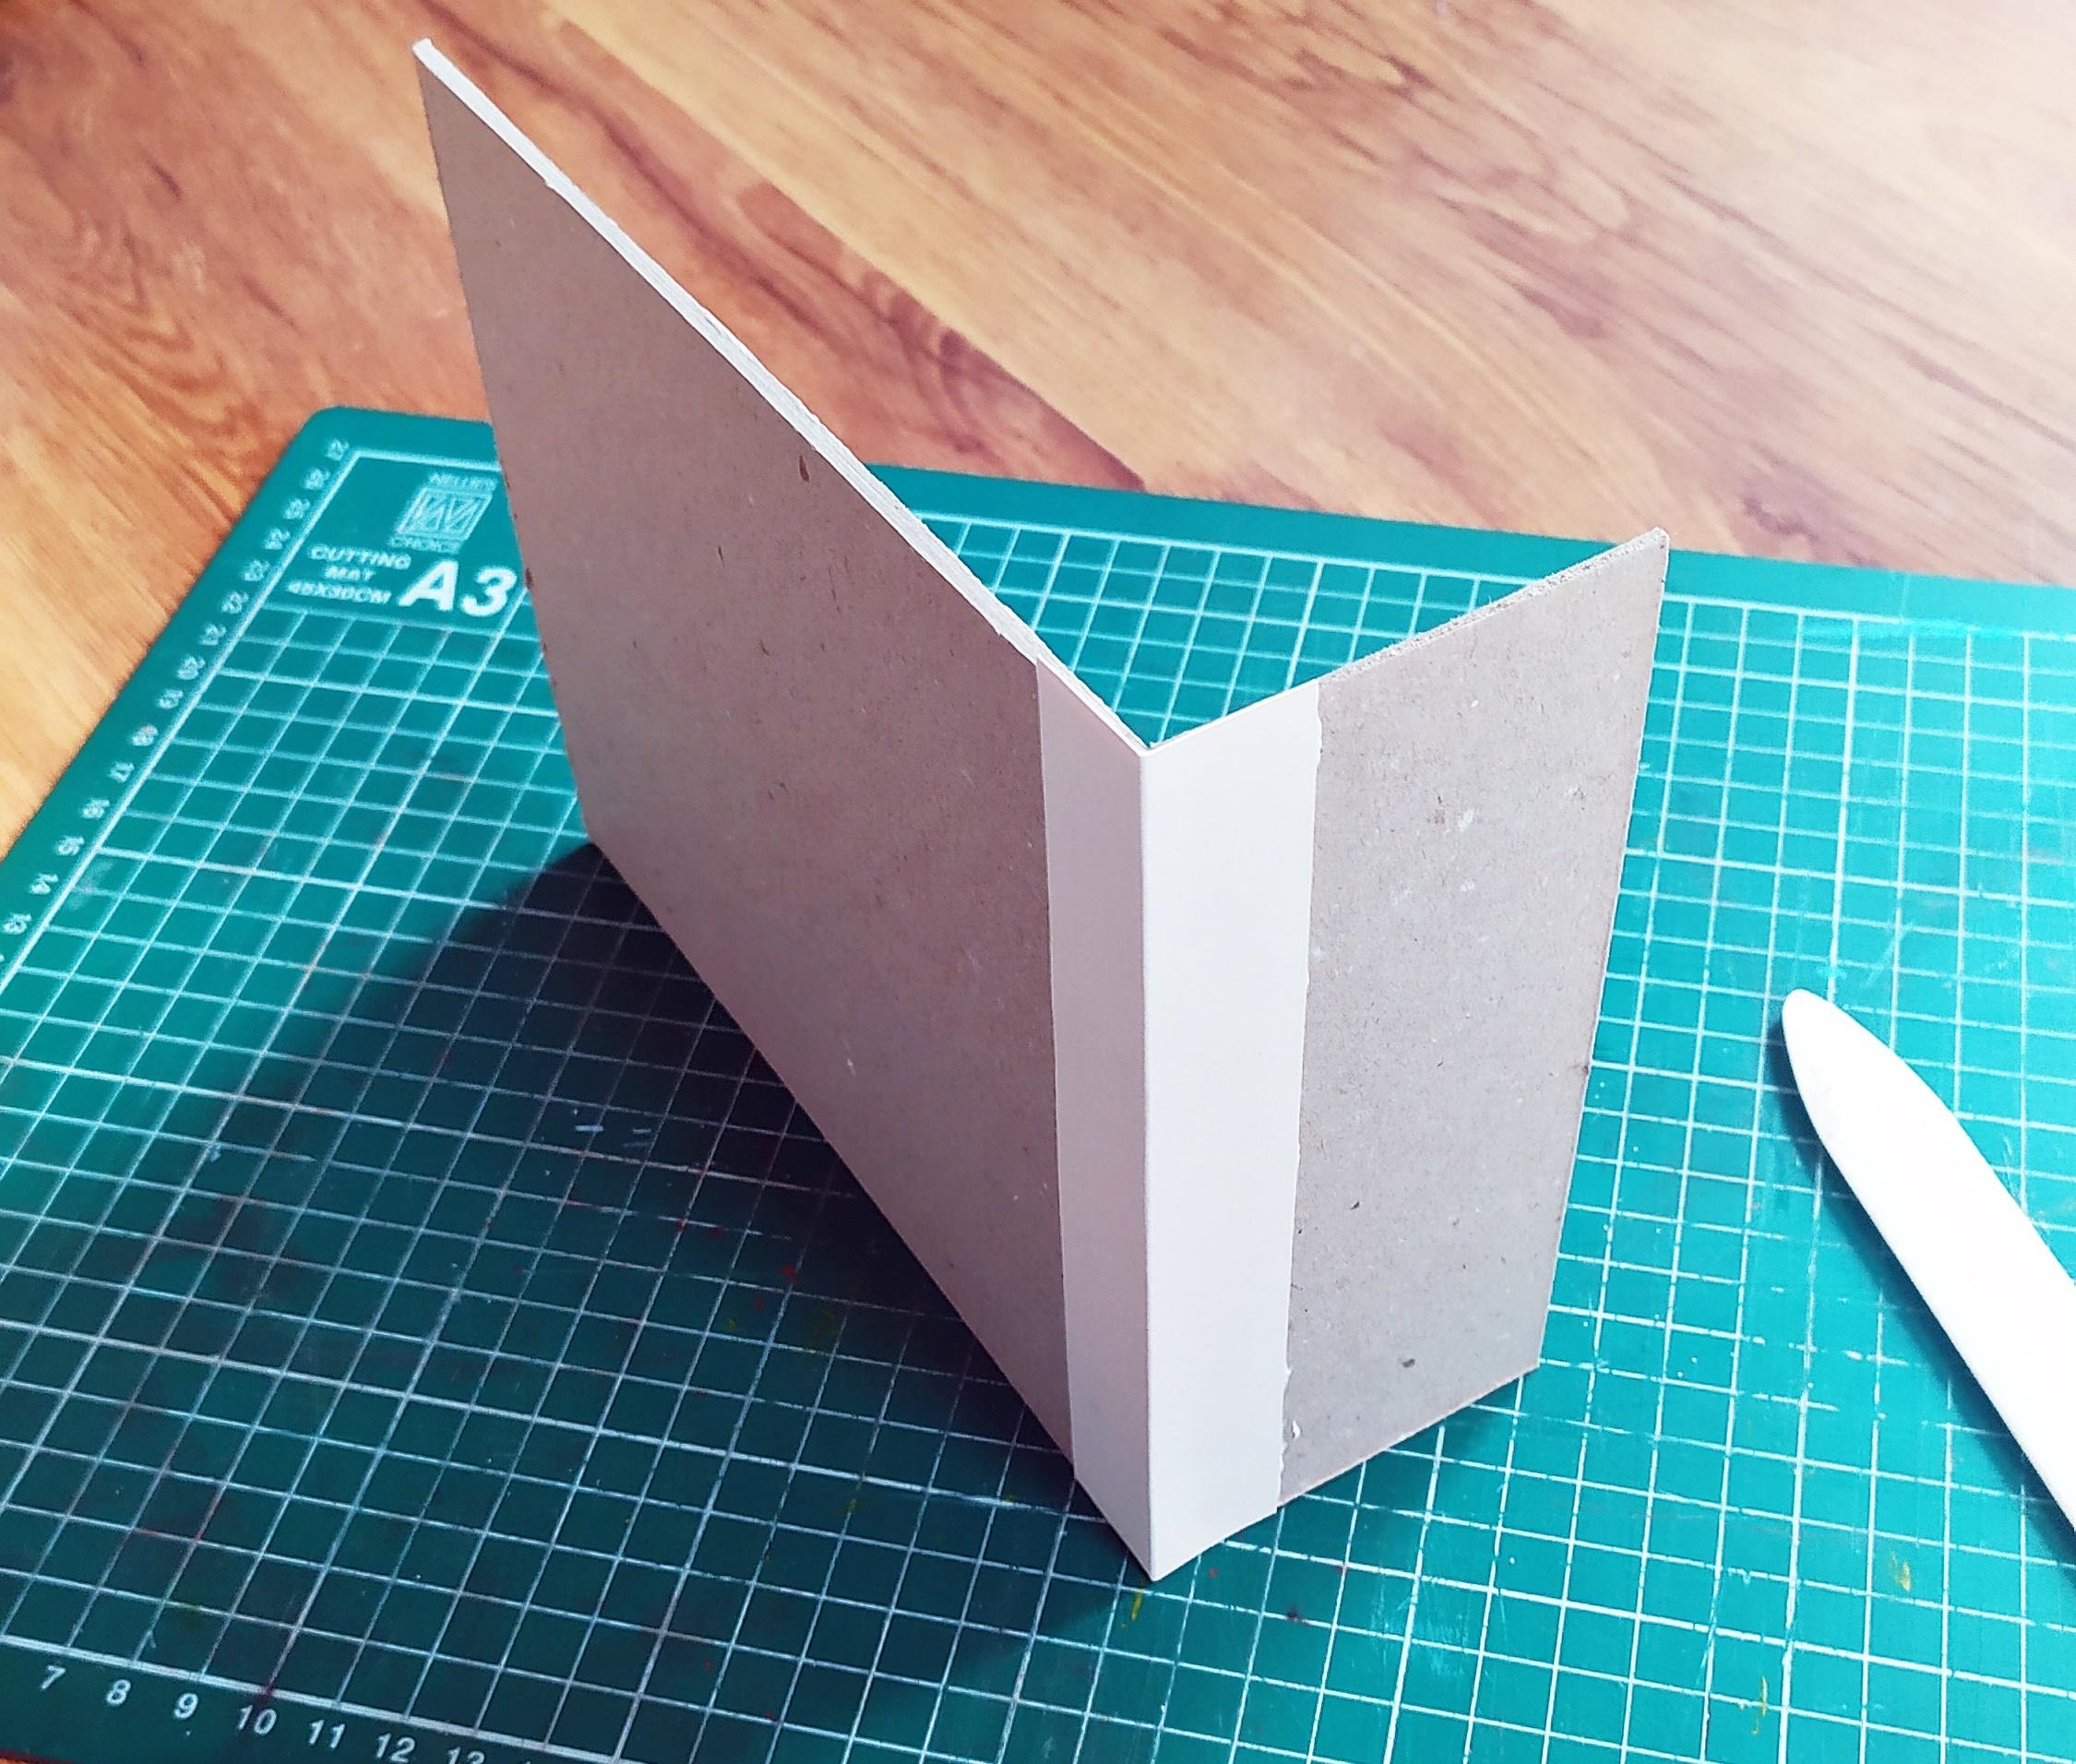
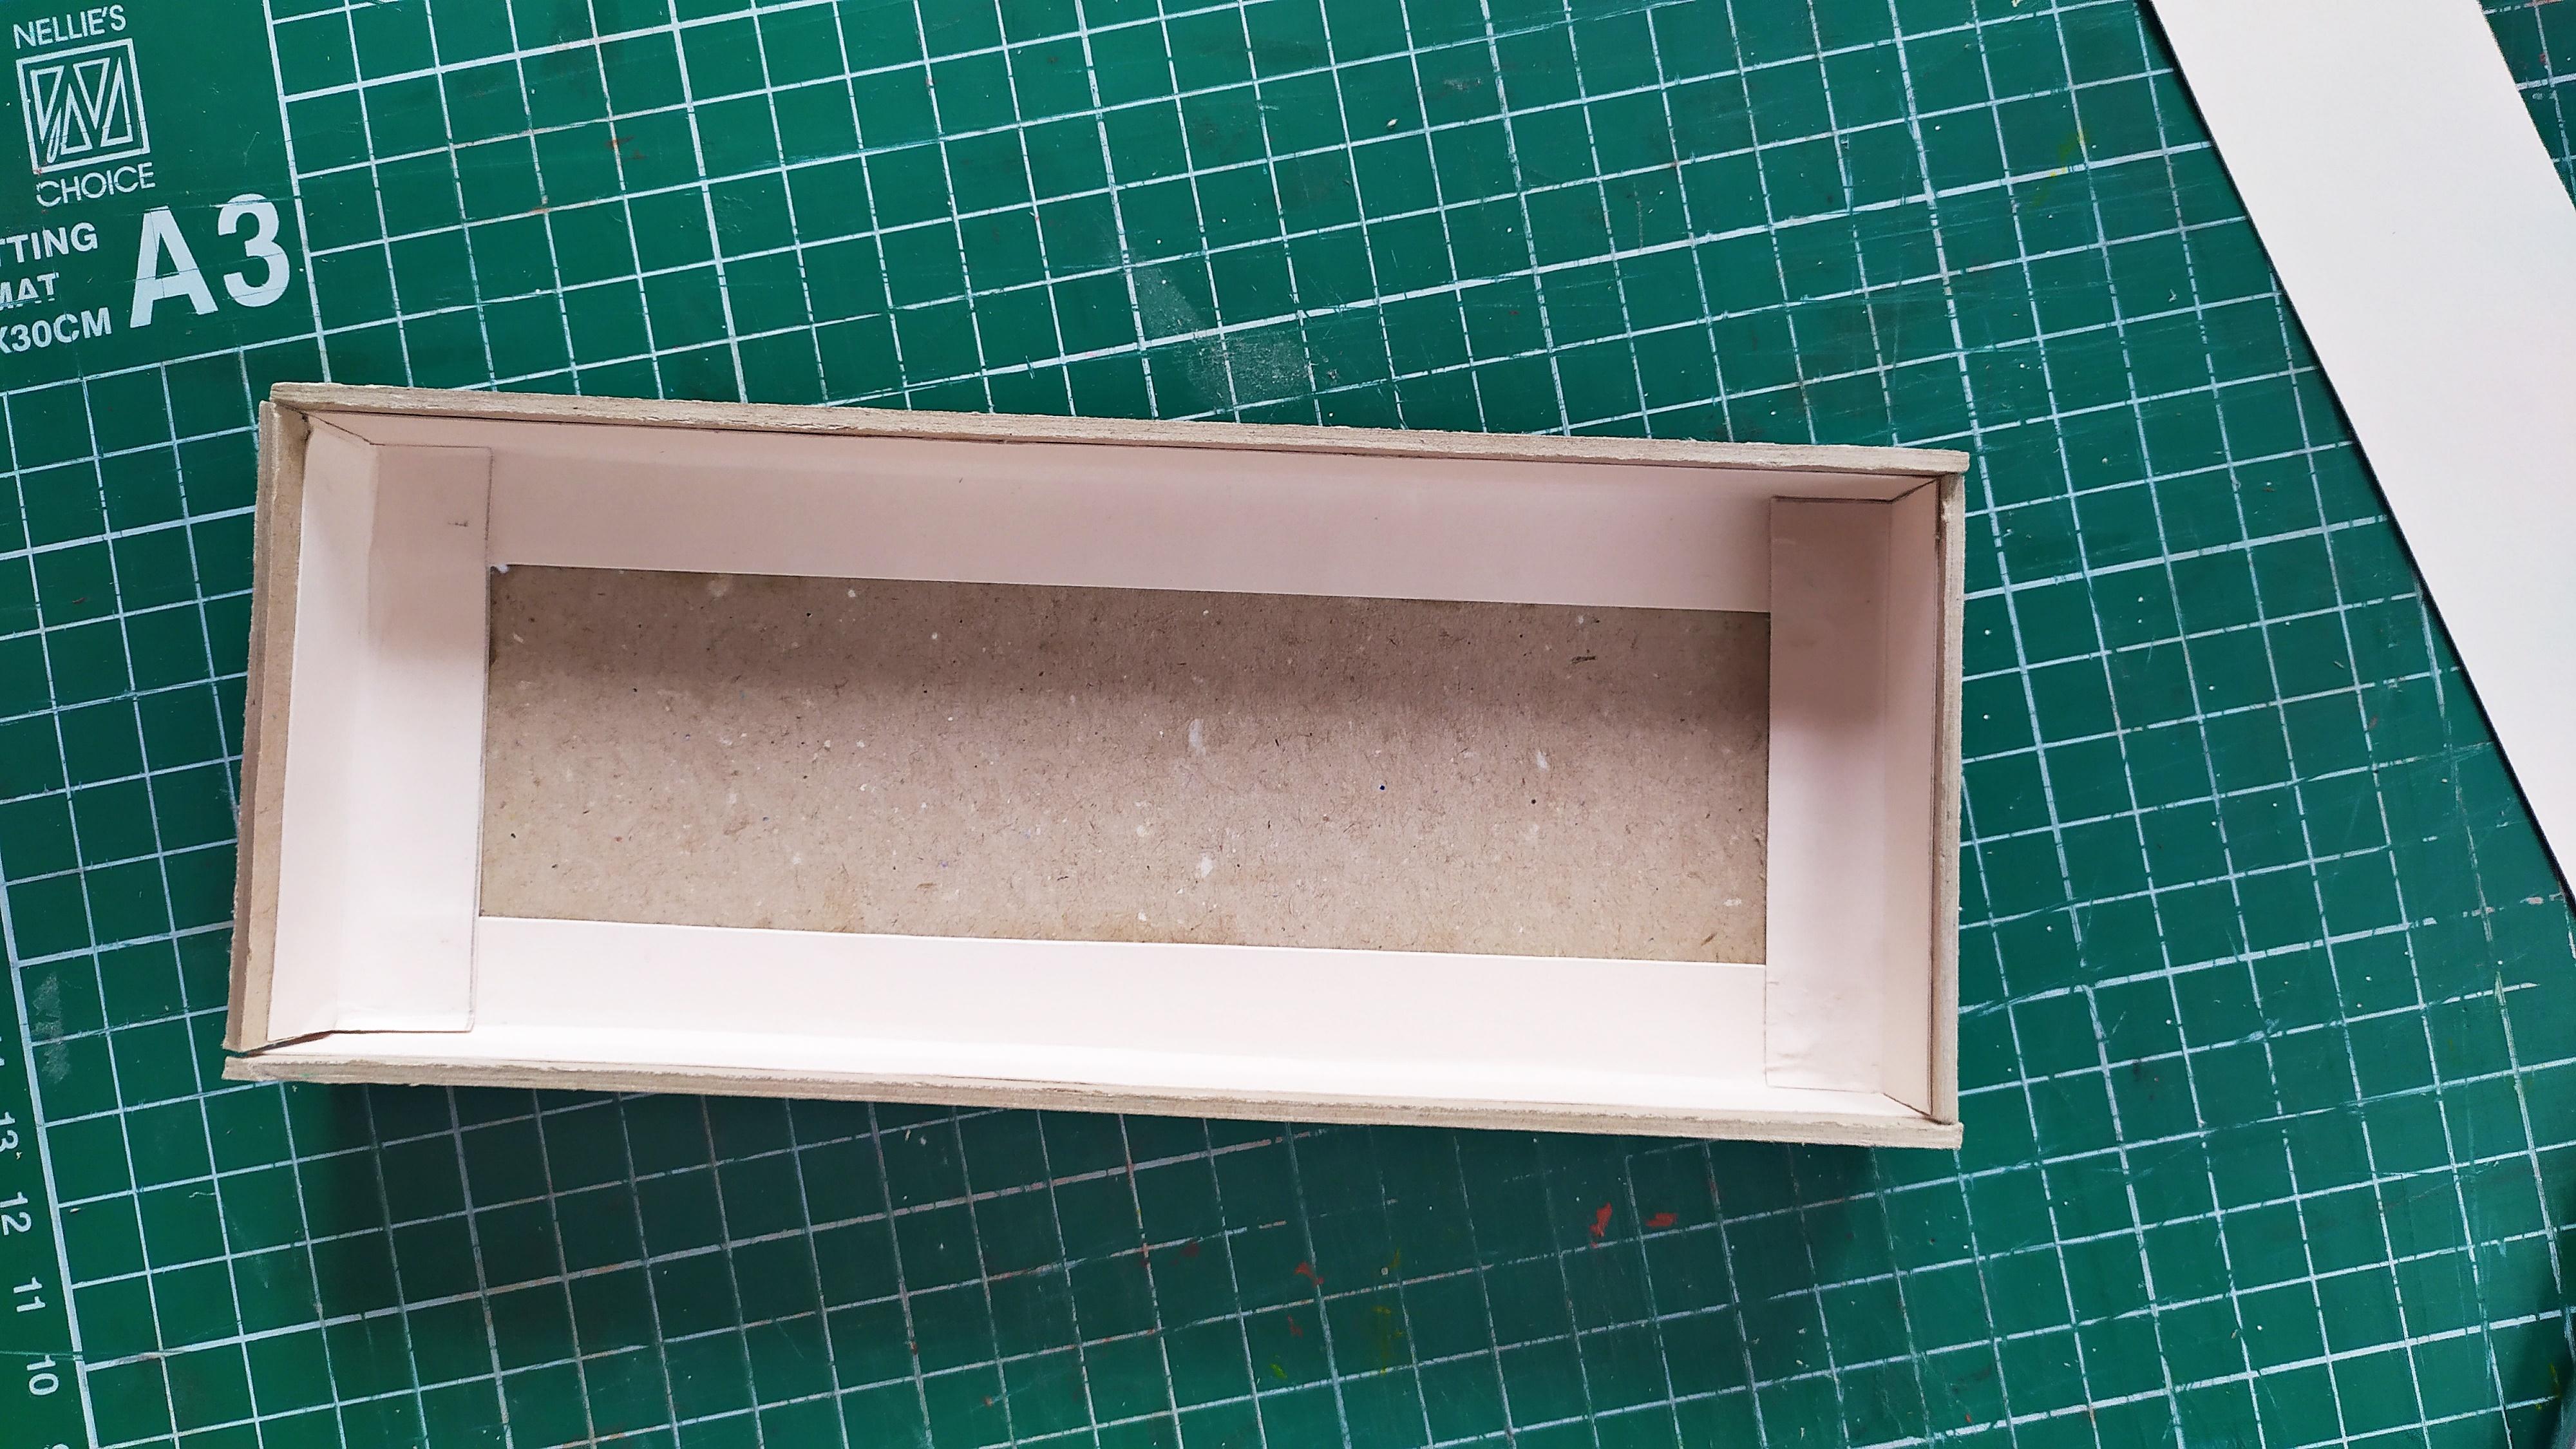
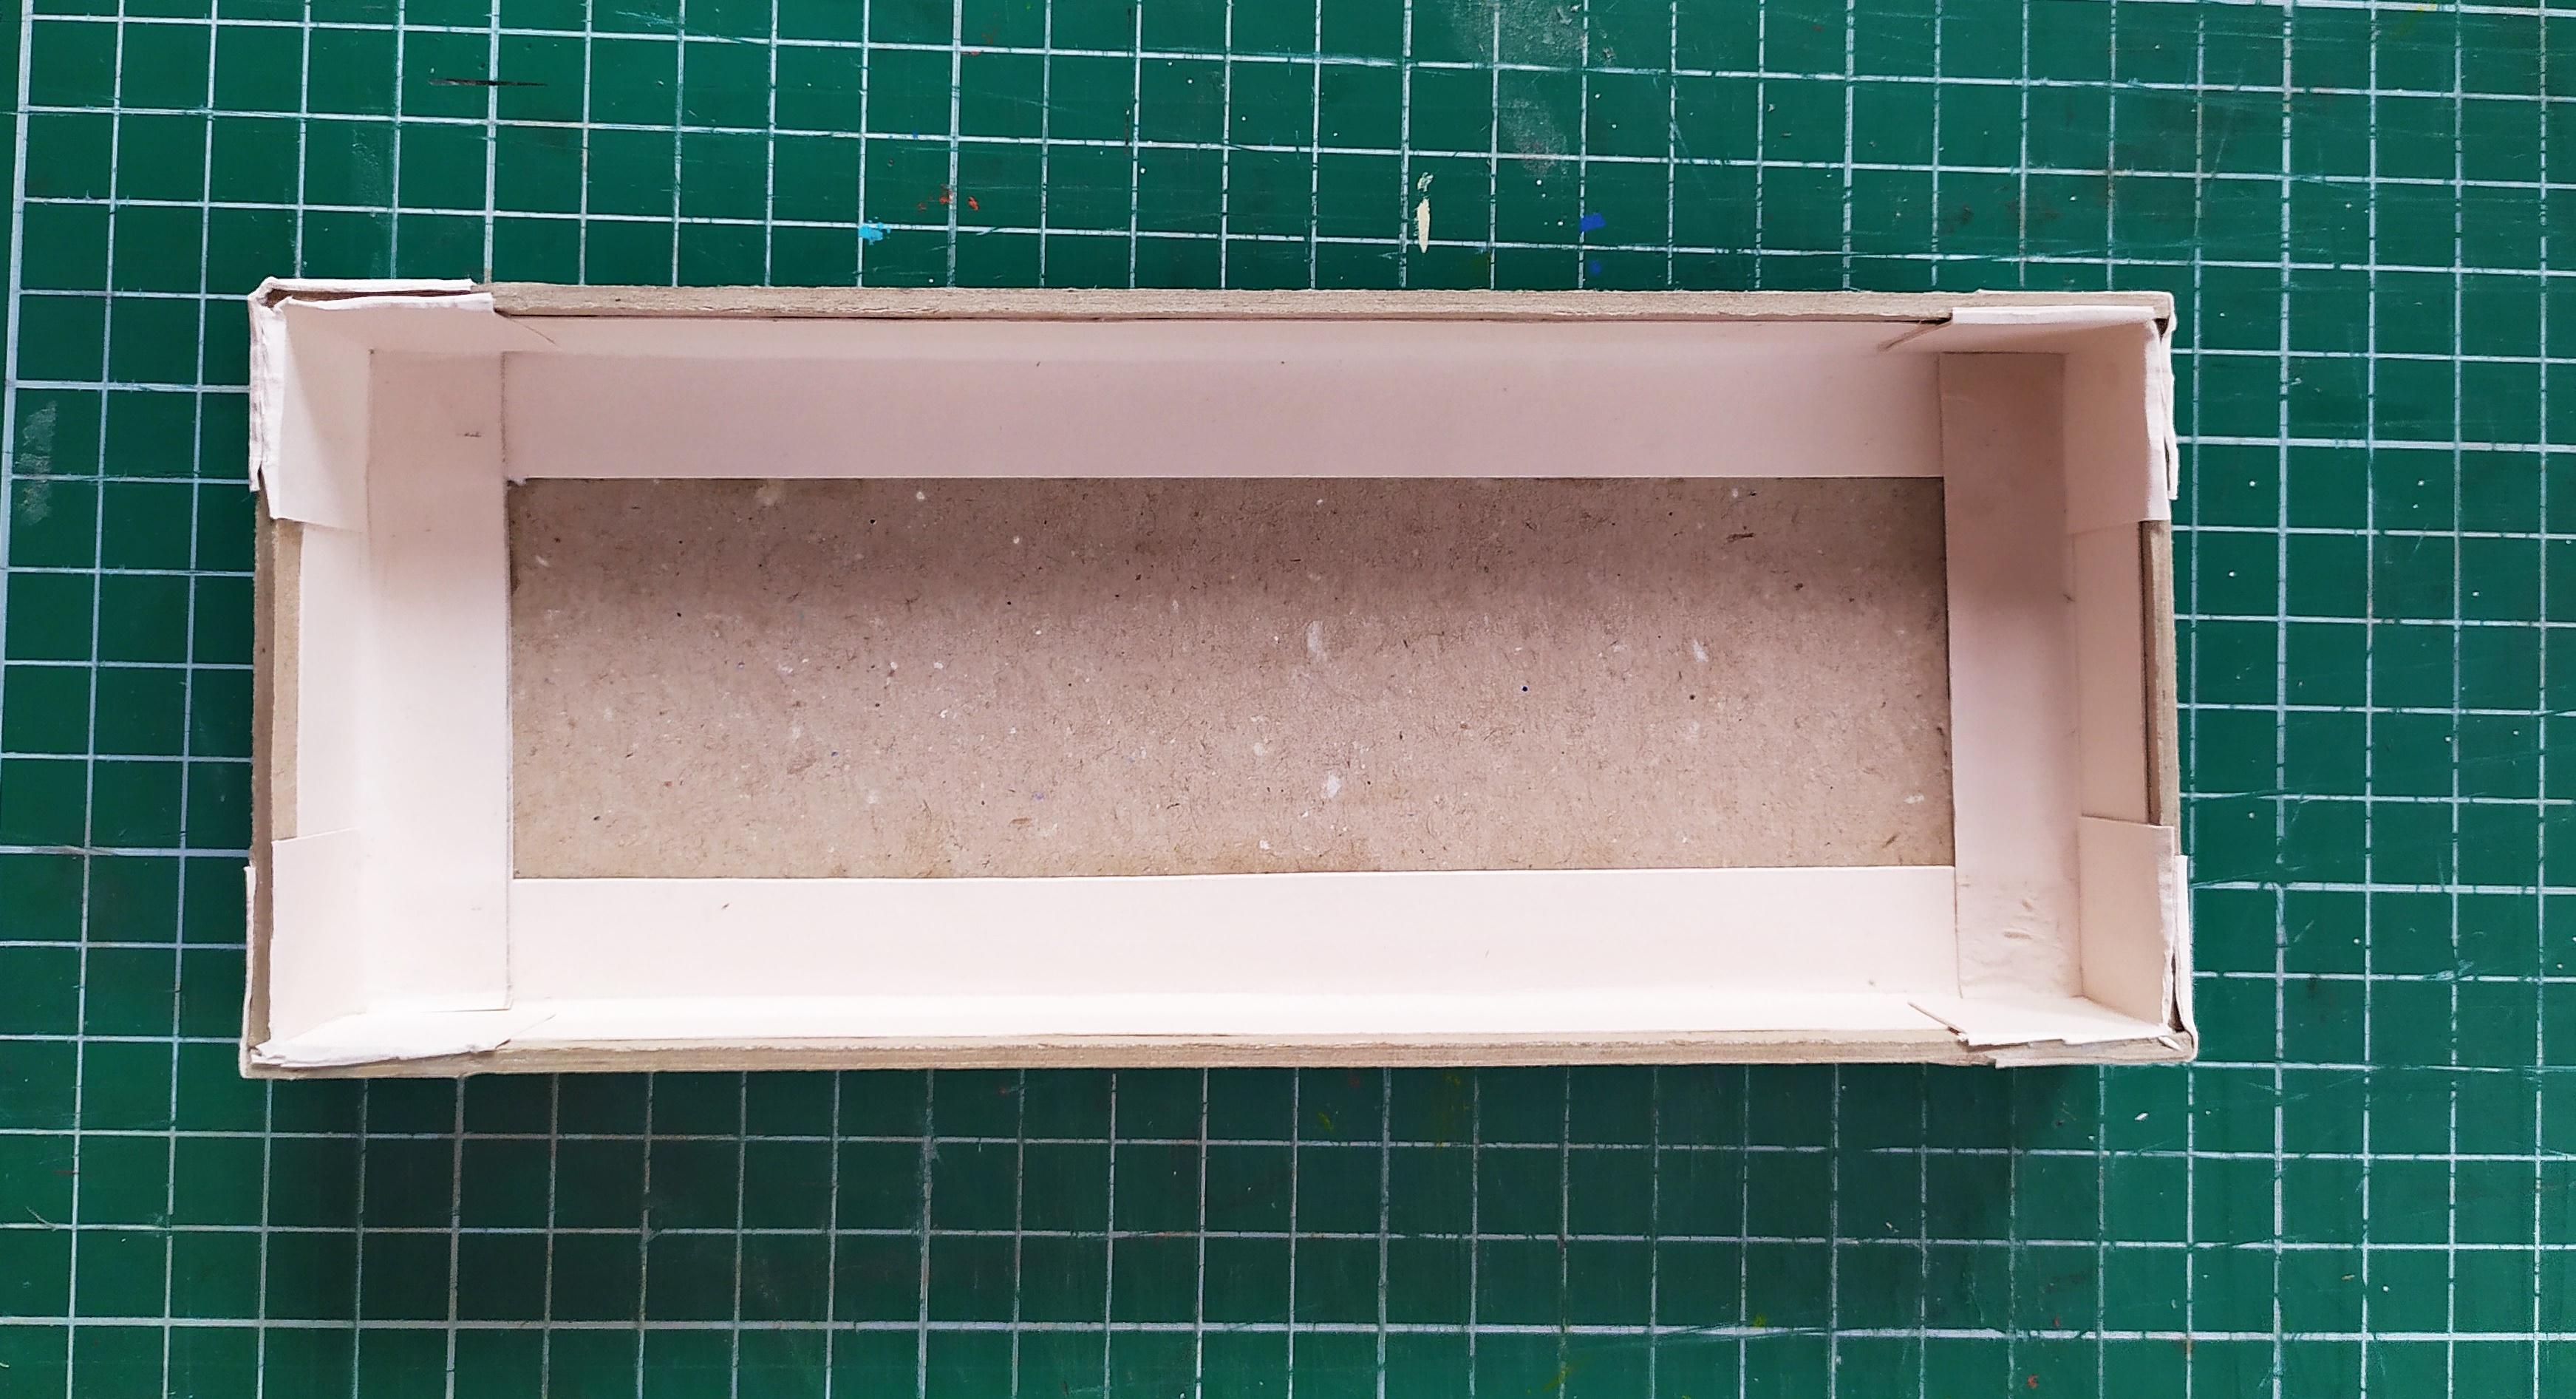
Making the Base Part II
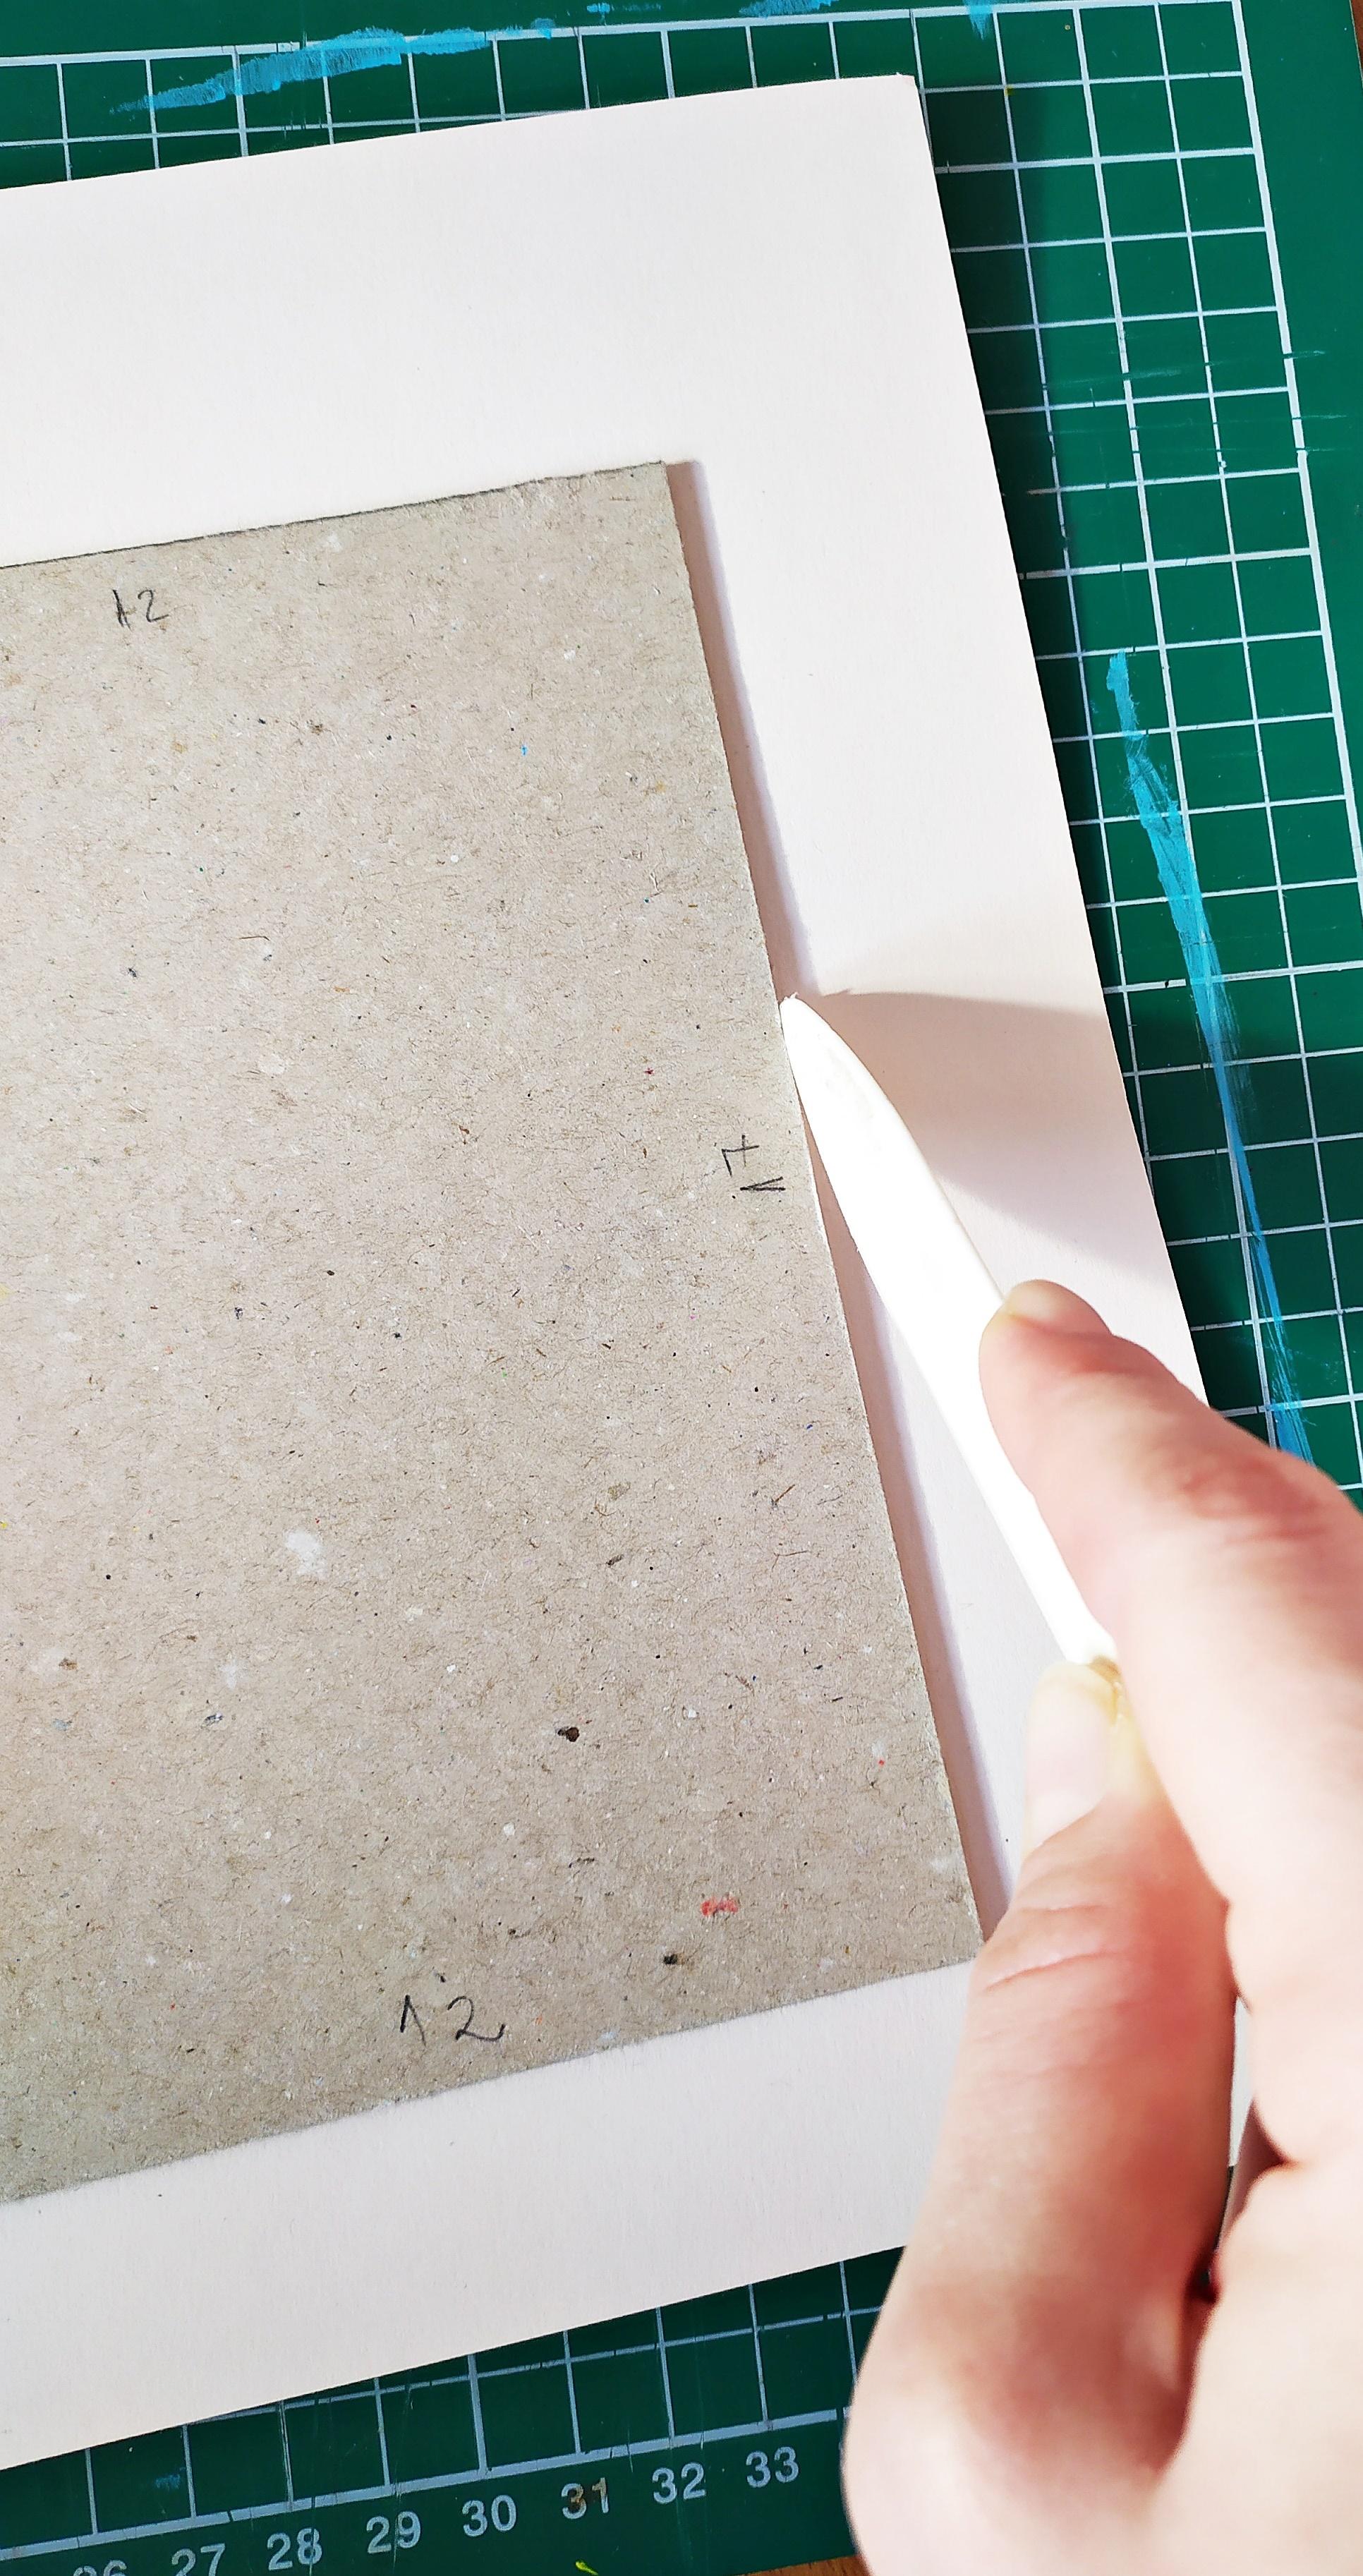
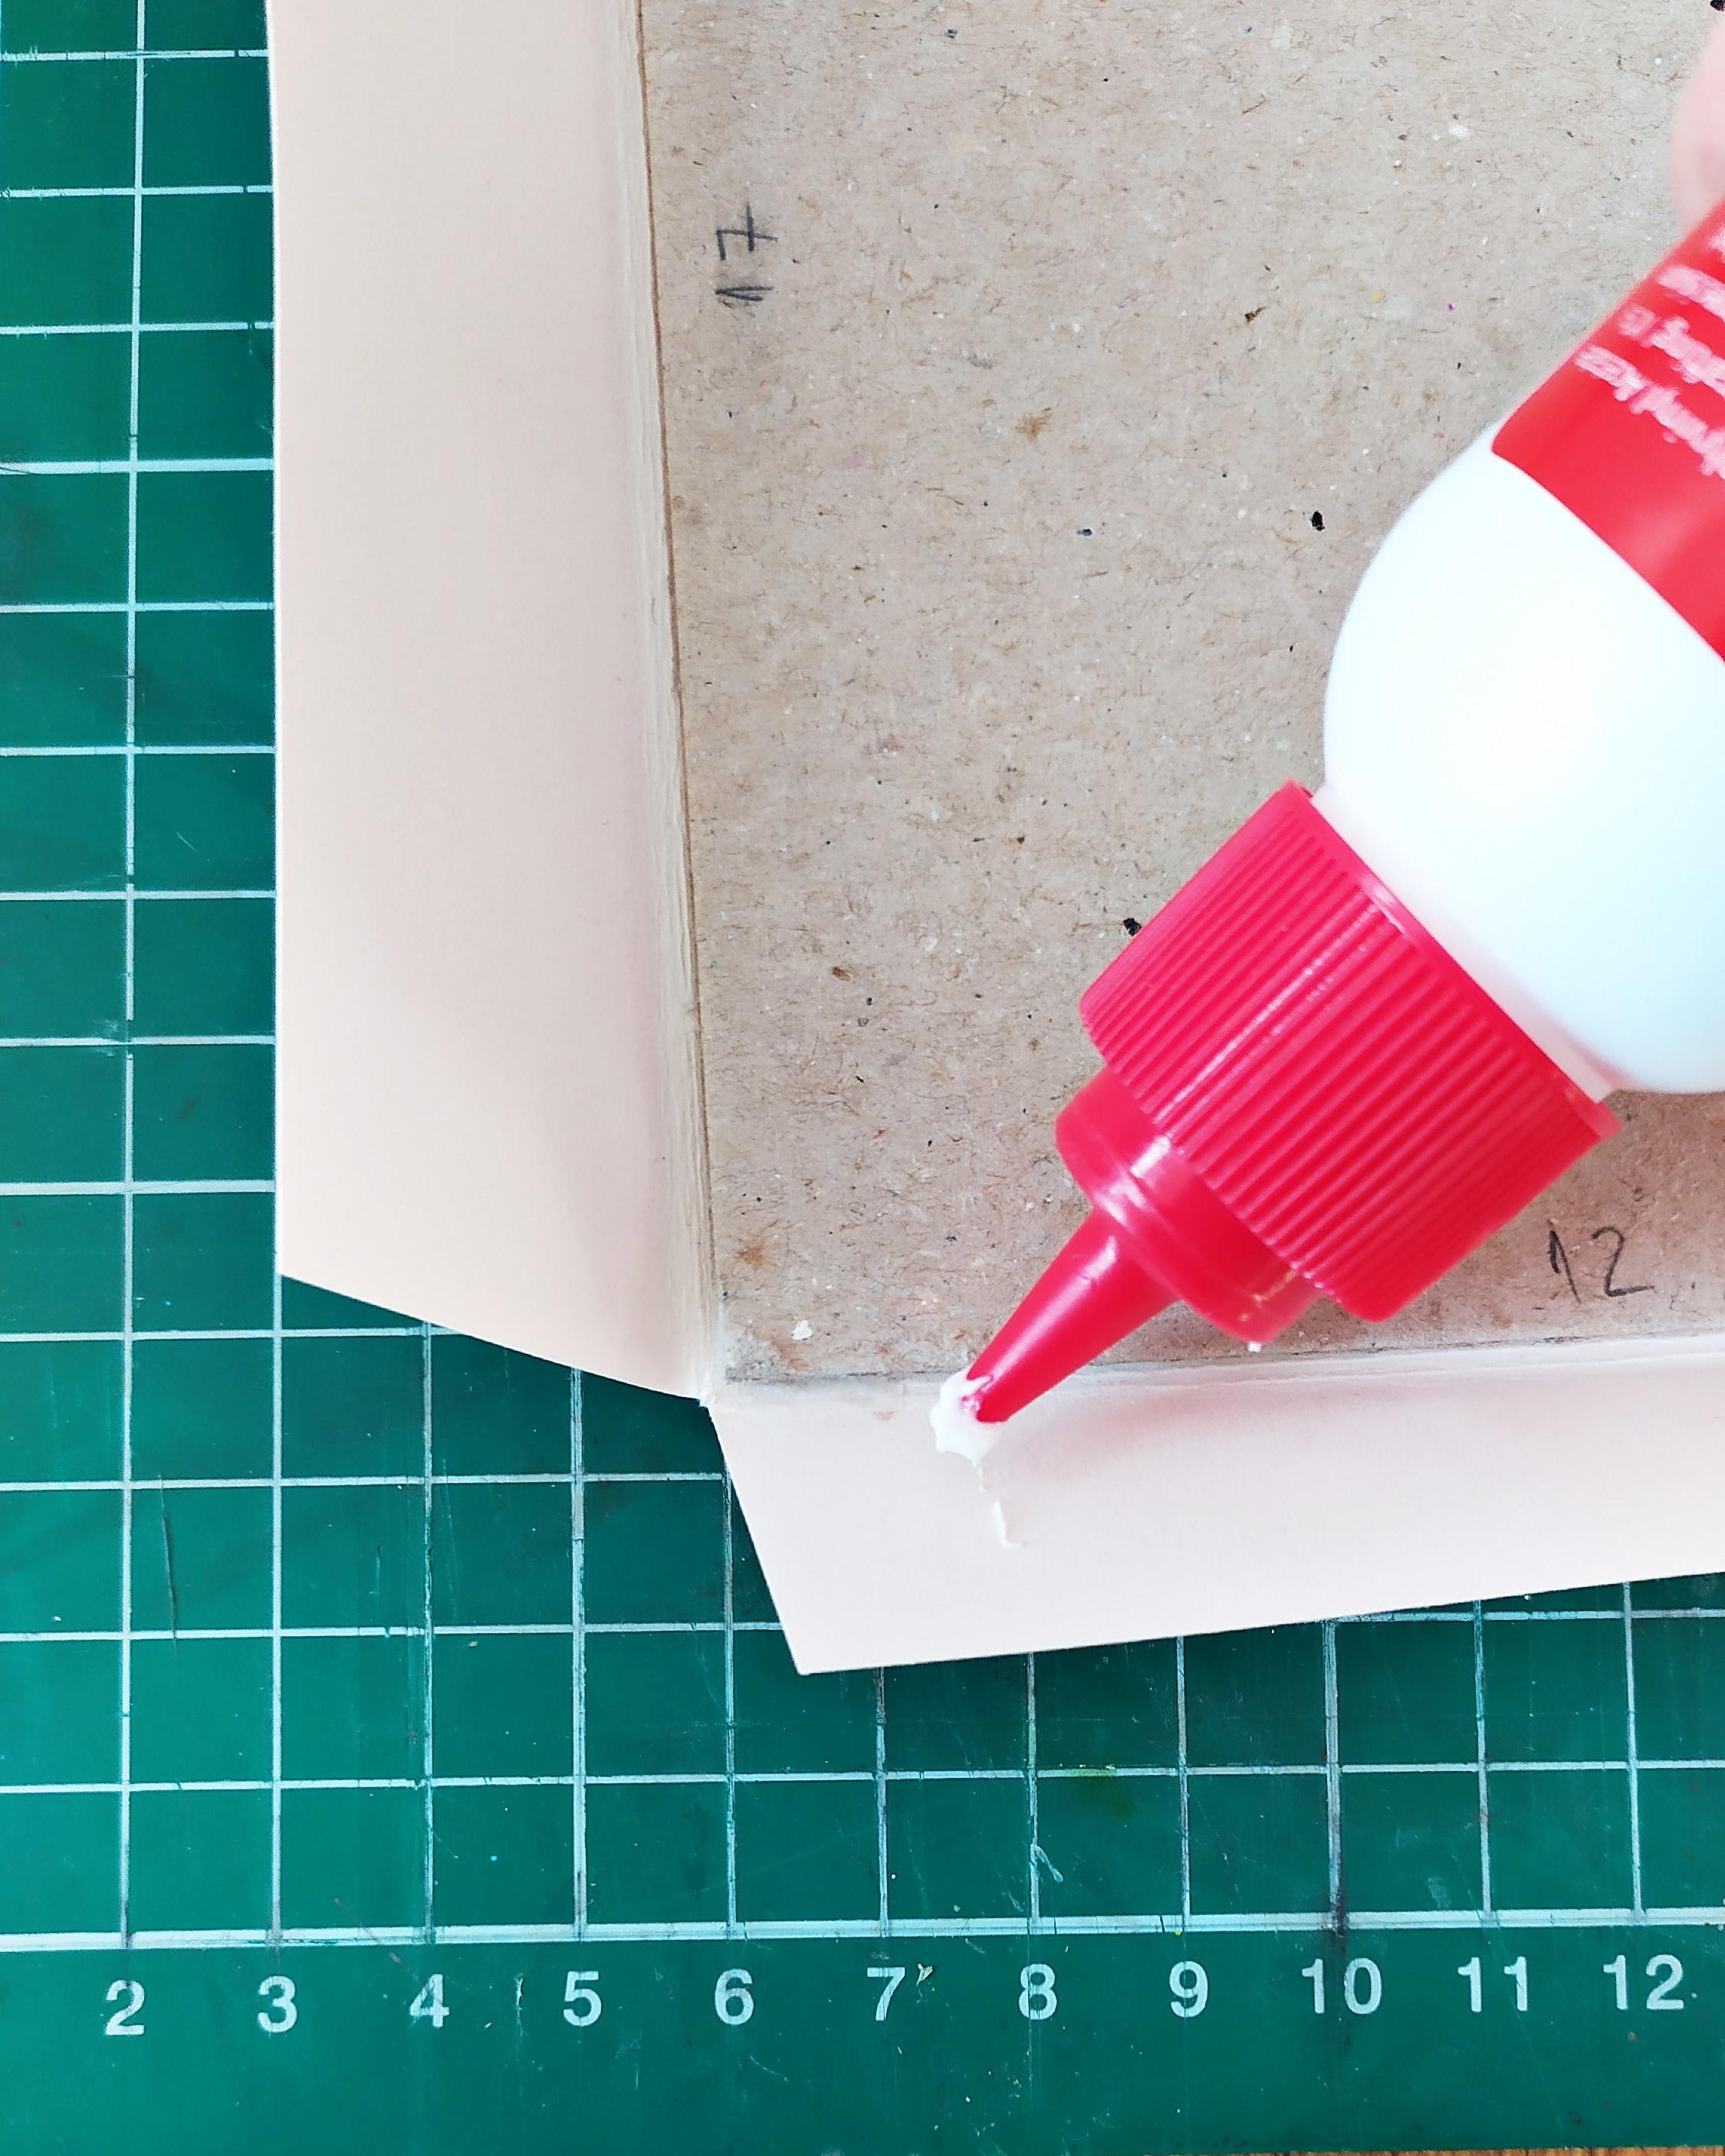
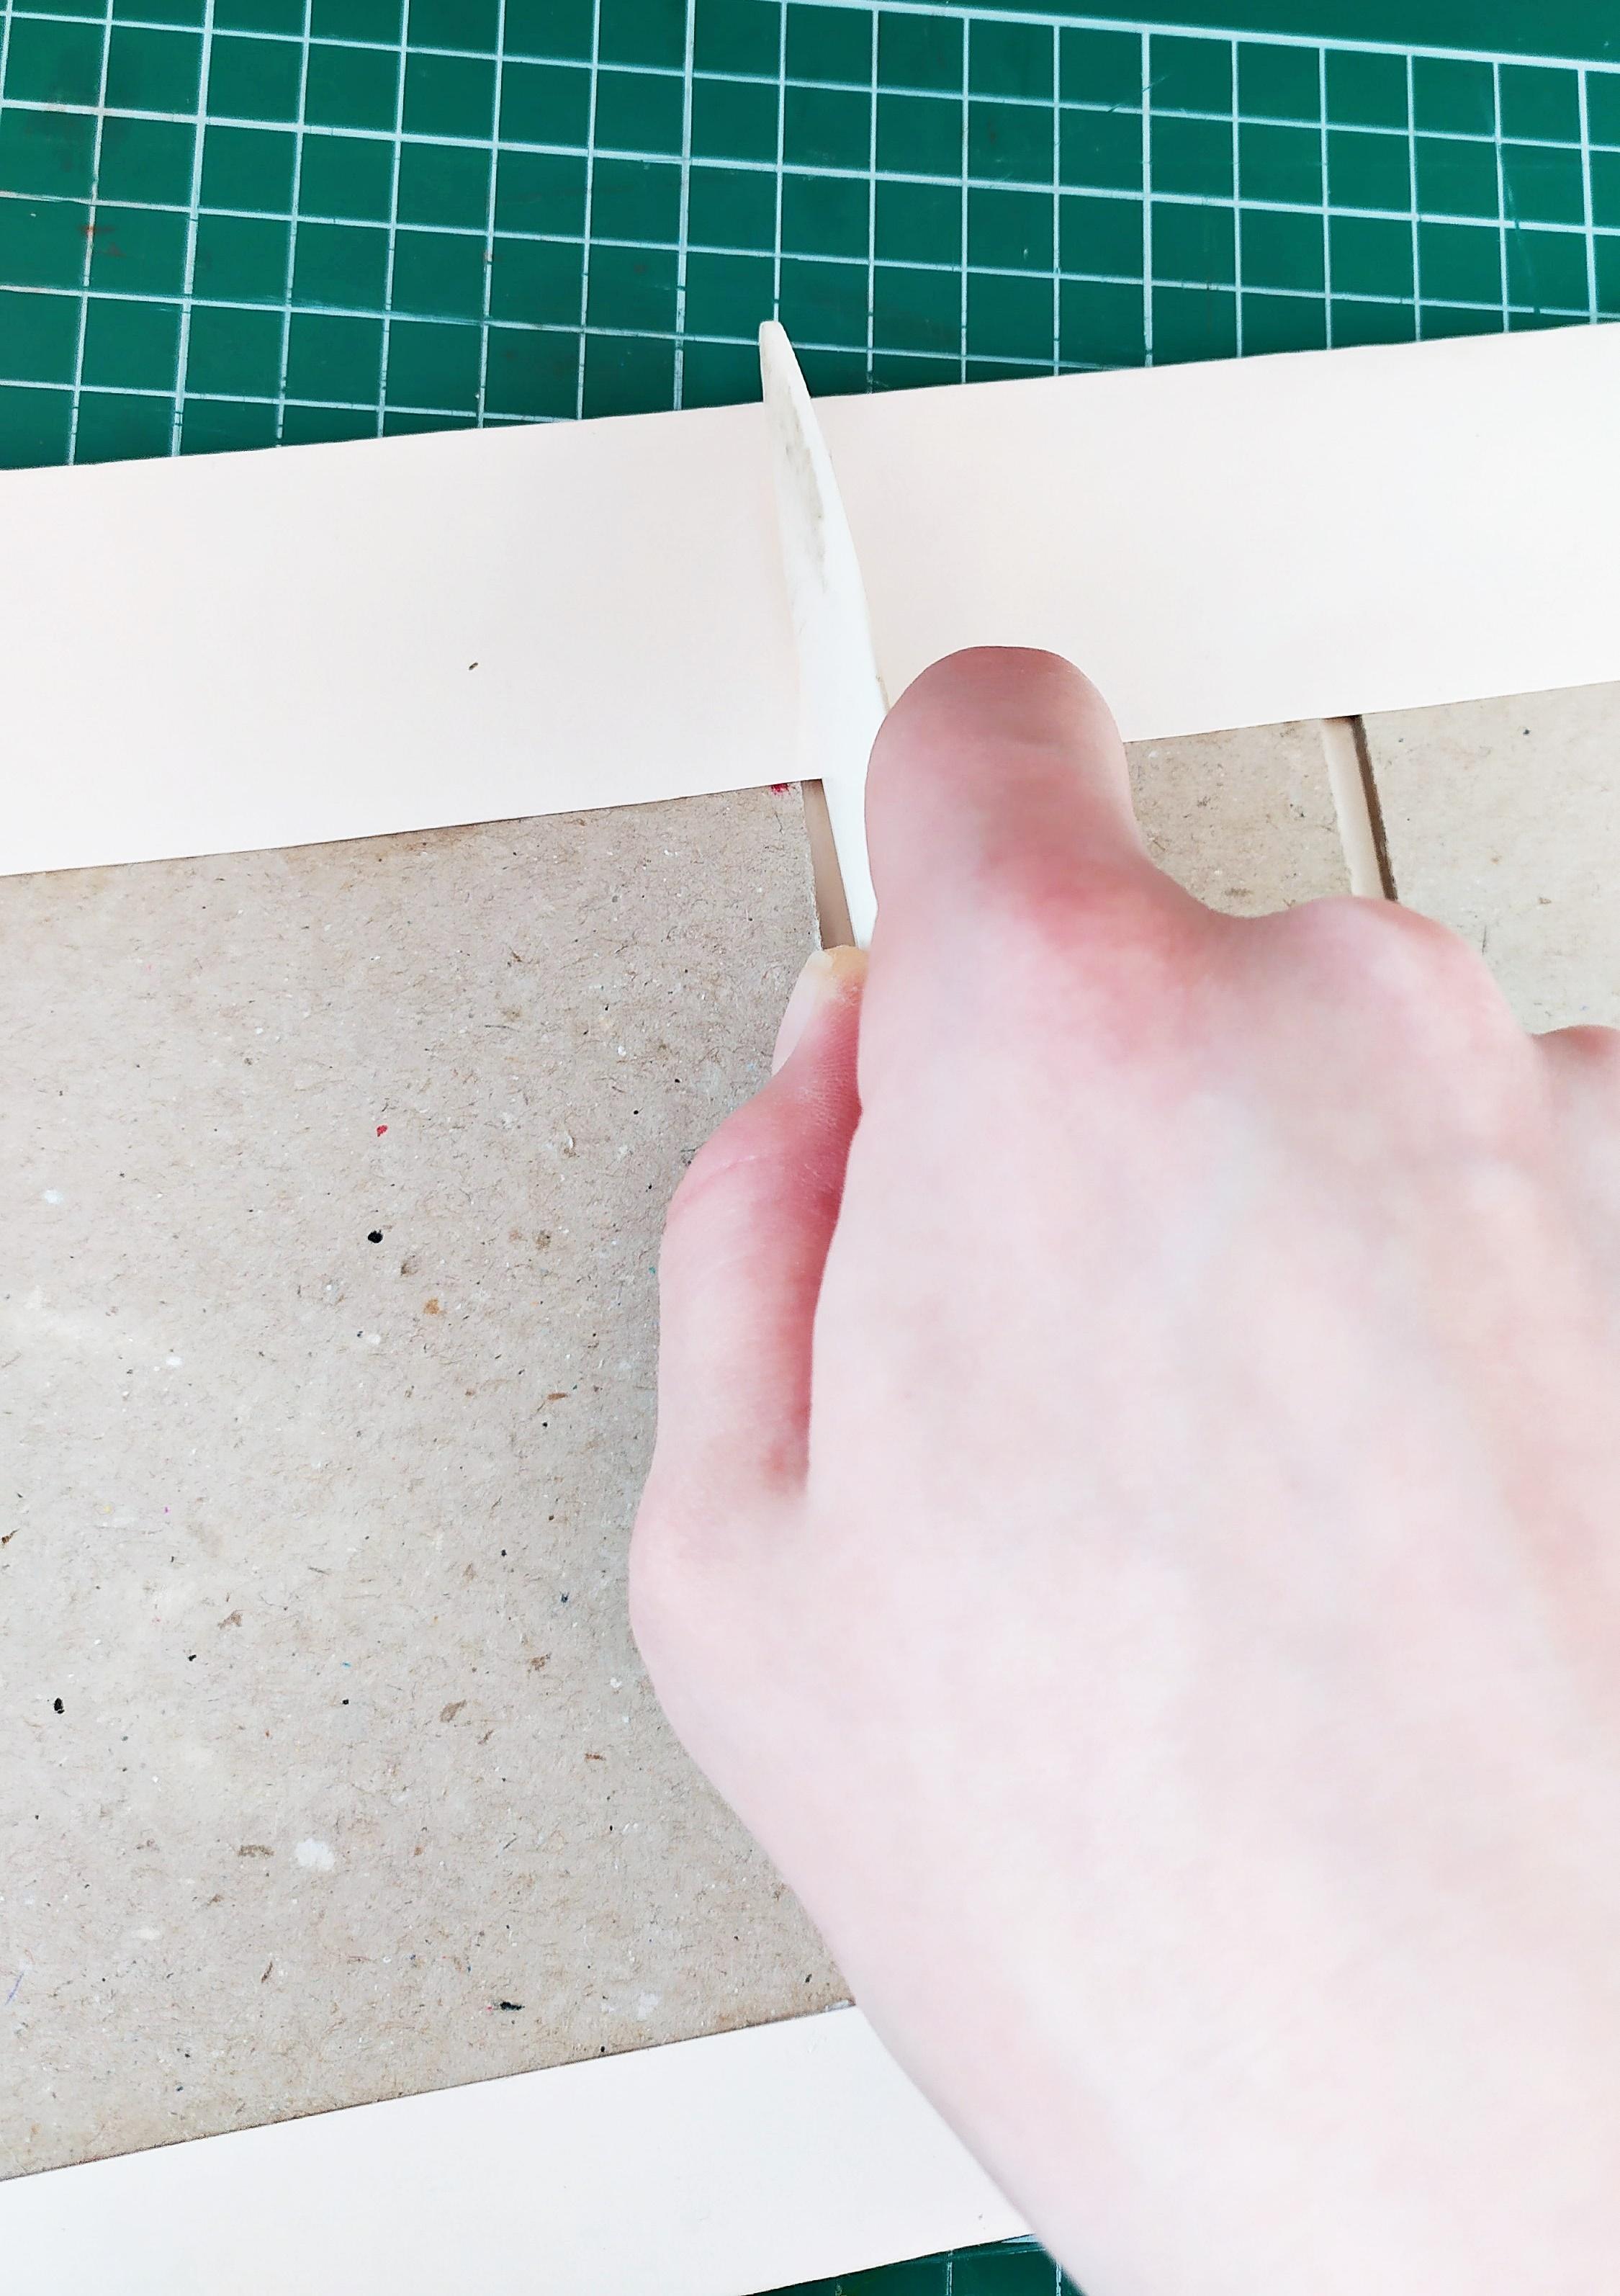
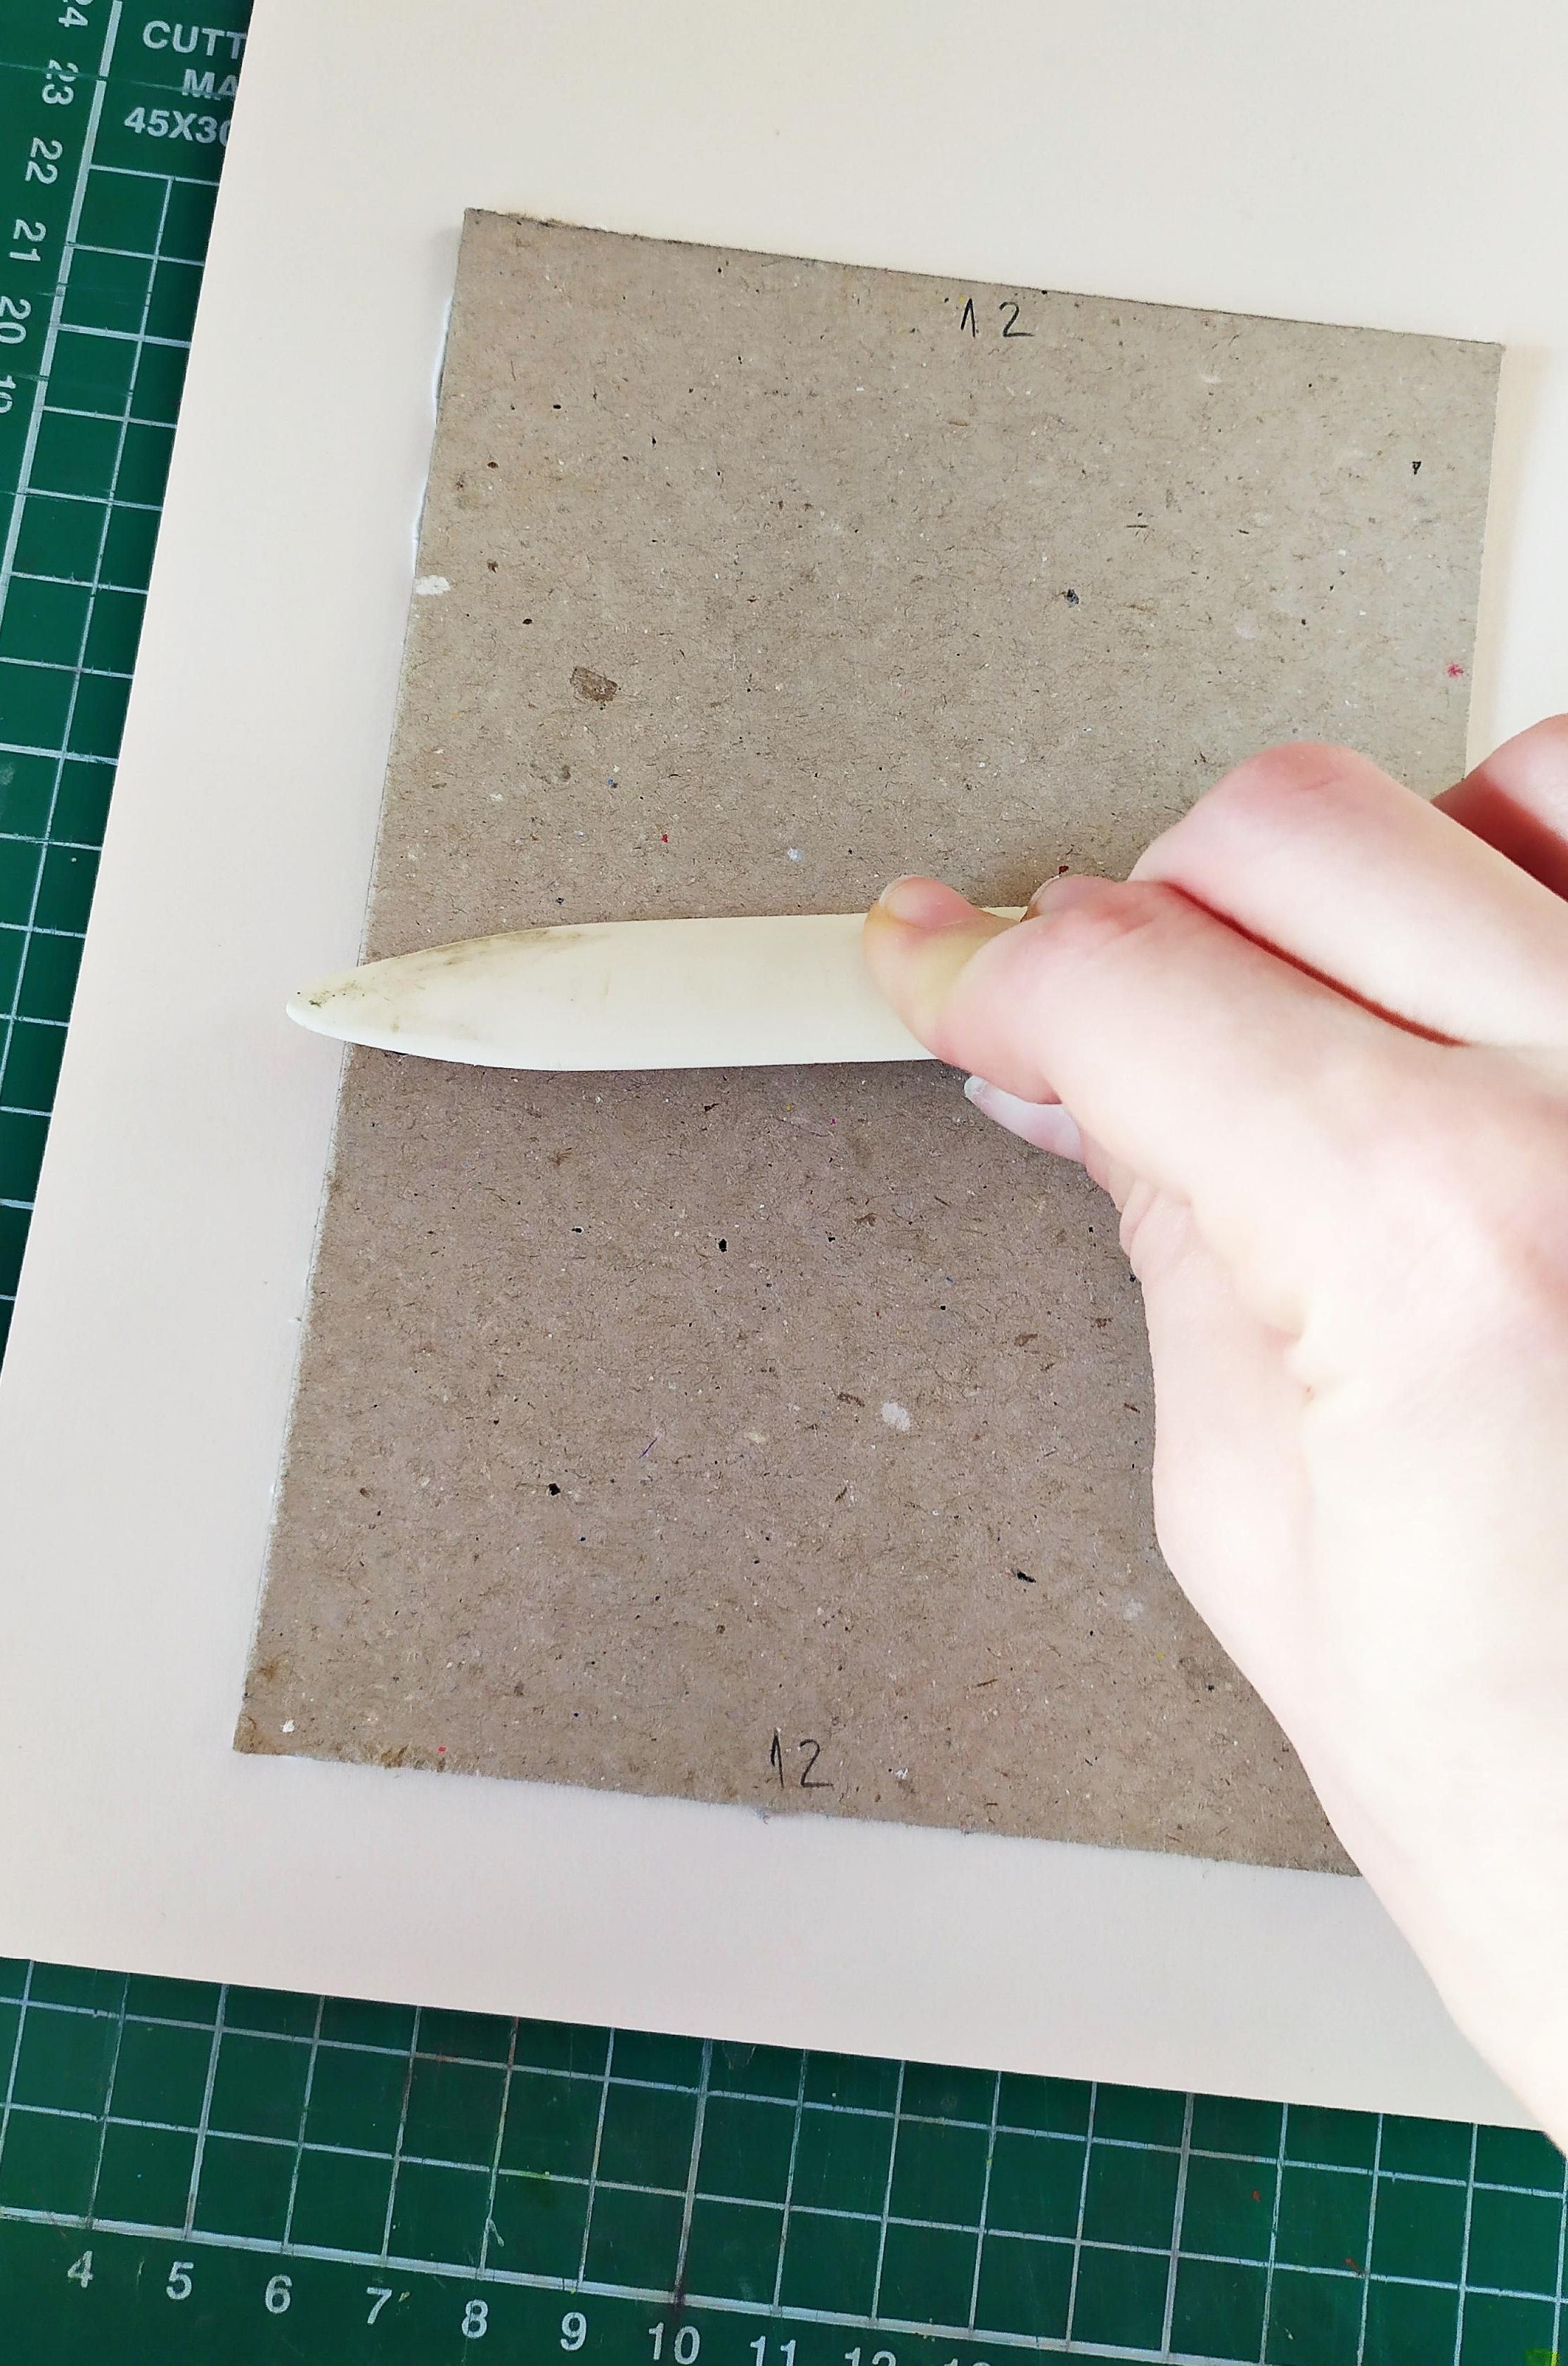
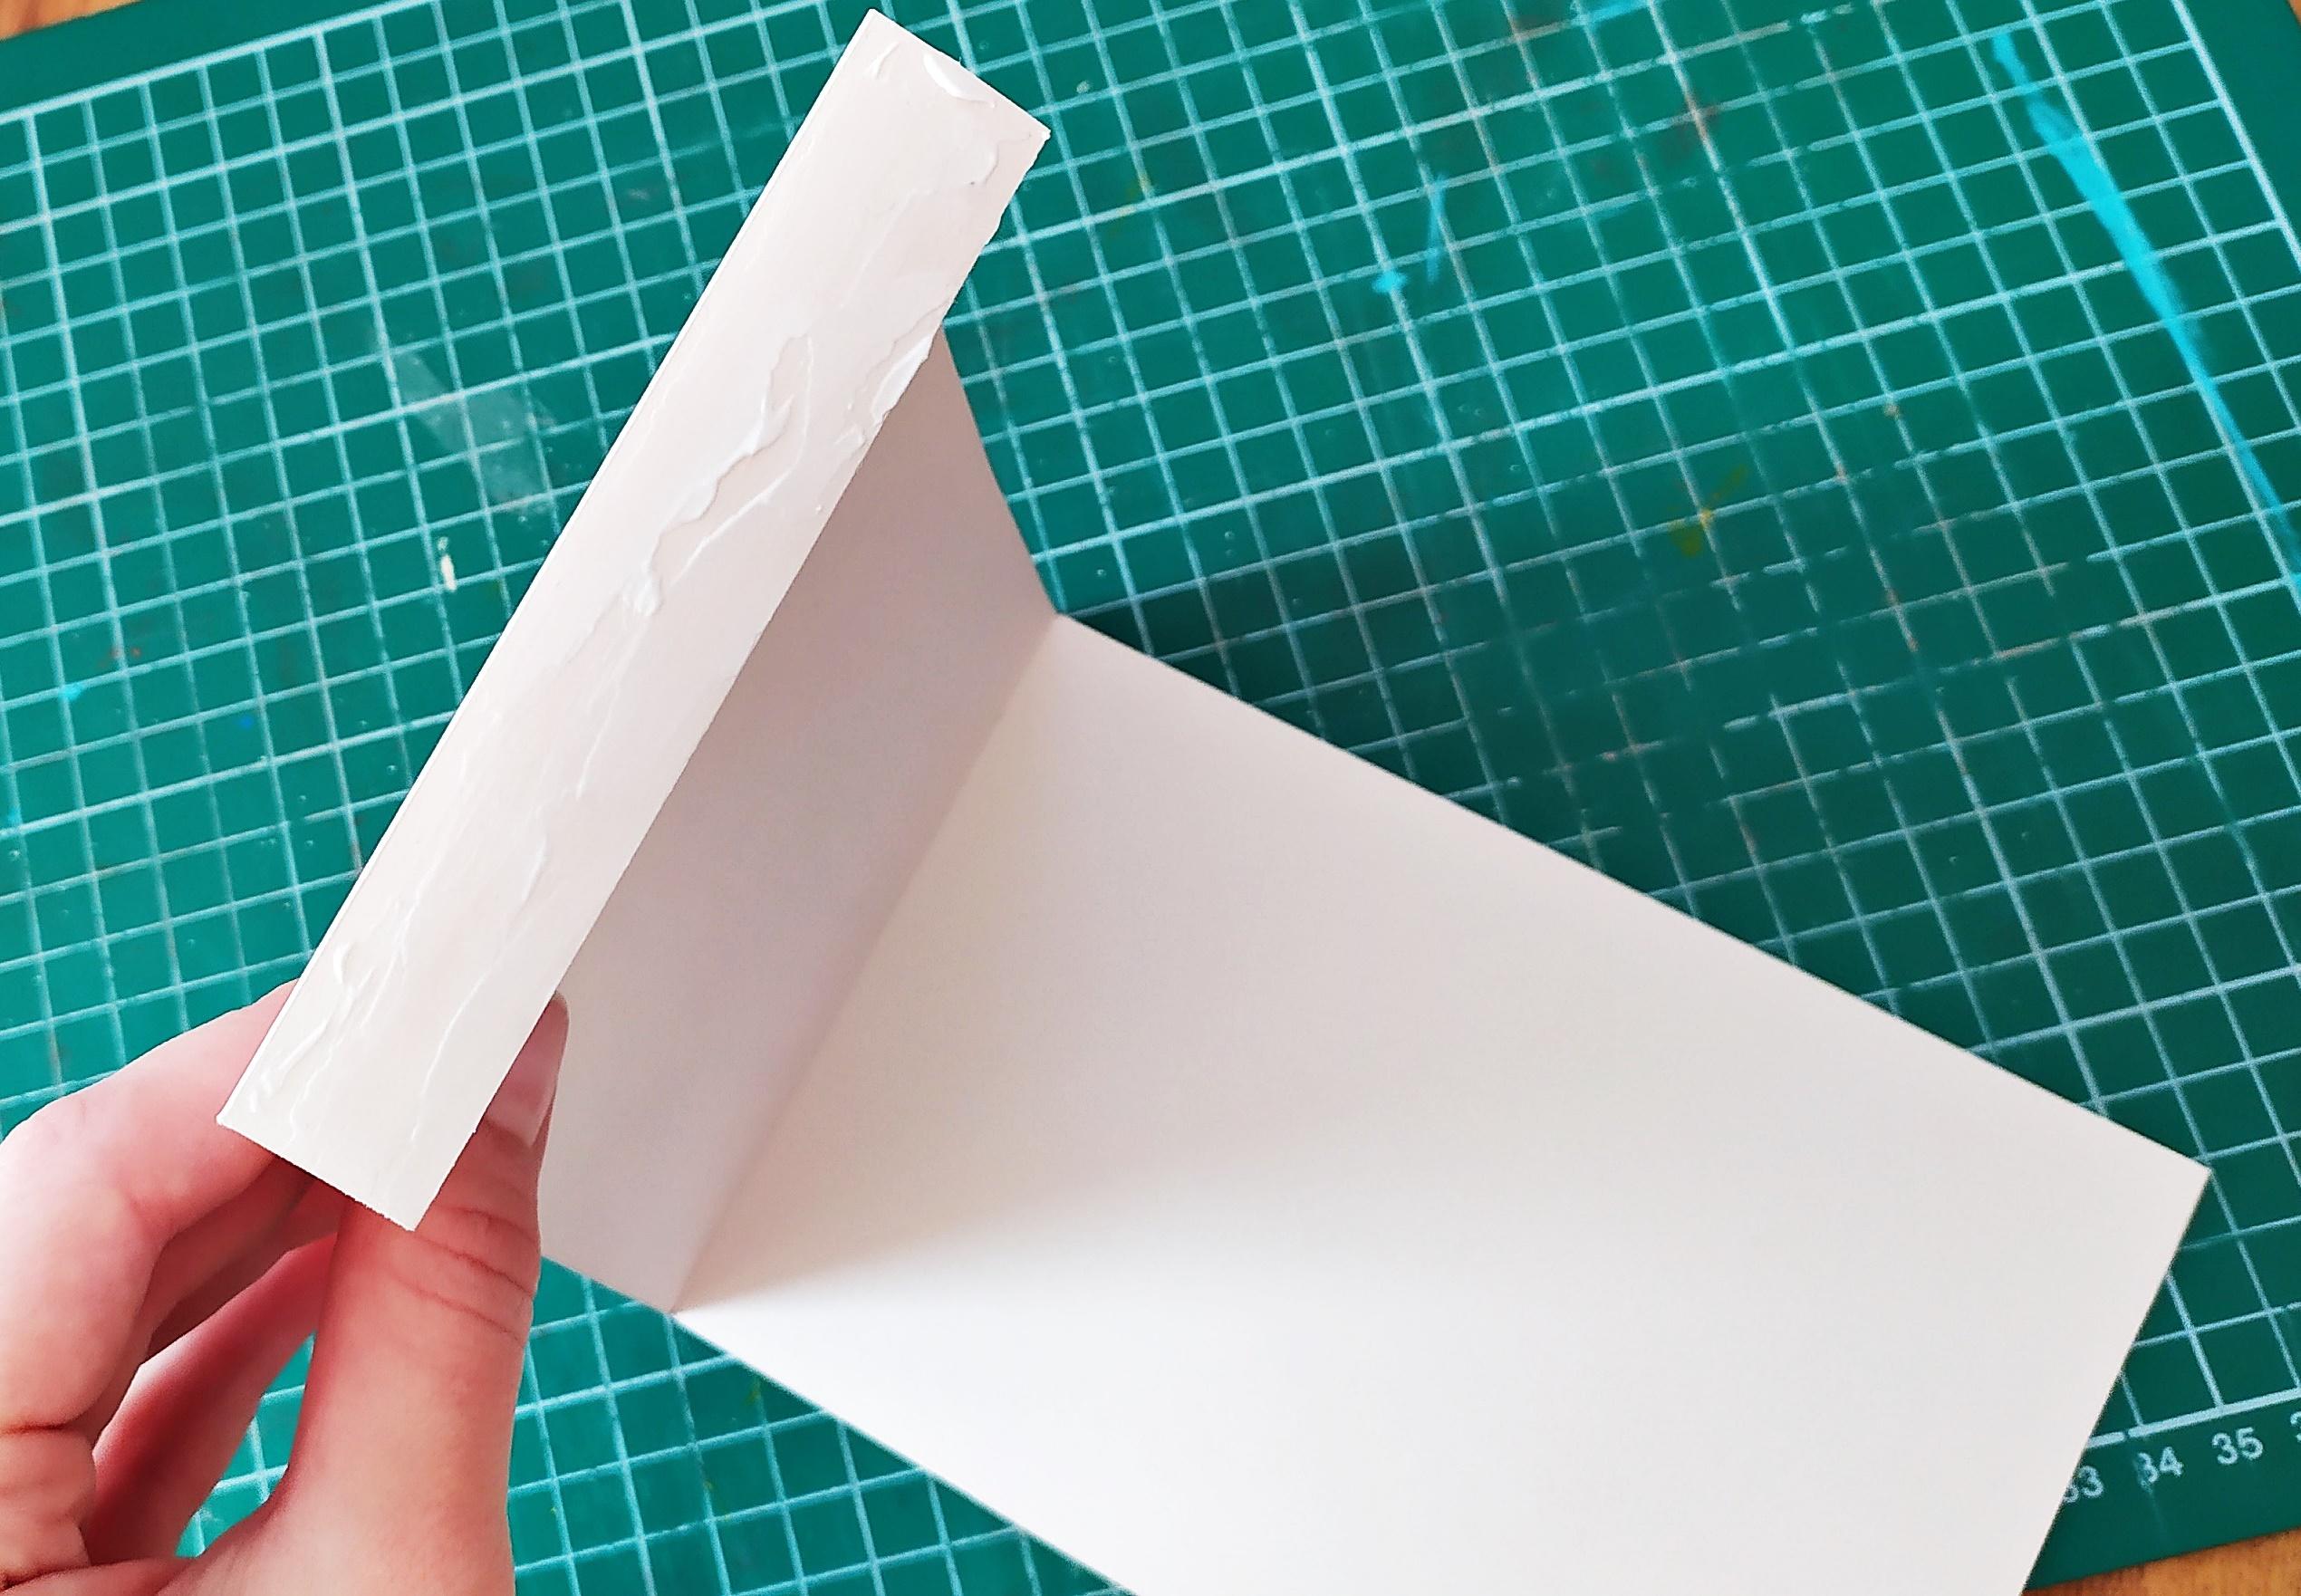
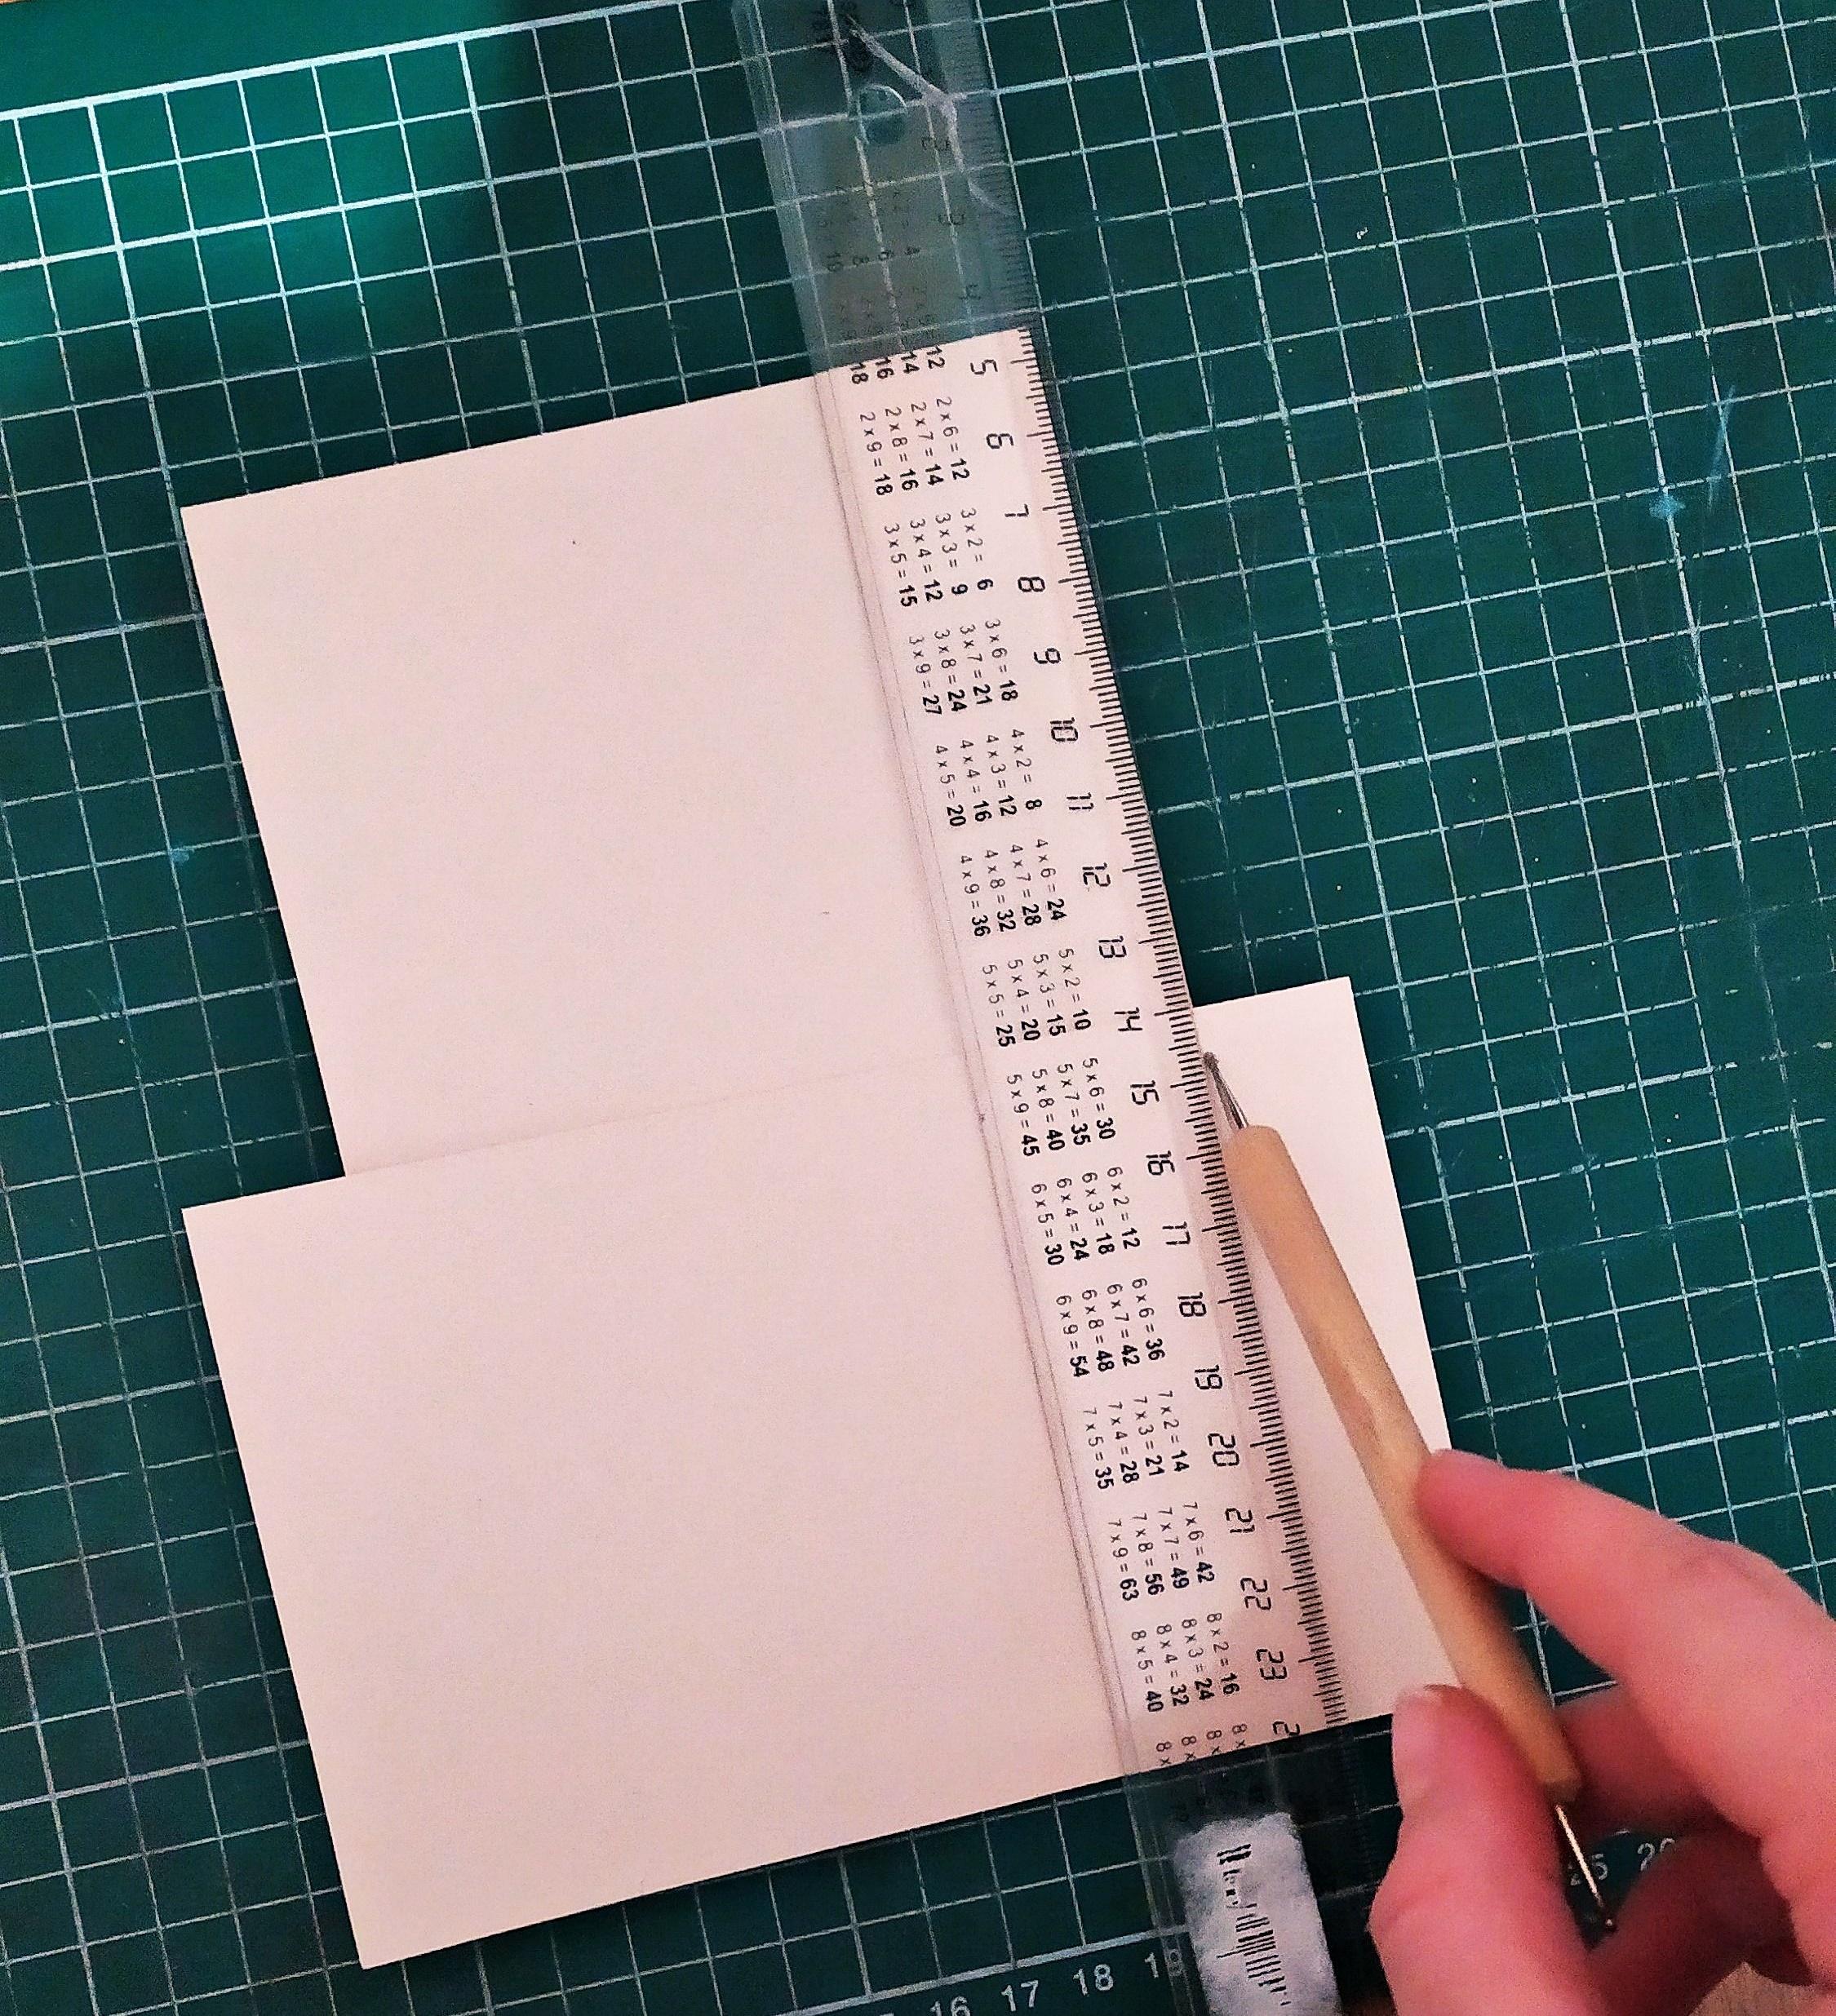
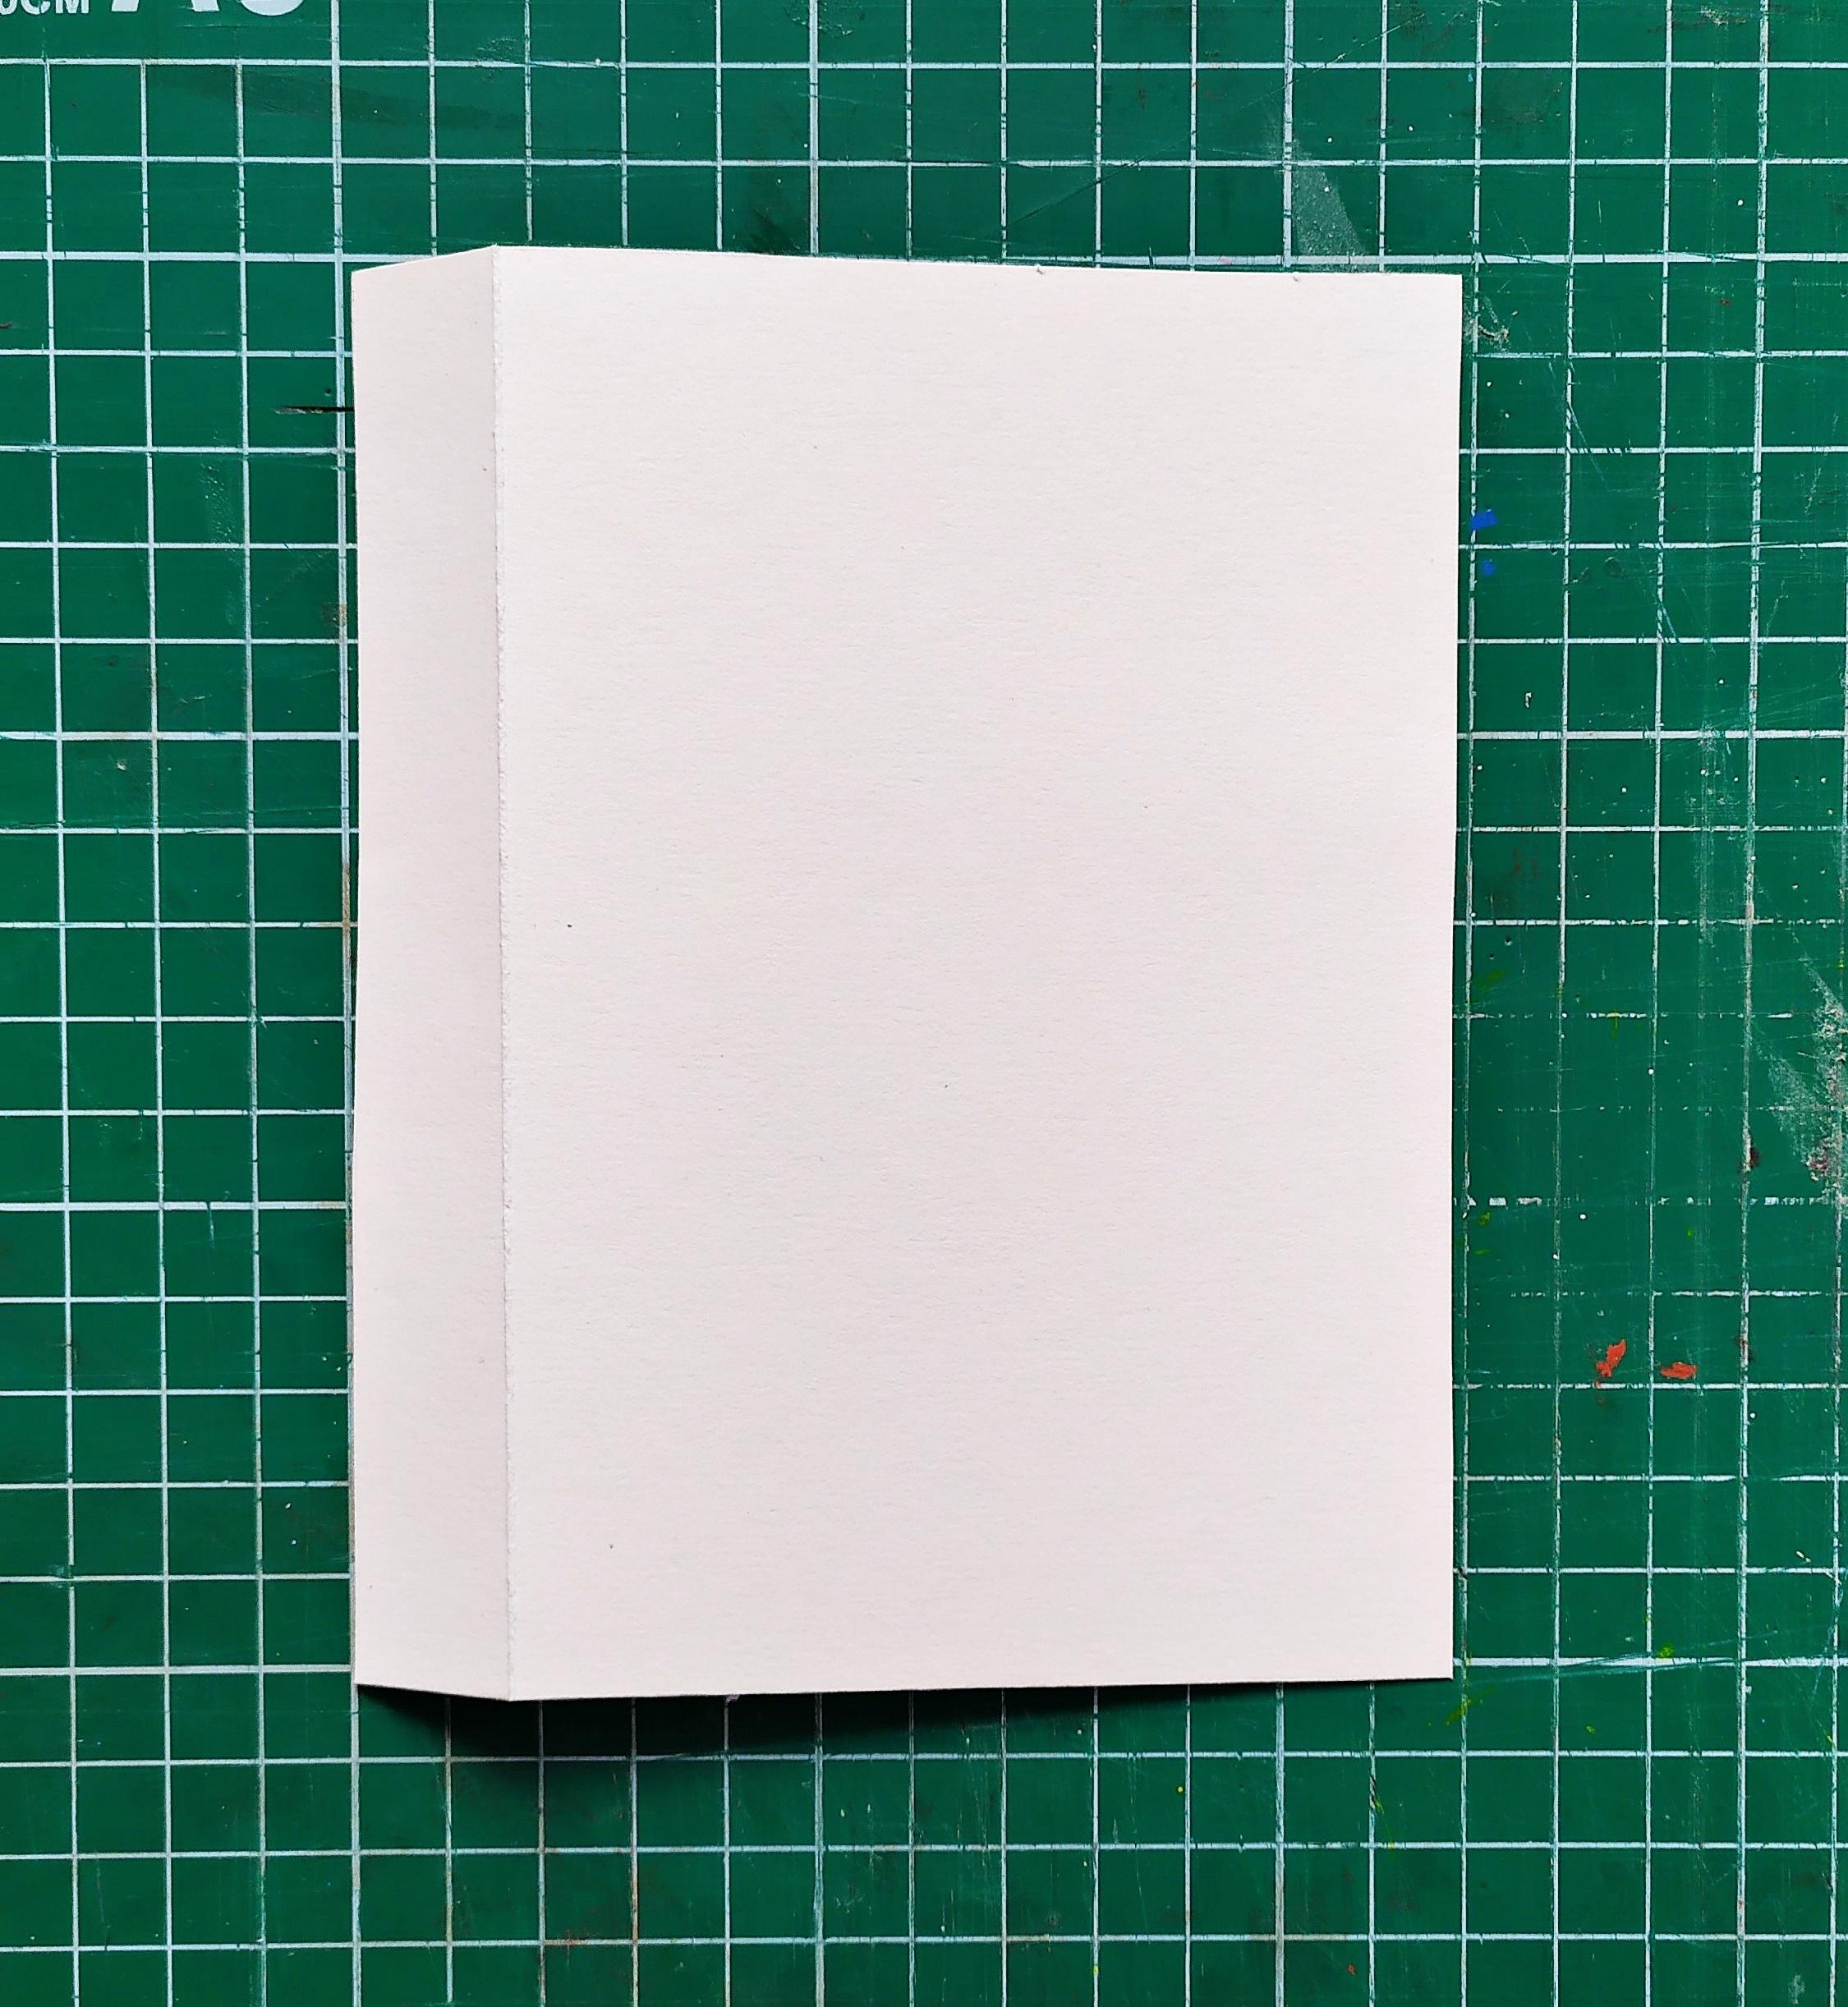
Remember the 2 cm overhang you left? Now it's time to glue it down.
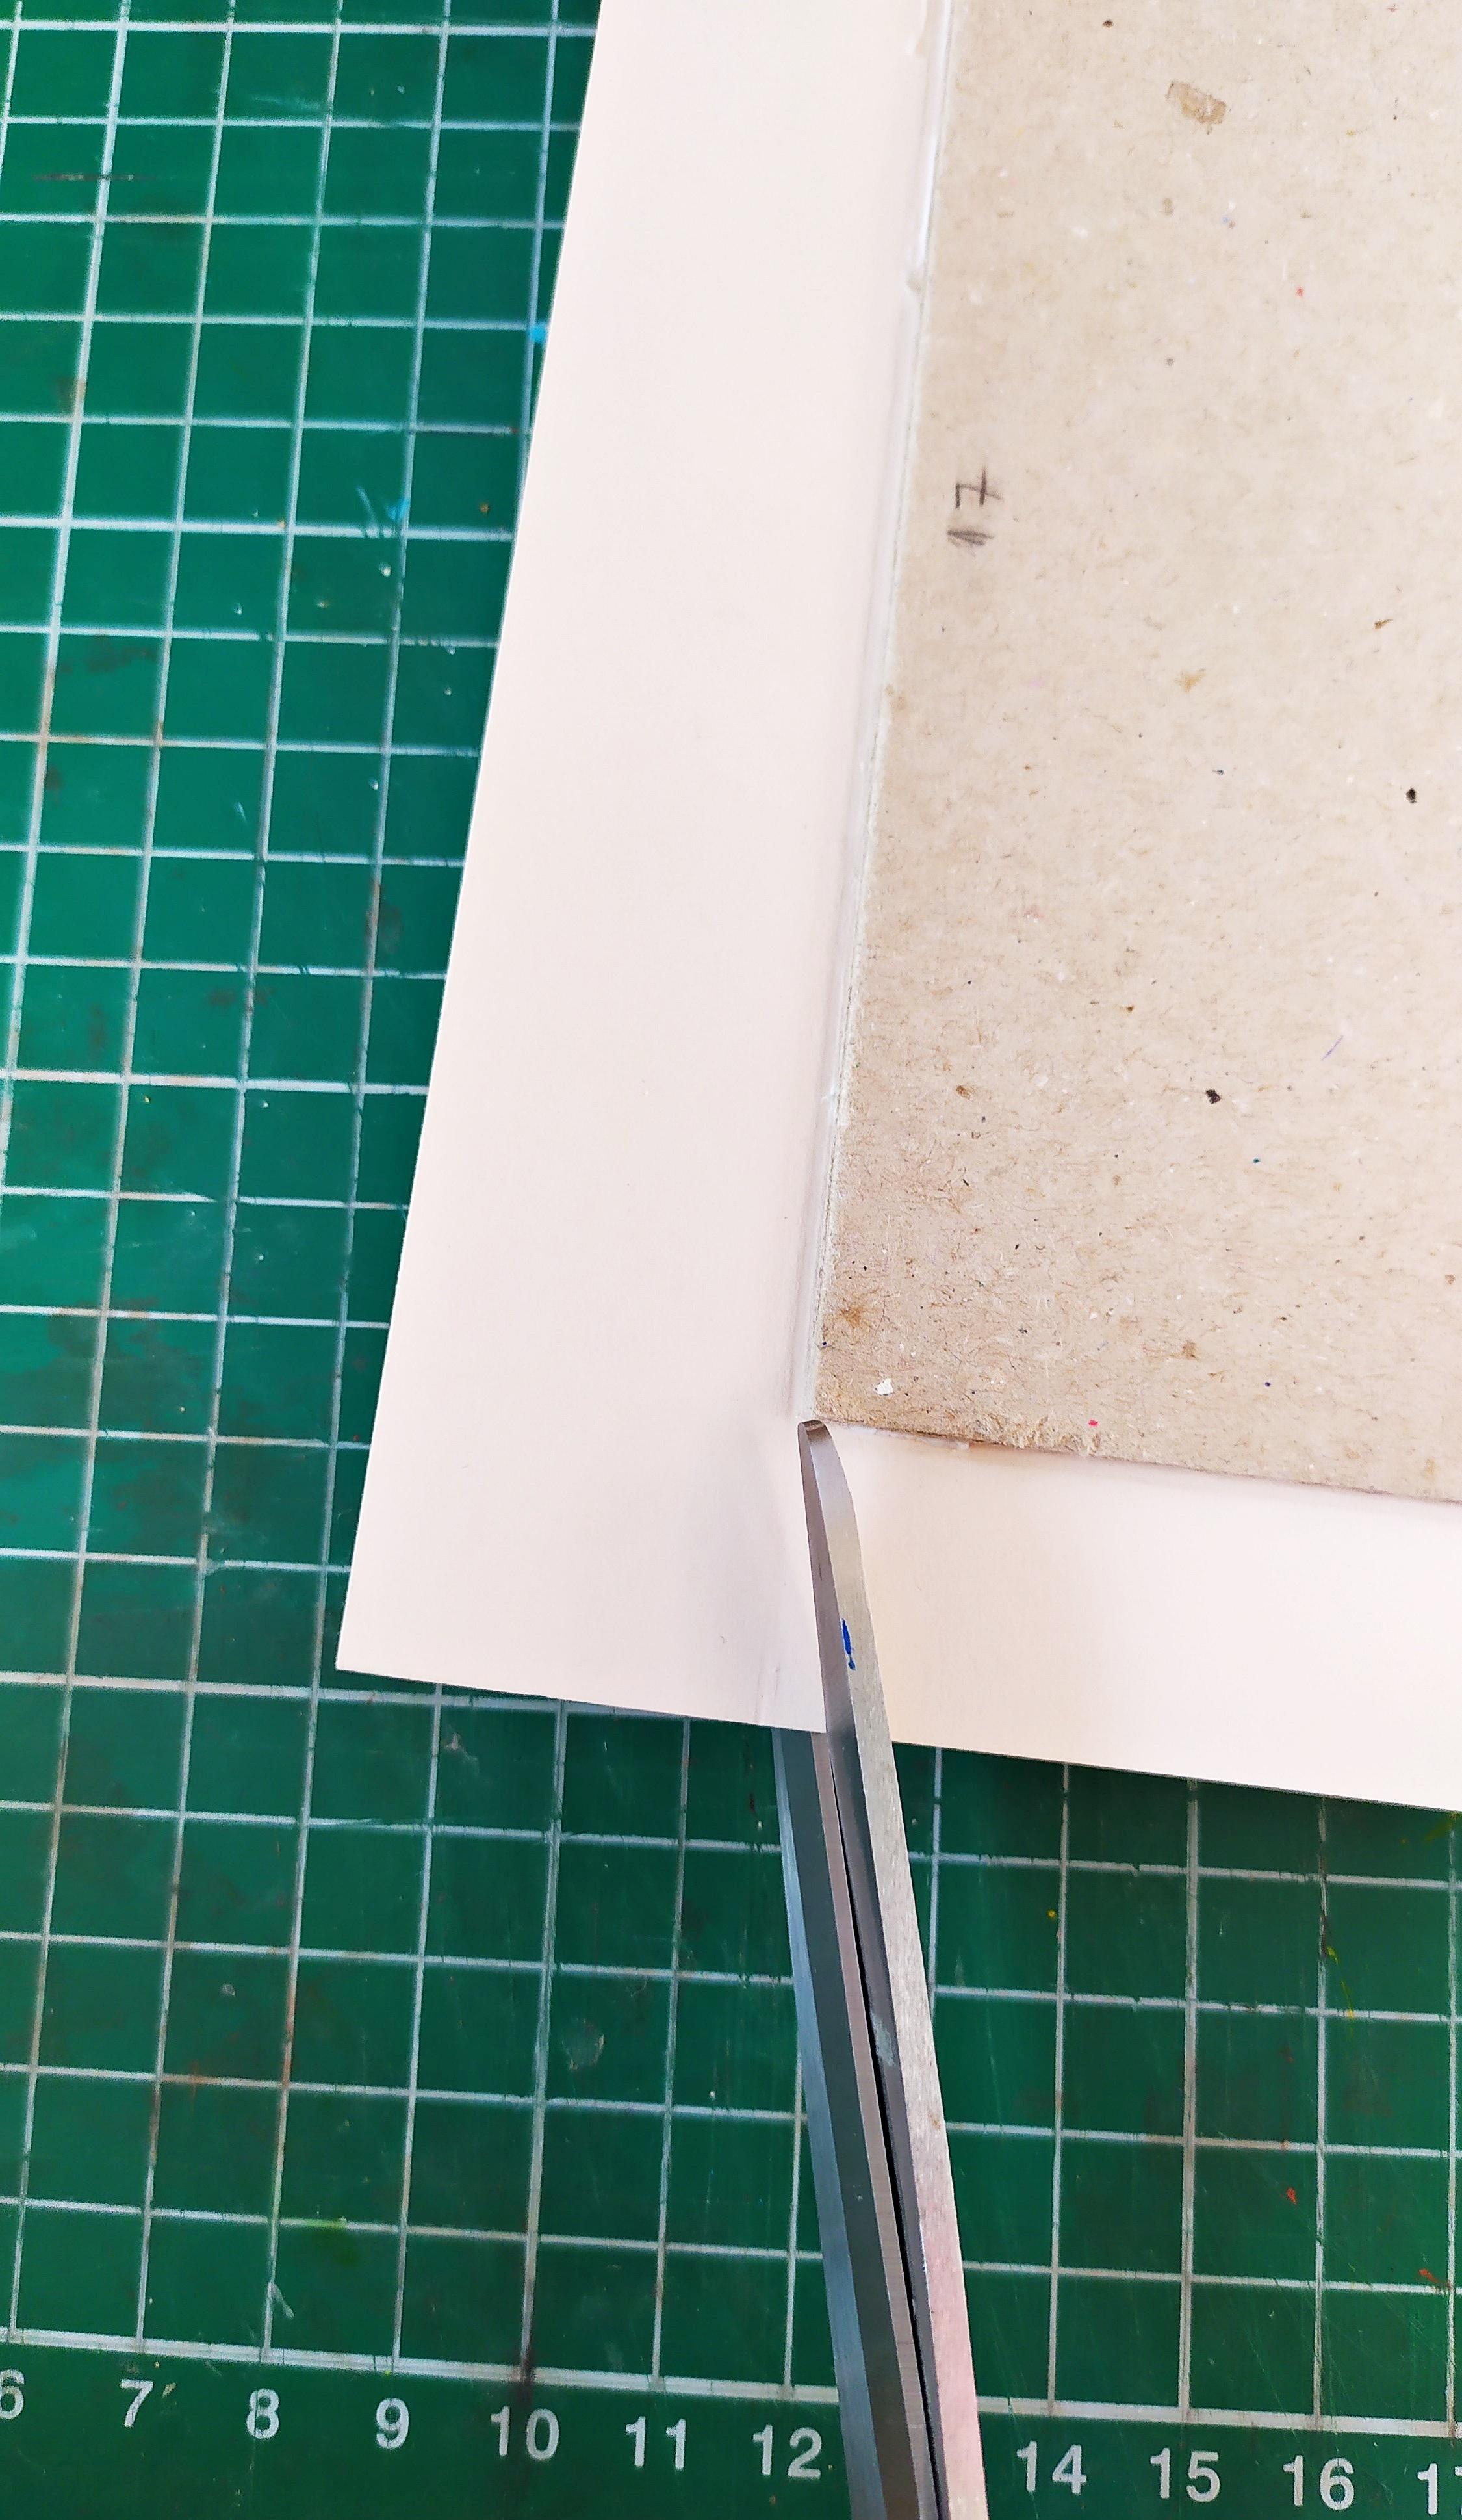
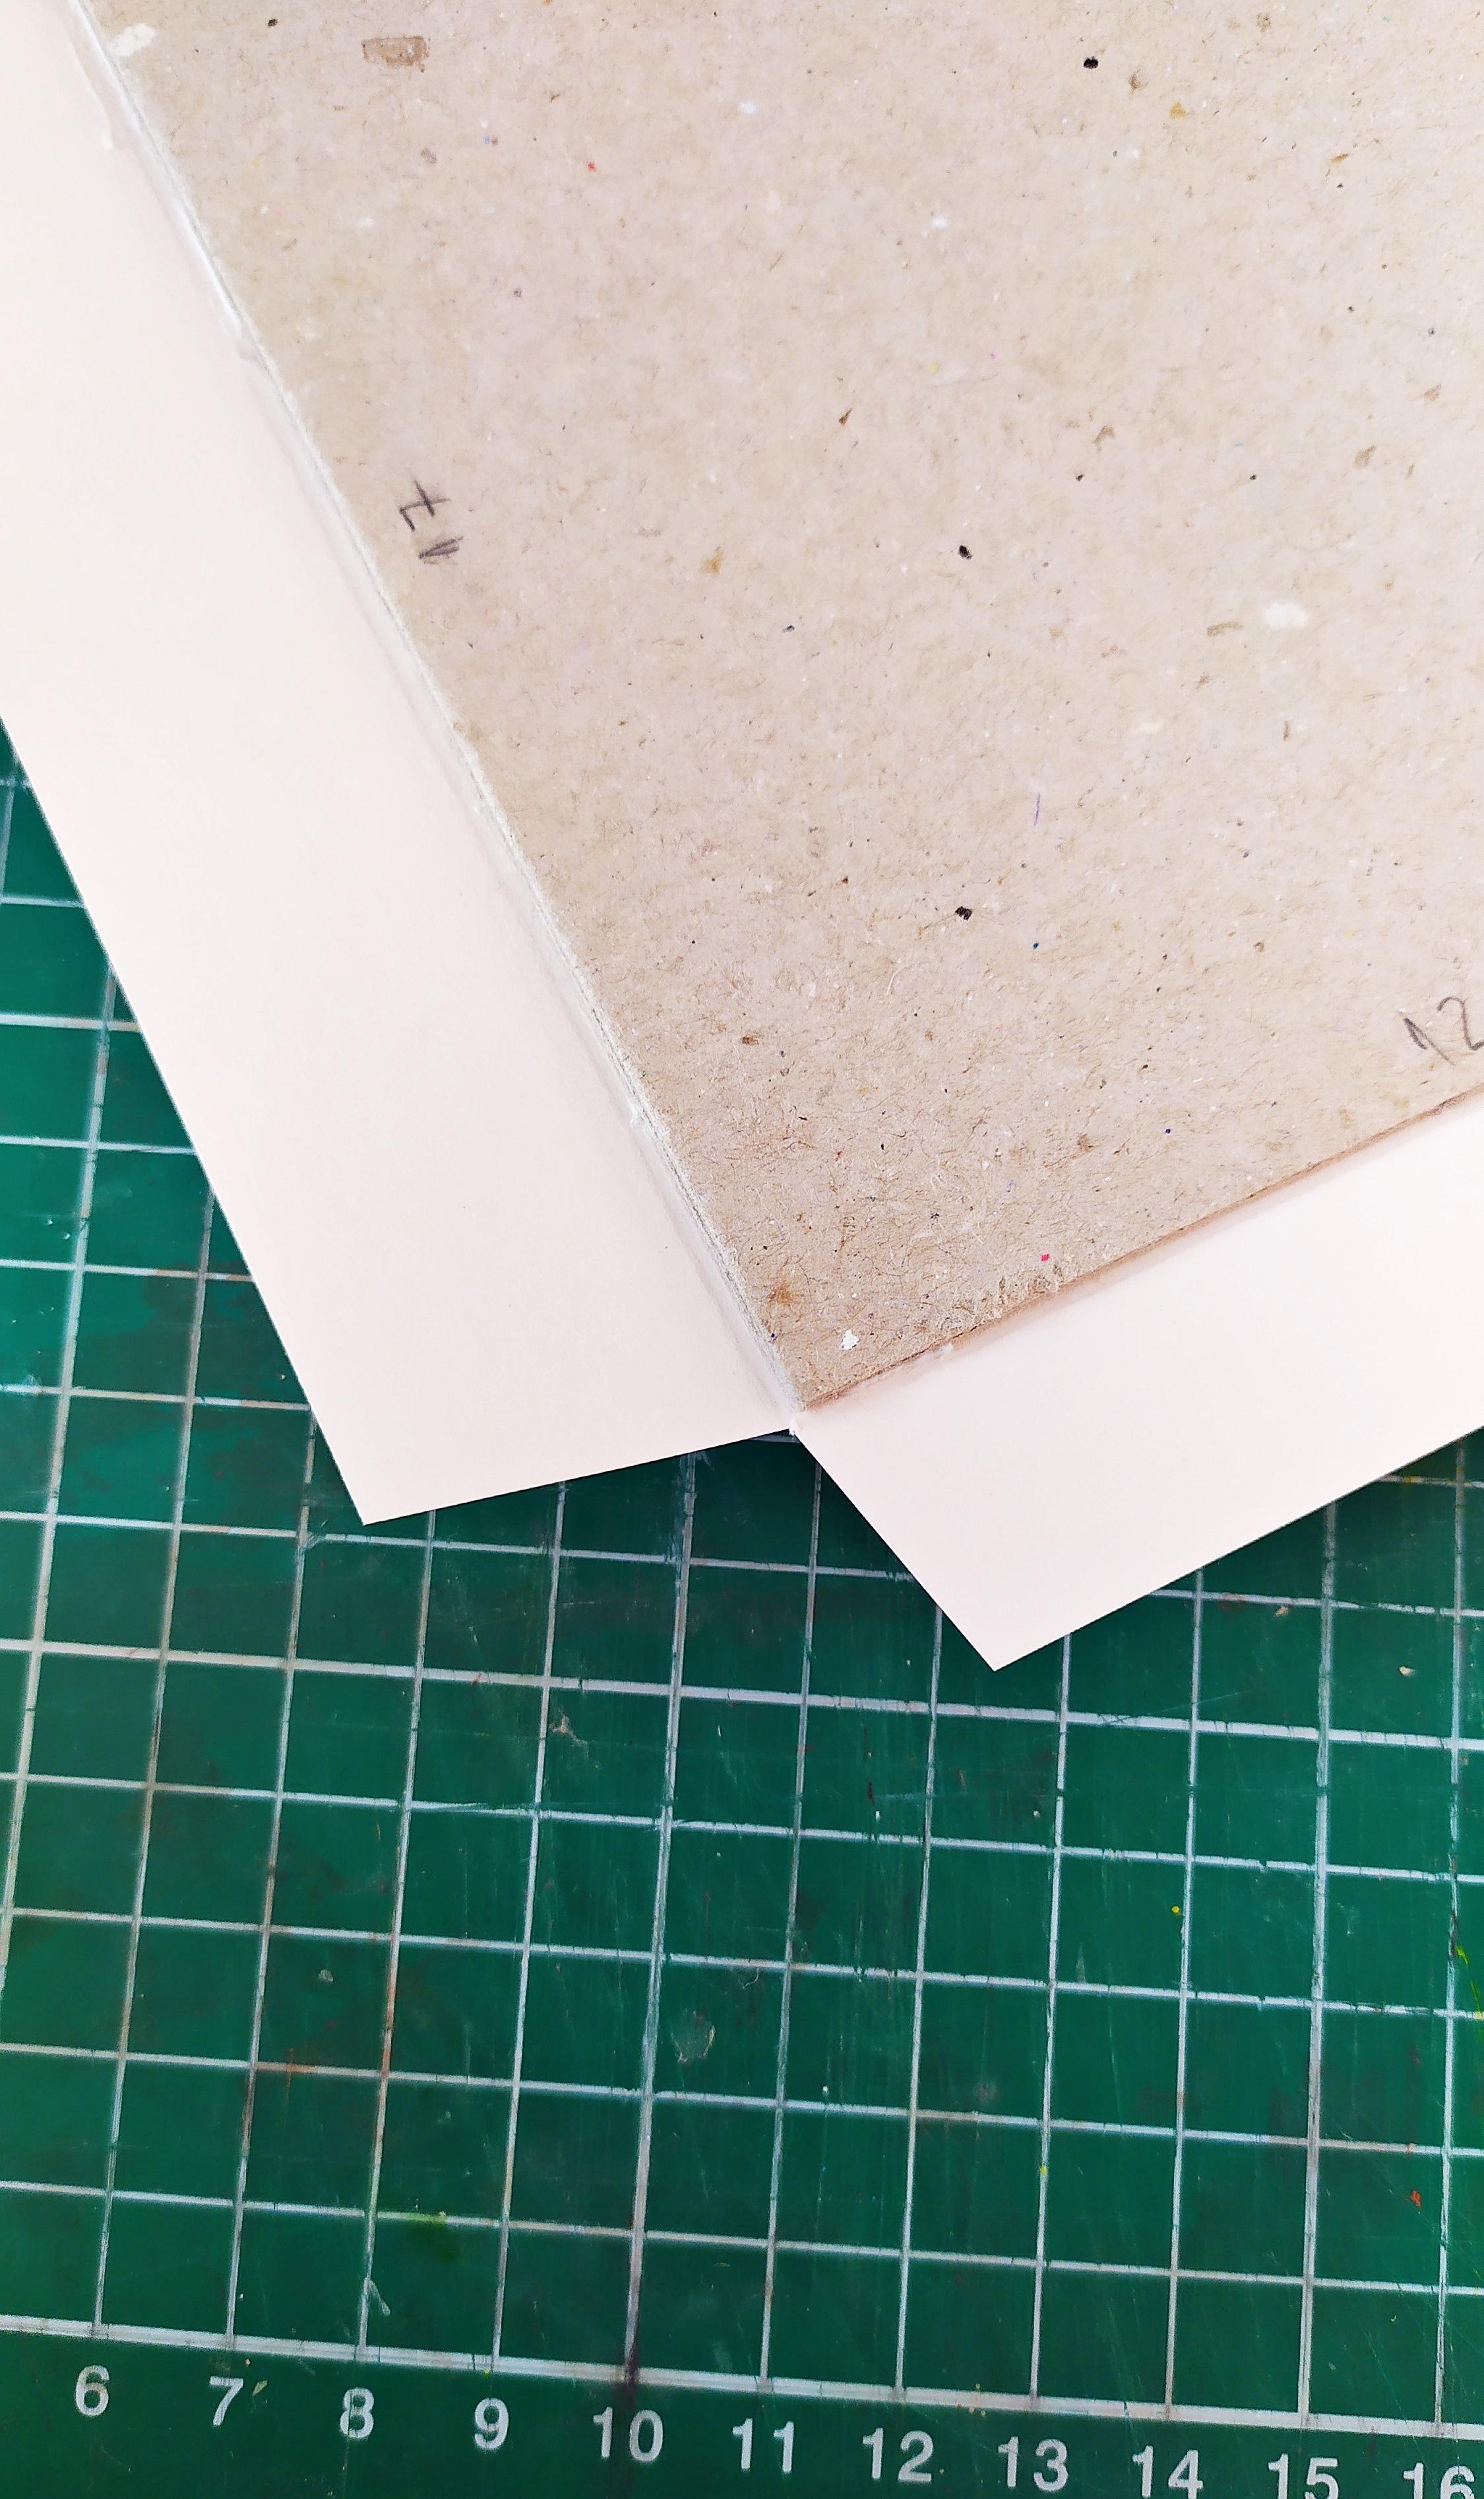
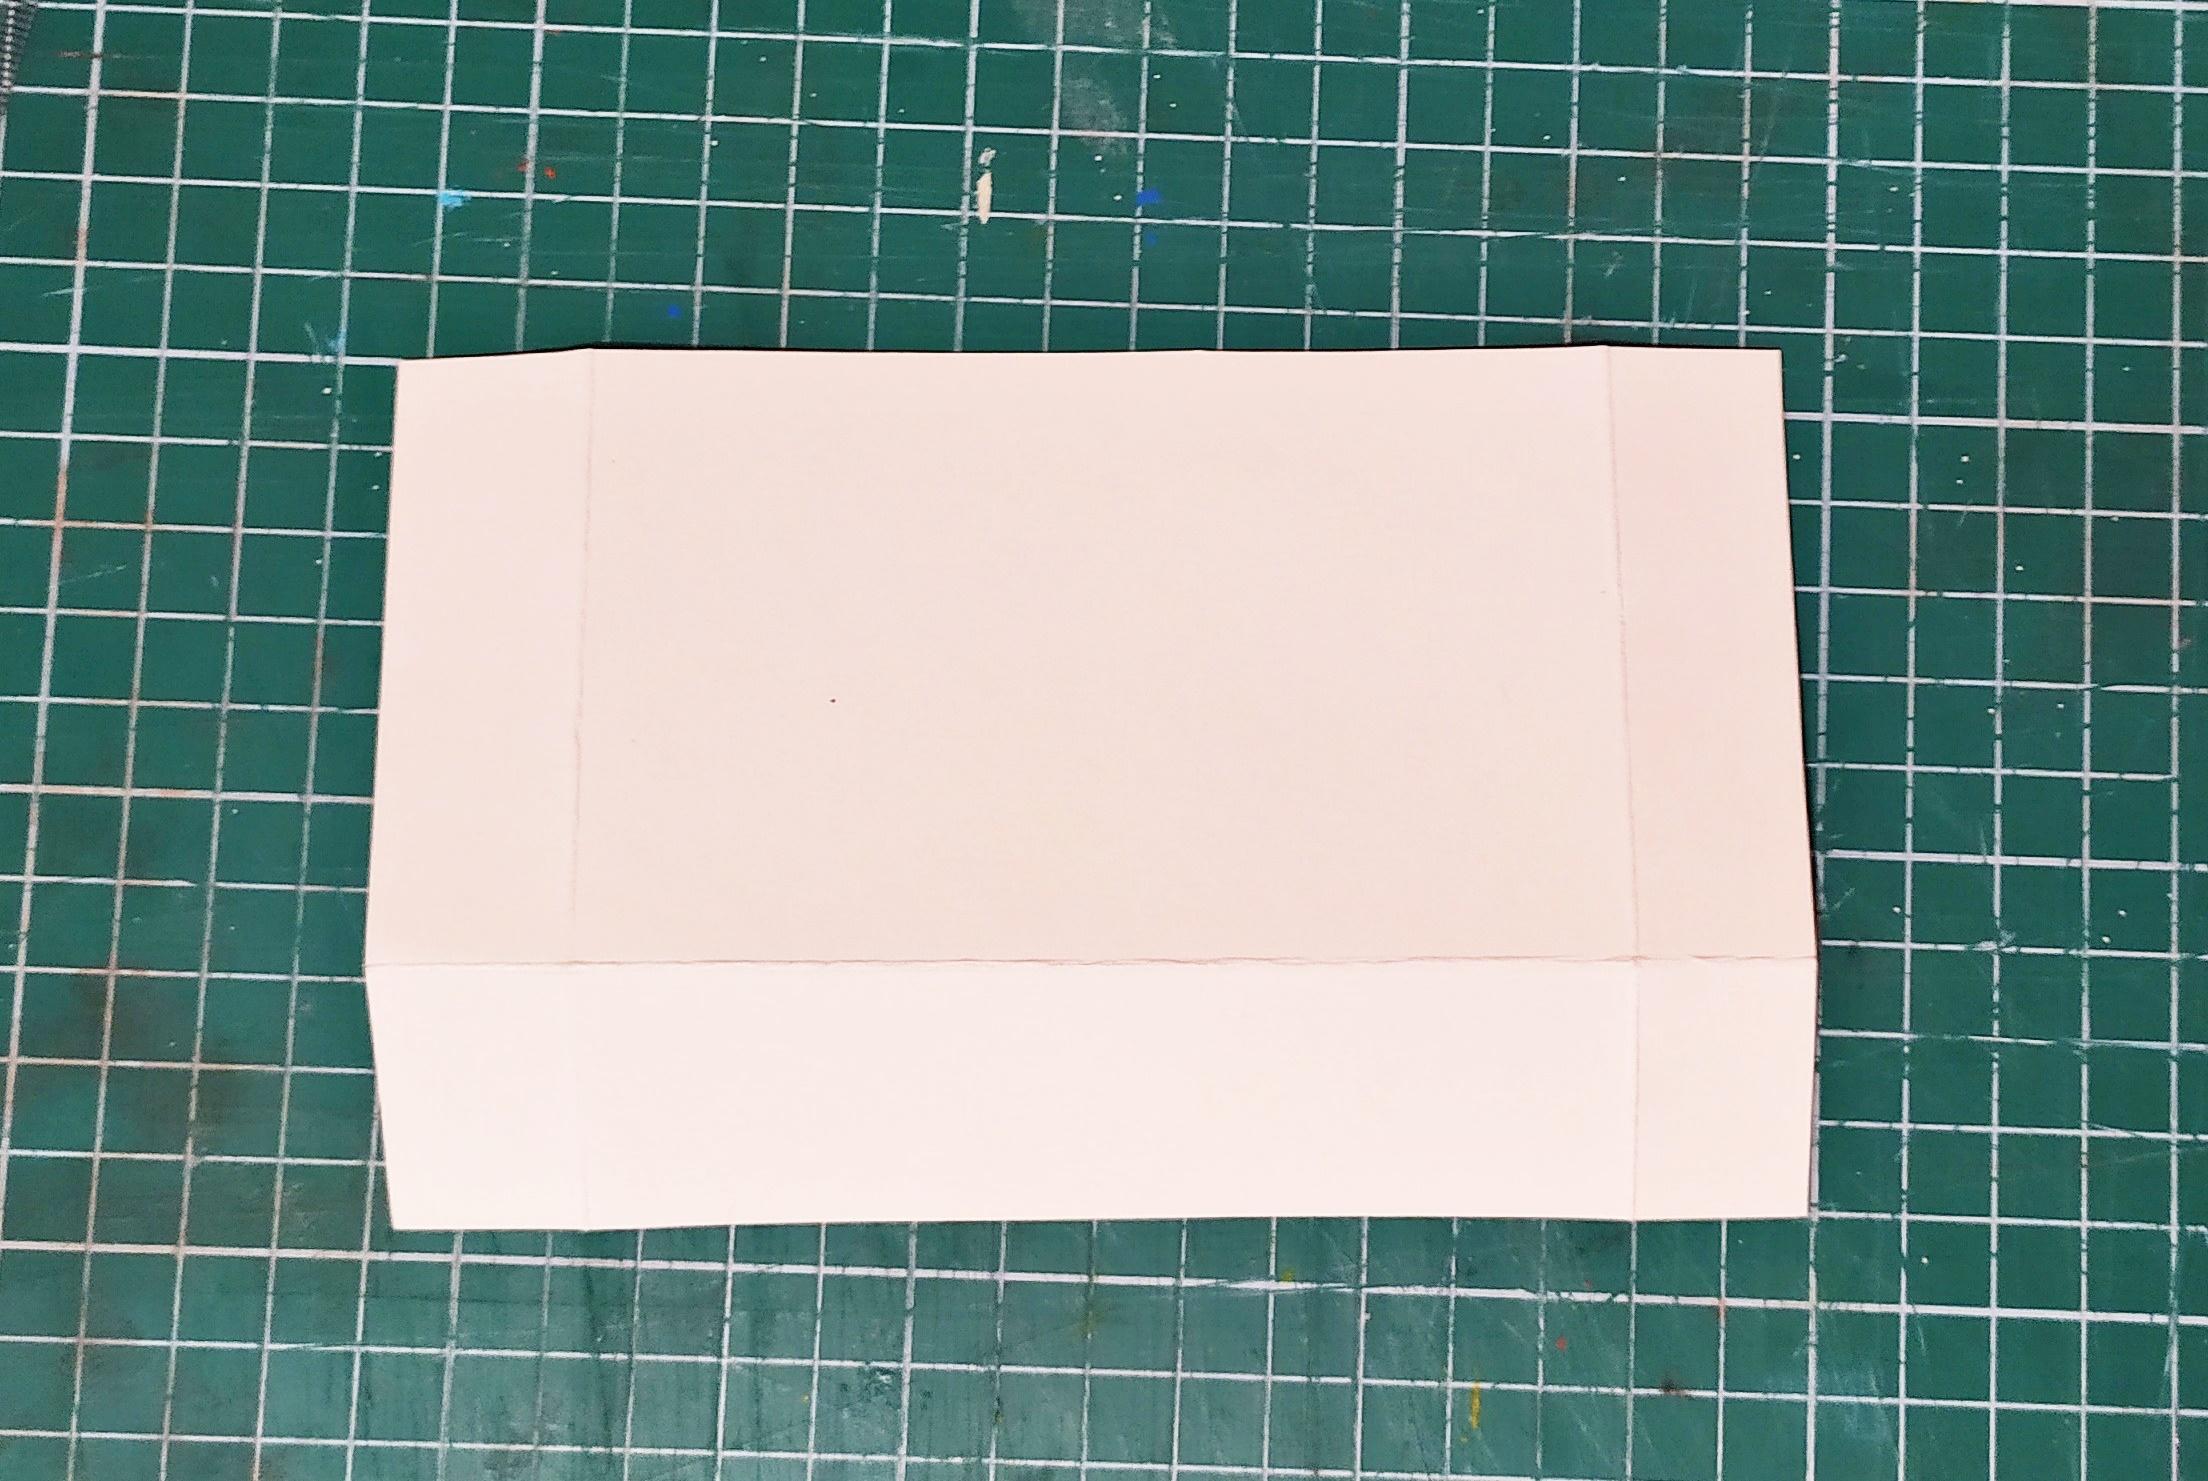
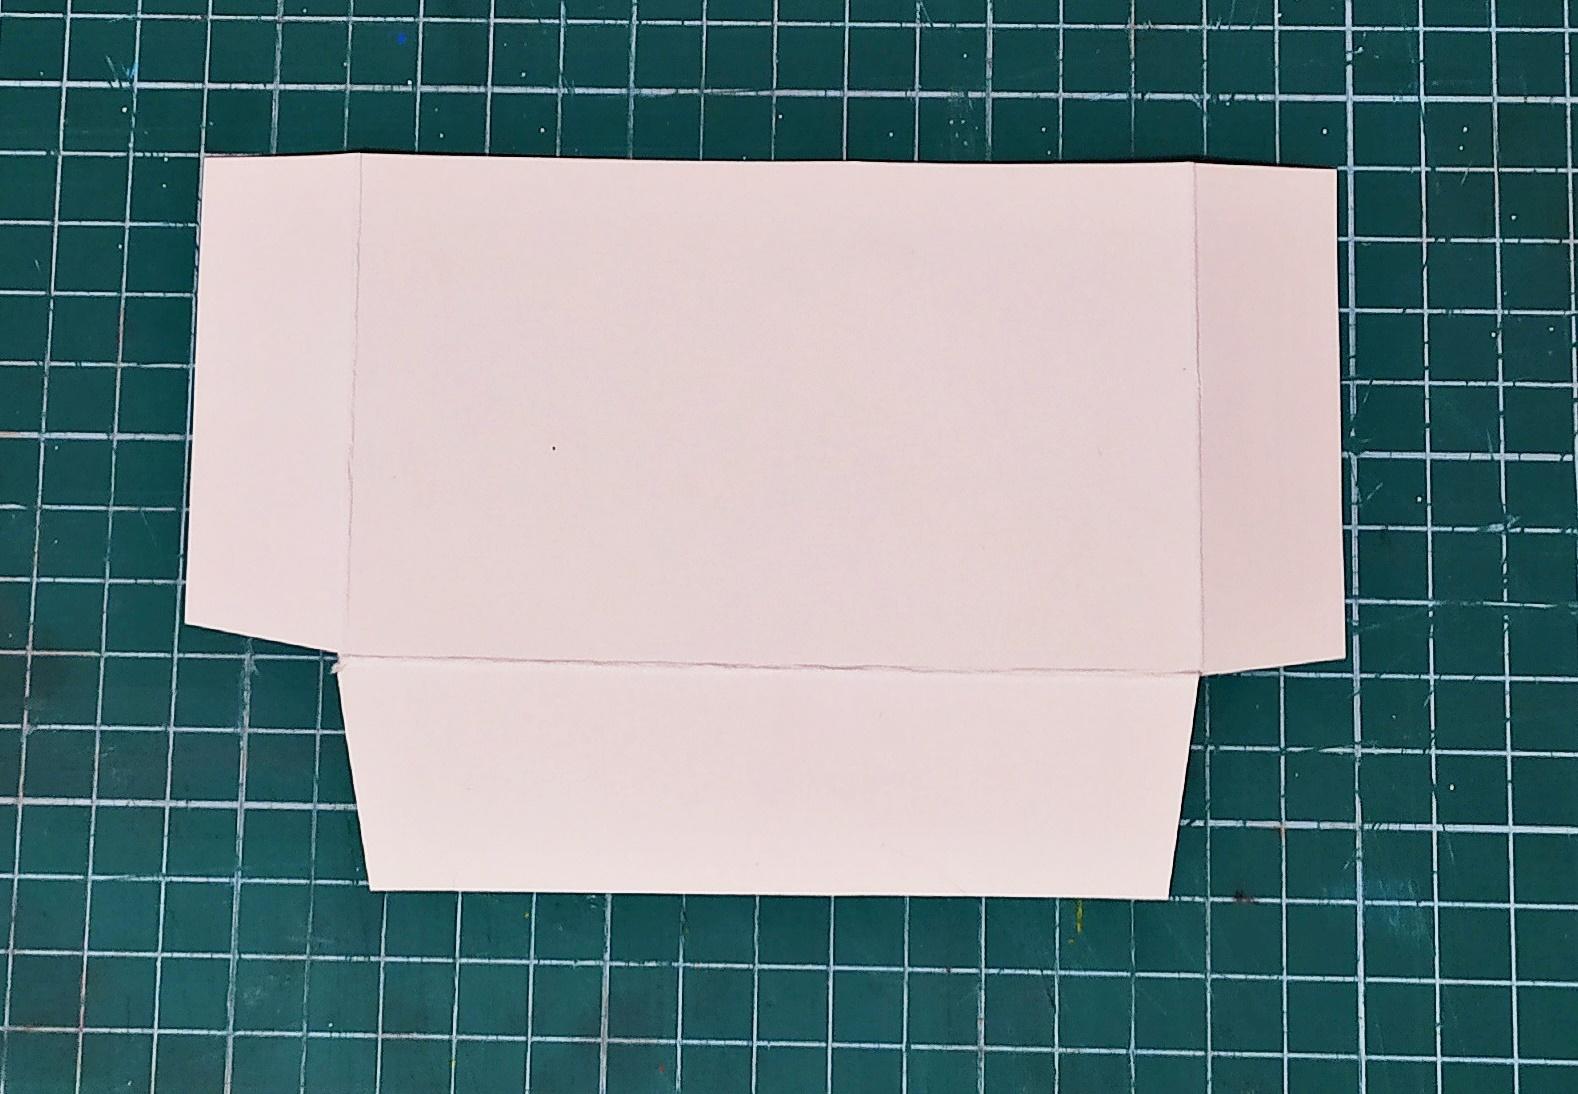
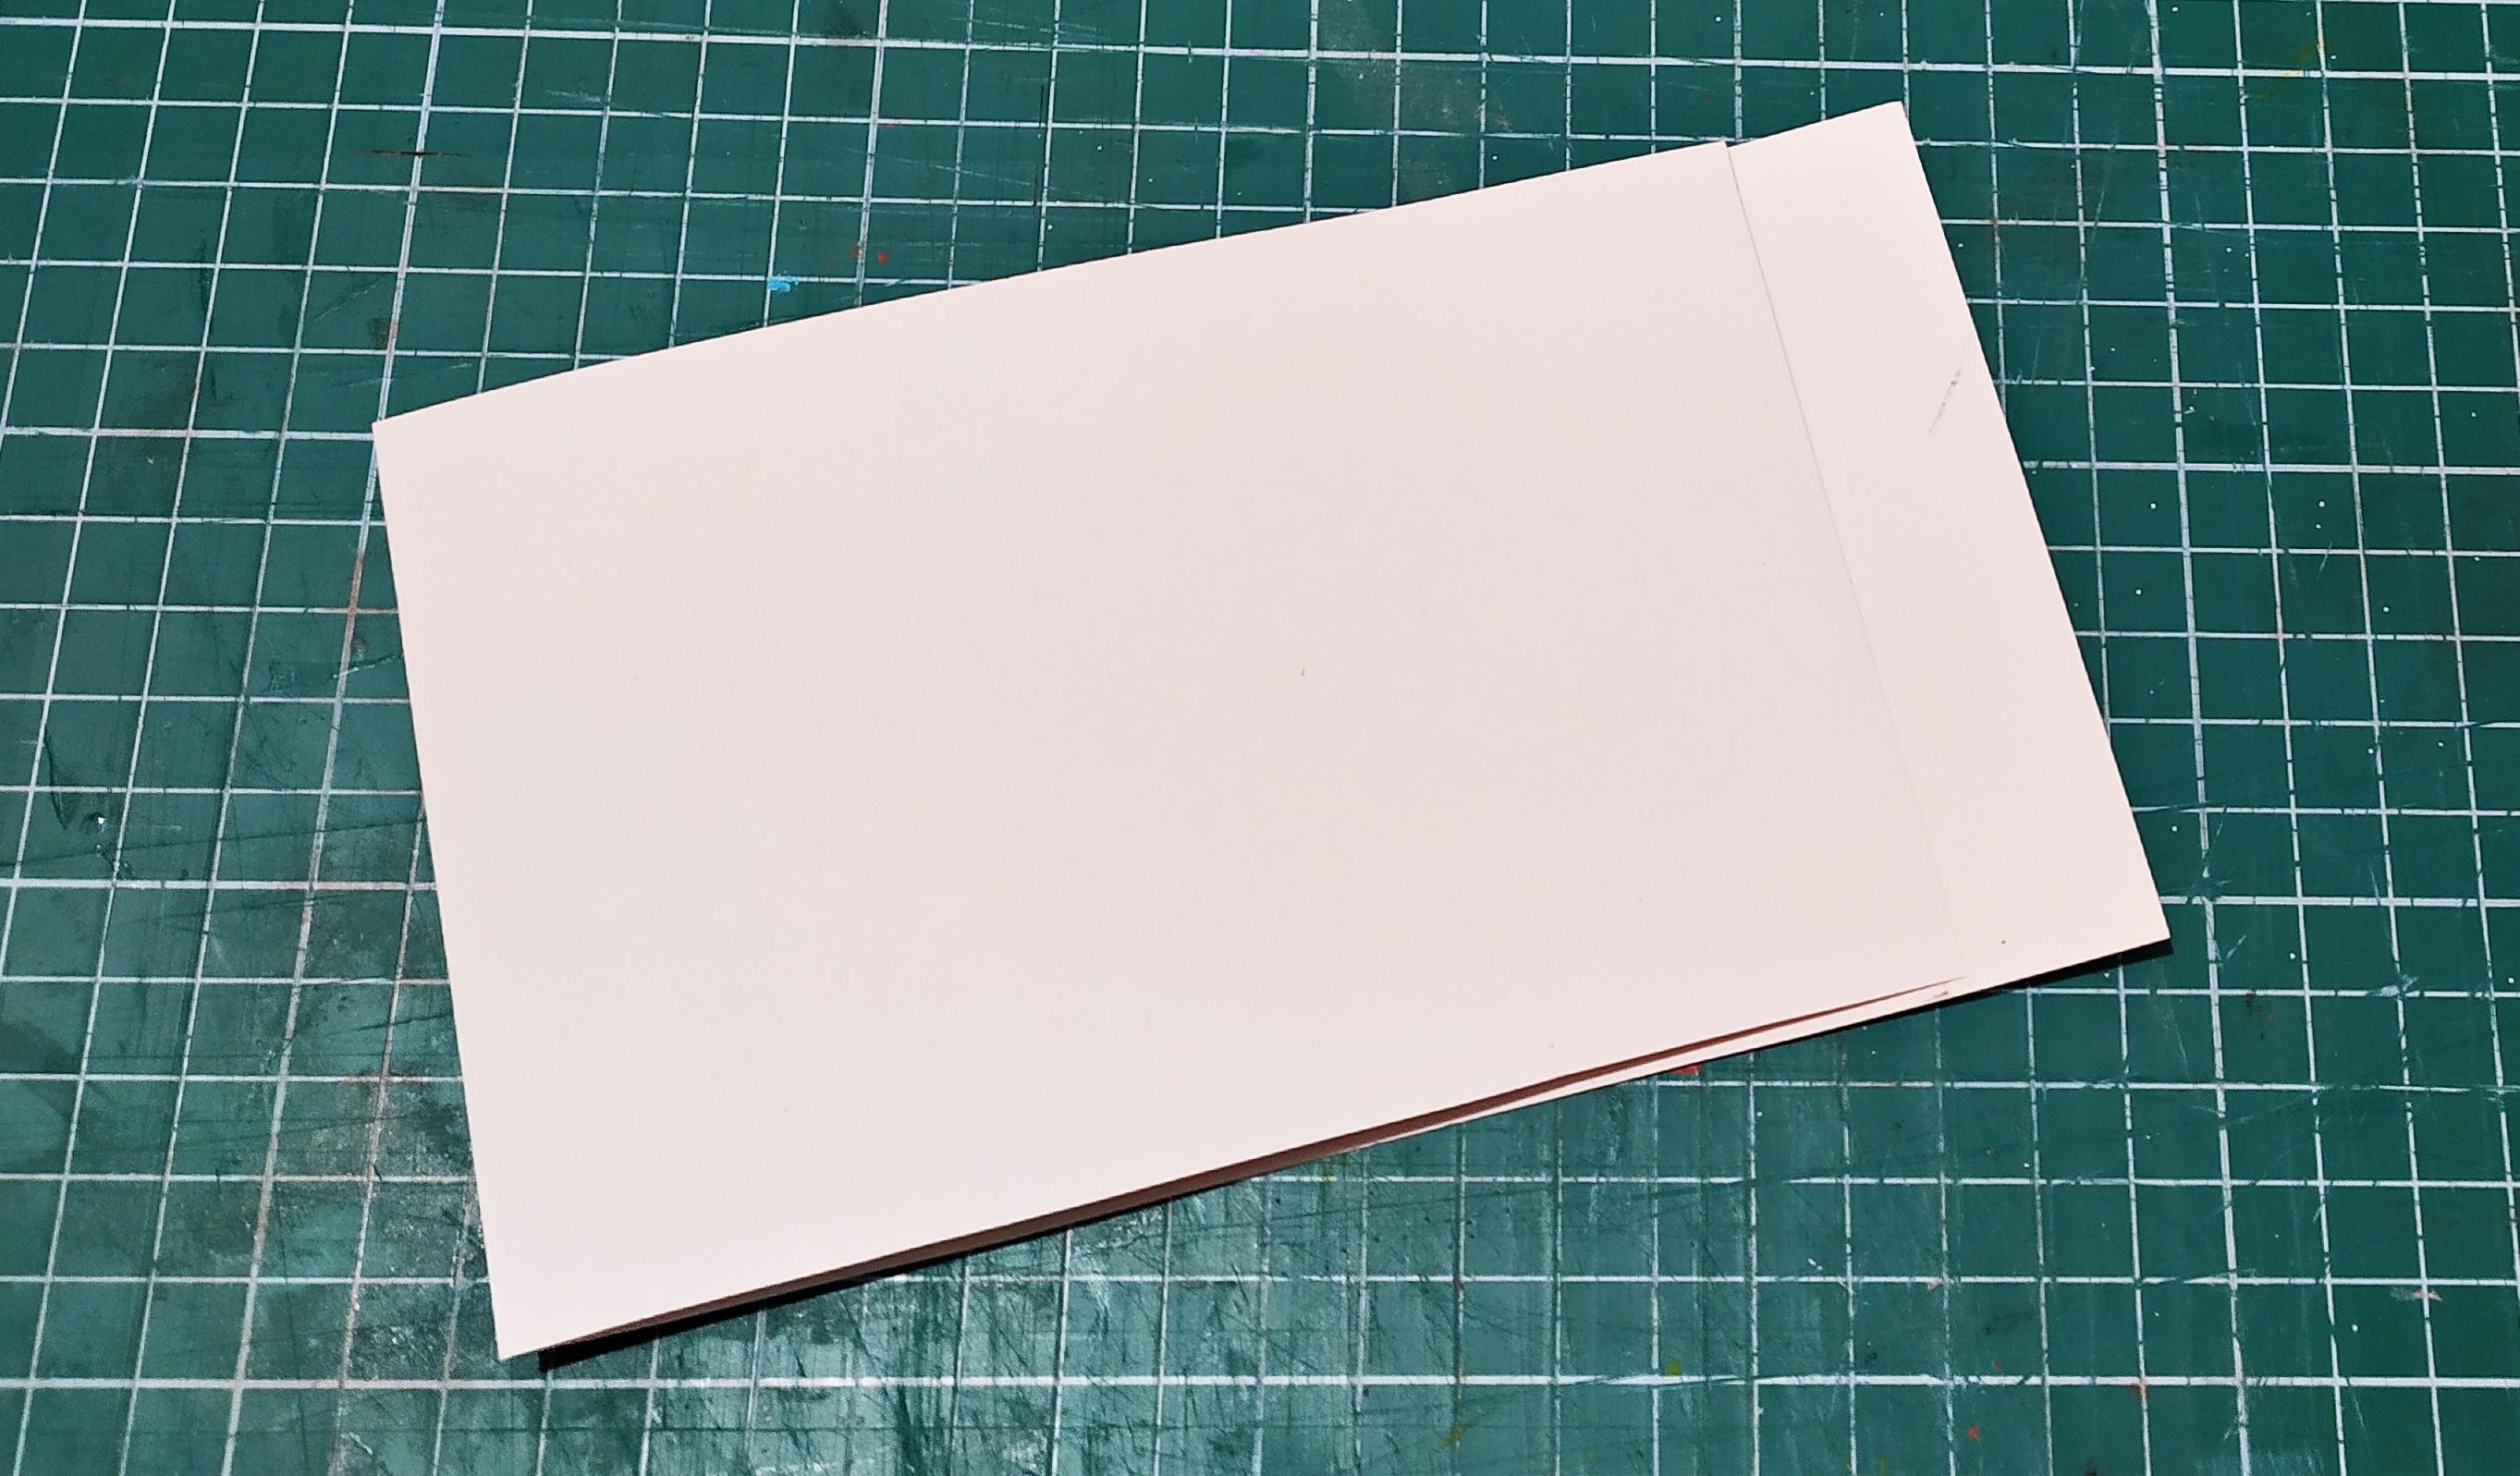
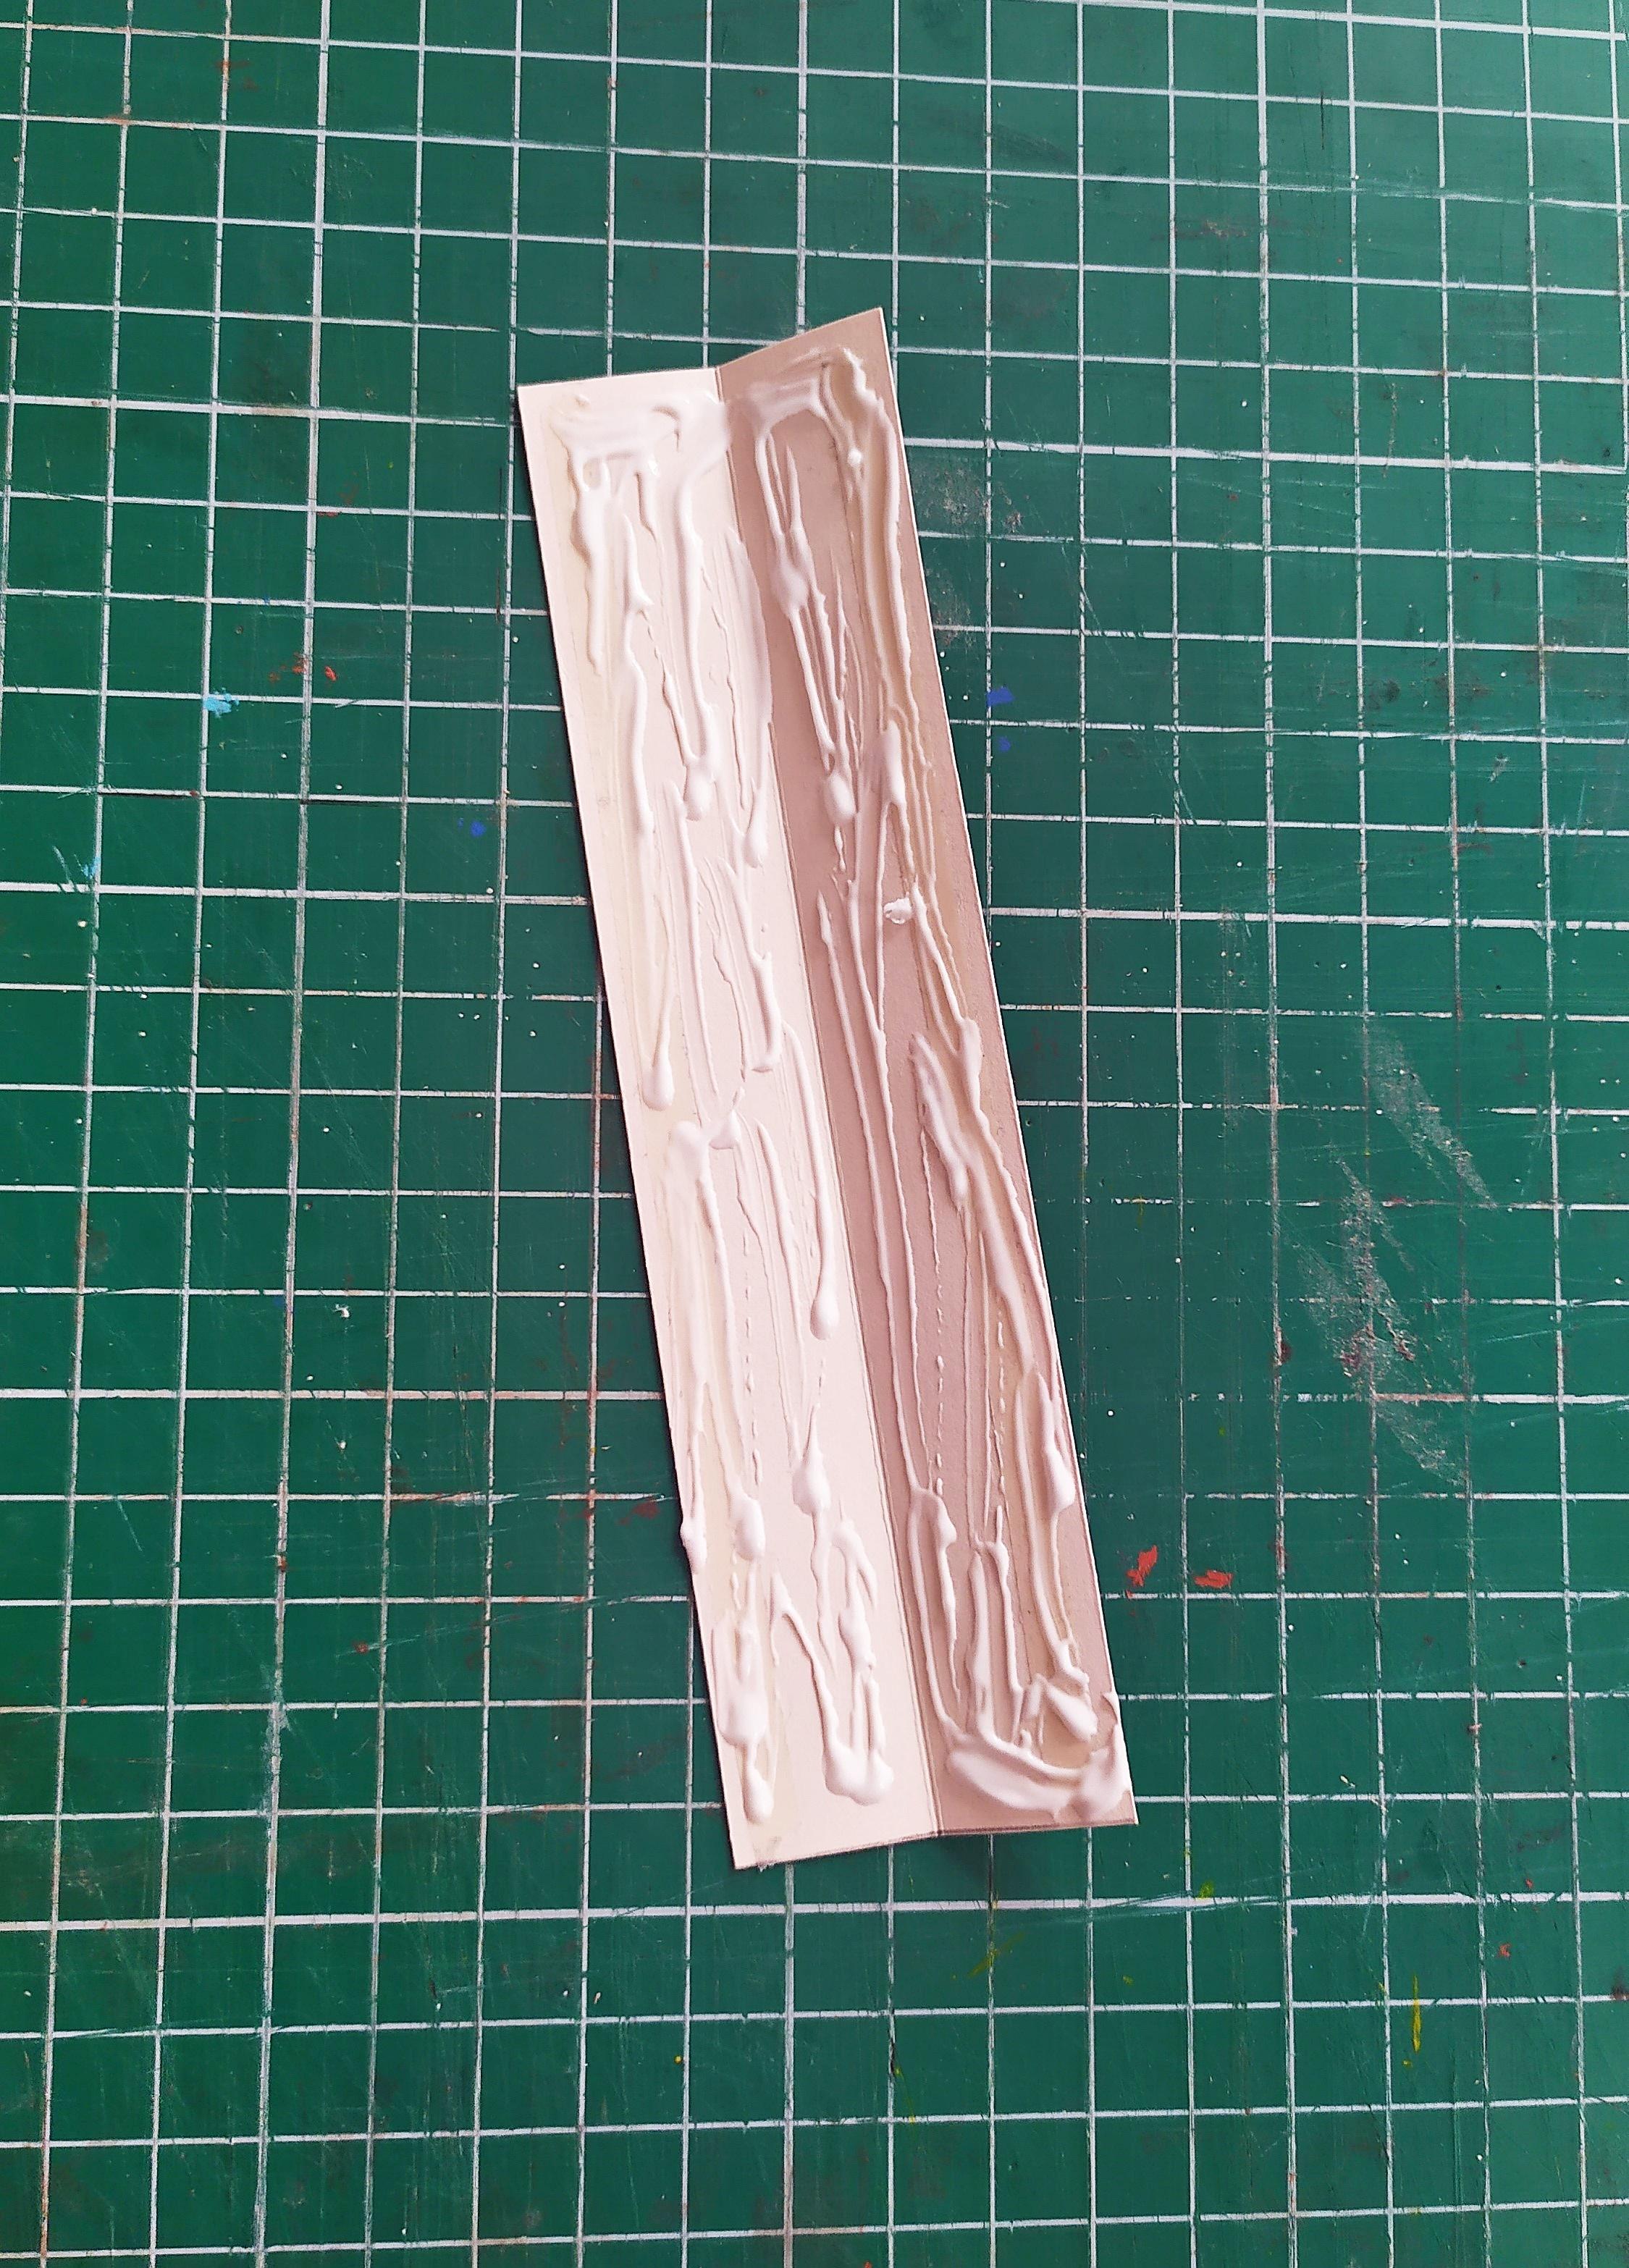
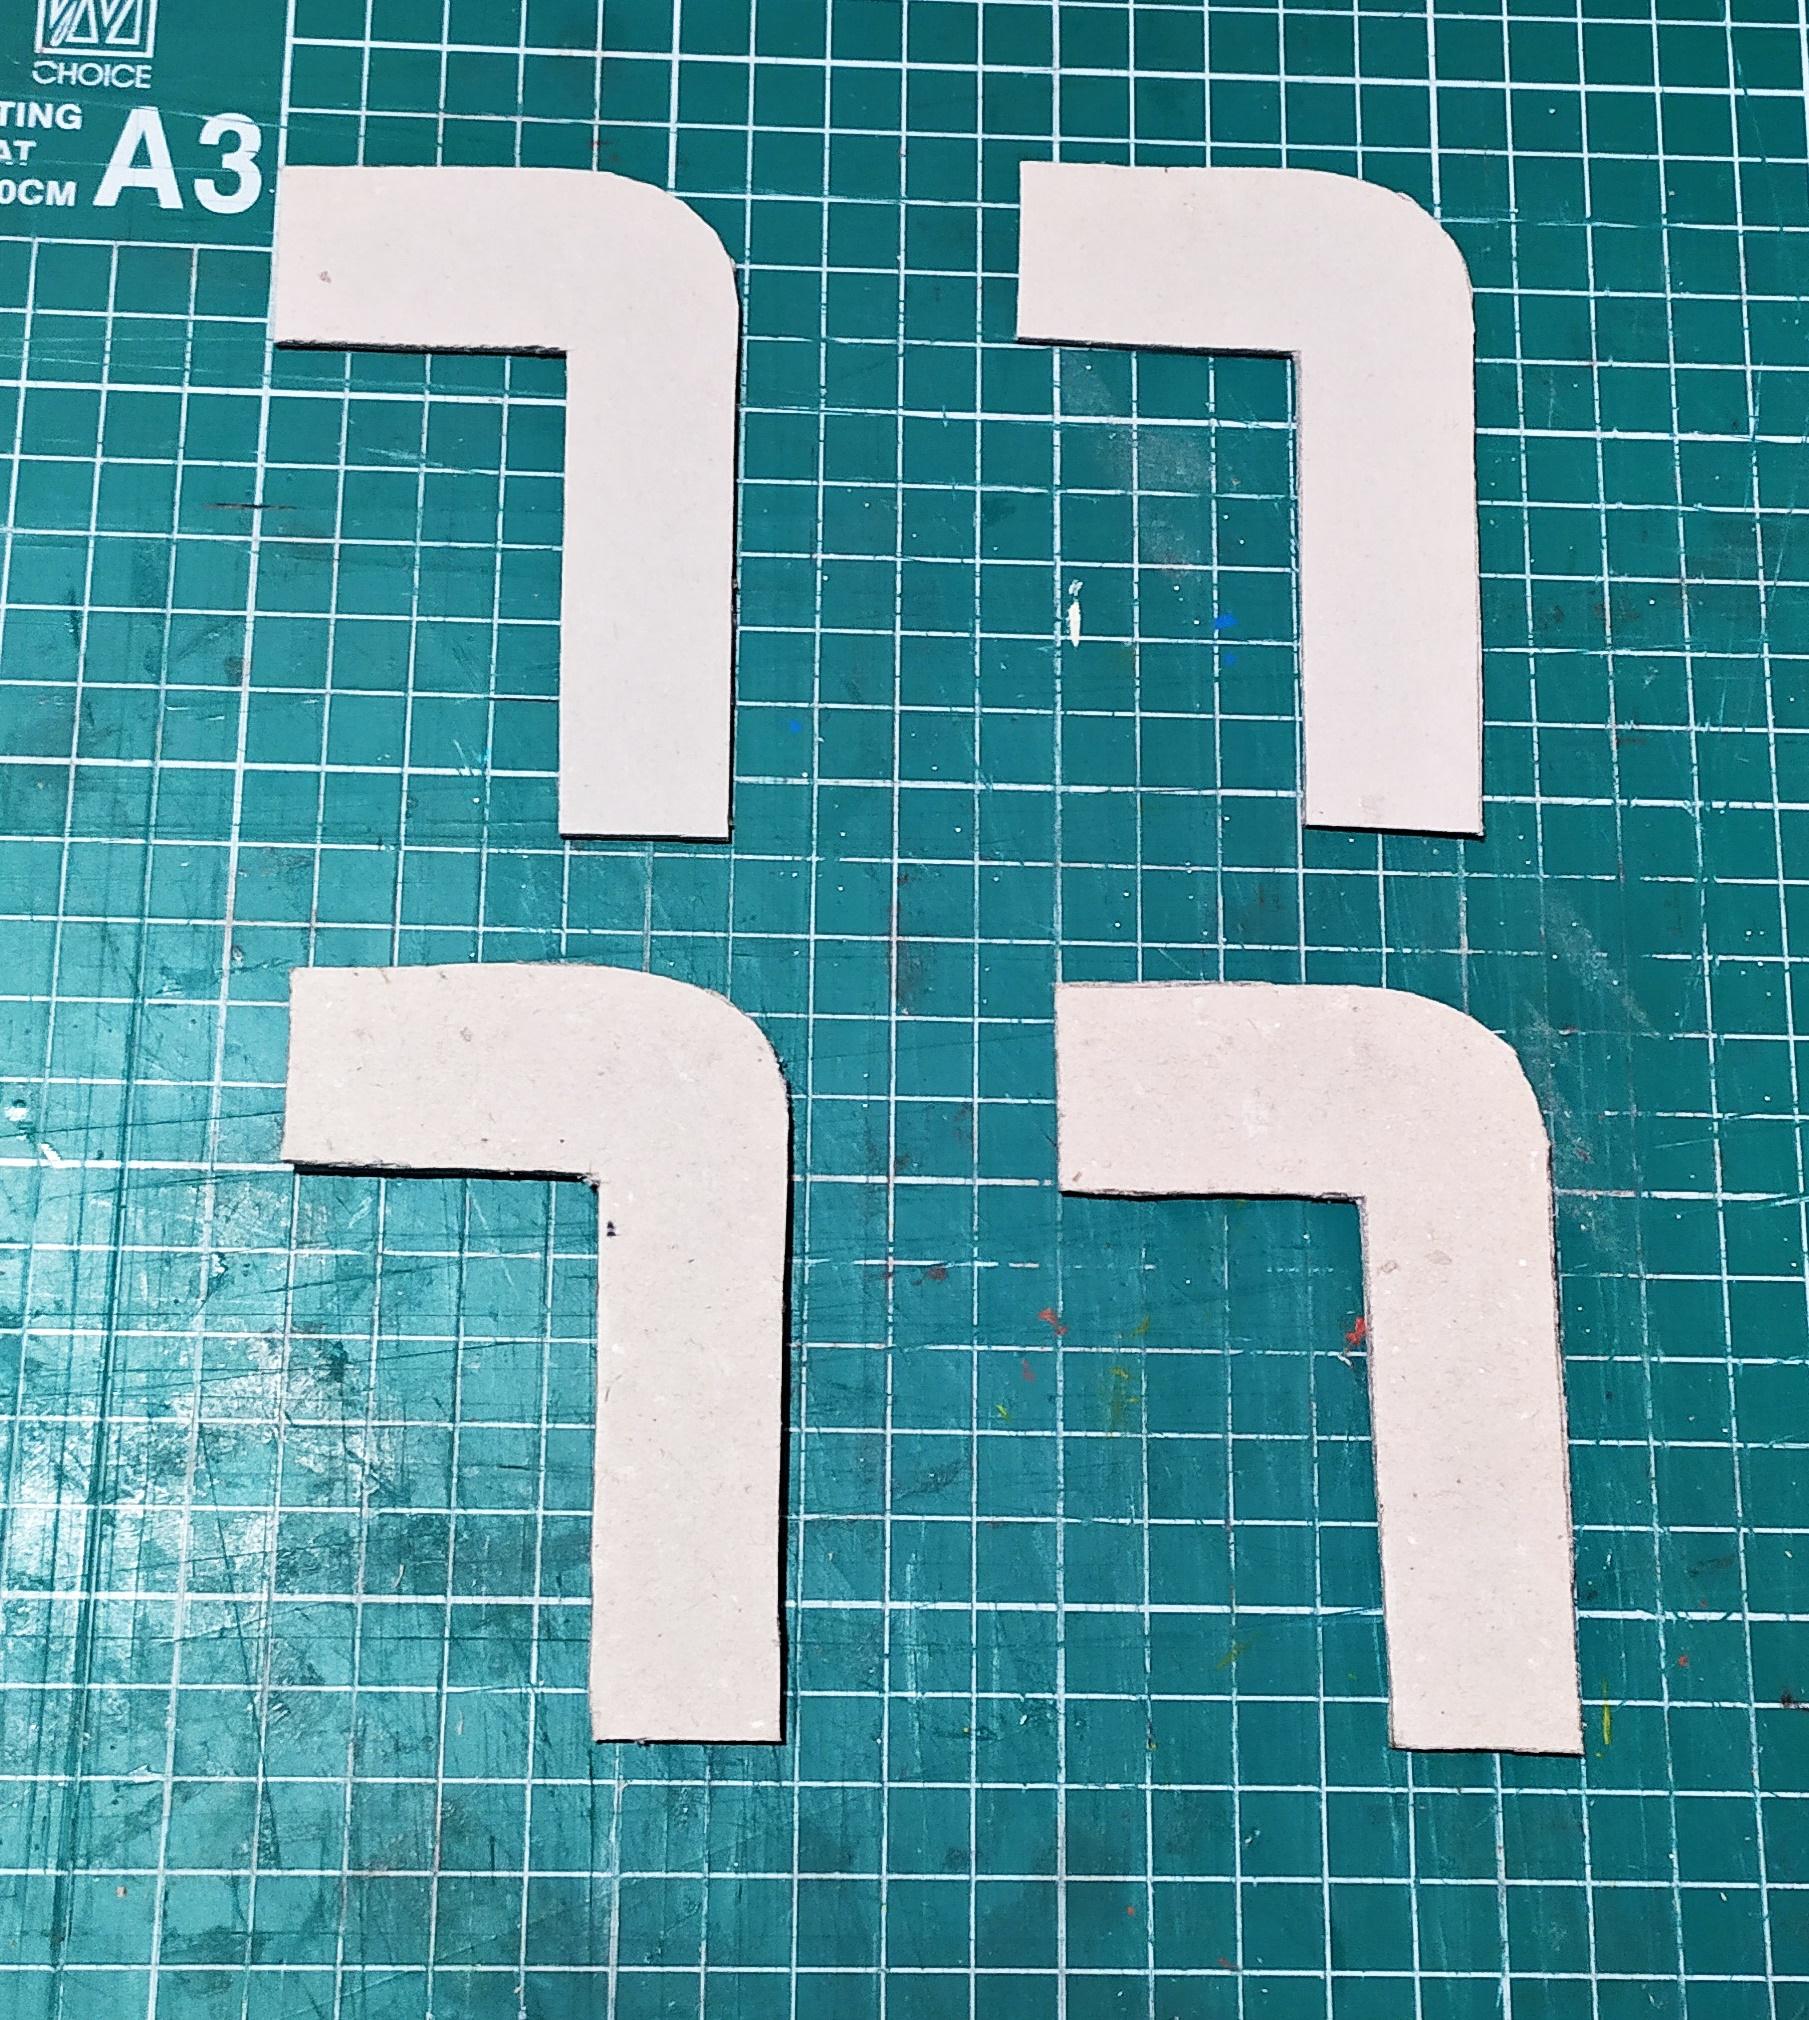
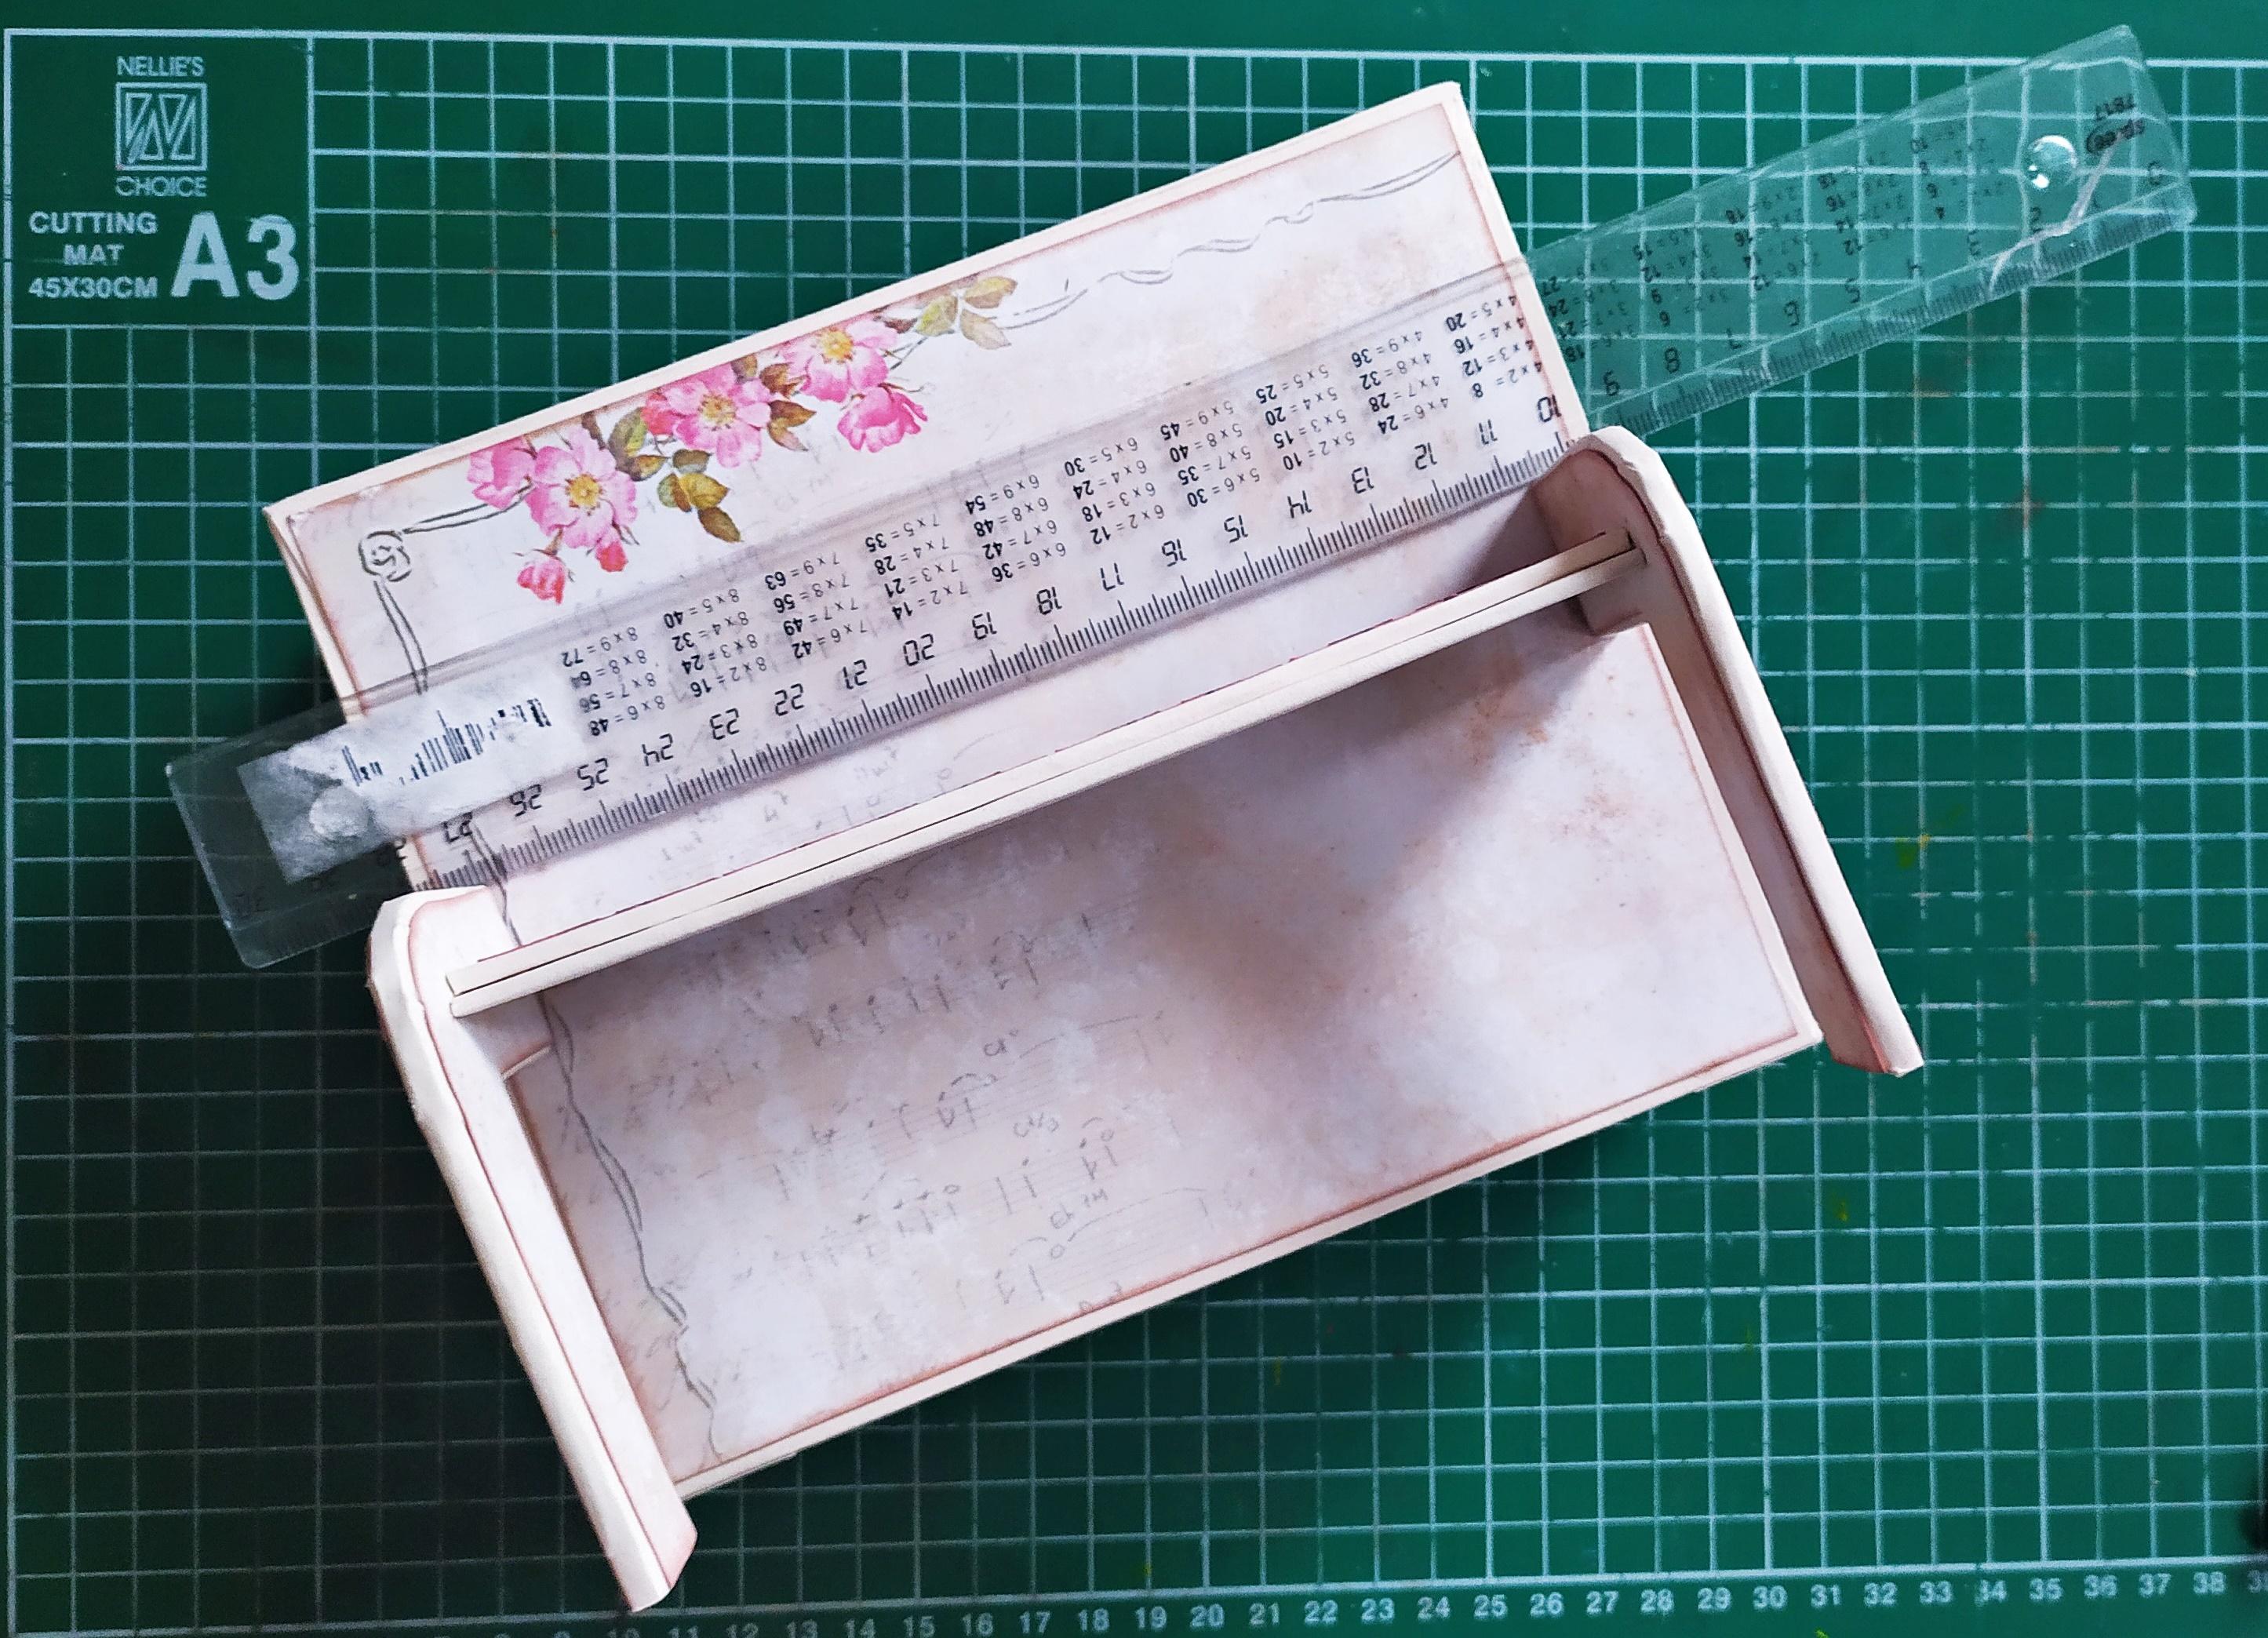
Start by scoring the cardboard as close to the chipboard as you can.Next,trim the corners (refer to third photo).
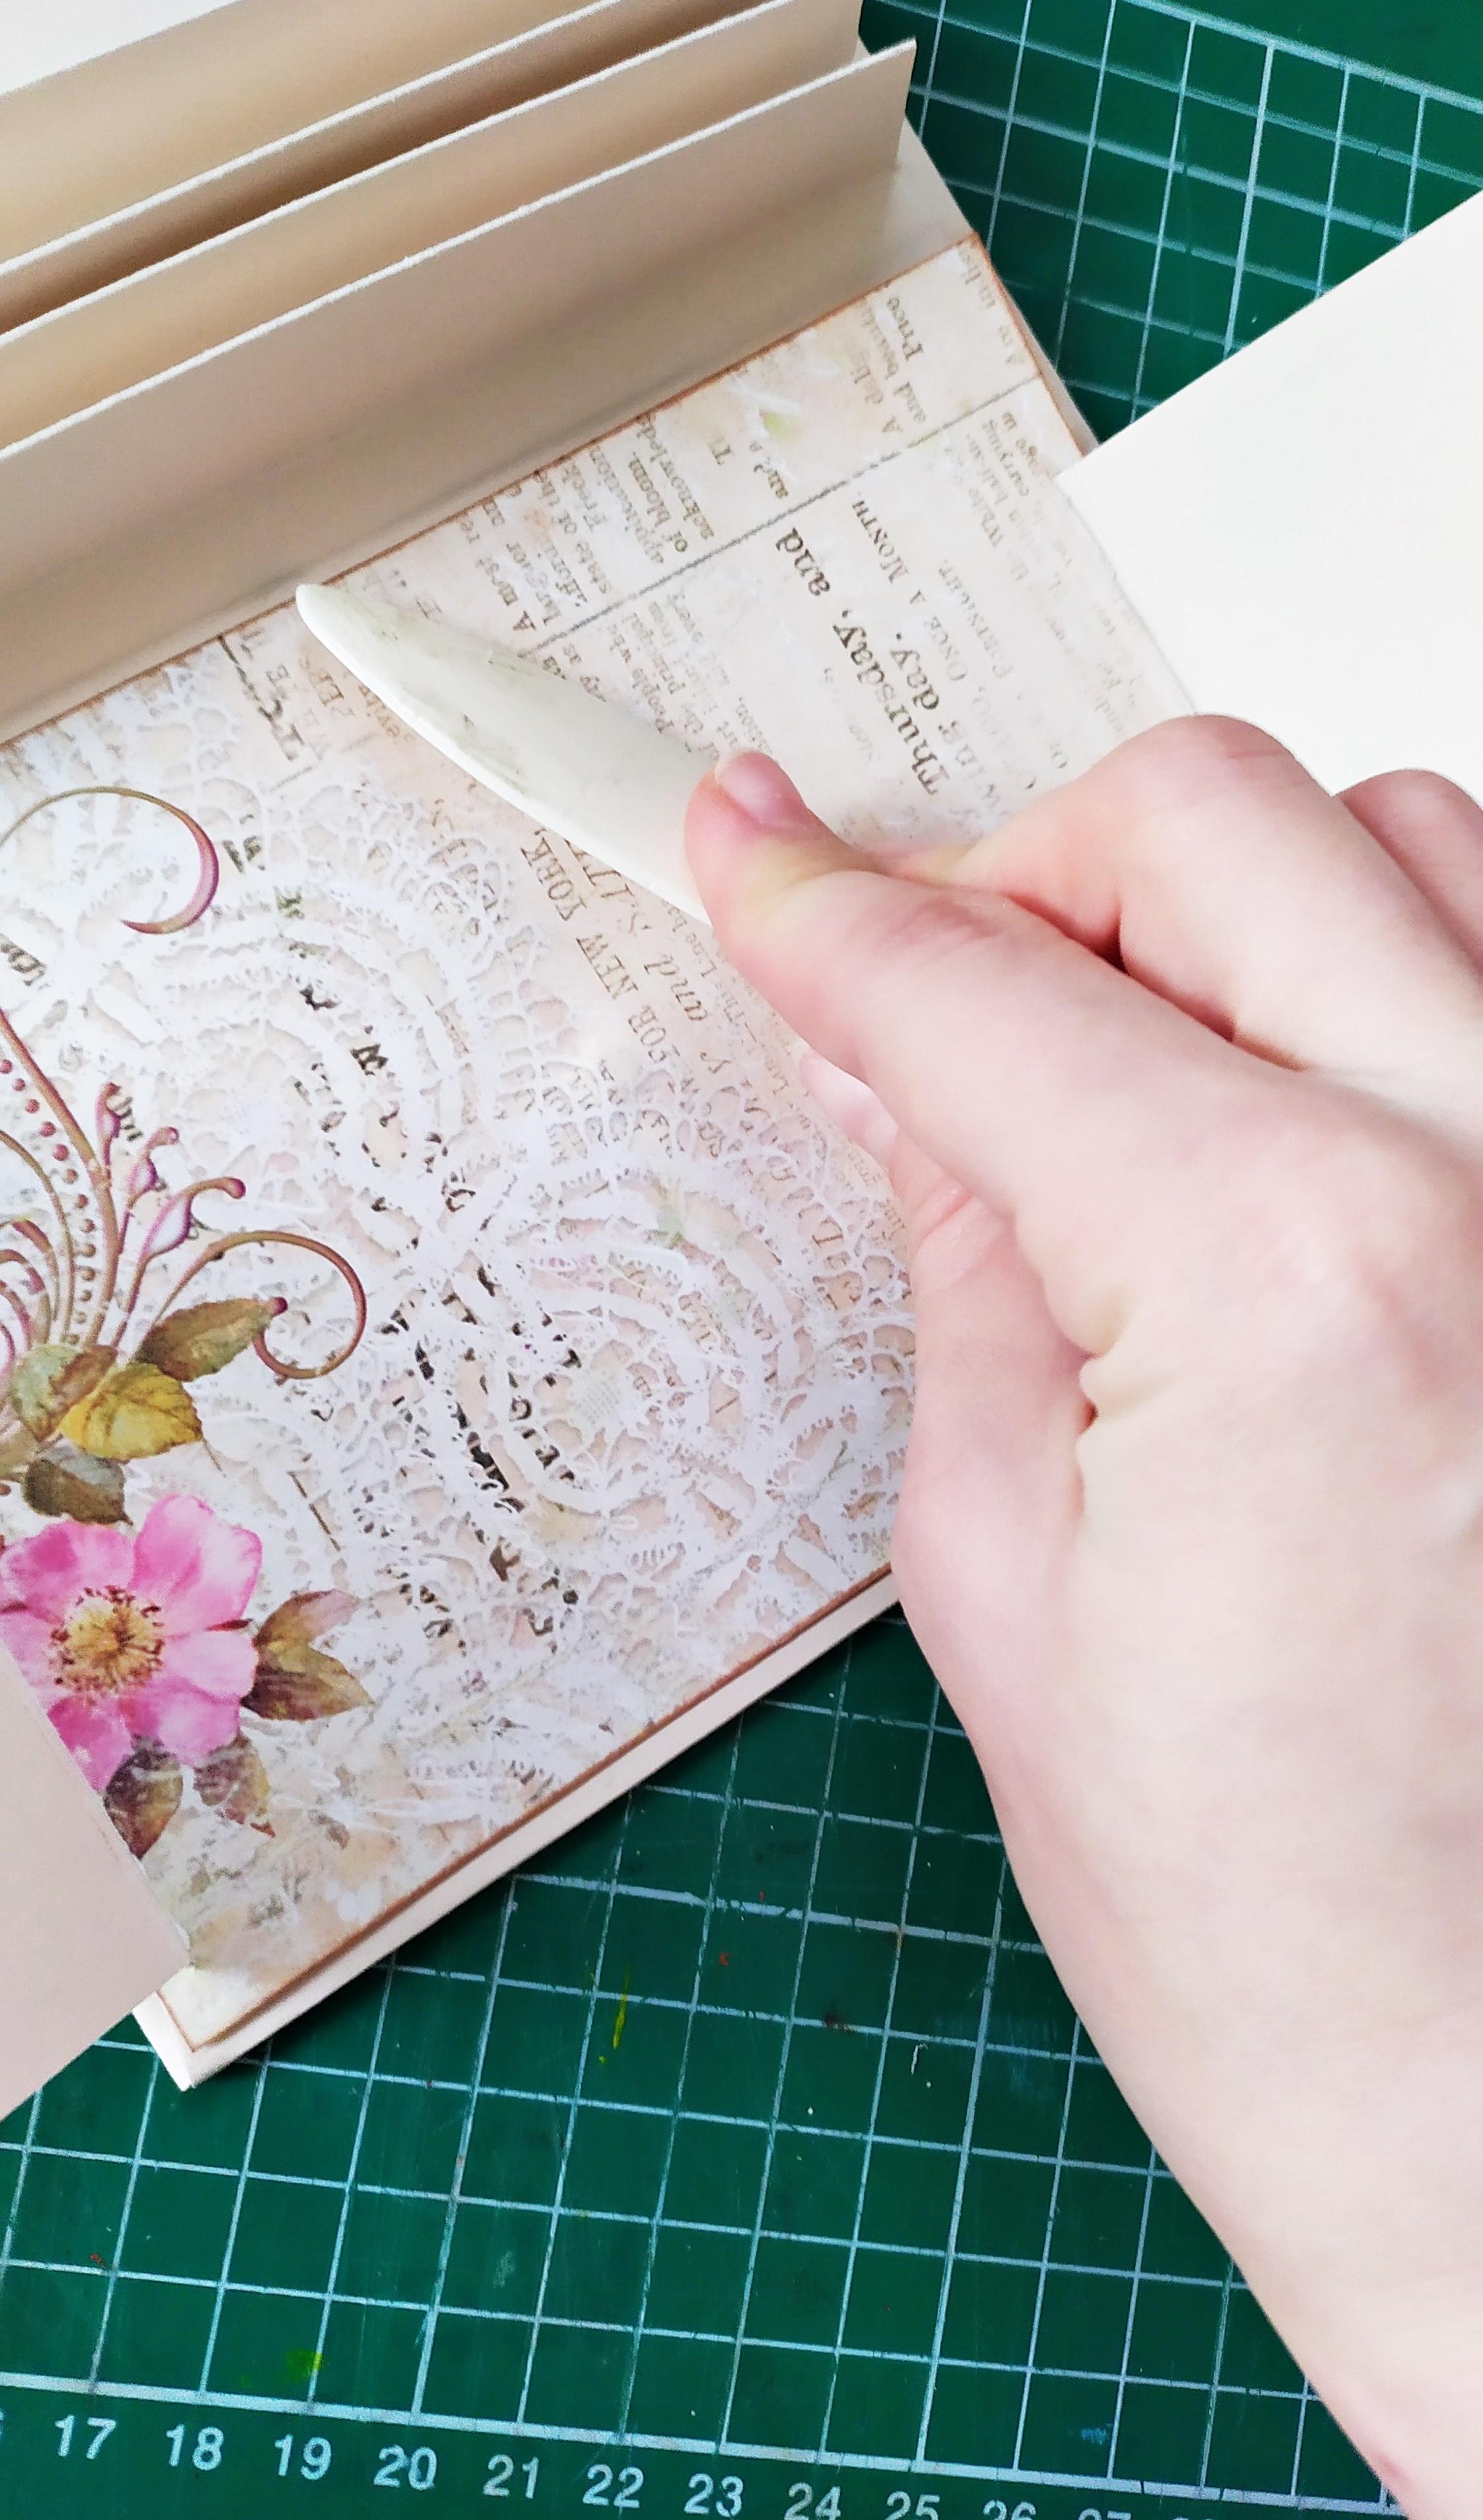
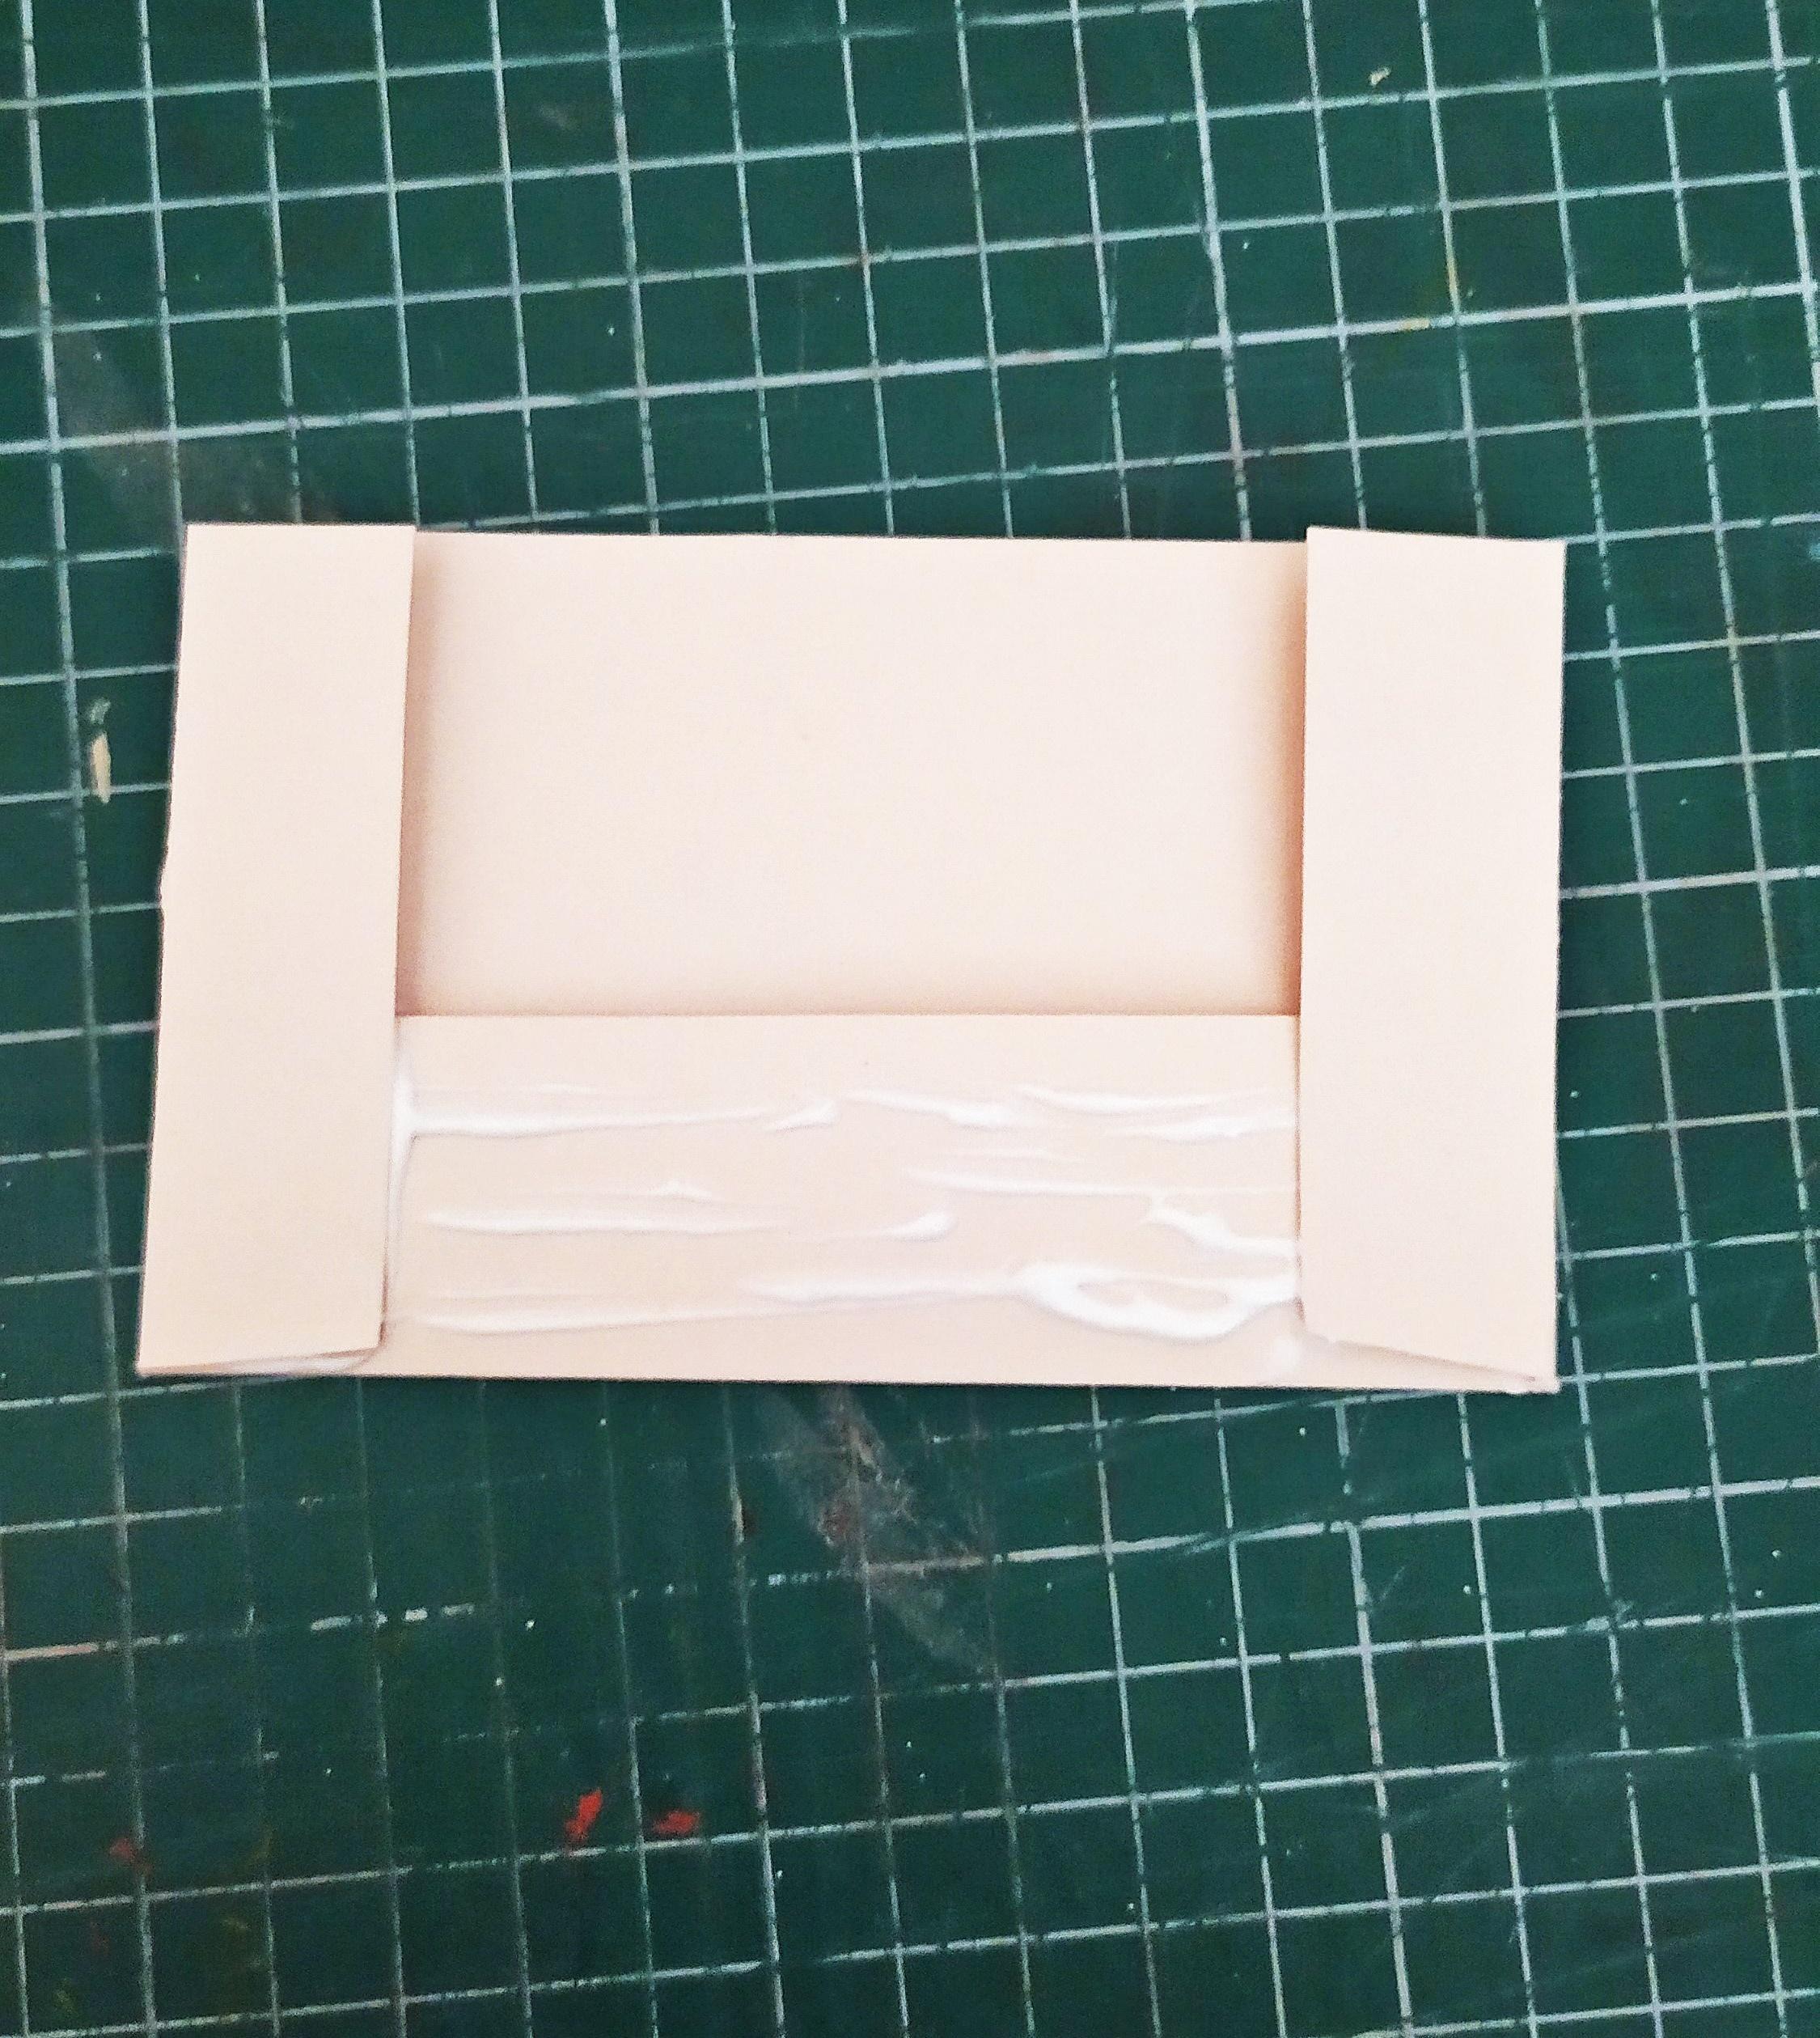
Again,spread the glue evenly,fold each side of the cardboard,adhere it to the chipboard and smooth everything out with the bone folder.Repeat the same steps for each side and let everything dry for a bit.
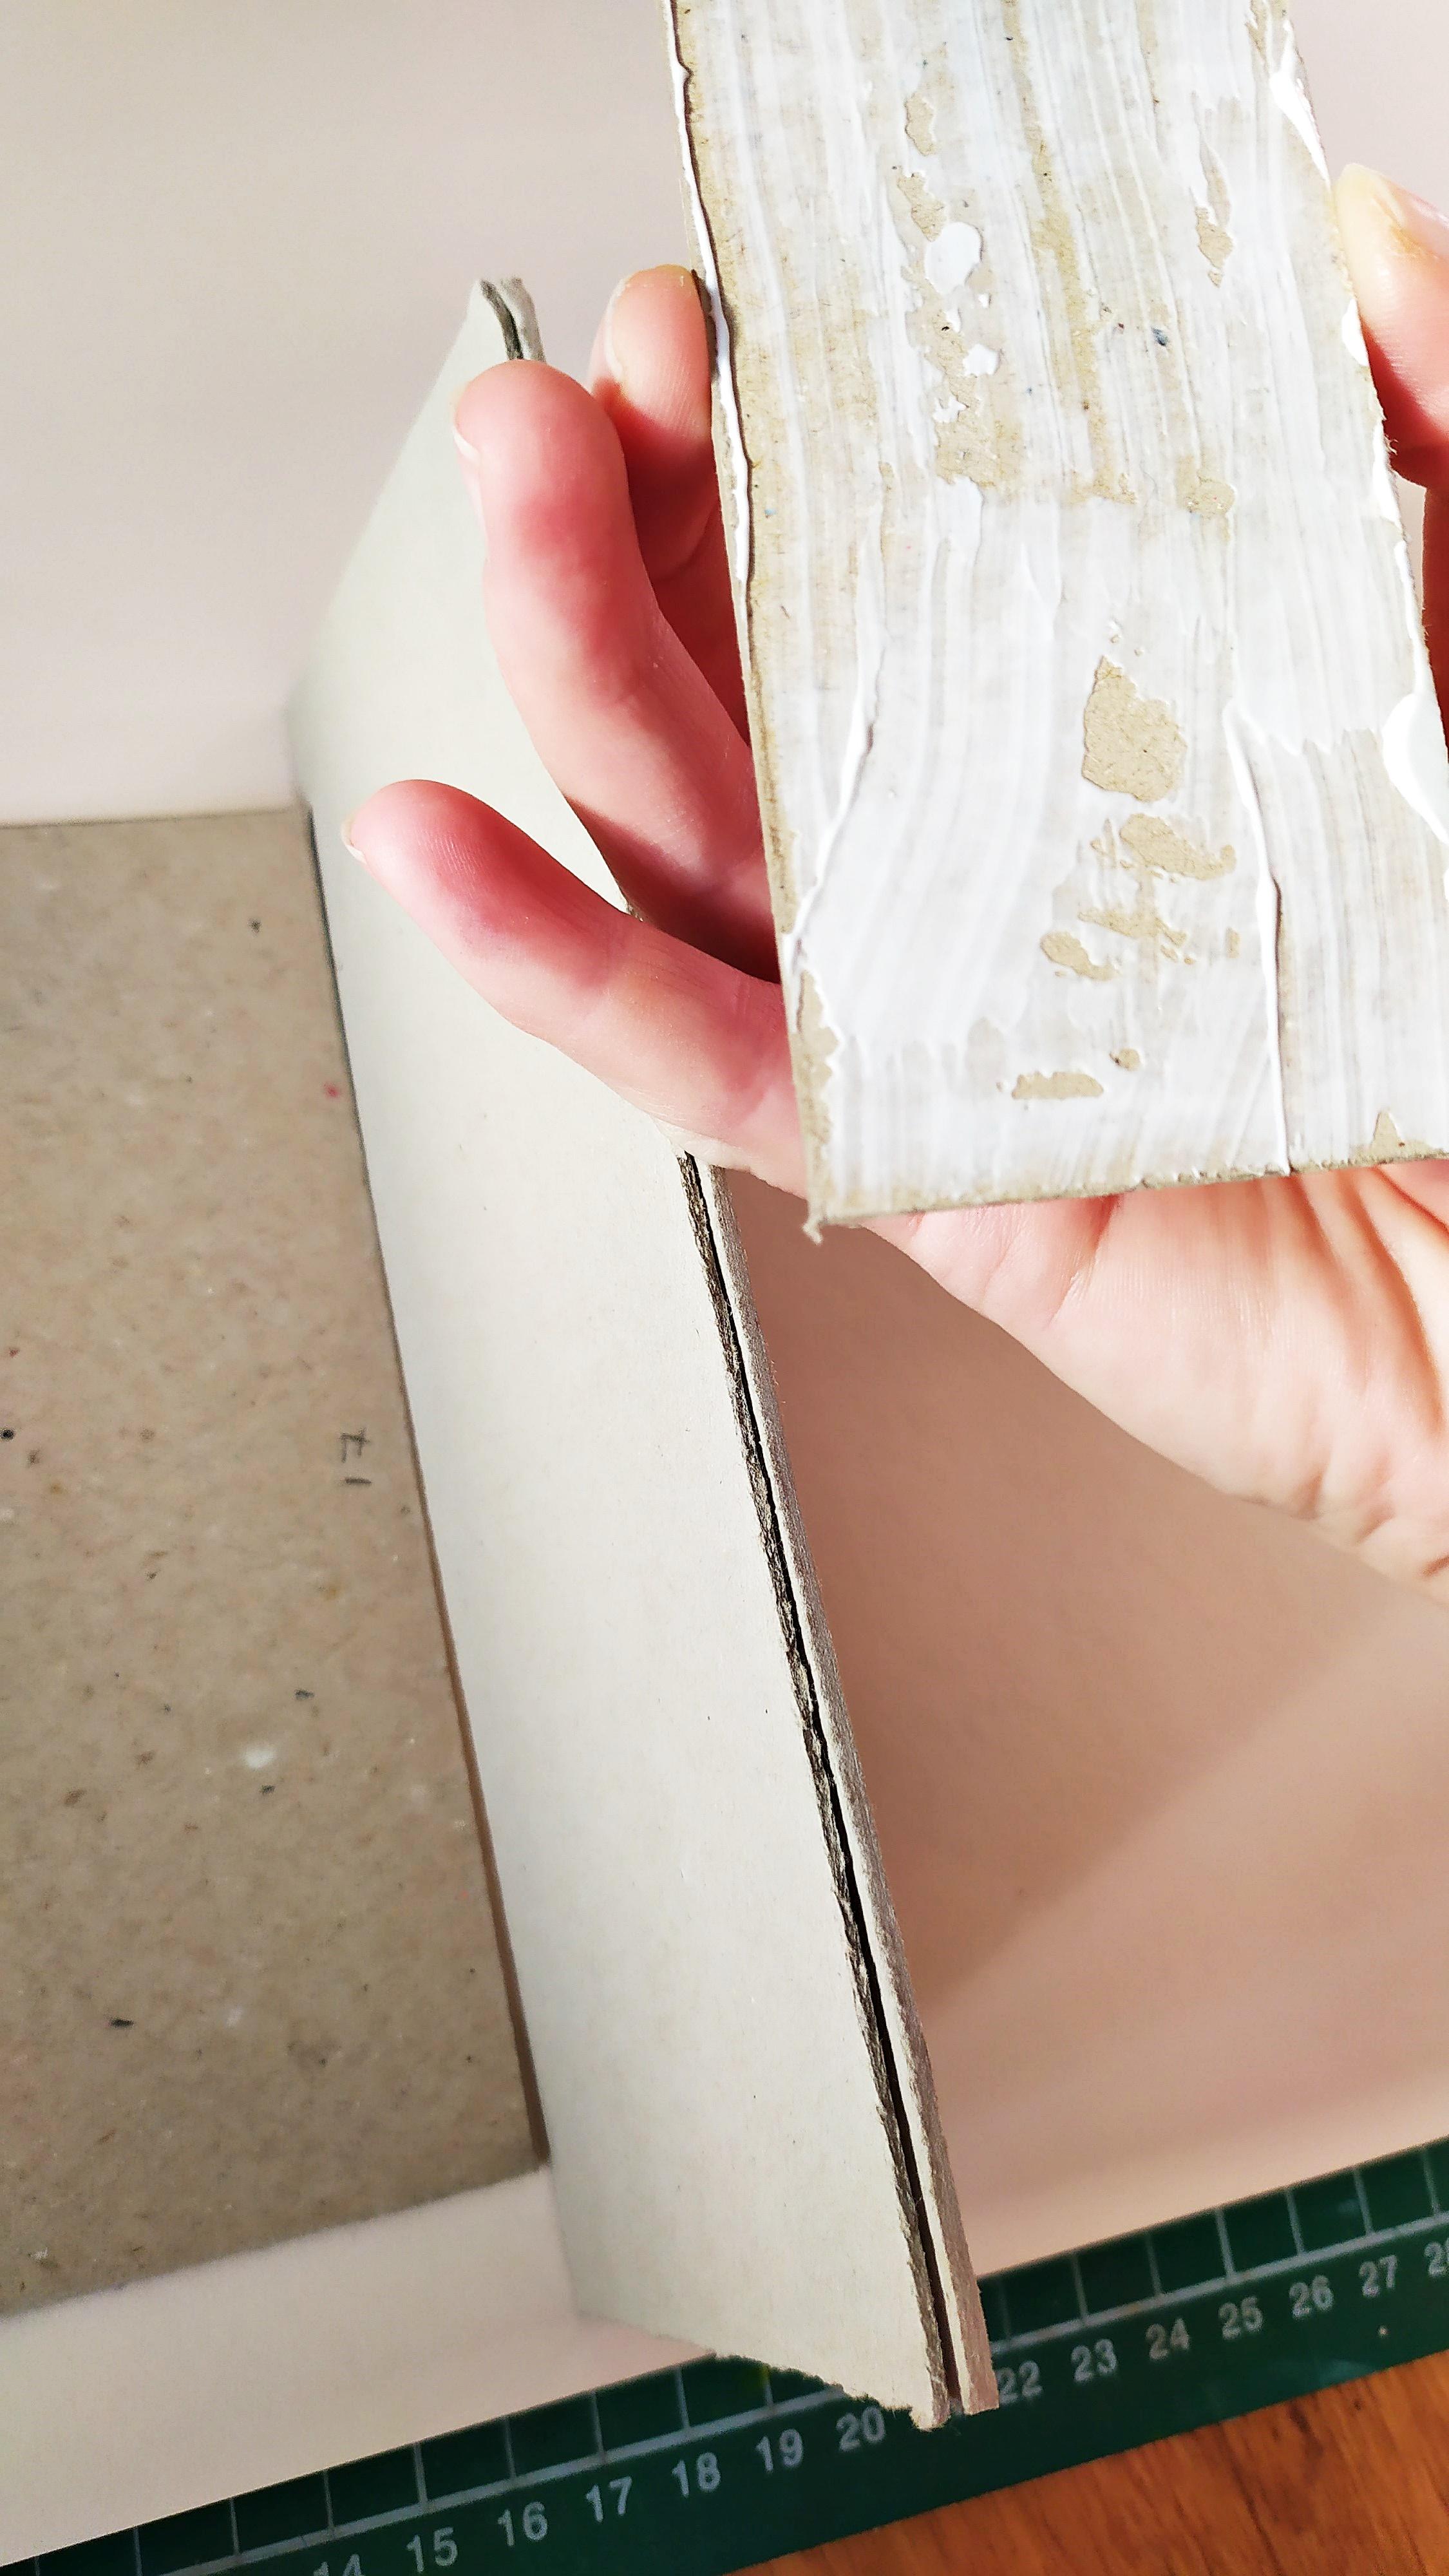
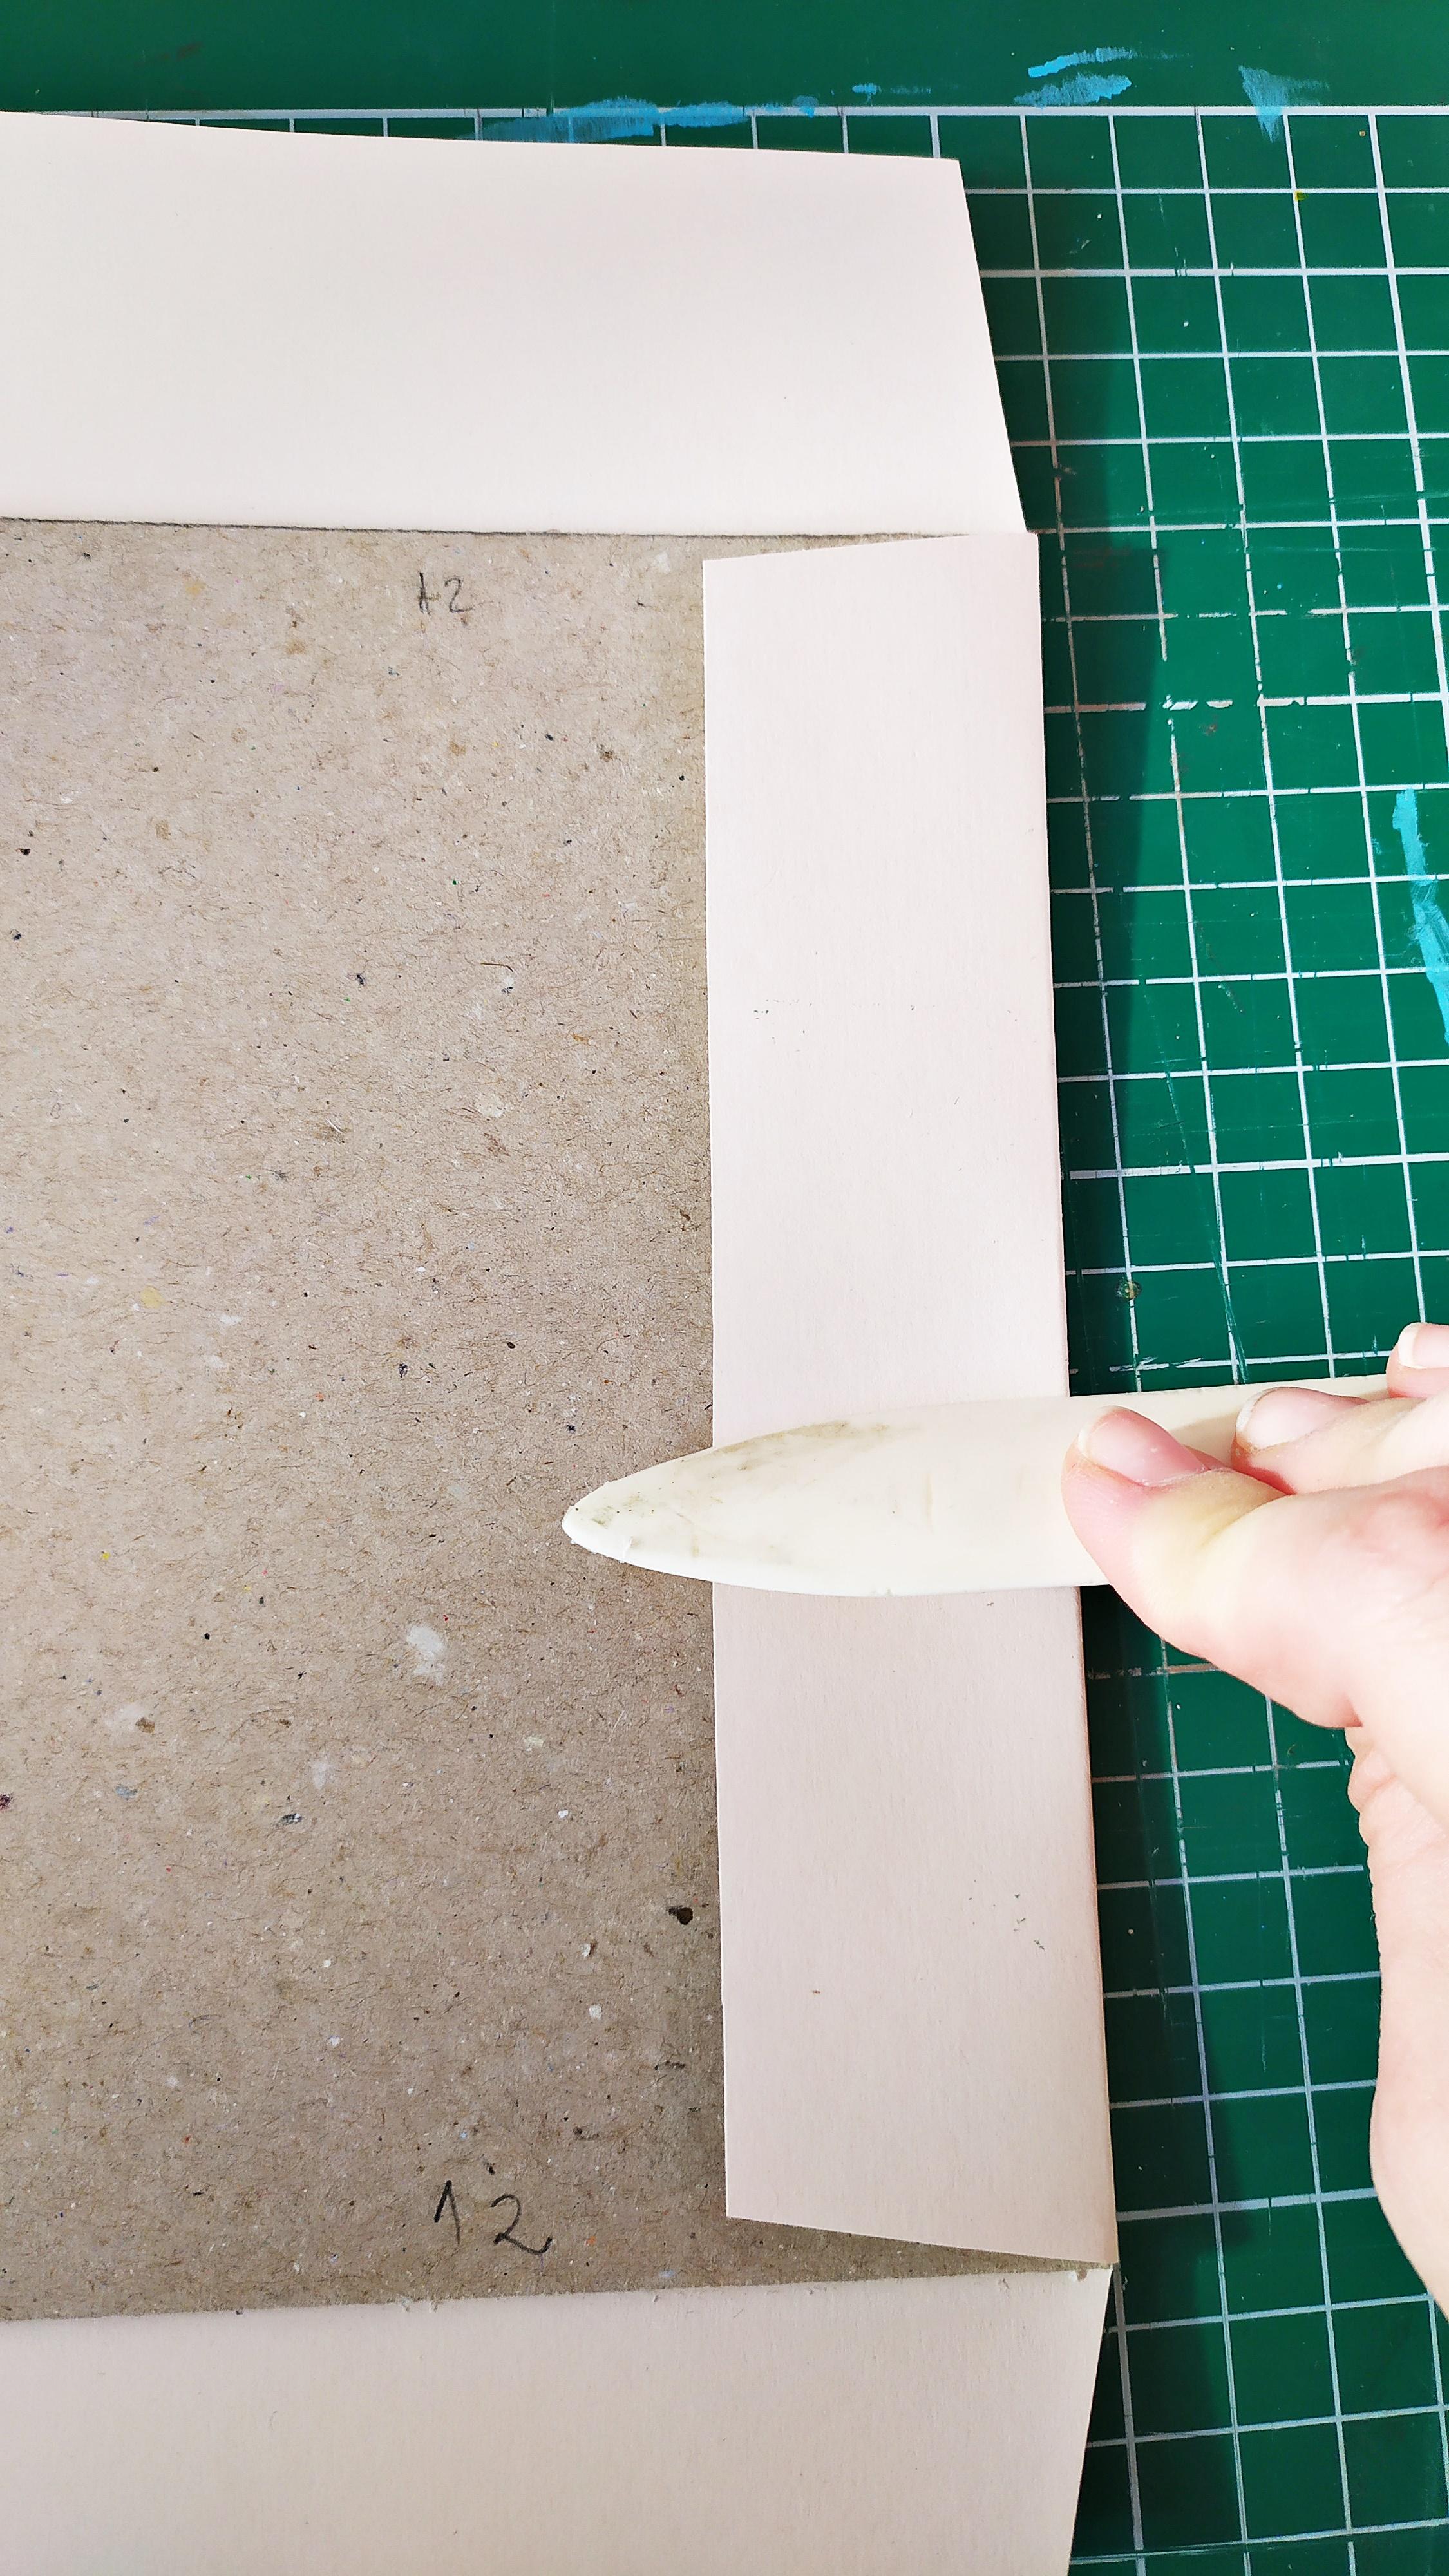
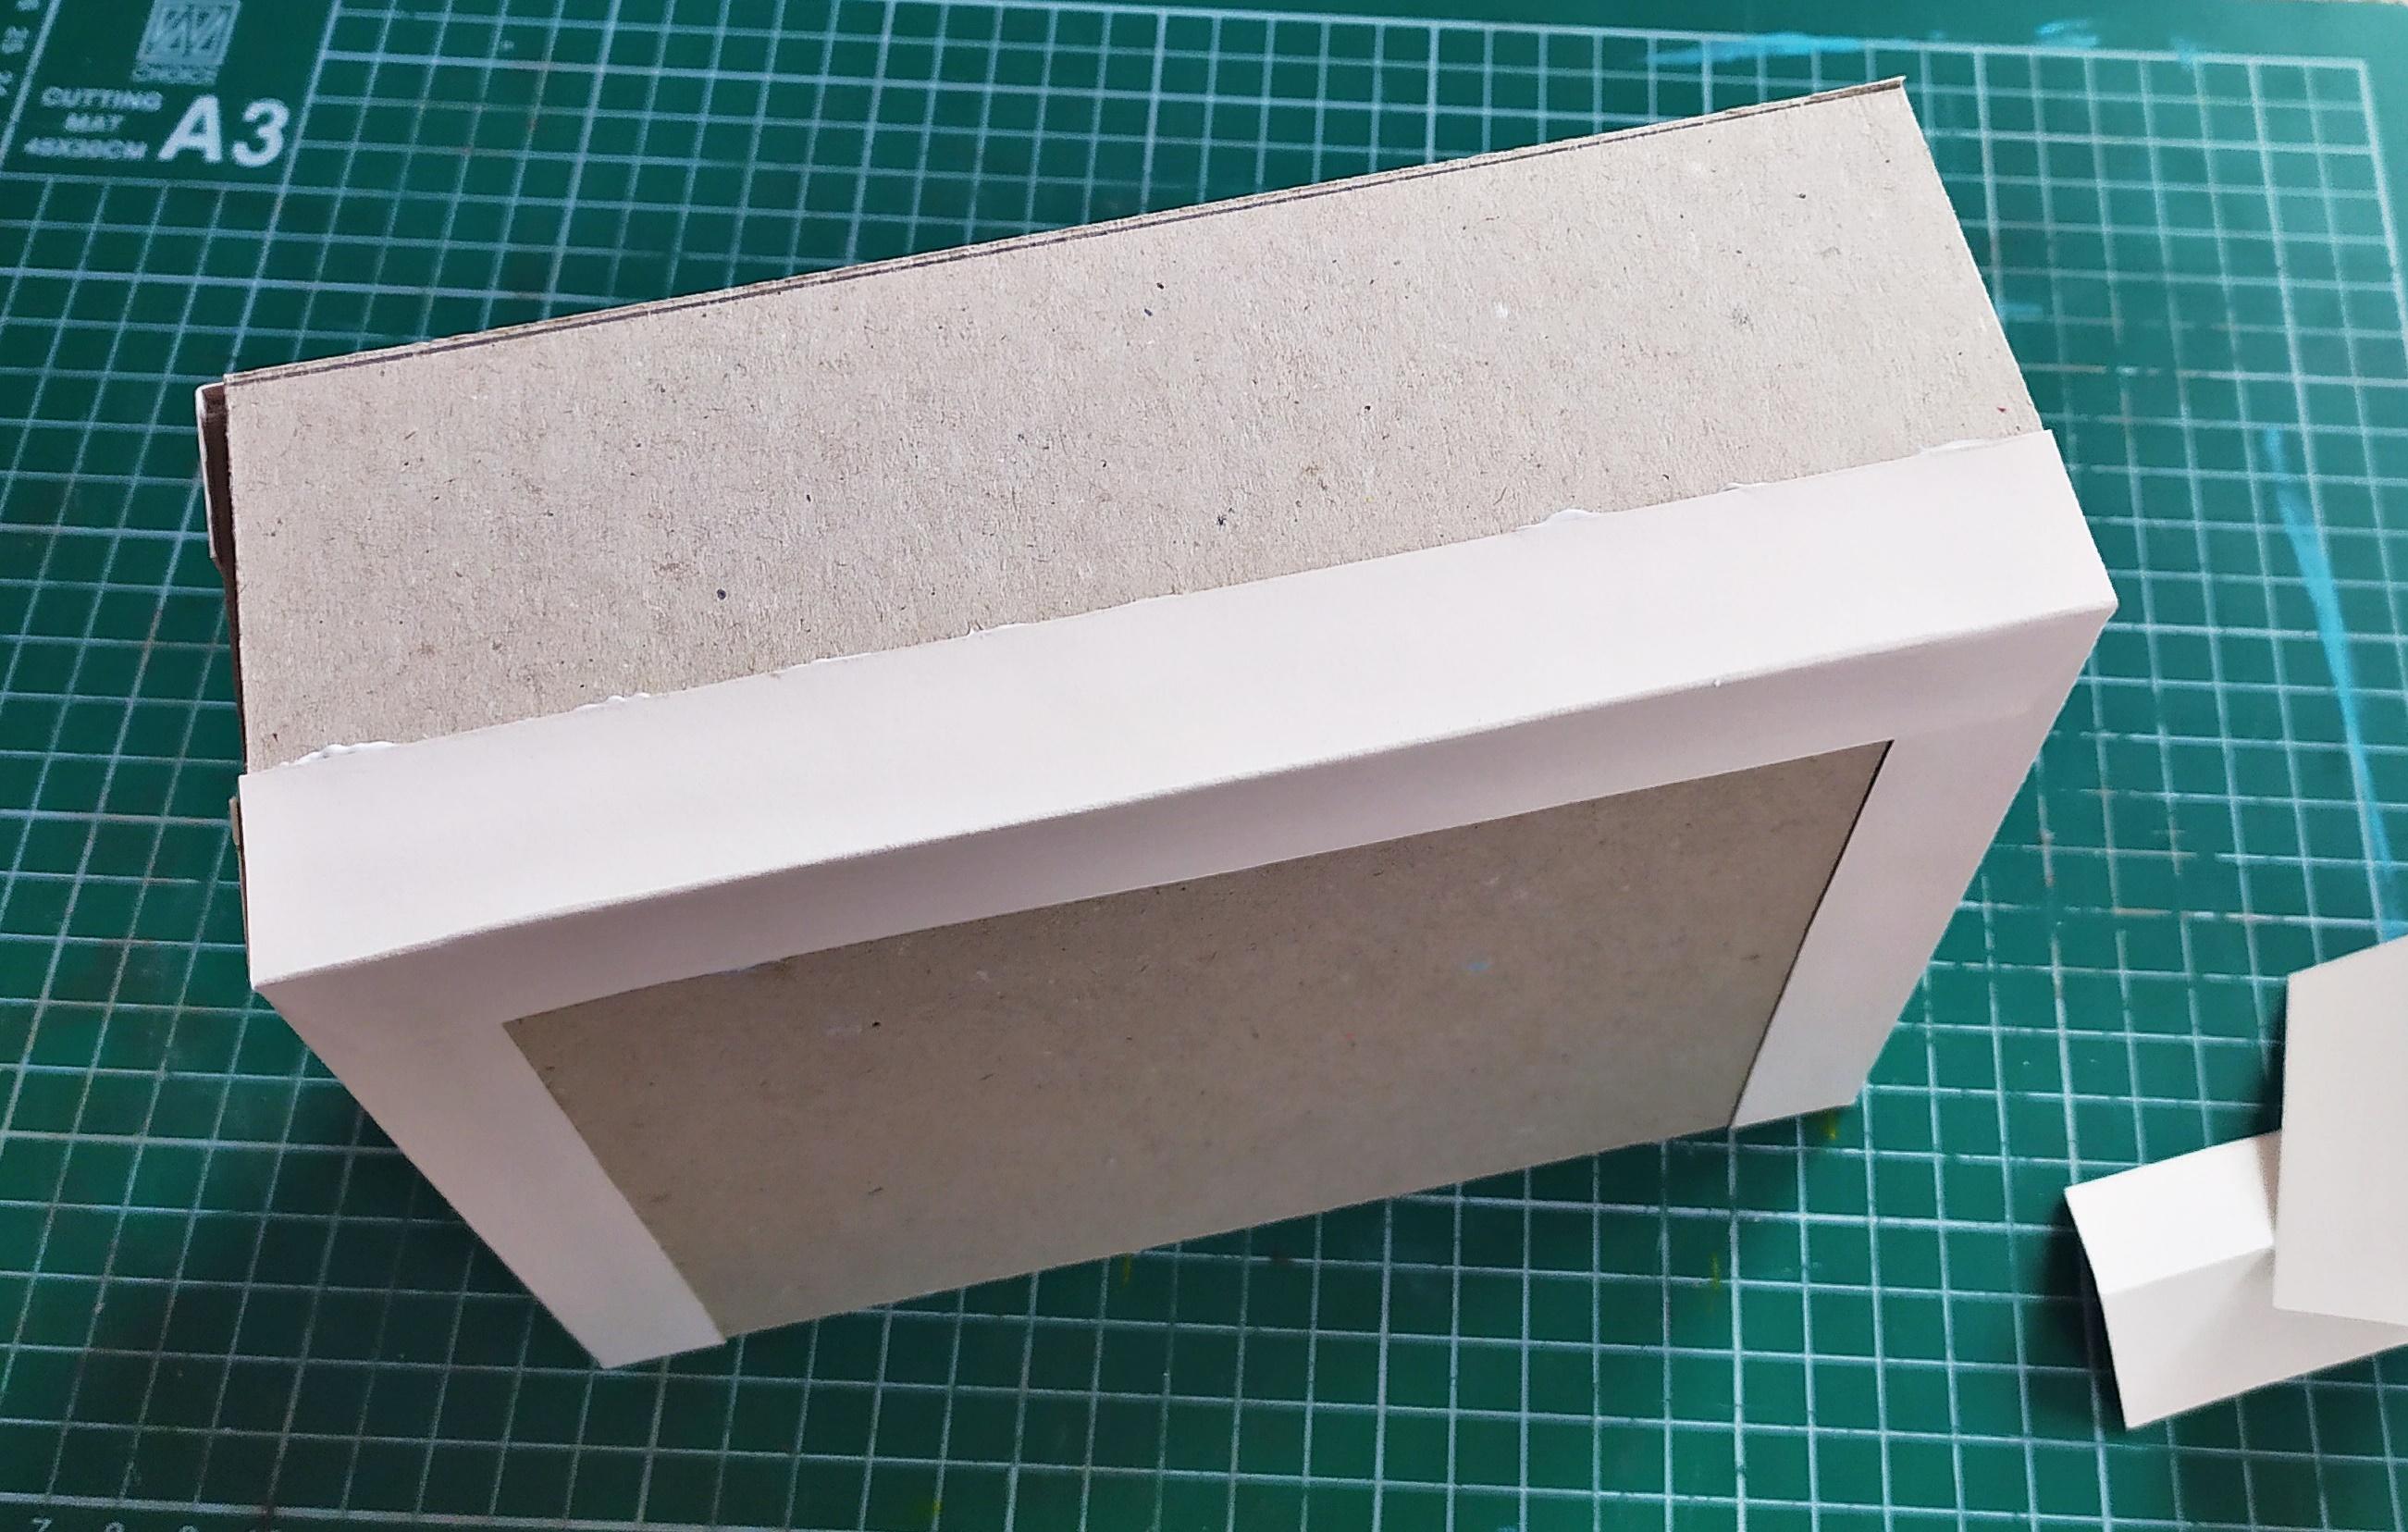
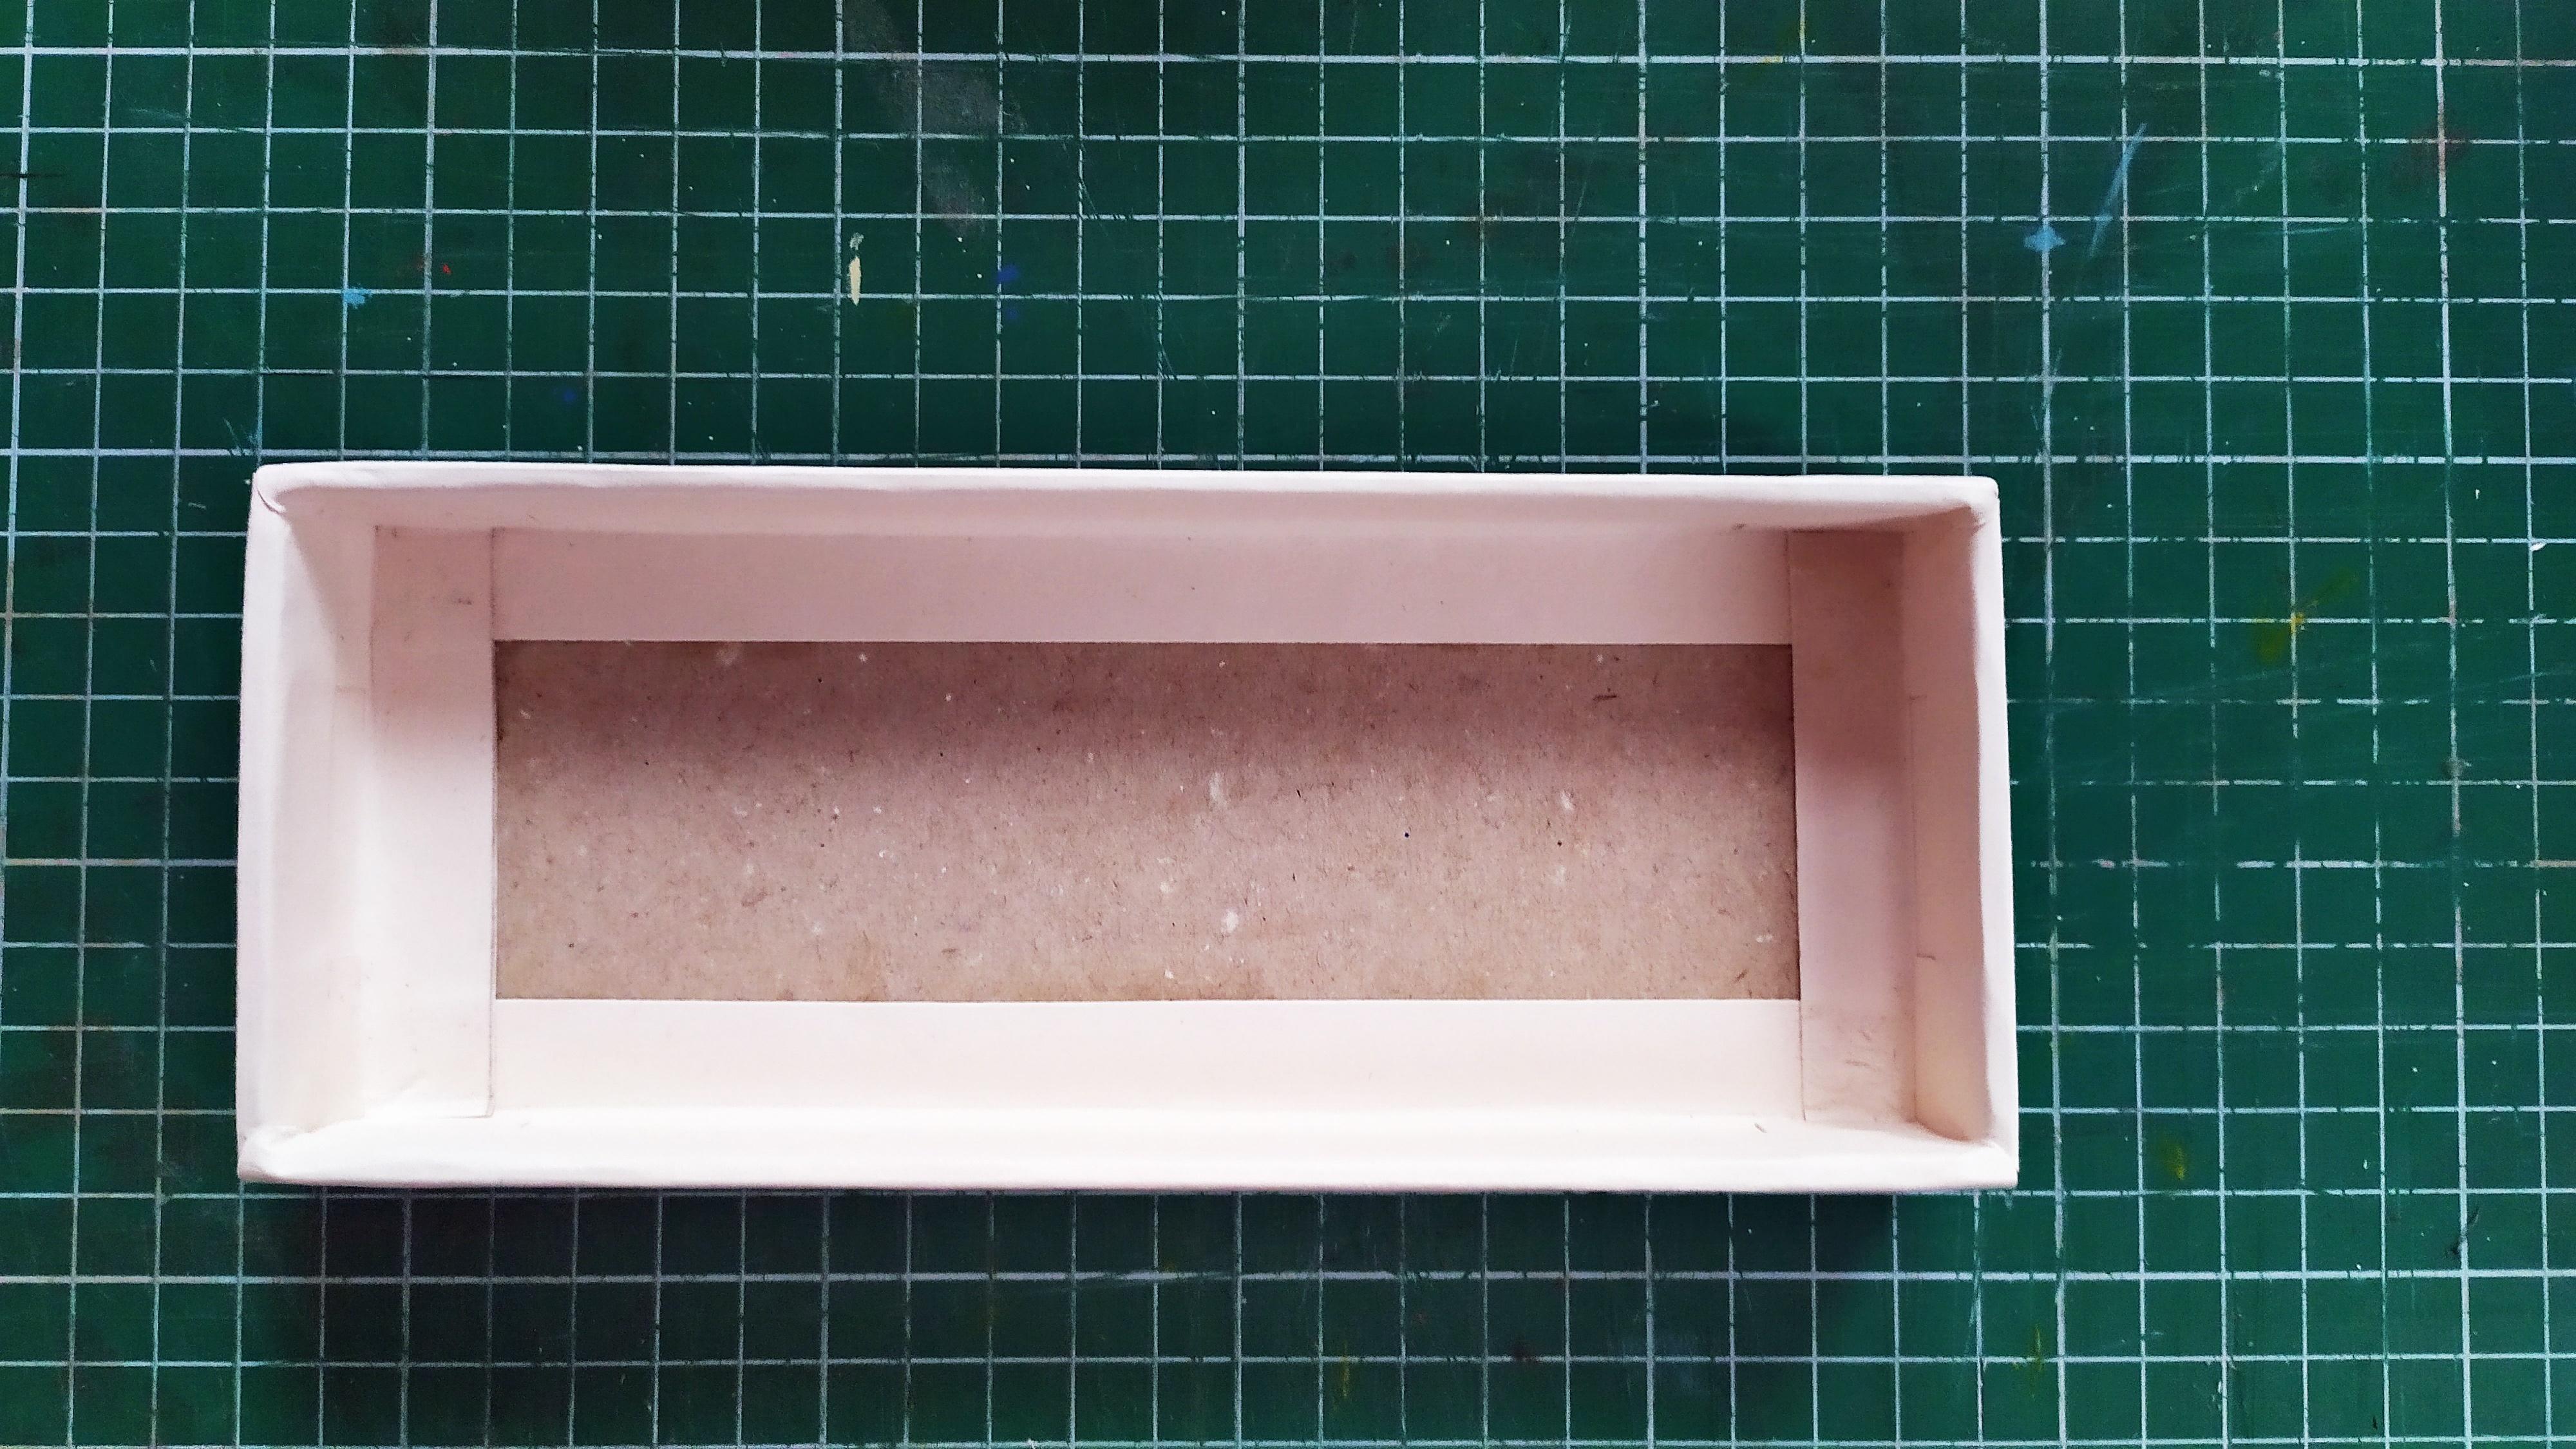
Once dry,take your bone folder and gently press on the cardboard that's in the 4-5 mm space (between the front cover and spine).Repeat for the cardboard that's between the spine and the back cover.
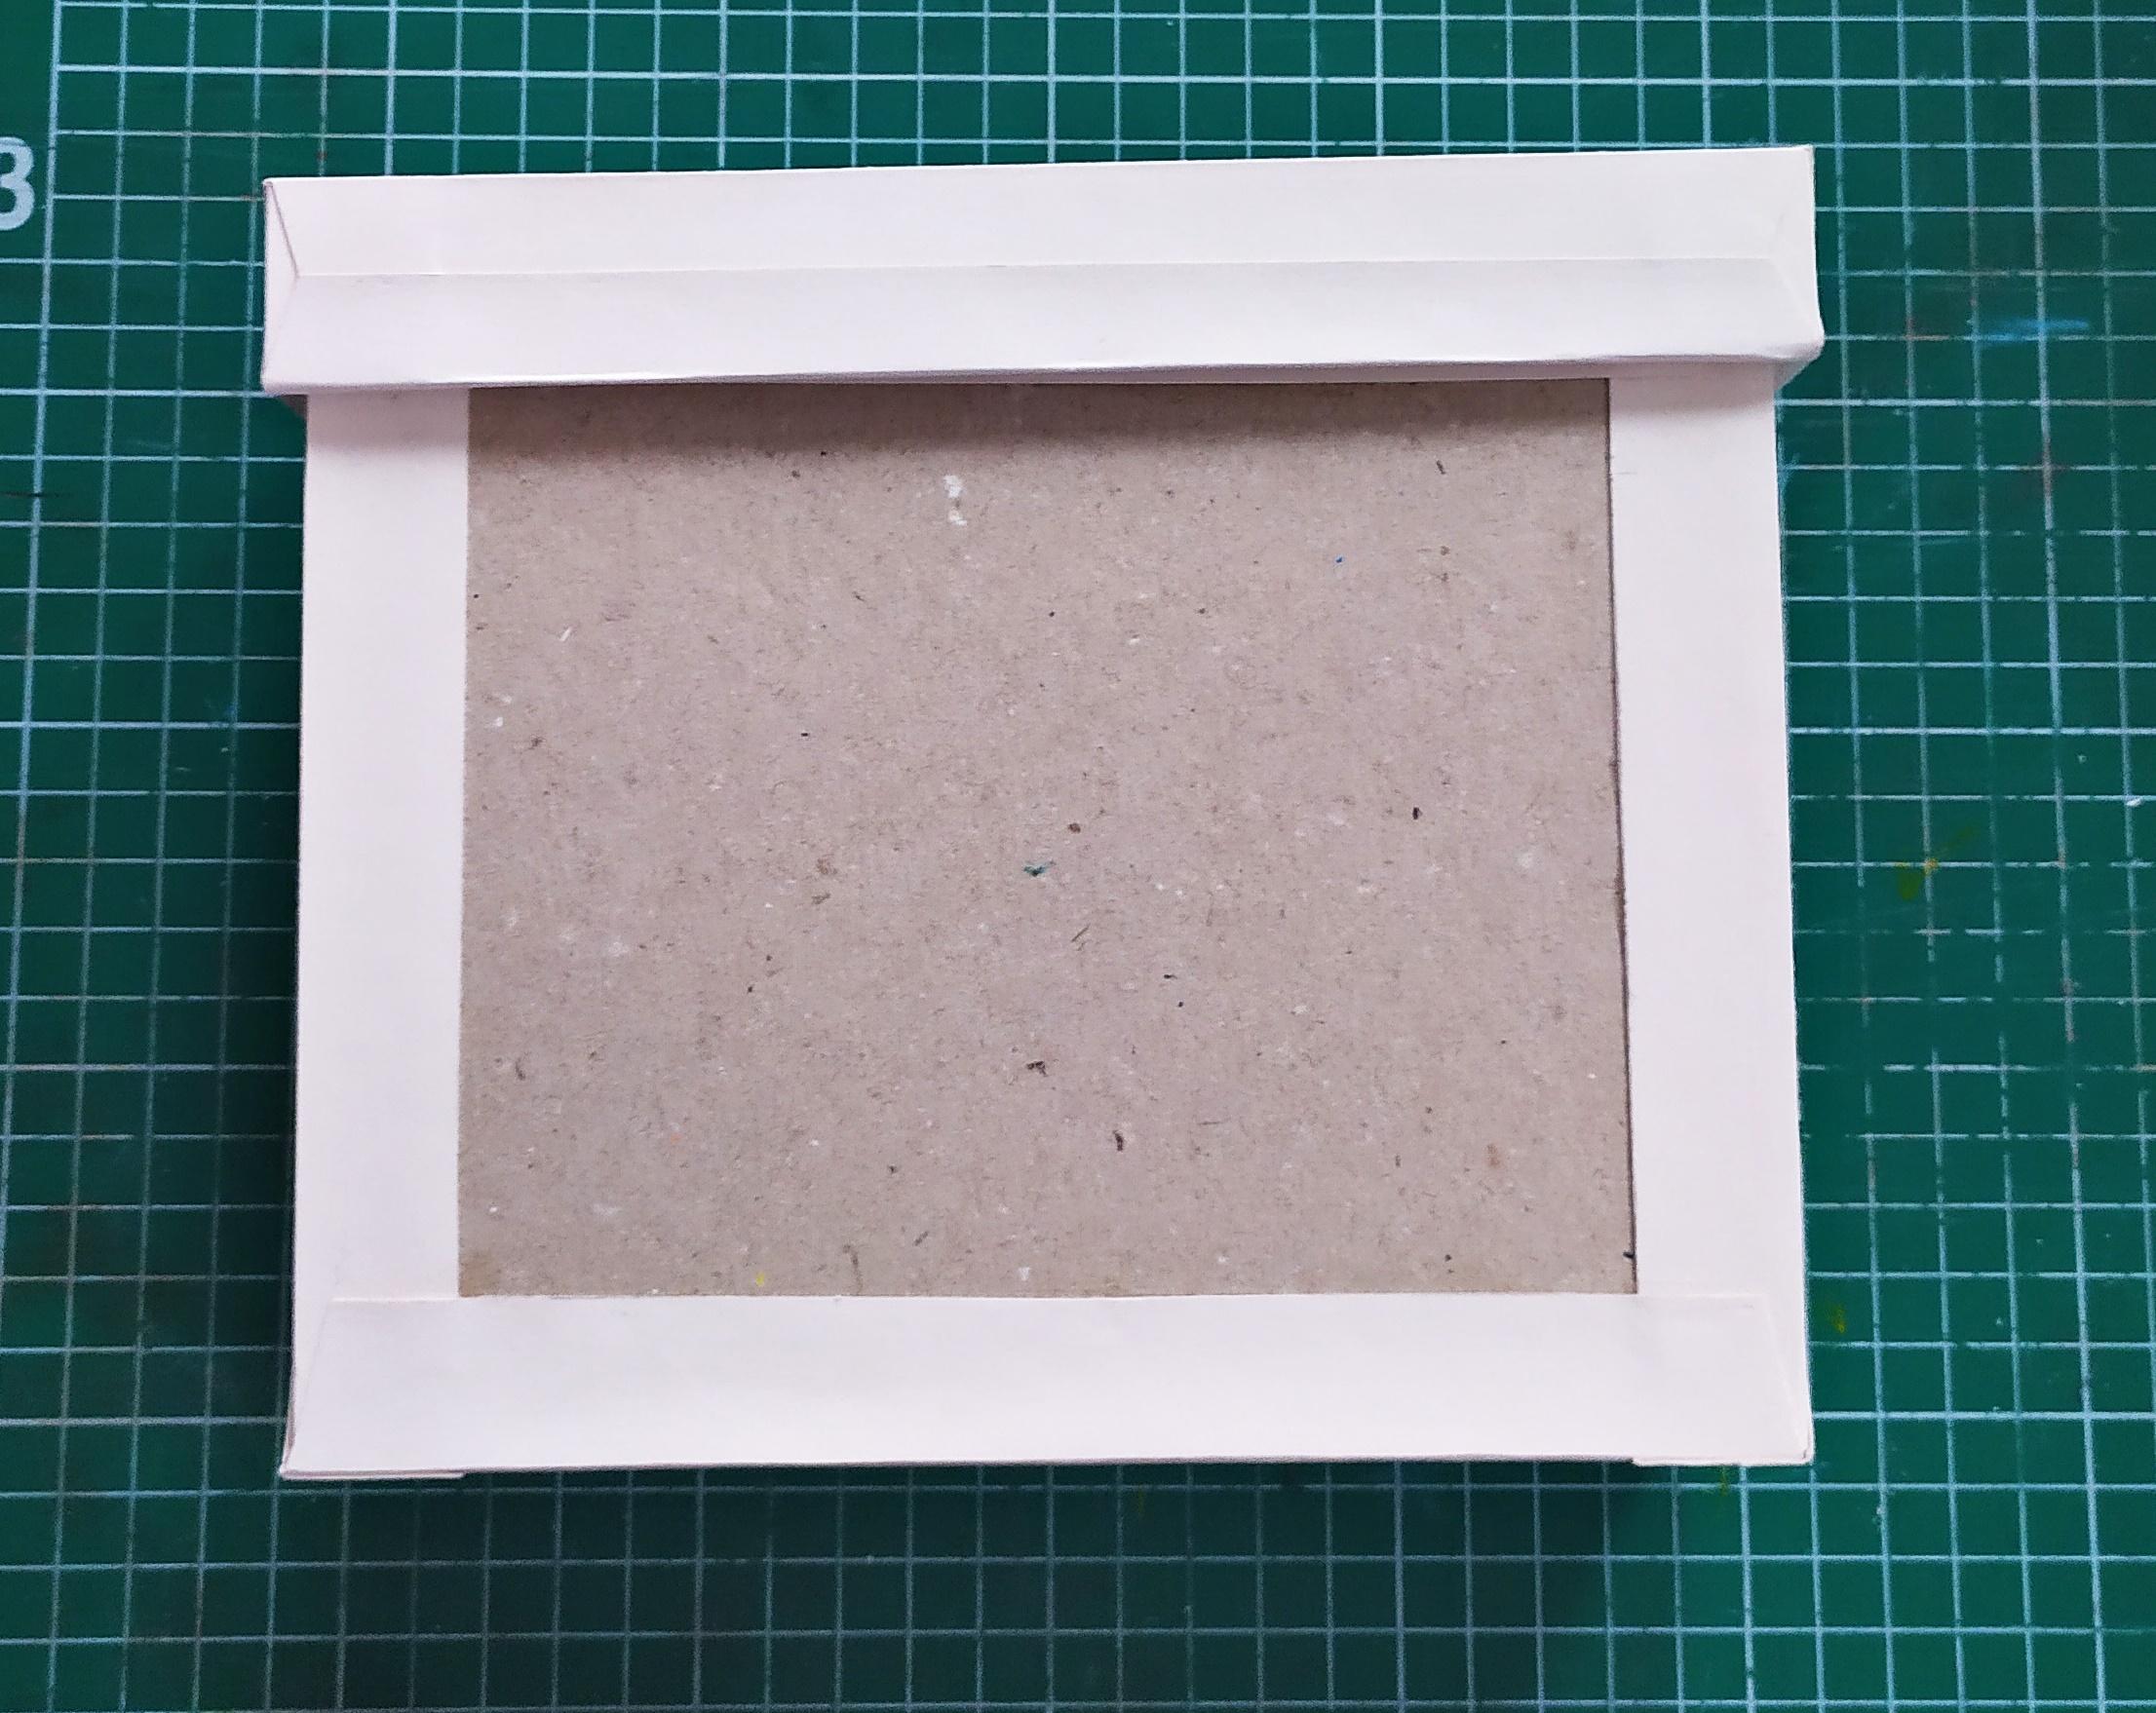
Fold the front and back cover slowly and smooth out the top and bottom edges with the bone folder (refer to the last image).
Making the Base Part III
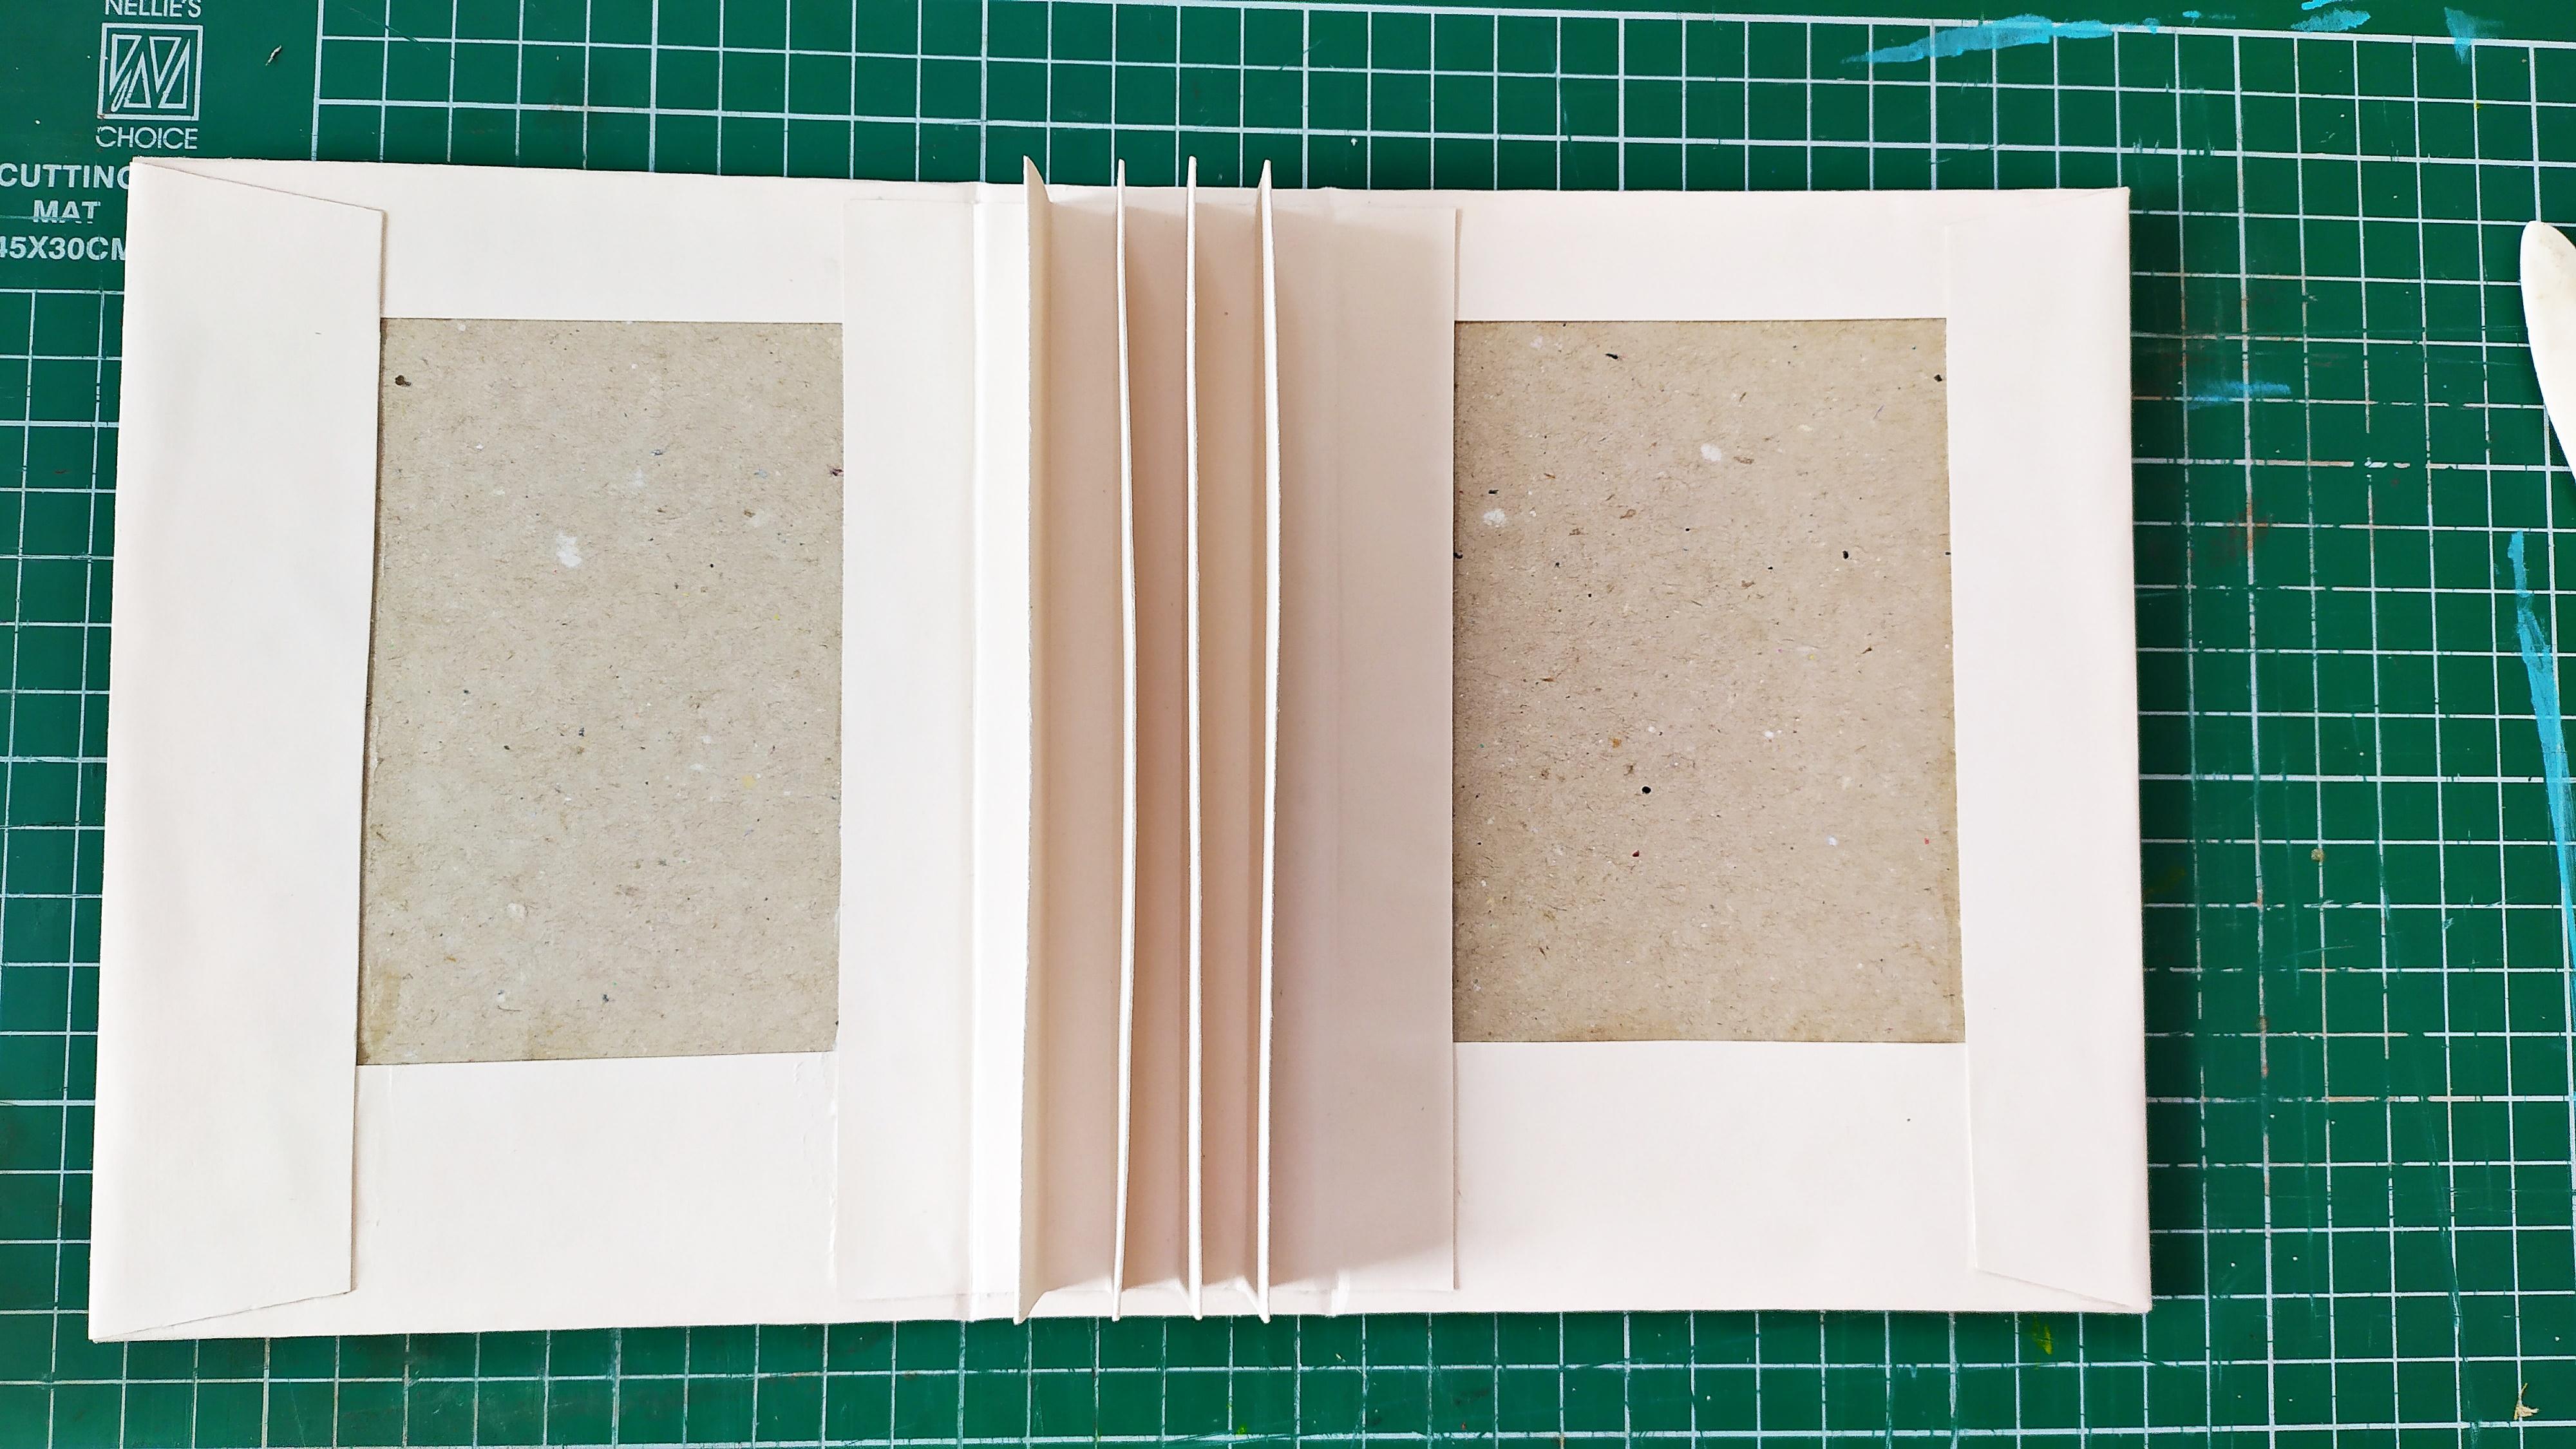
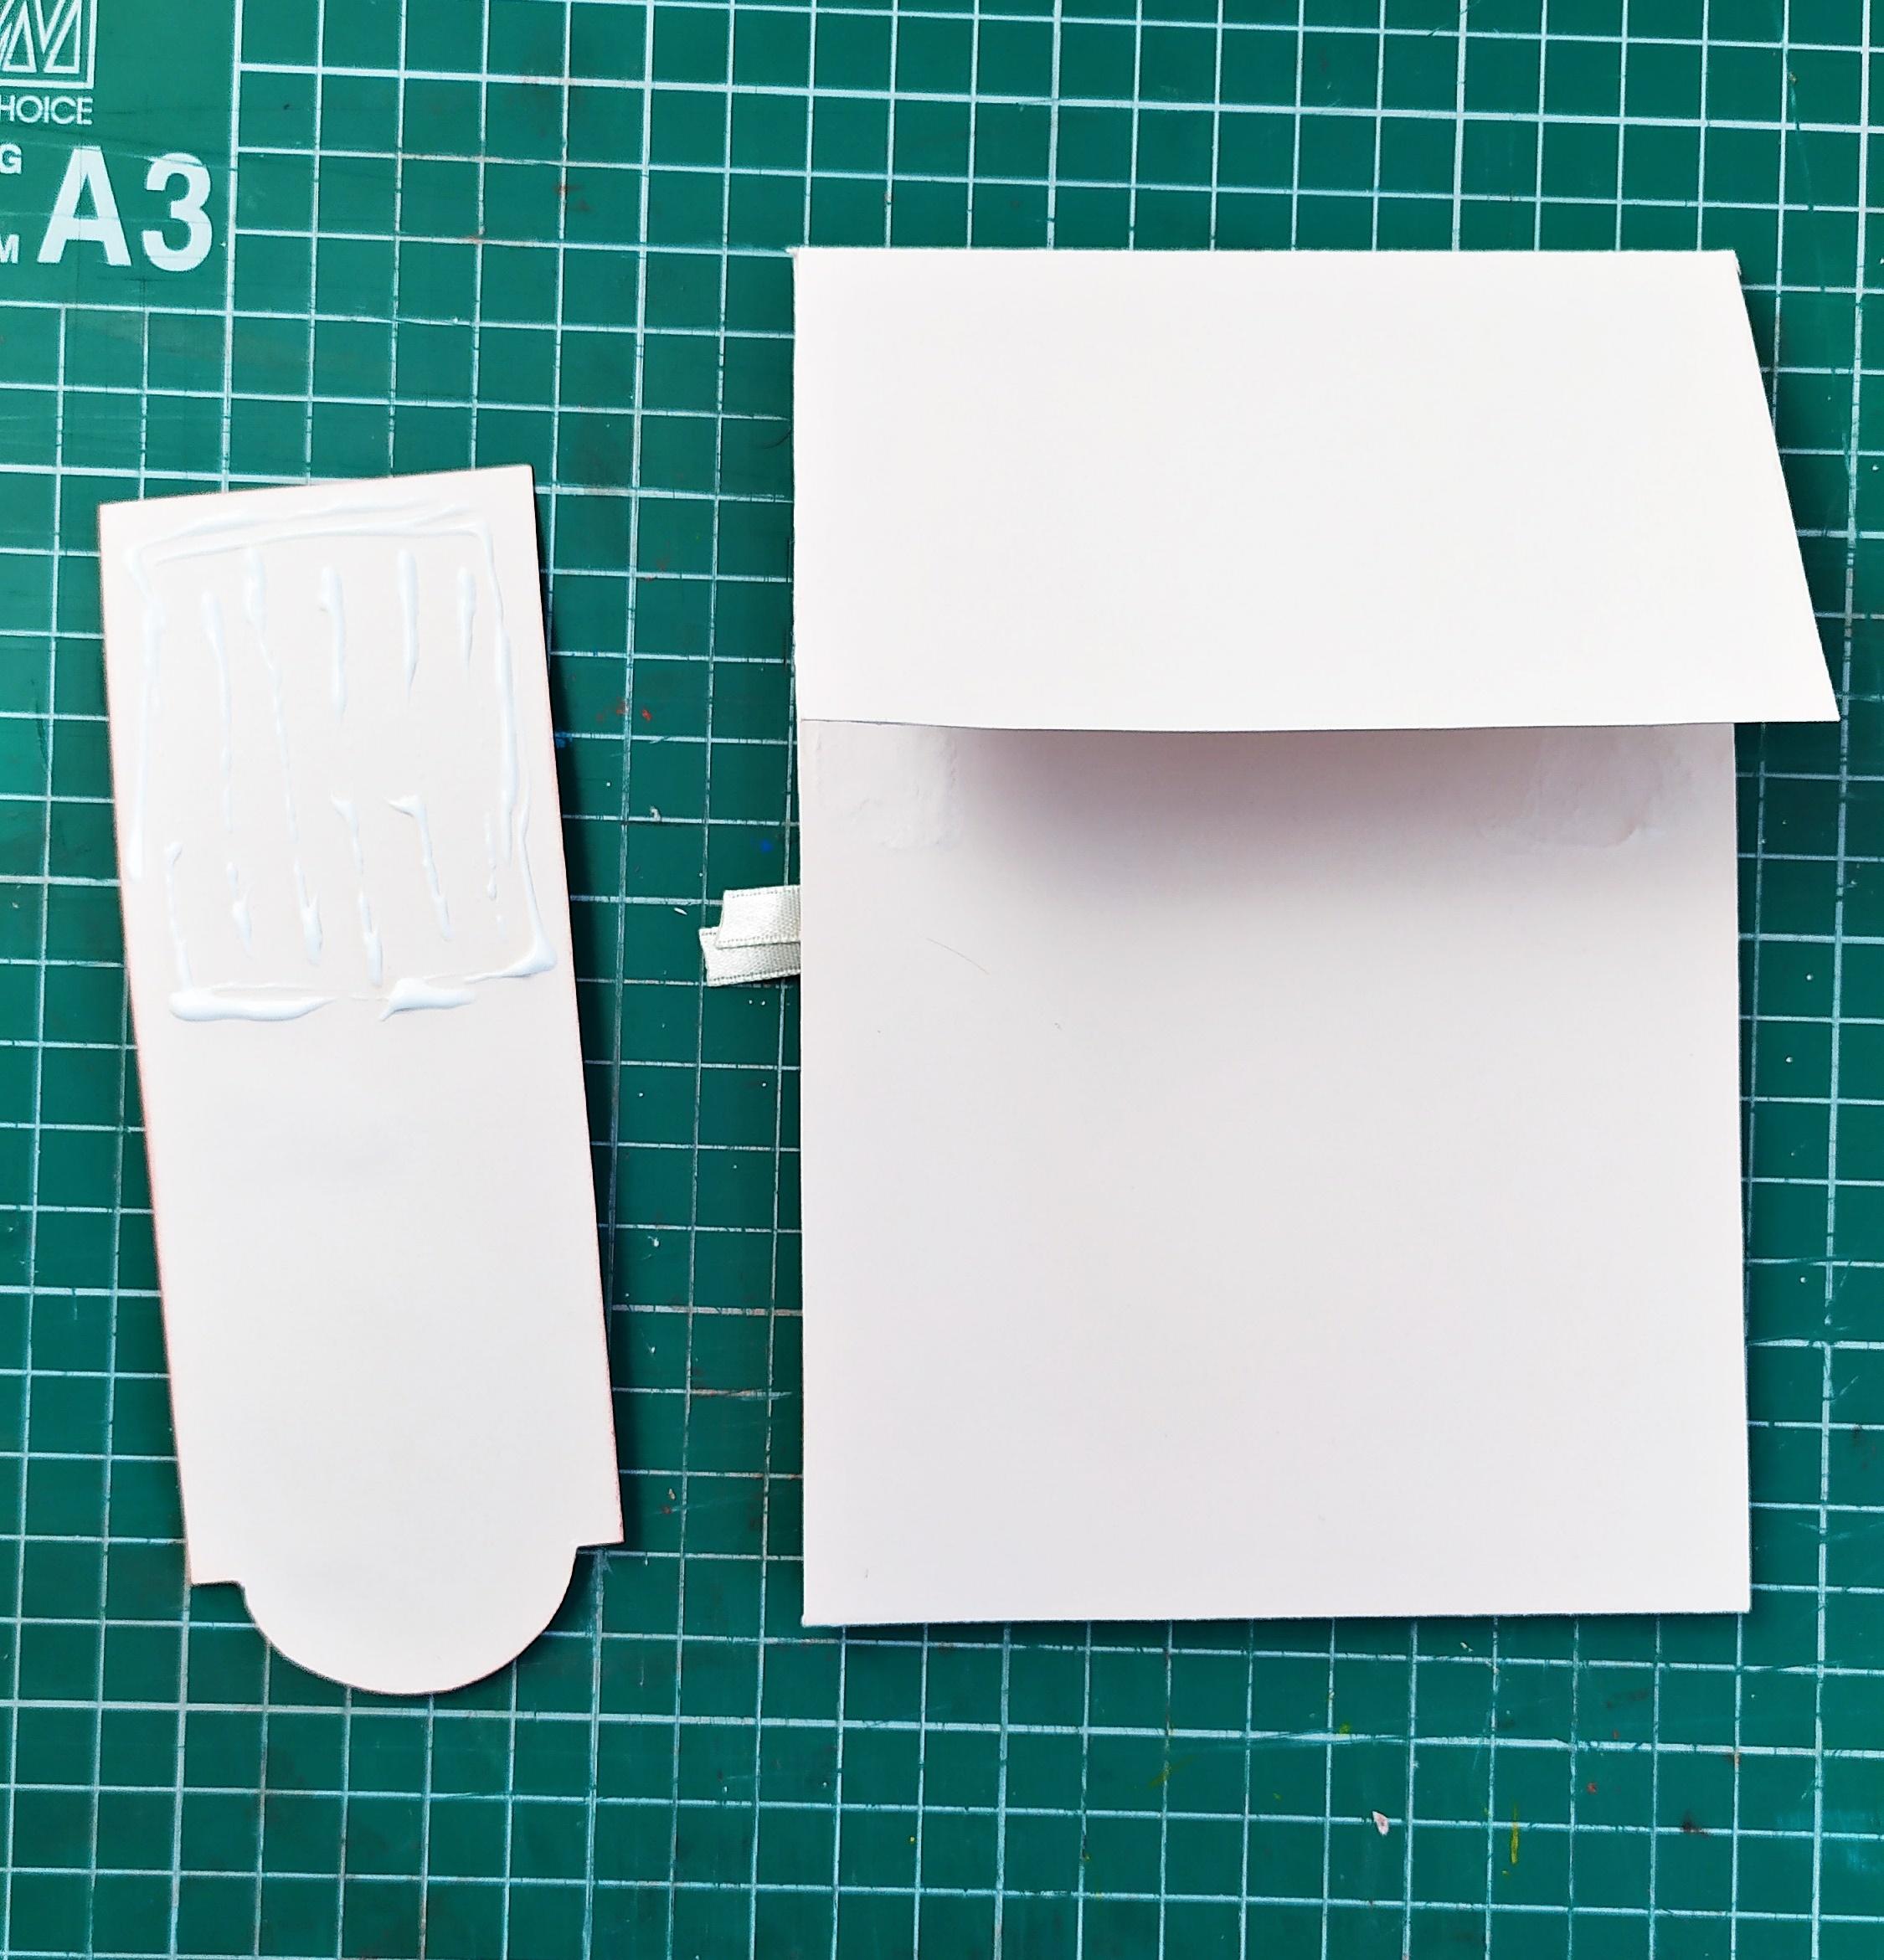
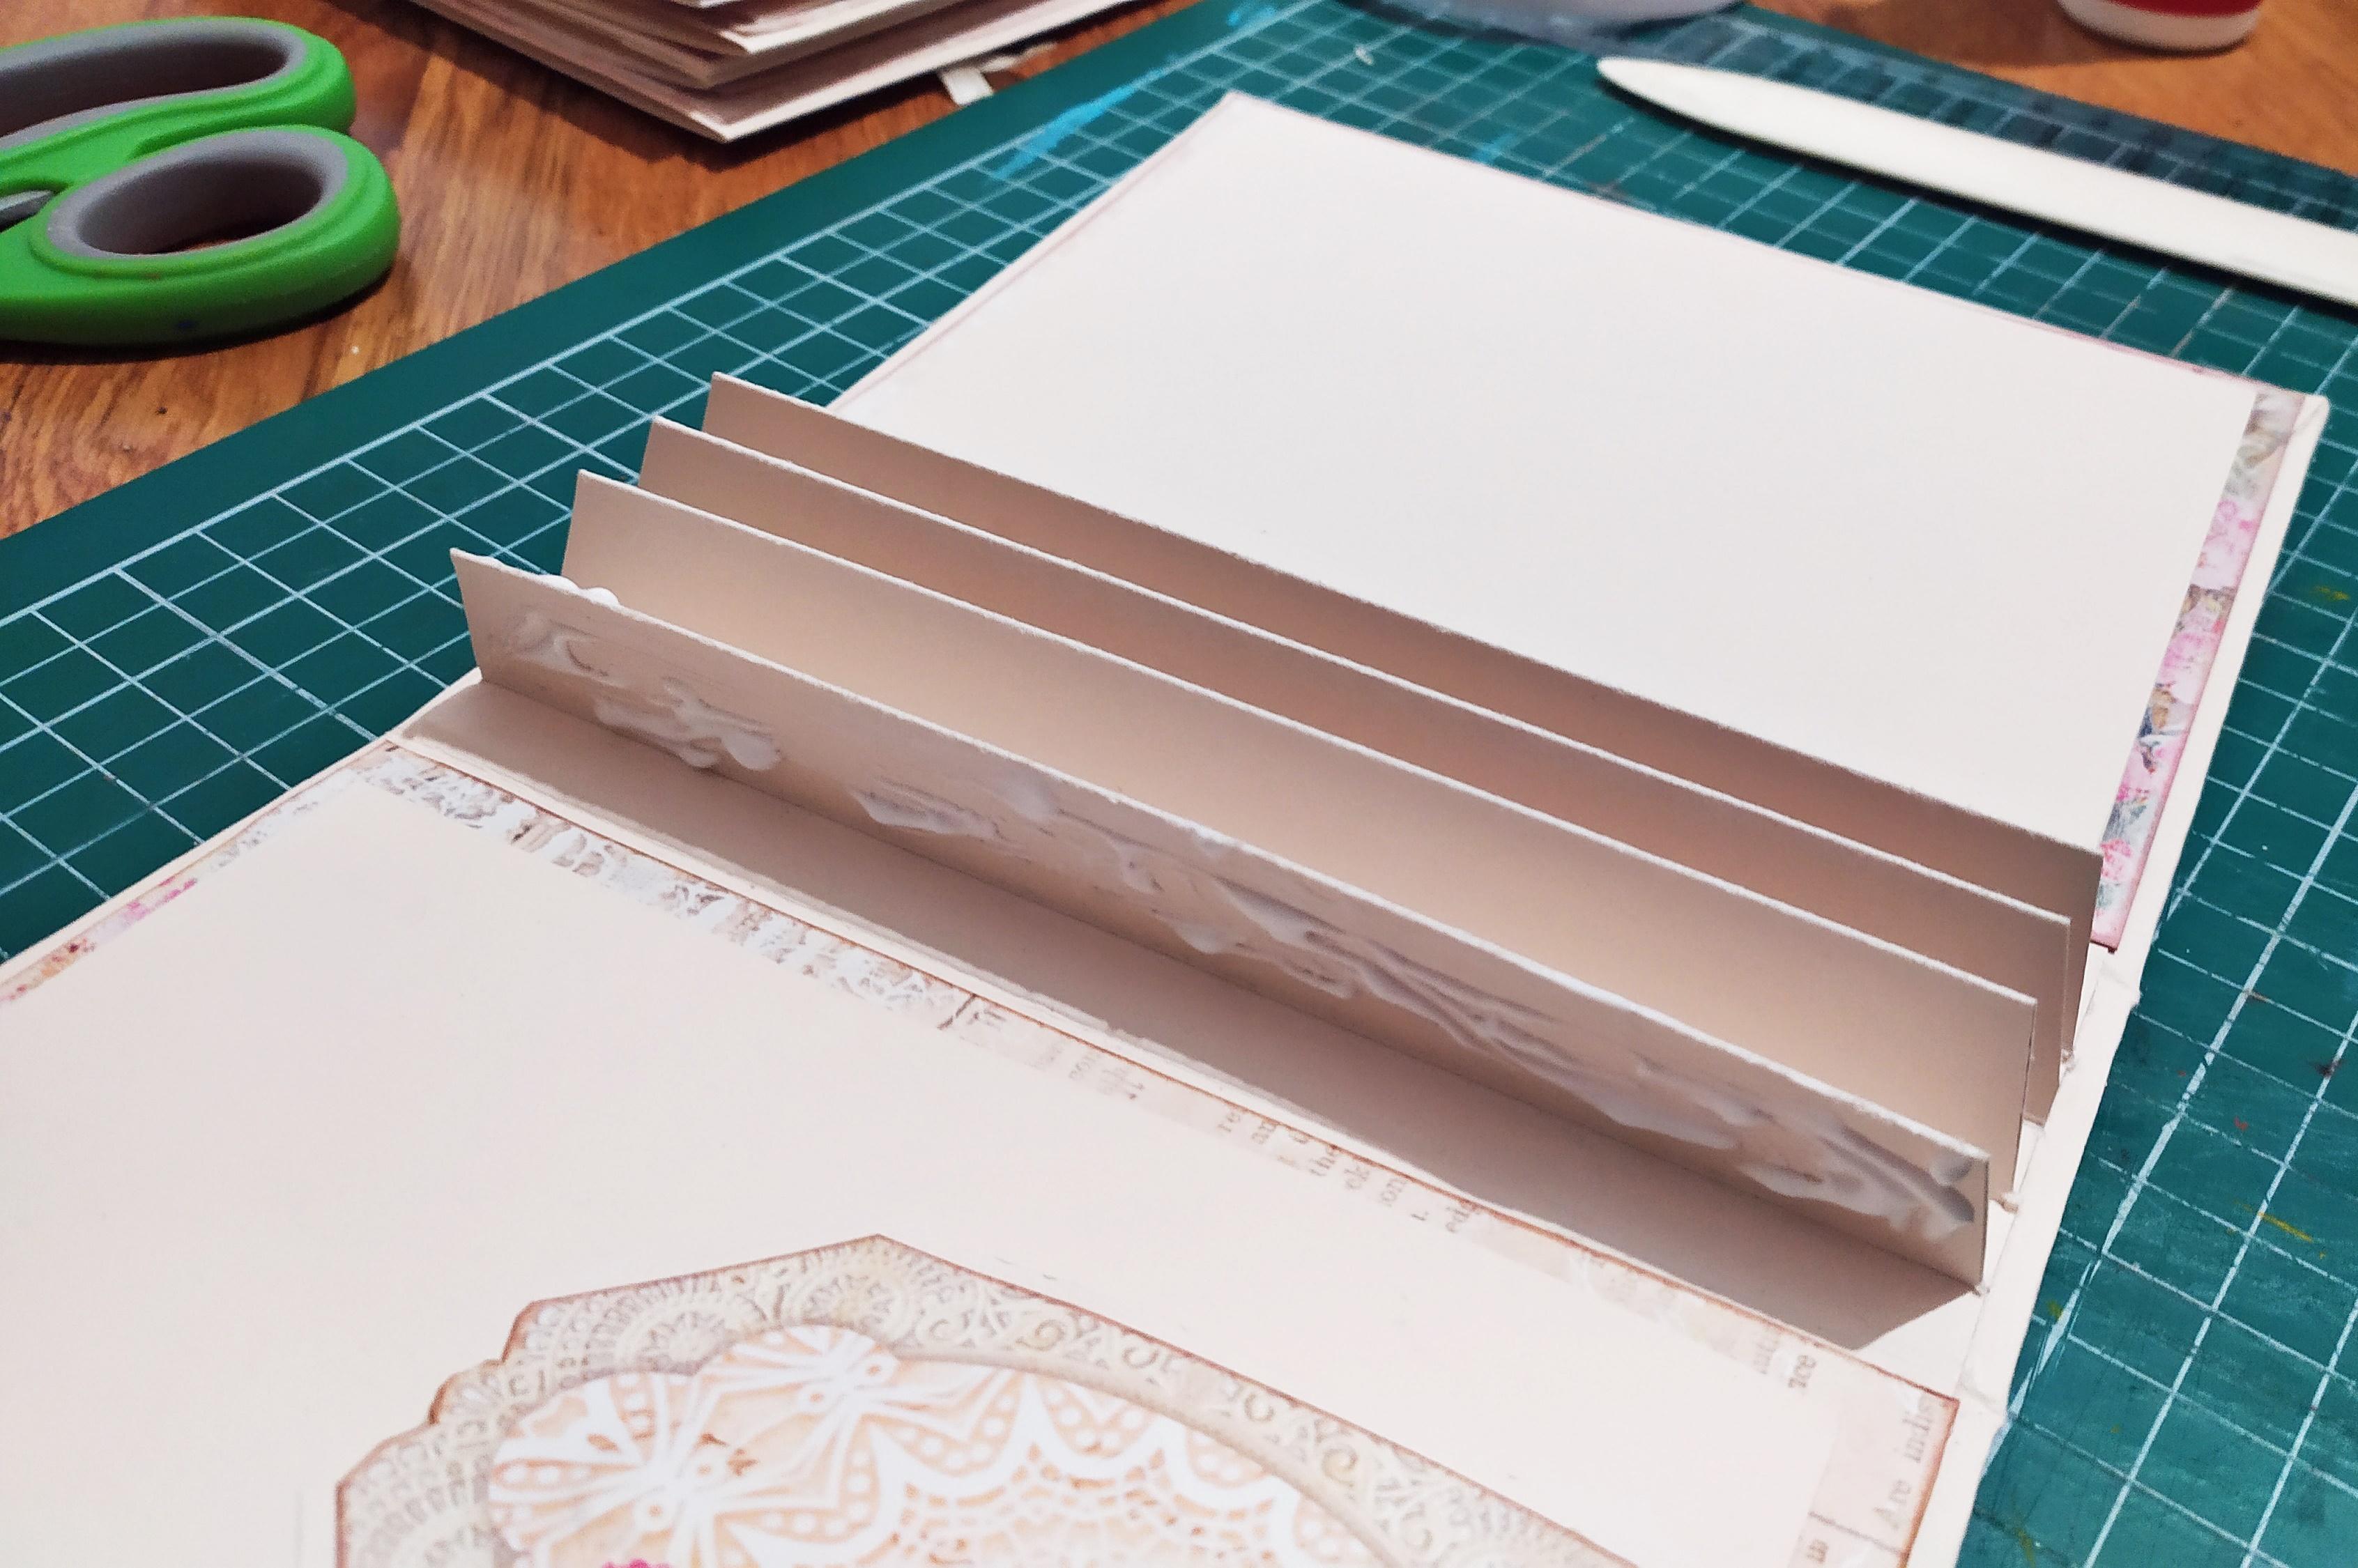
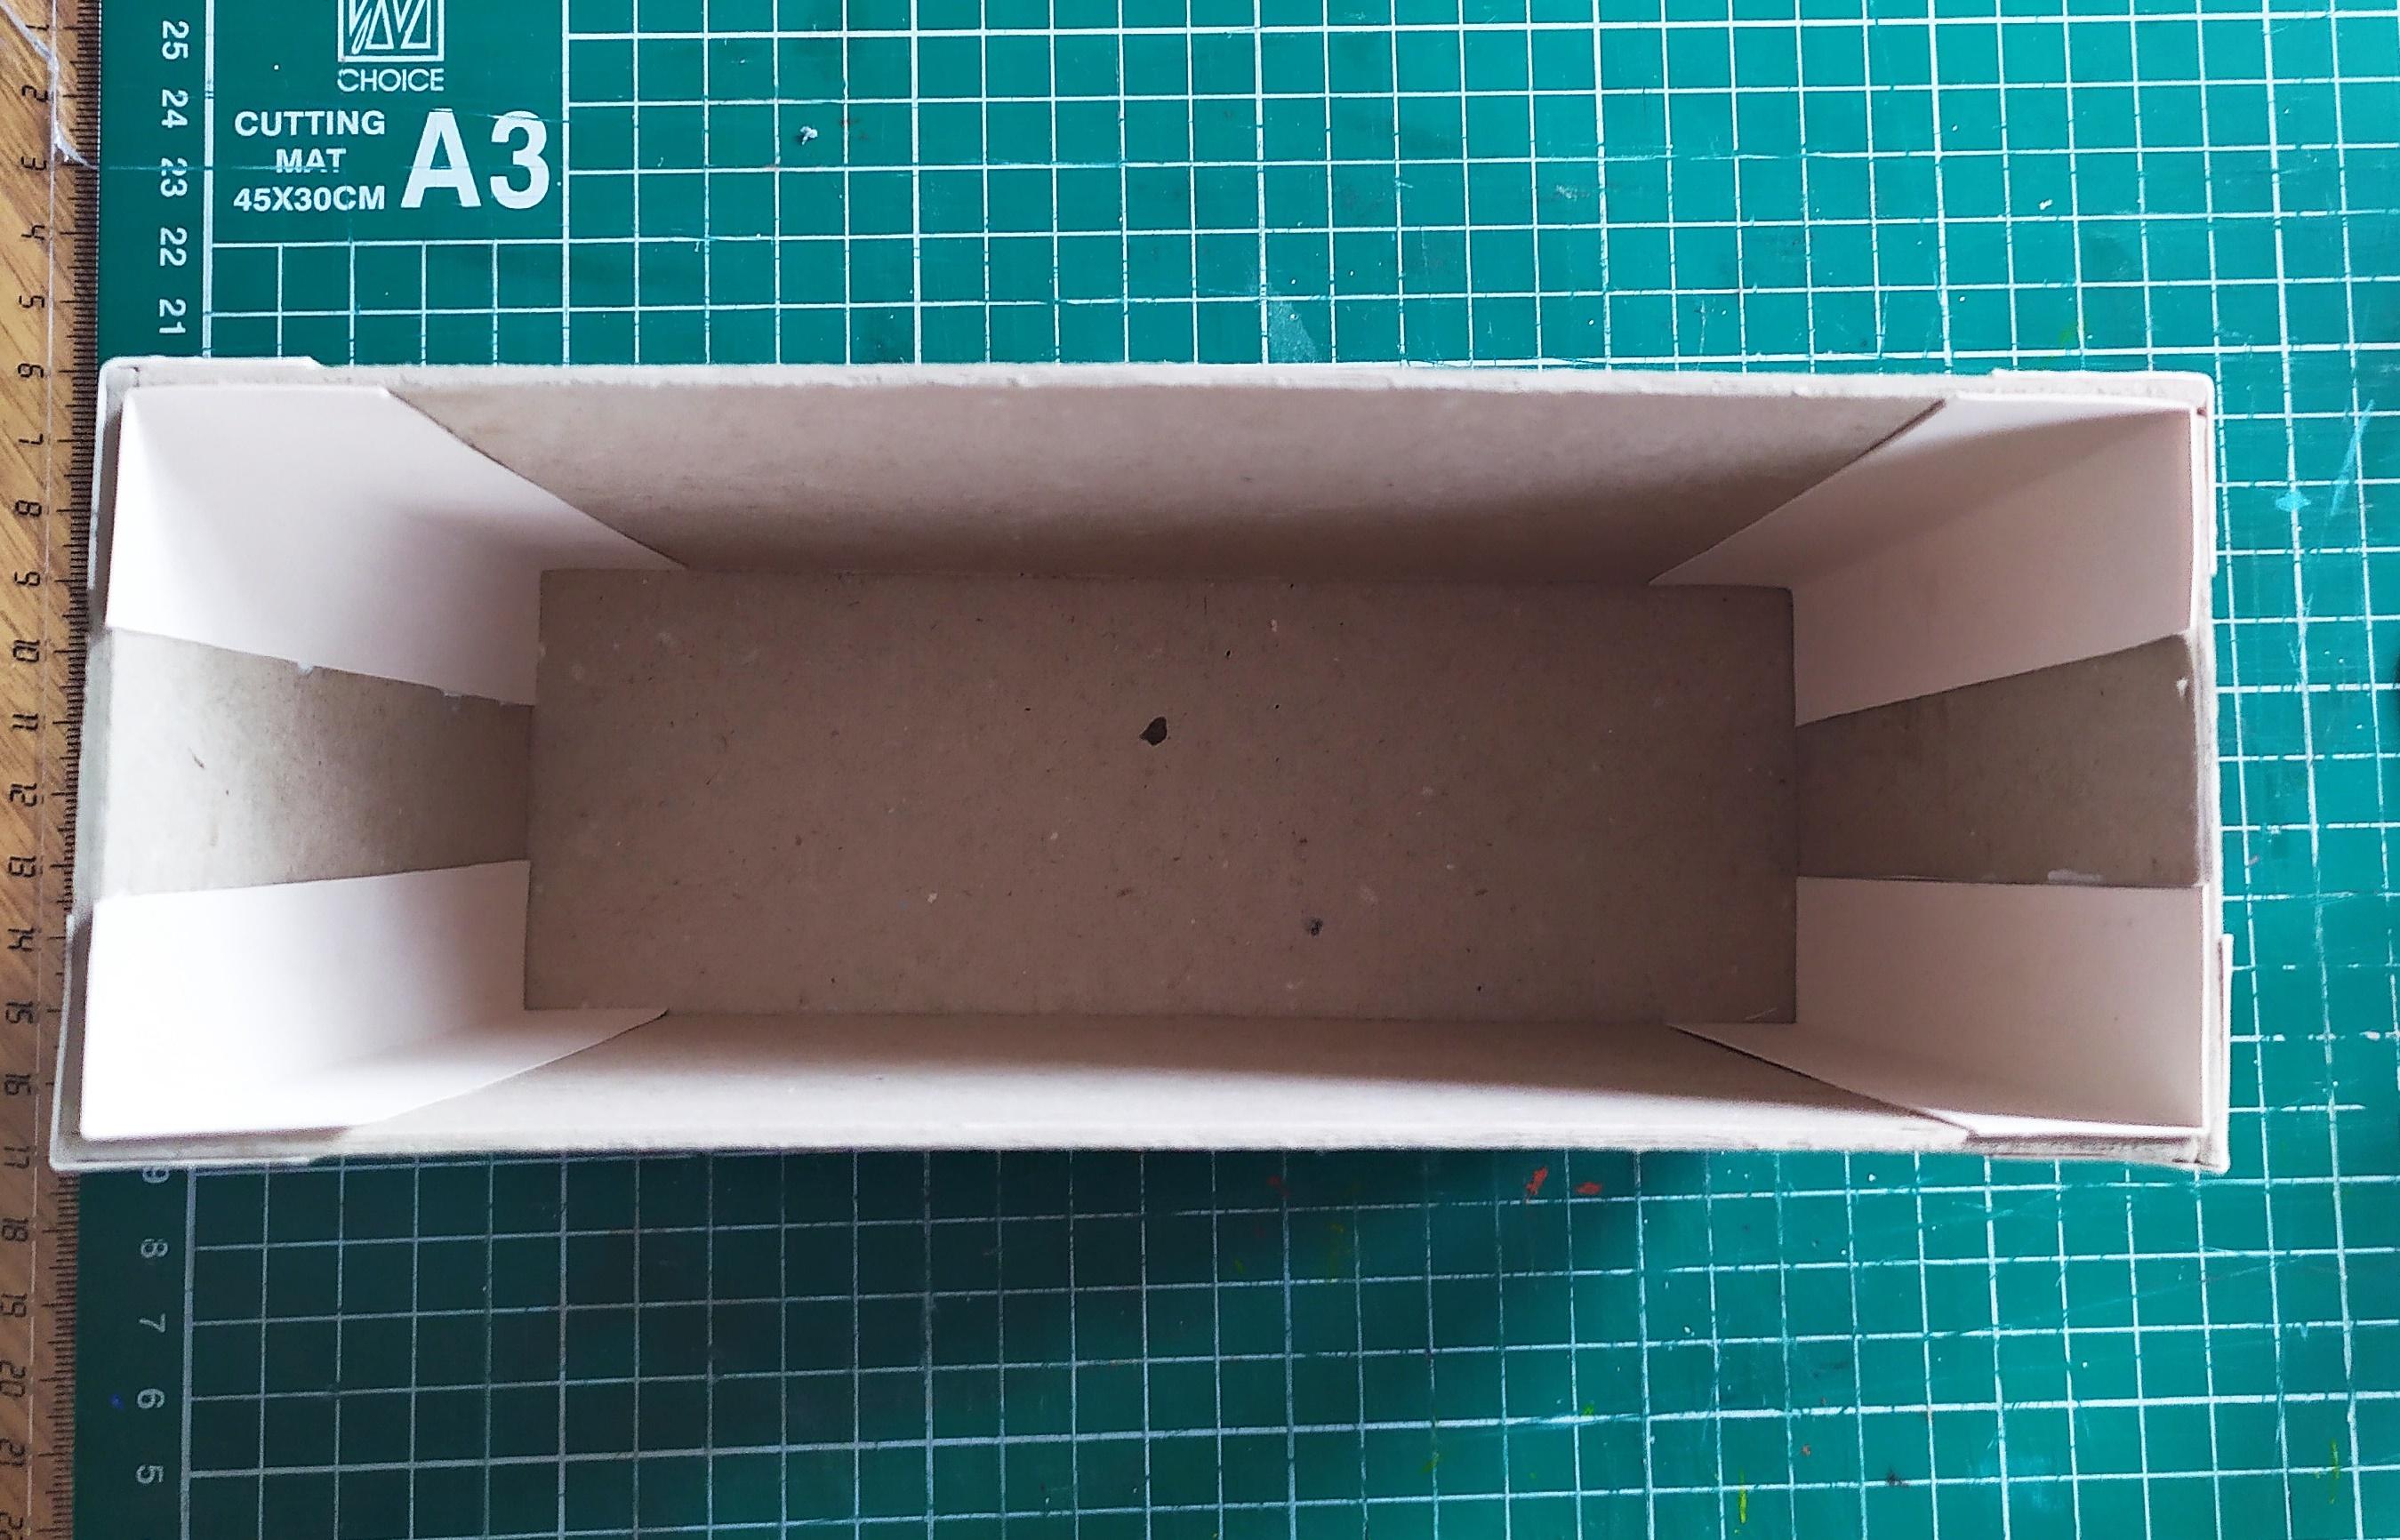
The base is almost done but we still don't have the piece to attach each page to.It's called a hinge and on this step you'll learn how to make it.
The size of this piece depends on the number of pages you want your album to have.I chose mine to have four.
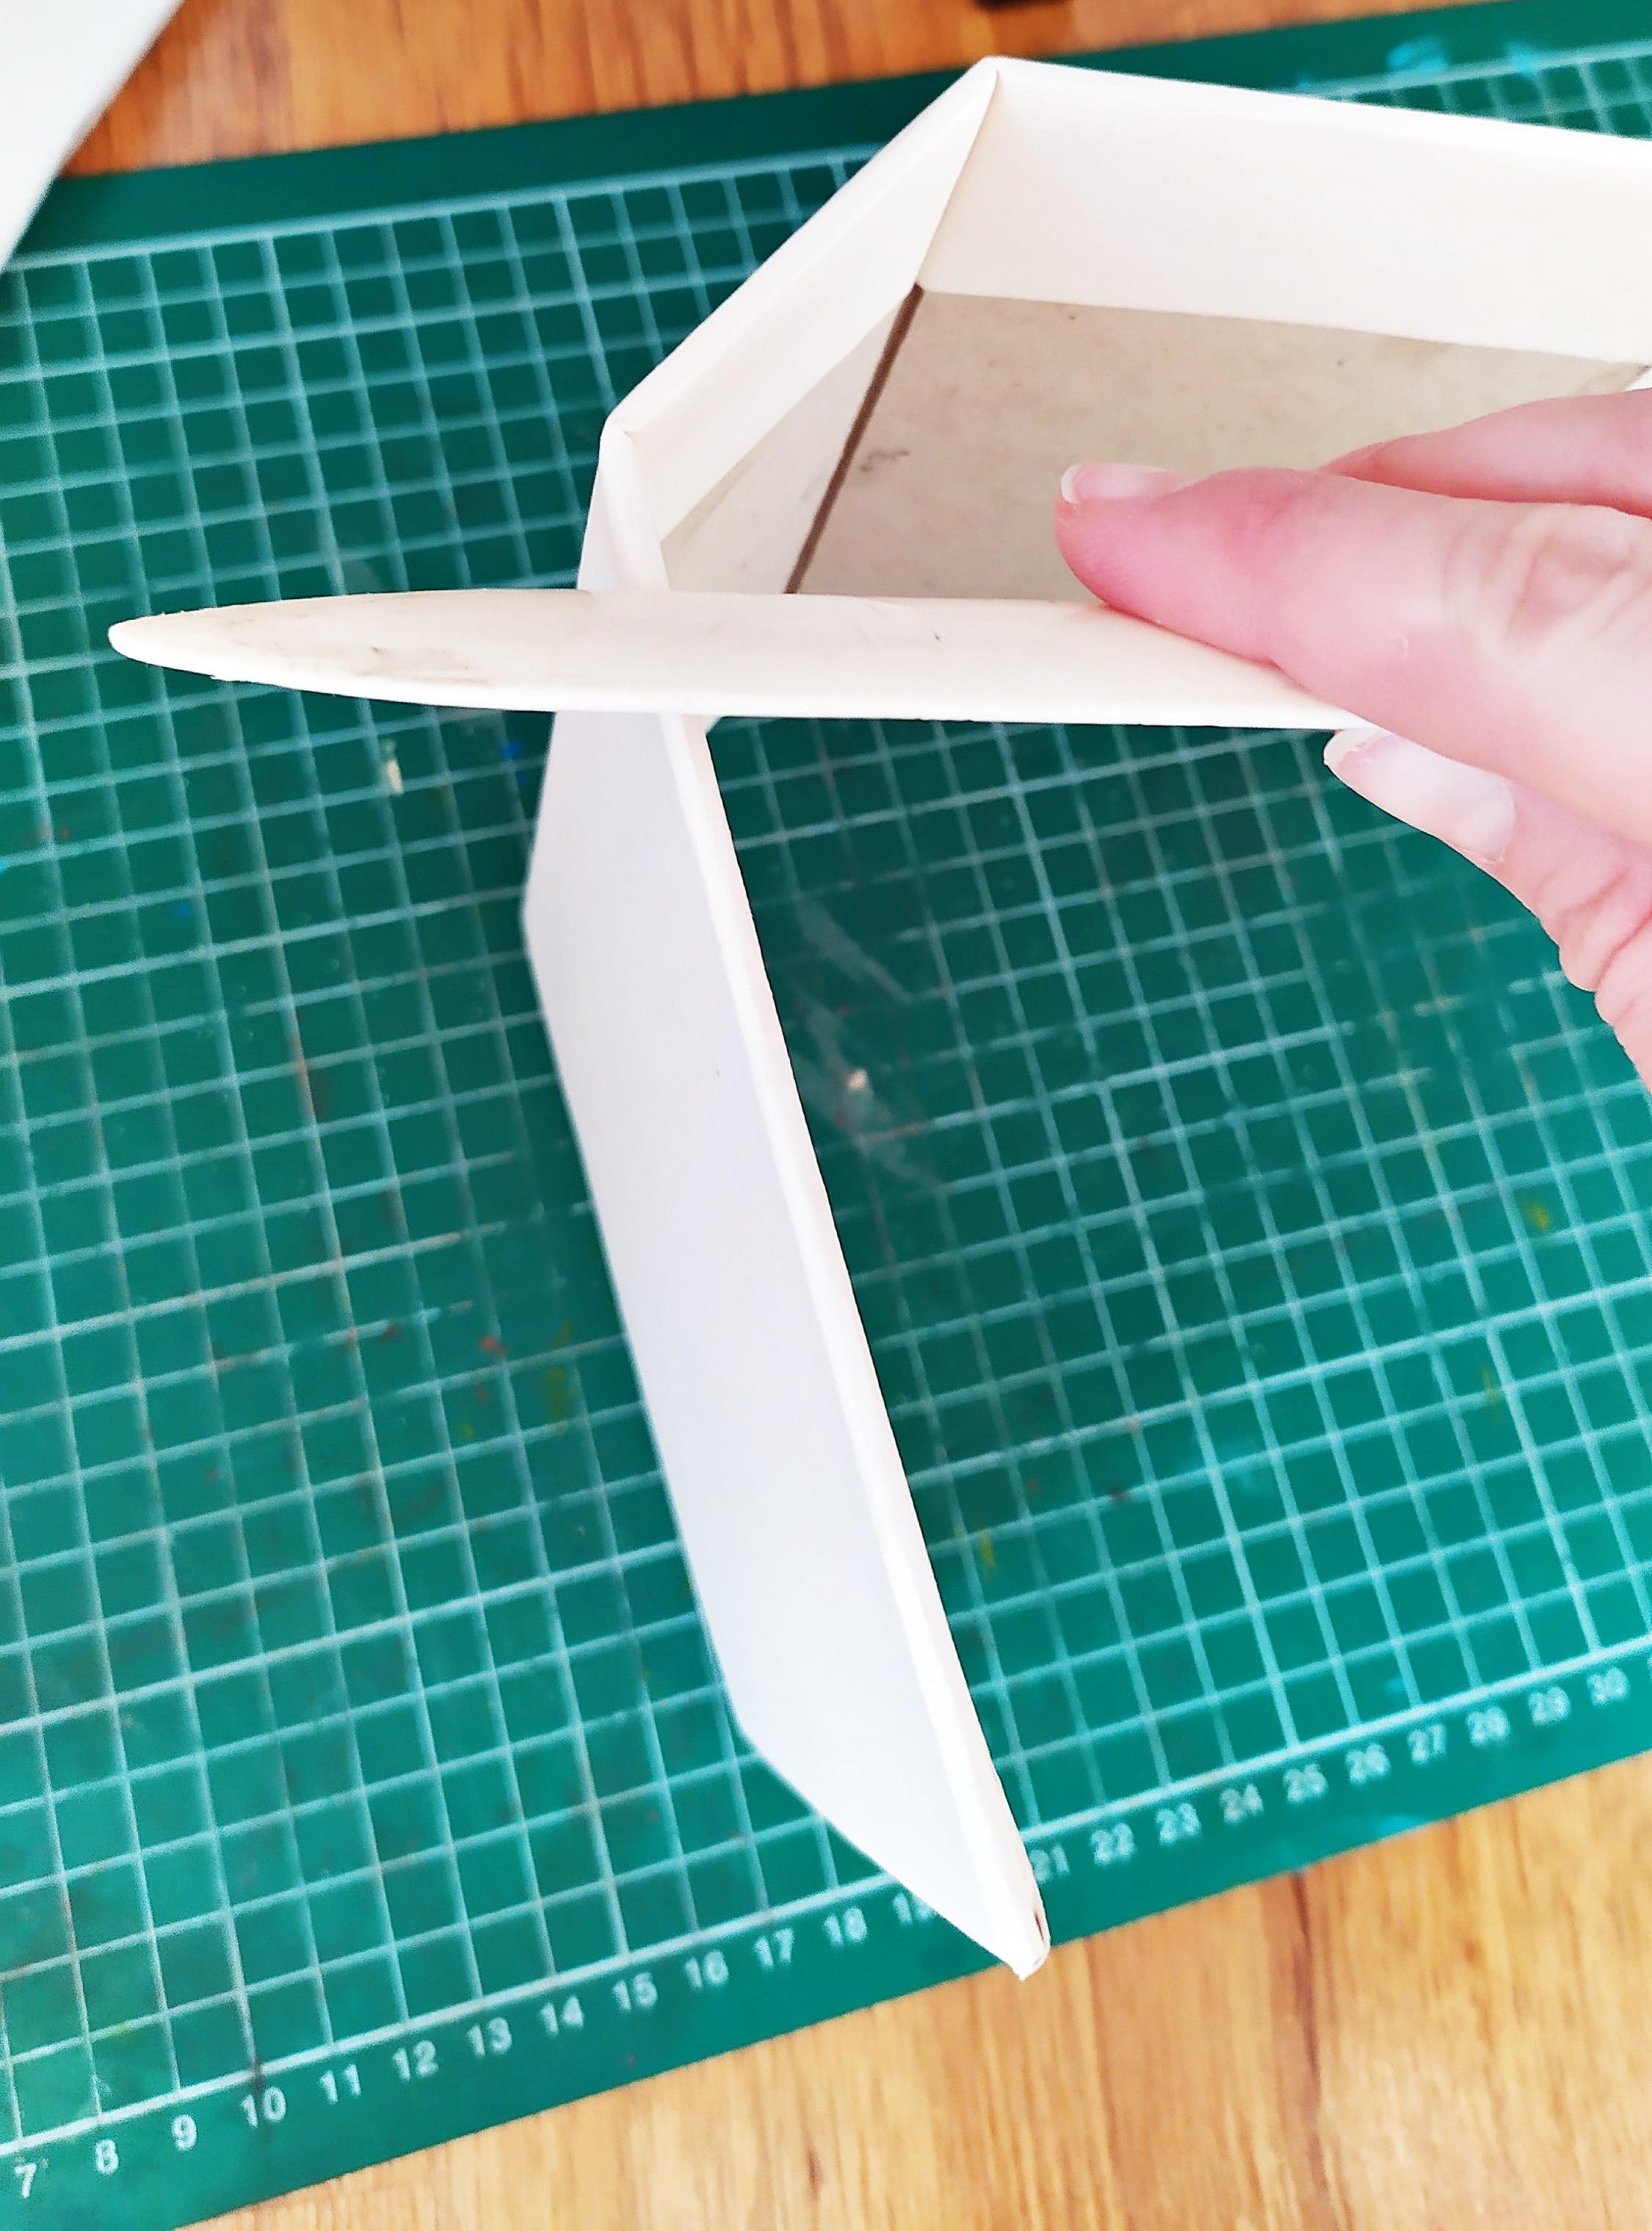
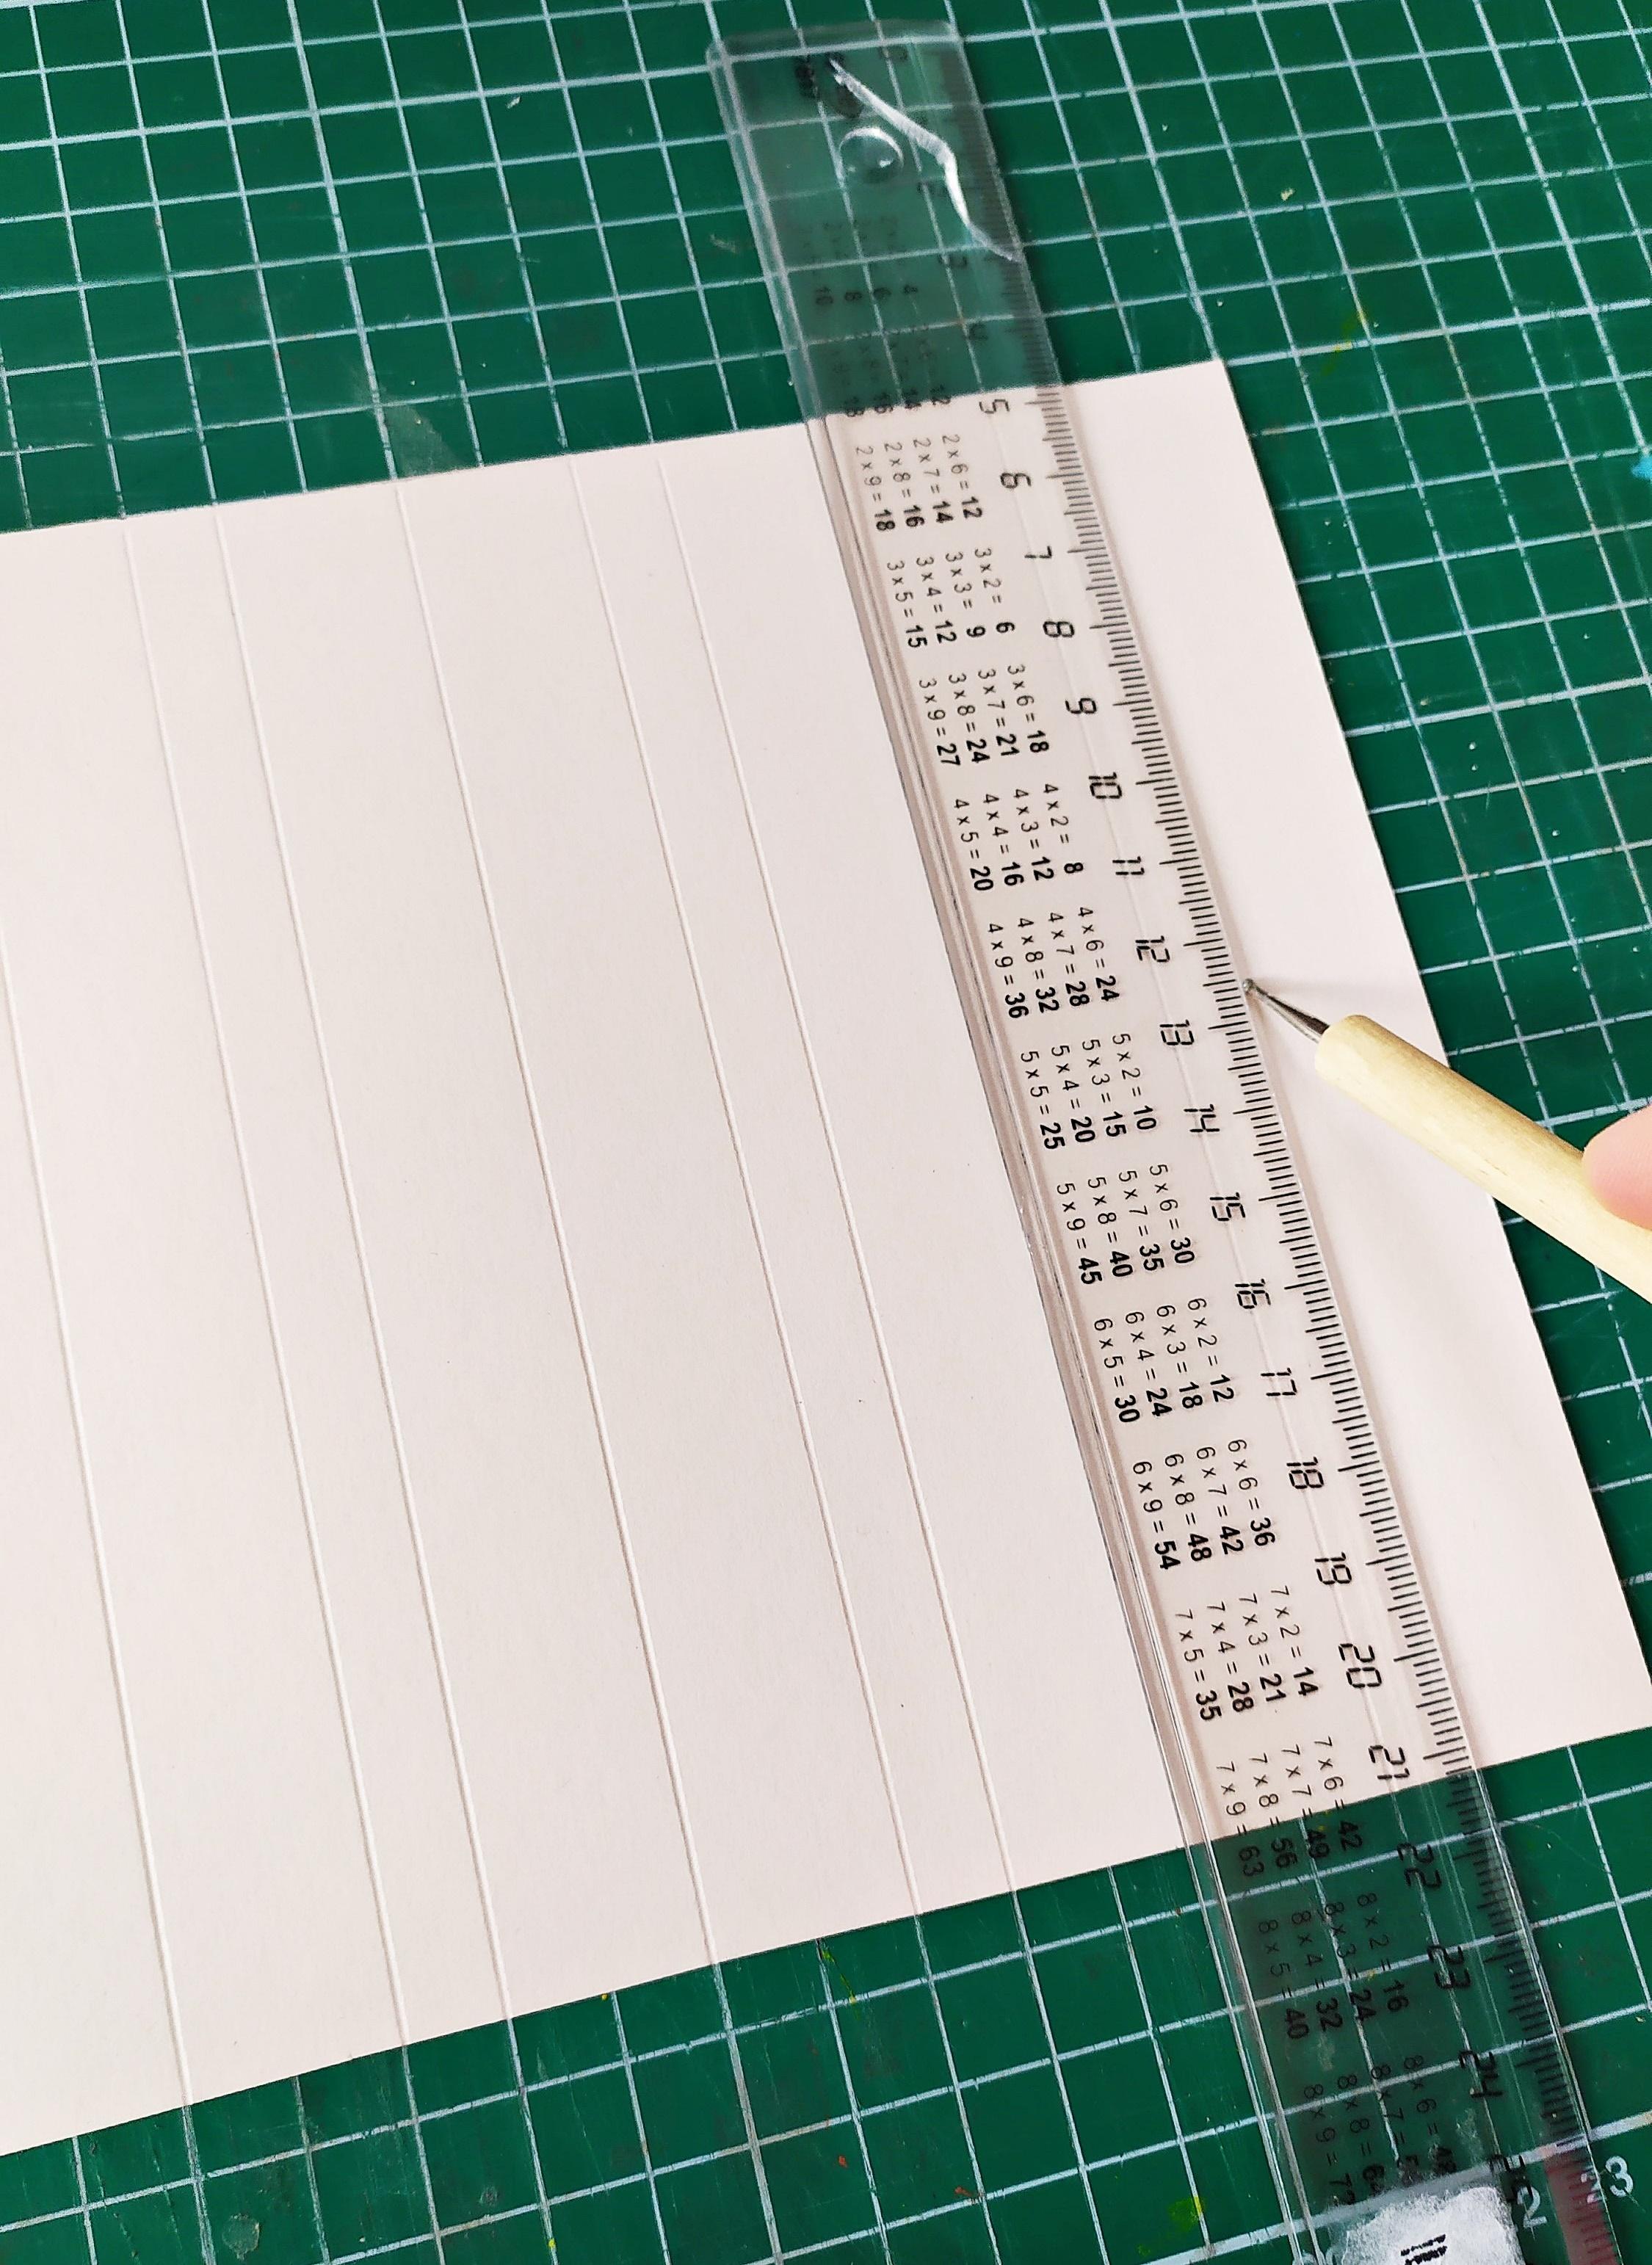
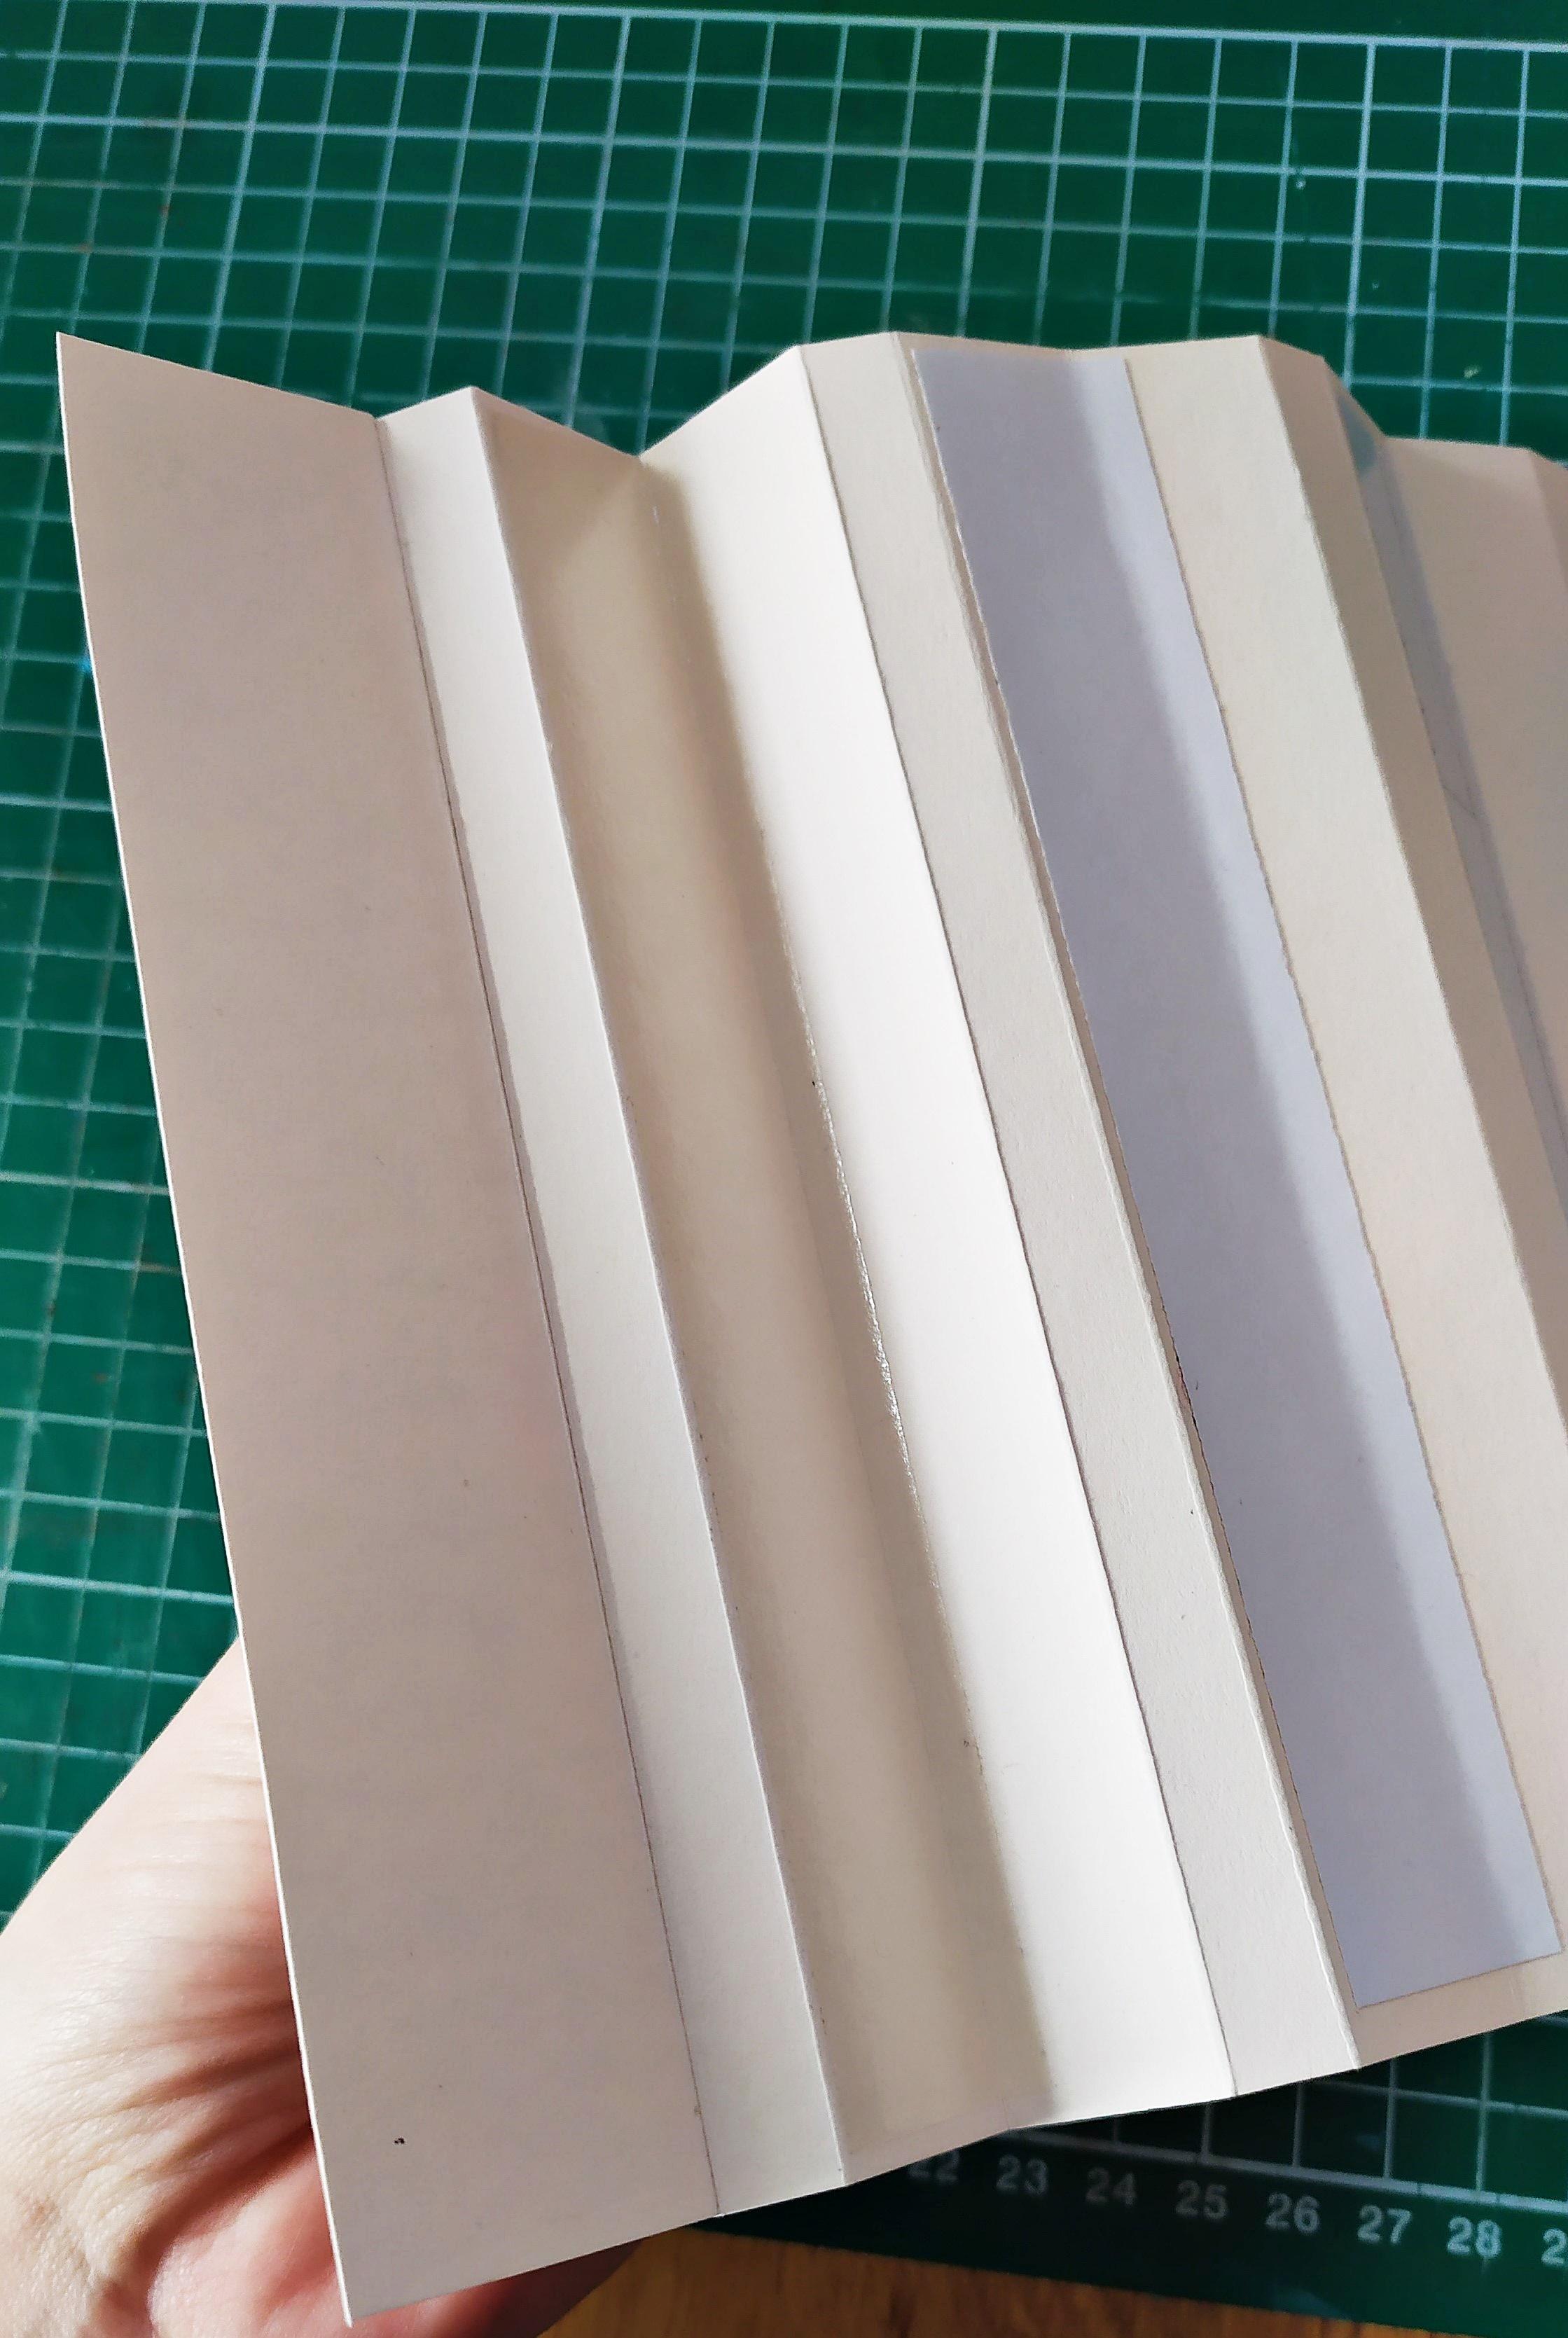
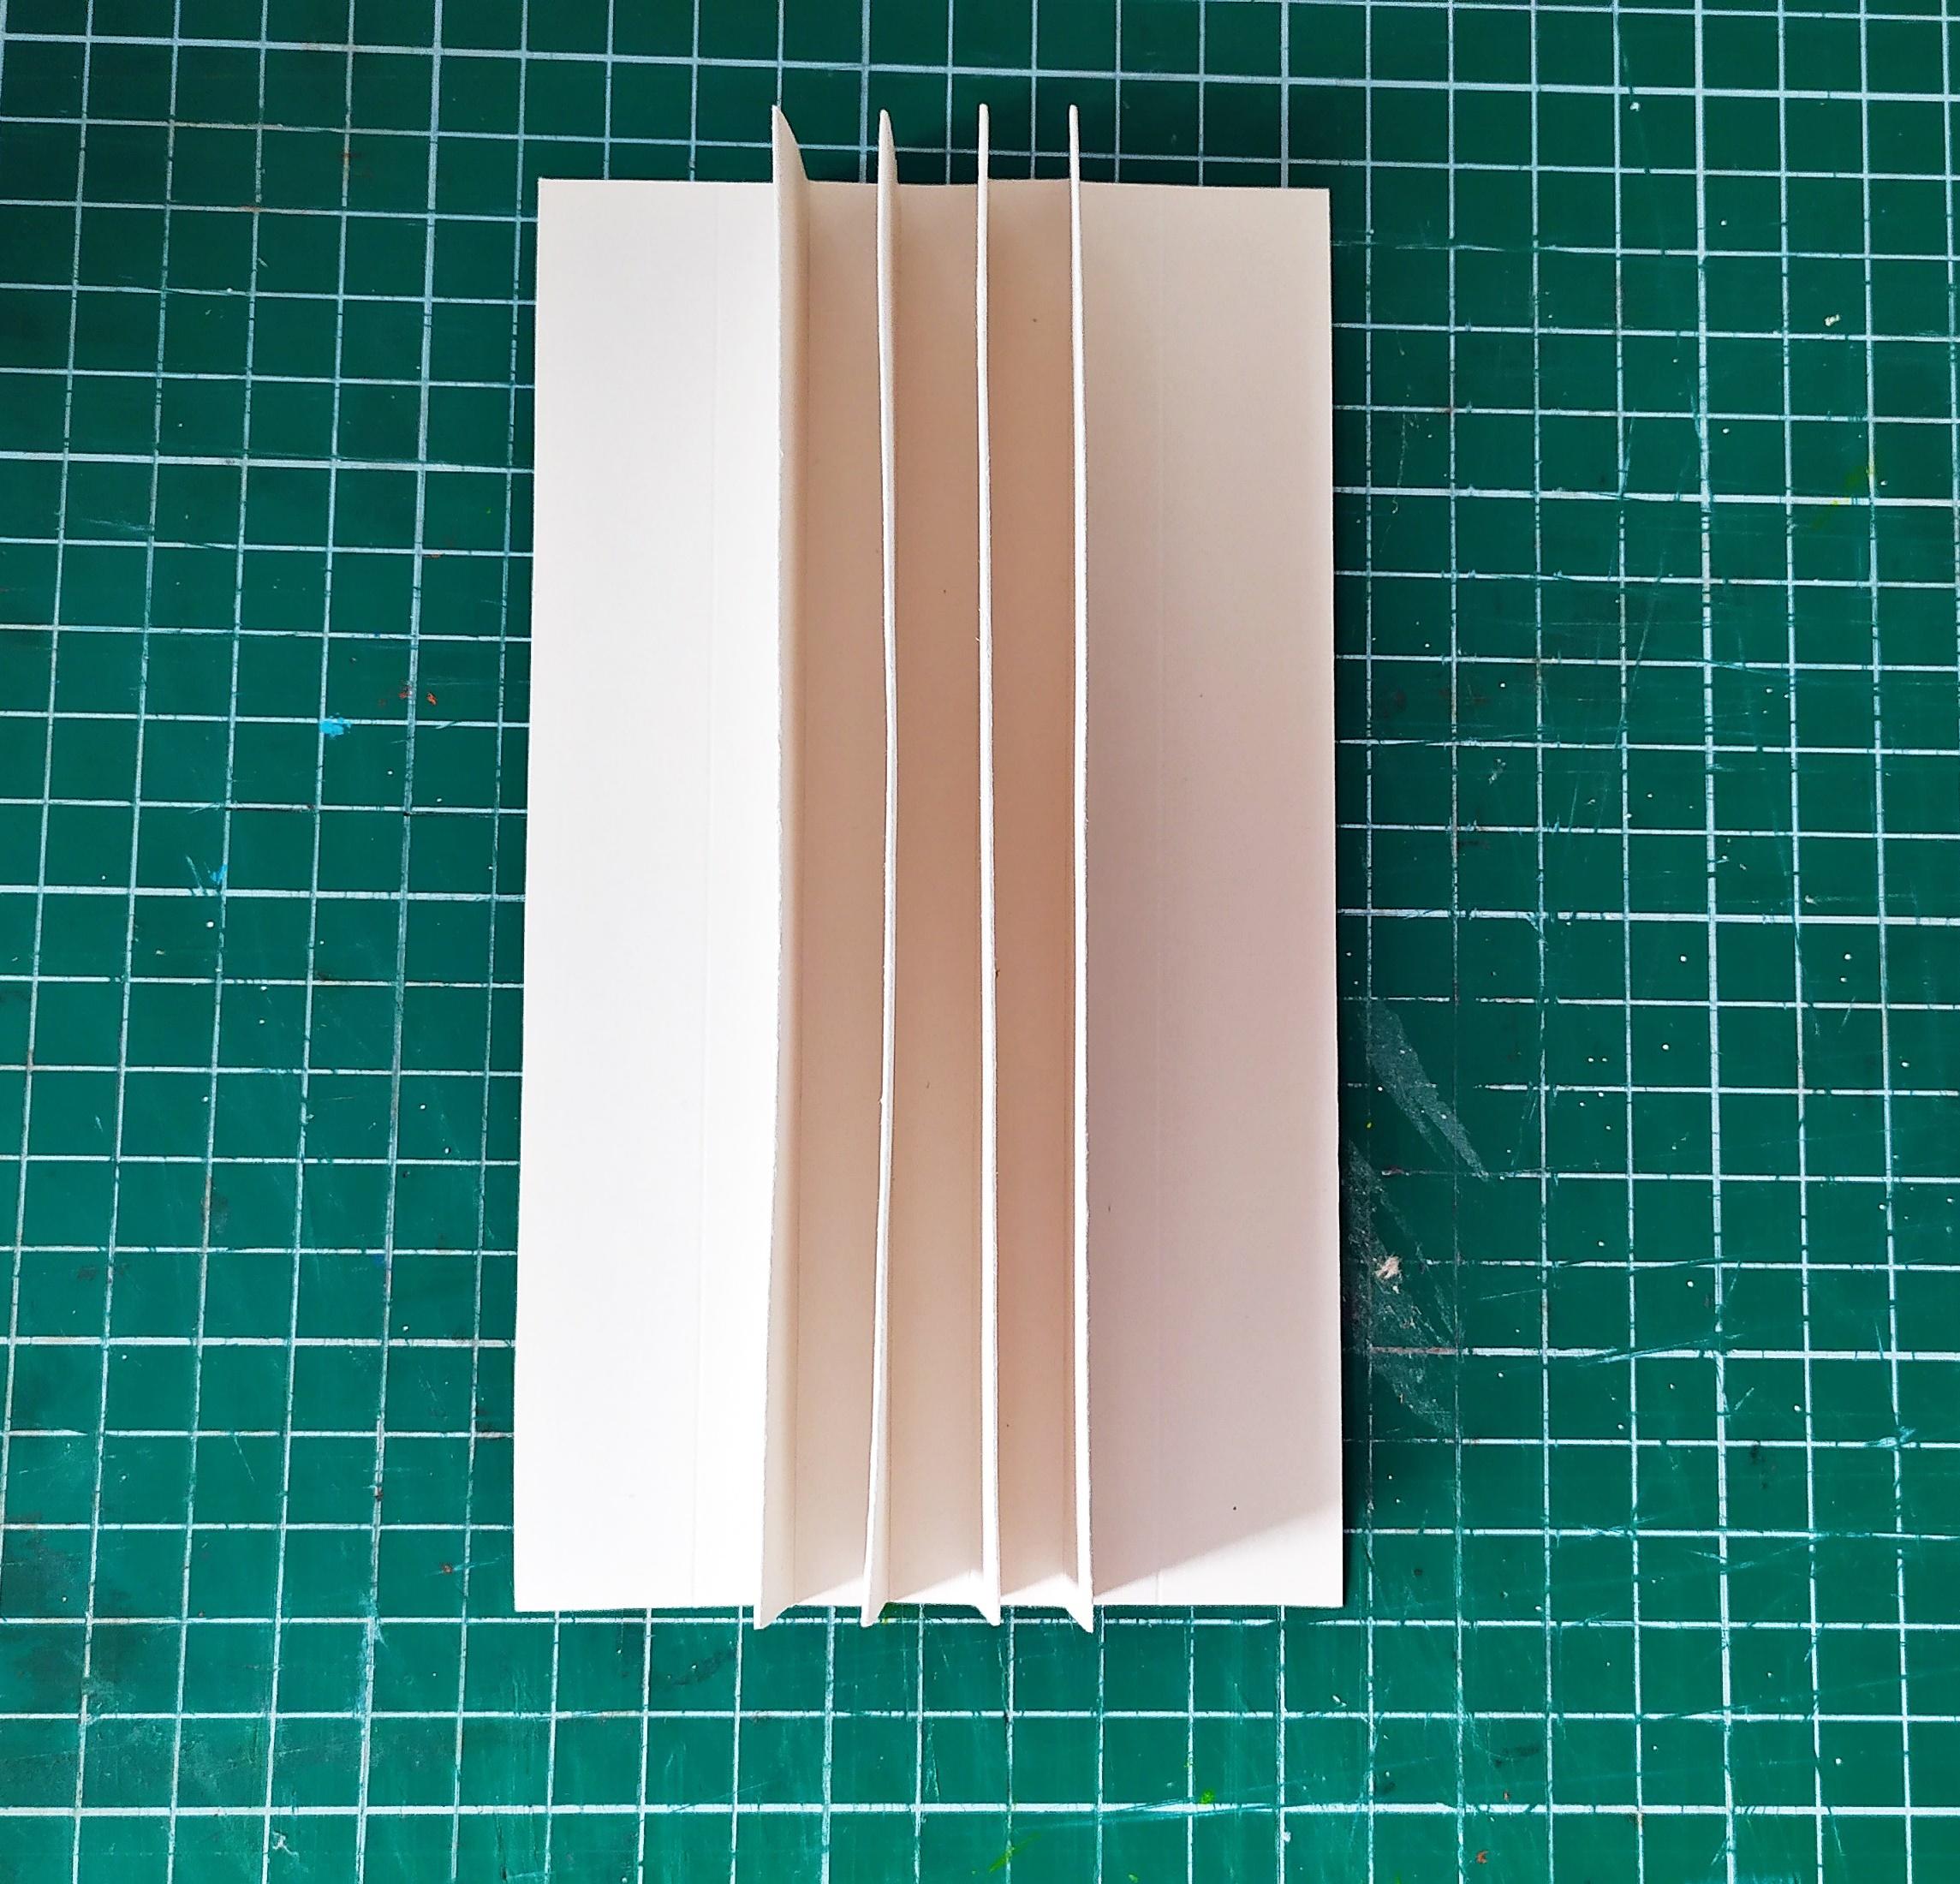
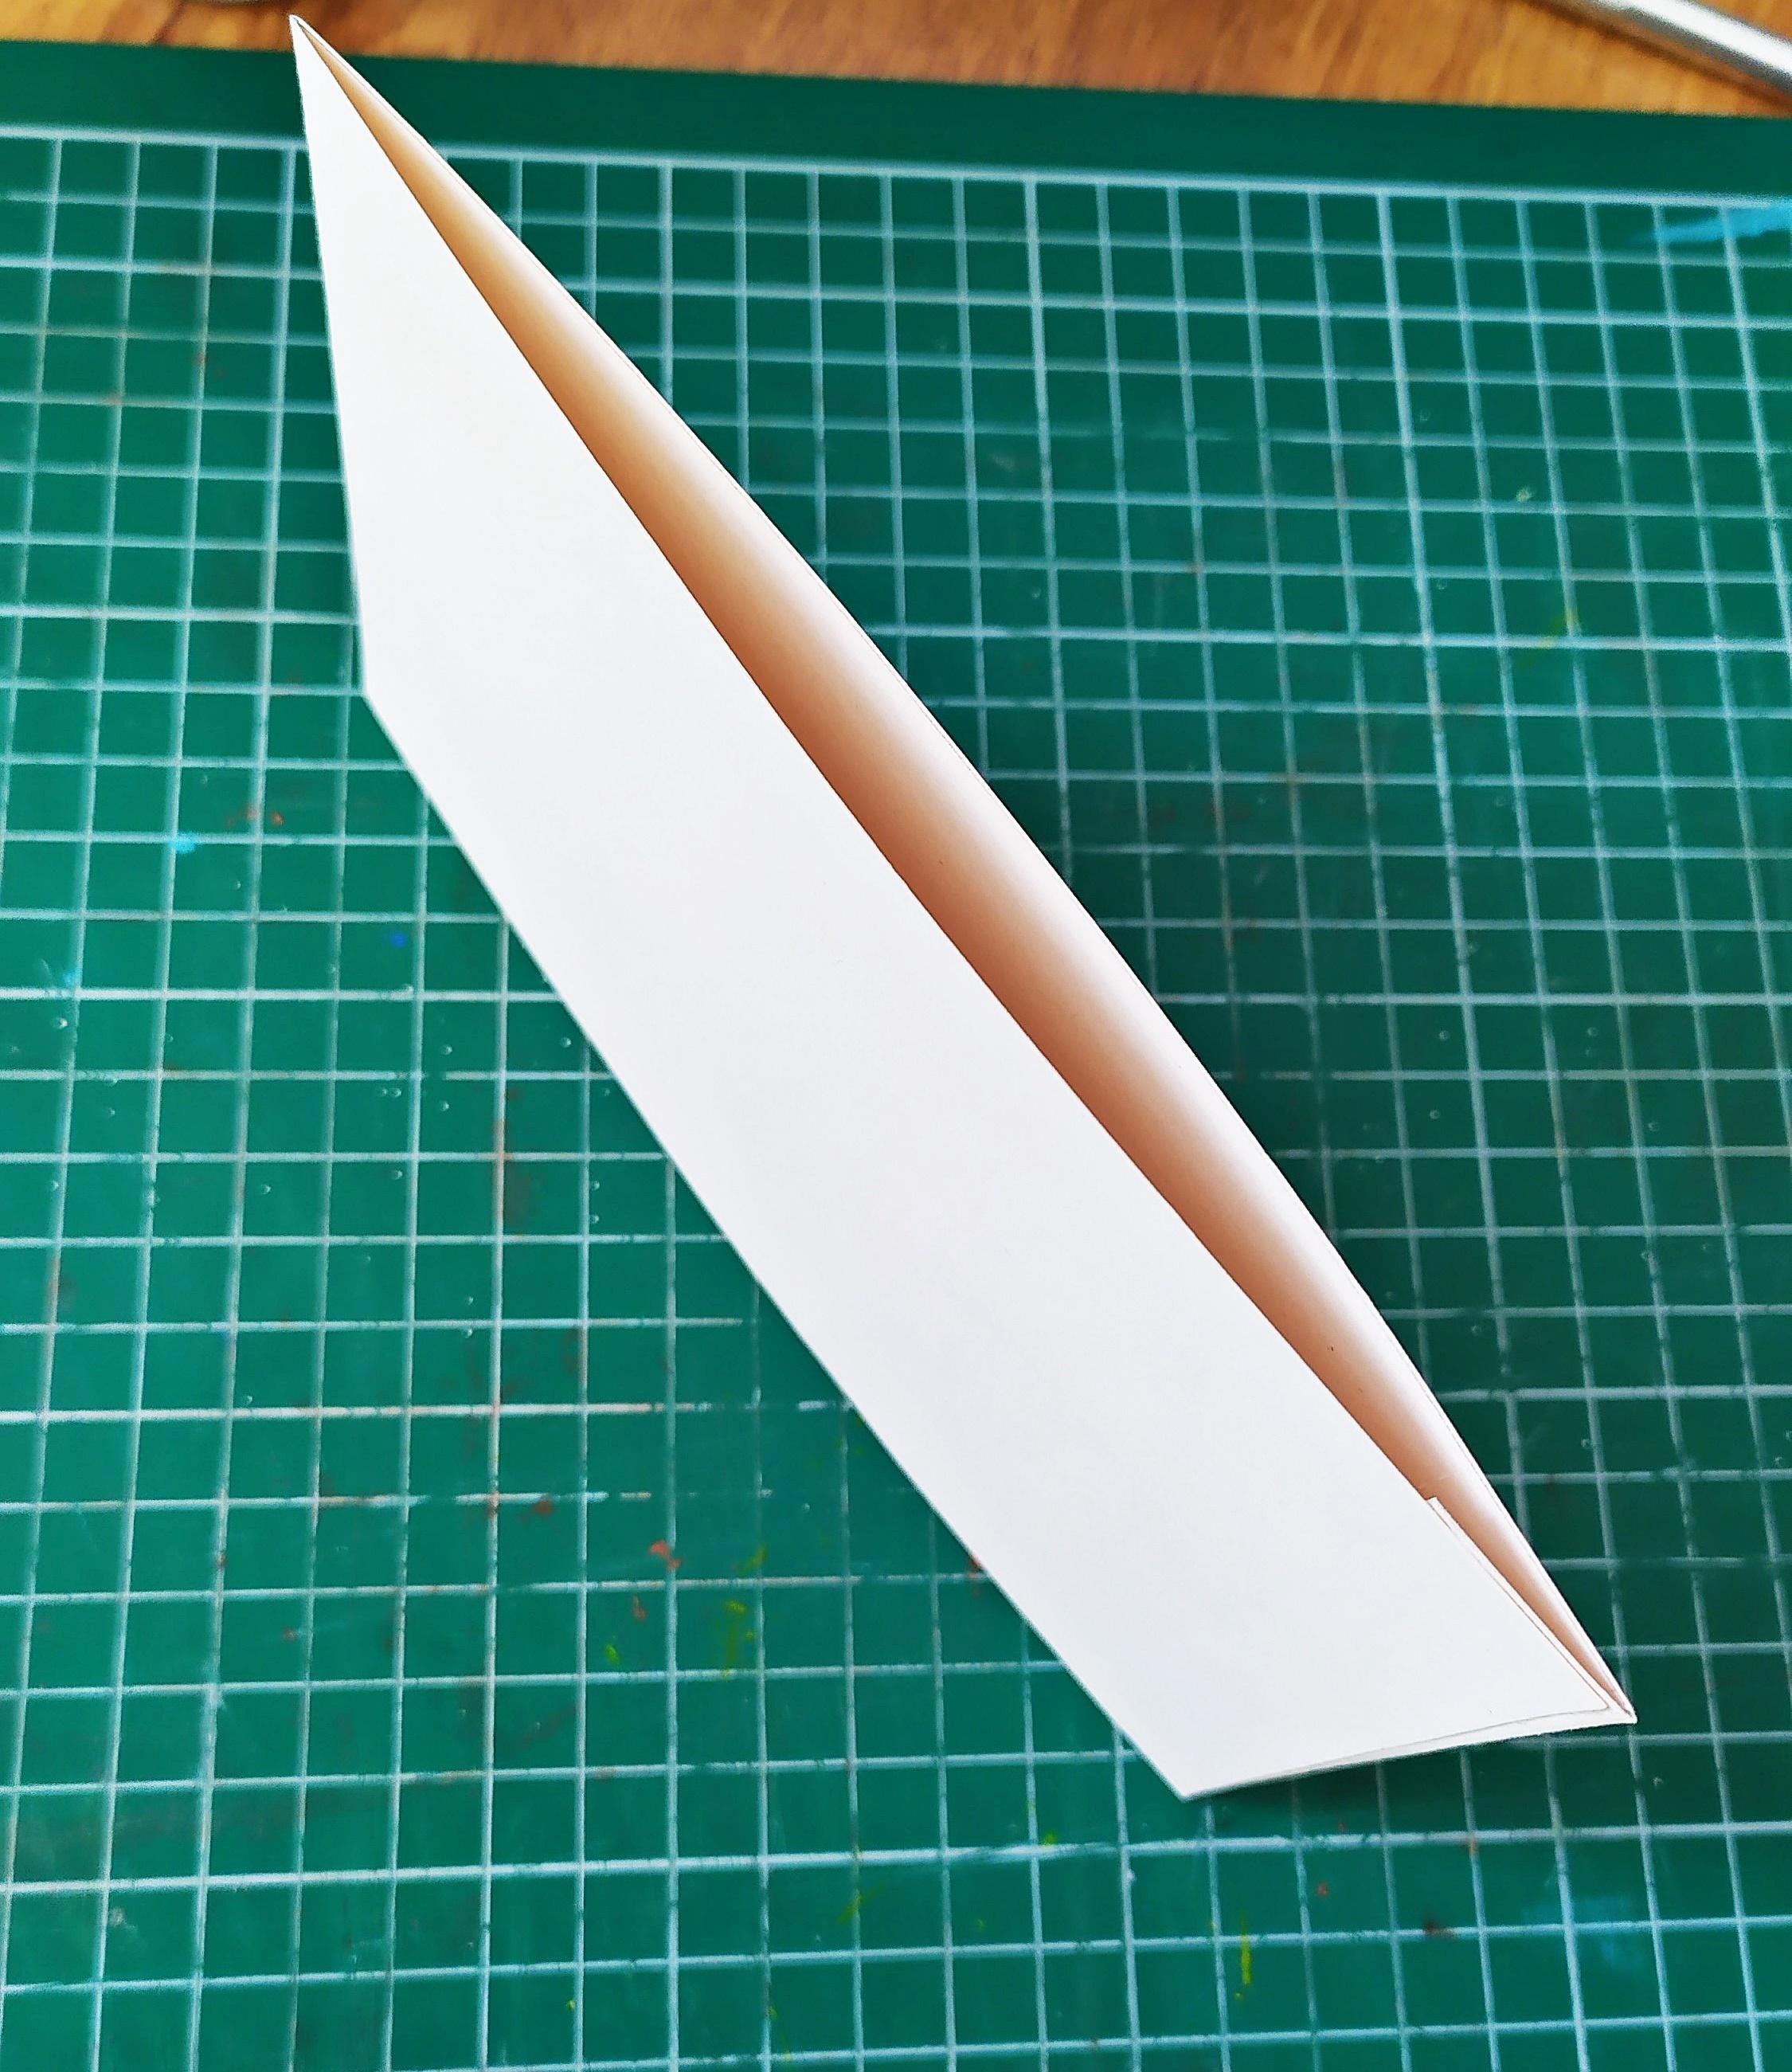
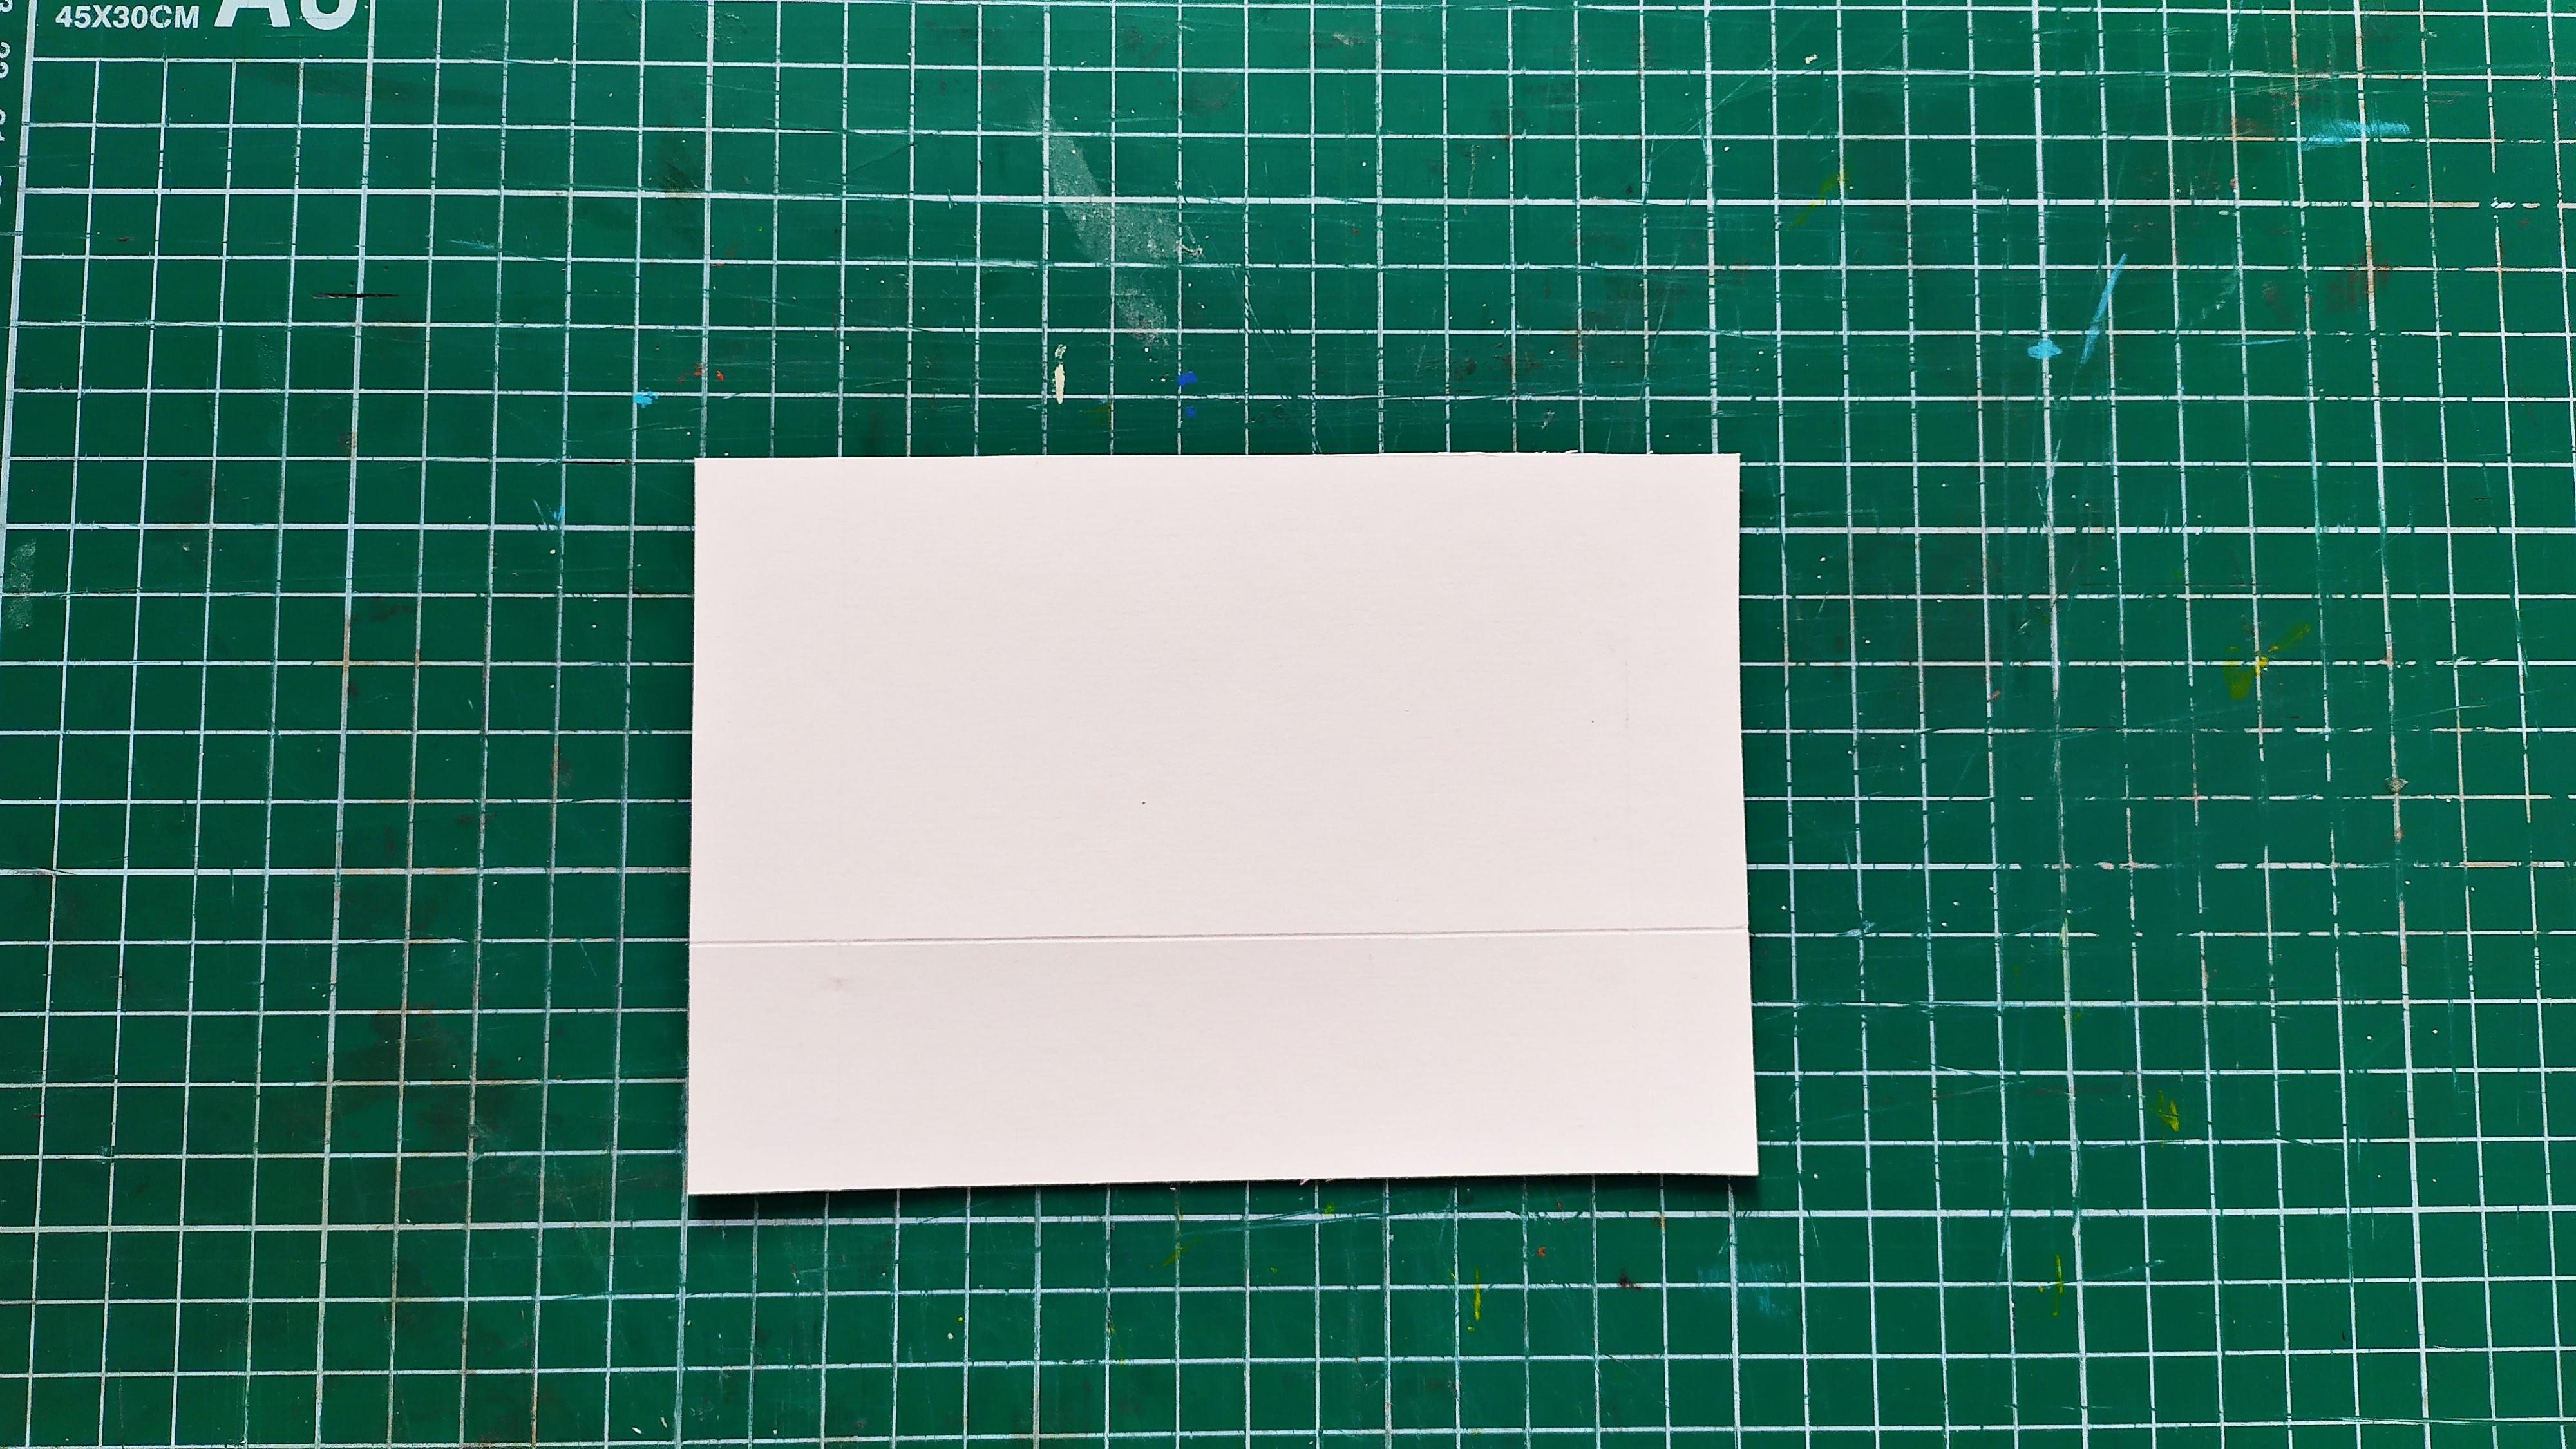
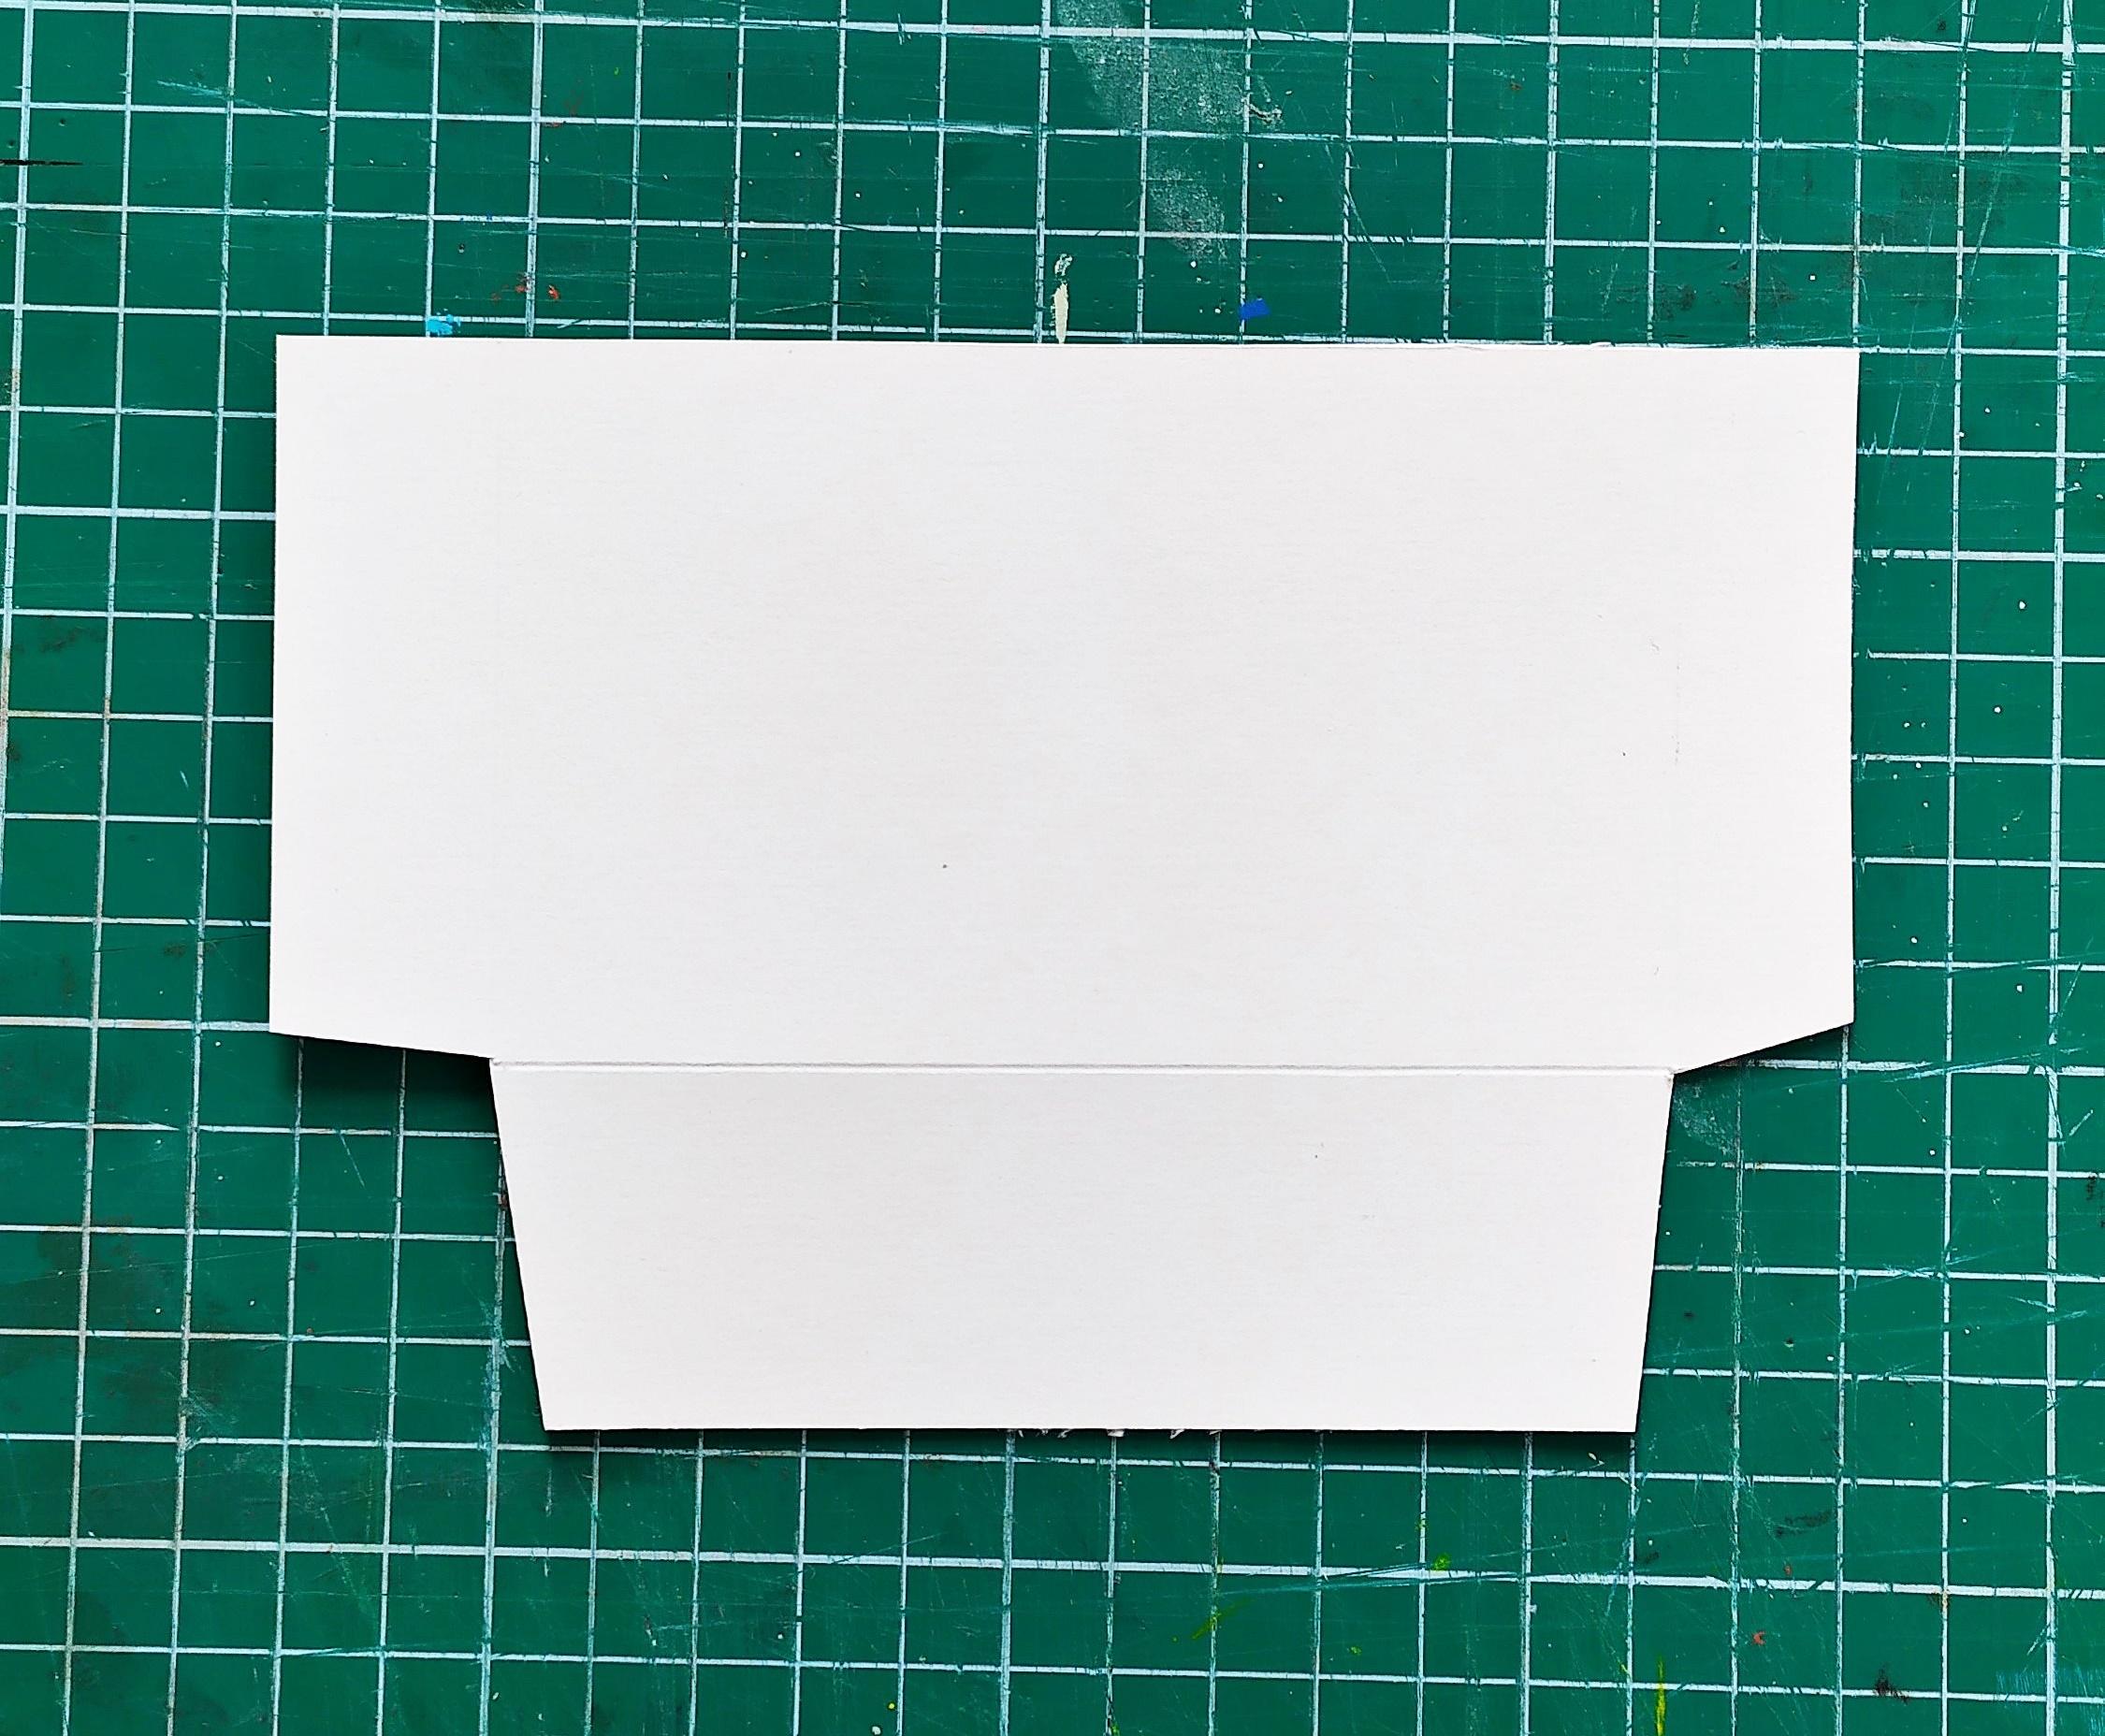
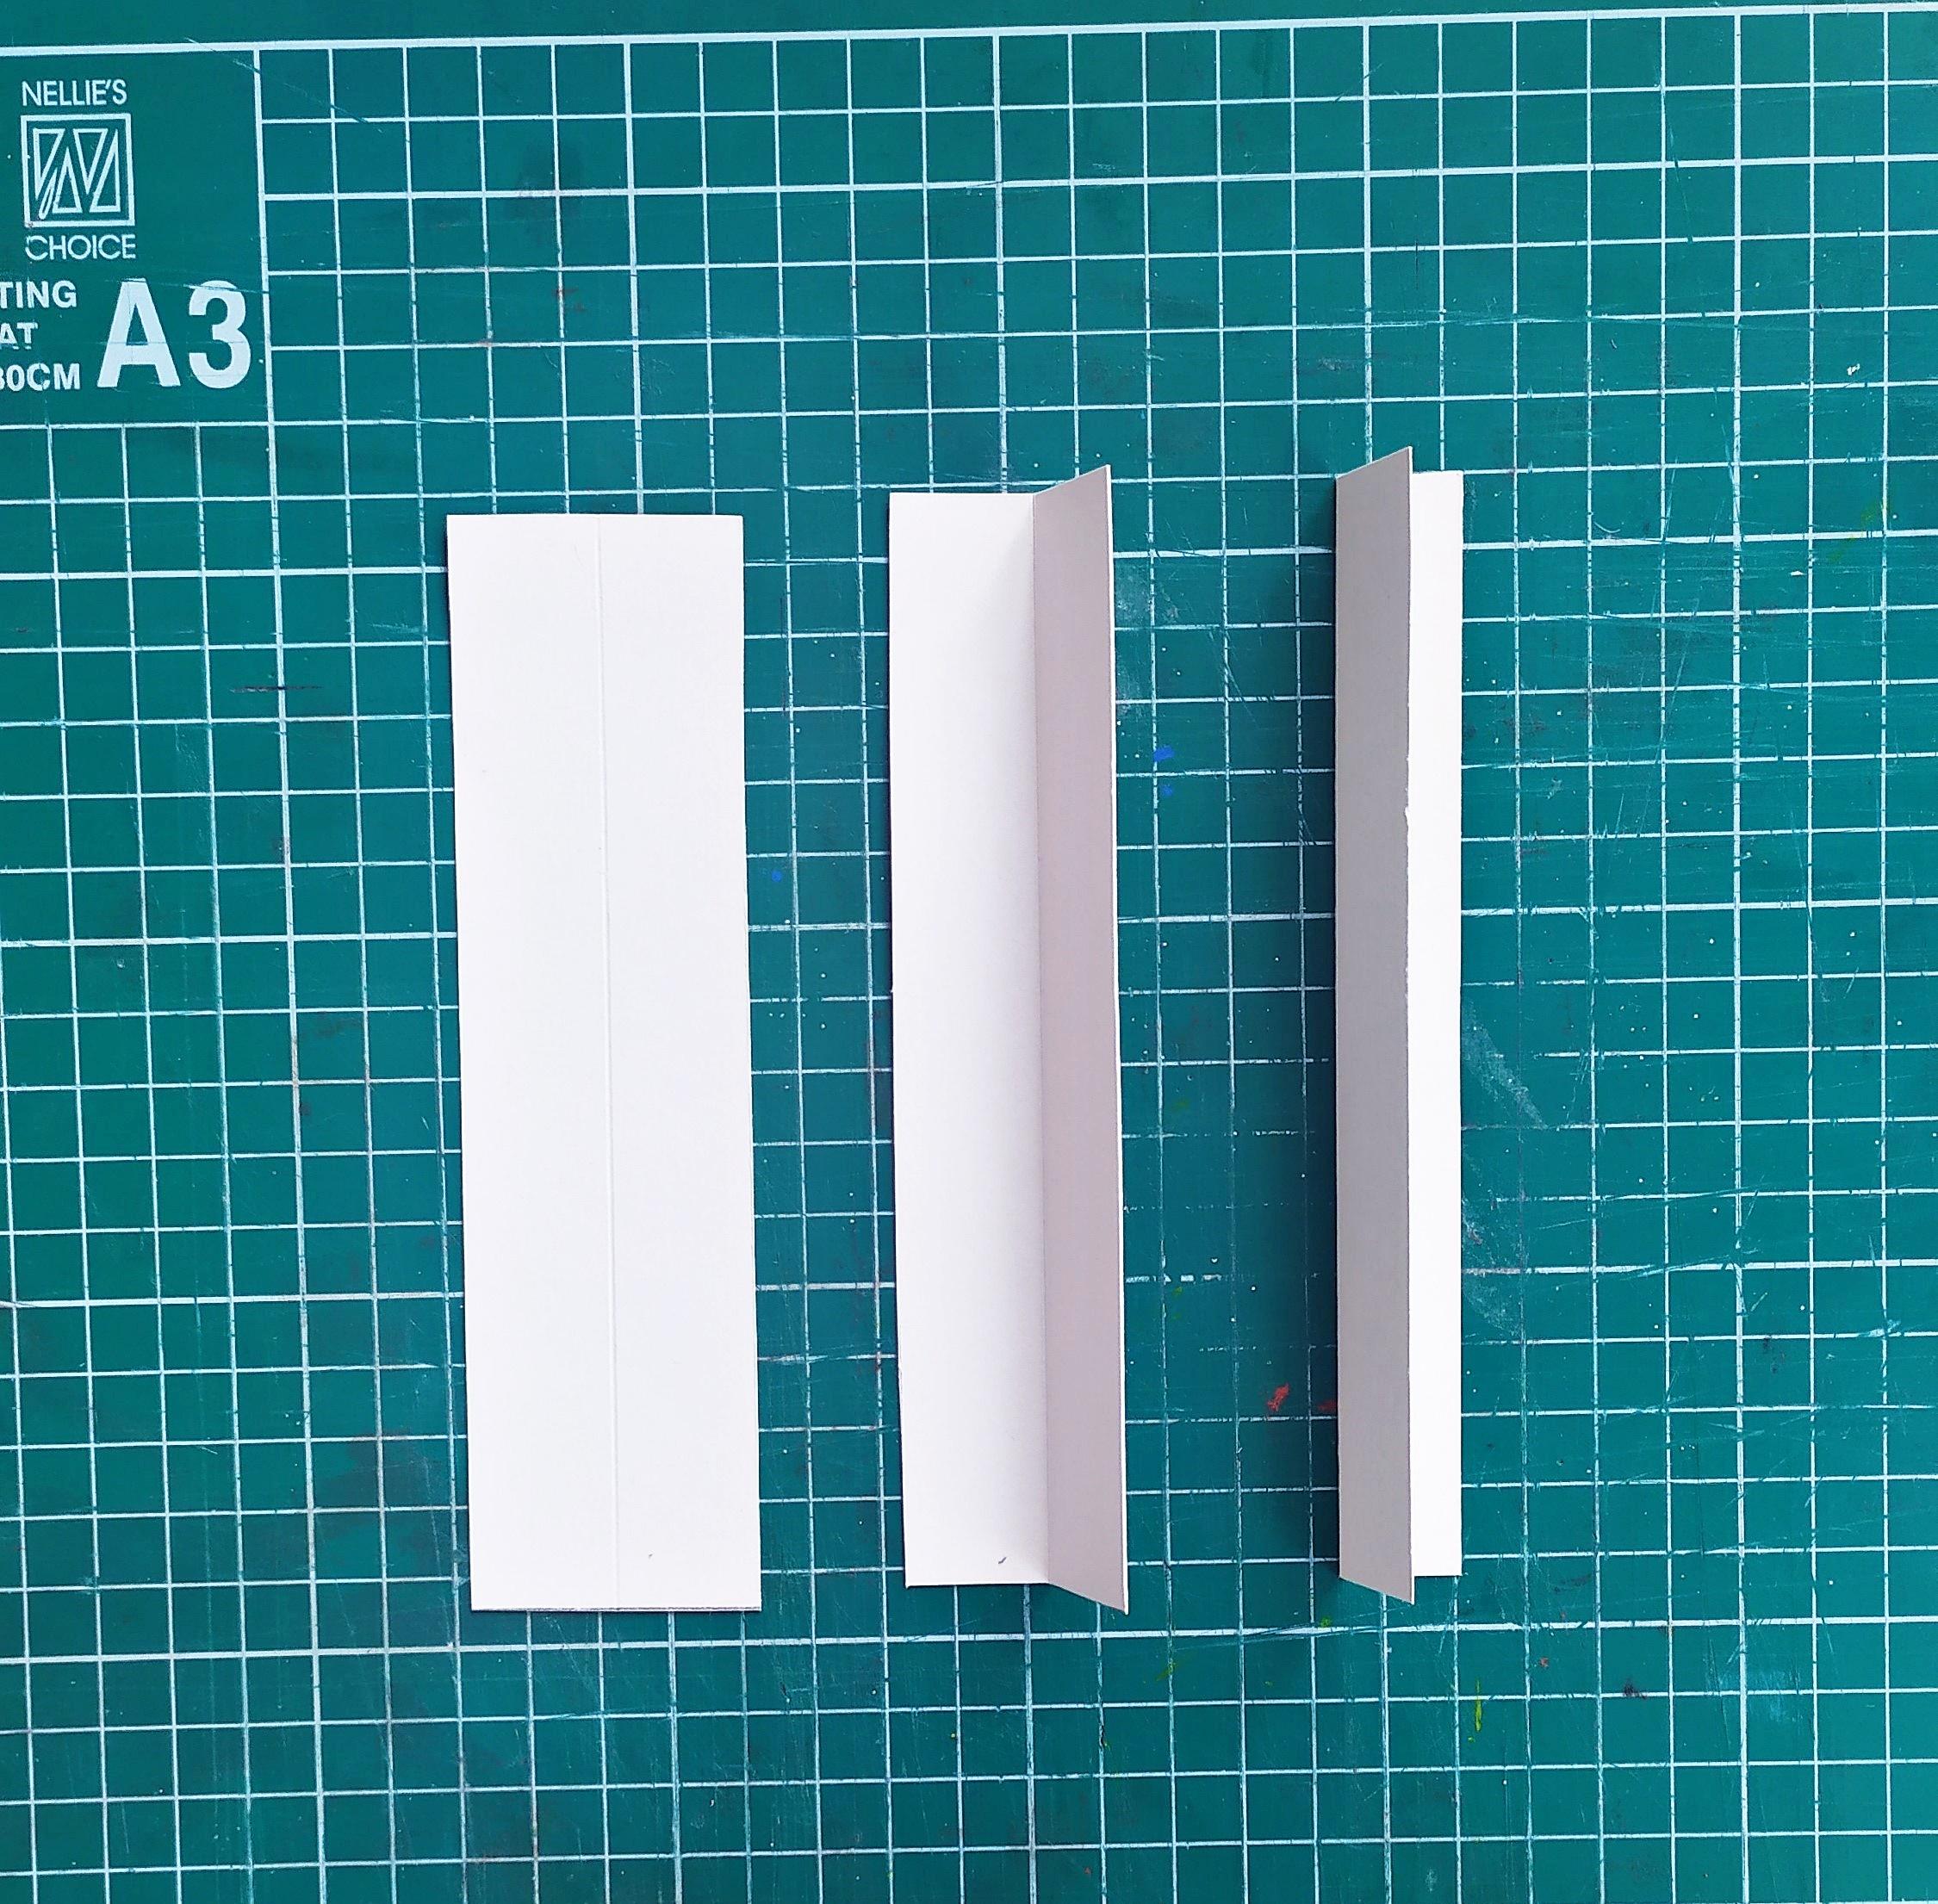
Cut a piece of the same thick cardstock you used to cover your album measuring 25x16.5 cm.Next,it's all about scoring and repeating the same scoring along the length of the cardstock.
Make the first score at 2 cm.The second score should be at 3 cm,so the scored part itself is 1 cm.The third and fourth score should both be 2 cm wide.From here on,repeat the scoring process,each score being as it follows 1cm ---> 2 cm ---> 2cm.The very last score should be 2 cm wide.
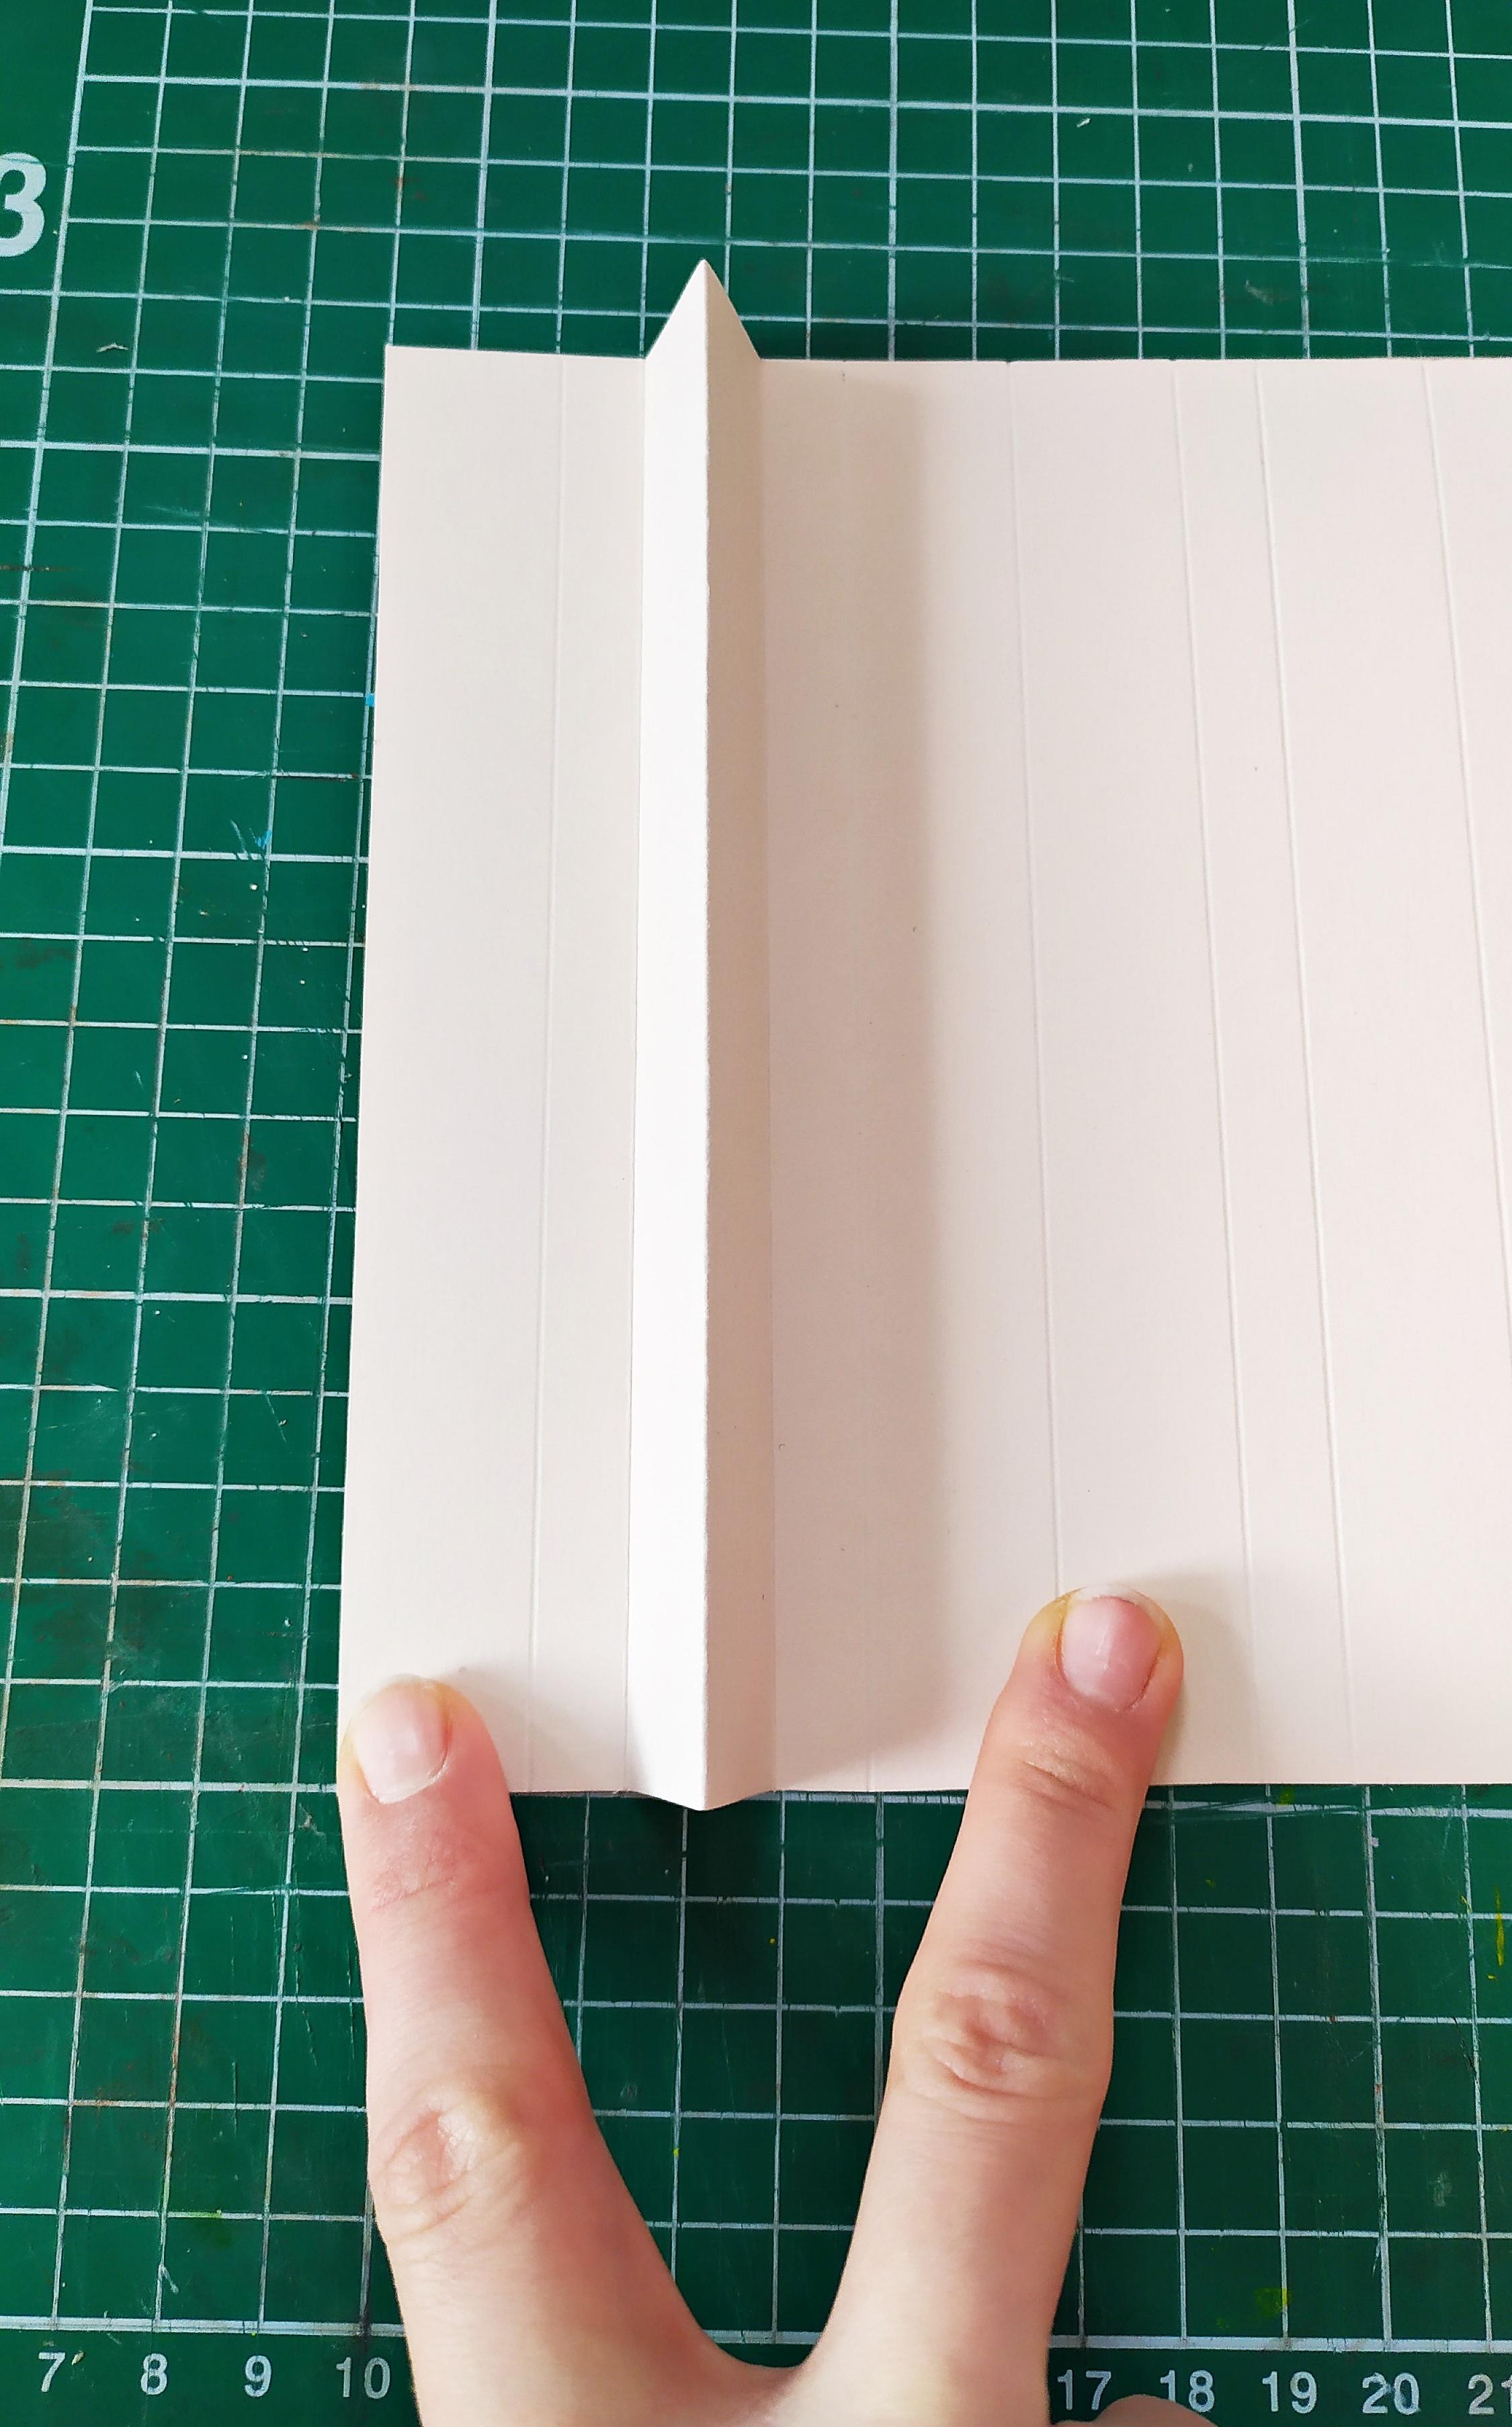
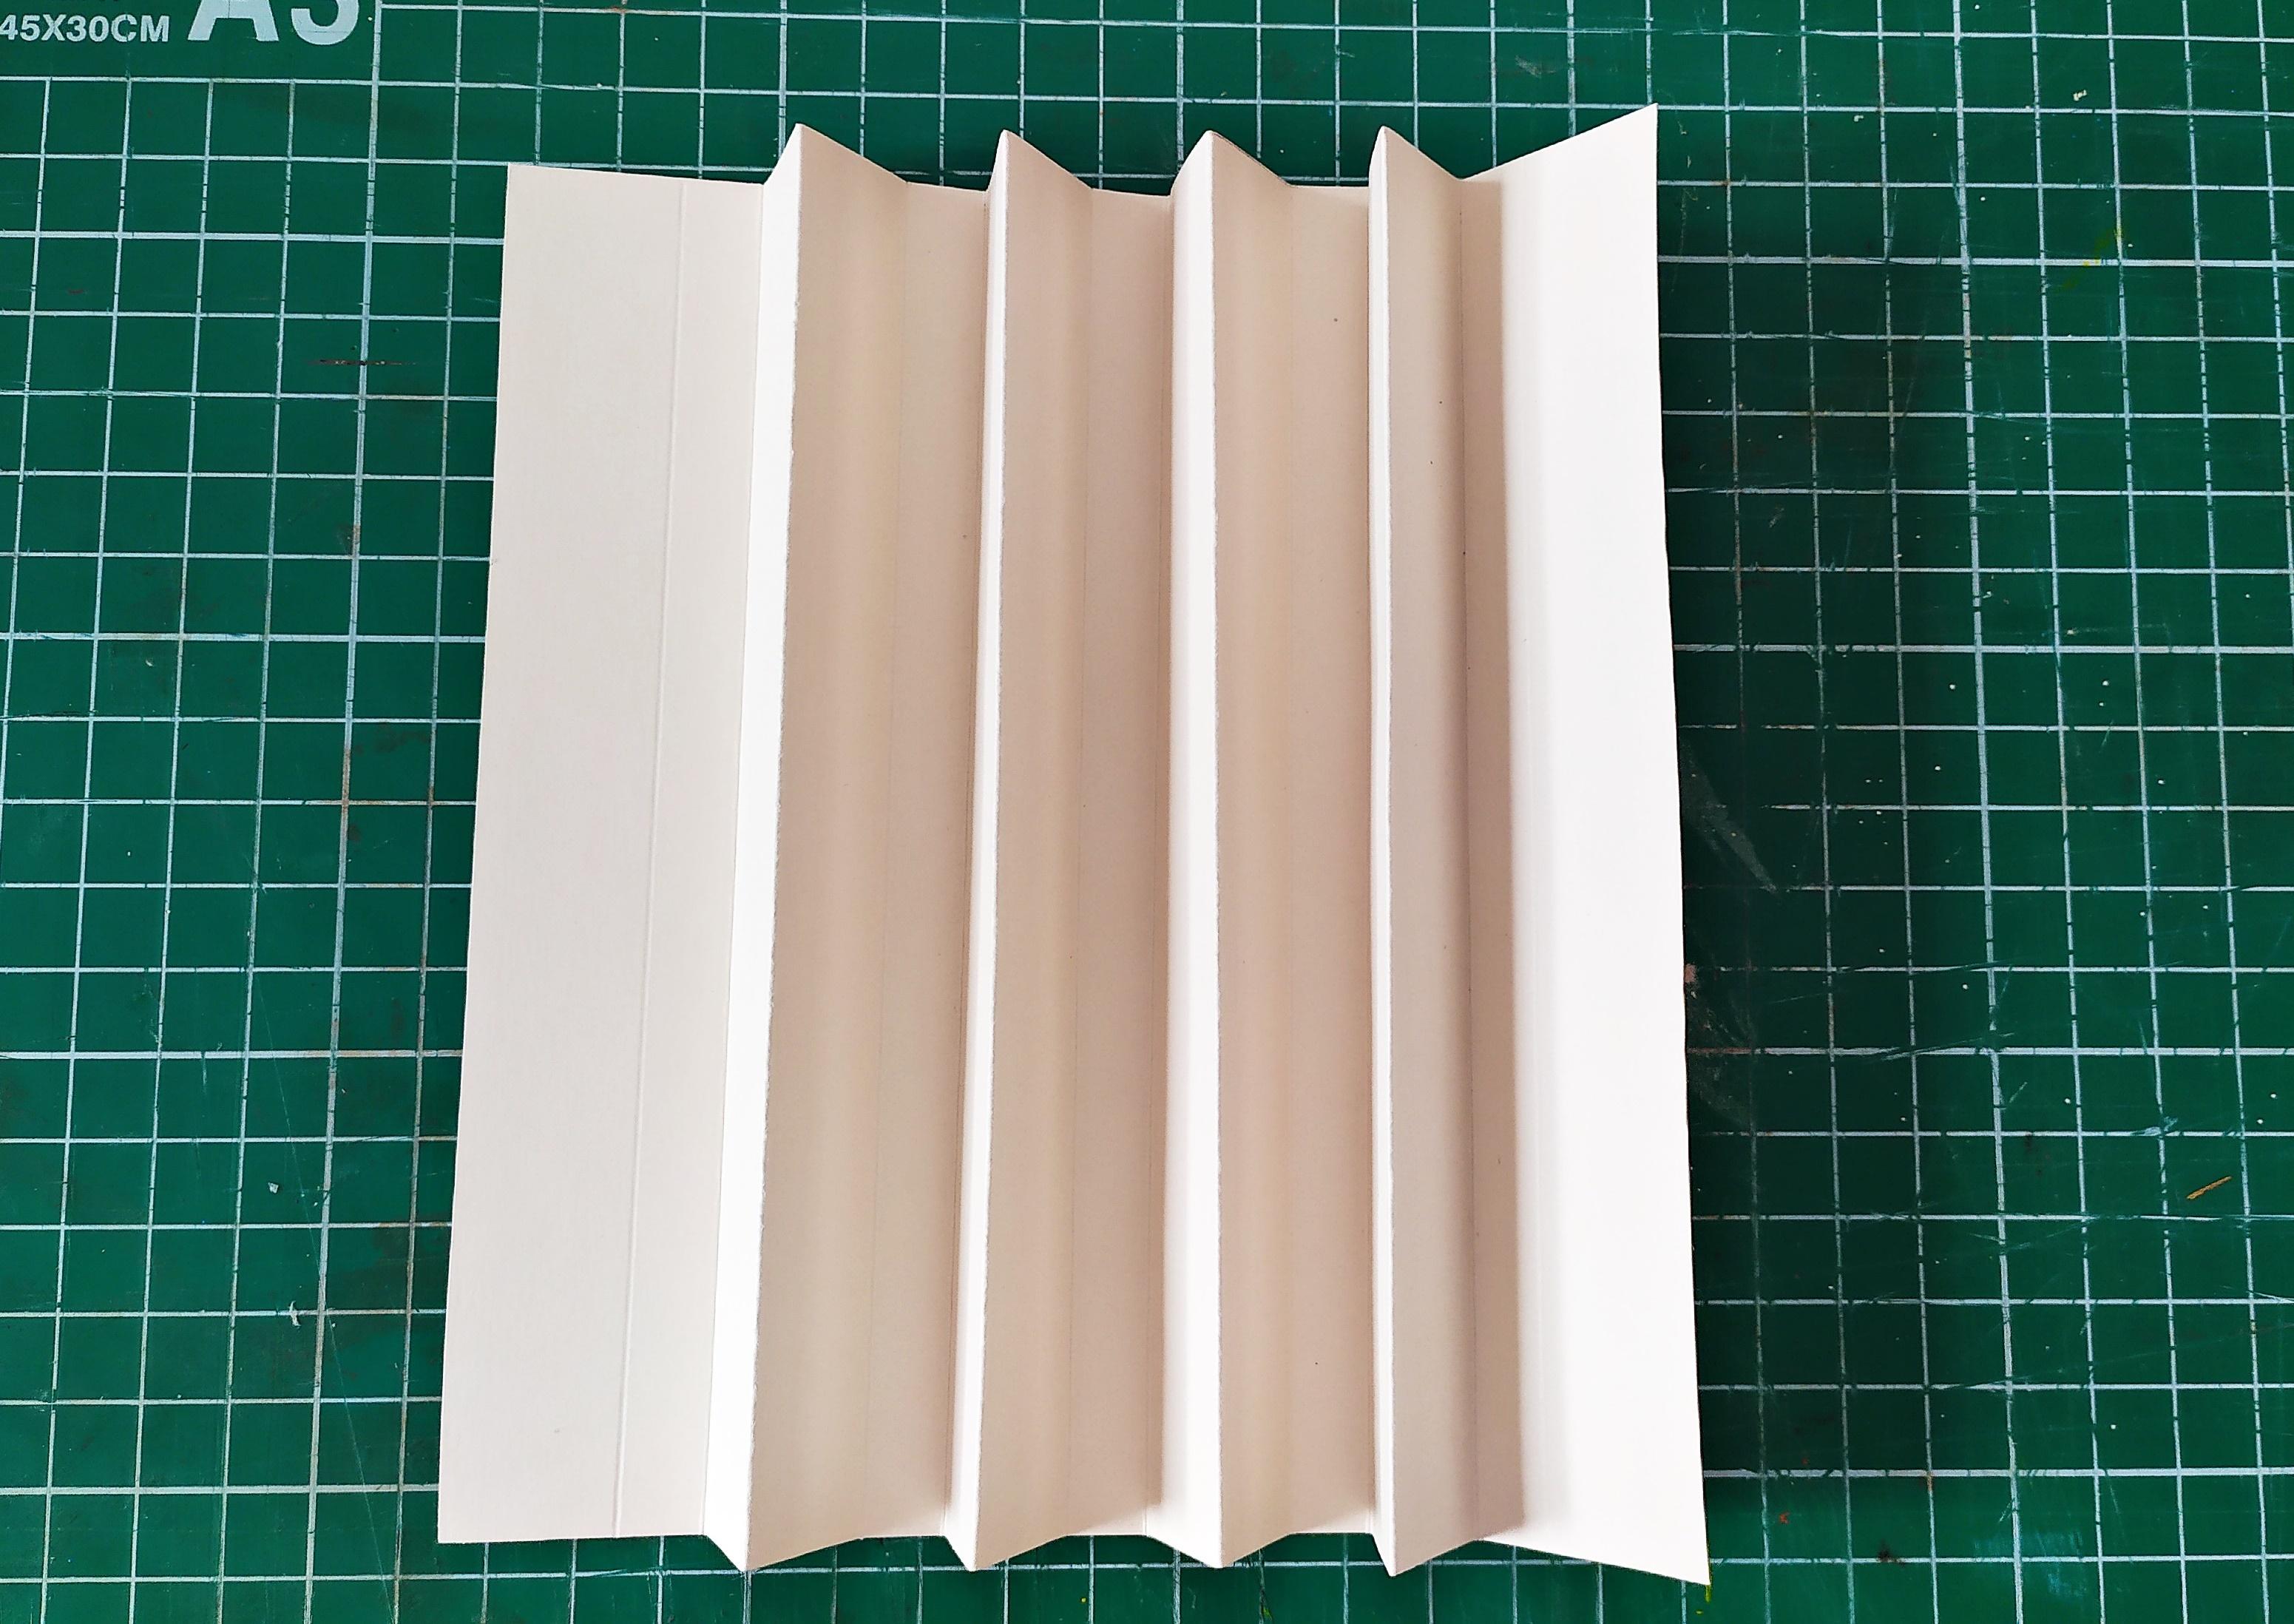
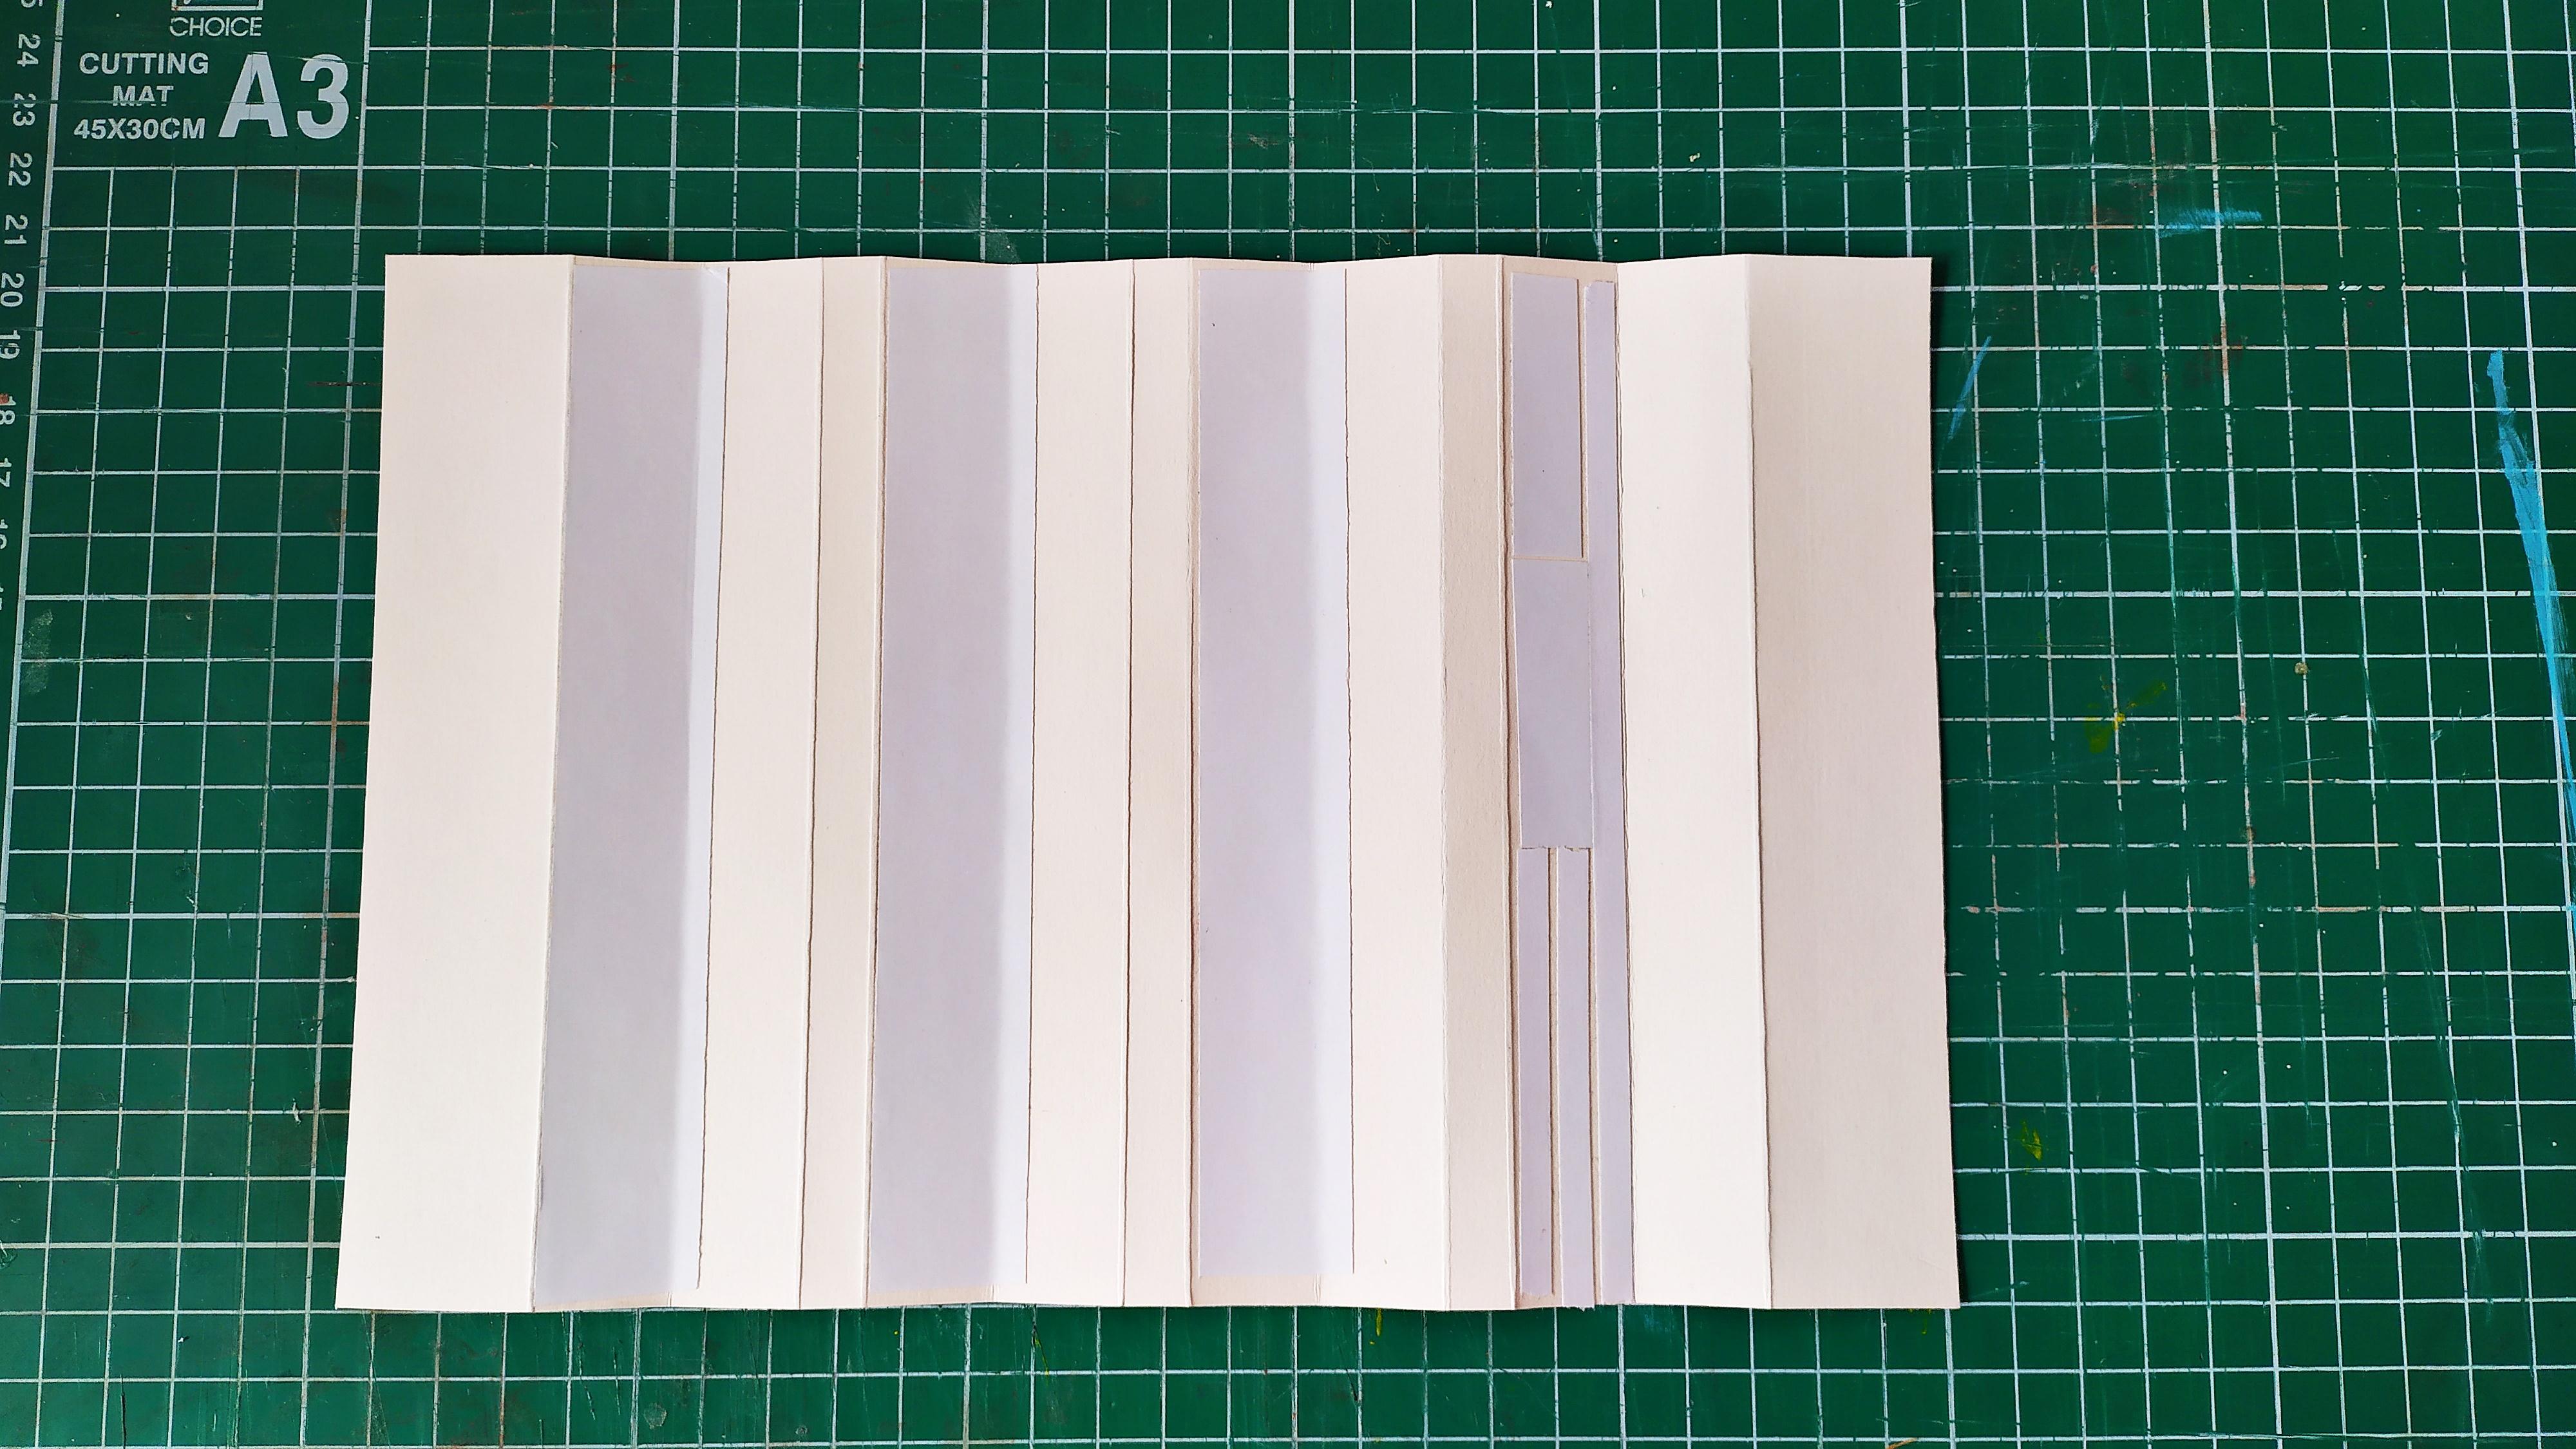
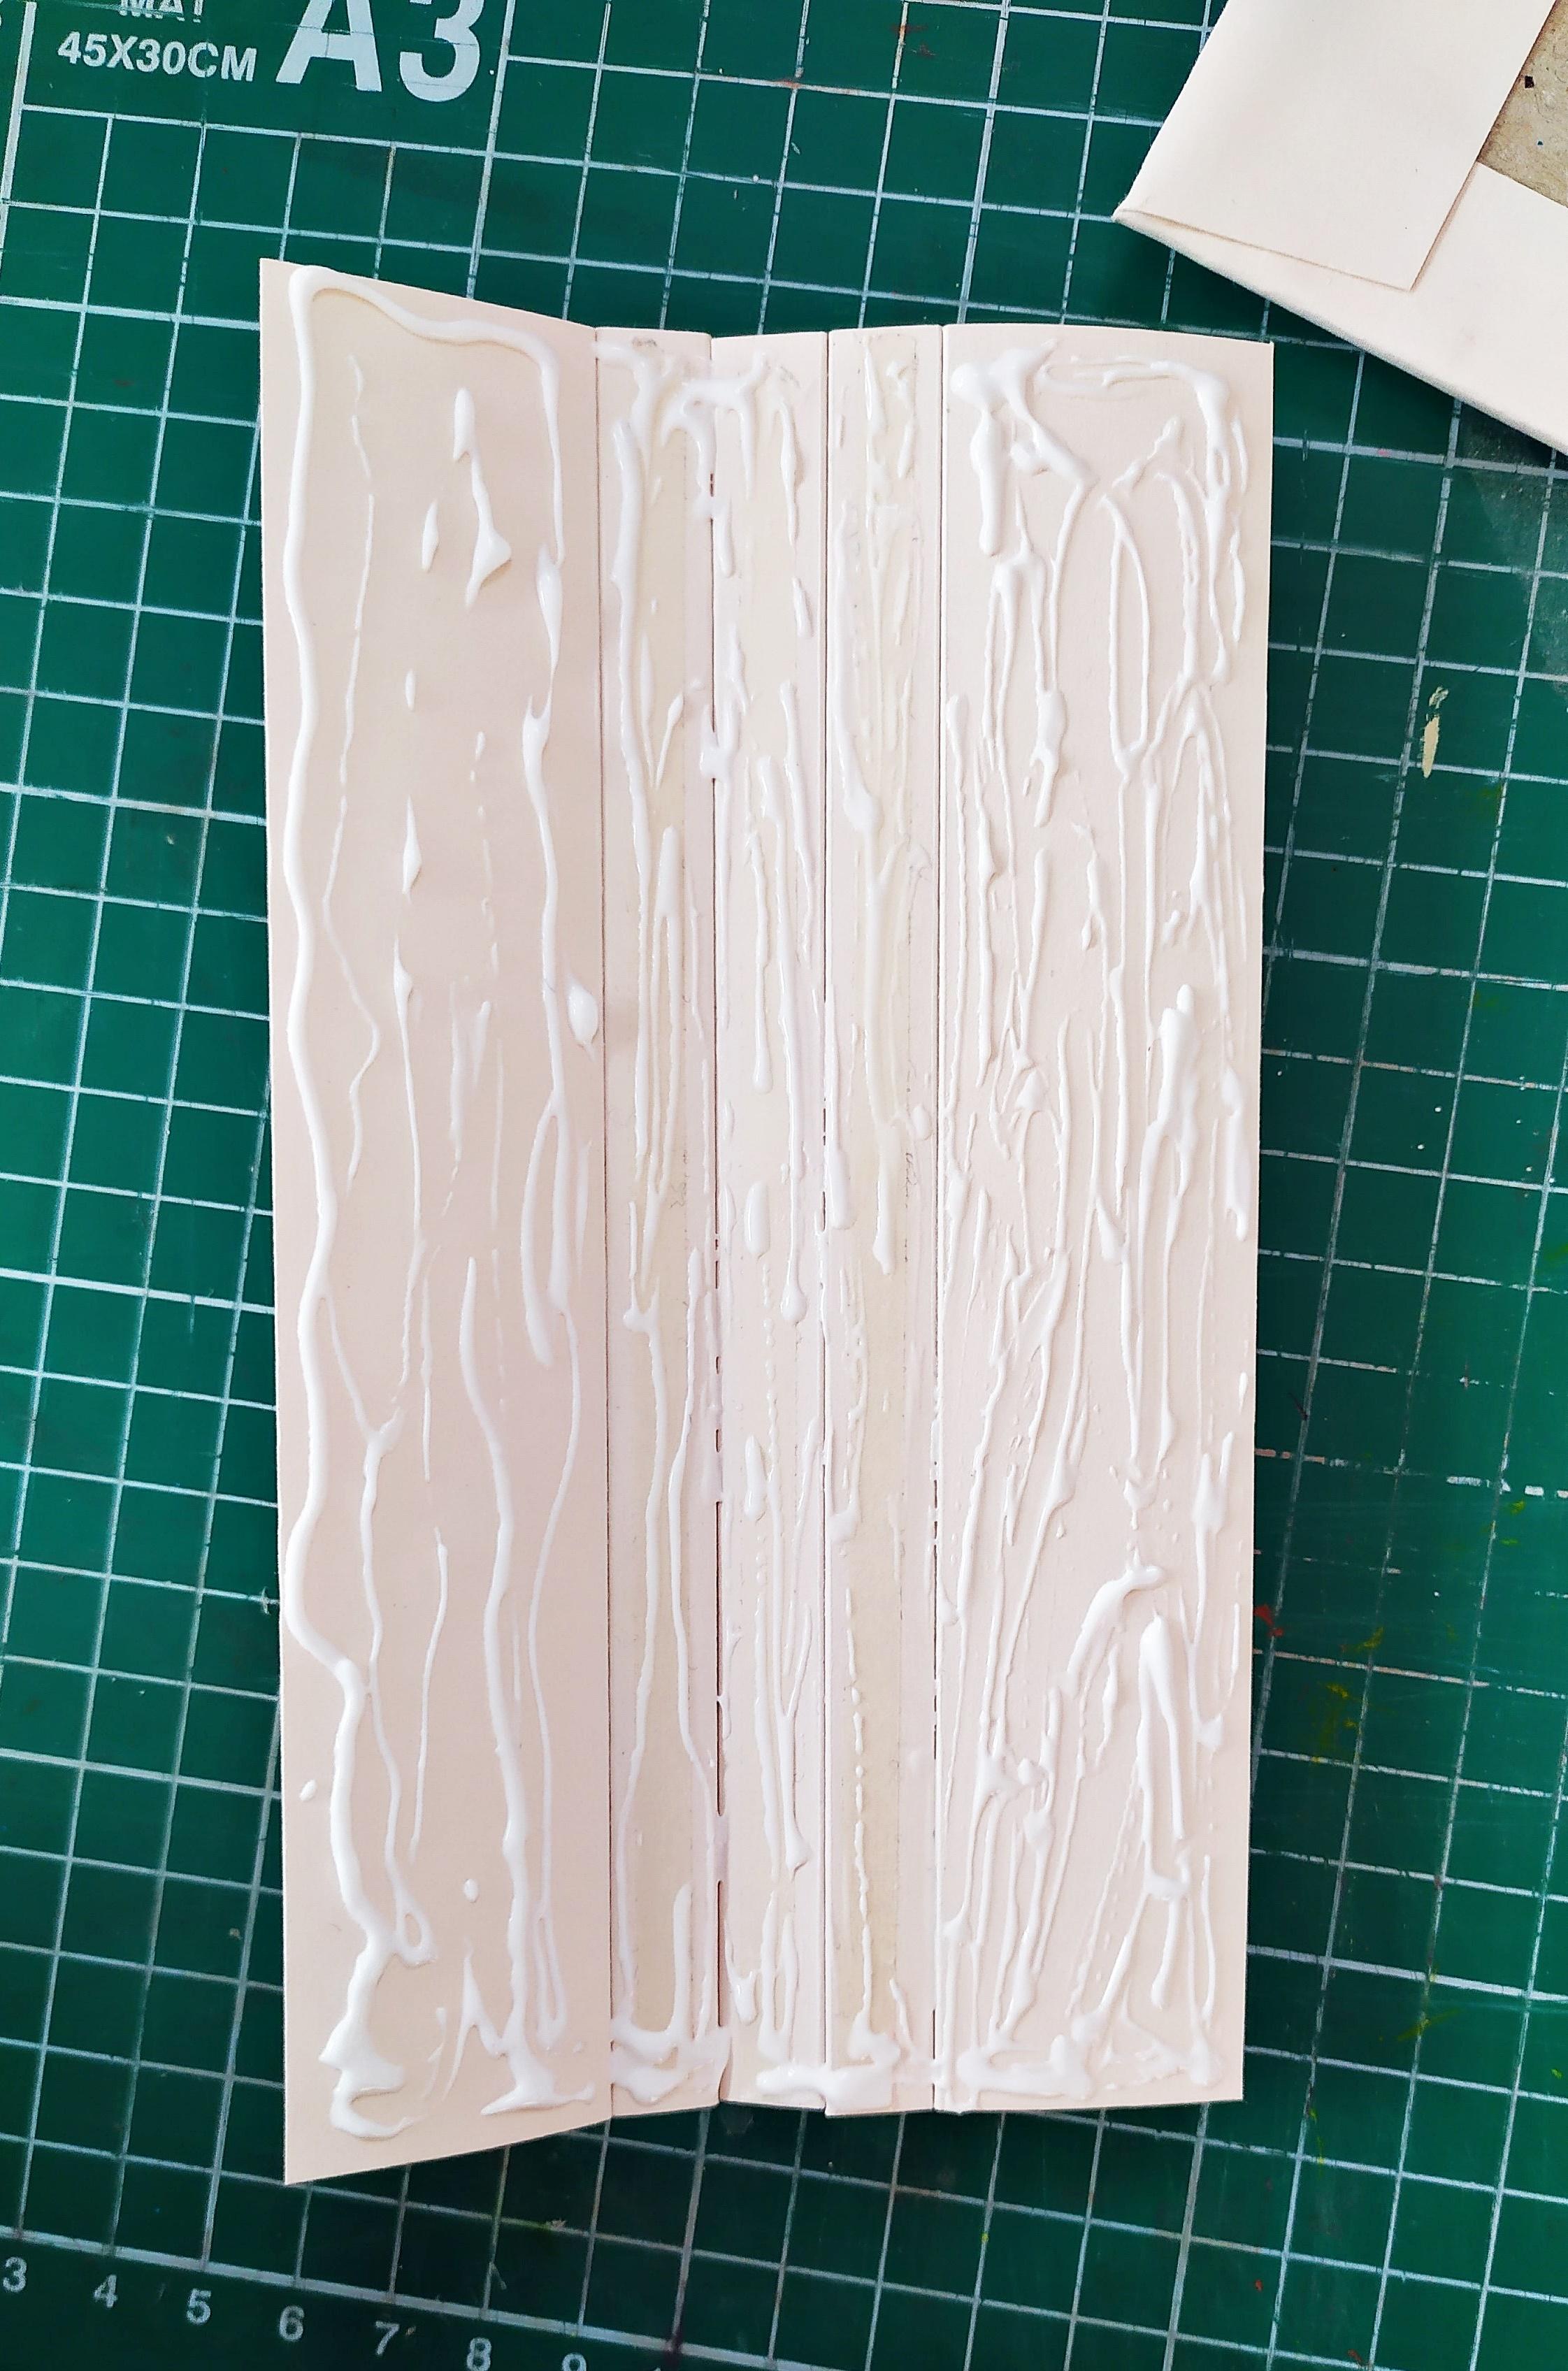
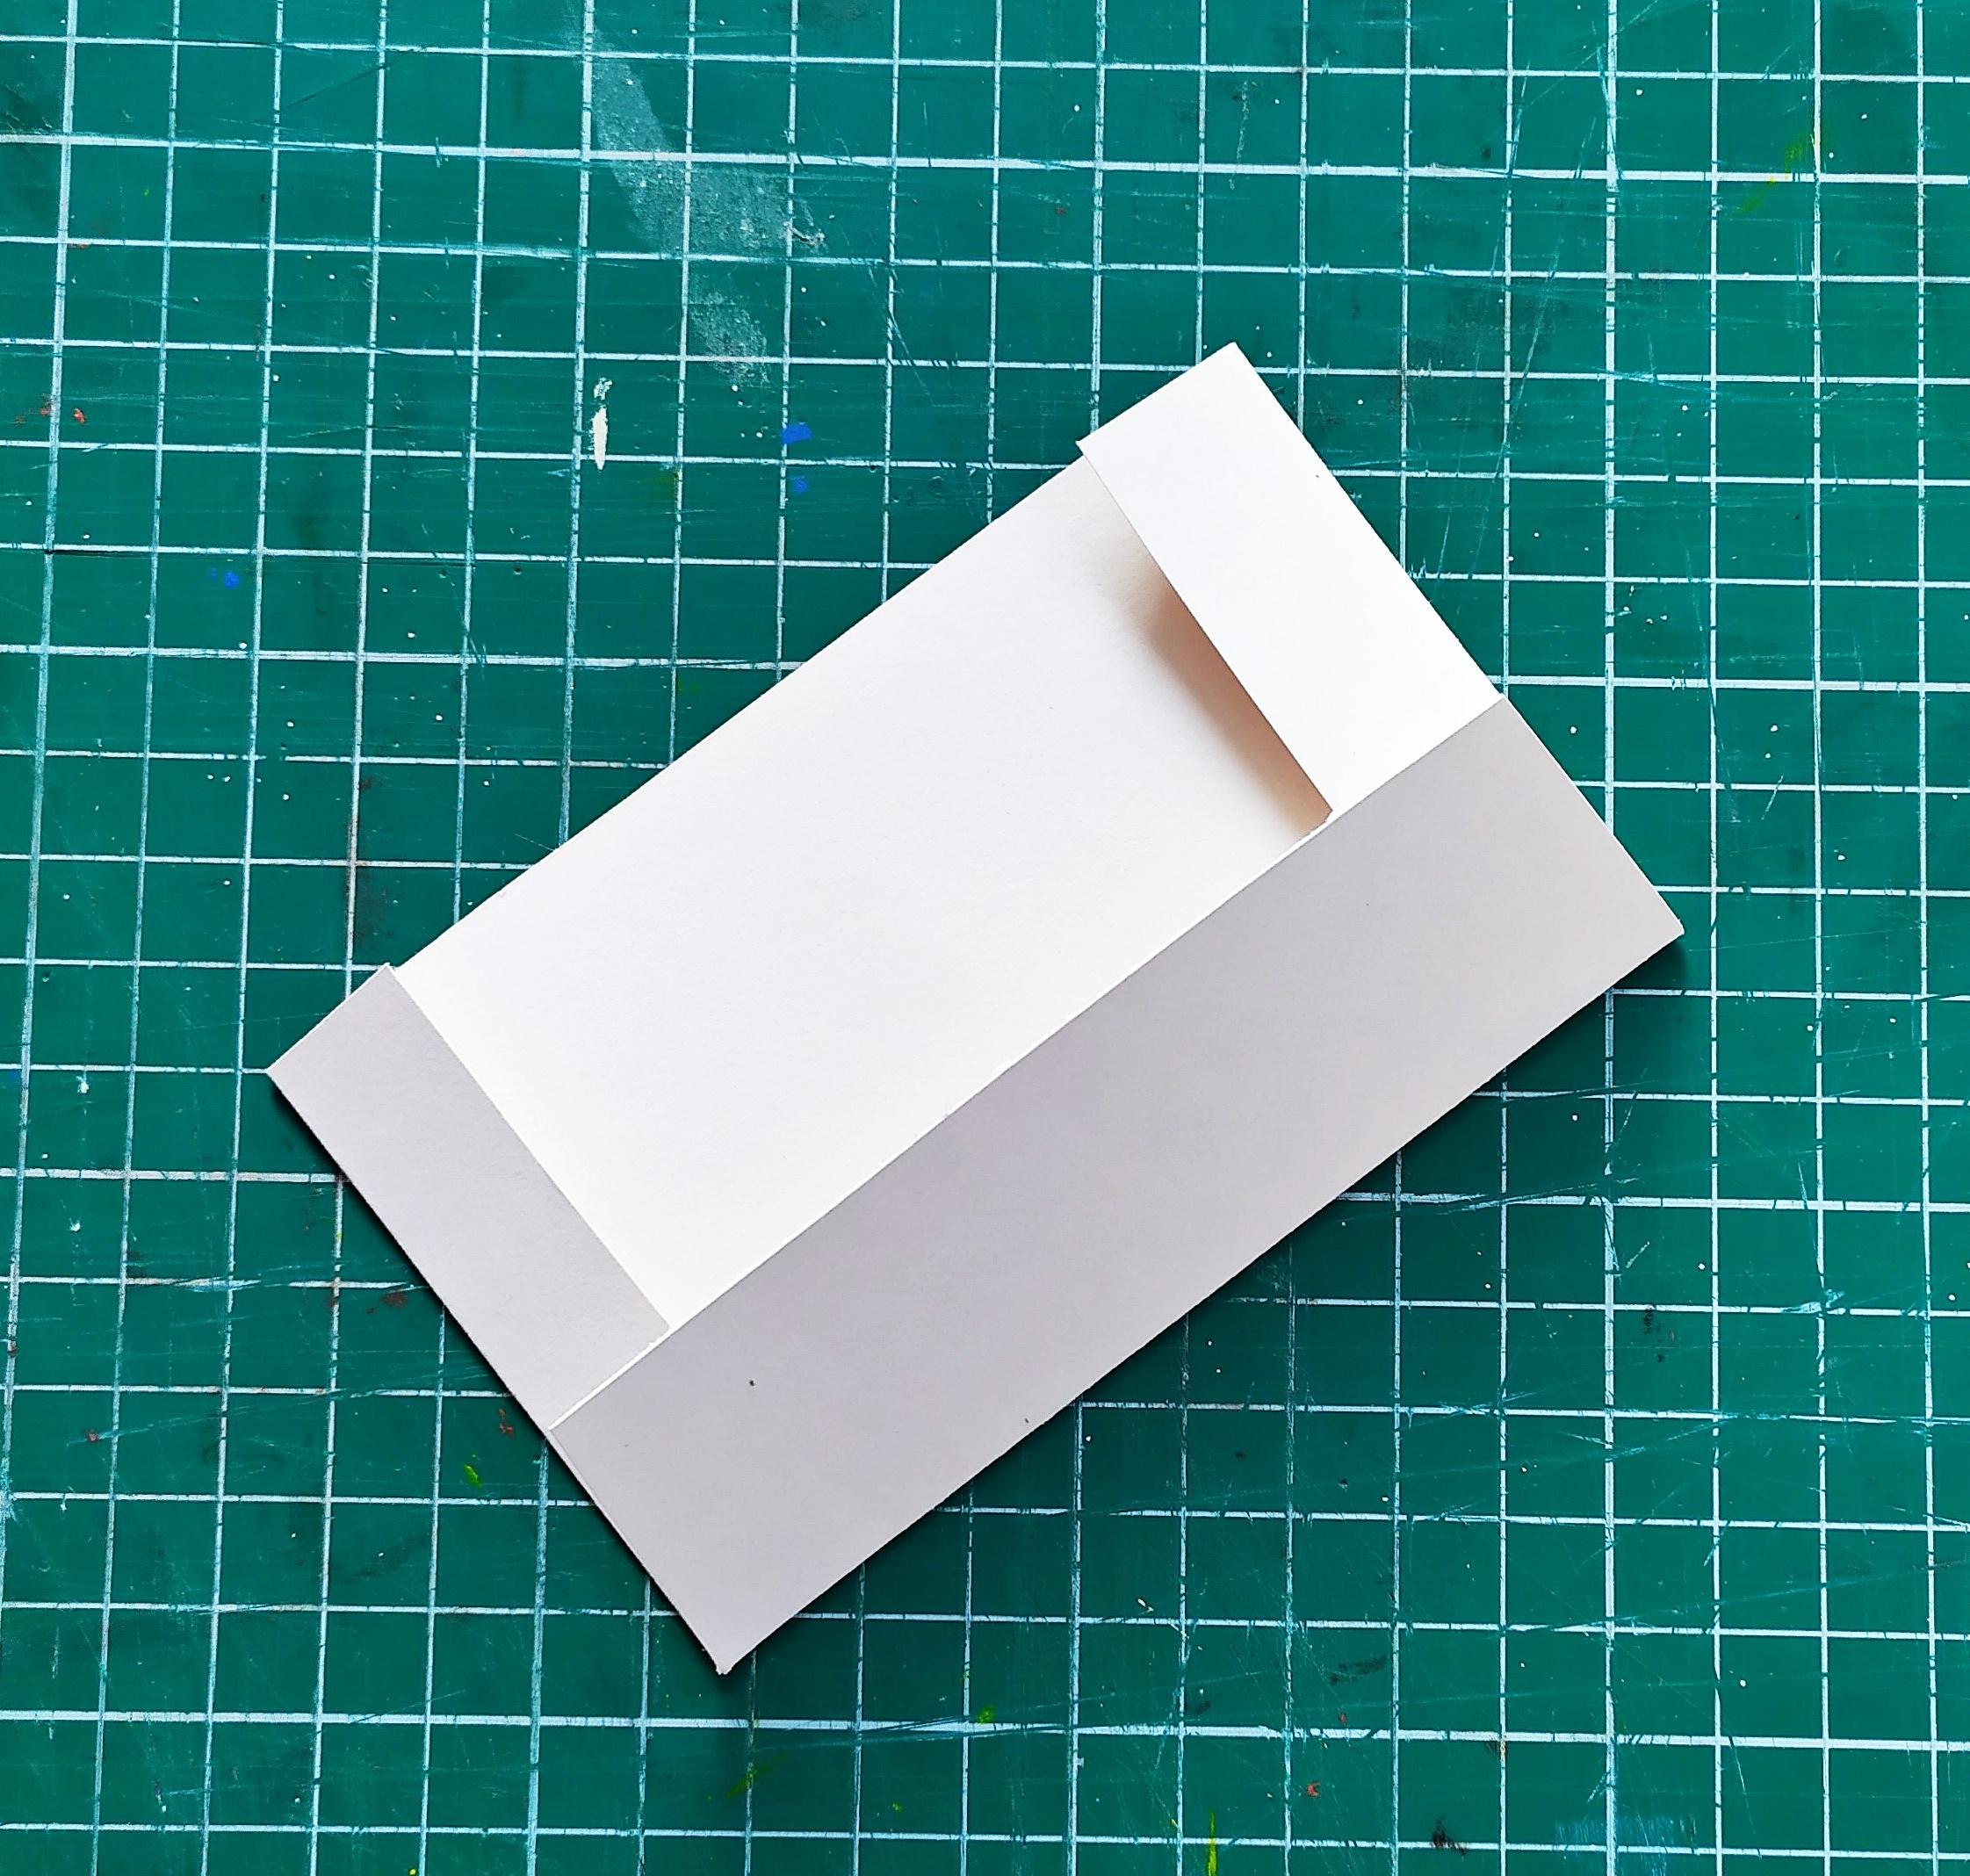
The folding process is simple - you will be folding the two 2 cm scores,so that they form a hinge to attach each page to(refer to the third image).Once folded,glue each of the 2 cm scores to each other with some double sided tape.
Lastly,glue the hinge itself to the spine of the album with some glue.
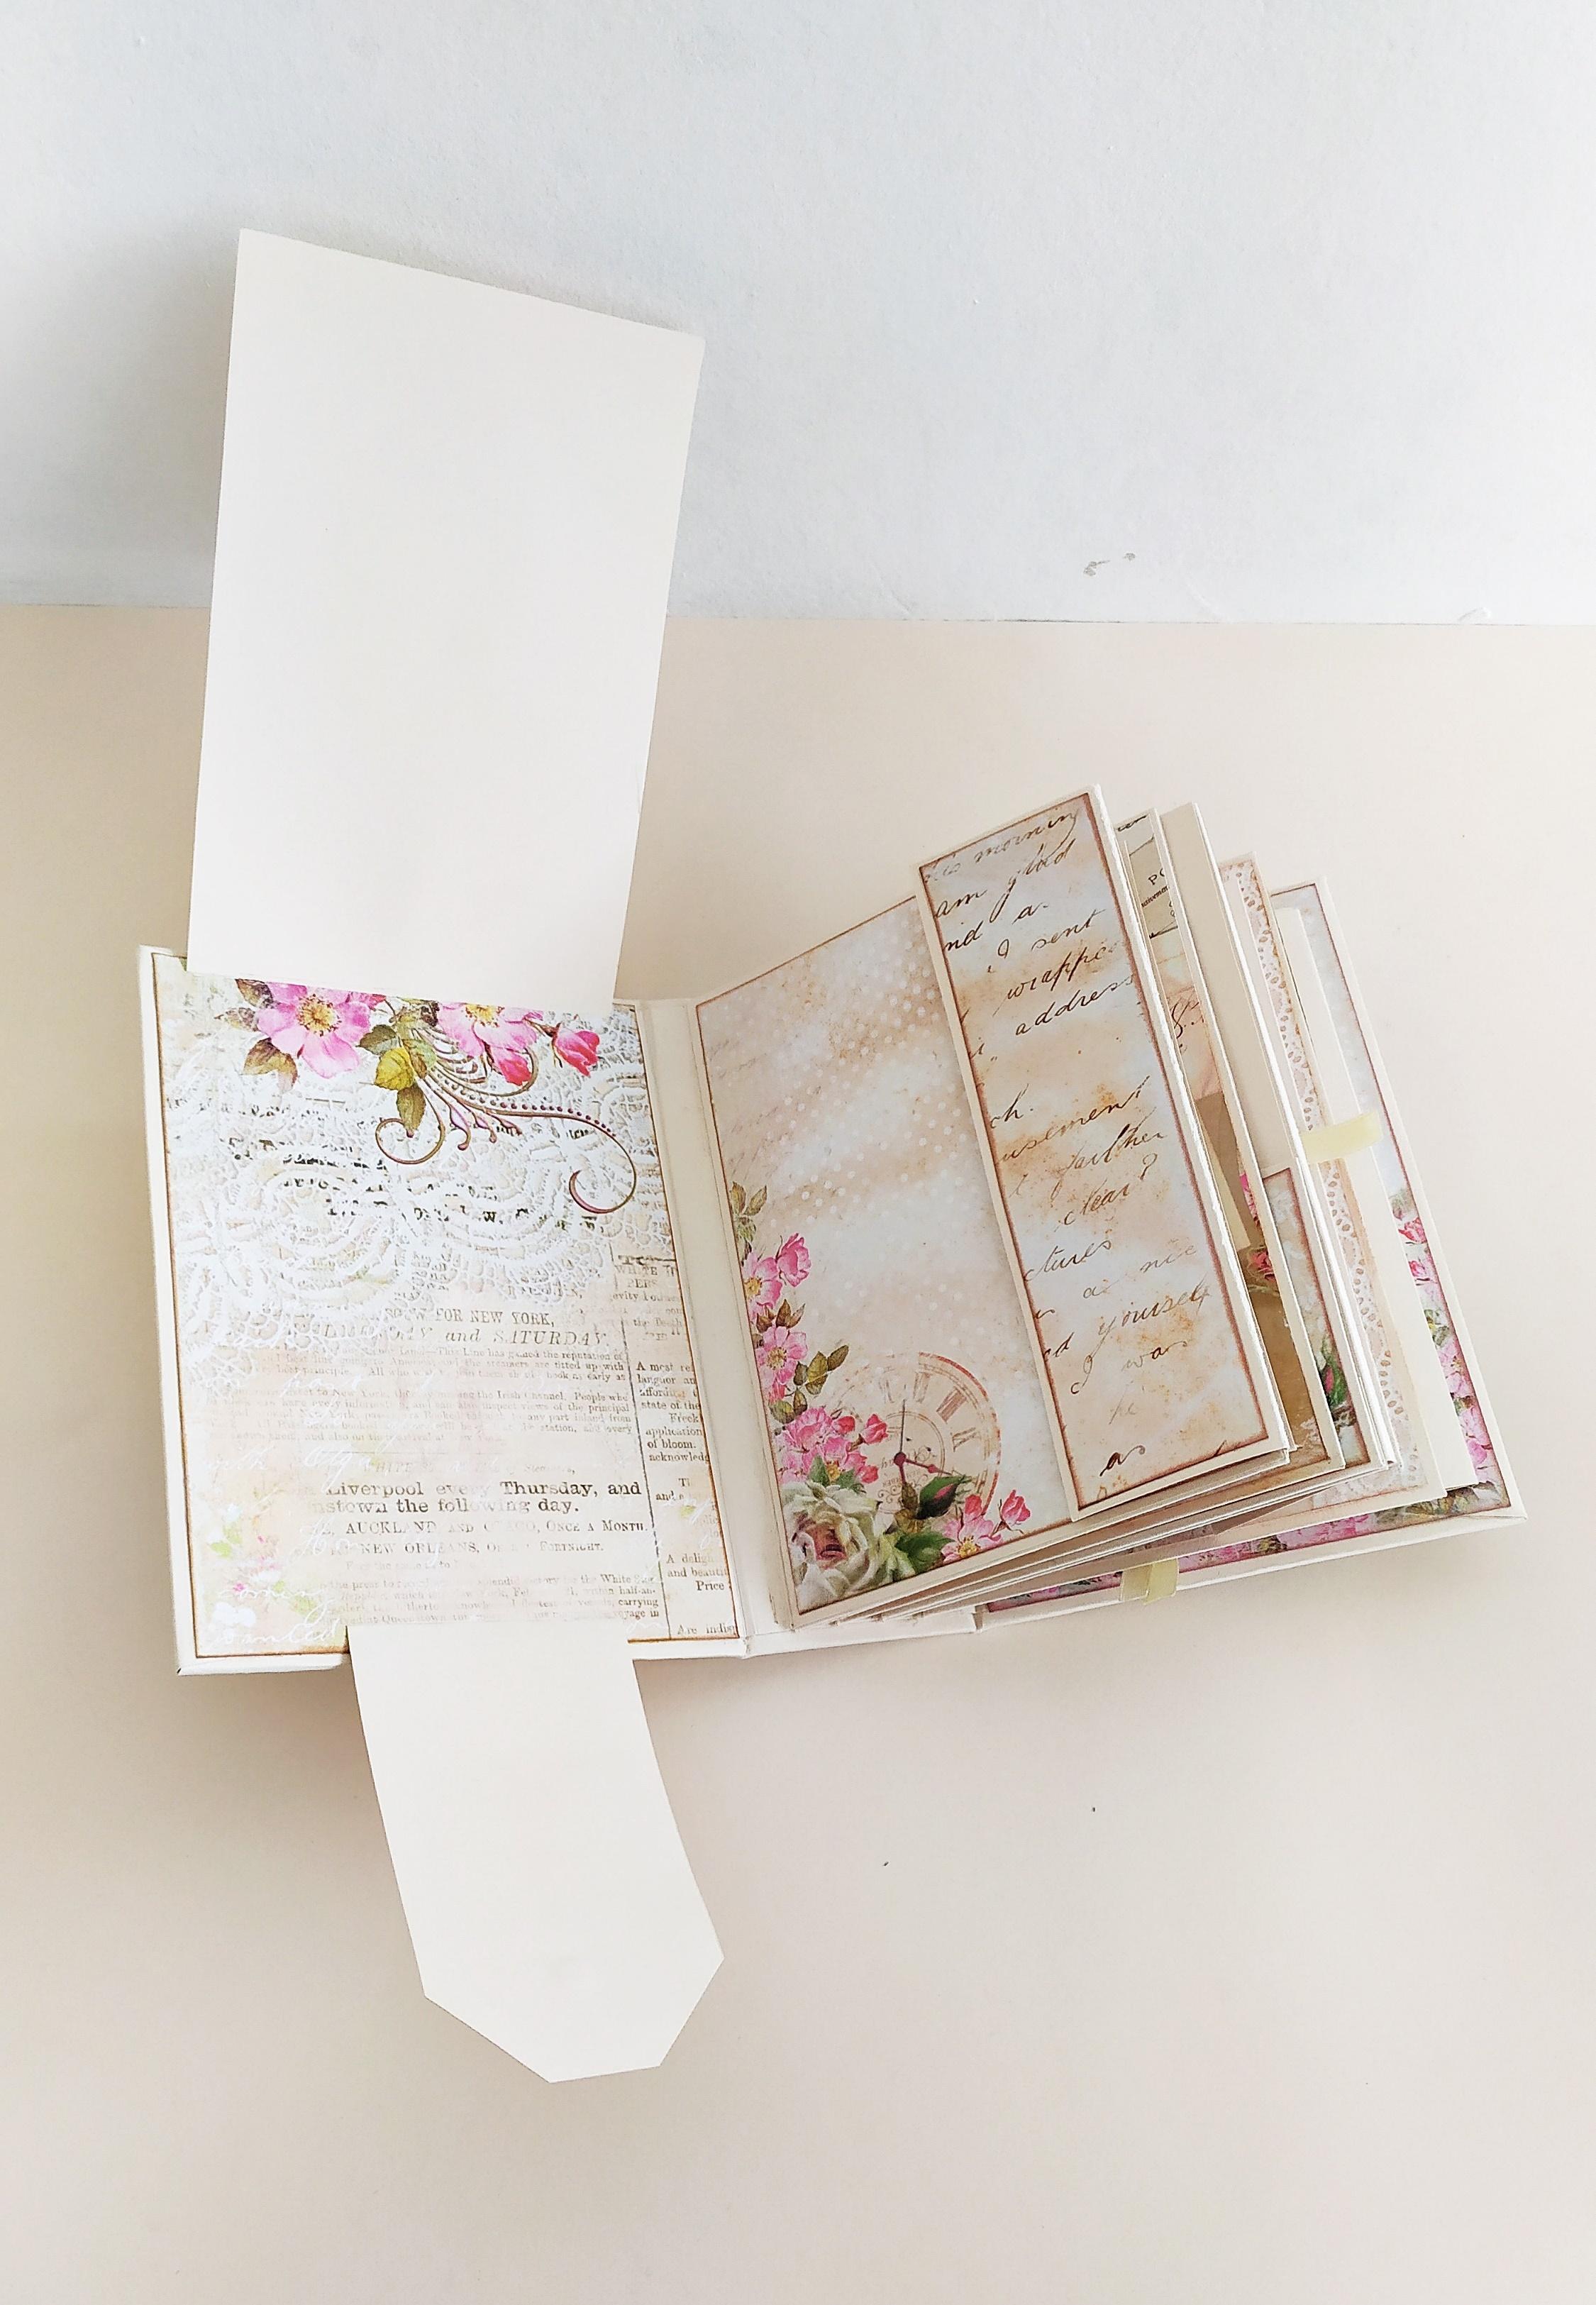
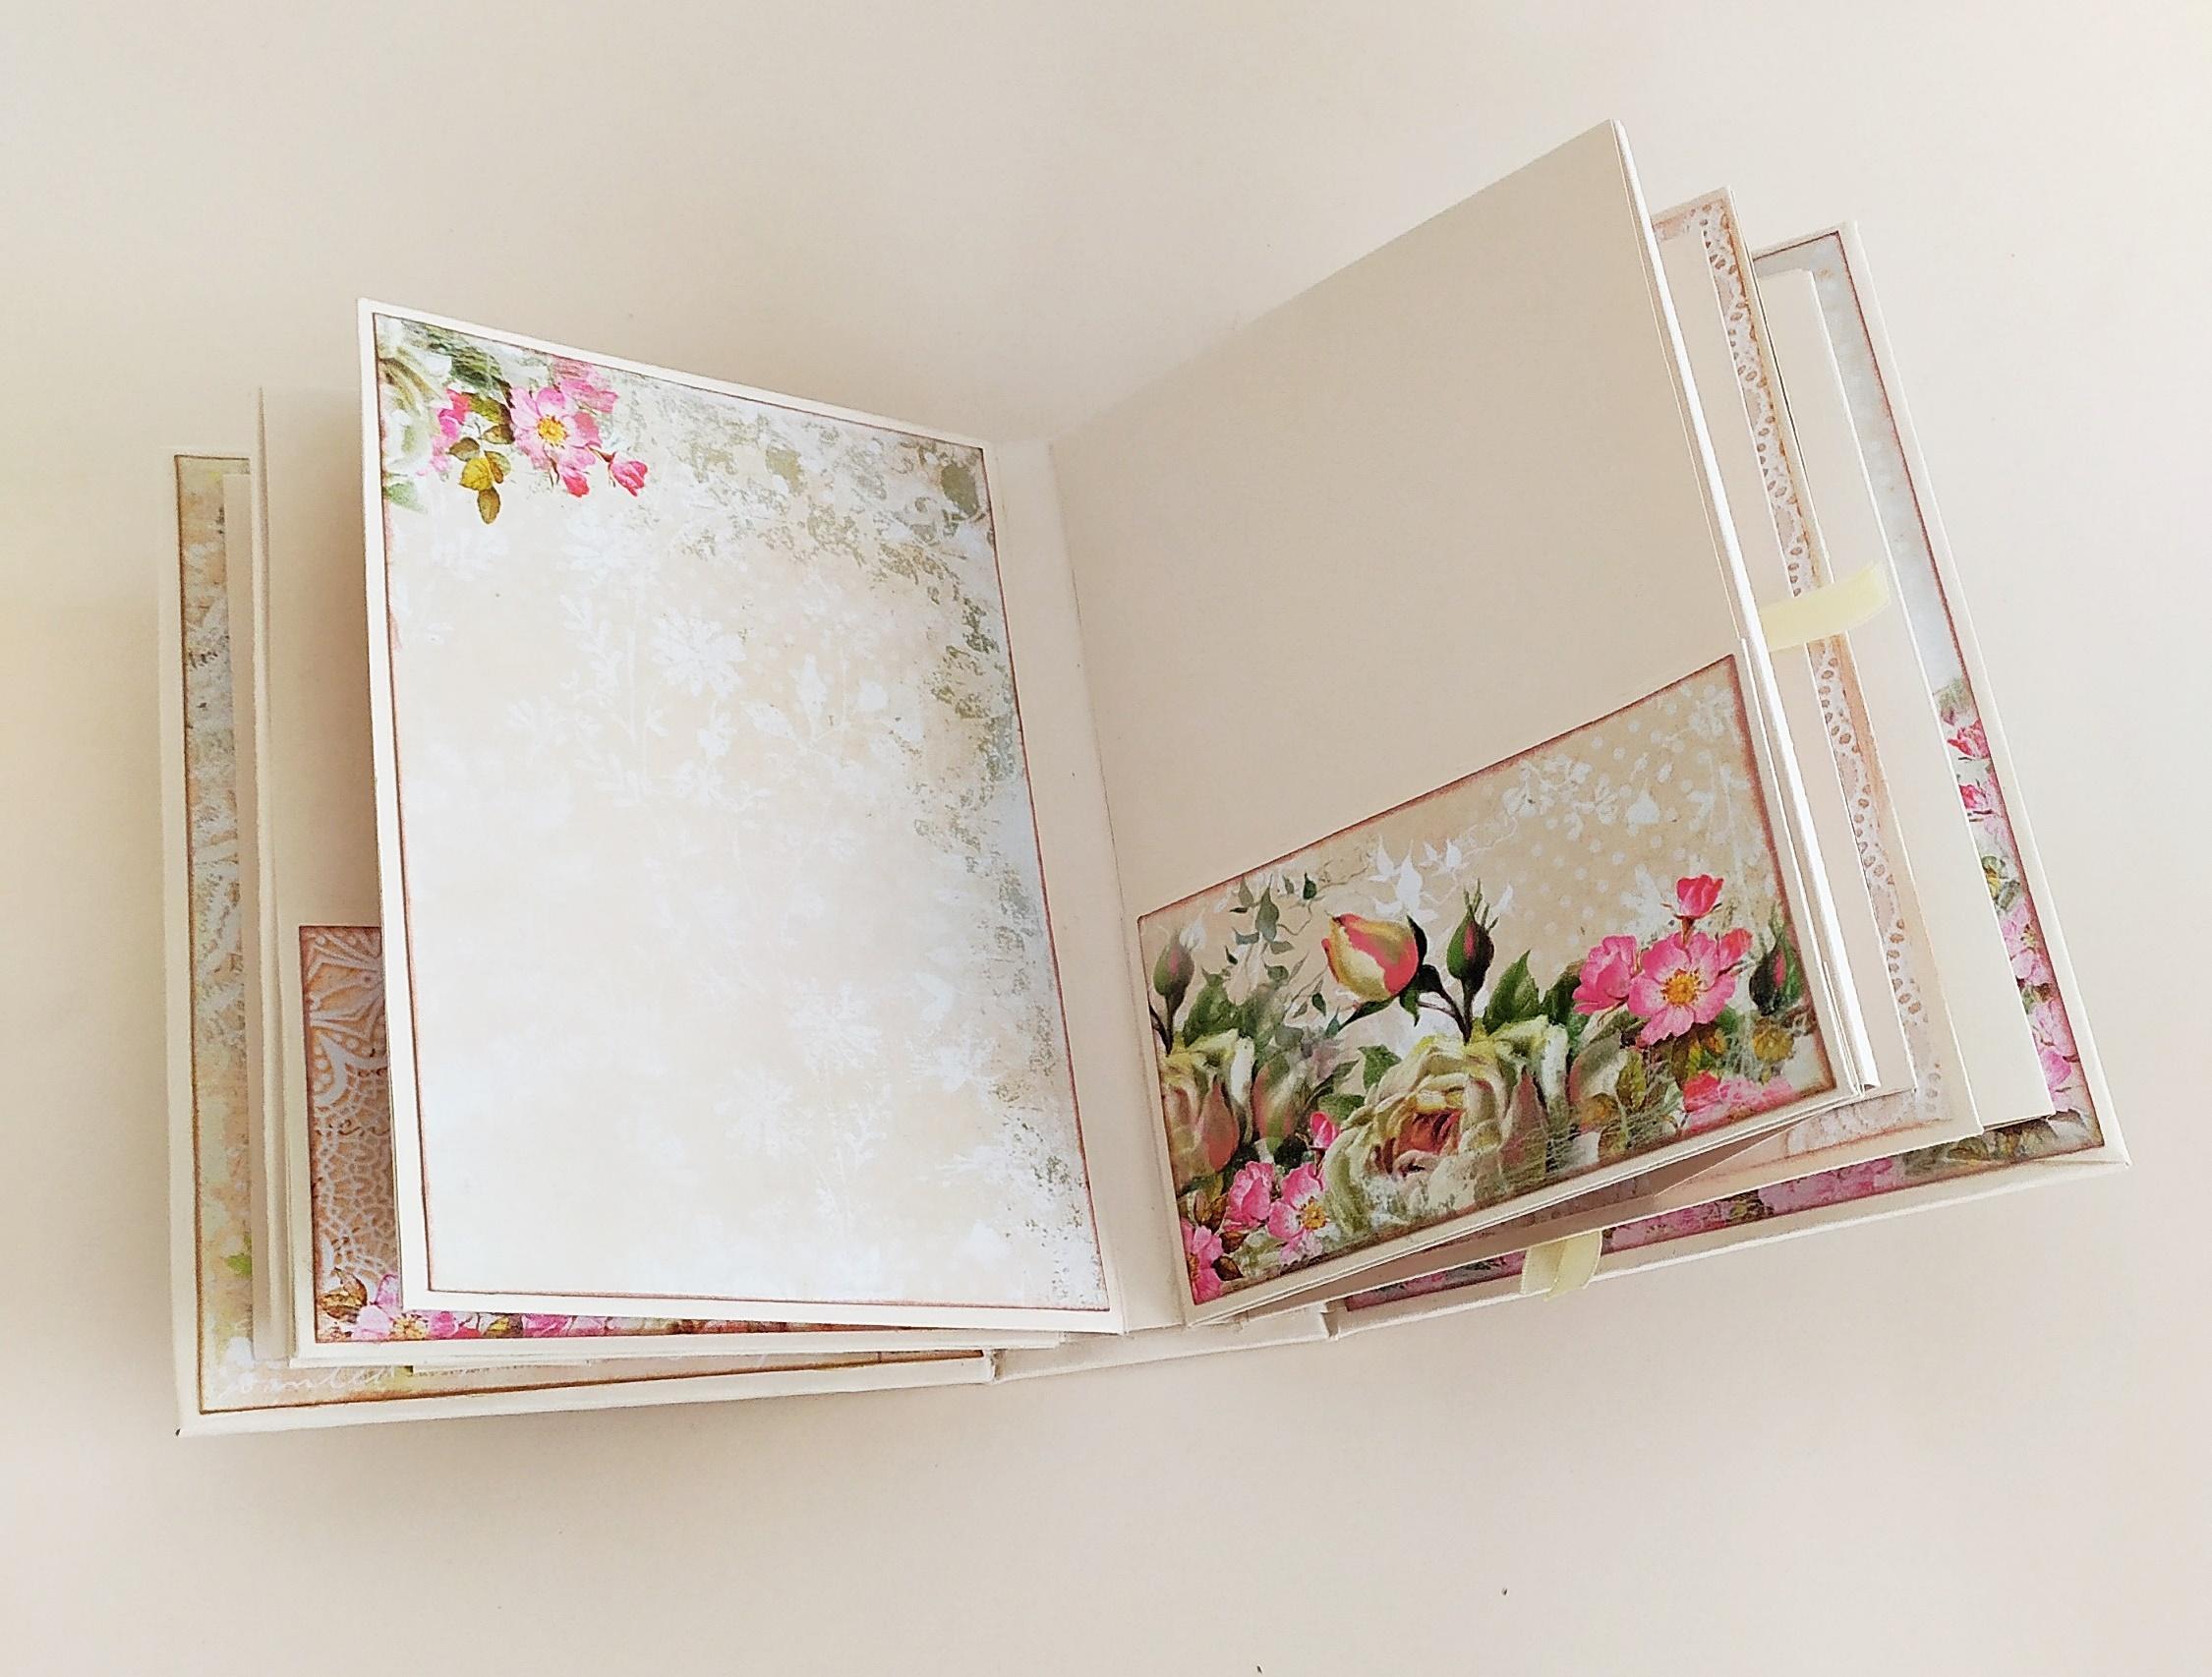
Making the Pages
For this album I chose to create two types of pages - with a pocket and without a pocket.
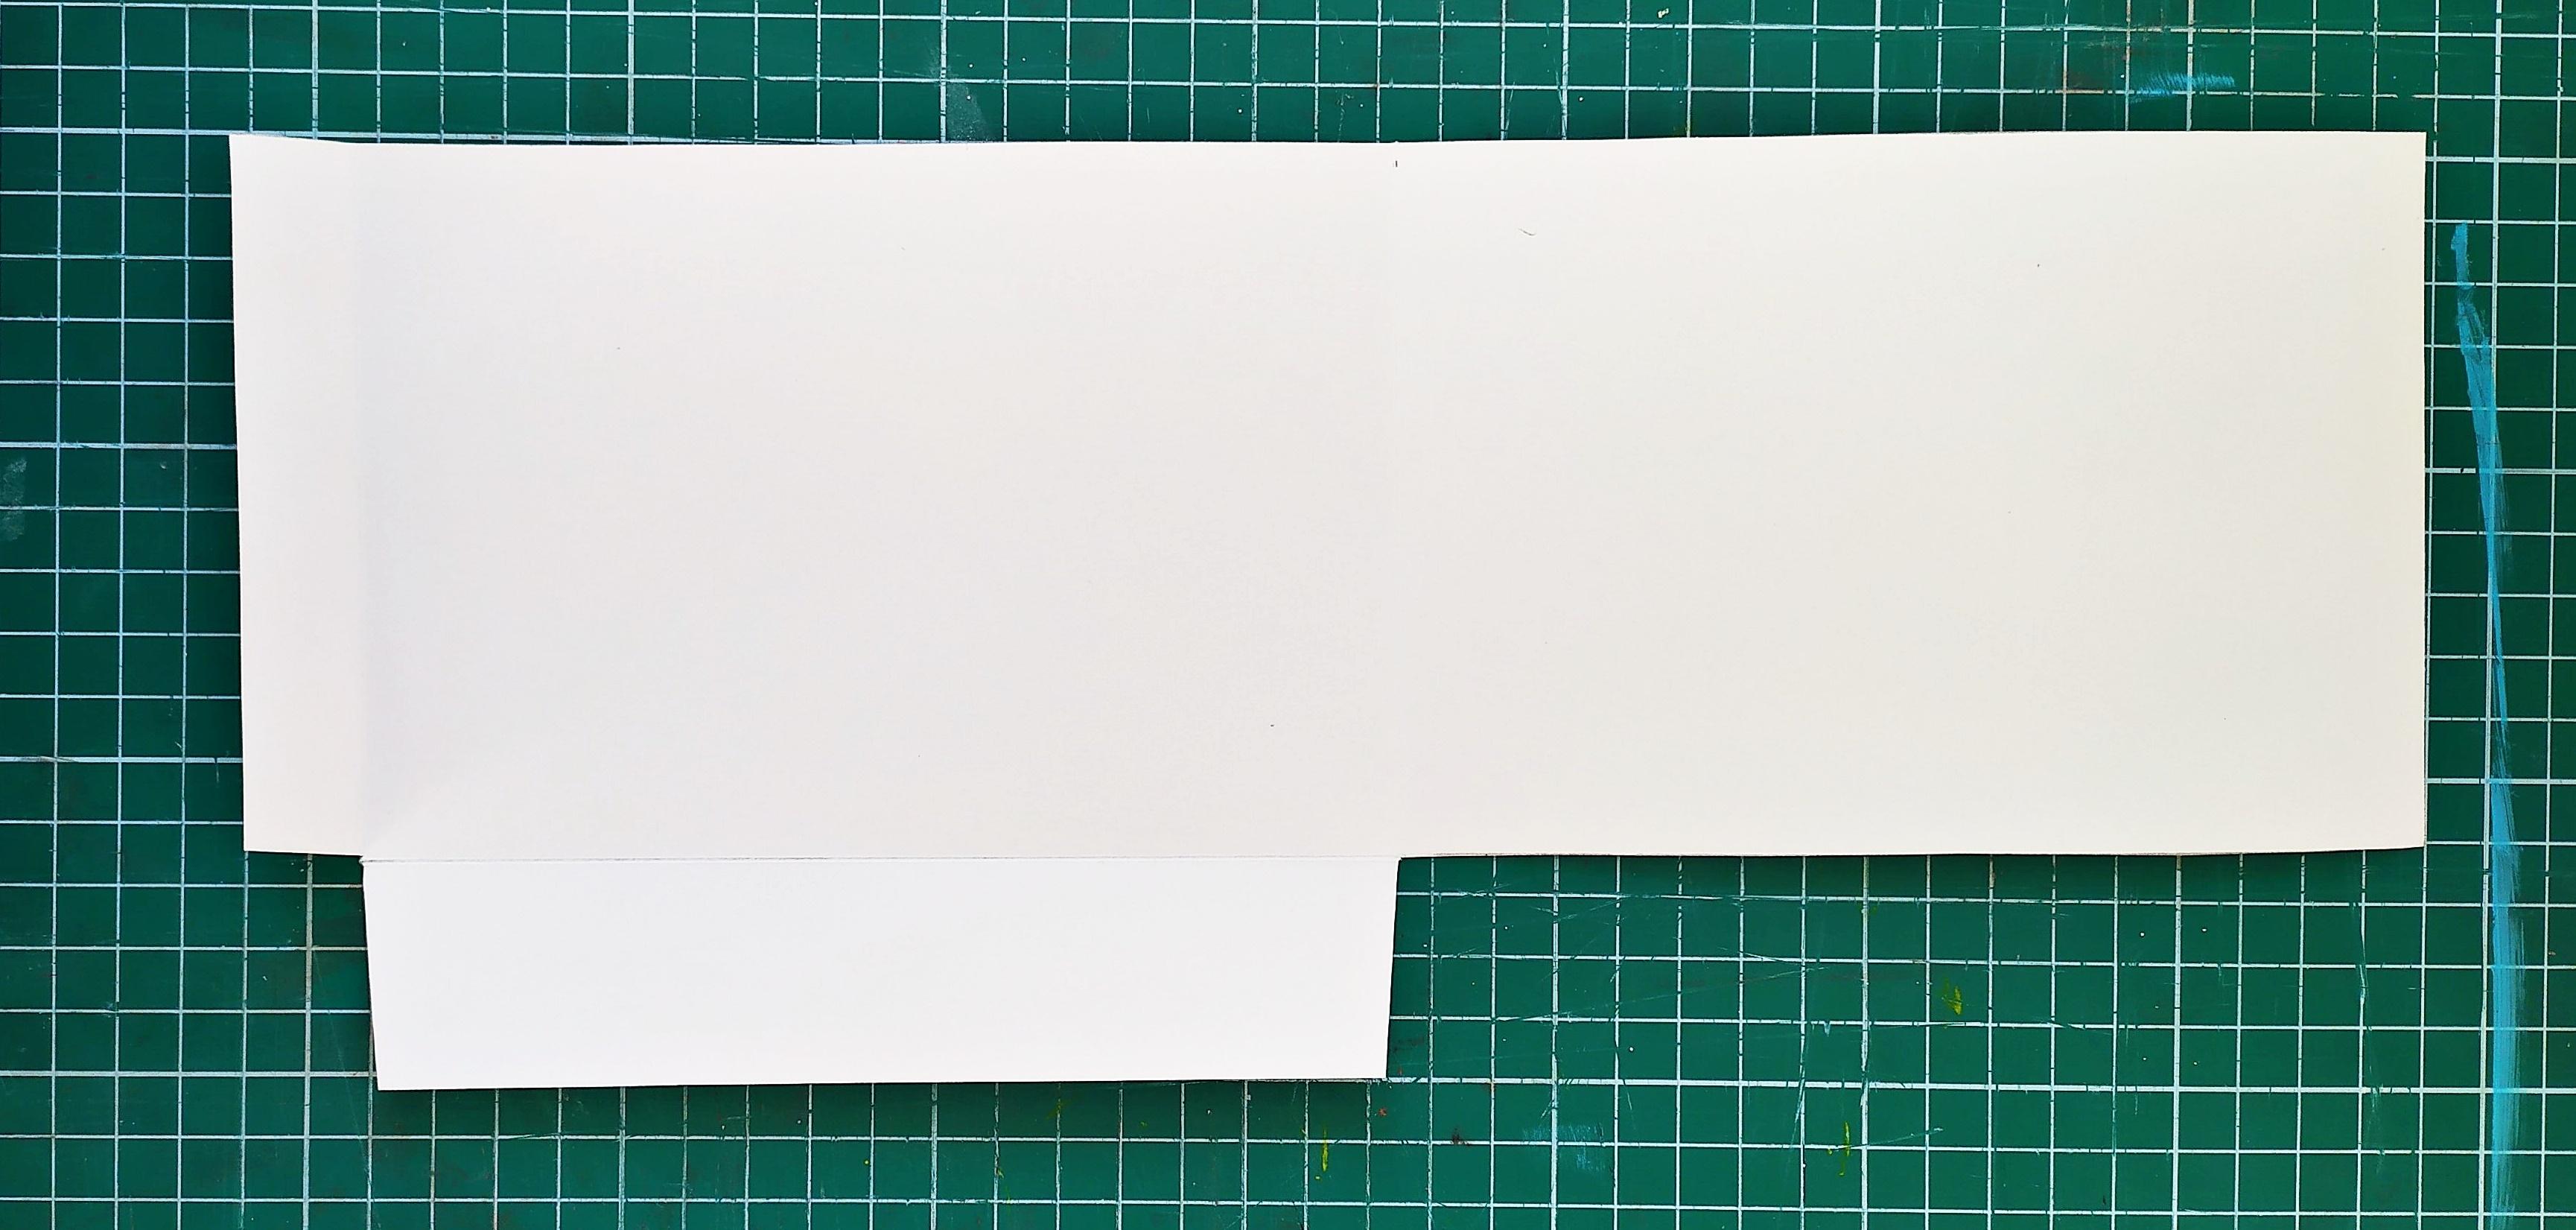
To make the page with the pocket cut a piece of cardstock measuring 36x11x5 cm.Score that paper at 17 cm and fold it.When folded,there will be some excess cardstock,about 2 cm wide.Score and fold that piece,too.Next,apply some glue to that 2 cm wide cardstock and glue it down to the inside 17 cm long piece.The page with a pocket is ready.
Making the page without a pocket follows the same steps,only this time you'll need to cut the cardstock 36x11.5 cm,but there also needs to be a 2-3 cm overhang from one of the 17 cm long pieces (refer to last image).Repeat the same folding process as the page with pockets,but on this page score and fold the 2 cm overhanging piece of cardstock as well.Glue the two overhanging pieces of cardstock to the inside of the second 17 cm long piece and your pocketless page is complete.
Make two pages with pockets and two without.
Interactive Page

Now that you're done with the basic stuff it's time to make it all pretty.There are endless possibilities in scrapbooking and in this album I will show you how to create some easy interactive pages.
Some things to remember are:
- 1.When cutting each piece of designer paper cut it about 0.5 cm less than the actual size of the page you're gluing it onto
- 2.Spread the glue evenly
- 3.Smooth everything out with a bone folder
These simple rules will get you the perfect results.
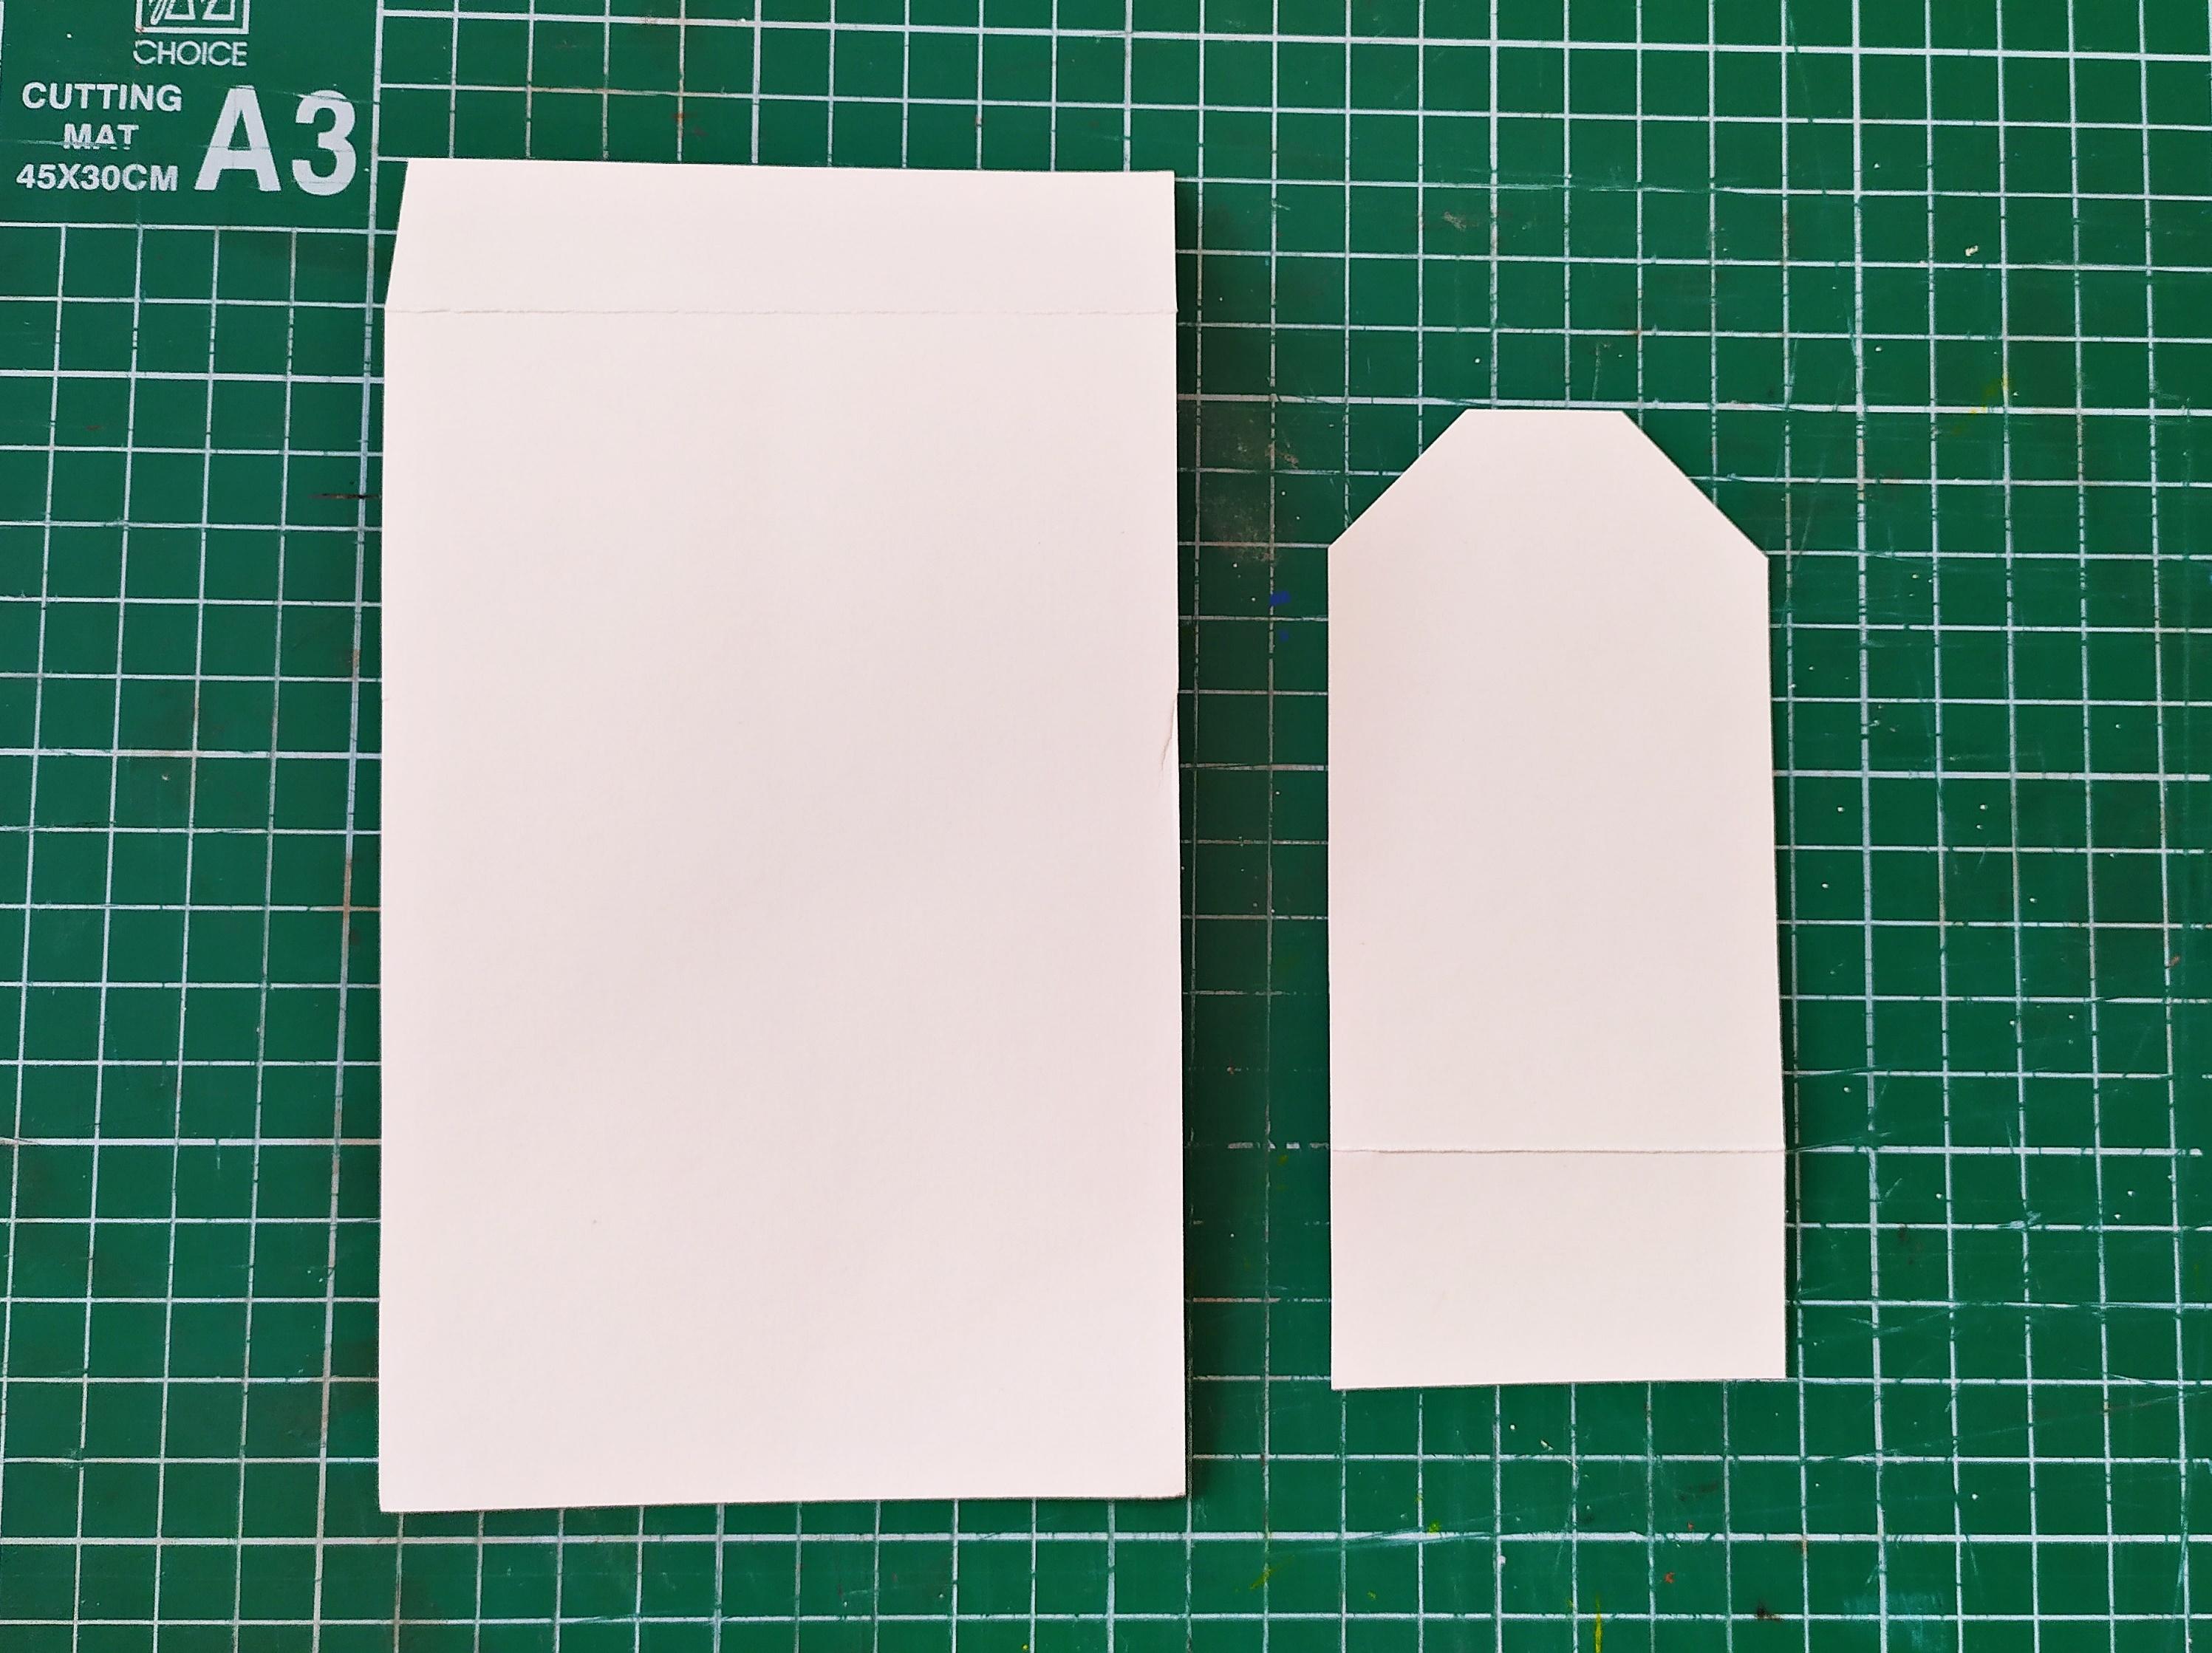
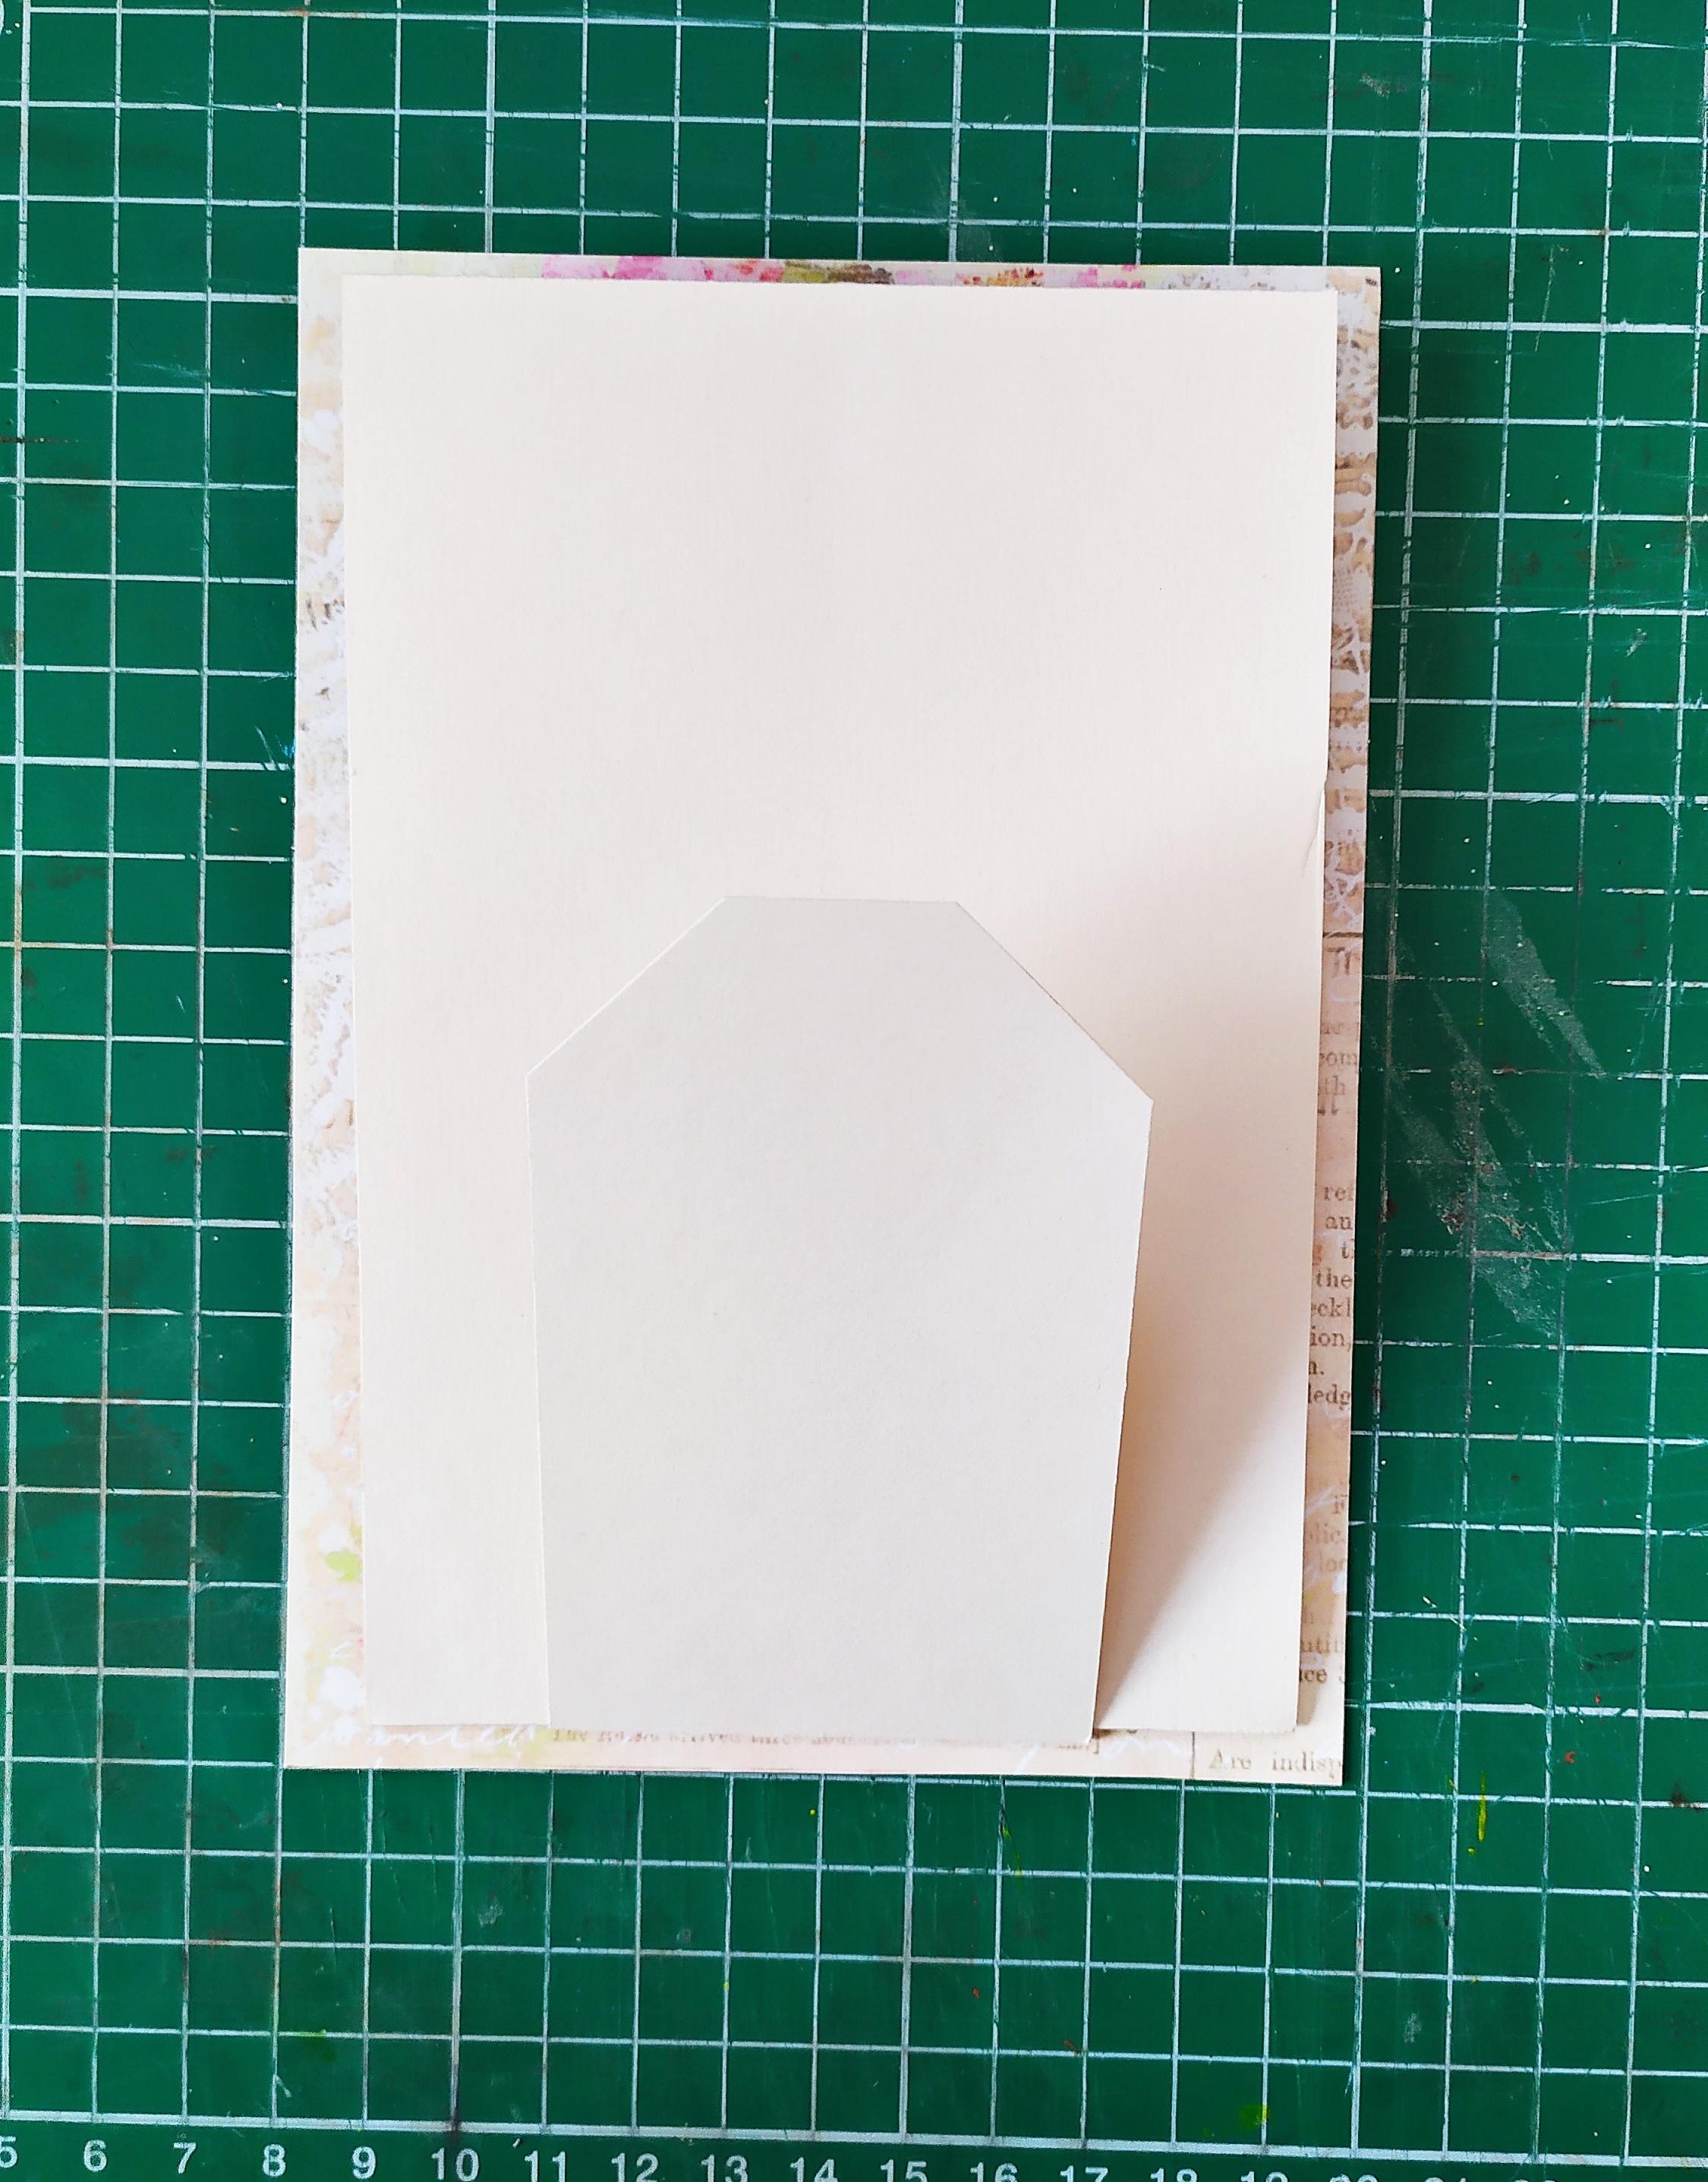
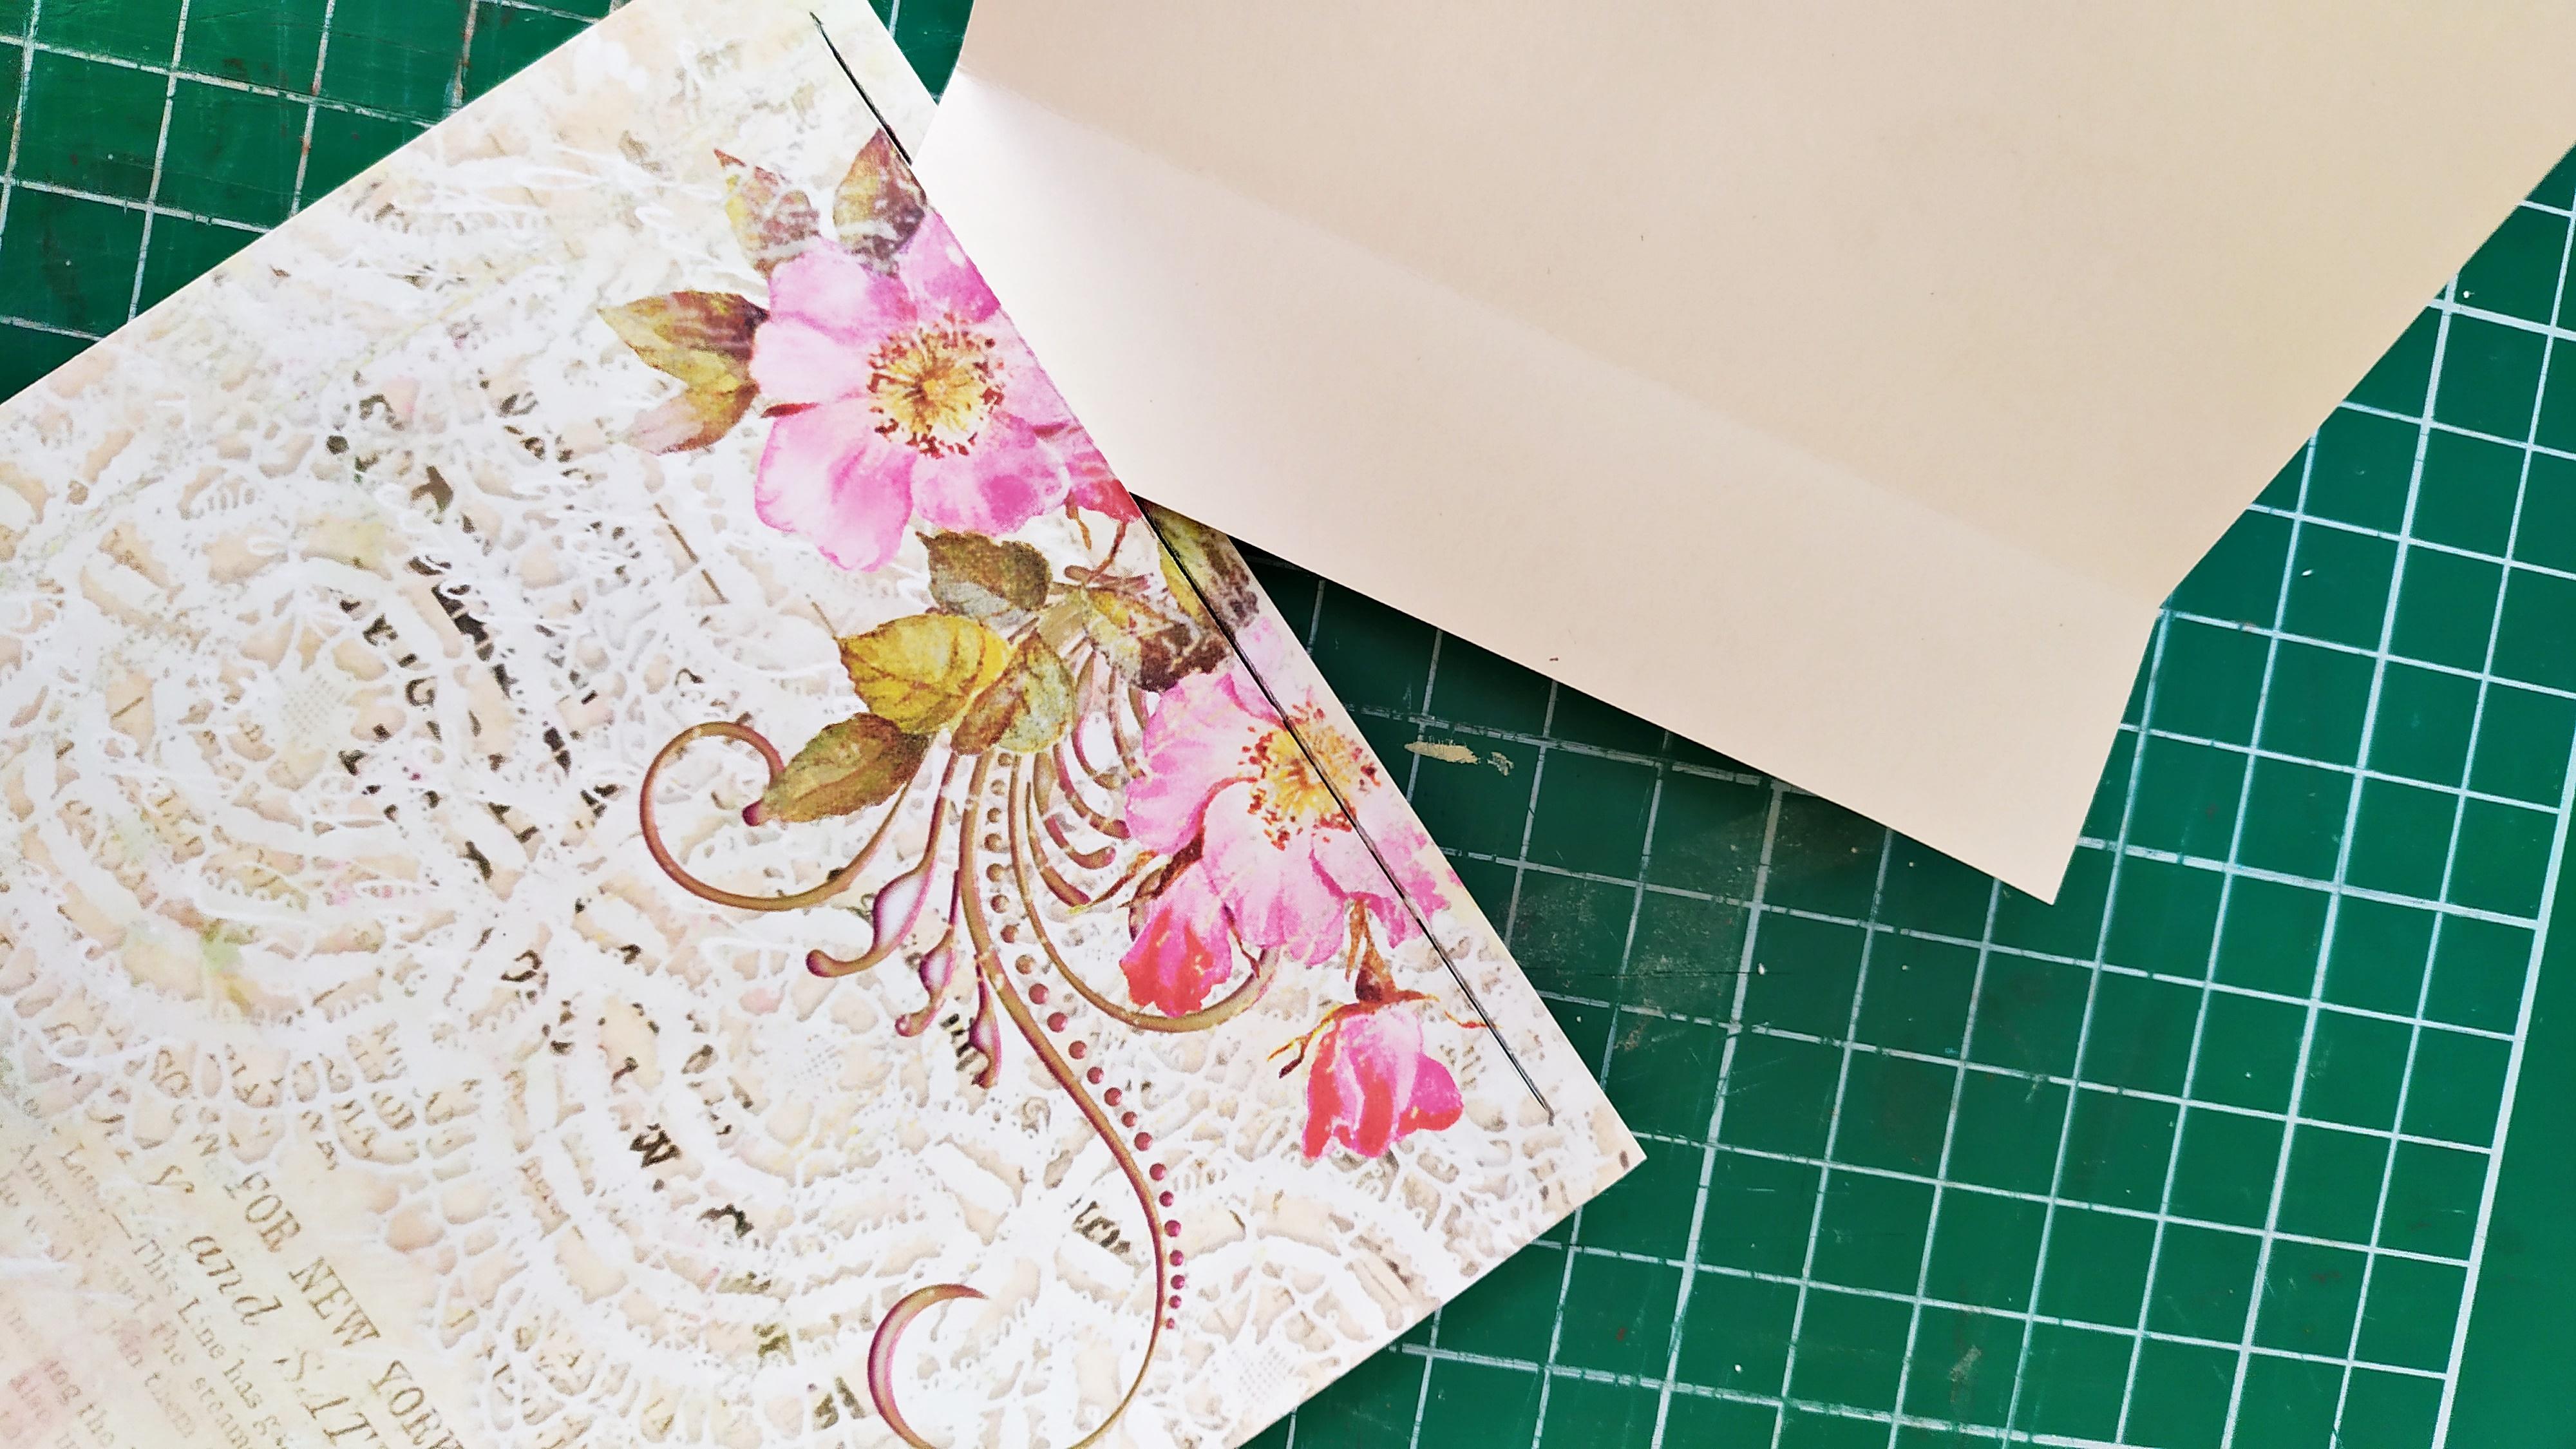
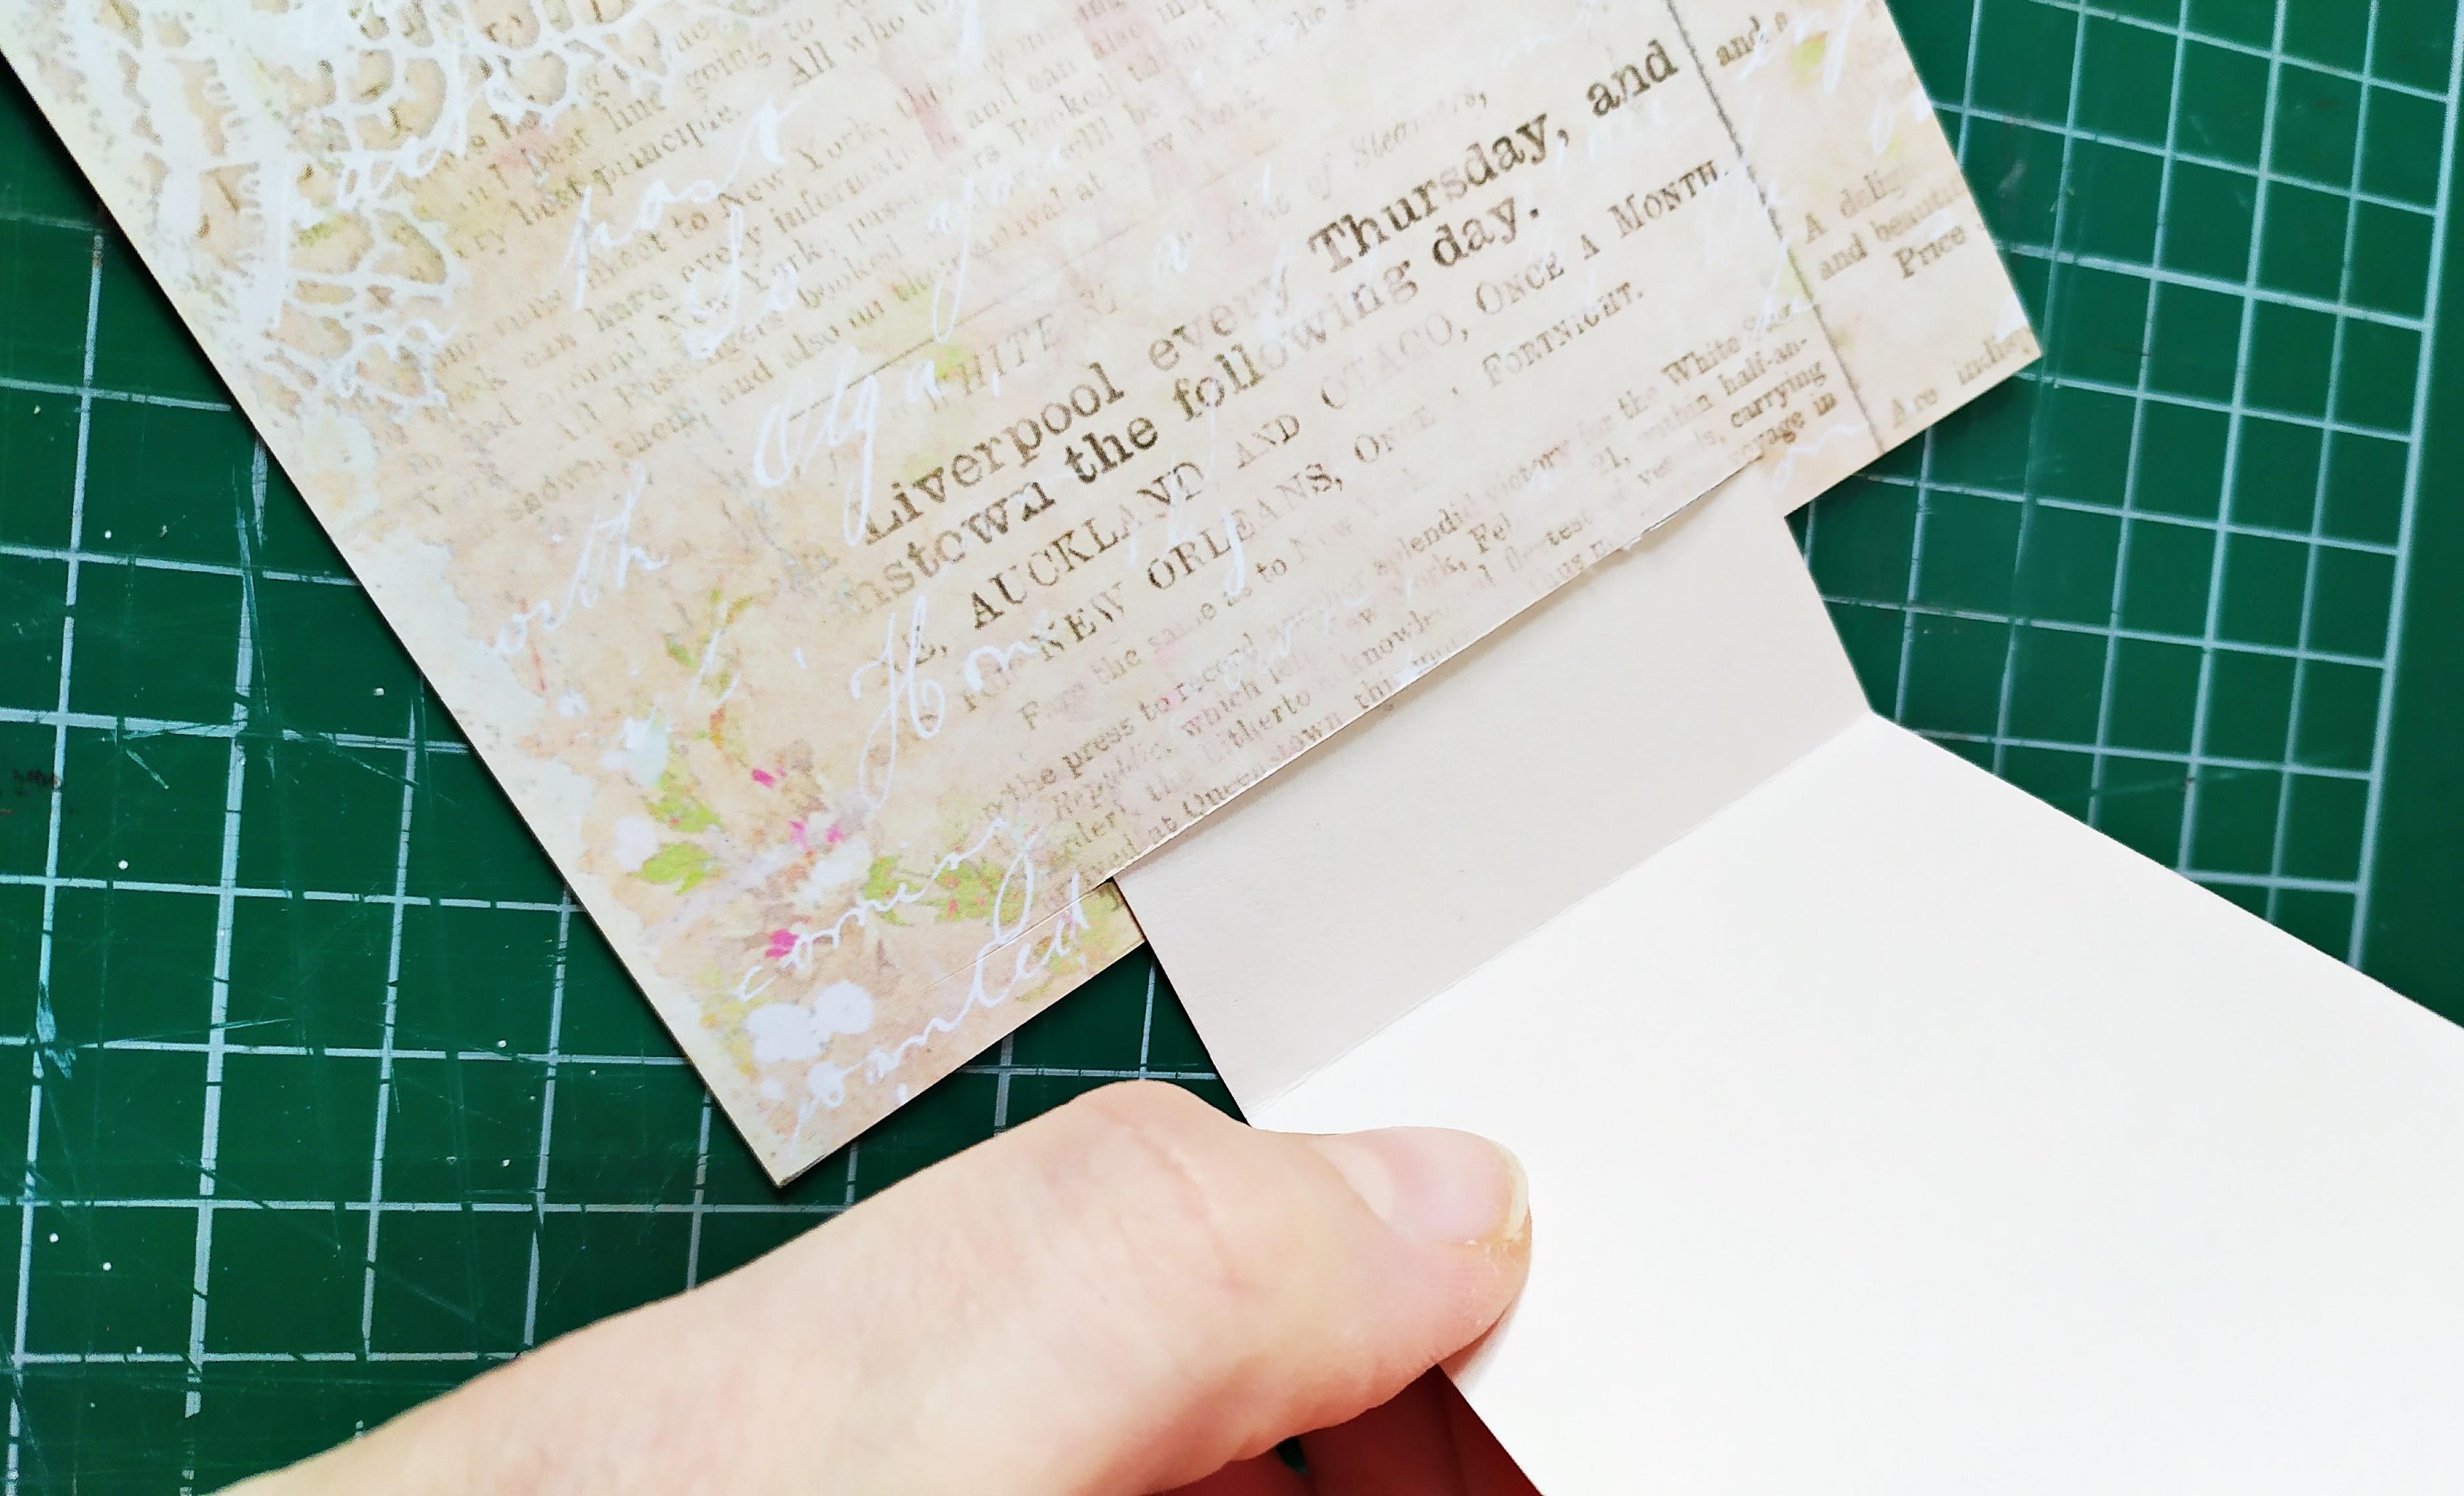
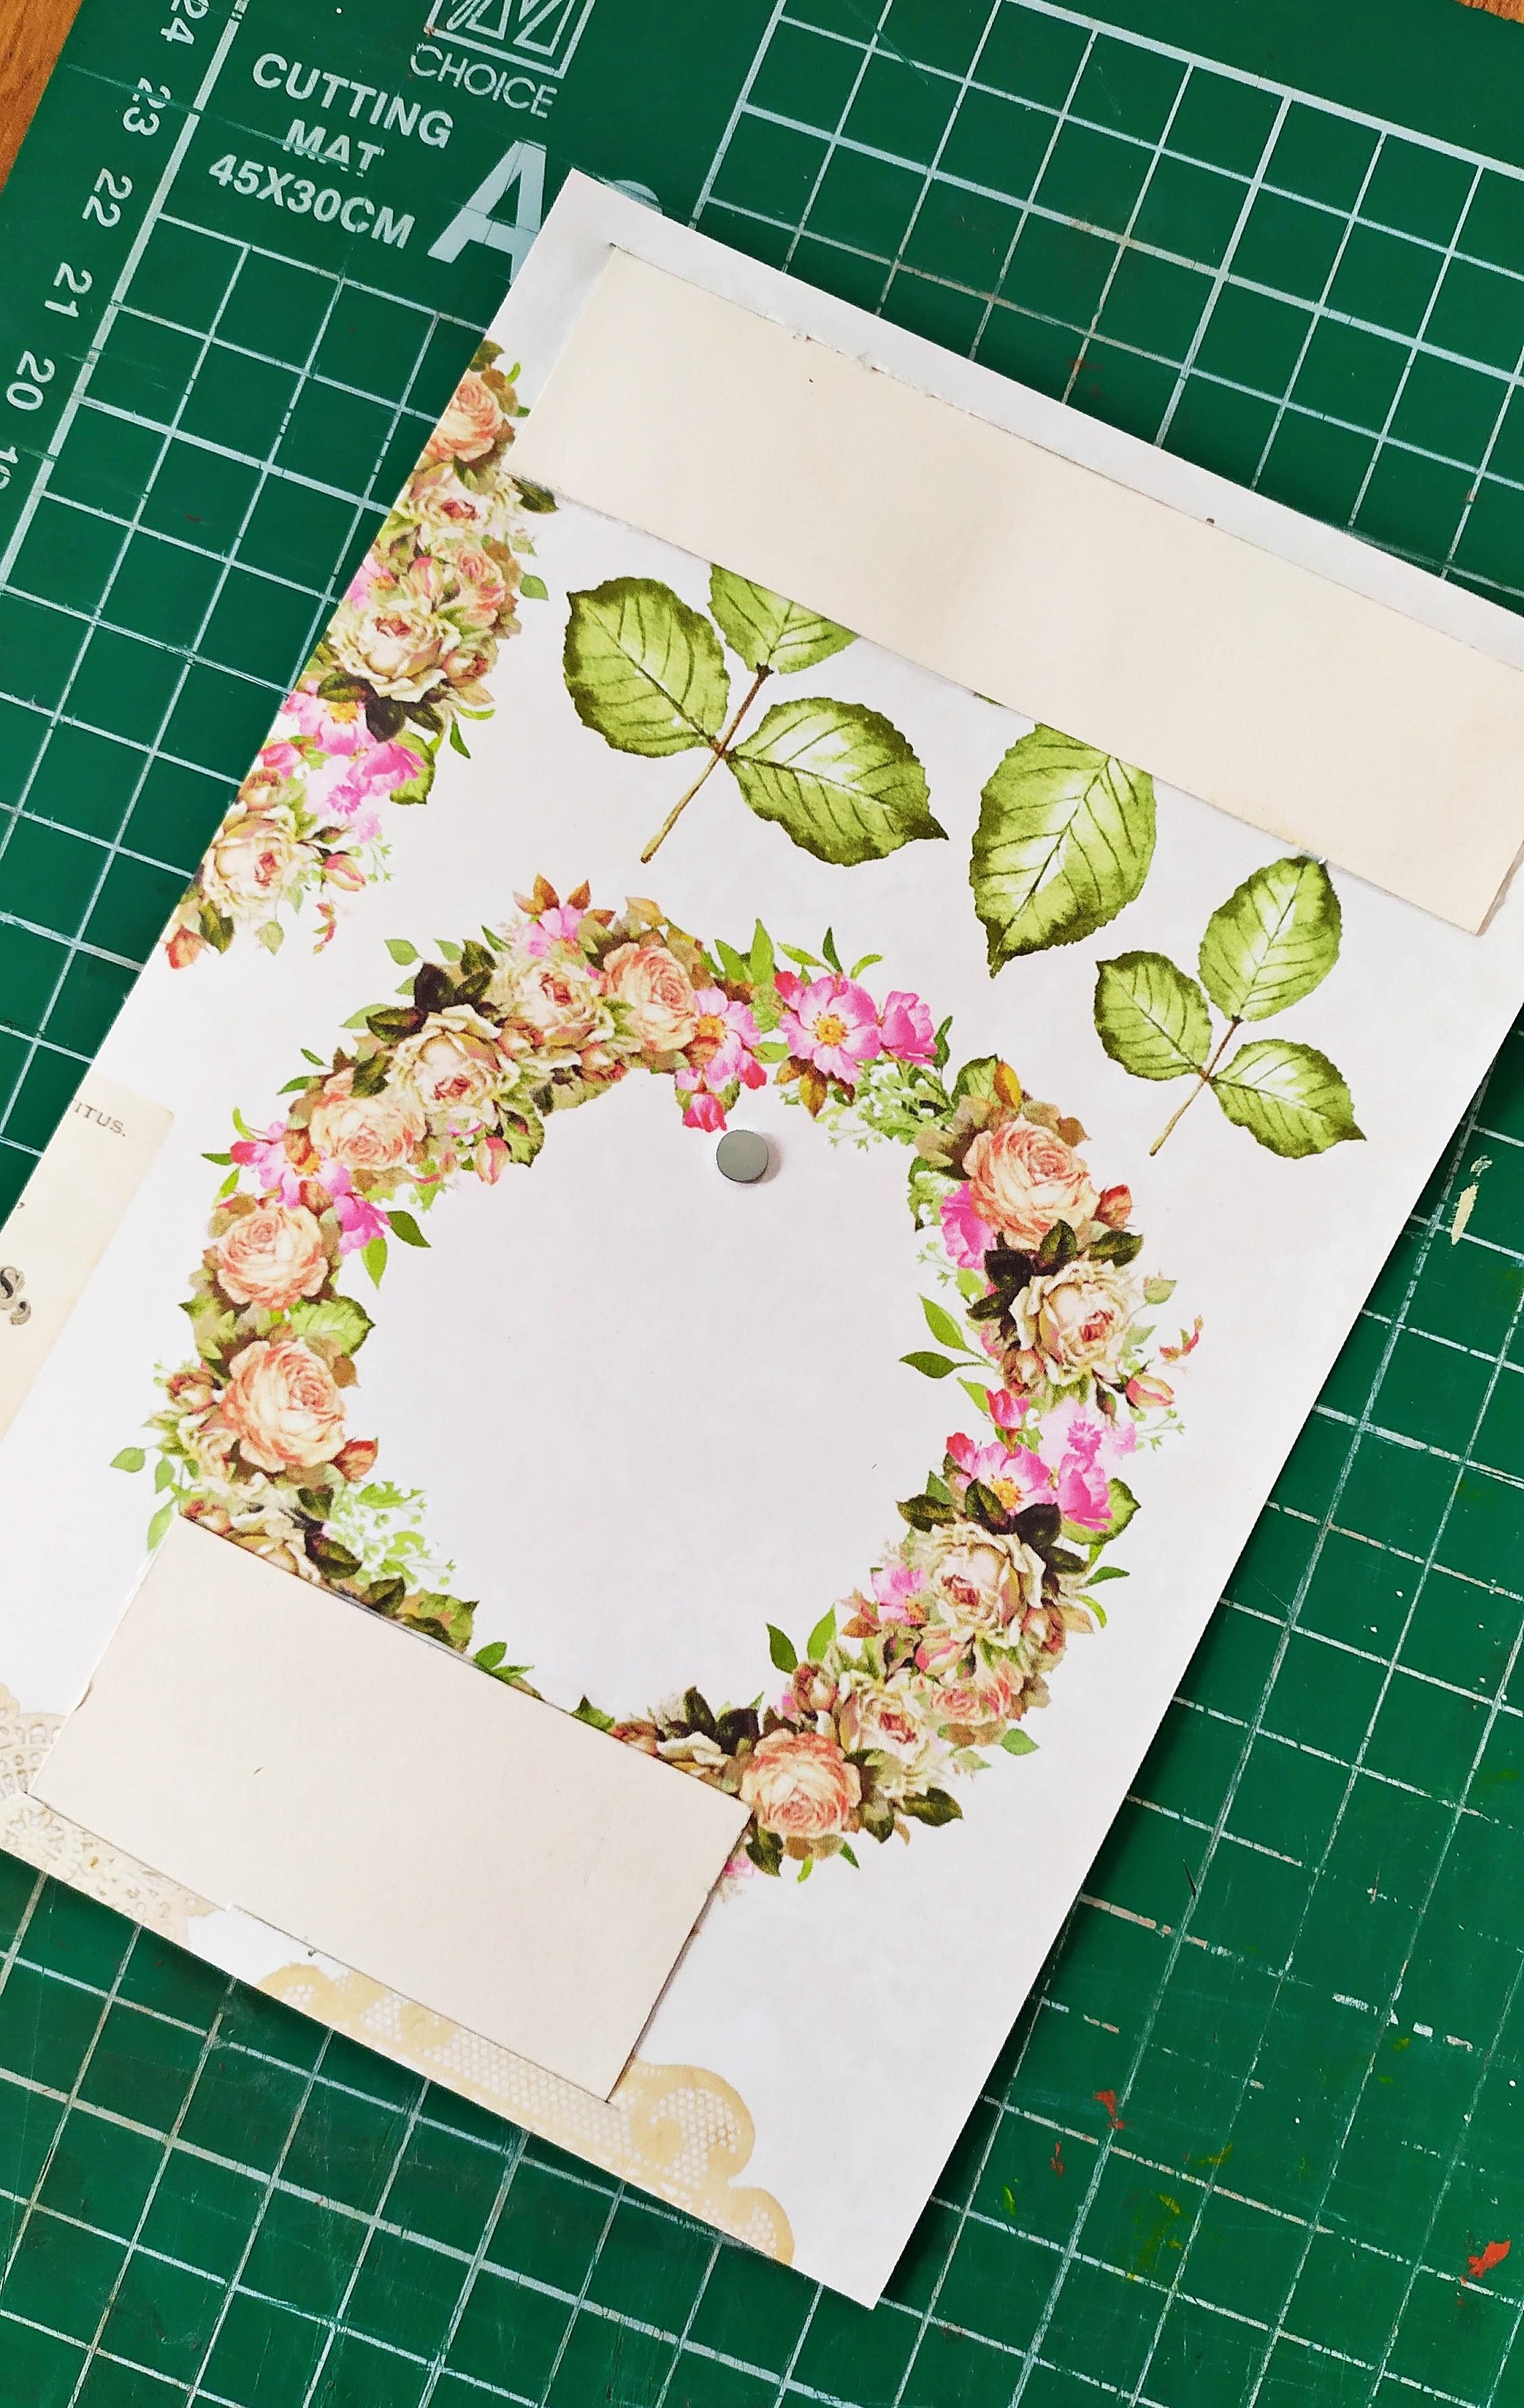
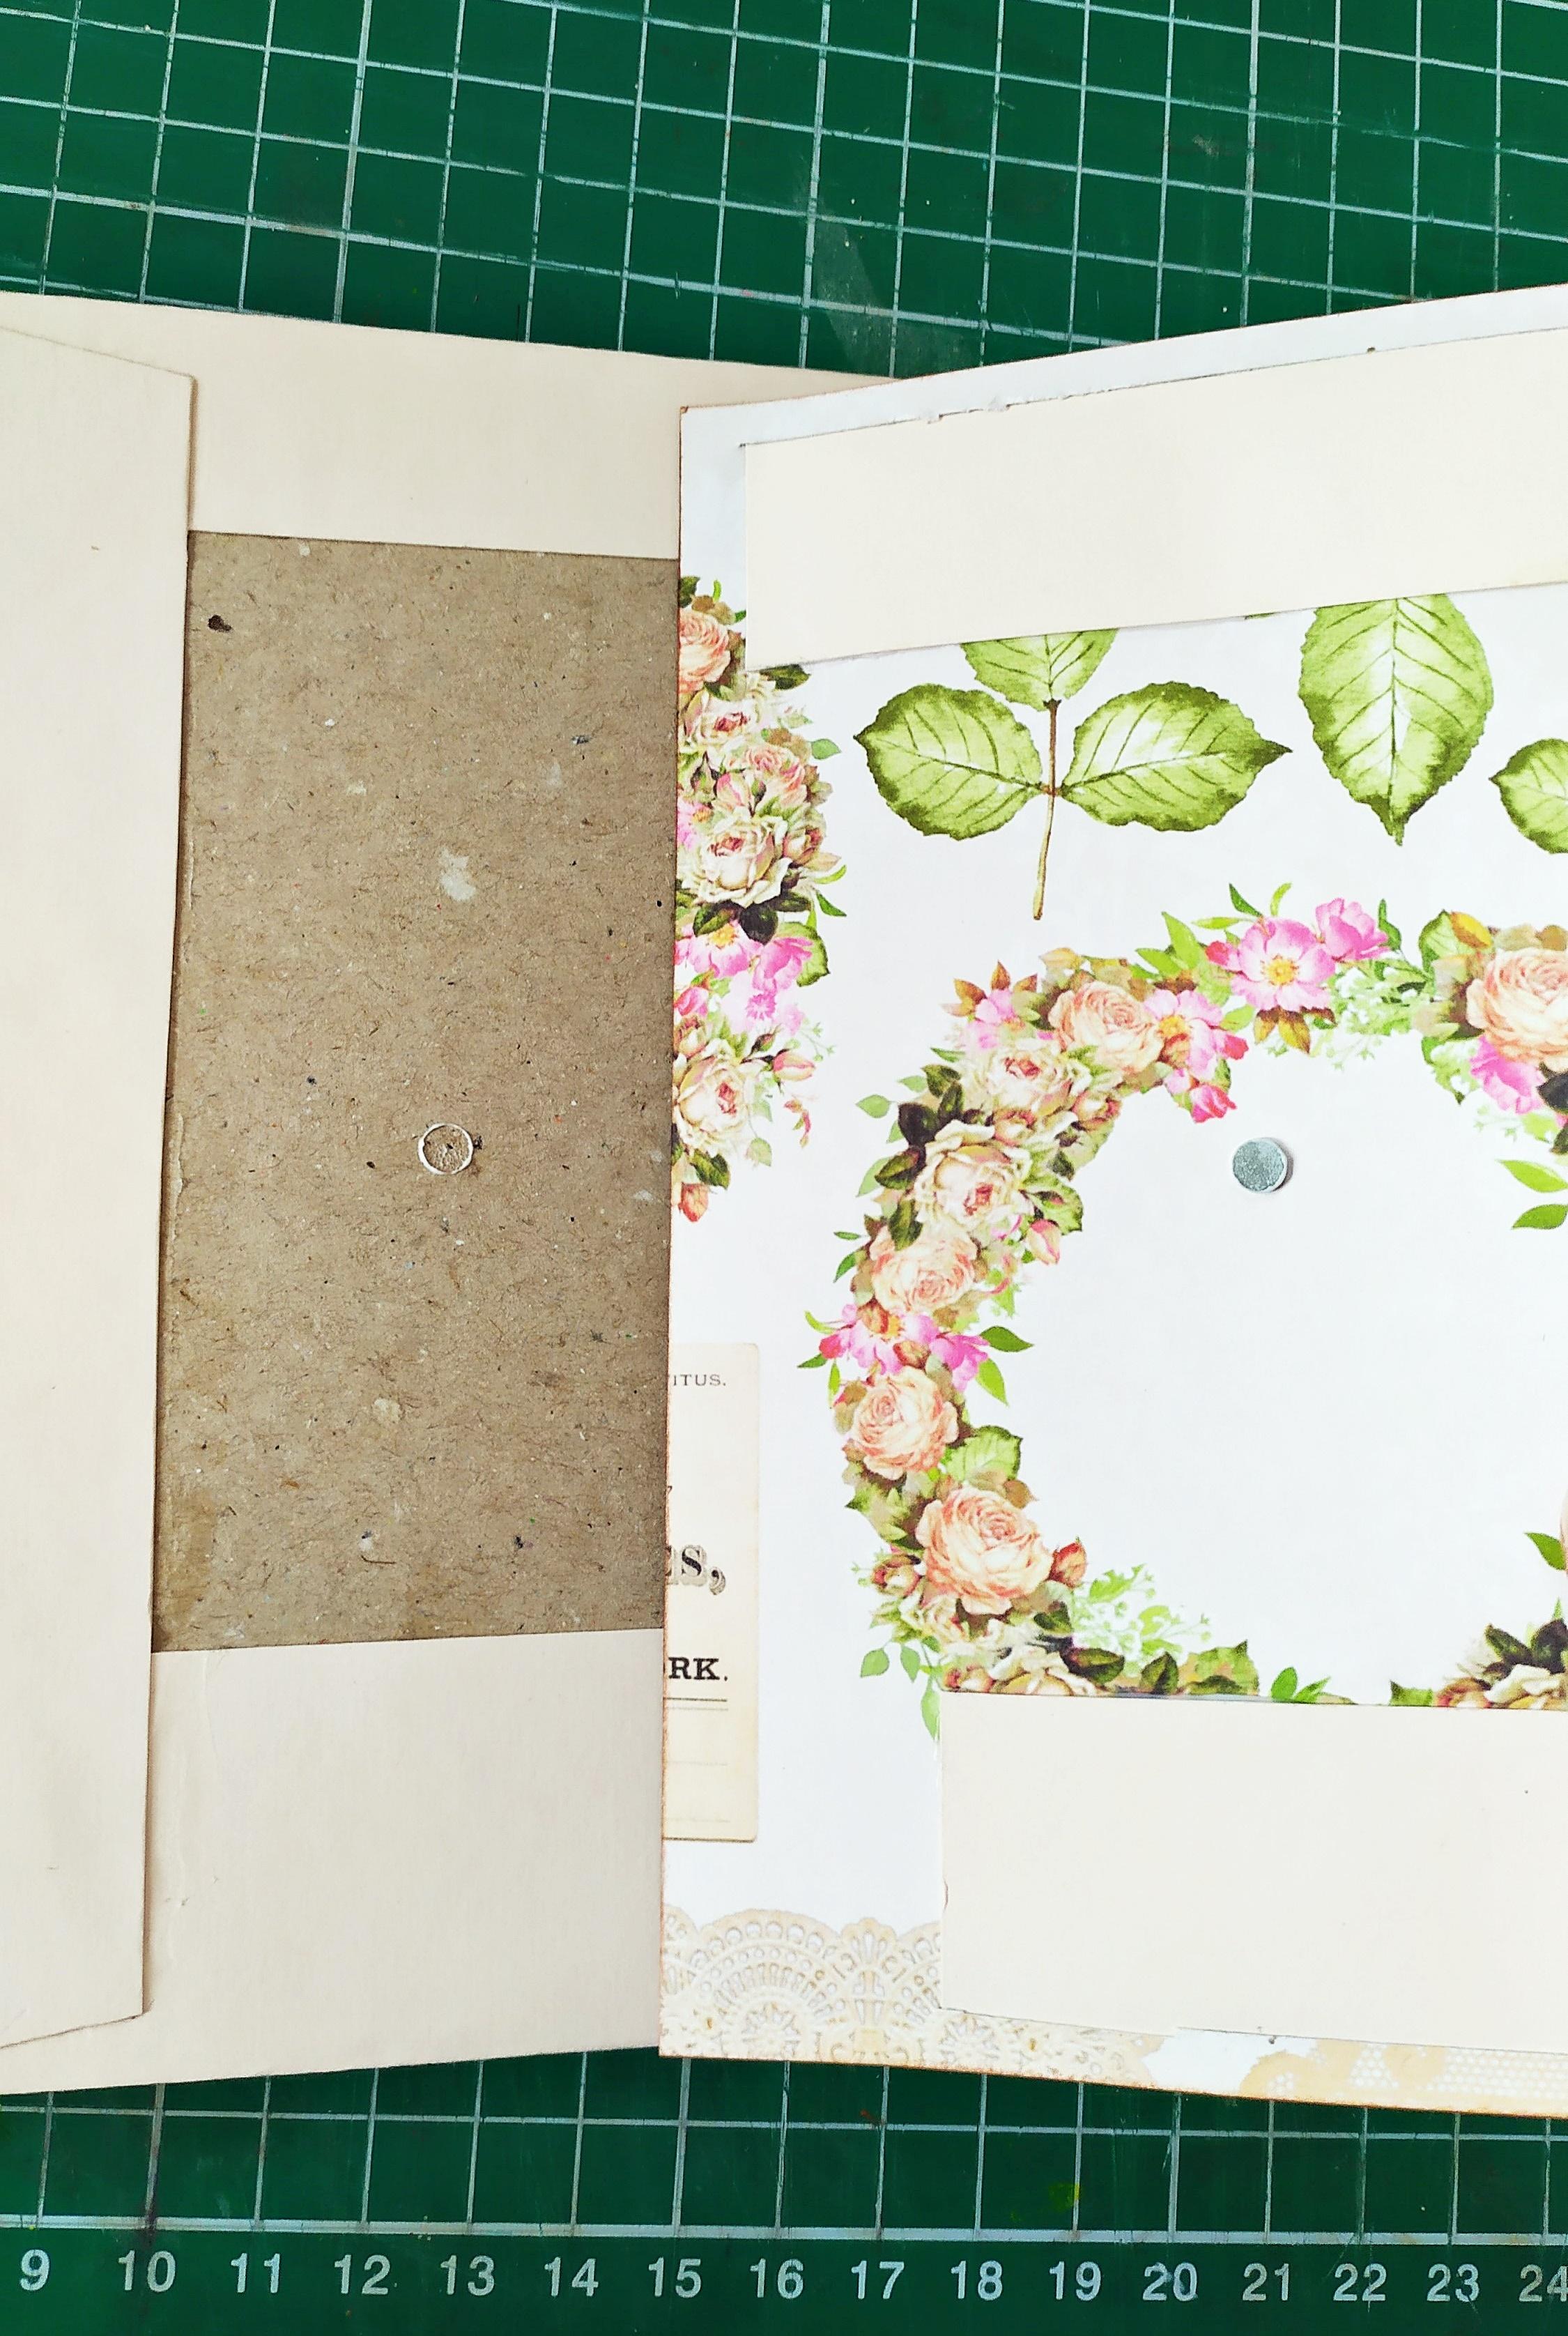
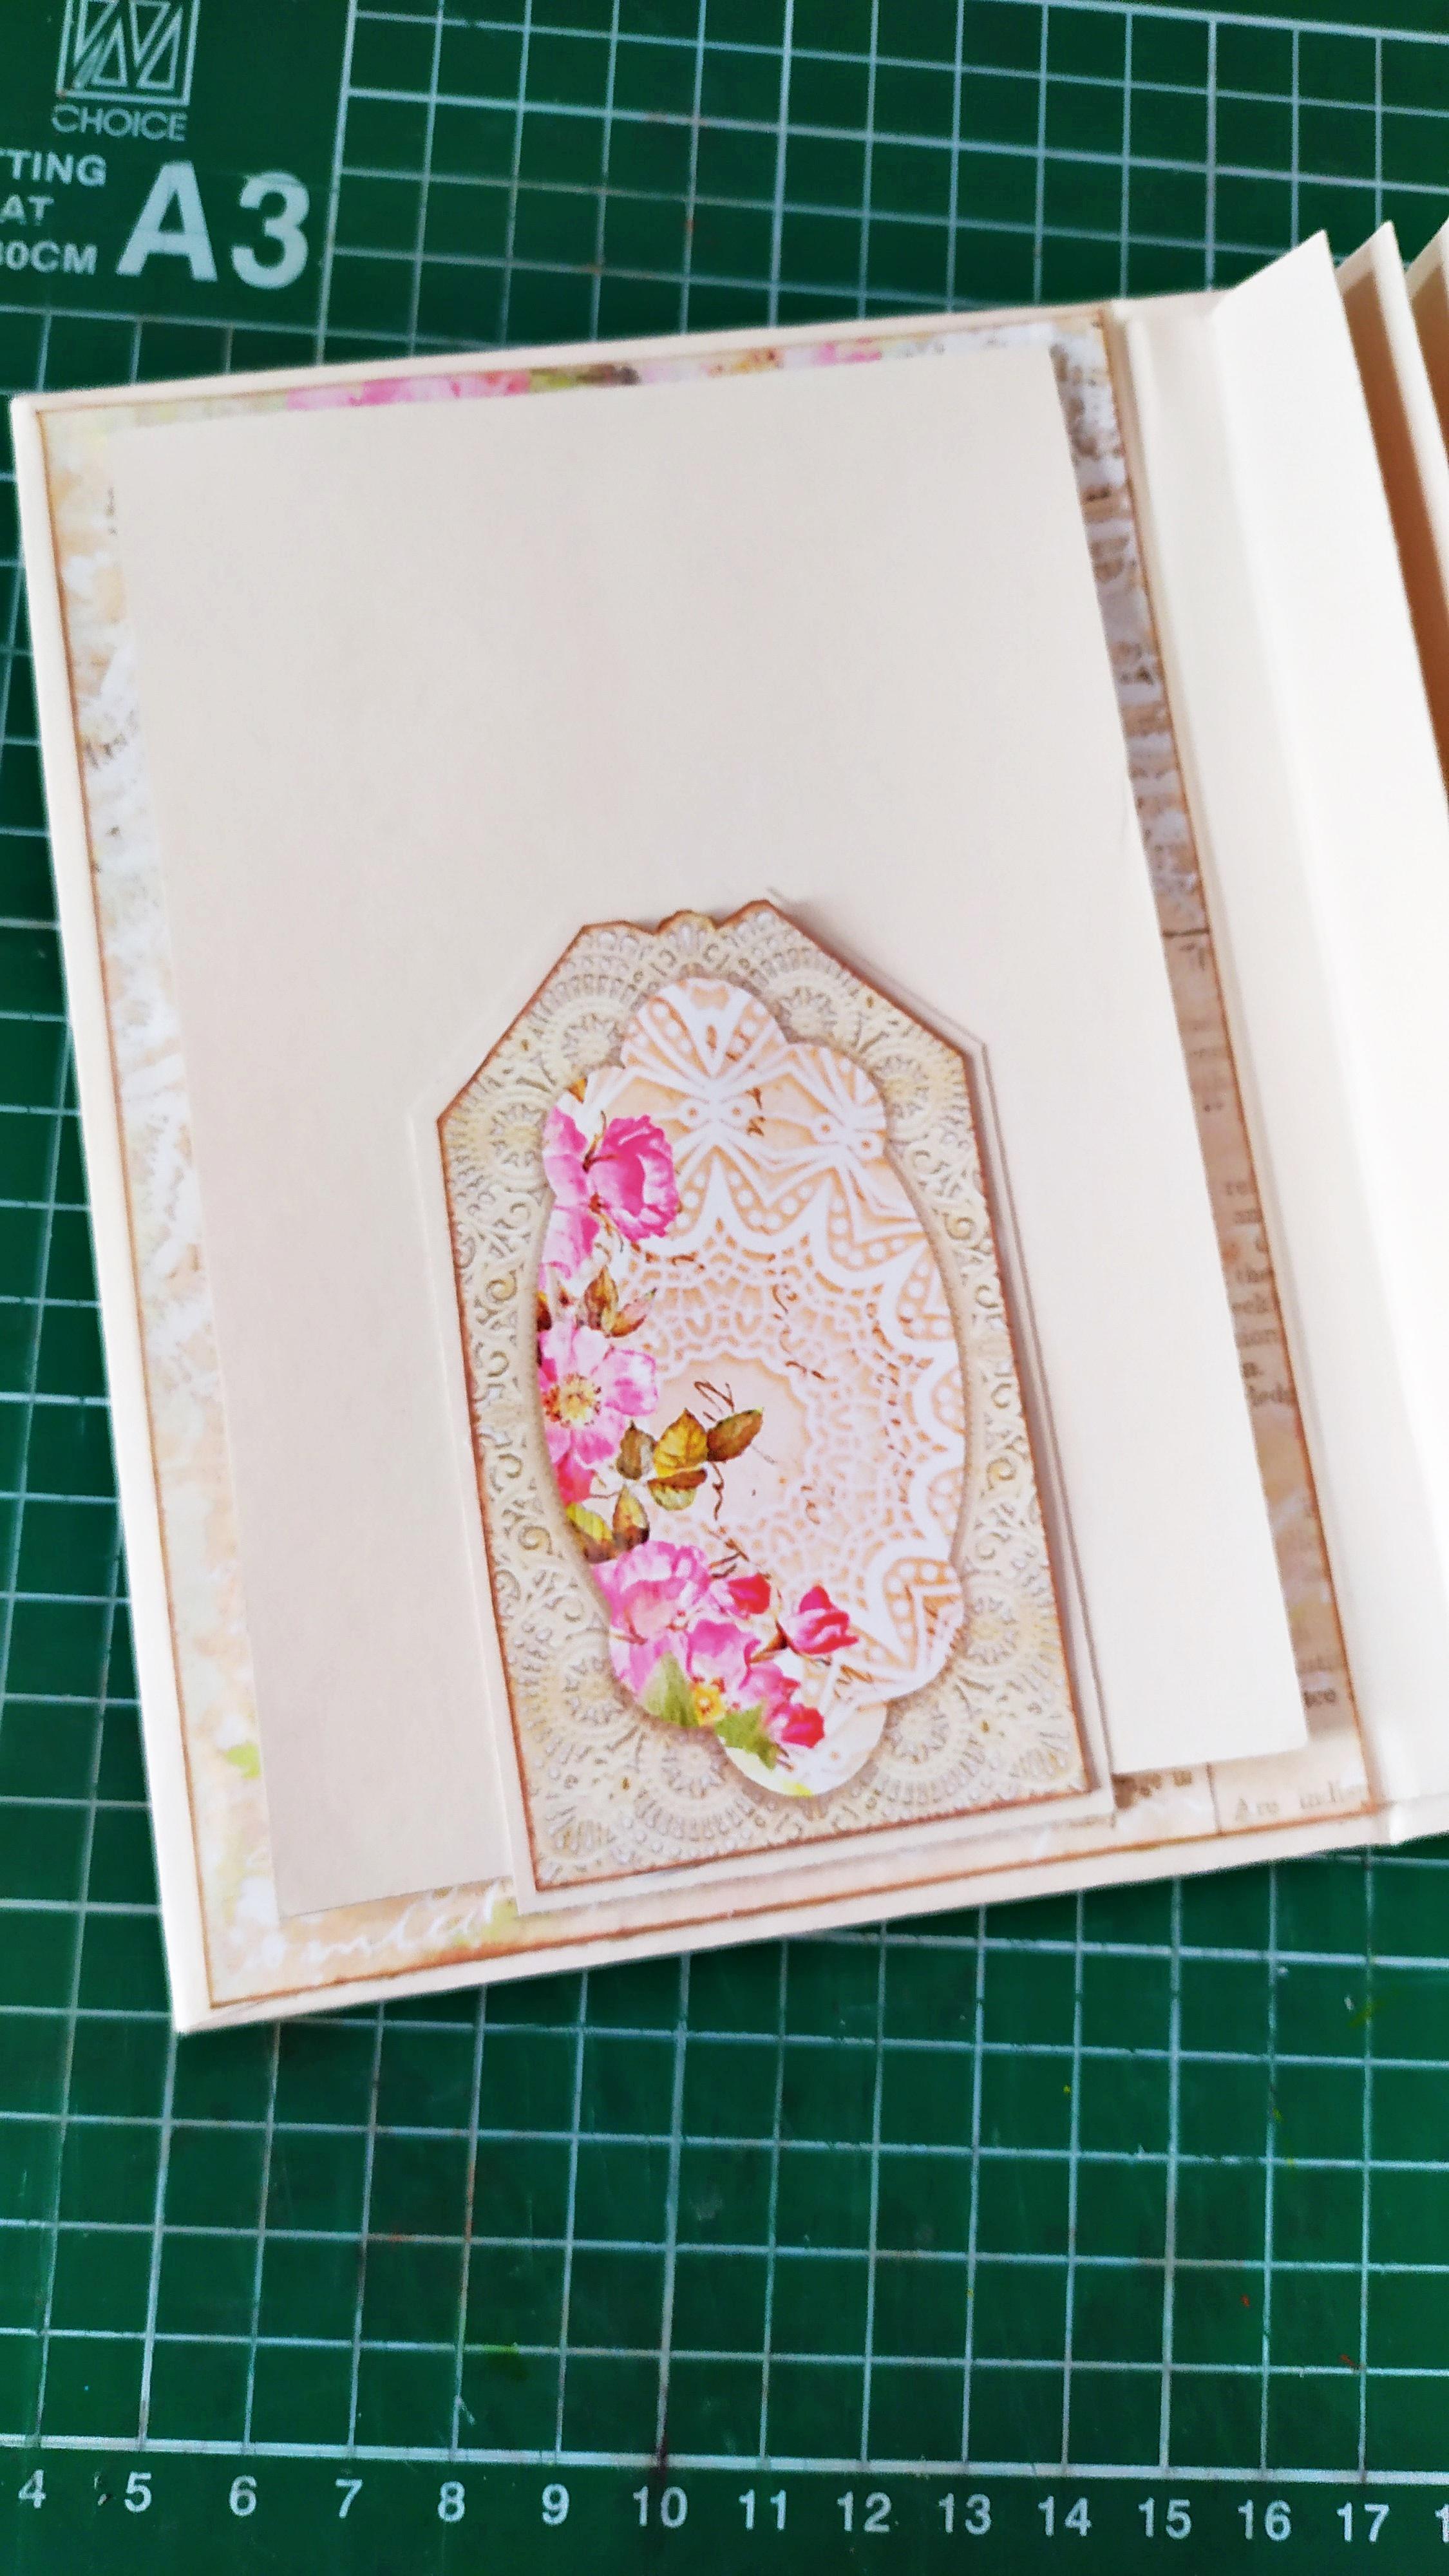
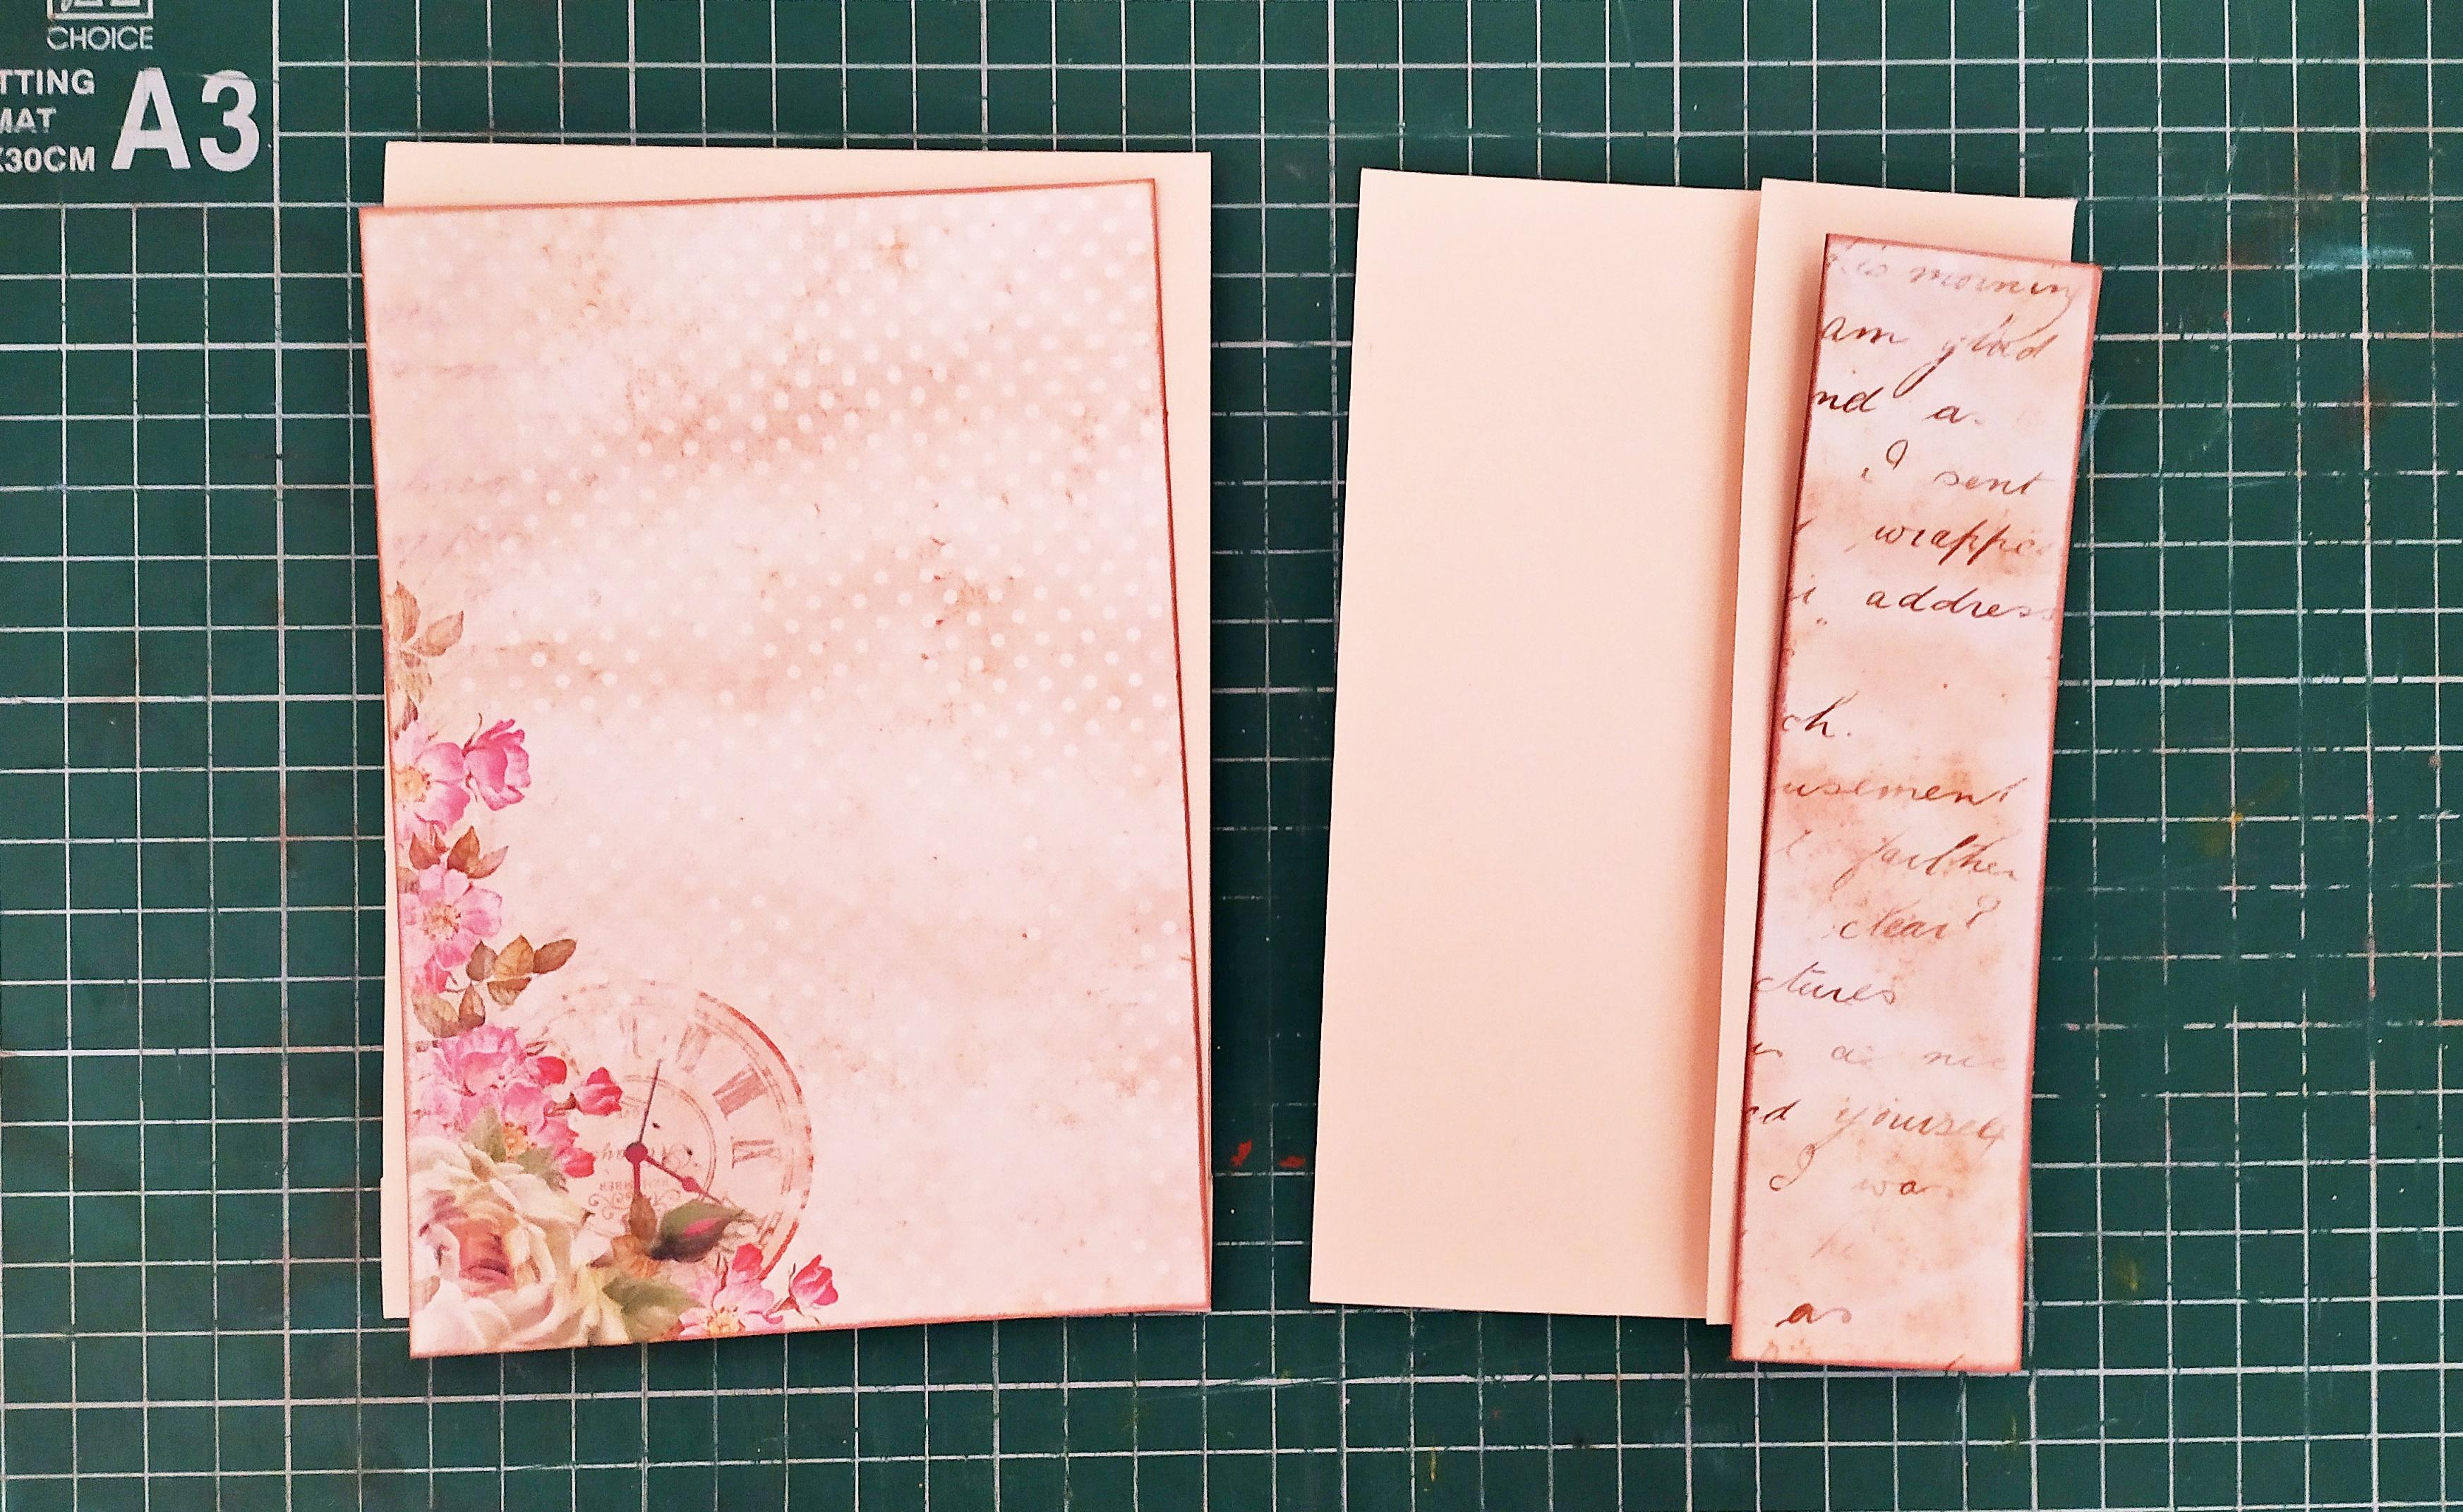
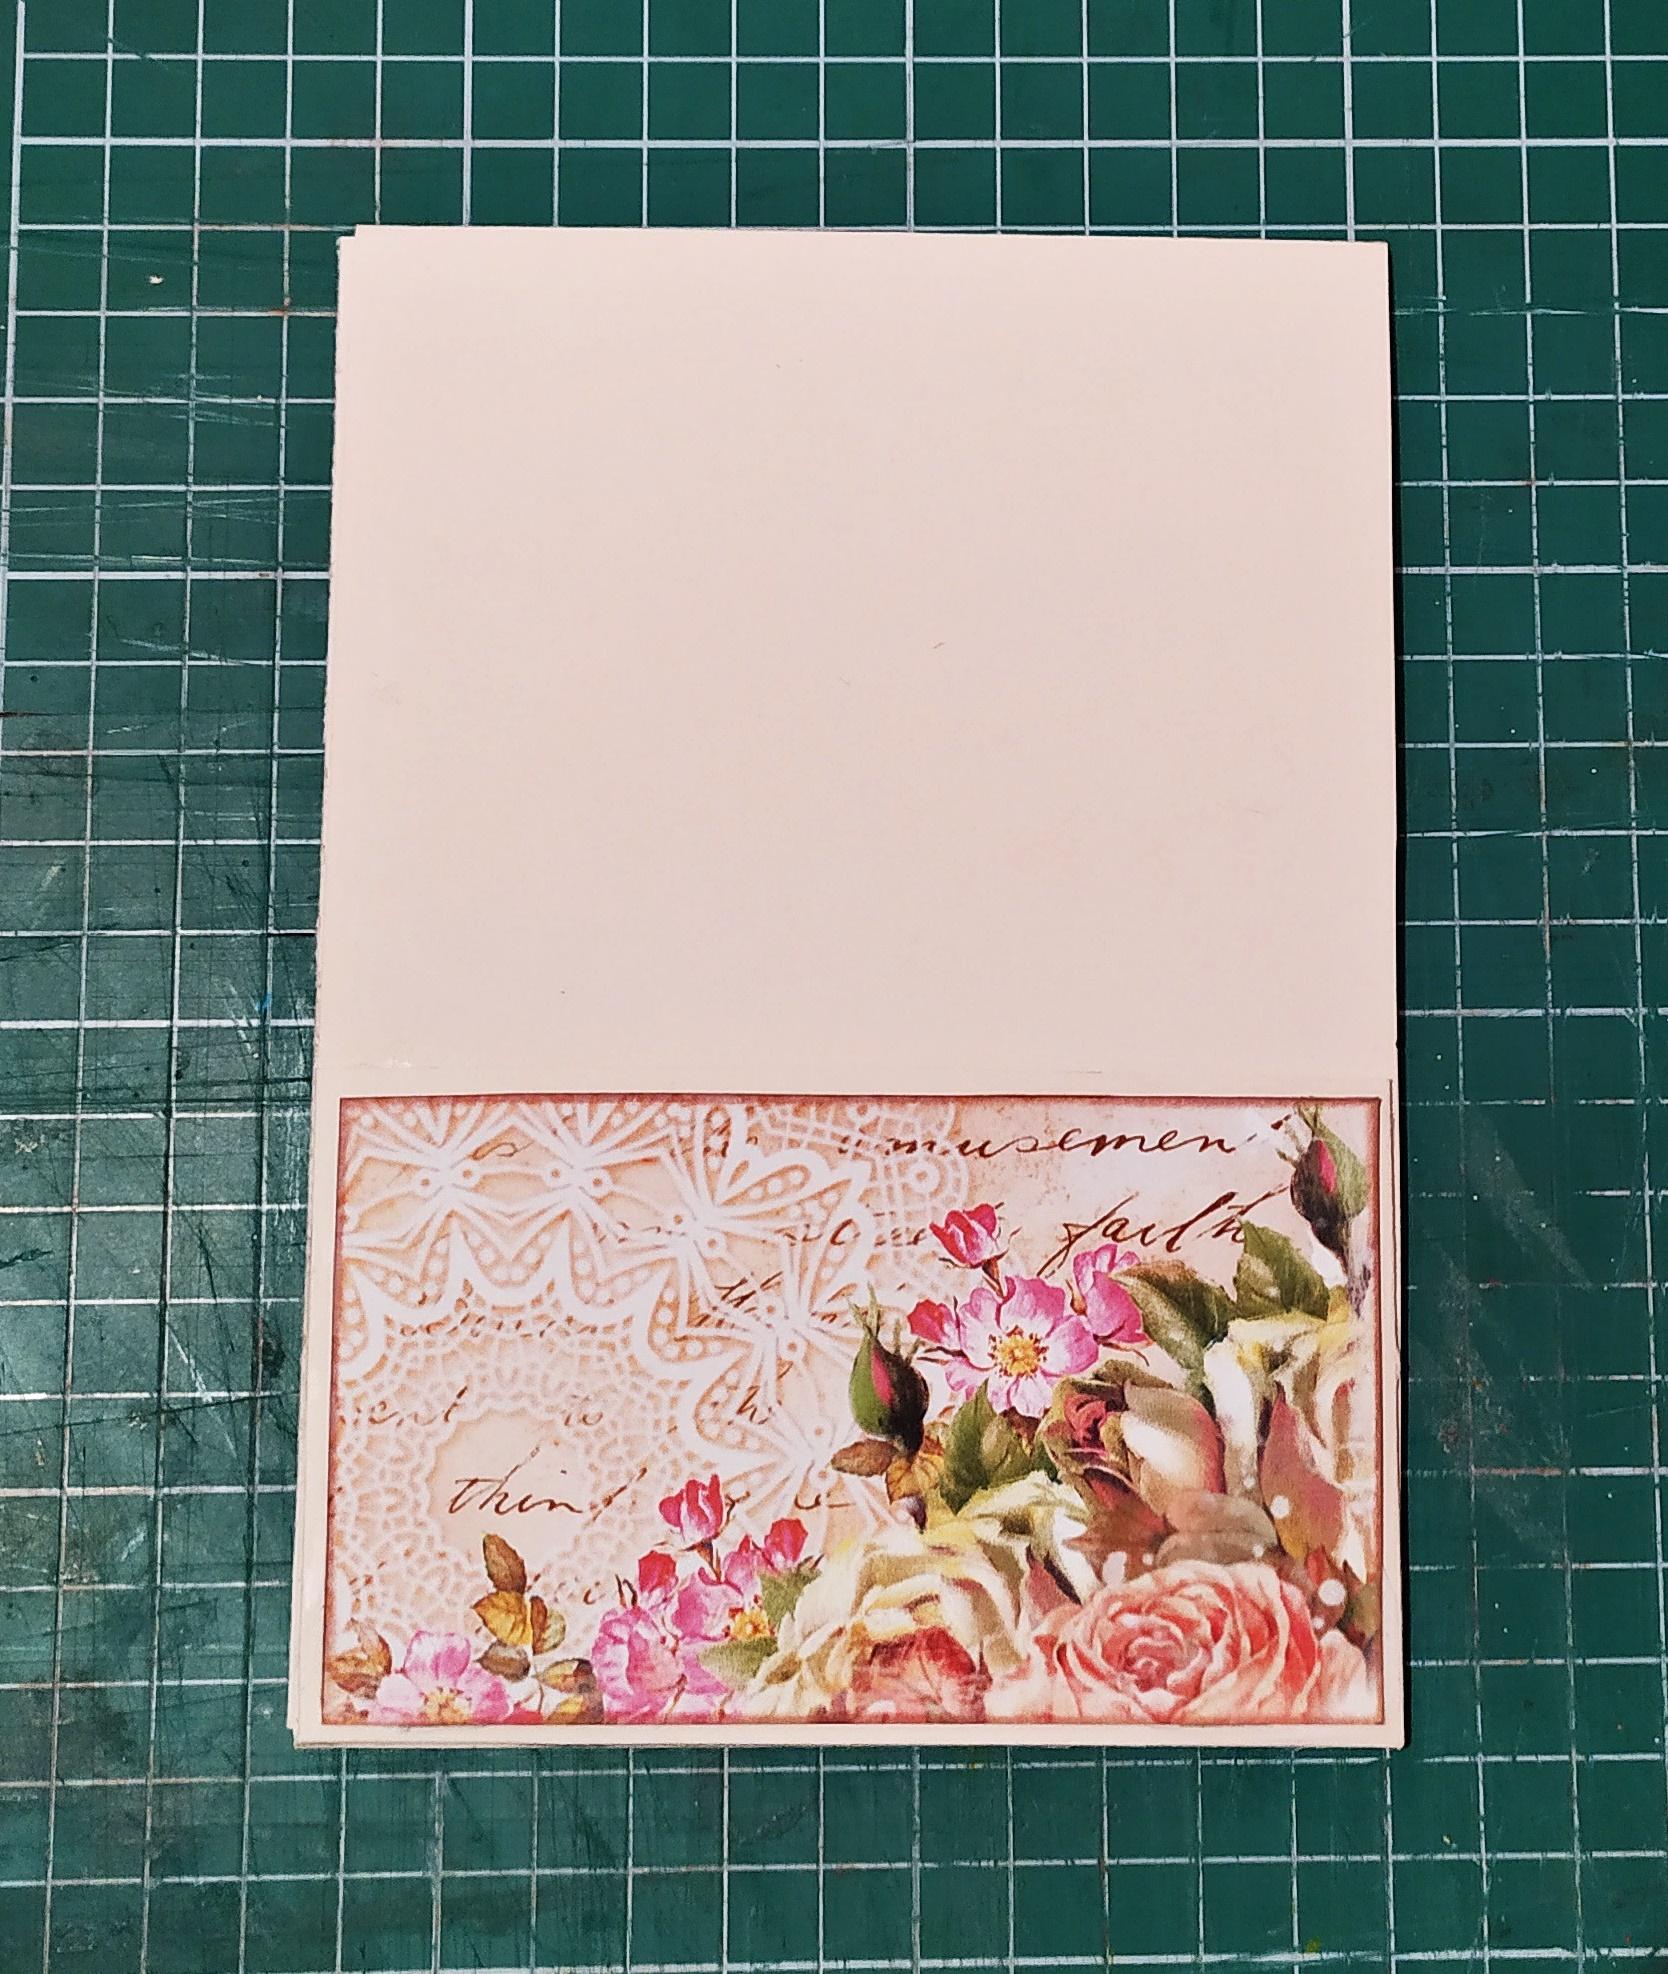
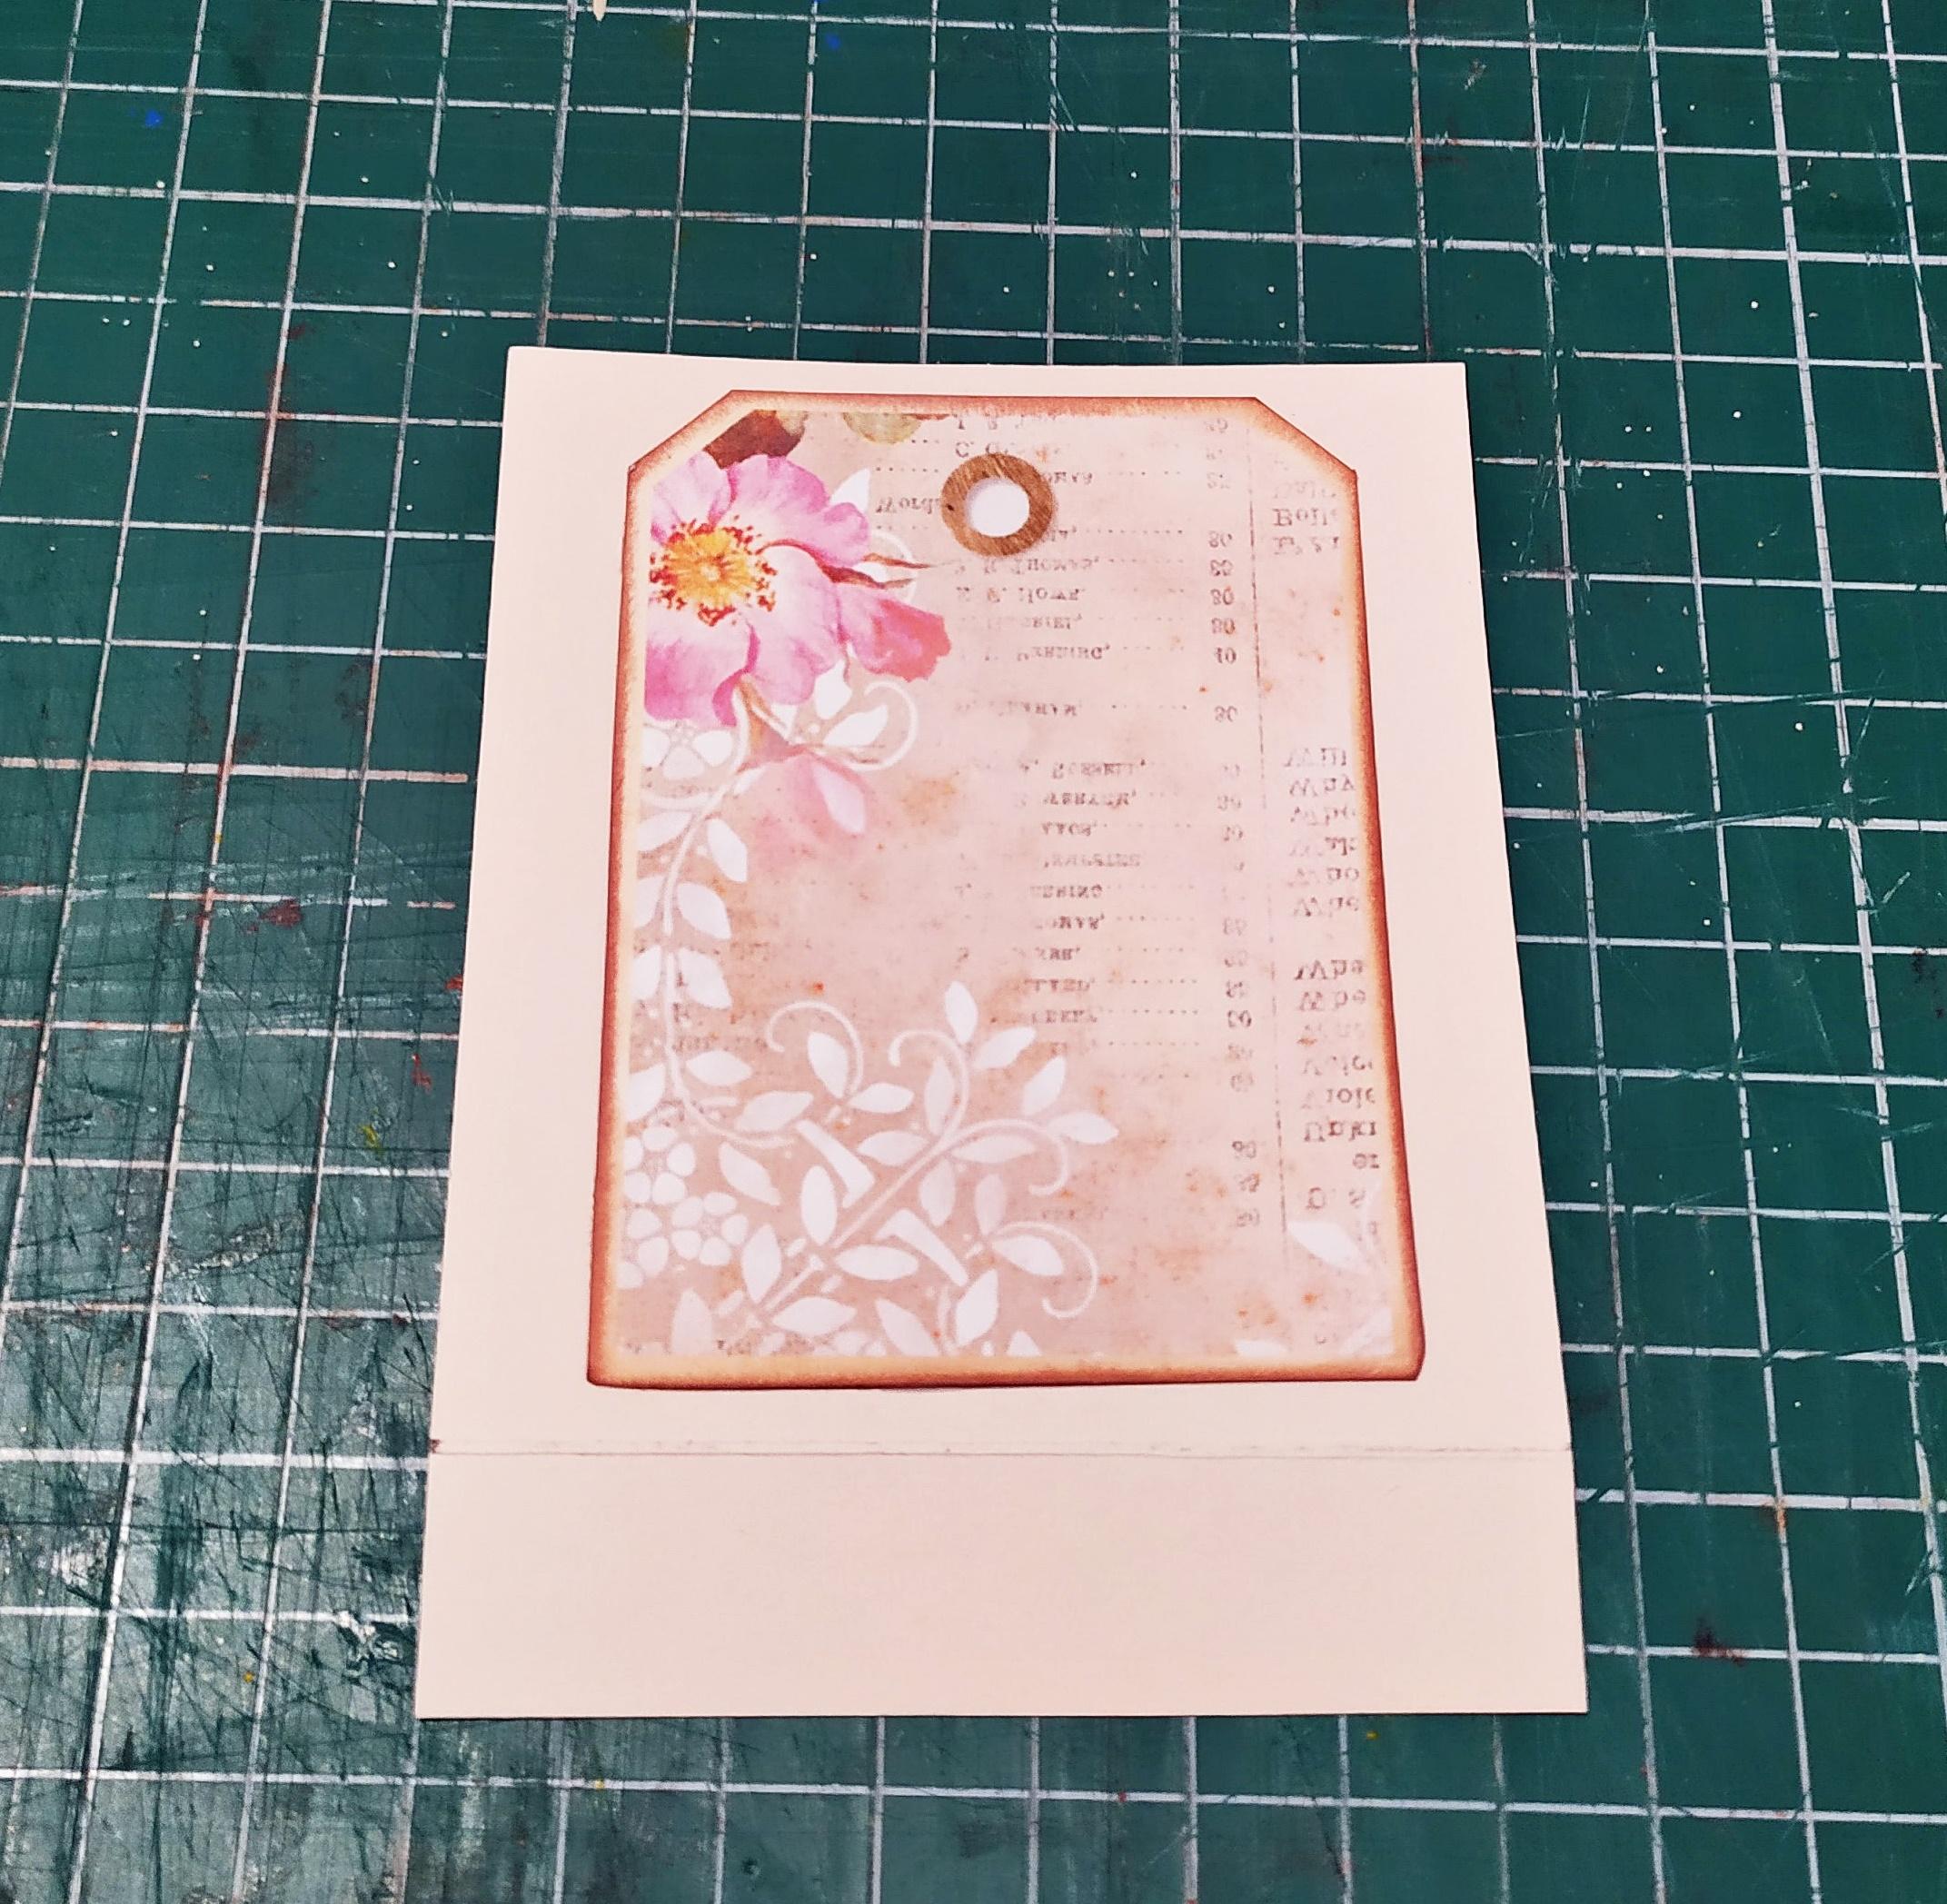
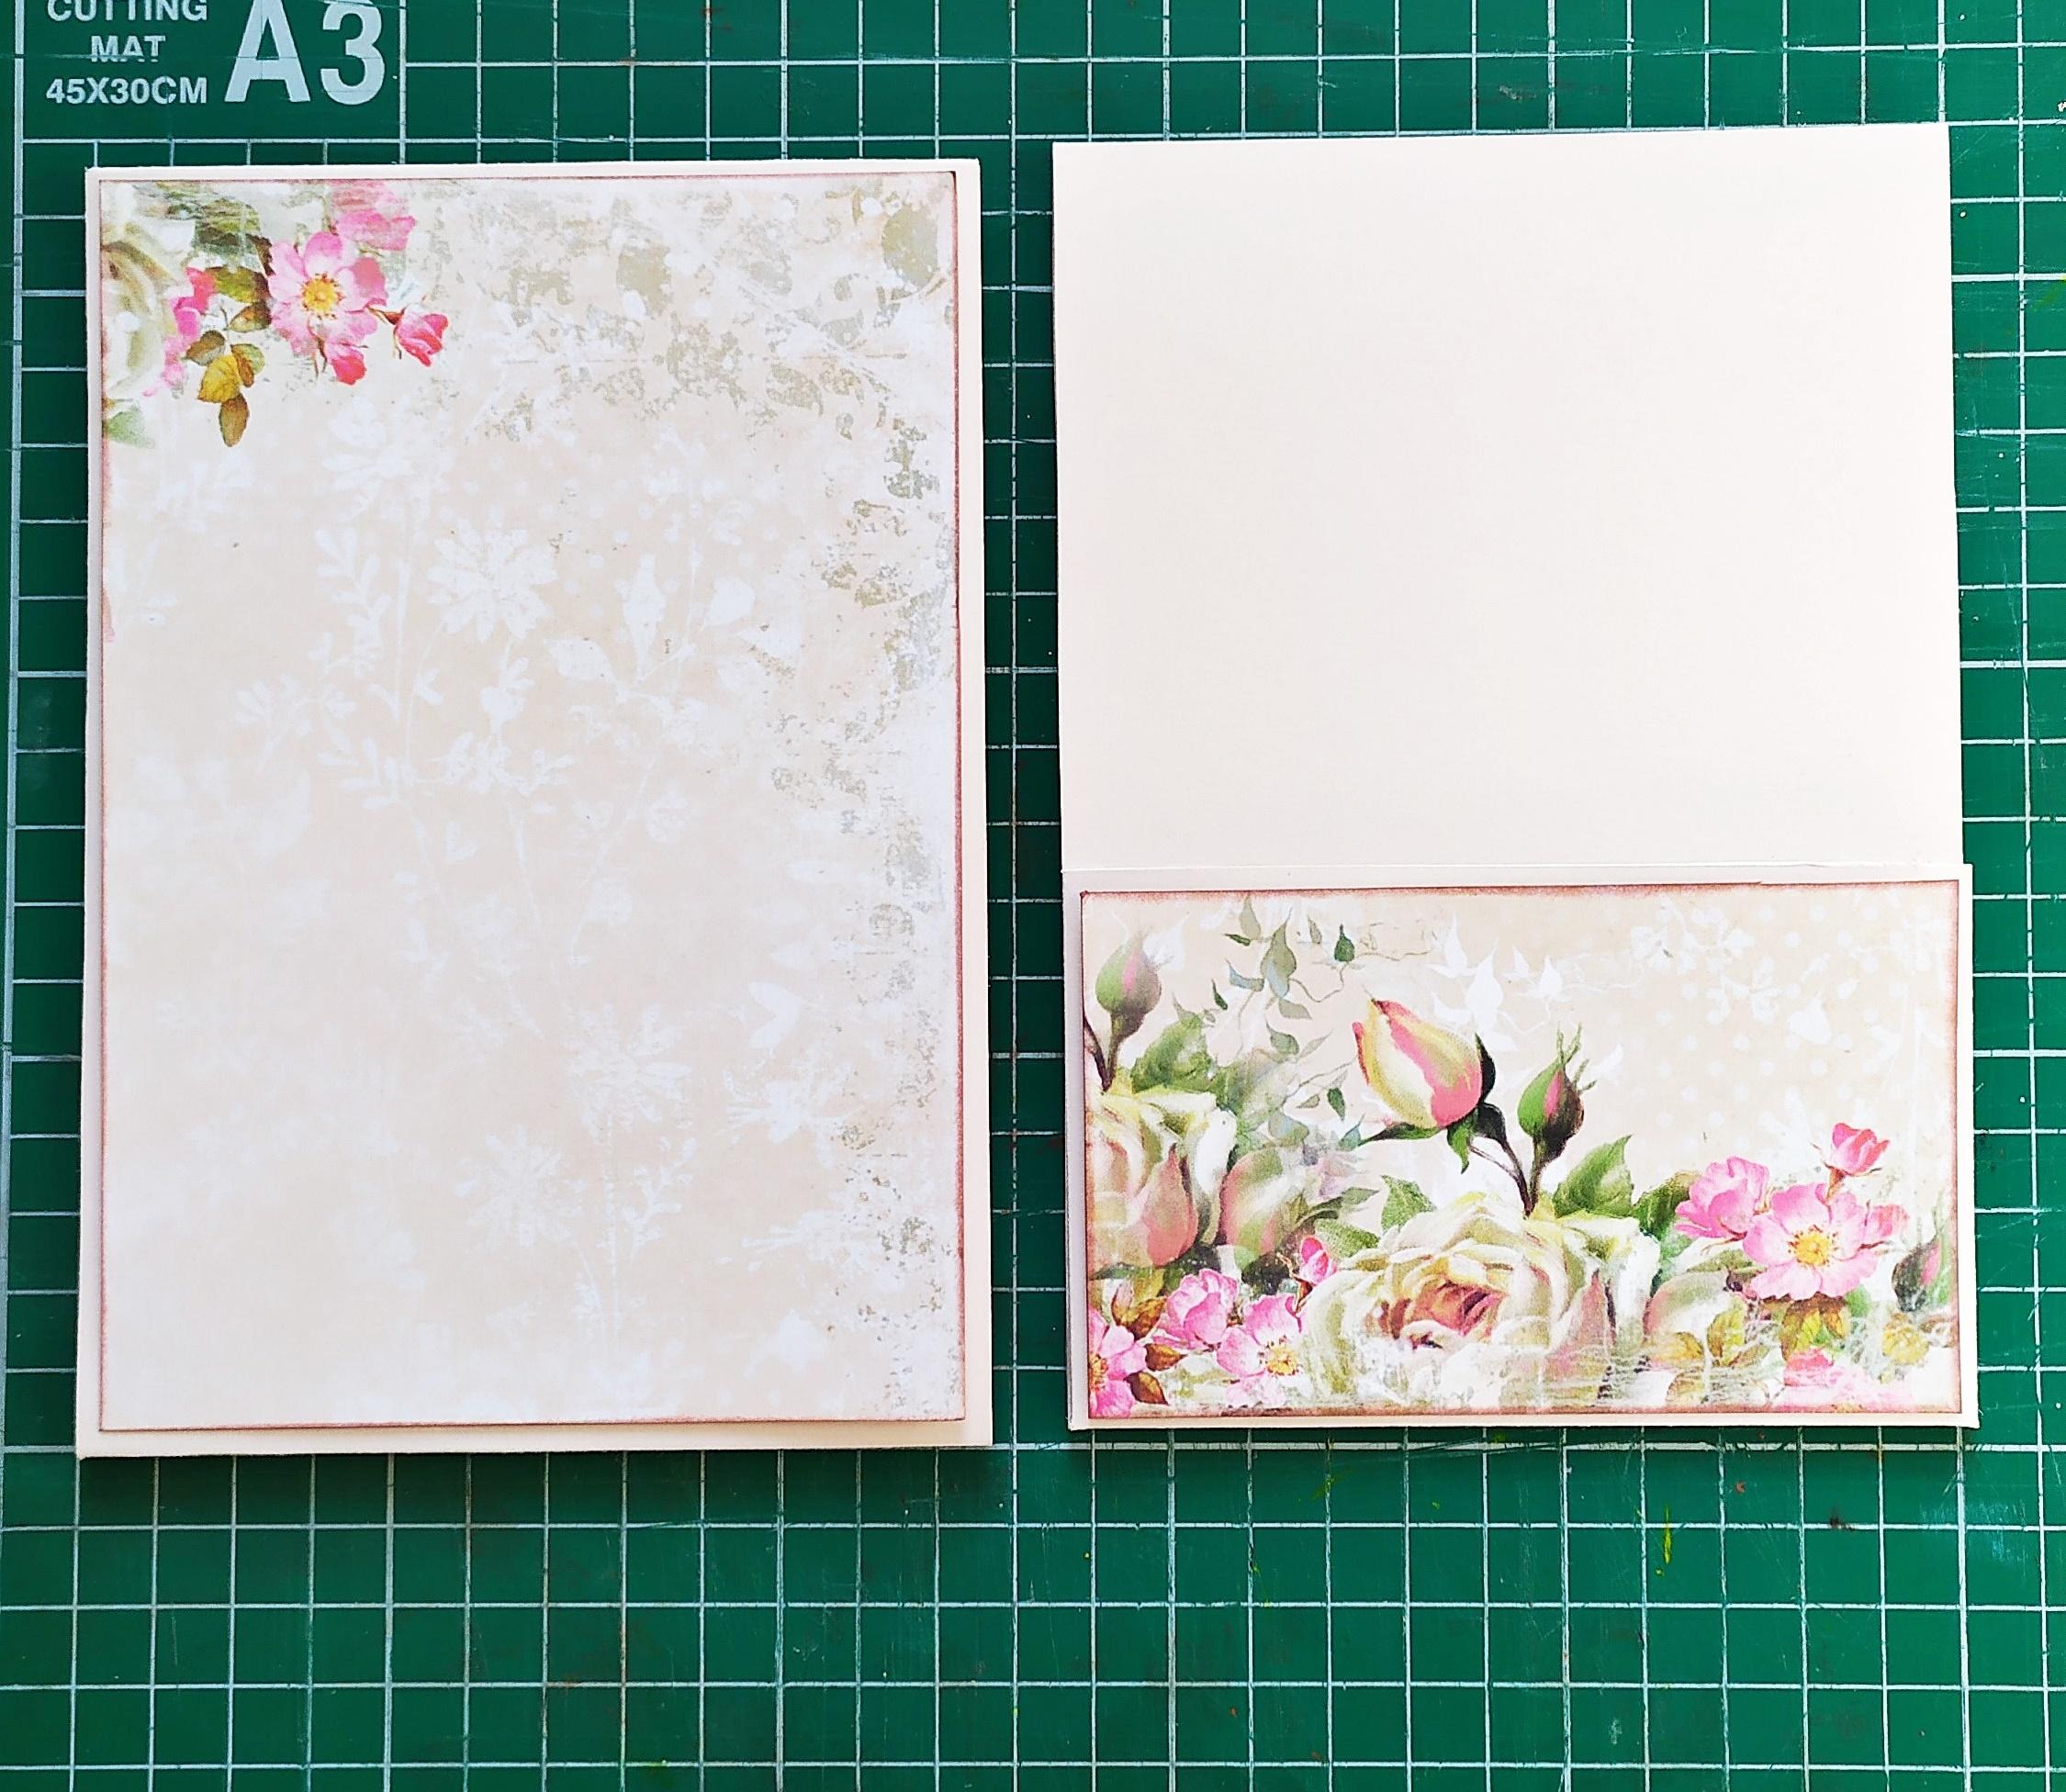
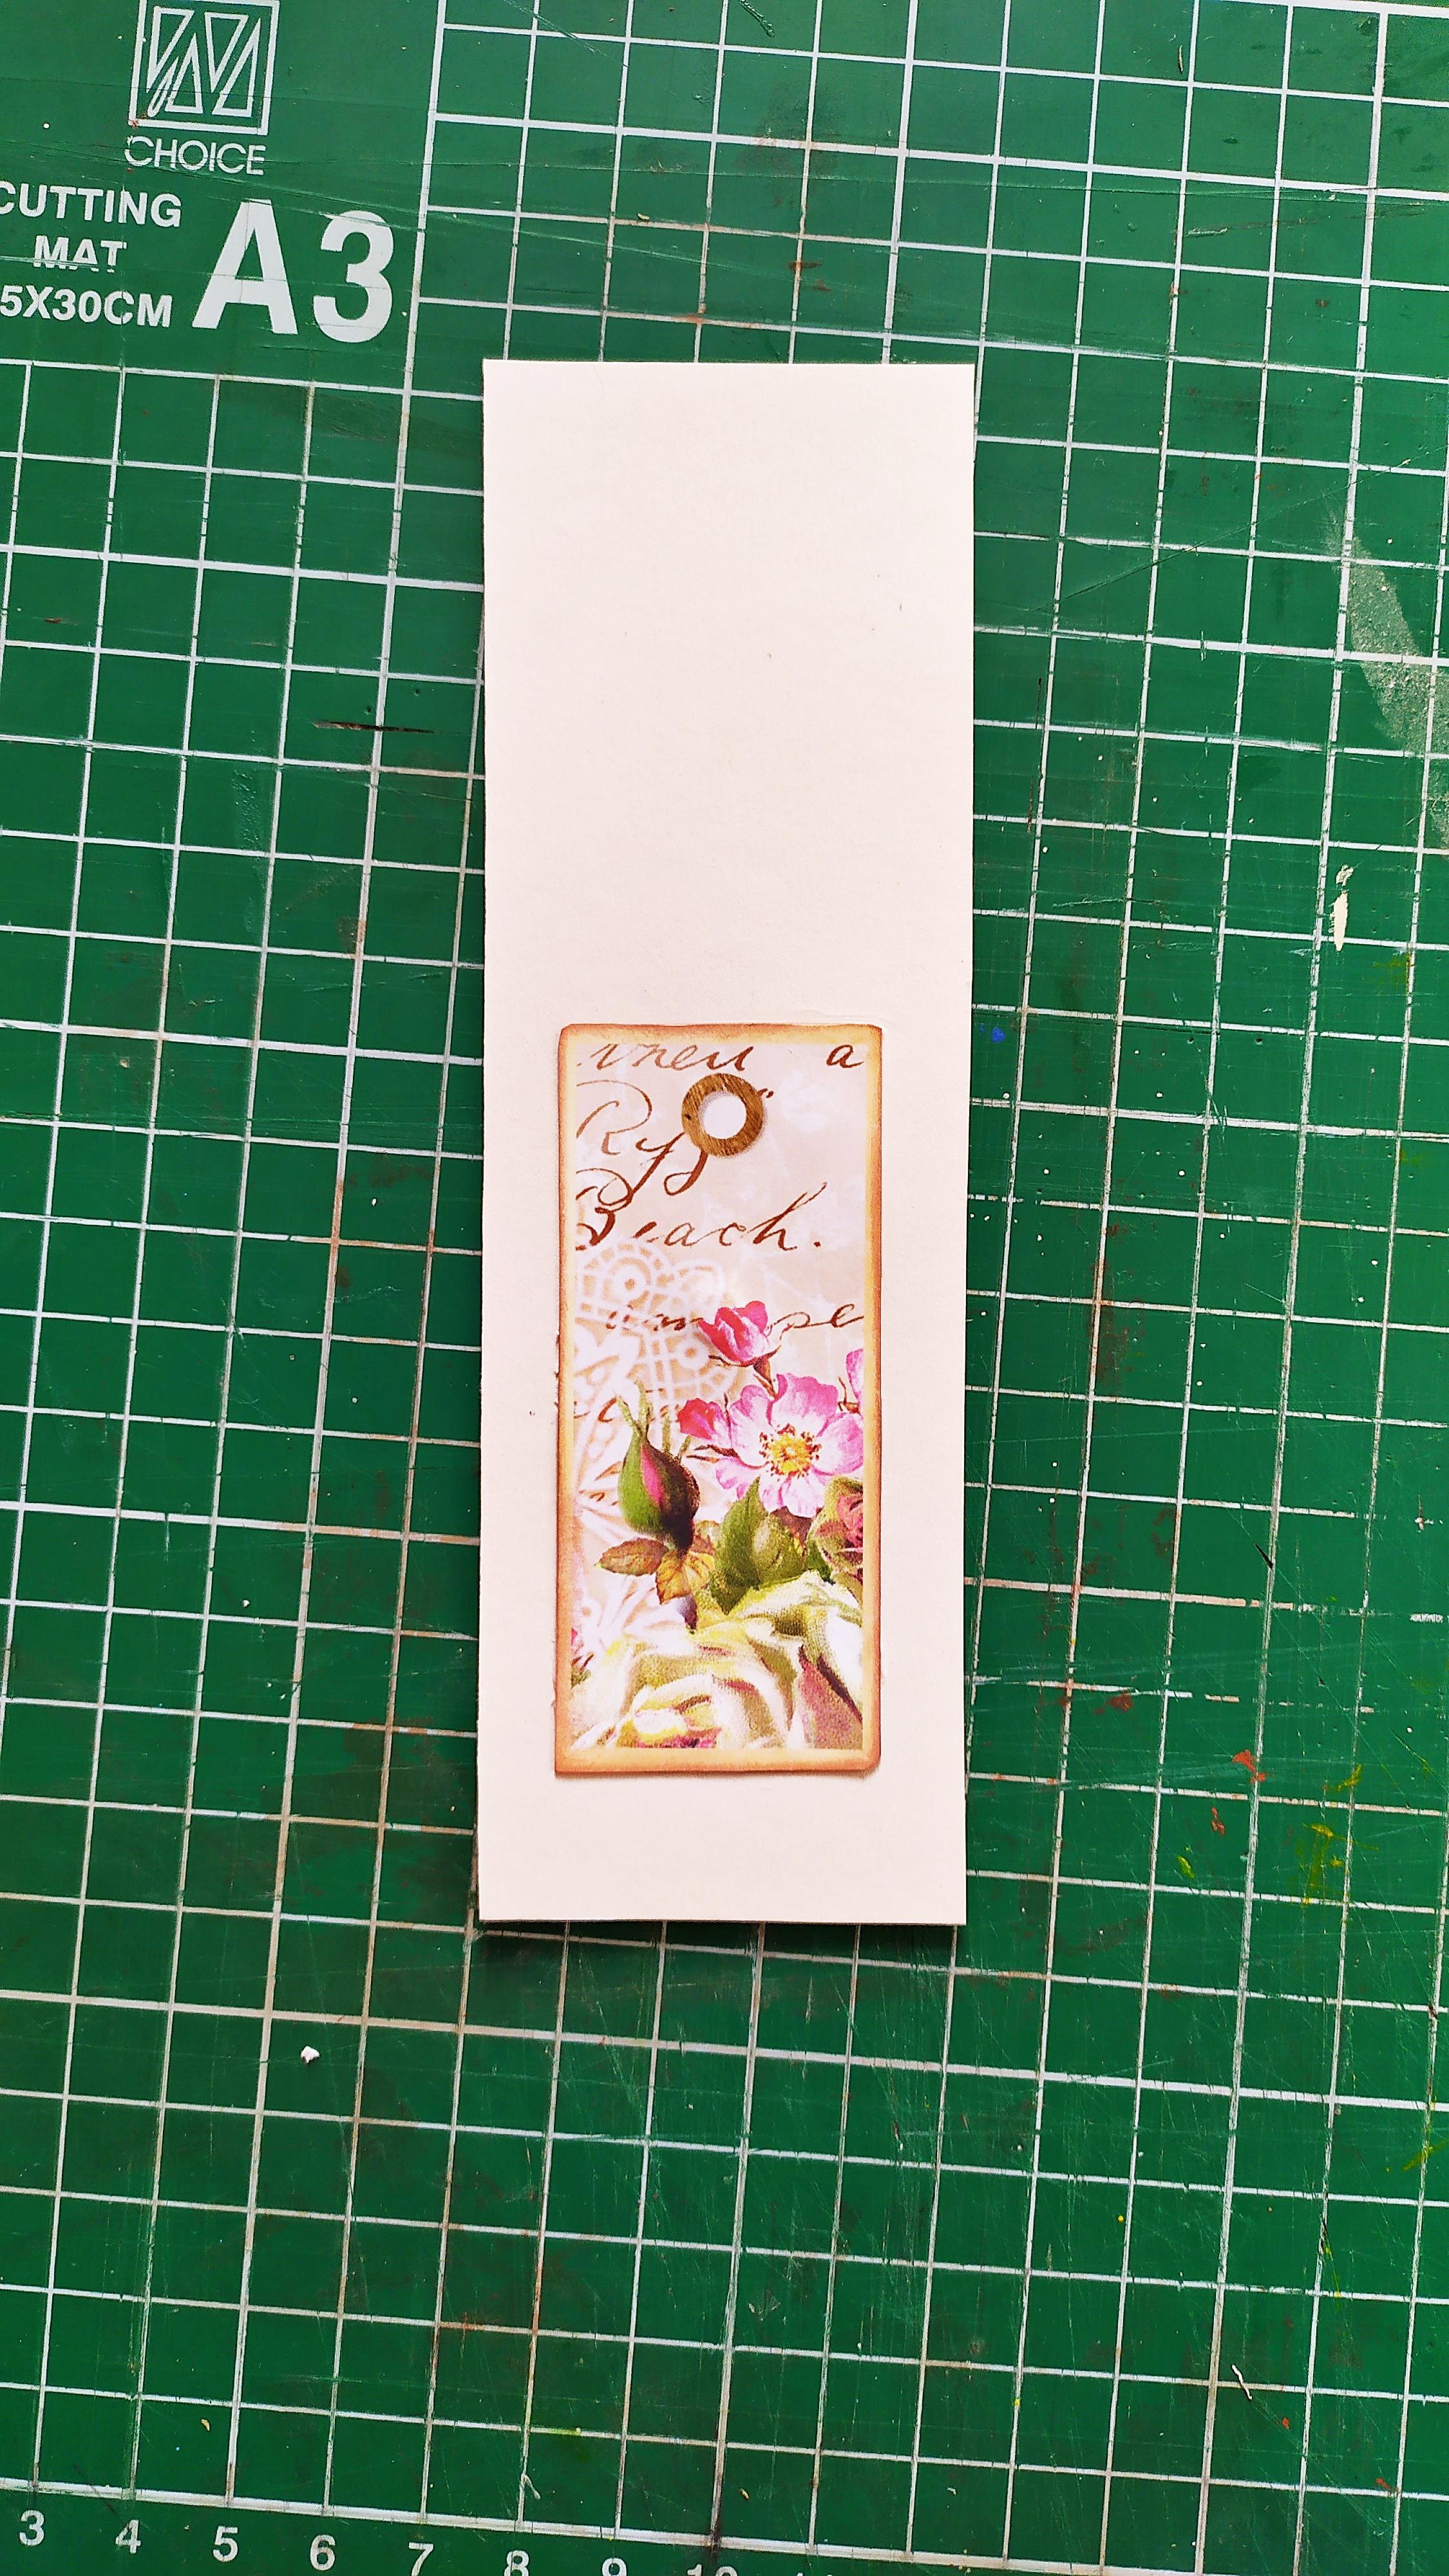
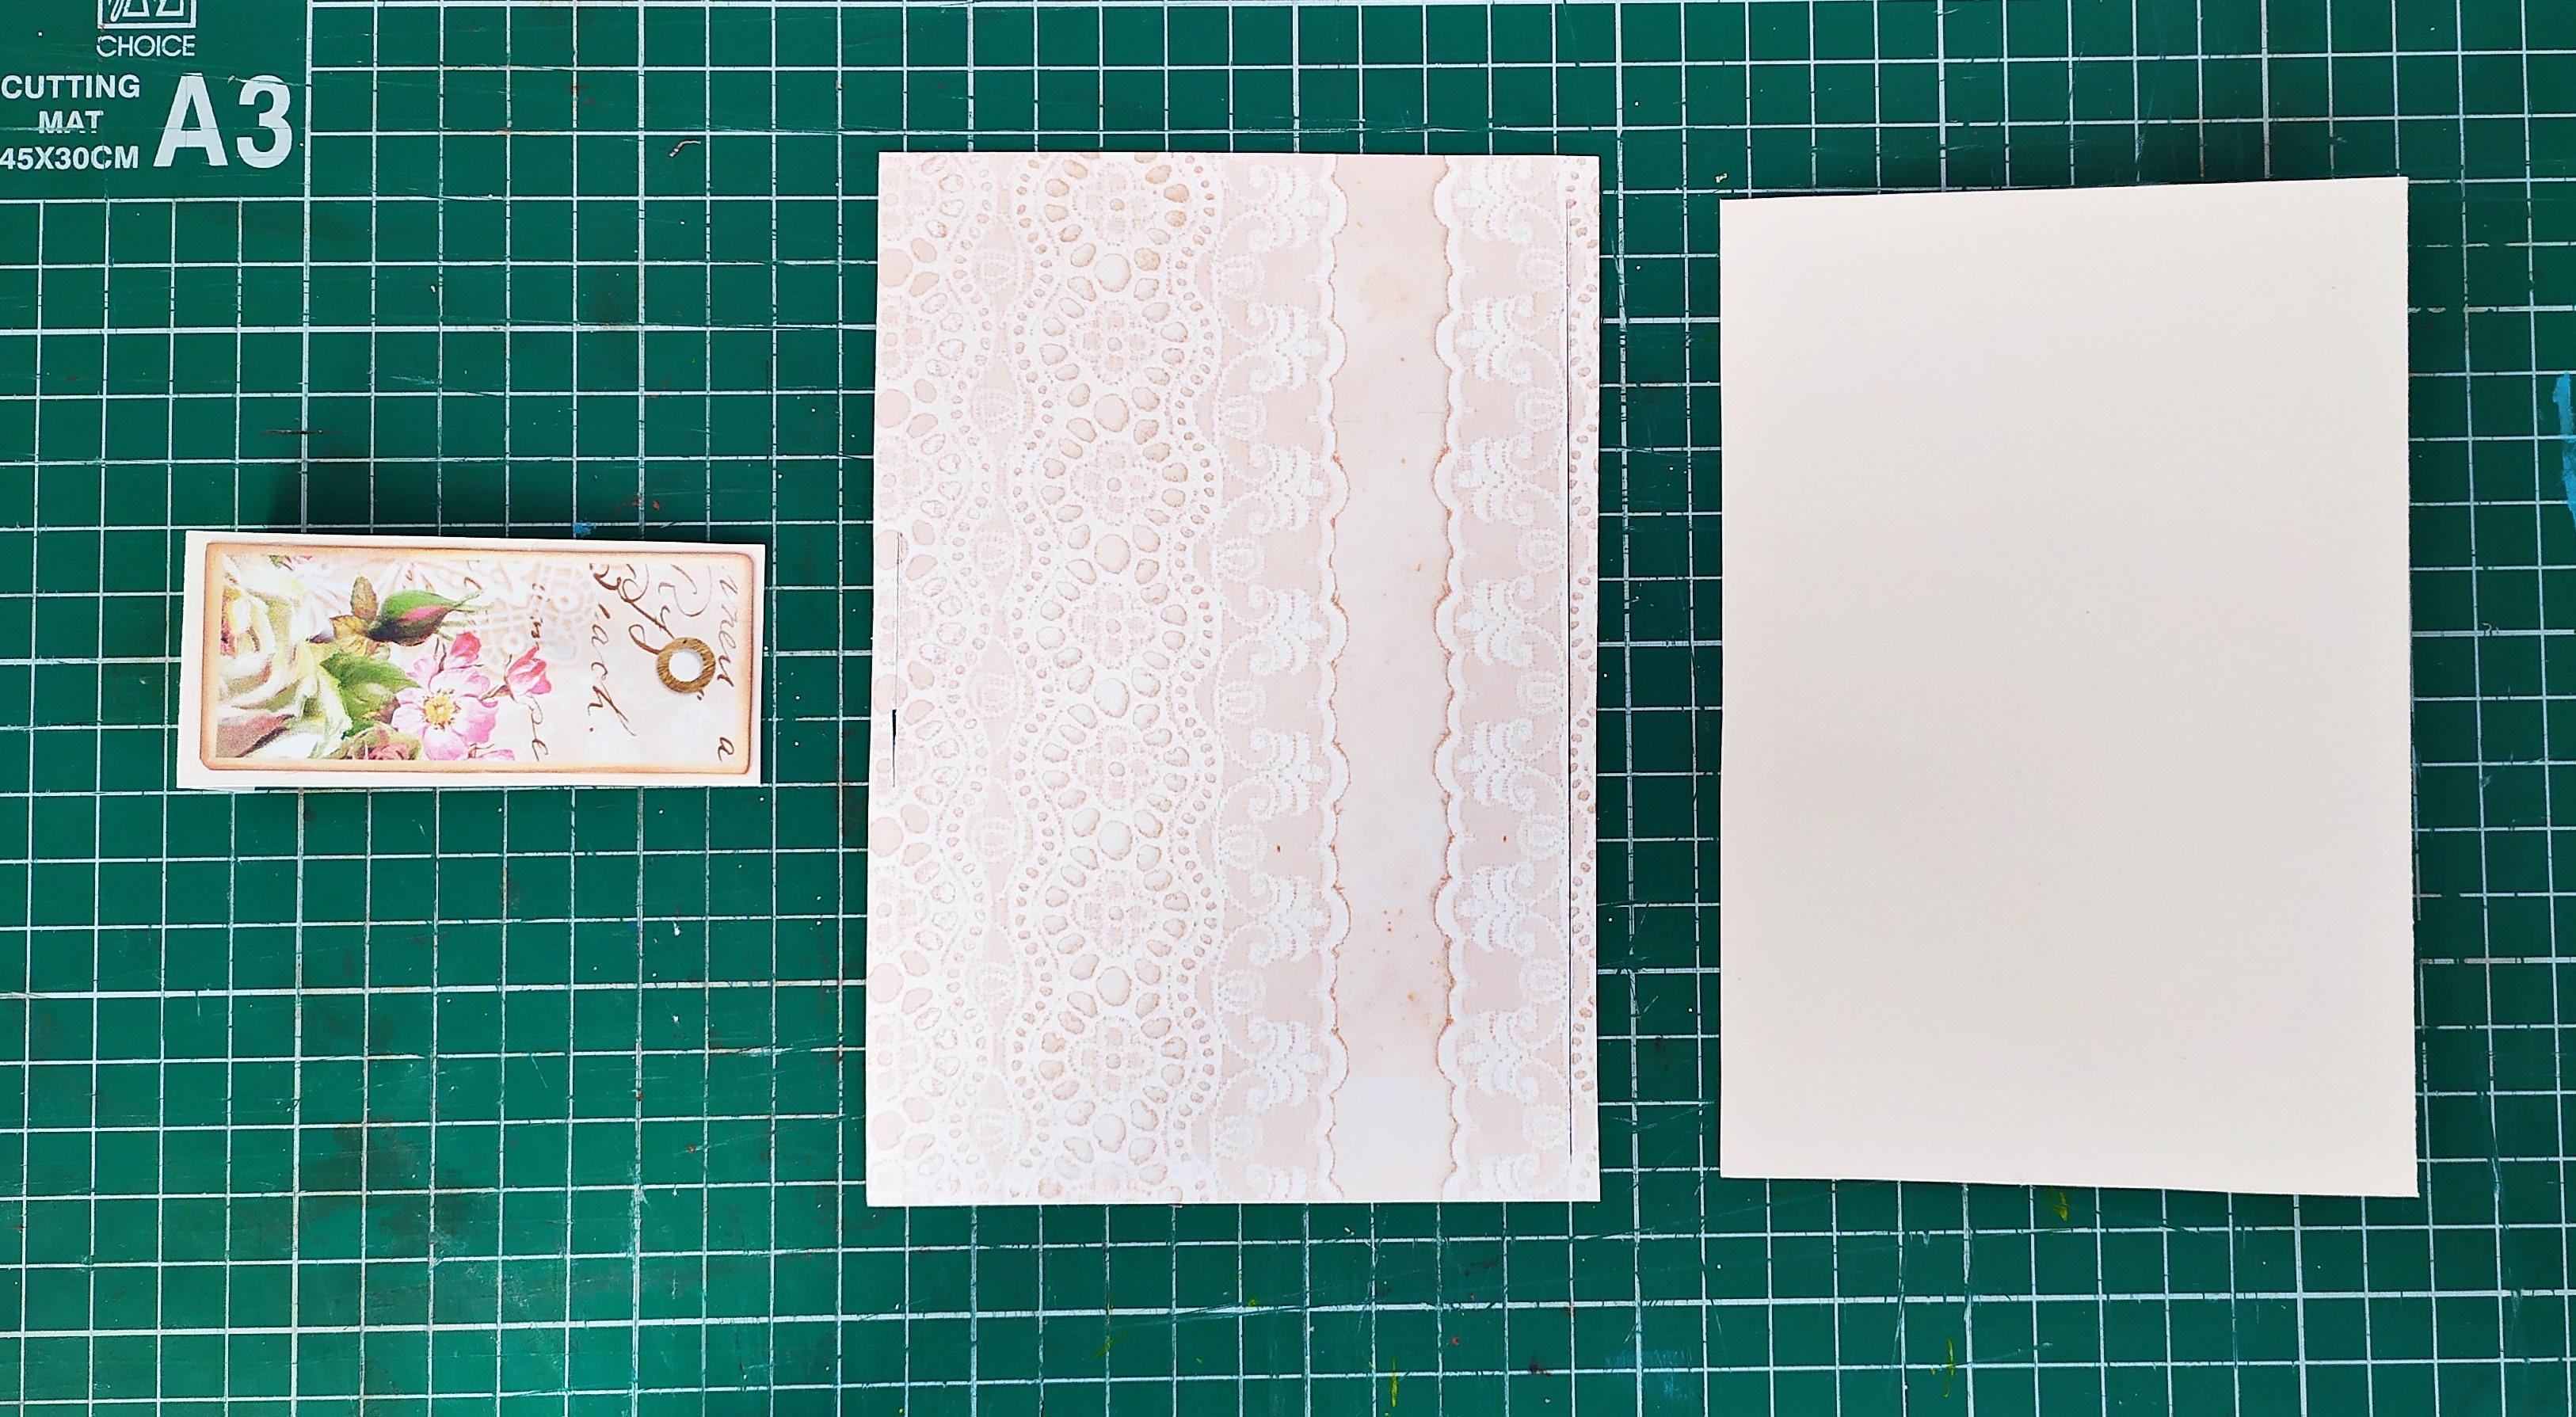
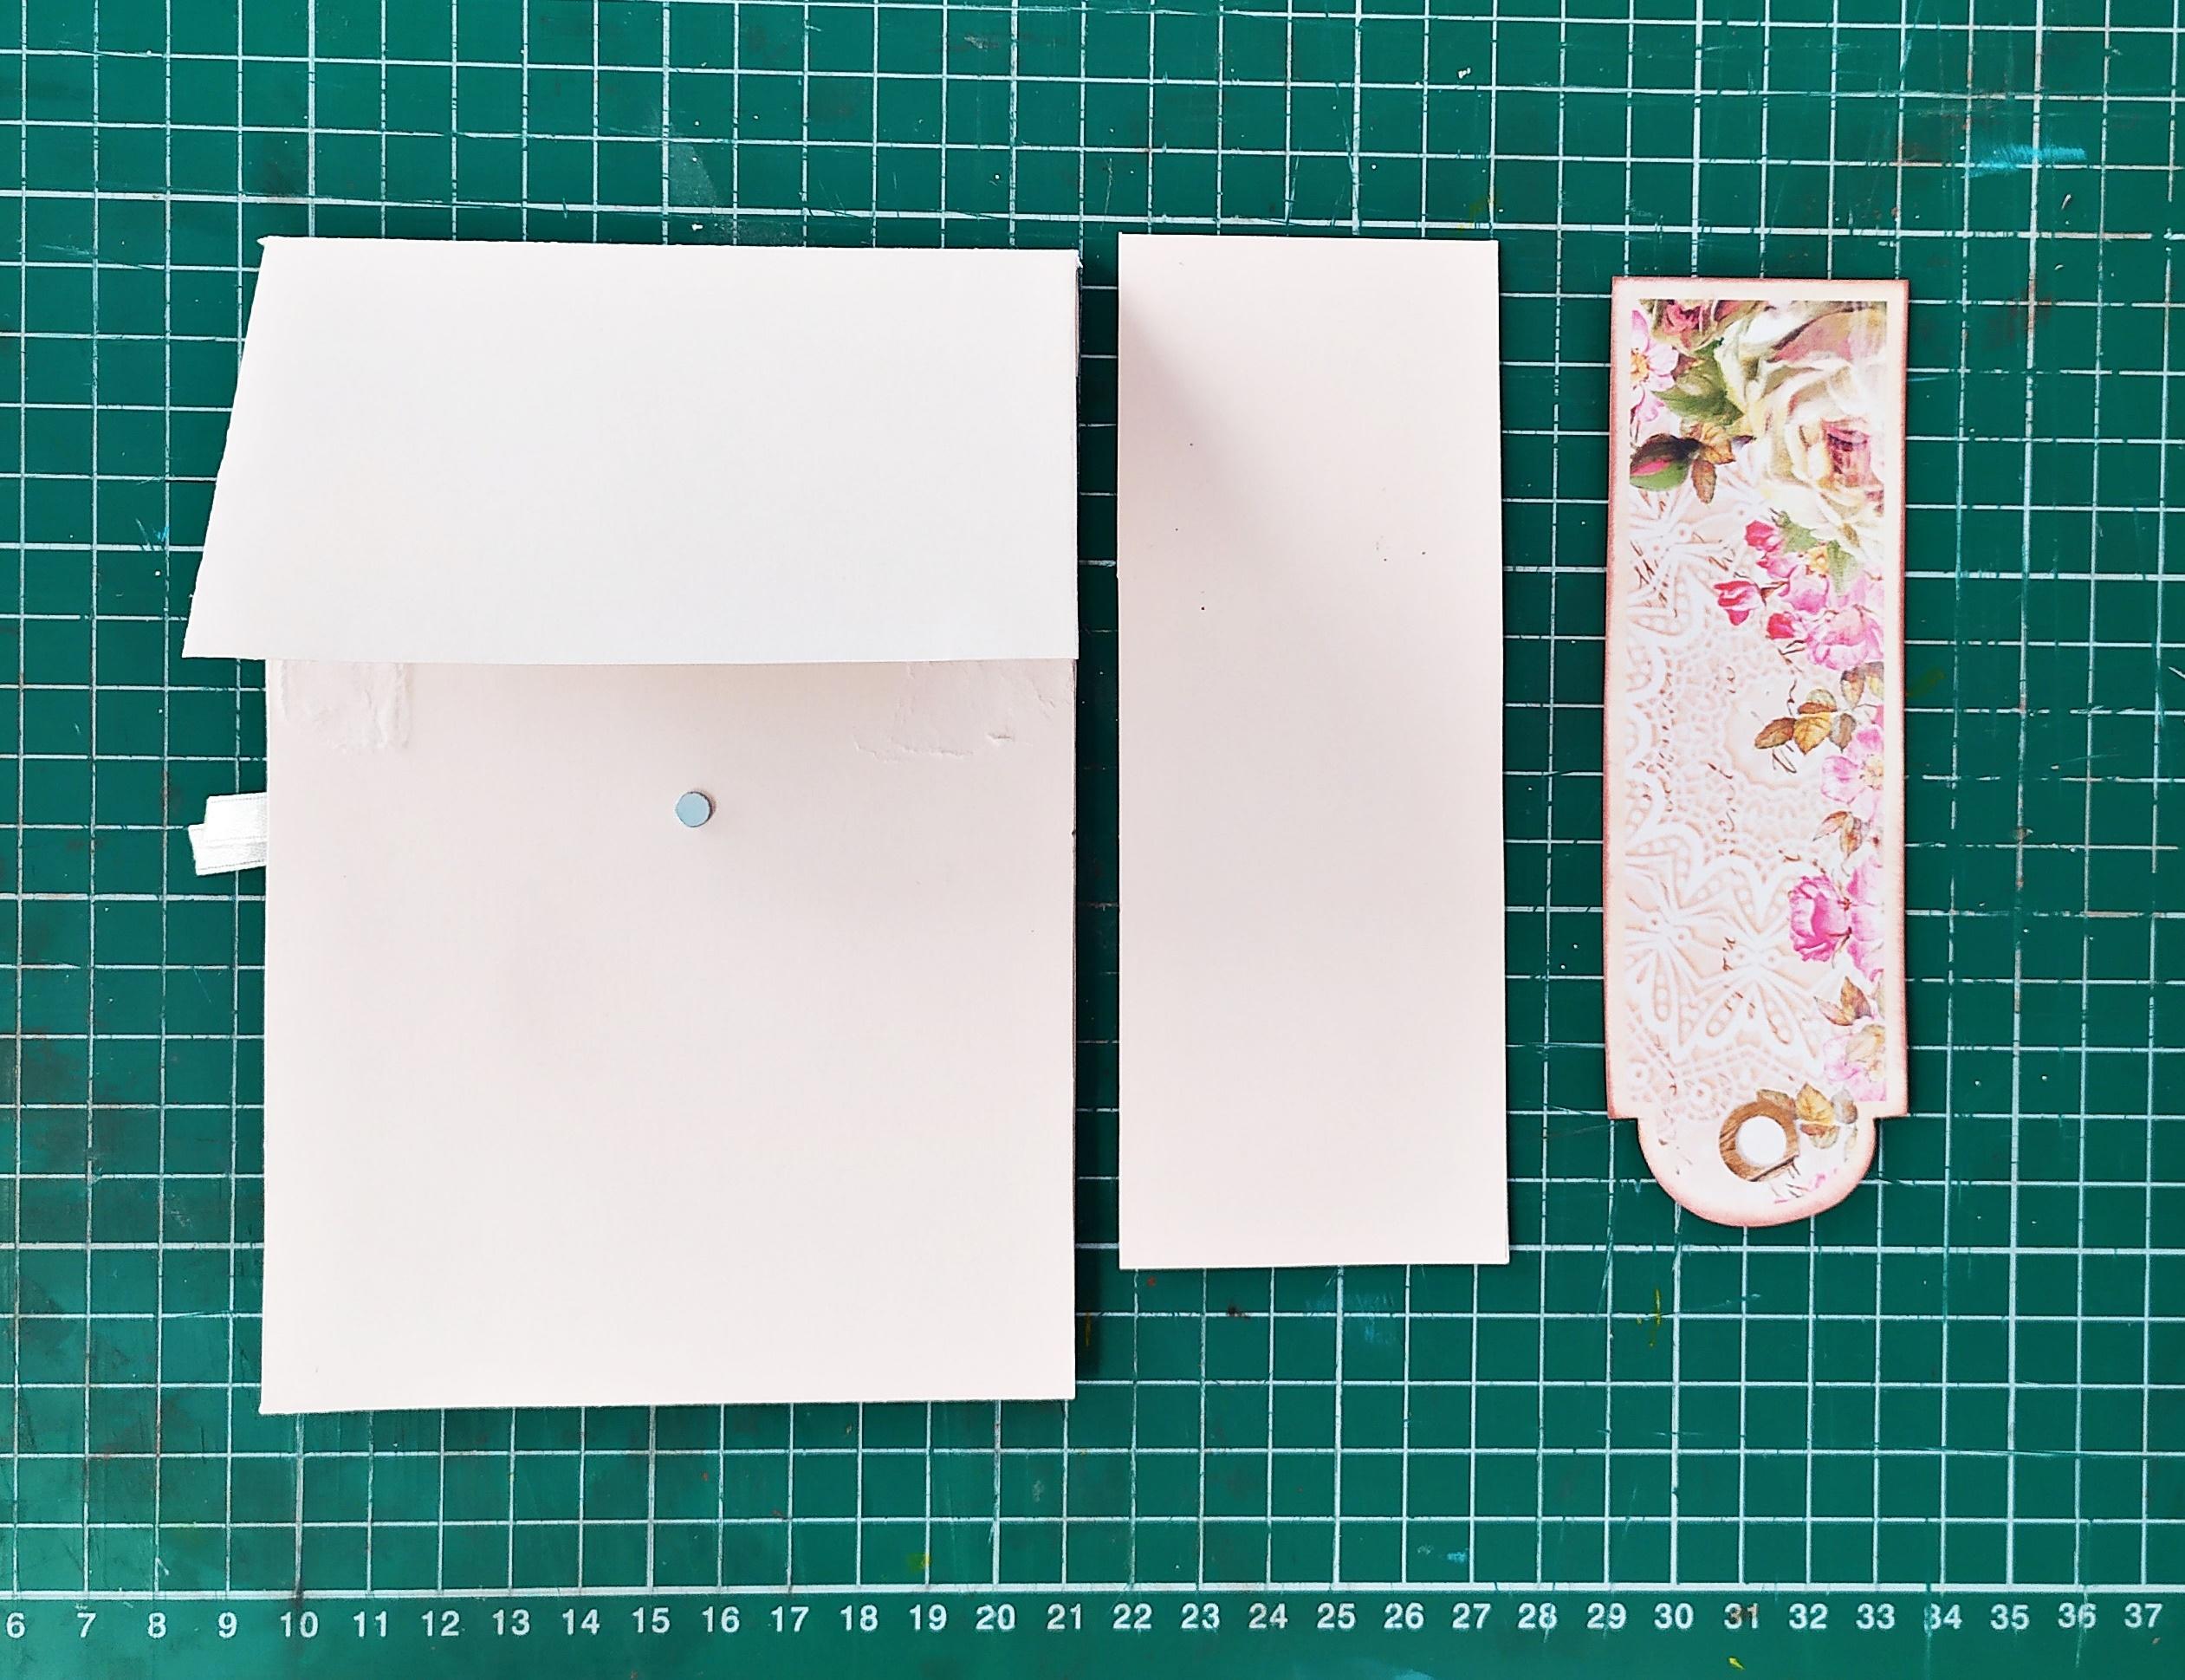
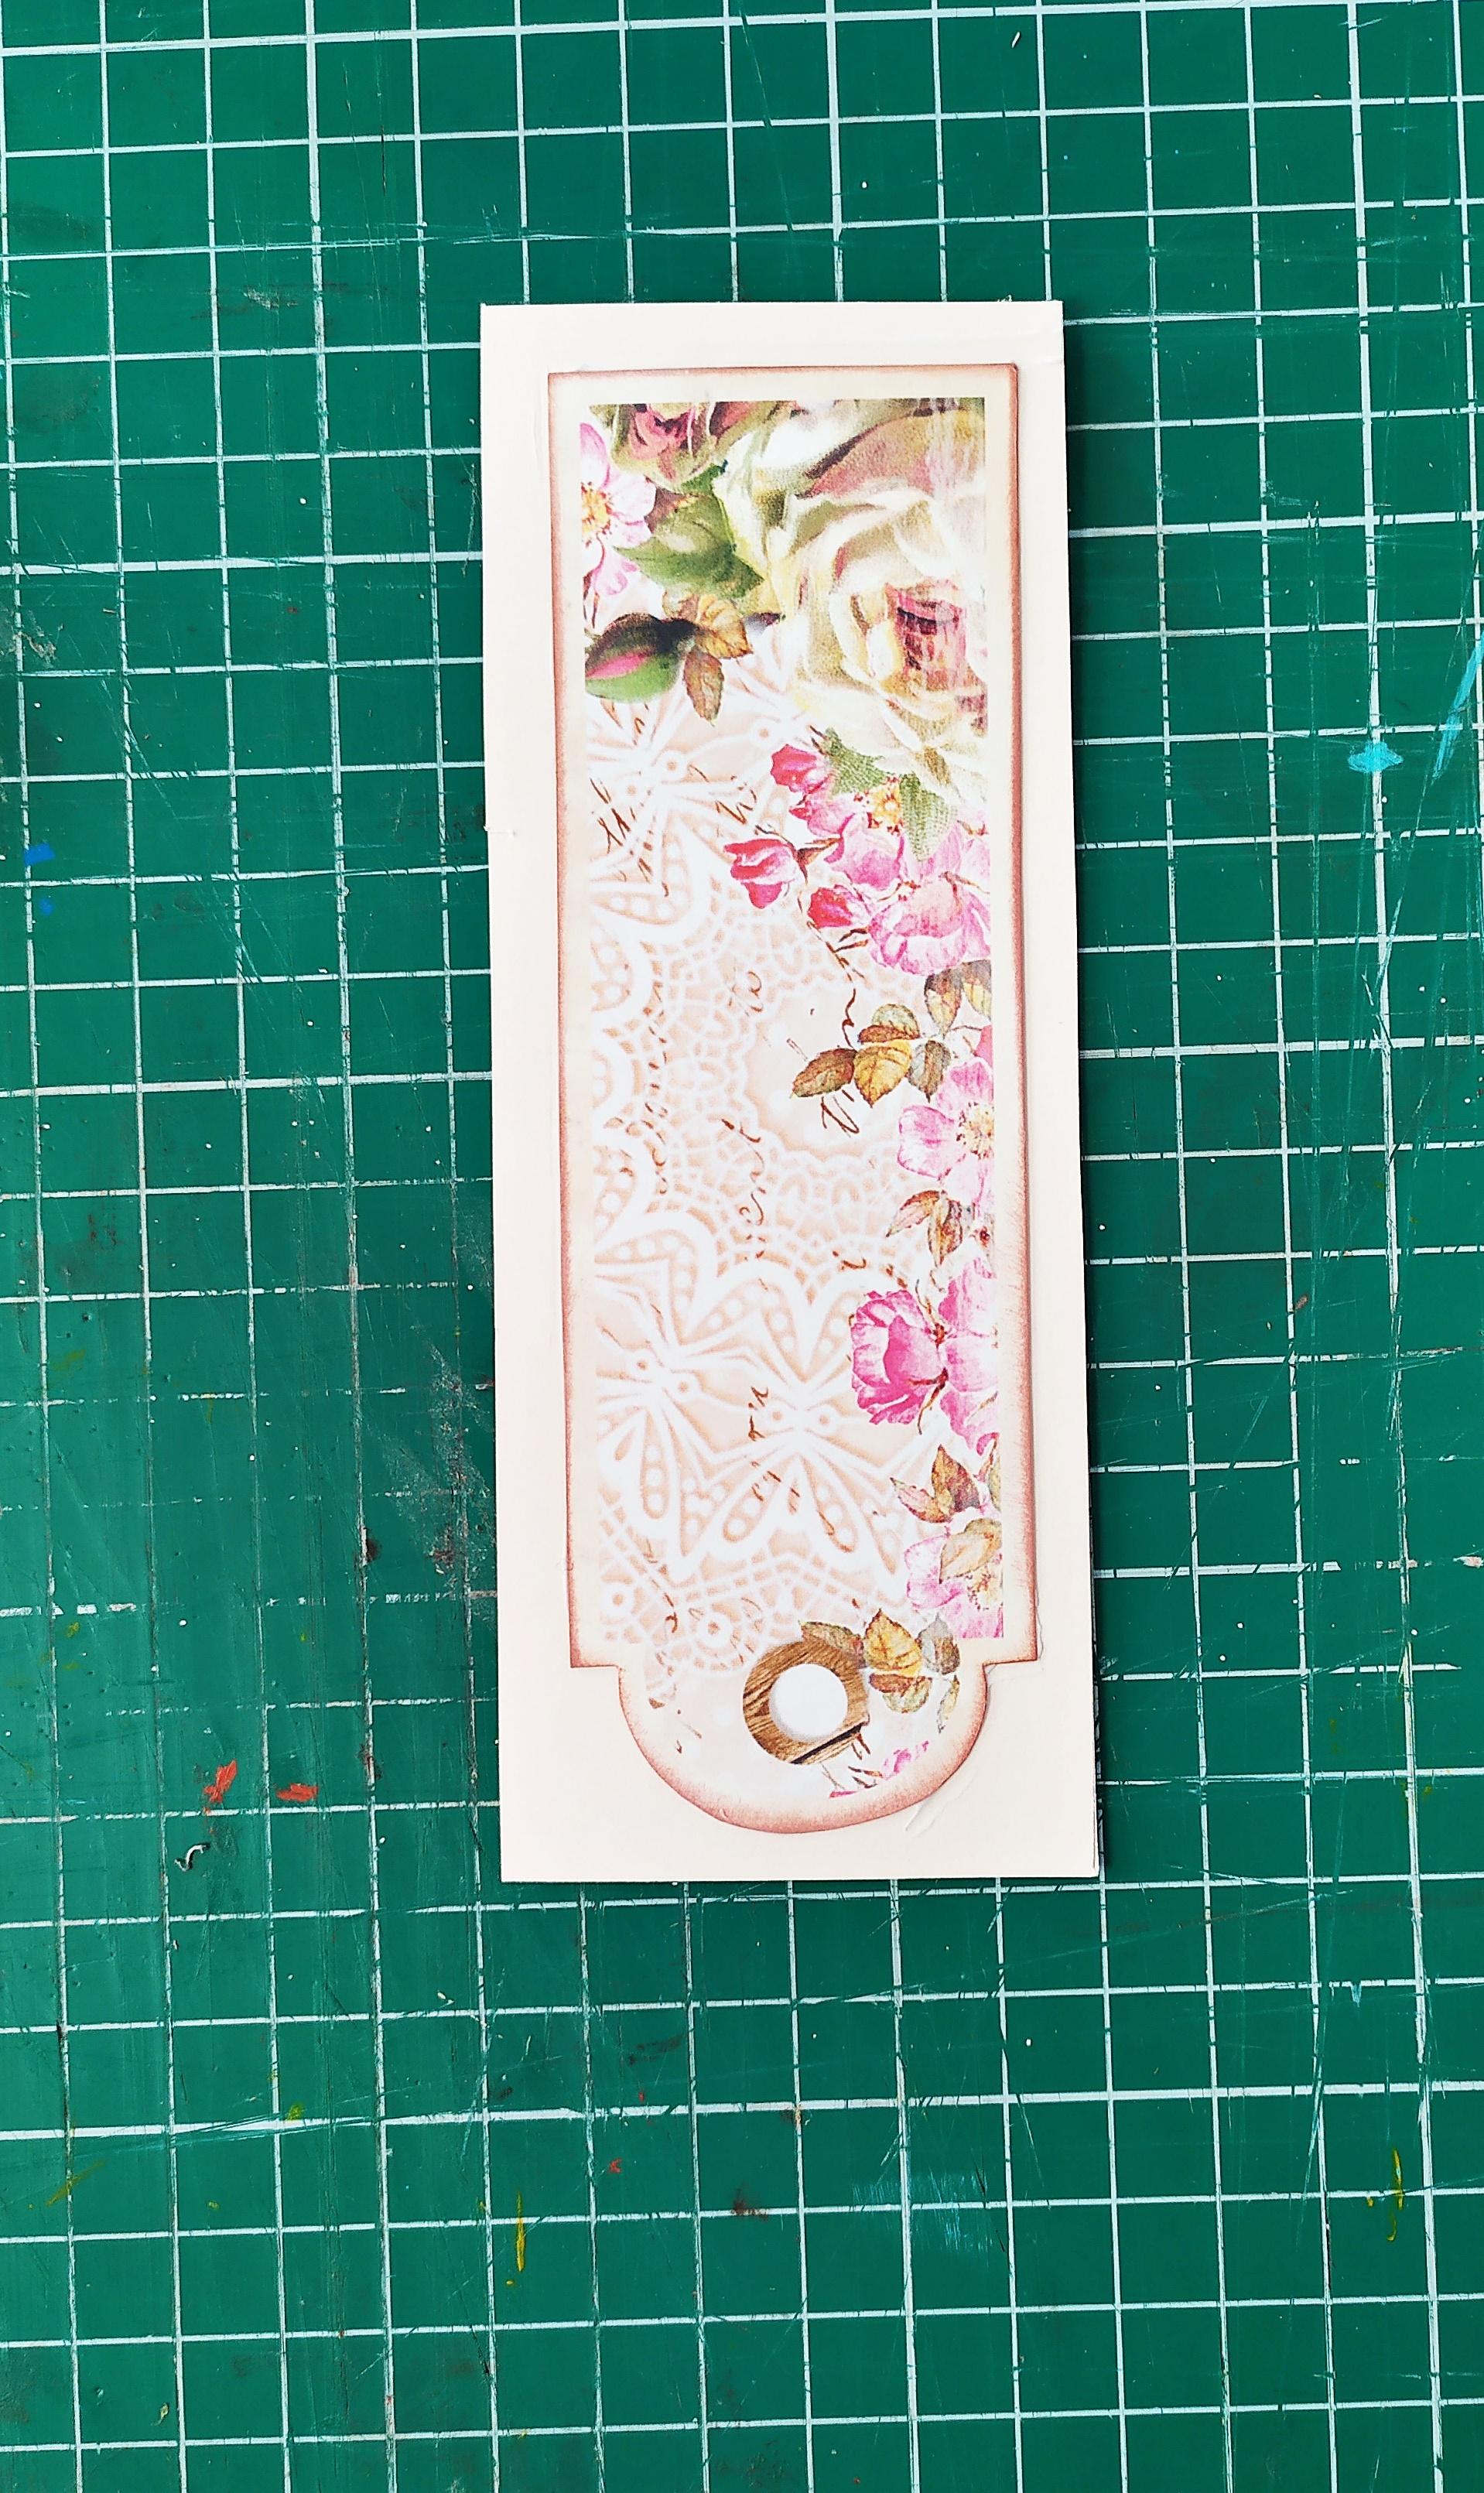
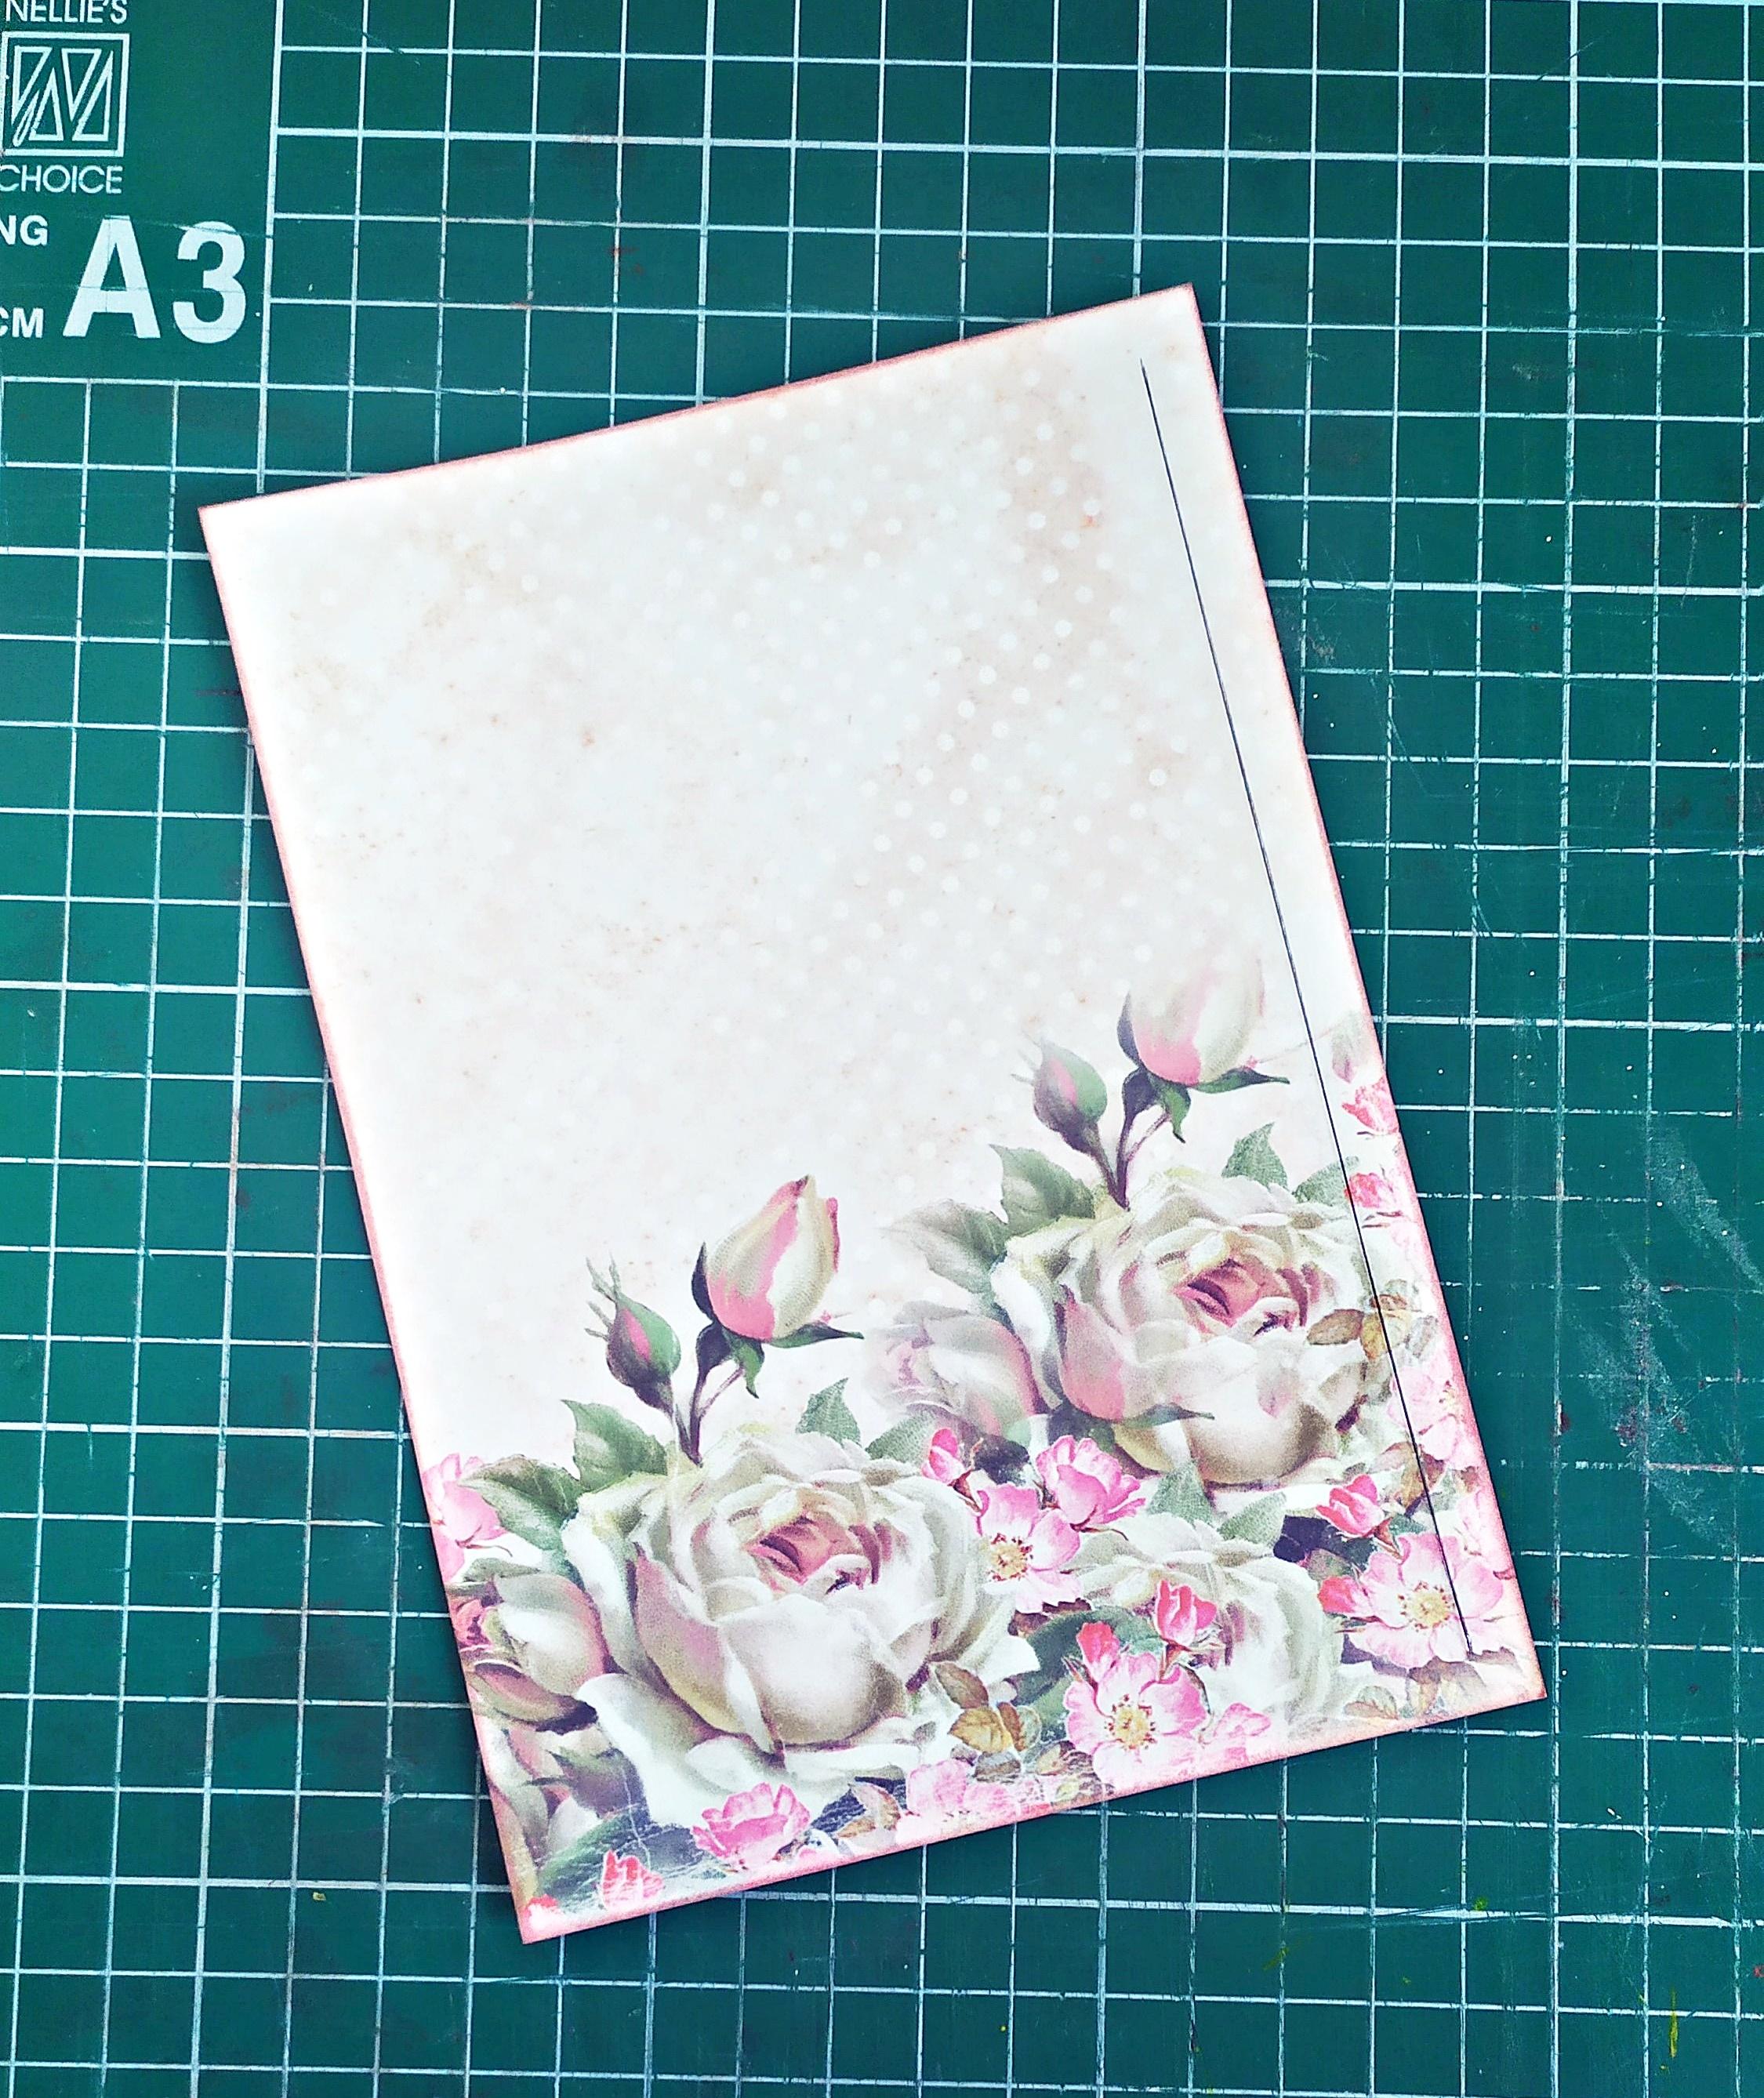
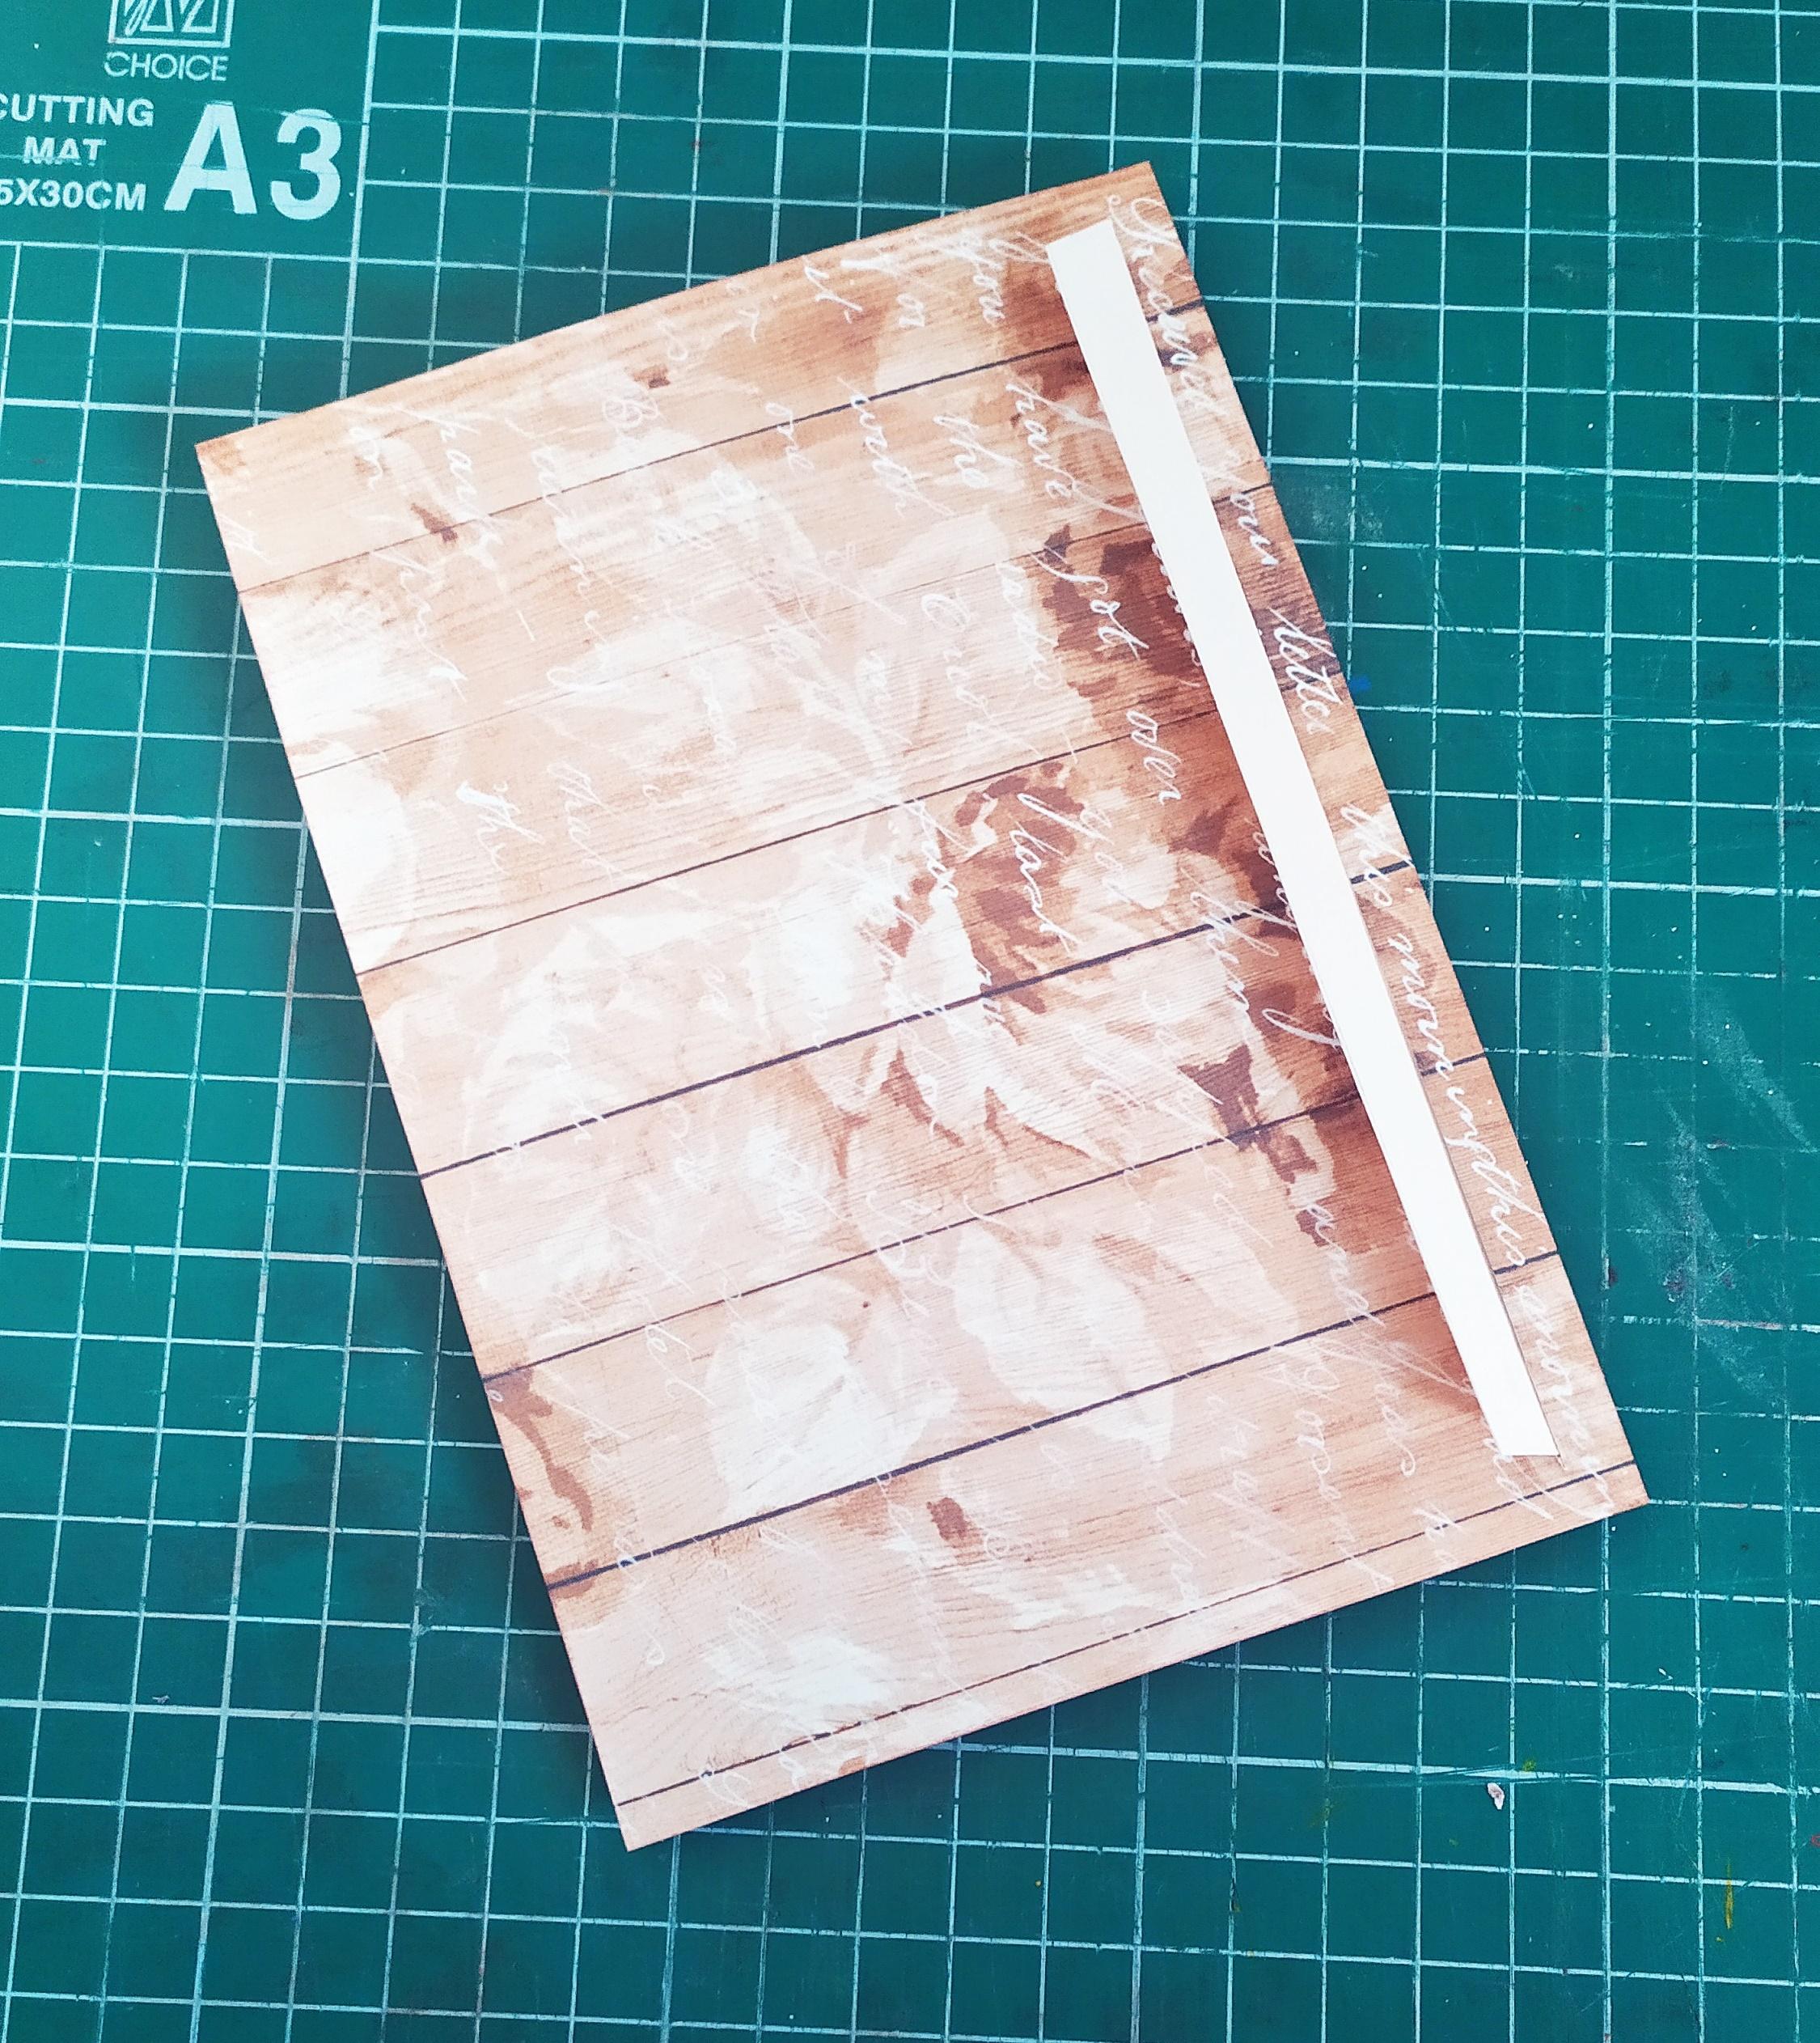
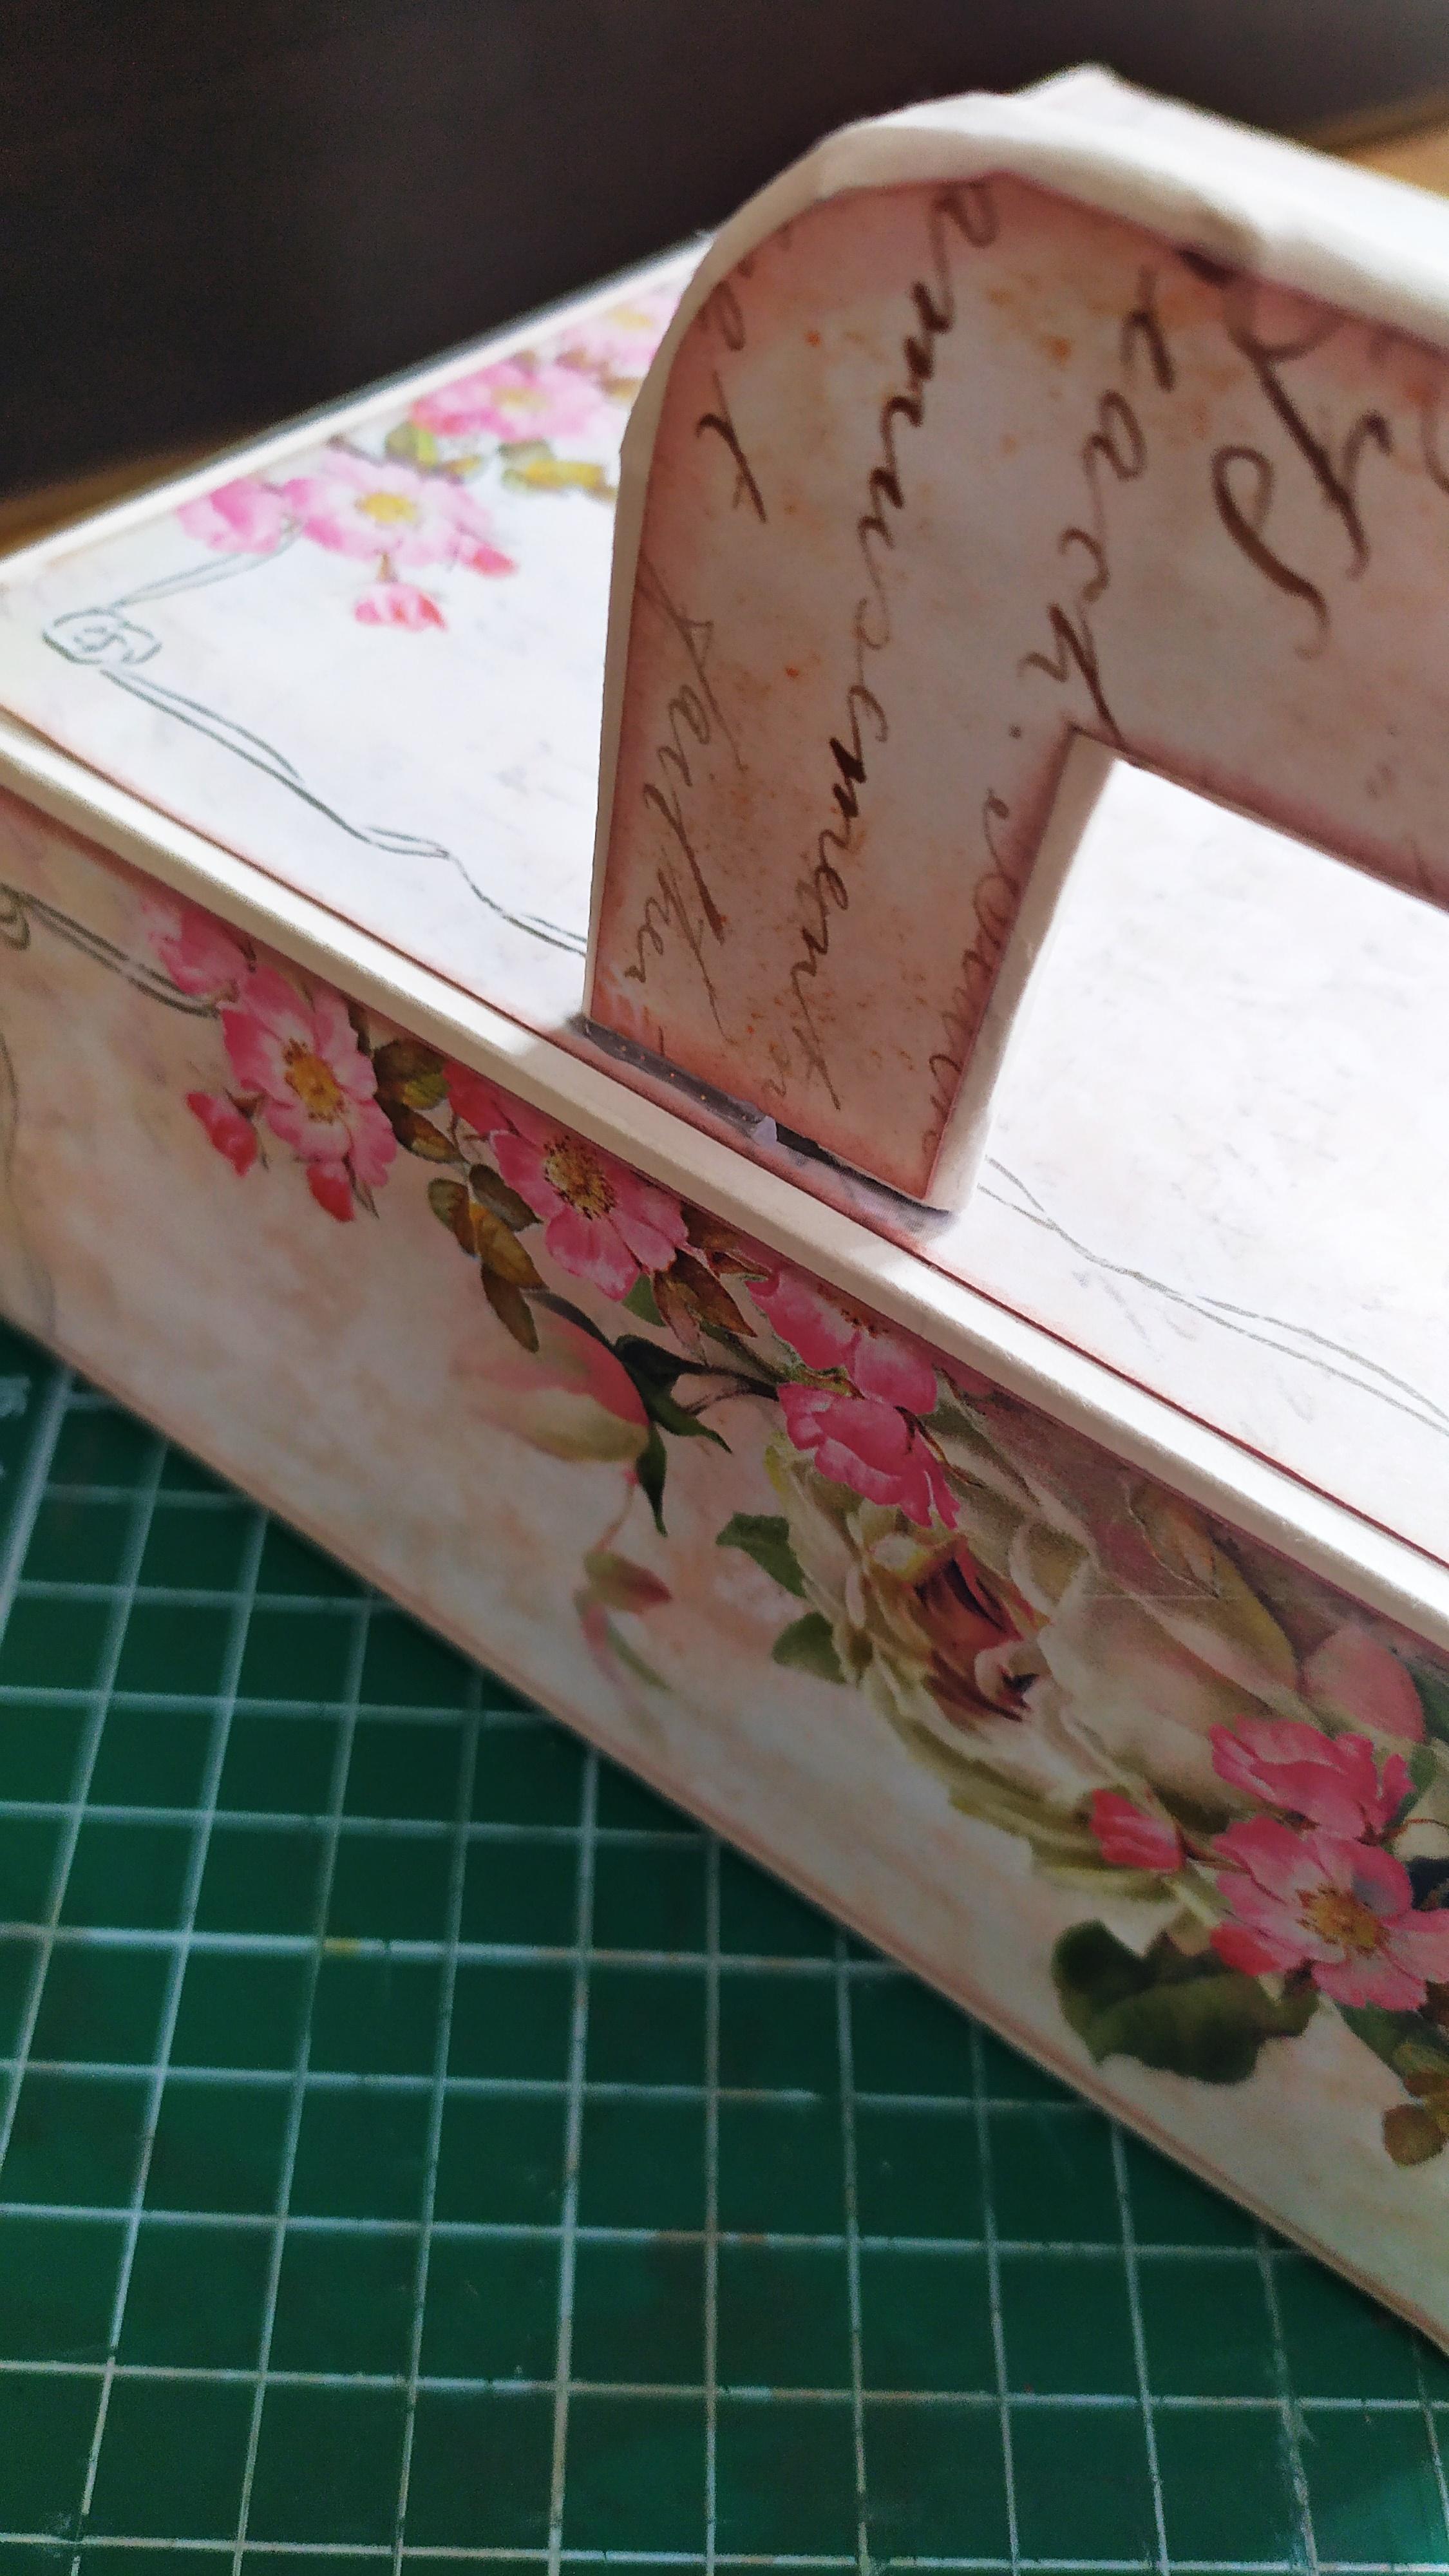
The first page I created is actually not even a page - it's for the front cover.Given that the front cover measures about 12x17 cm,cut a piece of designer paper of your choice down to 11.5x16.5 cm.This album is meant to store standard 10x15 cm photos,so cut a piece of carstock measuring 10x17 cm.That's where your photos will be glued.To make the tag cut a rectangle piece measuring 6x13 cm and cut two identical triangles on the top left and right.Score the 10x17 cm piece at 15 cm and the tag at 10 cm.If you've done everything correctly you should have a 2 cm overhang on the larger piece and a 3 cm overgang on the tag piece.After scoring,fold those overhangs.
Next,place the them on top of the designer paper,trace the top part of the larger piece and the bottom part of the tag using a pencil.You should have a 10 cm traced line at the top and a 6 cm line at the bottom of the designer paper.With the help of a ruler,cut those traced lines carefully using an X-acto knife.Make sure not to rip any of the paper.
Insert the larger piece of cardstock to the 10 cm cut and the tag to the 6 cm cut.Flip everything over and glue each overhanging piece to the back of the designer paper.
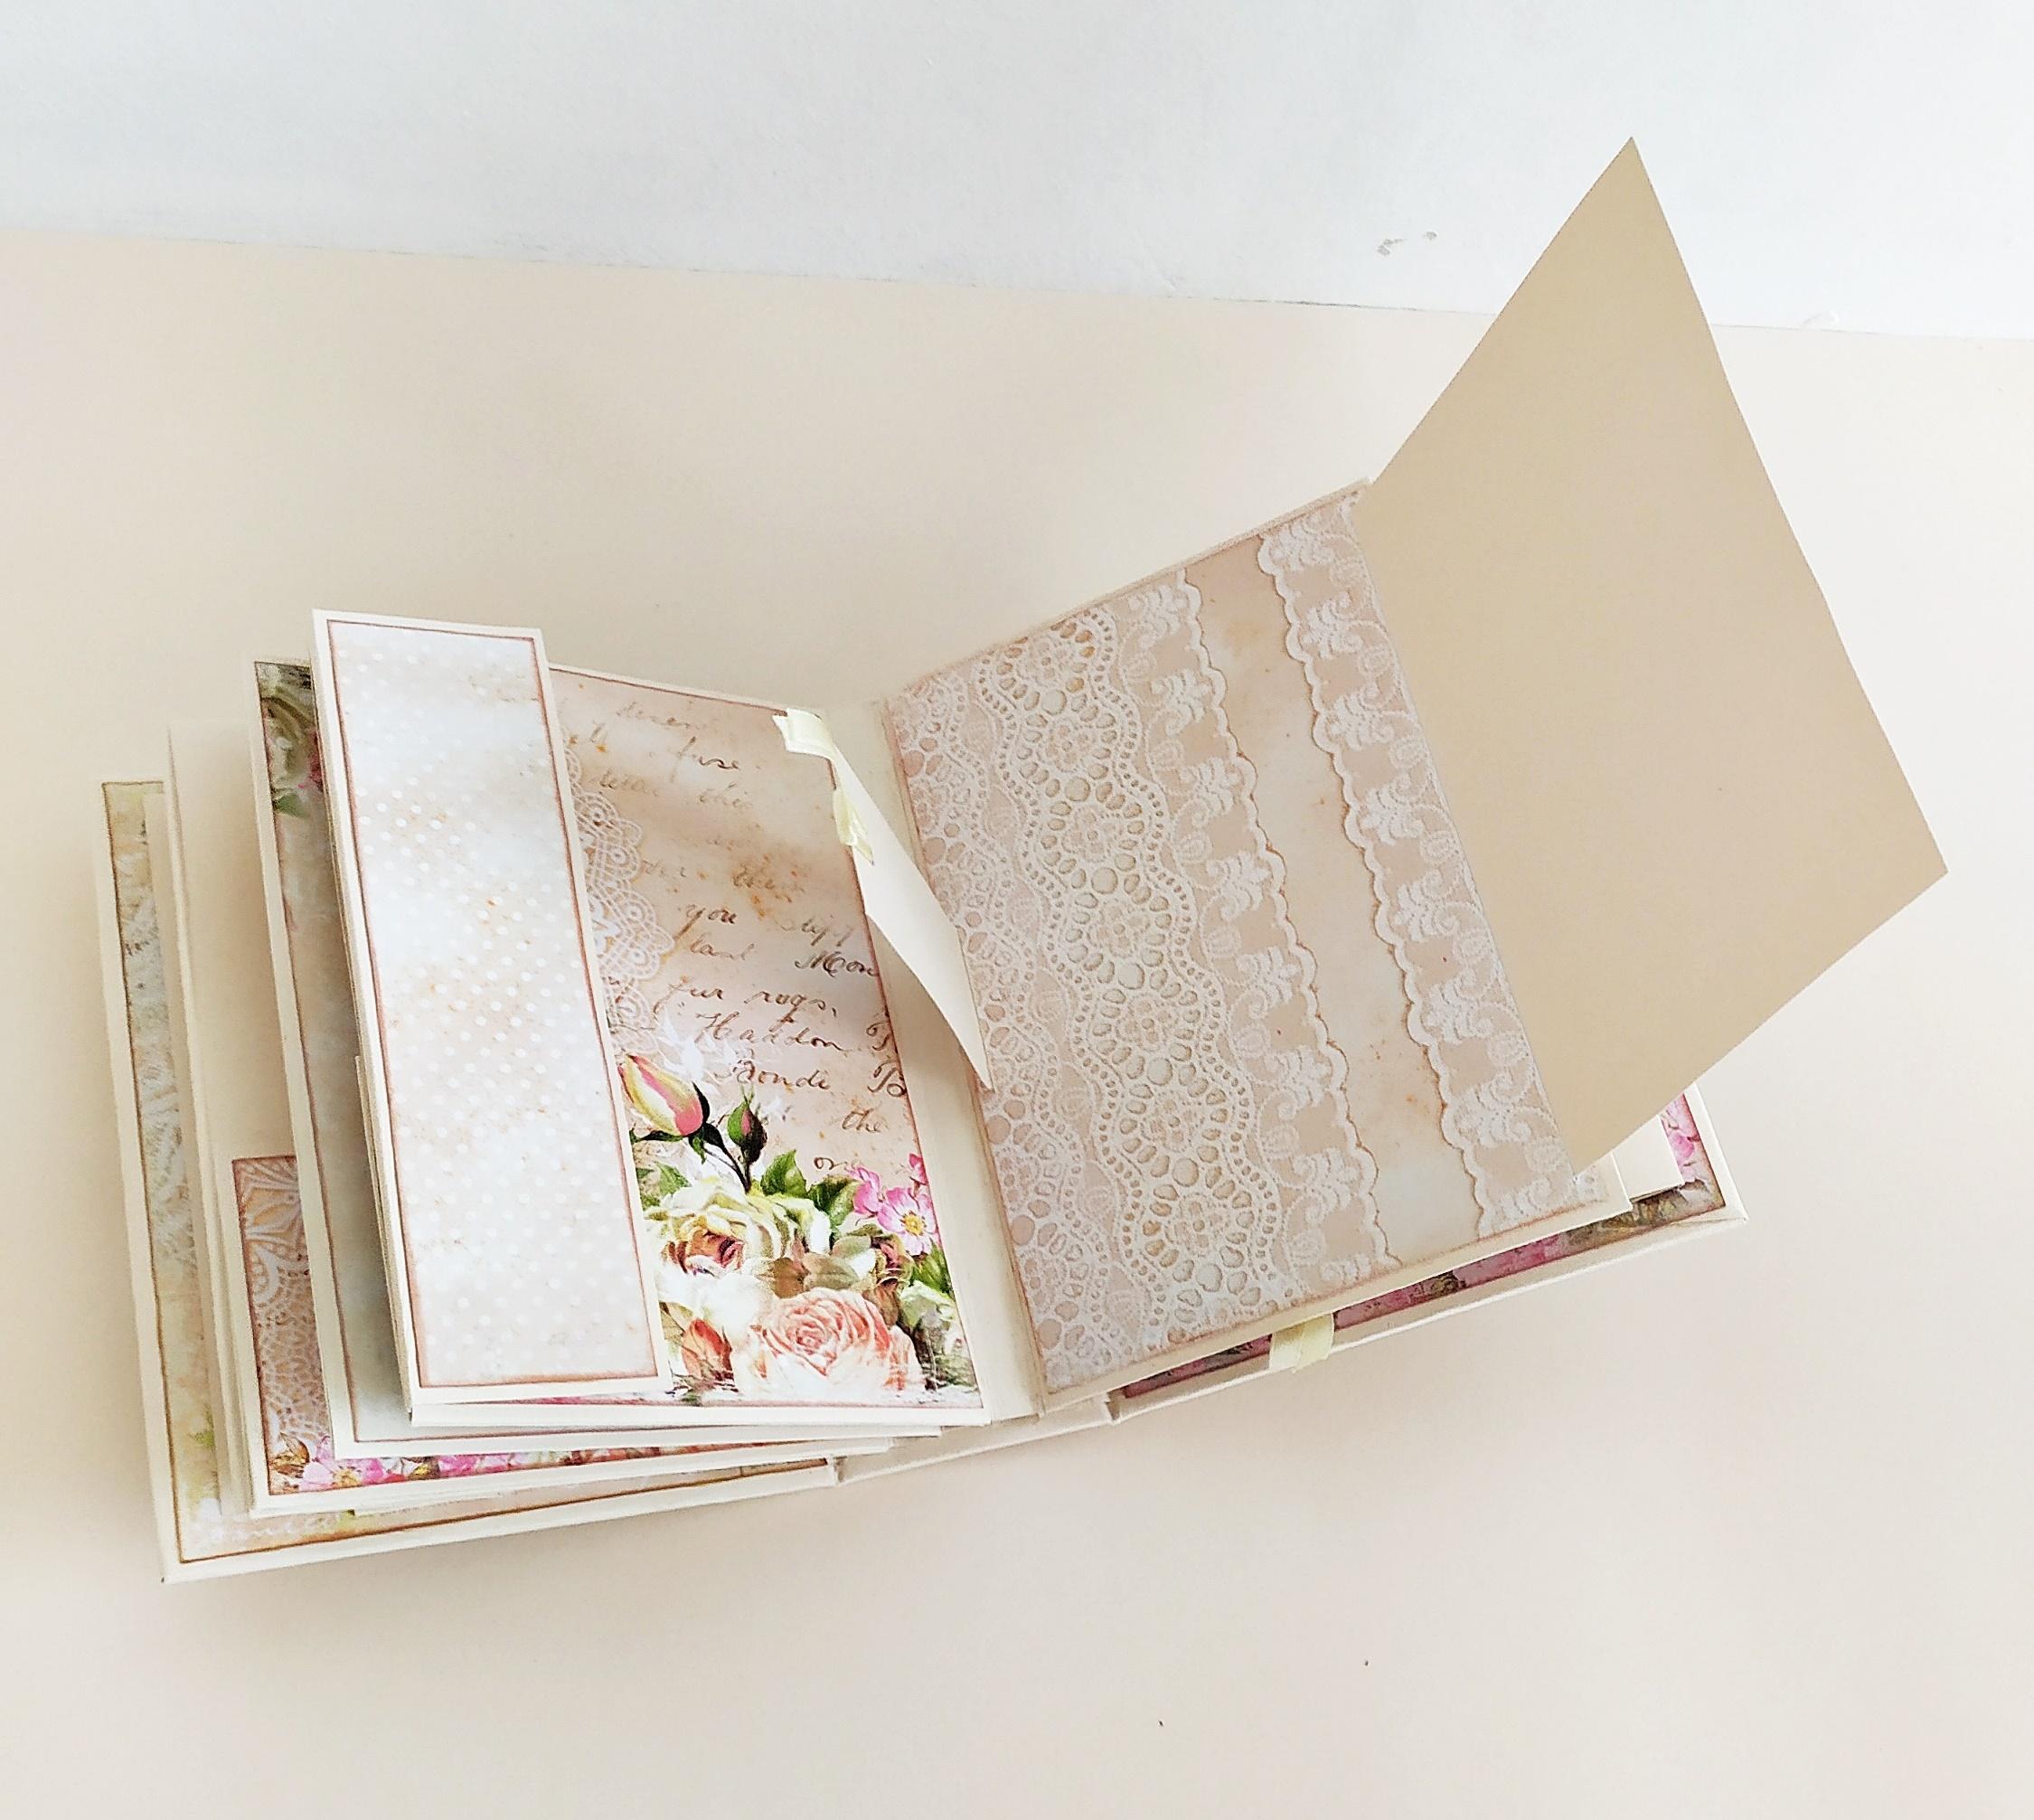
Magnet Closure


The main part of this page is done.The only thing left to do is glue some more pretty paper and add a magnet so that the folding piece stays closed.
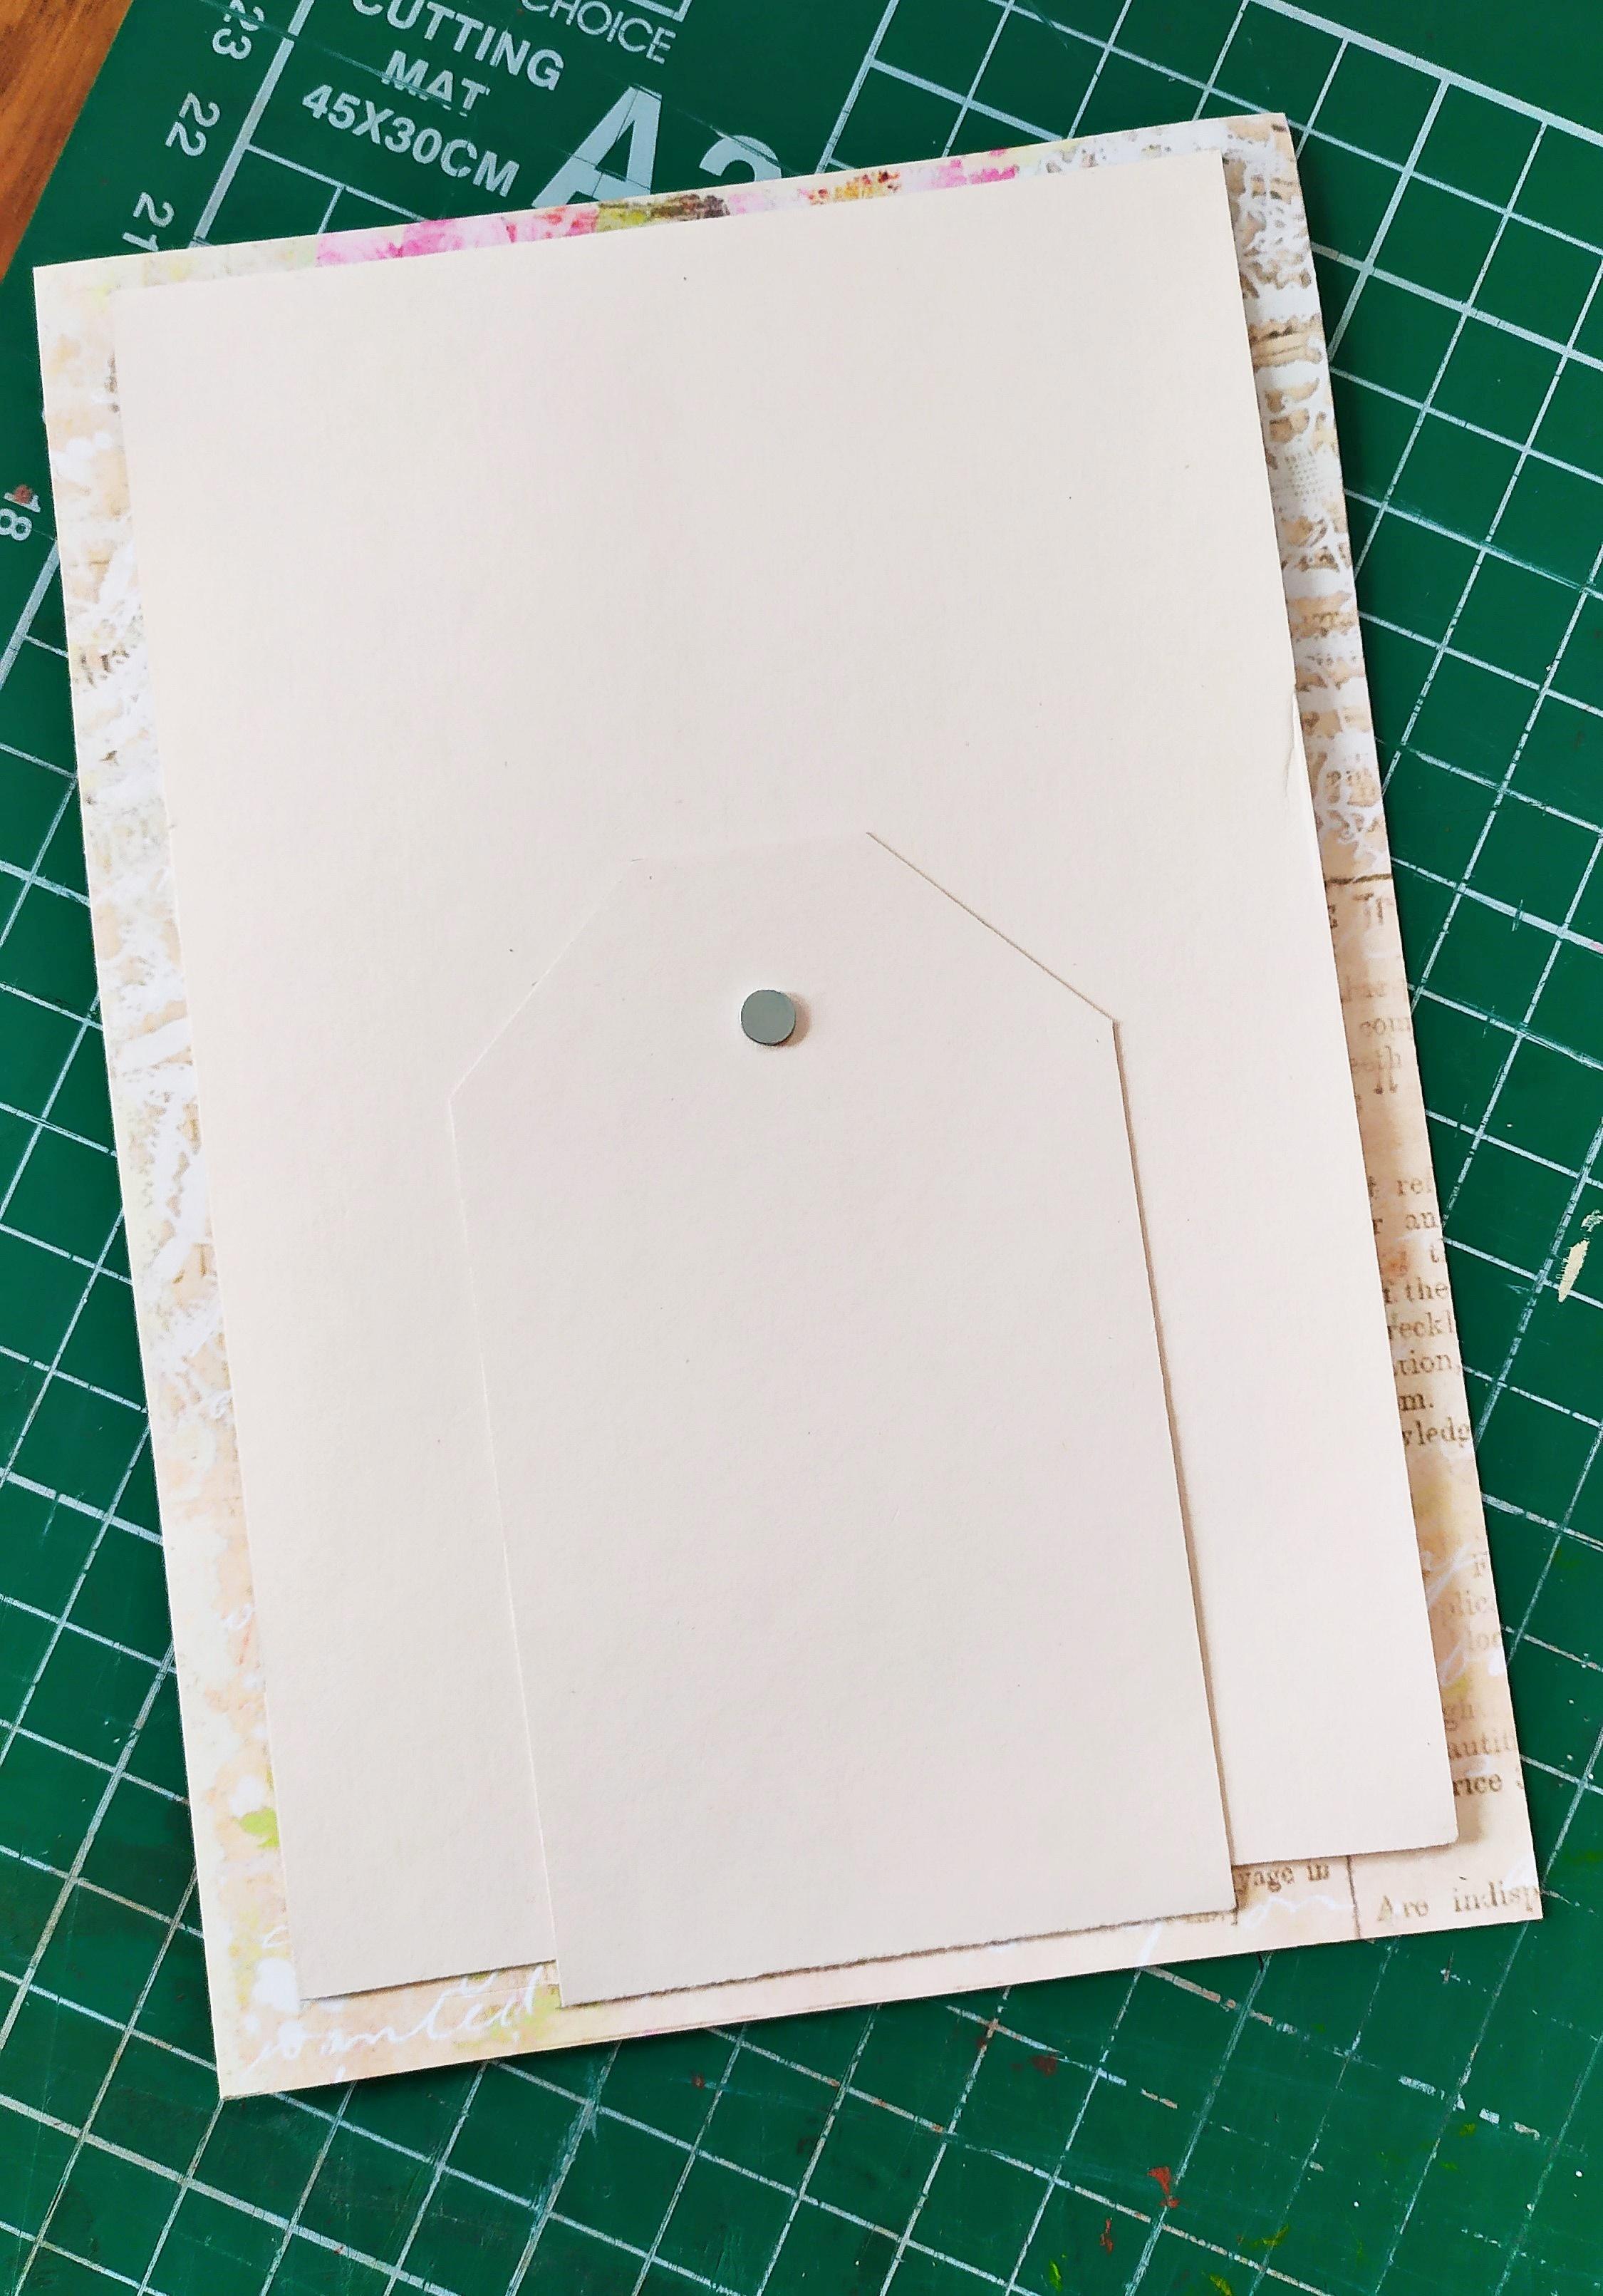
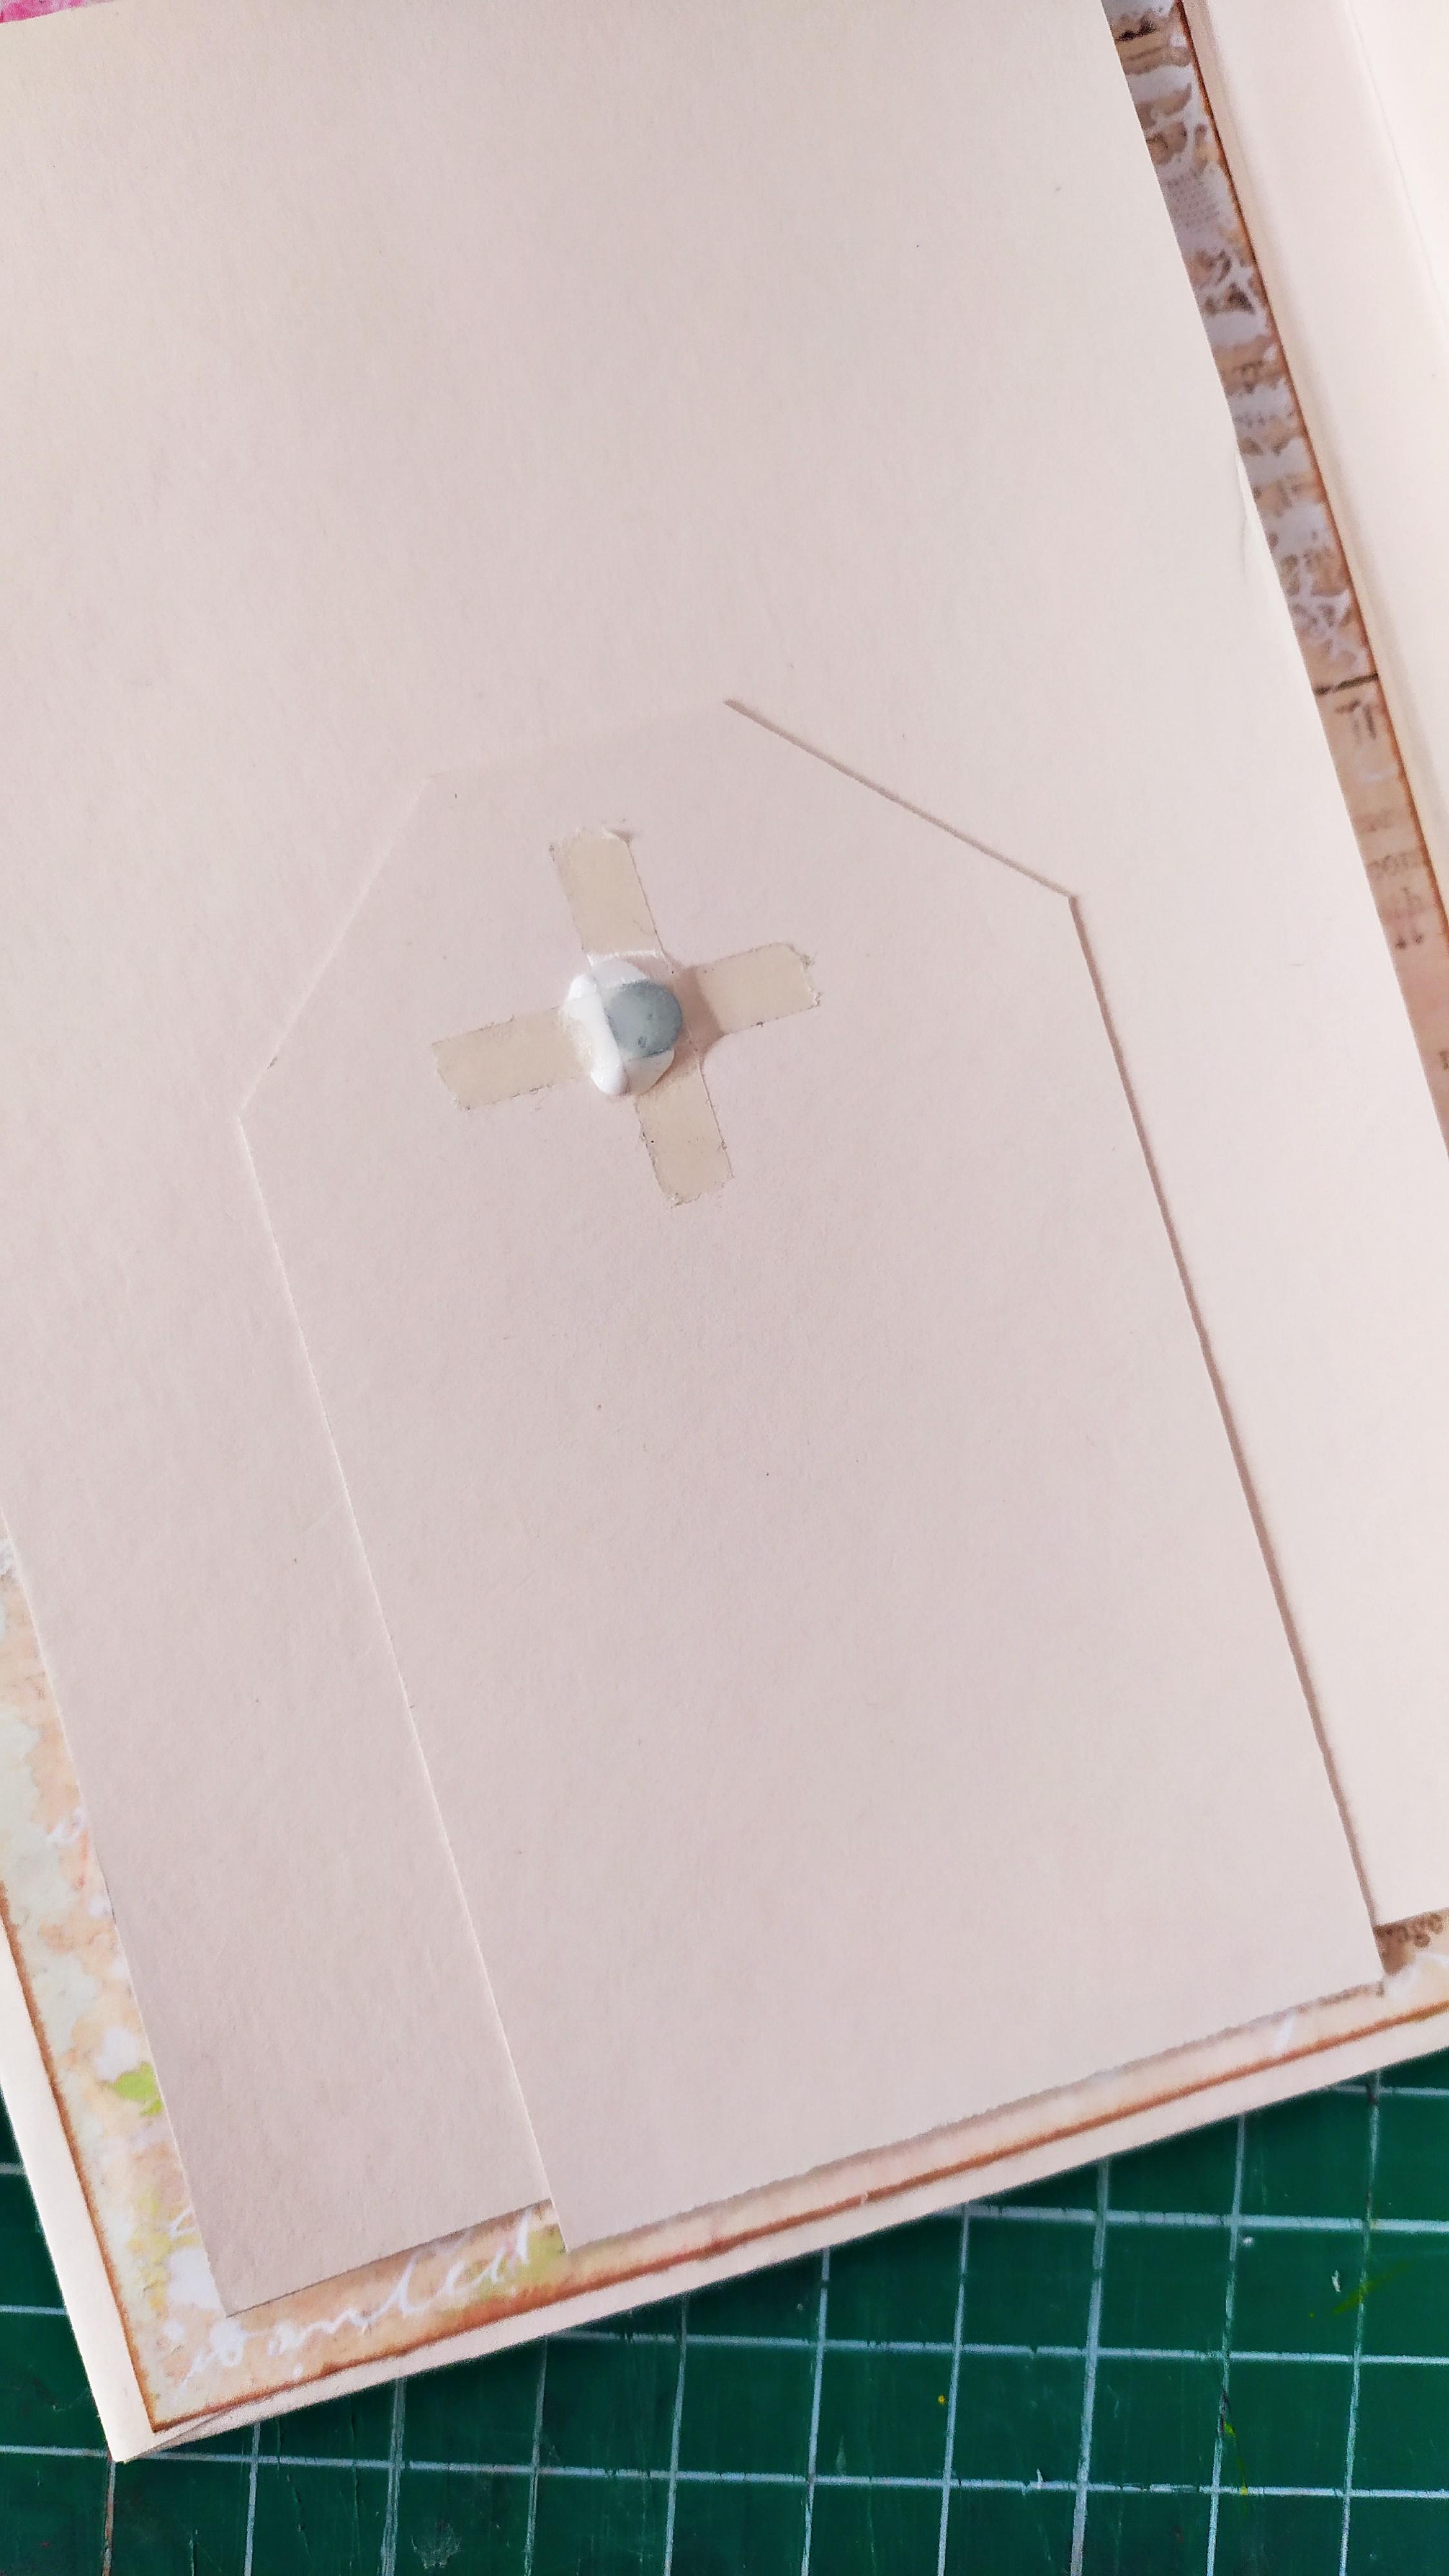
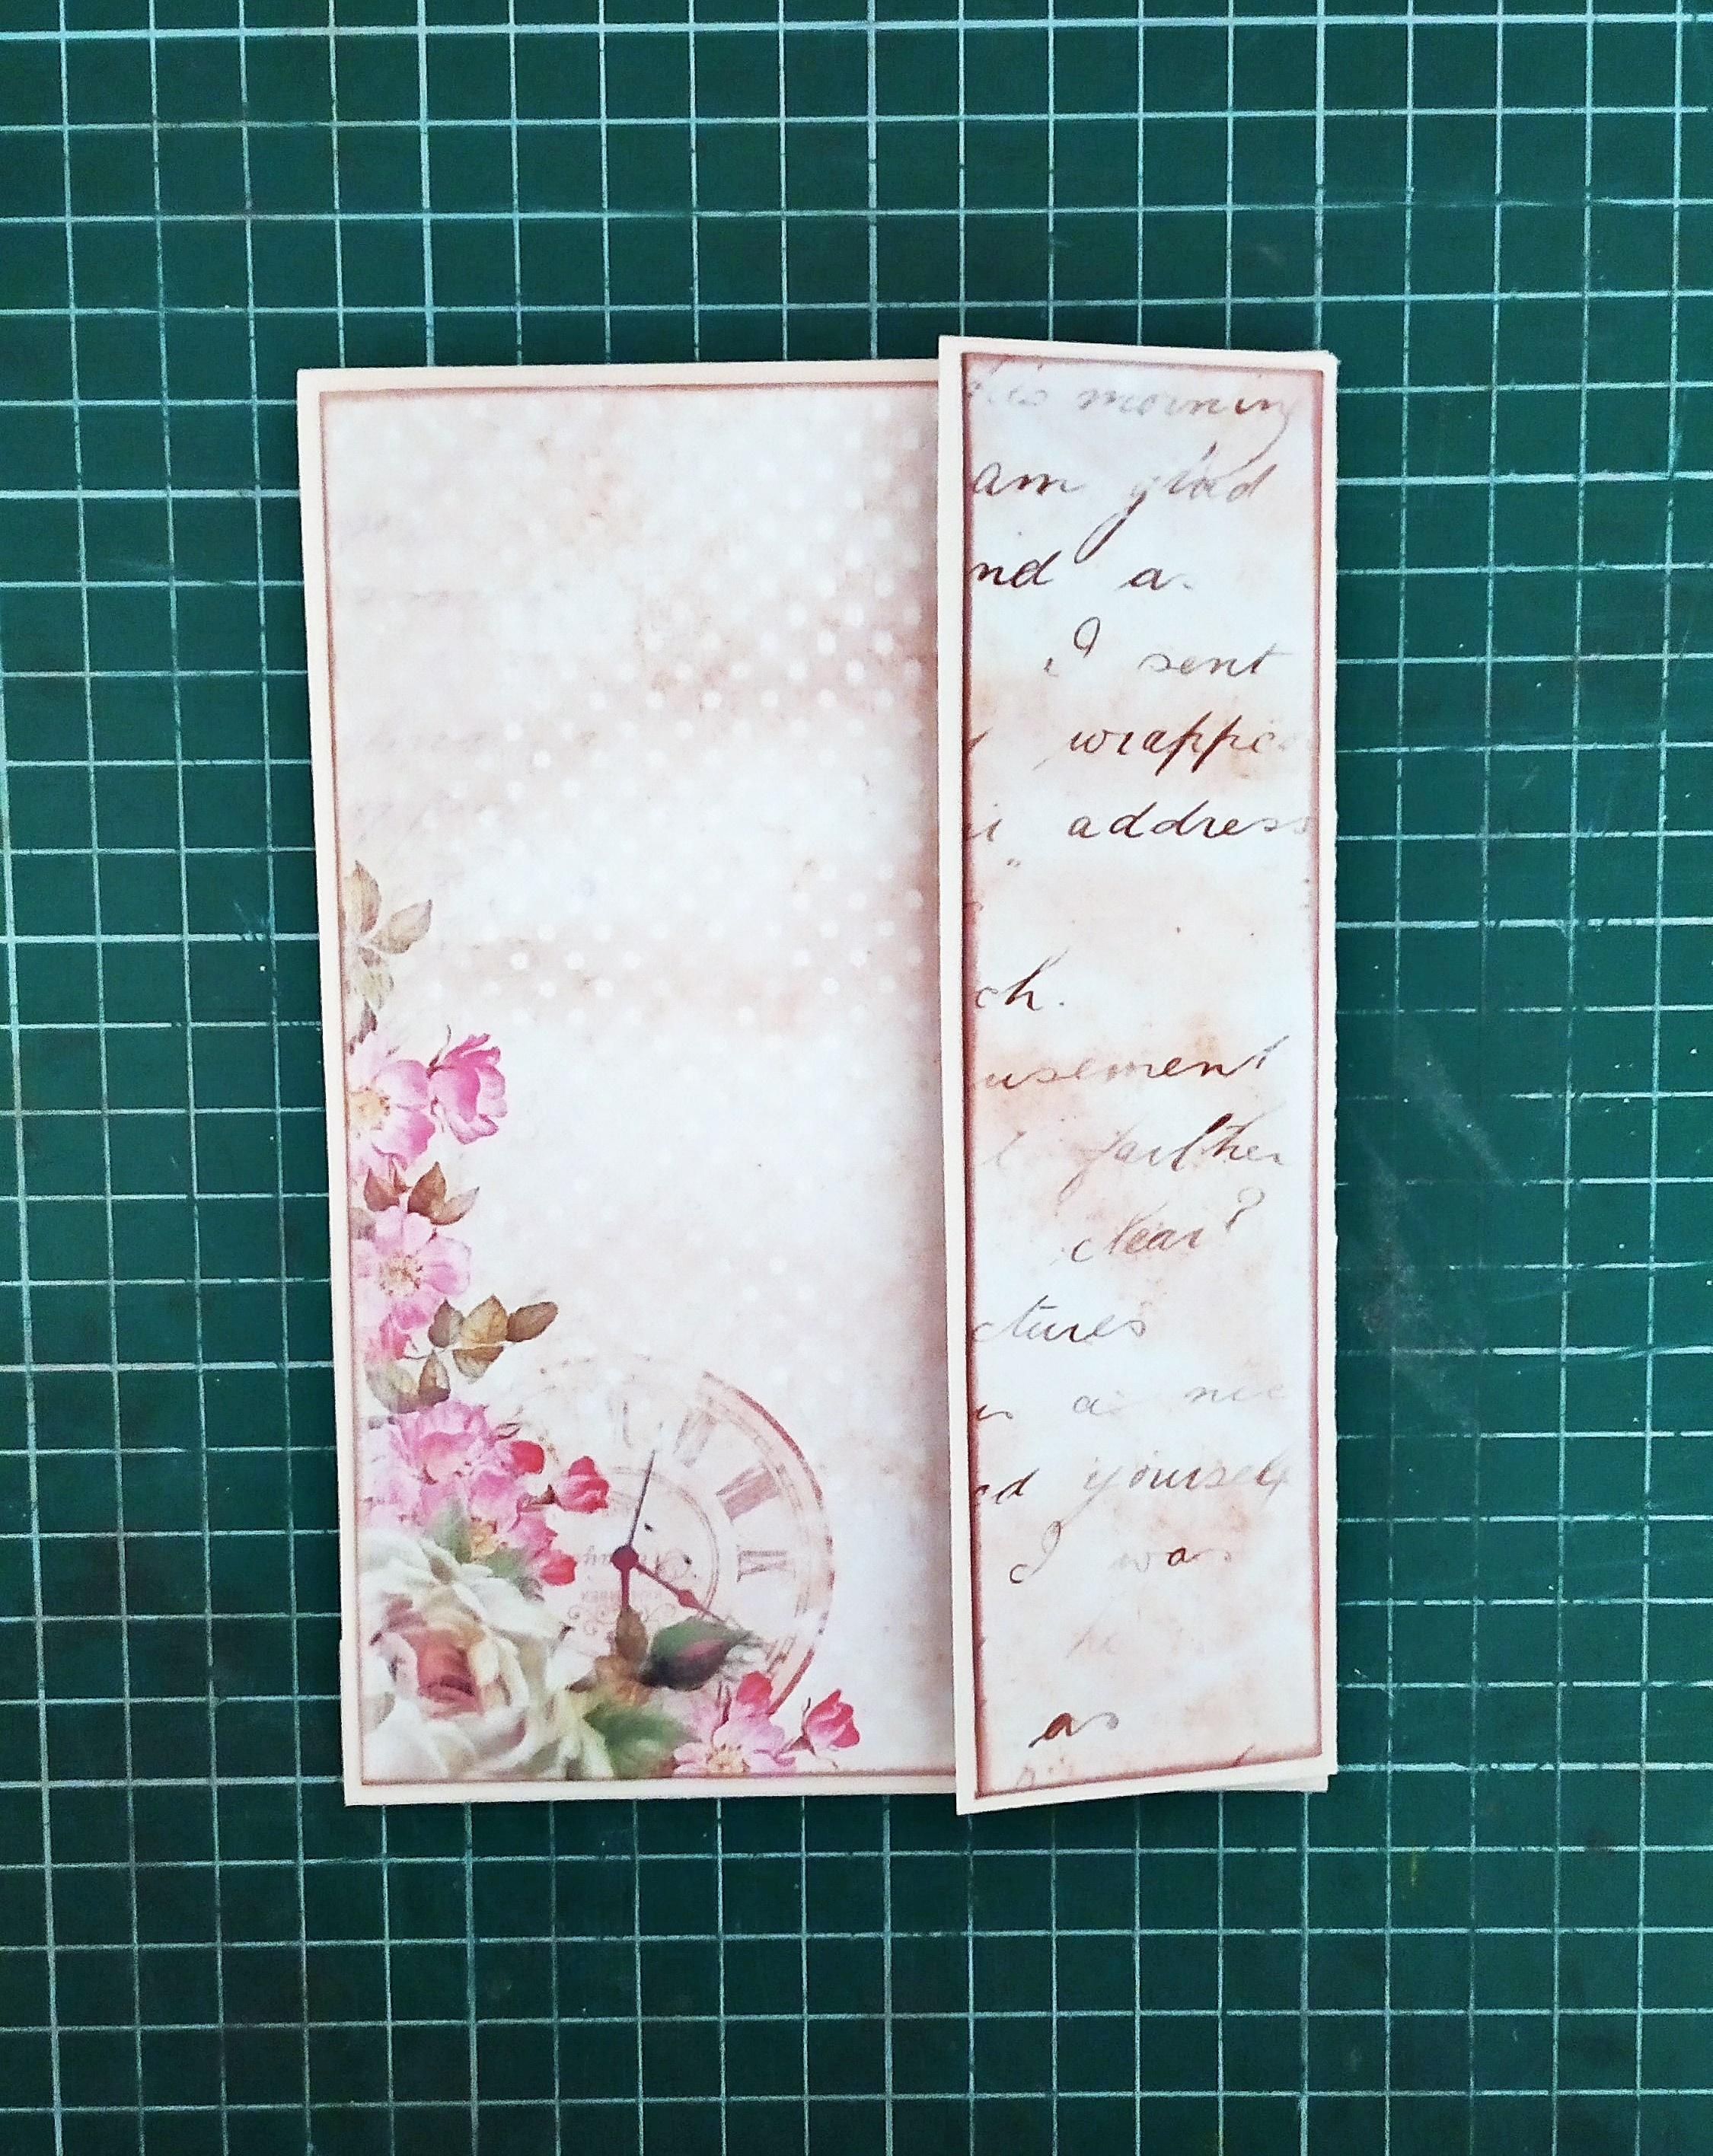
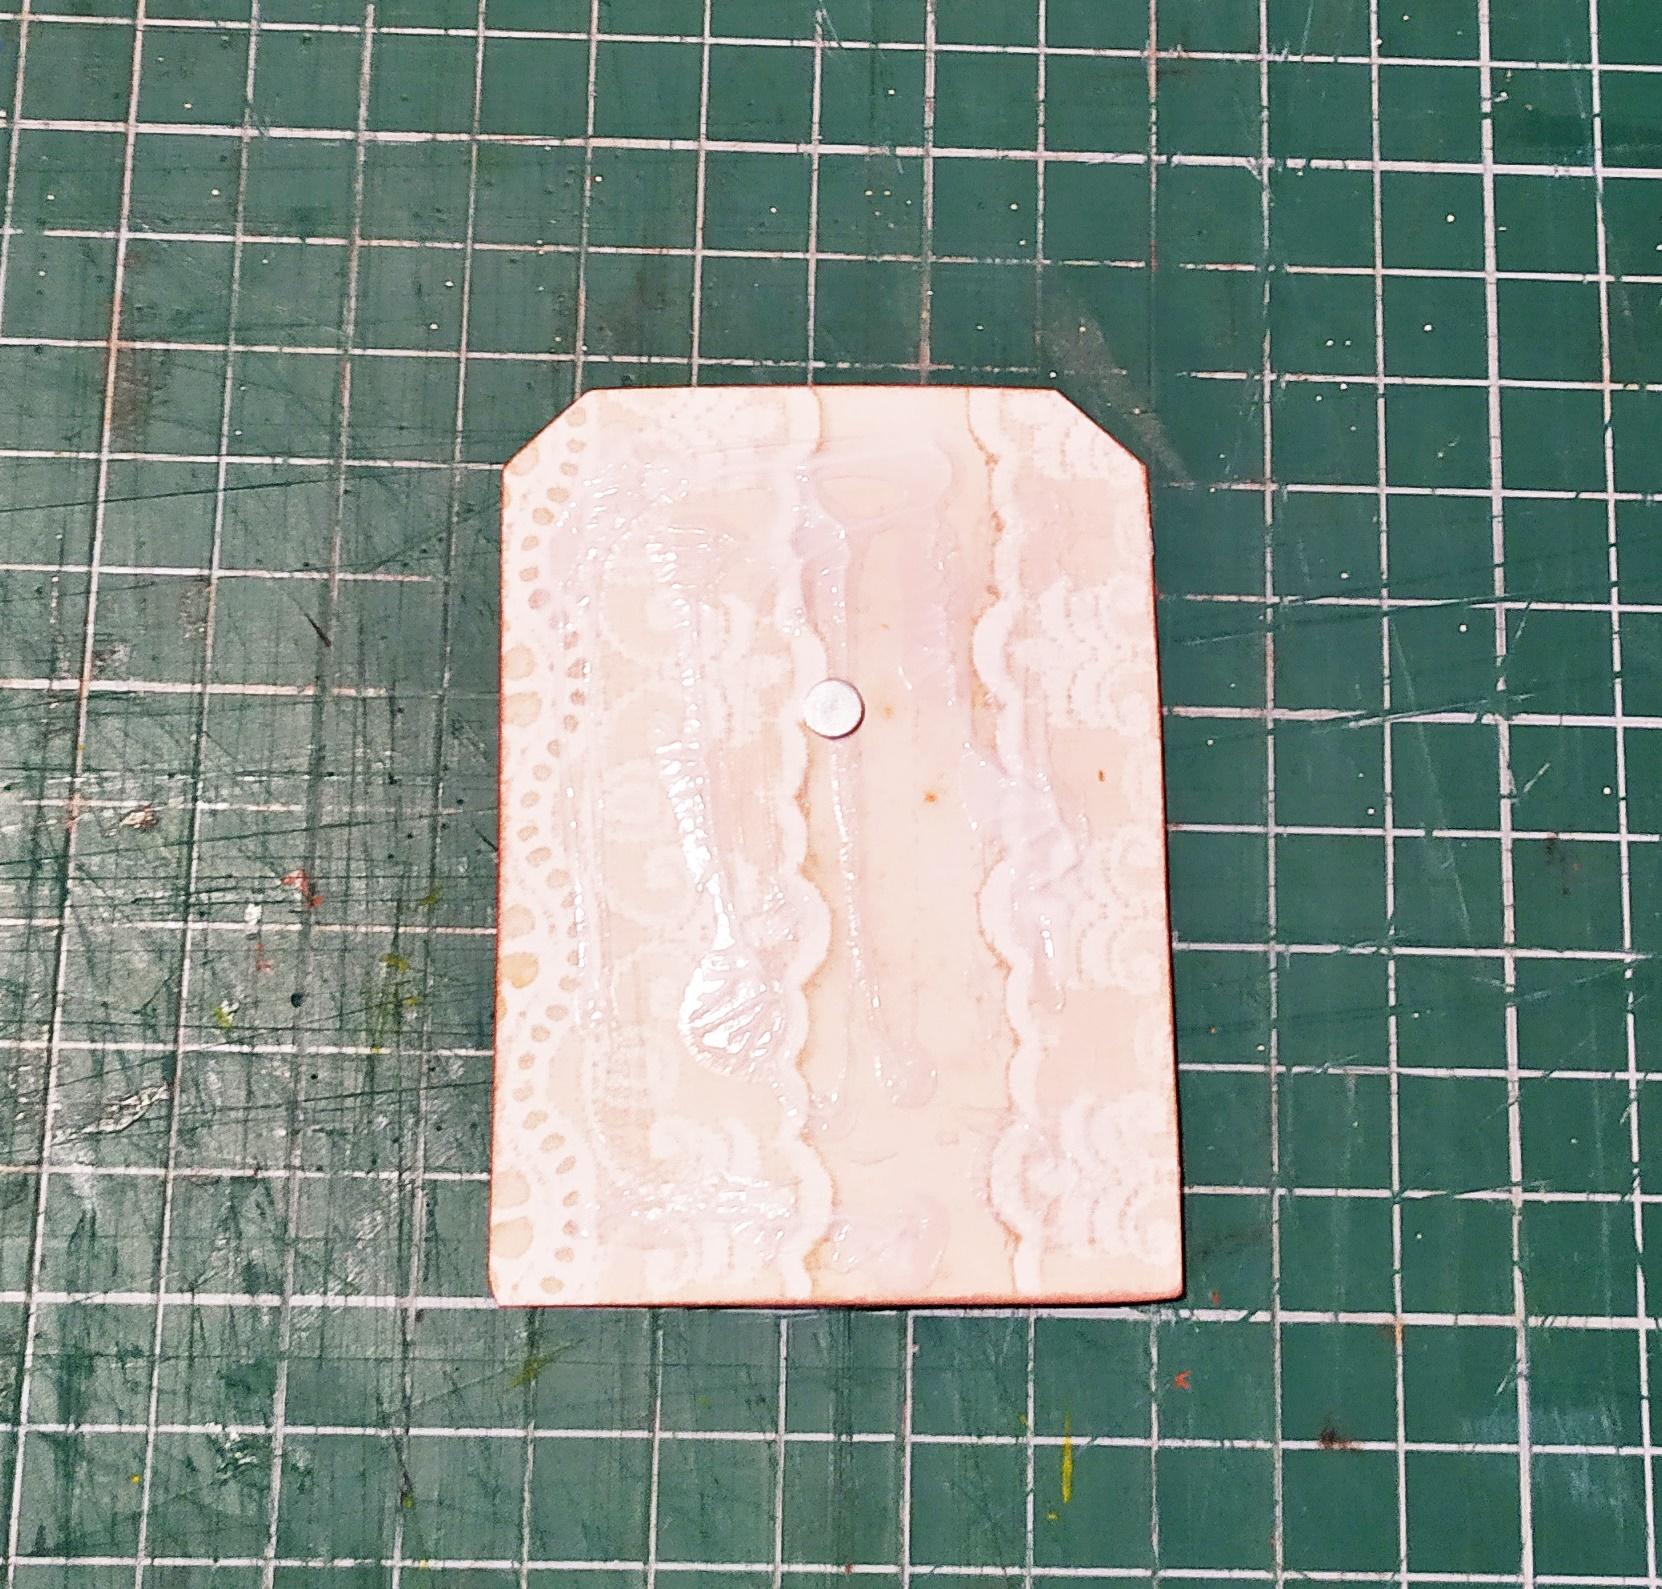
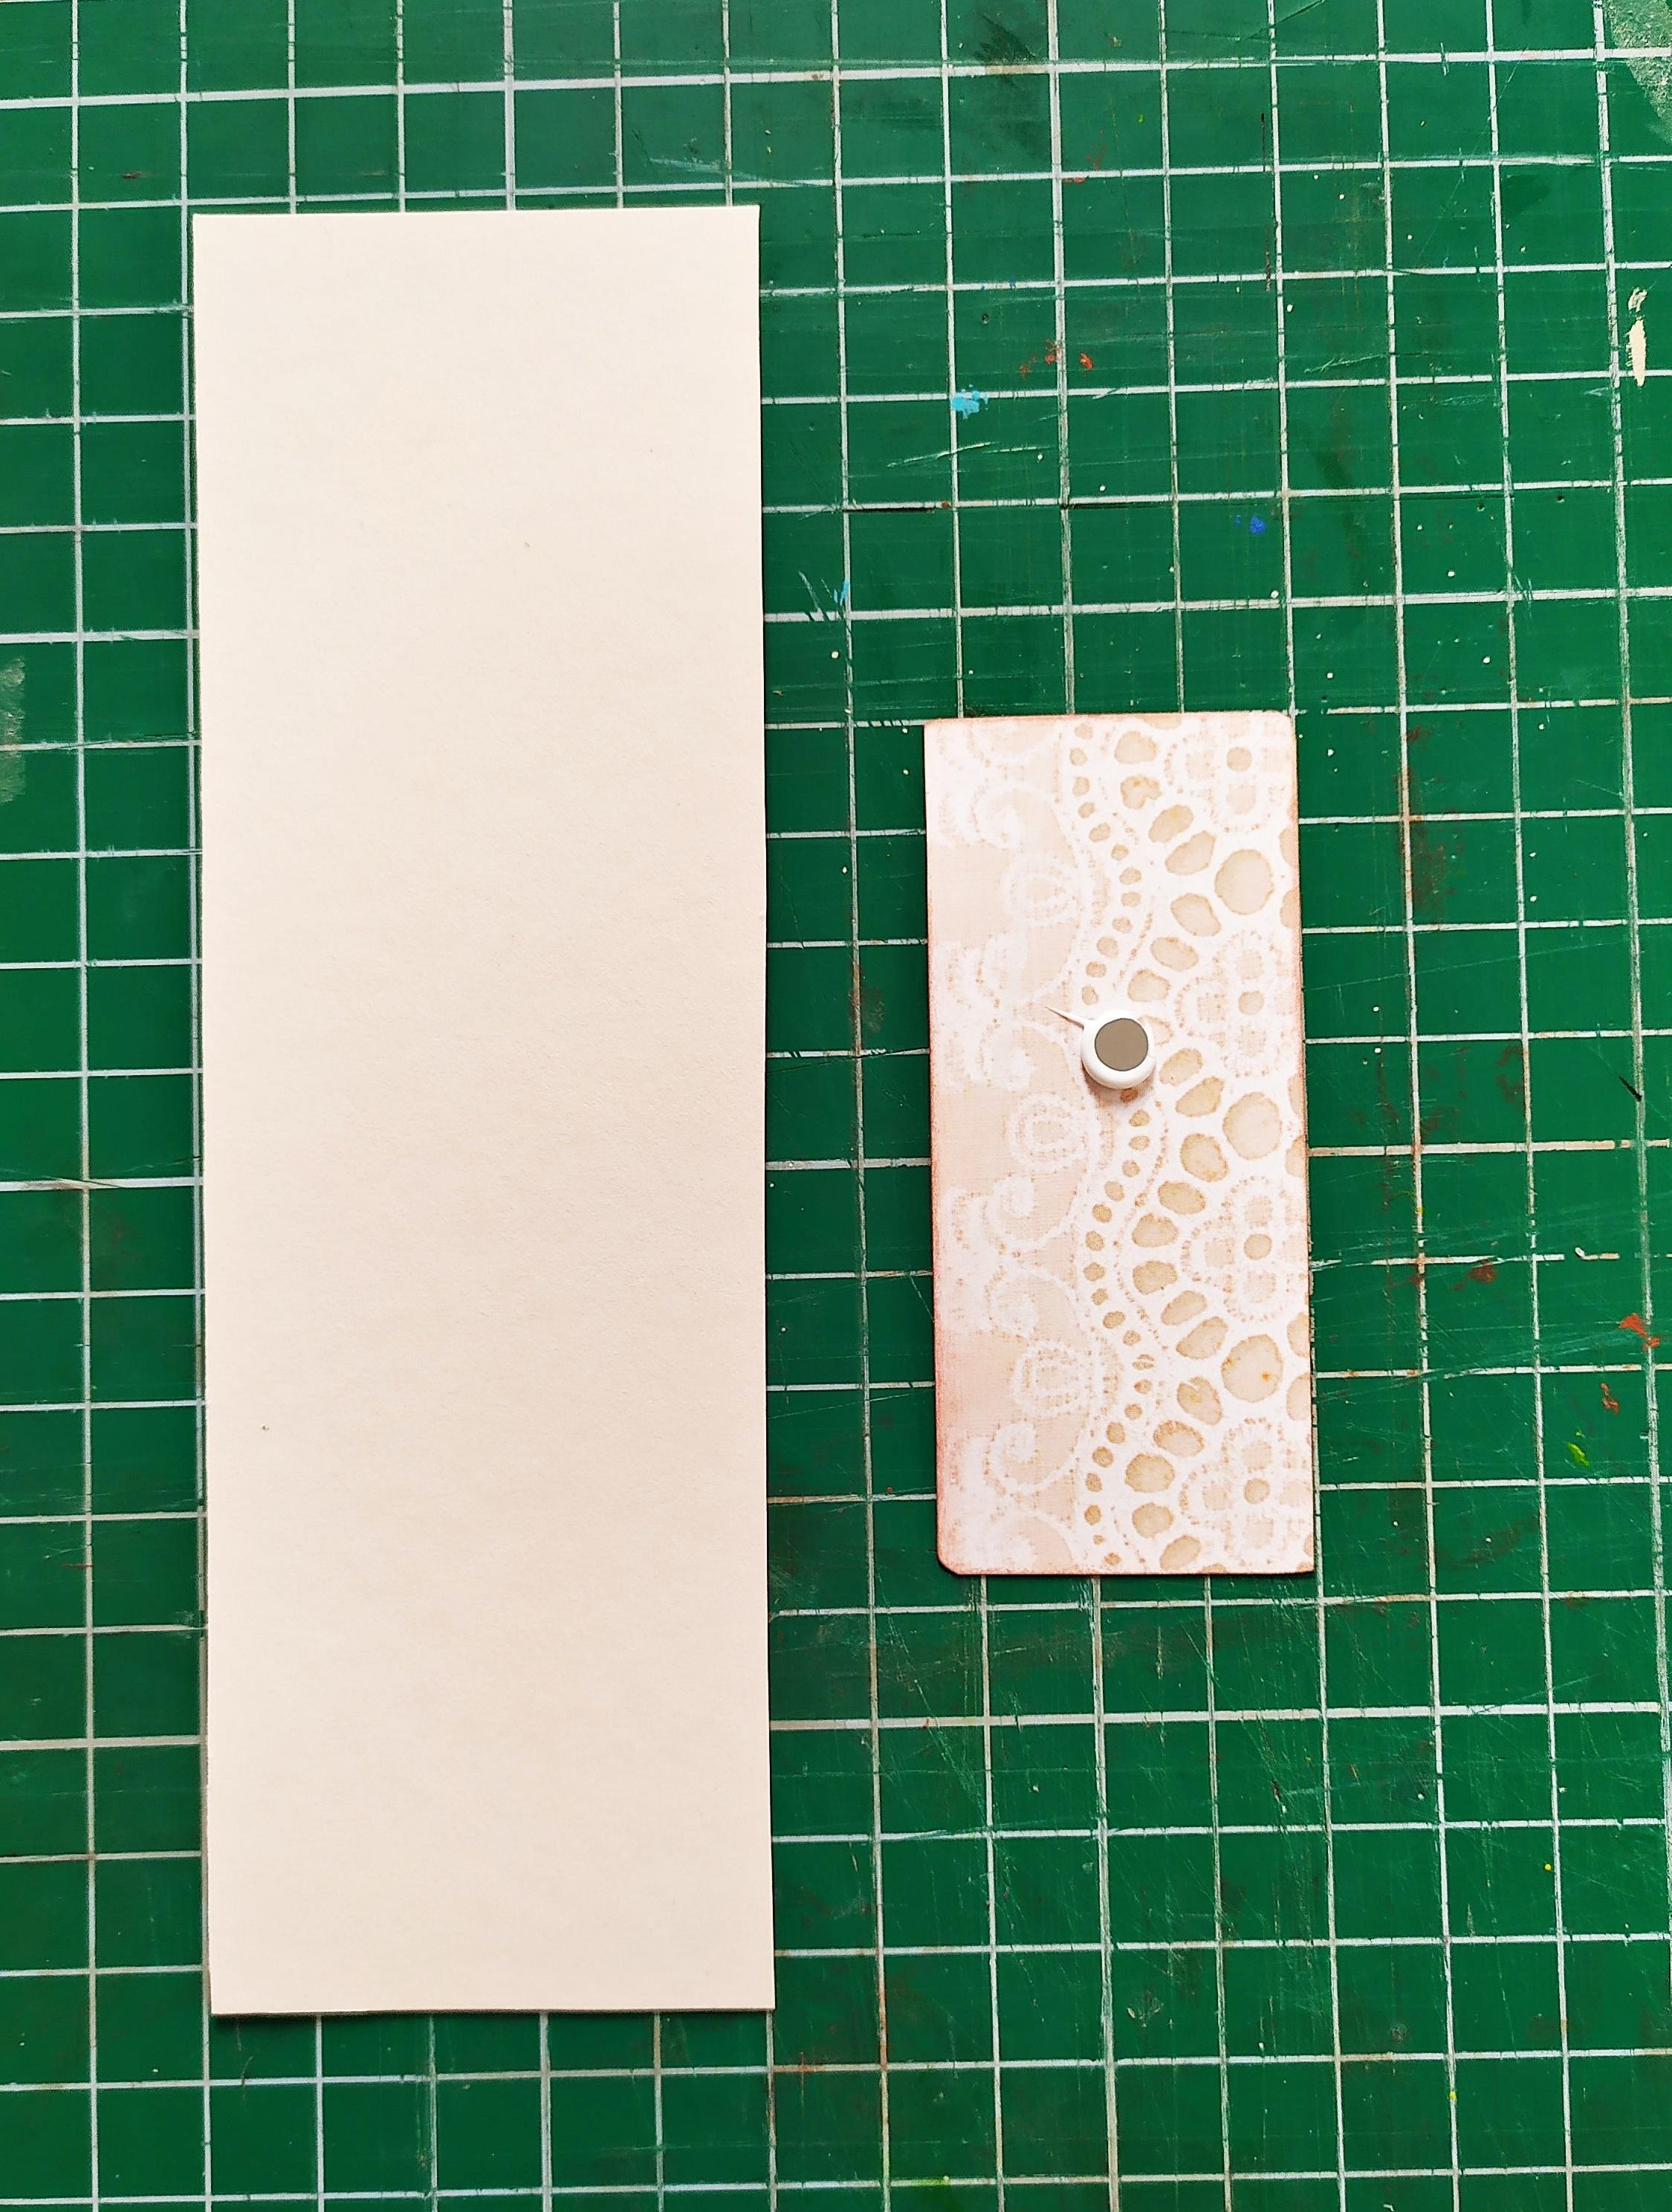
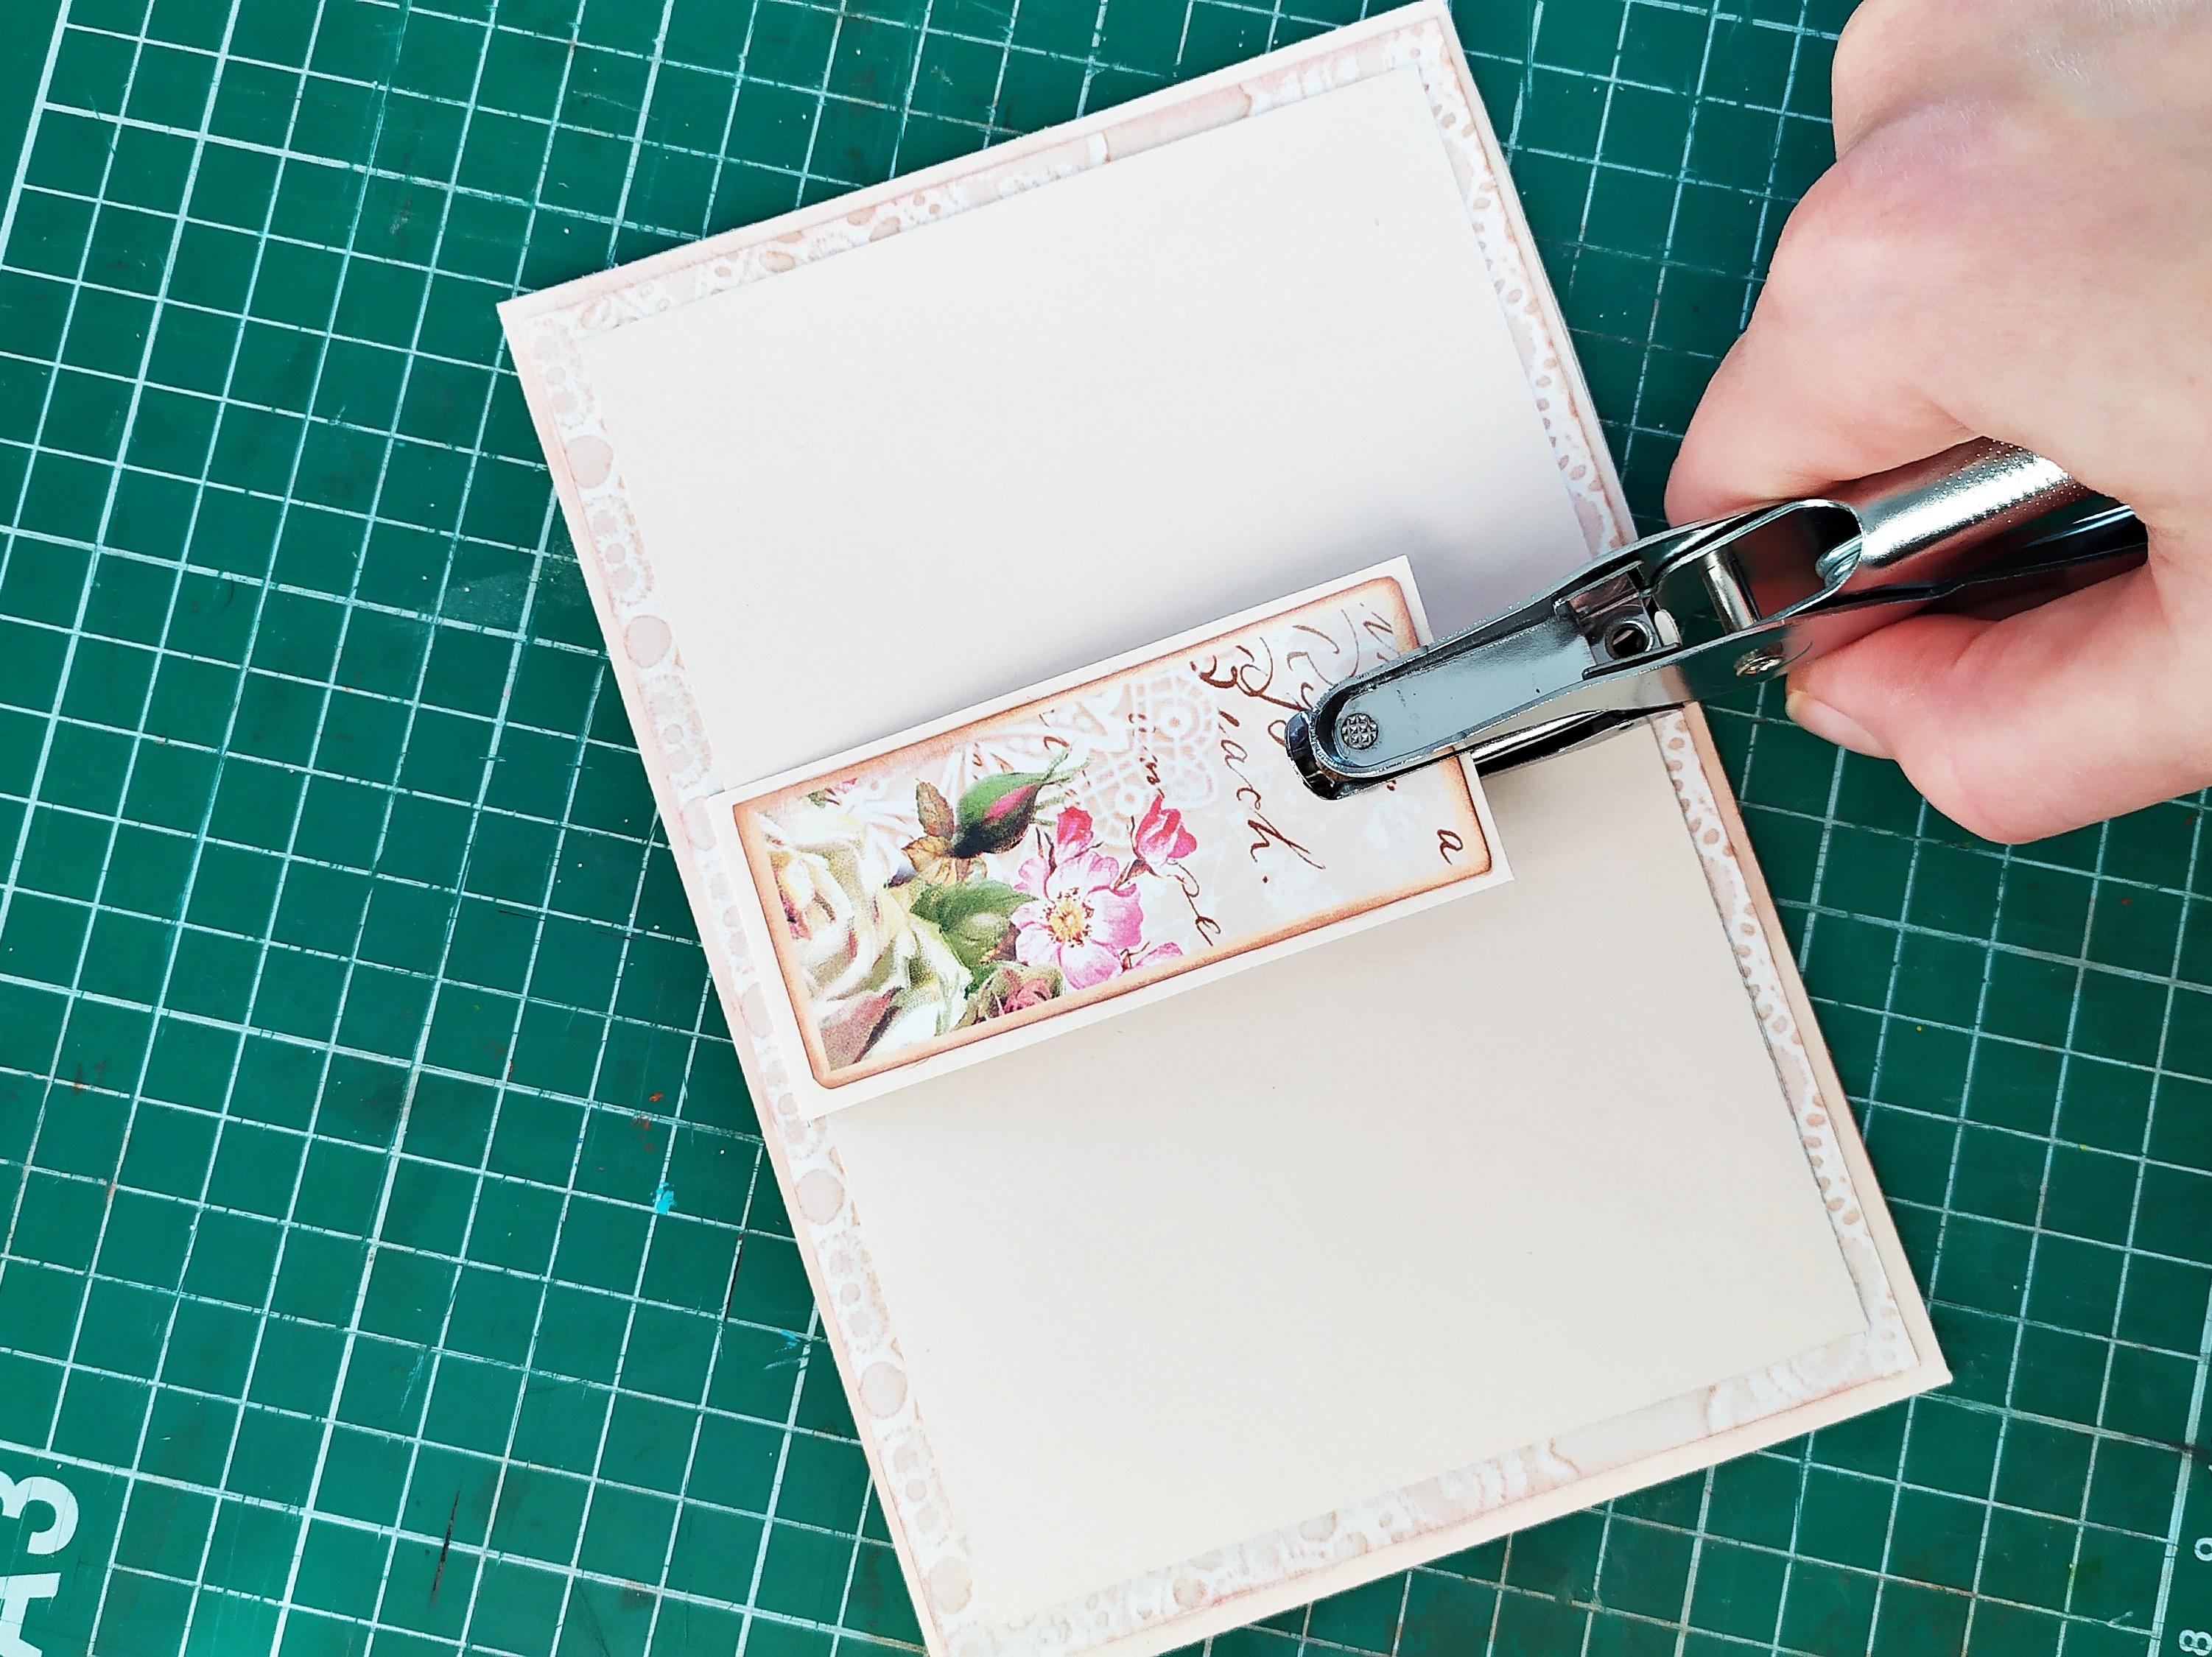
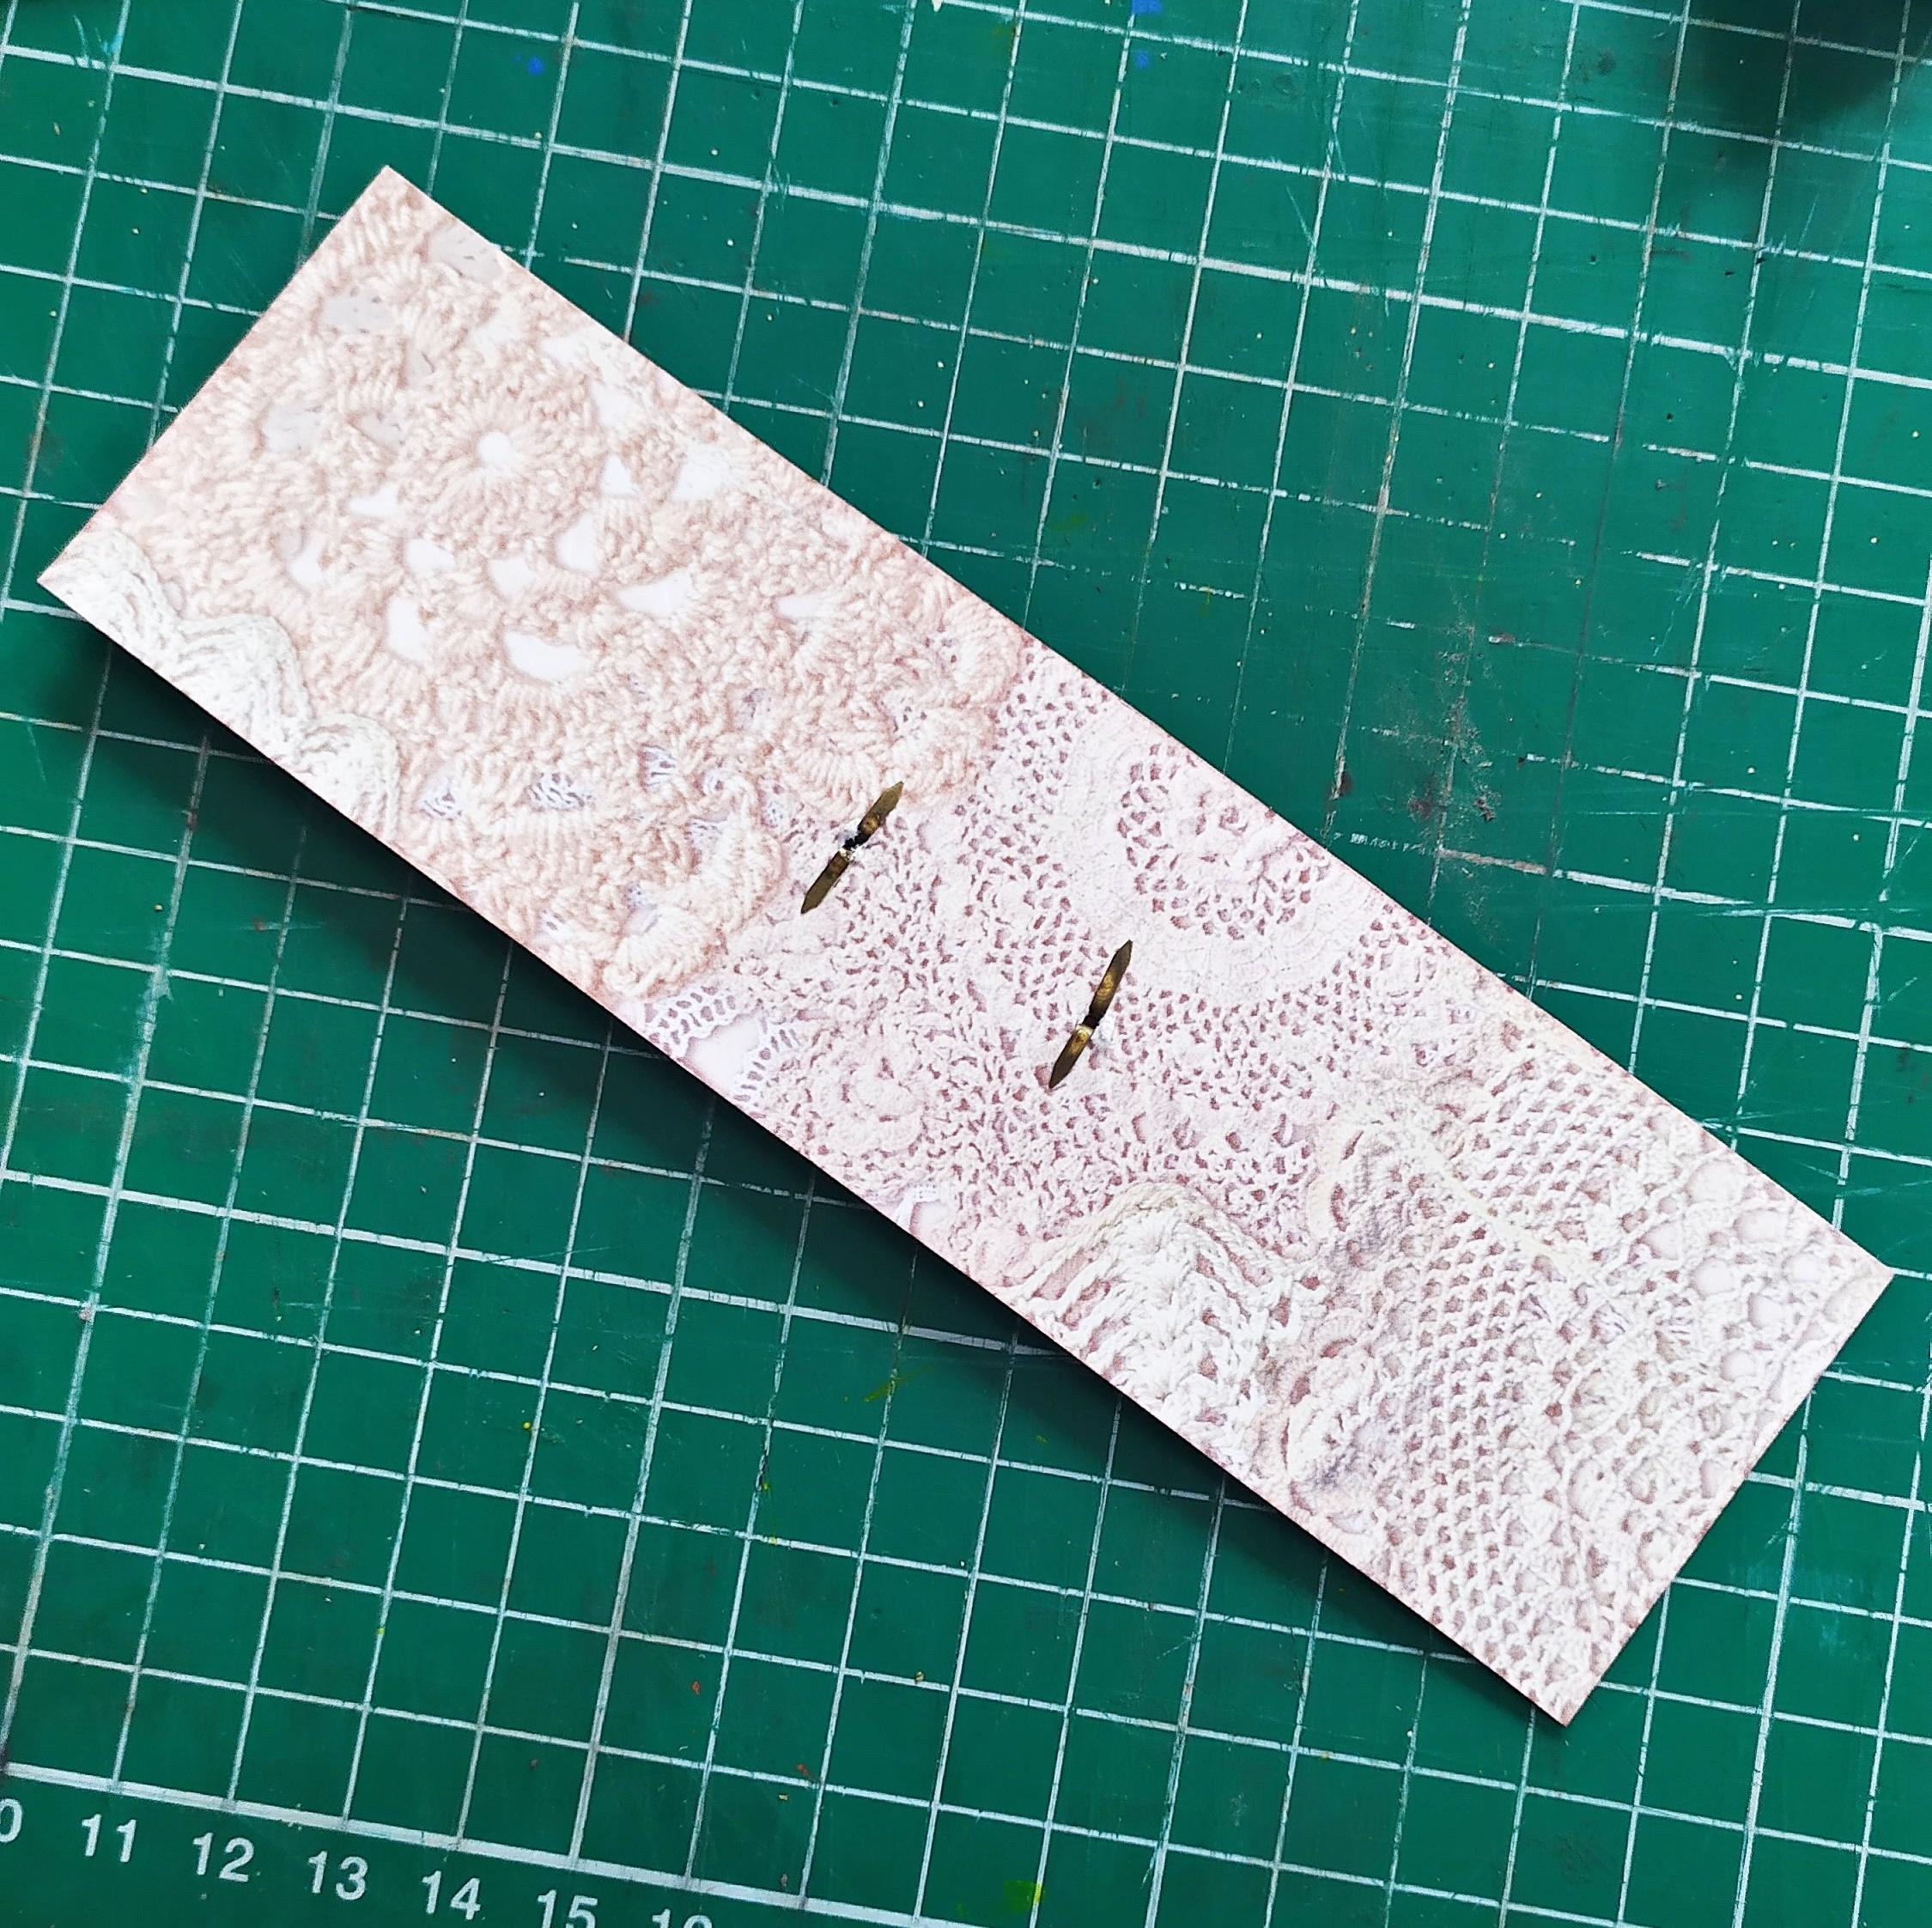
Adding the magnets is very simple - take two tiny magnets and place one on top of the tag.The other one should go on the back side of the designer paper.They will stick to each other naturally.
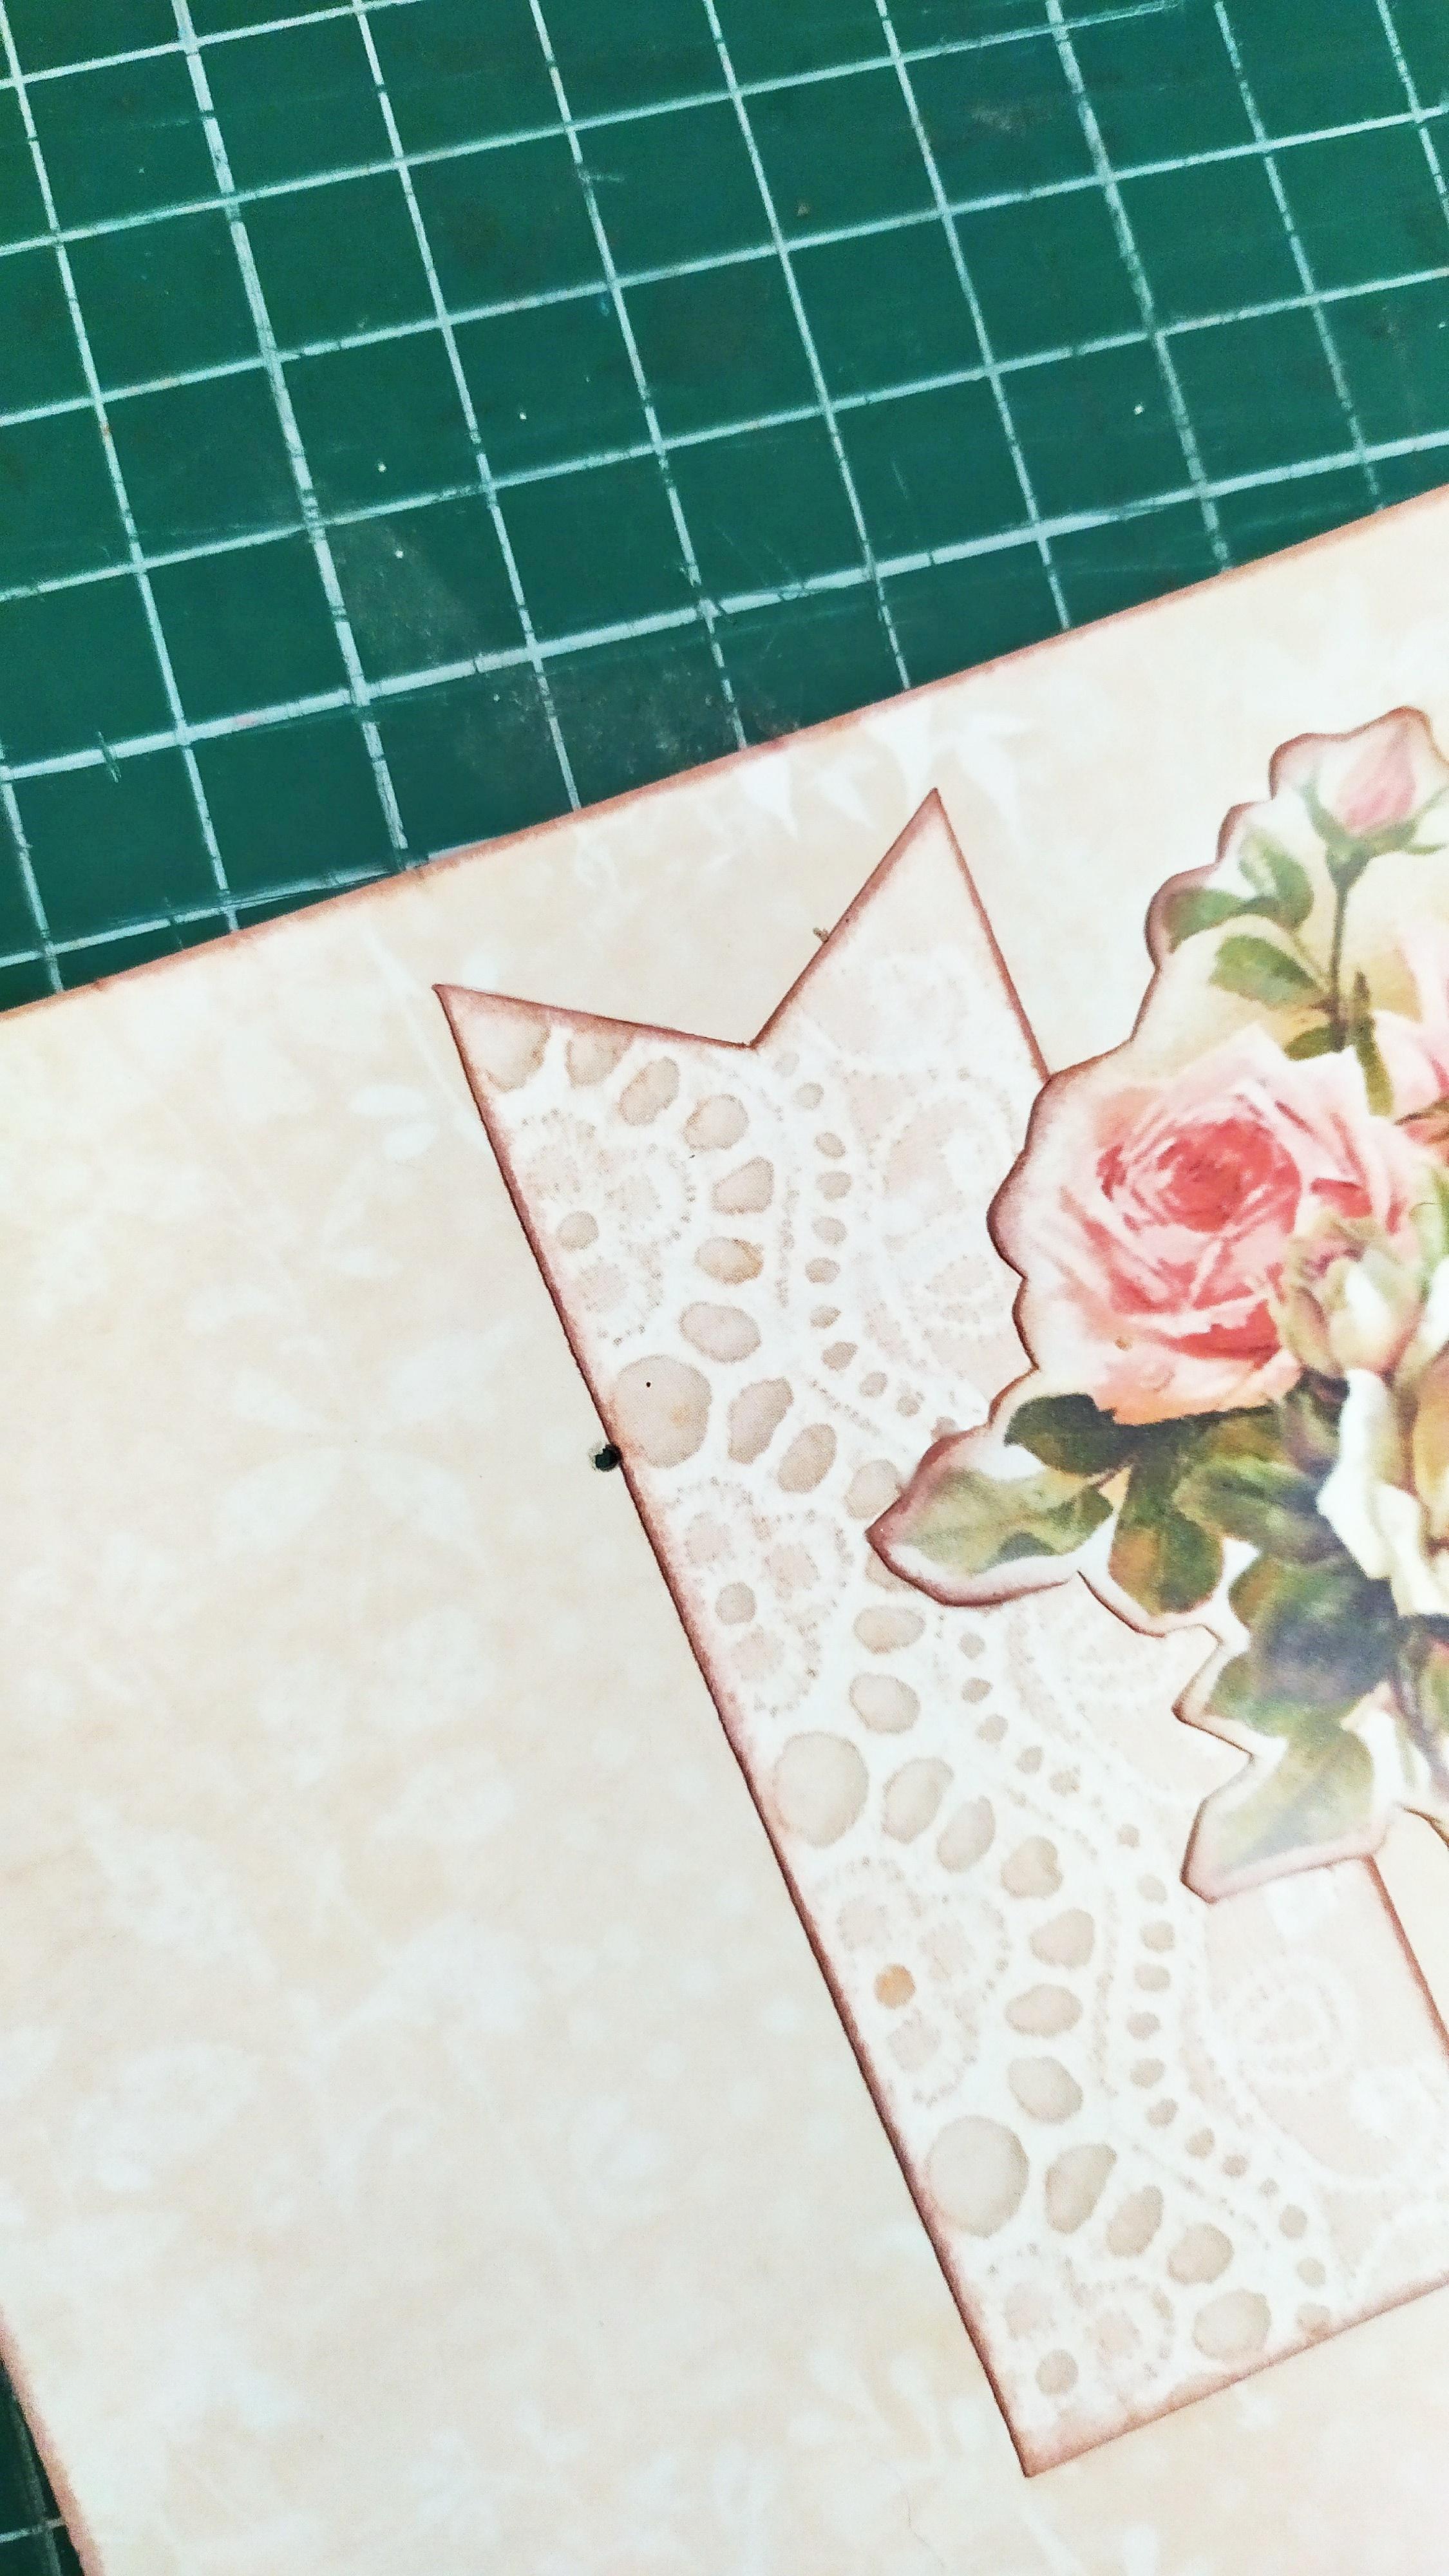
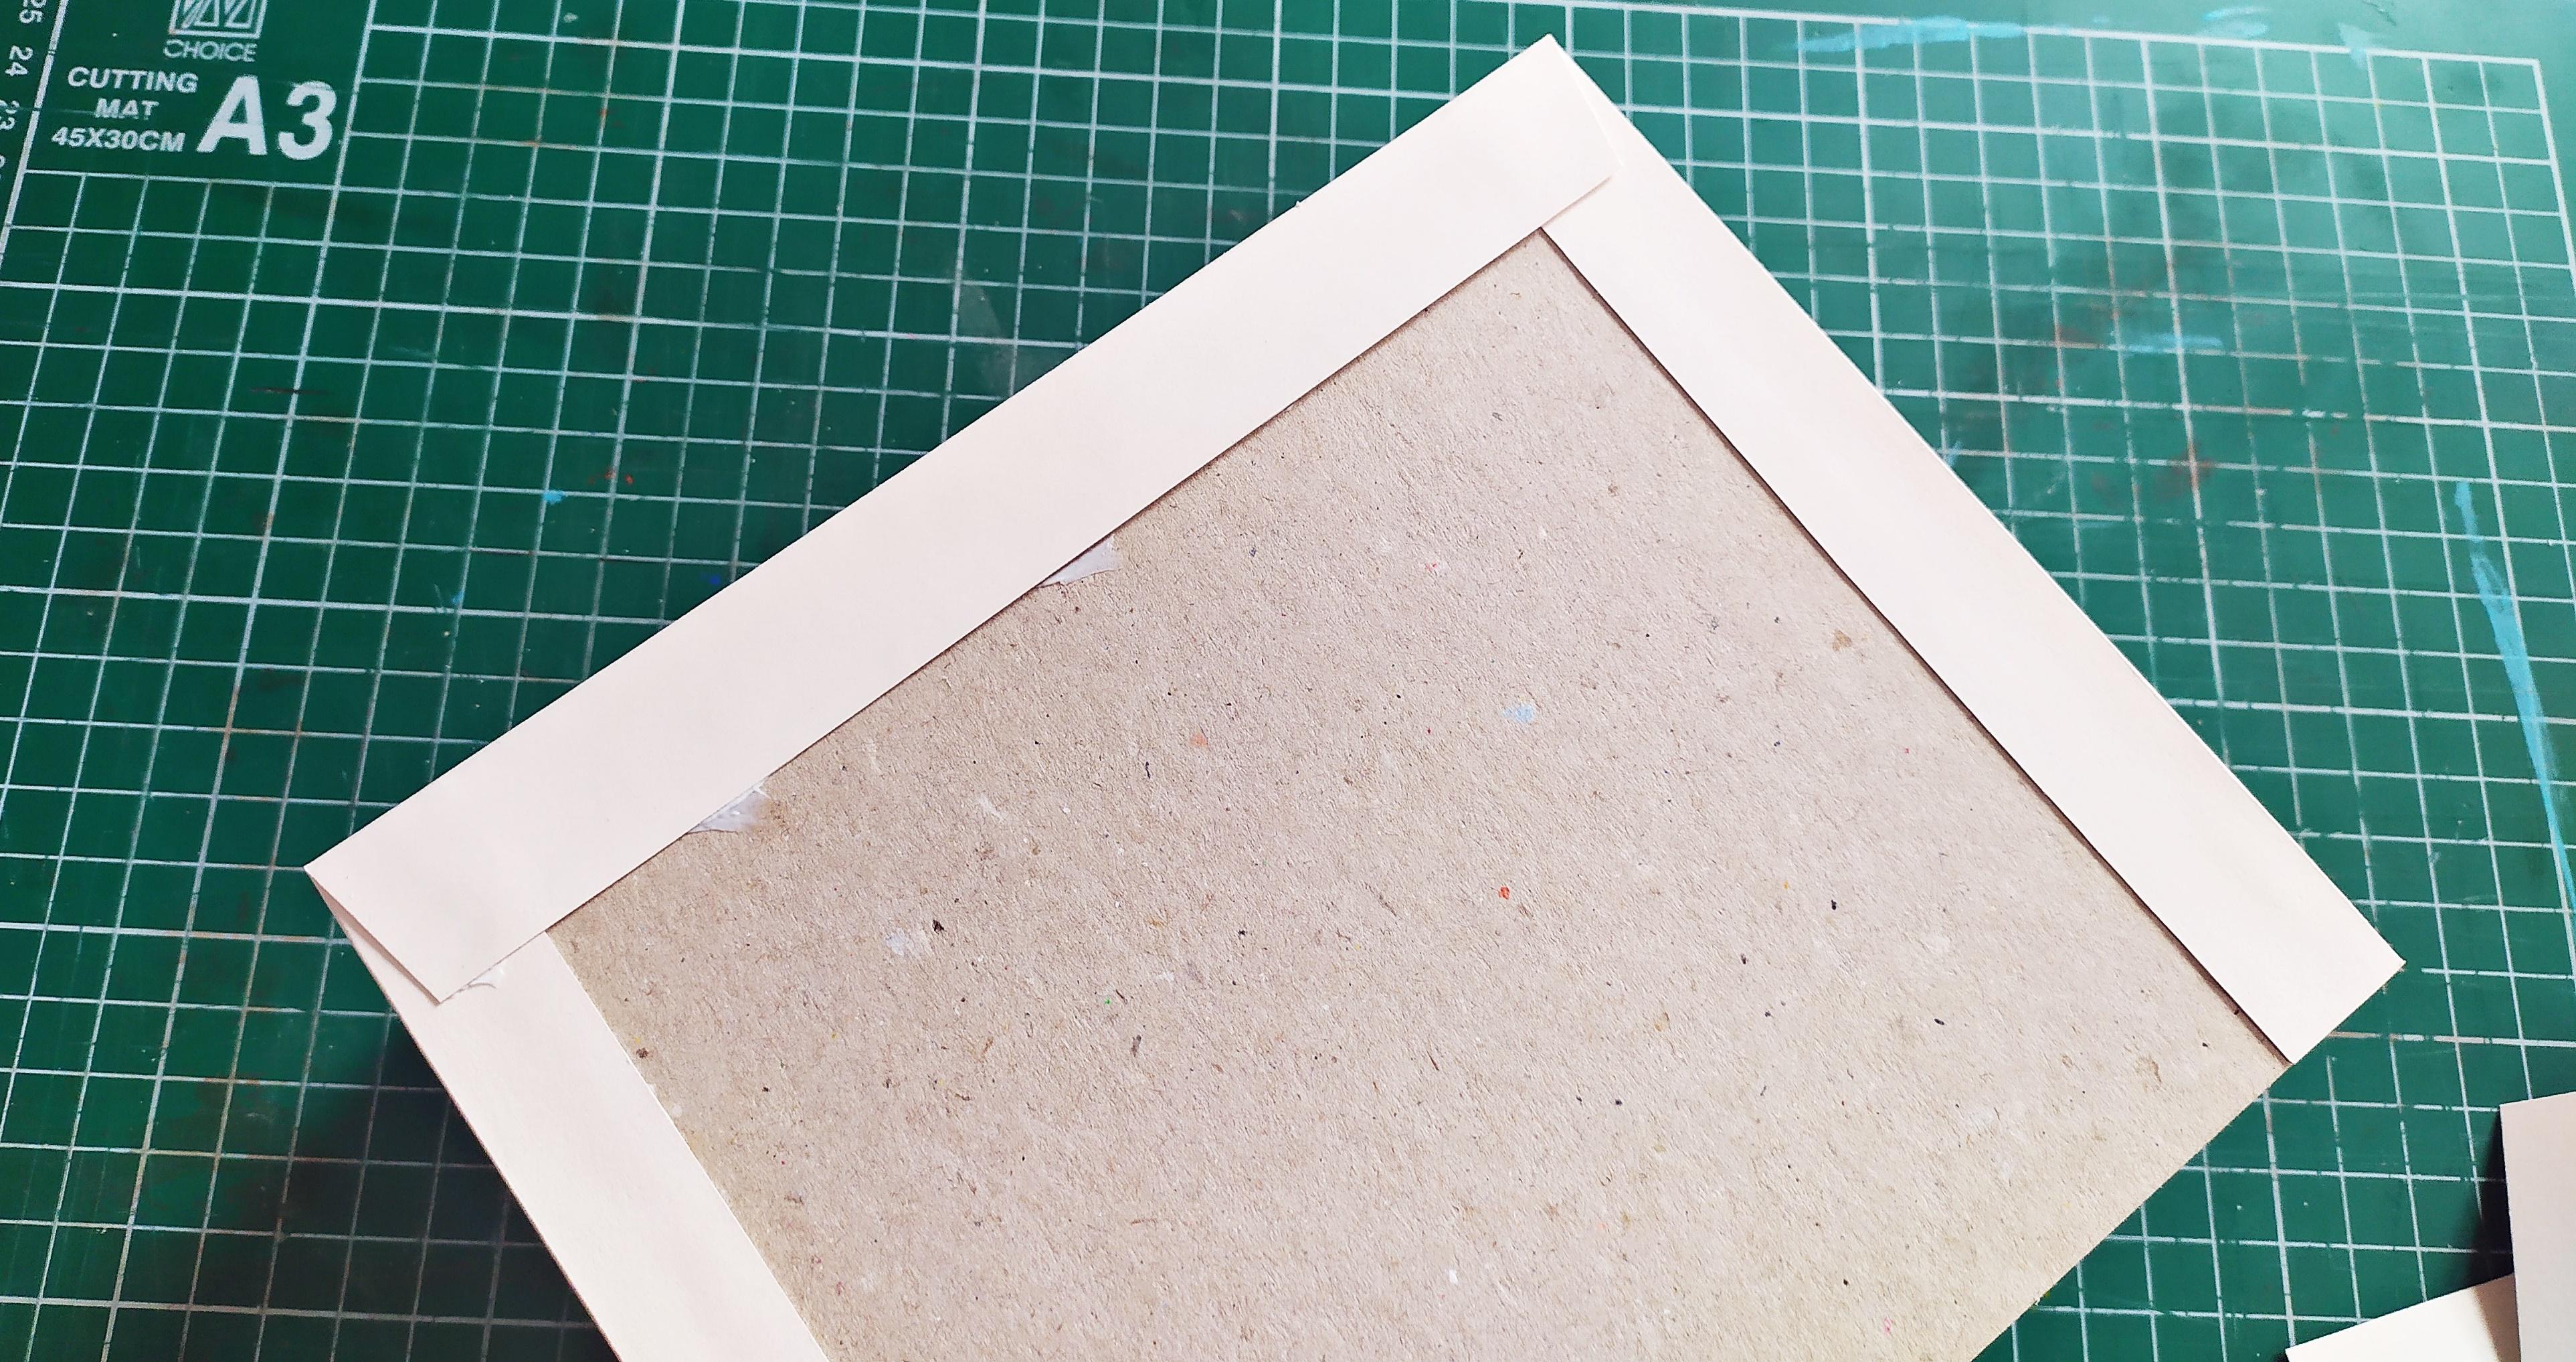
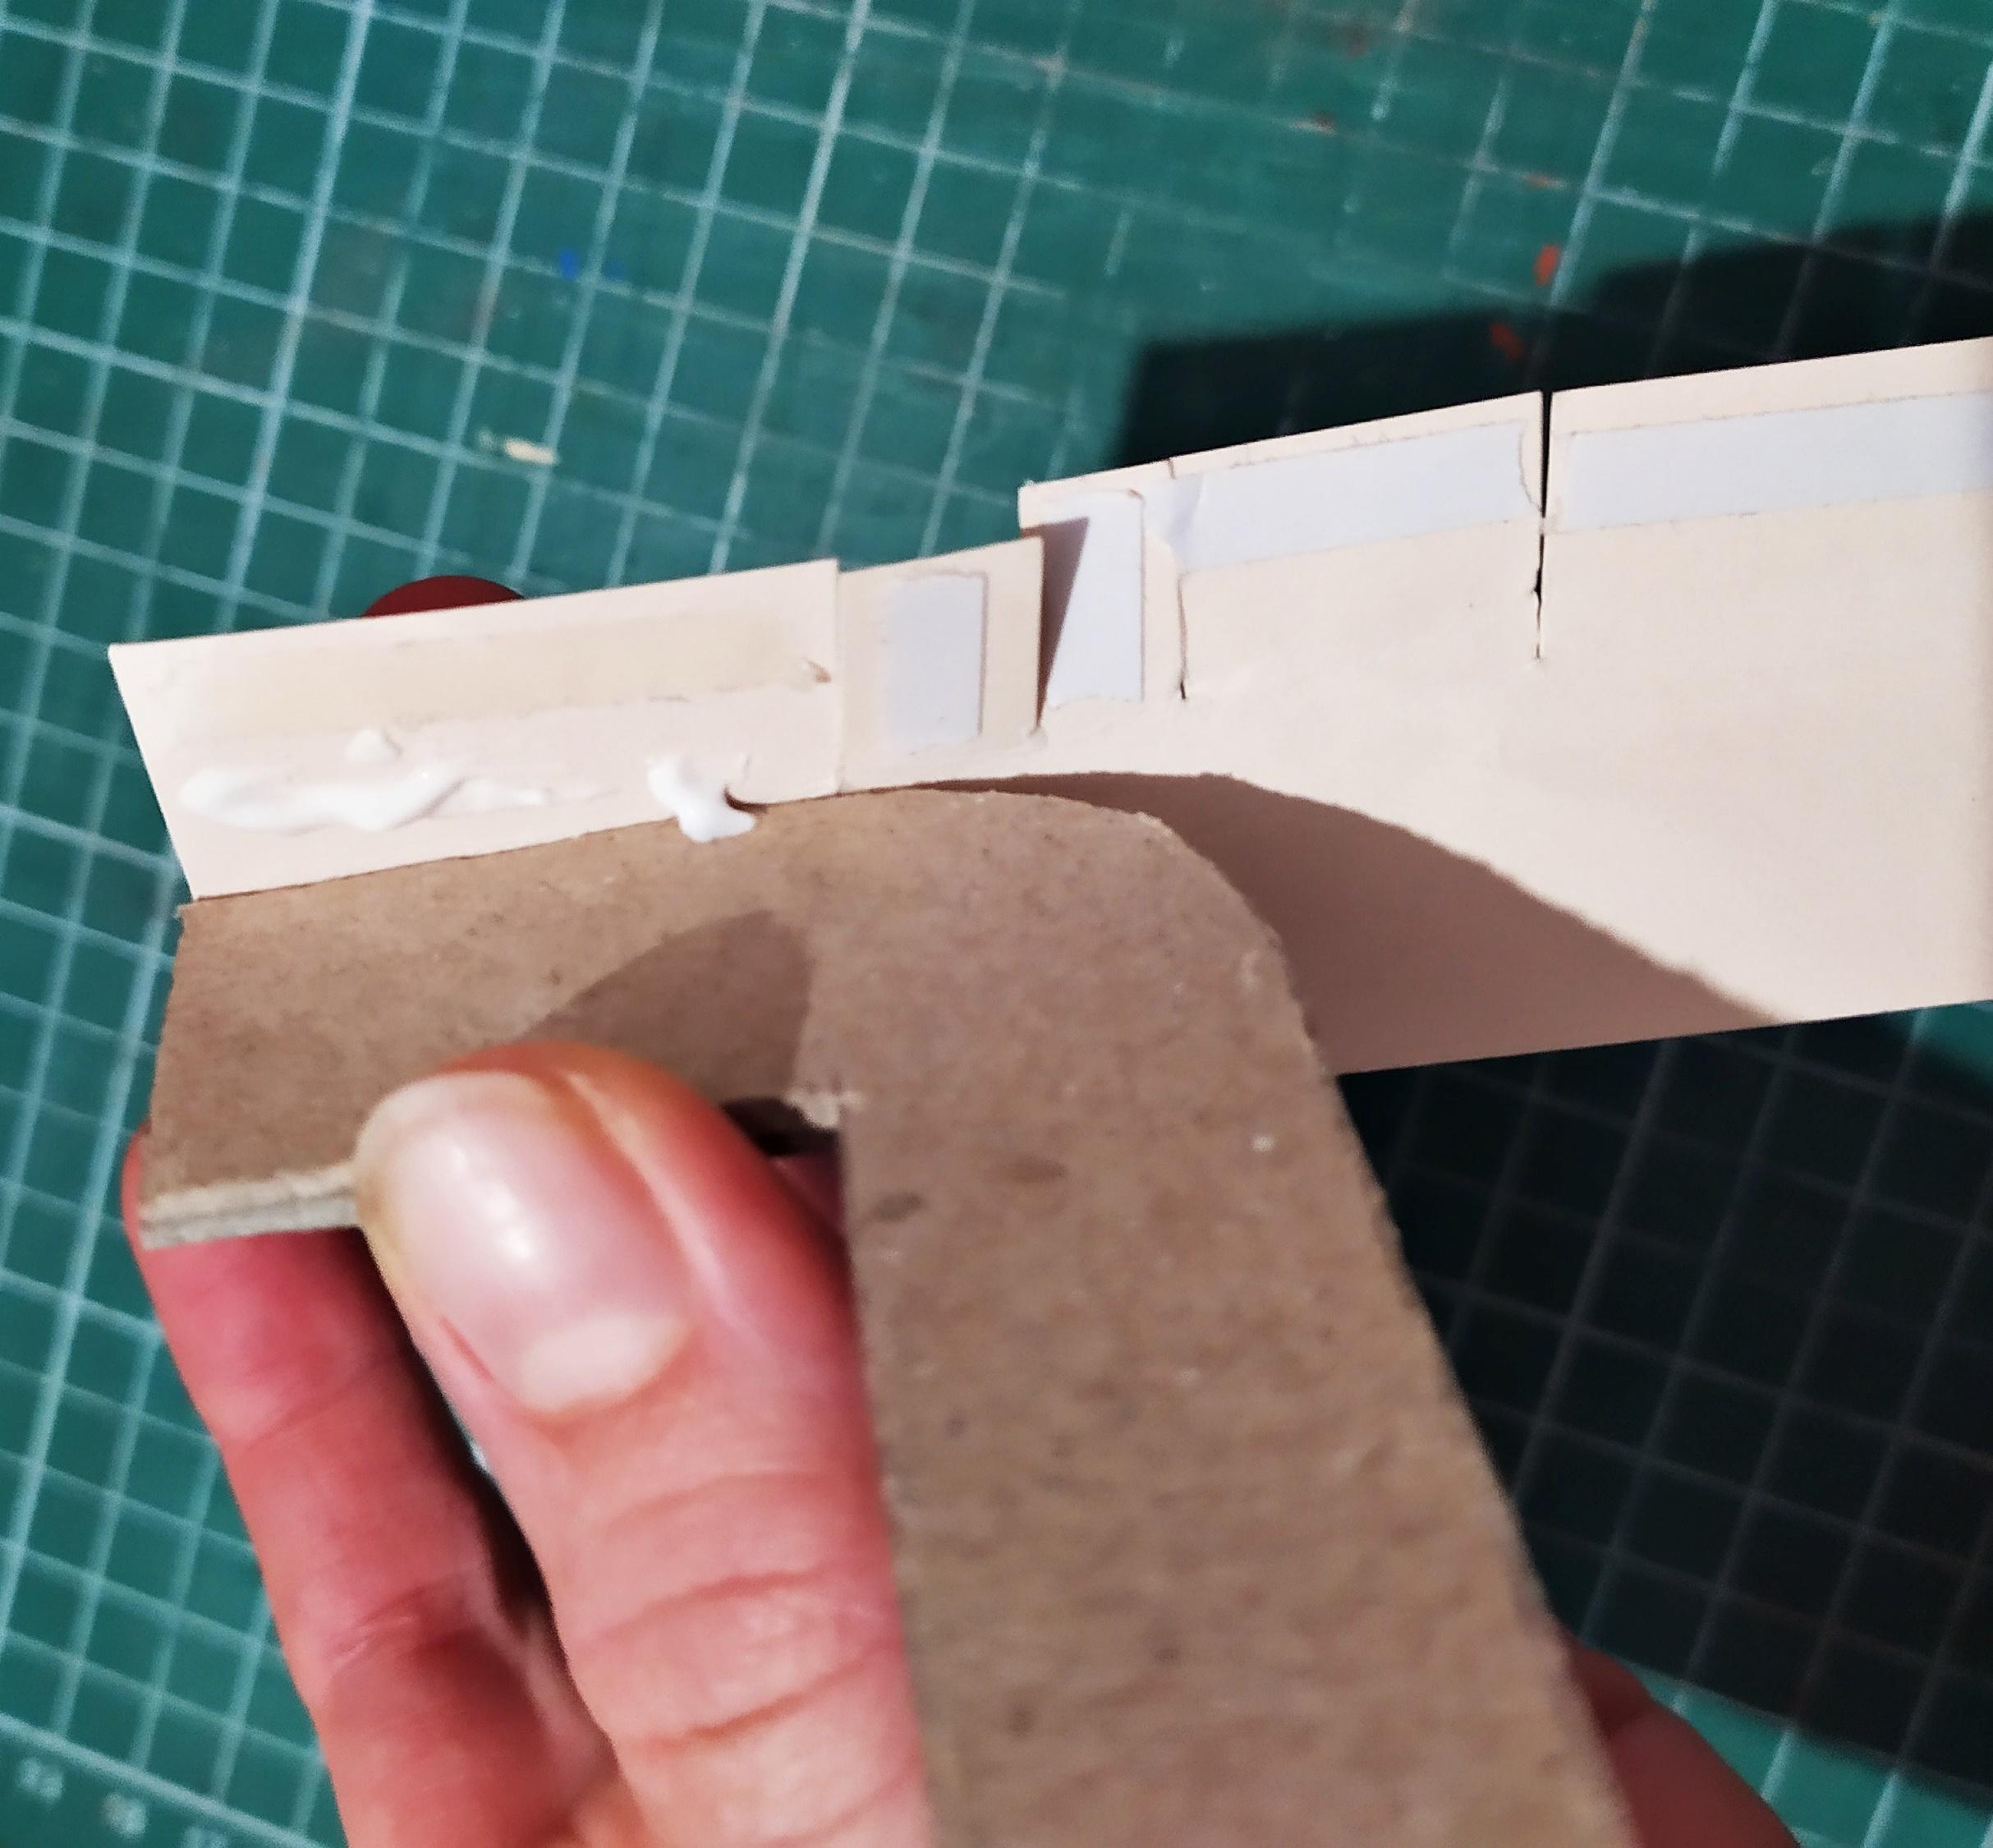
Once you're happy with the placement of the magnets dab a little bit glue to the one on the back of the designer paper and place the paper as if you're gluing it onto the front cover.This way the little dab of glue will mark where the magnet is supposed to go (refer to third image).Attach the magnet to that marked dot with some glue and secure it with some double sided tape.
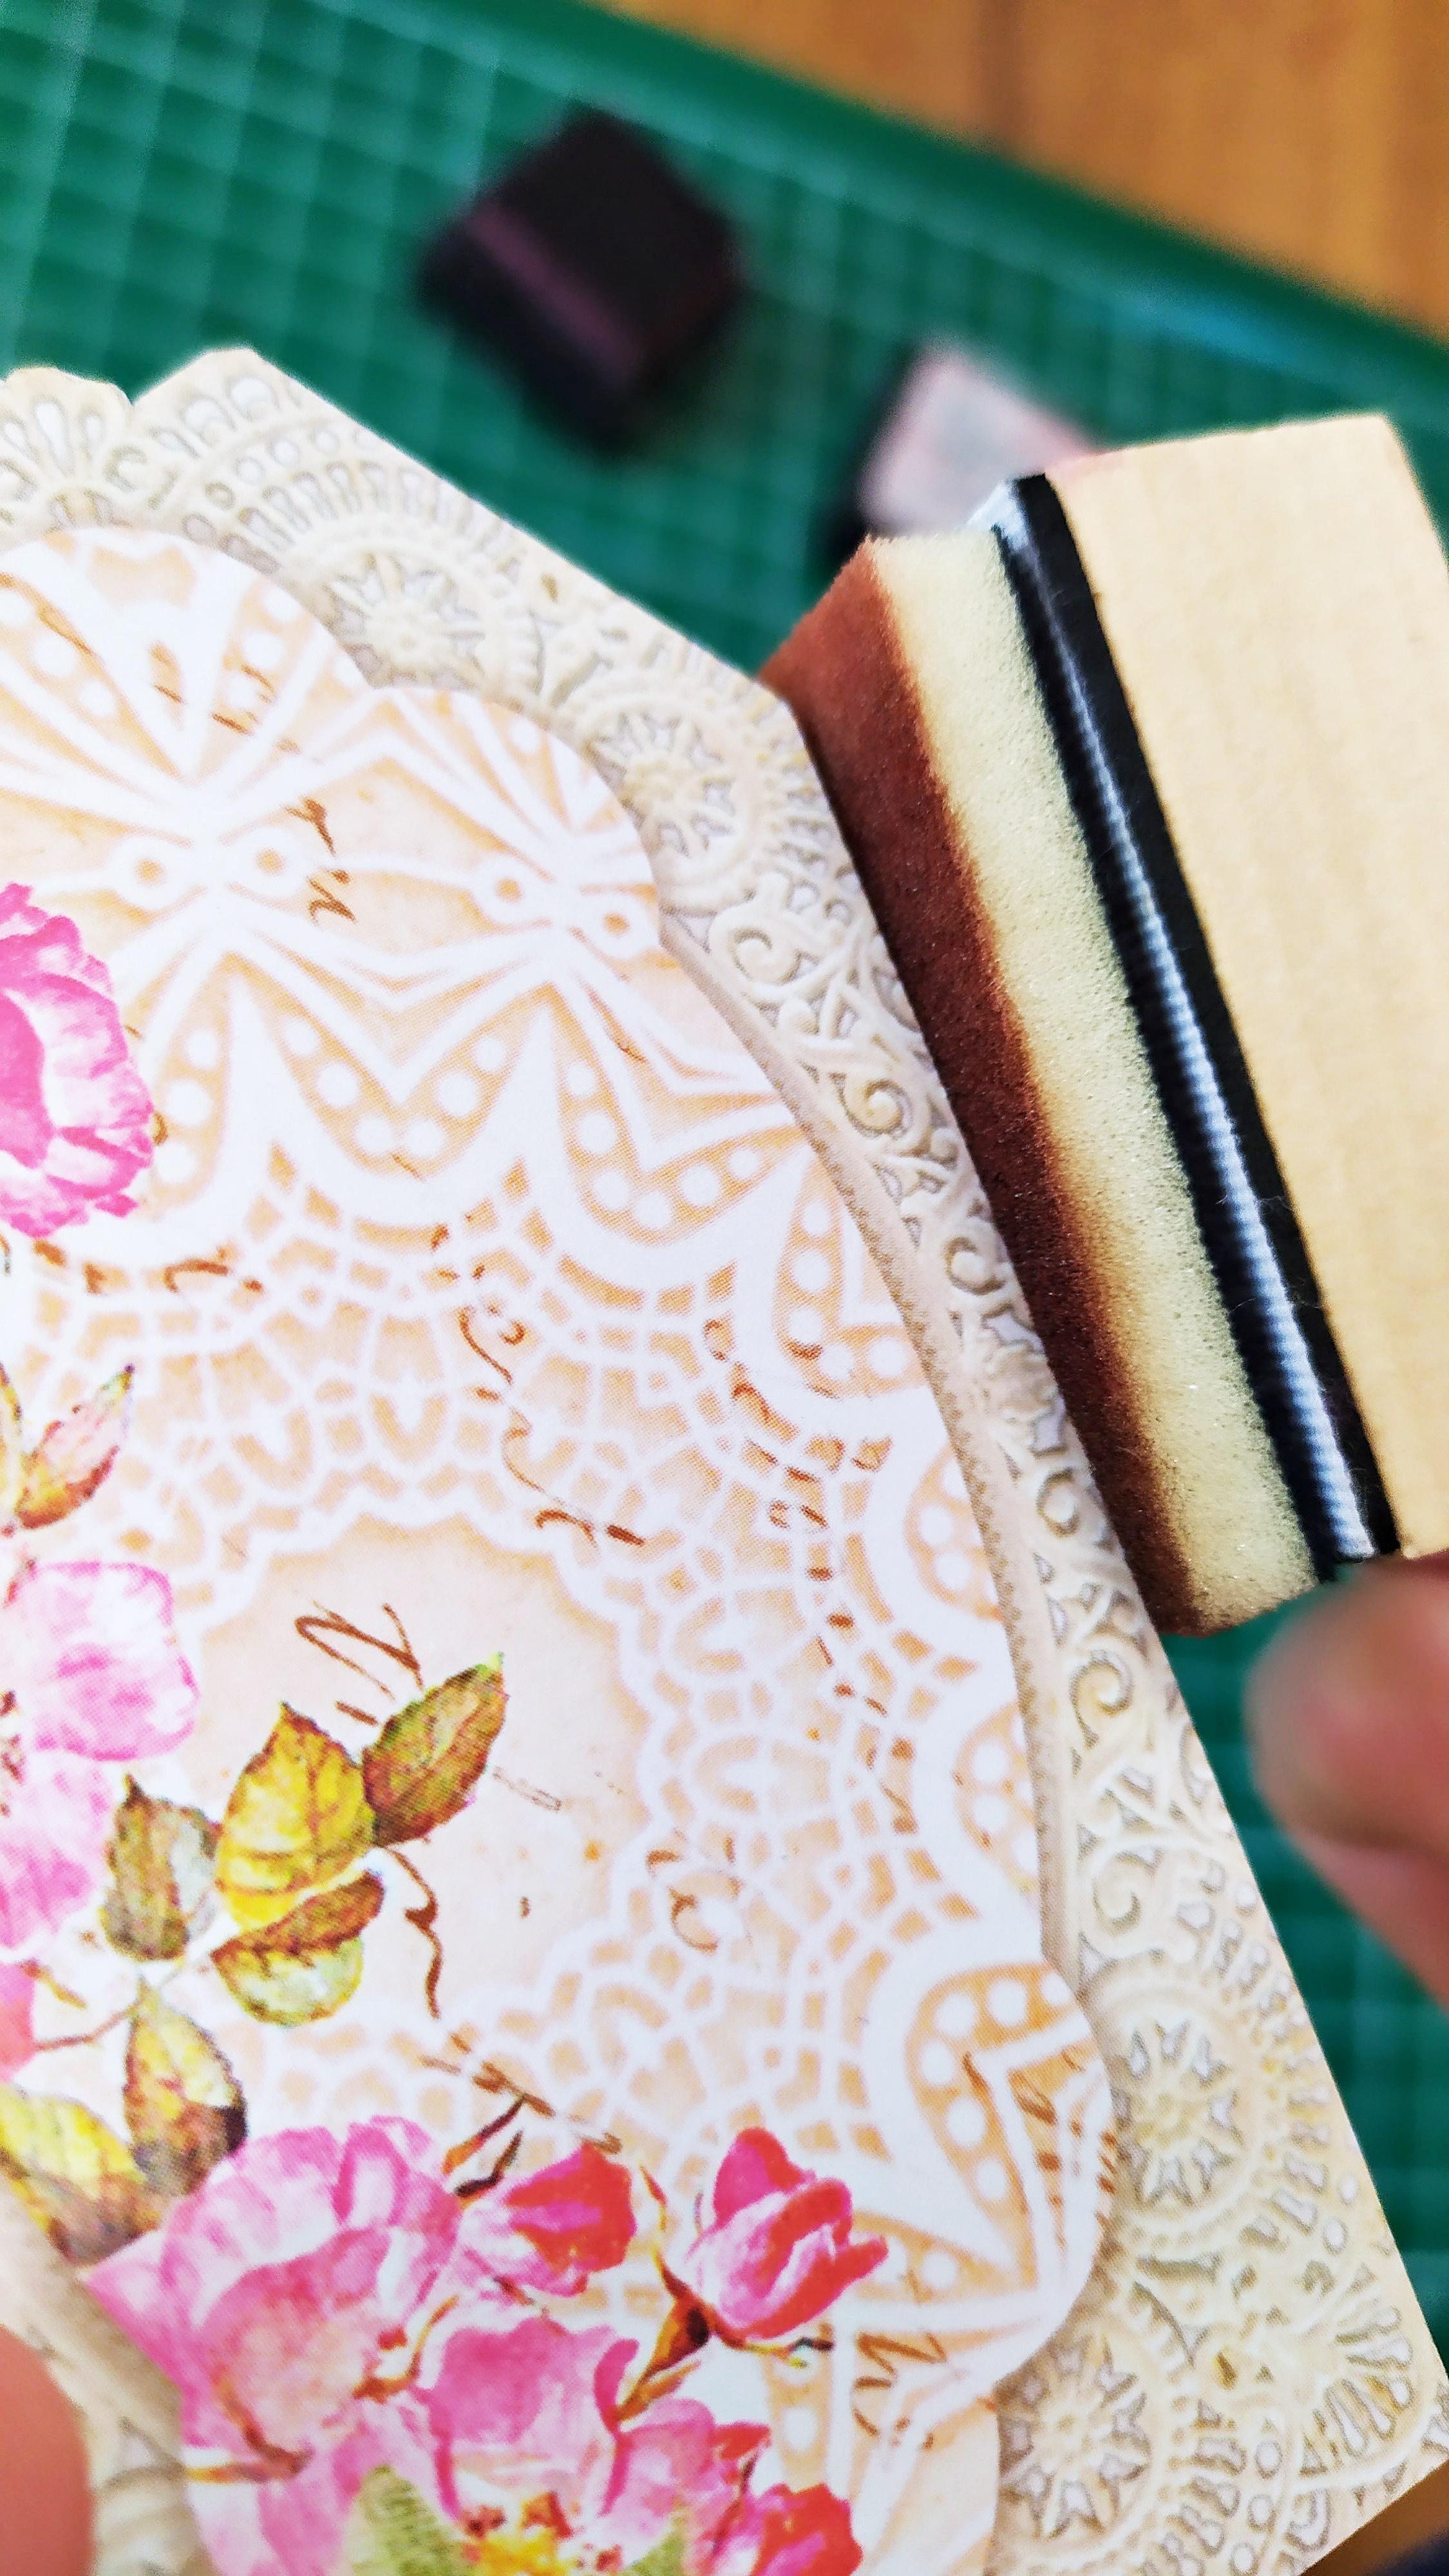
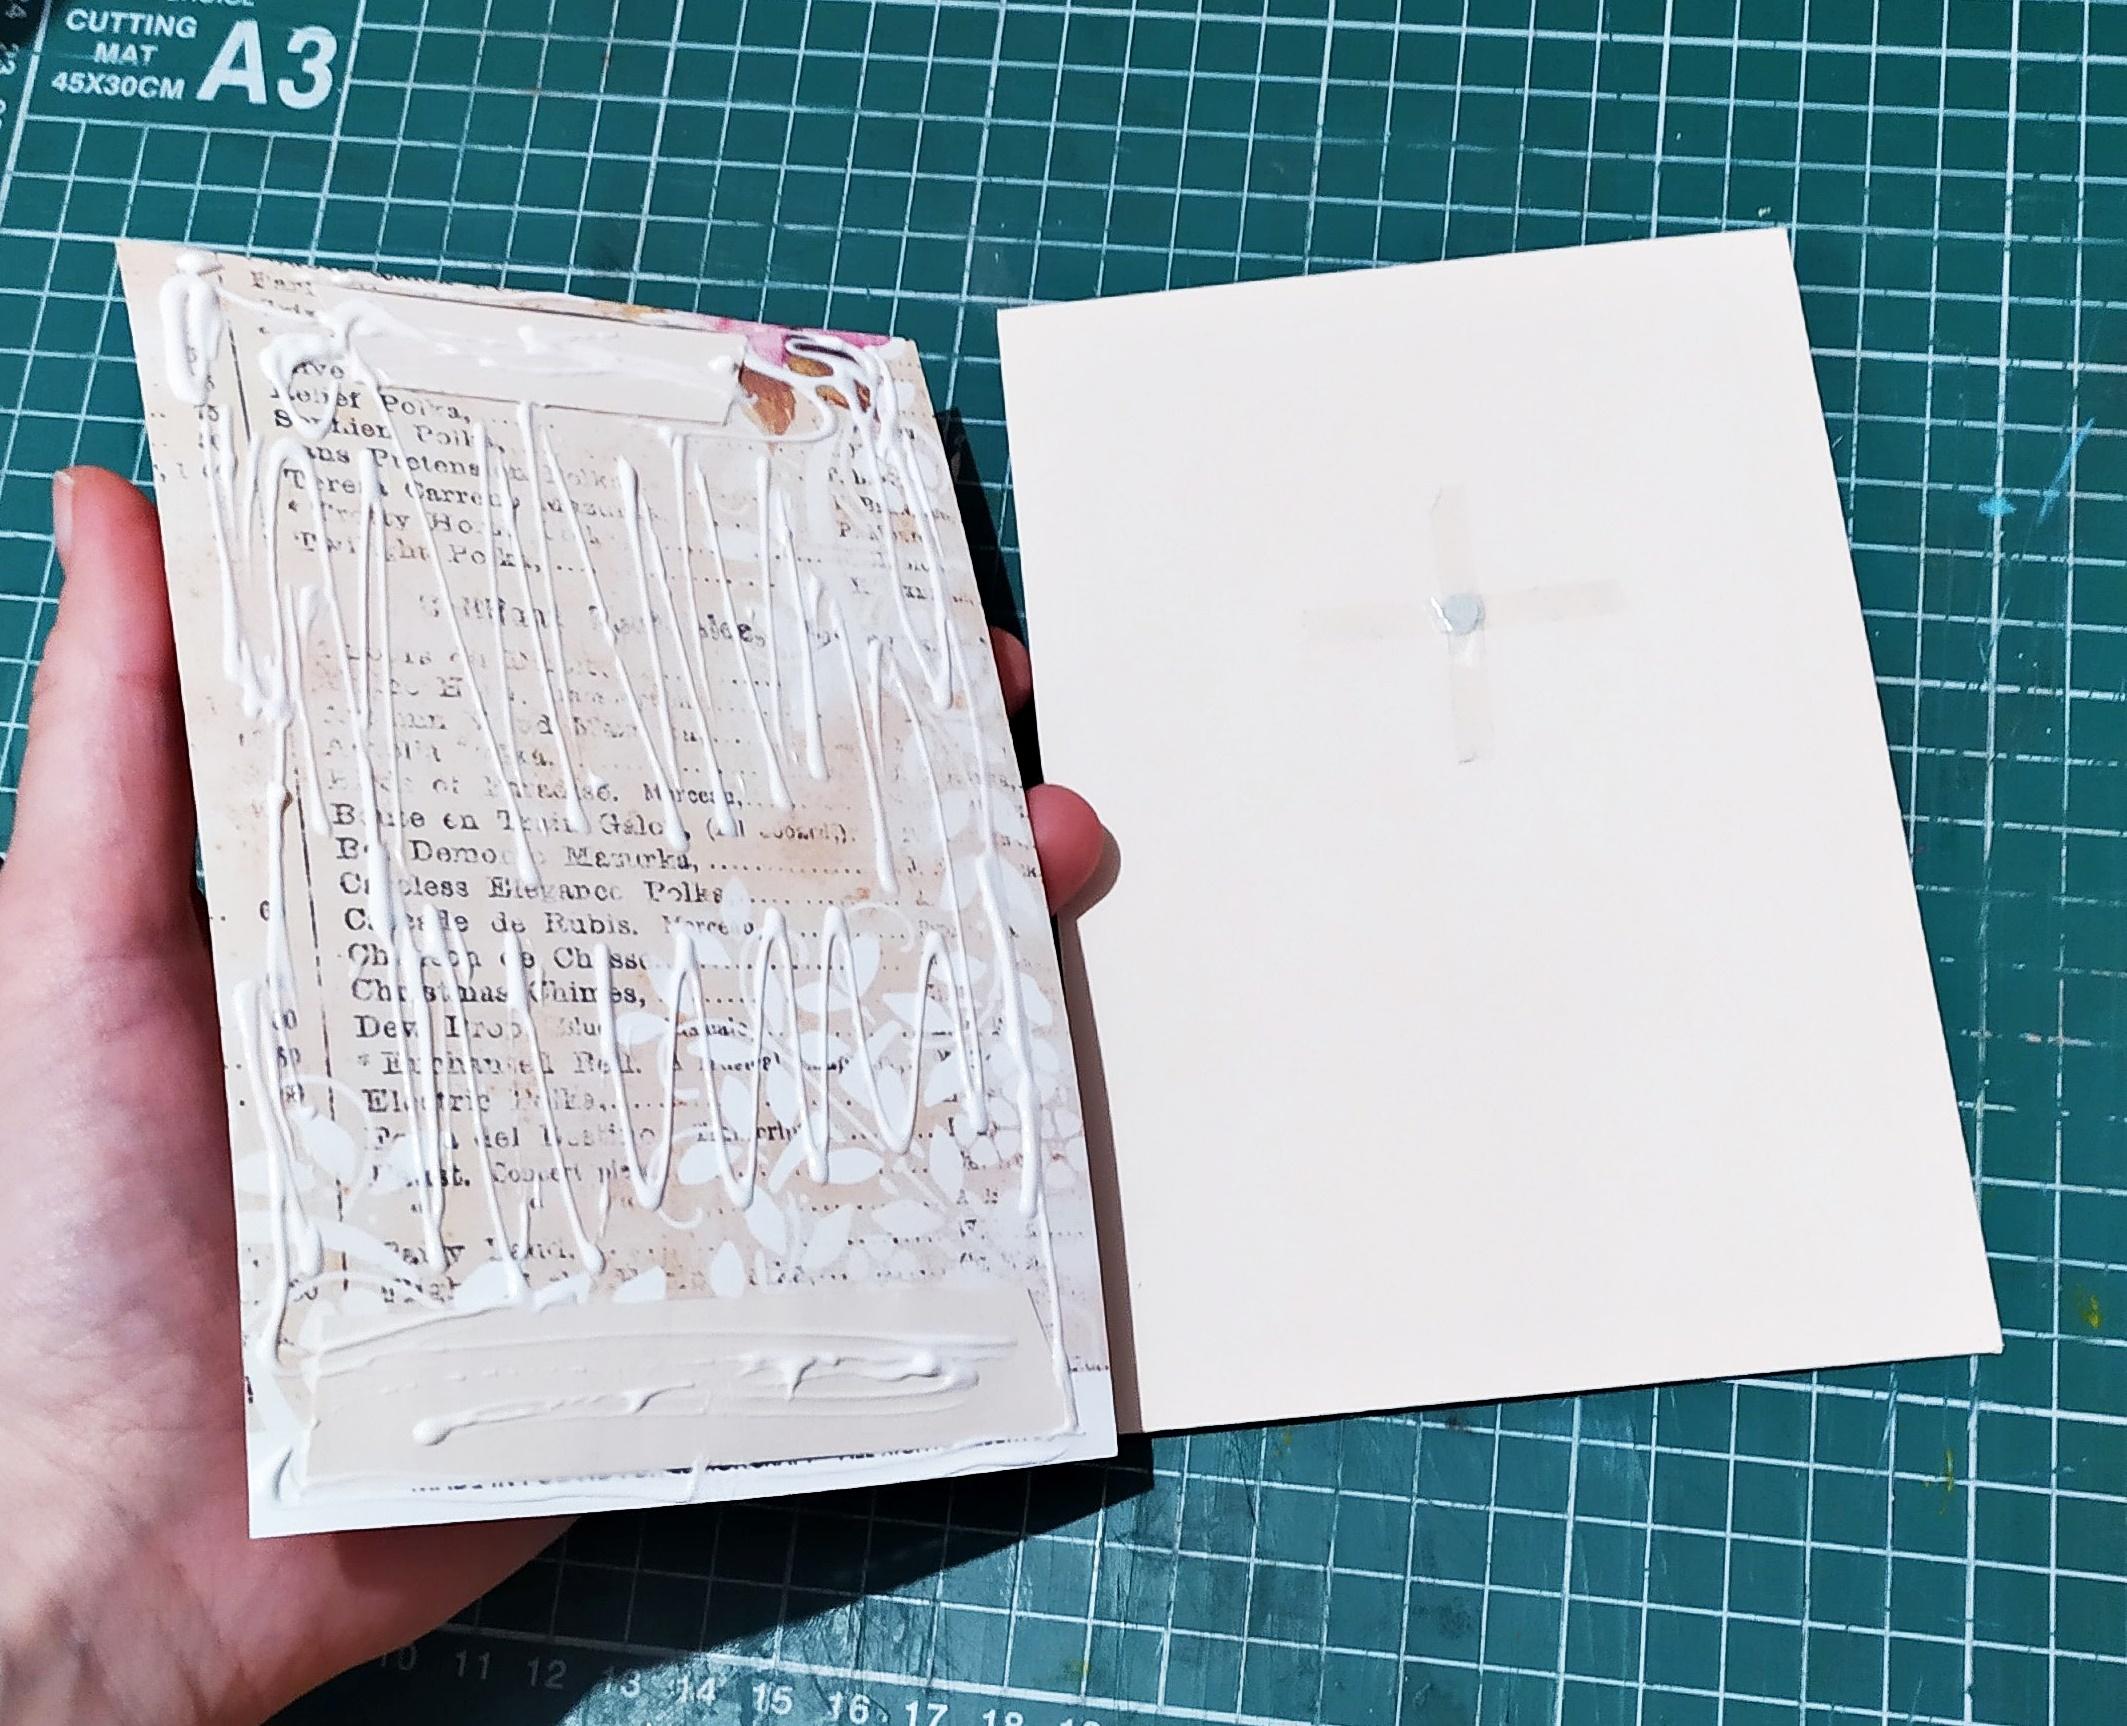
Optionally before you glue the designer paper use some distress ink on its edges to make it pop.Glue the designer paper to the cover.Remember to spread the glue evenly and smooth it out with the bone folder.
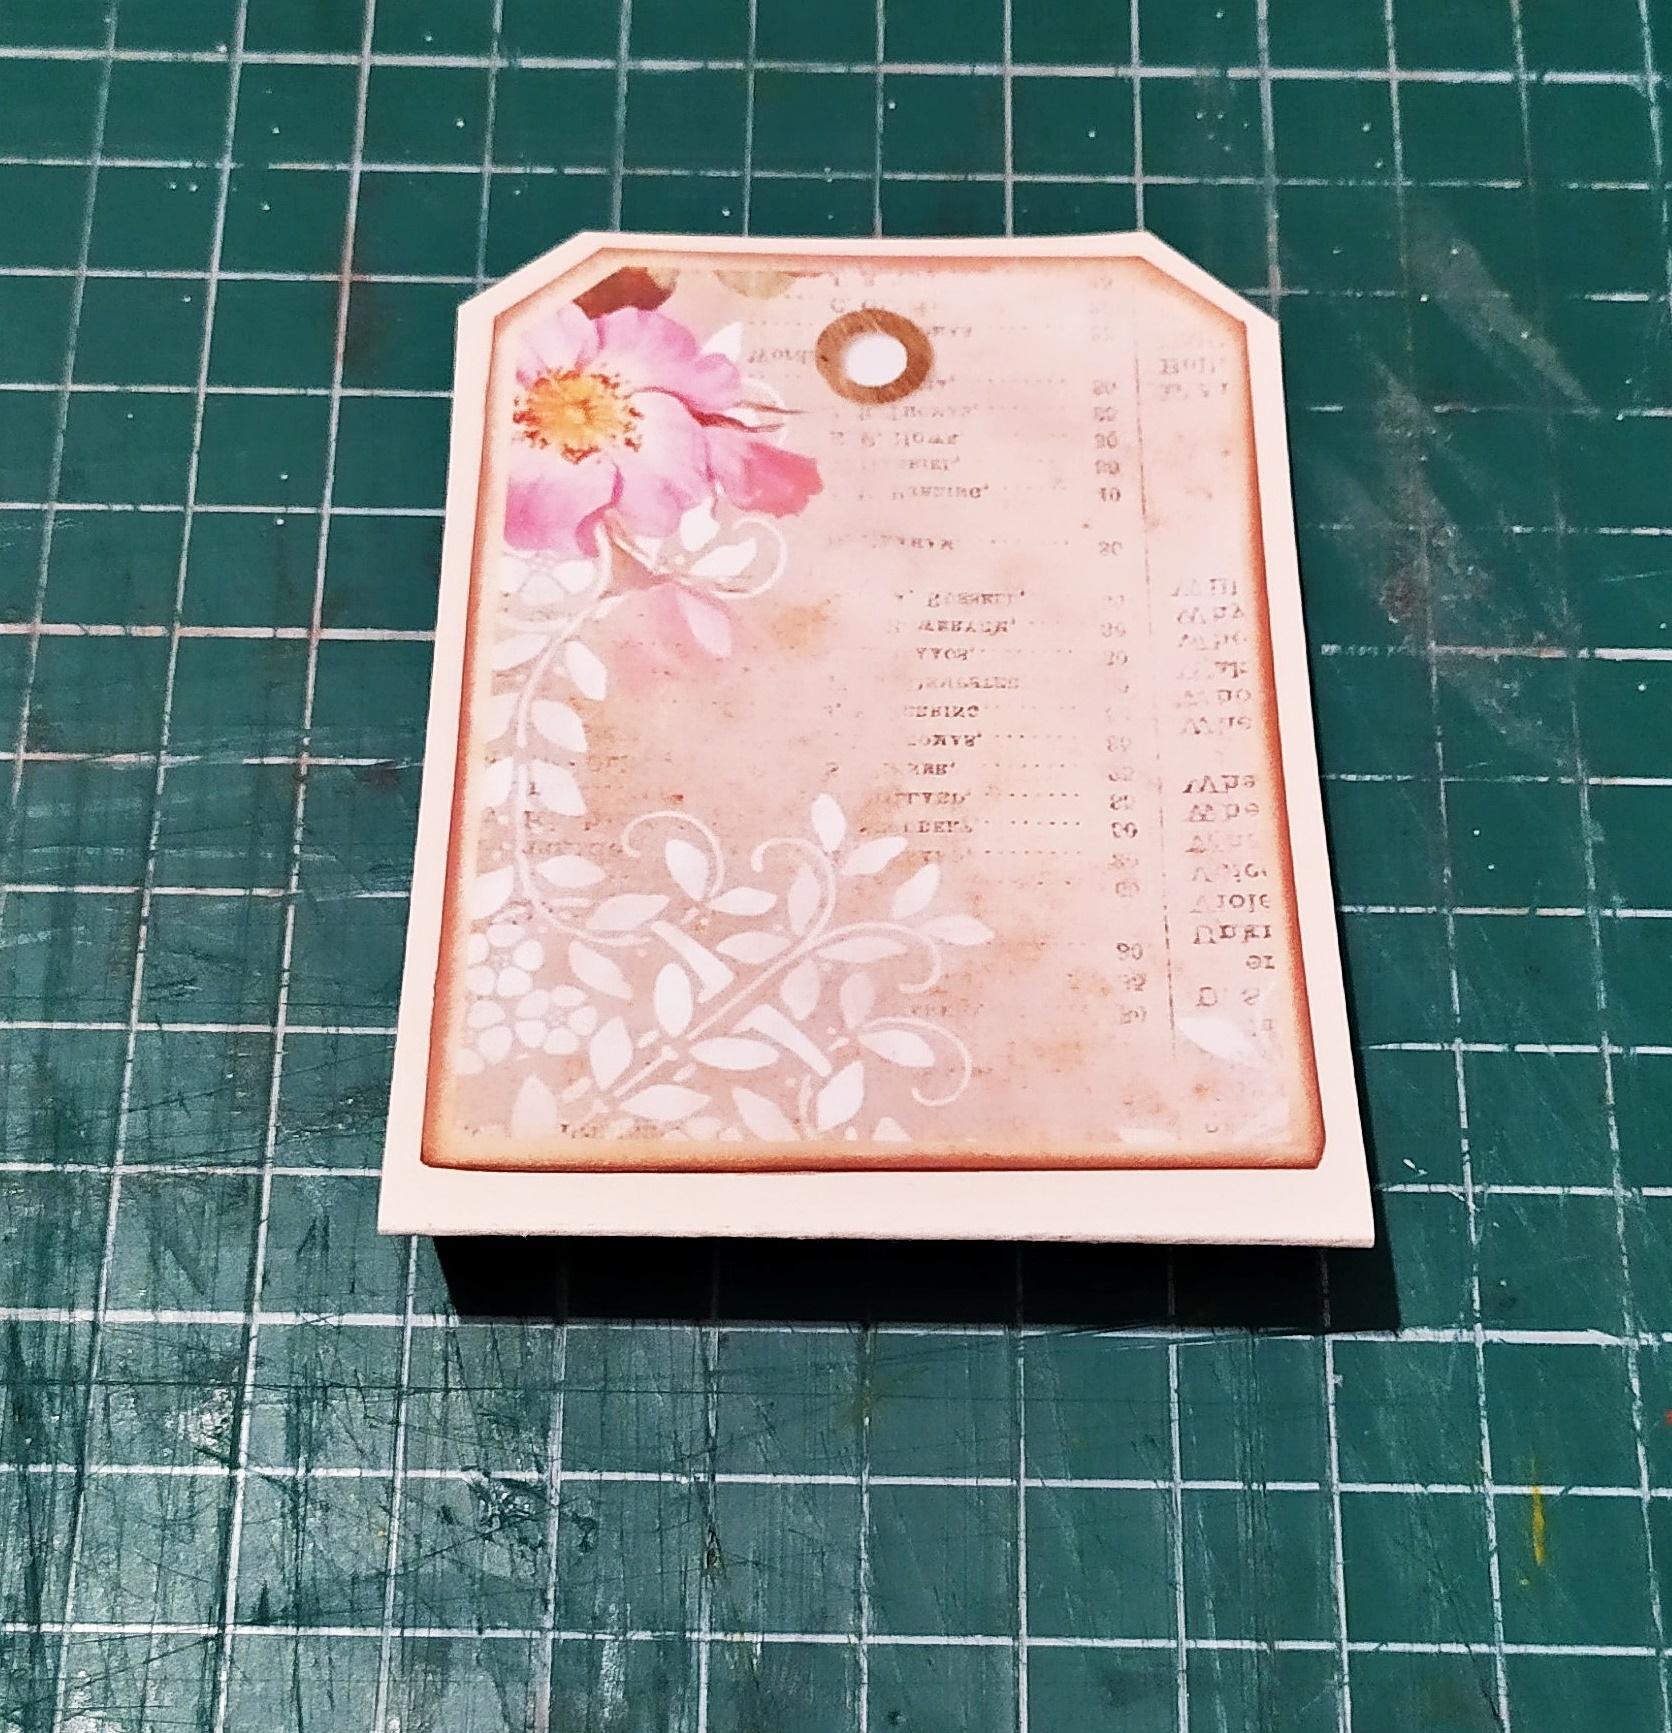
Finally,place the second magnet on top of the tag,glue and secure it with double sided tape.Cut some more pretty paper to go on top of the tag,distress and glue.
The first interactive page is now complete!
Create a Fold
Now that the cover page is done it's time to decorate the pages we made in Step 4.
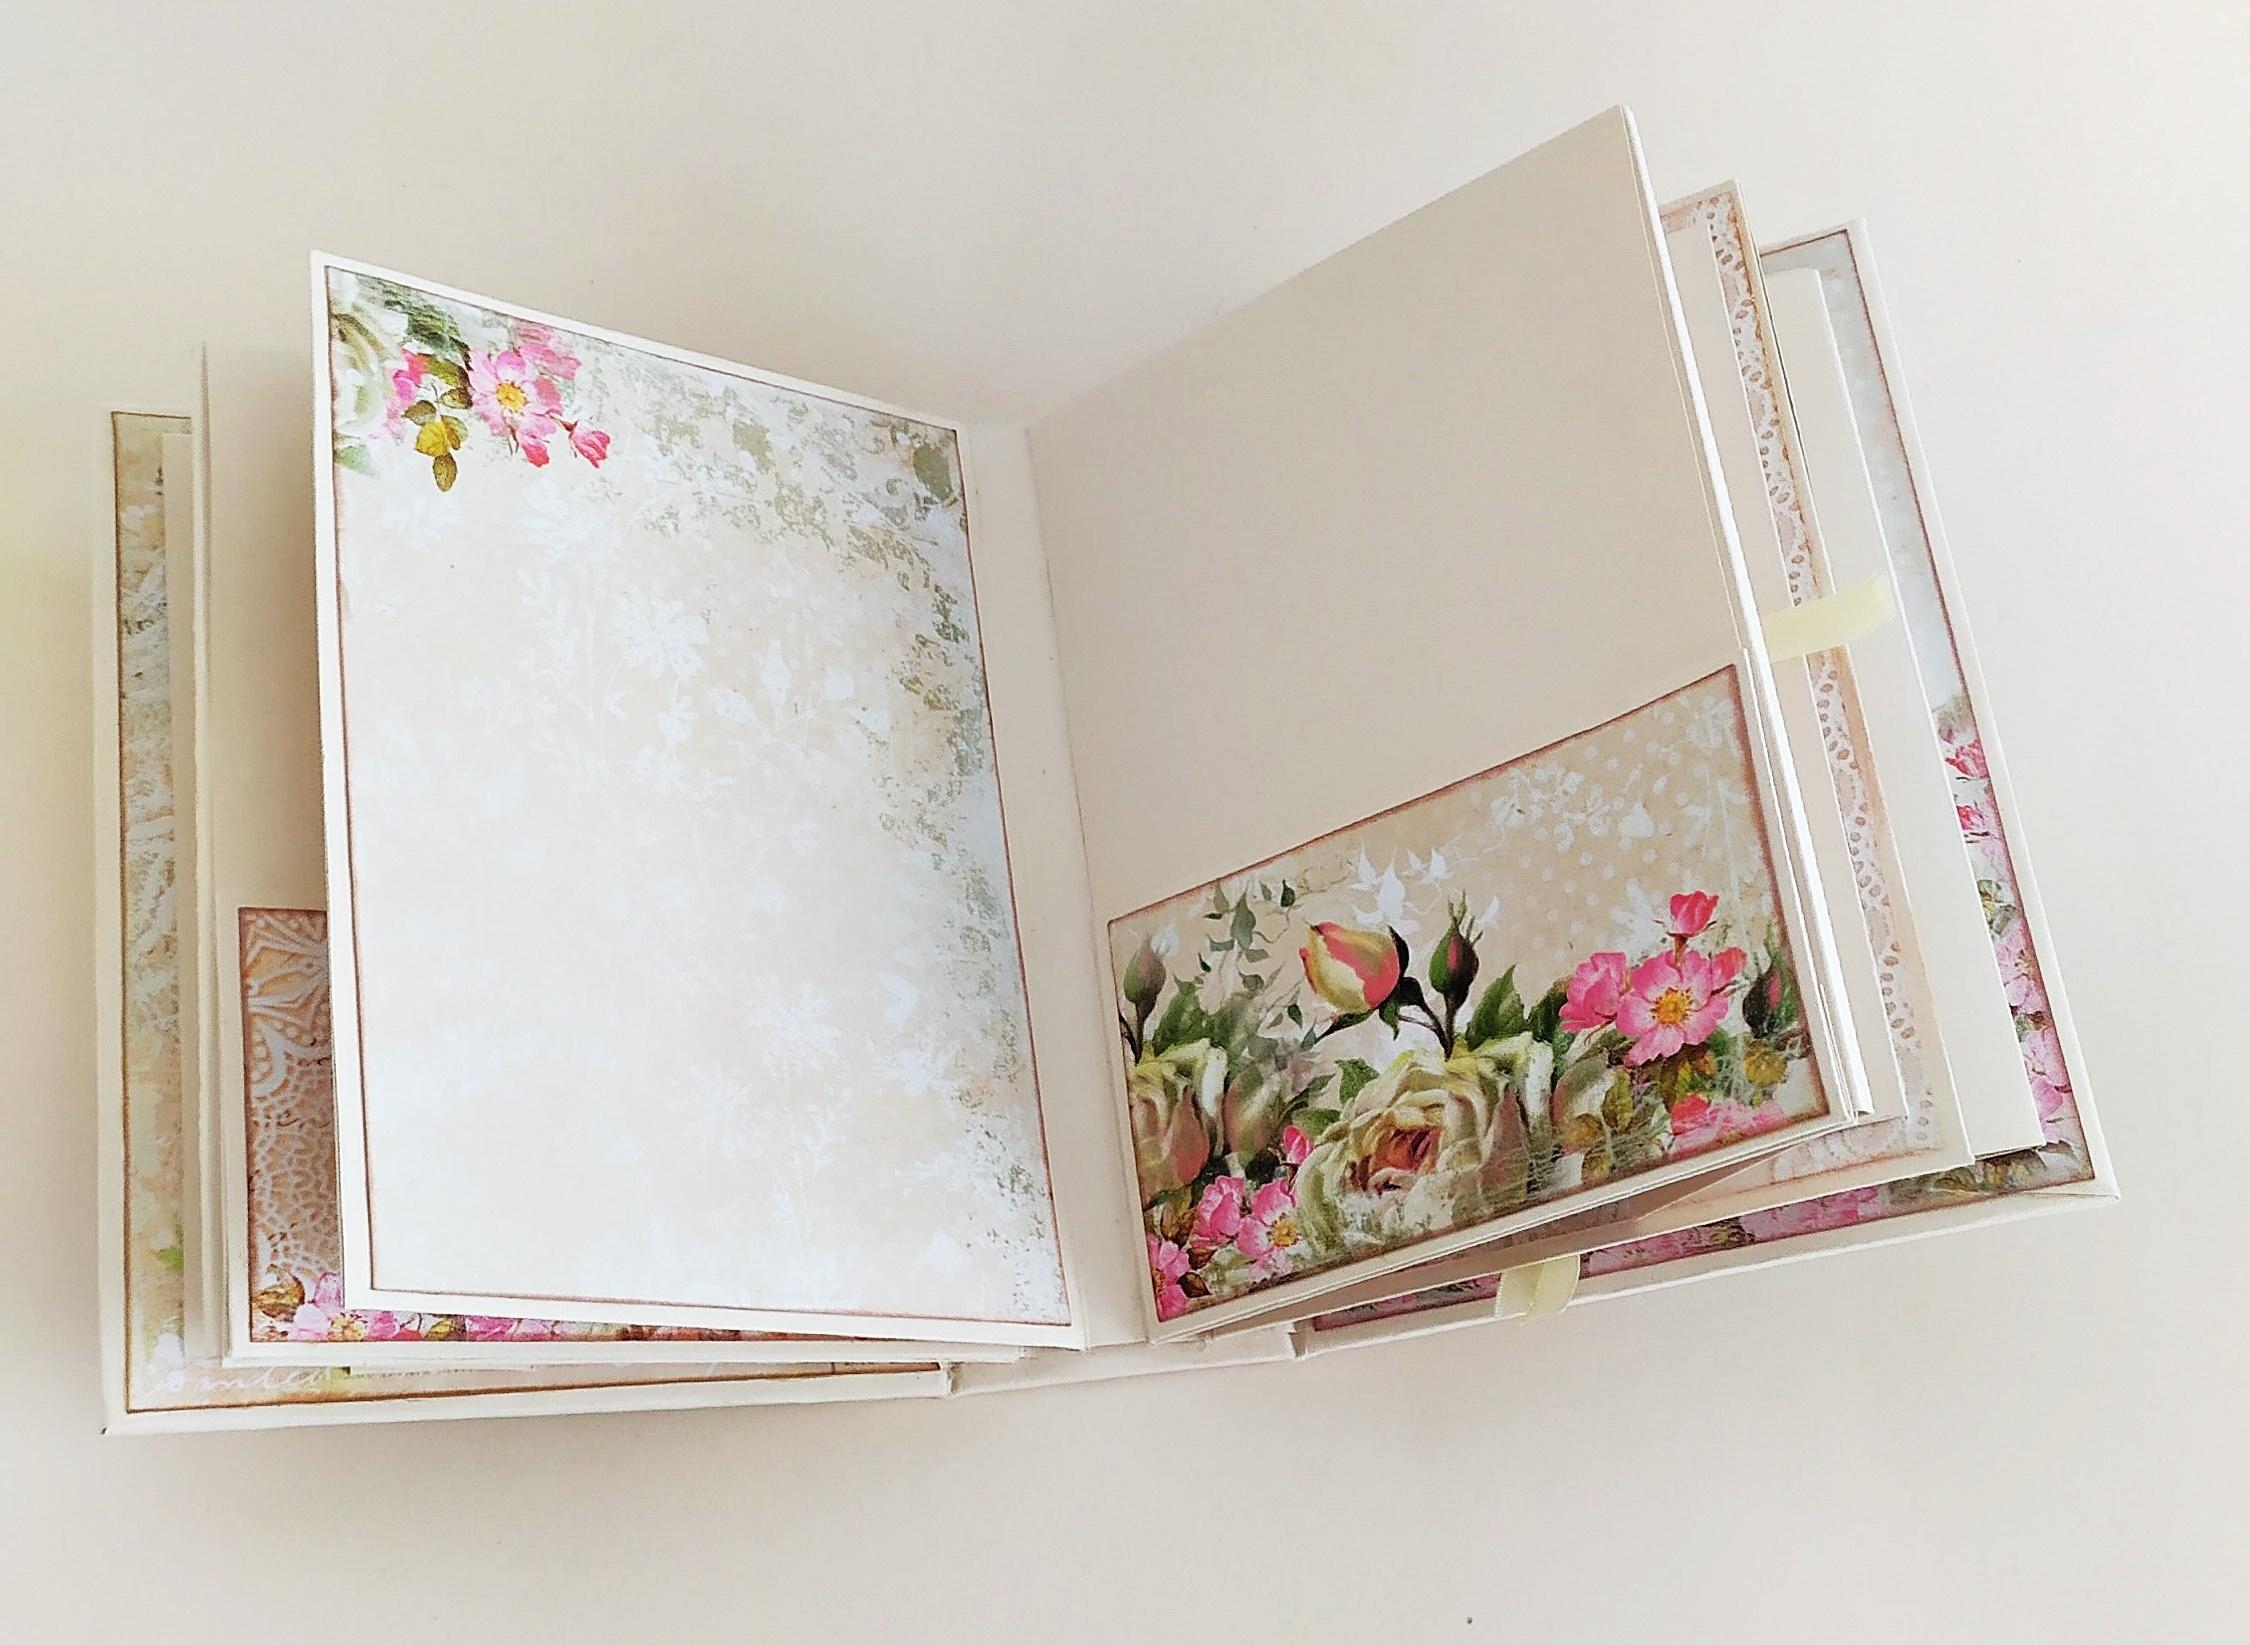
Cut a piece of cardstock measuring 16.5x15 cm.This piece of cardstock is going to be inserted into a page with a pocket.Make a score at about 4.5 cm and fold it.
Take one of the pages with pockets.Decorate it and the folded side of the piece of cardstock with some designer paper.Insert the folding cardstock into the pocket and the page is complete.
Make a Pocket
On the backside of the first page I am going to show you how to make a simple pocket.
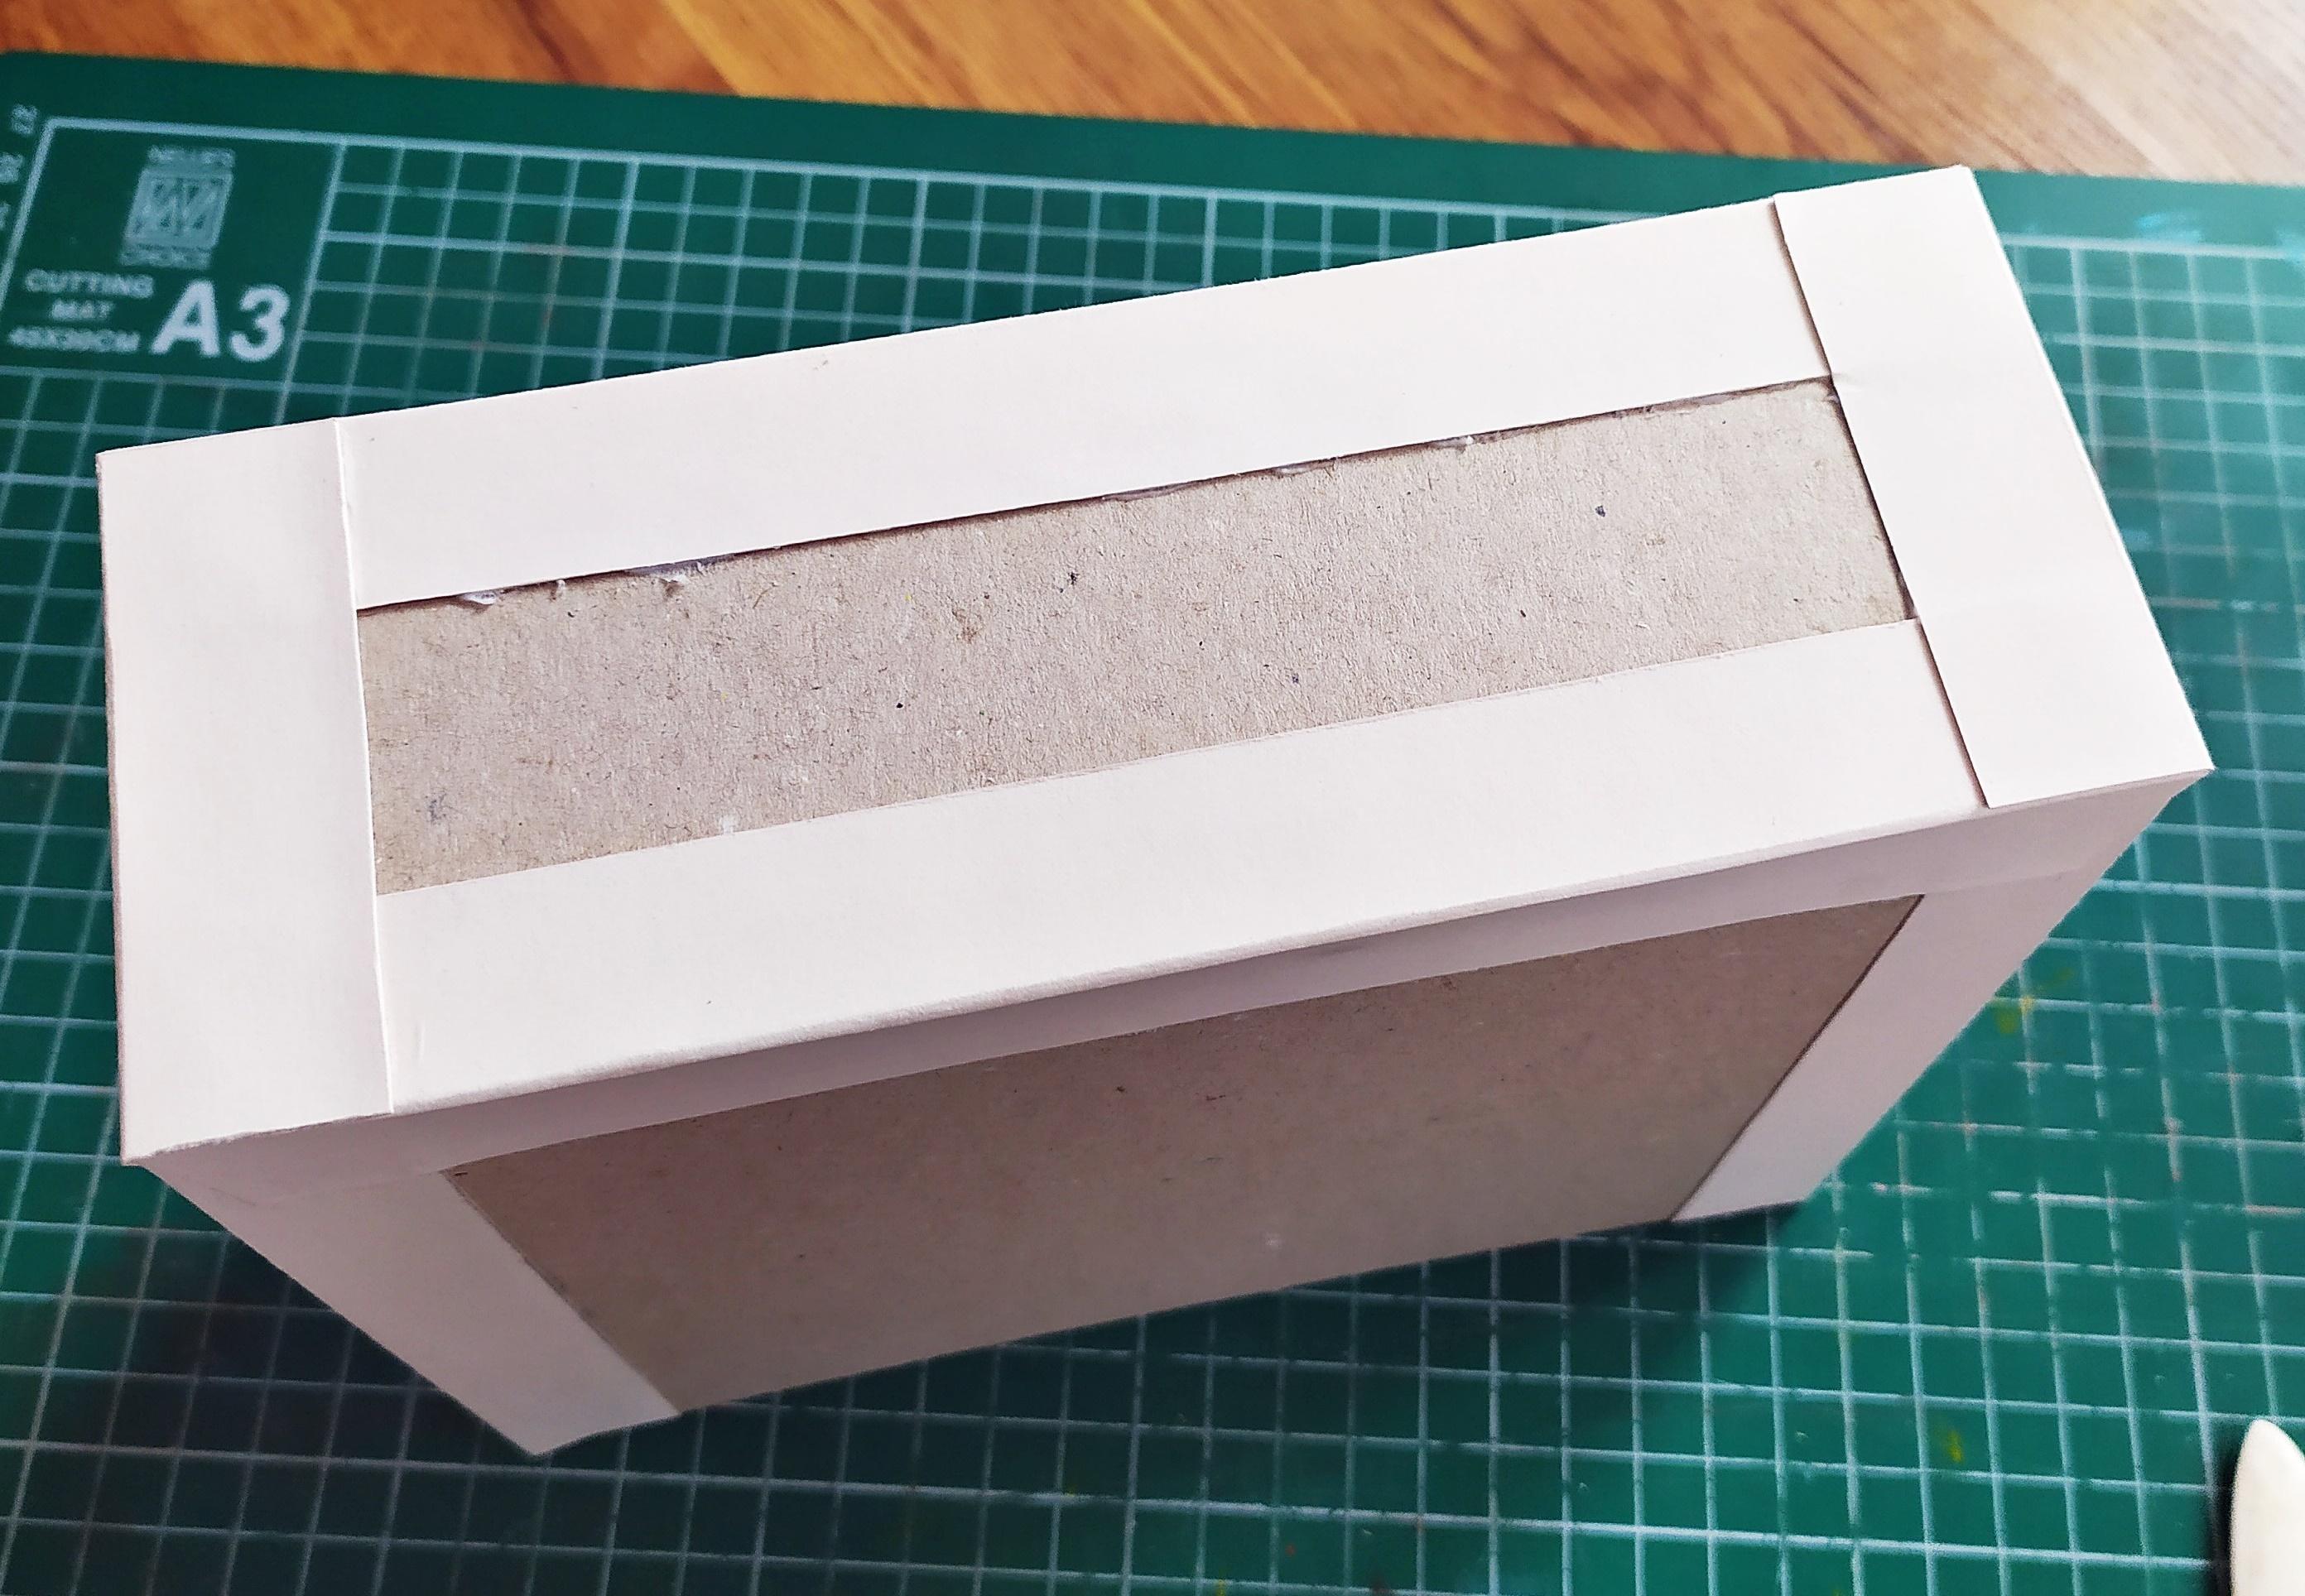
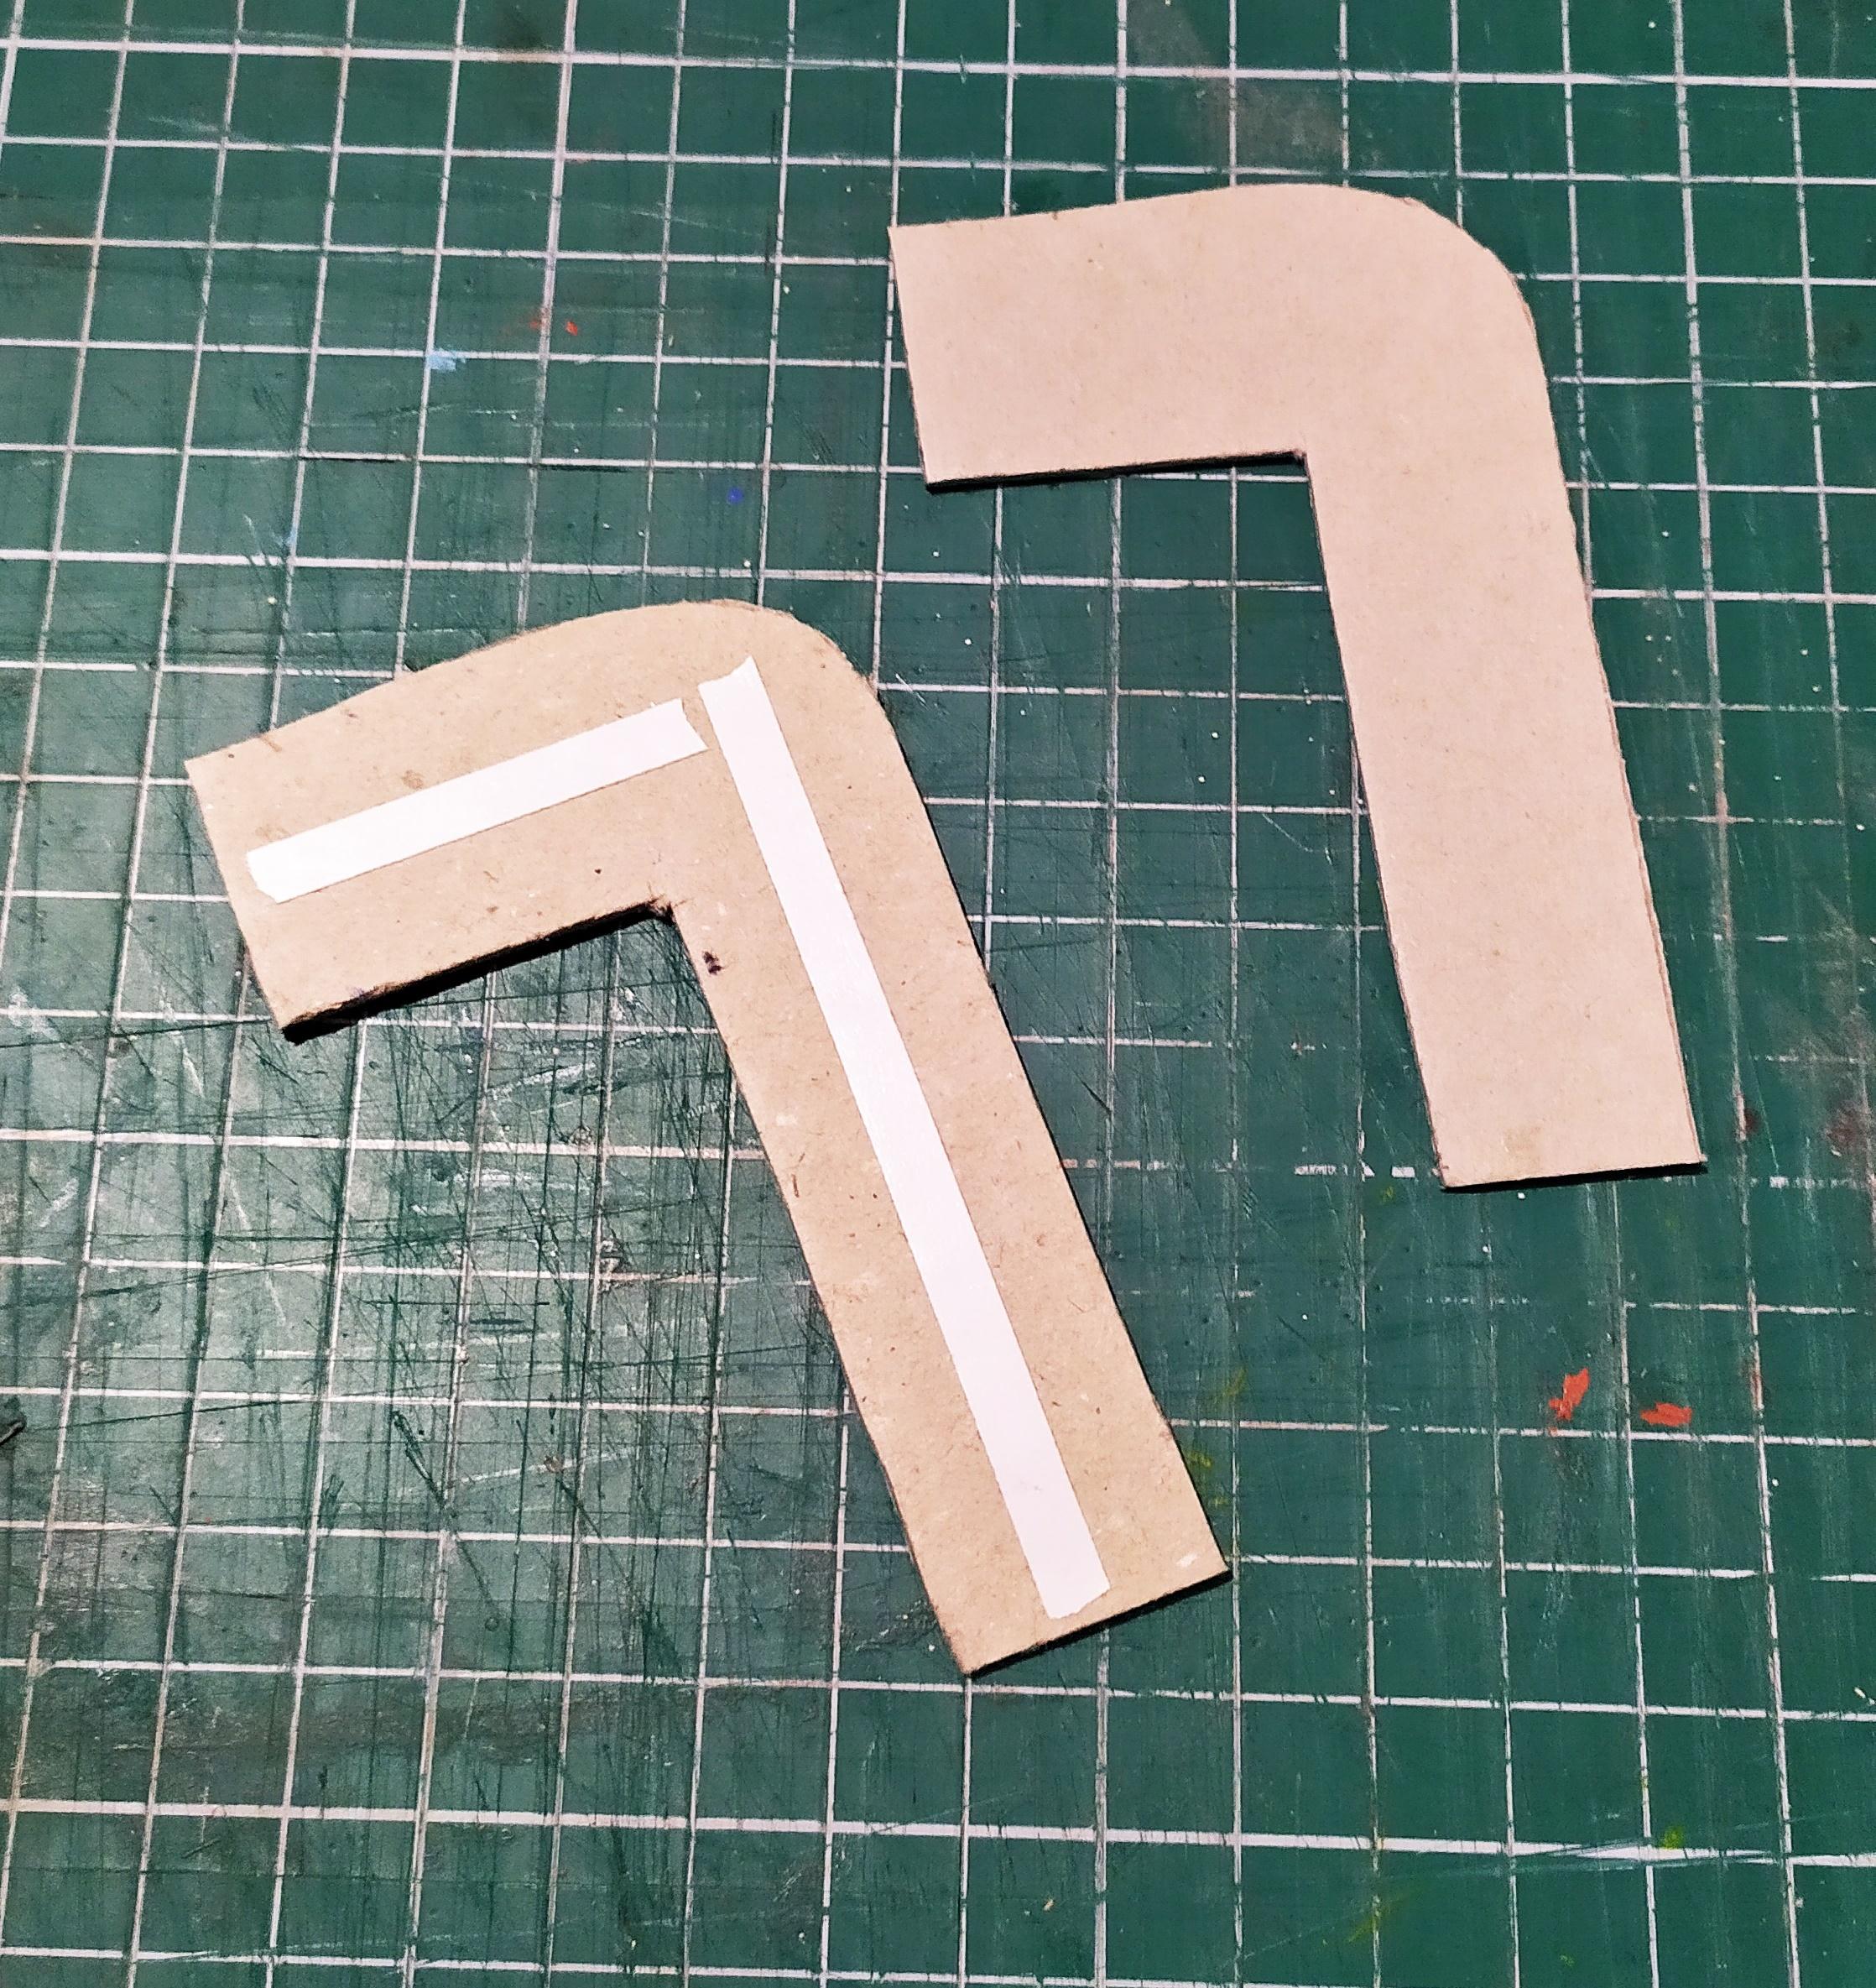
Take the page and lay down a piece of cardstock on top of it at the bottom.Score each overhanging cardstock with a nail art dotting tool and fold them to create a pocket.Trim the corners off (refer to fourth image) and glue the side overhangs to the bottom overhang.
Finally,glue the pocket to the page.Smooth it out and decorate it with some distressed designer paper.
The Second Page
Since the first page had a pocket,the second one should be without a pocket.
For this page you will be repeating some of the steps from Step 5 and 6.You'll be making a tag again with magnet closure only this time the tag is going to go on top and the folds for the photo holding cardstocks will be two.
Start out by cutting a piece of cardstock measuring 33x10 cm.Score it at 15 cm and fold.Next,score and fold the overhanging part.
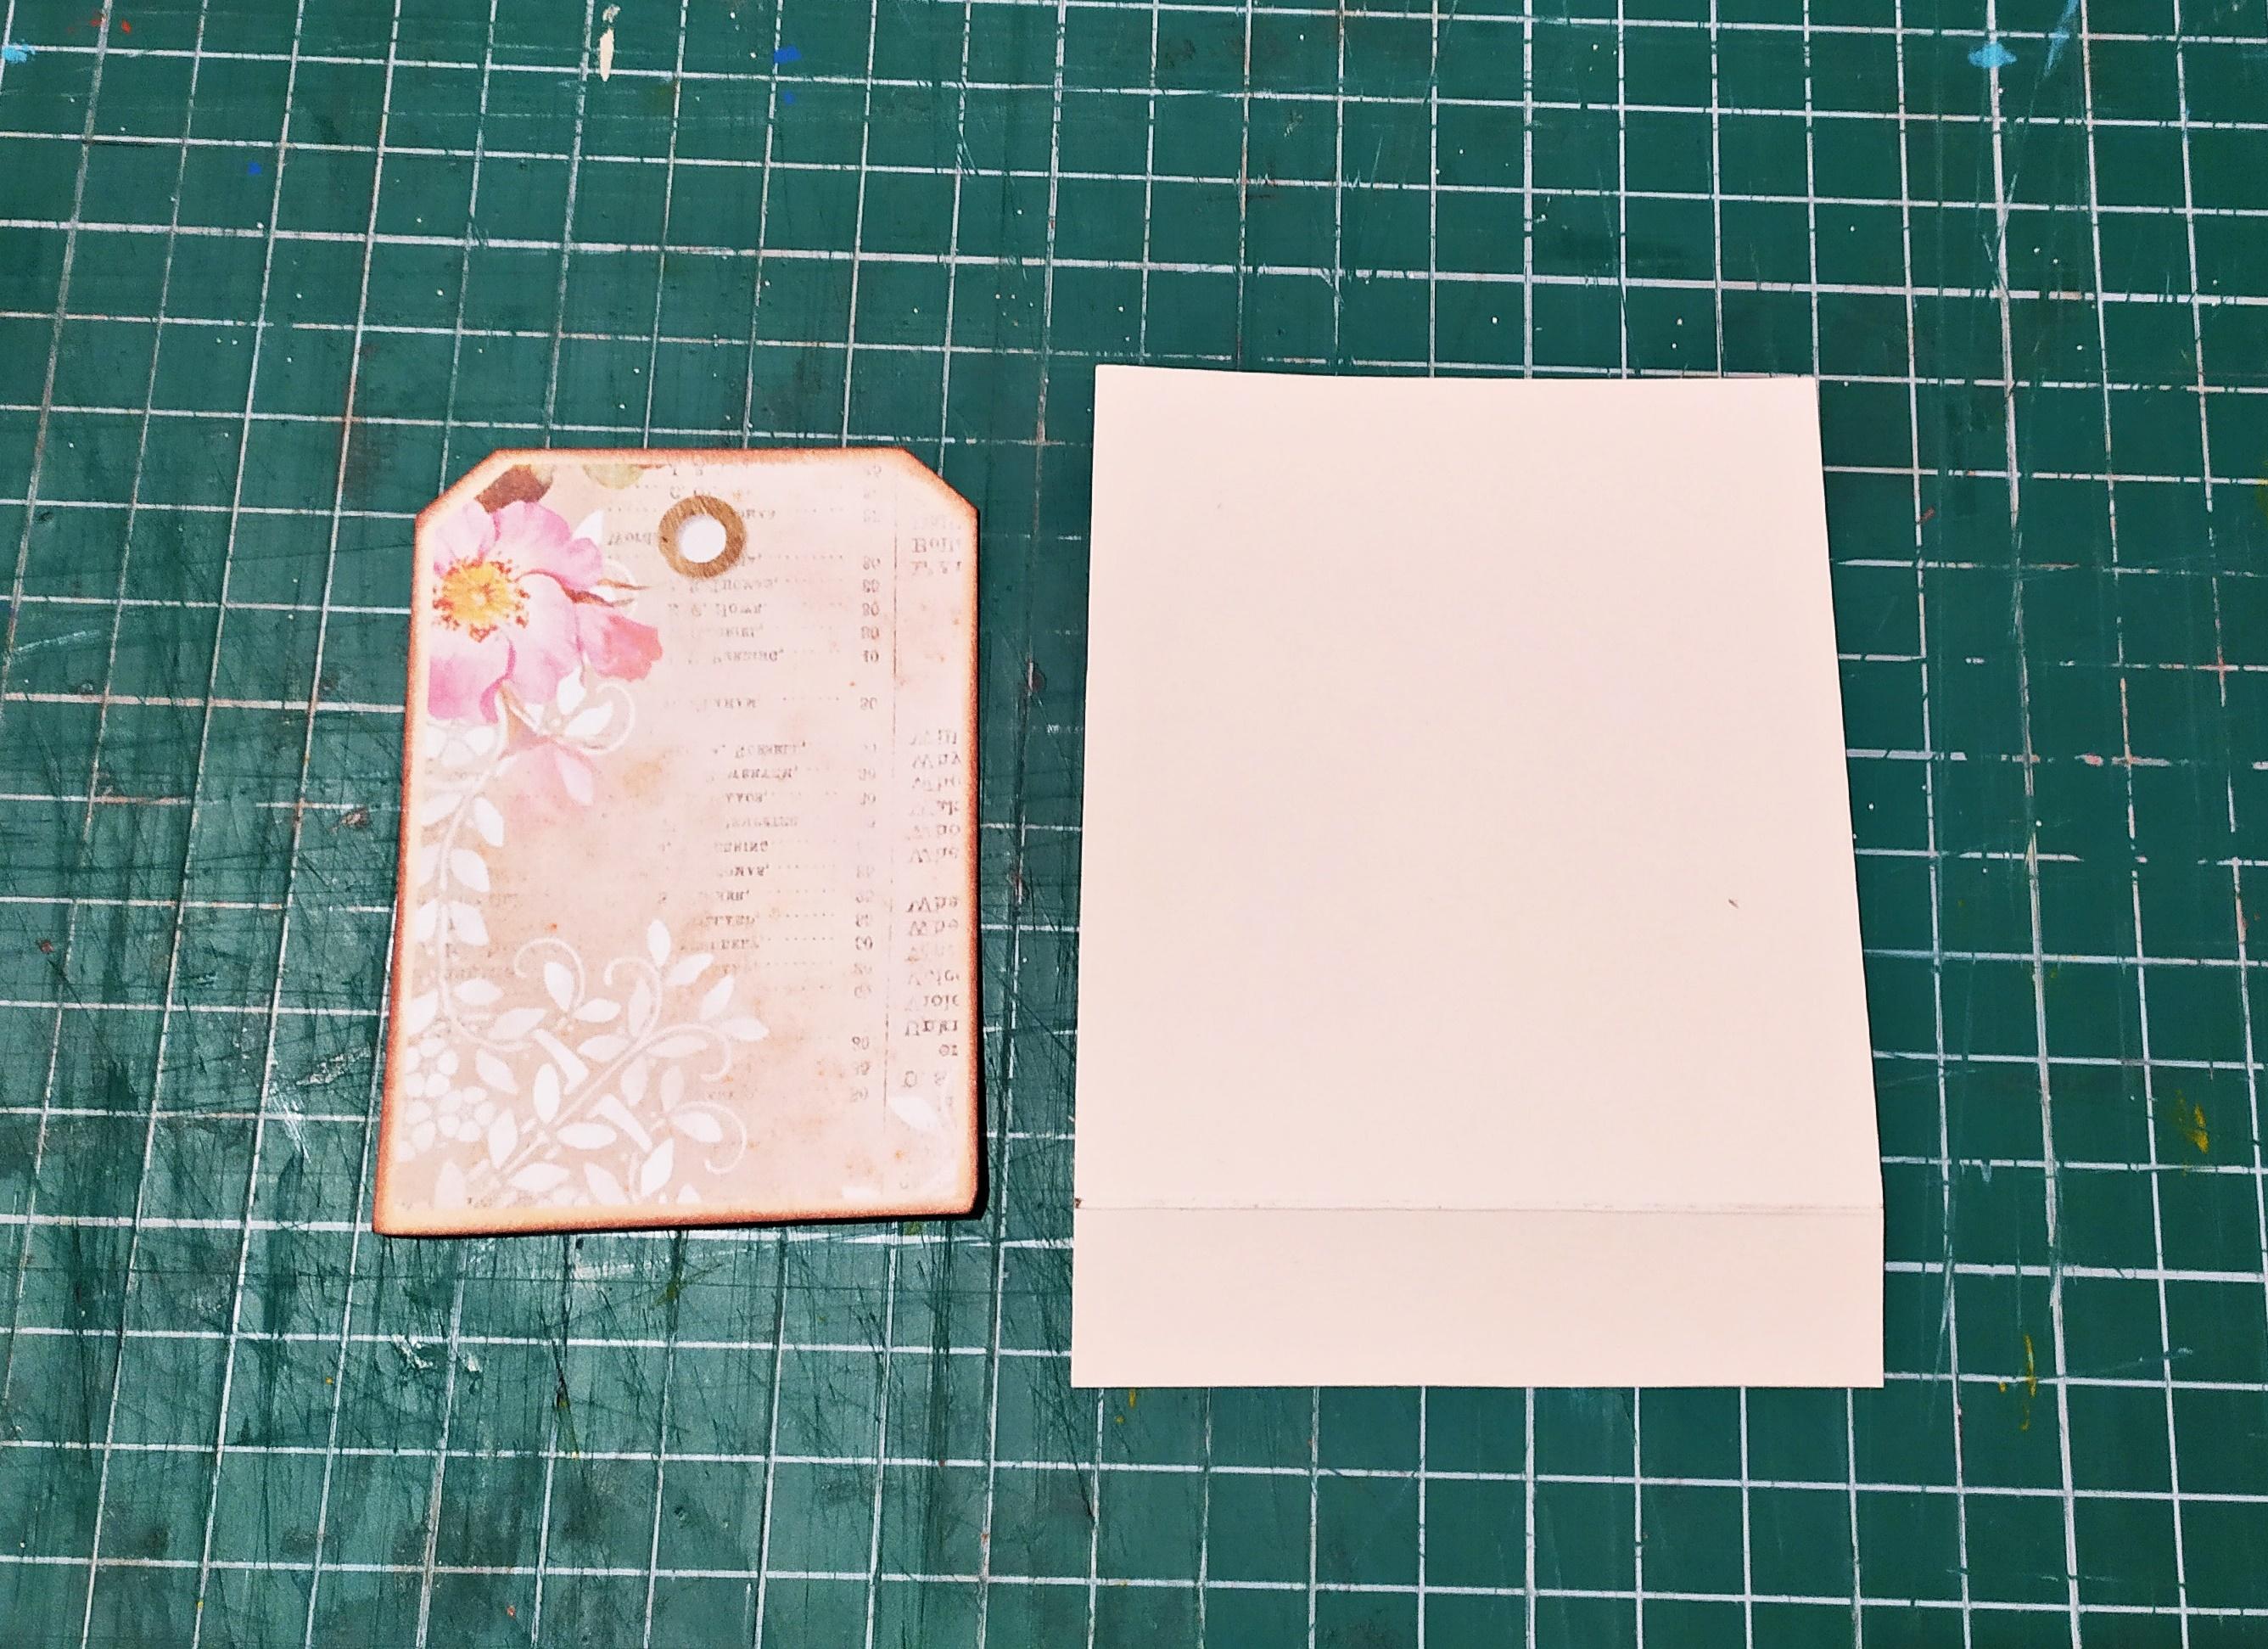
My designer paper pack had some already made tags,so I cut one and used it to measure the cardstock I would glue it onto.Place the tag on top of the cardstock and trim any excess.There should be about 0.5 mm more cardstock than the actual tag on each side + 2 cm overhang at the bottom.
Cut a piece of designer paper to glue onto the page.Place the larger piece of cardstock onto that designer paper and place the tag on top of the folded piece of cardstock.From here on,repeat the tracing,cutting and gluing processes as described on Steps 5 and 6 with the only difference being - the tag goes at the top and the folding cardstock goes at the bottom of the page.Repeat the magnet closure steps as well.
To simplify:
- 1.Trace a 10 cm line at the bottom and about 6.5 cm (width of the tag) line at the top of the designer paper
- 2.Cut those traced lines with an X-acto knife and insert the overhanging pieces of cardstock
- 3.Flip the designer paper over and glue the overhangs down
- 4.Place the magnets wherever you want them to be
- 5.Dab a little glue onto the back magnet,mark where it goes on the page without a pocket and glue and secure it with double sided tape
- 6.Distress and glue the designer paper to the page
- 7.Place the second magnet on top of the tag and glue and secure it
- 8.Distress and glue the tag design
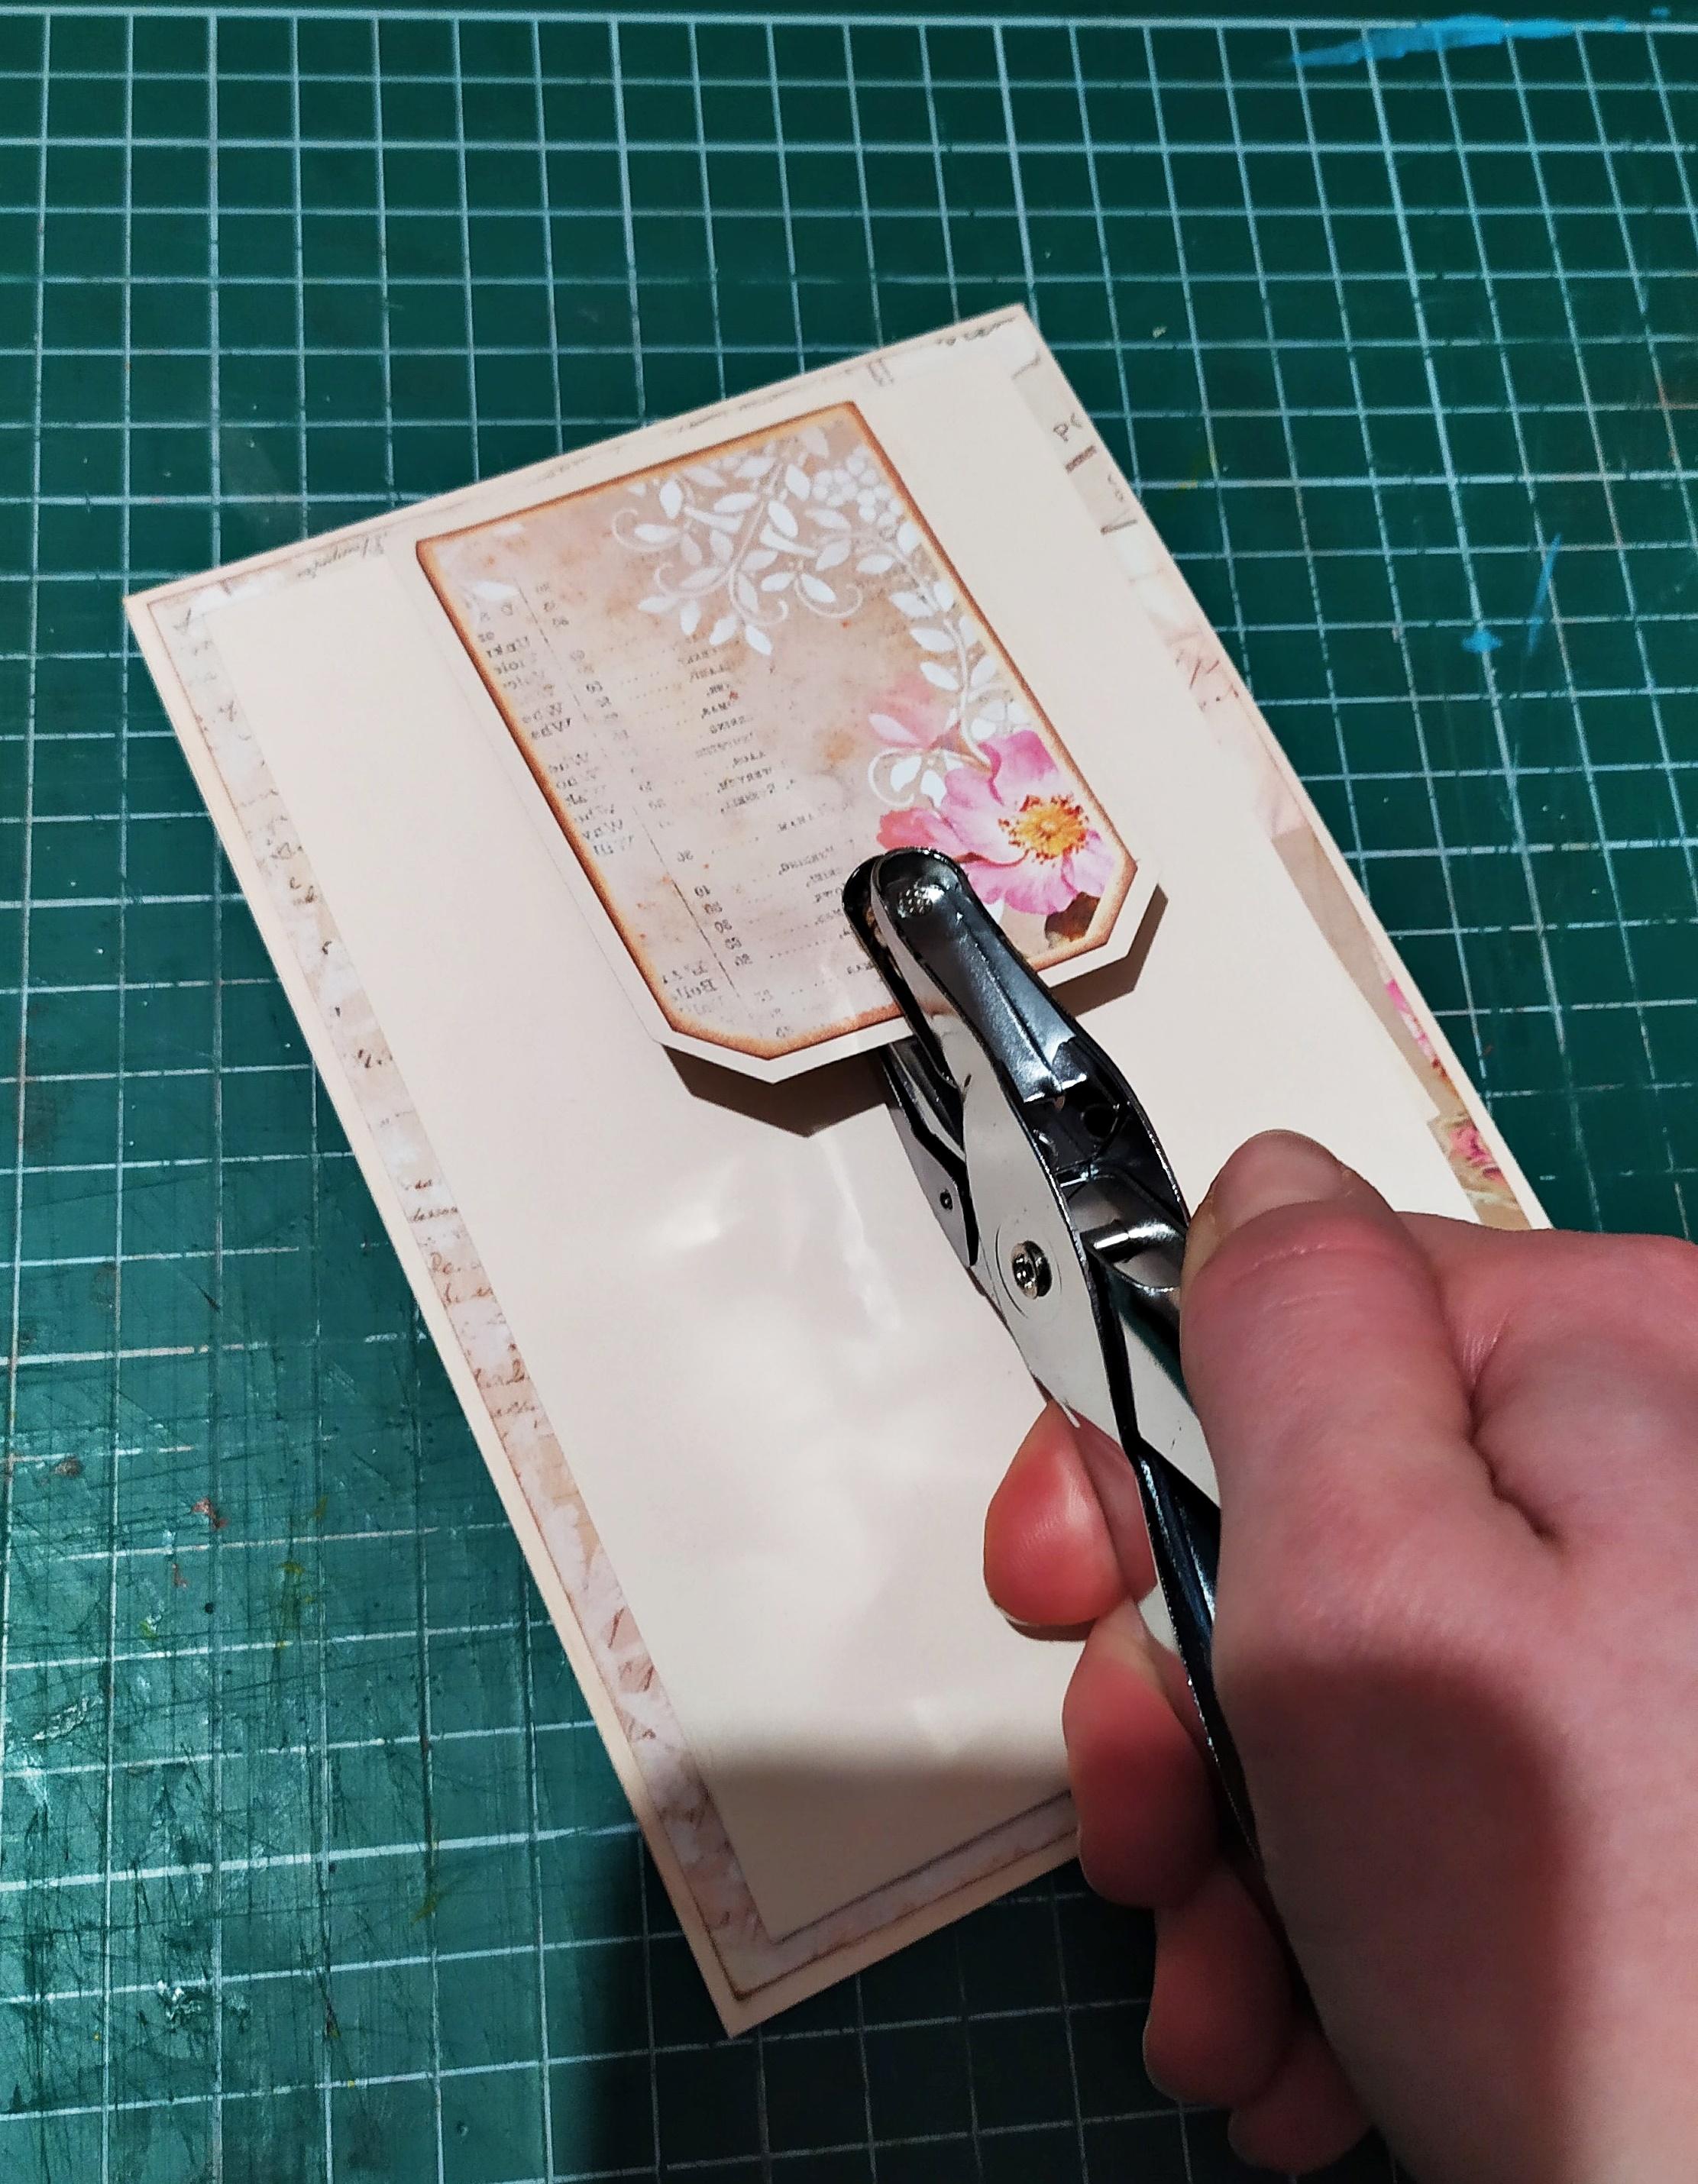
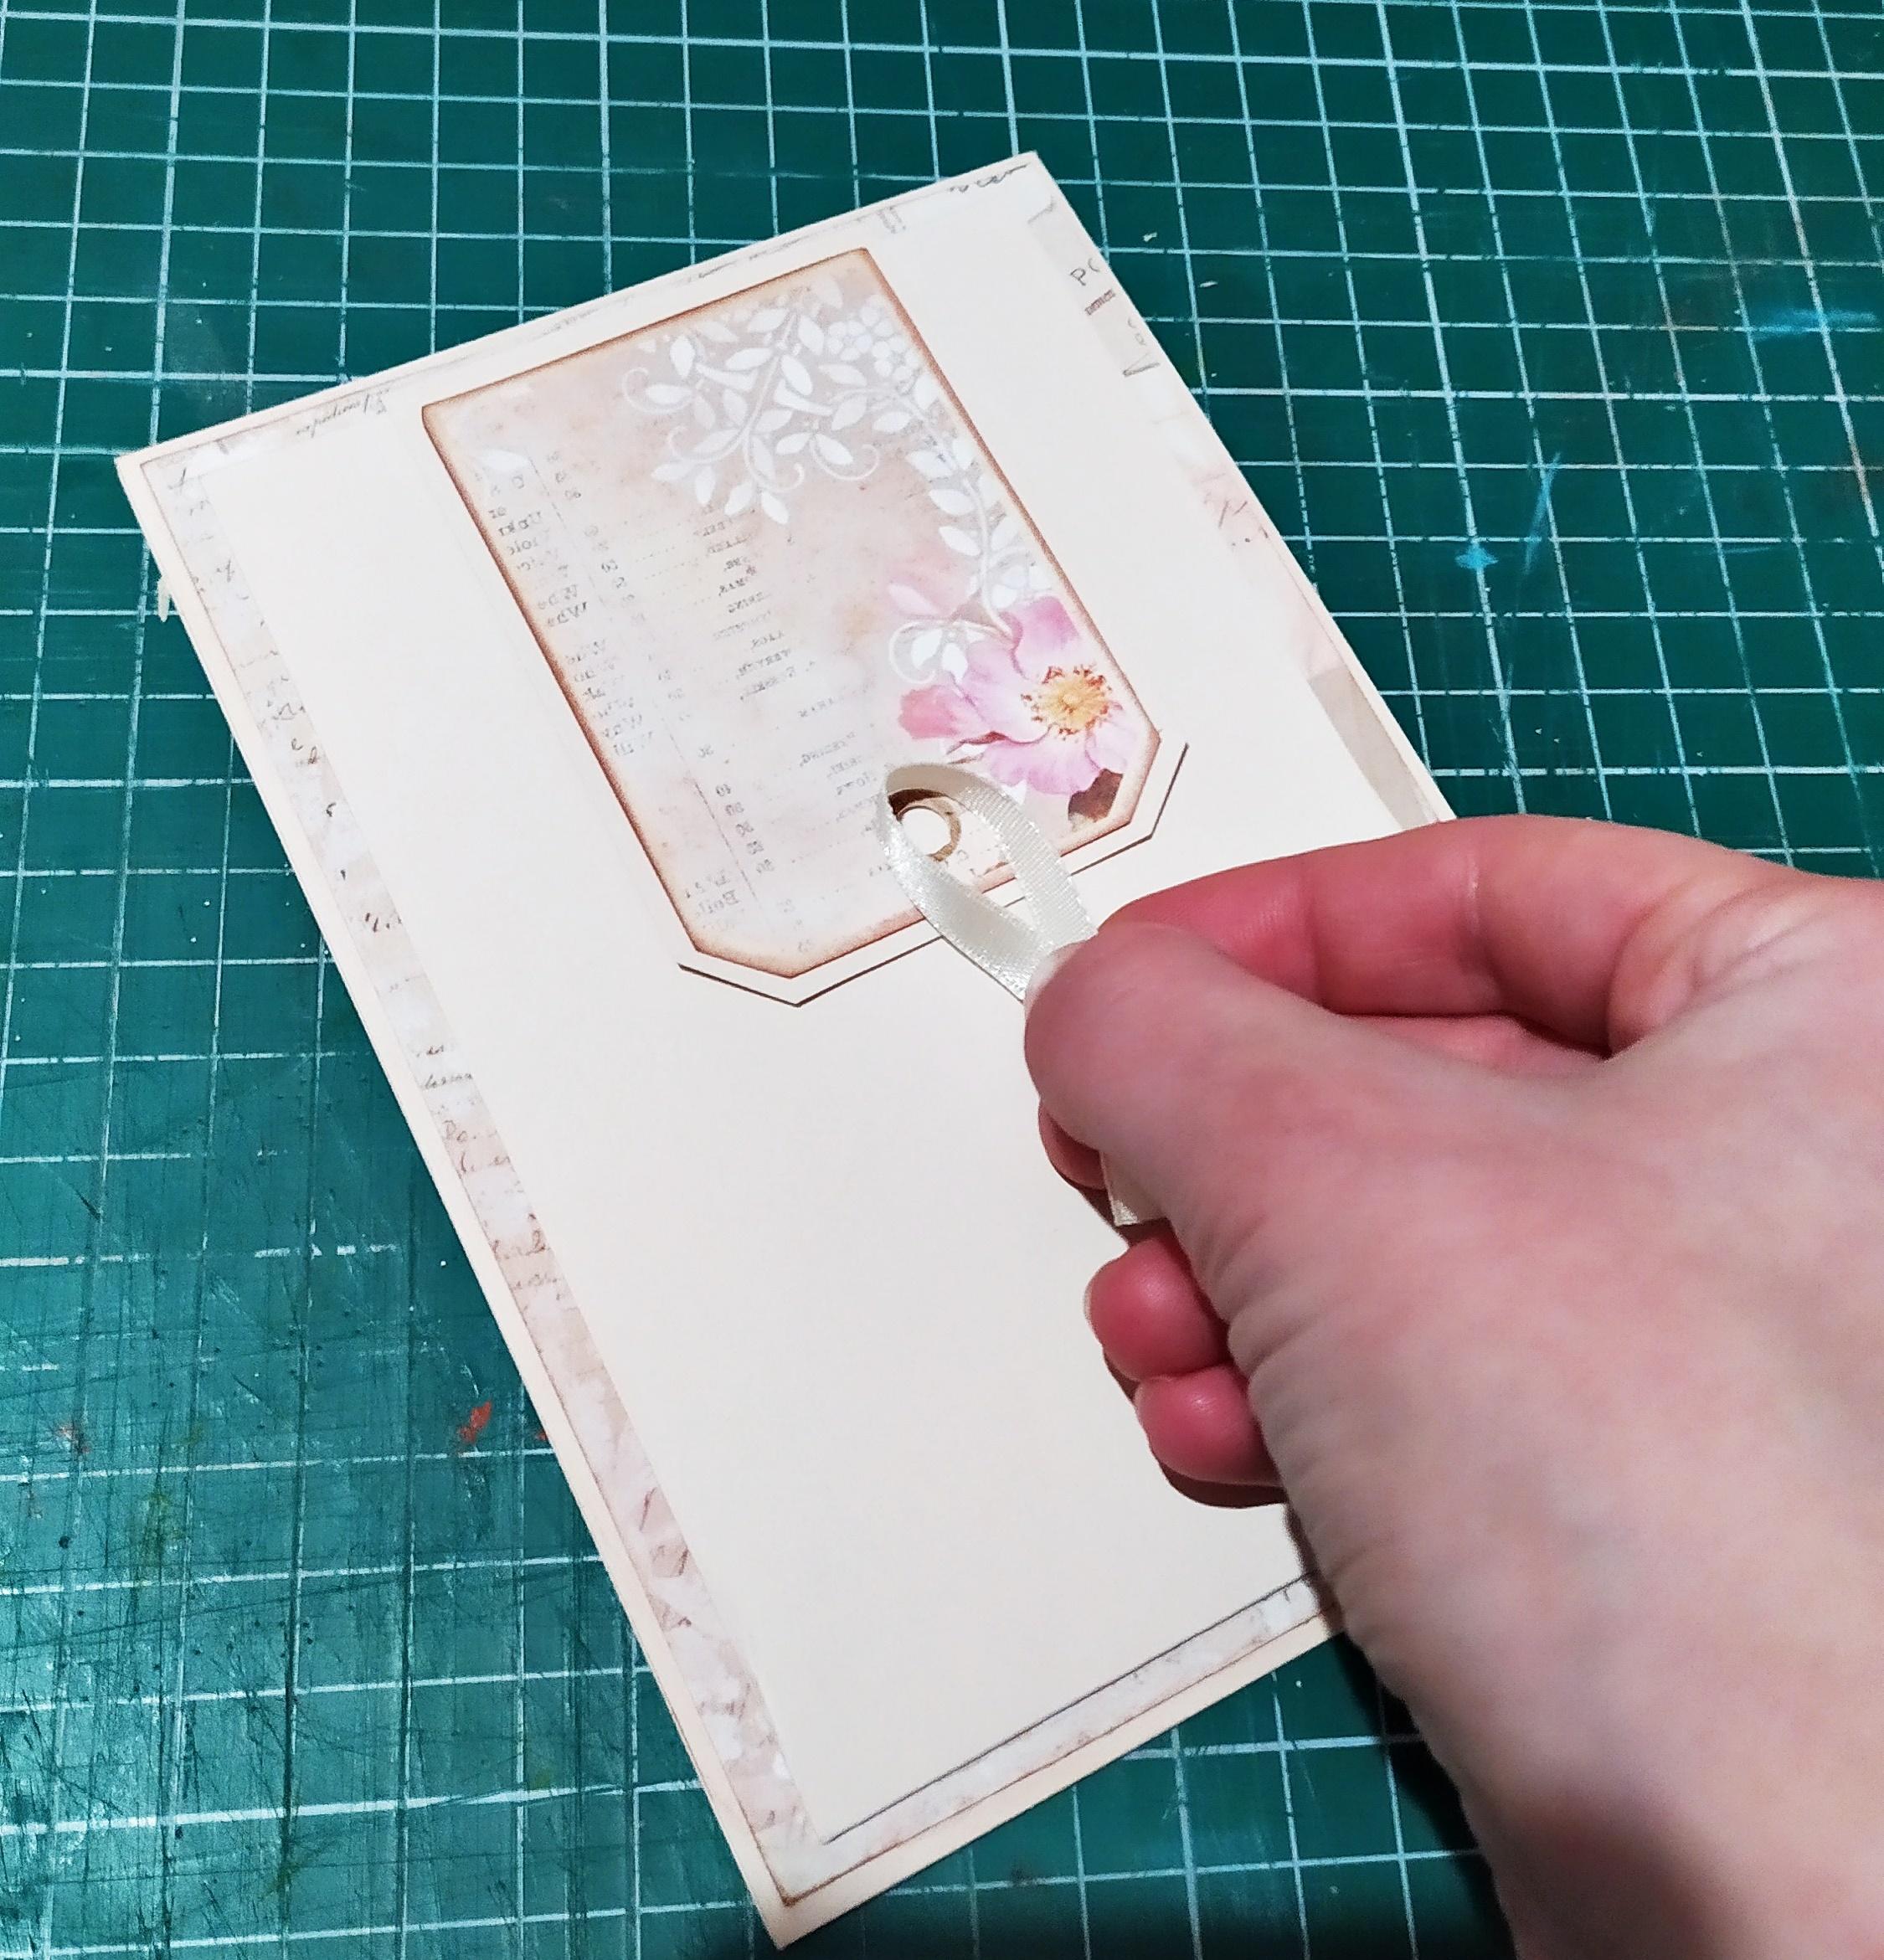
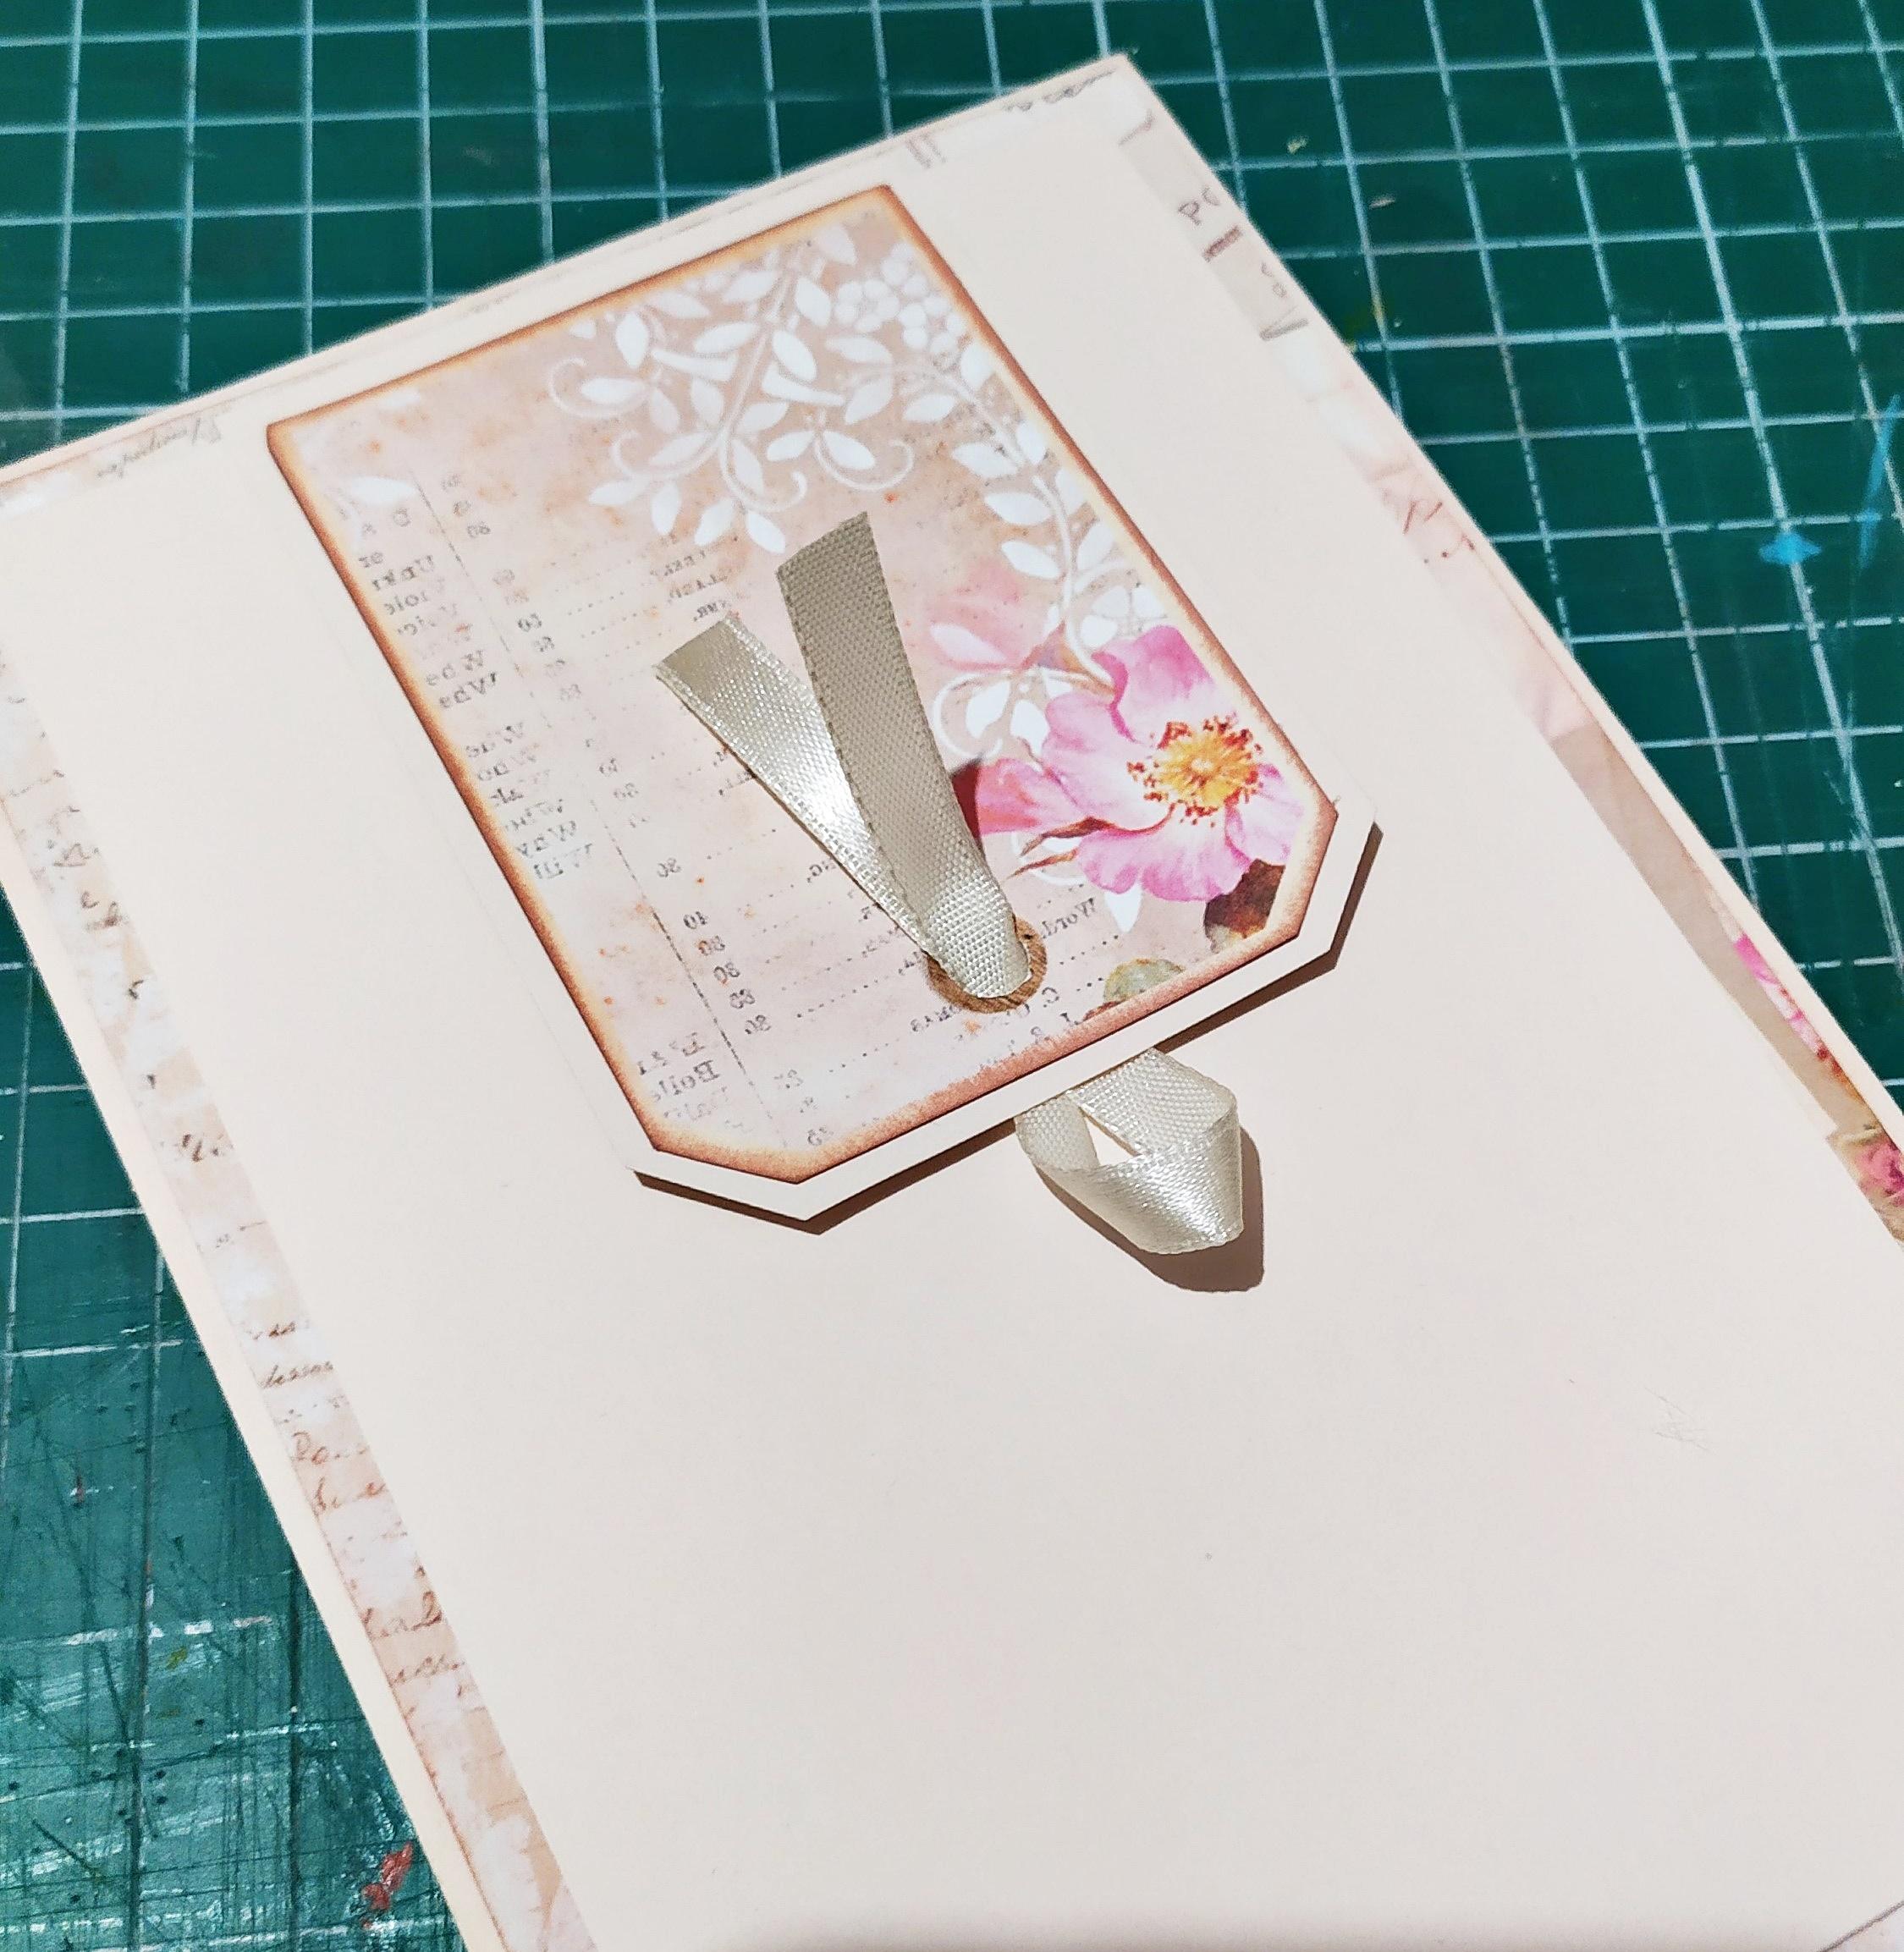
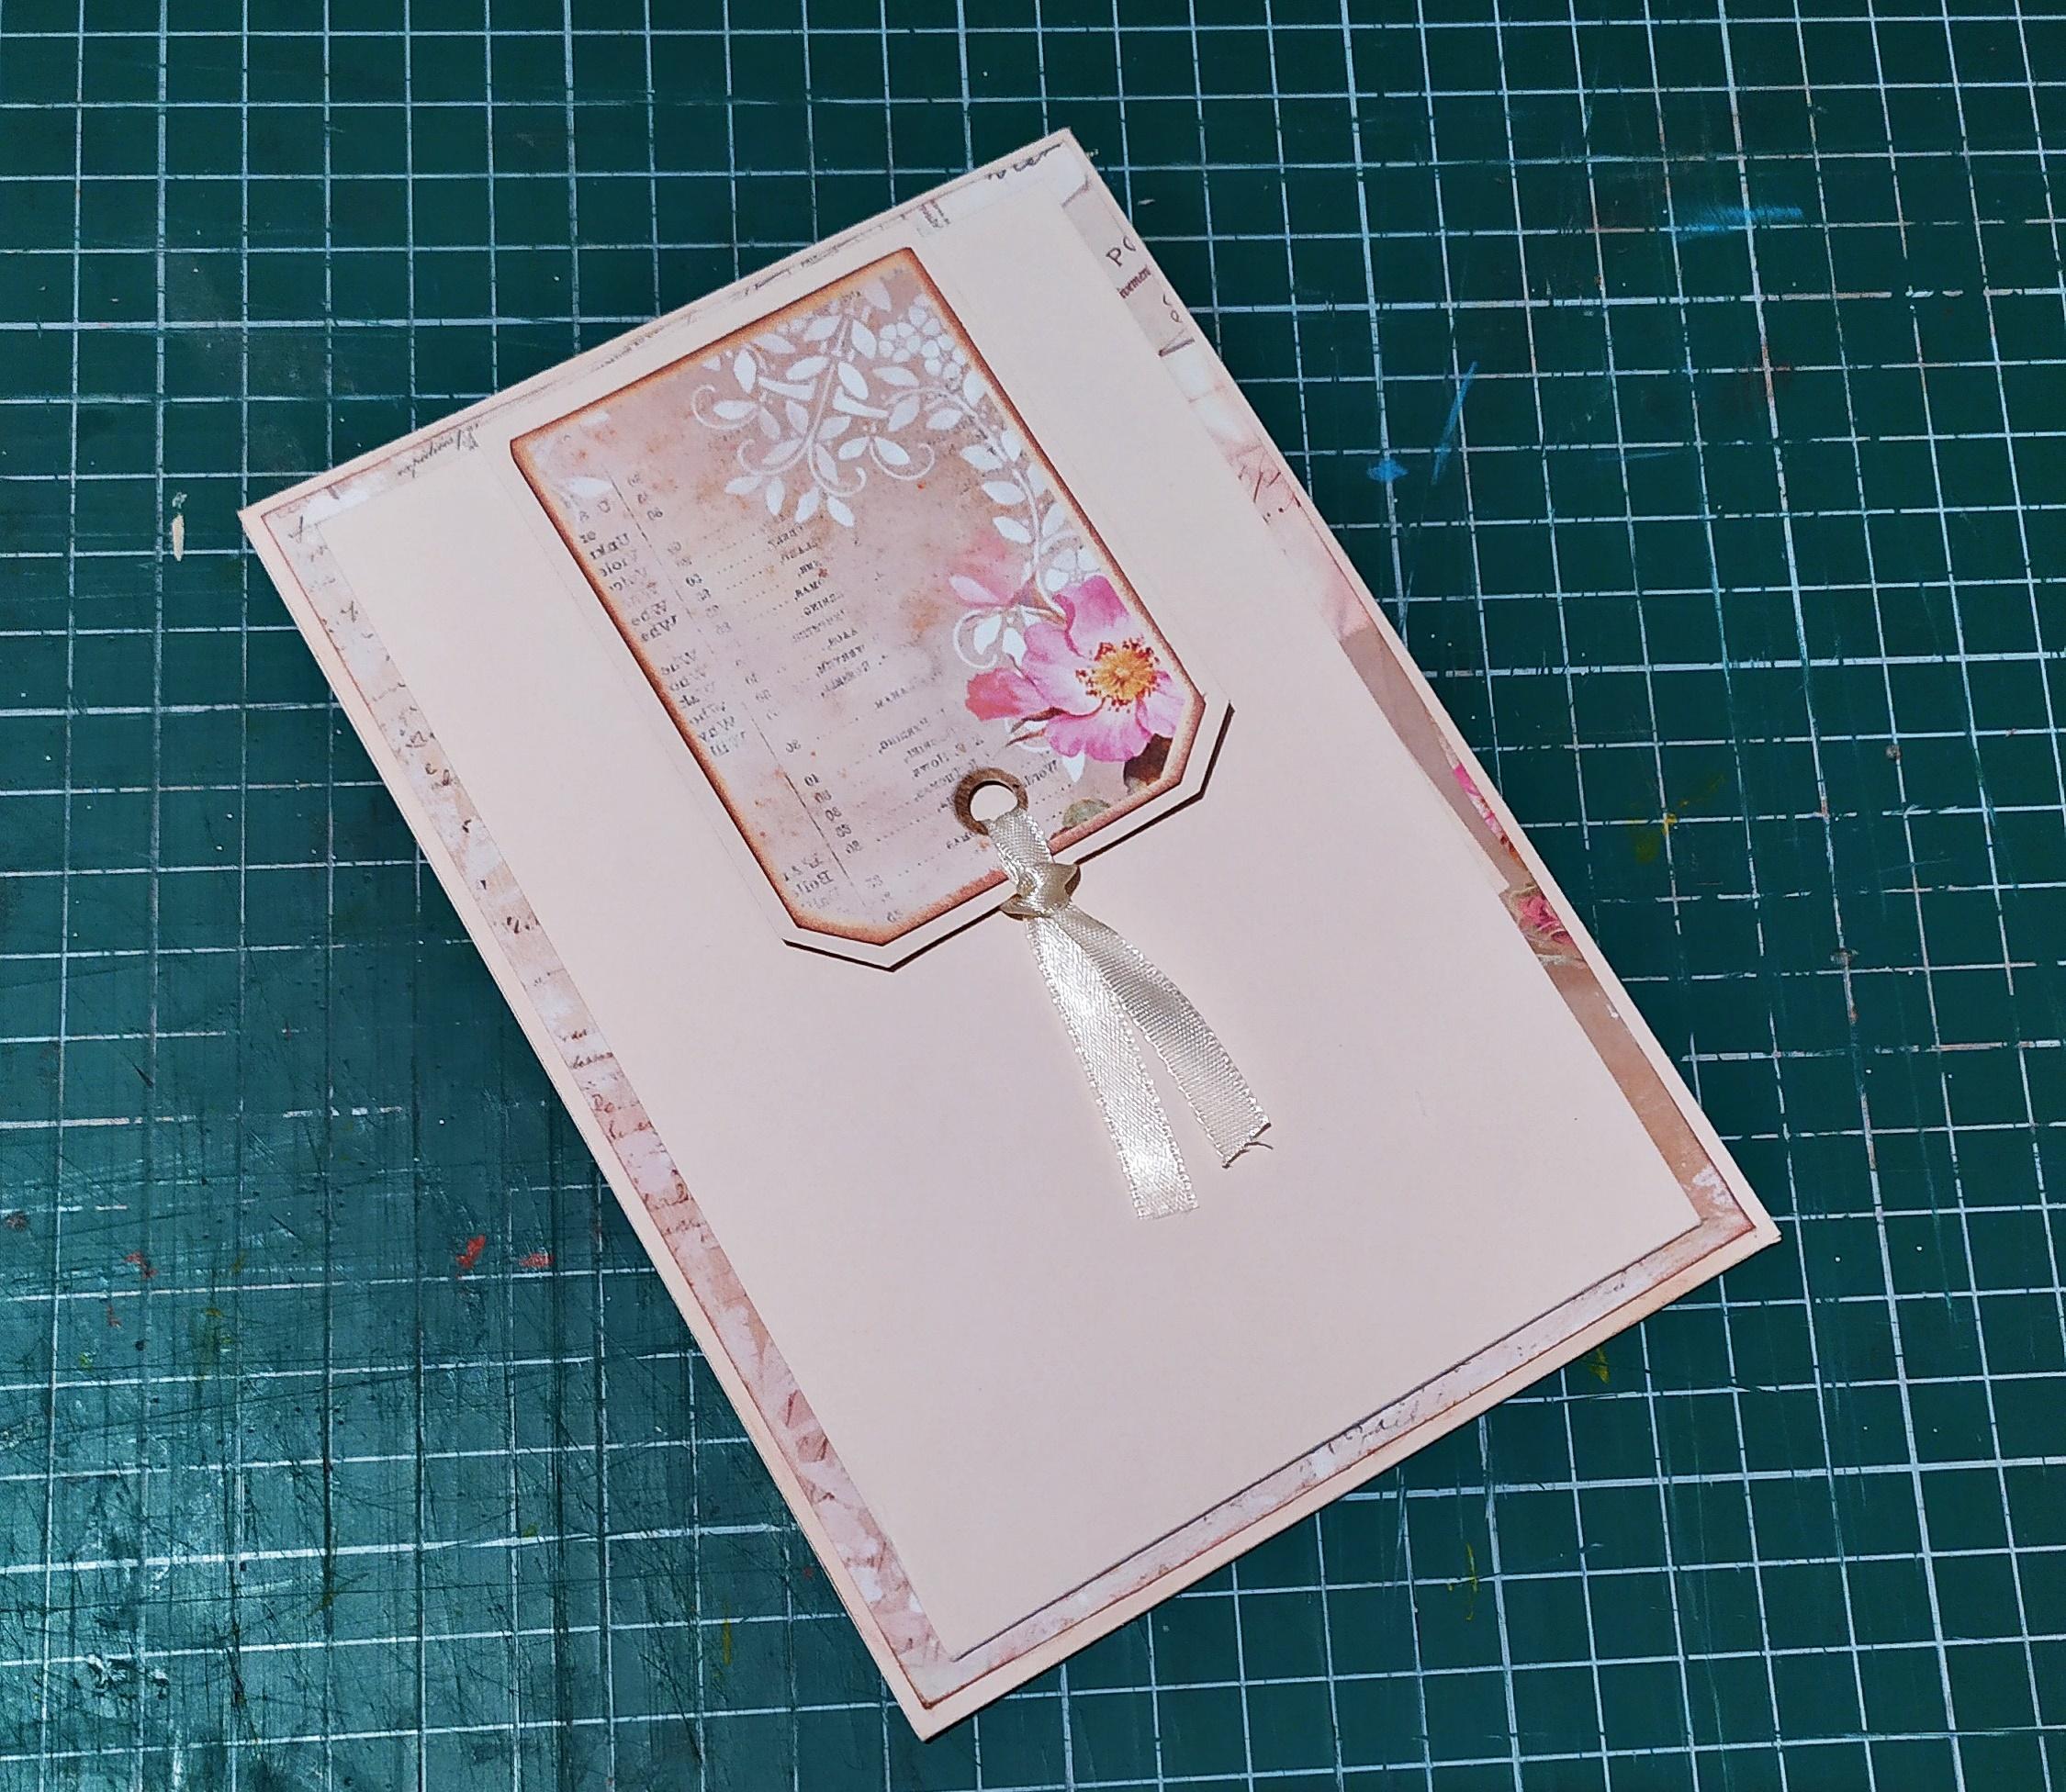
To make the tag stand out,punch a hole and decorate it with some ribbon.
Another Pocket and Another Fold
Leave the back of the second page blank and make another pocket for the front side of the third page as described on Step 8.
To simplify:
- 1.Lay a piece of cardstock at the bottom of the page
- 2.Score and fold the overhanging cardstock inwards
- 3.Glue side overhangs to the bottom overhang
- 4.Glue everything to the page with a pocket
Decorate the back of the second page and the pocket part of the third page with some distressed designer paper.
Since the third page is a page with a pocket,make another insert to go on the back side of it as described on step 7.
To simplify:
- 1.Cut a piece of cardstock measuring 16.5x15 cm
- 2.Score and fold it at about 4.5 cm.
- 3.Decorate the folded part with some designer paper.
Side Fold

The fourth and last page is a page without a pocket.It's again an interactive page with magnet closure,only this time it opens to the side.To make this page follow Steps 5 and 6.
Simply put:
- 1.Cut some designer paper that'll go onto the page itself
- 2.Cut a piece of cardstock measuring 12x15 cm
- 3.Make a score at 2 cm and fold
- 4.Cut a rectangle tag and use it to measure how much cardstock you'll need - cut the cardstock 0.5 cm more on each side + 2 cm overhang on the right side
- 5.Score and fold the overhang of the rectangle tag
- 6.Place the 10x15 cm cardstock onto the designer paper(fold the overhang under)cand the rectangle tag on top of it.
- 7.Trace the sides of each piece - on the right you should have a 15 cm line and on the left you should have a 4 cm line (the width of the tag)
- 8.Cut the traced lines,insert each piece and glue them down to the back of the designer paper
- 9.Place the magnets wherever you want them to be.
- 10.Dab a little glue onto the back magnet,mark where it goes on the page and glue it and secure it with double sided tape
- 11.Distress and glue the designer paper to the page
- 12.Place the second magnet on top of the tag and glue and secure it
- 13.Distress and glue the rectangle tag
- 14.Punch a hole and put some ribbon on the tag
Close everything and the page is complete!
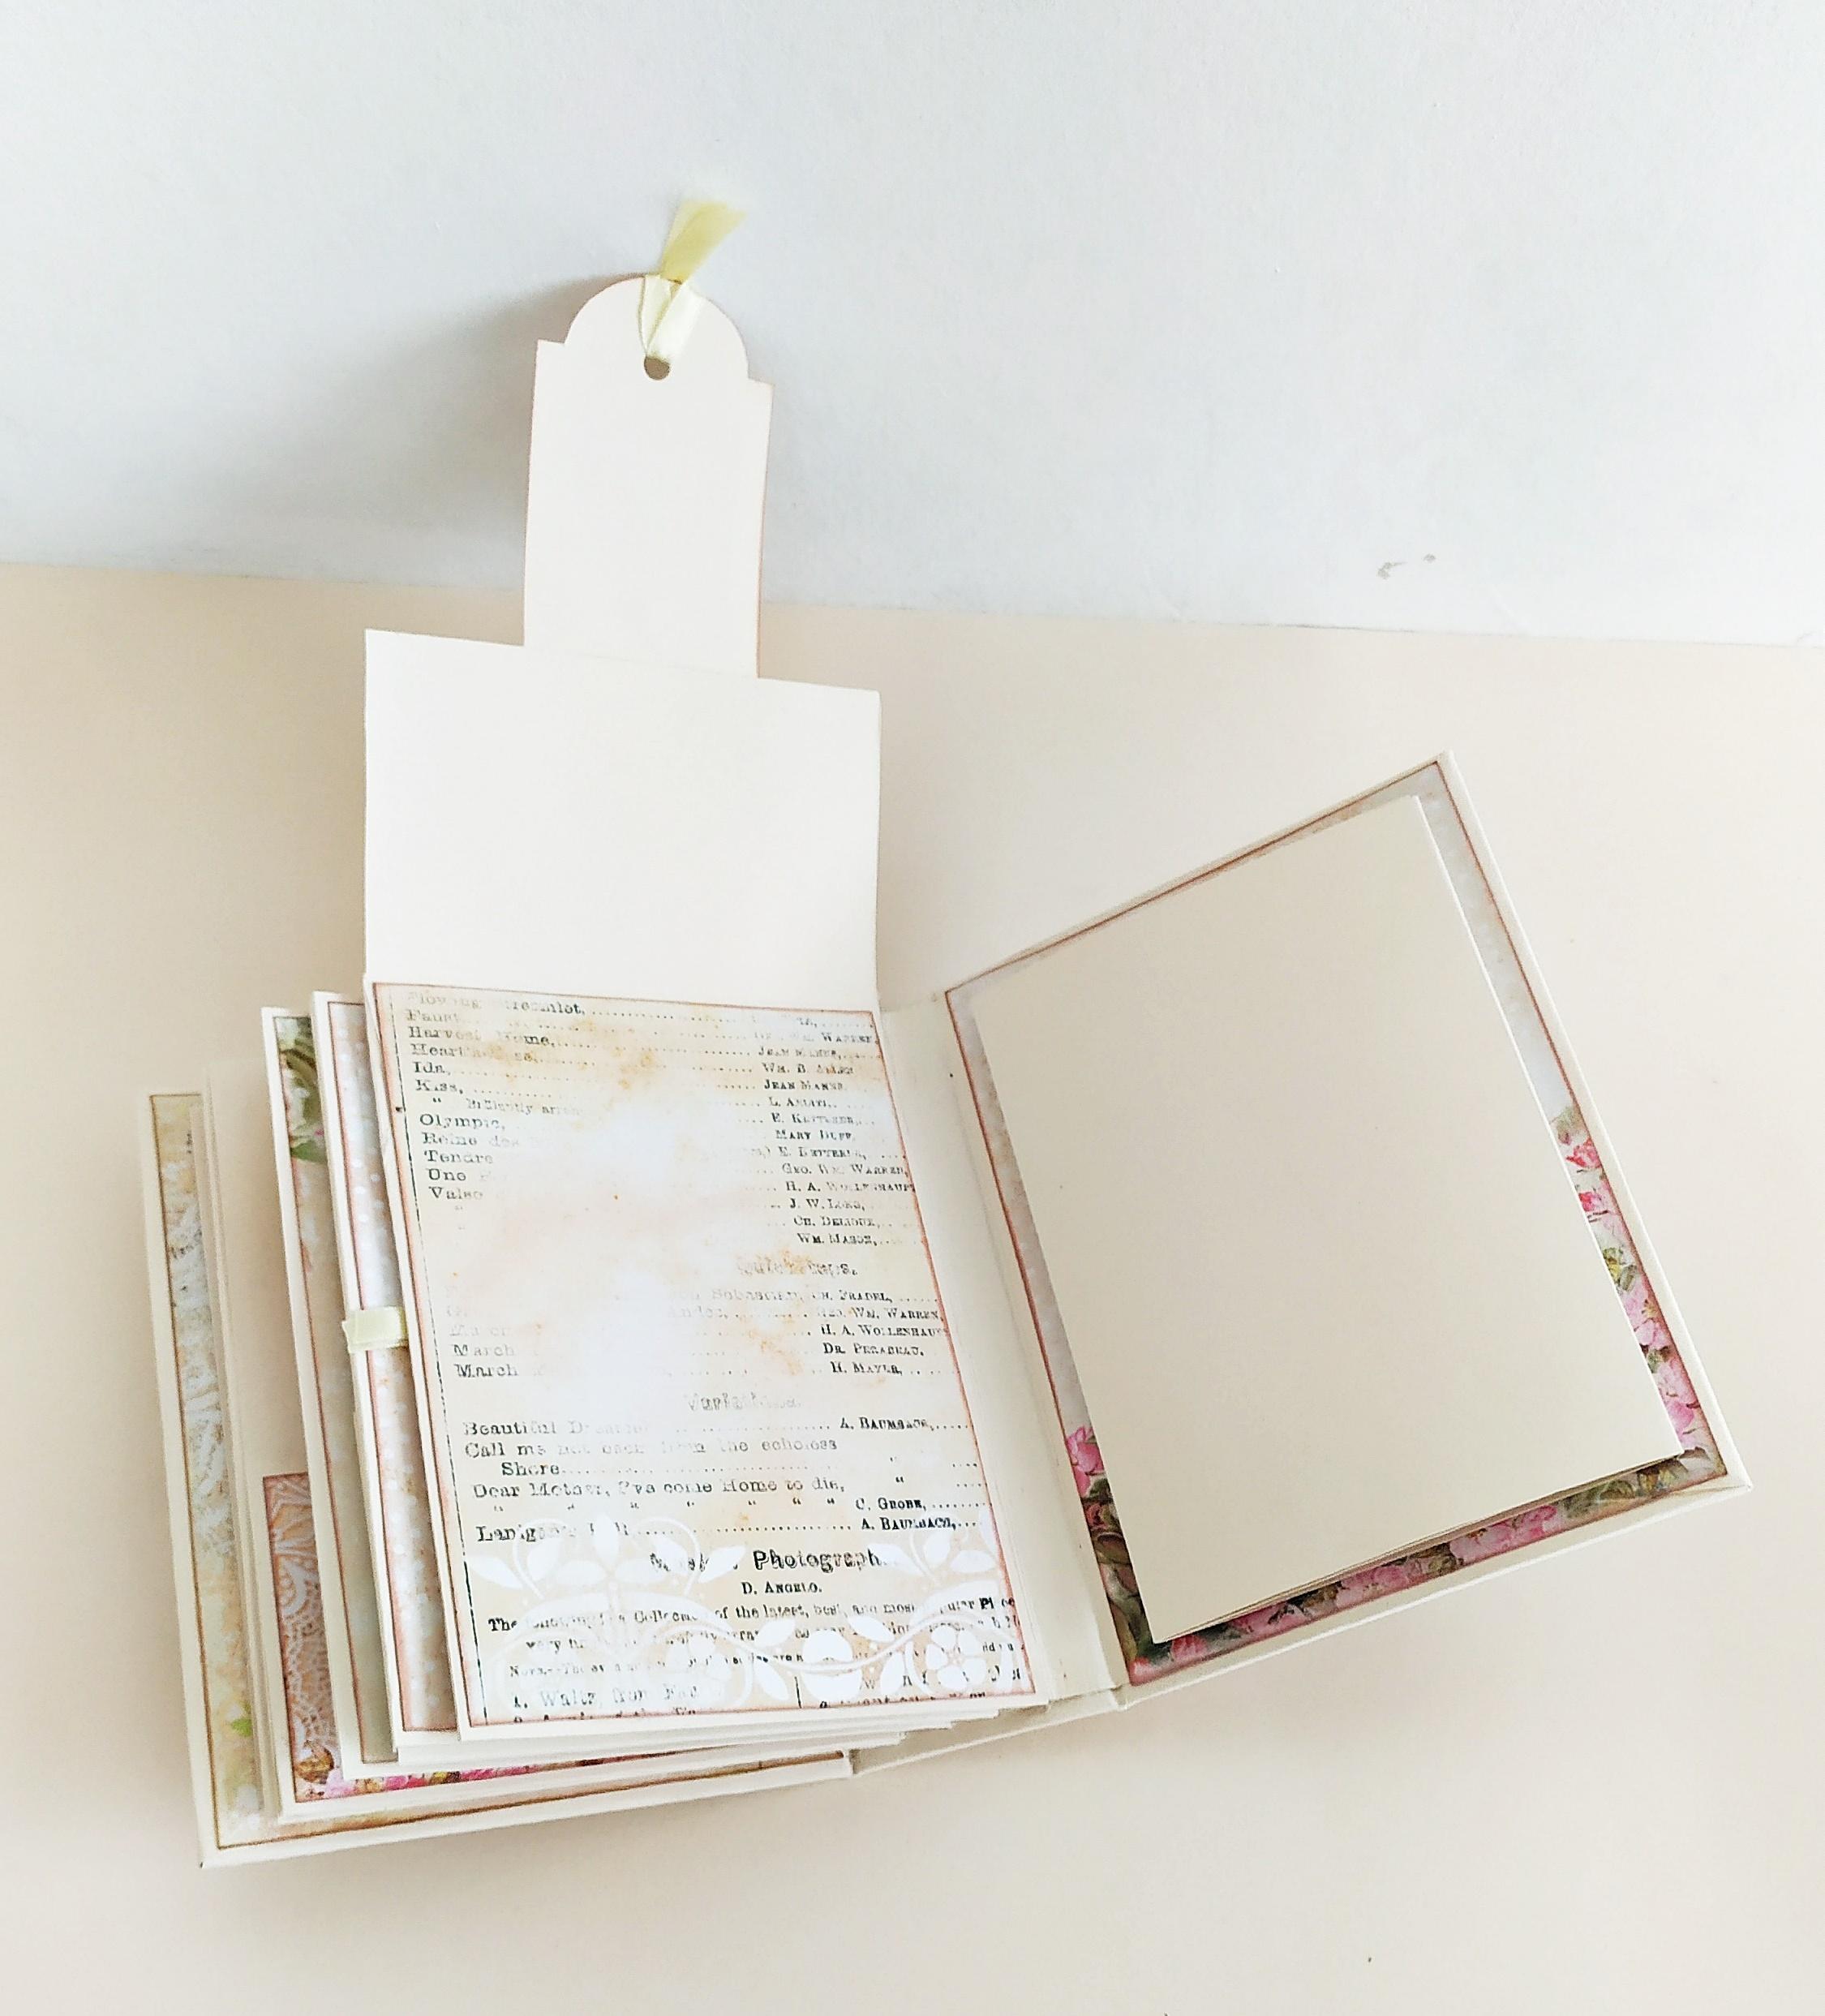
Top Fold

The back of the last page is a top folding page,again with a magnet closure.There is already a magnet at the back page so this time you'll only need one magnet.
For the last page cut a piece of cardstock measuring 12x9 cm.Score it at 2 cm so that the folding part is about 7 cm.Glue the scored part at the top of the page.
To make the larger tag,place it on top of some cardstock and cut it about 0.5 cm wider and longer than the tag itself.Place the cardstock in the middle of the folding piece and put the magnet onto that cardstock.Glue it and secure it with tape.Distress the rectangle tag and glue it to the cardstock.Distress the cardstock itself,too and glue it to the middle of the fold.
Lastly,punch a hole and attach some ribbon onto the tag.
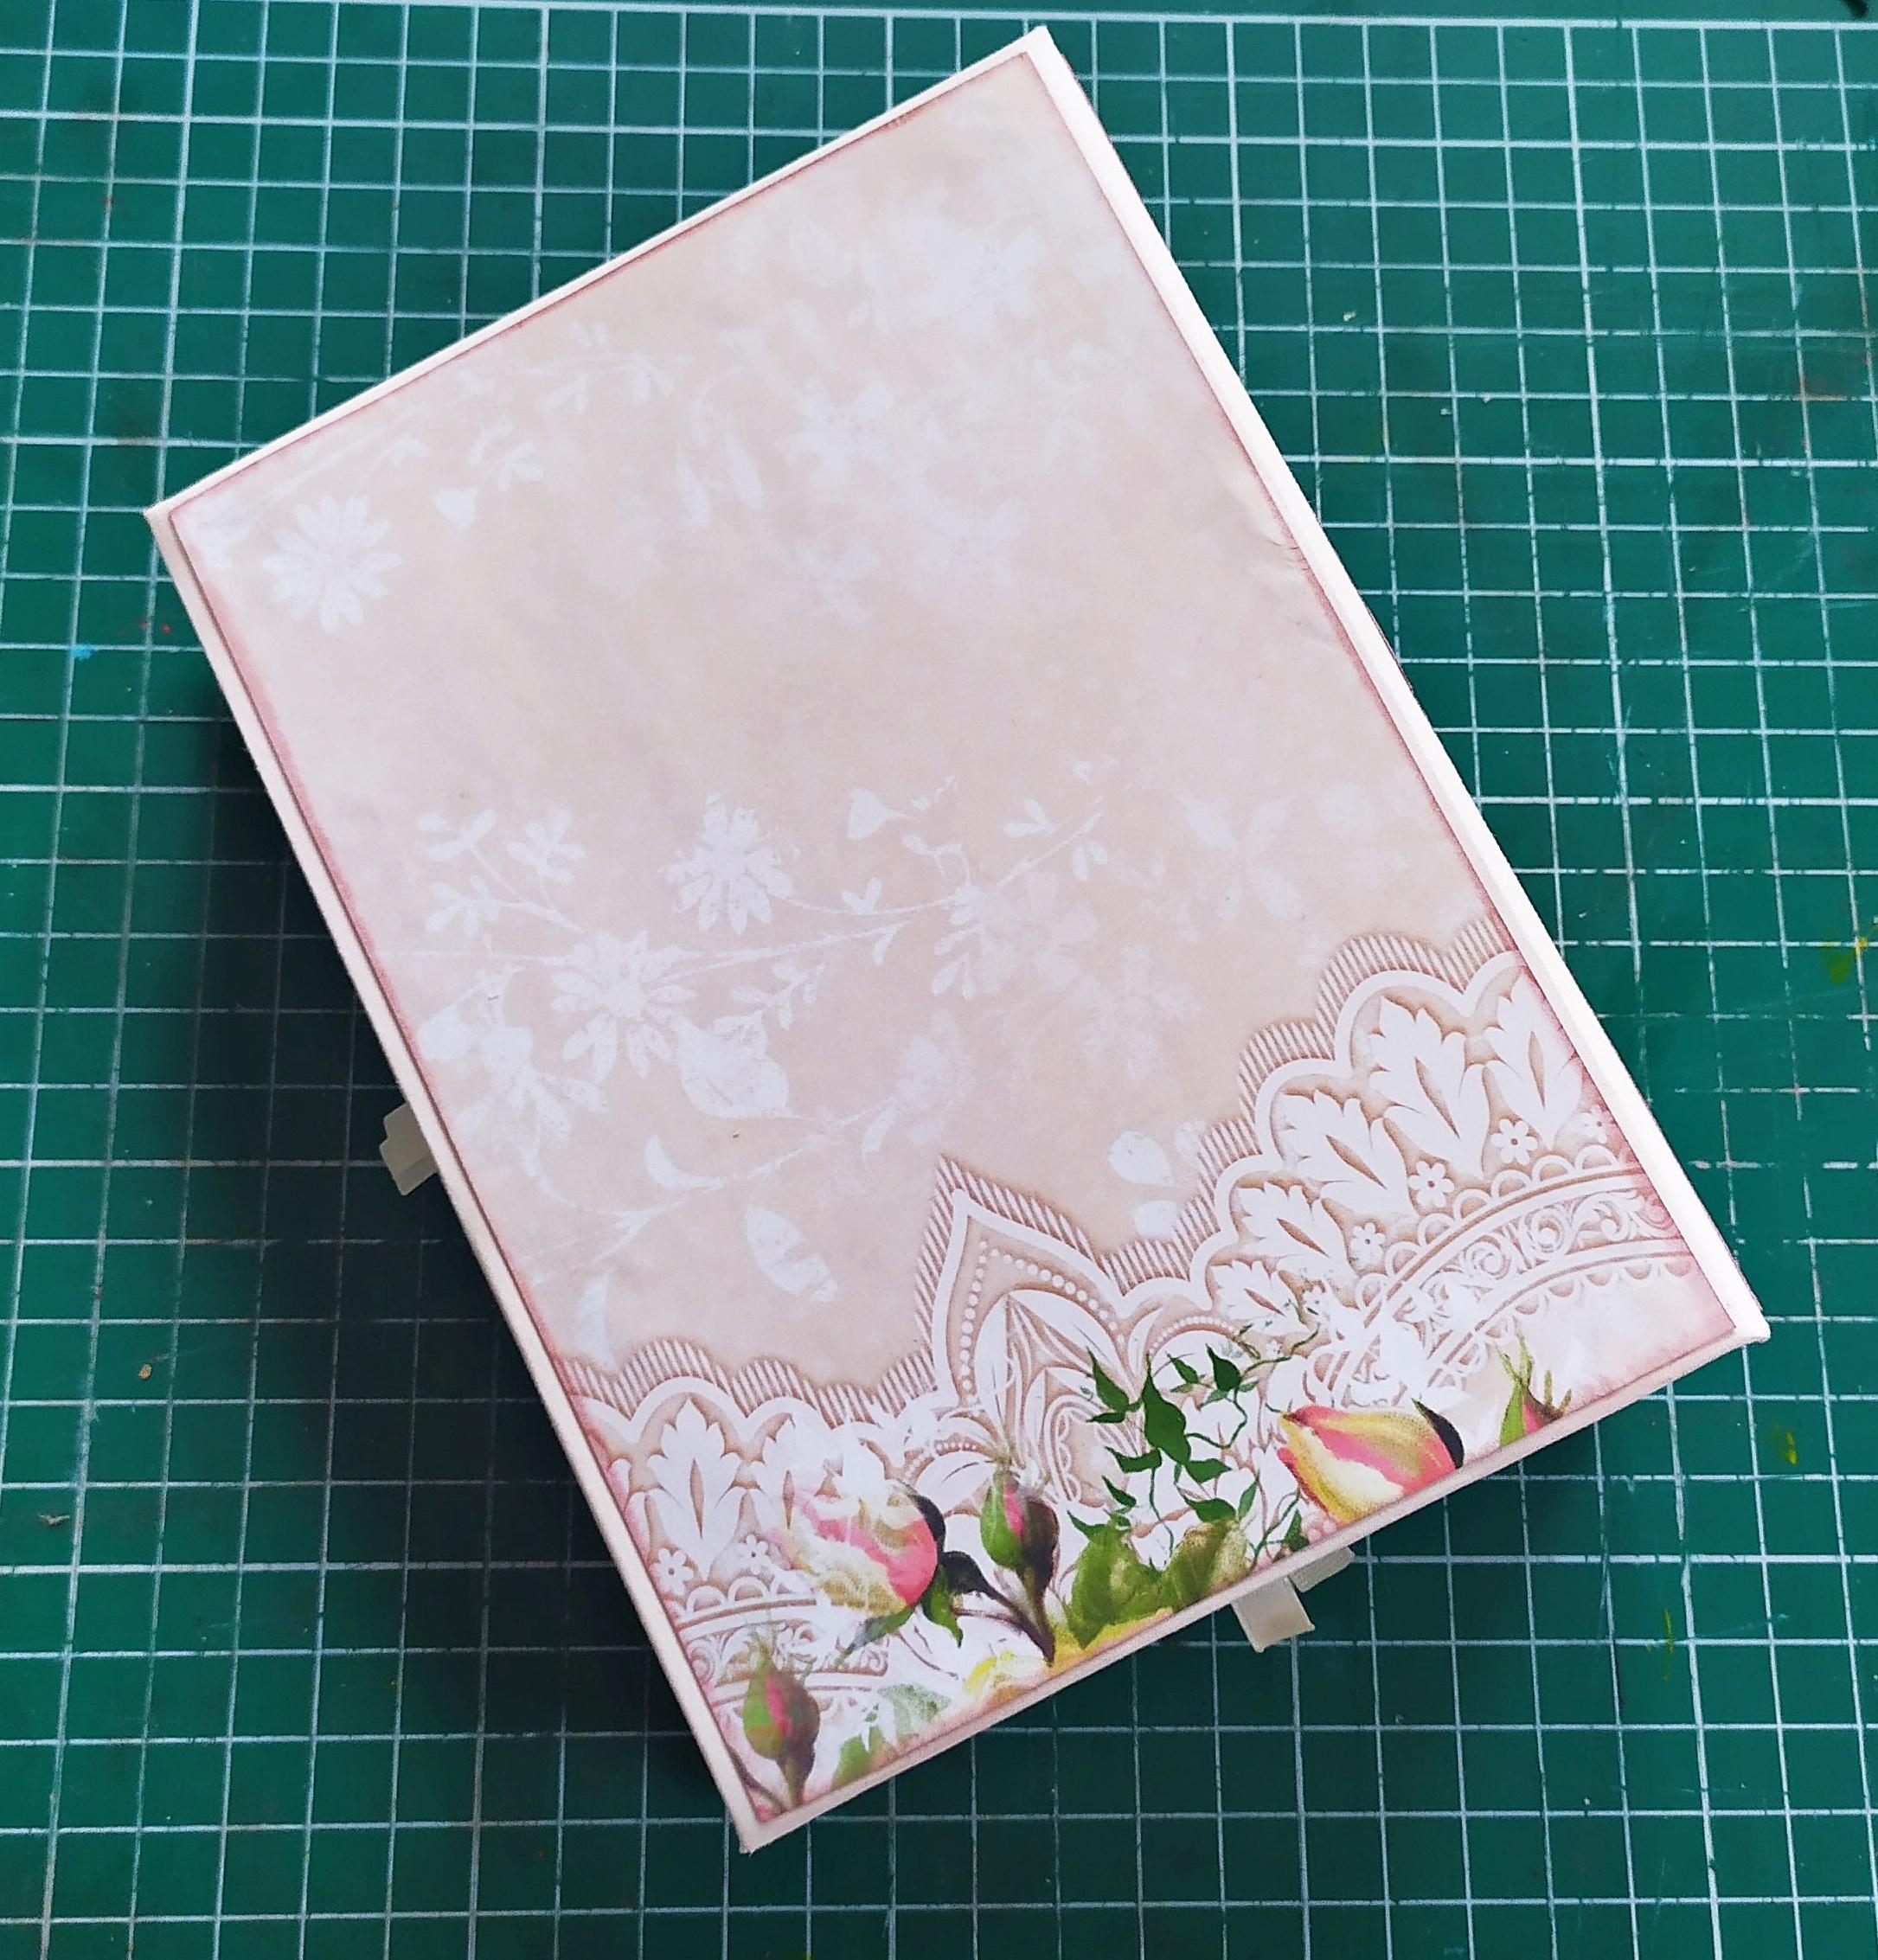
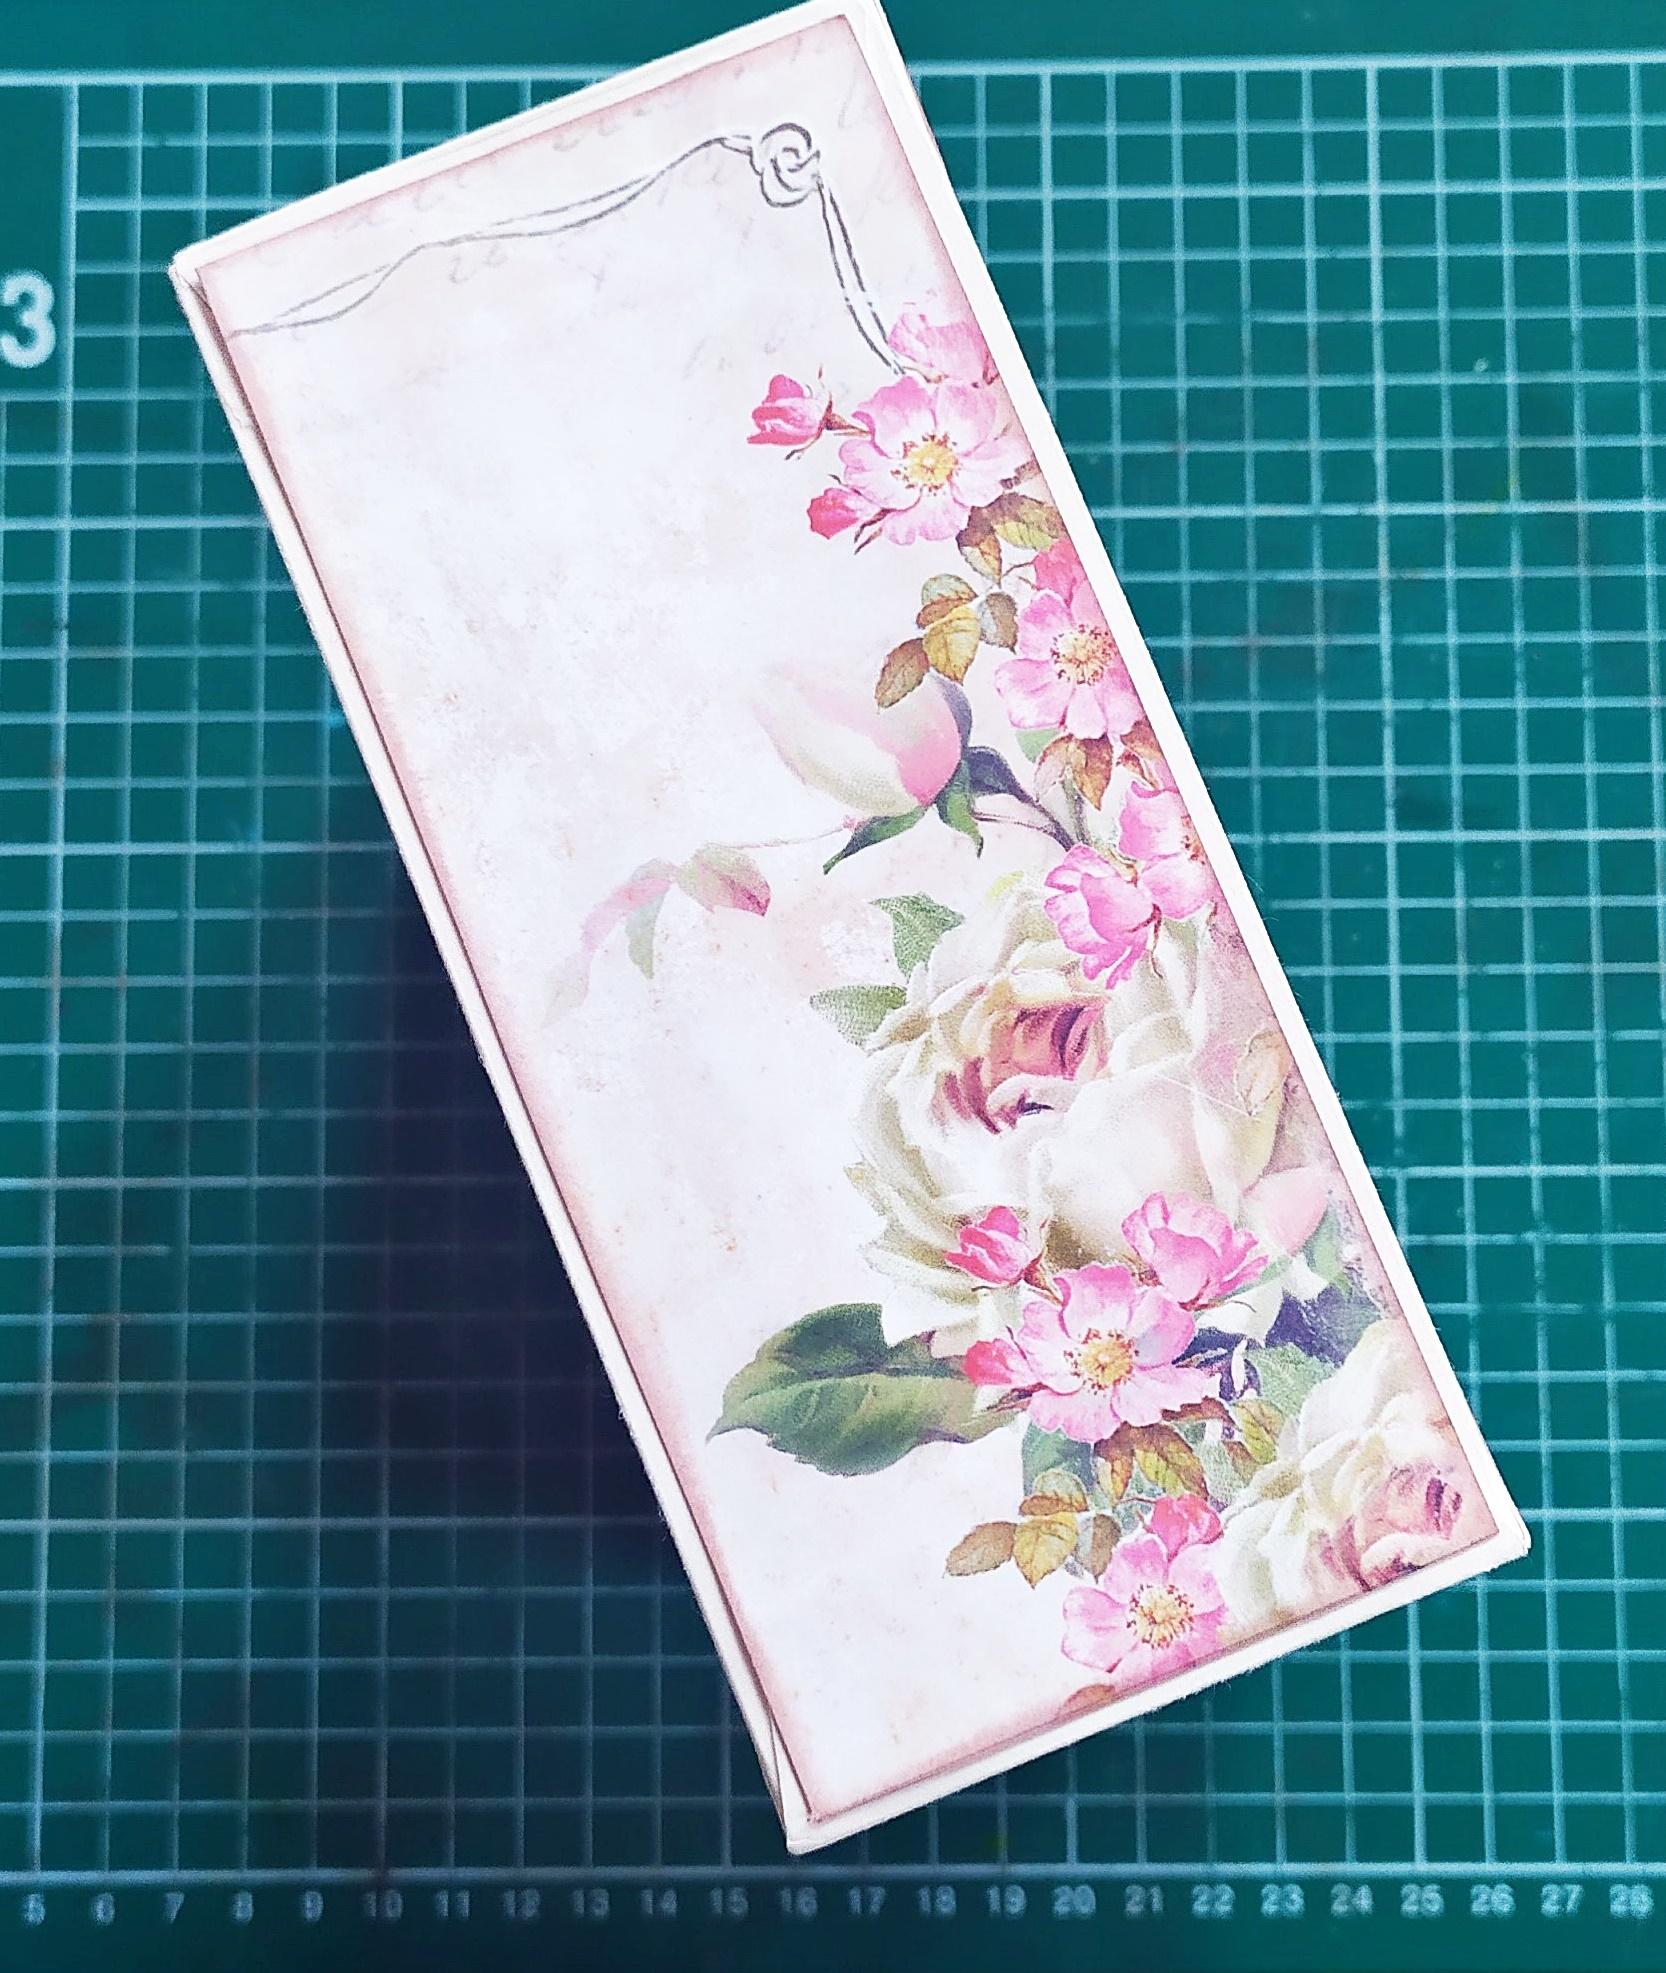
The Back Cover

For the back cover I went with something simple - a couple of folding pages.
Cut a piece of cardstock about 32x10 cm.Make a score at 10 cm and fold it.Make another score where the fold ends and fold that,too.Lastly,score the overhanging piece of cardstock.
Cut a designer paper and place the folded cardstock on top of it.Trace the right side - a line about 15 cm and cut it.Insert the overhang and glue it to the back of the designer paper.
Lastly,glue the designer paper to the back cover.
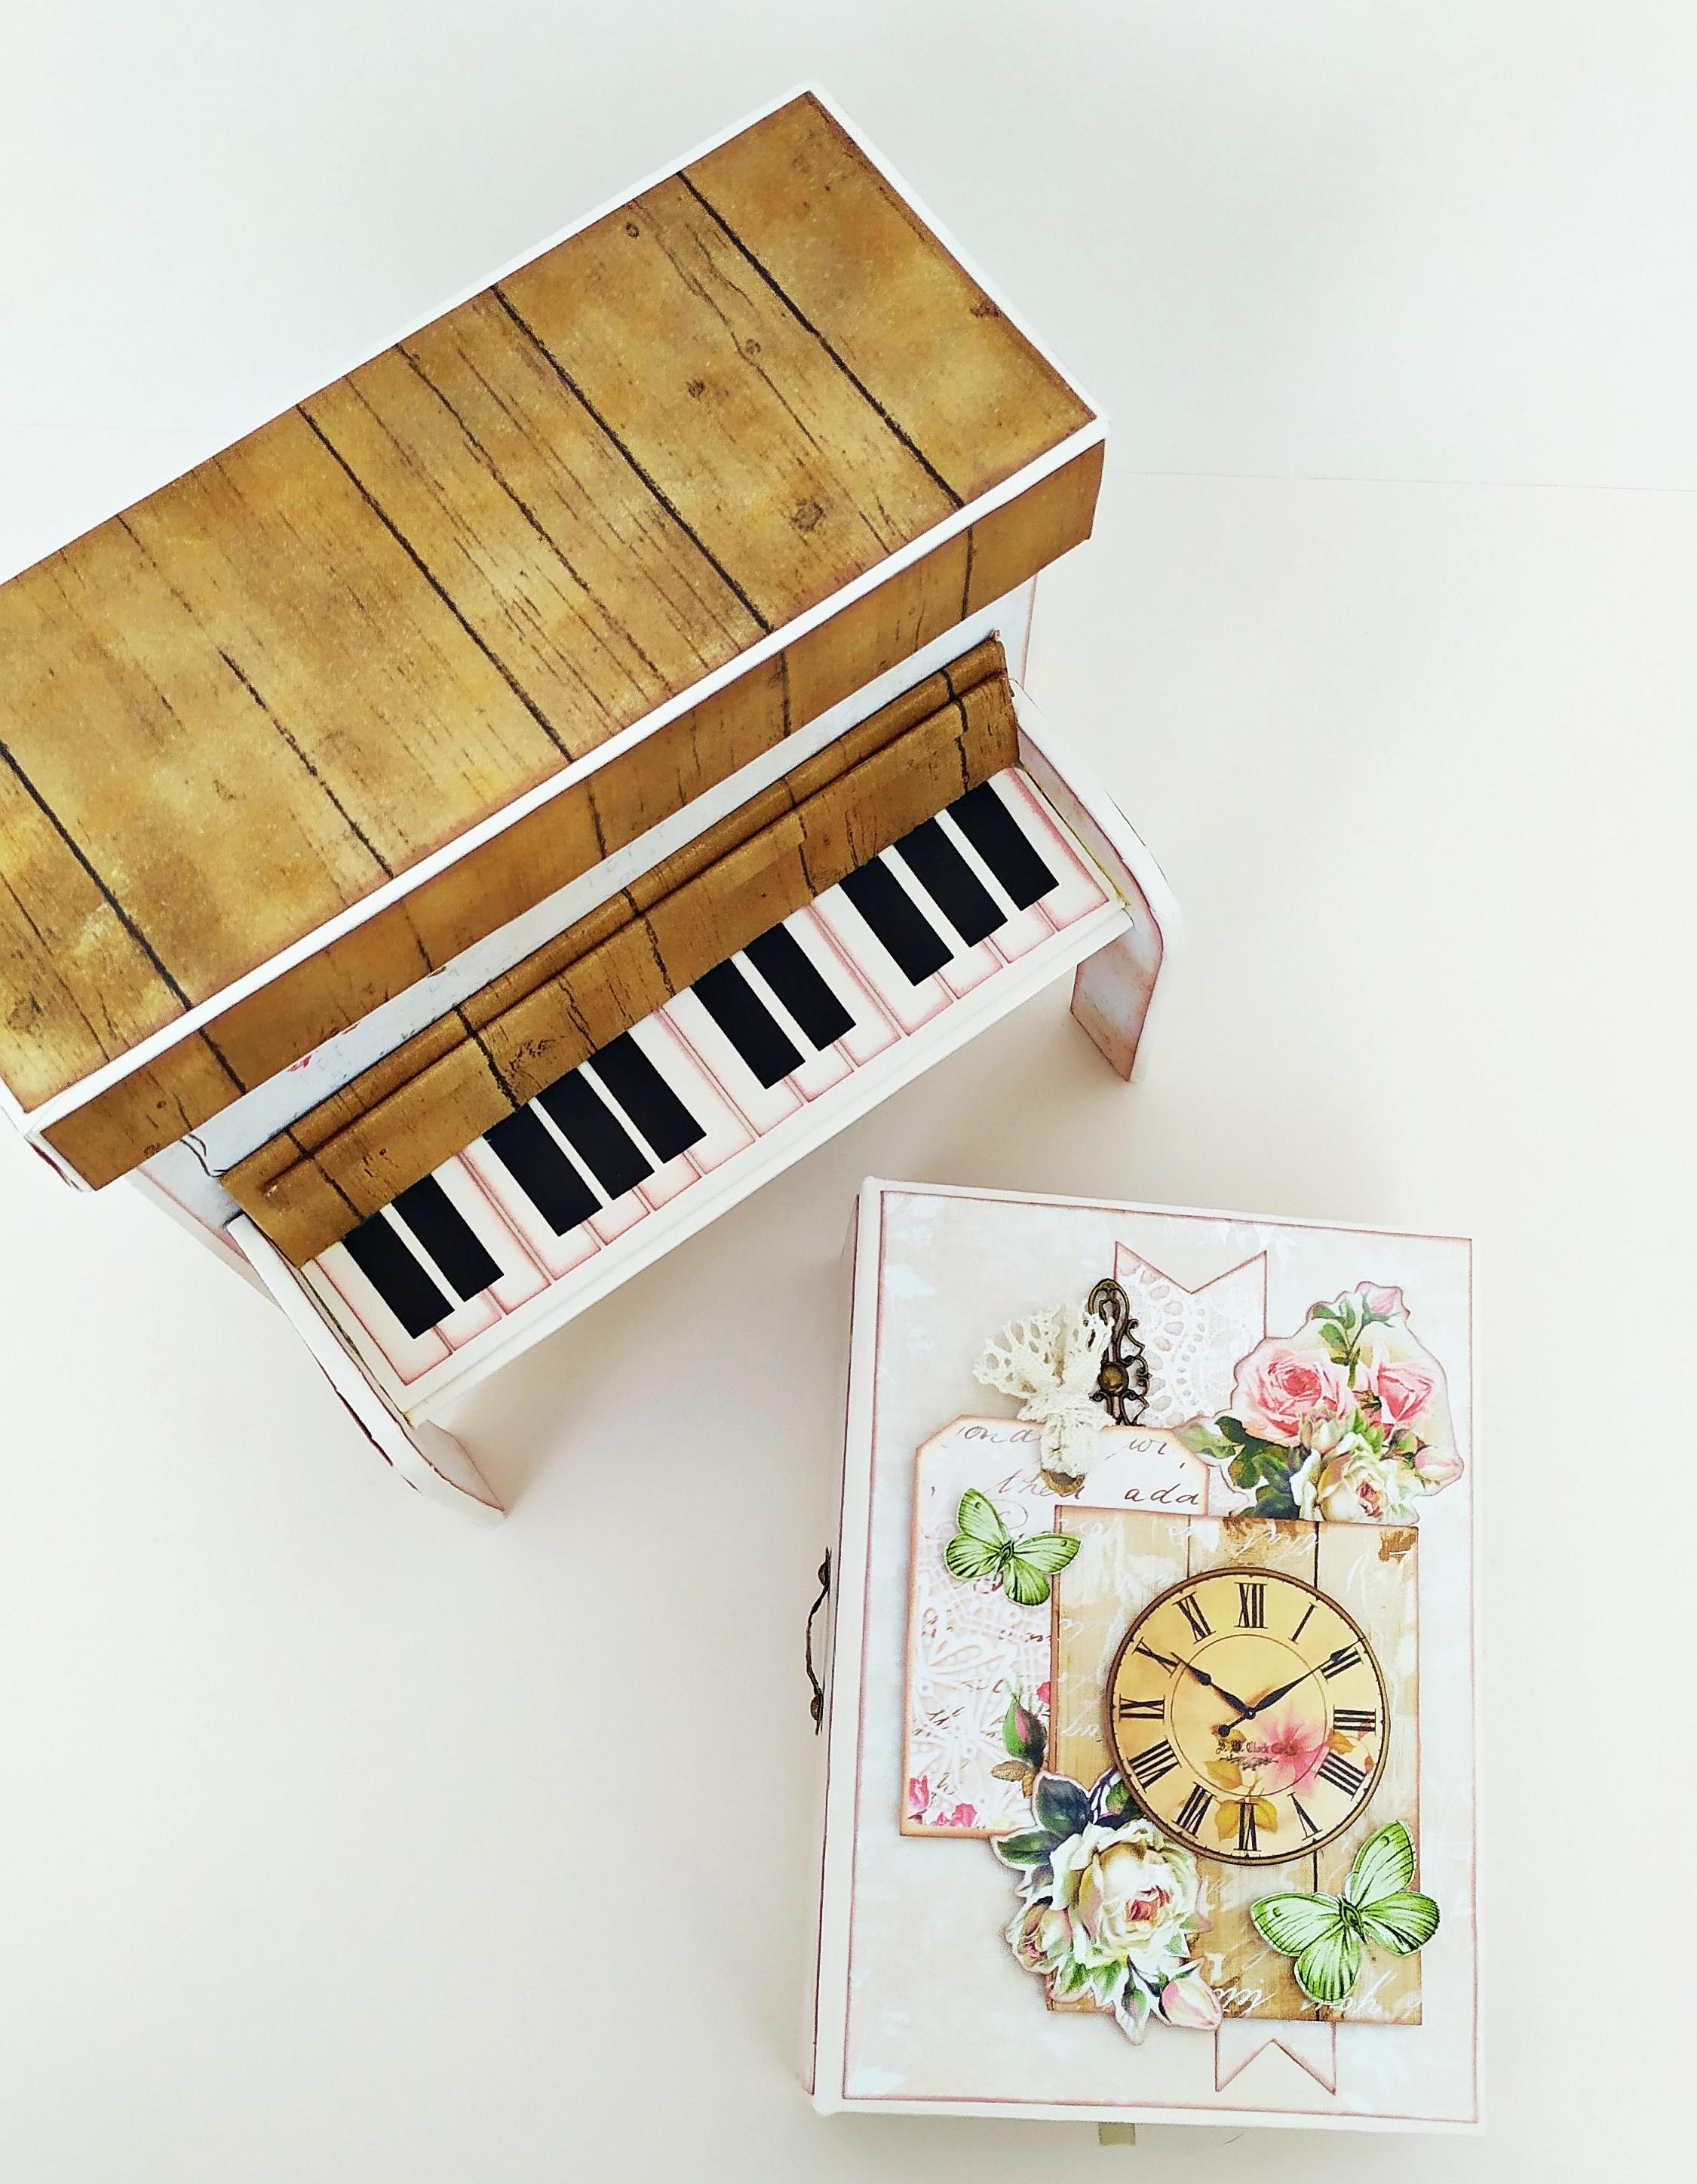
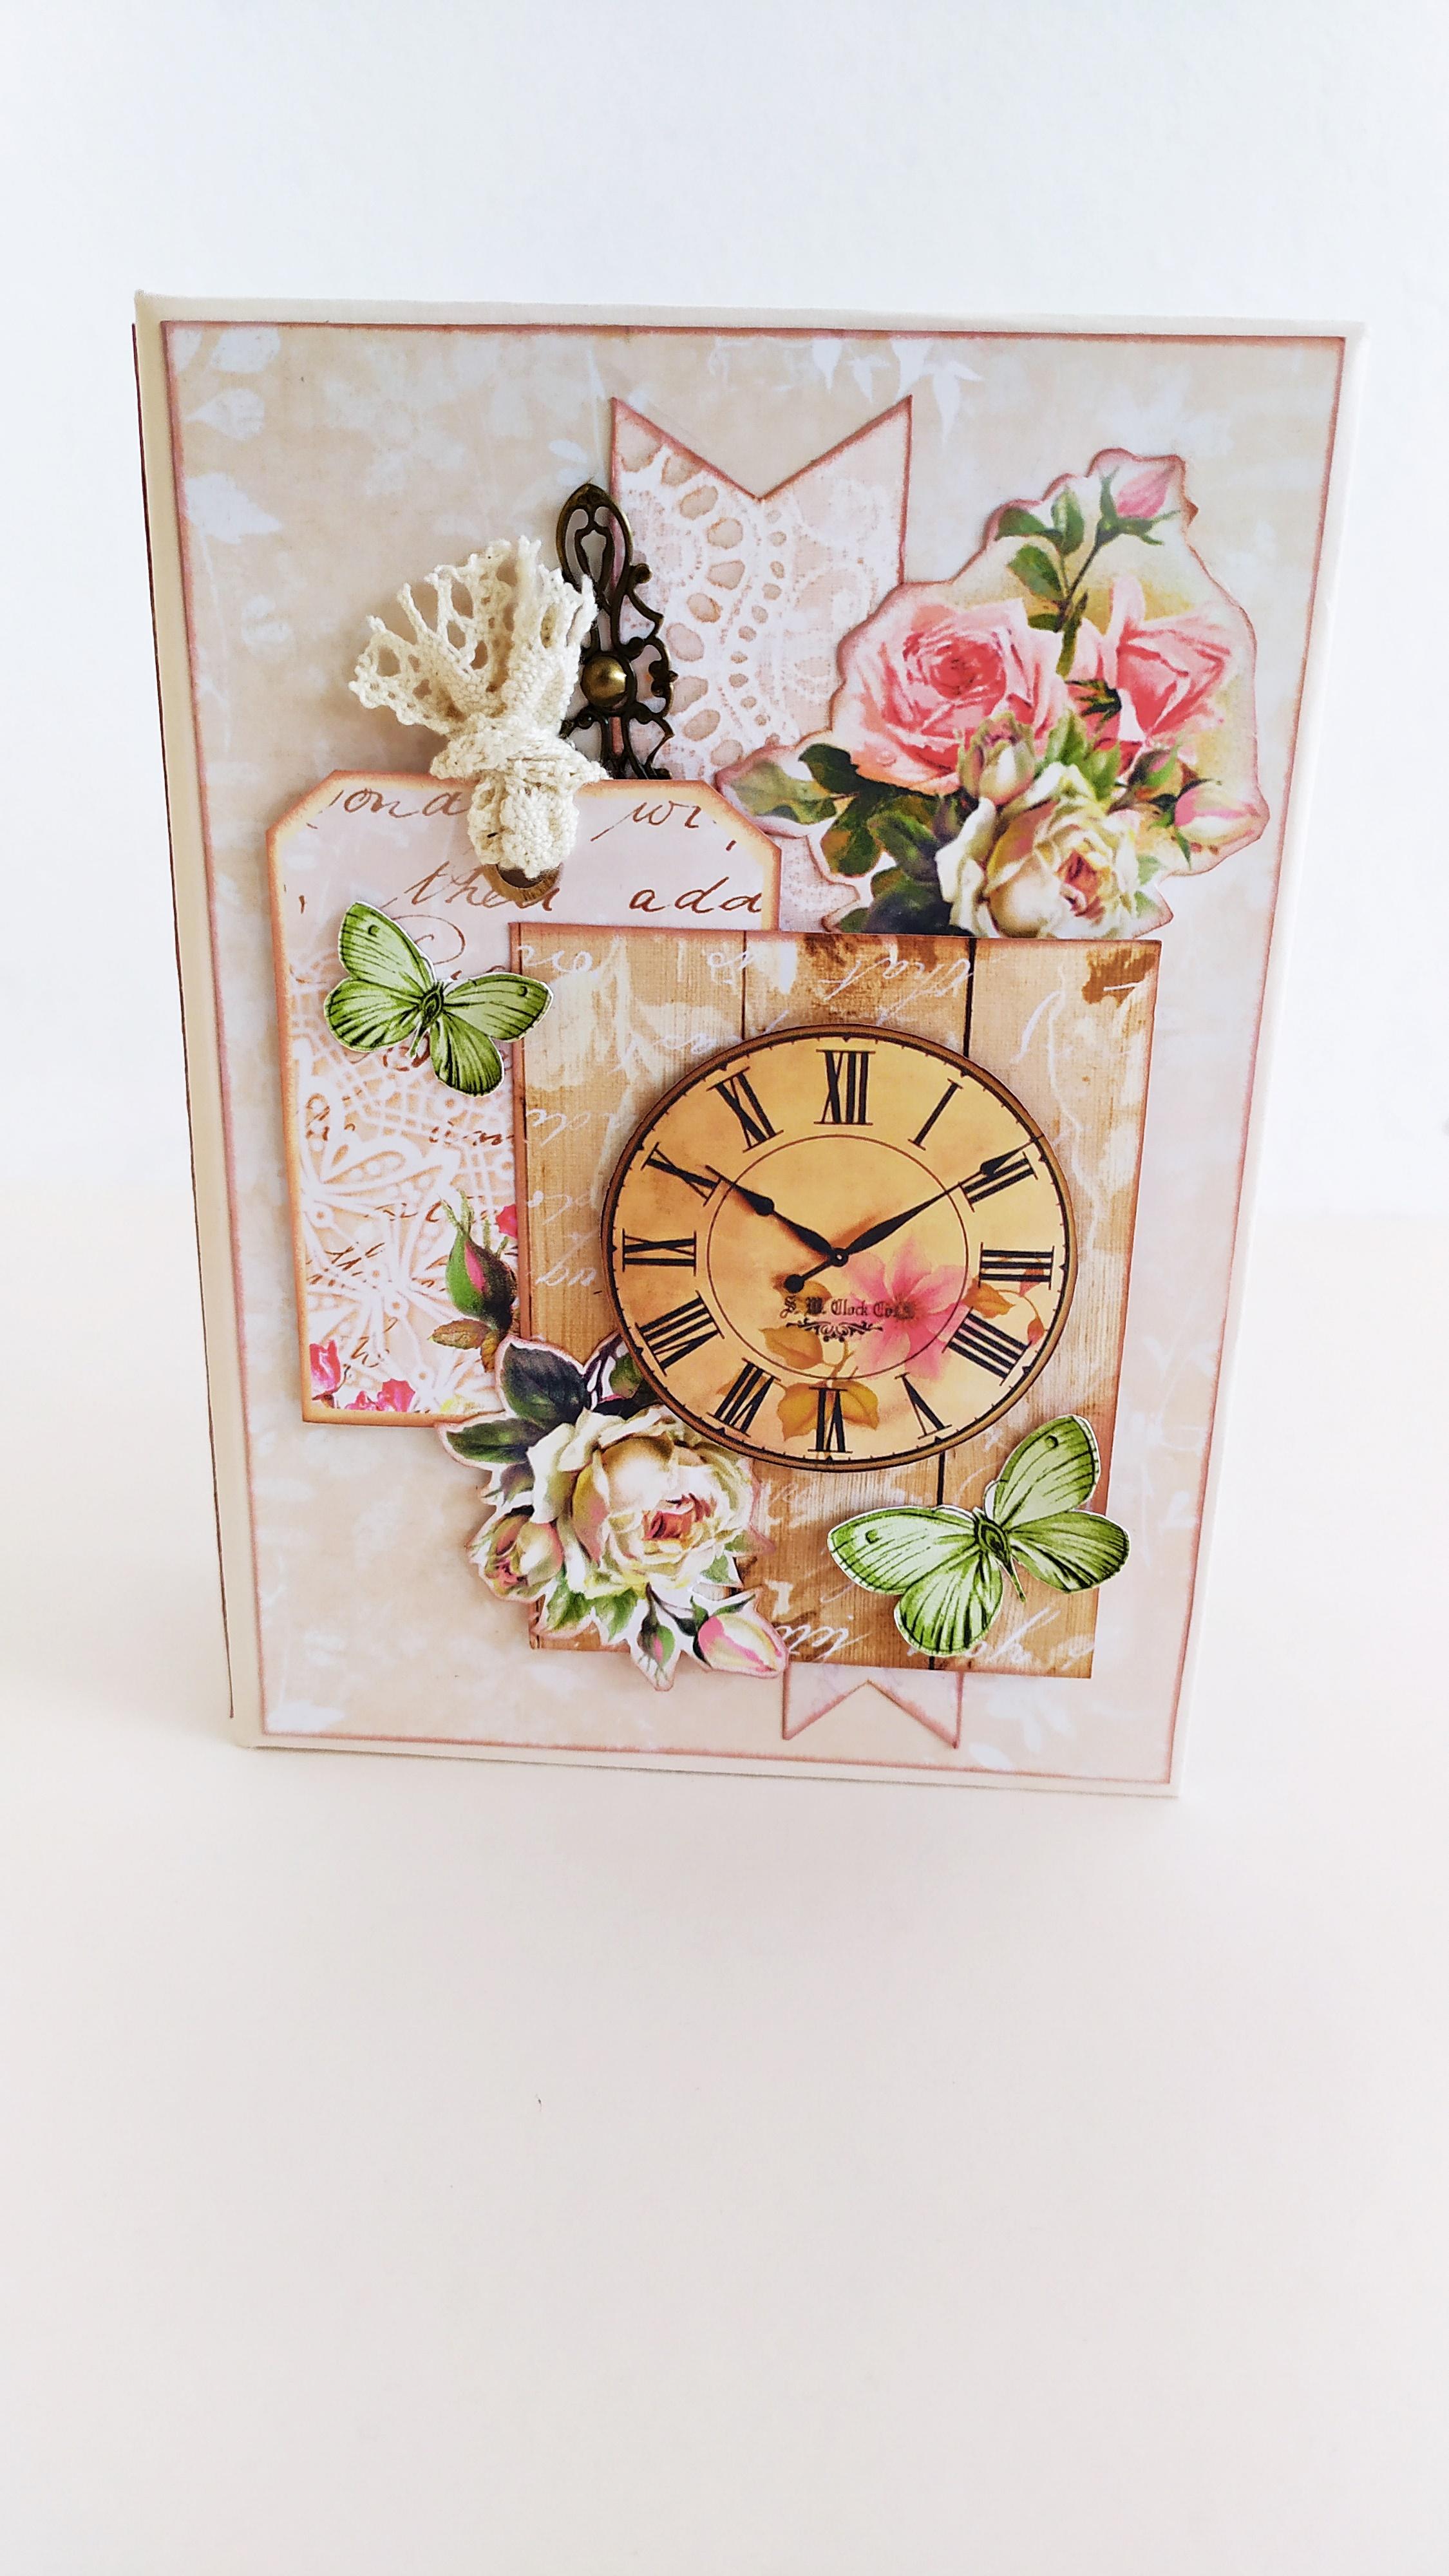
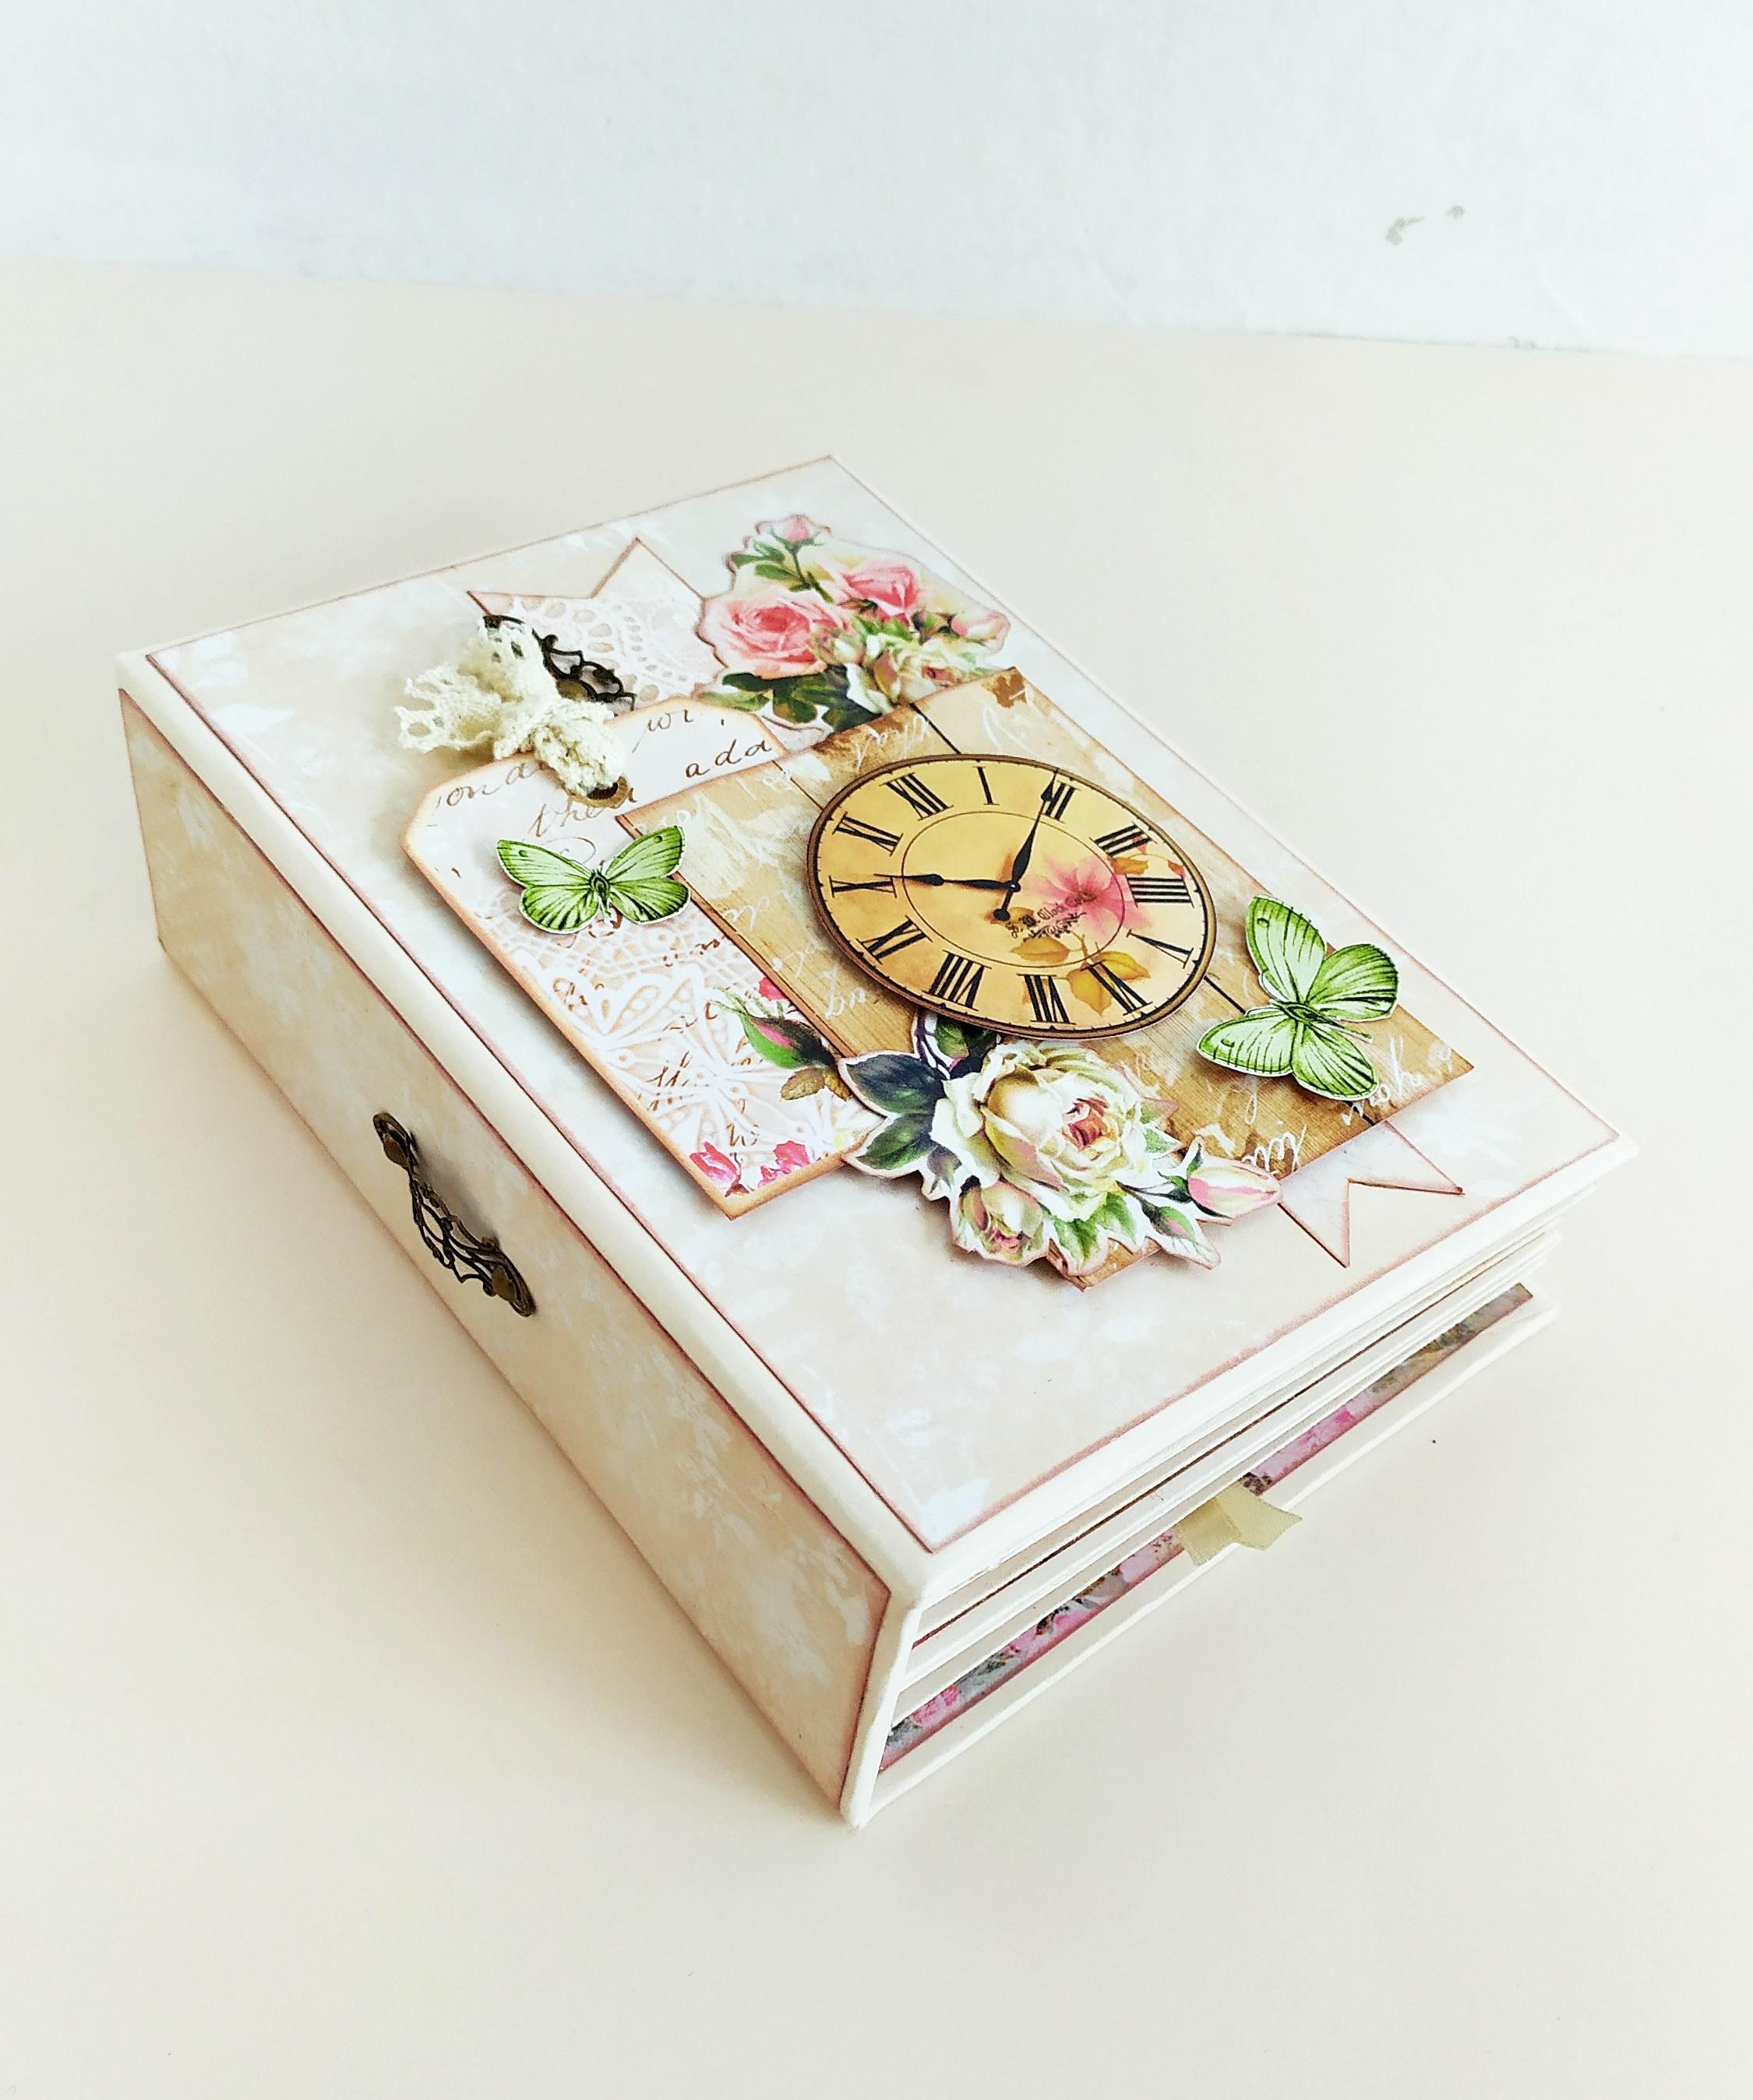
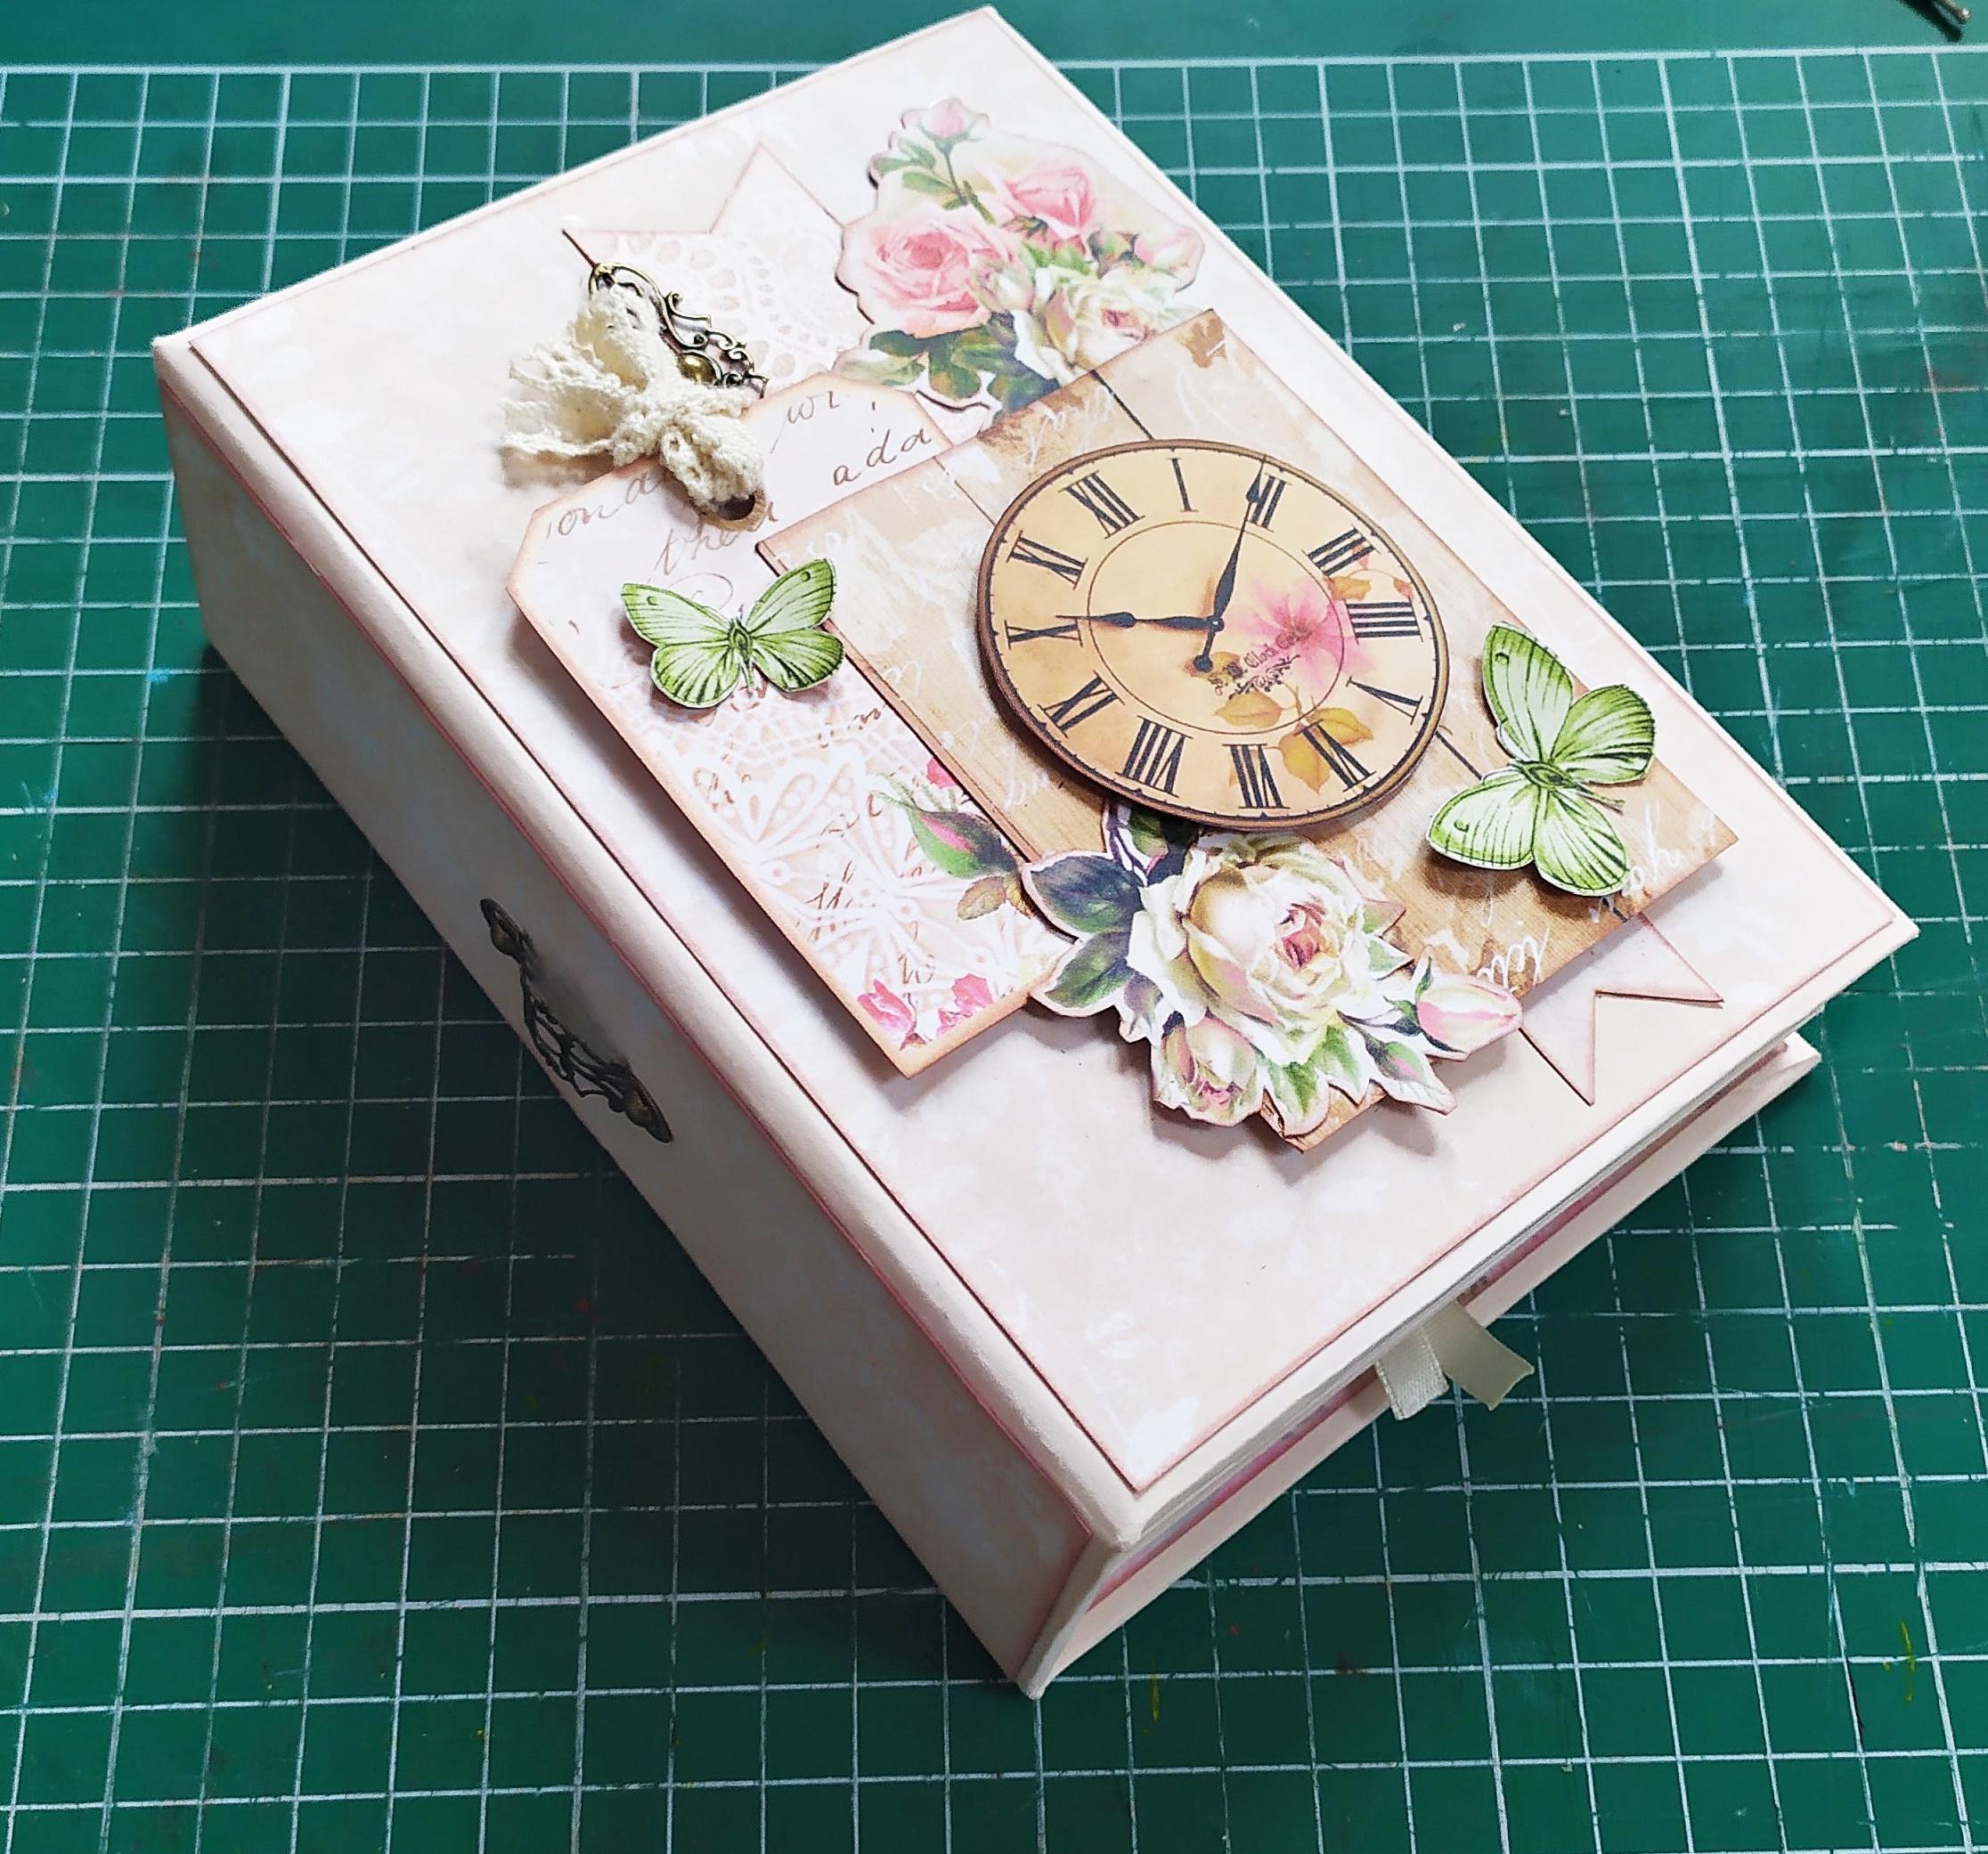
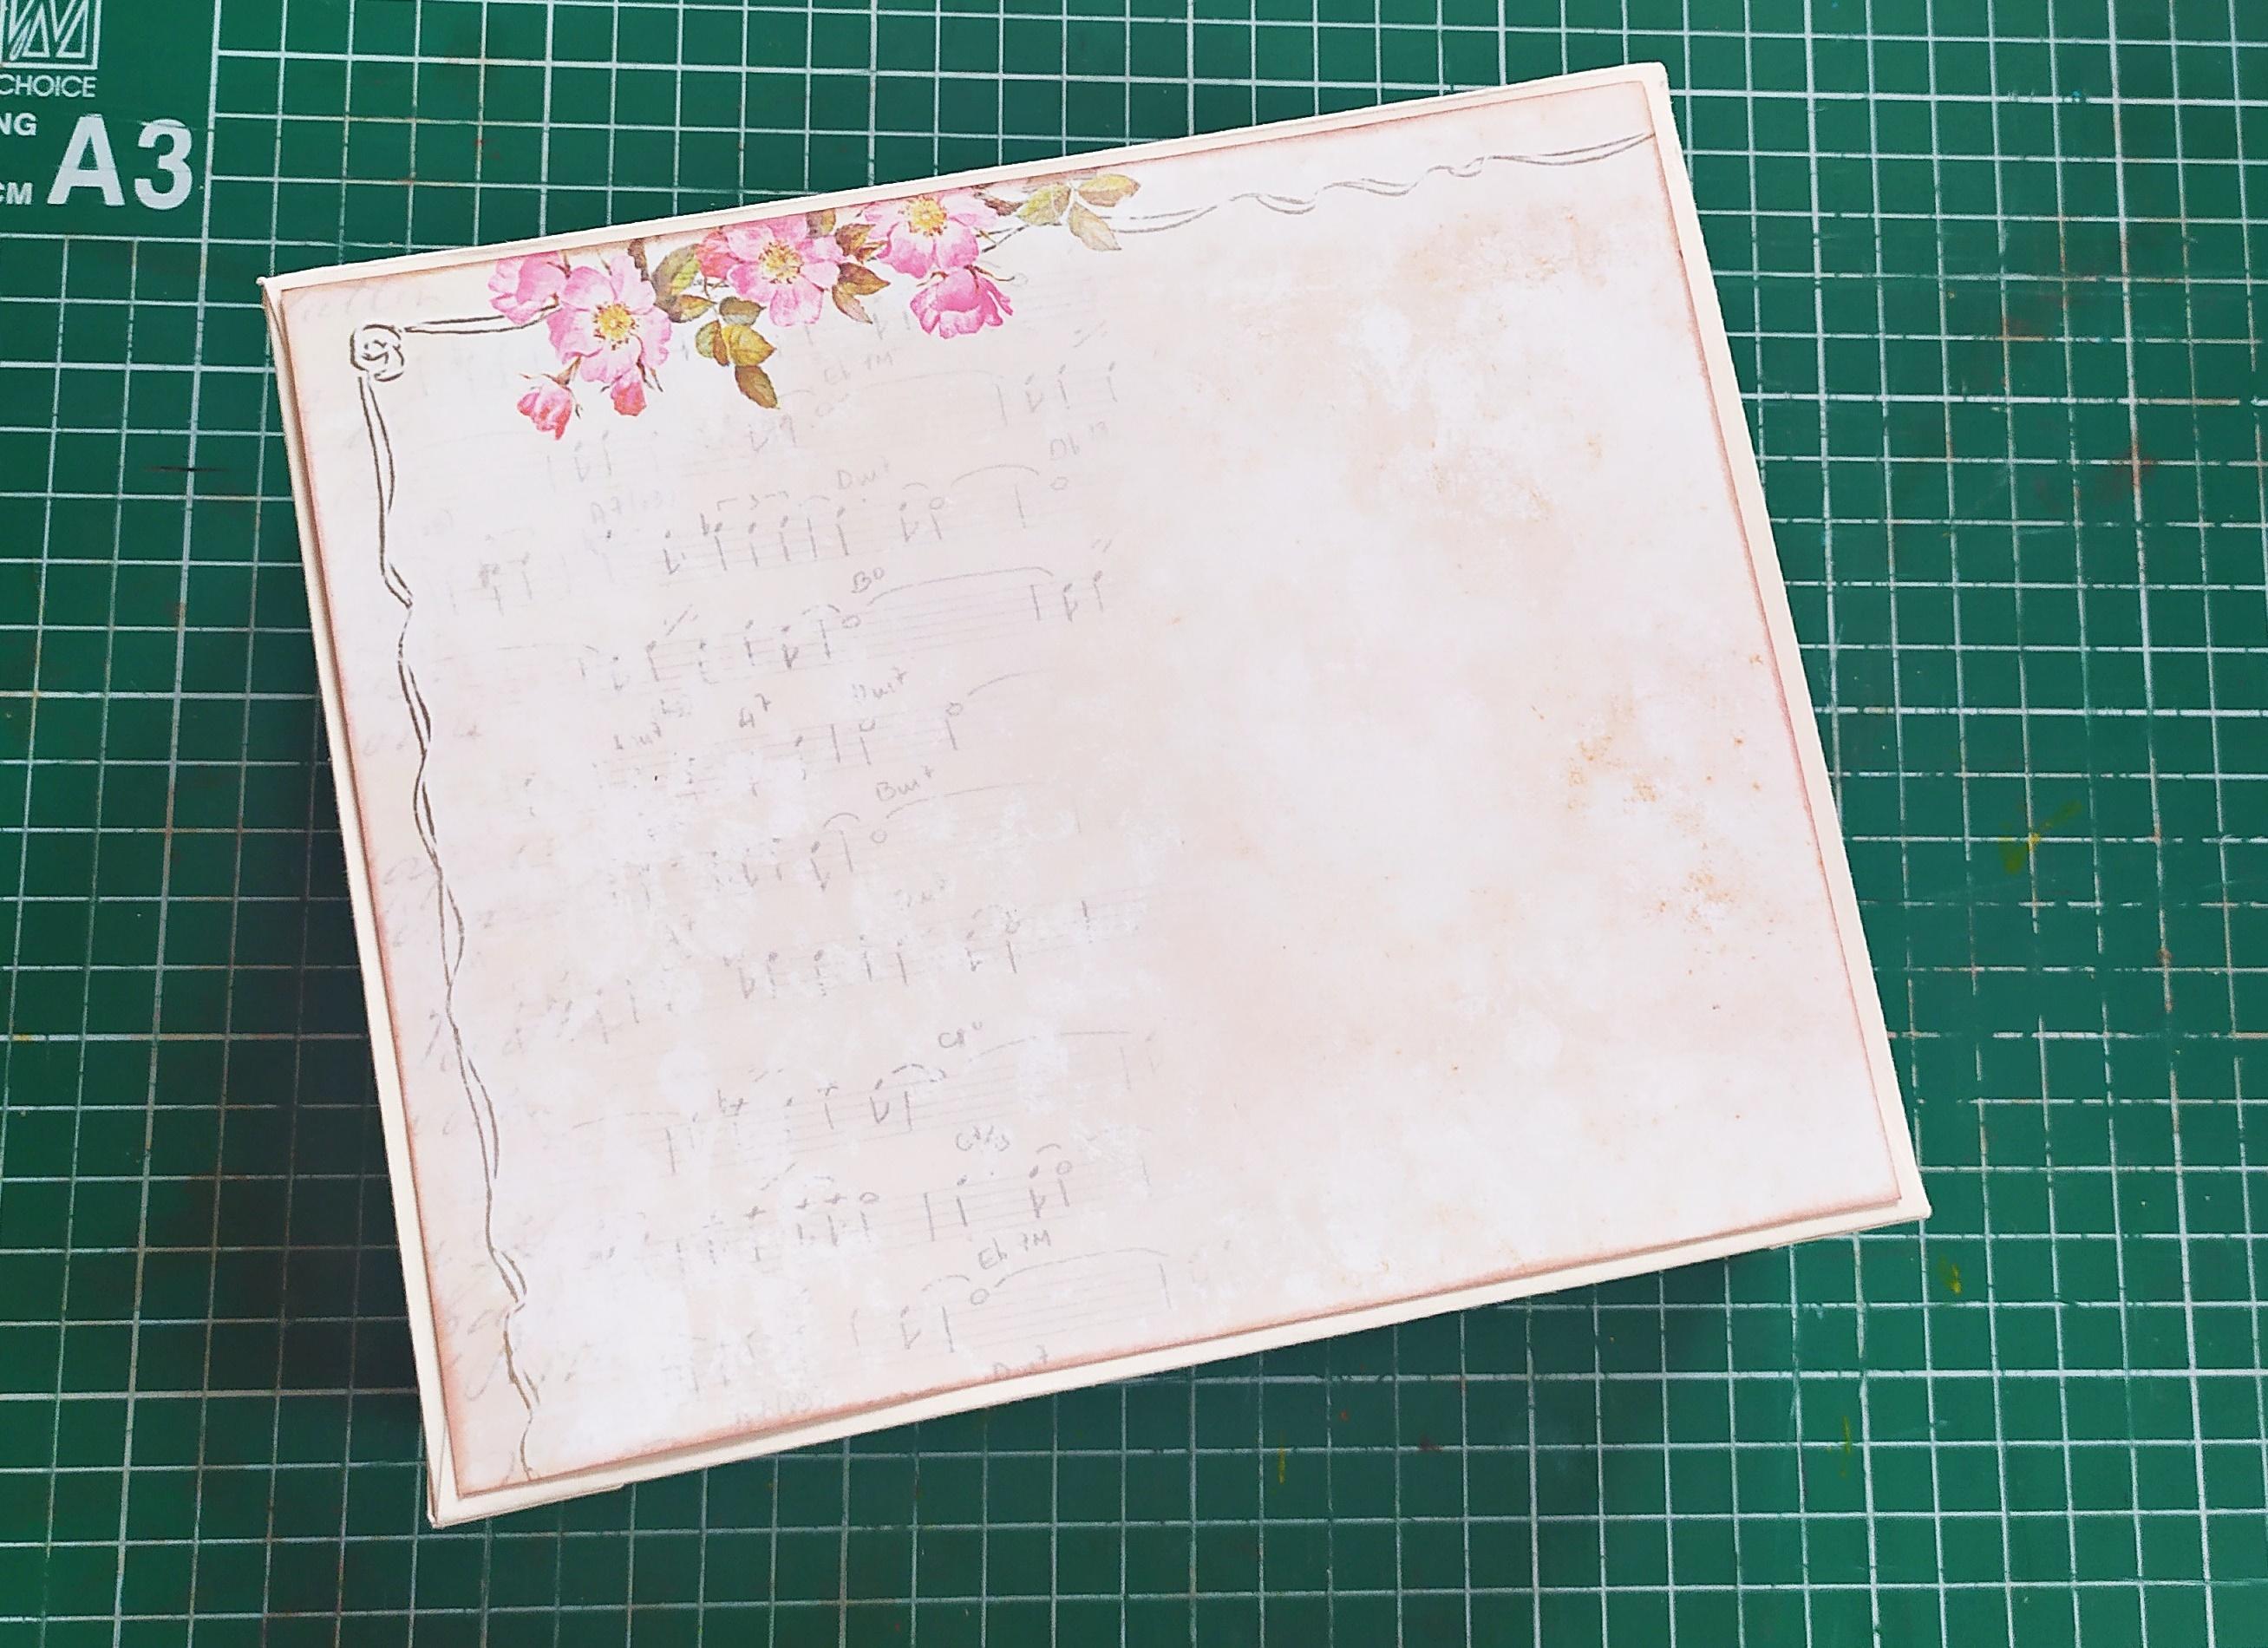
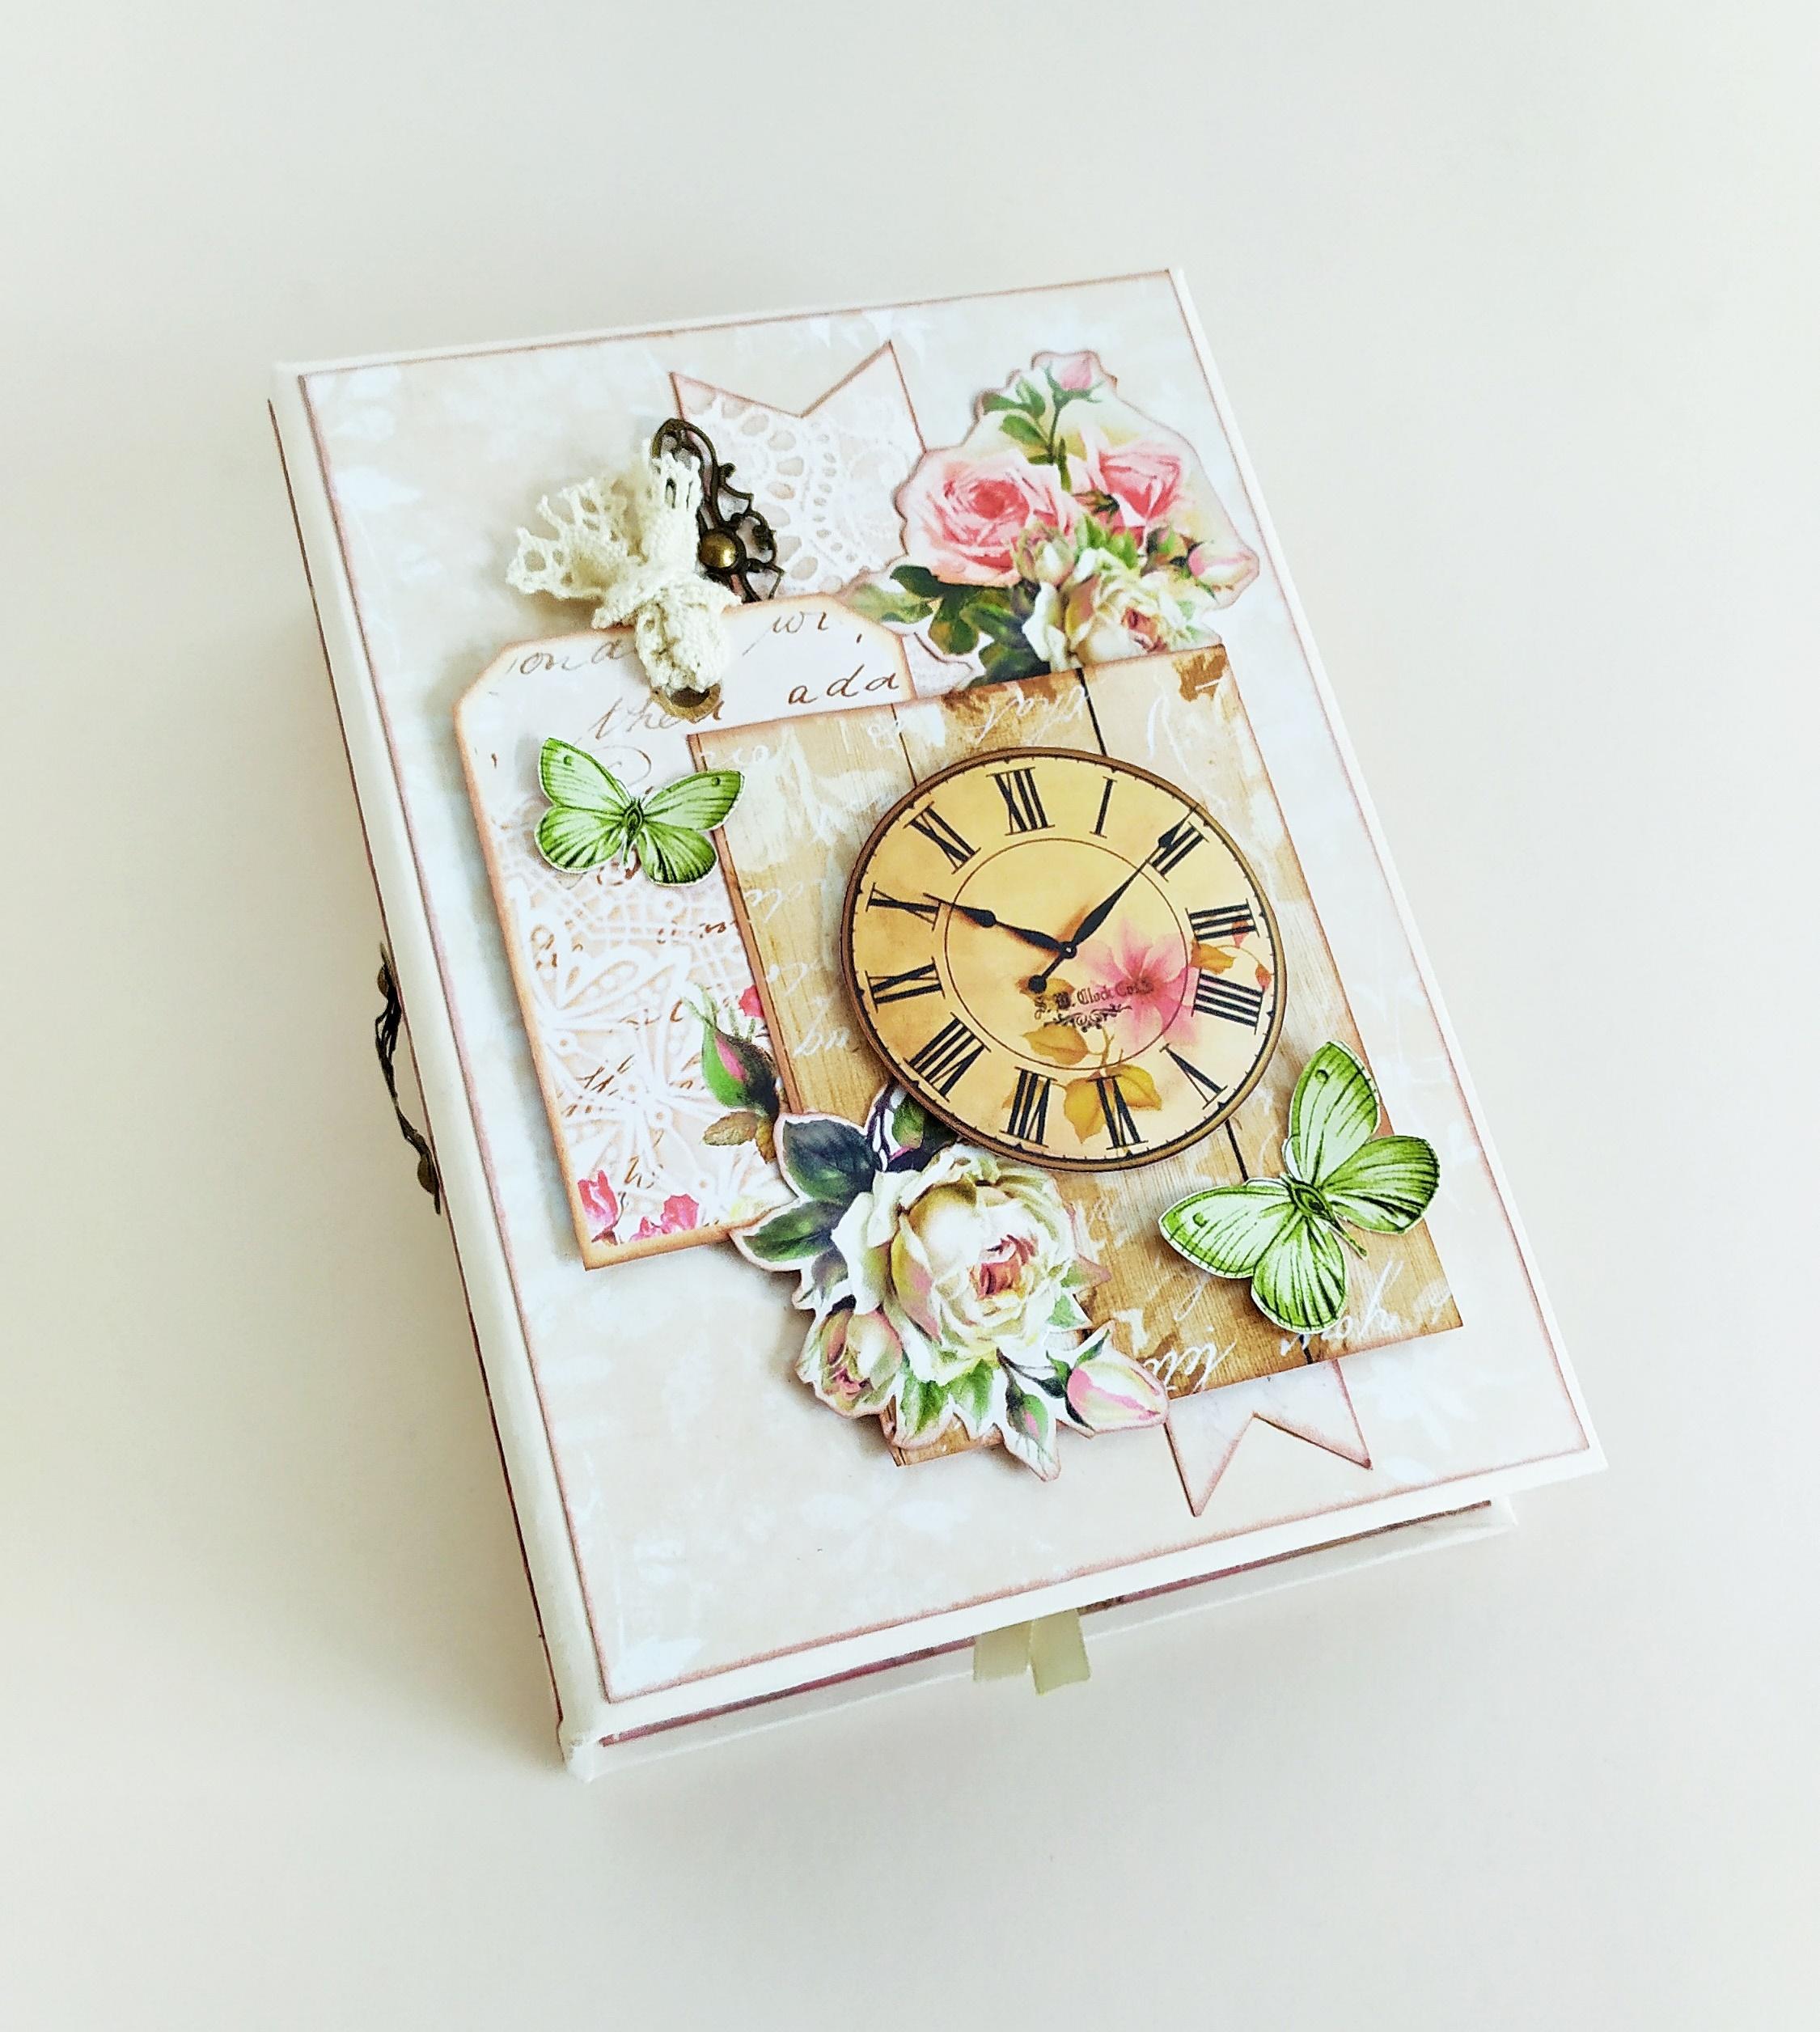
Decorate the Front Cover

Now that the pages of the album are done,the only thing left to do is to decorate the front cover.
This is where you have the most fun - put whatever you want in there.Make it simple or not - it's all up to you and your imagination.
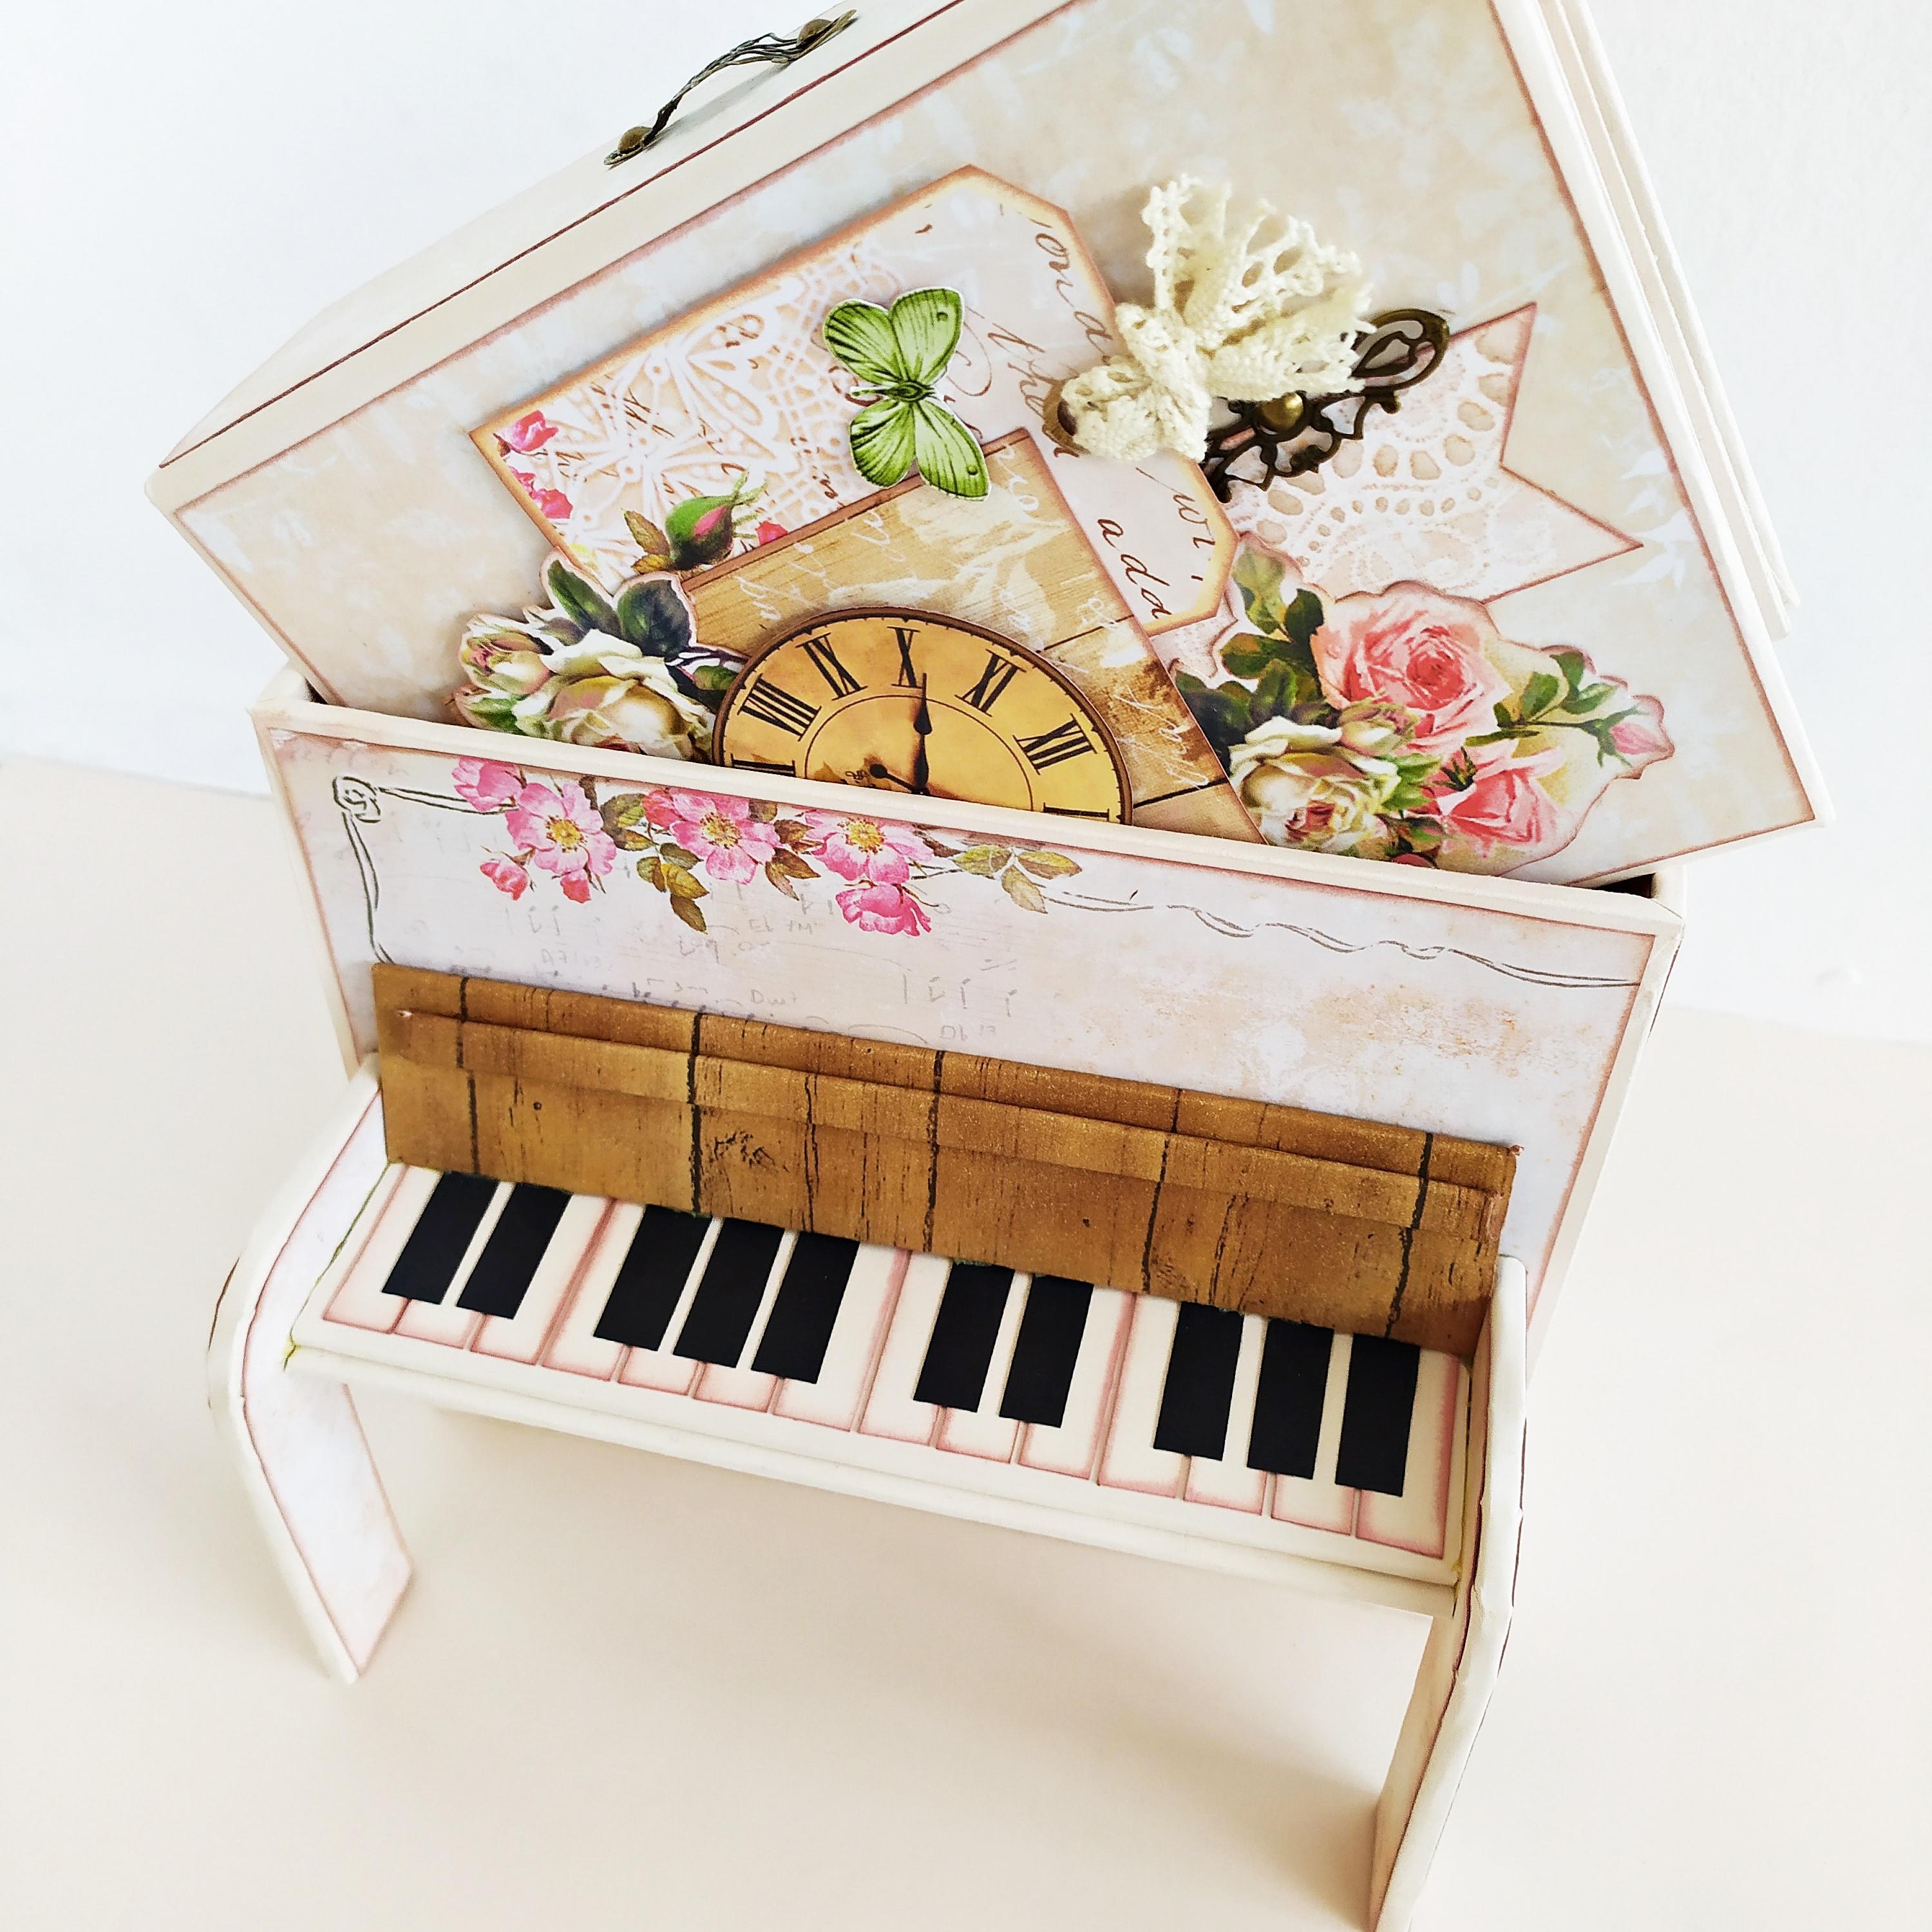
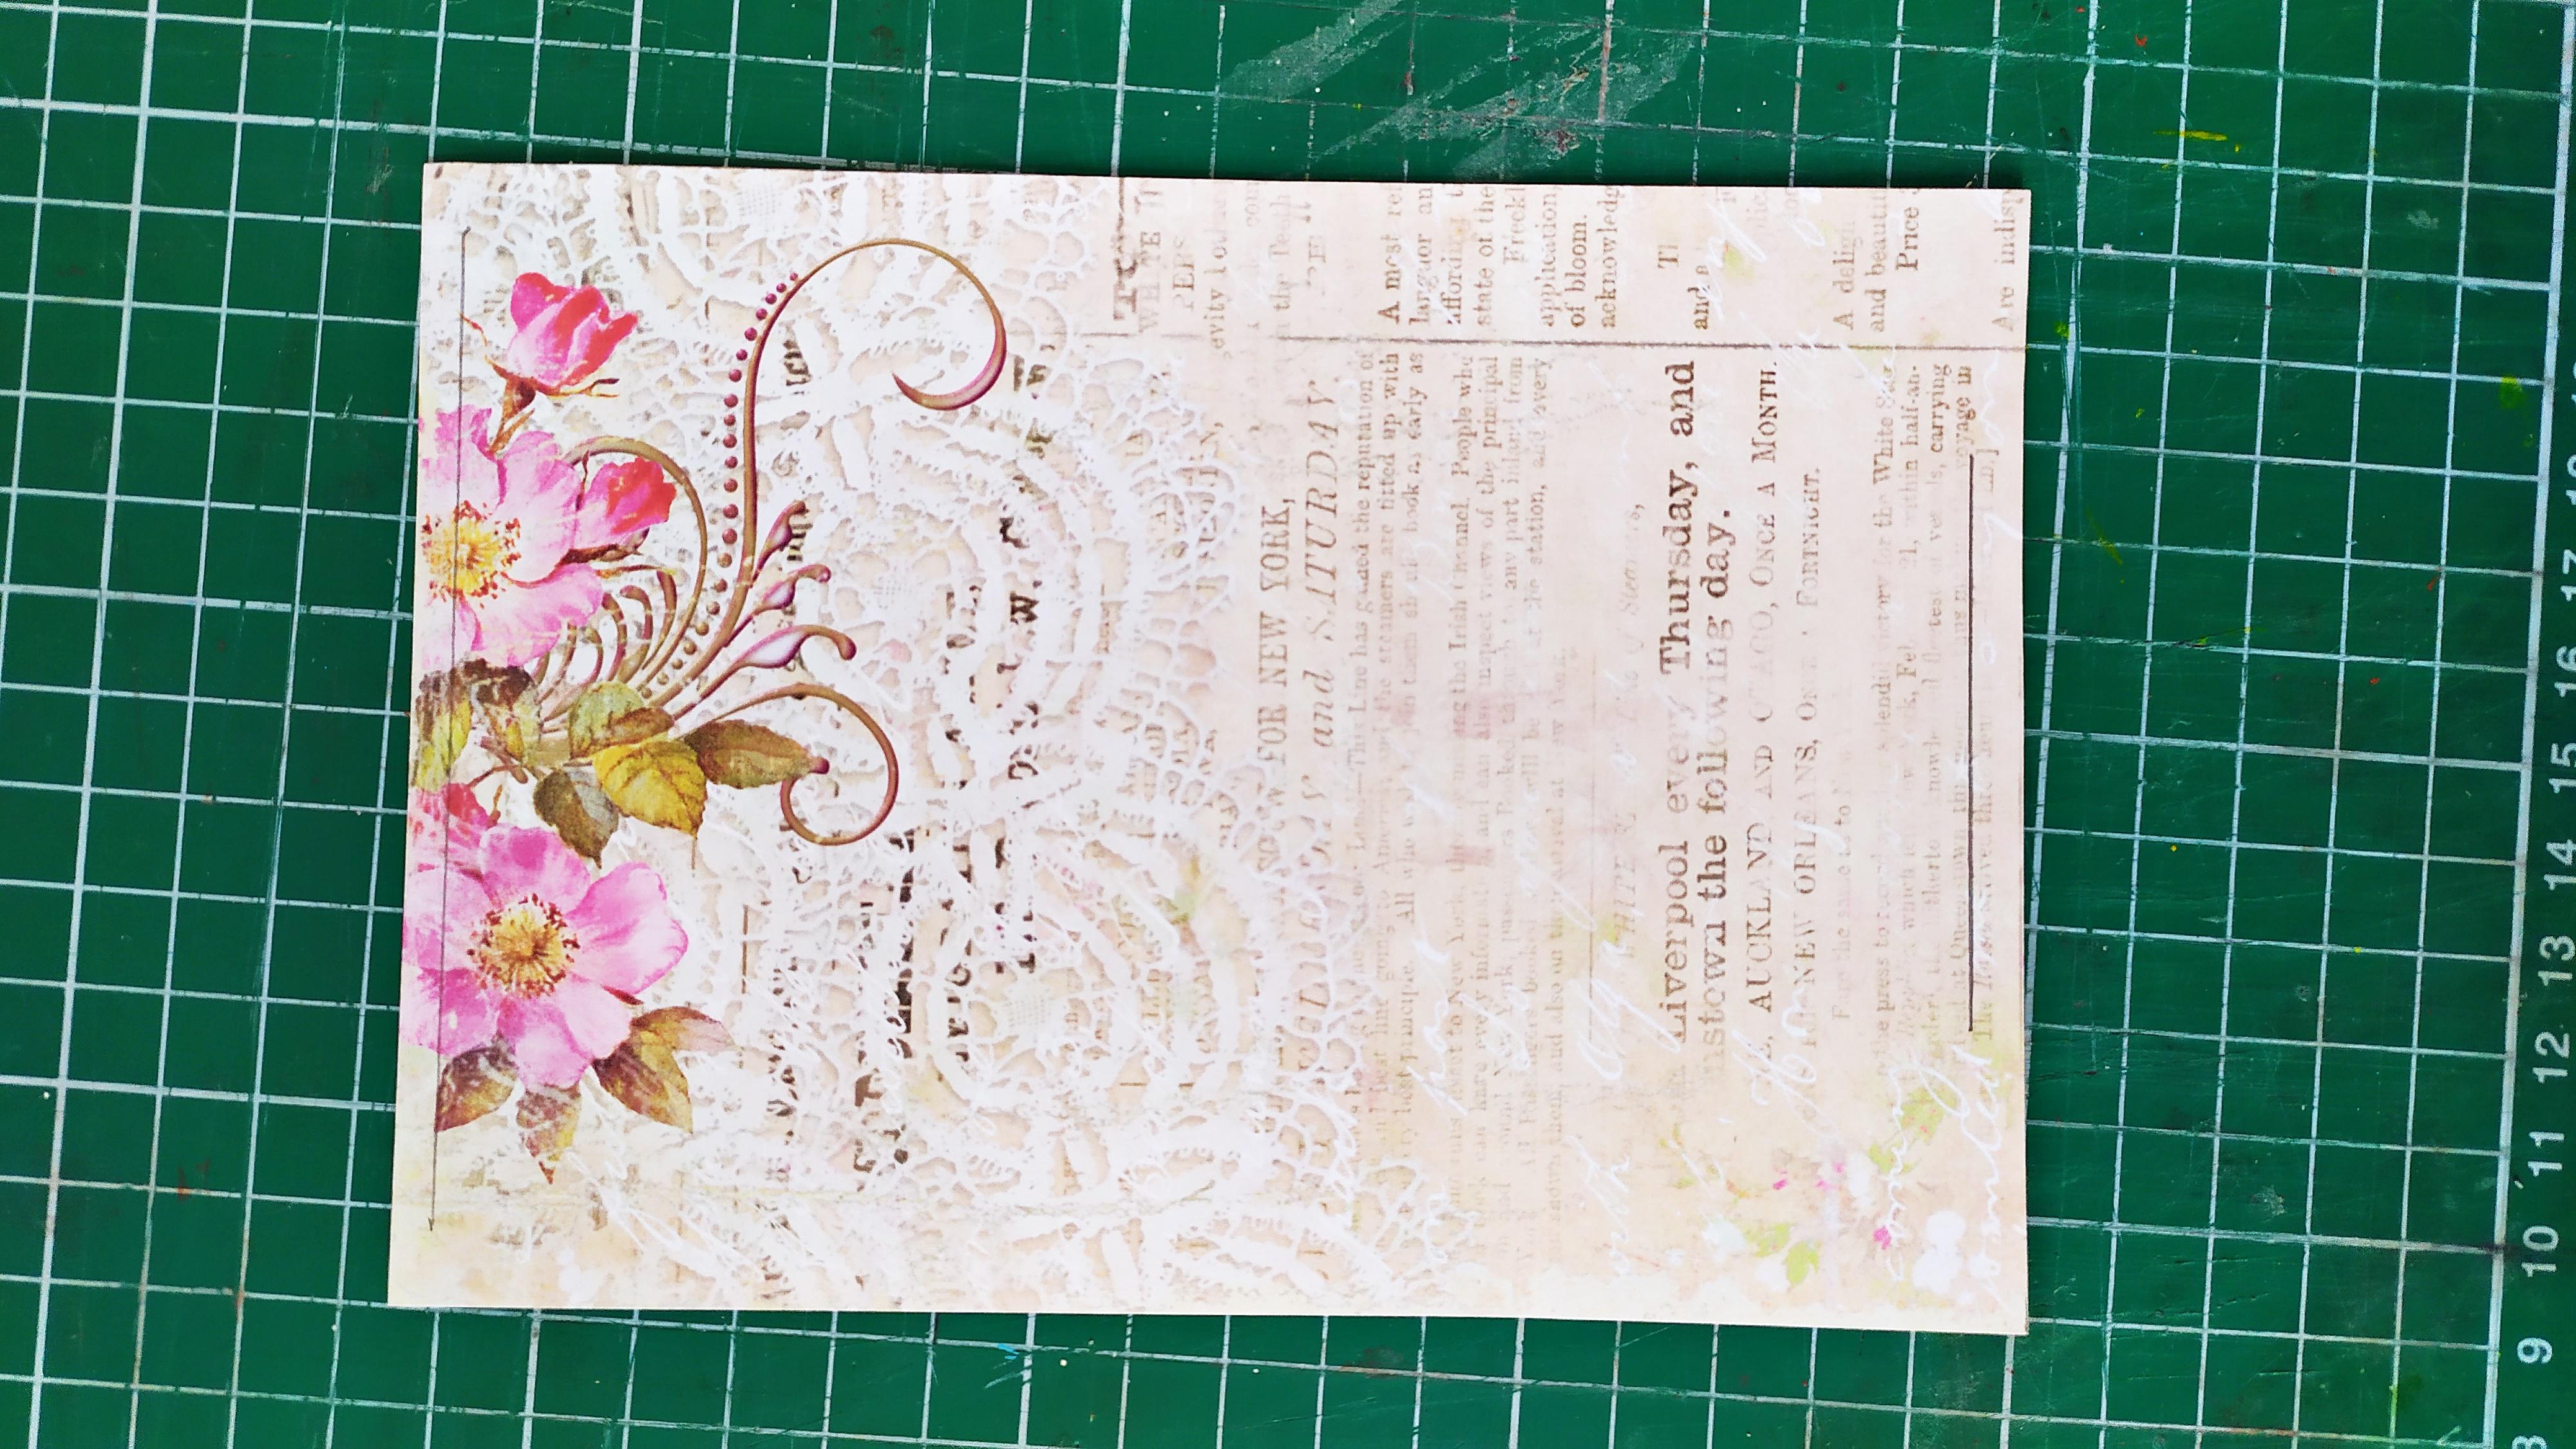
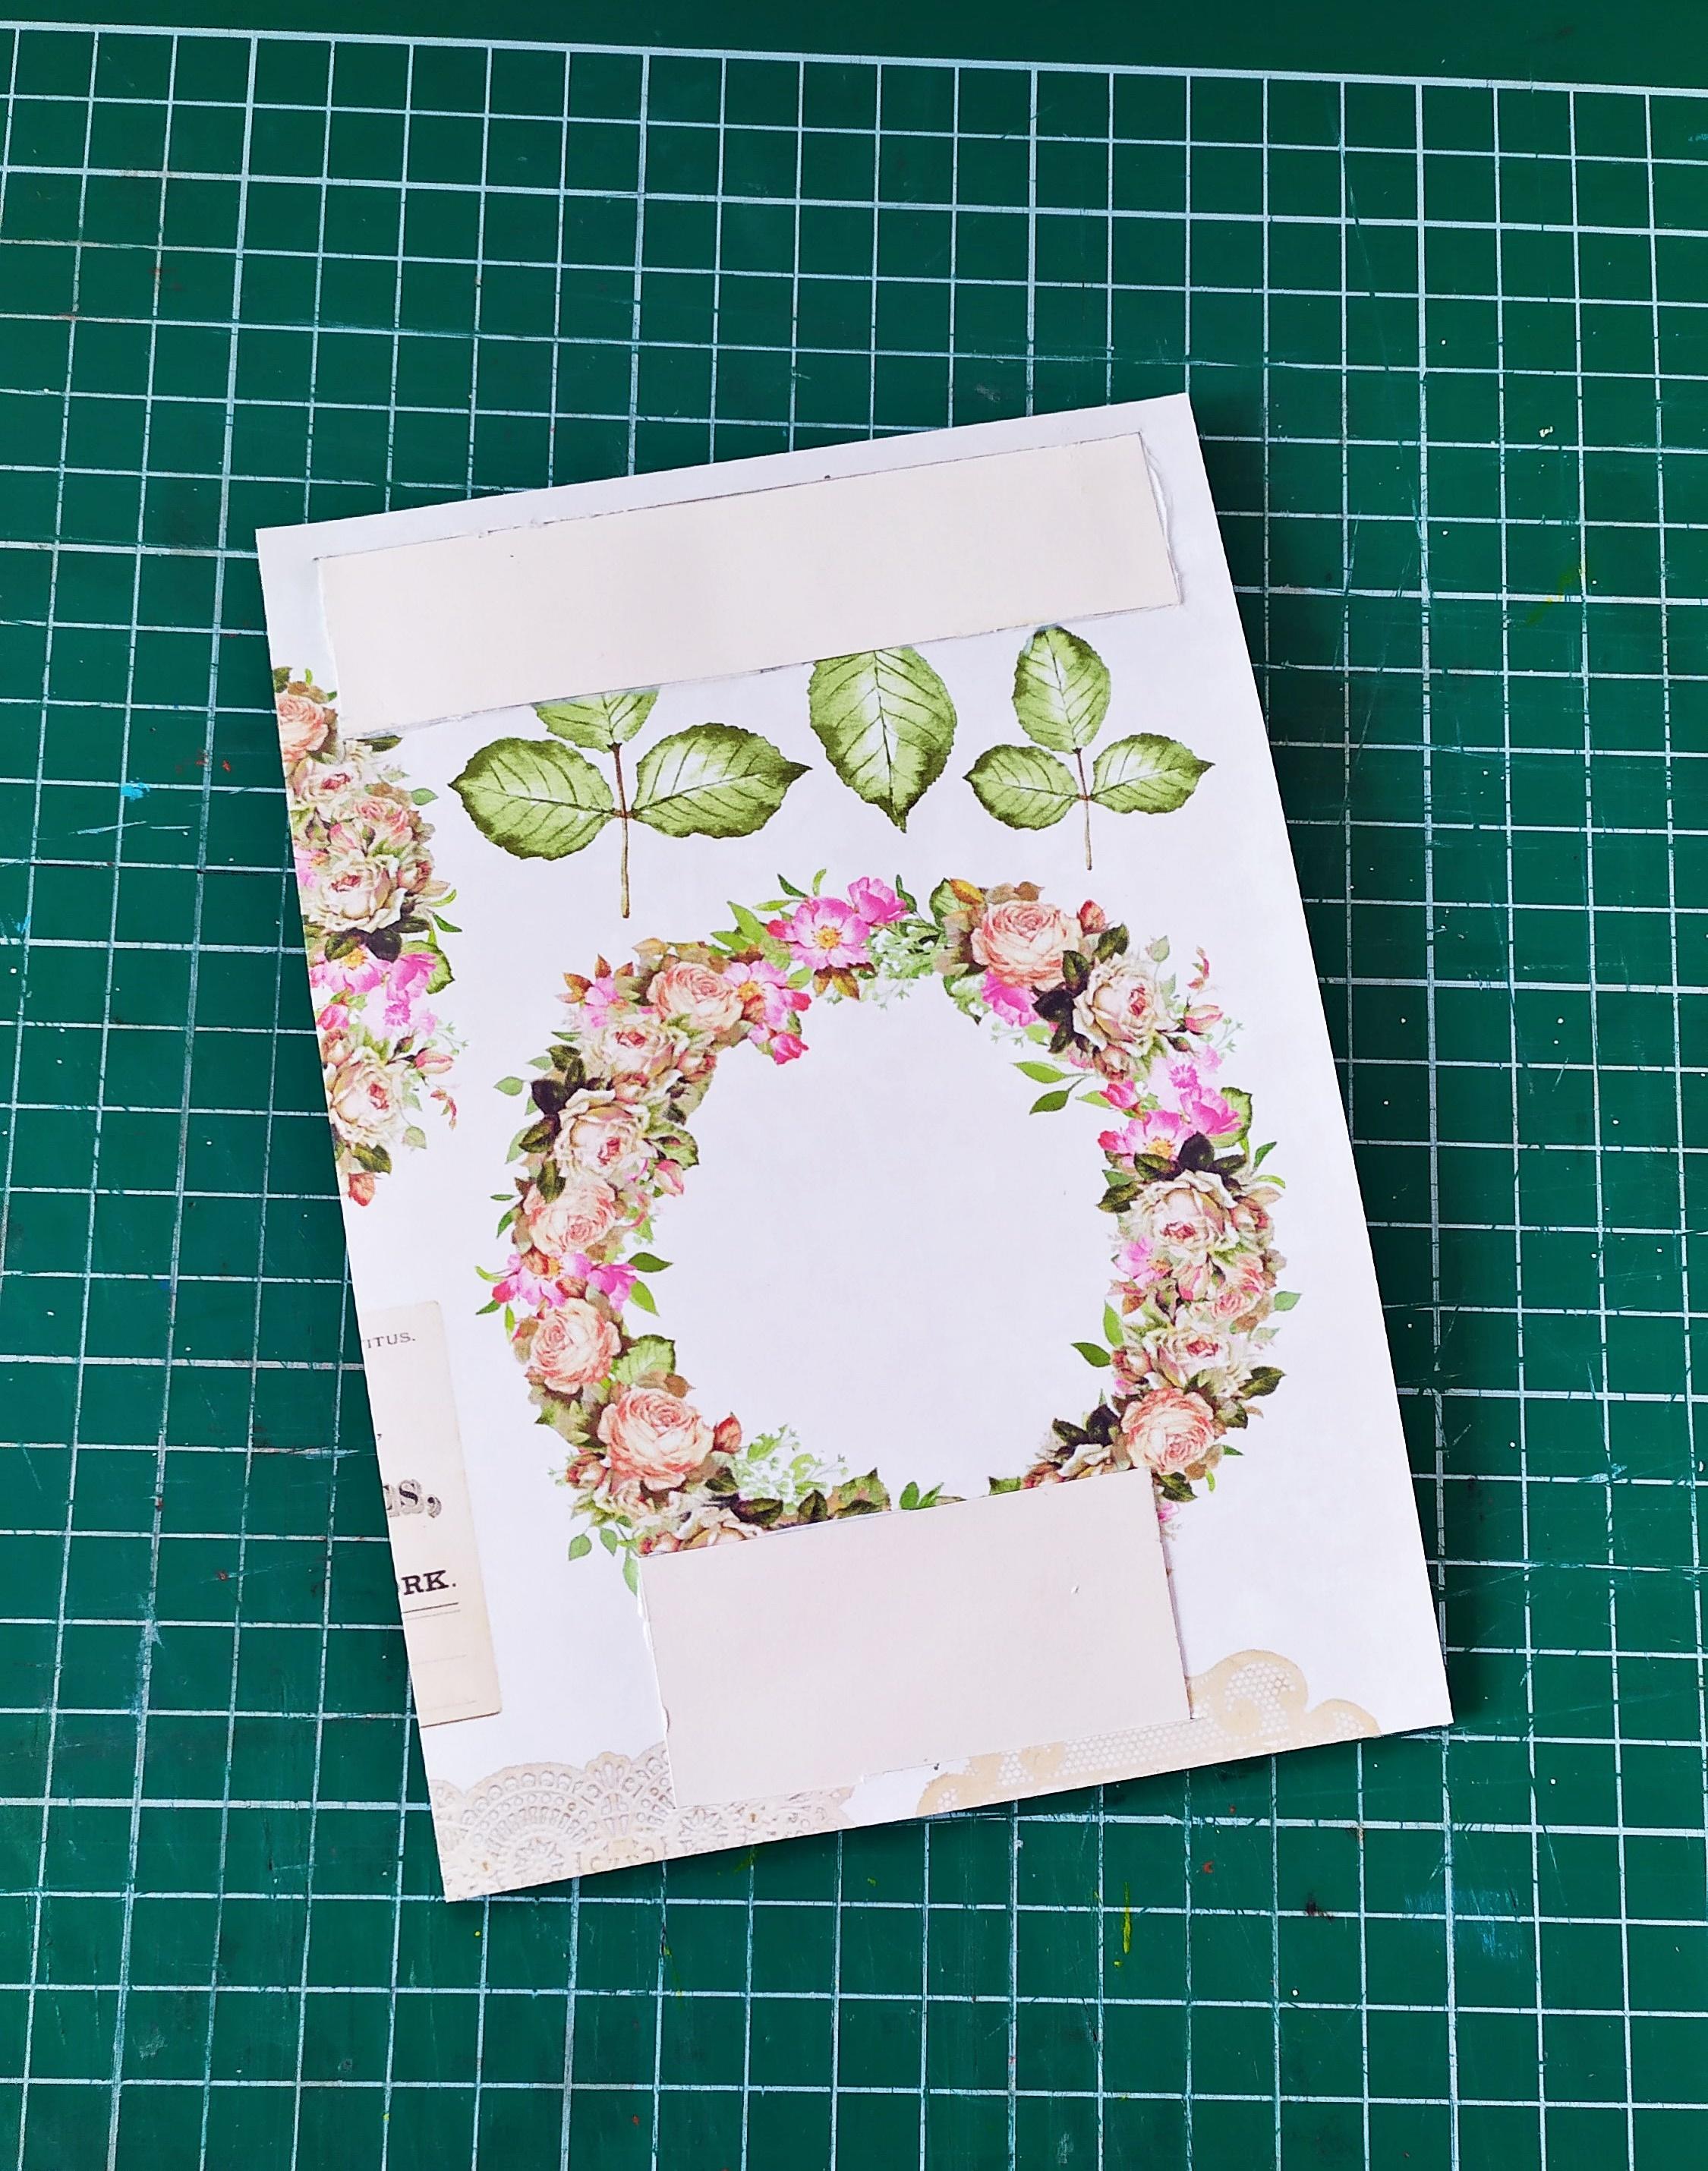
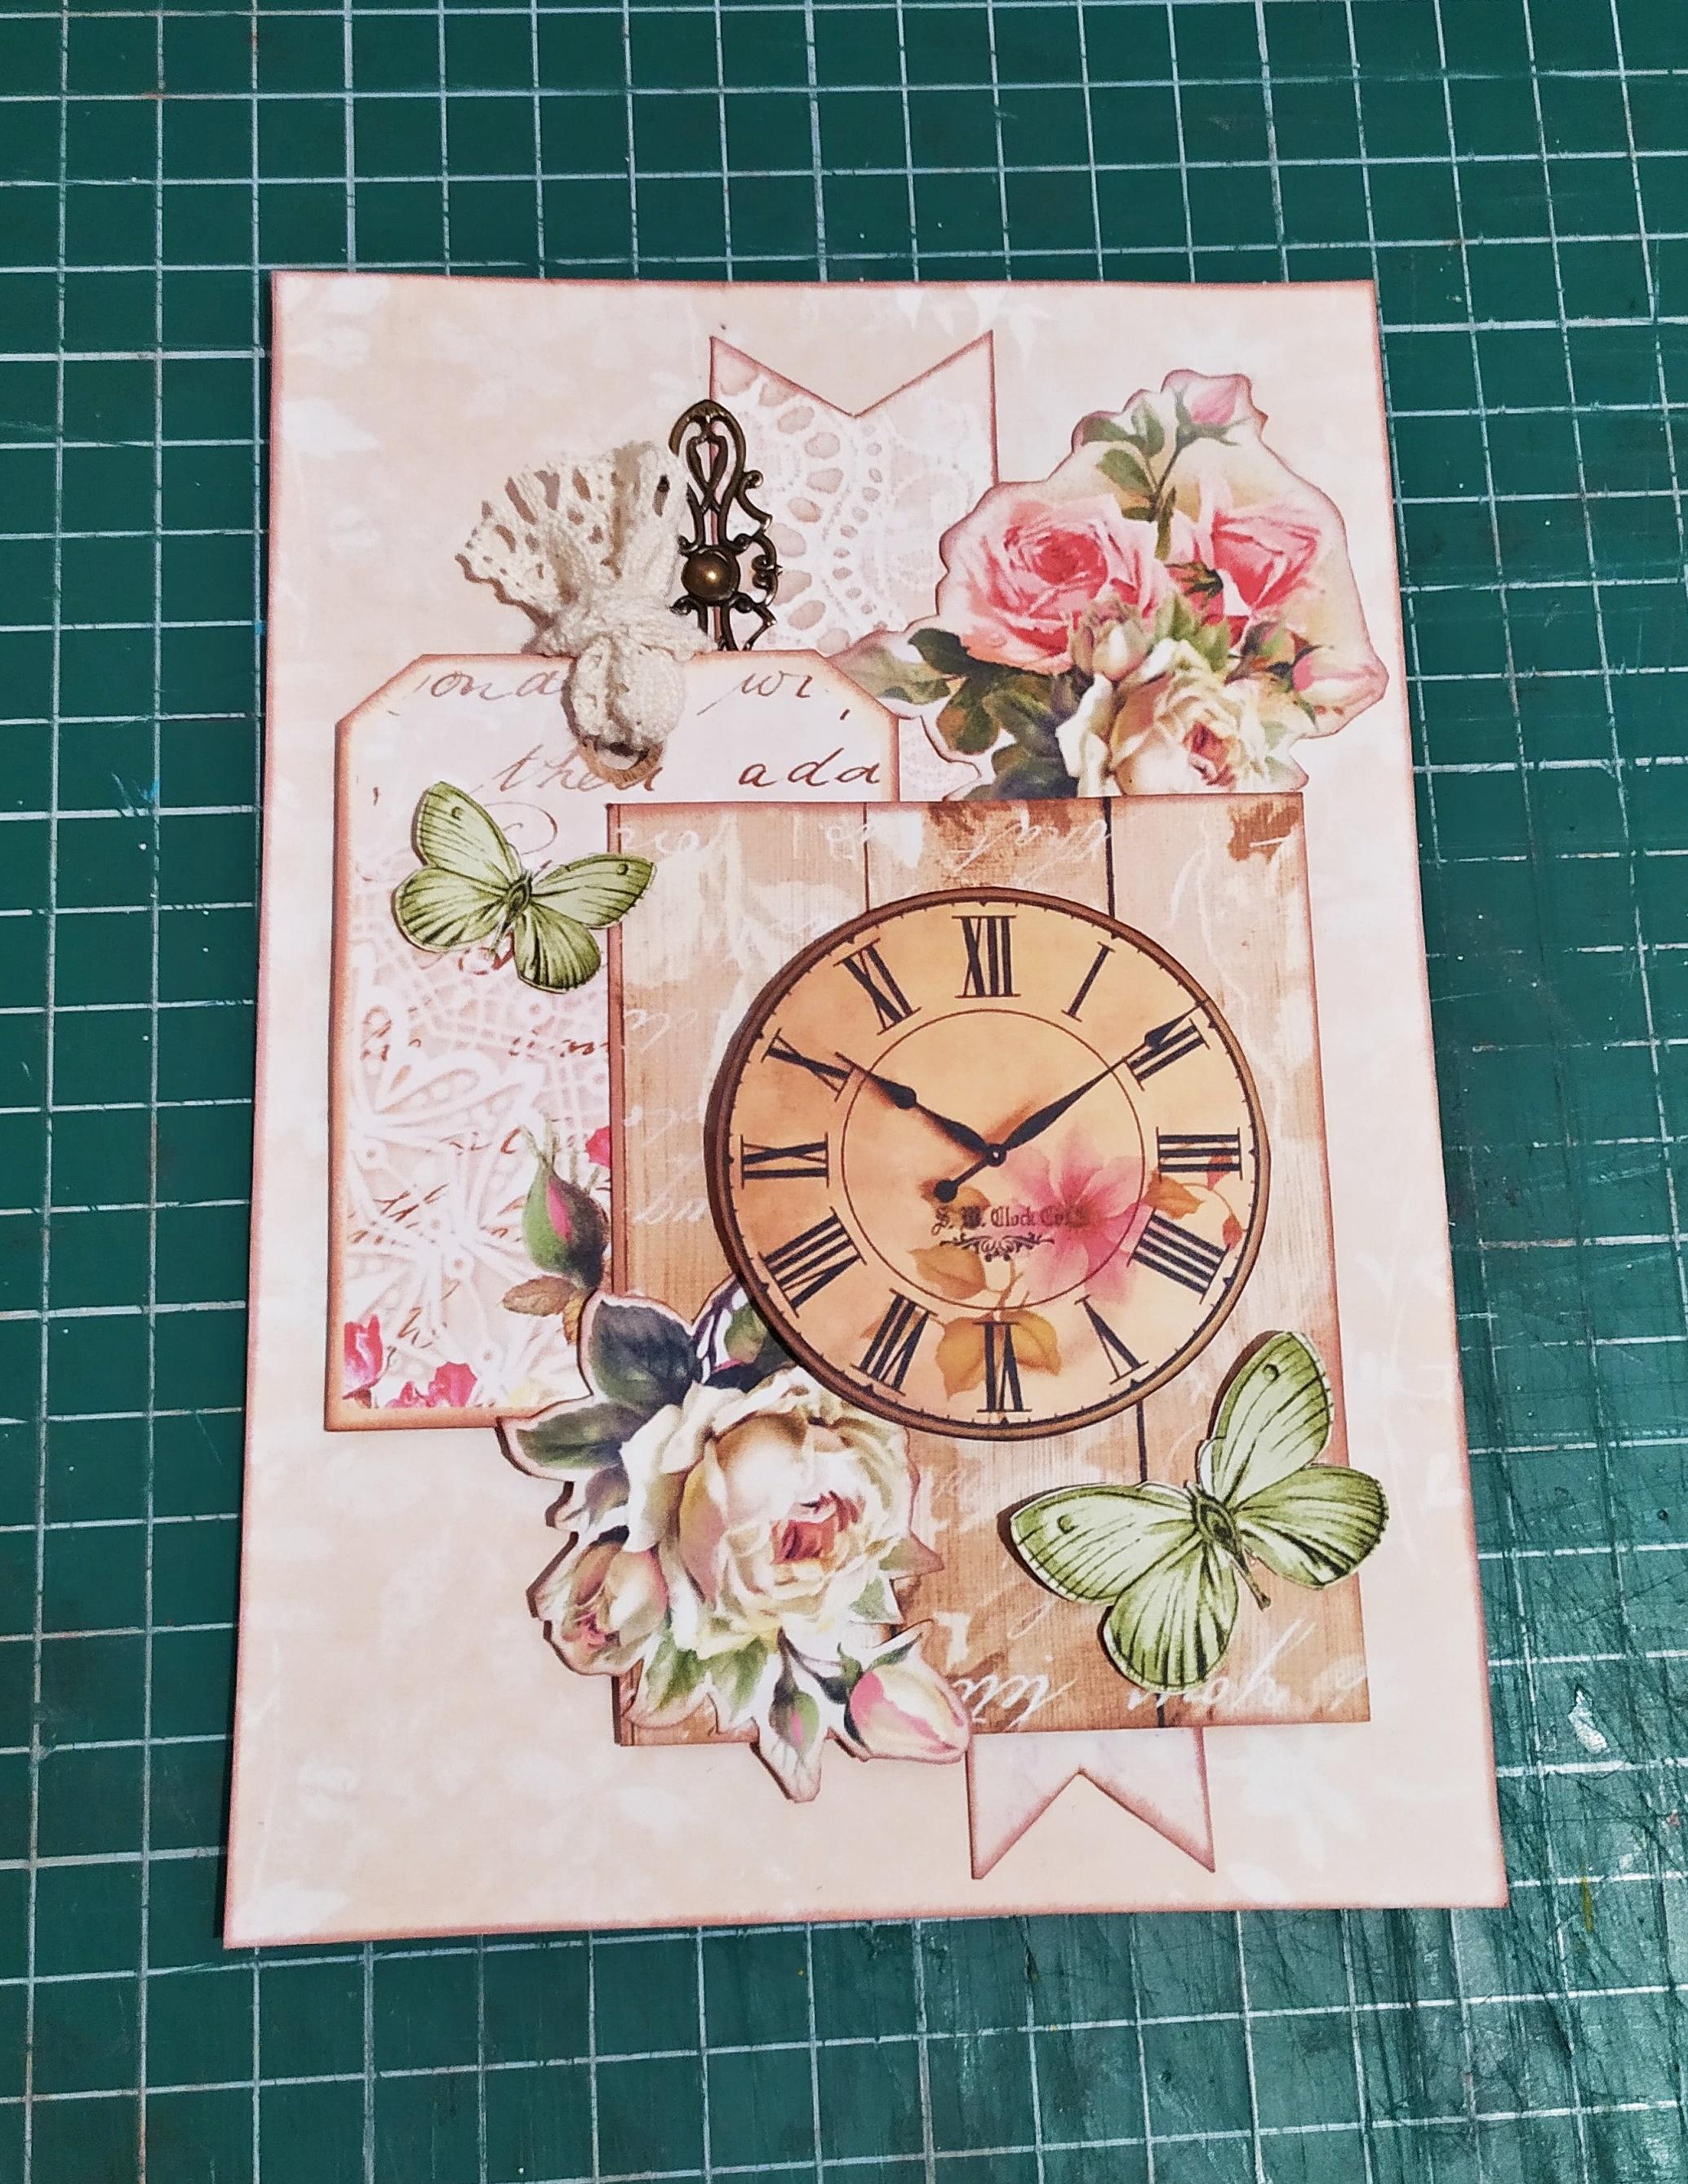
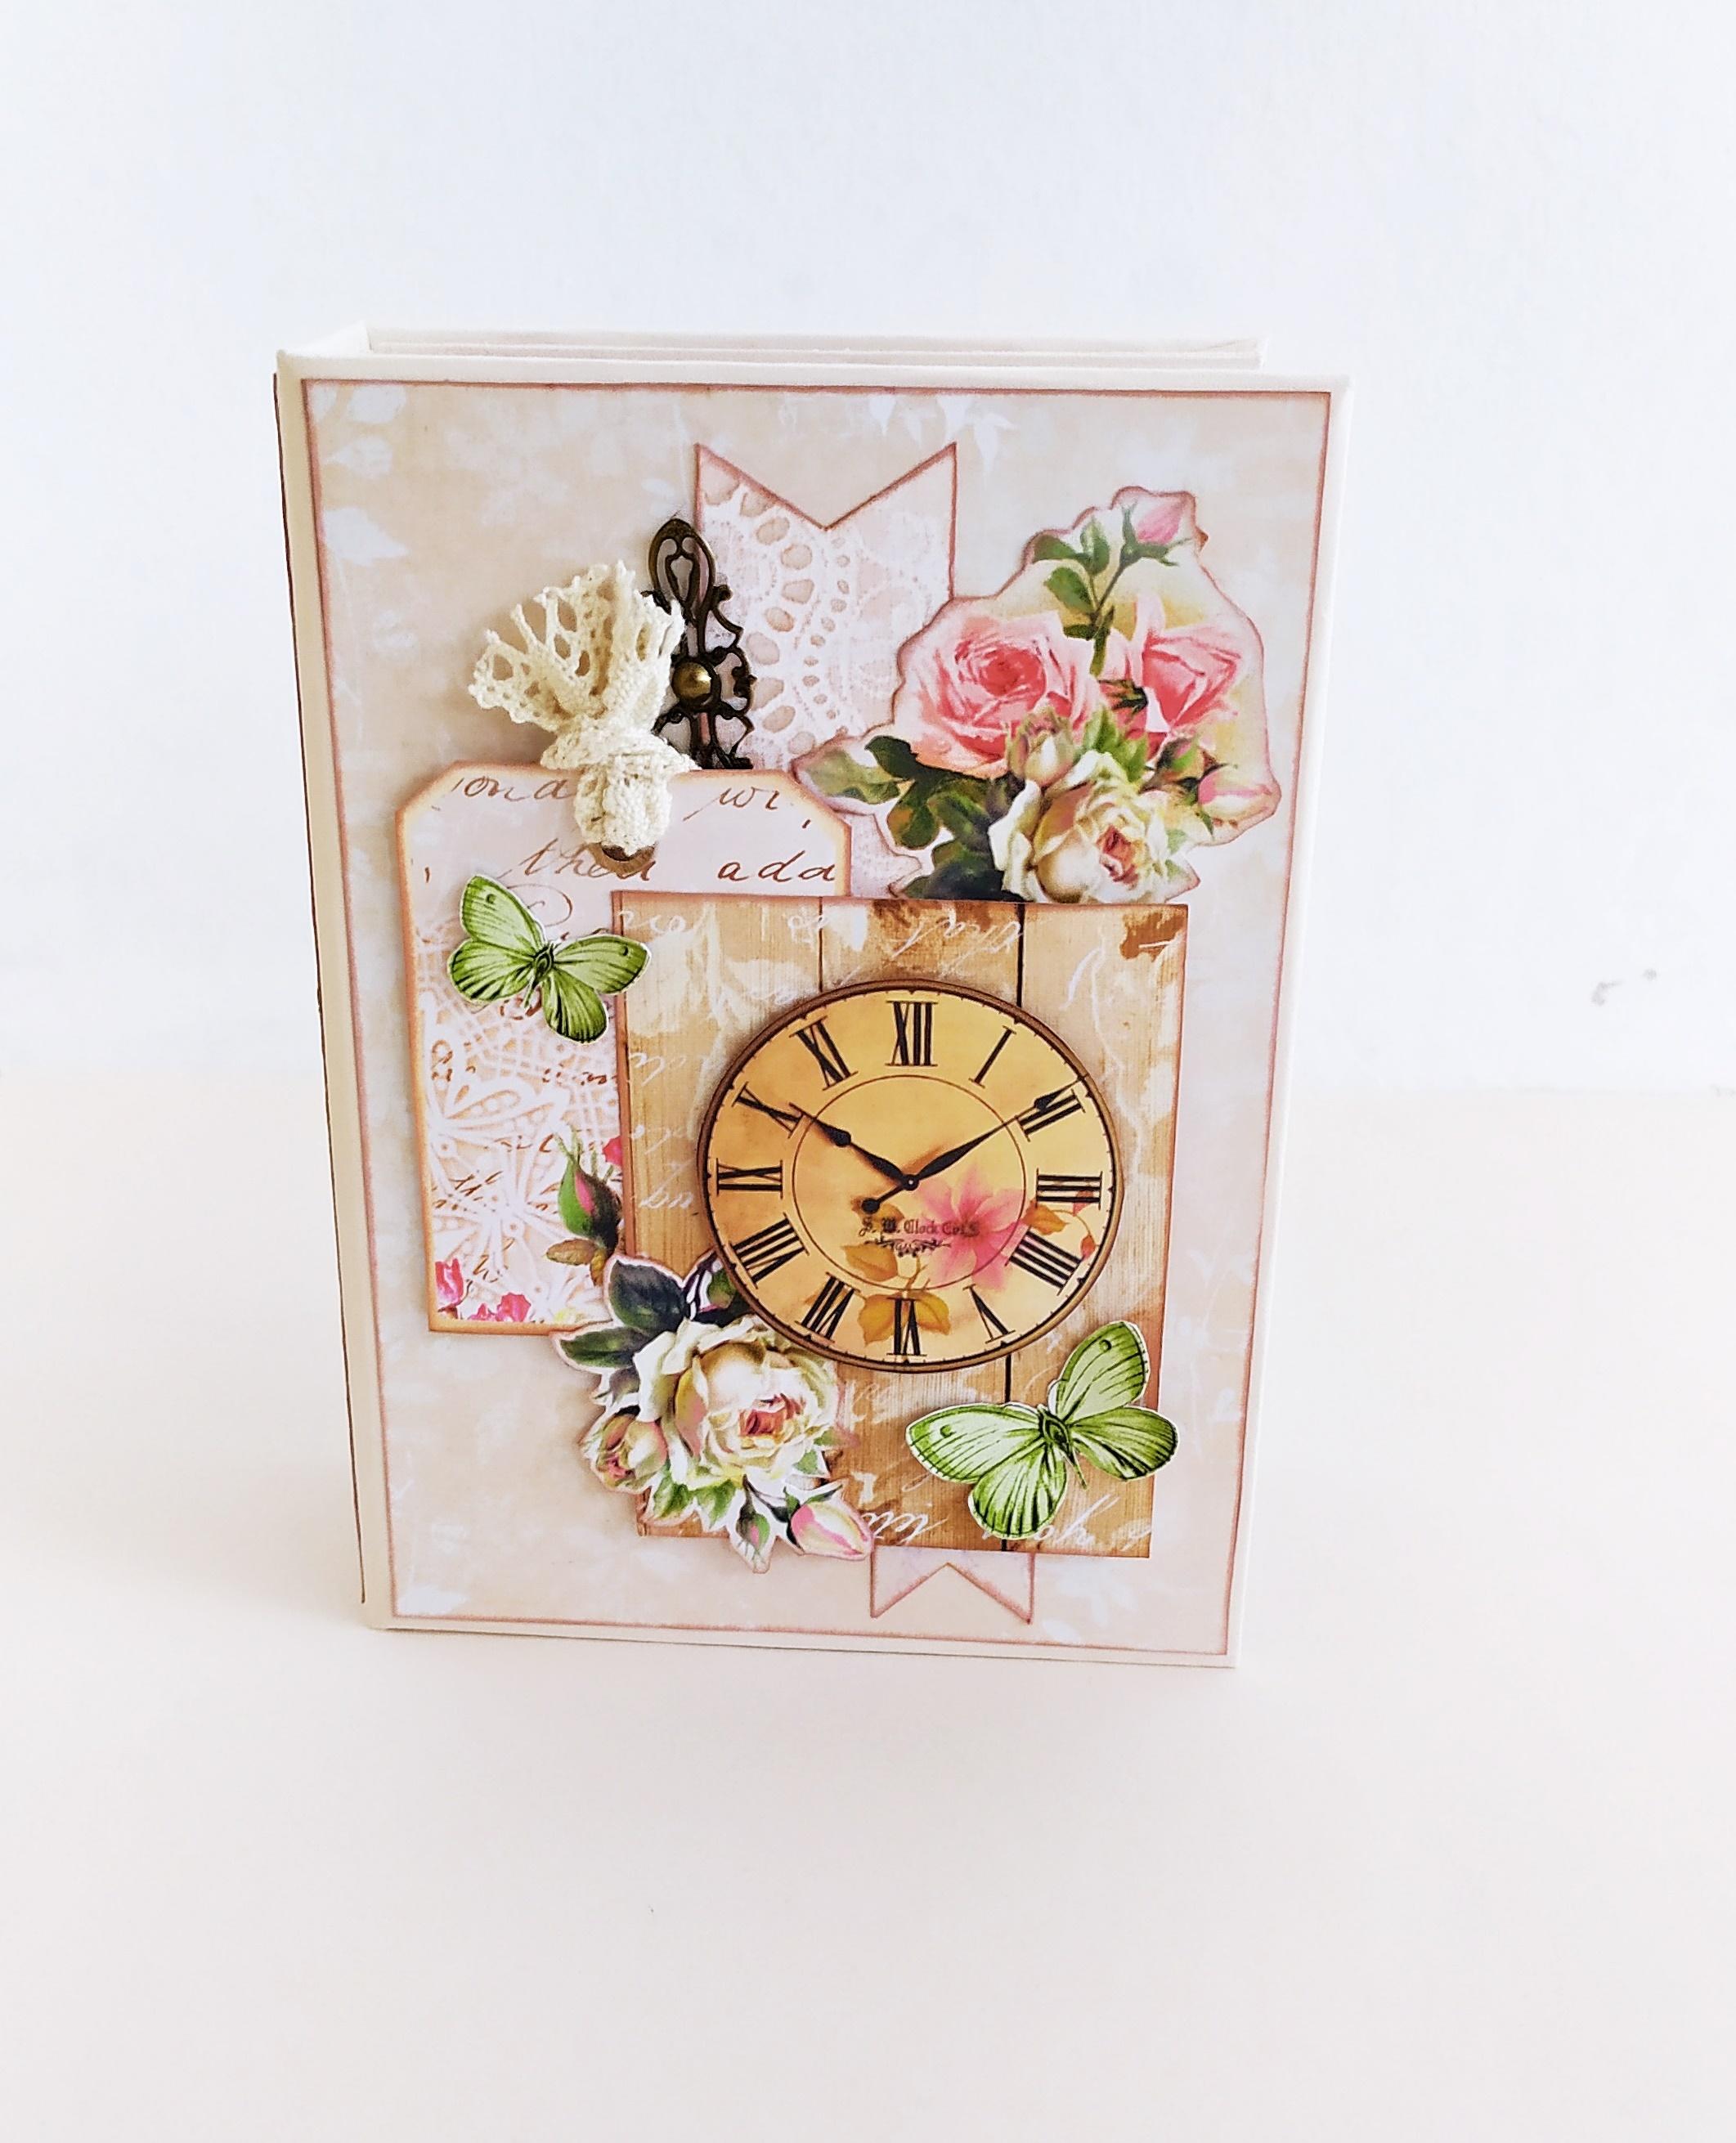
Start out by cutting the designer paper that's going to be glued on the cover.Next,flip through the pages of your paper and choose some elements you like.I chose some butterflies,a clock and some roses.I cut some tags and square pieces.Layering everything makes it look a lot more beautiful.Add some texture by using lace trims and metal embelishments.I recommend you to arrange everything the way you want it to be and take a reference photo of it first.This way you'll know what goes where.
Start out by gluing the pieces that'll go at the bottom of everything.If you're using metal embelishments it's best to attach them using some brads.Lay your metal piece down and mark where you need to make the holes for the brads.Attach the embelishment and flip the paper over to flatten the brads.
Continue layering the elements to the cover.Use some foam tape to lift some of the pieces up.When done set the cover aside to let everything dry.
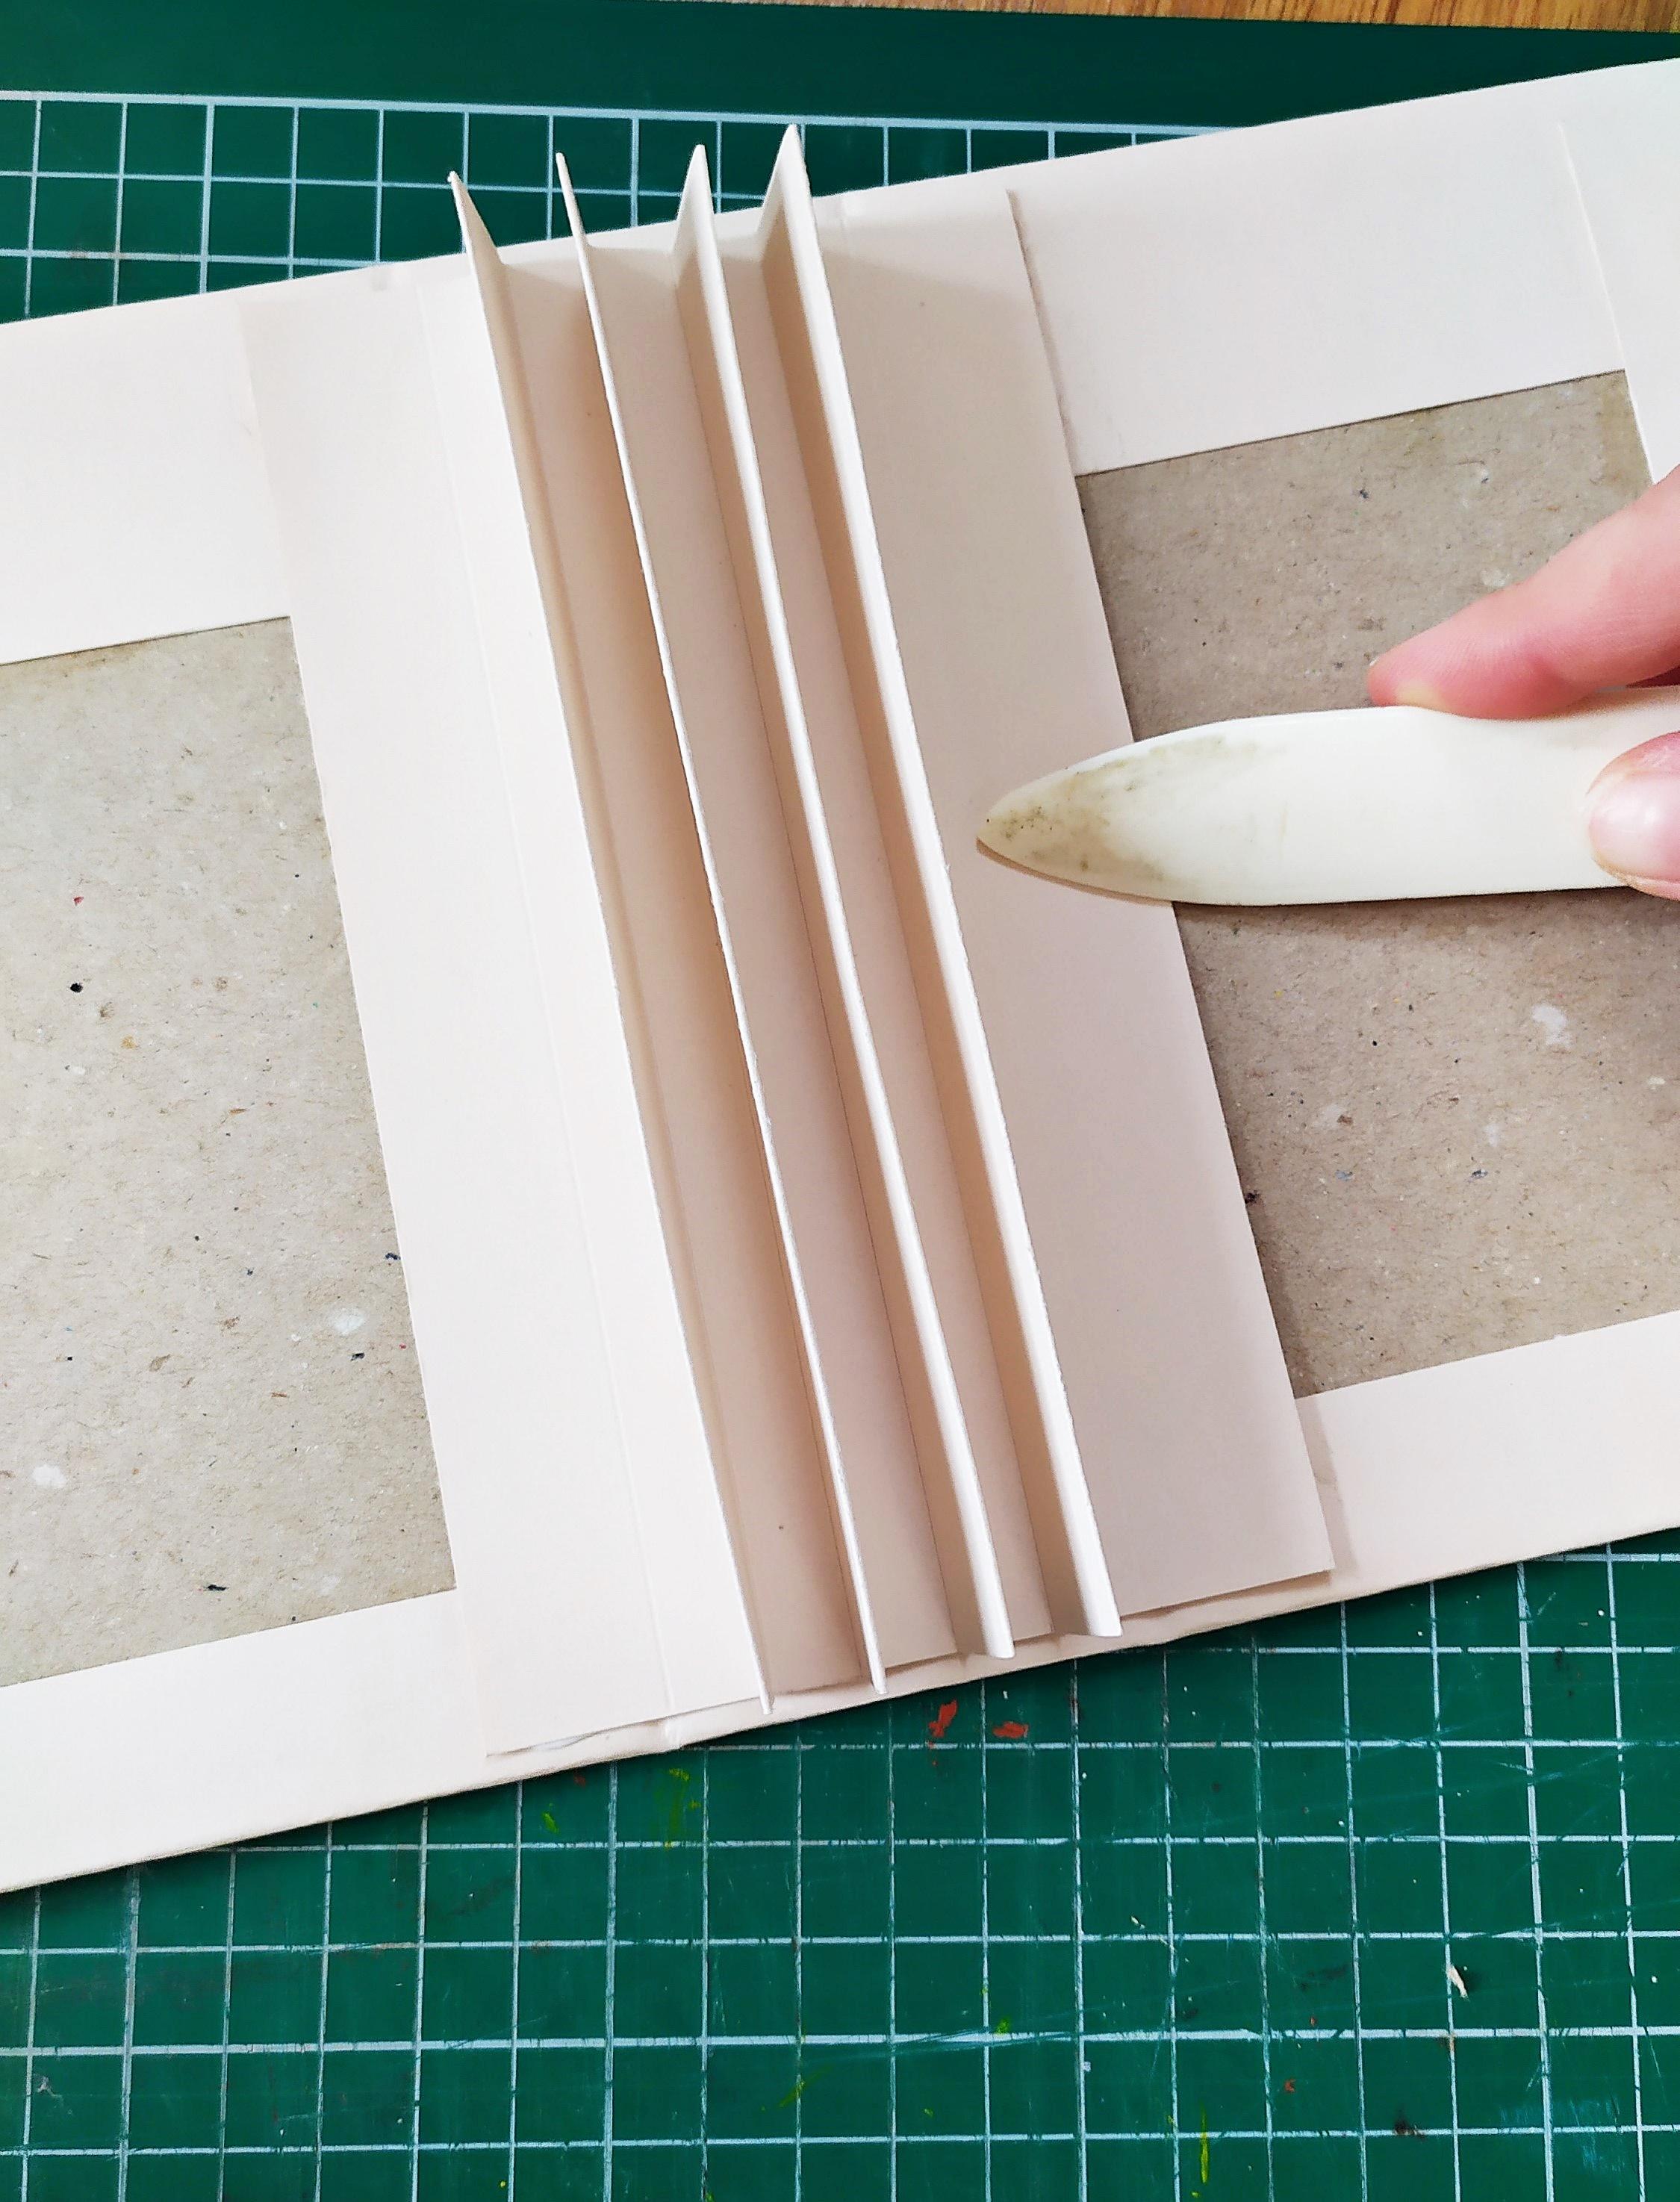
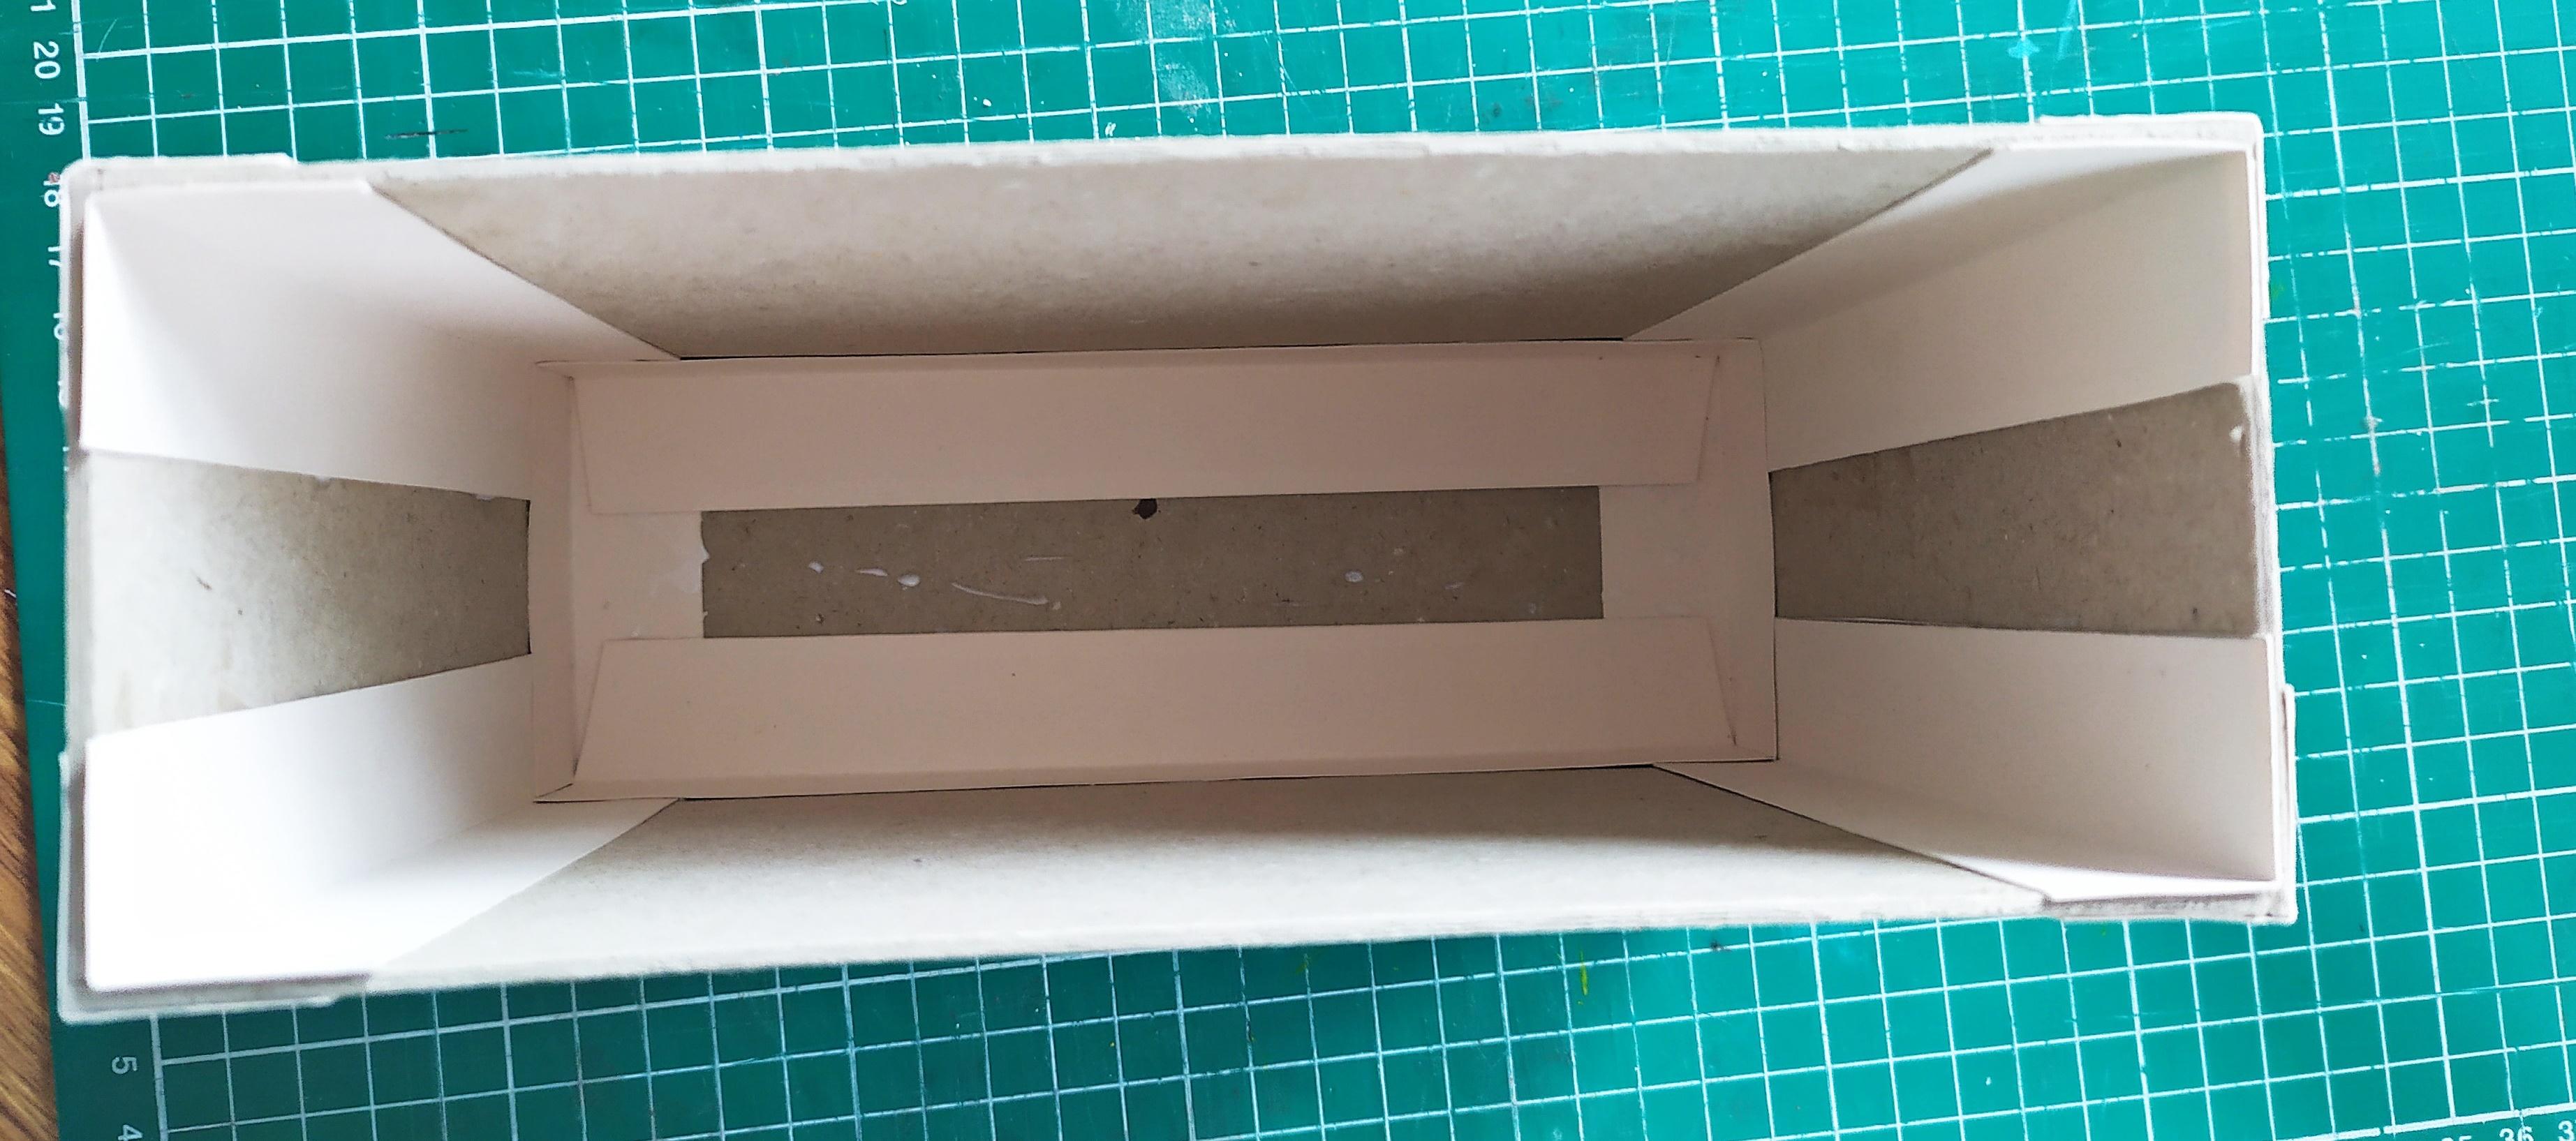
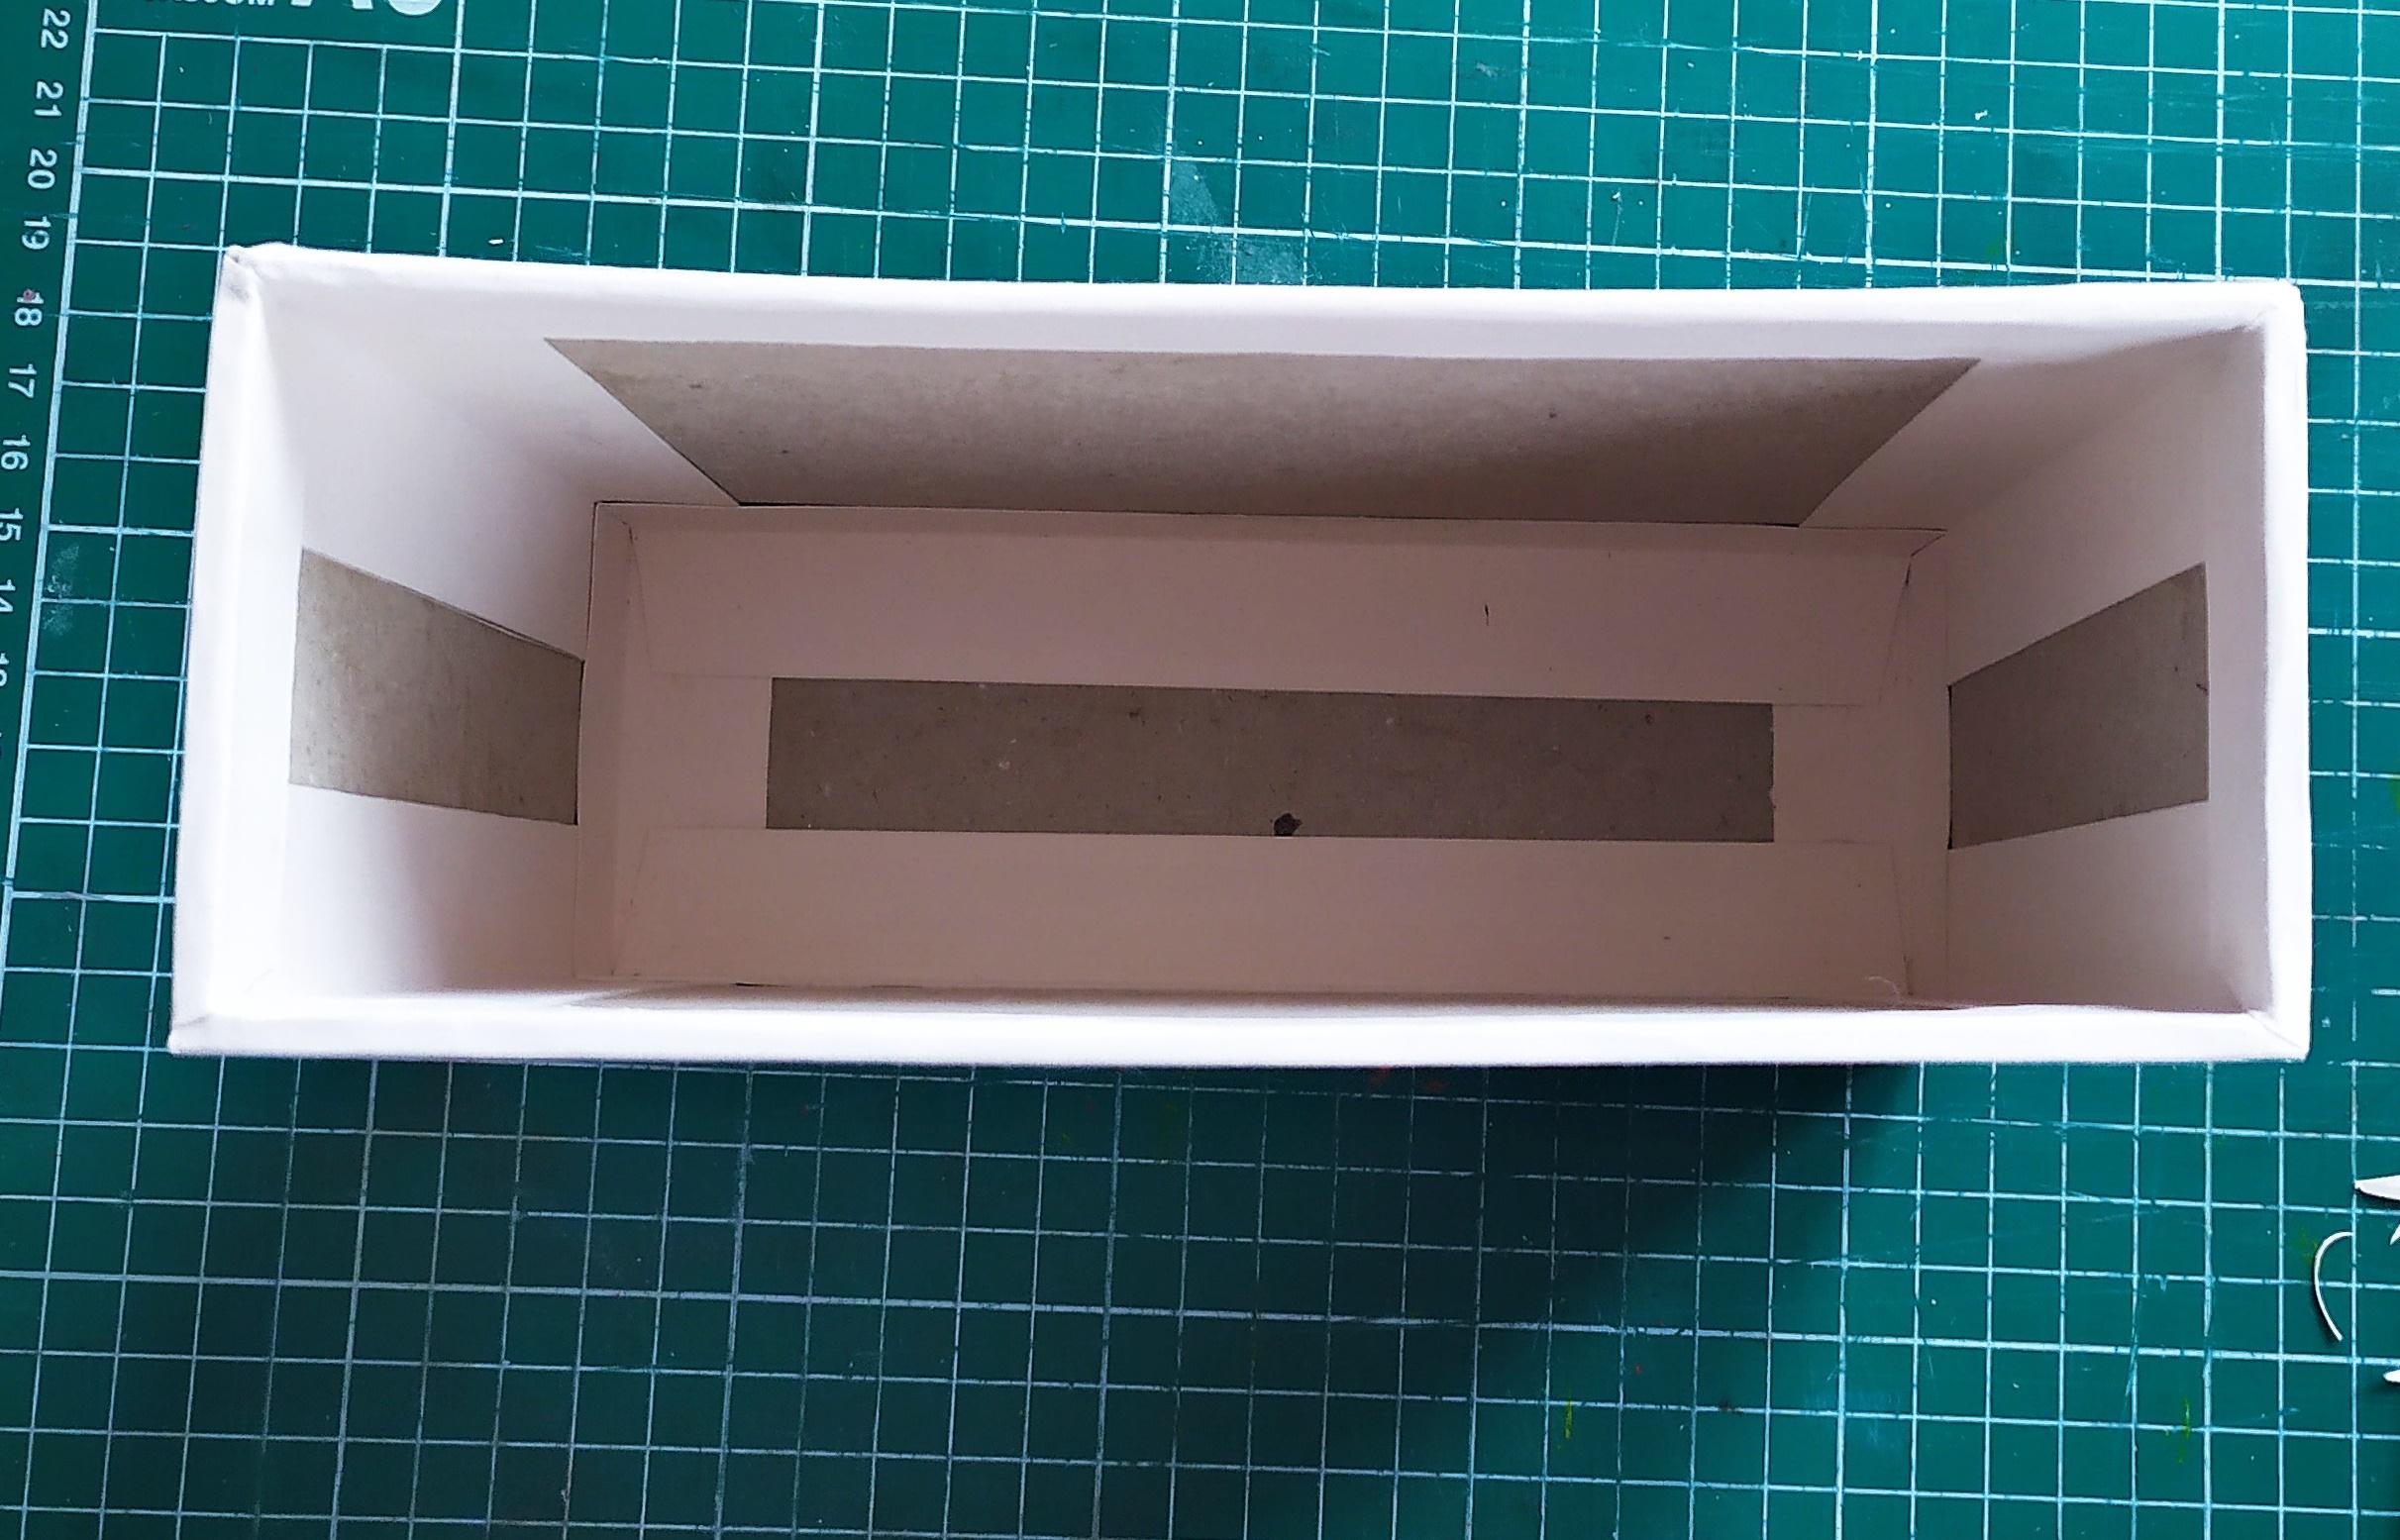
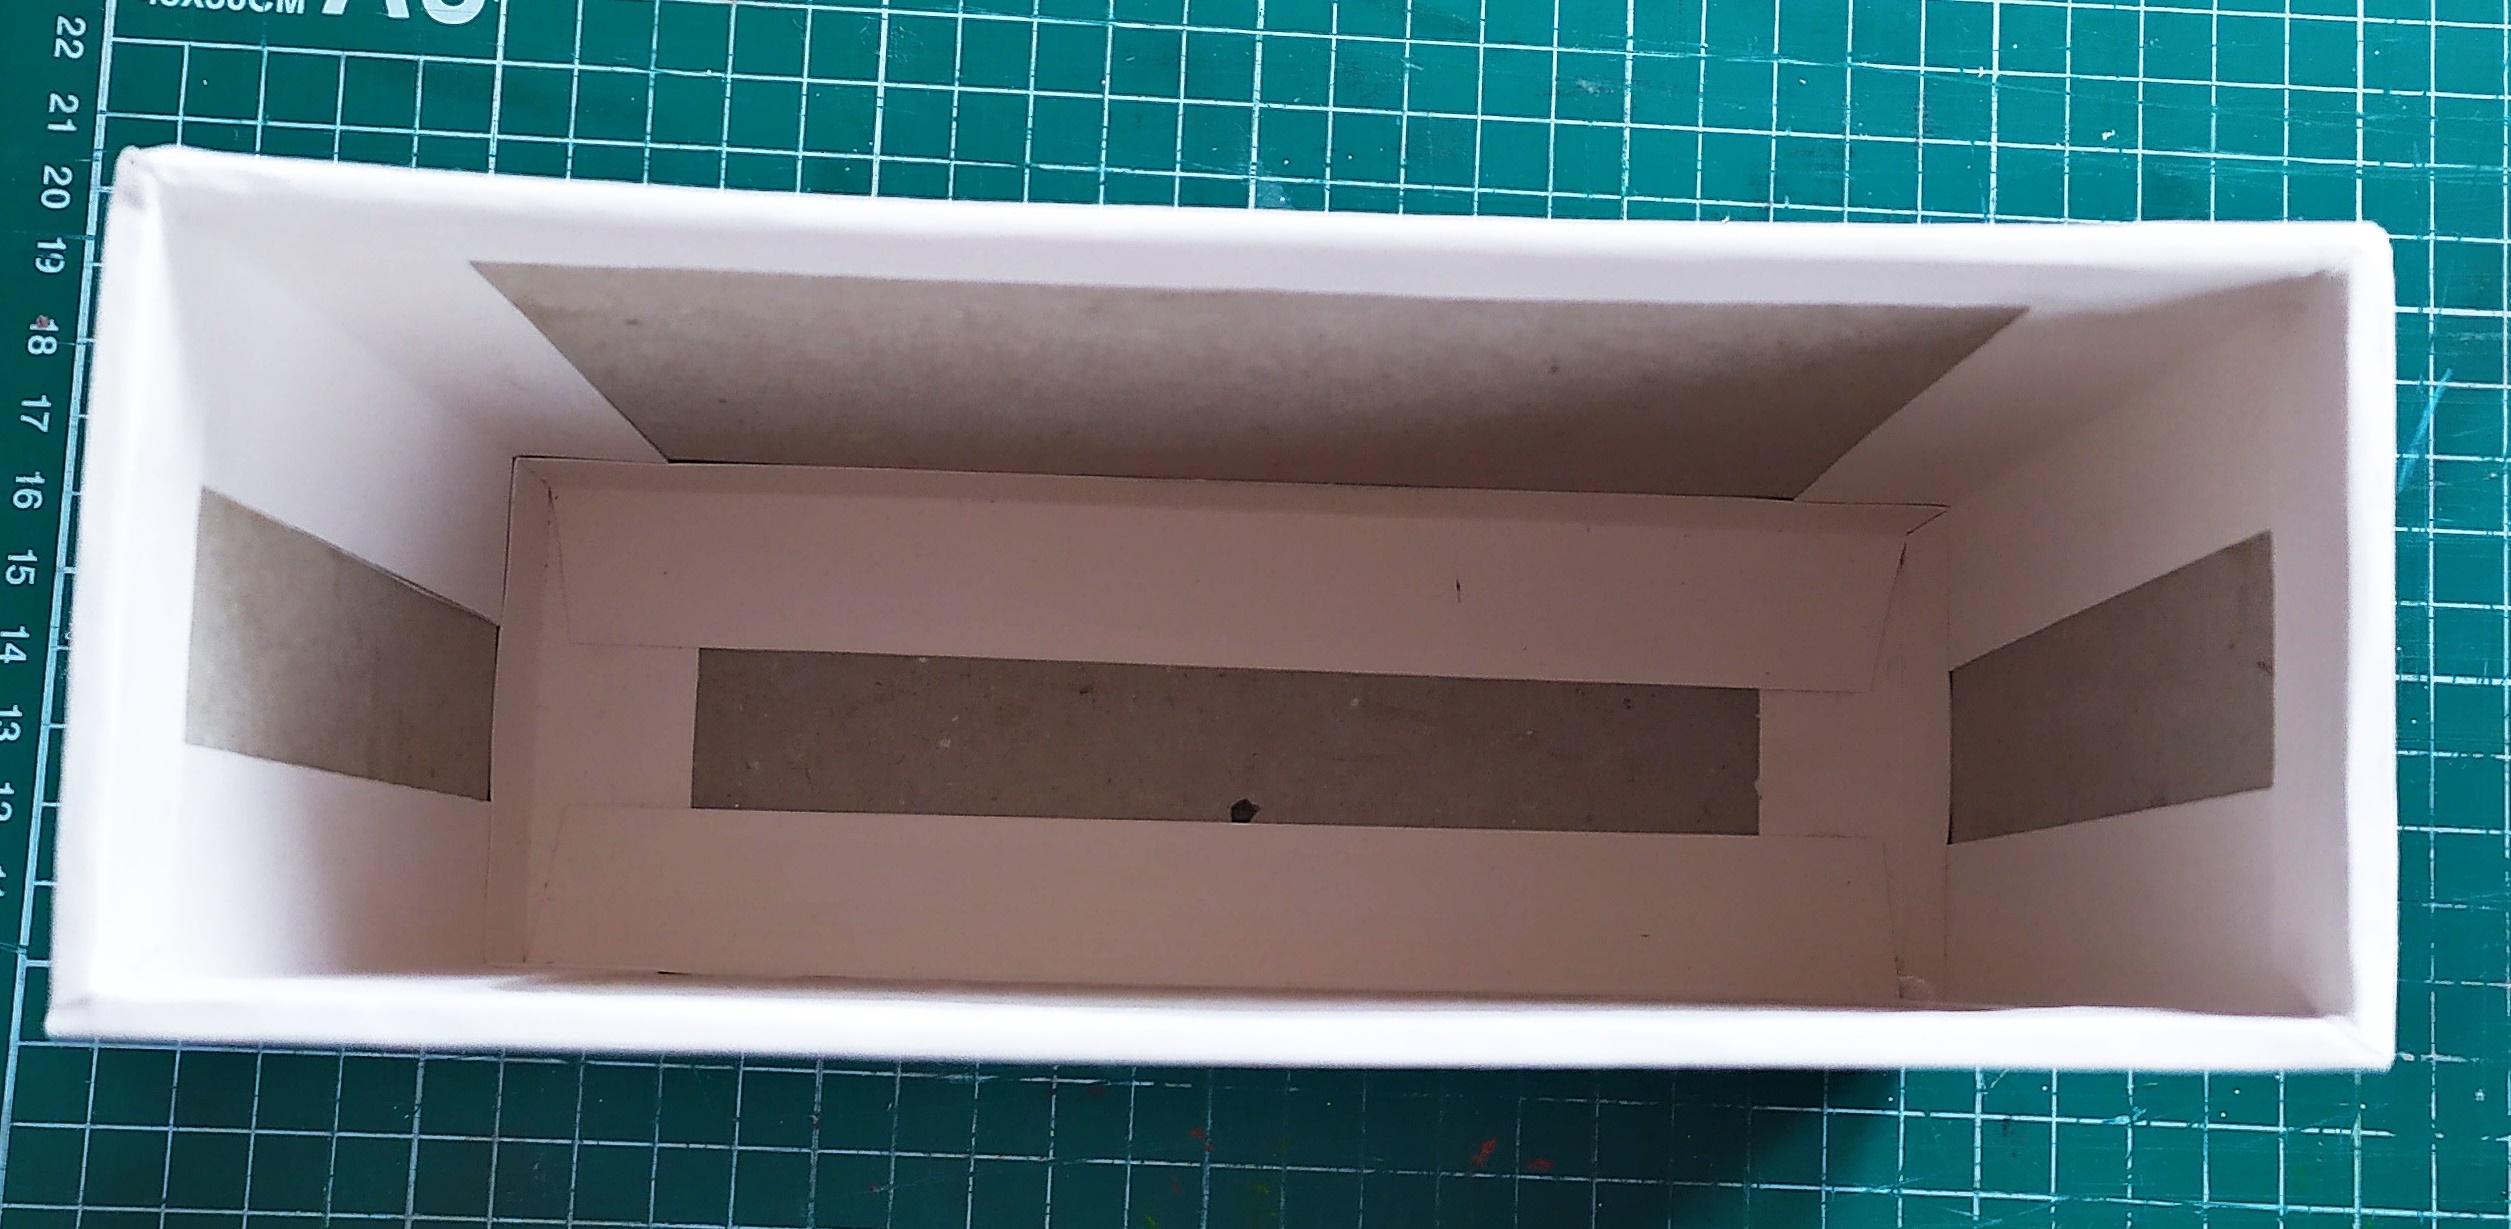
Lastly,glue each page to its hinge piece (refer to last image).Spread the glue evenly and press everything down nicely.Take your time with this step so that everything is nicely secured.Clean up any excess glue.When all of the pages are glued,set the album aside to dry.
Decorate the Spine

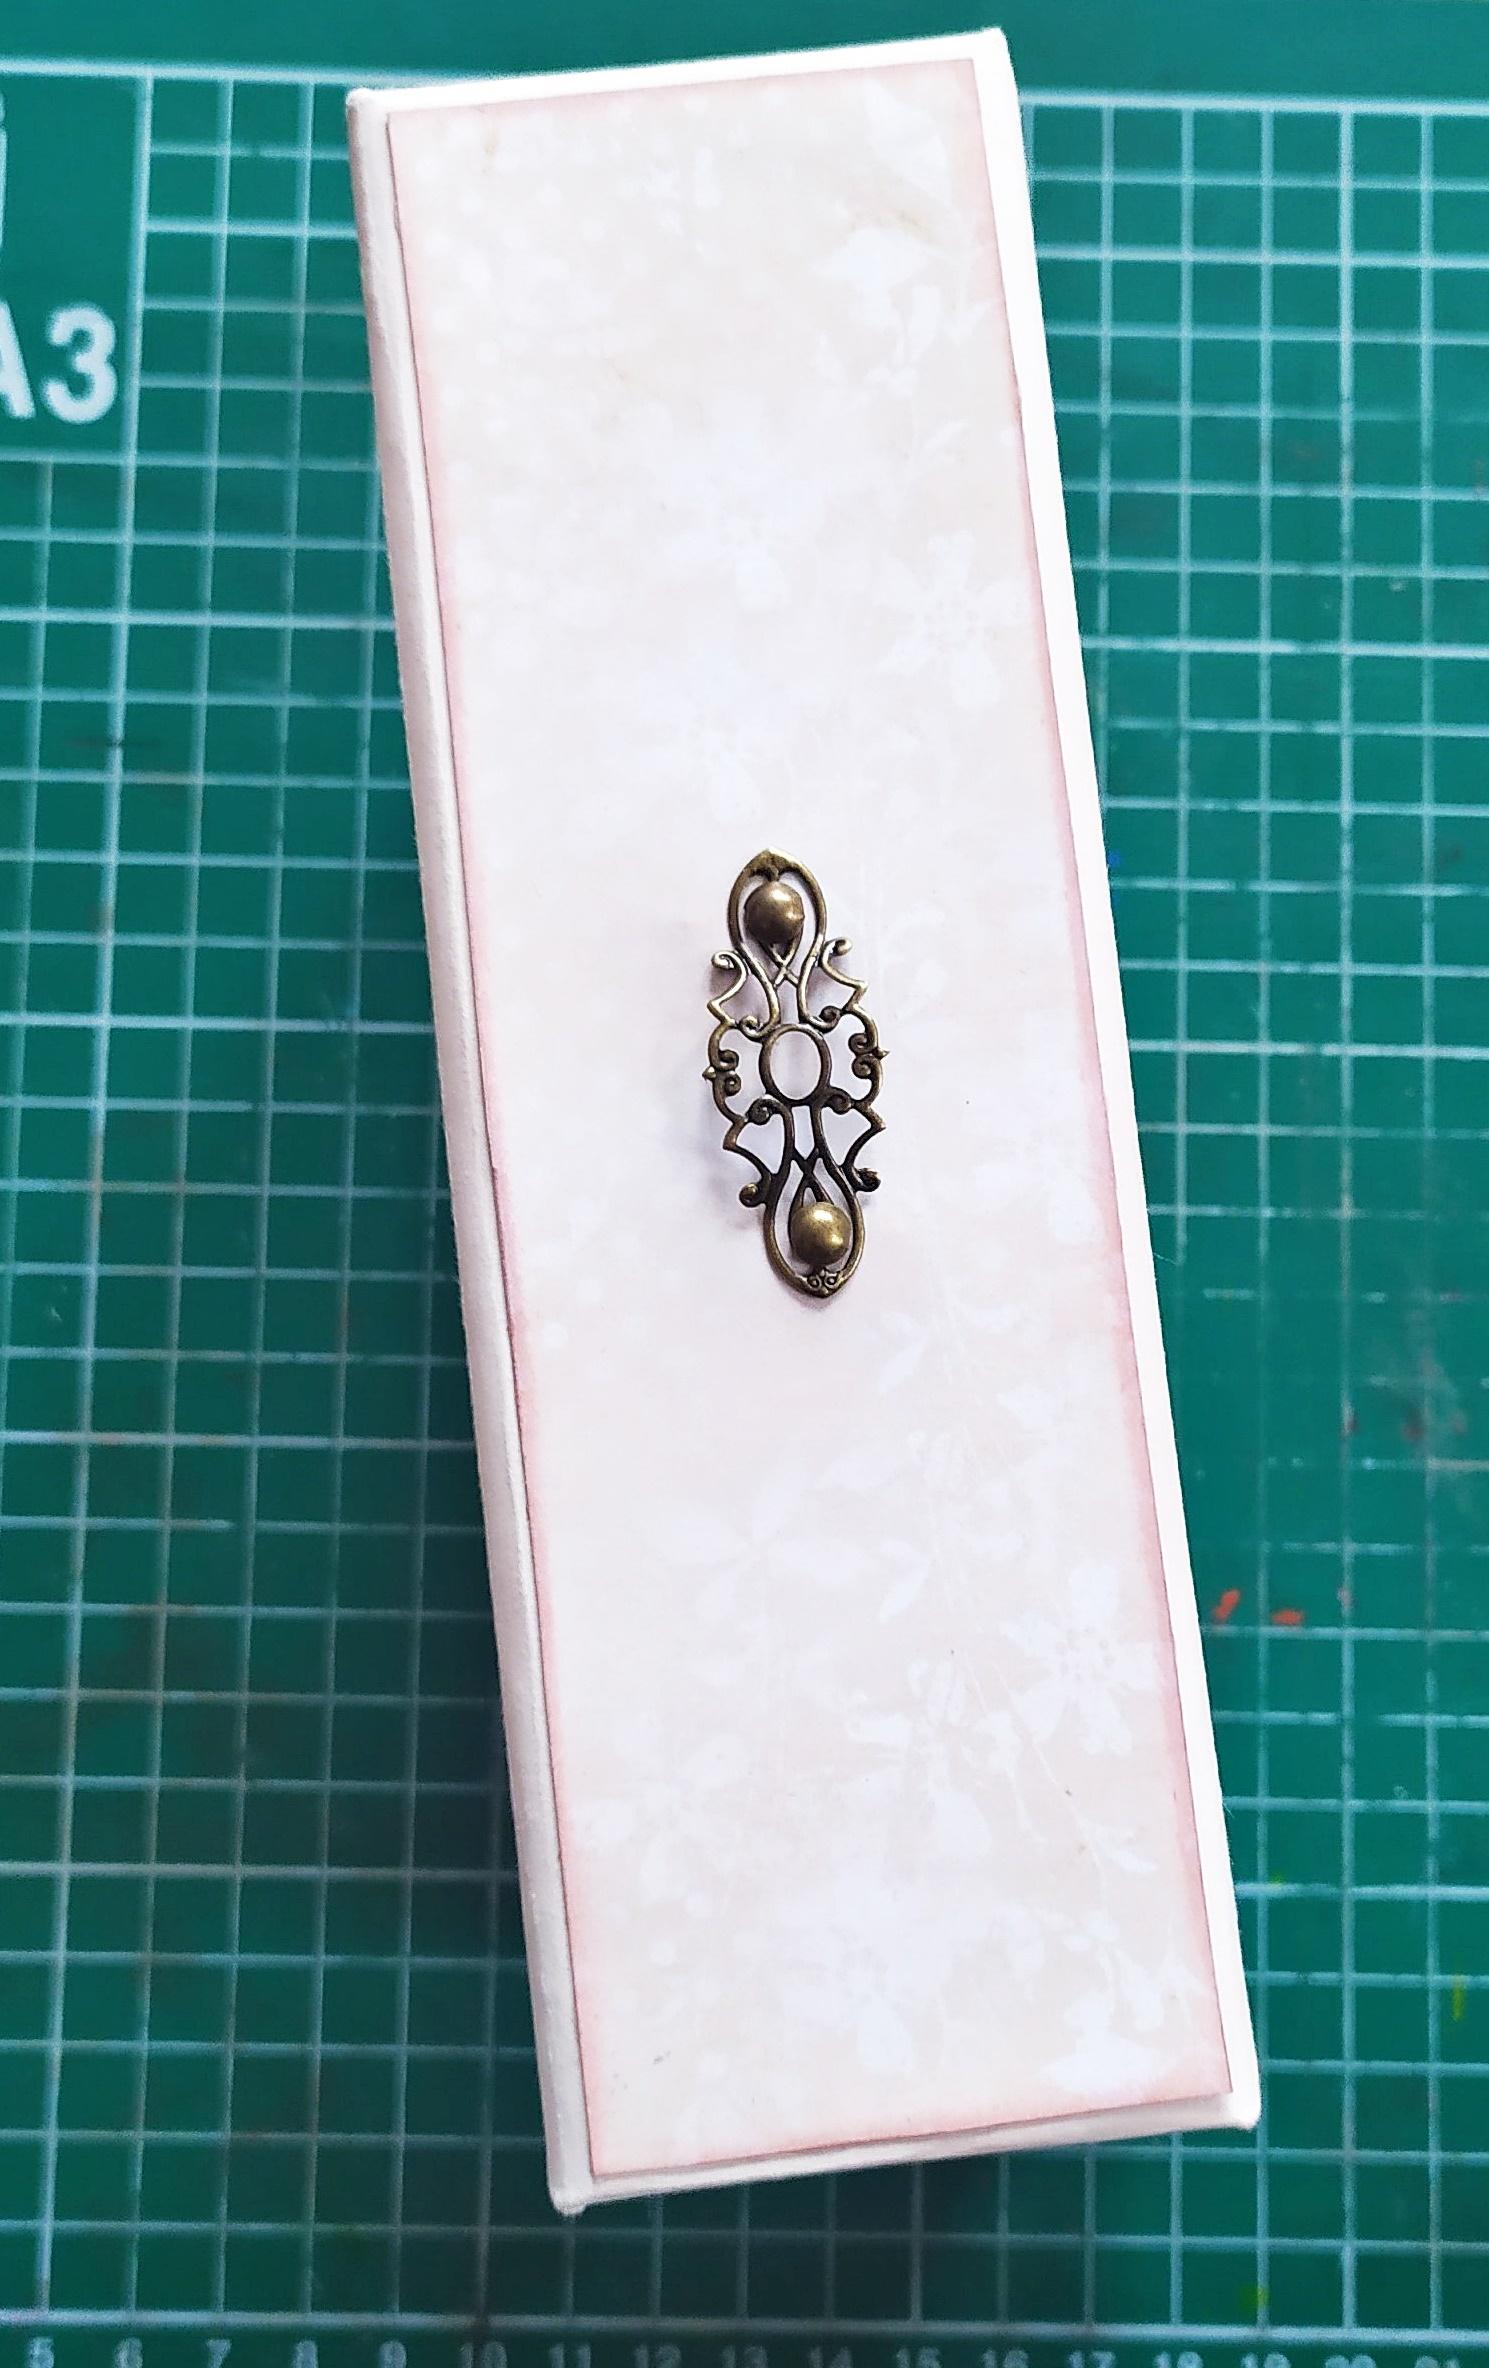
Since this album is going to be stored in a box,the spine needs something that'll help you take it out of the box.
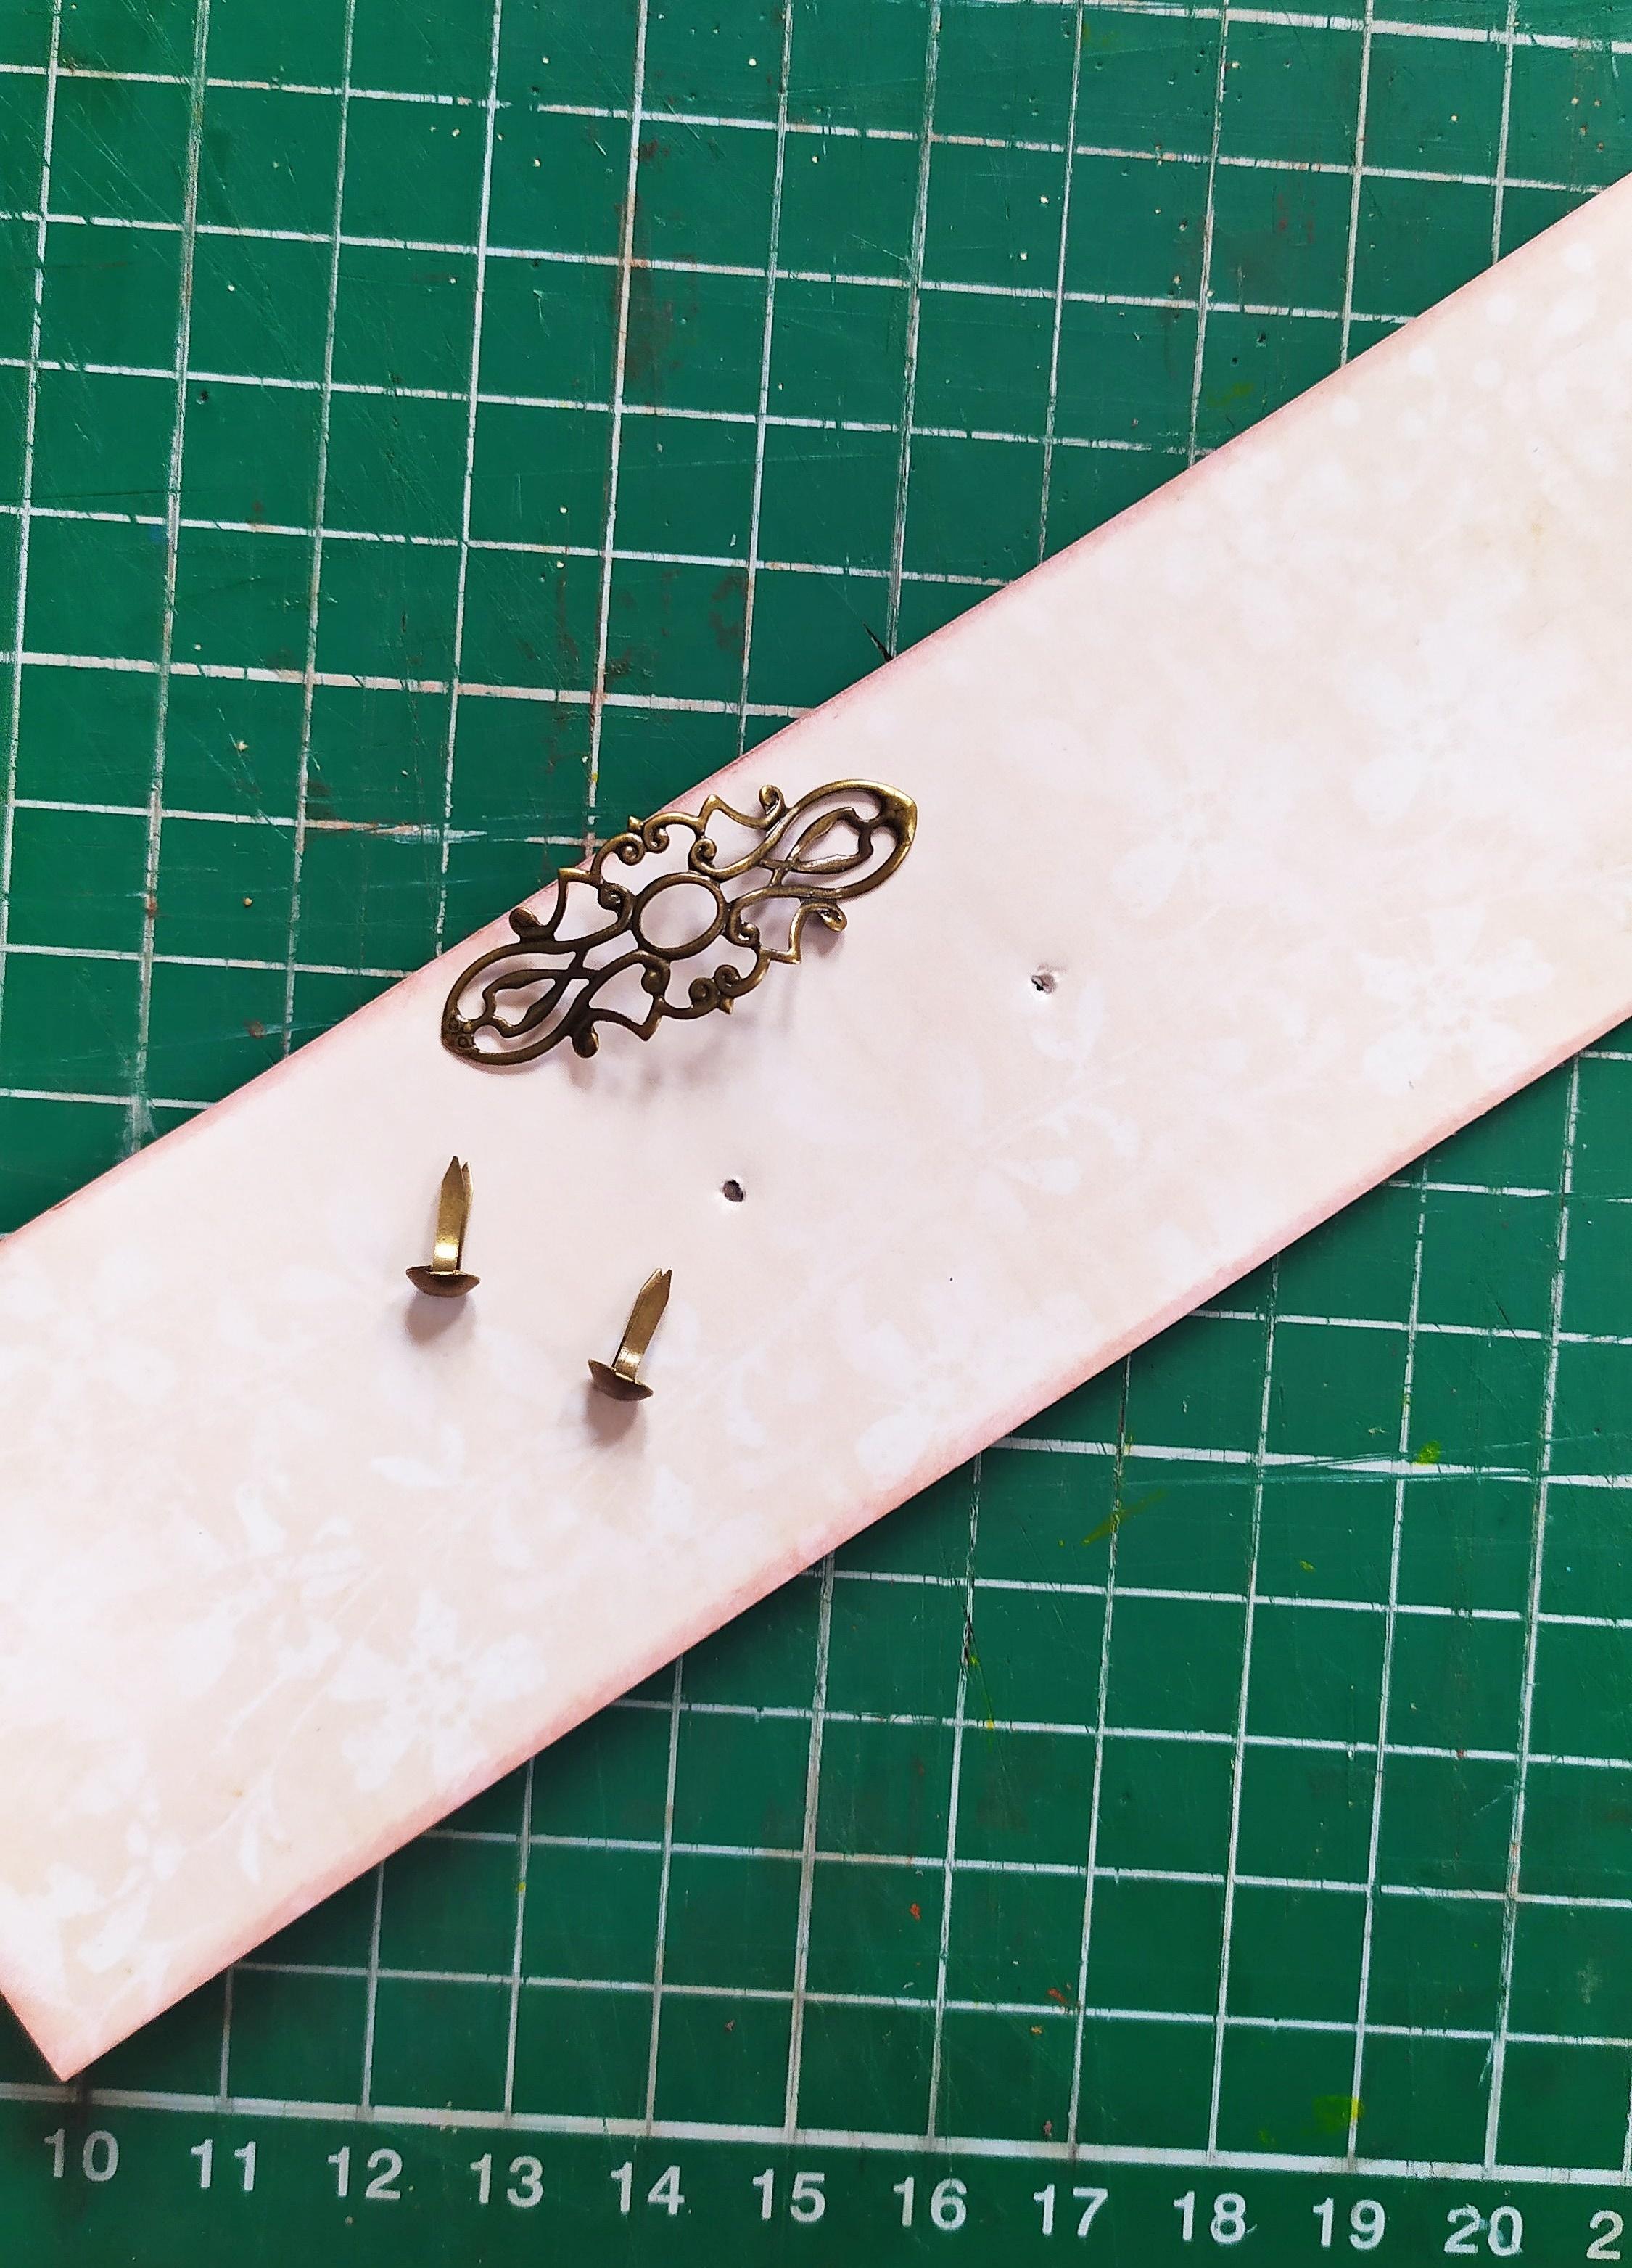
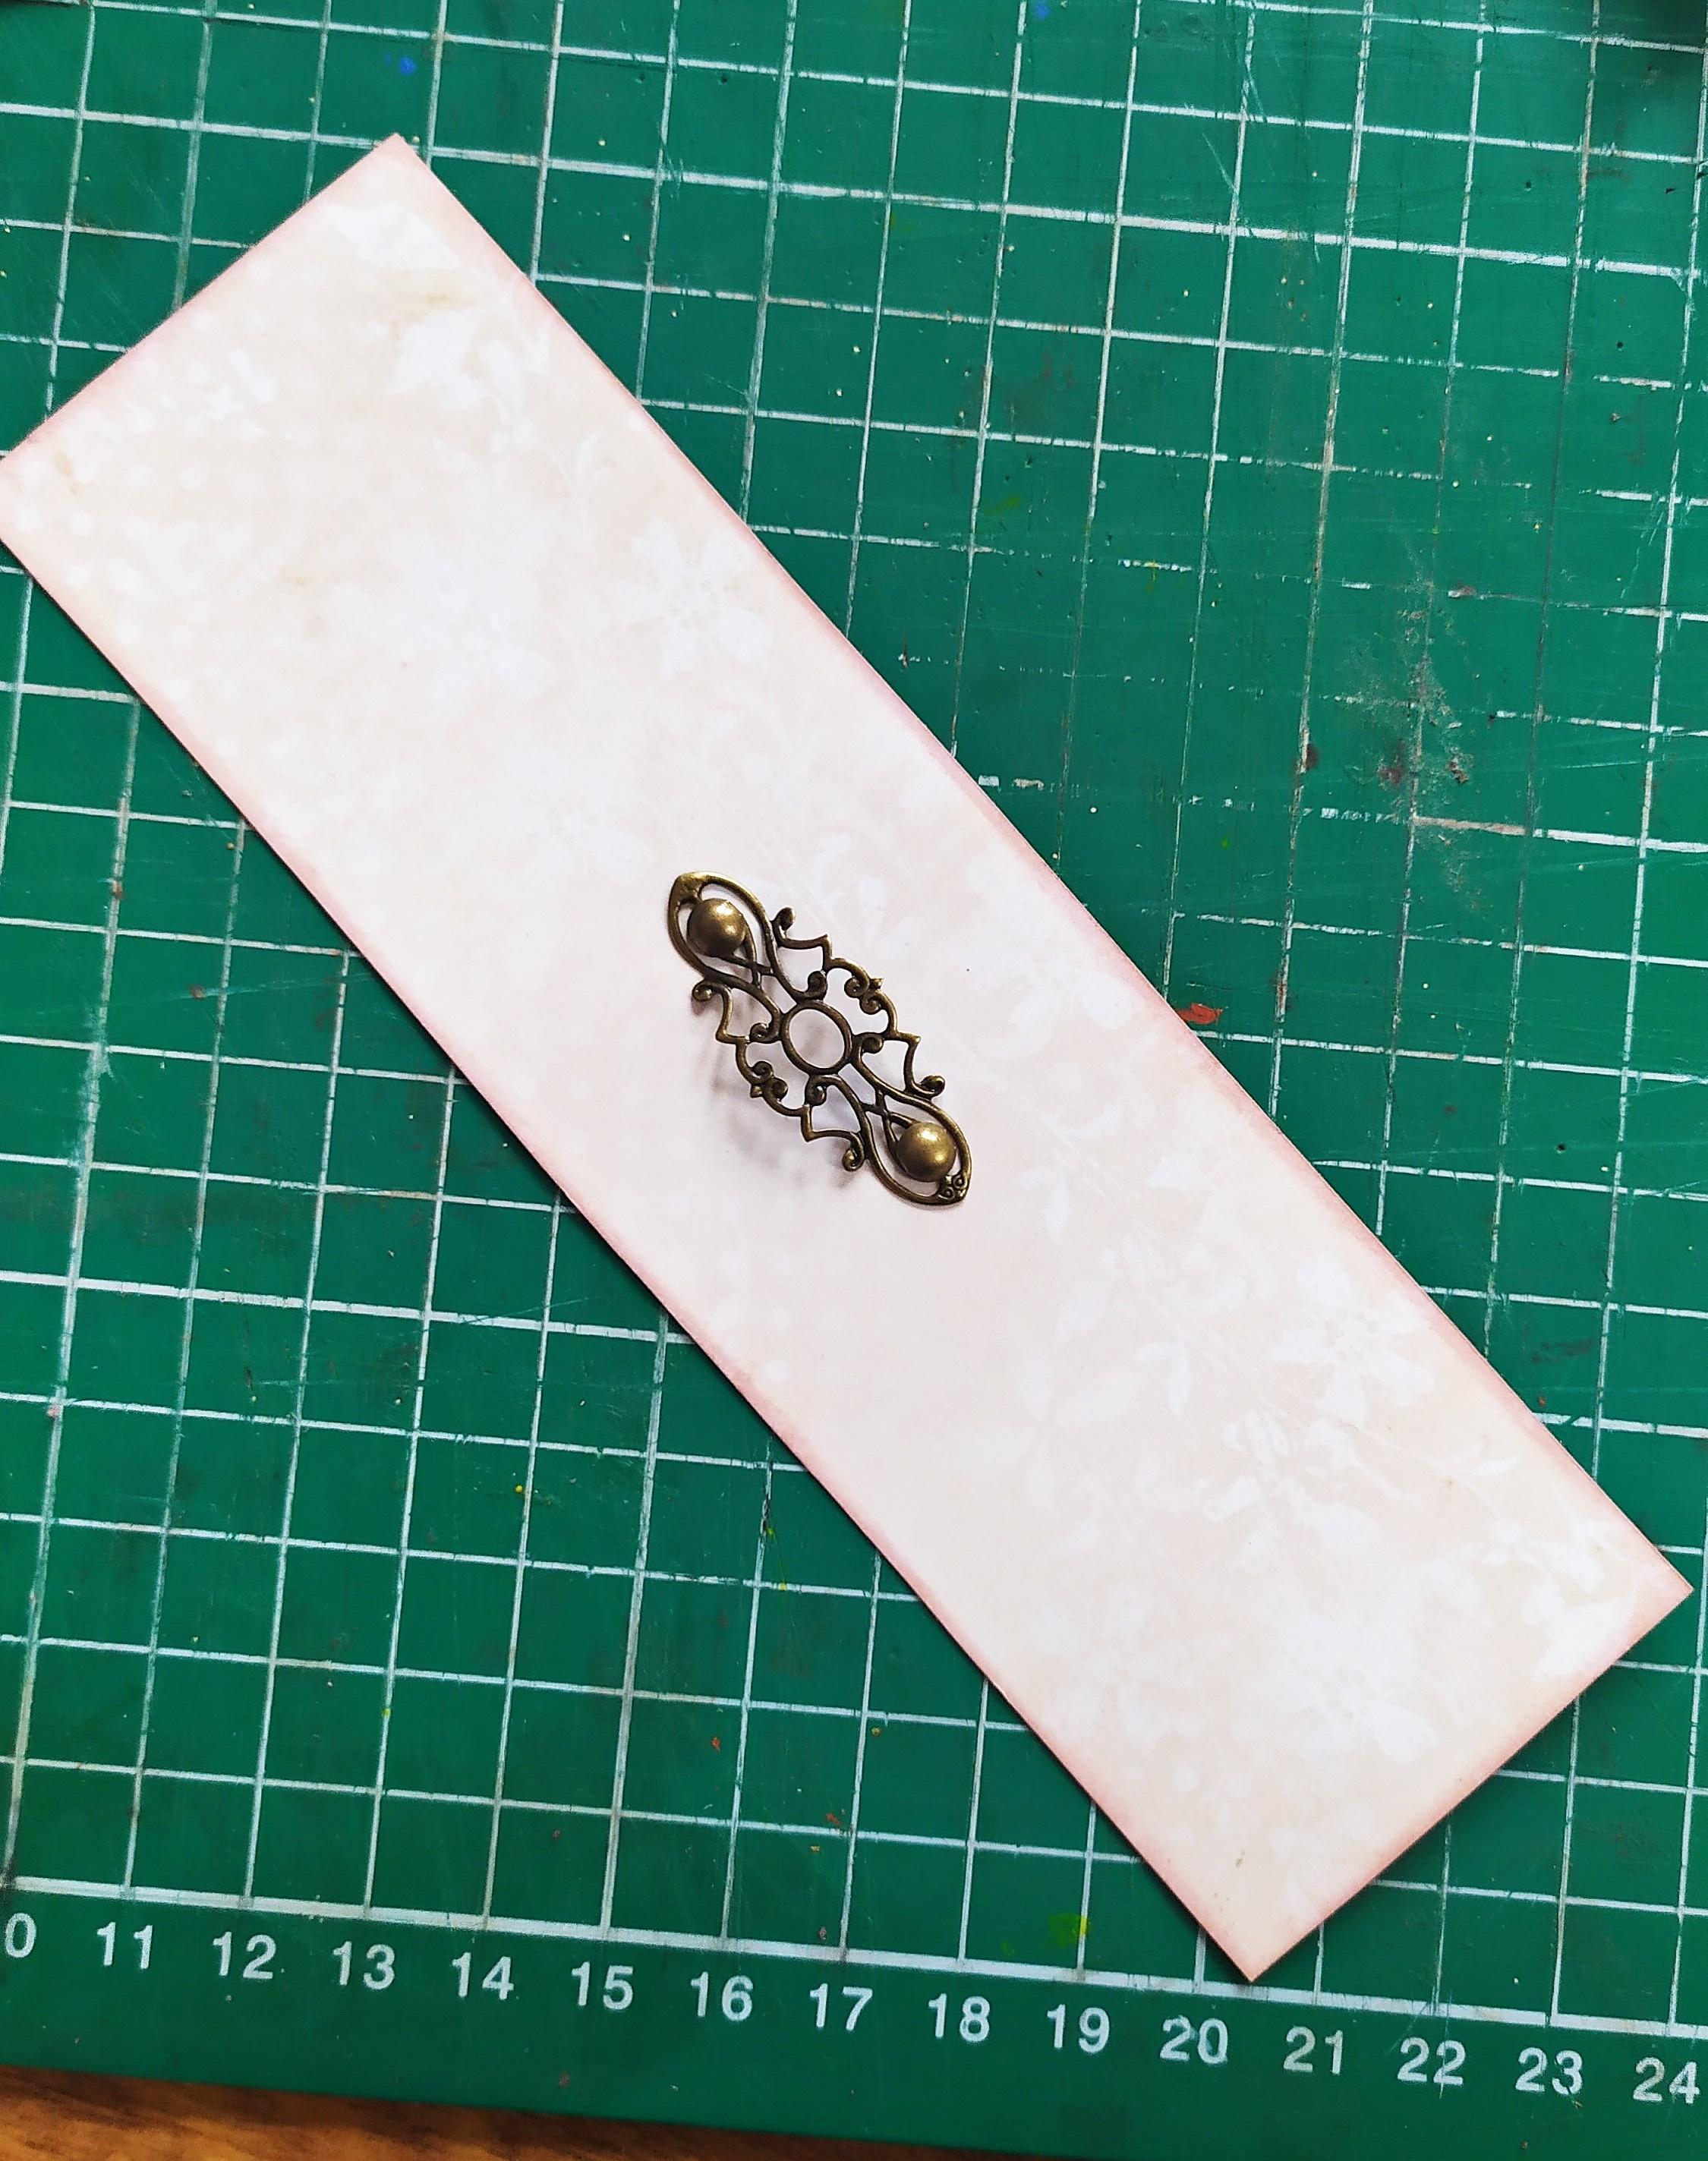
I decided to put the same metal element I put on the cover.Take the element and push up its middle part.Flatten the sides.
Cut a piece of designer paper that'll be glued to the spine.Mark where you want the element to go and punch two holes for the brads.Attach the metal embelishment to the paper,flip it around and flatten the brads.
Take the decorated cover,the spine and the back designer papers distress and glue them all down to the album.When gluing,as always leave about 2 mm space on each side,sort of like a frame.
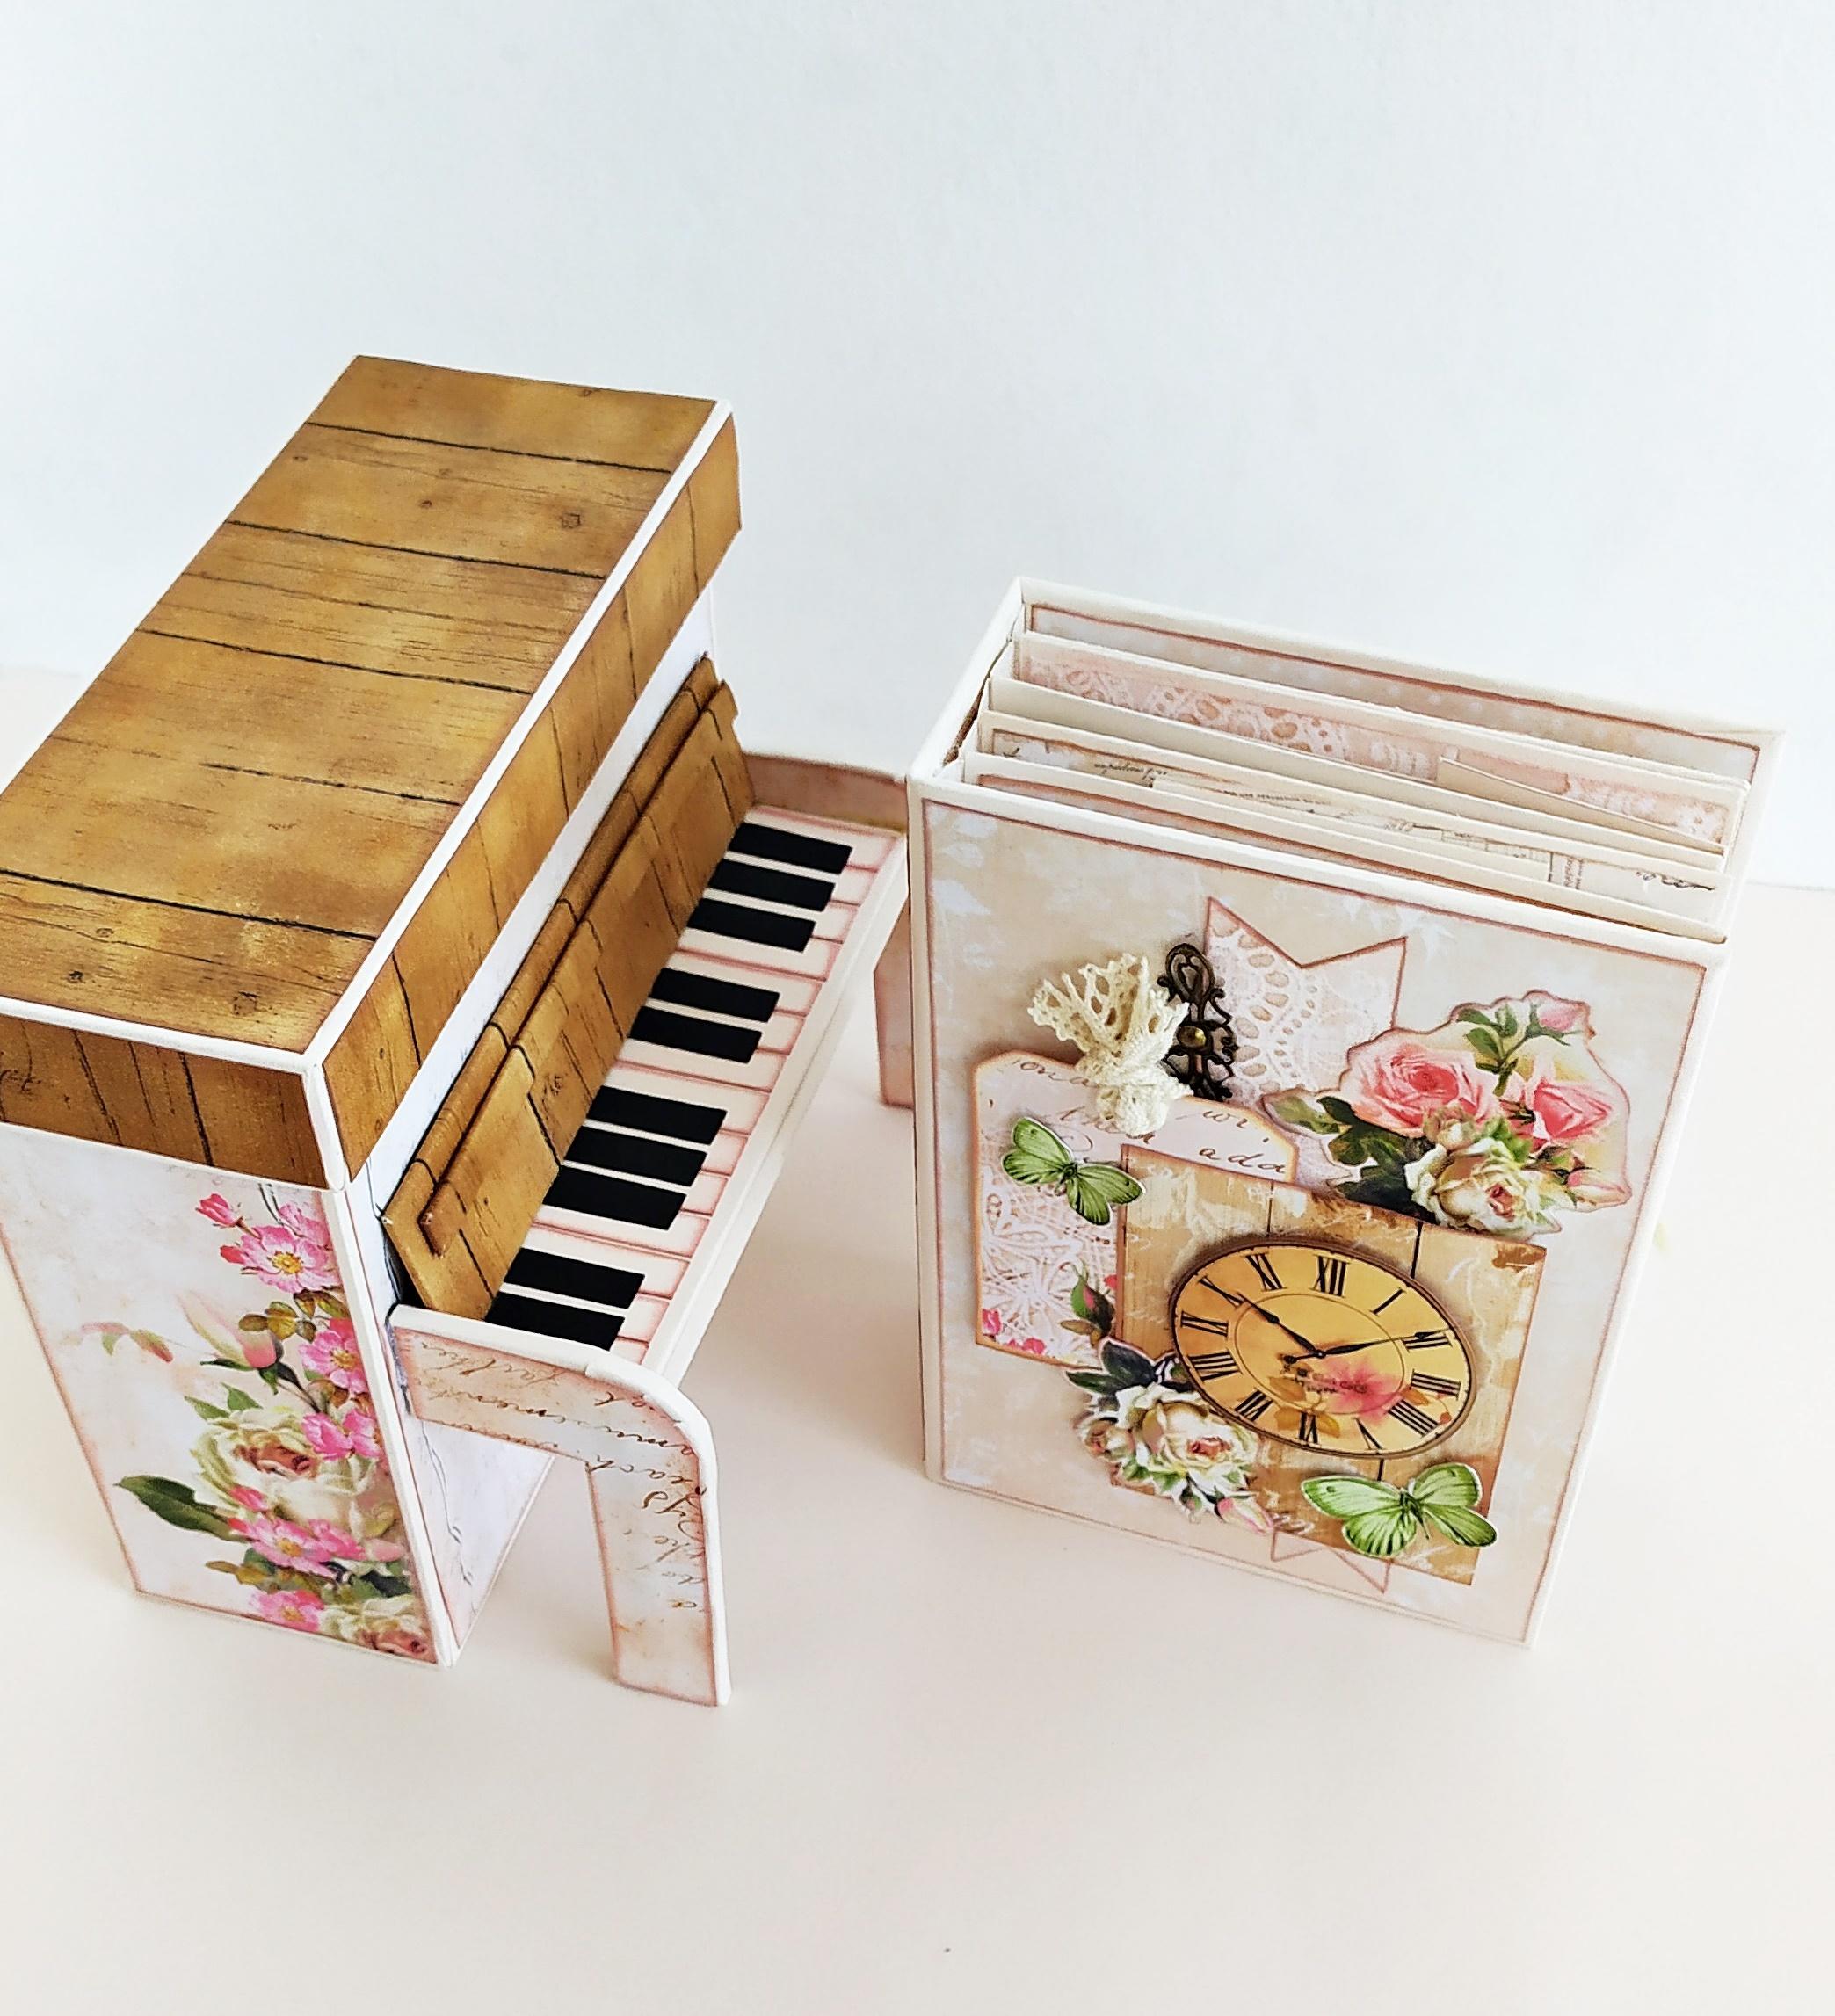
With that step the album is finally complete!
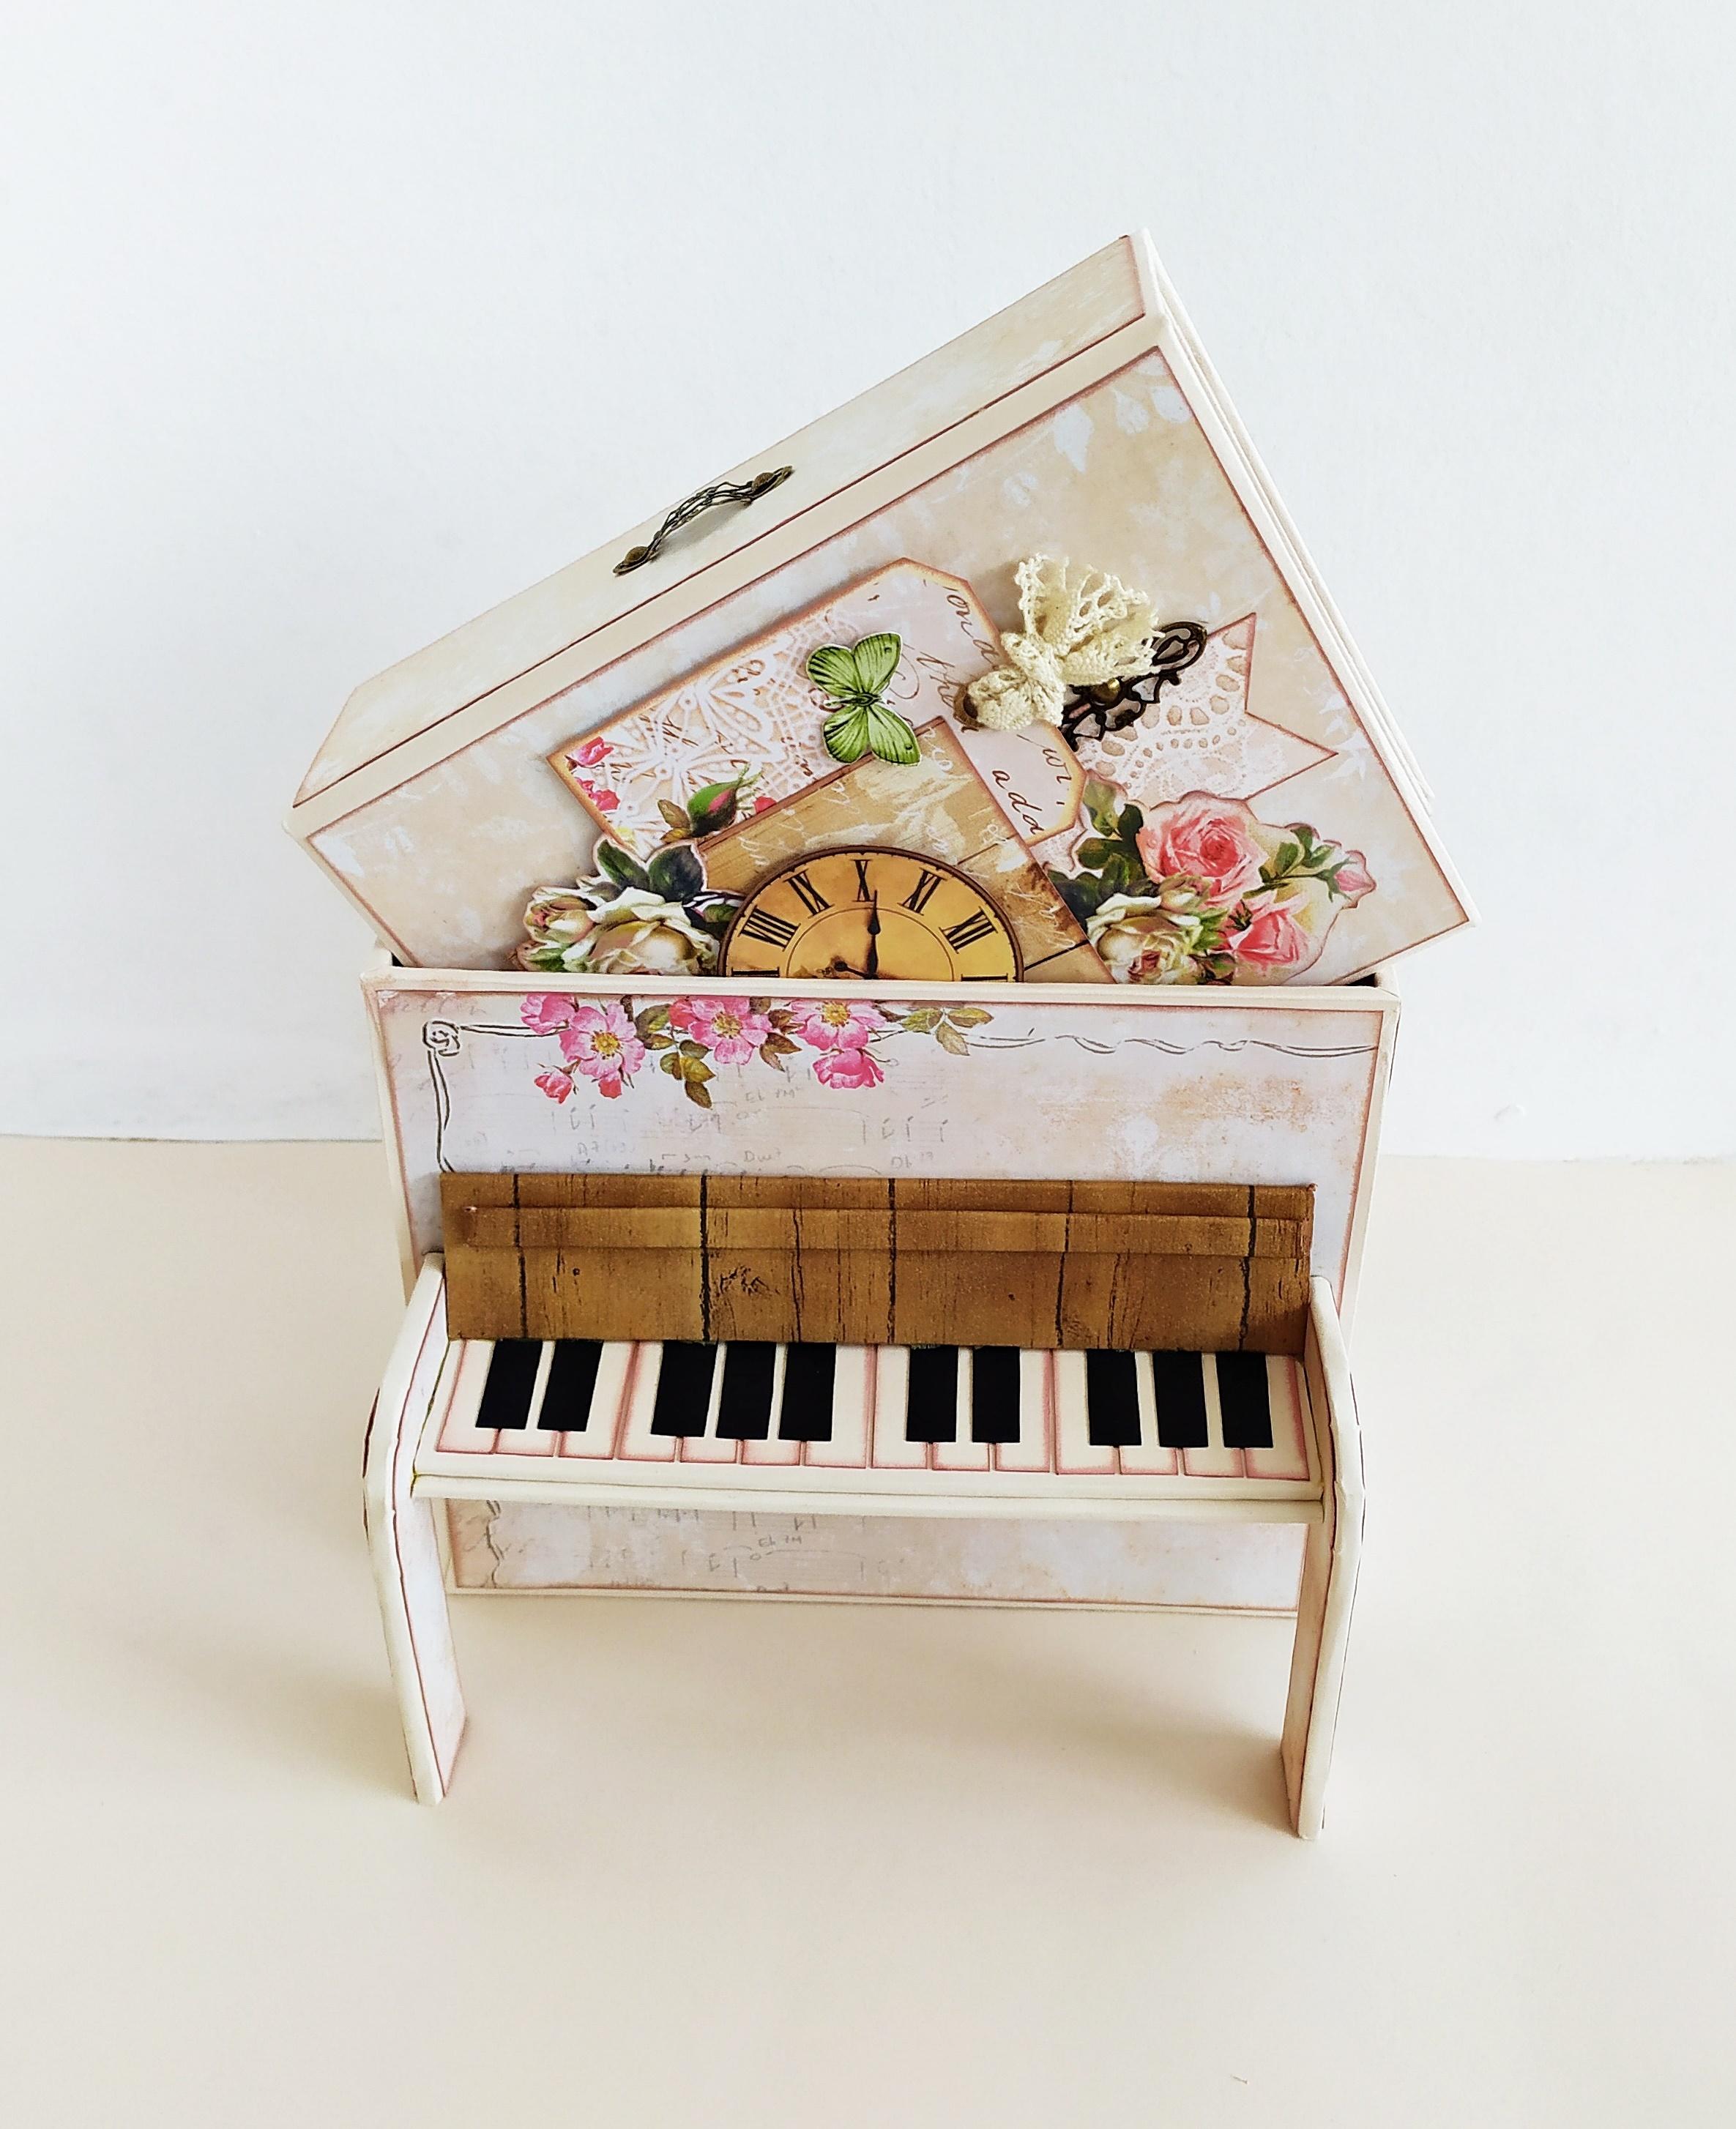
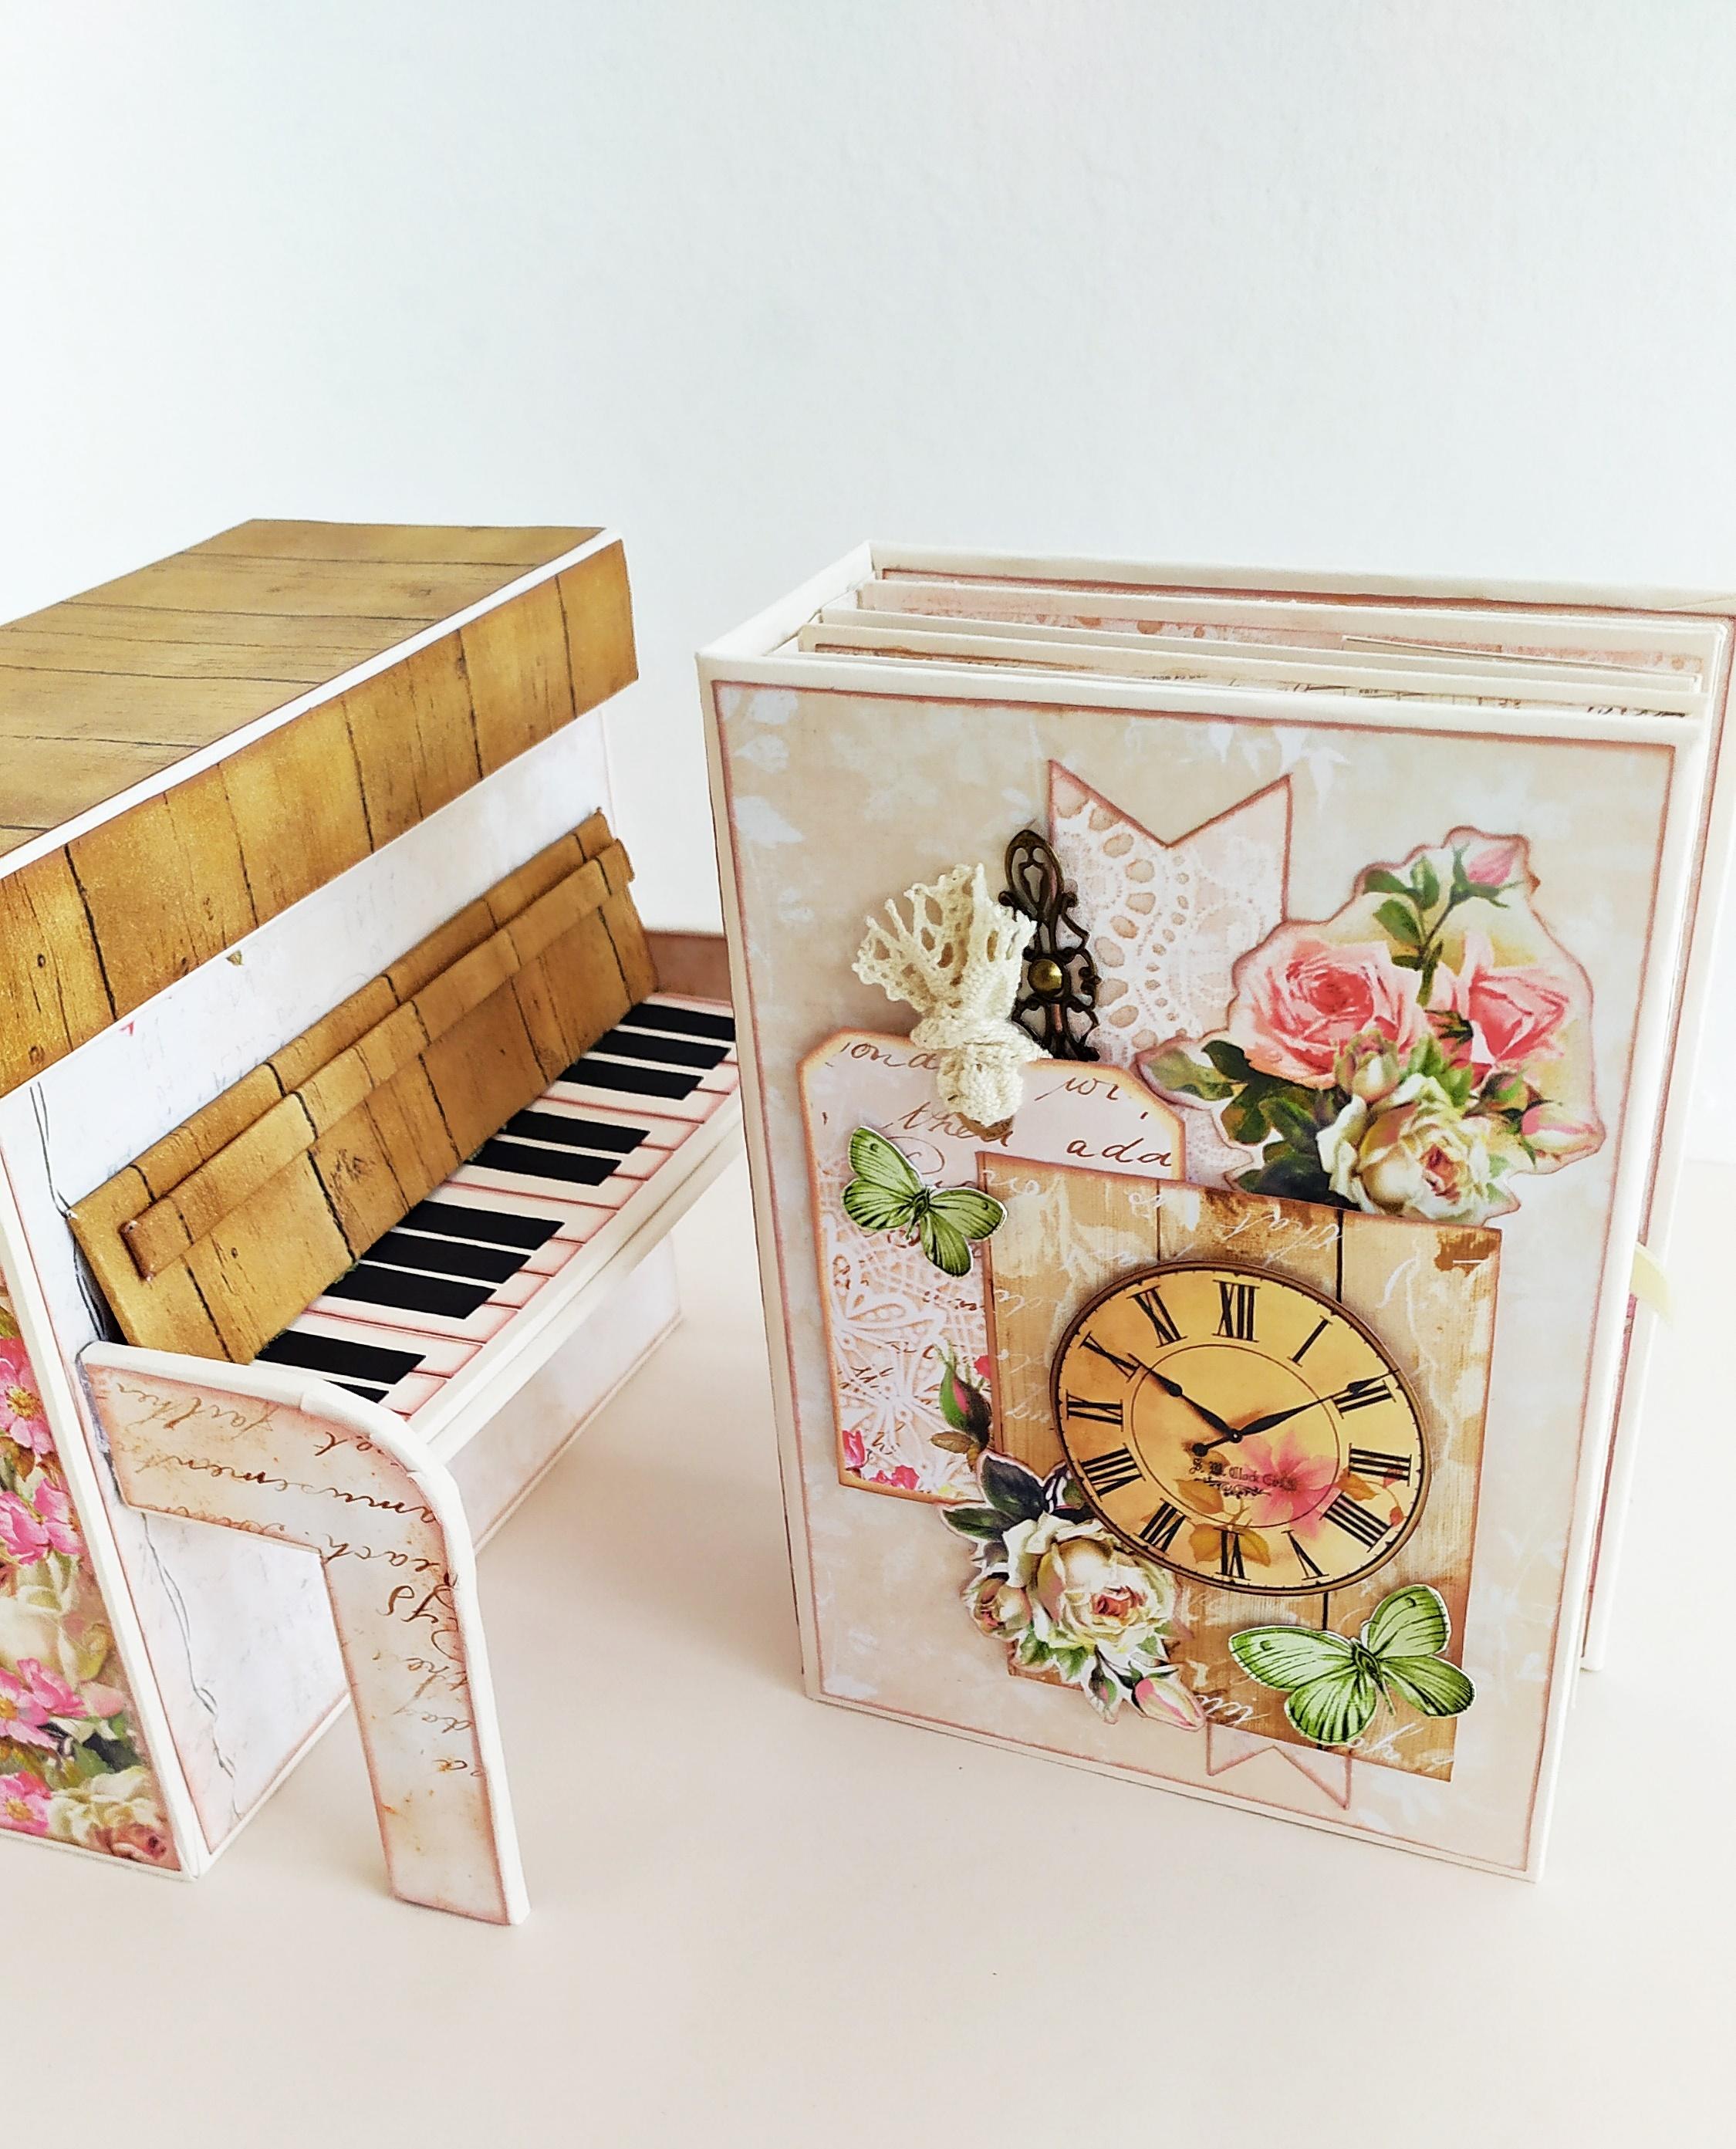
You can stop here but if you want you can make it even more romantic with a beautiful piano box.
Making the Box


Making the box is really simple - you'll need some chipboard and a lot of cardstock hinges.
Start out by measuring the dimensions of your album - mine is about 12x17 cm.The spine is about 5 cm wide.
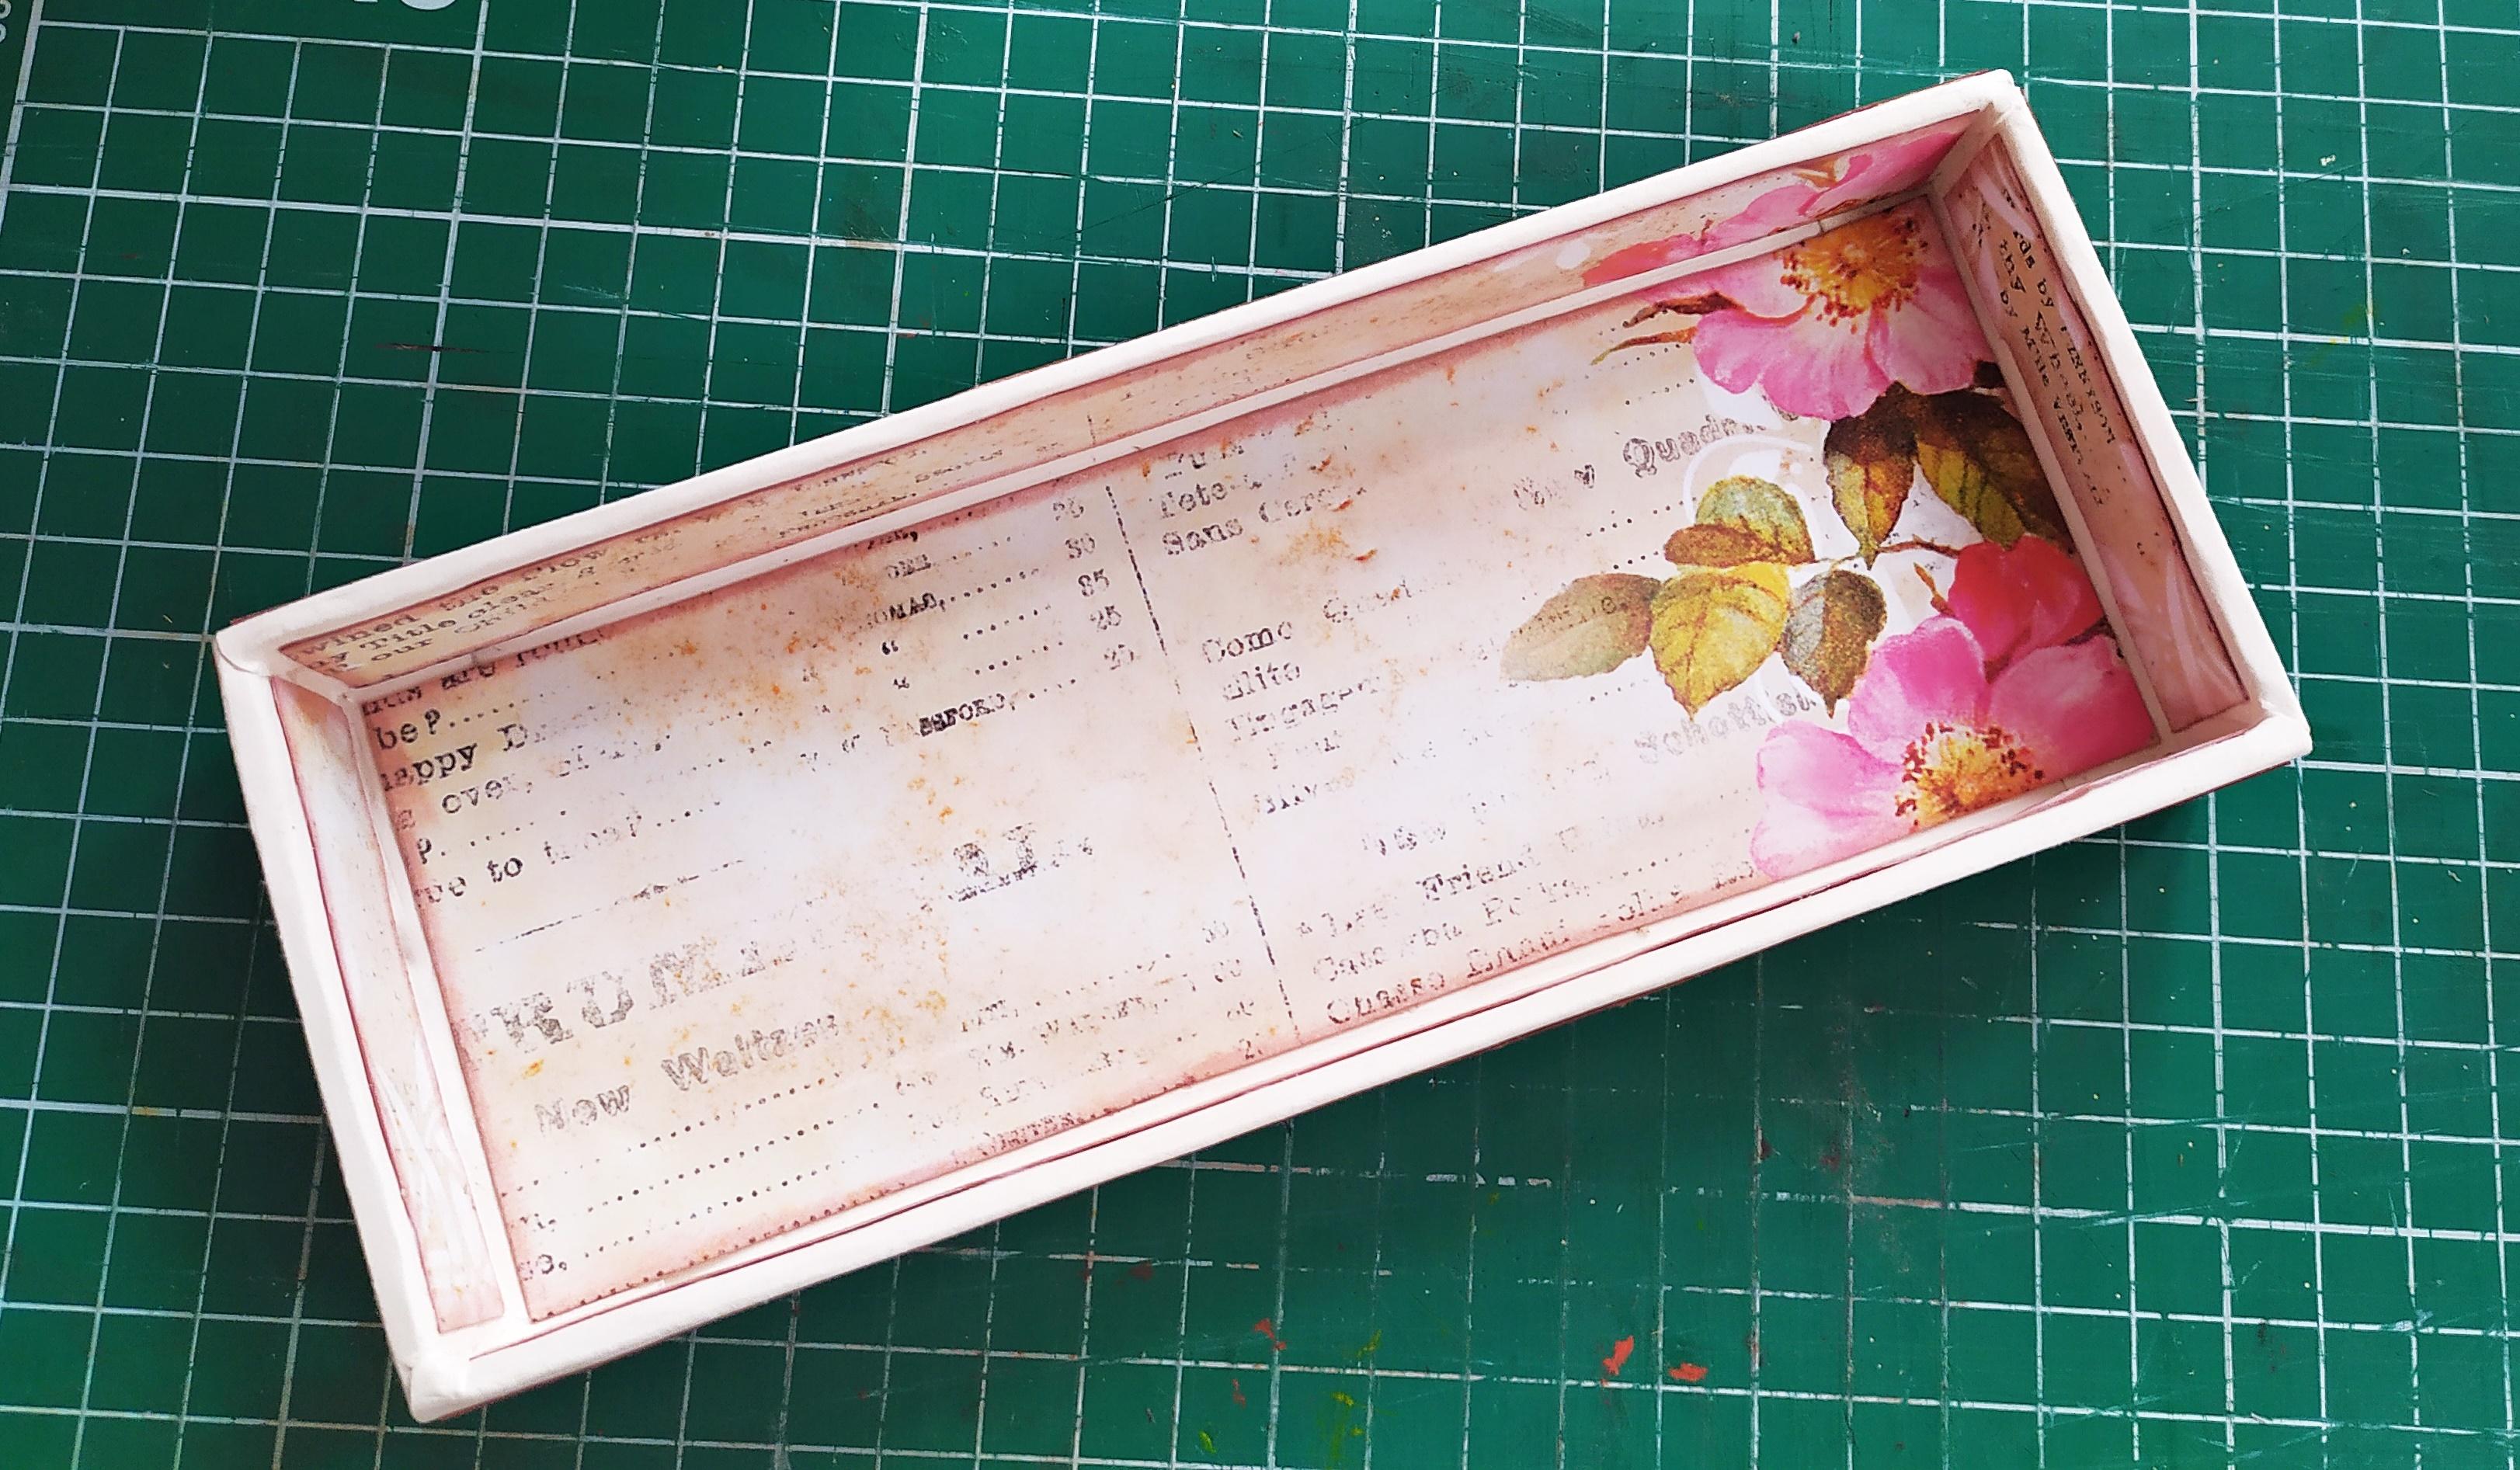
To make the box you'll need to cut:
- 1.Two pieces measuring 18x15 cm (front and back of the box)
- 2.Two pieces measuring 15x7 cm (right and left sides of the box)
- 3 One piece measuring 18x7 cm (bottom of the box)
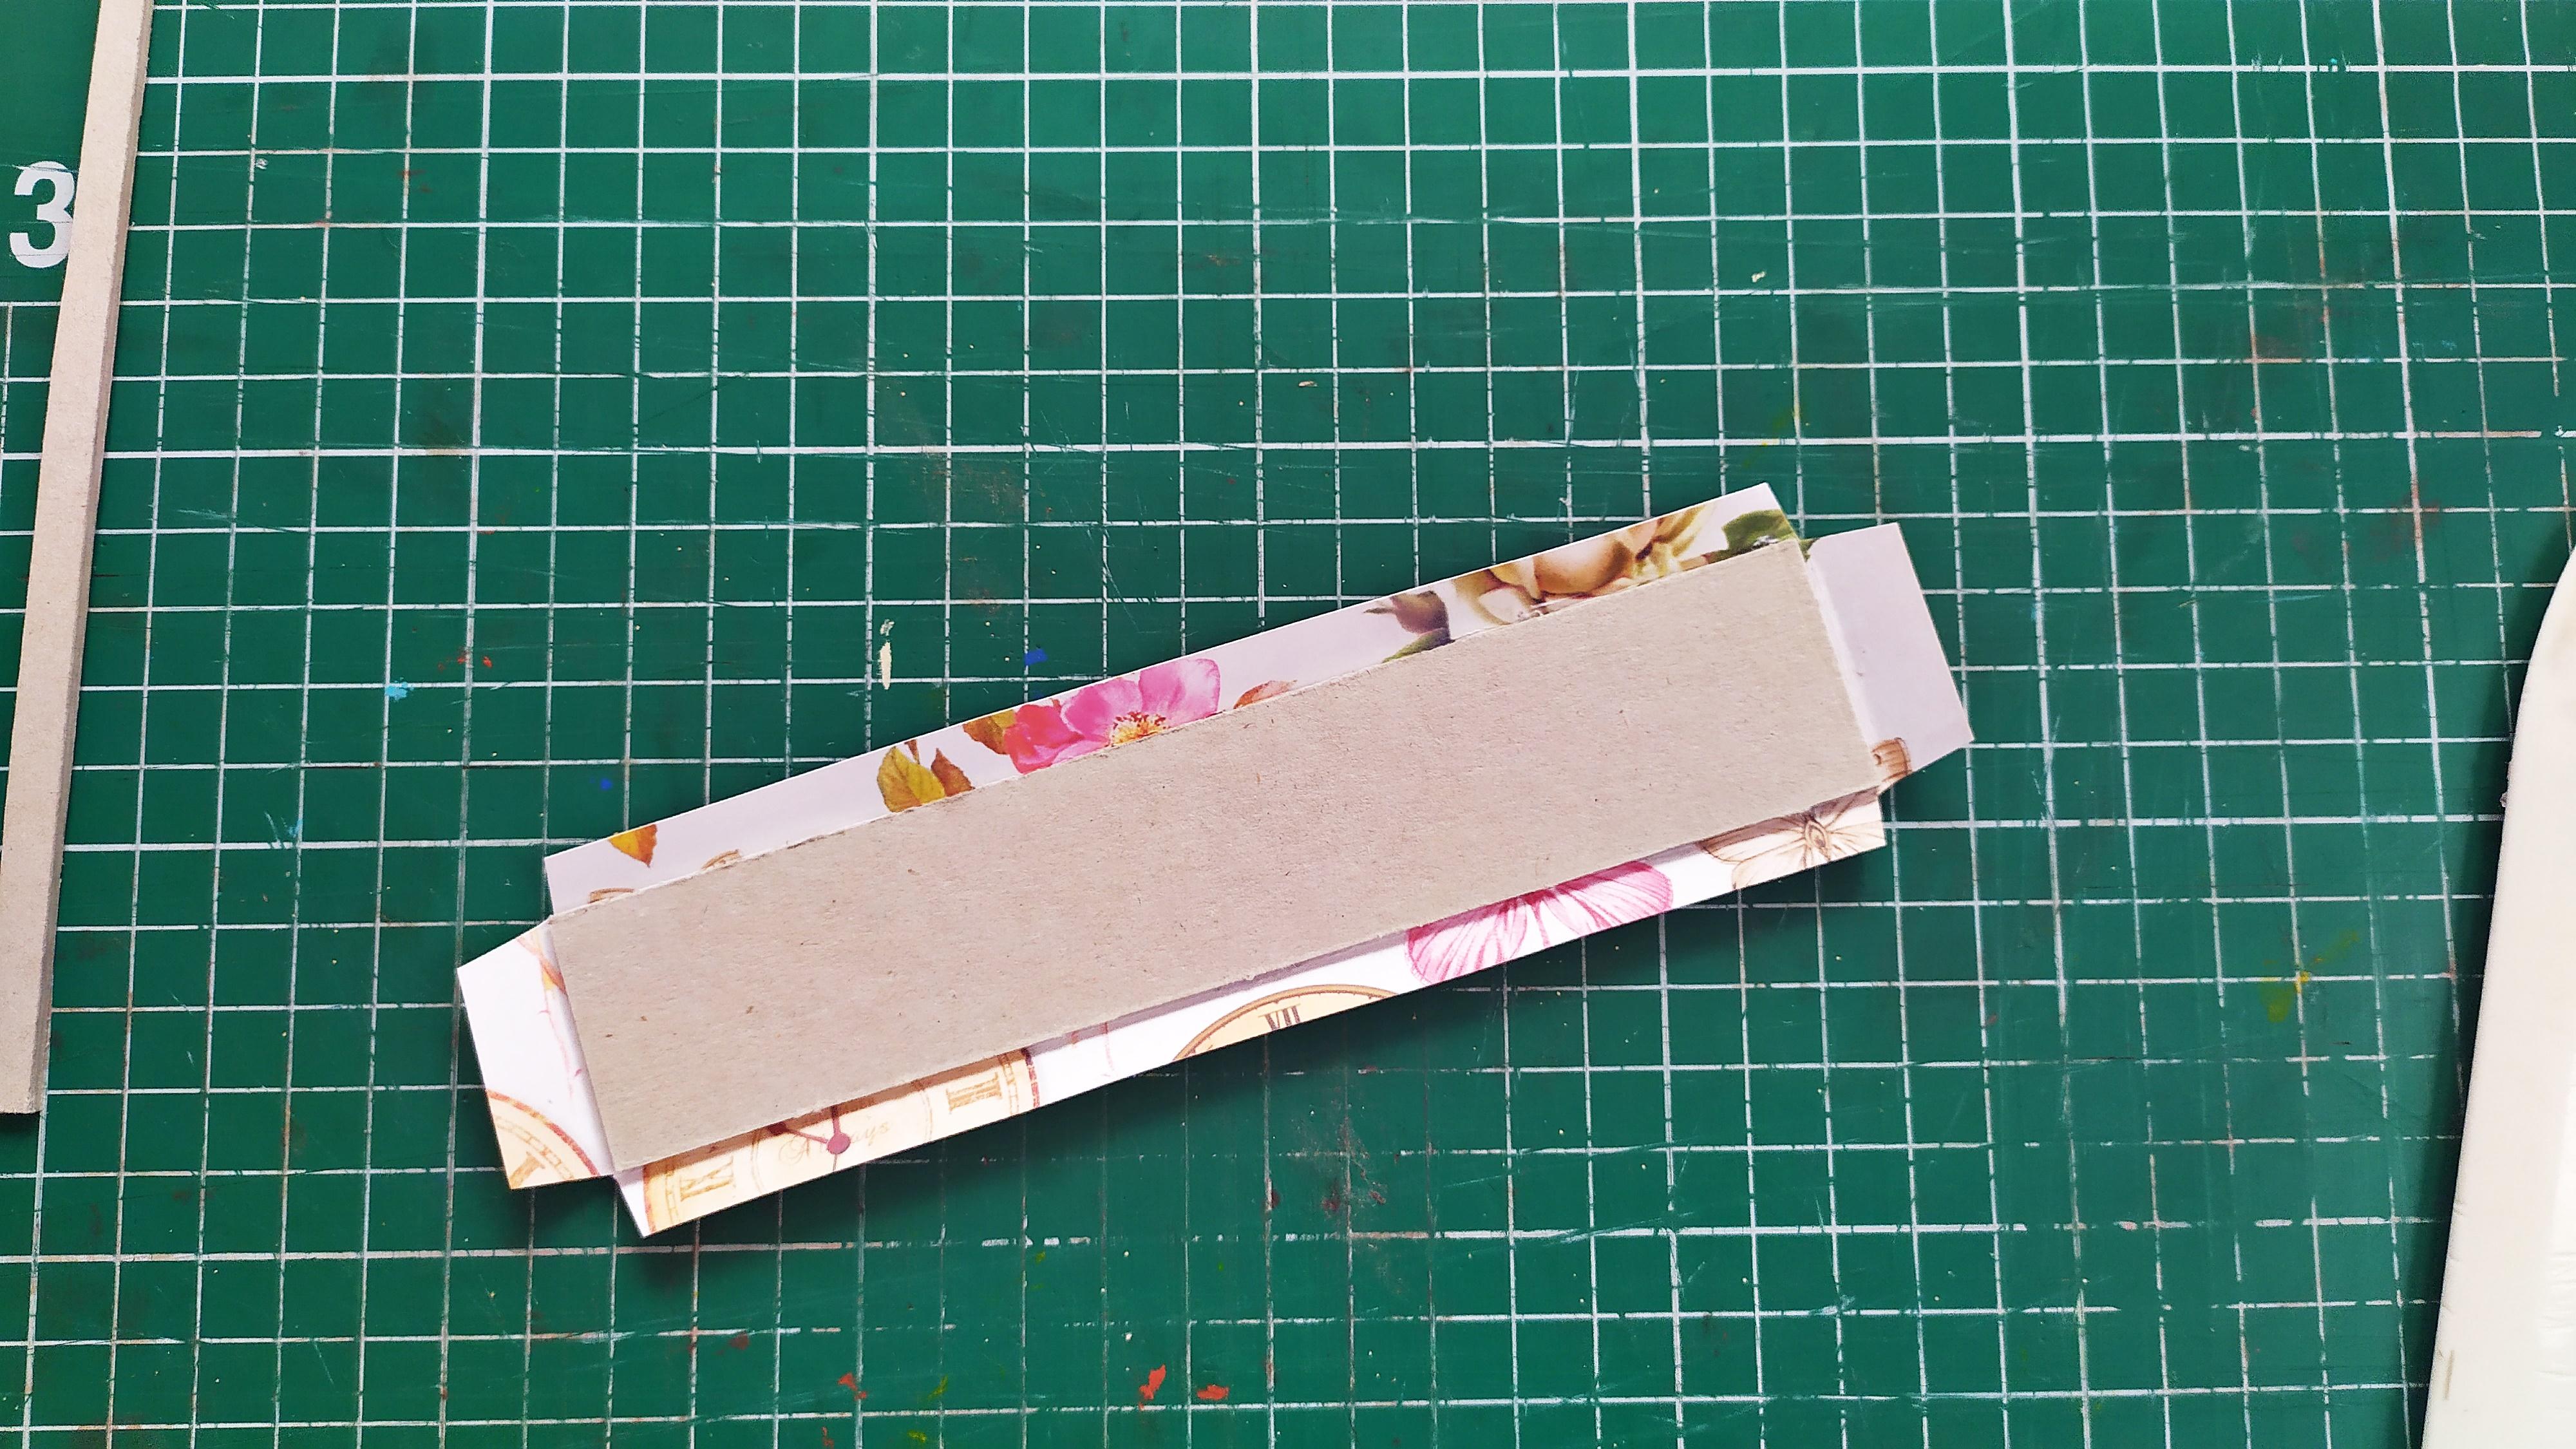
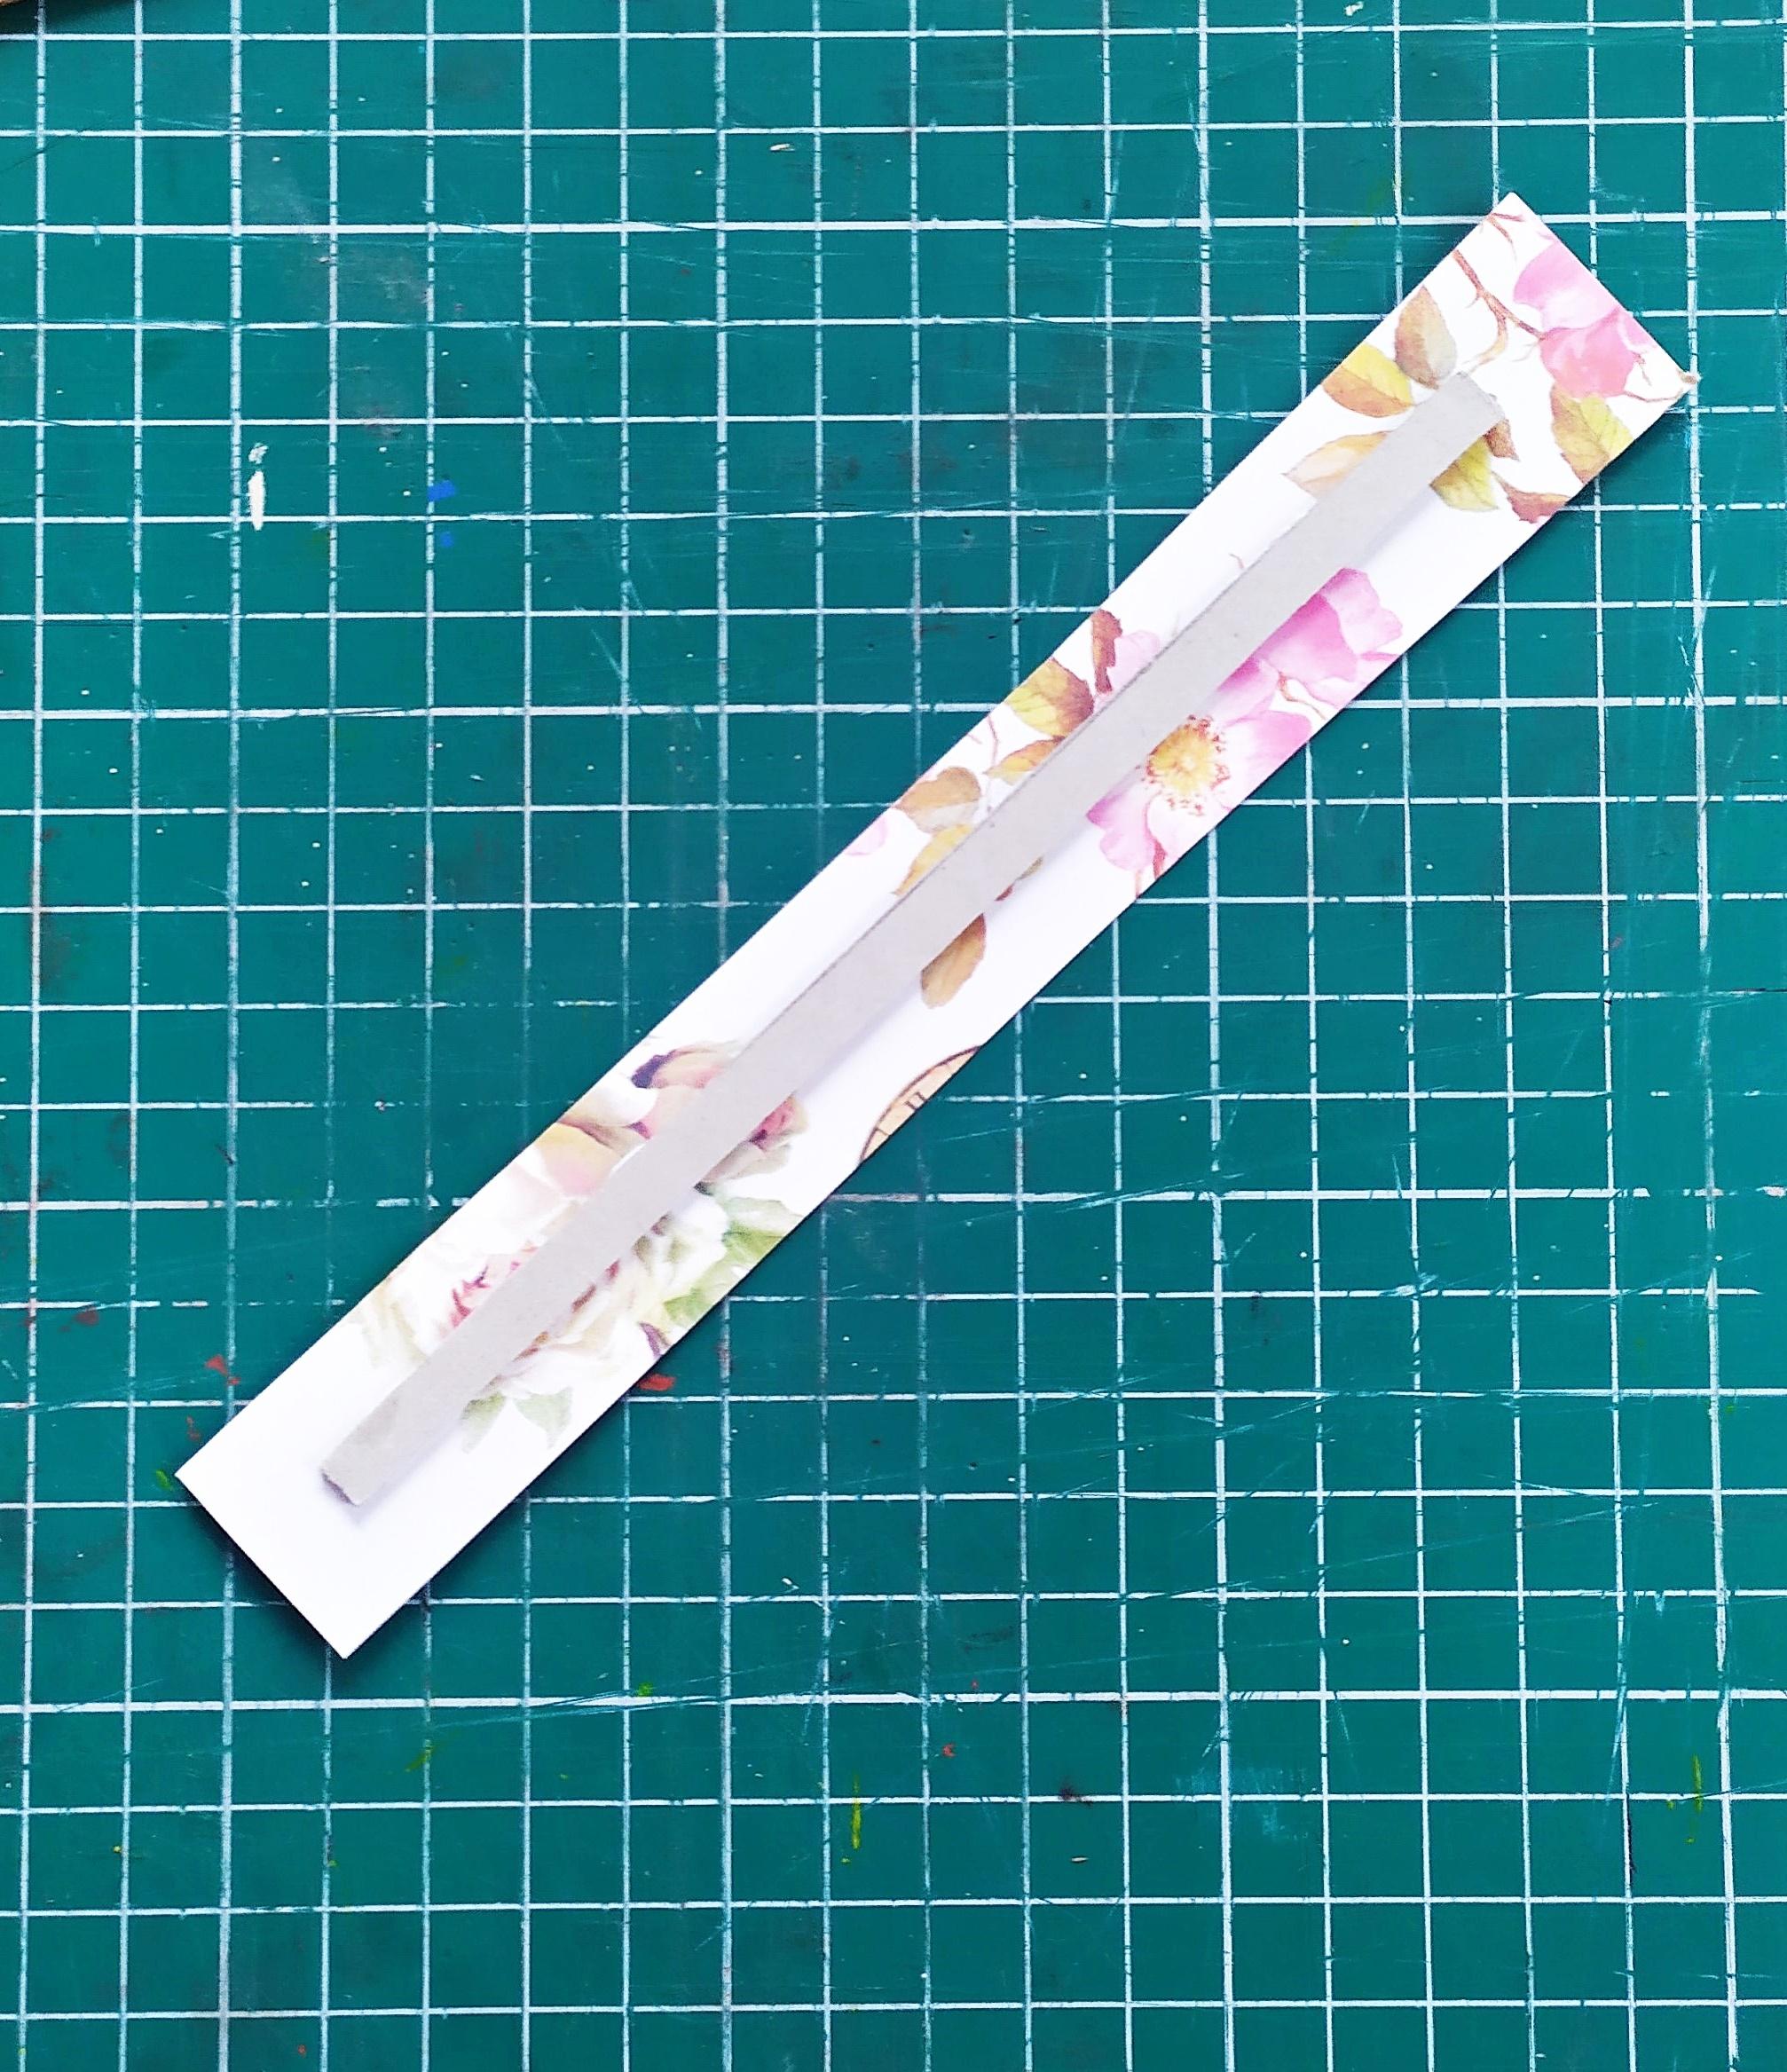
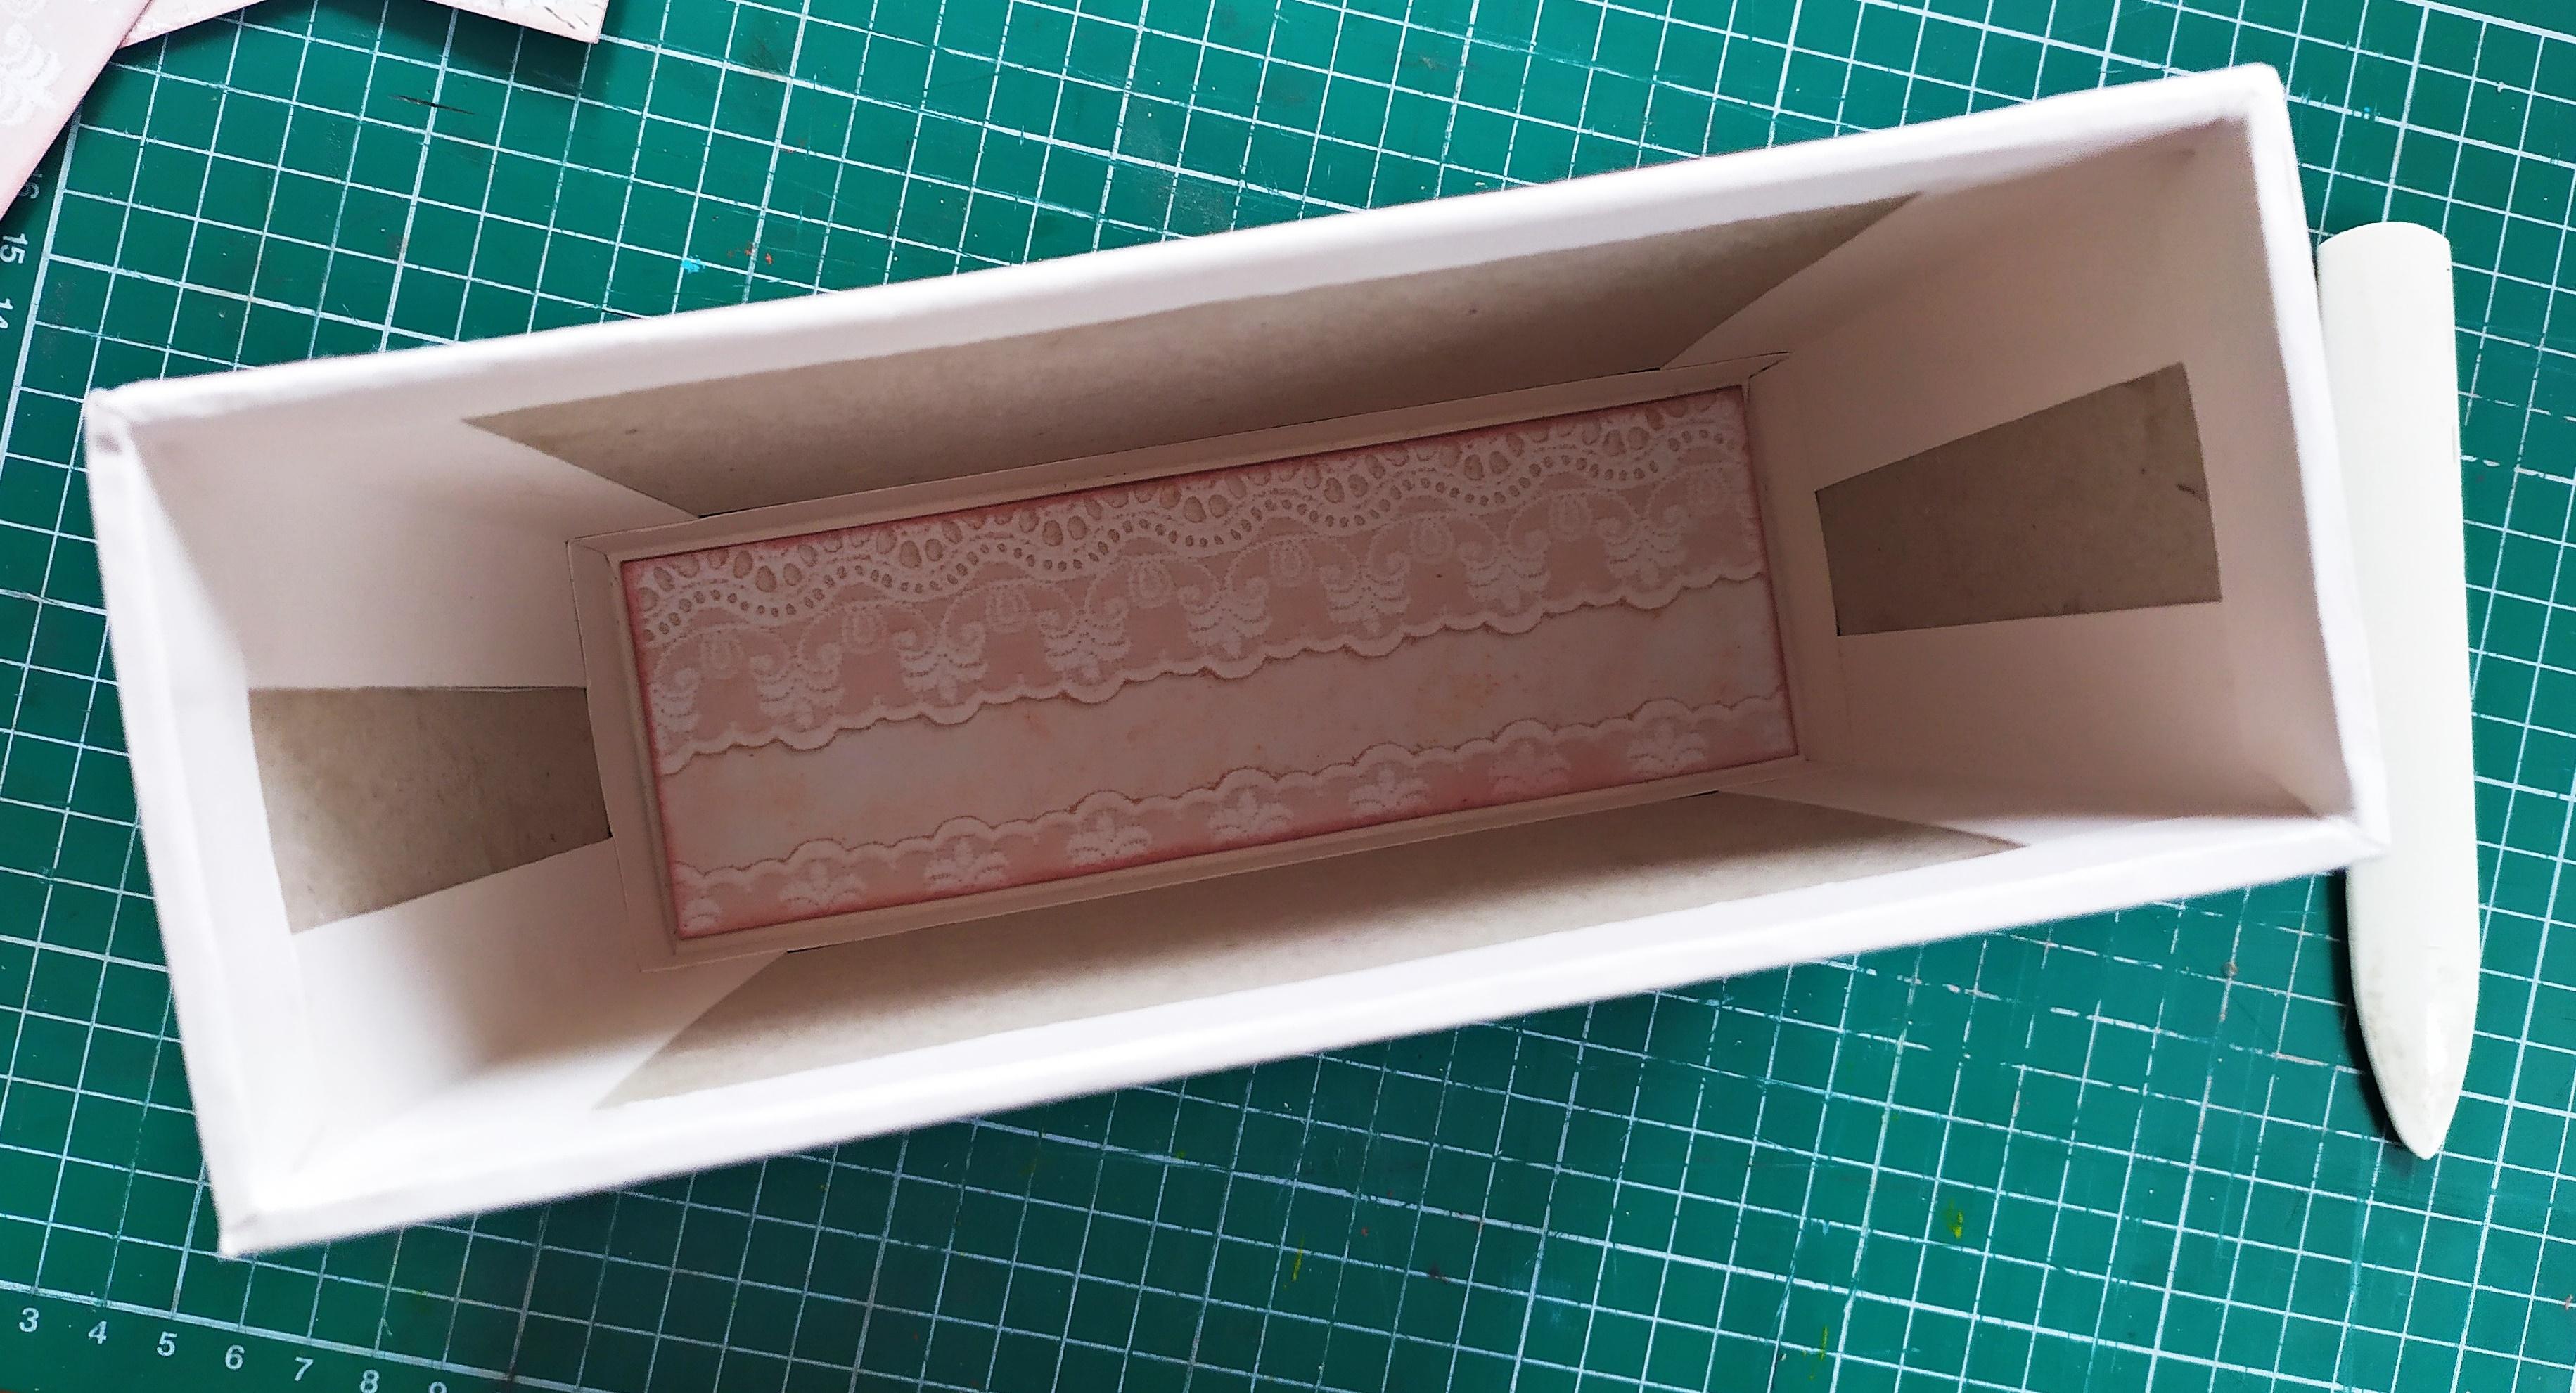
Once all of the pieces of the box are cut it's all about attaching them using some cardstock hinges.To make a hinge cut a piece of cardstock 4 cm wide.The length depends on which pieces you'll be attaching to each other.For example when attaching the front of the box to the right or lef side the length should be around 15 cm.When attaching the bottom to the front of the box it should be 18 cm long.
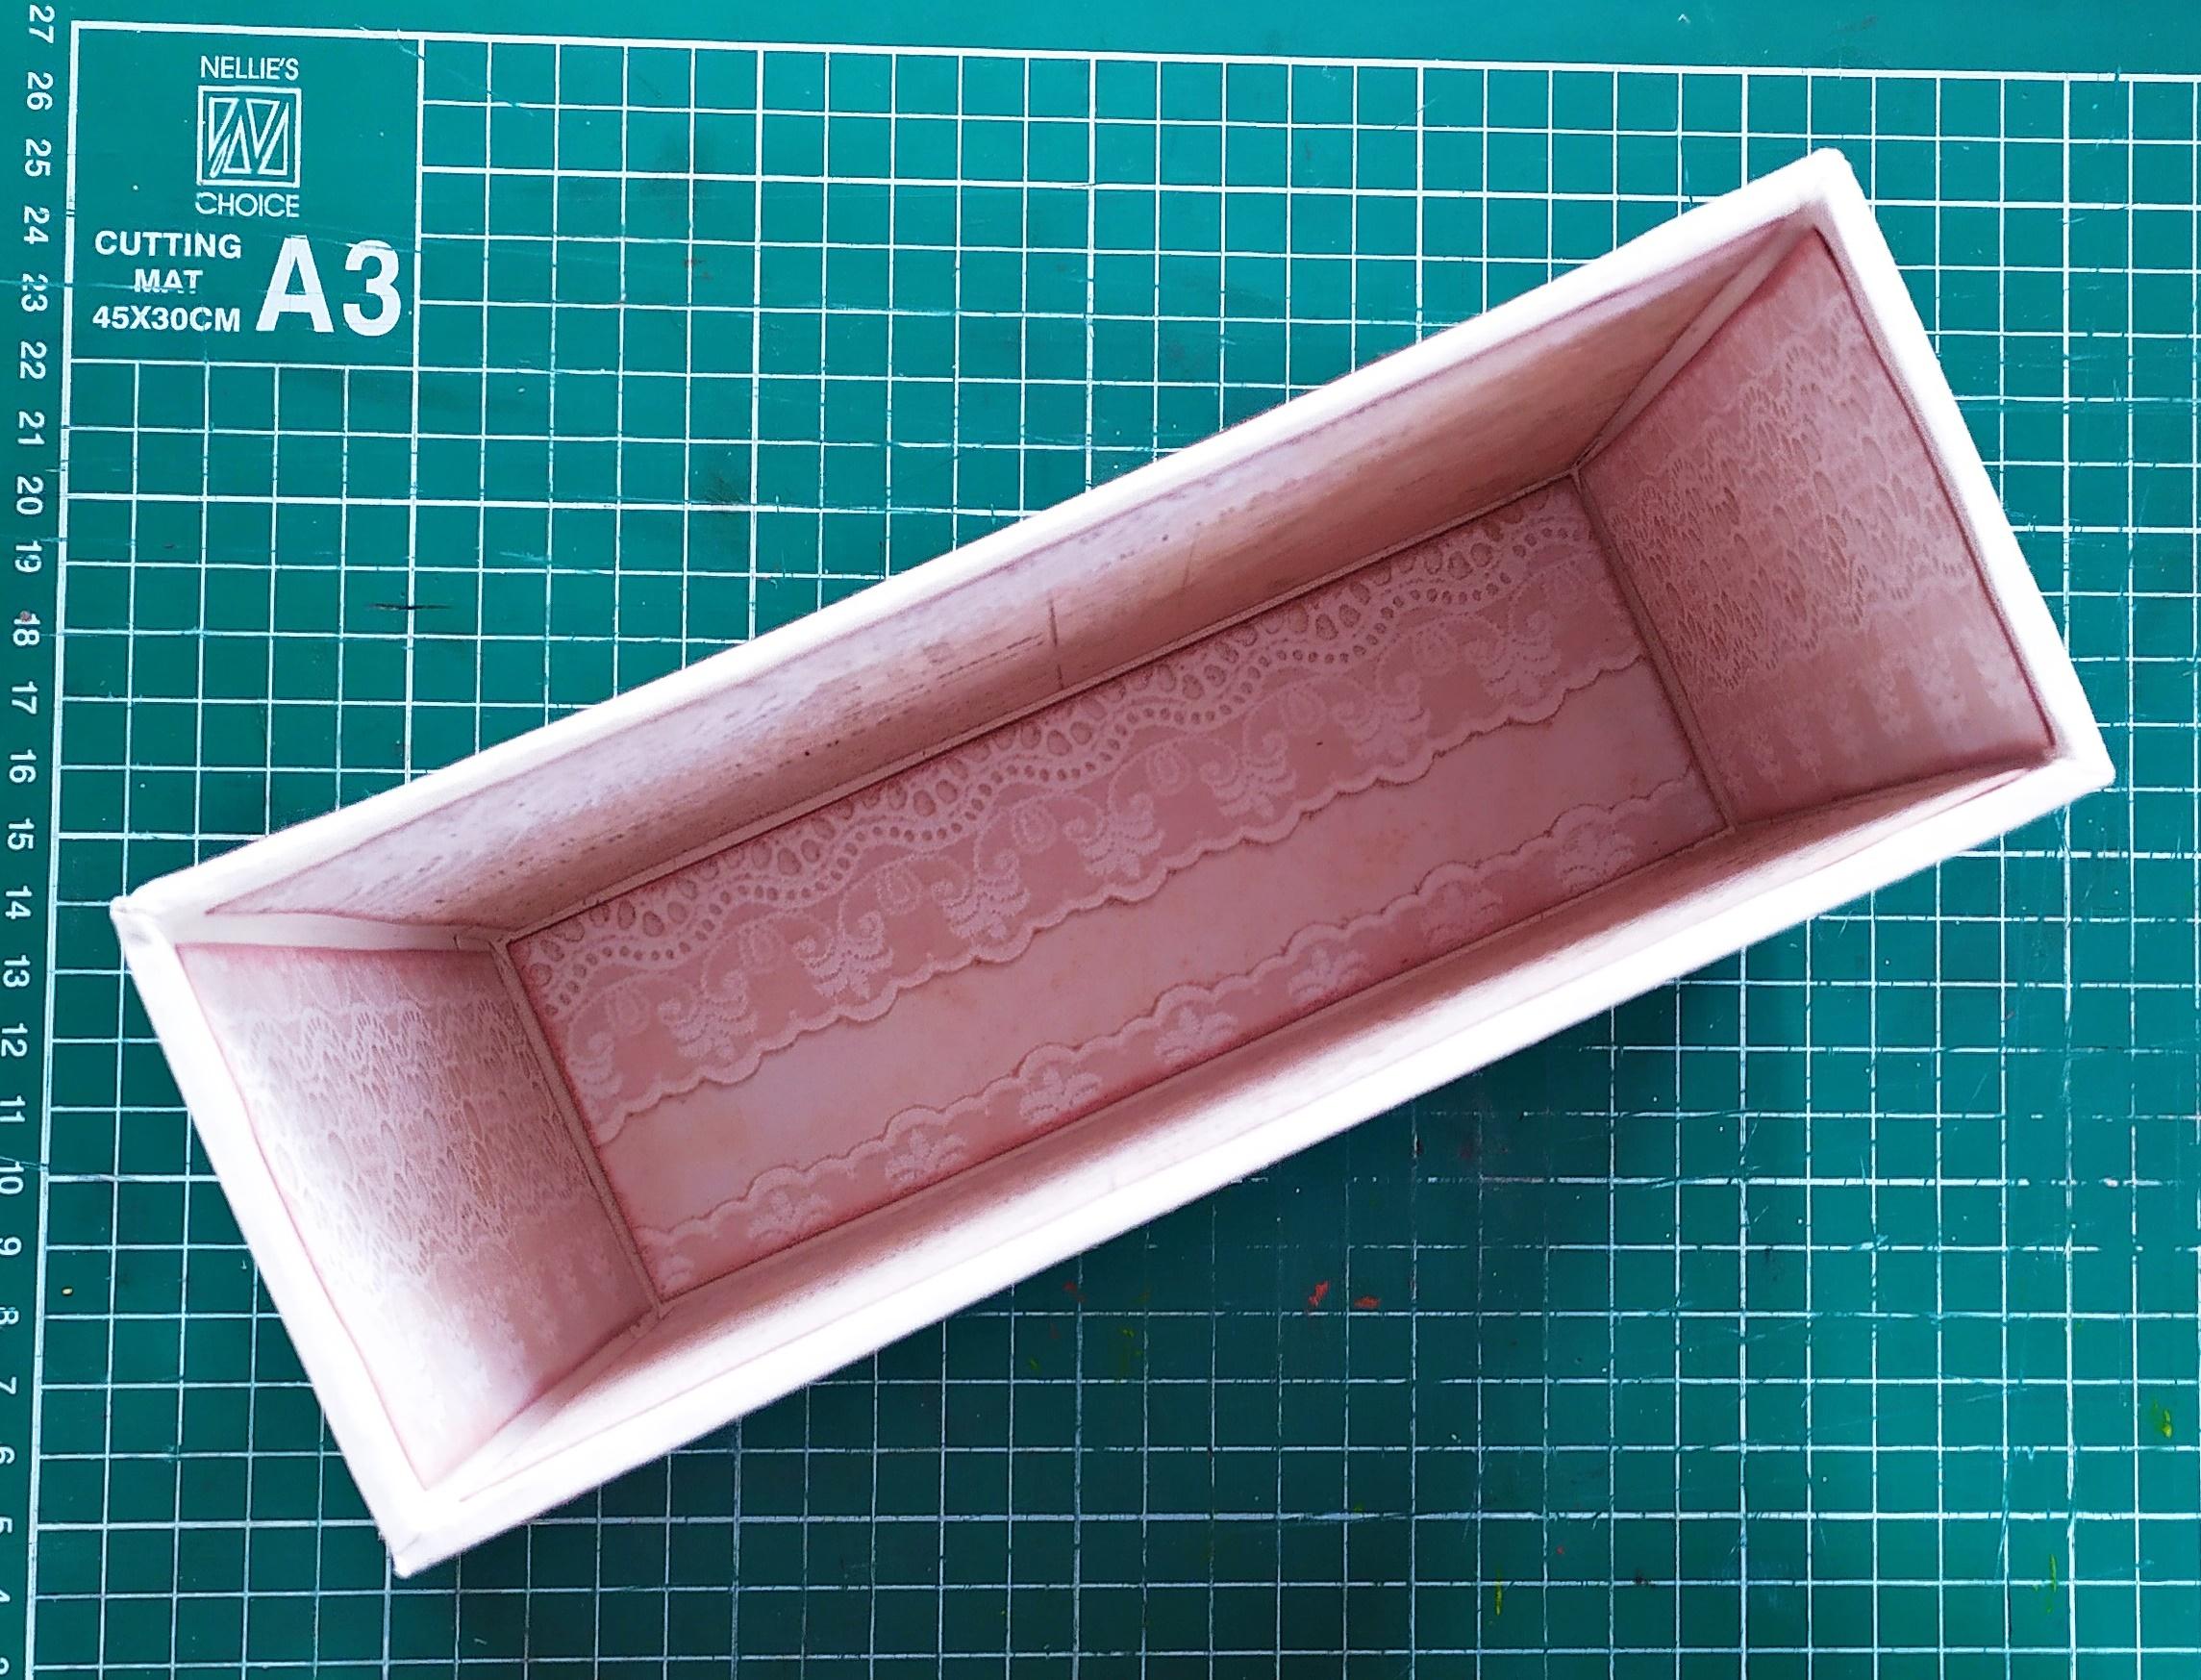
Assemble the box by scoring each hinge at 2 cm and gluing each side on the pieces of the box.Add hinges everywhere - to the outside and bottom of the box,the inside and all of the edges.Basically no chipboard should be showing through.
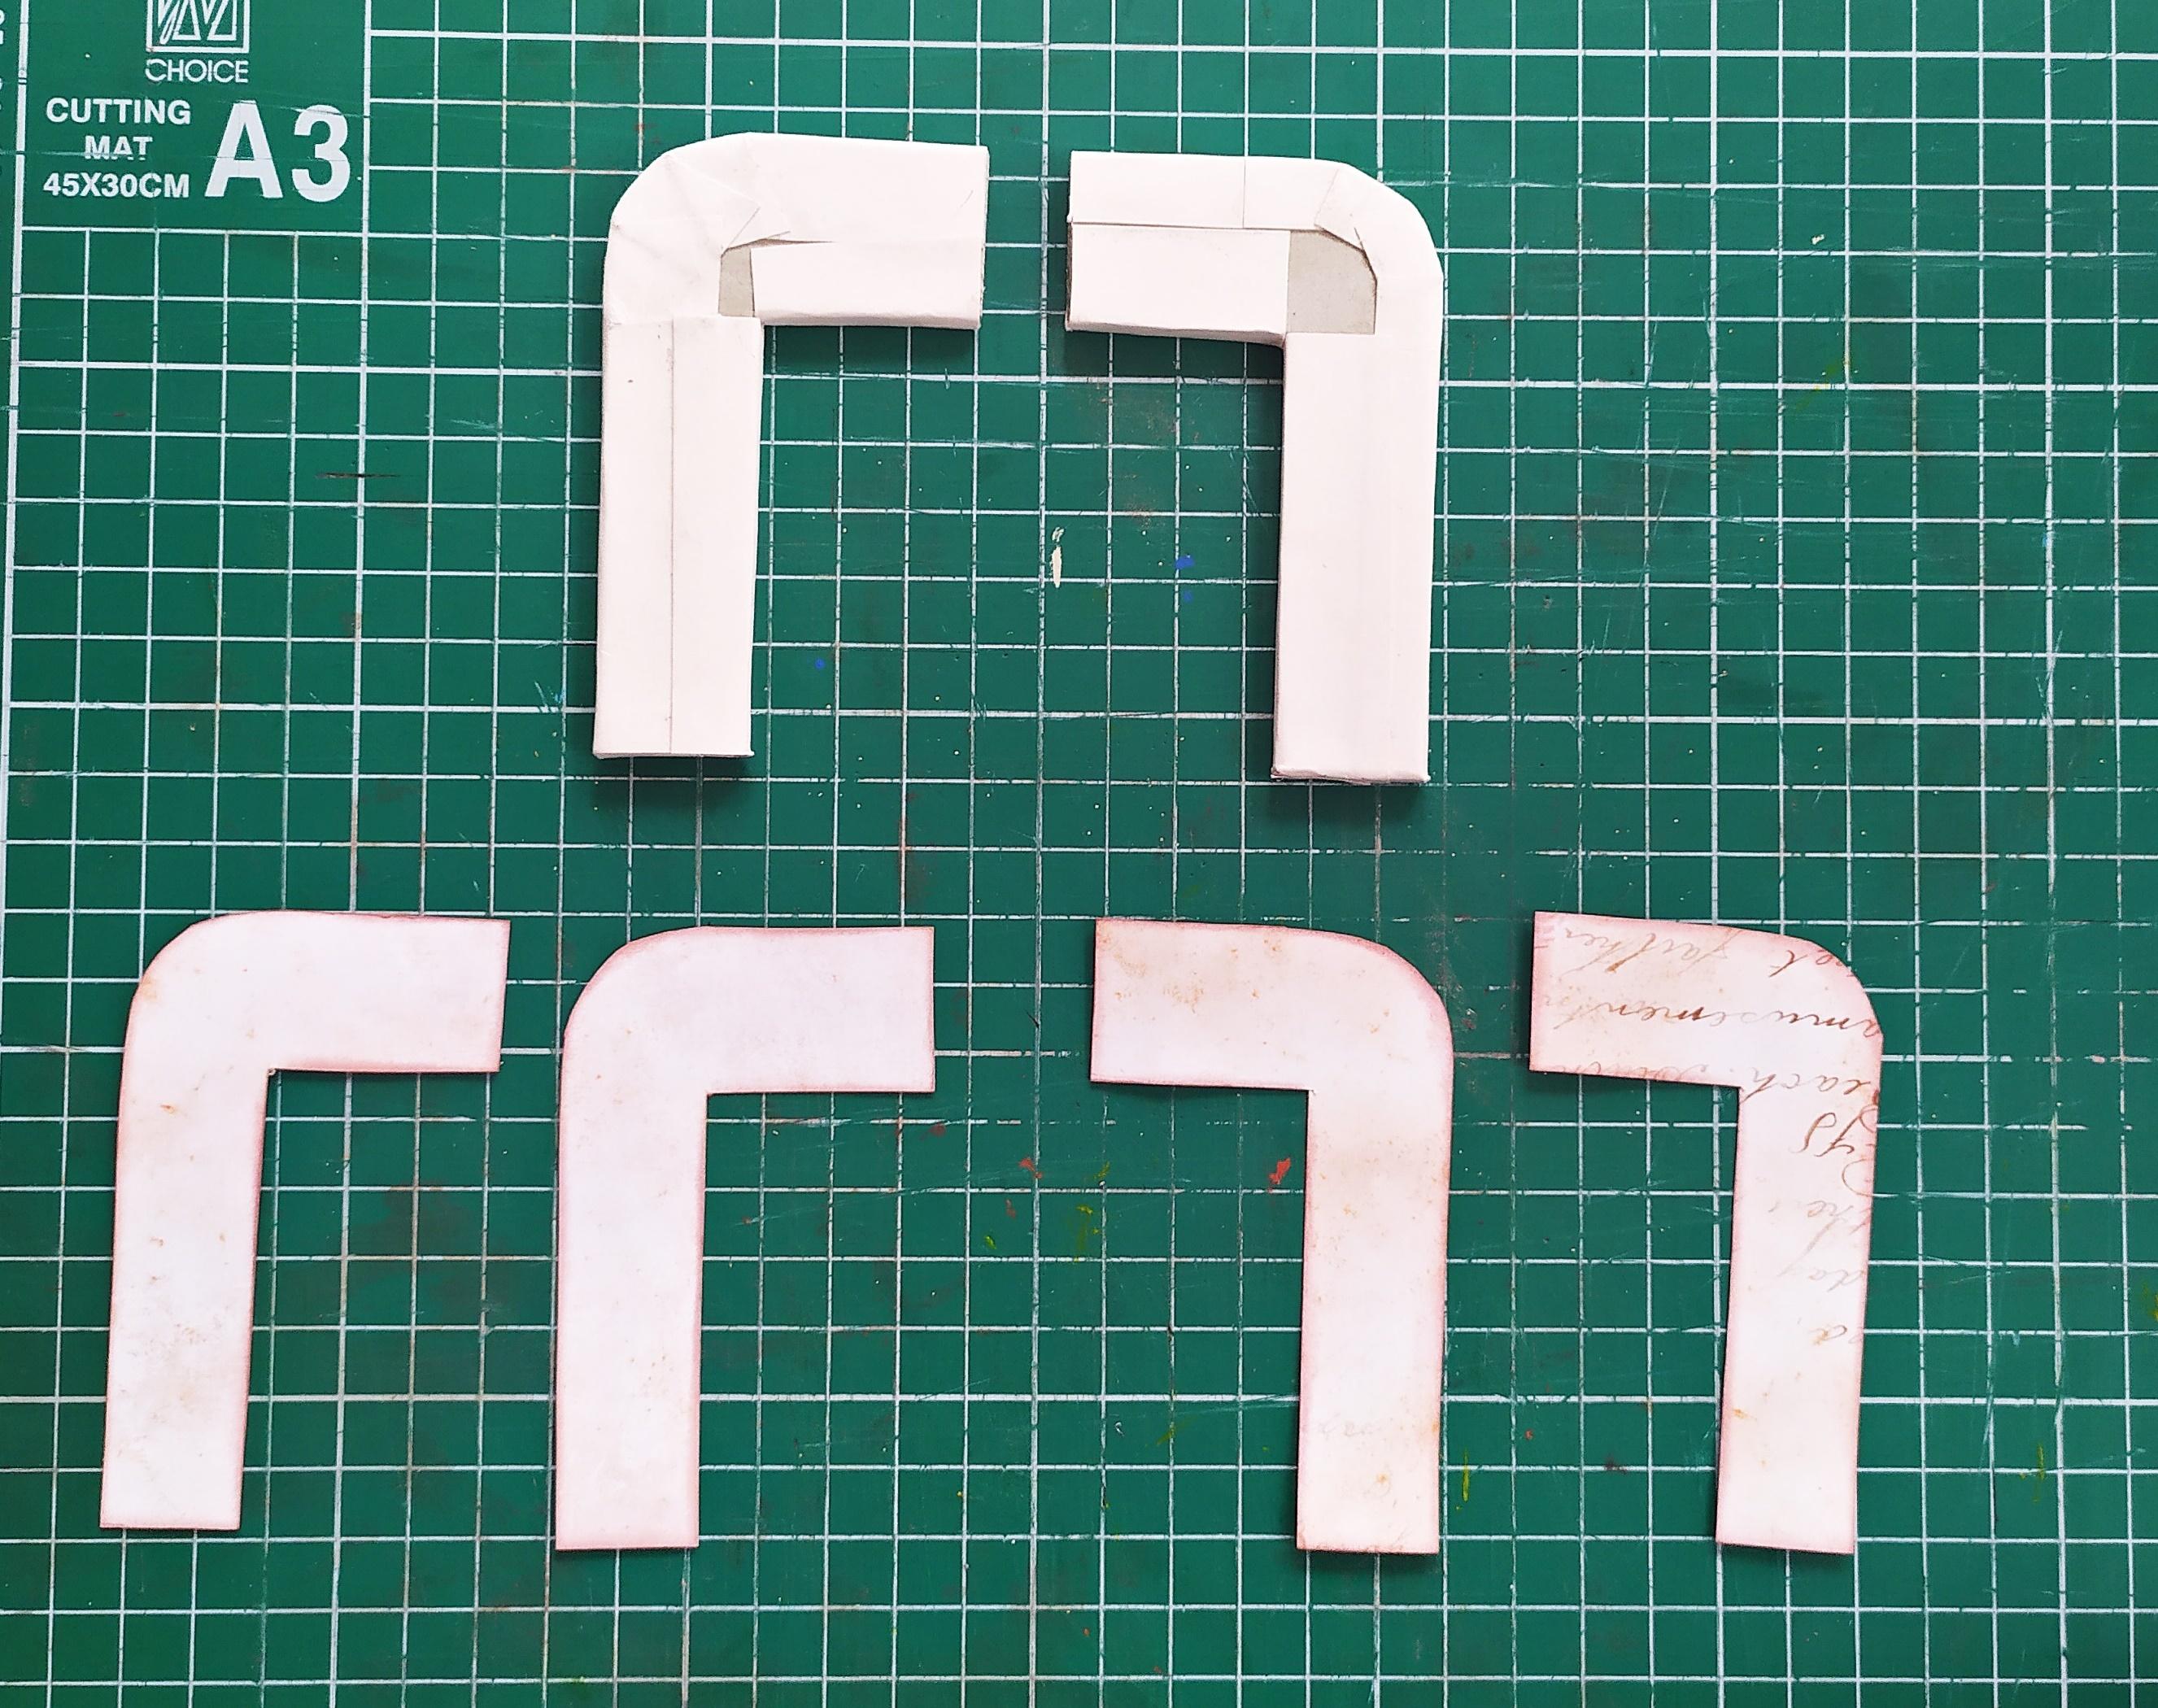
Making the Box Lid
The lid of the box is slightly larger than the box itself.
You'll need to cut the following pieces:
- 1.One piece measuring 19x8 cm
- 2.Two pieces measuring 19x2.5 cm
- 3.Two pieces measuring 8x2.5 cm
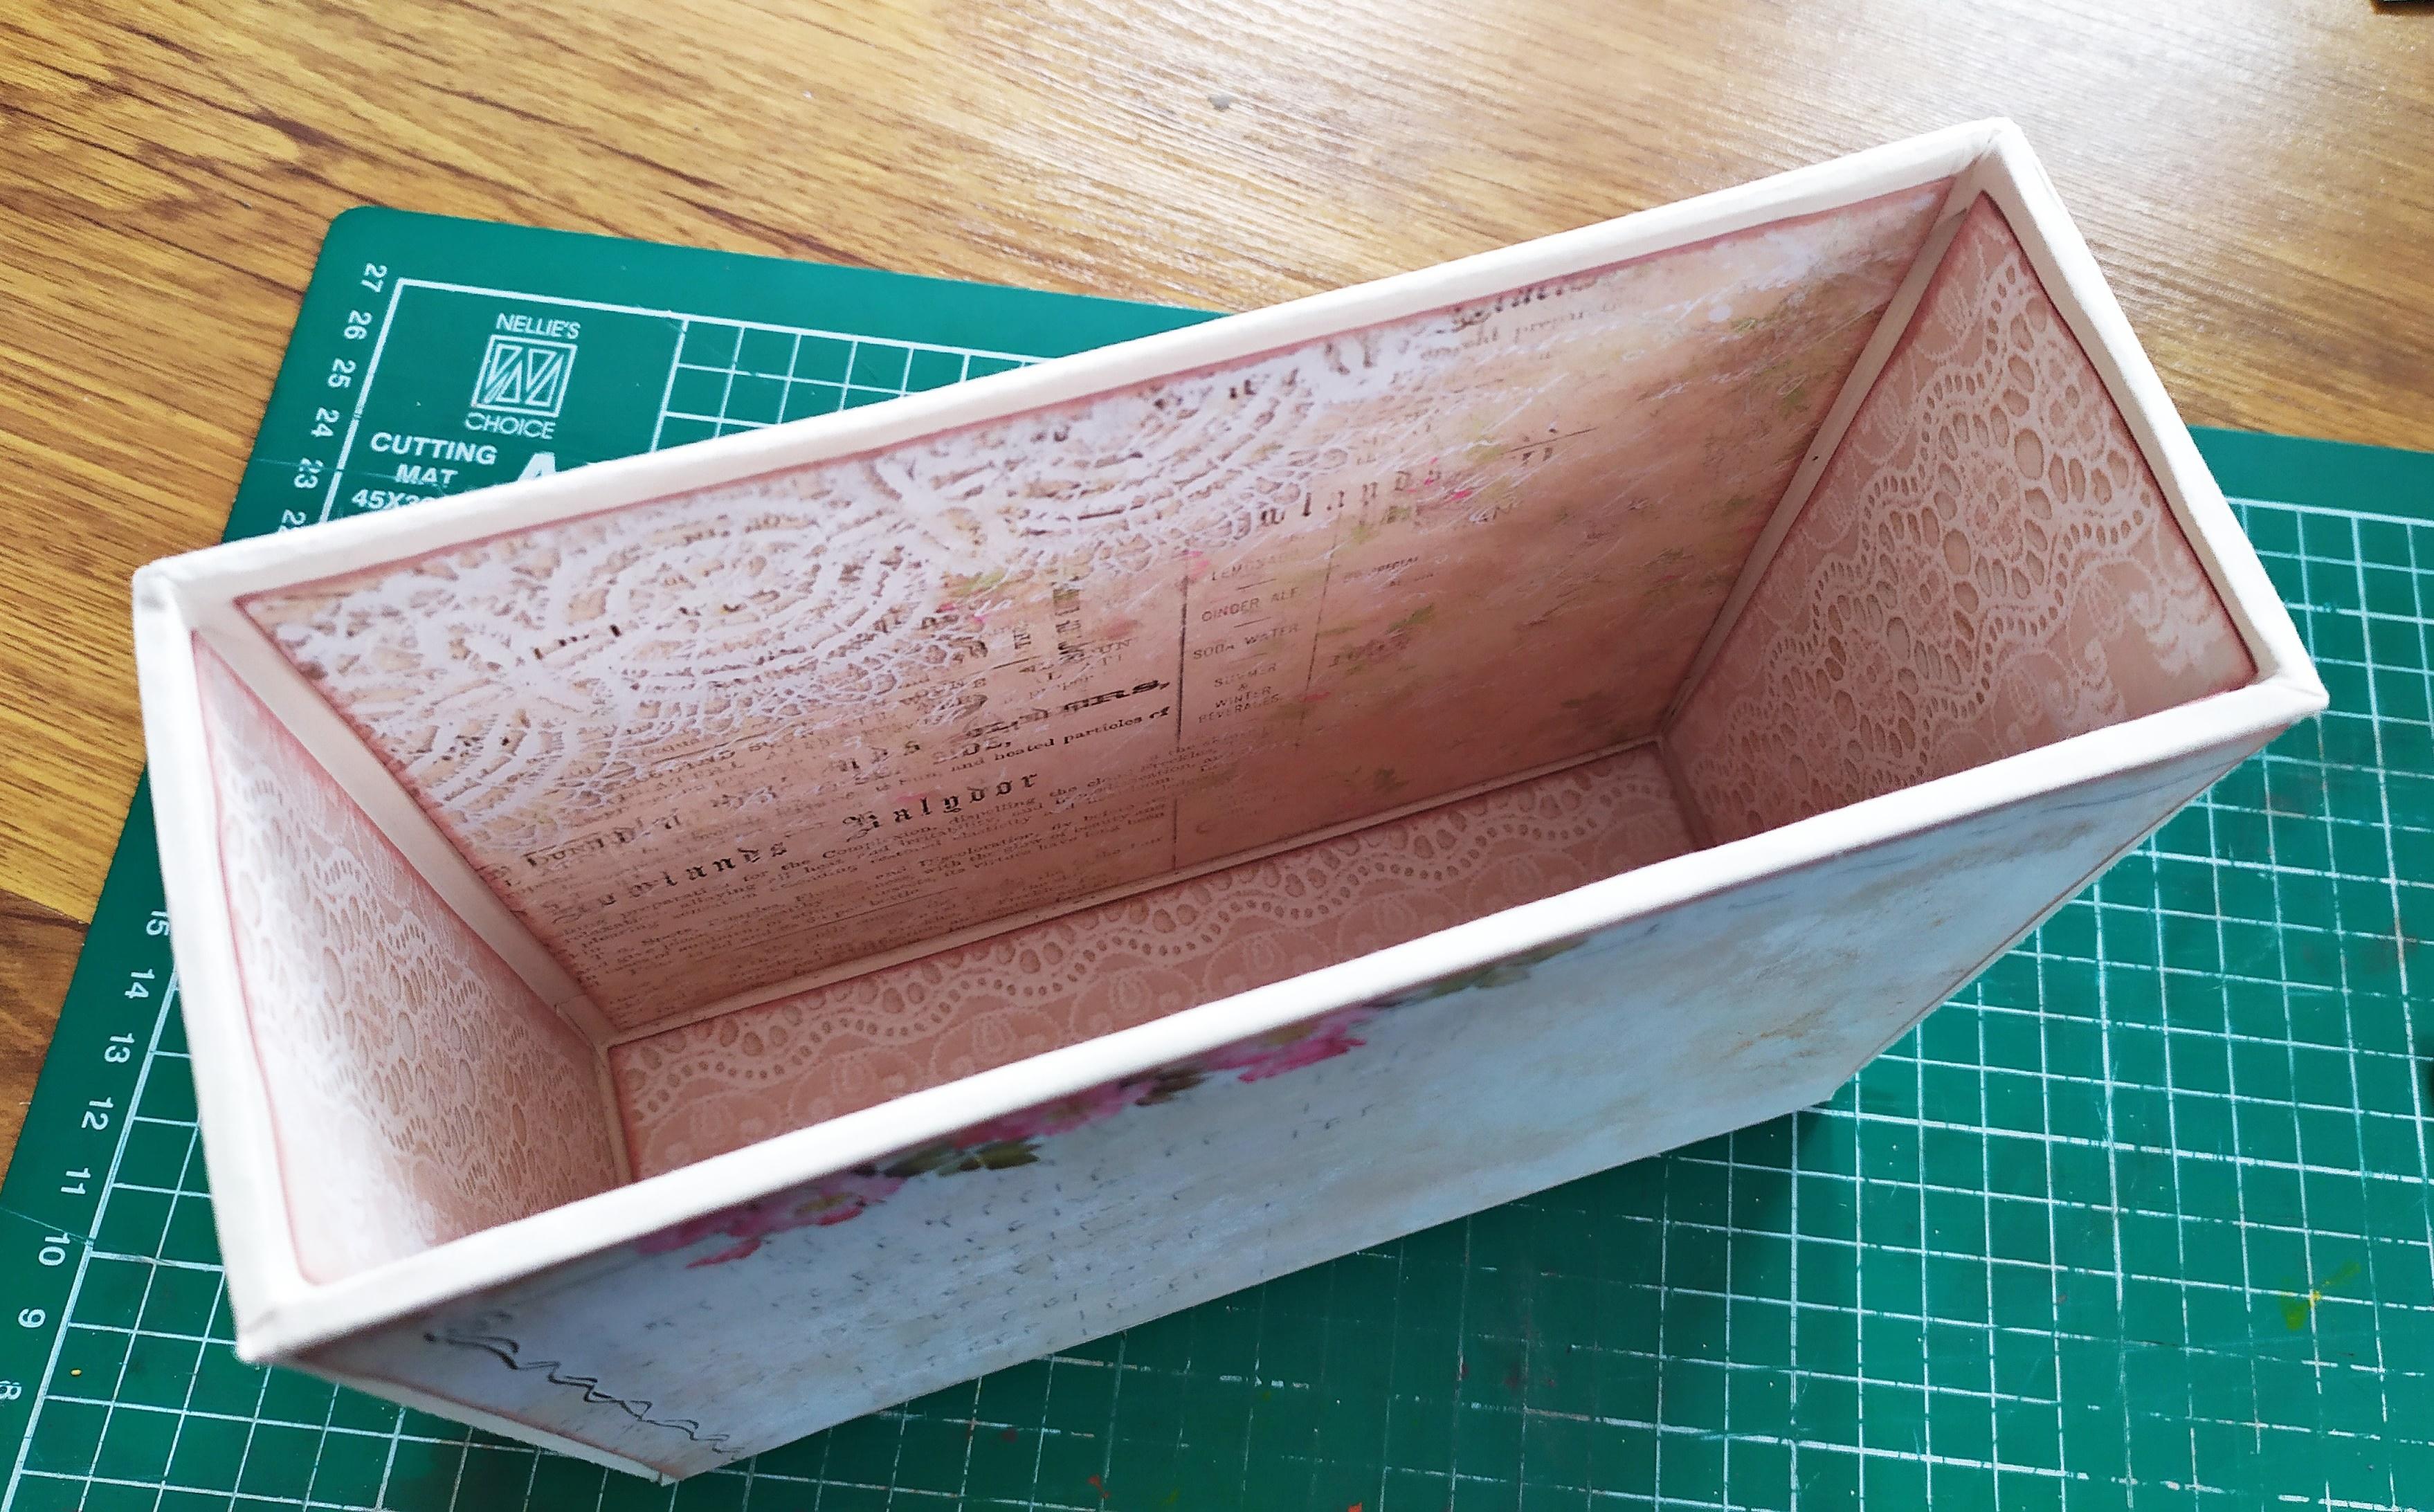
Once all of the pieces for the box's lid are cut attach them using some hinges.Again,no chipboard should be visible,so cover everything.It's important to smooth everything out nicely before gluing any designer paper to the box.
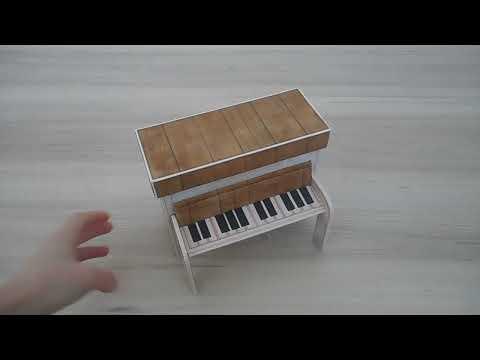
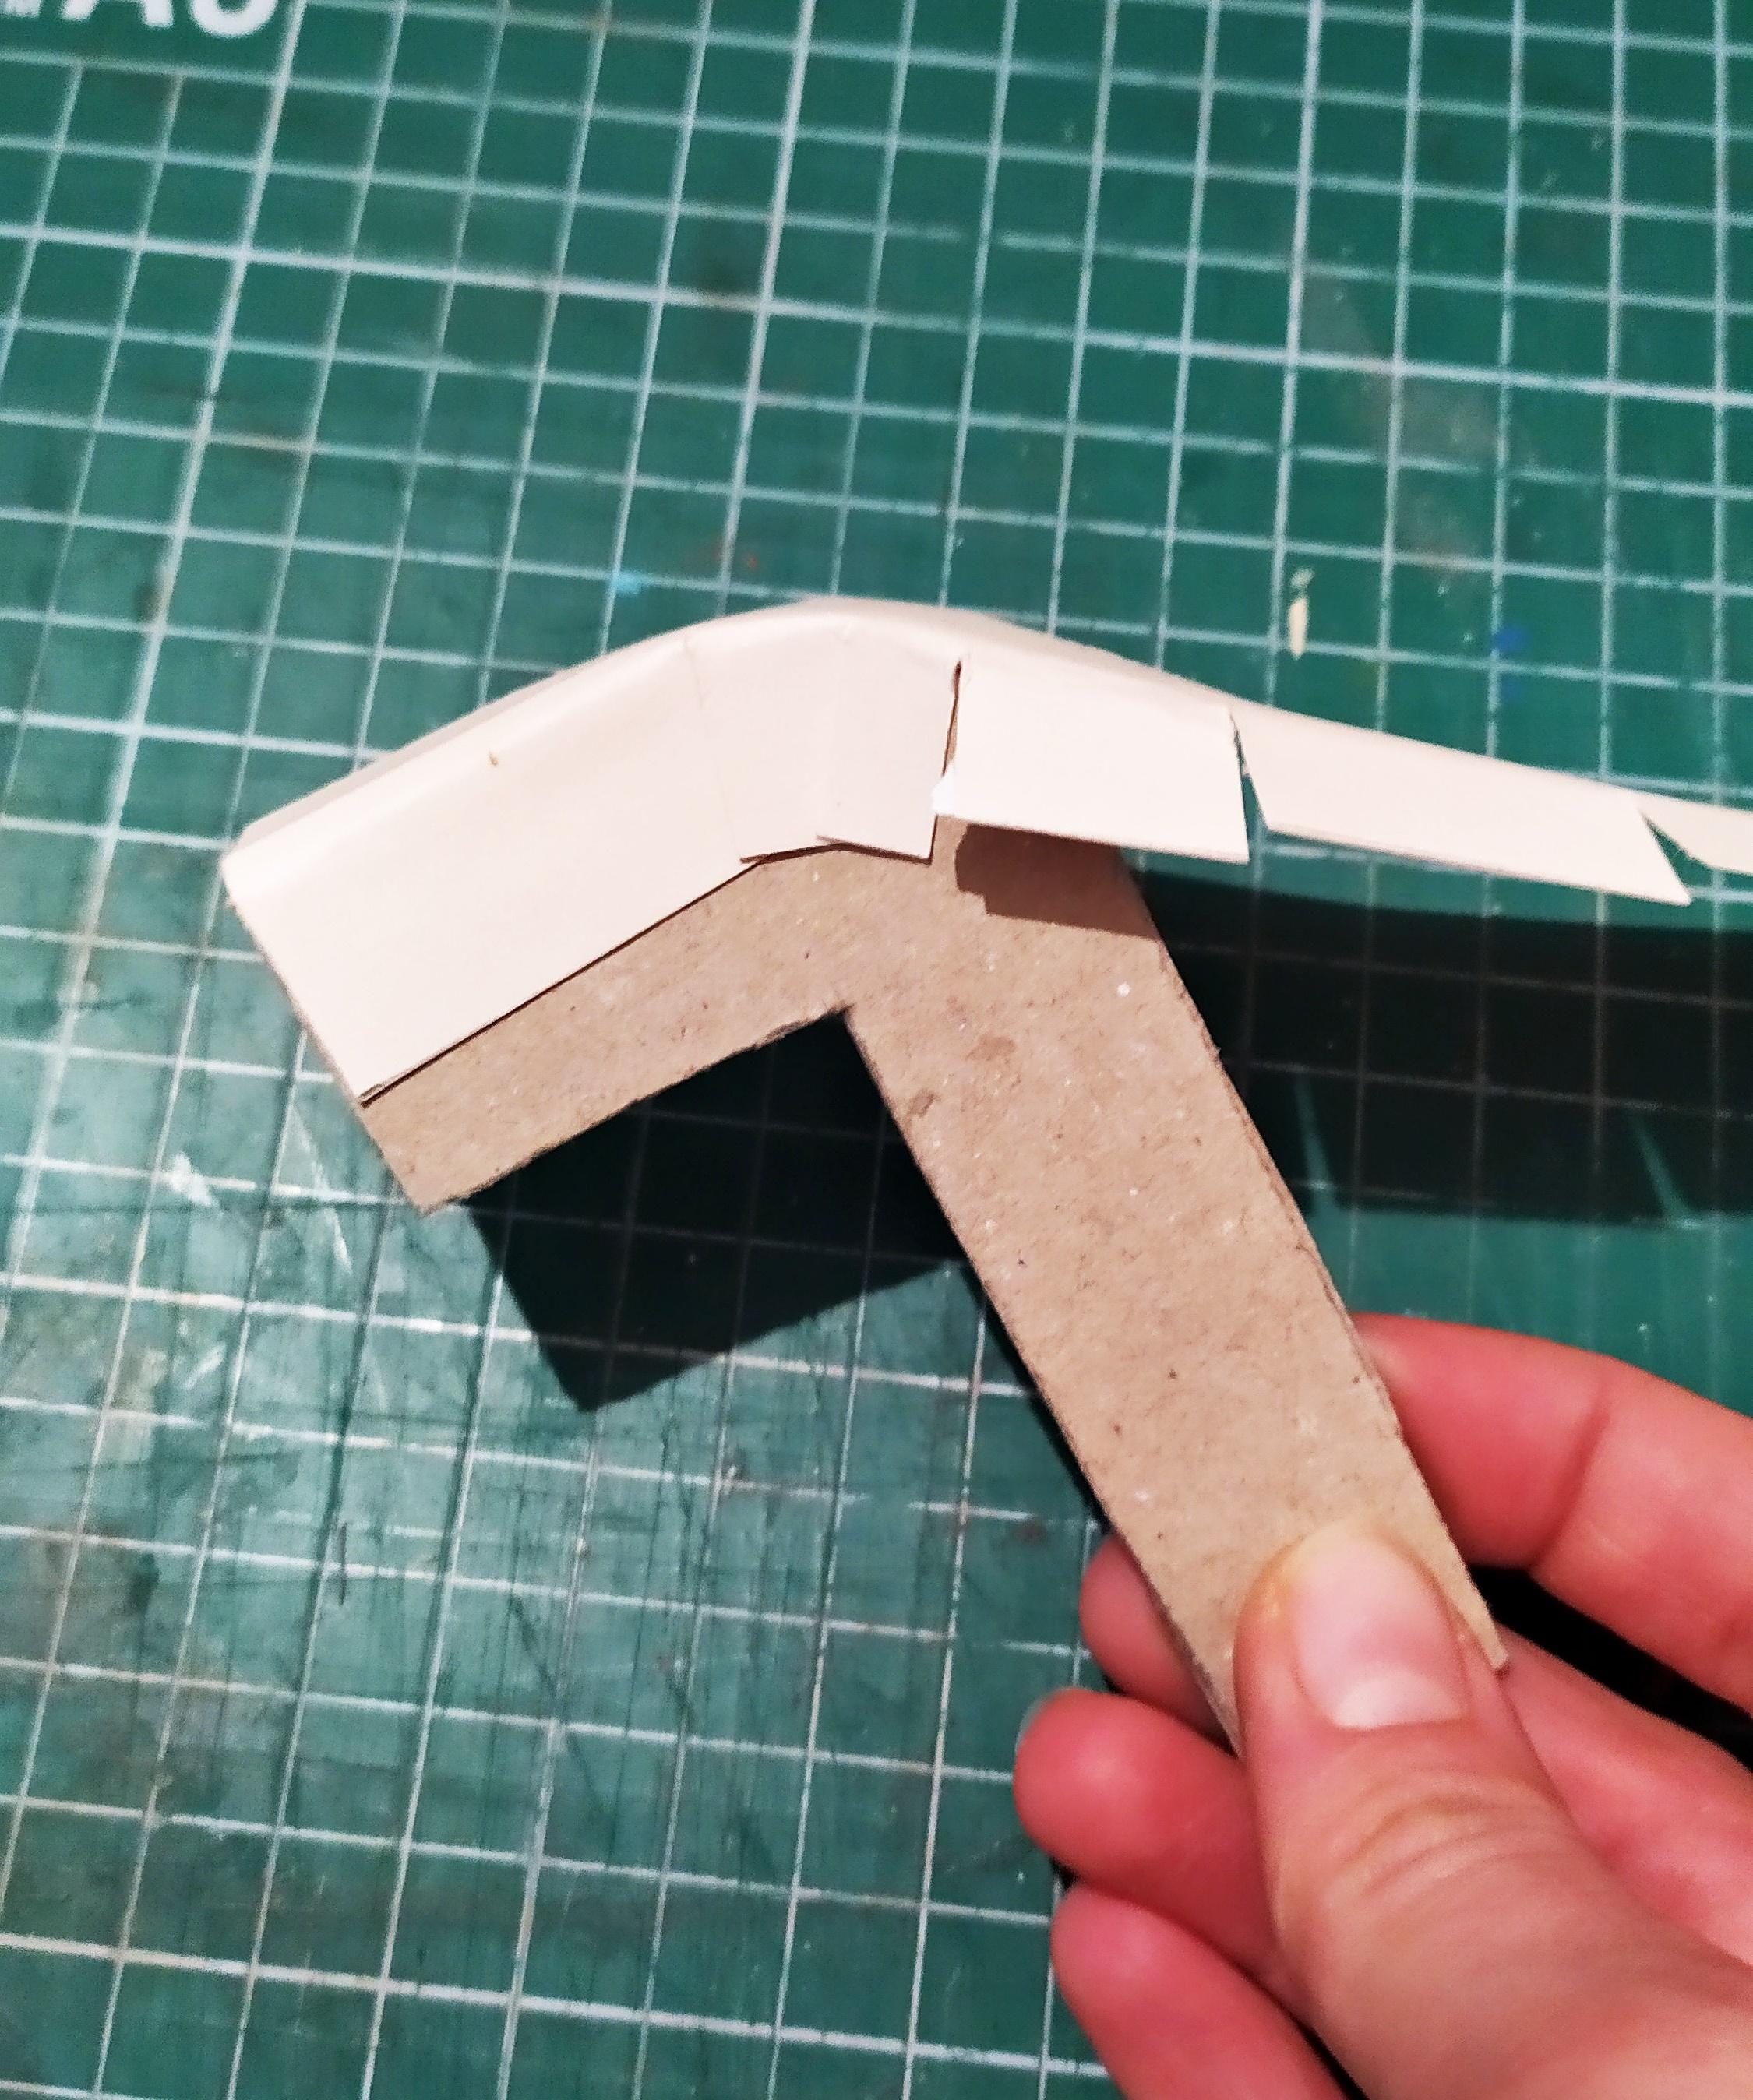
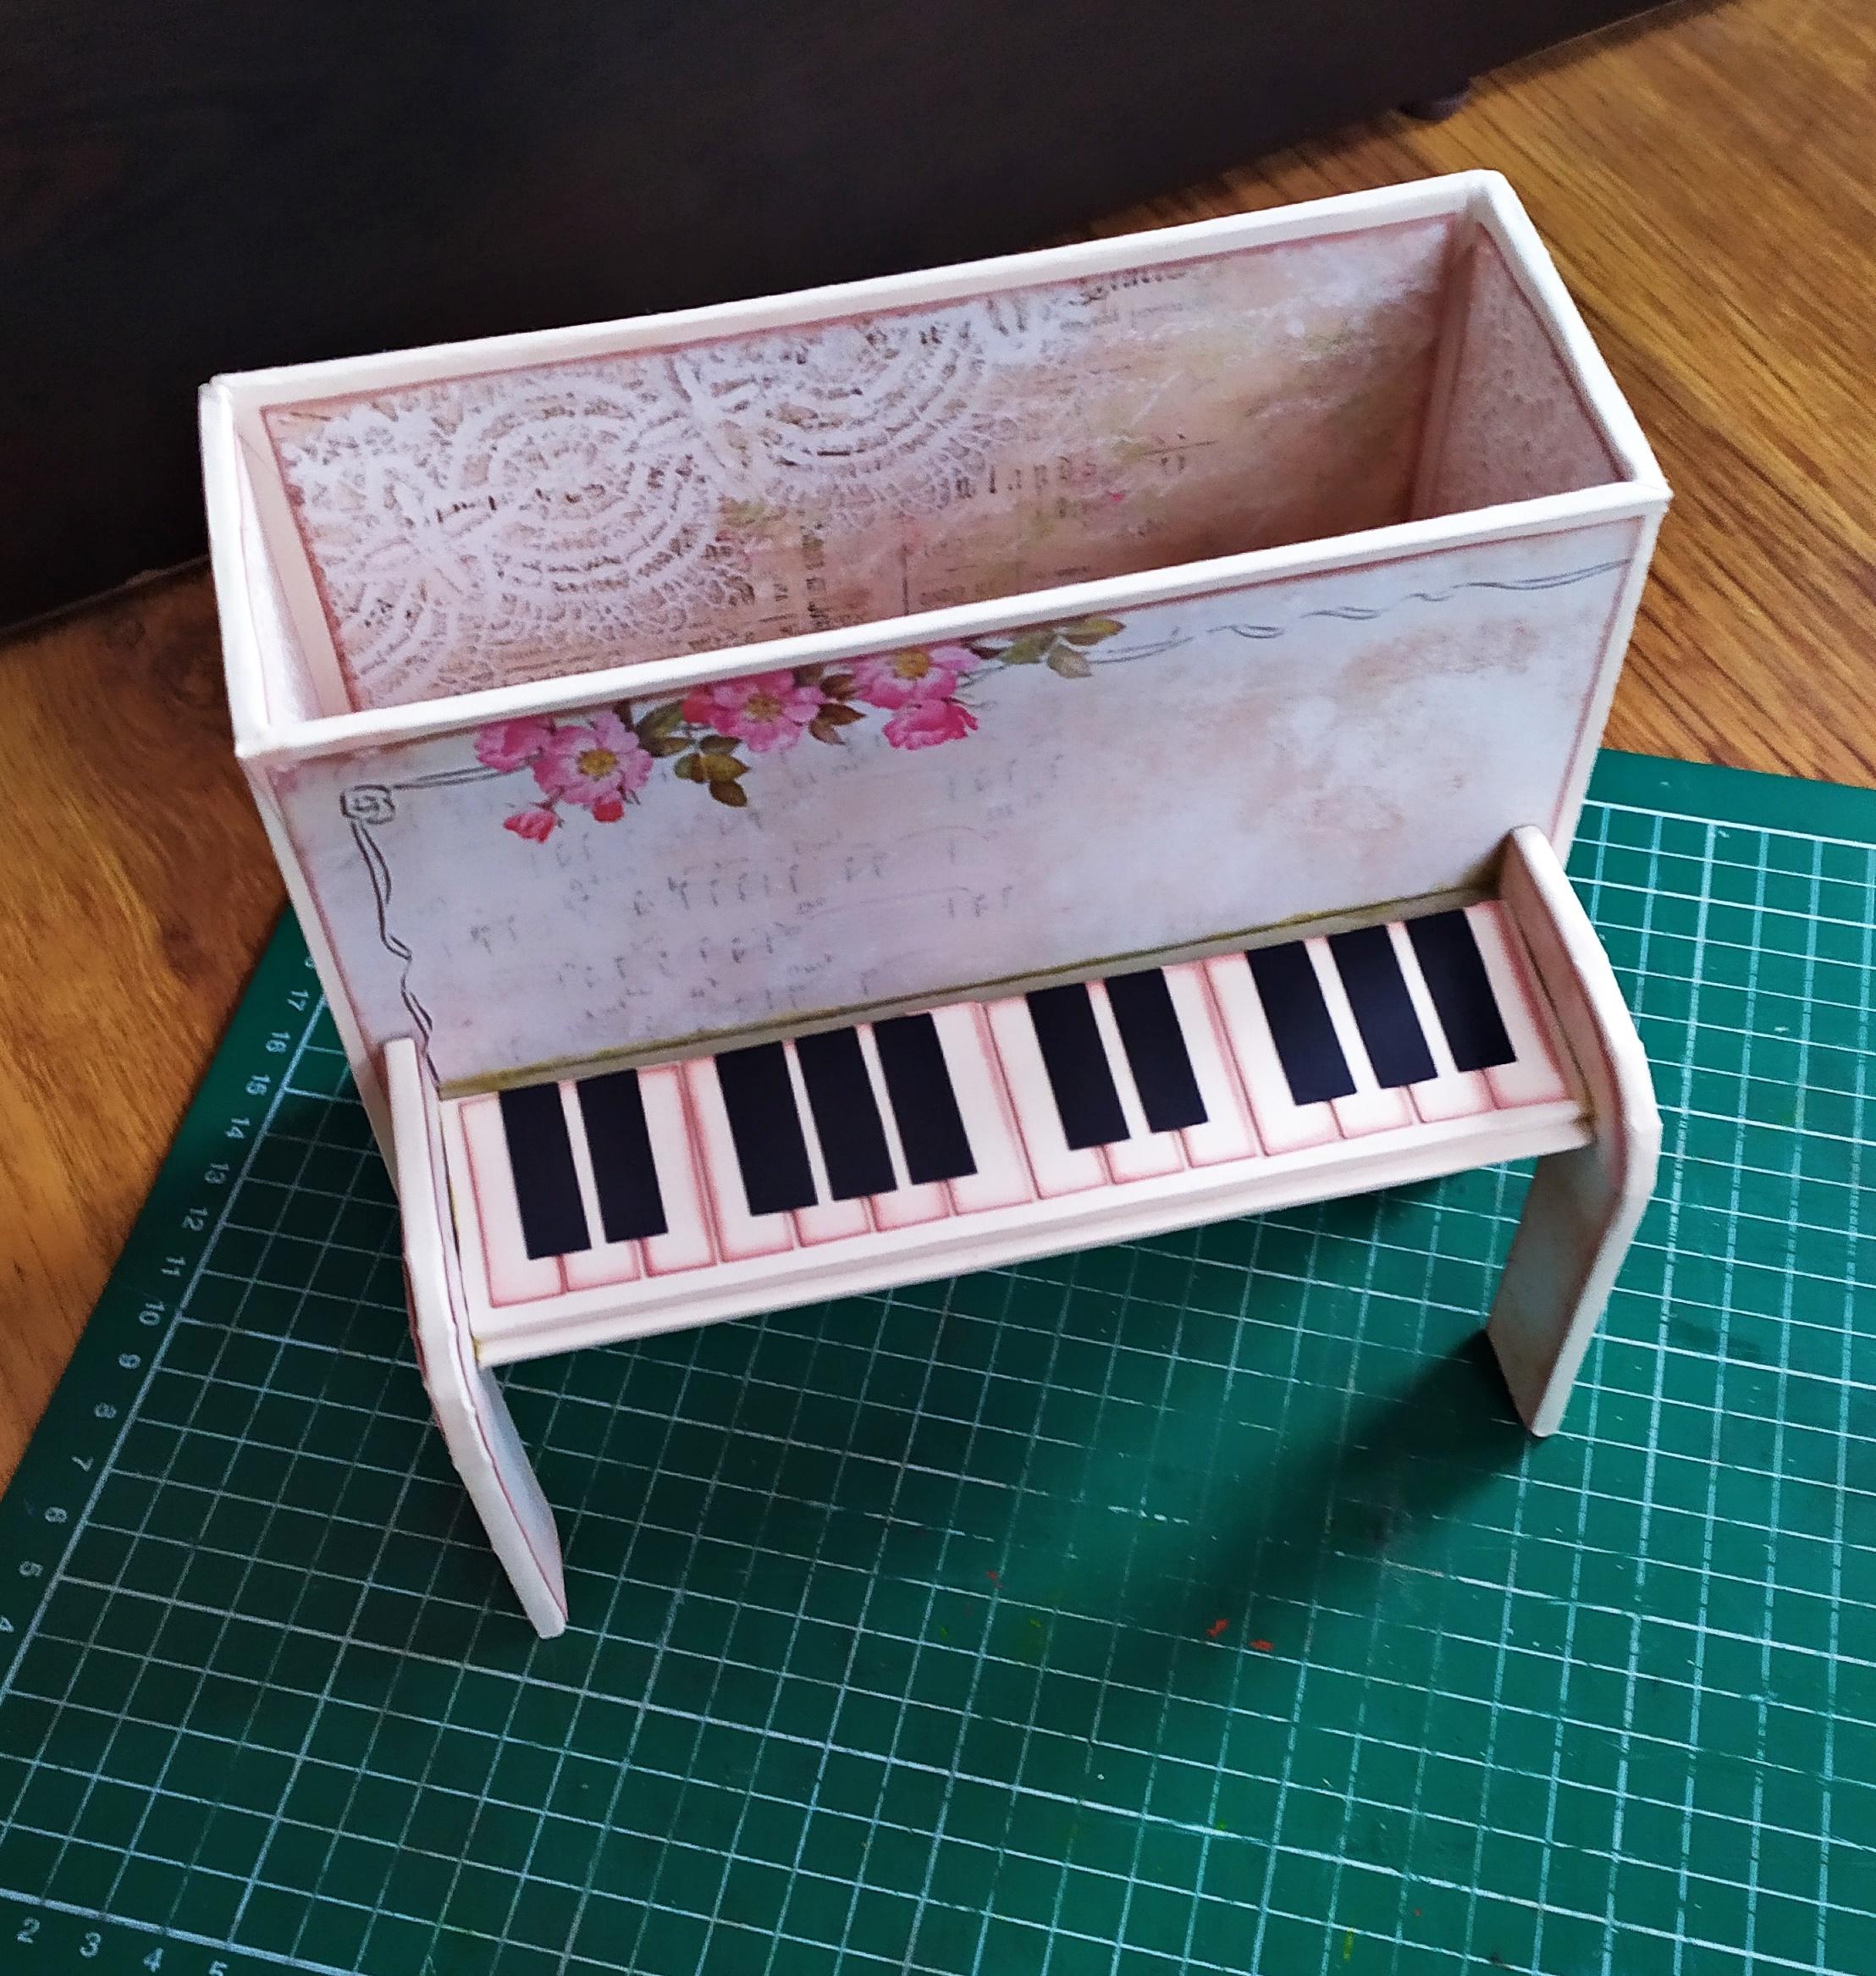
The Legs of the Piano

The box is complete and it's time to make the piano.
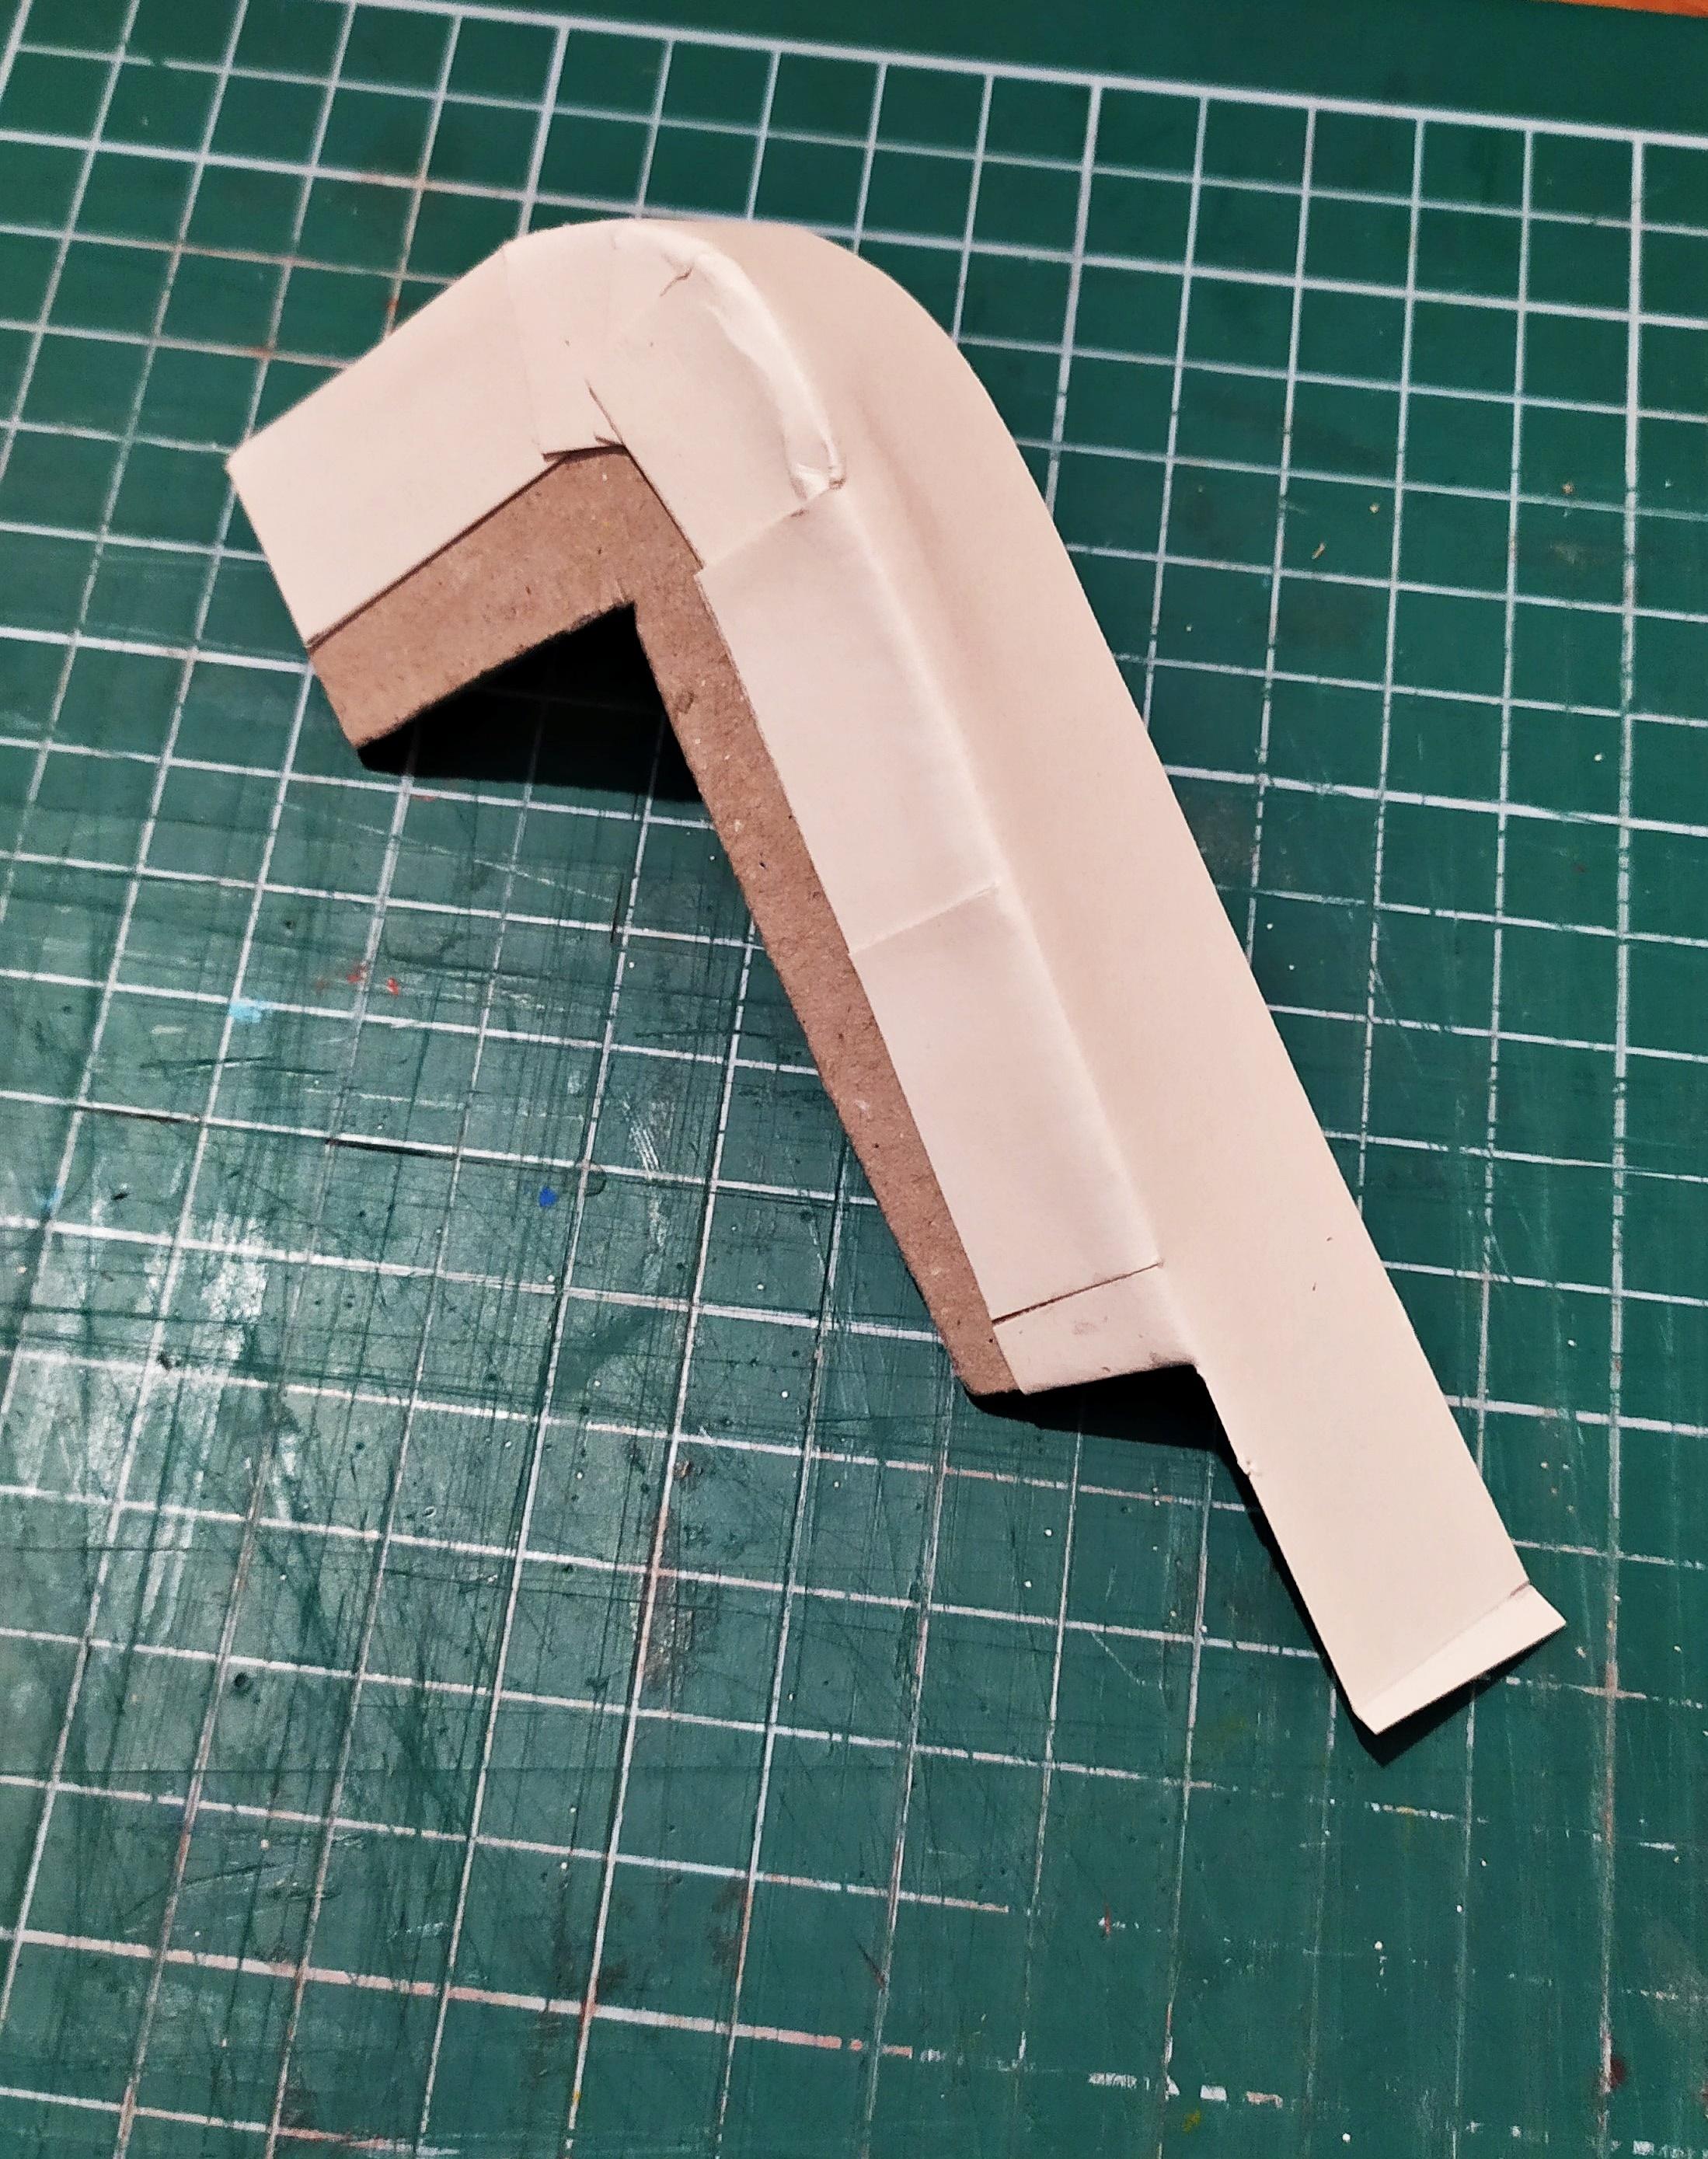
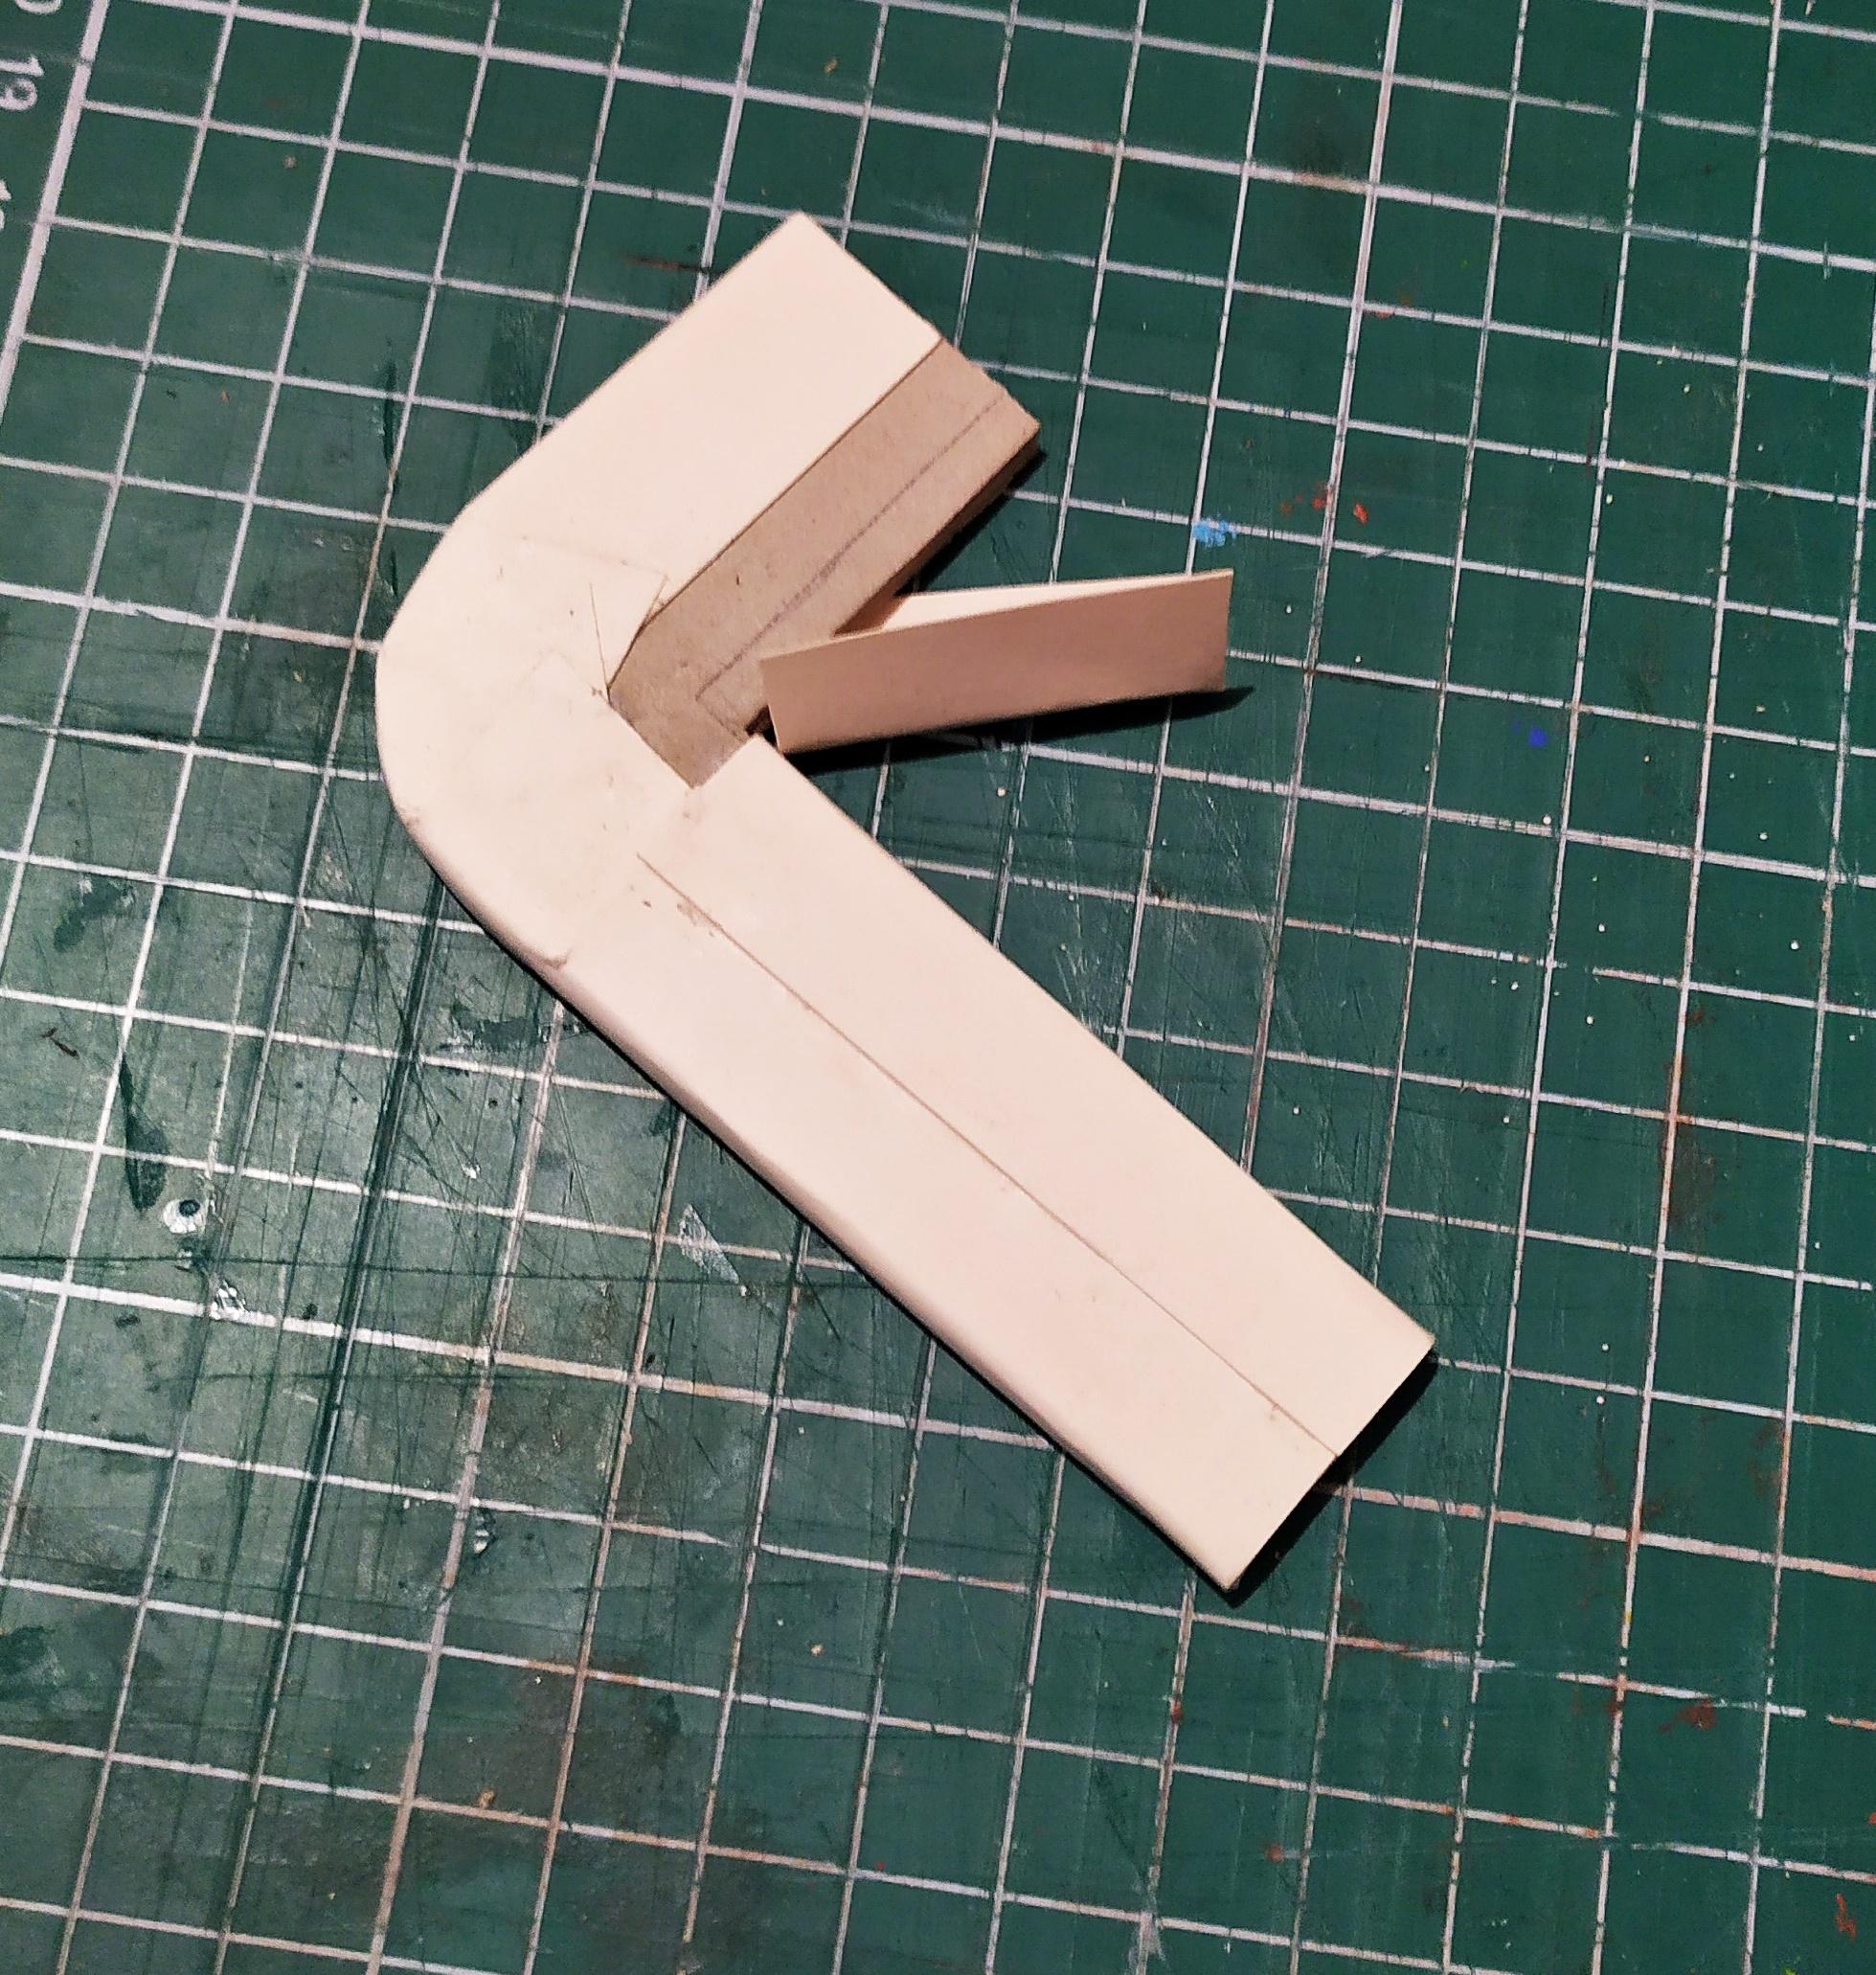
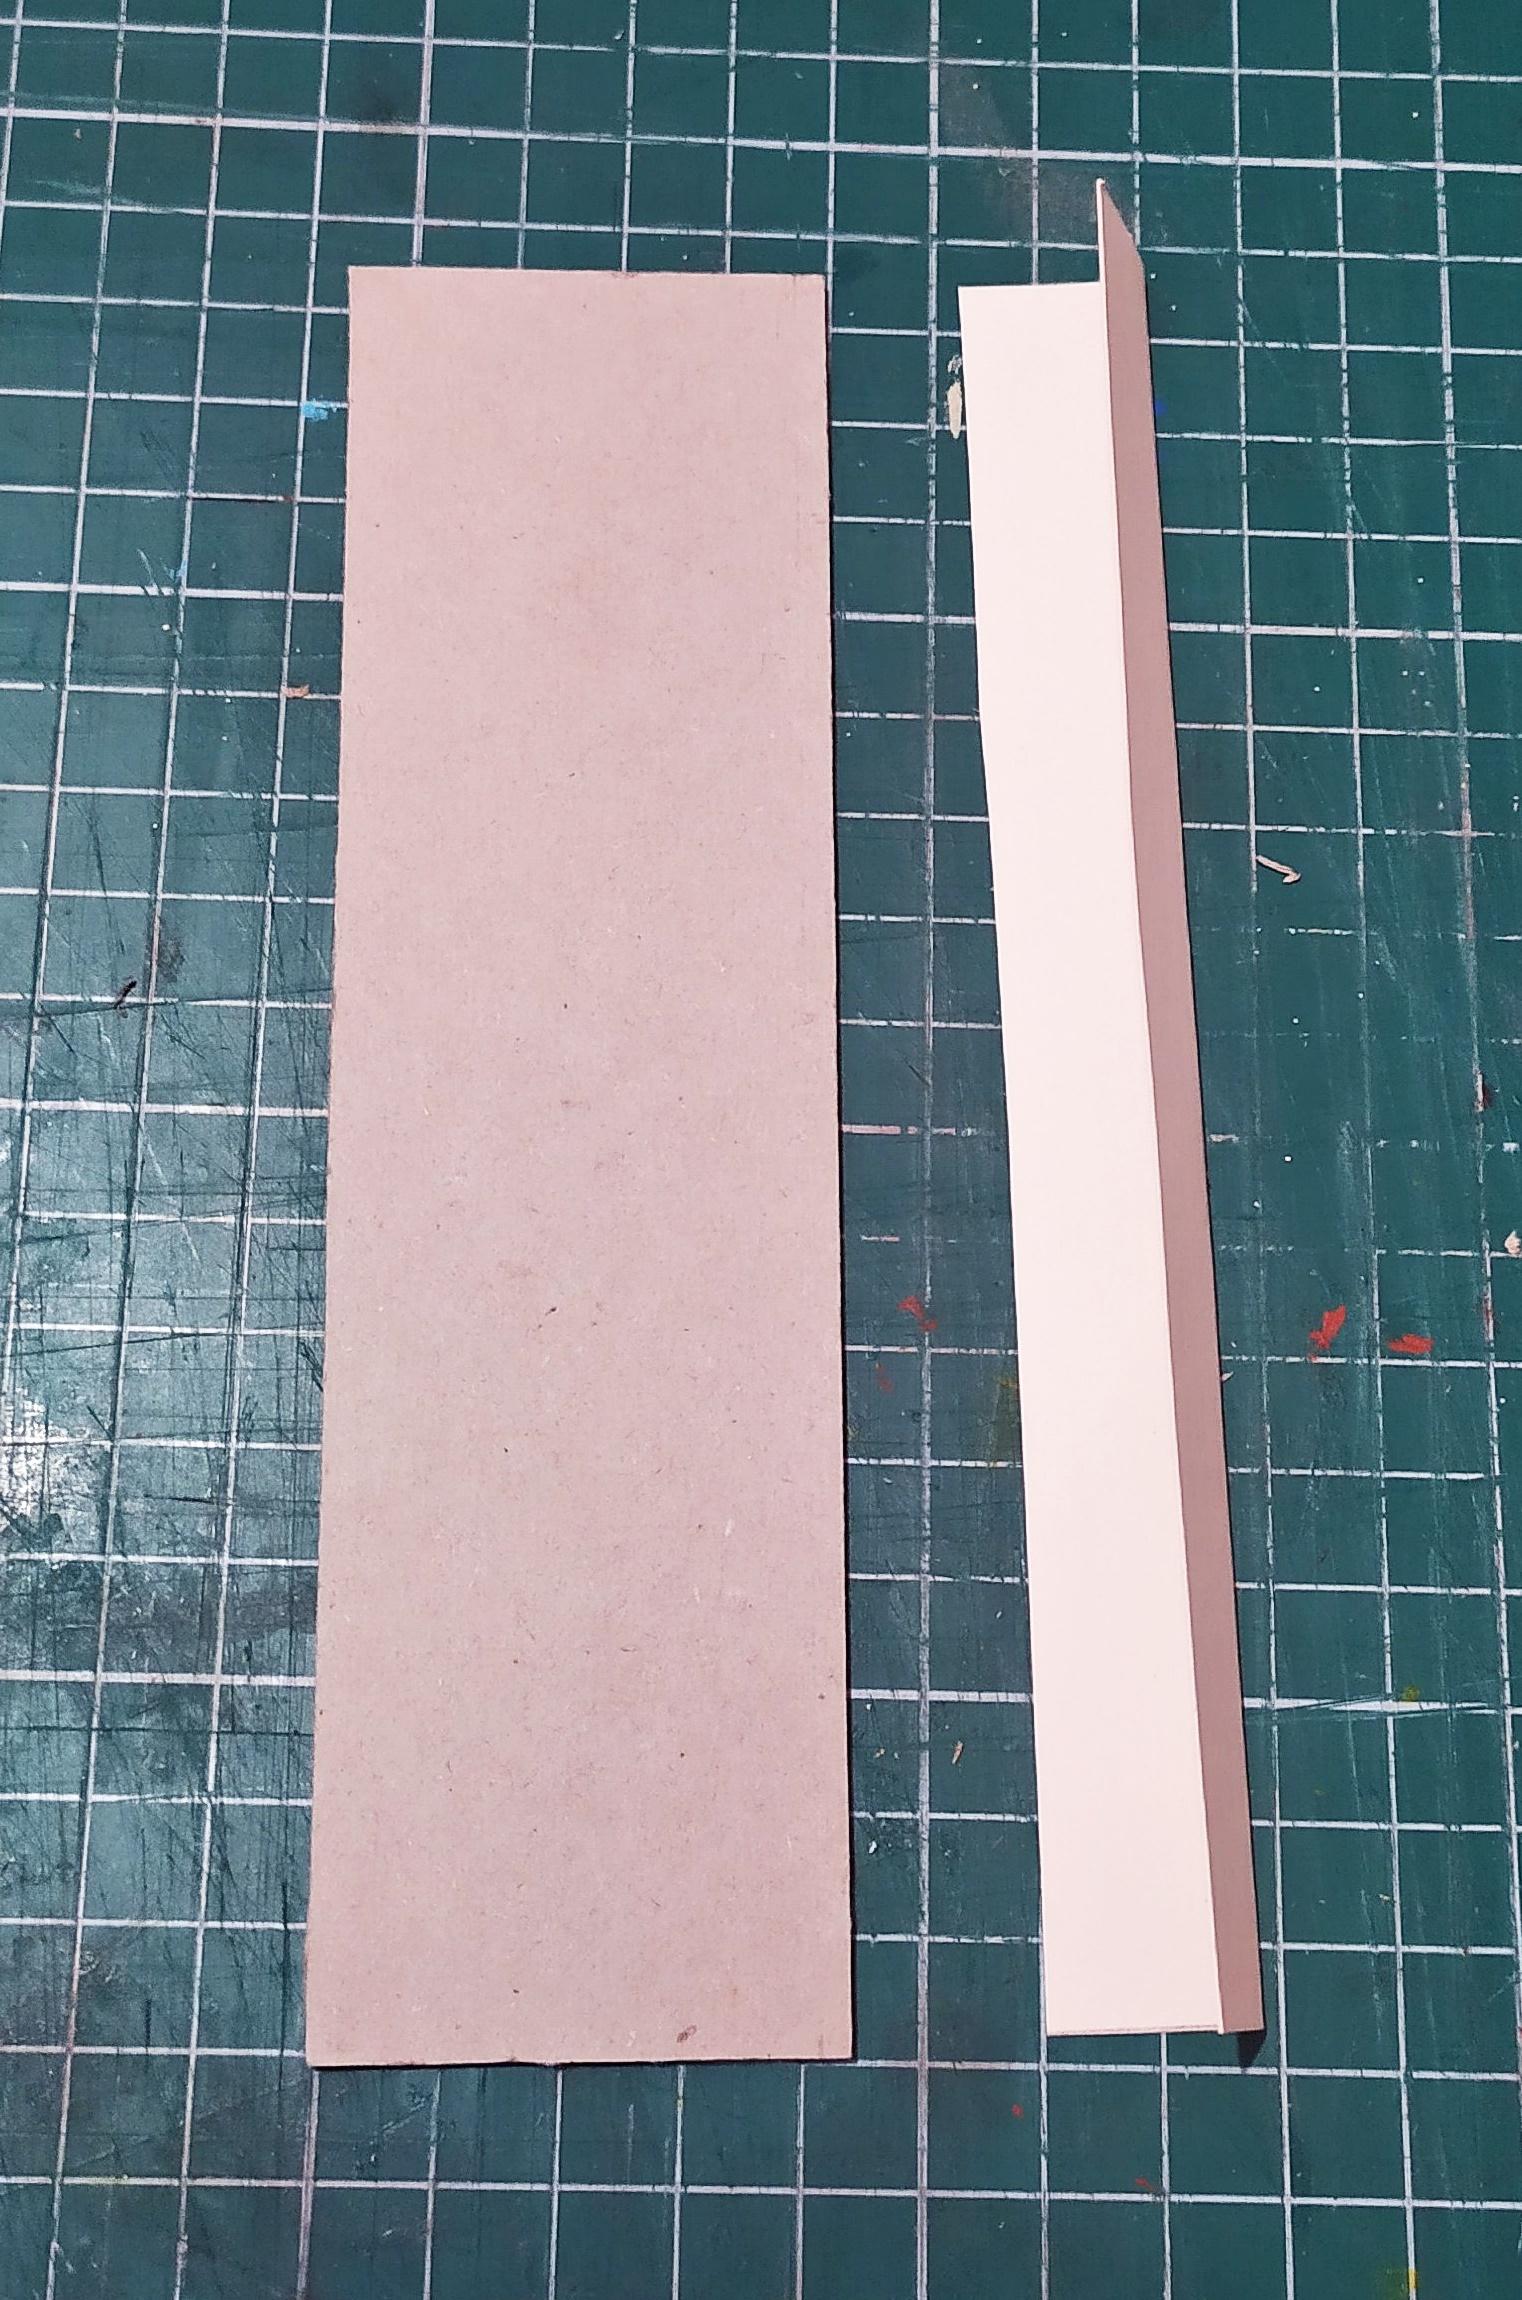
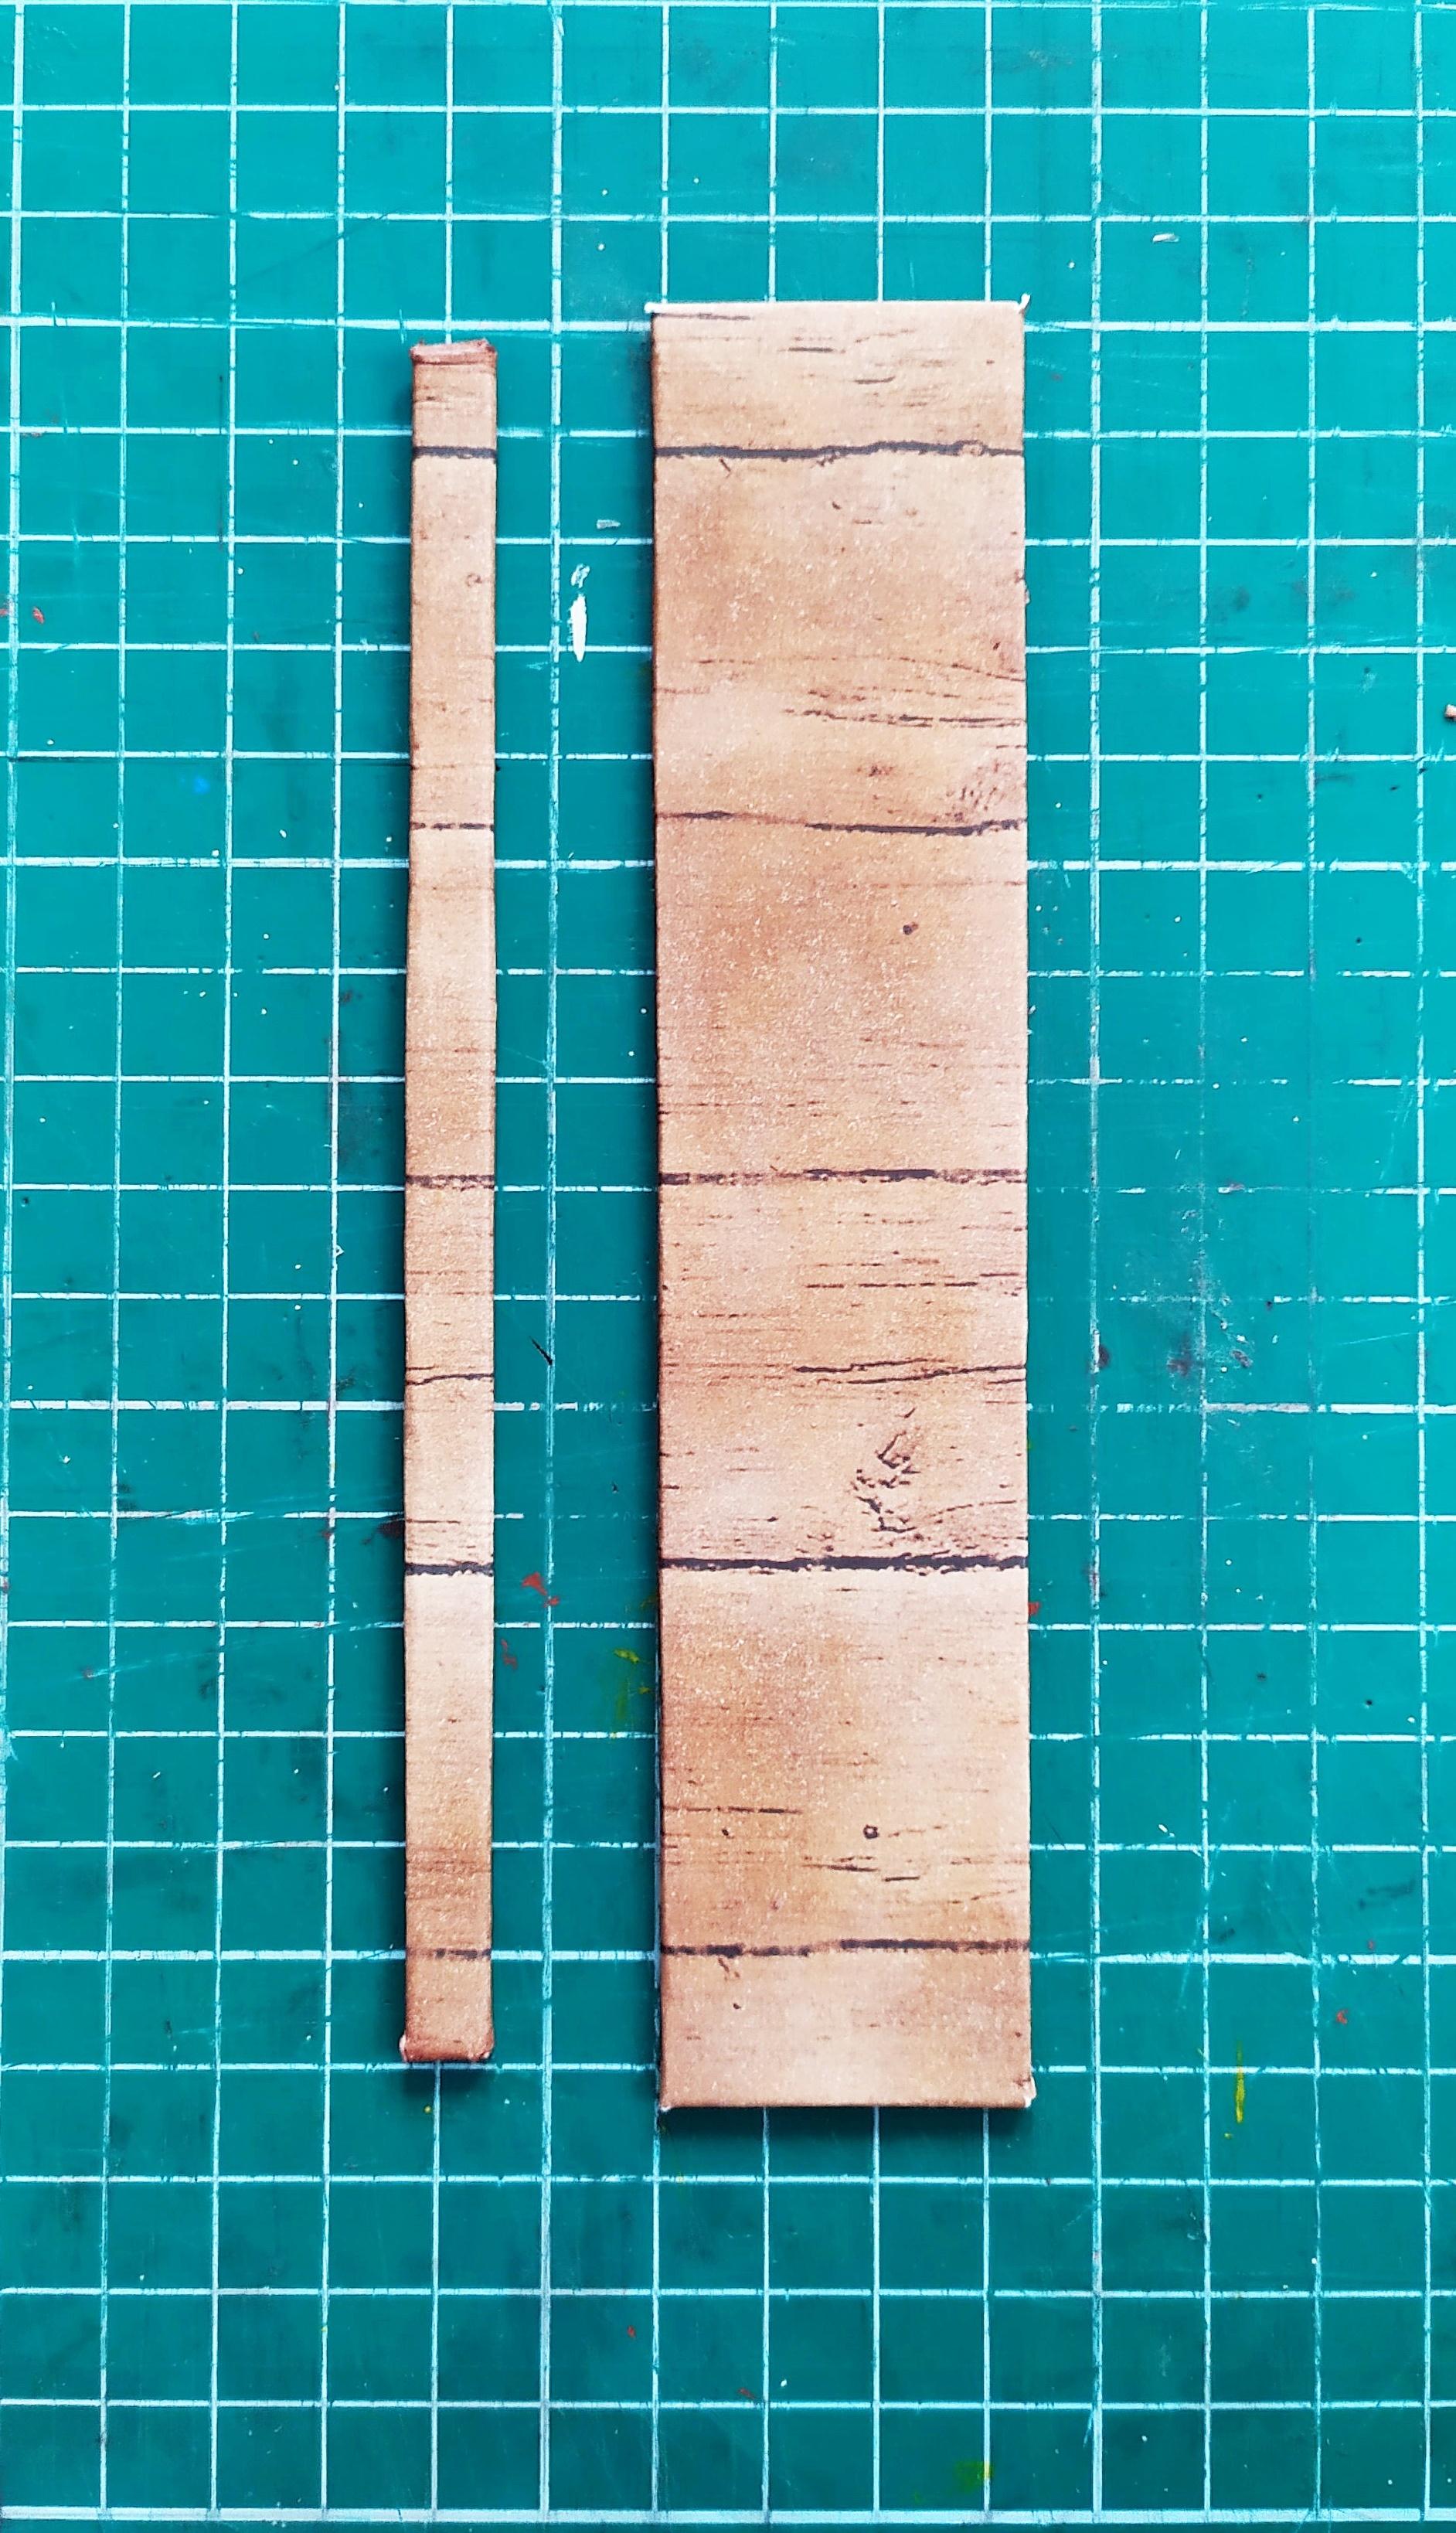
To make the legs trace and cut the same shape on a piece of chipboard four times.After that glue them two by two using some double sided tape.This way each leg is the same thickness.Cover each leg by cutting and gluing a long strip of cardstock.Make little cuts as you go since it's a curved shape.
Try to smooth everything out as much as you can.
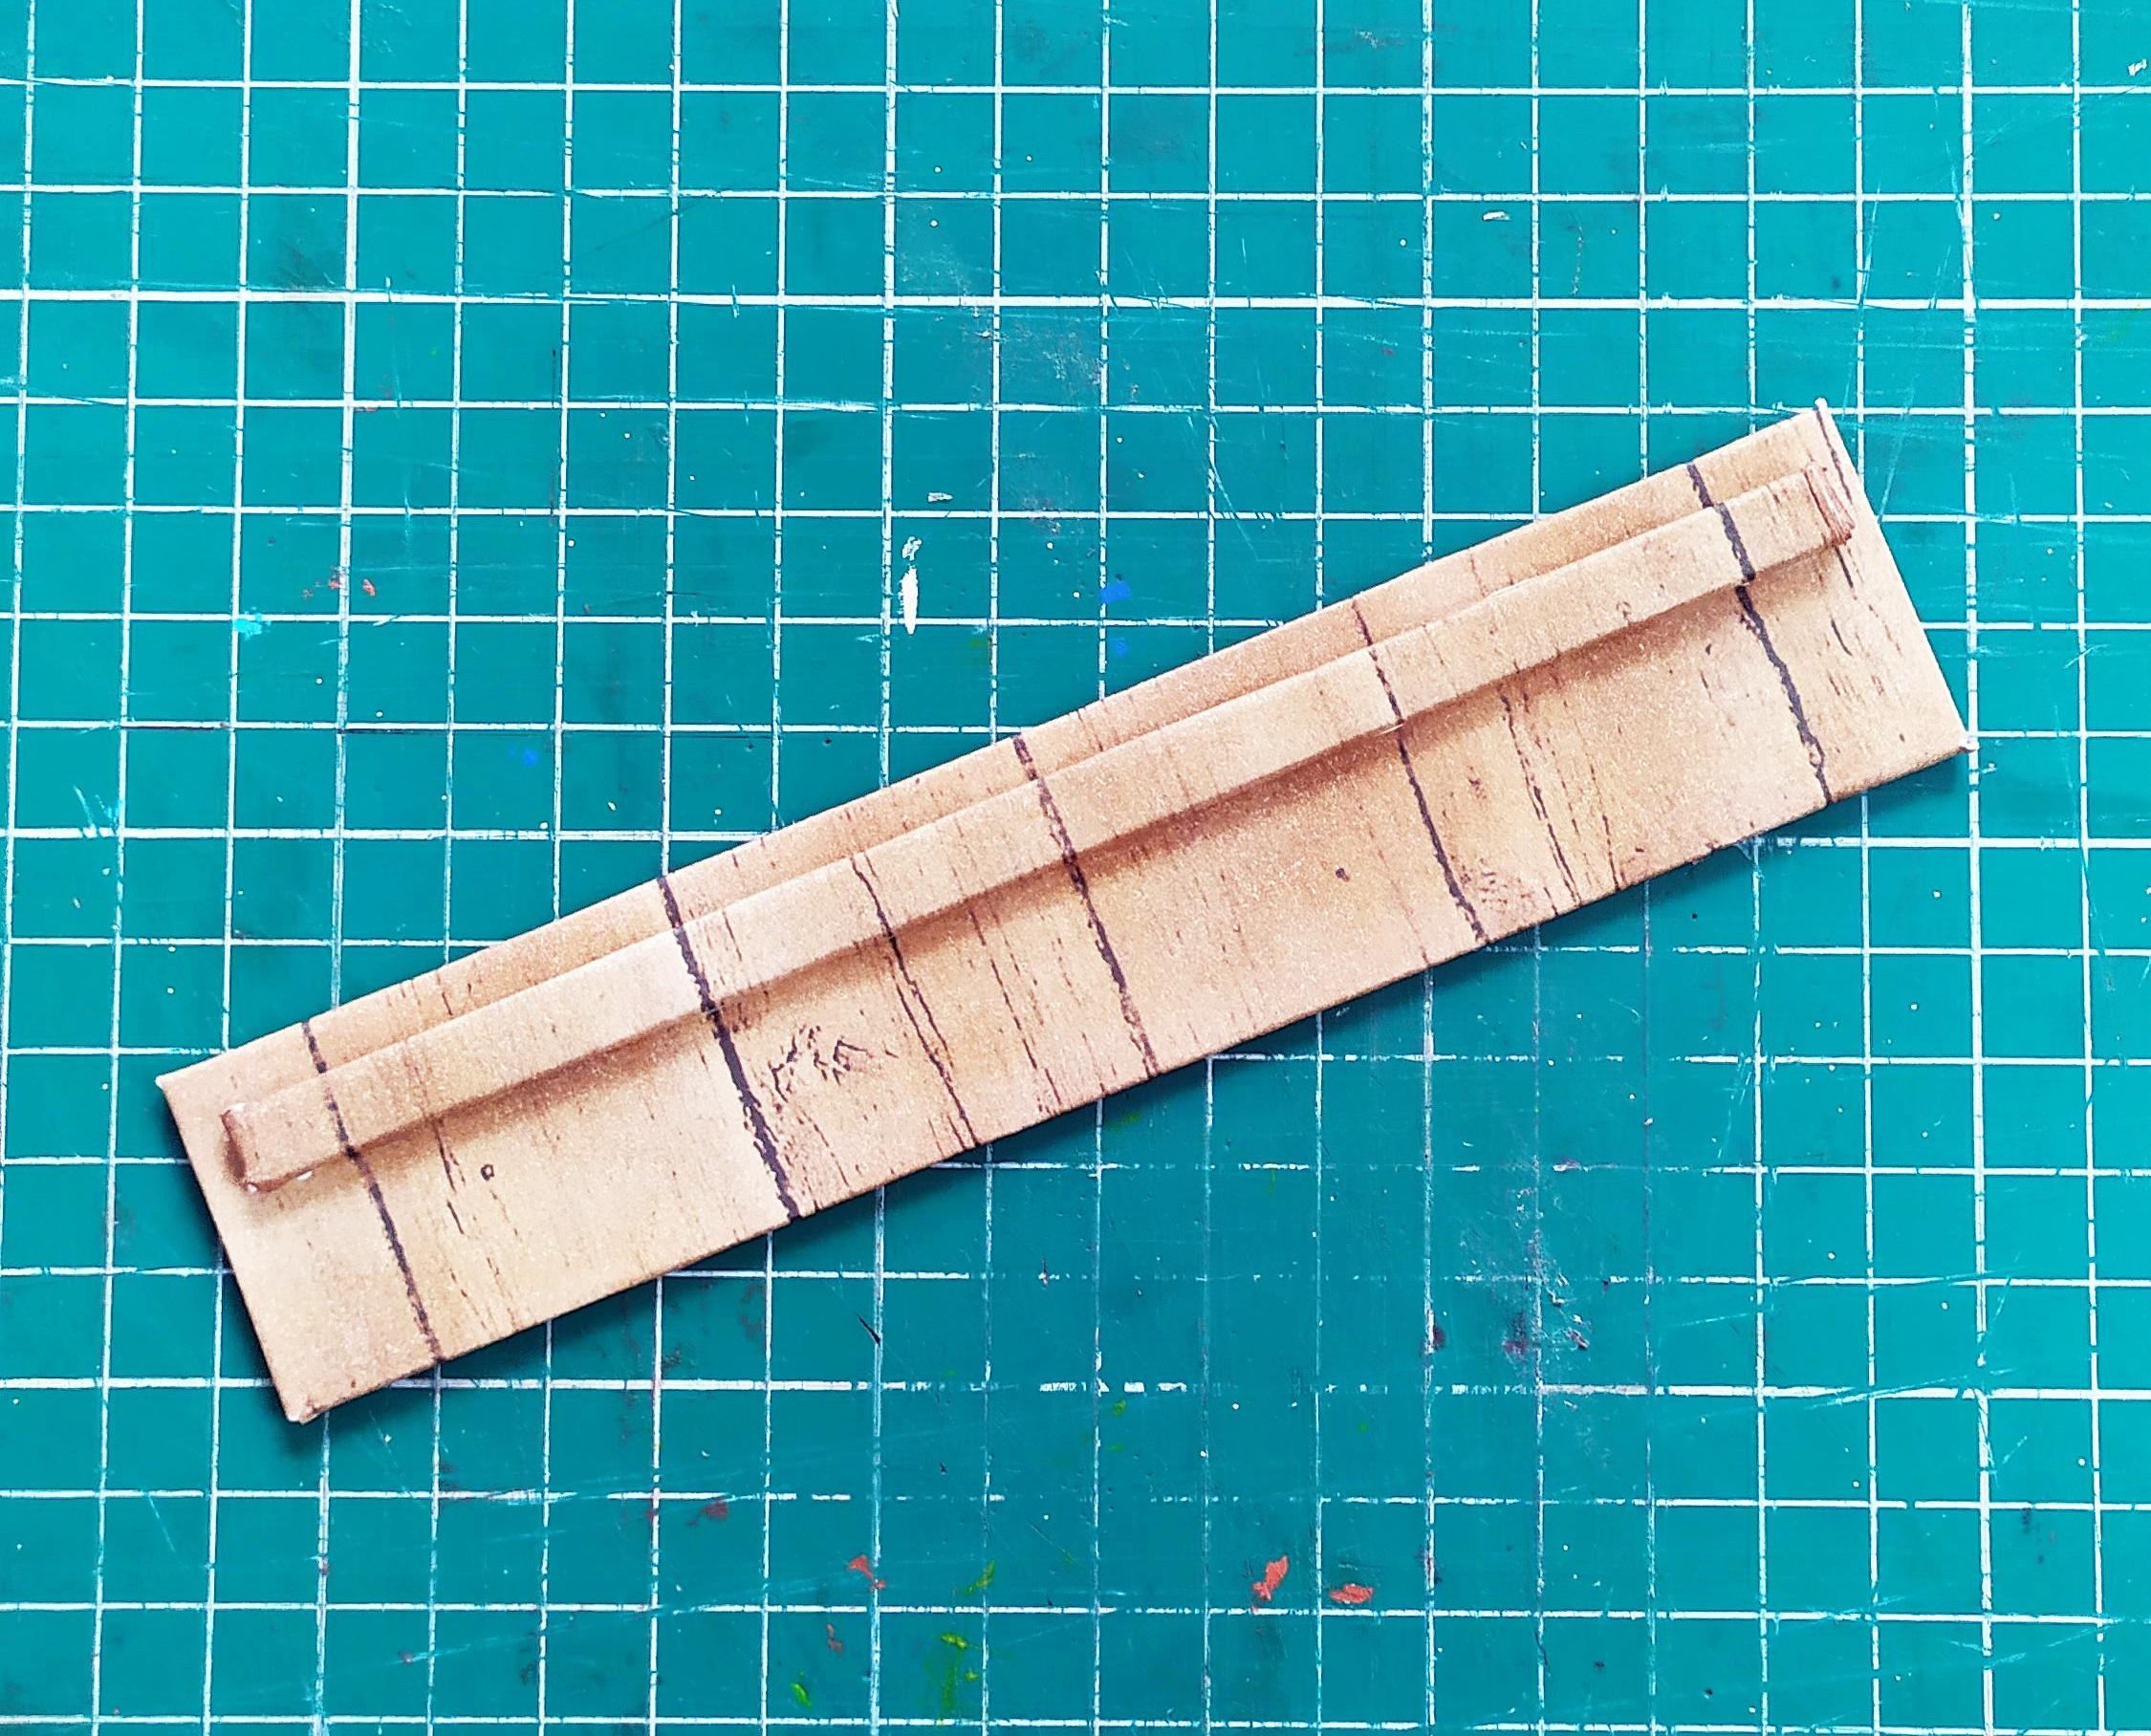
The Piano Keys

Let the legs dry and move onto making the keys.
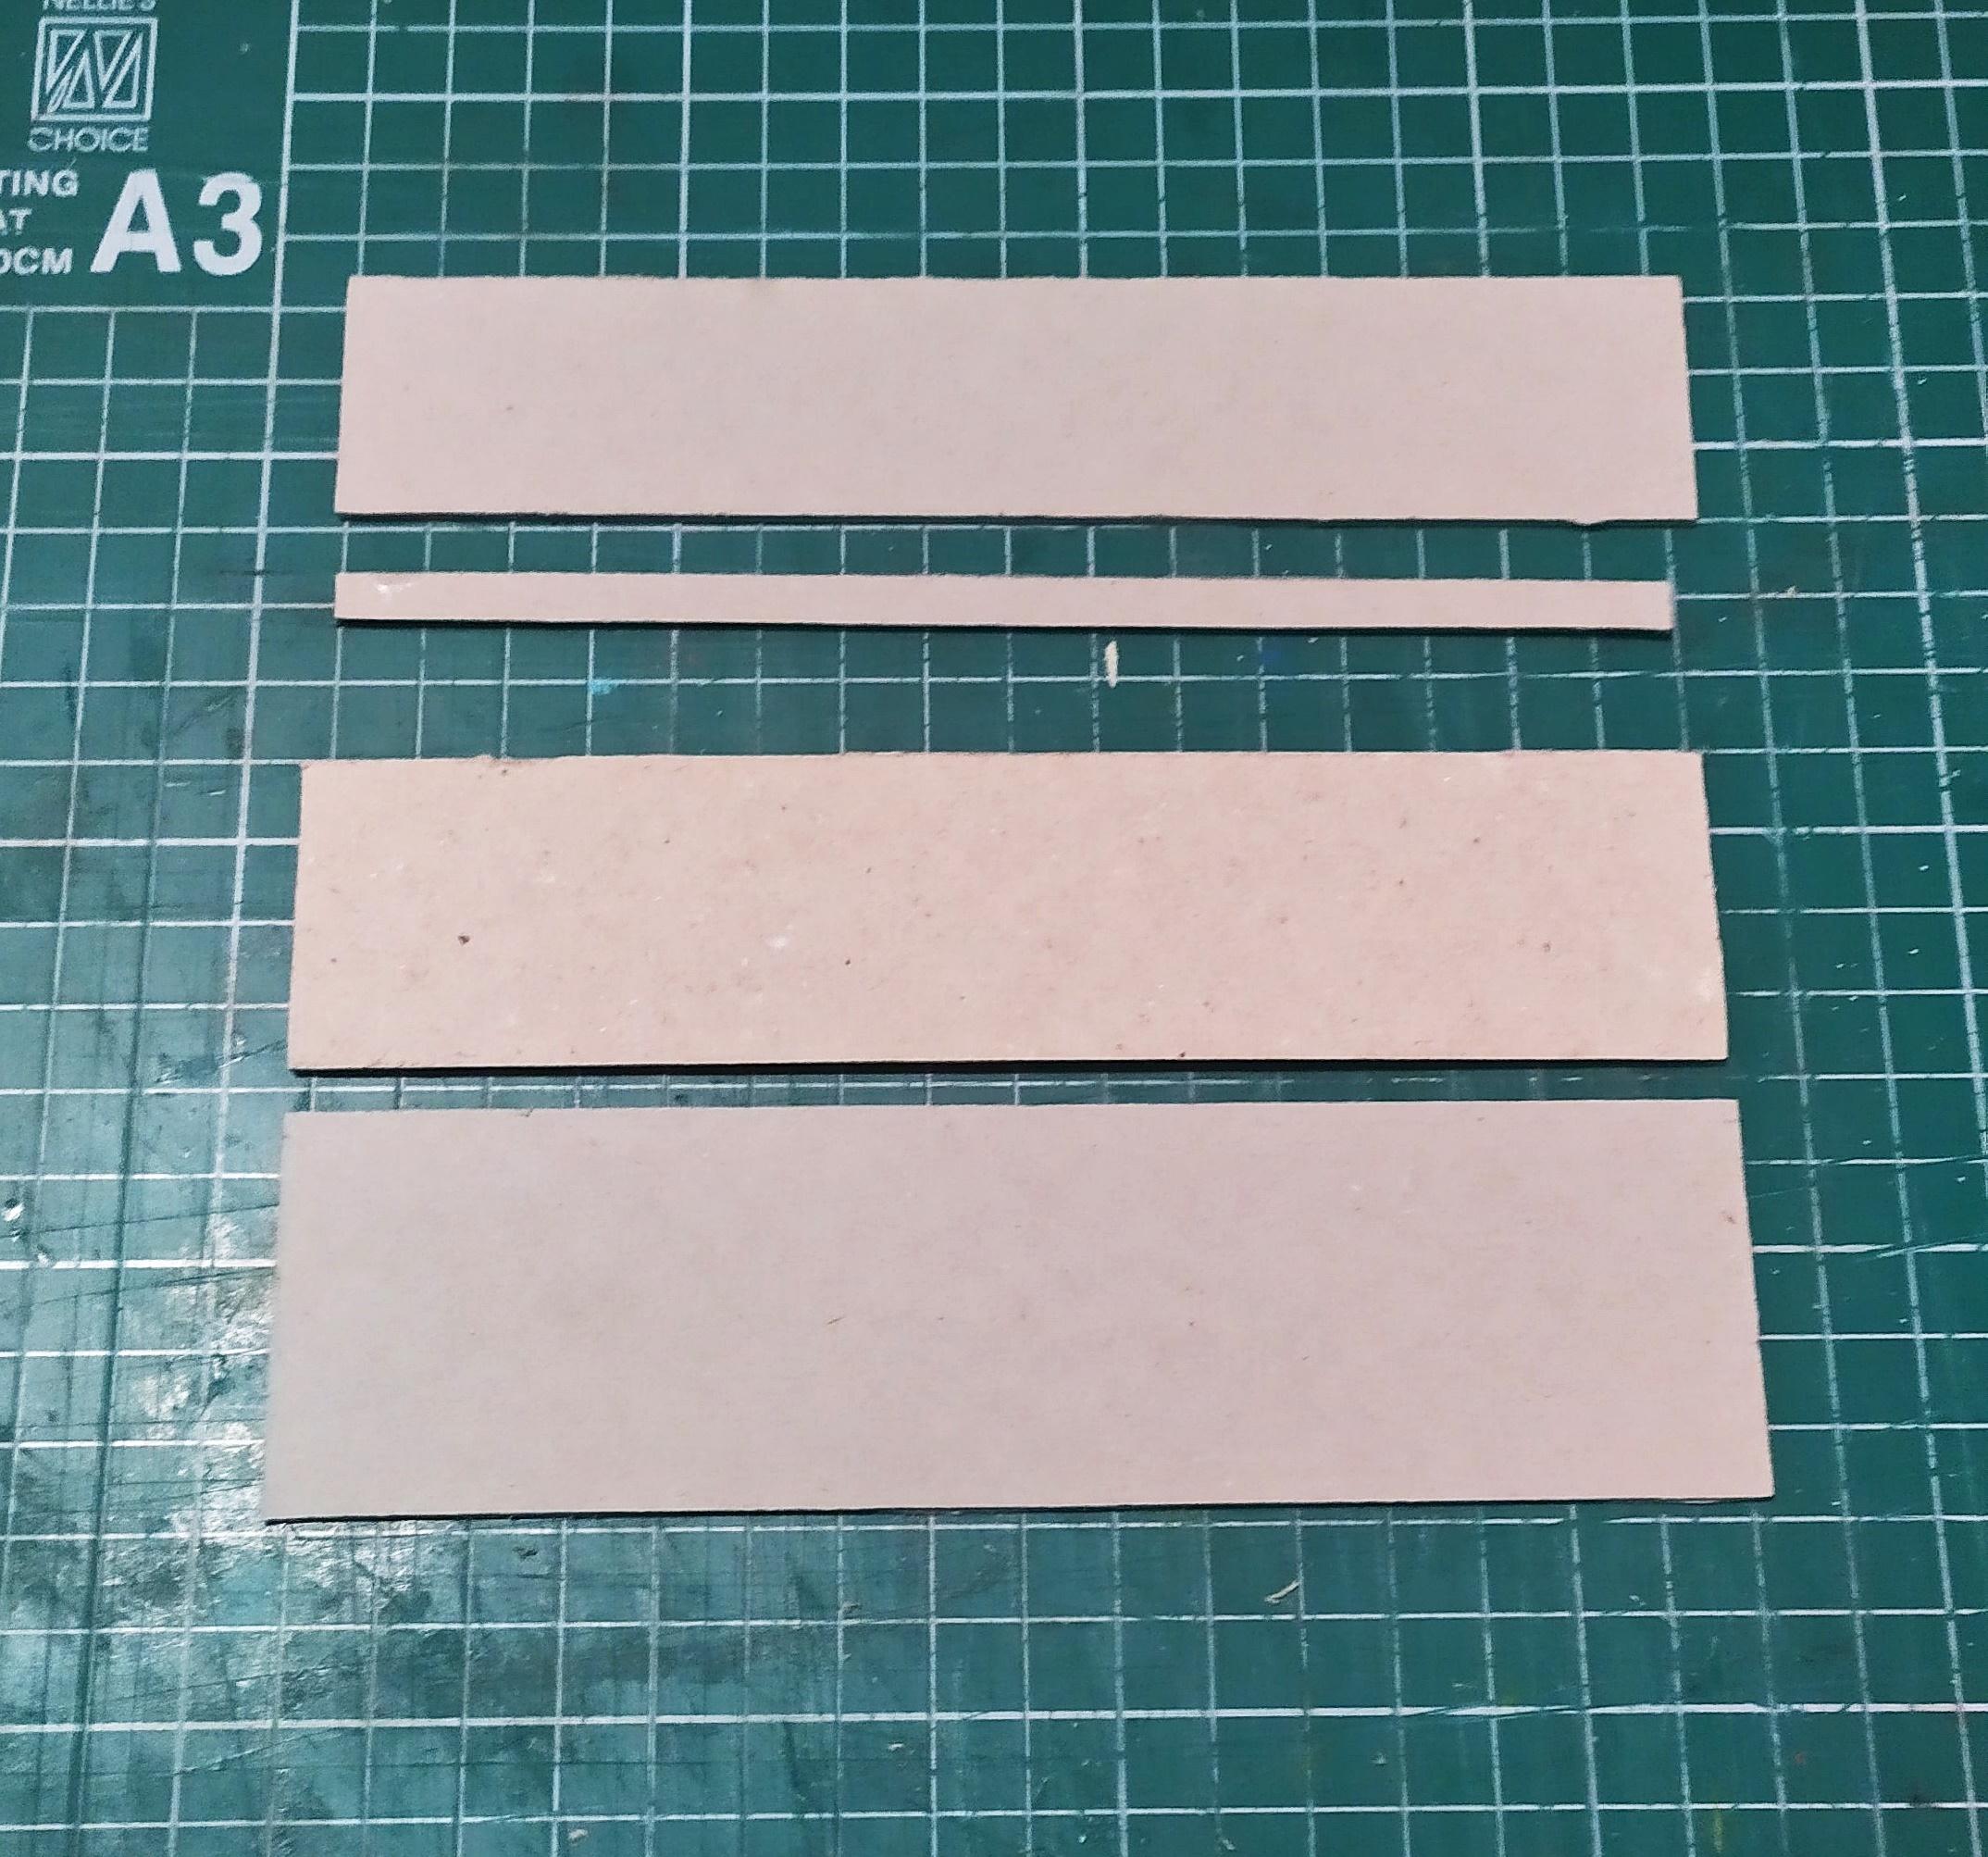
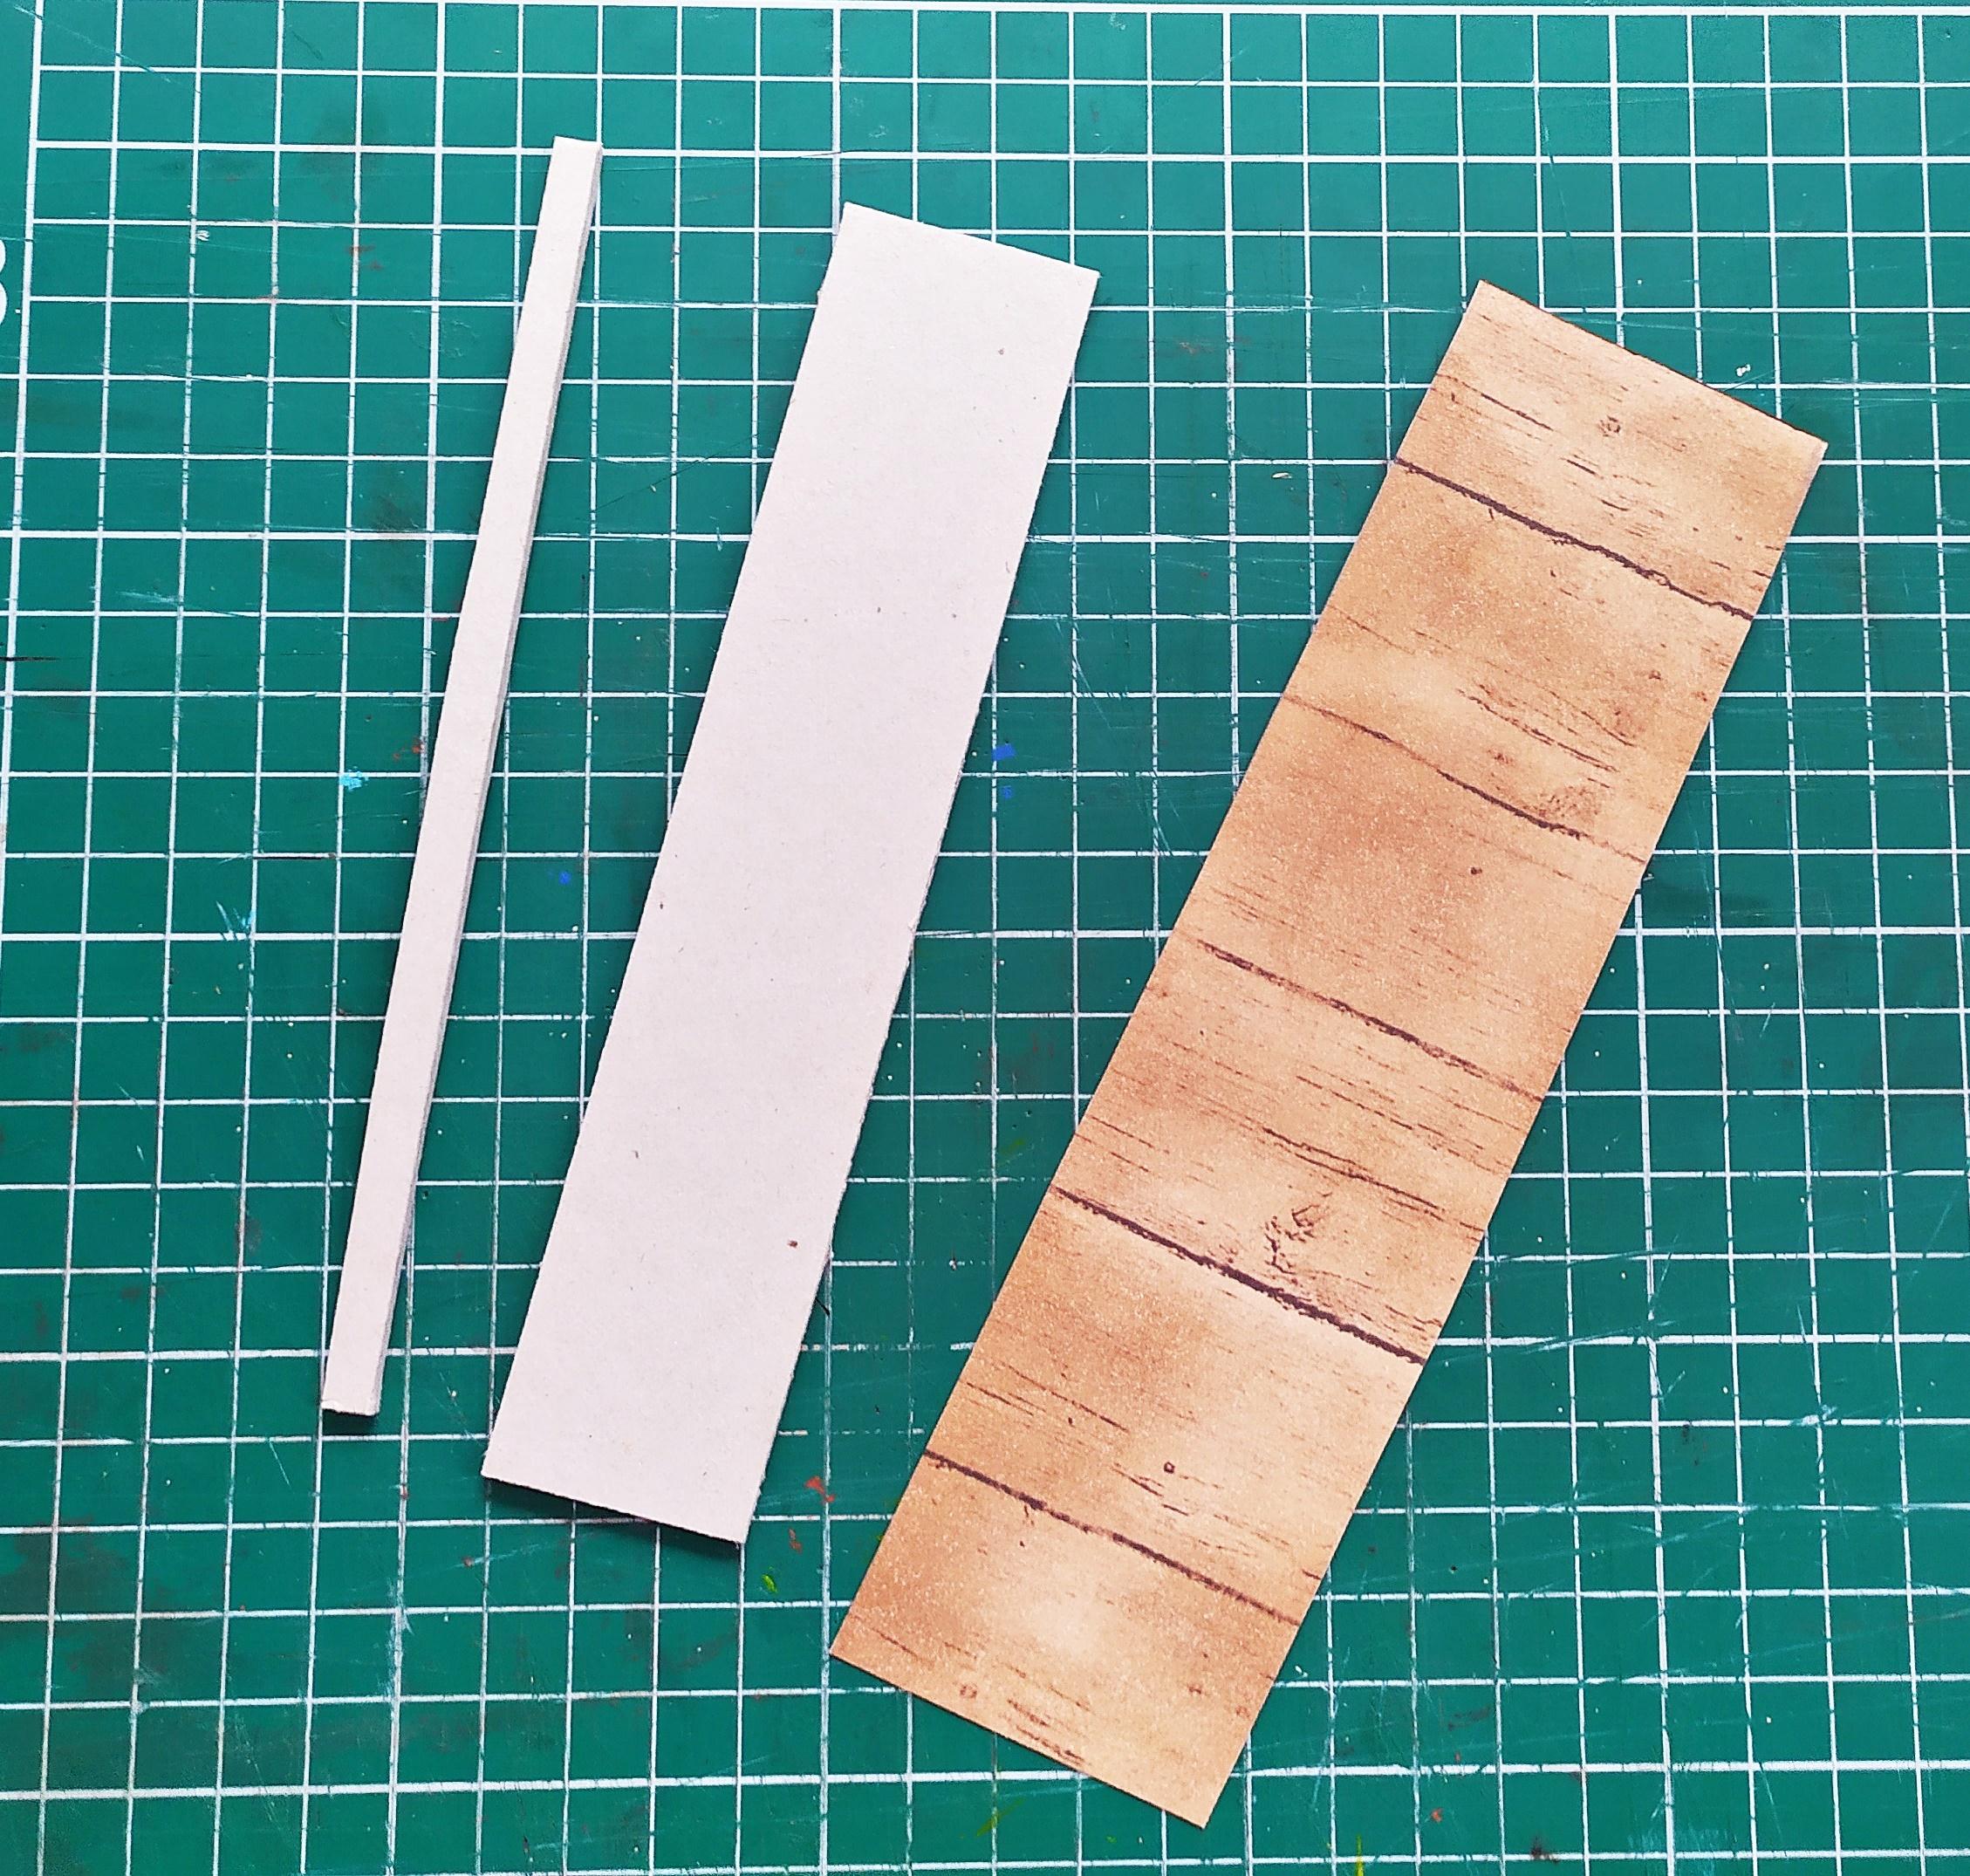
Cut the following pieces of chipbord:
- 1.One piece measuring 16.5x4.5 cm(the base)
- 2.One piece measuring 16.5x4 cm (where the keys will go)
- 3.One piece measuring 16x3.5 cm (for the keyboard cover)
- 4.One piece measuring 16x0.5 cm (to attach to the lid)
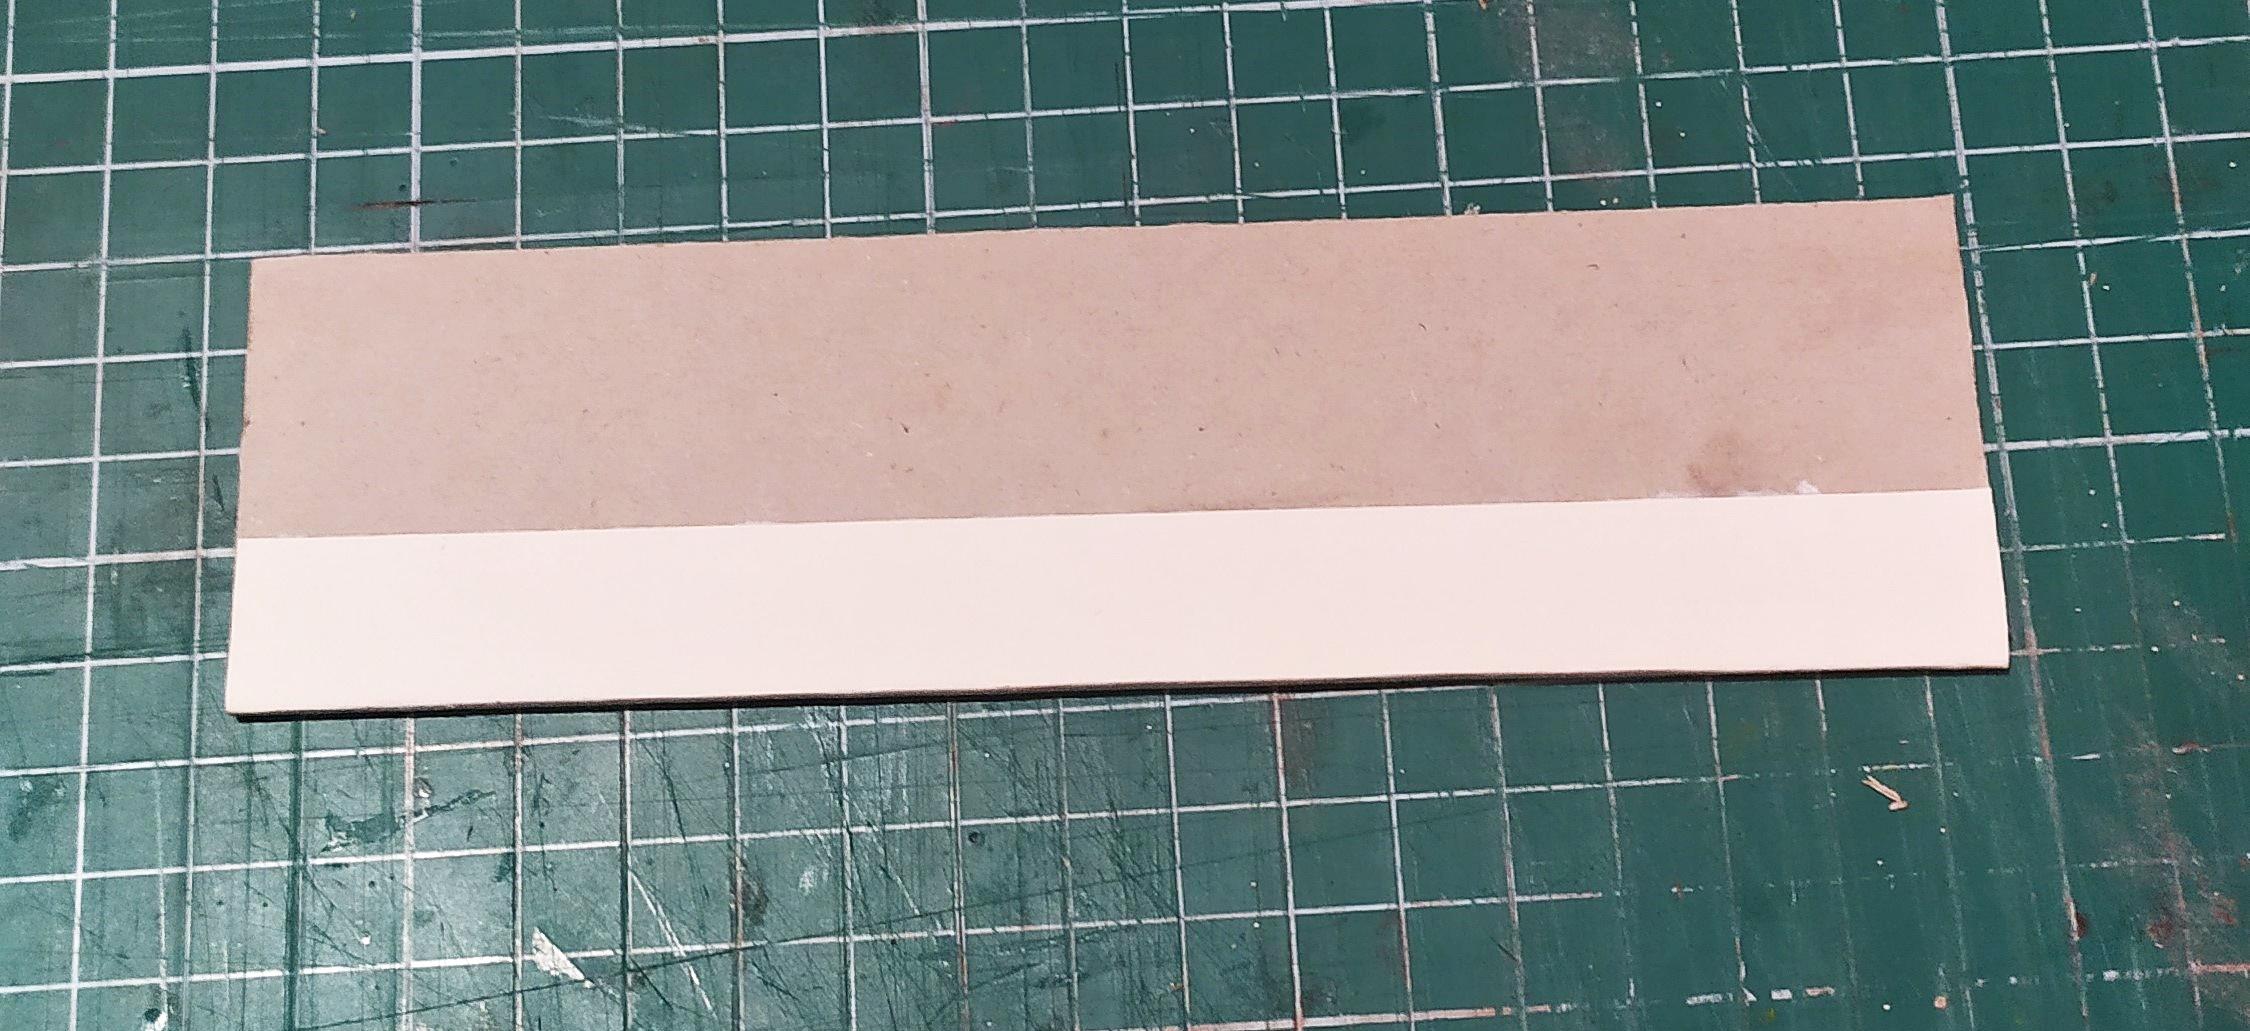
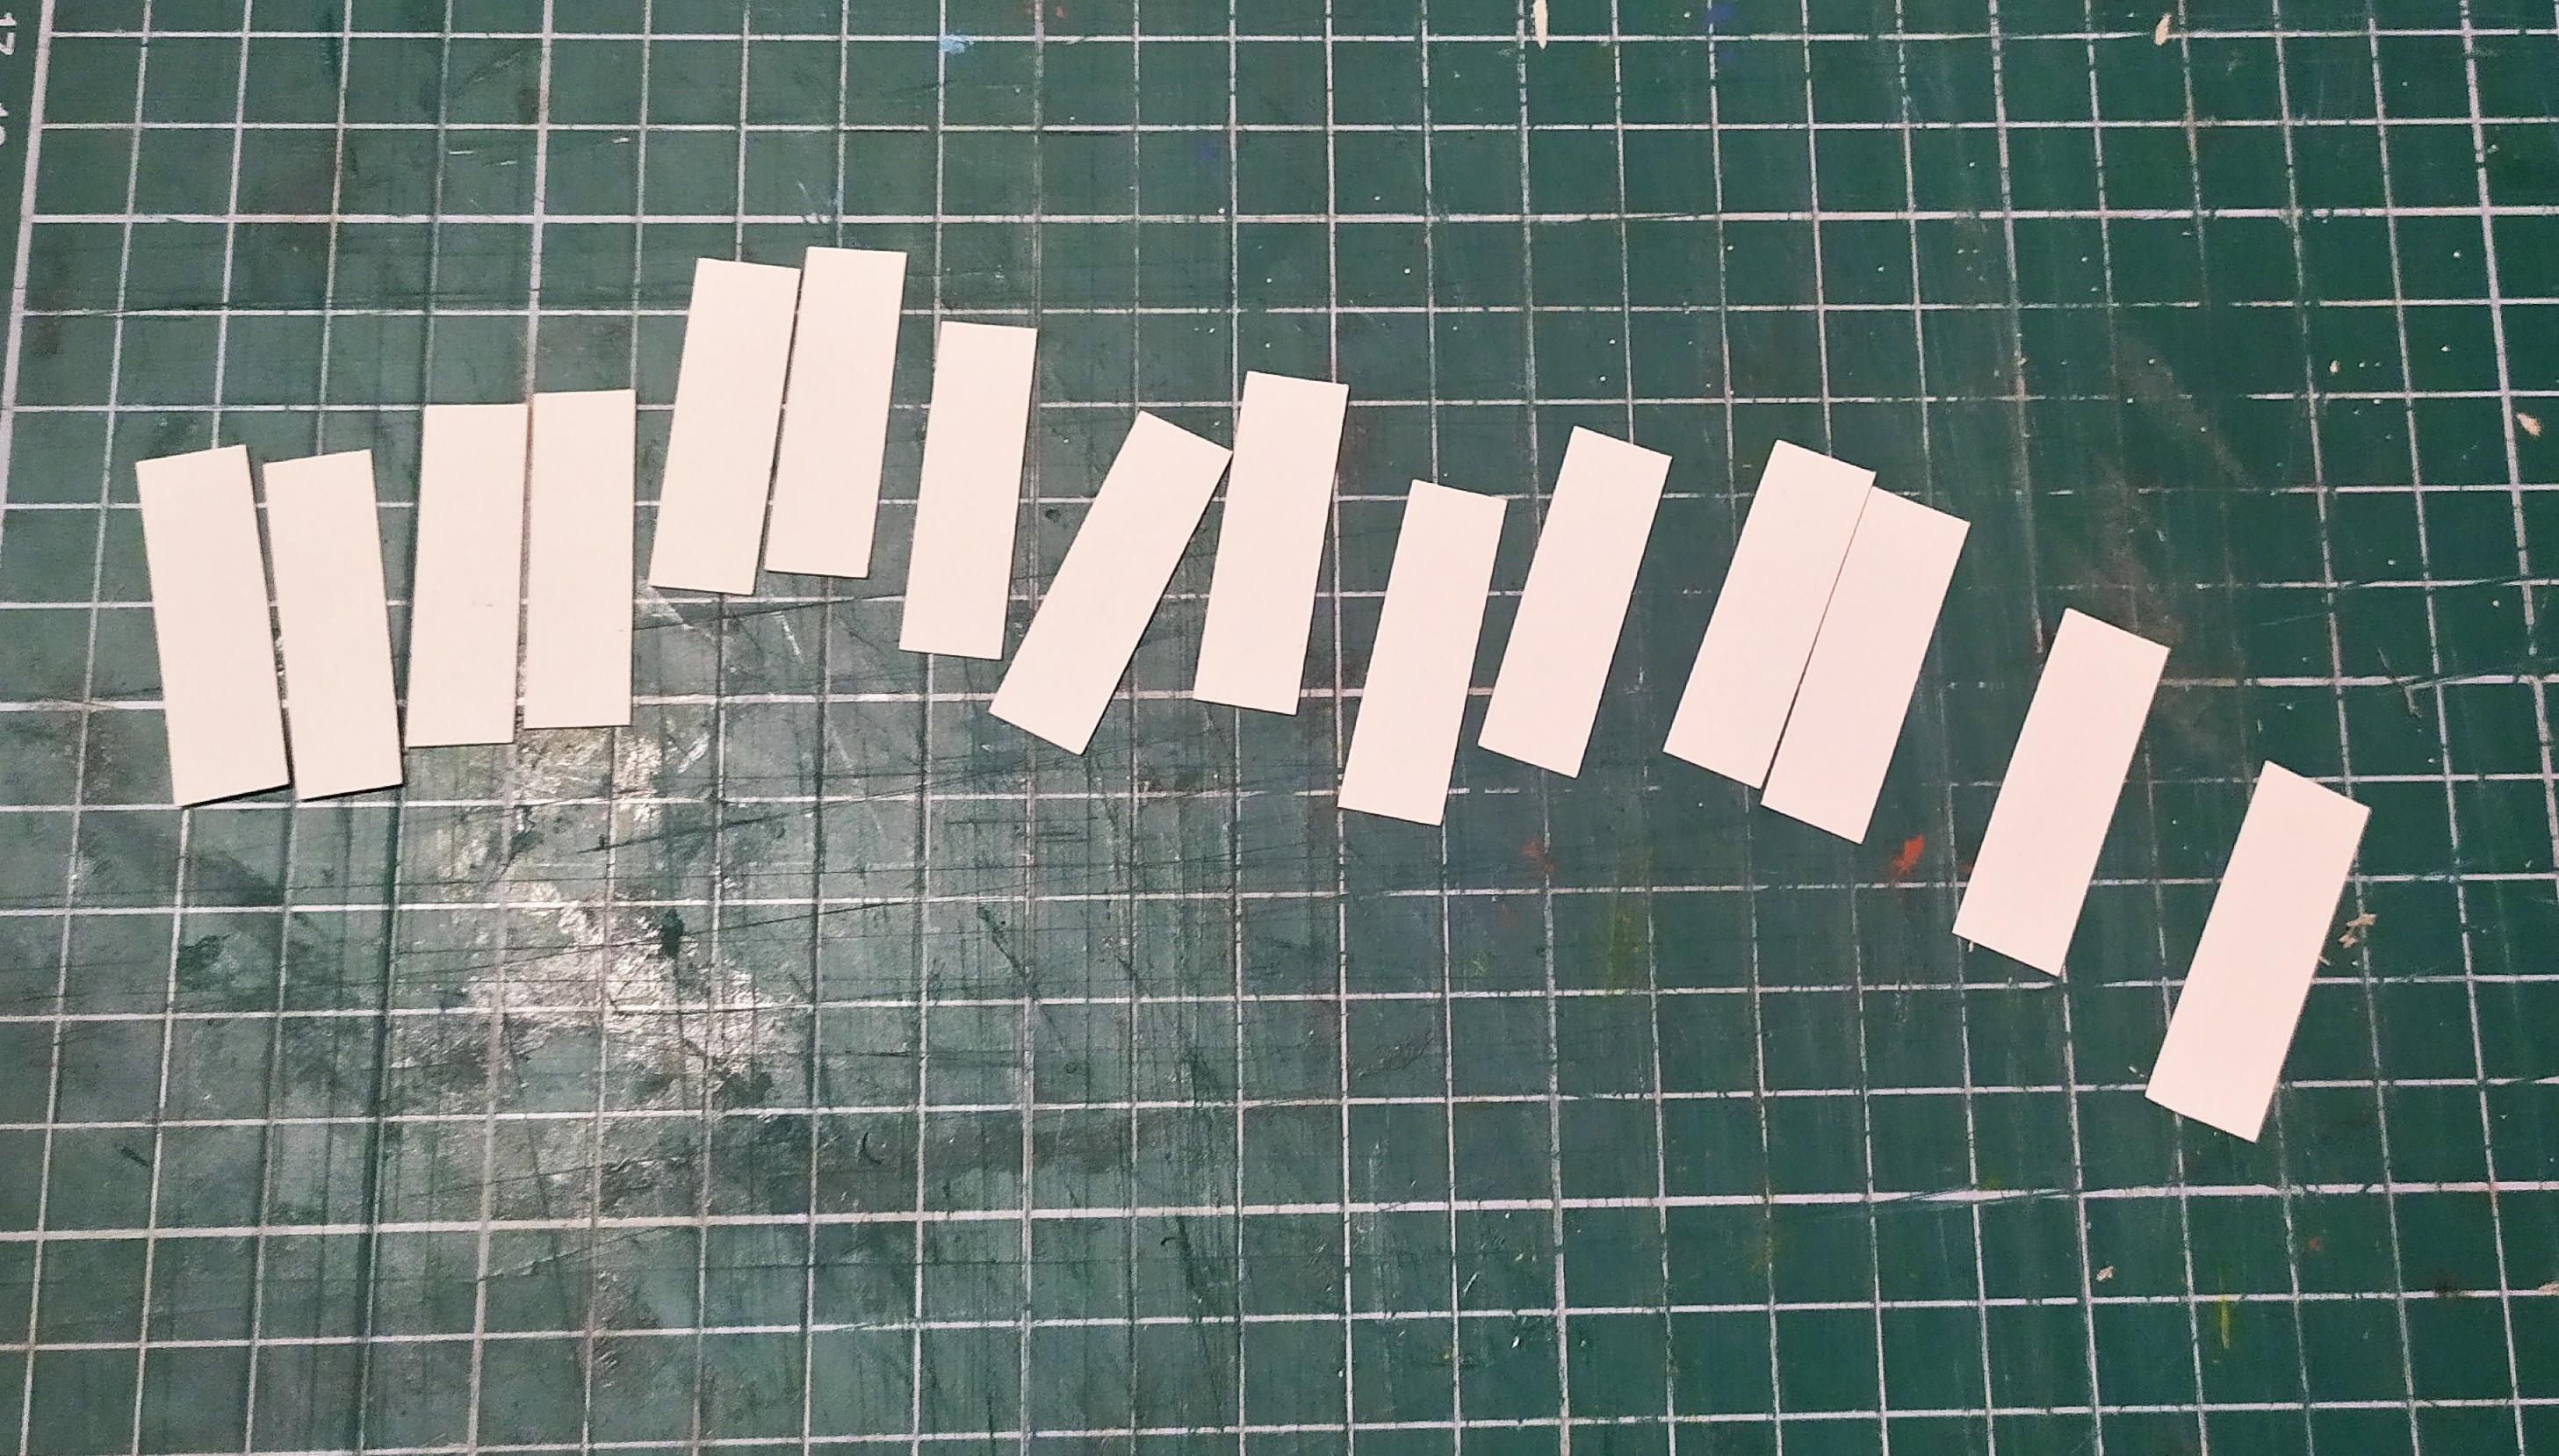
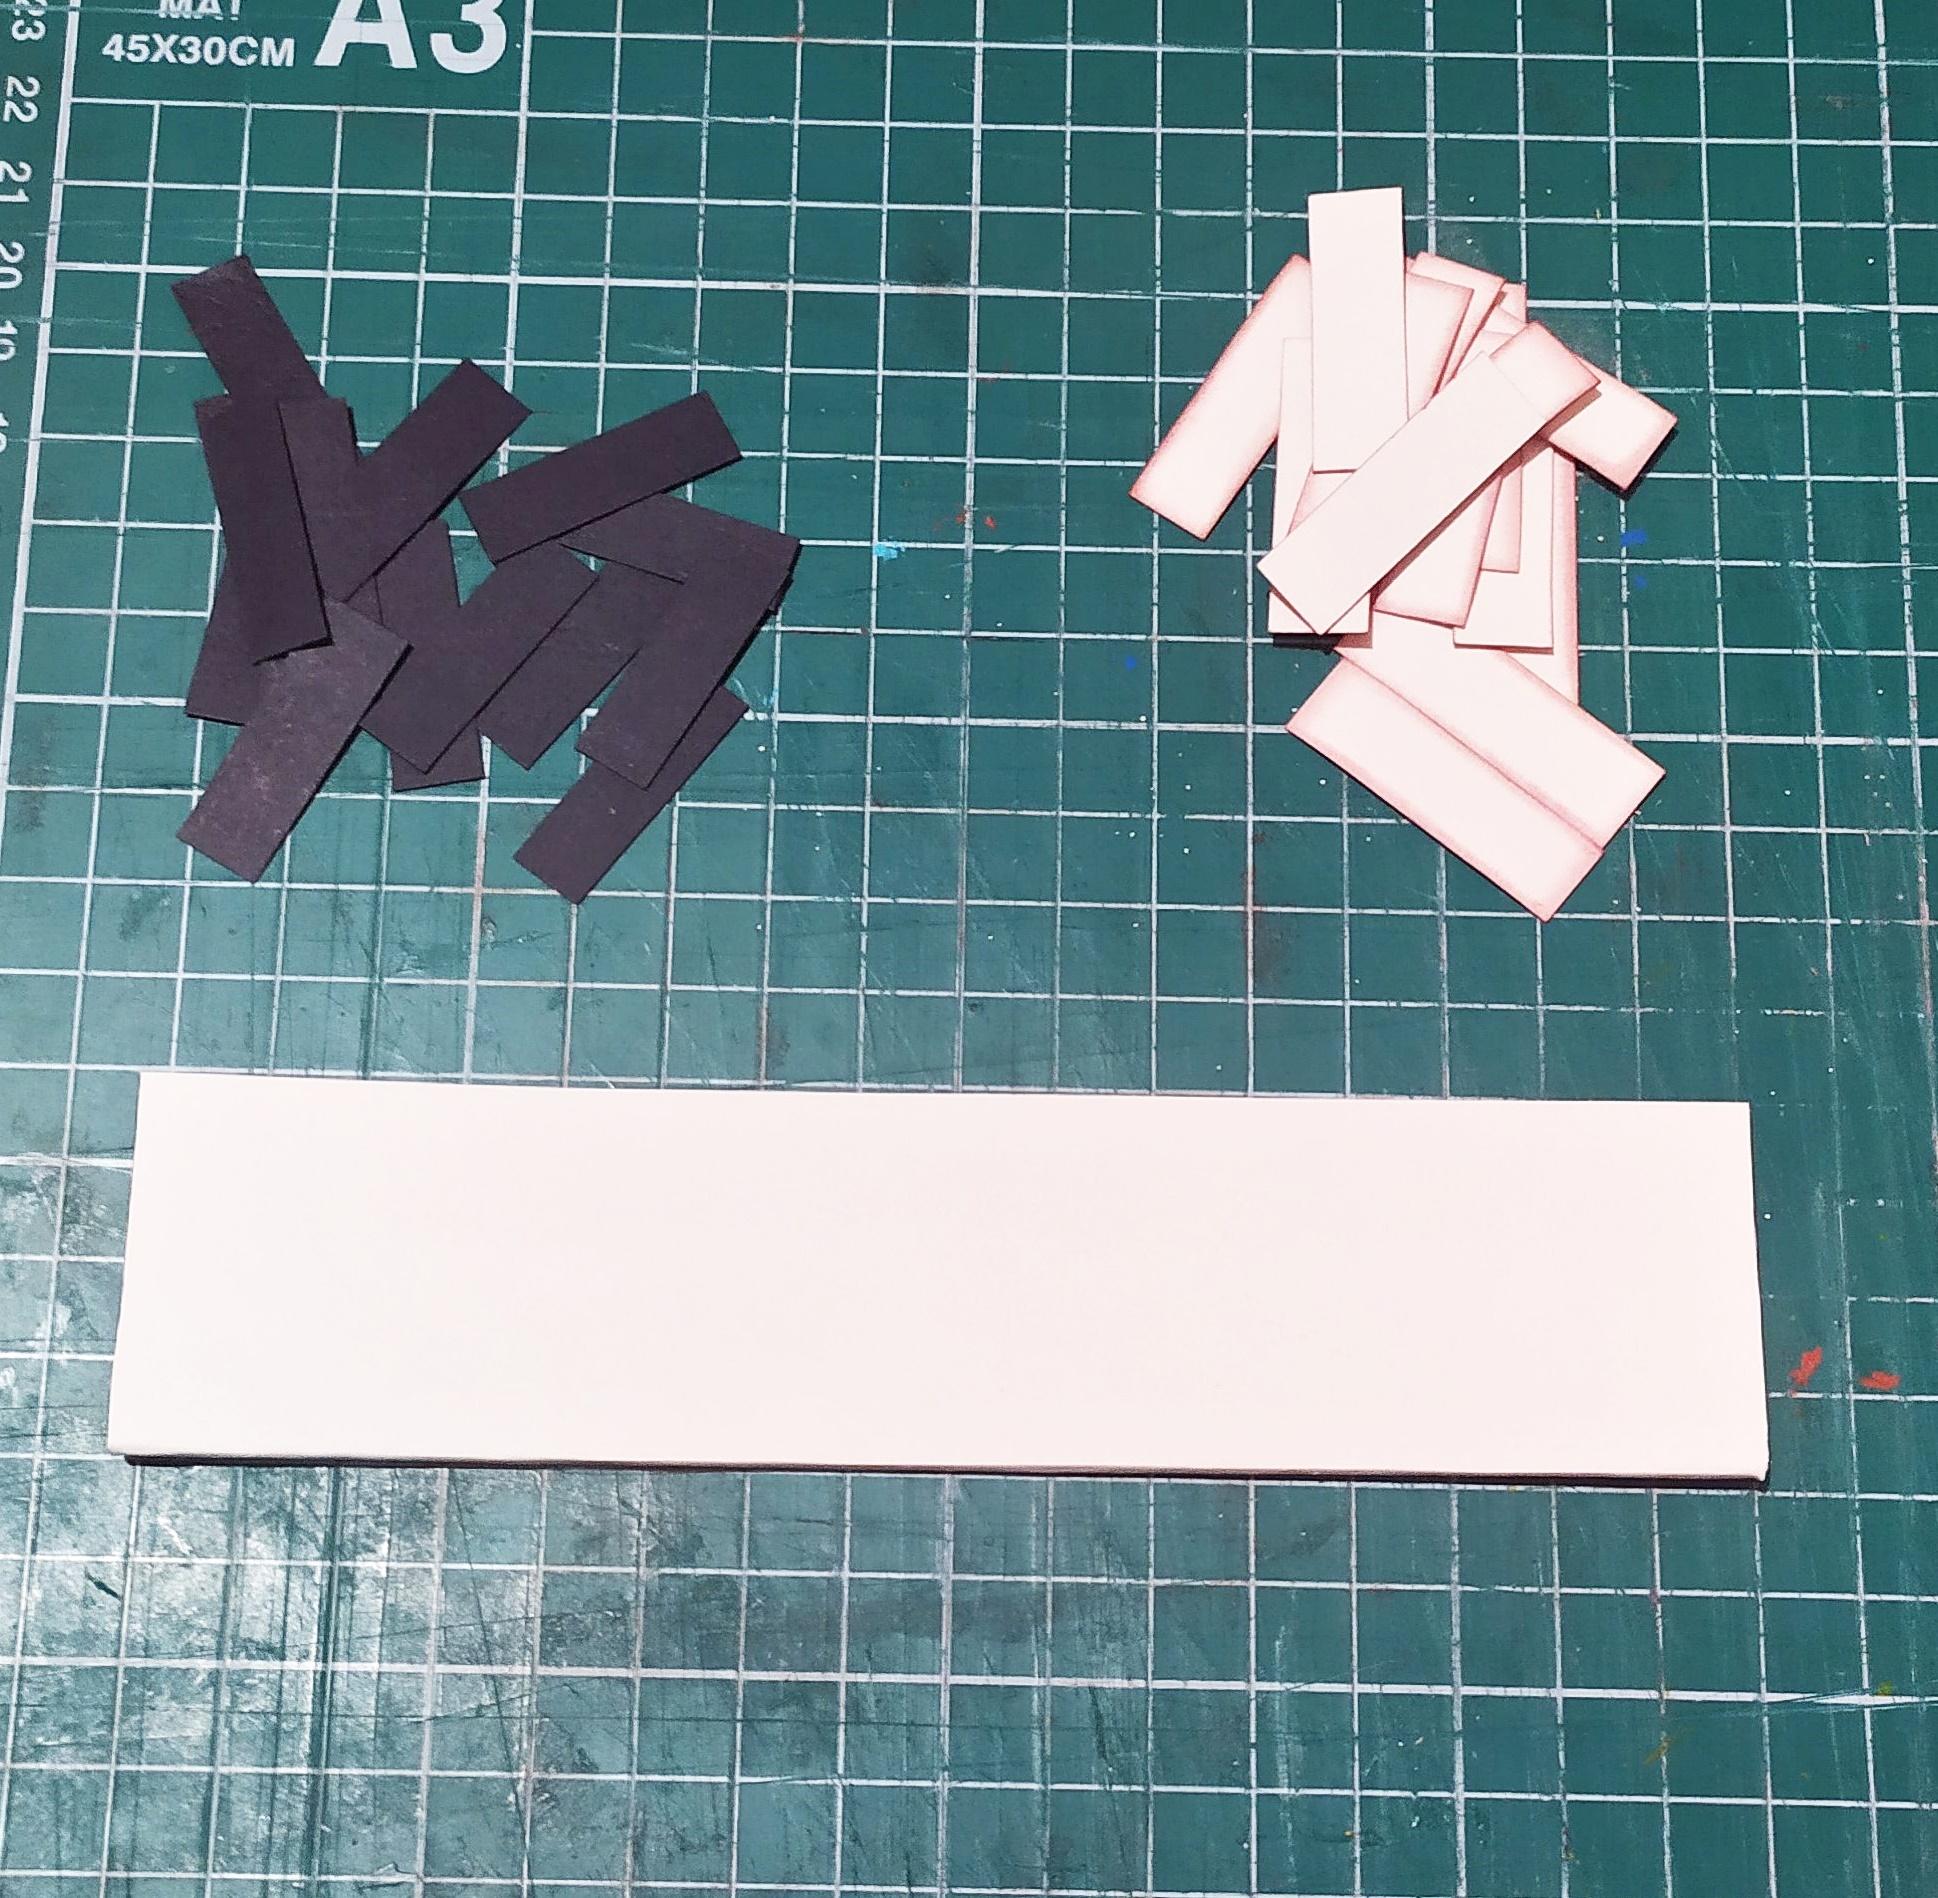
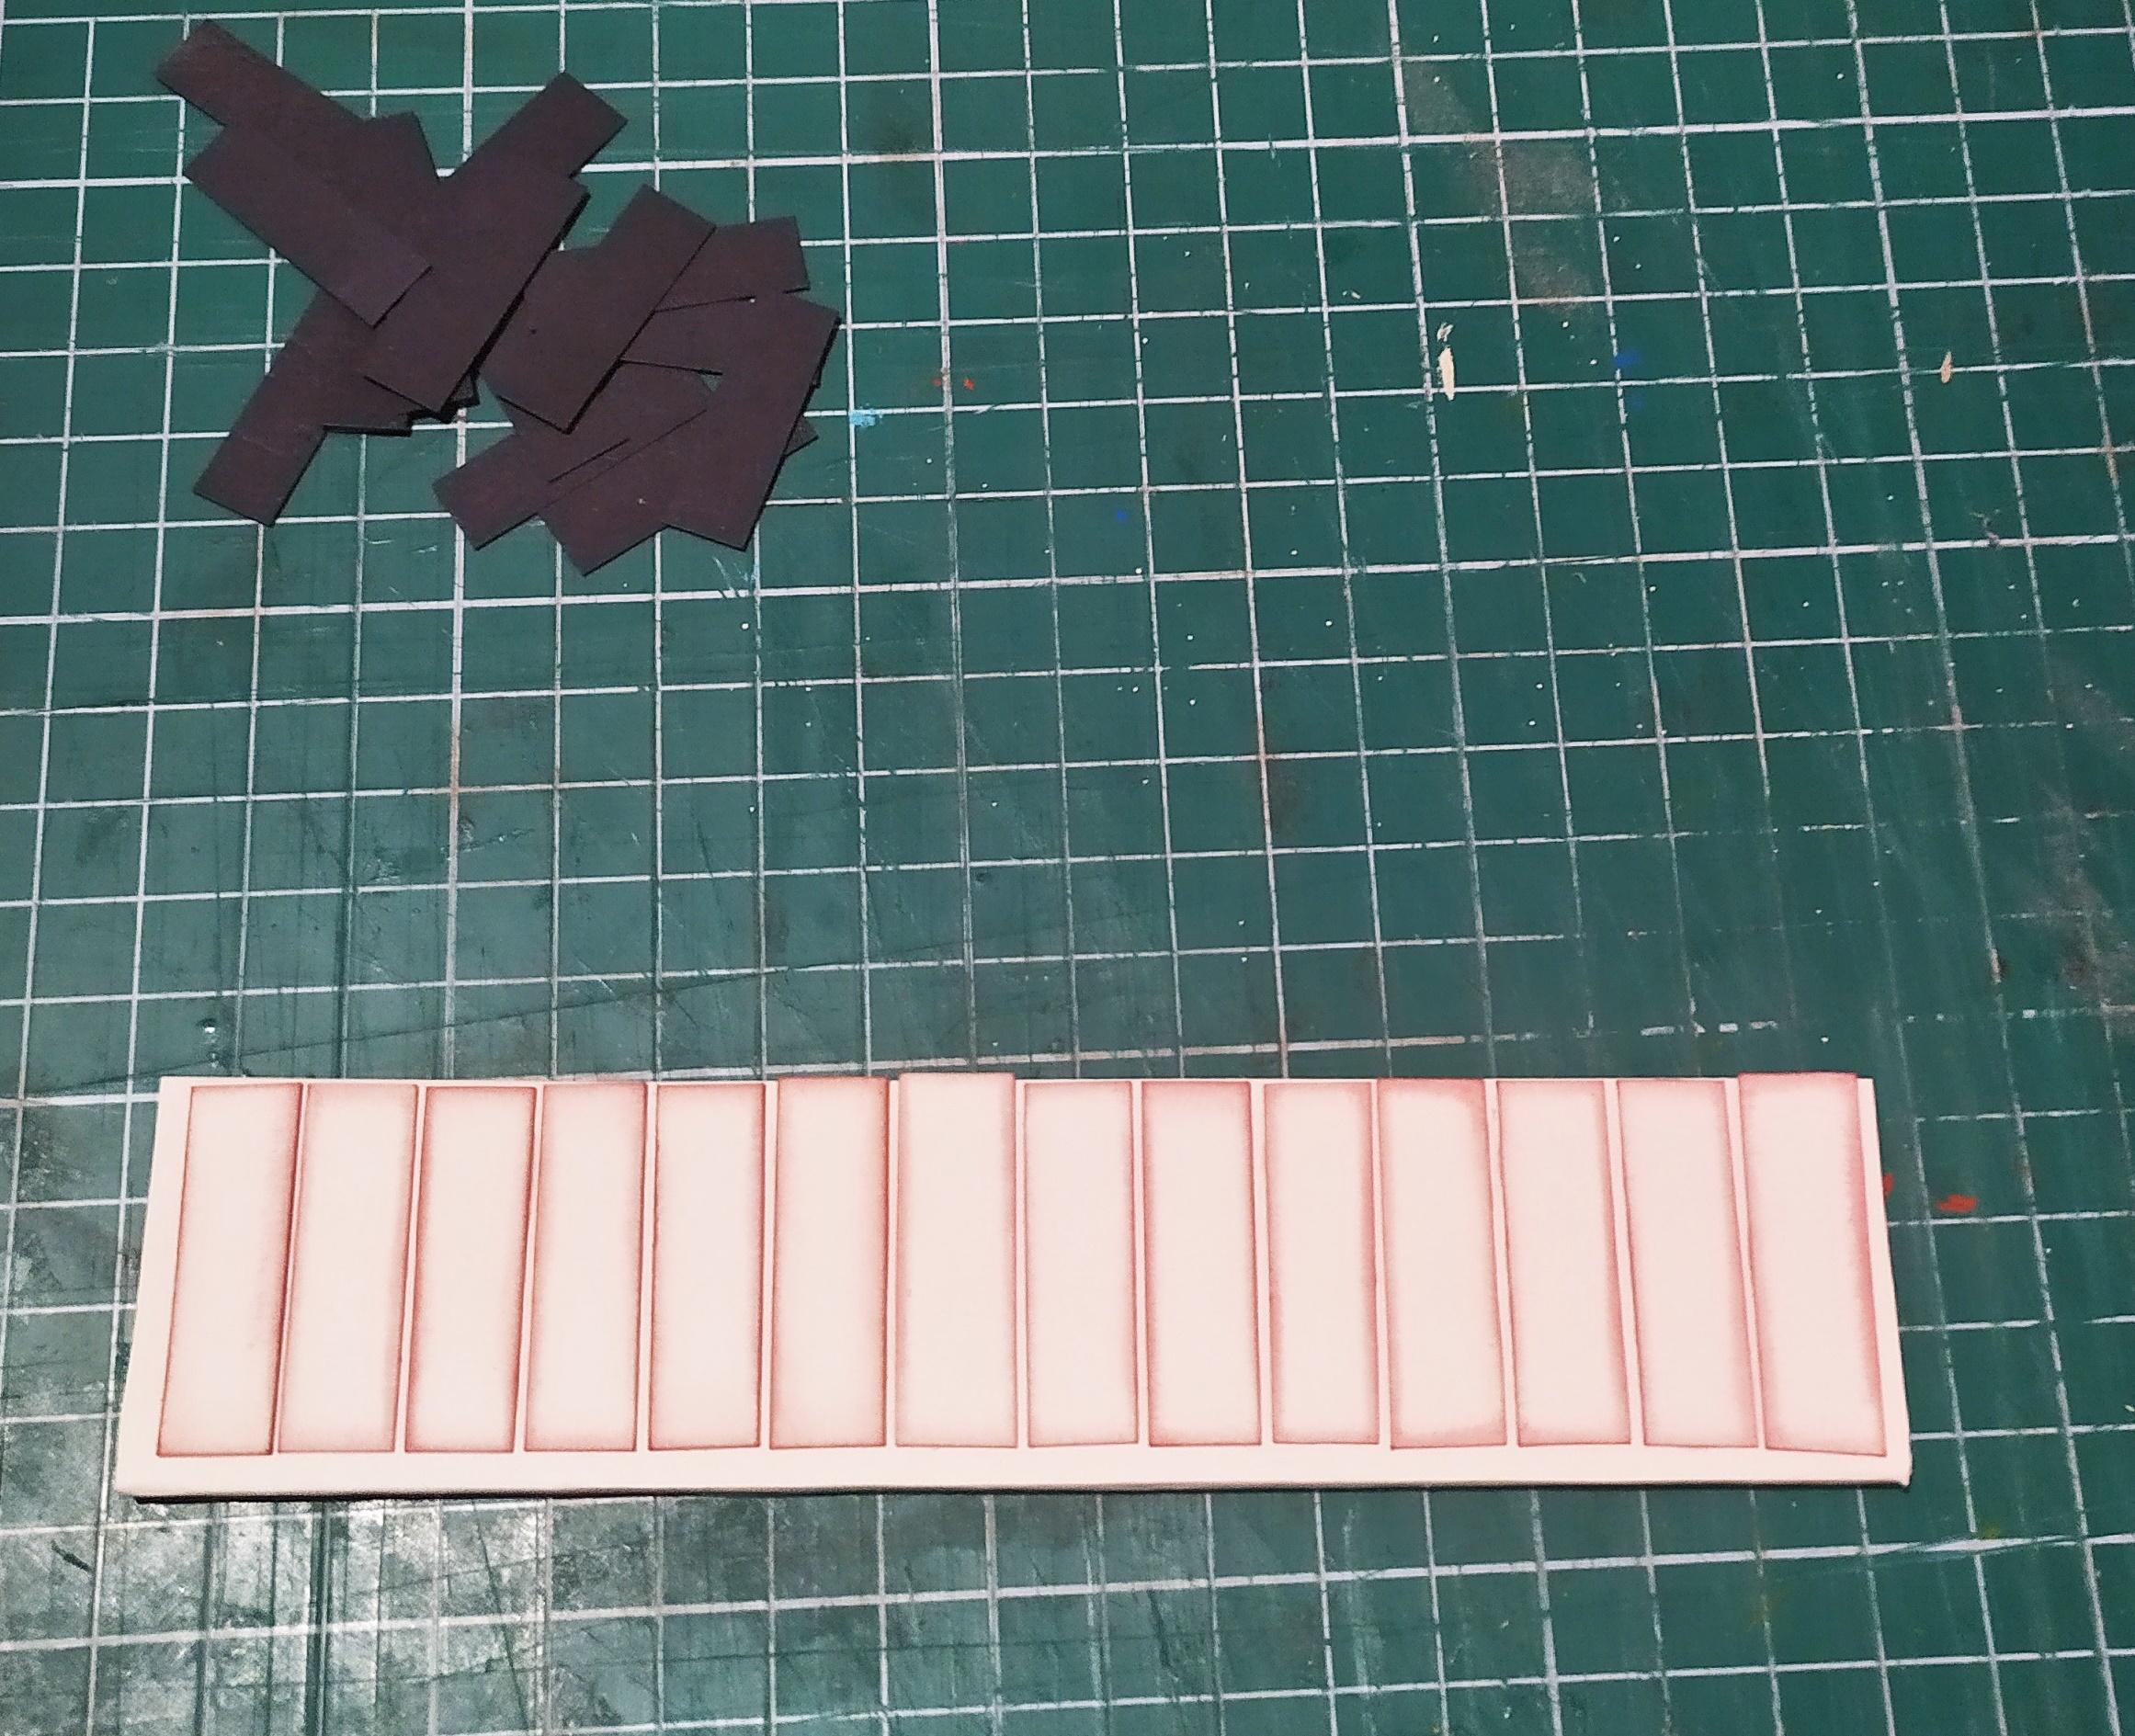
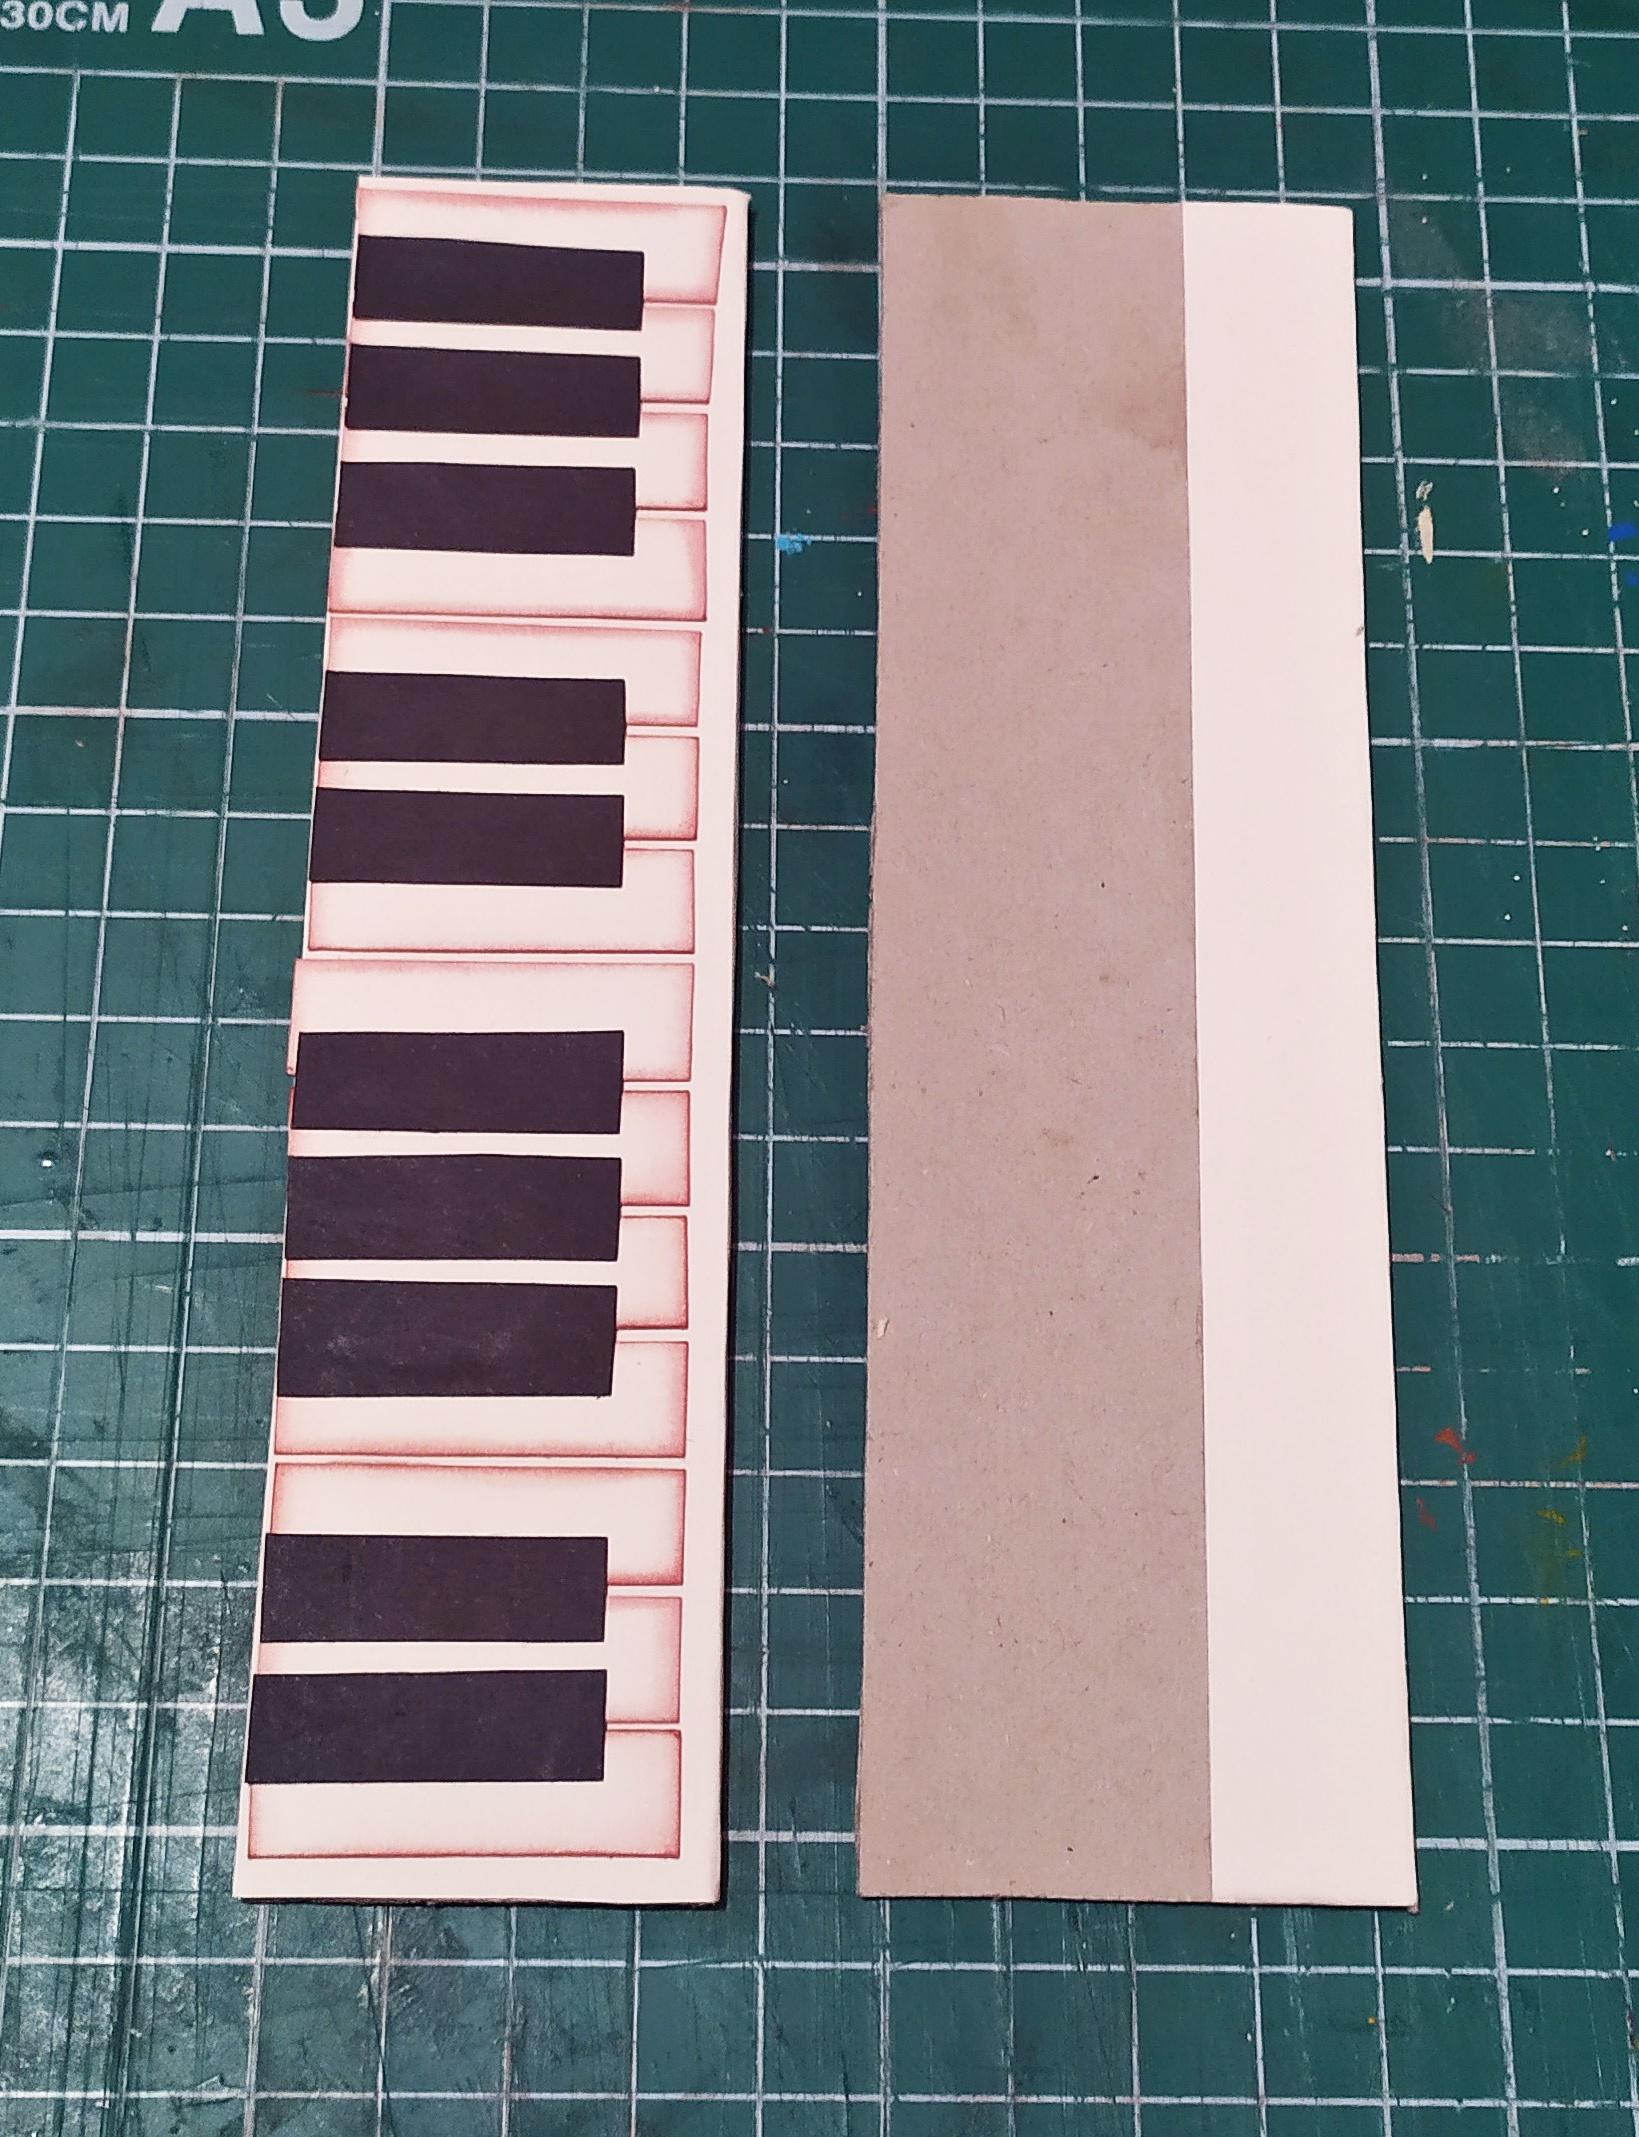
Once you've cut all of these pieces,cover the bottom half of the base piece (piece 1.) and cover piece 2. completely with some cardstock.Piece 2. is where the piano keys will be glued.Cut a bunch of beige and black cardstock measuring 3.5x1 cm for the piano's keys.Distress the beige colored keys so that they stand out once you glue them down.Glue the beige and the black keys to piece 2.Lastly,glue piece 2. to the piece 1.
The Keyboard Cover
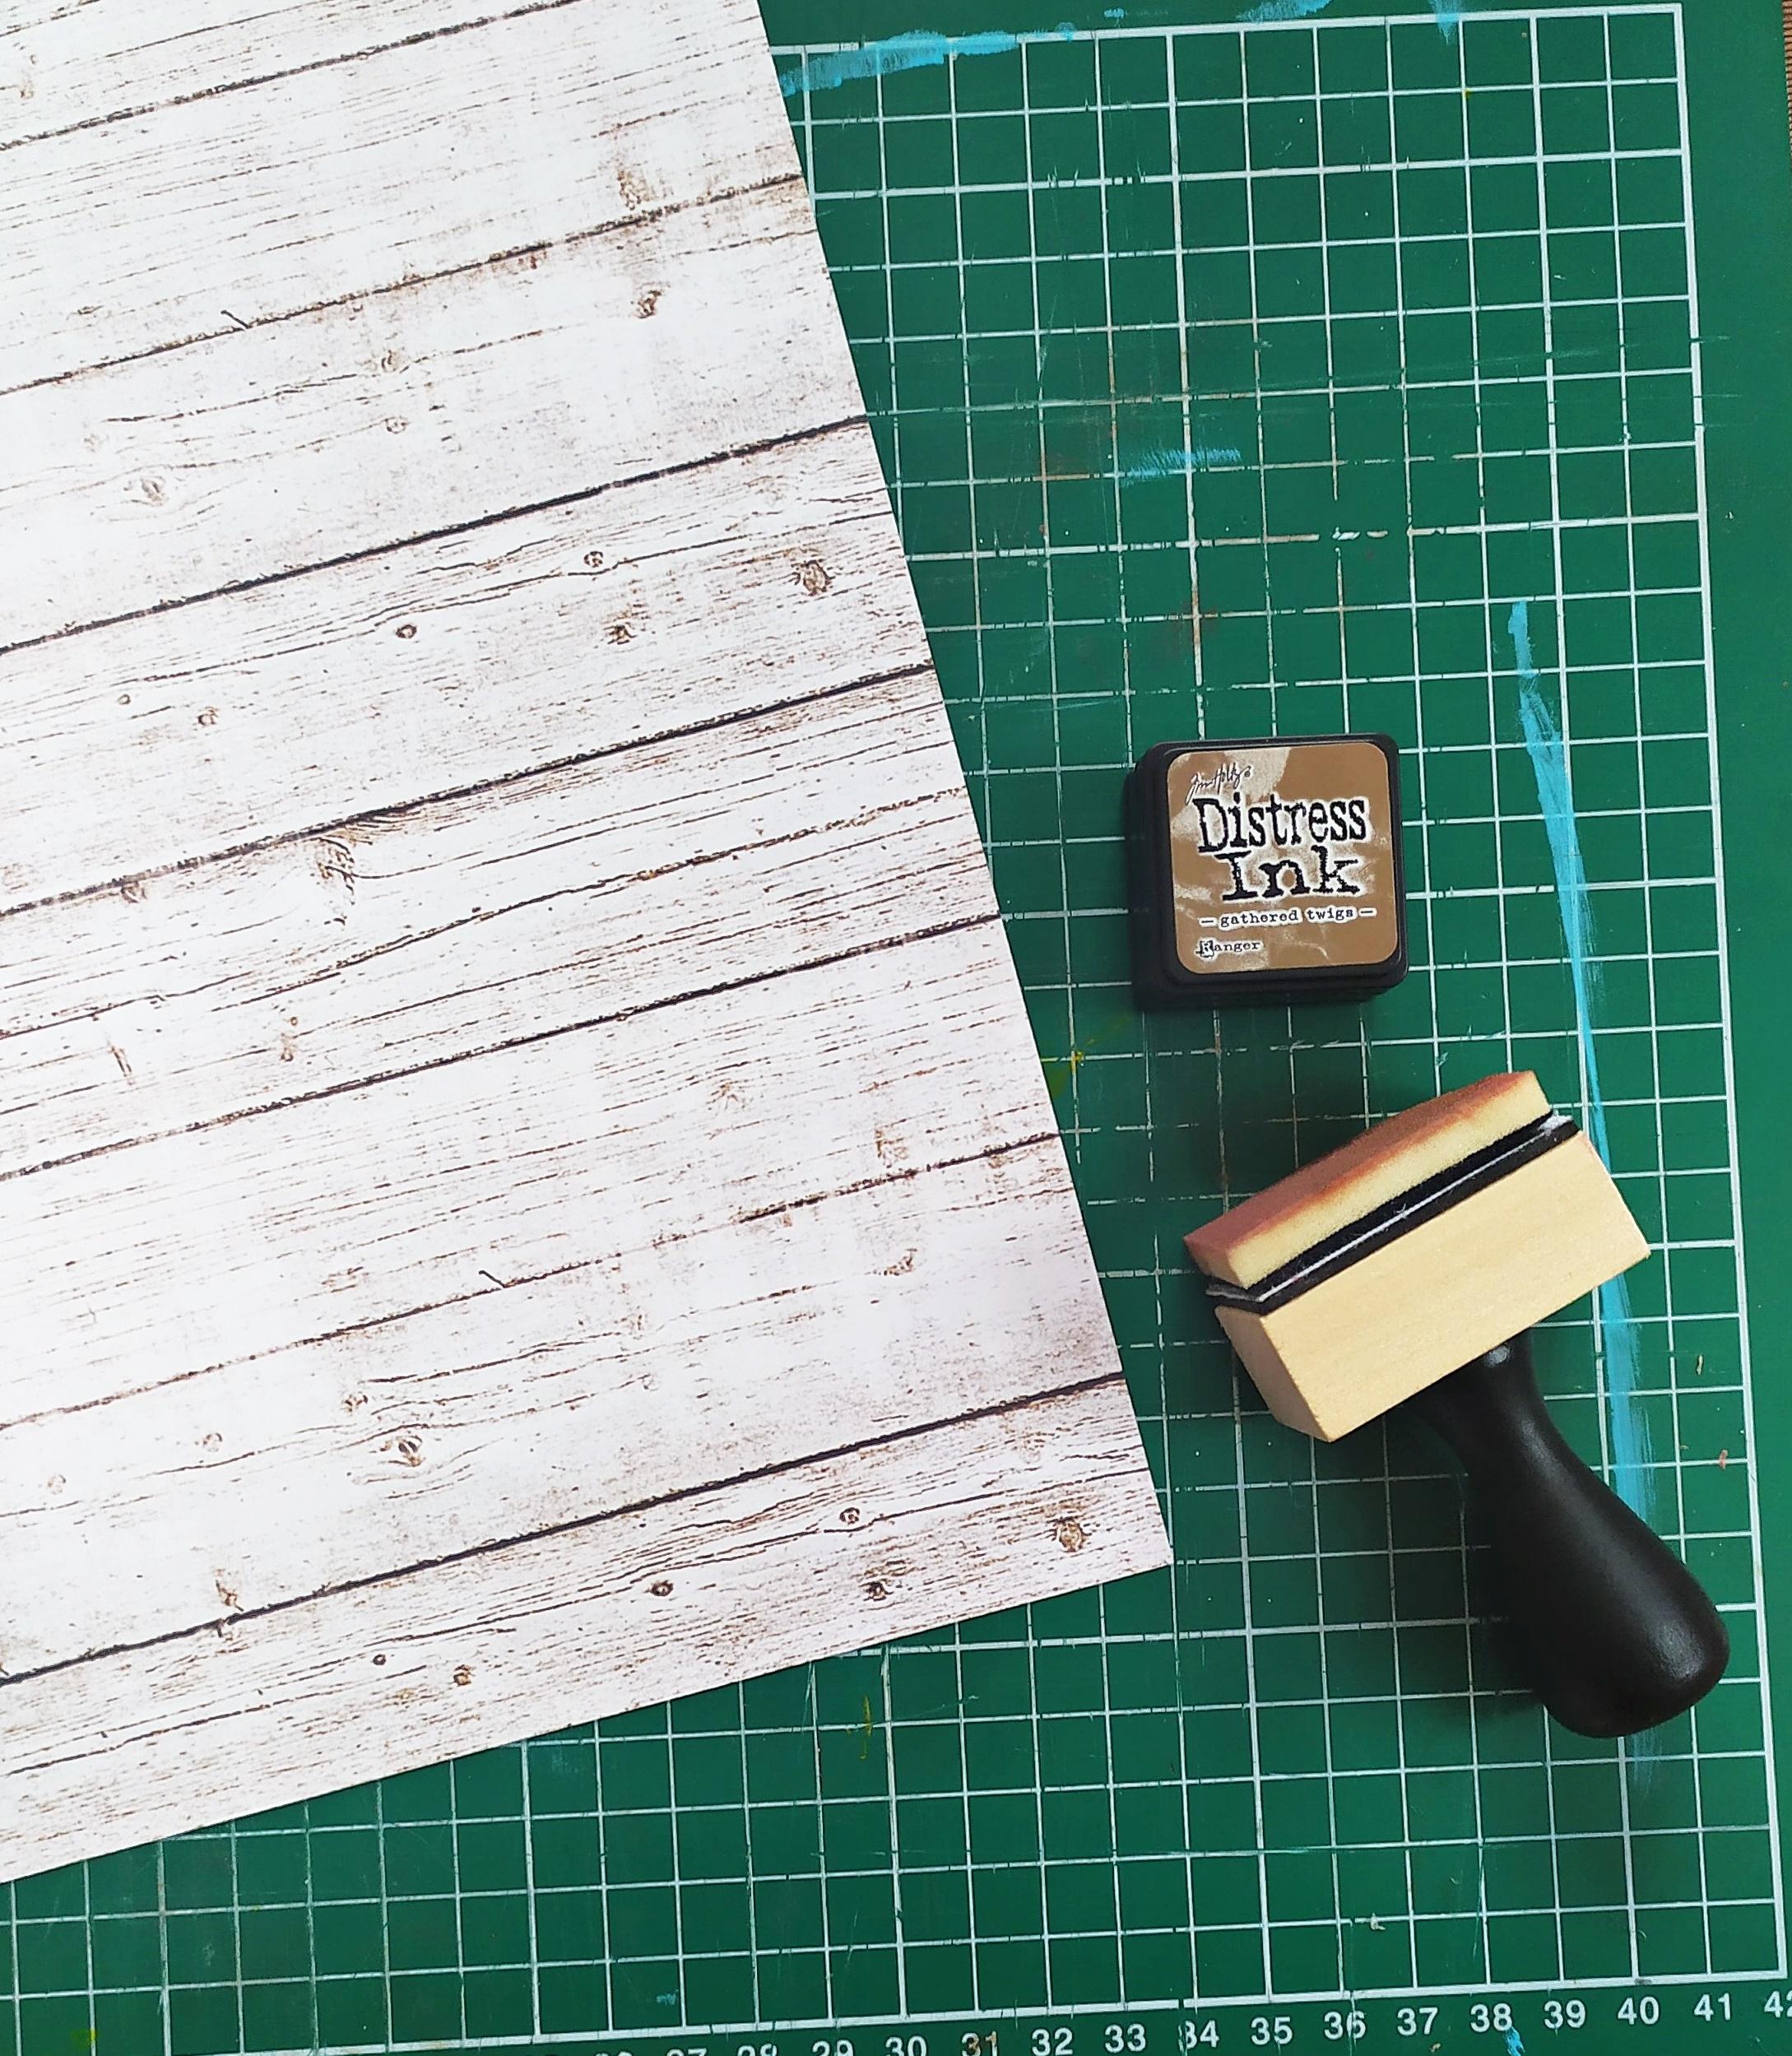
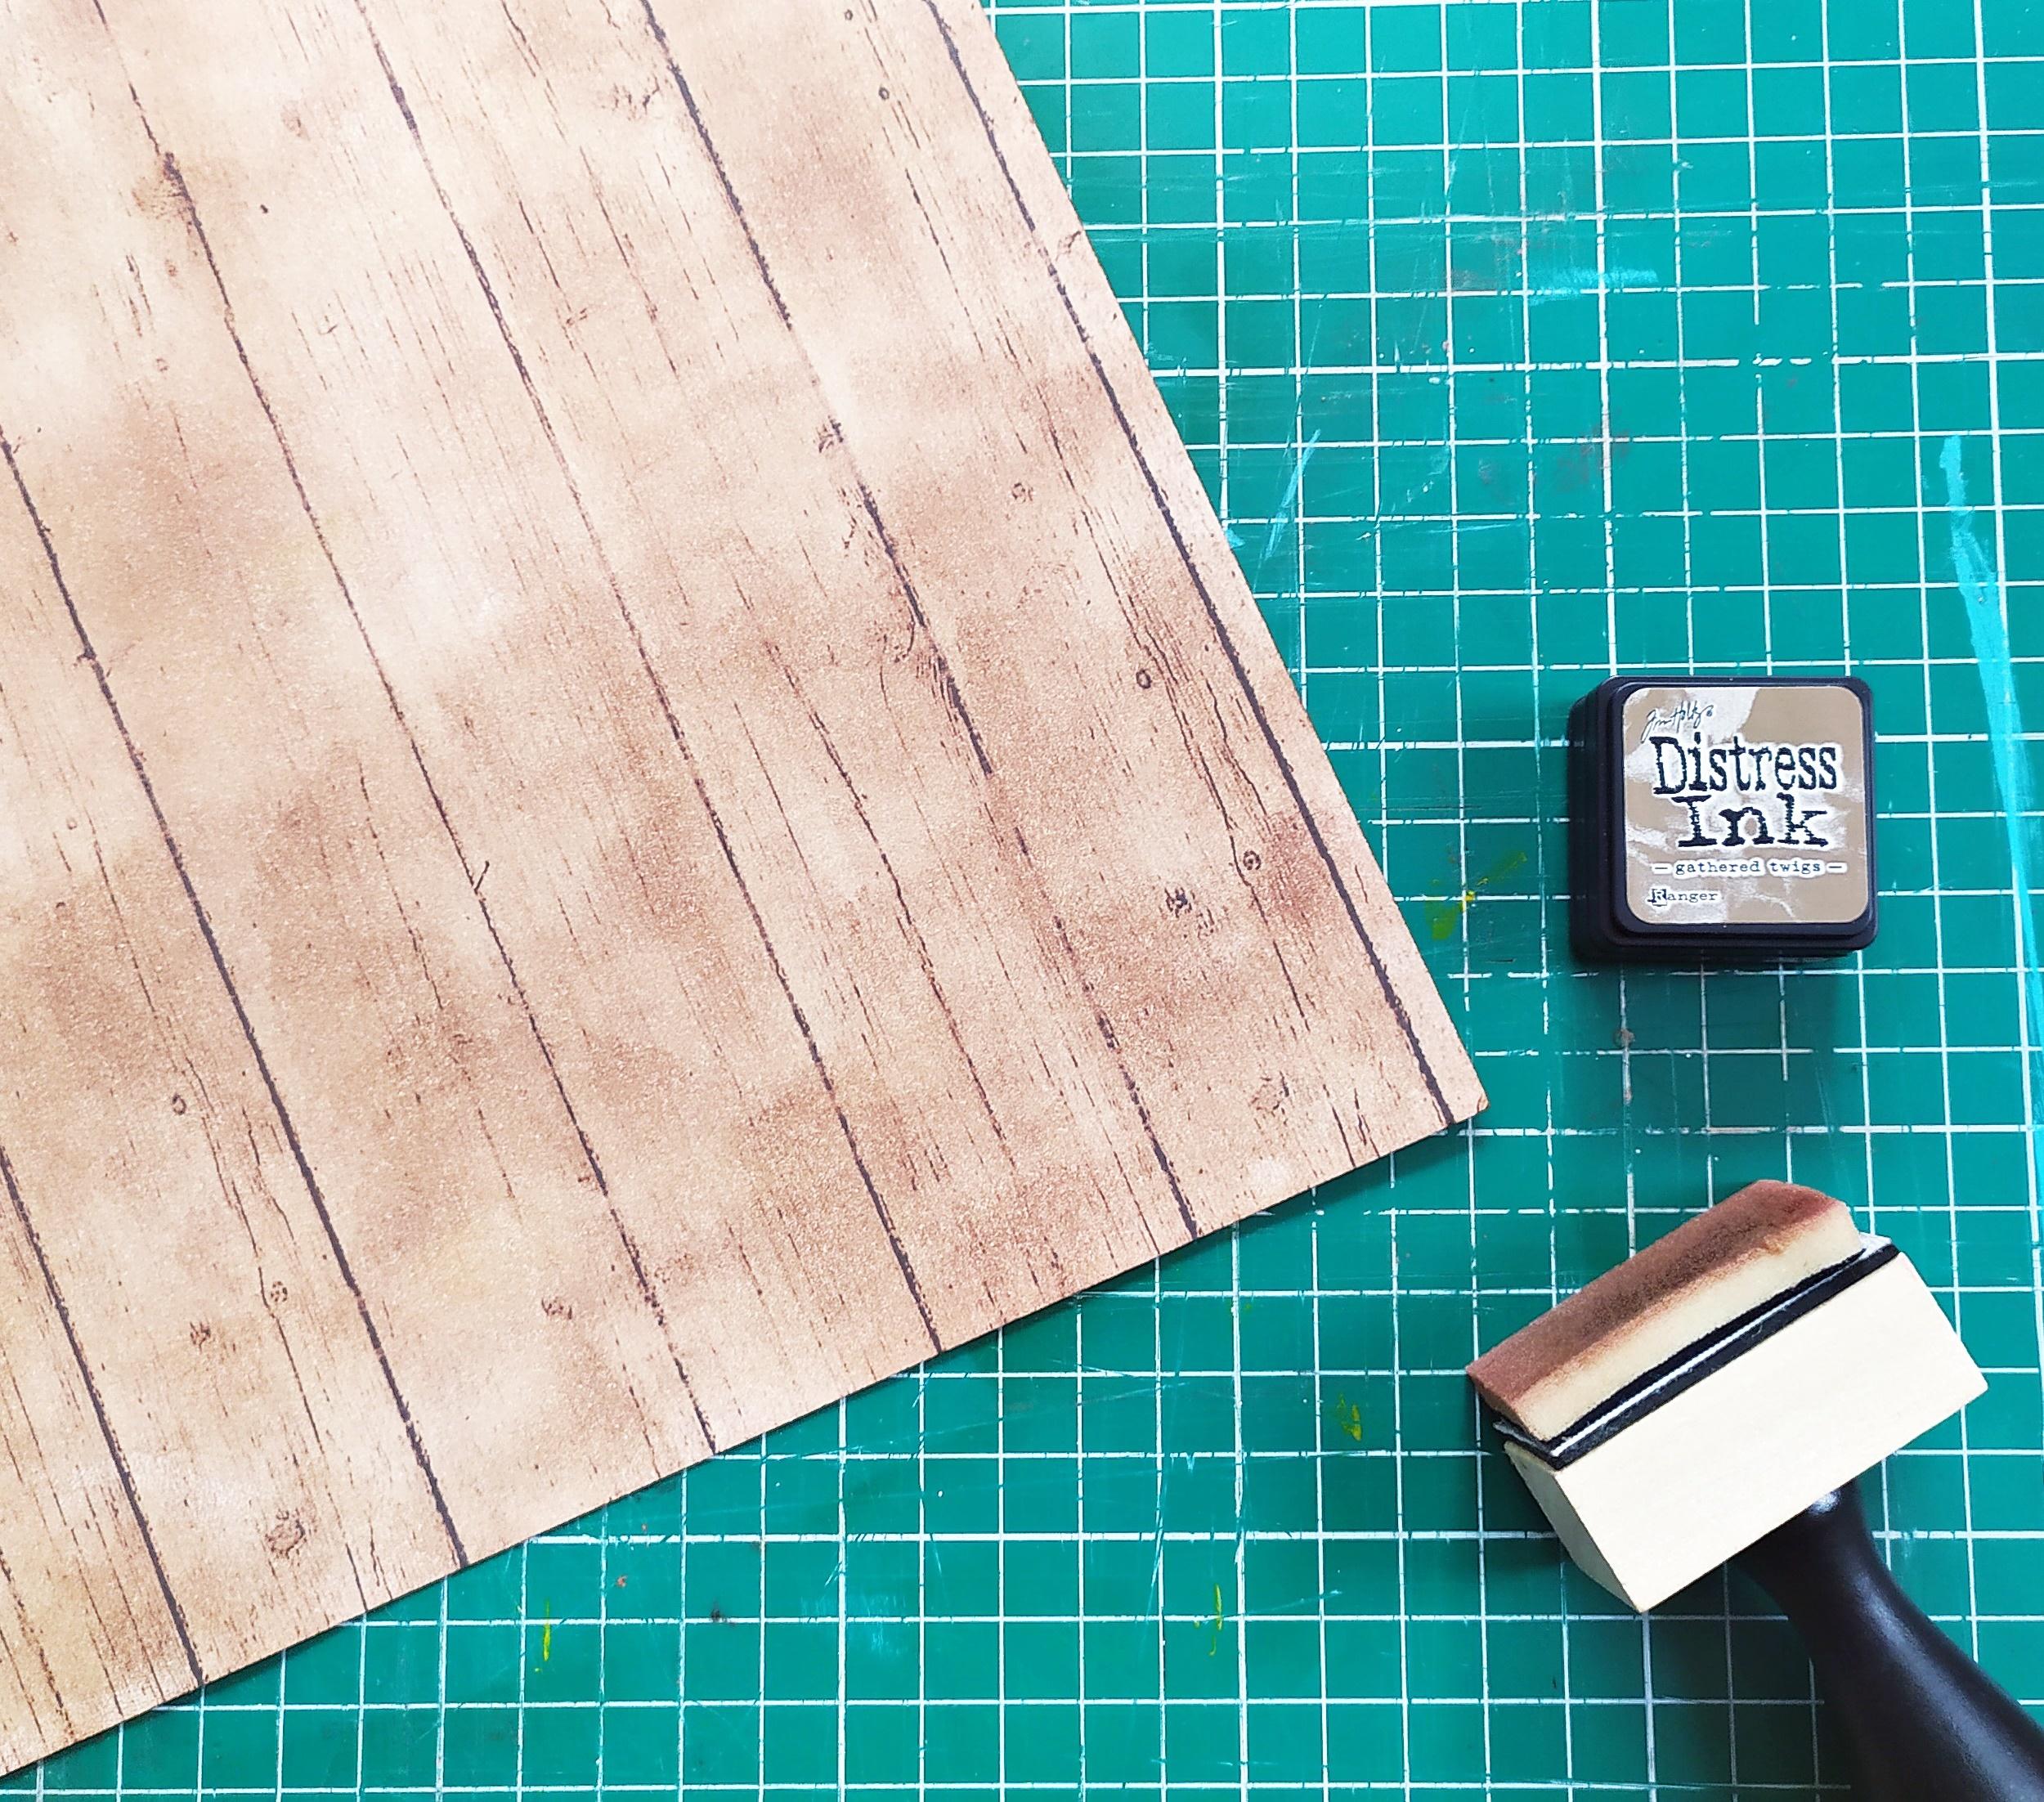
To make the keyboard cover distress some paper with brown distress ink using an ink blending tool.This way it looks more vintage.Cover piece 3. and piece 4. with this ''wood paper''.Attach the tiny piece on top of the keyboard lid piece.
Cover Everything Up

Cover everything up.Use some distress ink if you want to create a vintage effect and make the paper stand out.
A couple of important steps,again:
- 1.Cut each designer paper about 0.5 cm smaller in width and length
- 2.Apply glue evenly
- 3.Smooth it all out with a bone folder
When covering the legs,trace their shape onto the designer paper first.Then,cut the paper slightly smaller.Check everything out as you go - put the paper onto each leg to see how much you need to cut.
To balance the dark brown distressed wood effect paper on the keyboard lid,cover the box lid itself with the same paper,too.
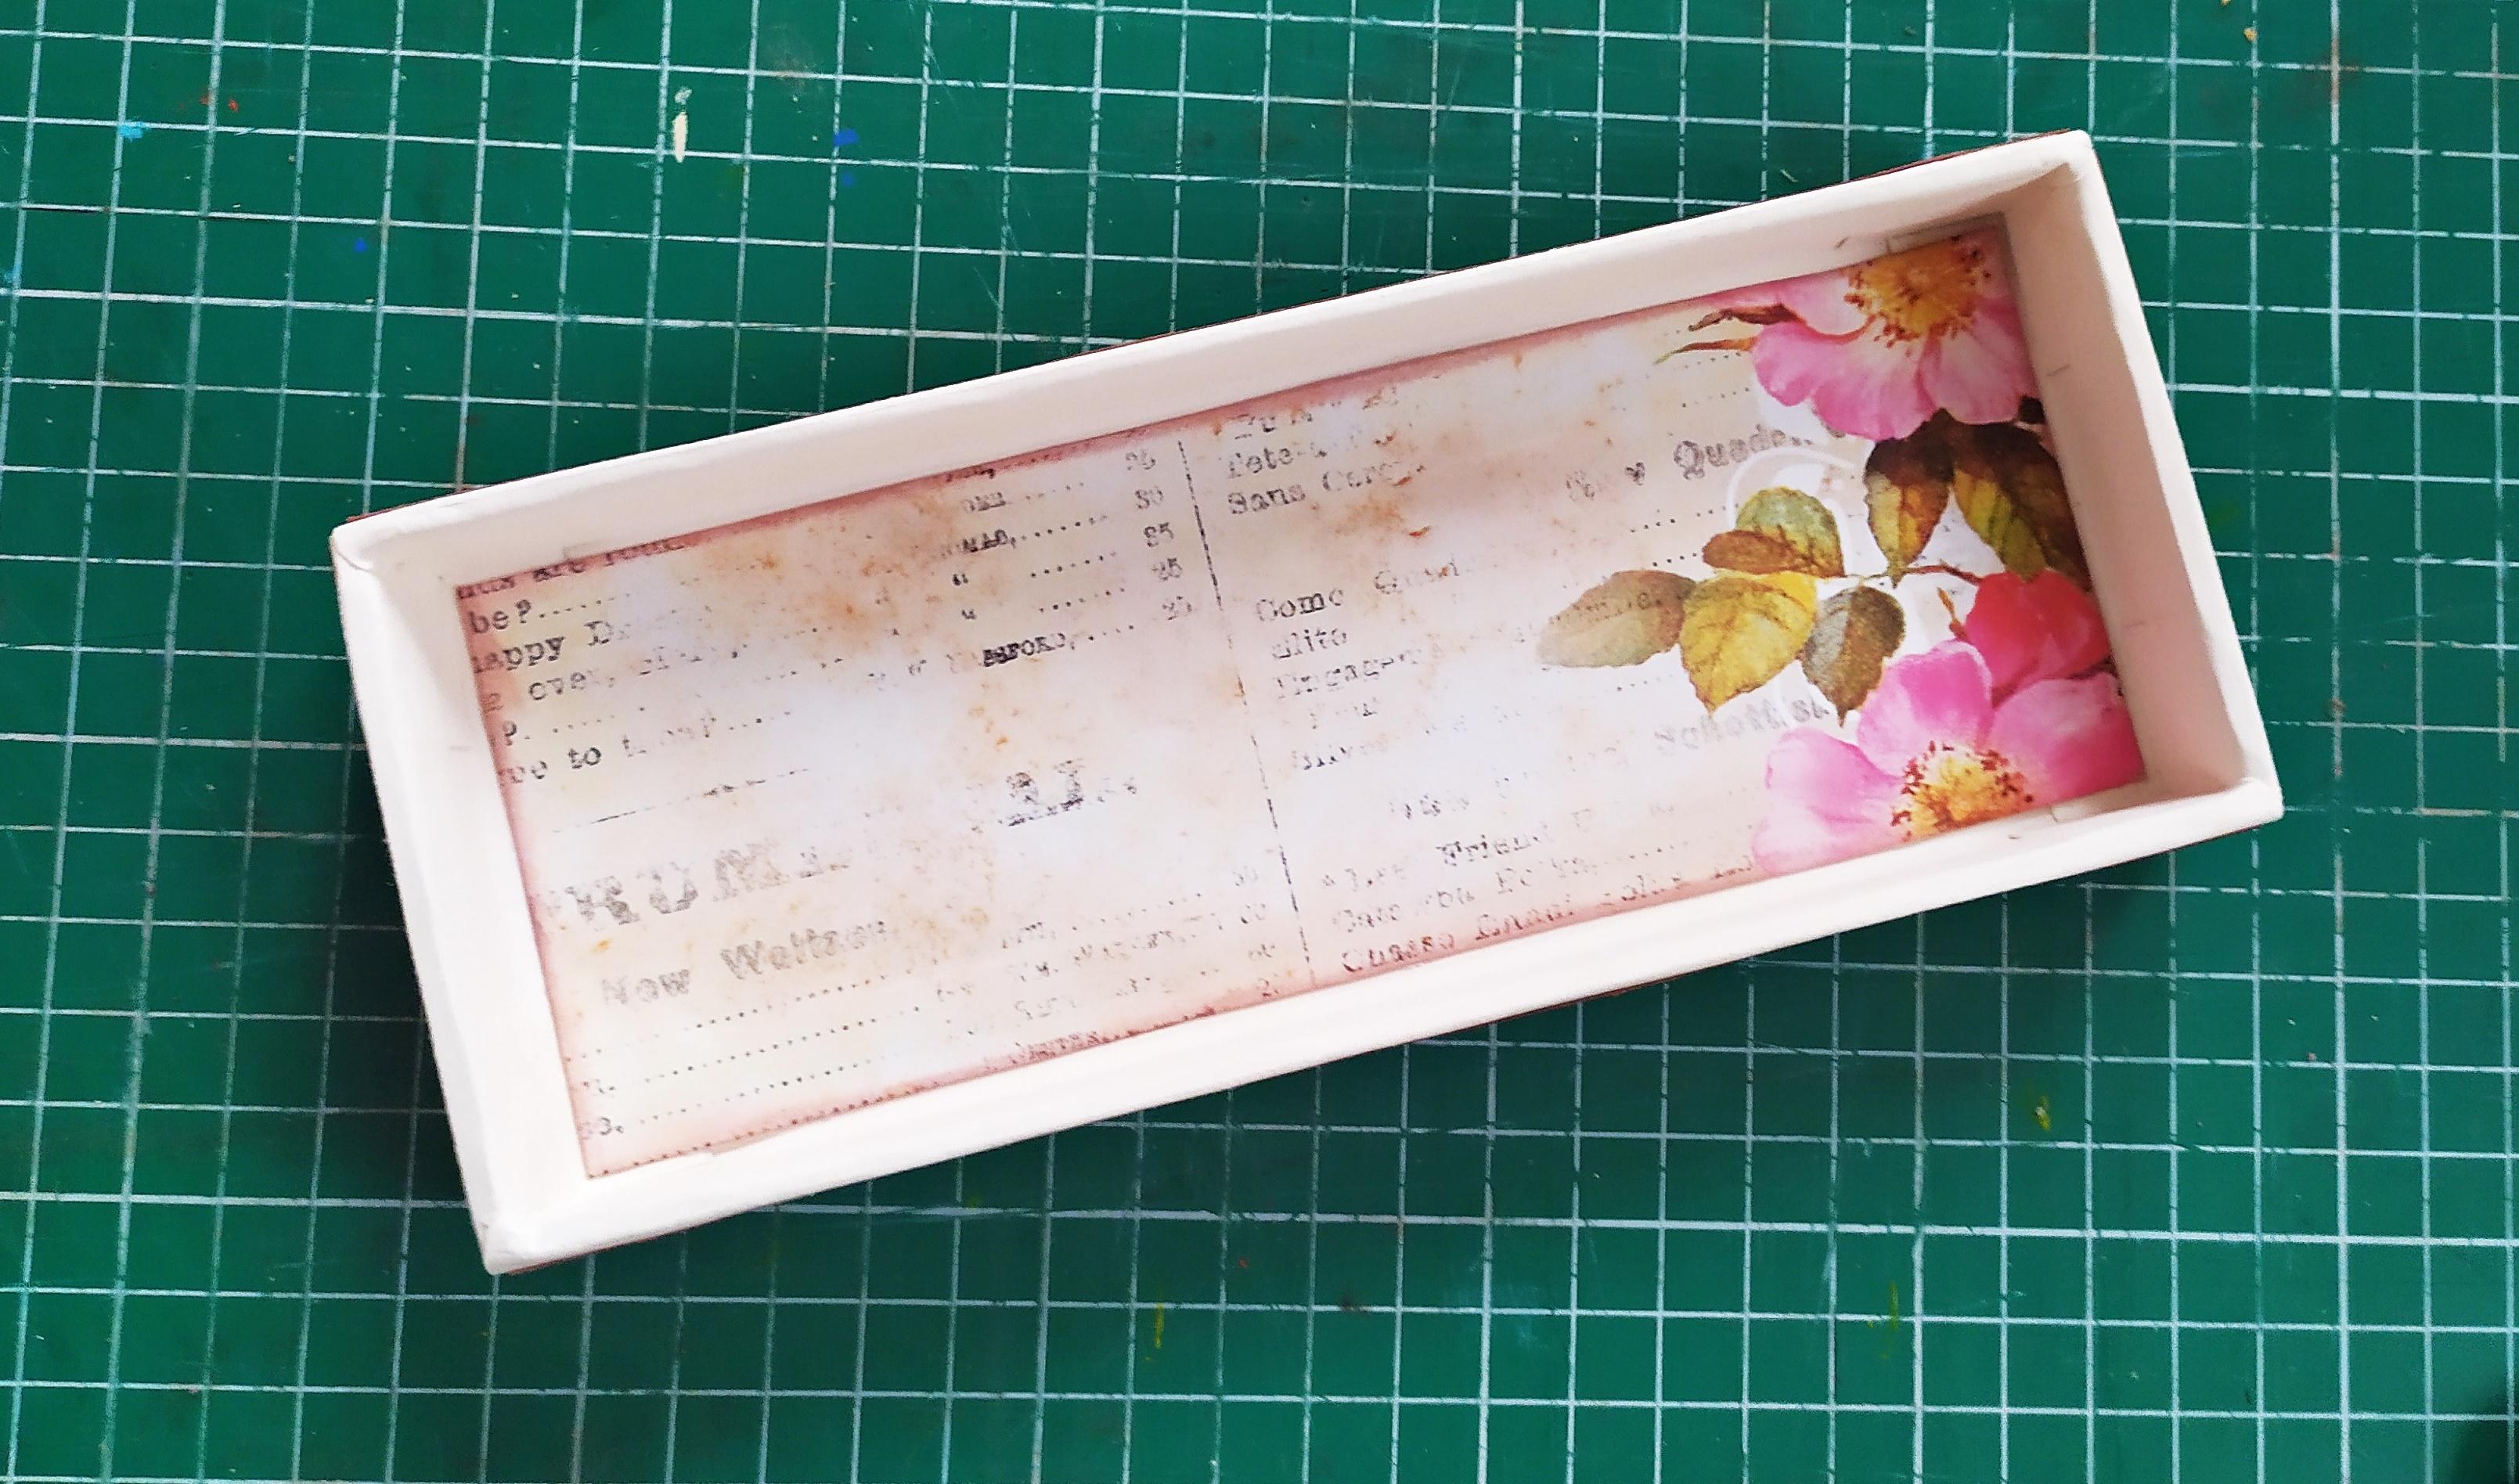
Cover the outside of the box,the box's and the lid's insides.
Assemble the Piano
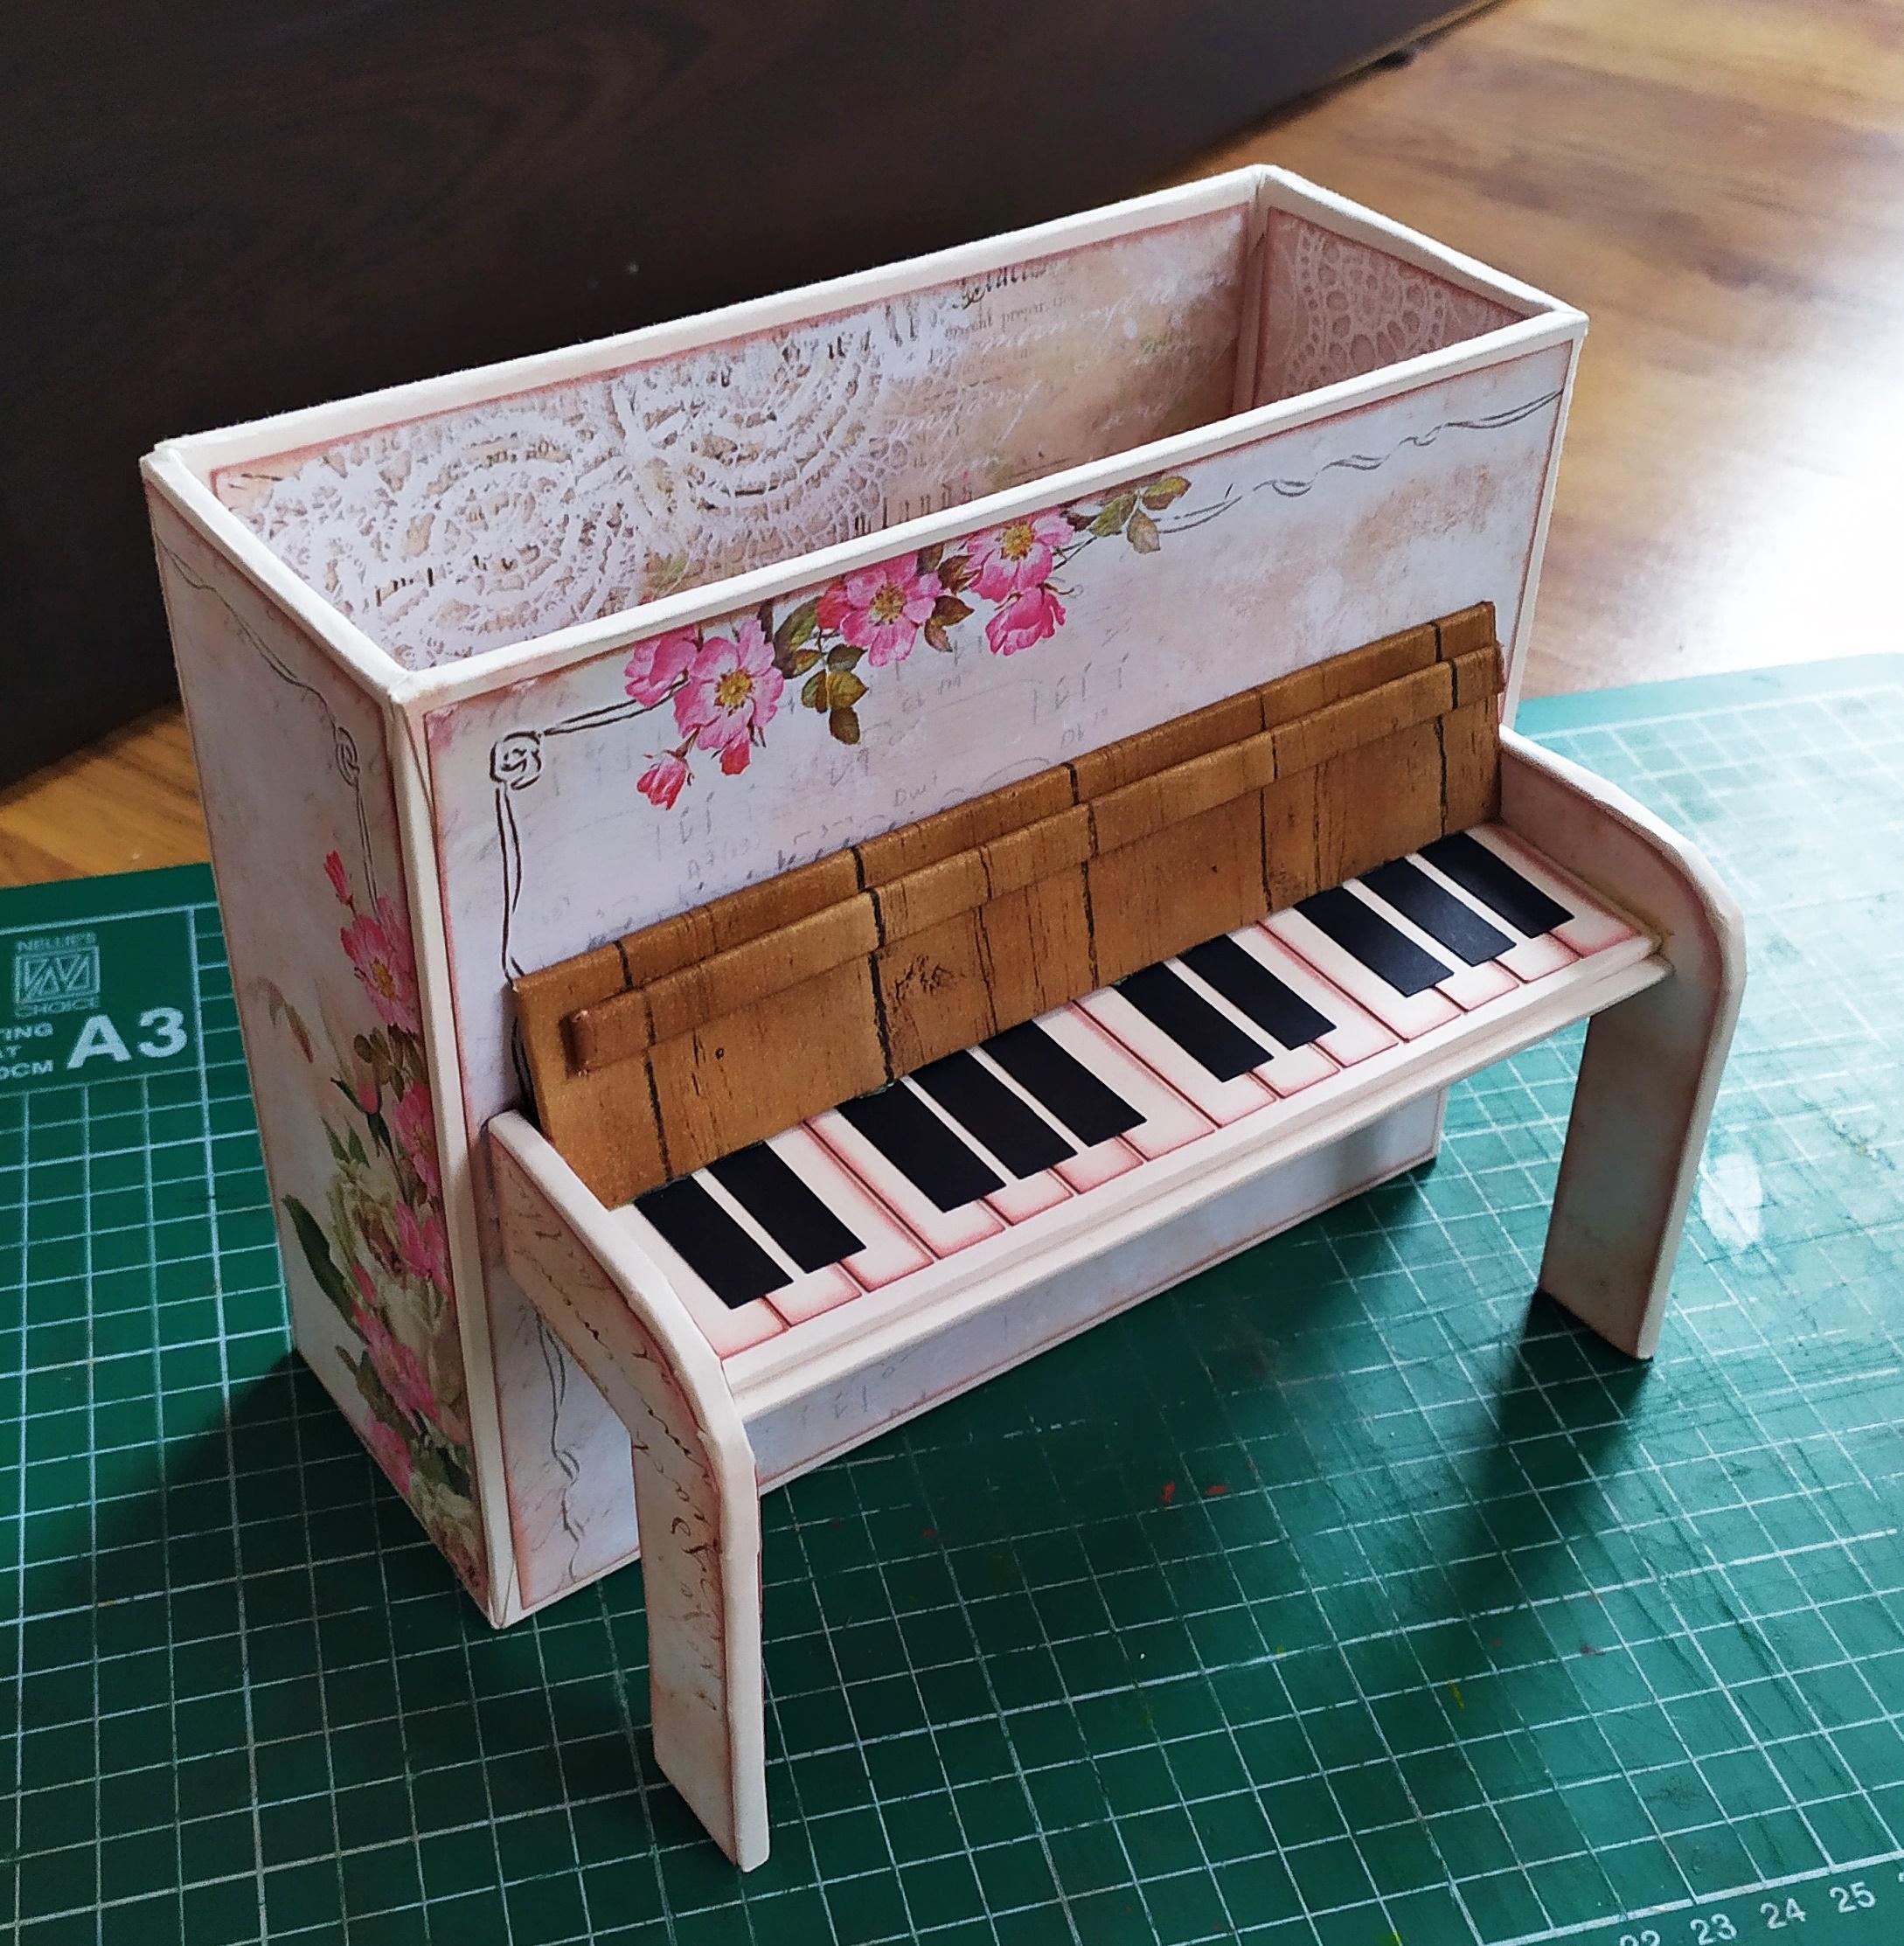
Once everything is dry,take the first leg of the piano and mark where you need to attach it to the box.I would highly recommend using hot glue for this step but be careful to not overapply it - it will leak out the sides and look bad.Glue the second leg to the other side.Make sure the distance between the two legs is enough to insert the piano's keyboard and its lid.Gently glue the piano keyboard first.
Lastly,glue the keyboard lid at an angle so that it looks more realistic.
Flip Through Your Creation


After 21 Steps,countless hours,a lot of cutting and folding and gluing - the album and box are complete!
I am beyond happy with how everything turned out,I hope you like it,too! This project was a labour of love and patience and I'm beyond thrilled to share it with you! I hope I got you inspired to try to create something,anything with paper!
Thank you for reading or even scrolling through this Instructable!
Happy crafting!