Rocket's Command Center -using Spark Core
by CJA3D in Circuits > Microcontrollers
3606 Views, 31 Favorites, 0 Comments
Rocket's Command Center -using Spark Core
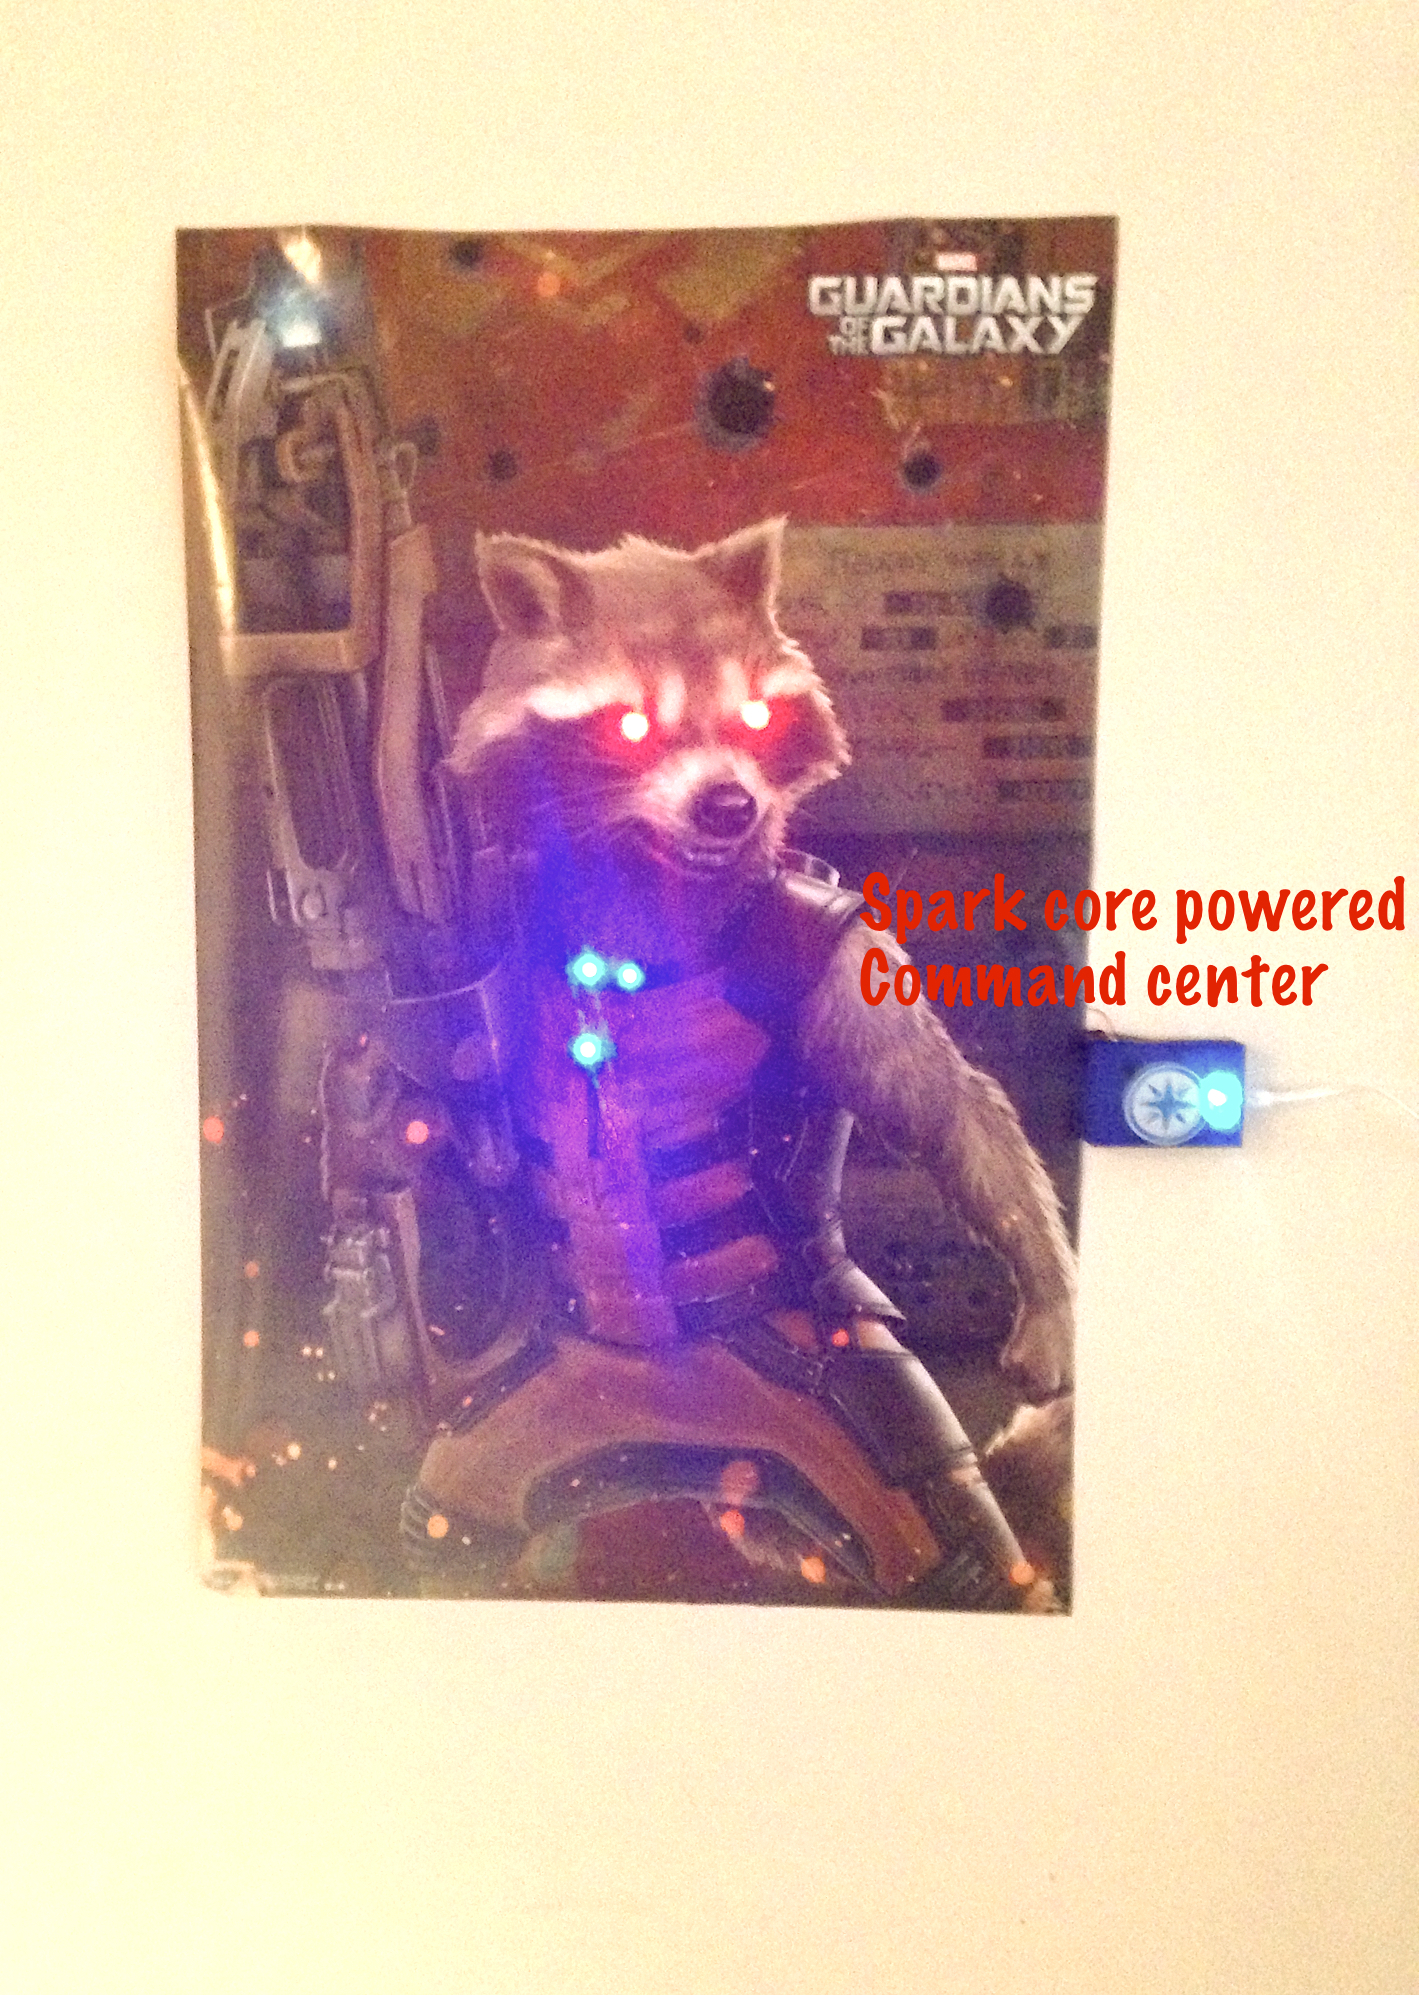
Add life to any old poster at home using a Spark Core, which is postage stamp-sized Wi-Fi module for interacting with physical things and Neo-pixels which are tiny smart LED's.
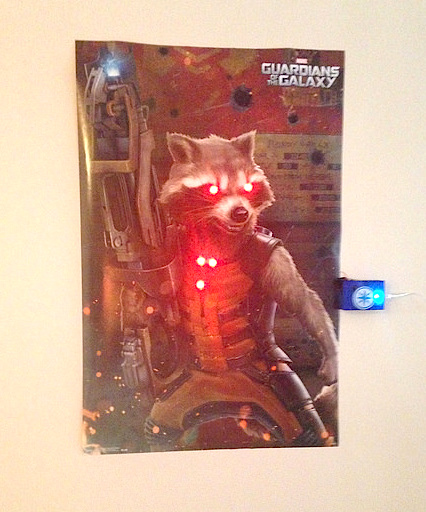
In my case its a poster of my favorite character "Rocket" from the movie Guardians of the Galaxy
In addition add a piezo buzzer to the circuit, if the poster is in your teenager room so that you can summon him/her down when the dinner is ready.
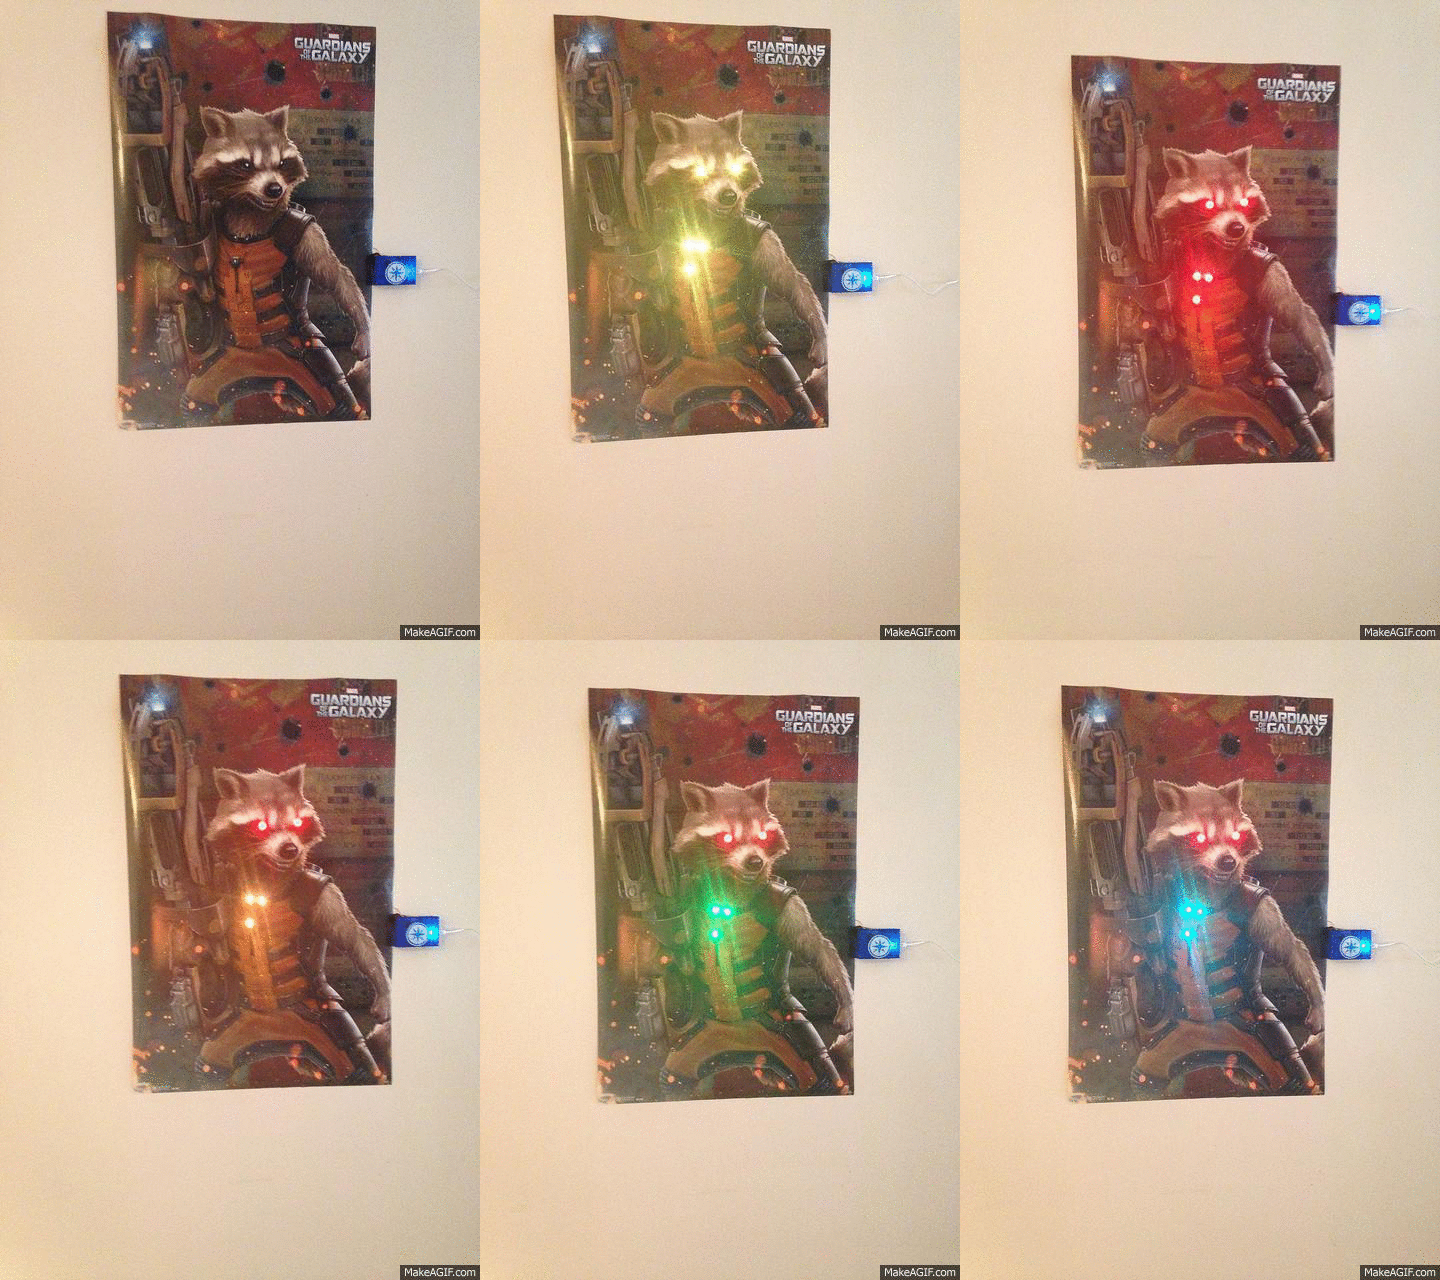
As part spark powered command center code your teen will has 3 warning before he/she is Grounded !!
#Warning 1 - NeoPixel LEDs on Rocket are yellow and there is one beep
#Warning 2 - NeoPixel LEDs on Rocket are Red and there are two beep
#Warning 3(final warning) - Rocket's eyes are Red and other 3 NeoPixels below his head keep changing color and the buzzer keep's beeping continuously ..
#And you can Reset at any point in time, if he/she is at the dinner table.
Things You'll Need
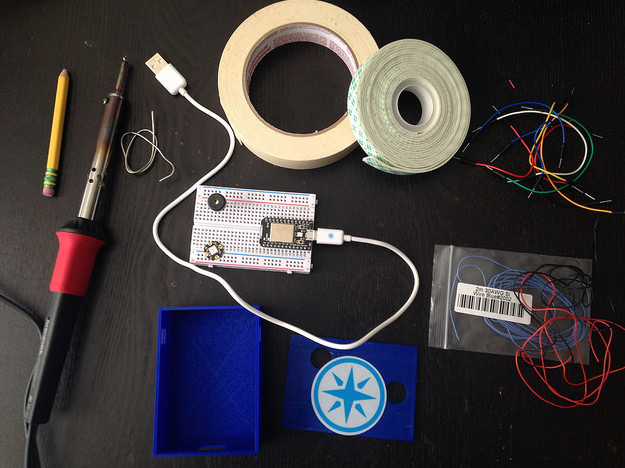
Here are the list of things you'll need to complete the build
- Spark Core
- Breadboard , which come if you buy a spark core
- NeoPixels
- Micro USB, which come as part a spark core package
- Bead boarding wire
- Piezo buzzer
- Solder Iron and solder
- Silicone Cover Stranded-Core Wire - 26AWG -Red,Black and Blue
- tape
- double sided foam tape
- scisorrs
- 3D printer if you plan to build an enclosure for your circuit
- 3D printing filament , I am using HATCHBOX 1.75mm blue PLA
Selecting and Making Holes for the Neo-Pixels
.jpg)
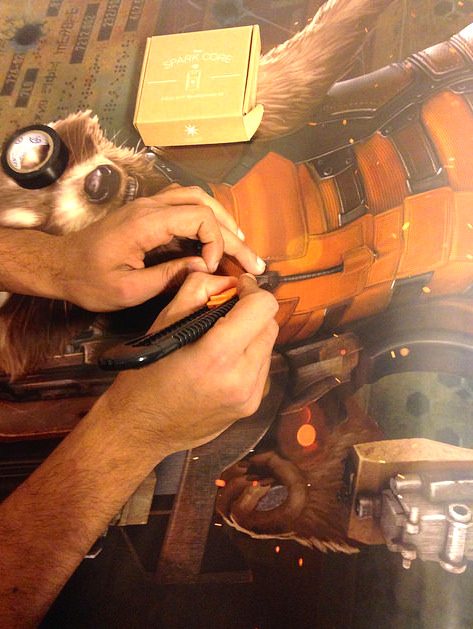
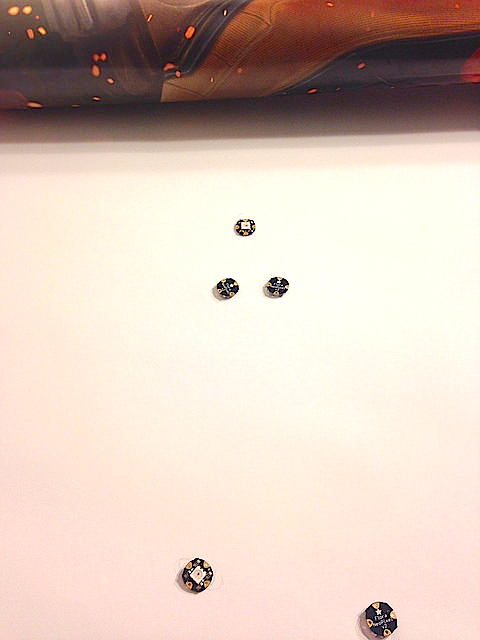
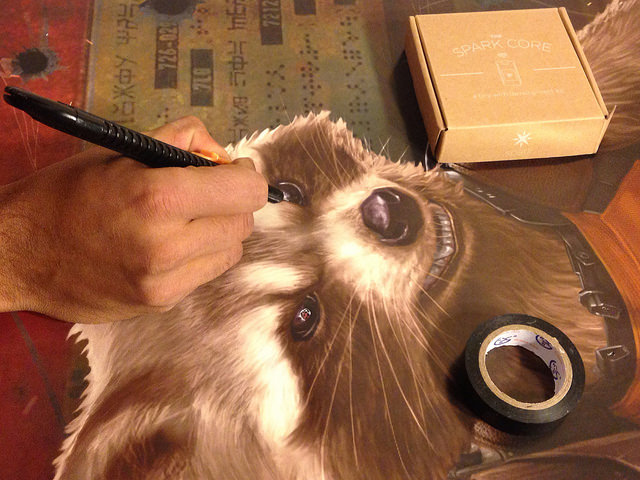
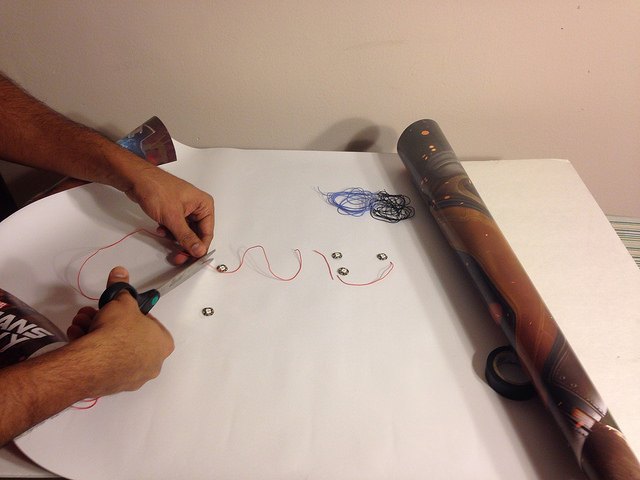
Select the spots on the poster that you want to add the NeoPixels too, in my case it is the eyes and the neck brace just below Rocket's head
Cut/poke holes to the size of the NeoPixels using a cutter or a sharp knife
Please the NeoPixels over the holes you cut to check if they a modified.
Tip: It is always a good idea to go for the eyes when you want to add NeoPixels
Soldering the Neo-Pixel
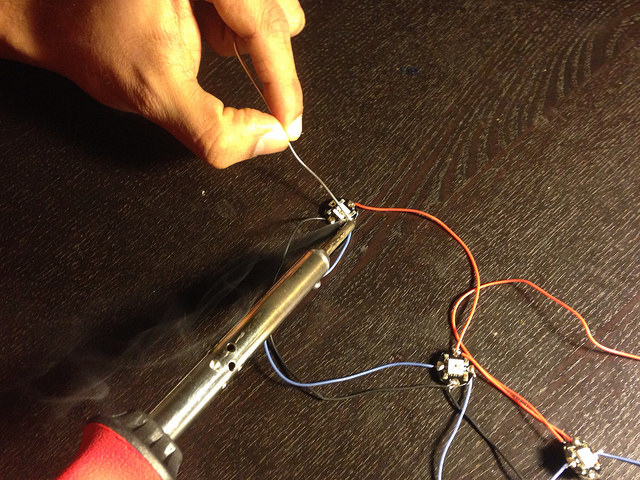
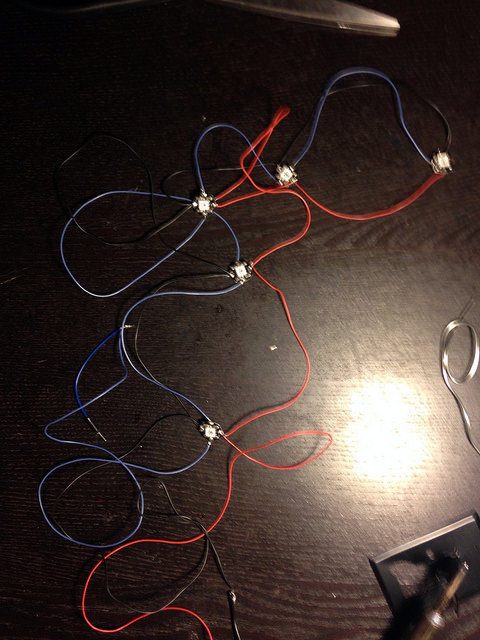
Cut wire by approximating the distance between each NeoPixels
Solder all the +ve's of the NeoPixels using red Silicone Cover Stranded-Core Wire - 26AWG wire (Note: this wire is more flexible and thinner than normal bread boarding wire)
Solder all the -ve's of the NeoPixels using black wire
And follow the arrow marks on the NeoPixels to Solder the blue wire as shown in the picture.
Uploading Code to Spark Core to Test Soldered NeoPixels
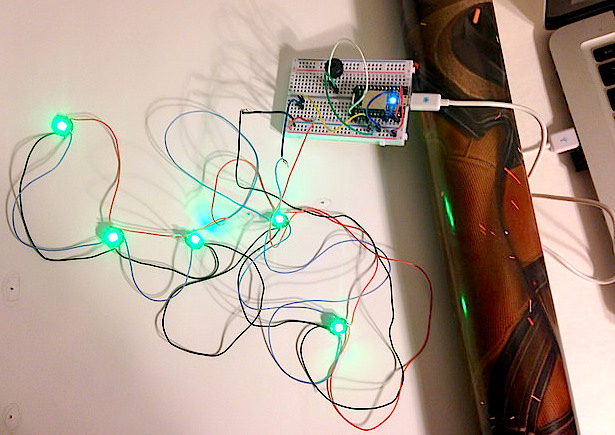
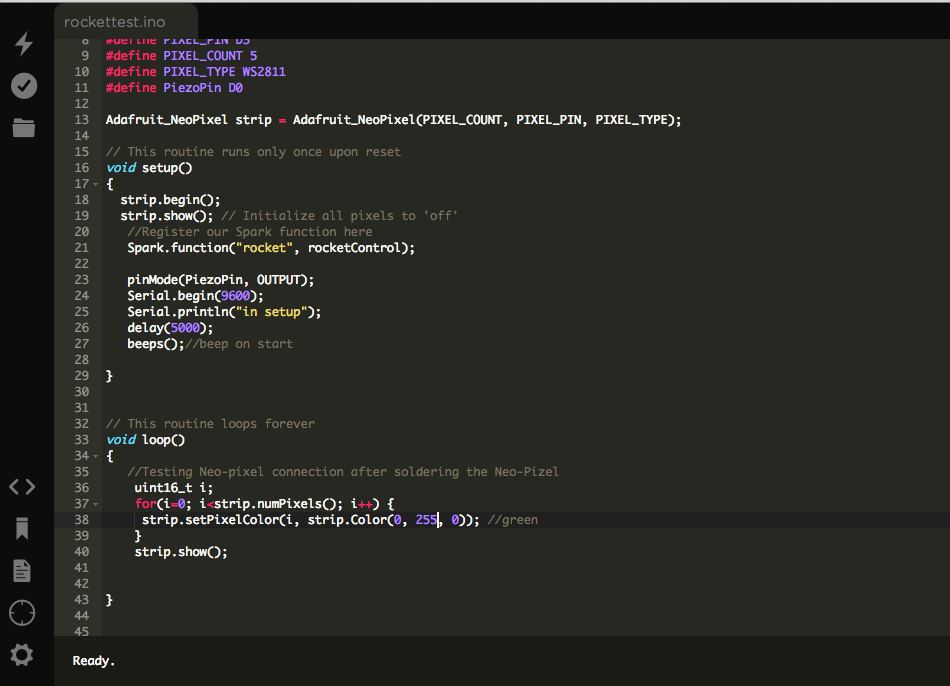
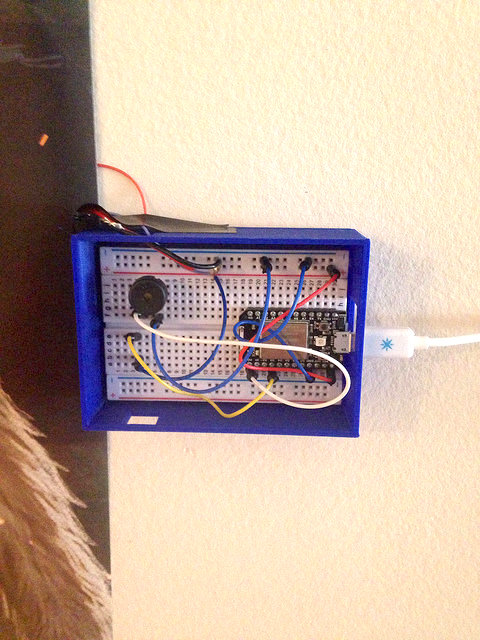
Connect the +ve red wire of the NeoPixels to the +ve rail of the bread board and the black wire to the -ve rail of the bread board.
Connect the blue wire to the D4 pin of the Spark Core.
Follow the documentation on the spark.io web site to setup and claim your spark core with your WiFi router at home http://docs.spark.io/start/
Once you have successfully claimed you core , use Web IDE https://www.spark.io/build
- Create a New App
- Copy and paste the code in the web IDE
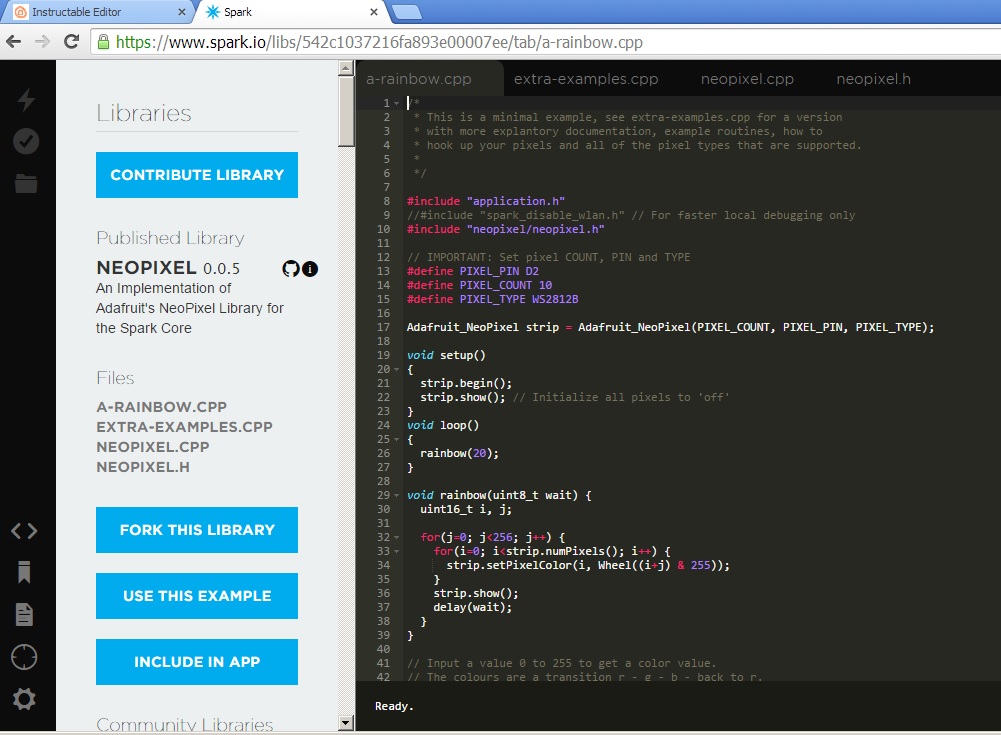
- Include the NeoPixel library as shown in the screen shot above
- Use flash button to upload the code to your core (flash button on the top left hand side of the web IDE)
Downloads
Completing the Circuit- Adding a Pizeo
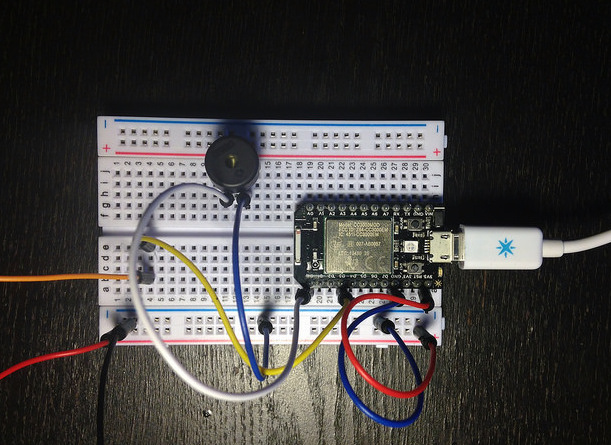
Connect the one pin of the Piezo to D0 pin of the spark core as shown in the picture above
And connect the other pin to ground rail
Inactivate the code in the loop section of the code that you use to test the NeoPixel library
Tape the Neo-Pixels to the Poster
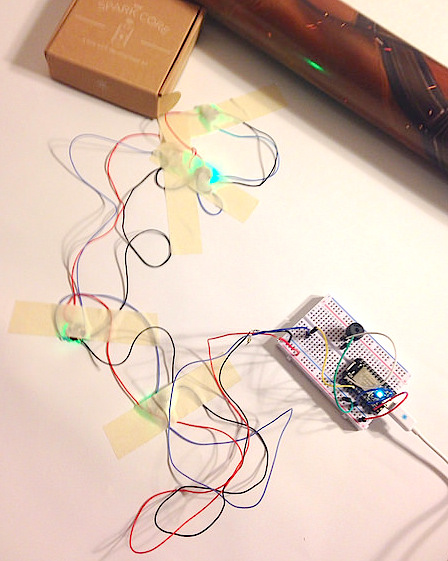
Adjust the NeoPixel's to fit the holes you carved out
Using electrical or normal tape stick the NeoPixels to the poster
Connect the Spark core USB cable to you laptop to check for loose connections and validate that all the NeoPixels light up
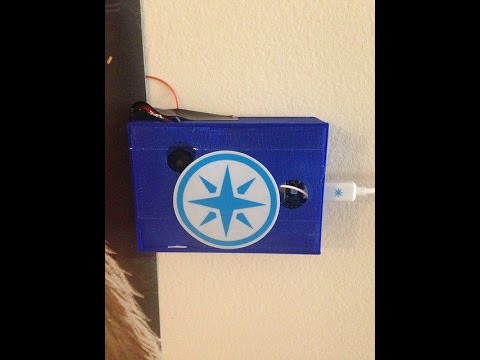
3D Printing the Spark Circuit Enclosure
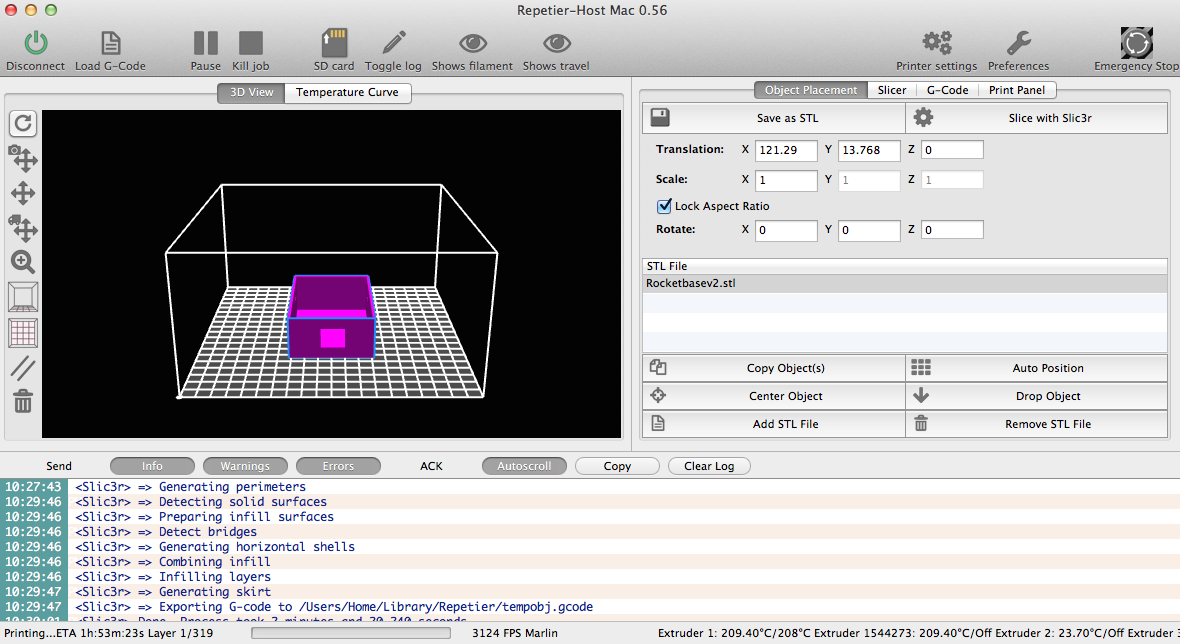
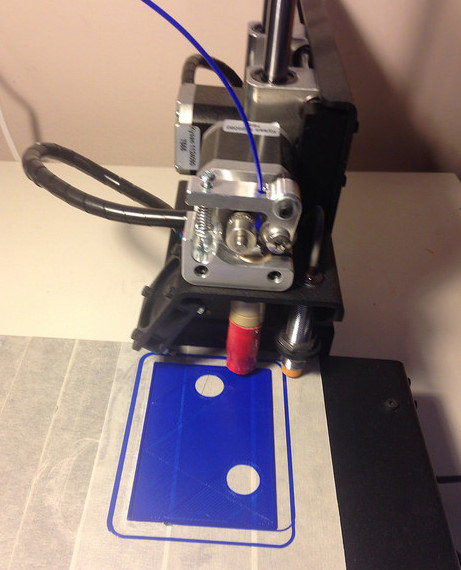
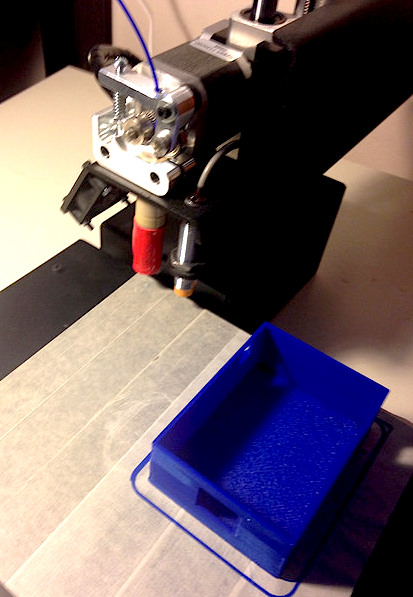
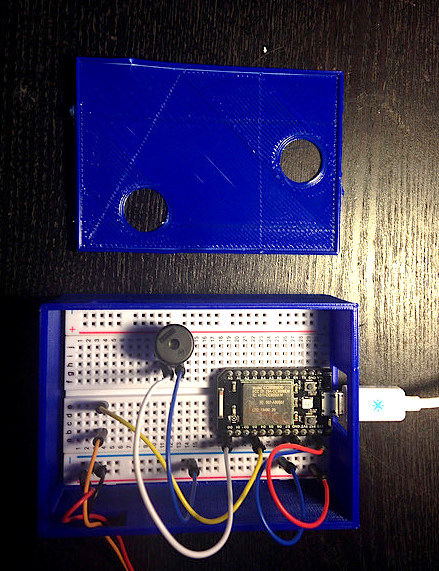
Download the 3D printing software that you printer supports, in my case i am using the Printrbot Simple Metal which use Repetier-Host as a software to
- Slice the STL files attached, which basically means cutting the part into various layers
- And send commands to the 3D printer while printing
Download the STL files one by one attached and load it in your printer software and slice the files.
Sticking the Poster Back to Wall
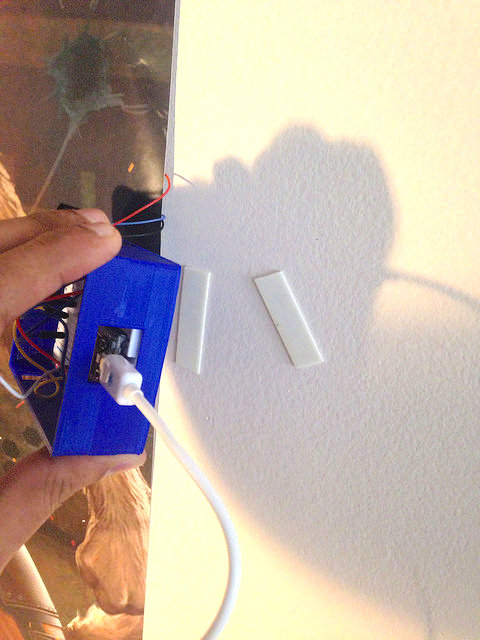
Once you done 3D printing the files attached in the previous step , use double sided foam tape to stick the poster pack to wall, here you may have to use two layer of double sided foam tape to accommodate for the added thickness because of the Neo-Pixels added
Use another two strips of double sided foam tape to stick the 3D Printed enclosure to the wall.
Sending Commands to the Spark Core
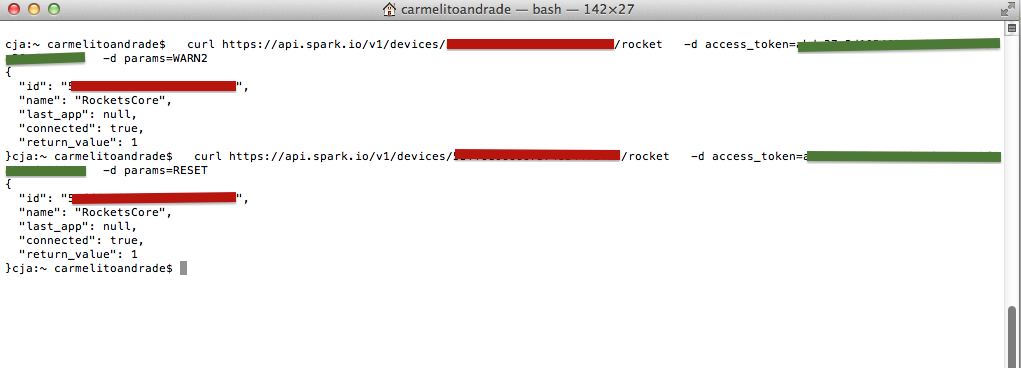
Sending commands to the Spark core can be done in multiple ways
- using the curl command below from your command prompt on windows or Terminal on the MAC as shown in the picture above
curl https://api.spark.io/v1/devices/YourCoreID/rocket... \
-d access_token=YourAPIToken \ -d params=WARN2
-Or you can make a HTTP POST call using JQuery and AJAX, which is currently a work in progress.. I will post it up as soon as i am done..
Here are the values of the "params" parameter above
- params=WARN1 for warning 1 - NeoPixel LEDs on Rocket are yellow and there is one beep
- params=WARN2 for warning 2 - NeoPixel LEDs on Rocket are Red and there are two beep
- params=WARN3 for warning 3(final warning) - Rocket's eyes are Red and other 3 NeoPixels below his head keep changing color and the buzzer keep's beeping continuously ..
- params=RESET to Reset at any point in time, if your teen is at the dinner table.
Future Enhancement
- Add another Spark core which will send messages via Wi-Fi to the Spark core attached to Rocket, instead of using an html page on a laptop/tablet. Basically this spark box will be placed in the kitchen with 4 buttons -- 3 for the warning’s and one for reset.
- Add a Micro servo below rockets gun to move the end of the poster up/down
- Add a PIR sensor to detect movement, which will basically flash the NeoPixels a couple of times when someone enters the room
- Add an Monochrome OLED graphic display to the Spark Core box in the kitchen , which will show the warning sent and if motion is detected by the Rocket’s command center Spark Core.