Rock-Paper-Scissors
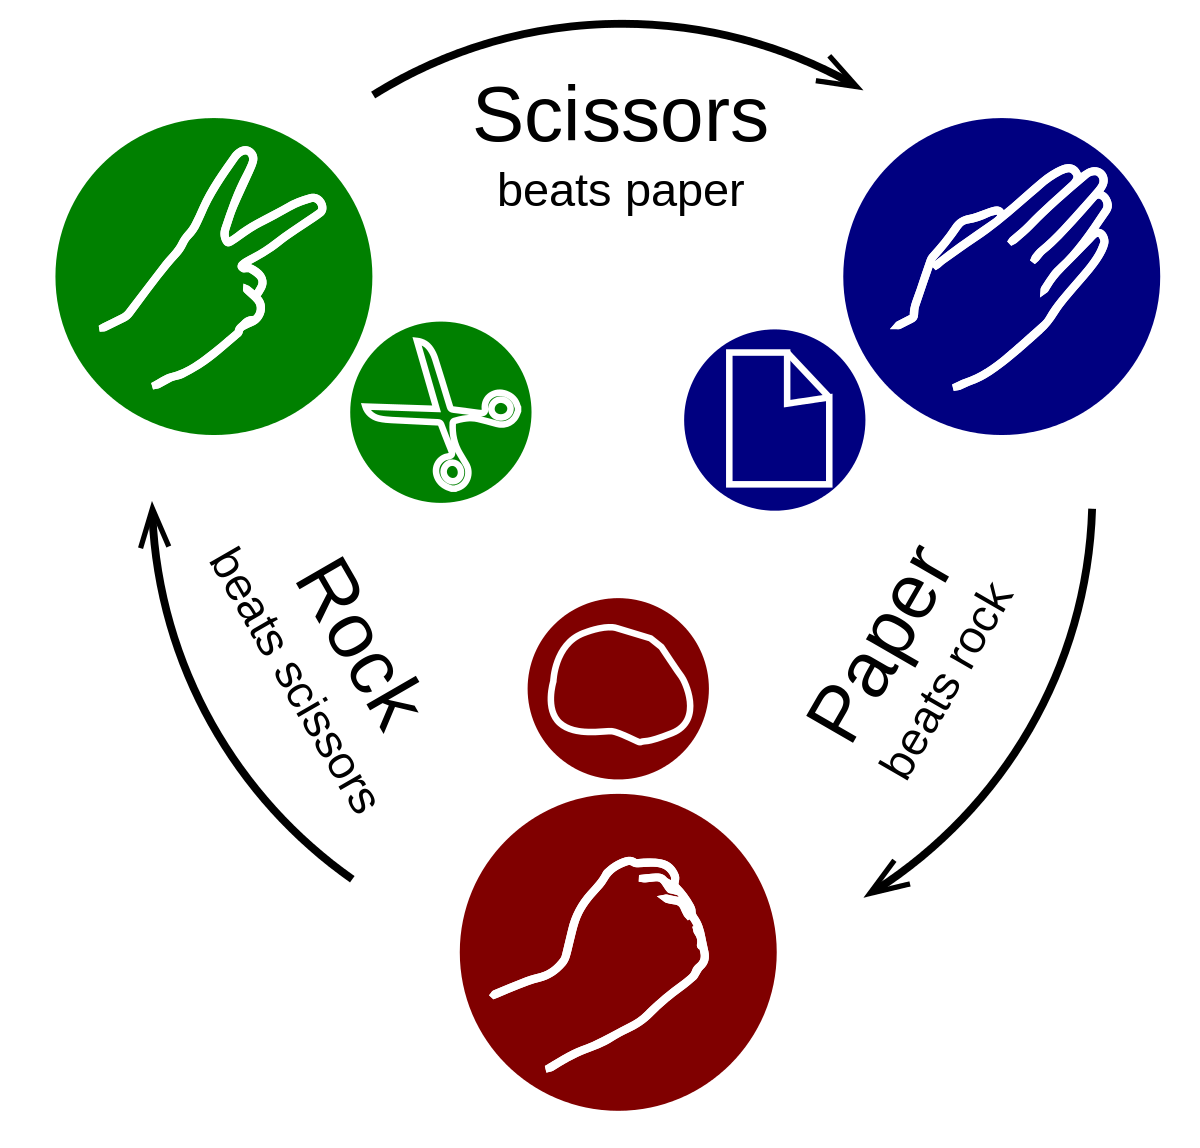
I teach a digital electronics course and our last two projects are to build the same thing twice: once with circuits and once with arduinos. The idea is to compare the pros and cons of hardwiring versus using a microcontroller.
Since we are remote learning, my students don't have access to their usual supplies but we are a 1 to 1 chromebook school. Tinkercad will let students simulate the arduino and breadboard. No supplies necessesary.
Supplies
None! :)
Join Tinkercad

You can create classrooms in tinkercad but I just had each of my students join.
Start a Circuit

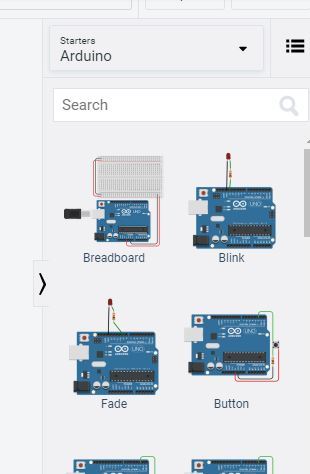
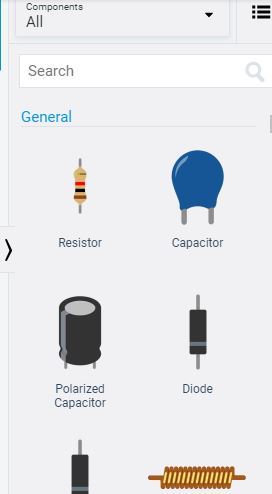
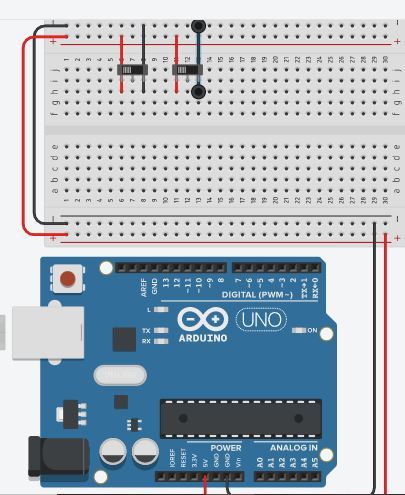
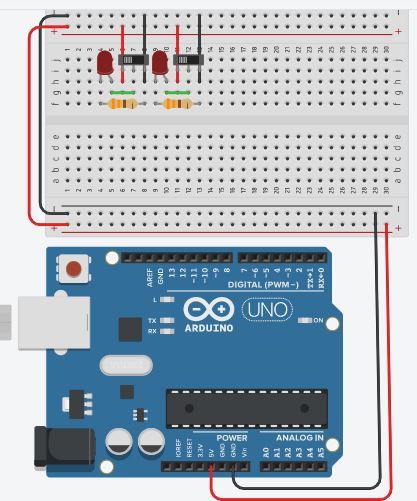
The first lesson just had the students familiarizing themselves with building a circuit in tinkercad. My students are already familiar with breadboarding but they needed to spend a little time finding components in tinkercad.
The assignment that I gave students is linked above - but here it is as well:
Our last two projects were supposed to be a toll bridge done two ways -once with a state machine and logic and once with an arduino and coding. Instead, we will revisit RPS and work that with an arduino and coding instead. To start, let's first ensure that we can connect the switches to a breadboard. This week, I’d like you to create a new circuit with the two sets of switches we will need for RPS.
Here are the steps: Start a new circuit.
Next, let’s get an arduino with a bread board
Drag the breadboard/arduino combo into the workspace on the left. Then, back in the upper right corner, change to components - all.
Let’s set up our switches for RPS - scroll down on the right and find the switches. Connect the switches to power and ground by clicking the breadboard ‘hole’ under the switch and then the ‘hole’ for power. You can change the color of the wire from the box at the right.
Let’s also add indicator lights so we know the binary count. You will need a 330 resistor or Tinkercad will throw you an error. When you drag the resistor from the component bar you will get a window where you can name the resistor and change it’s value. You can rotate the resistors using the button at the top left. There is also a trash can for any components you’d like to discard. You could also just click and hit delete.
Start the simulation and run through the binary count to make sure your switches are wired correctly.
Repeat to represent player 2.
Deliverables: Please take a screen video of your arduino and breadboard showing me that you can count to 3 with both sets of switches and turn in the video to Google Classroom. Be sure to share your video with me.
Now for Some Programming
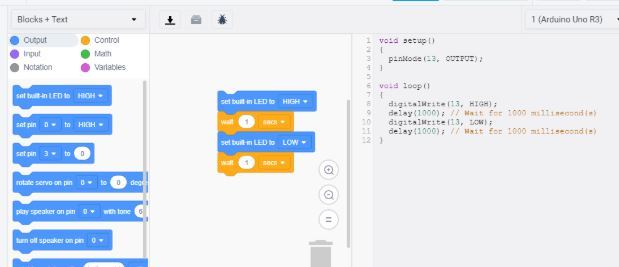
Programming is not new for most of the students in digital electronics even though this is the first time we've used programming in DE. However, some basic programming practice is a good refresher so our second lesson has us programming.
The assignment is again linked above, but here's what I gave them as instructions:
This week, we’re going to include some simple code. If you are well versed in coding, you might find this week on the easier side - good. If not, no worries, we’ll get you there. Run your circuit from last week and notice that there is an LED flashing on the arduino. That is due to the code that has already been written. Click on ‘code’ in the upper right corner
This is a method of coding called block. Really, all programming languages are about logic. What makes coding challenging is the syntax of each language. Blocks eliminate the worry about a missing bracket or a forgotten semicolon - nice for programming for at the middle school level. This code has the led on the breadboard set to turn on, wait a second, turn off, and then wait a second to turn back on. This repeats to give the flashing light. If you choose blocks and text, you will see the syntax that arduinos use. In this mode, all editing is still done with blocks. If you change to text only, you can edit through the text. Switch to text mode and then copy and paste the code between the lines.
/* Turns on and off a light emitting diode(LED) connected to digital pin 13, when sliding a switch attached to pin 2. */ const int switchPin = 2; // defining pin 2 as the input const int ledPin = 13; // the number of the LED pin - it's a built in value // variables will change: int switchState = 0; // variable for reading the switch status void setup() { // setting the LED pin as an output: pinMode(ledPin, OUTPUT); // setting the switch pin as an input: pinMode(switchPin, INPUT); } void loop() { // read the state of the switch value: switchState = digitalRead(switchPin); // check if the switch is on. If it is, the switchState is HIGH: if (switchState == HIGH) { // turn LED on: digitalWrite(ledPin, HIGH); } else { // turn LED off: digitalWrite(ledPin, LOW); } }
Add a wire from your switch to pin 2 on the arduino. Now run the simulation. Flip the first switch a few times. Notice how everything following the // is always orange. These are comments. They don’t need to be there but they are good to include so a reader knows what the code is doing. Now try this code: /* Turns on and off a light emitting diode(LED) connected to digital pin 13, when sliding two switches attached to pins 8 and 12. */ const int switchAPin = 8; // defining pin 8 as the input for the first switch const int switchBPin = 12; // defining pin 12 as the input for the second switch const int ledPin = 13; // sending a signal HIGH to the LED from pin 13 // variables will change: int switchAState = 0; // variables for reading the switch status int switchBState = 0; void setup() { // setting the LED pin as an output: pinMode(ledPin, OUTPUT); // setting the switch pin as an input: pinMode(switchAPin, INPUT); pinMode(switchBPin, INPUT); } void loop() { // read the state of the switch values: switchAState = digitalRead(switchAPin); switchBState = digitalRead(switchBPin); // check if the both switches are on. If so, the ledPin is HIGH: if (switchAState == HIGH and switchBState == HIGH) { // turn LED on: digitalWrite(ledPin, HIGH); }else { // turn LED off: digitalWrite(ledPin, LOW); } } This code requires both of the left switches to be on for the LED to light up. We just created an AND requirement. Your assignment: Write code so that the right hand switches also control an LED. Deliverables: Copy your code into a Google Doc and submit to Google Classroom. Please also take a screen video of your arduino and breadboard showing me that you are able to control the LED with both sets of switches.Turn in the video to Google Classroom. Be sure to share your video with me.
Their Turn
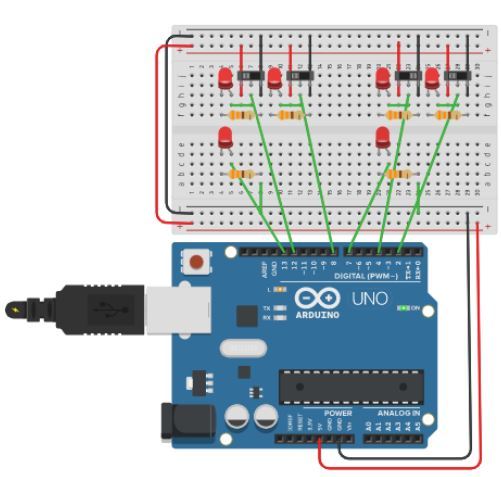
The project is to now create a rock paper scissors game on the arduino in tinkercad. I'll come back and share some of their results once it's complete.
Again - this is what I gave them:
Let’s start programming the game.
We’ve got two sets of switches and we’ve got output lights. Now we mix and match in the code to light up the winner.
For example: 01 is rock for the left hand player 10 is paper for the right hand player
Write an if-else statement that looks for Switches B and C to be HIGH and Switches A and D to be LOW and turns on the right output LED since paper beats rock.
Your constraints: Player 1 has the left hand switches, player 2 the right hand switches and we will define RPS as 00 - no play 01 - rock 10 - paper 11 - scissors
If both players haven’t played, neither output light should light up. The output light of the winner should light up when there is a winner. In the event of a tie, both output lights should light up.
btw-you coders out there. Yes there are easier ways to code this. We are keeping it similar to writing circuits. These are your constraints.
Presentation: Title slide Description/constraints Code Picture of arduino and breadboard Video of the simulation working