Bill Haley Vinyl Portrait
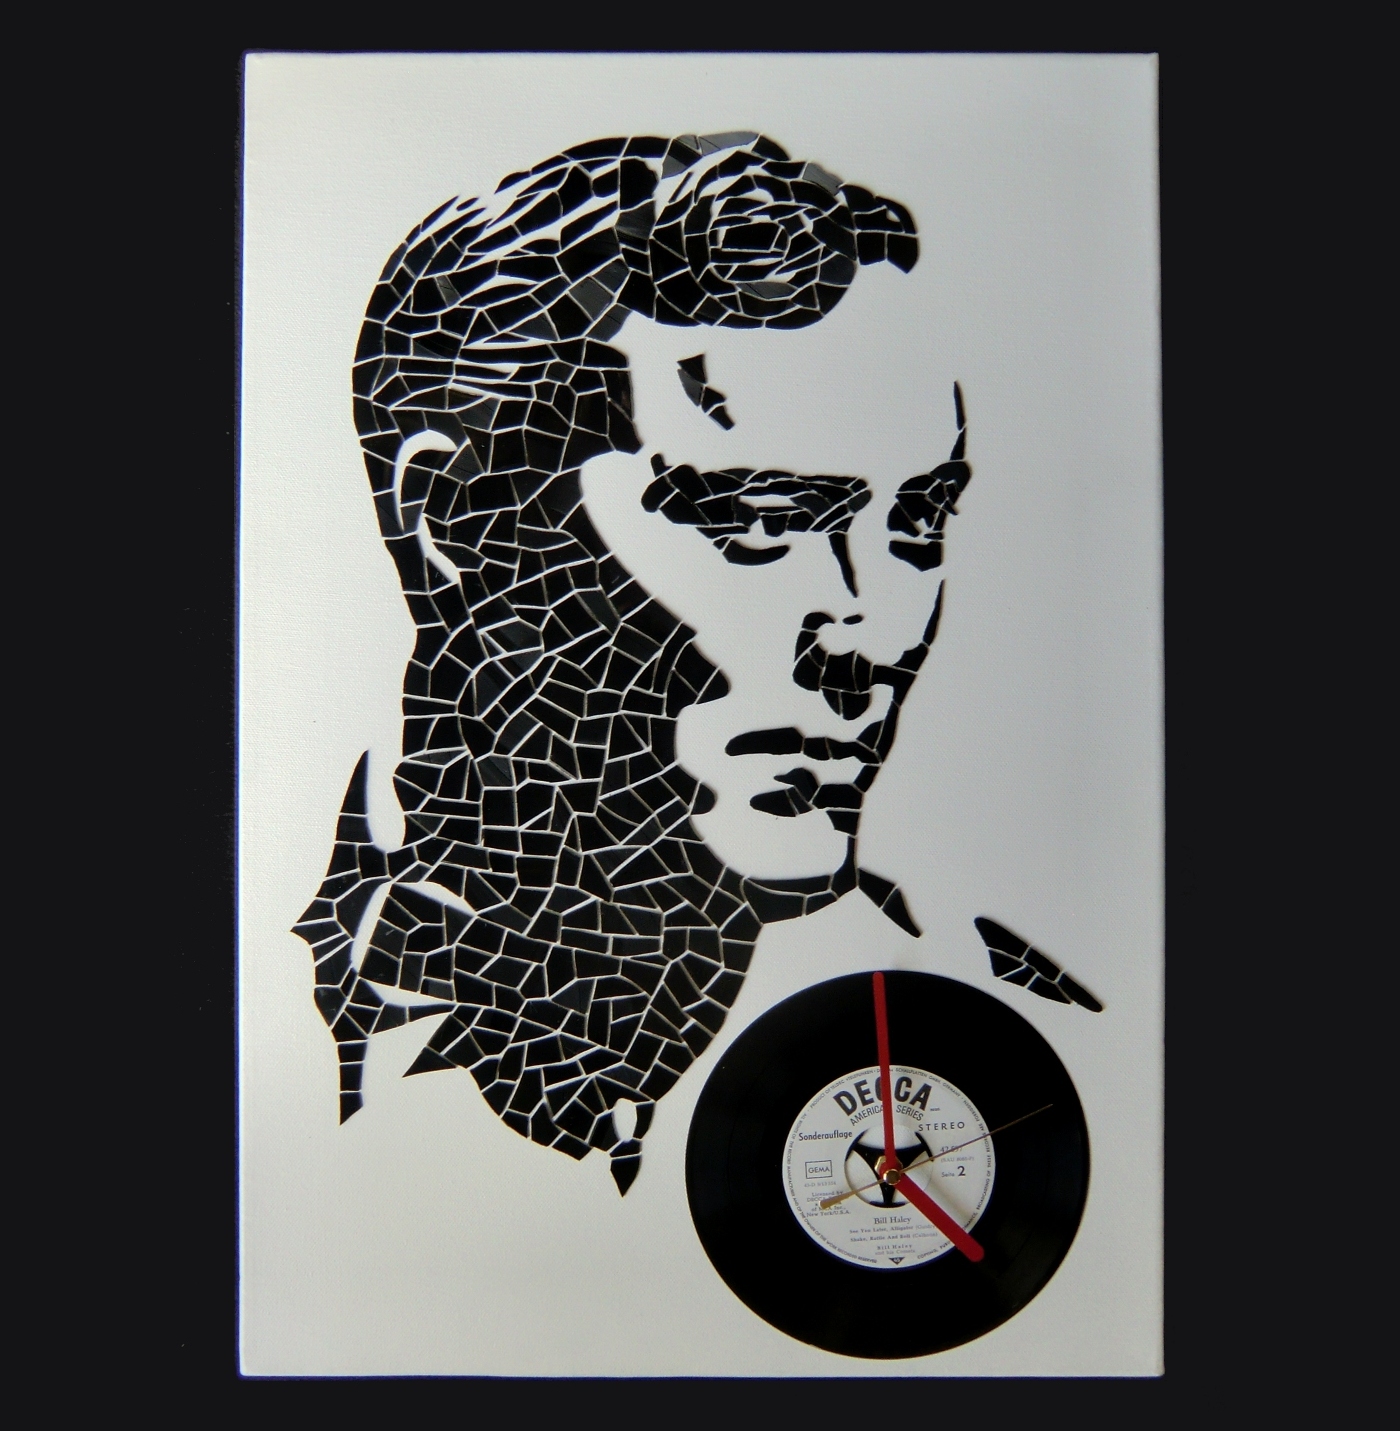
I always wanted to make a mosaic. My goal was, to make one with unordinary materials. So after a bit of brainstorming, about what to use (and me buying 150 vinyl records at a garage sale, don’t ask me why, I’m not sure myself), I decided to make one out of vinyl pieces.
After researching some famous old school musicians, I decided to go with one of the fathers of rock n’ roll: Bill Haley. Due to the fact, that my mum stole the last clock I made (Ok, I gave it to her after a lot of begging) and him being the voice of the song "Rock Around the Clock", I thought he was the perfect fit.
What You Need
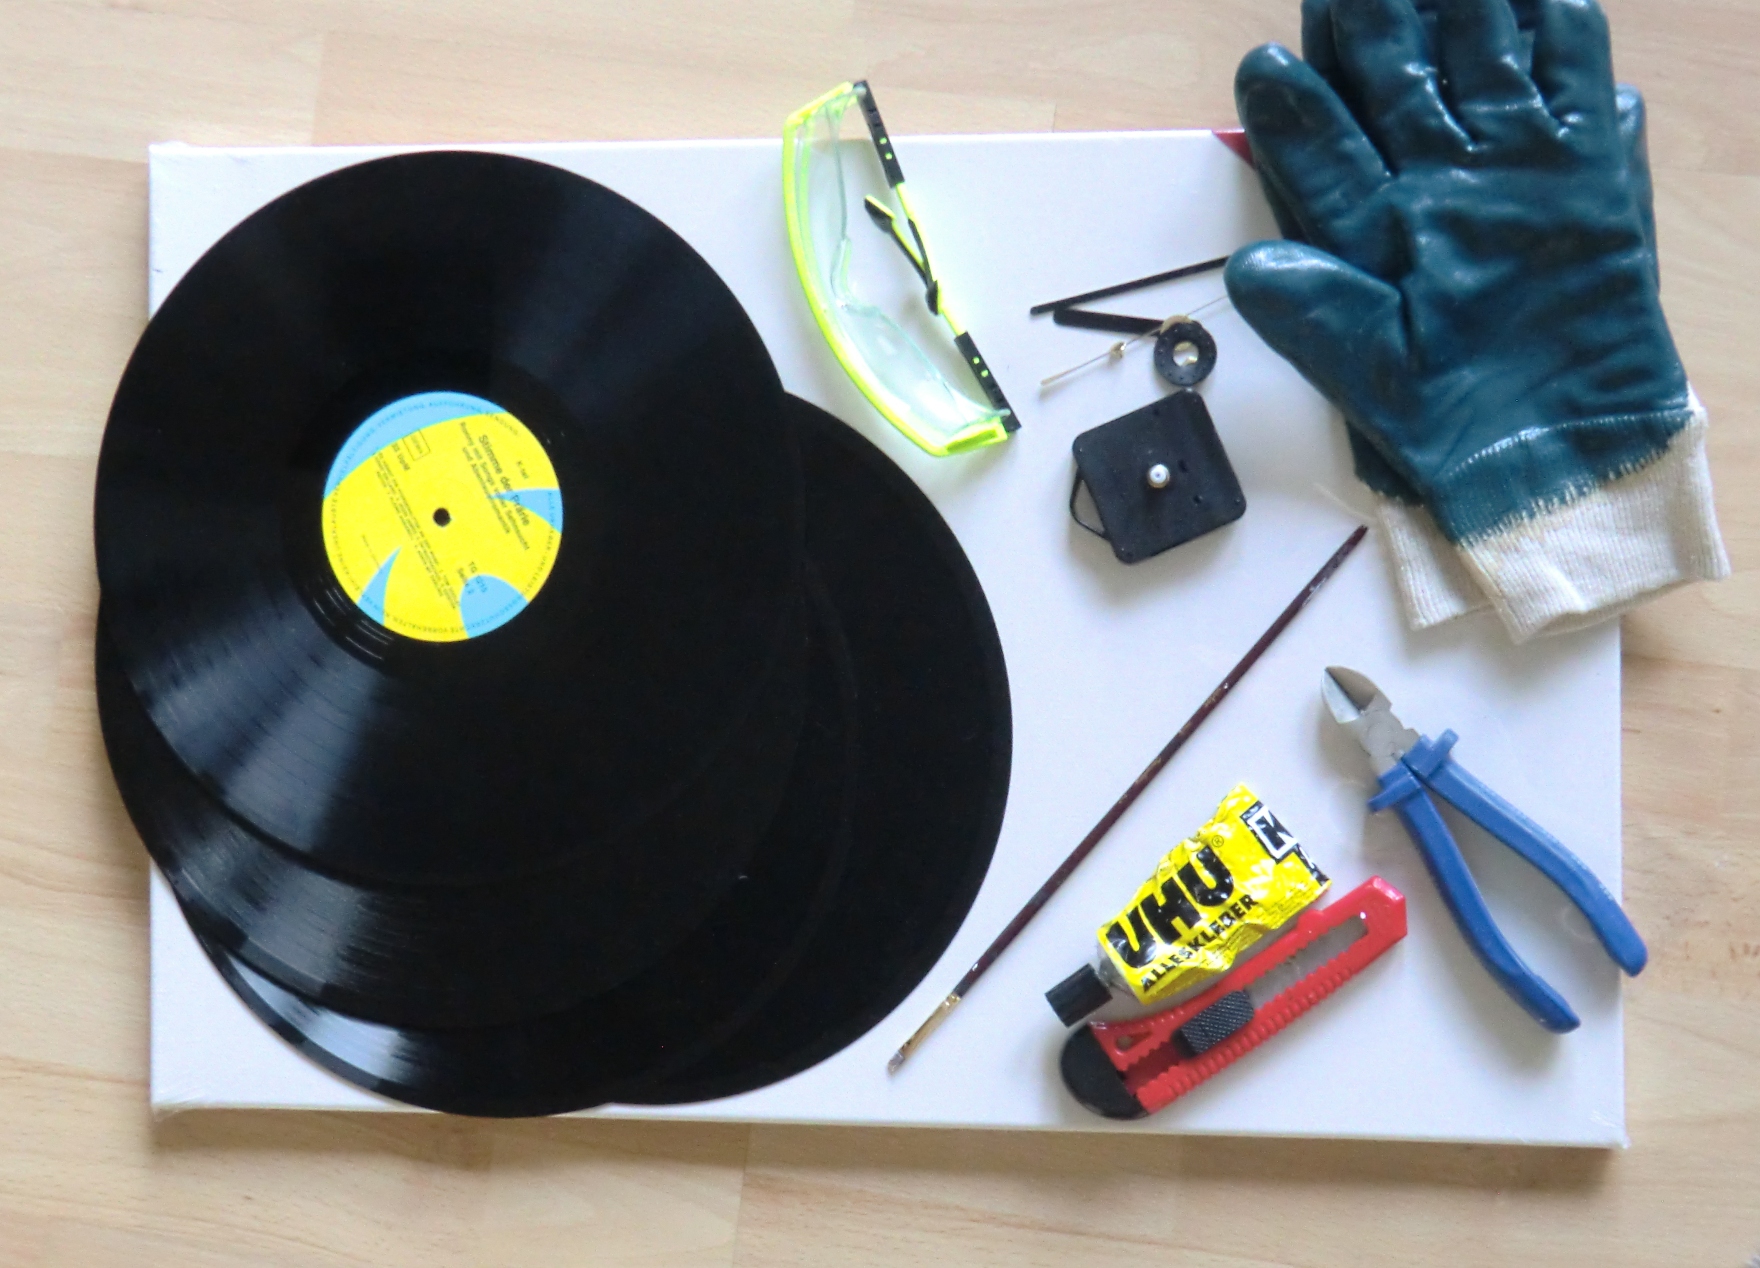
Material:
- old vinyl discs (I used 3)
- strong glue
- clockwork (or a clock, that you can take apart)
- canvas
- optional: 7" single vinyl disc
- cutting pliers (make sure to get good ones, because vinyl is pretty hard to cut. I love these: Knipex Diagonal Cutters, they are pretty expensive, but I would always buy them again)
- safety glasses
- working gloves
- old paintbrush, to apply the glue
- box cutter
- table lamp
Vectorising an Image
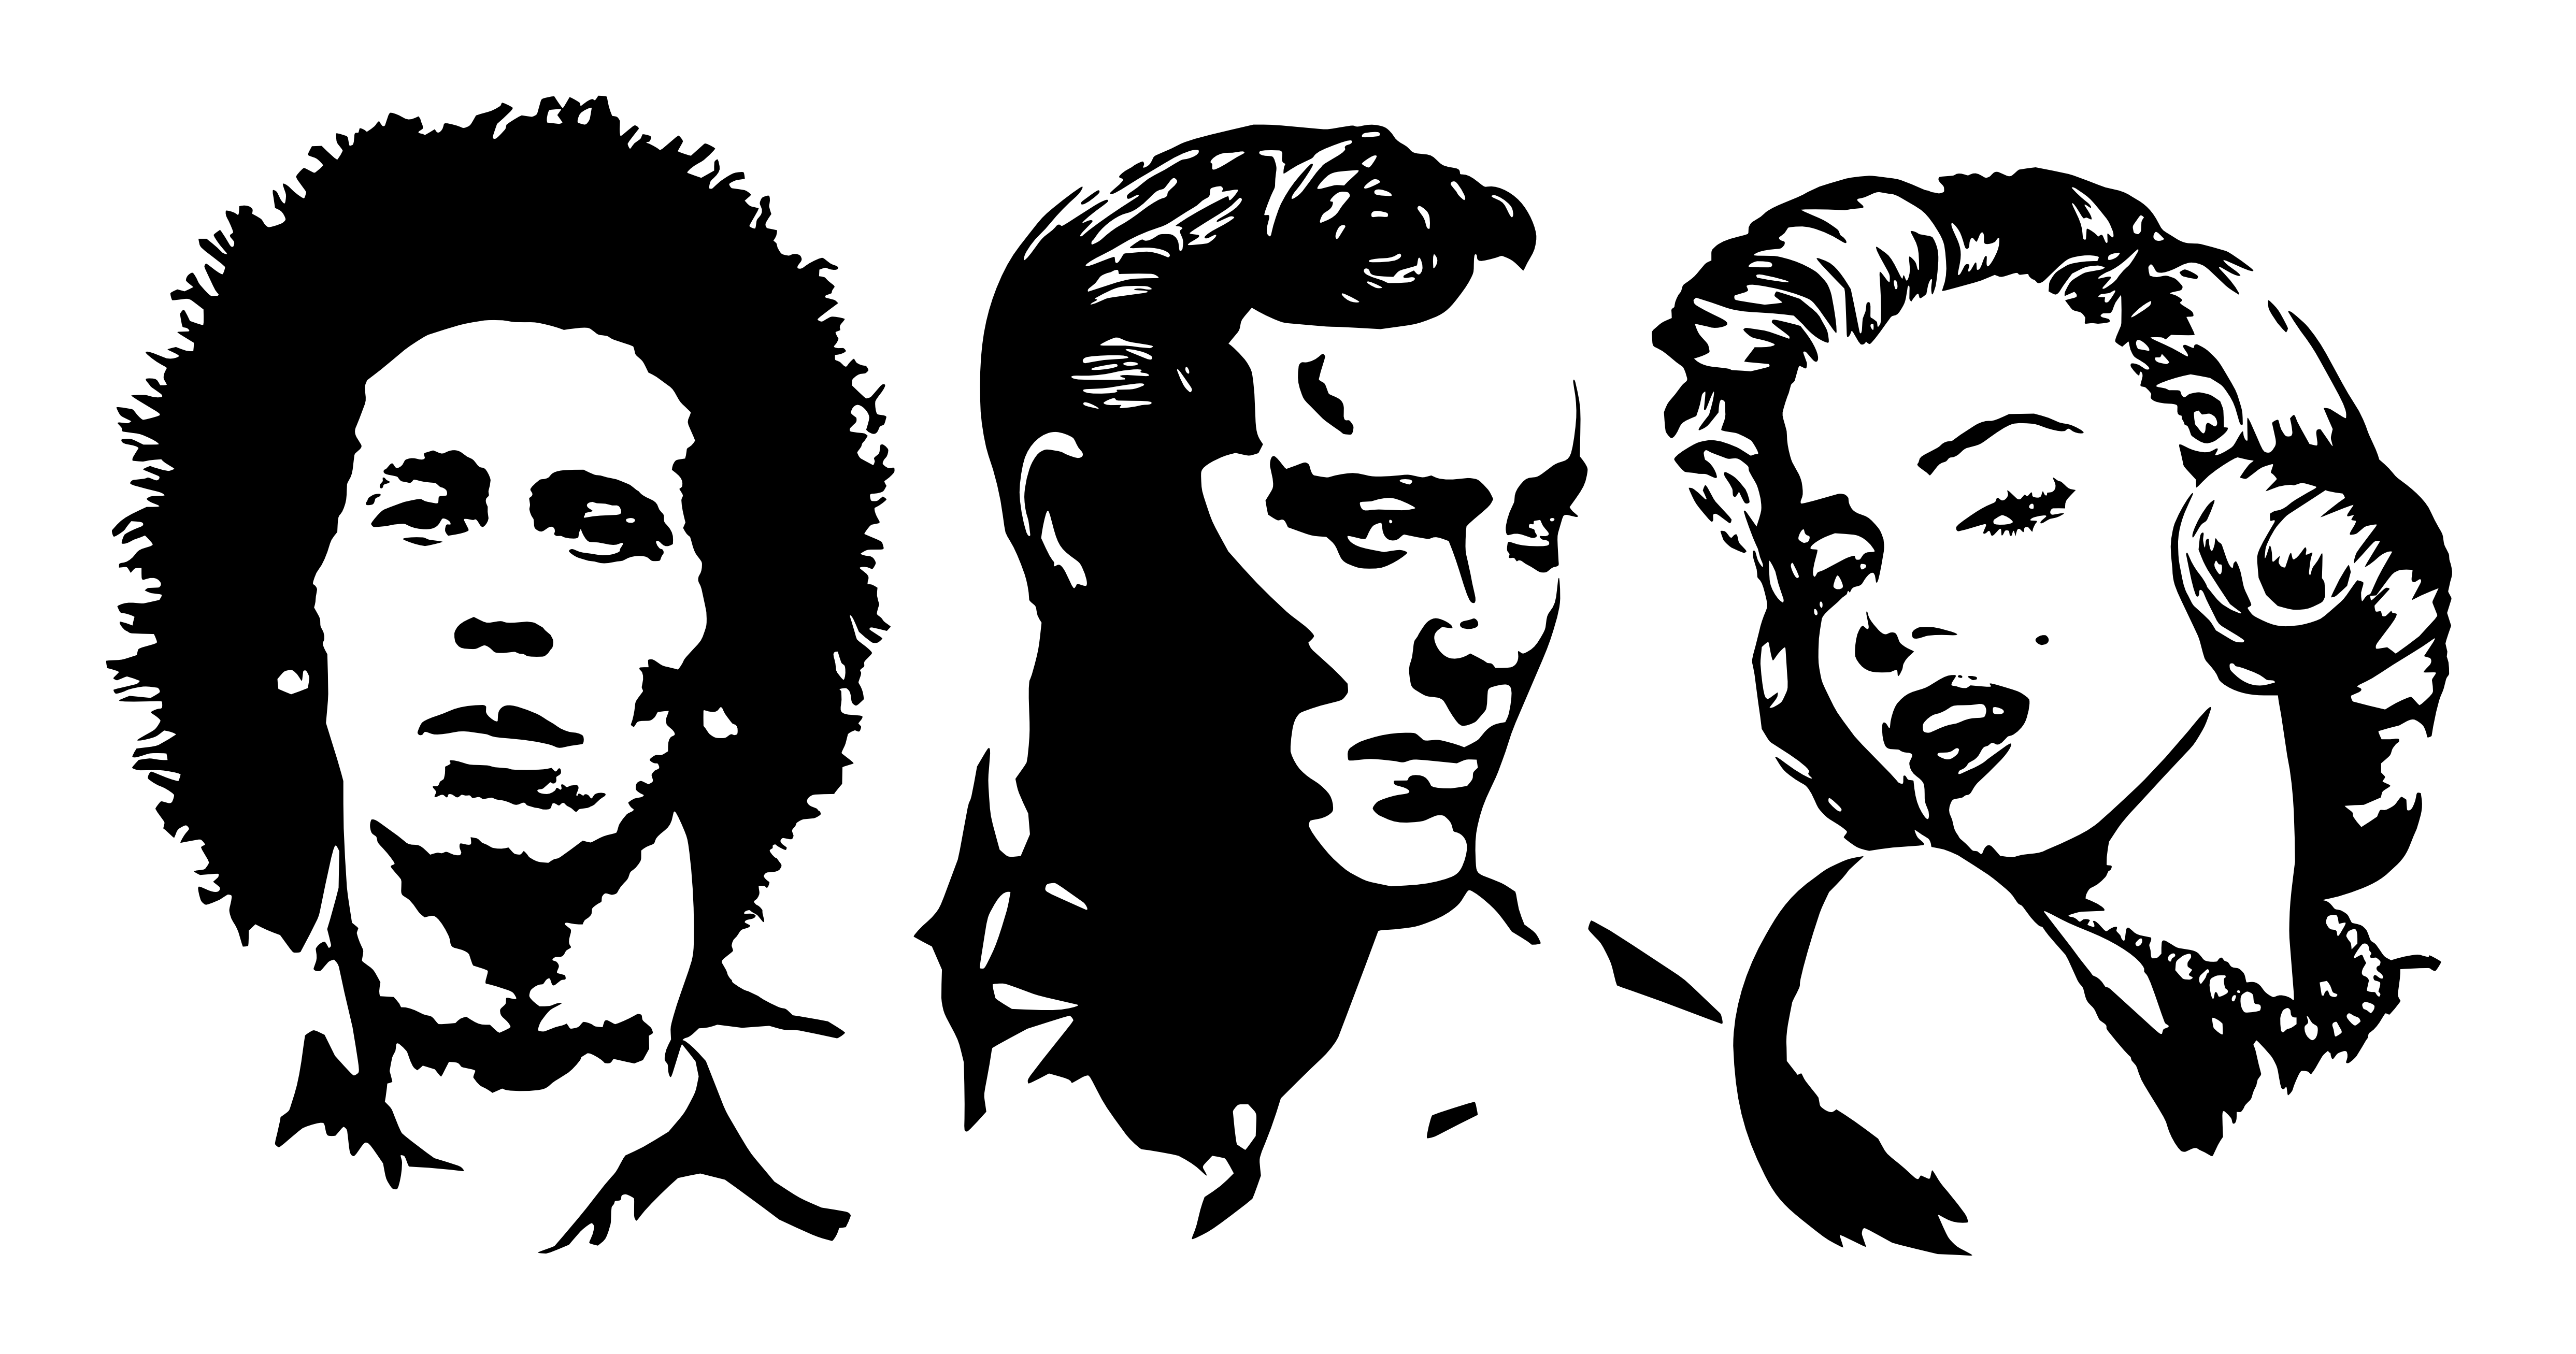
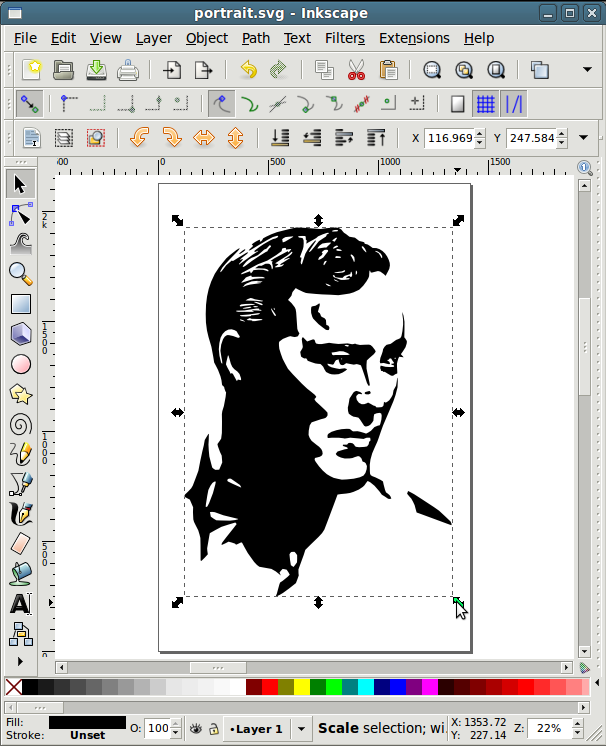
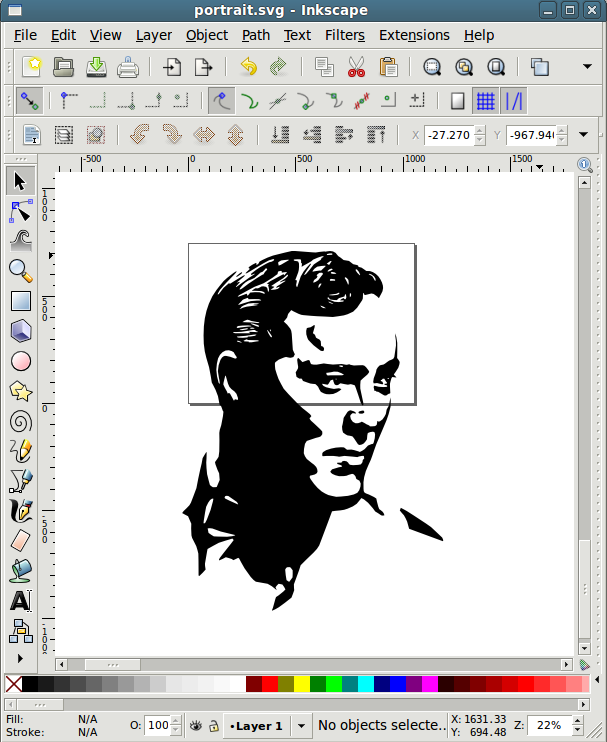
This step will help you to find the the outlines of your picture and to scale it to the size of your canvas, without the loss of clarity.
I've uploaded a few vector graphics I made for you to get inspired. Before you start, make sure you know how big your final picture is going to be, in order to use a realistic amount of detailing. Your picture should have a high resolution, to get good results.
Step 1: Masking
Open your image in gimp. To get a good result you should mask the background of the image. There are many very good tutorials online, but in our case precision is not very important. I've used the "free select tool" just roughly trace your object/face and invert the selction, by pressing "Ctrl I". Choose a light grey tone as foreground colour and fill your selection with it by pressing "Ctrl + ,". Now deselect your selection by pressing "Ctrl Shift A".
Step 2: Decolourizing and applying threshold
Go to "Colors" -> "Desaturate" and then to "Colors" -> "Apply Threshold". The best result varies depending on the picture, that you've used. Just play around with it a bit and save the picture.
Step 3: Inkscape
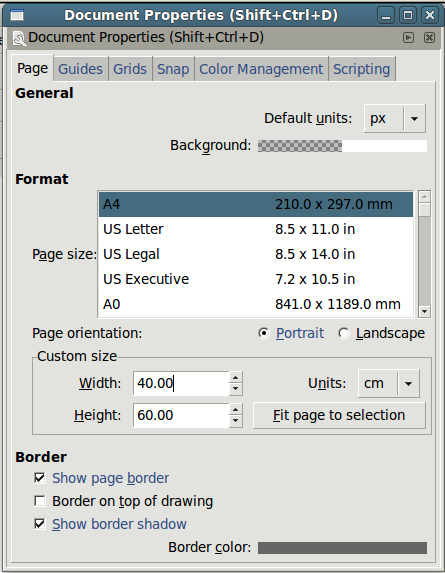
Import the image by pressing "Ctrl I". Hit "Shift Alt B" and "OK". Move the created vector graphic to the side and delete the pixel graphic. Scale your image to the size of your canvas, by pressing "Shift Ctrl D" and setting the correct height and width. In my case 60x40 cm, hold "Shift" to scale uniformly.
If your printer can handle the size of the image, just print it and move to the next step. If not, this is what I do:
Rescale the page to the biggest size your printer can handle. Print it and move the picture, until you've printed the whole image. Use tape, to the paper hold the pieces together.
Breaking the Vinyl Records
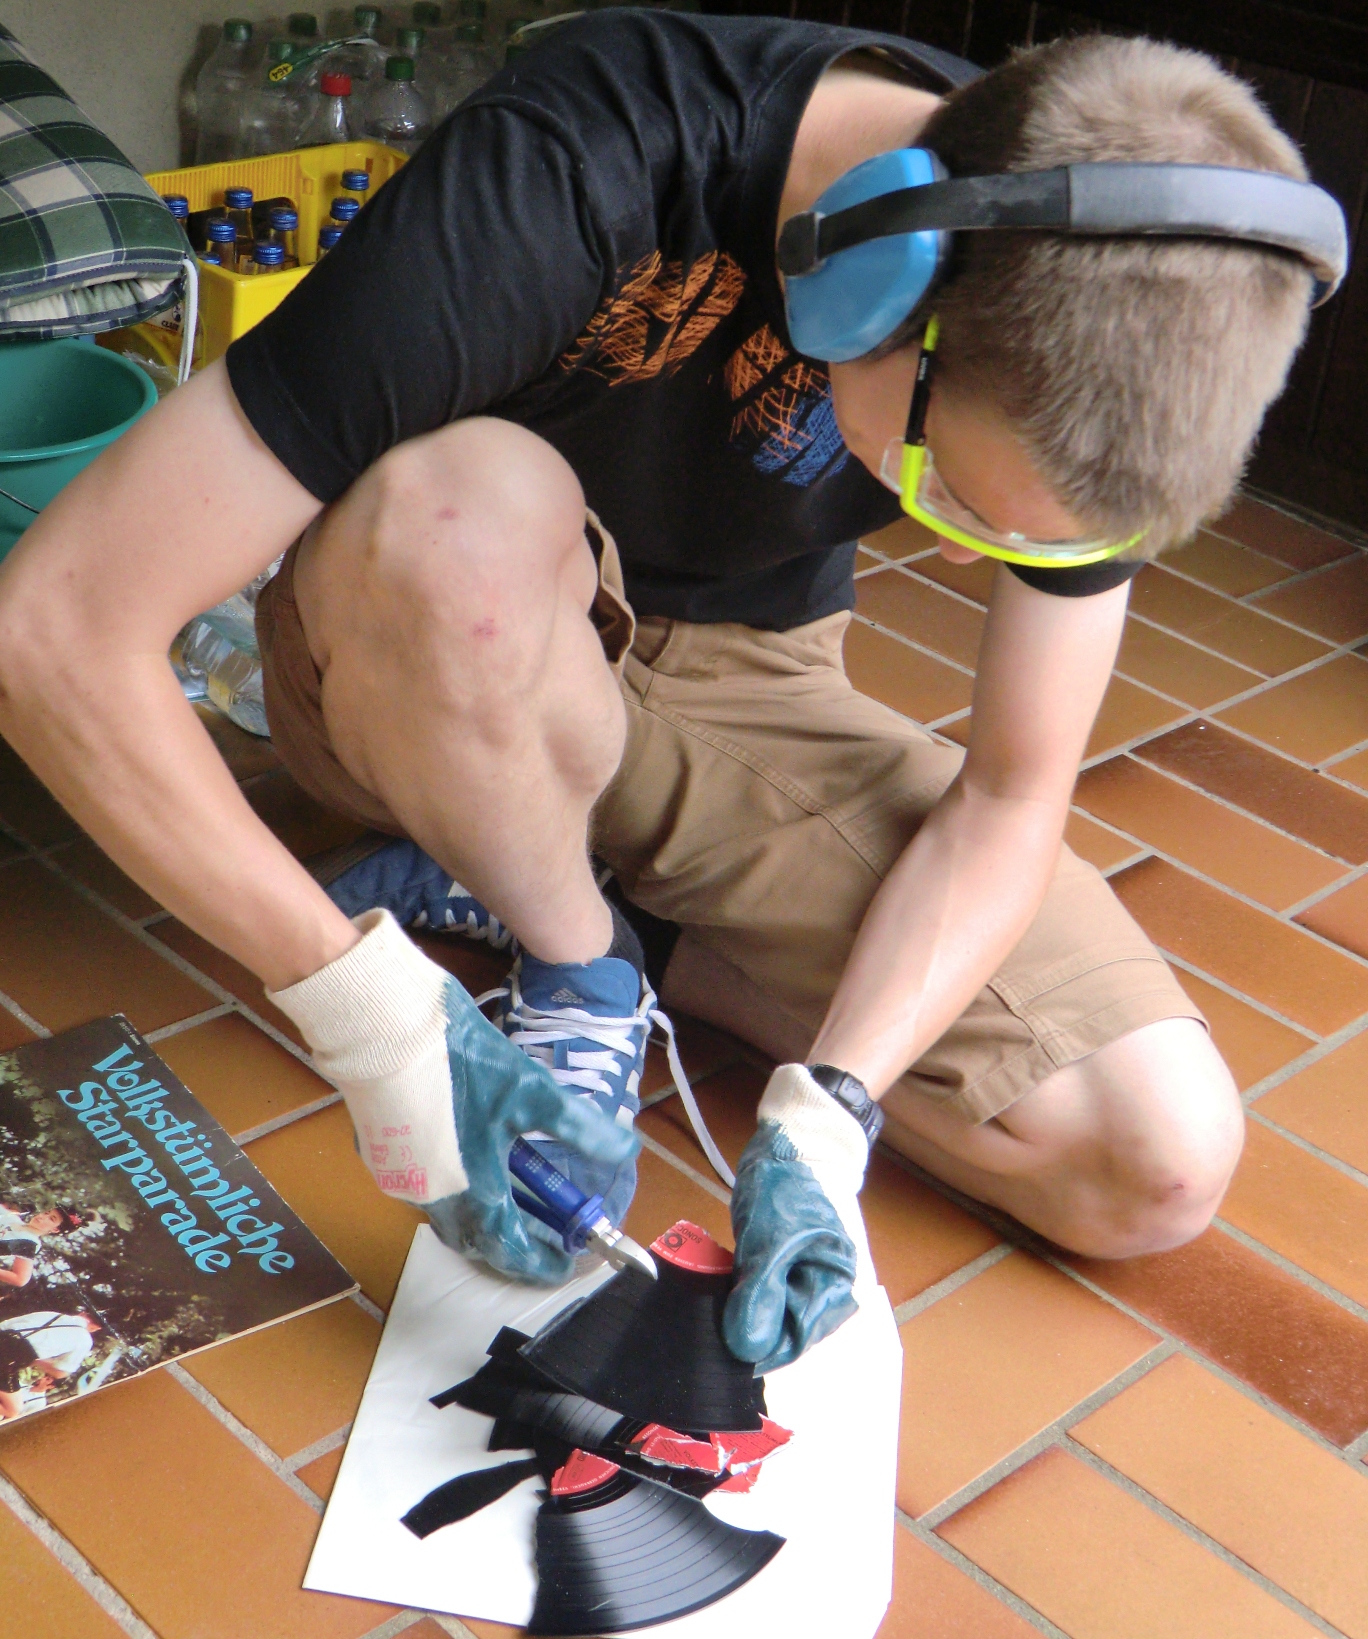
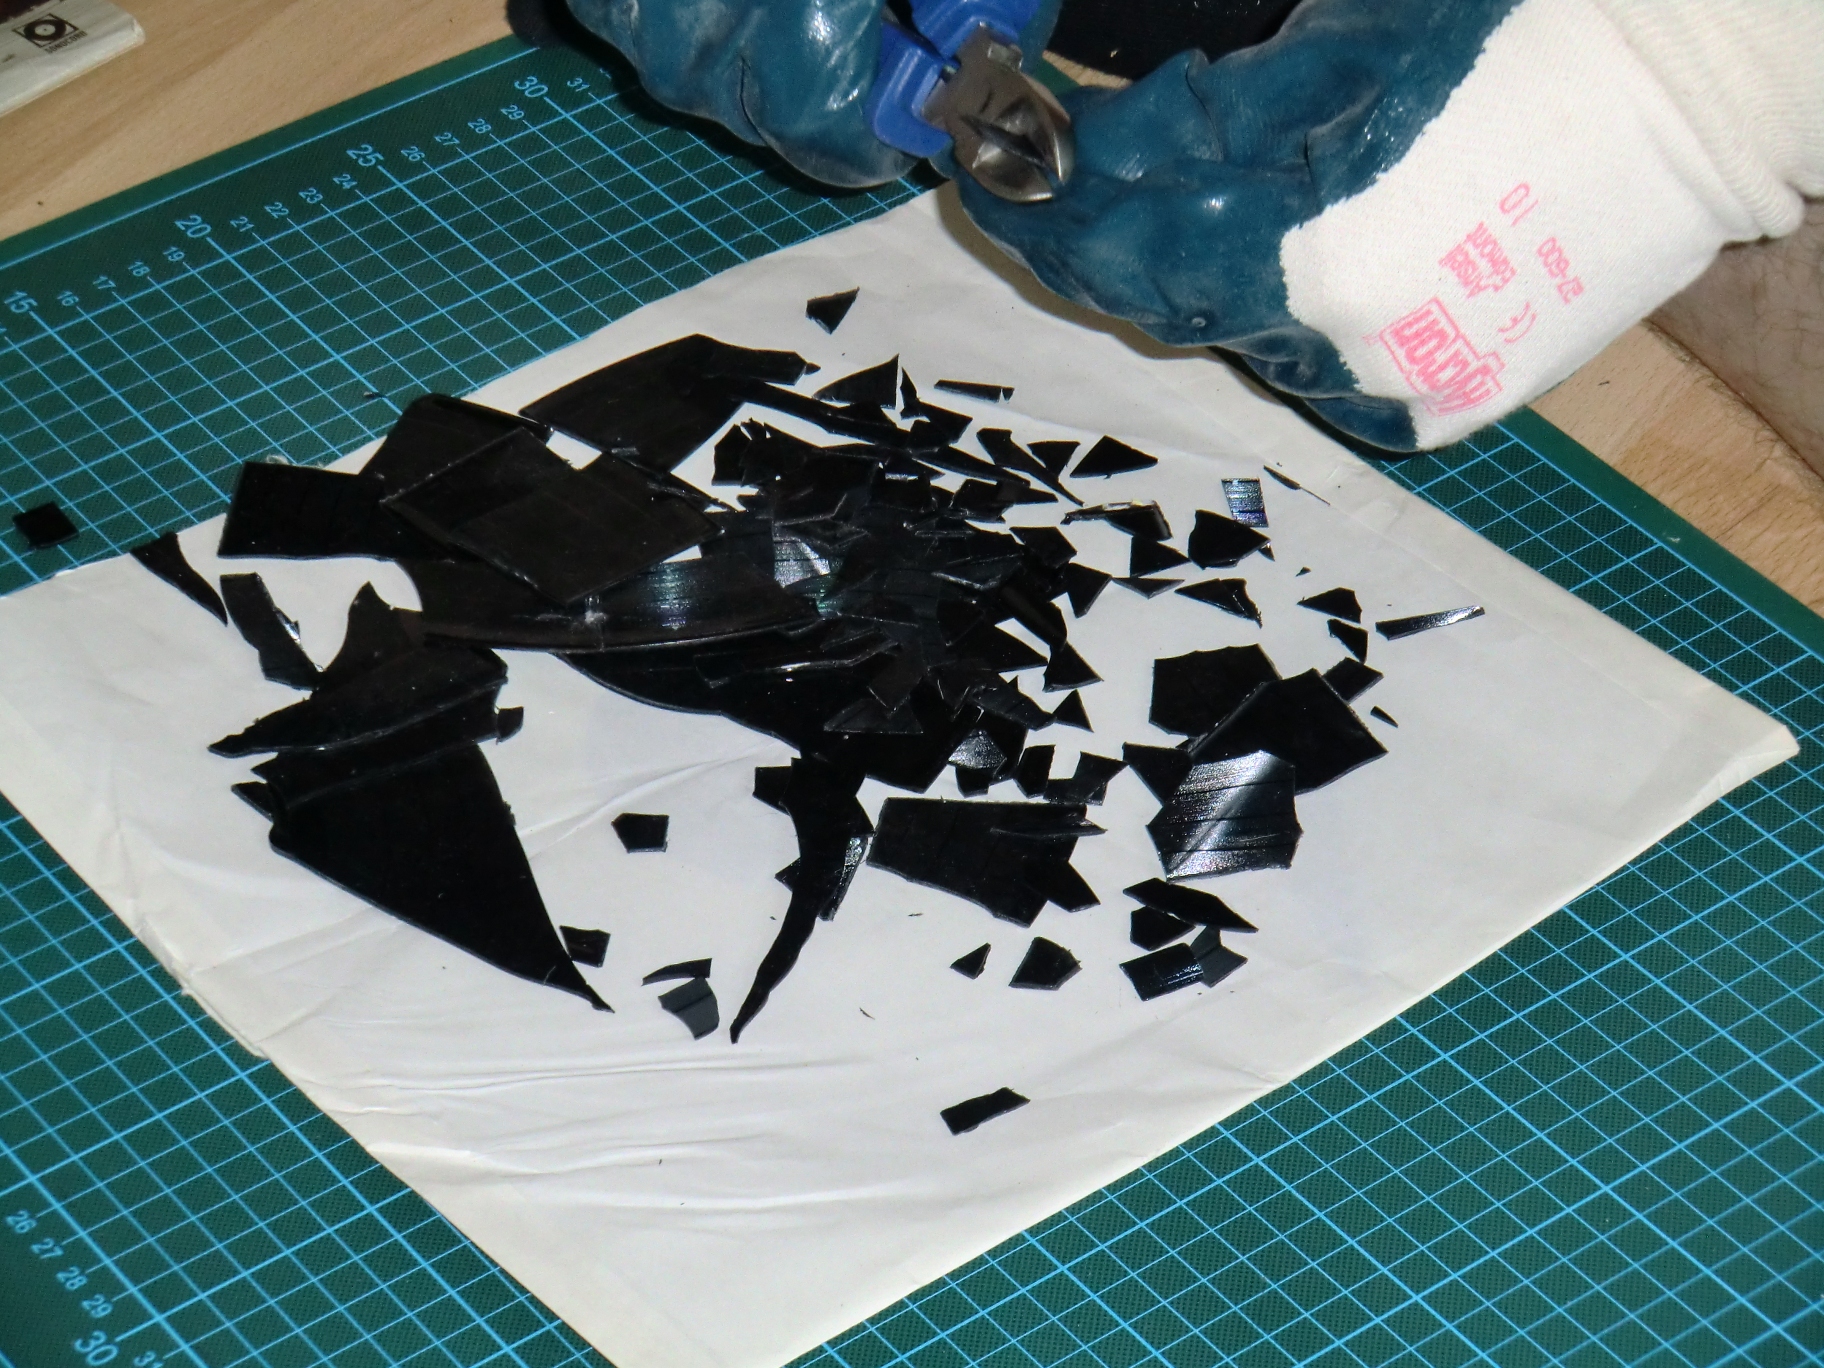
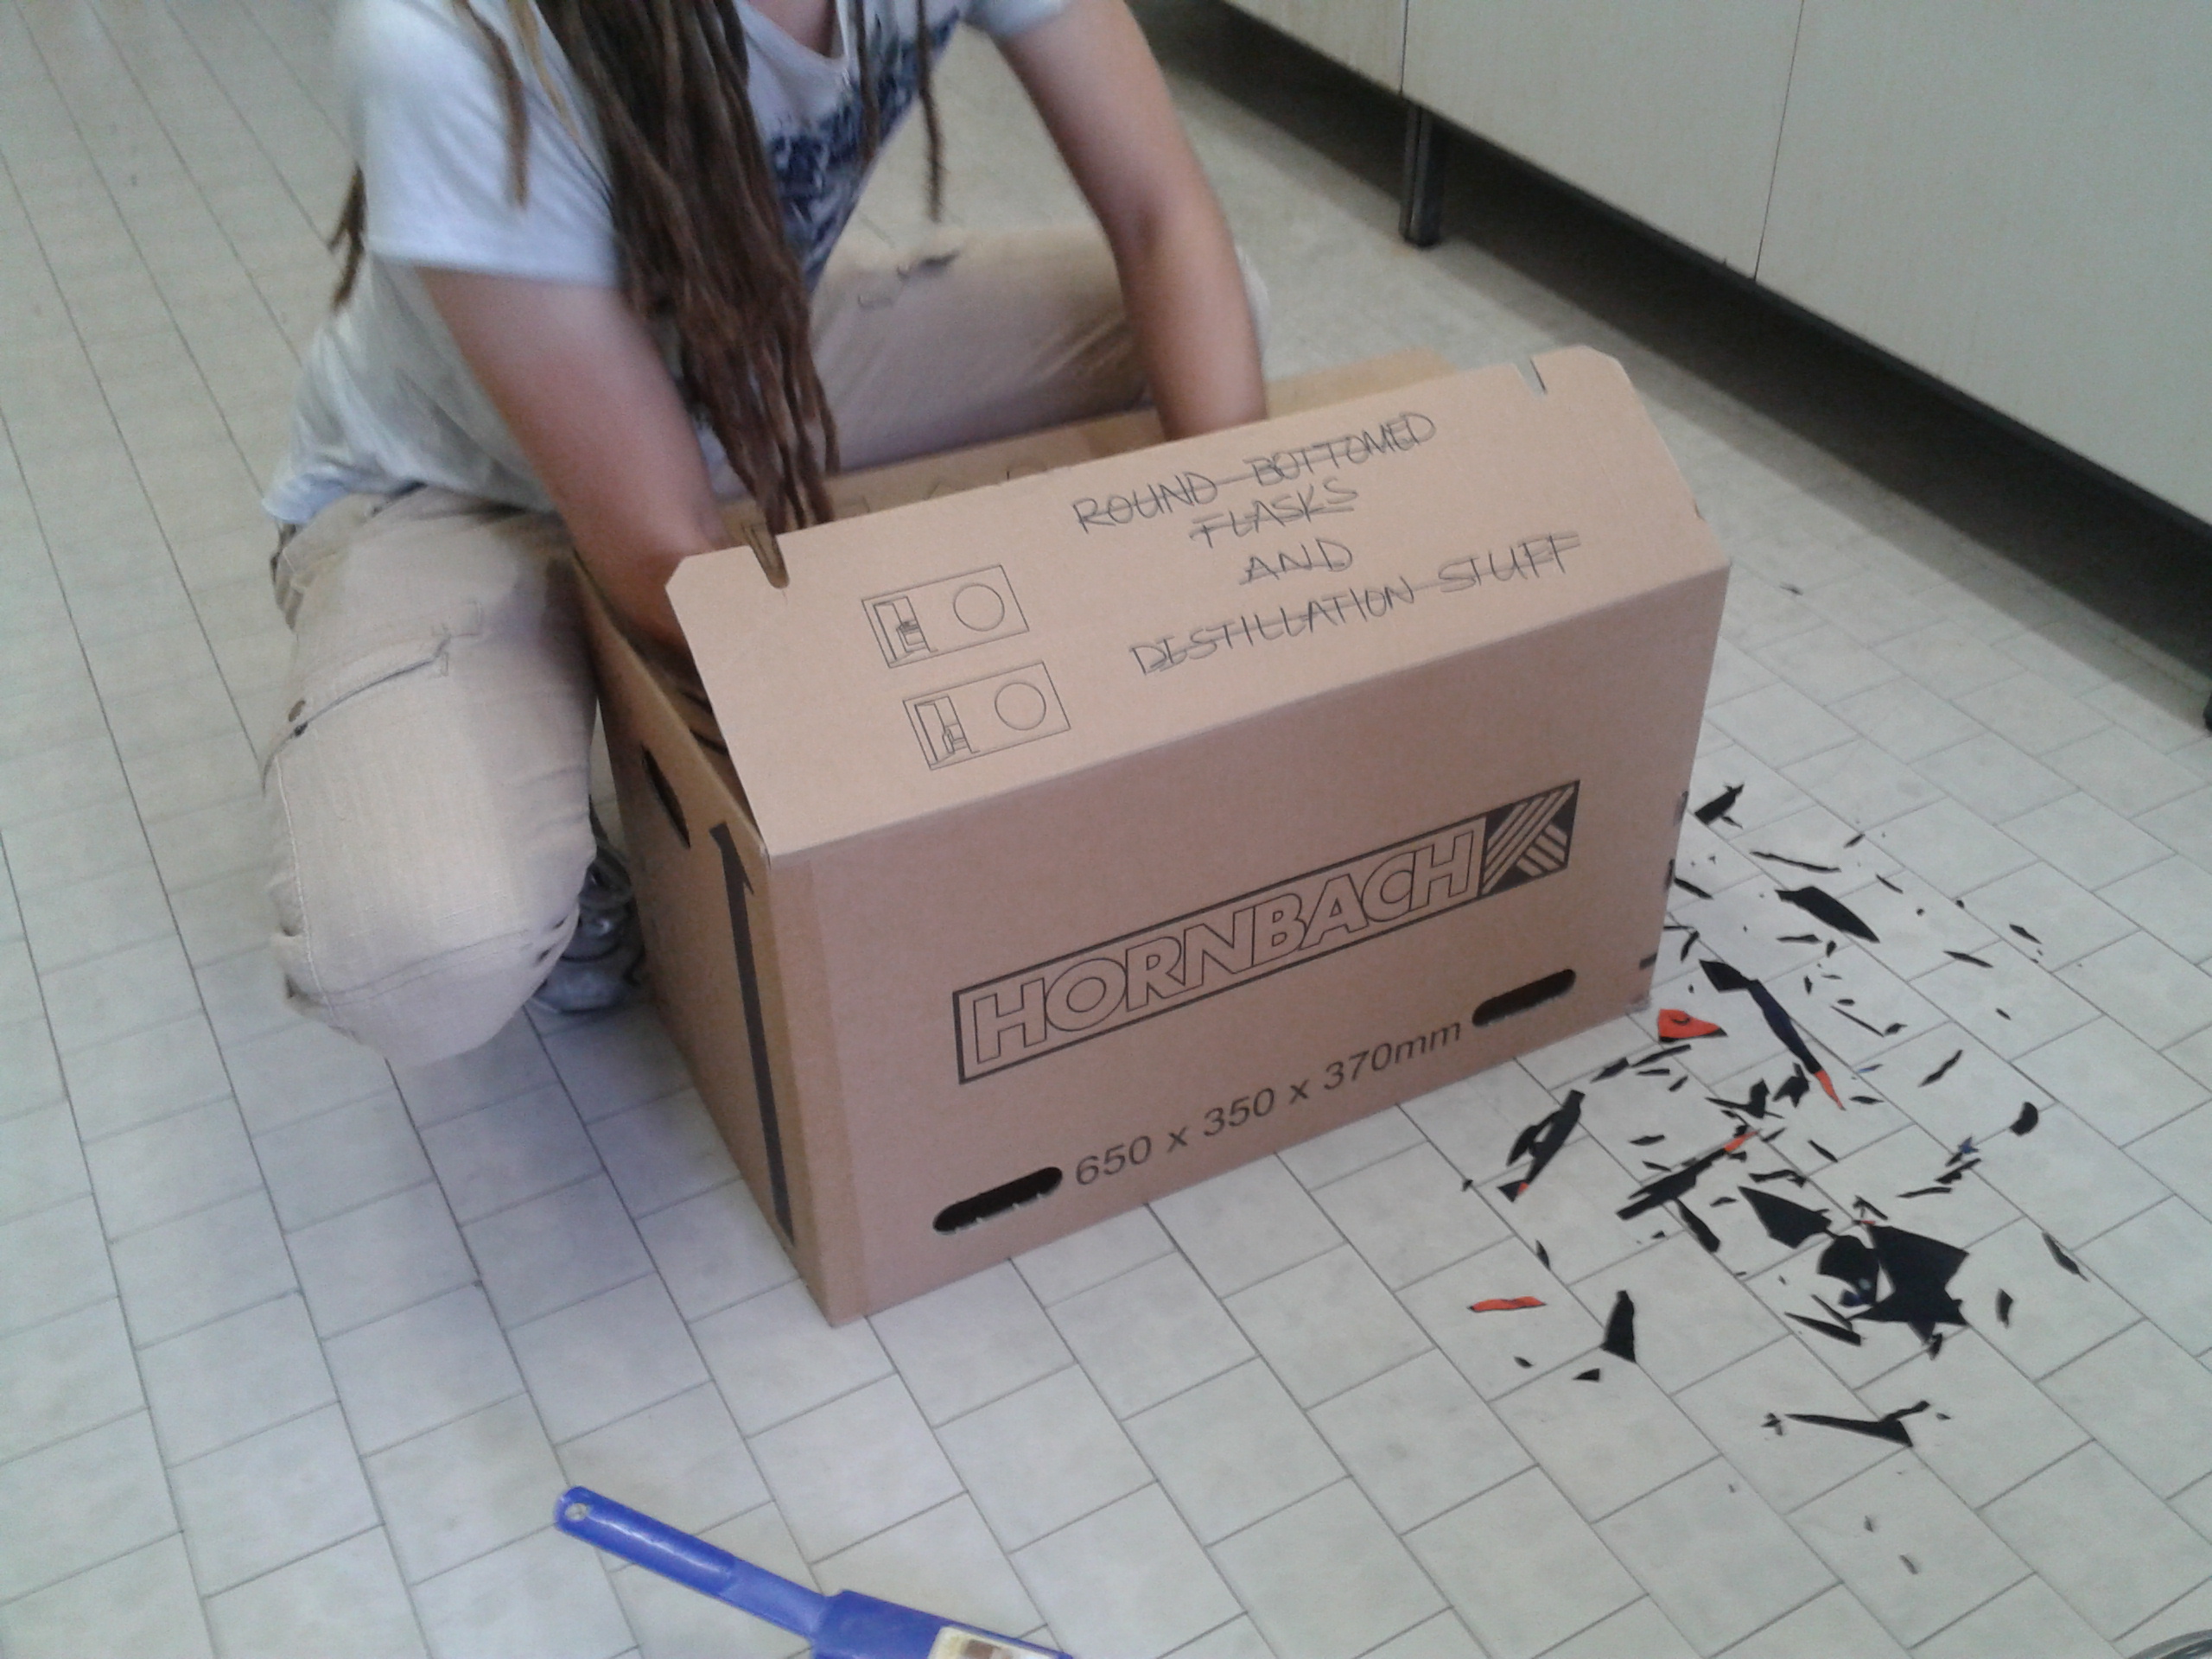
The pieces kept flying around my whole room, that's why we cut them in a cardboard box.
Alternative method:
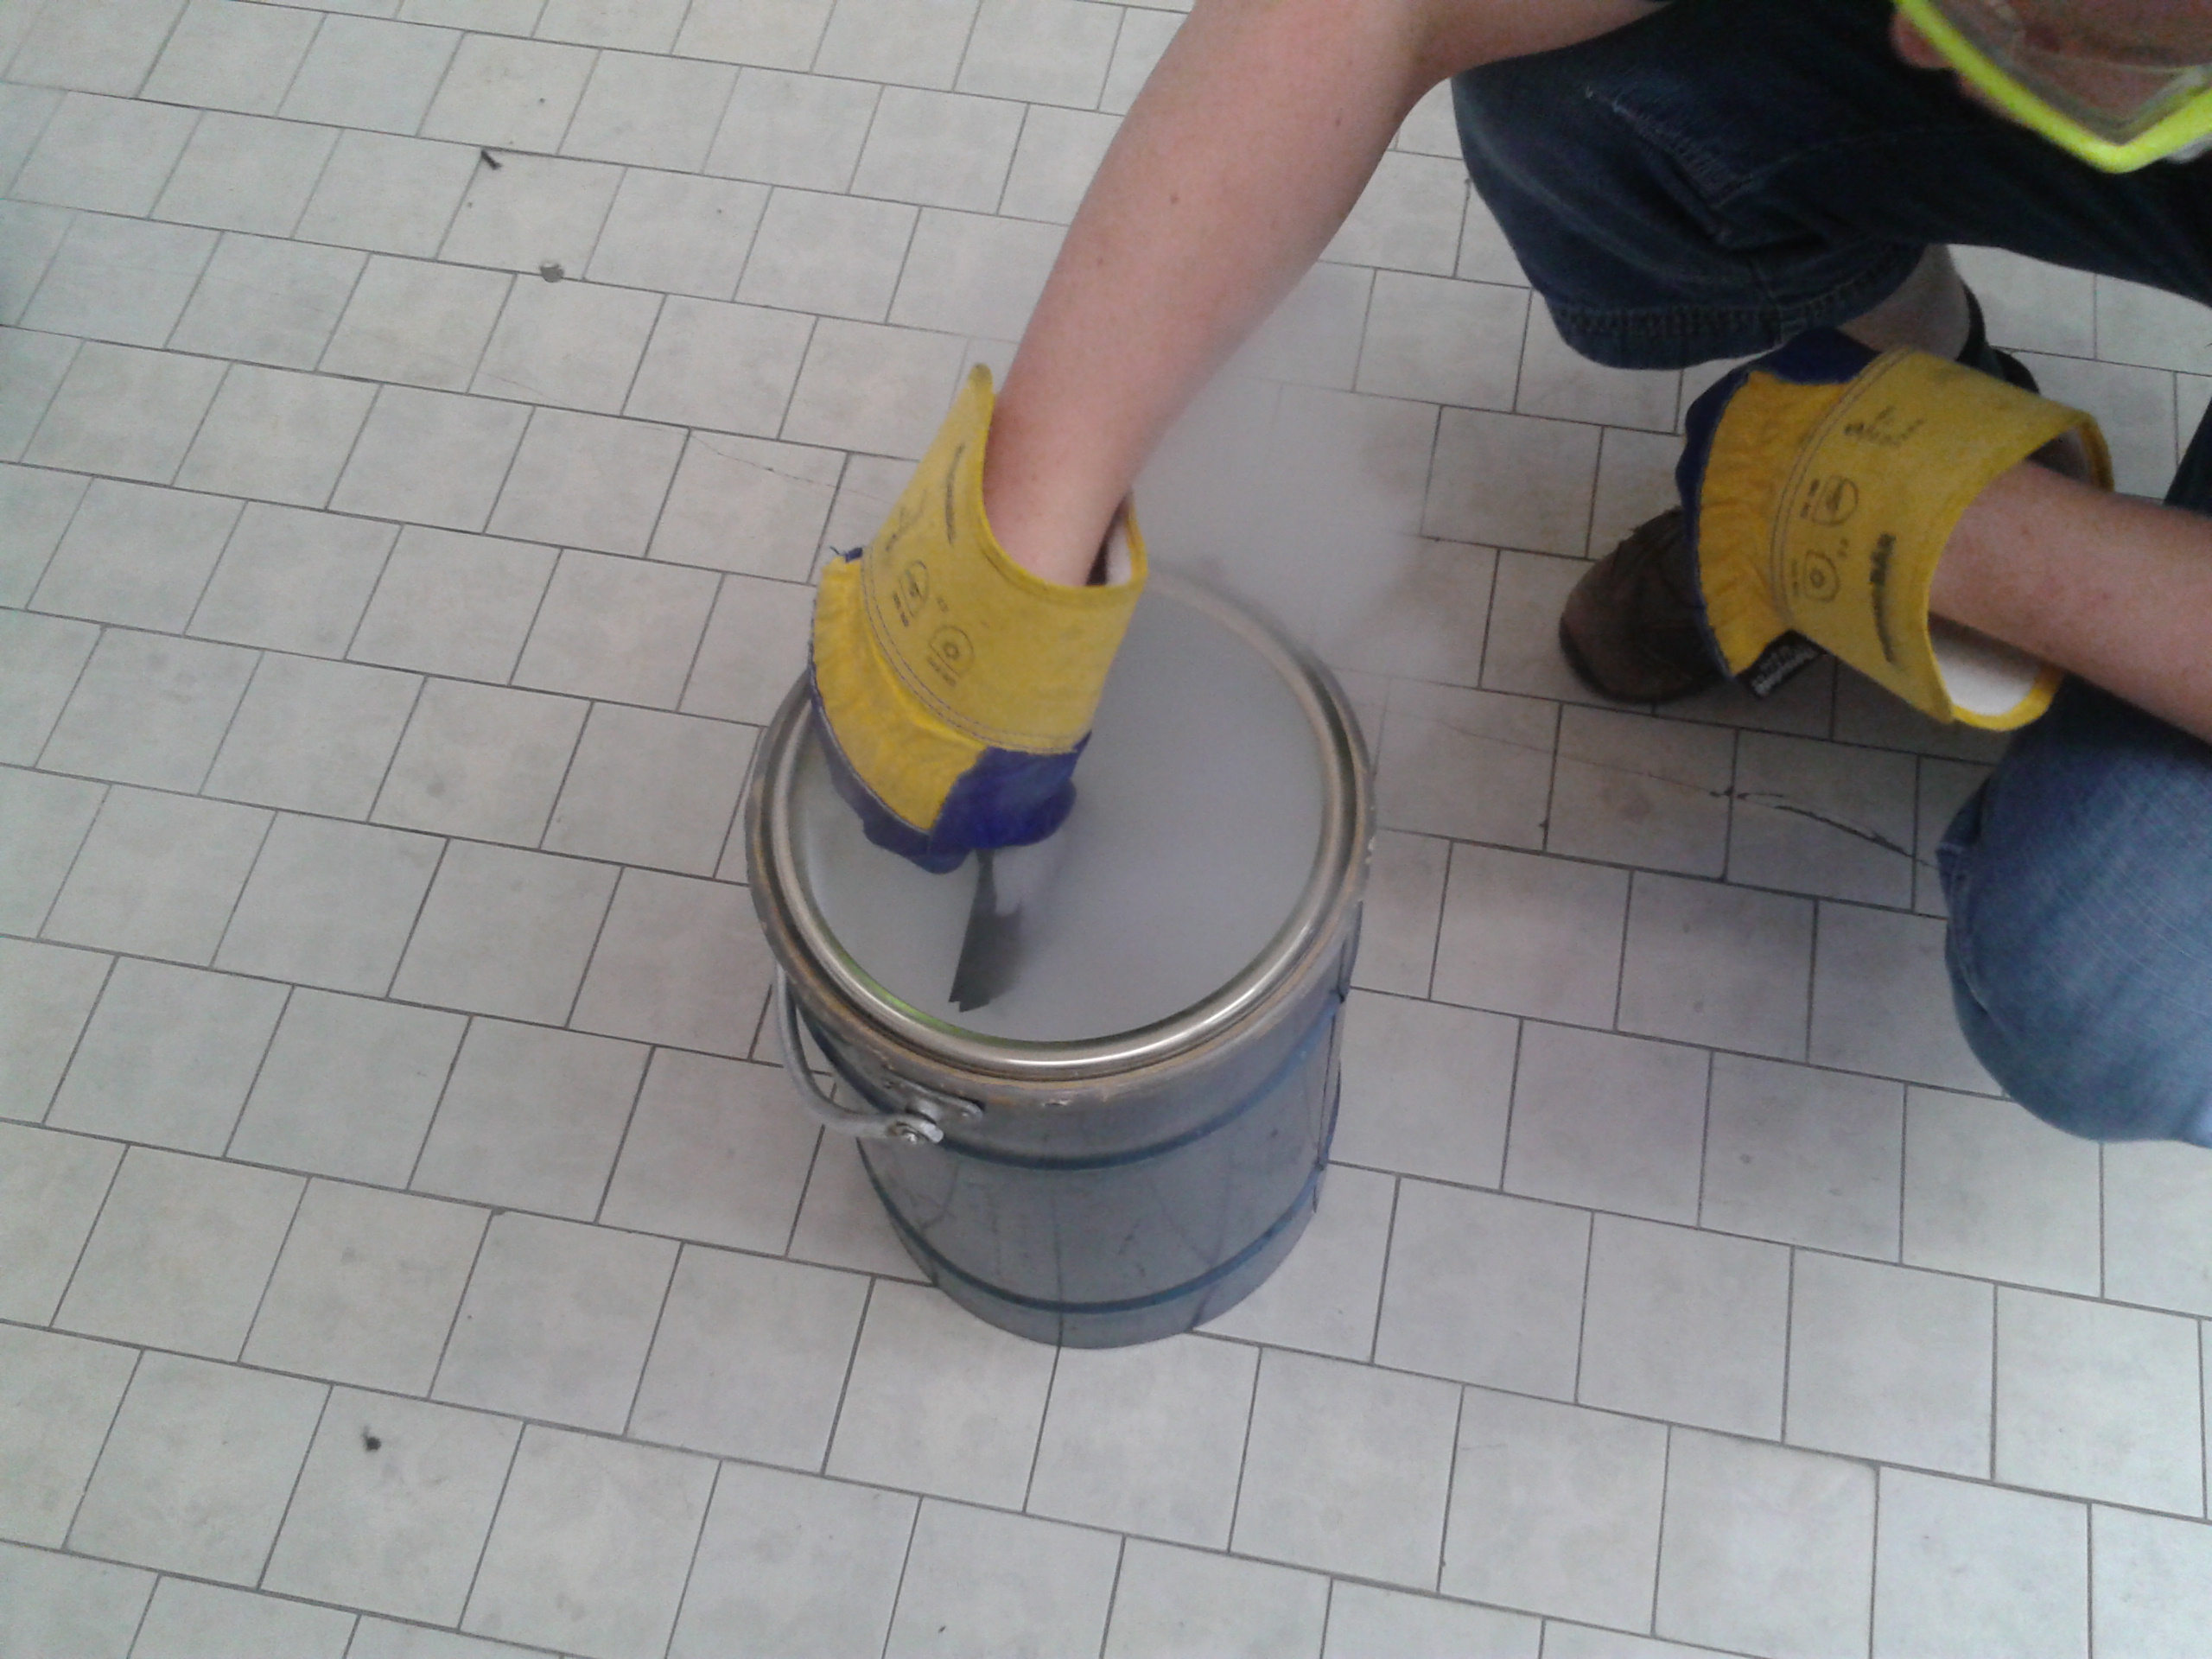
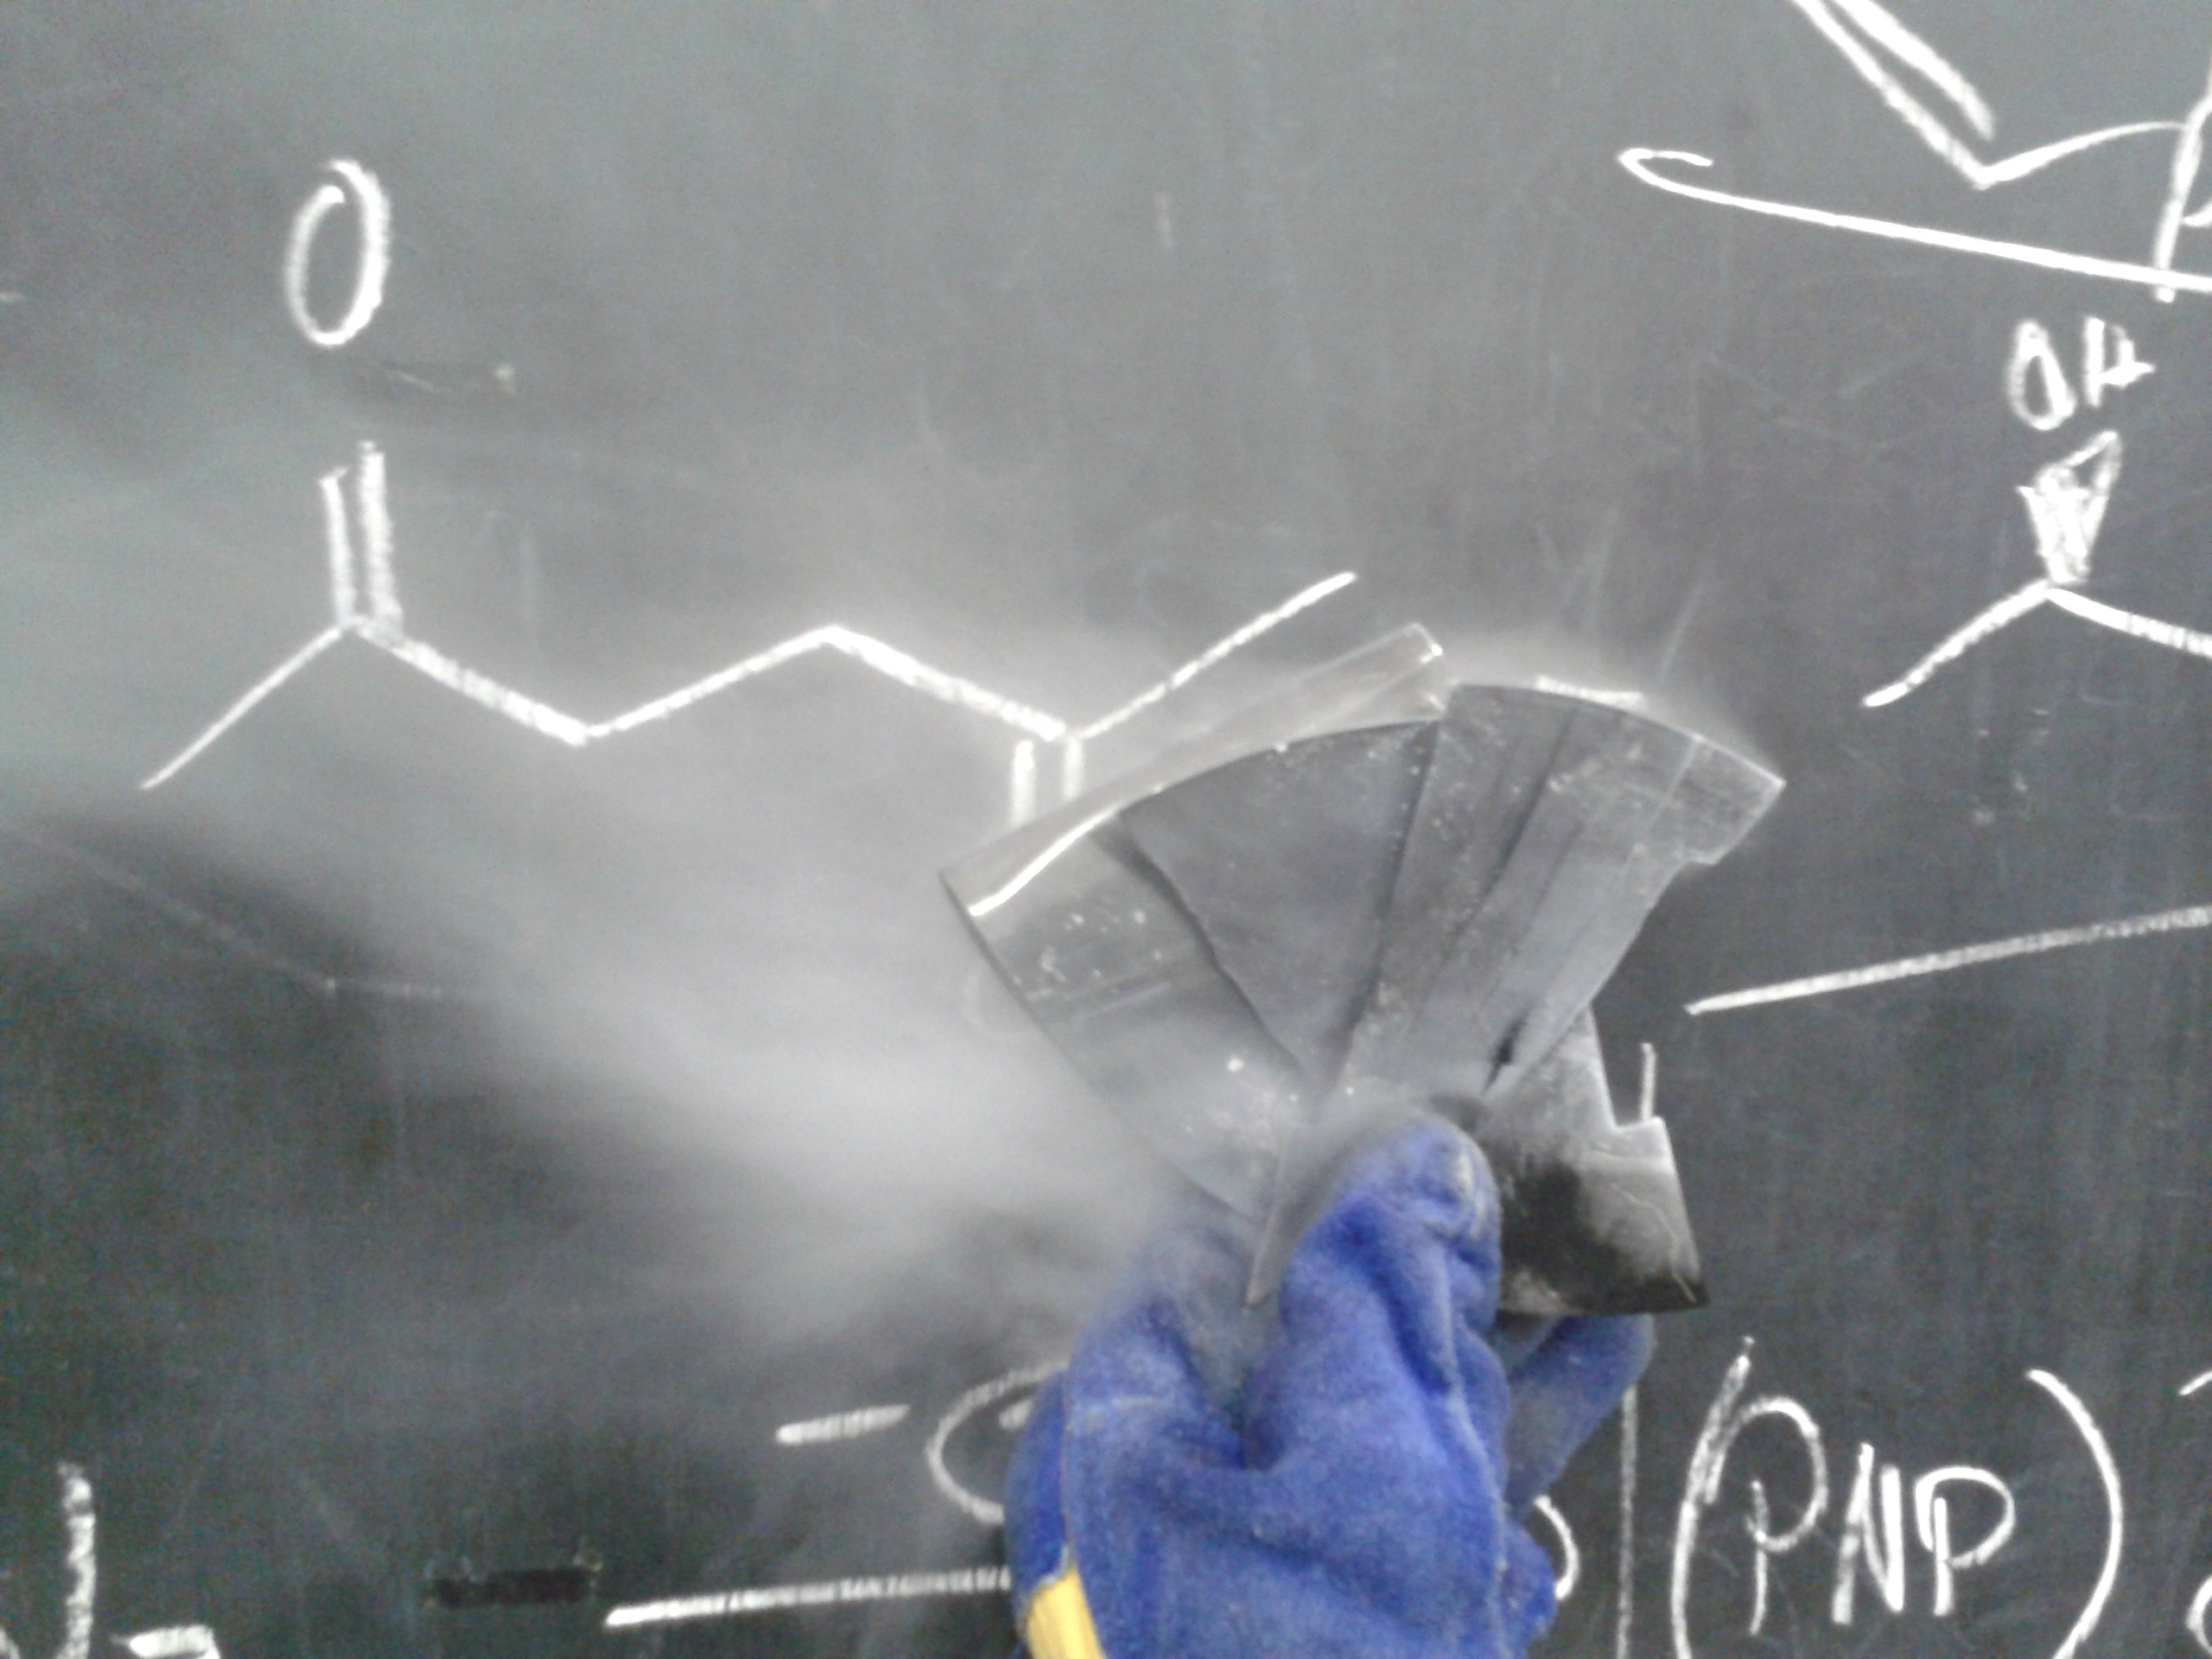
Due to the fact, that the pieces kept deforming, instead of breaking (mainly because of my bad cutting pliers) we had the idea to dip them into liquid nitrogen, before breaking them. This worked out quite well, but due to the fact, that liquid nitrogen is not that easy to get, you should just get high quality cutting pliers. If you decide to work with liquid nitrogen make sure to be careful.
Glueing on the Pieces
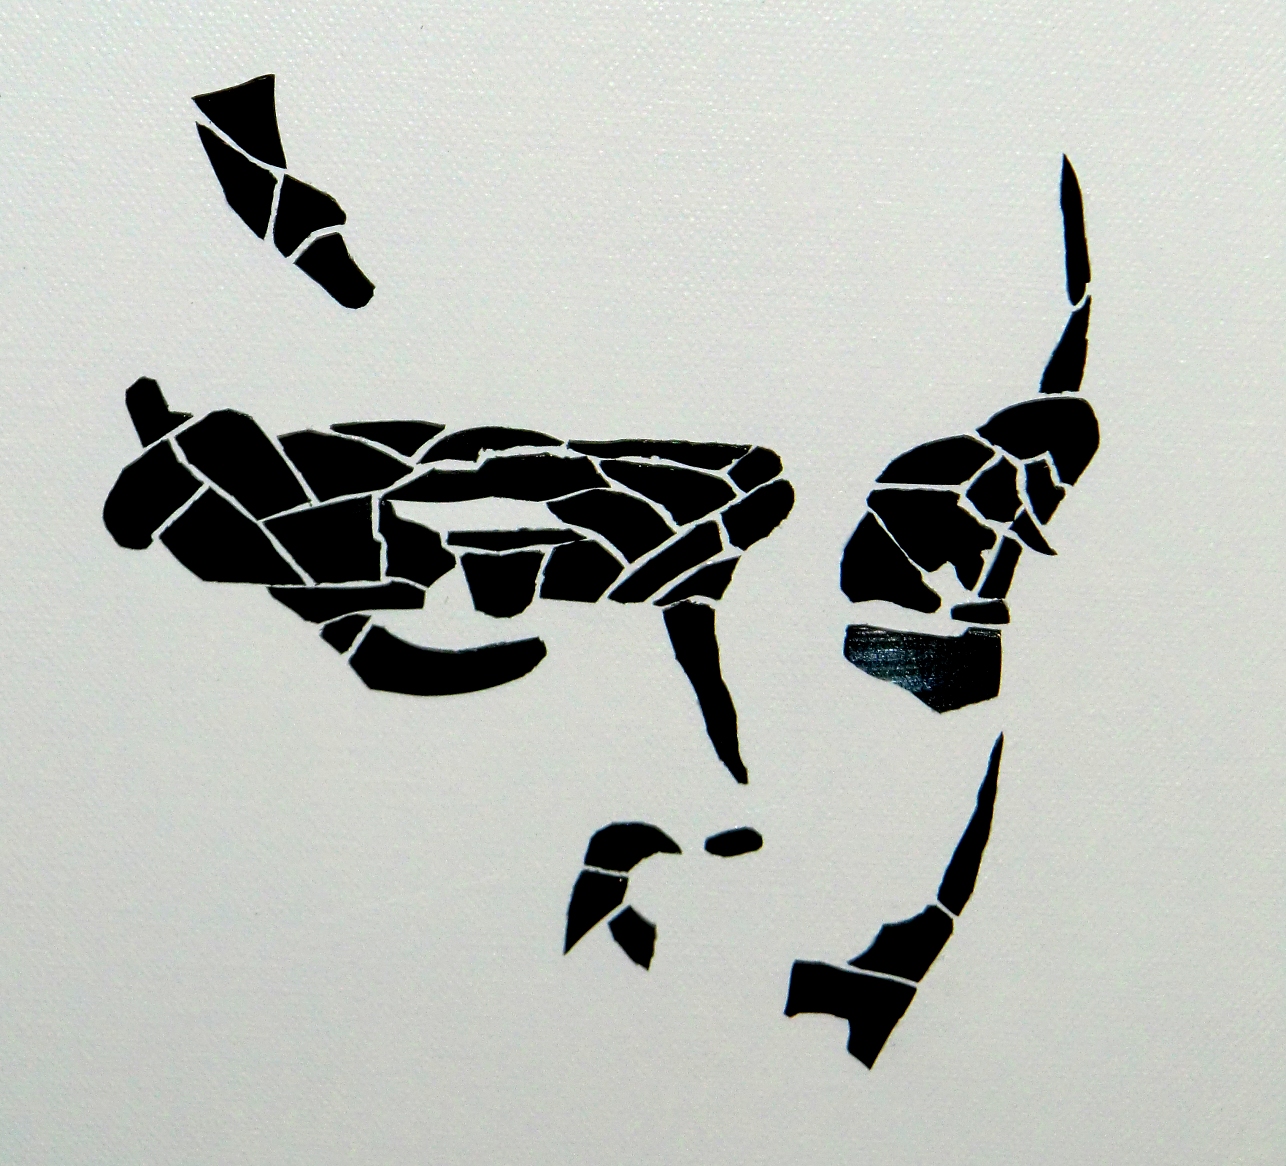
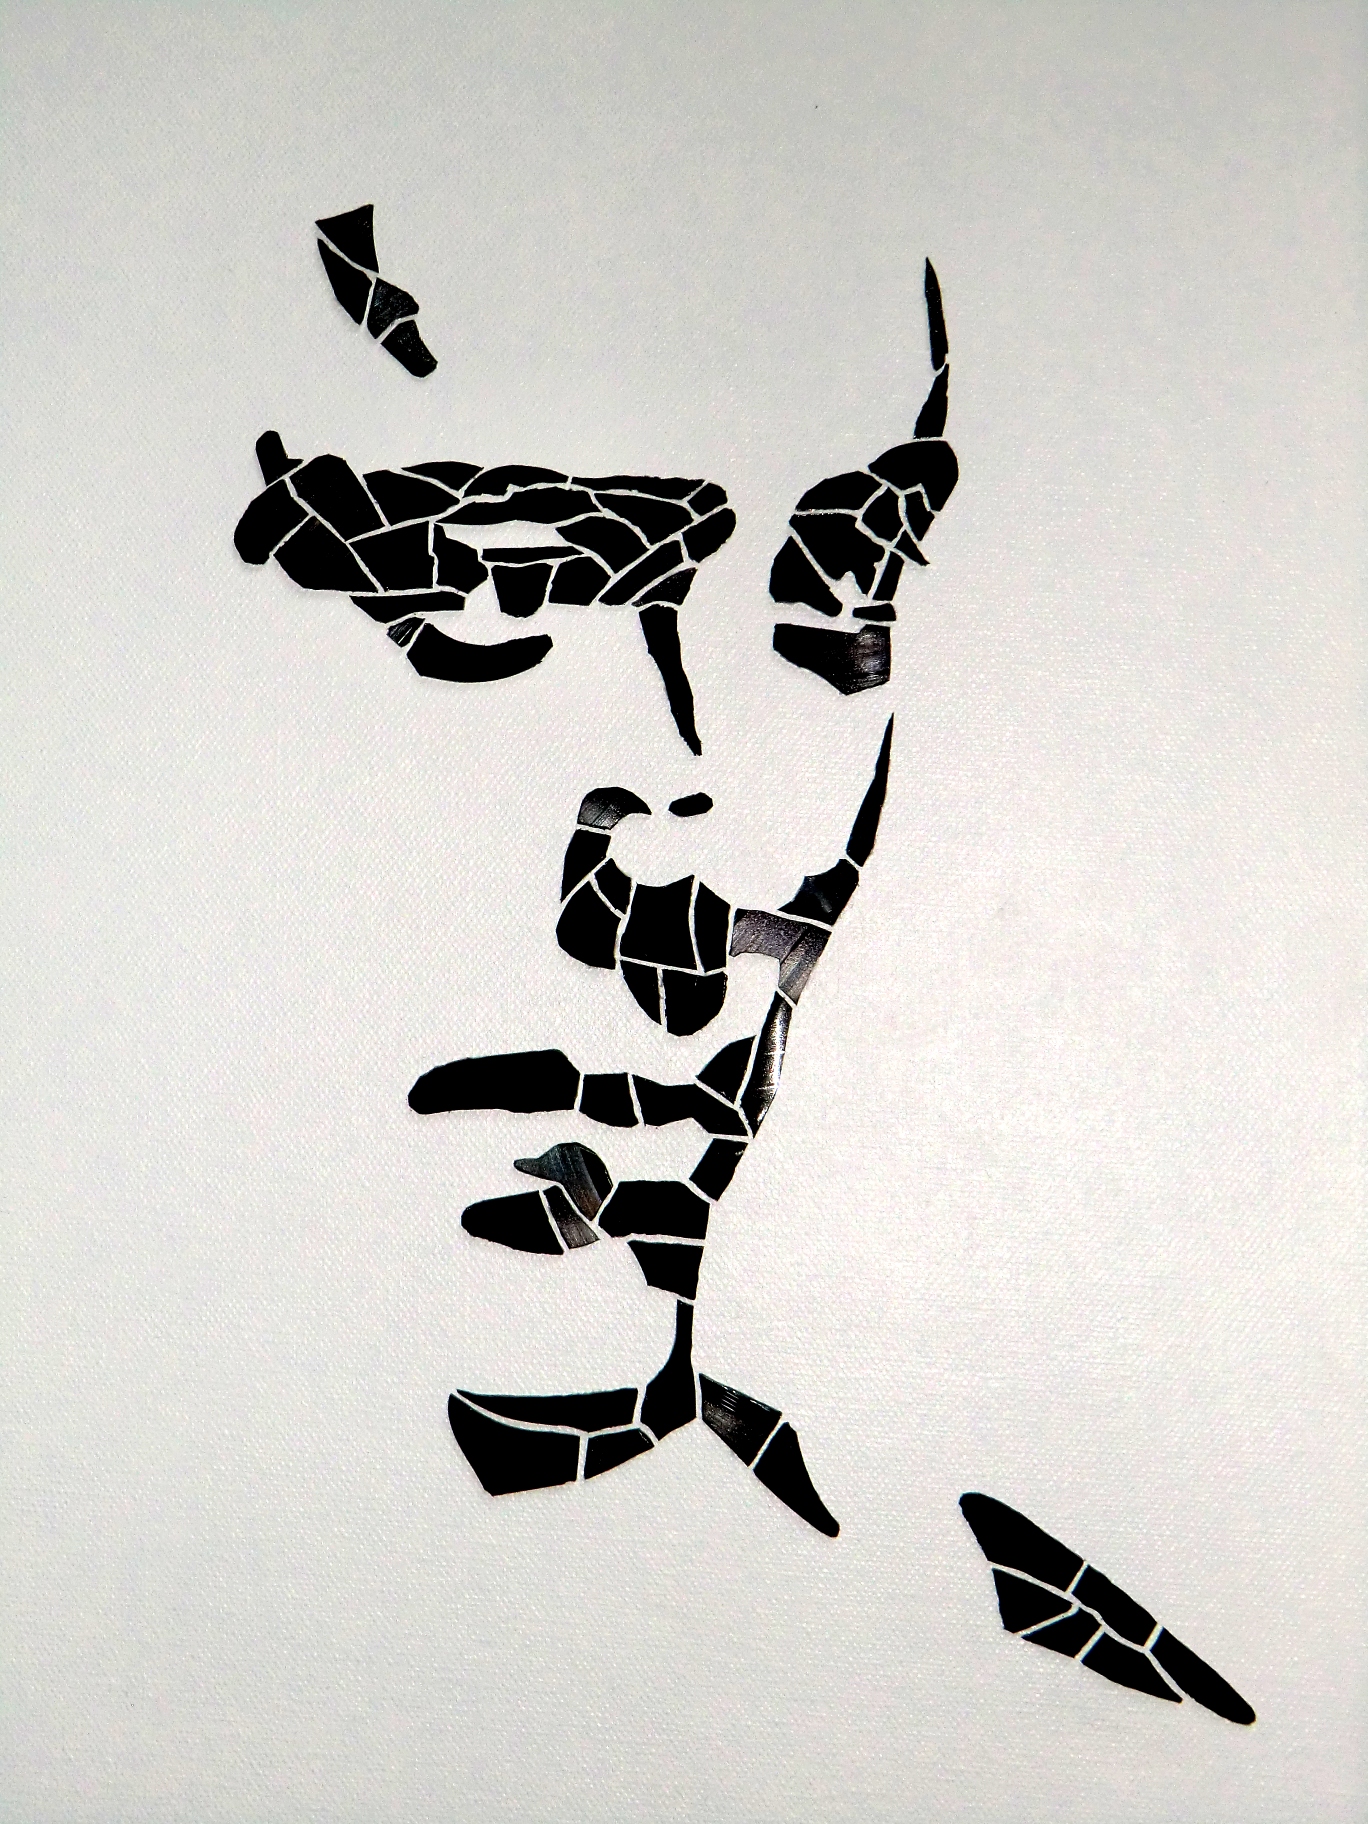
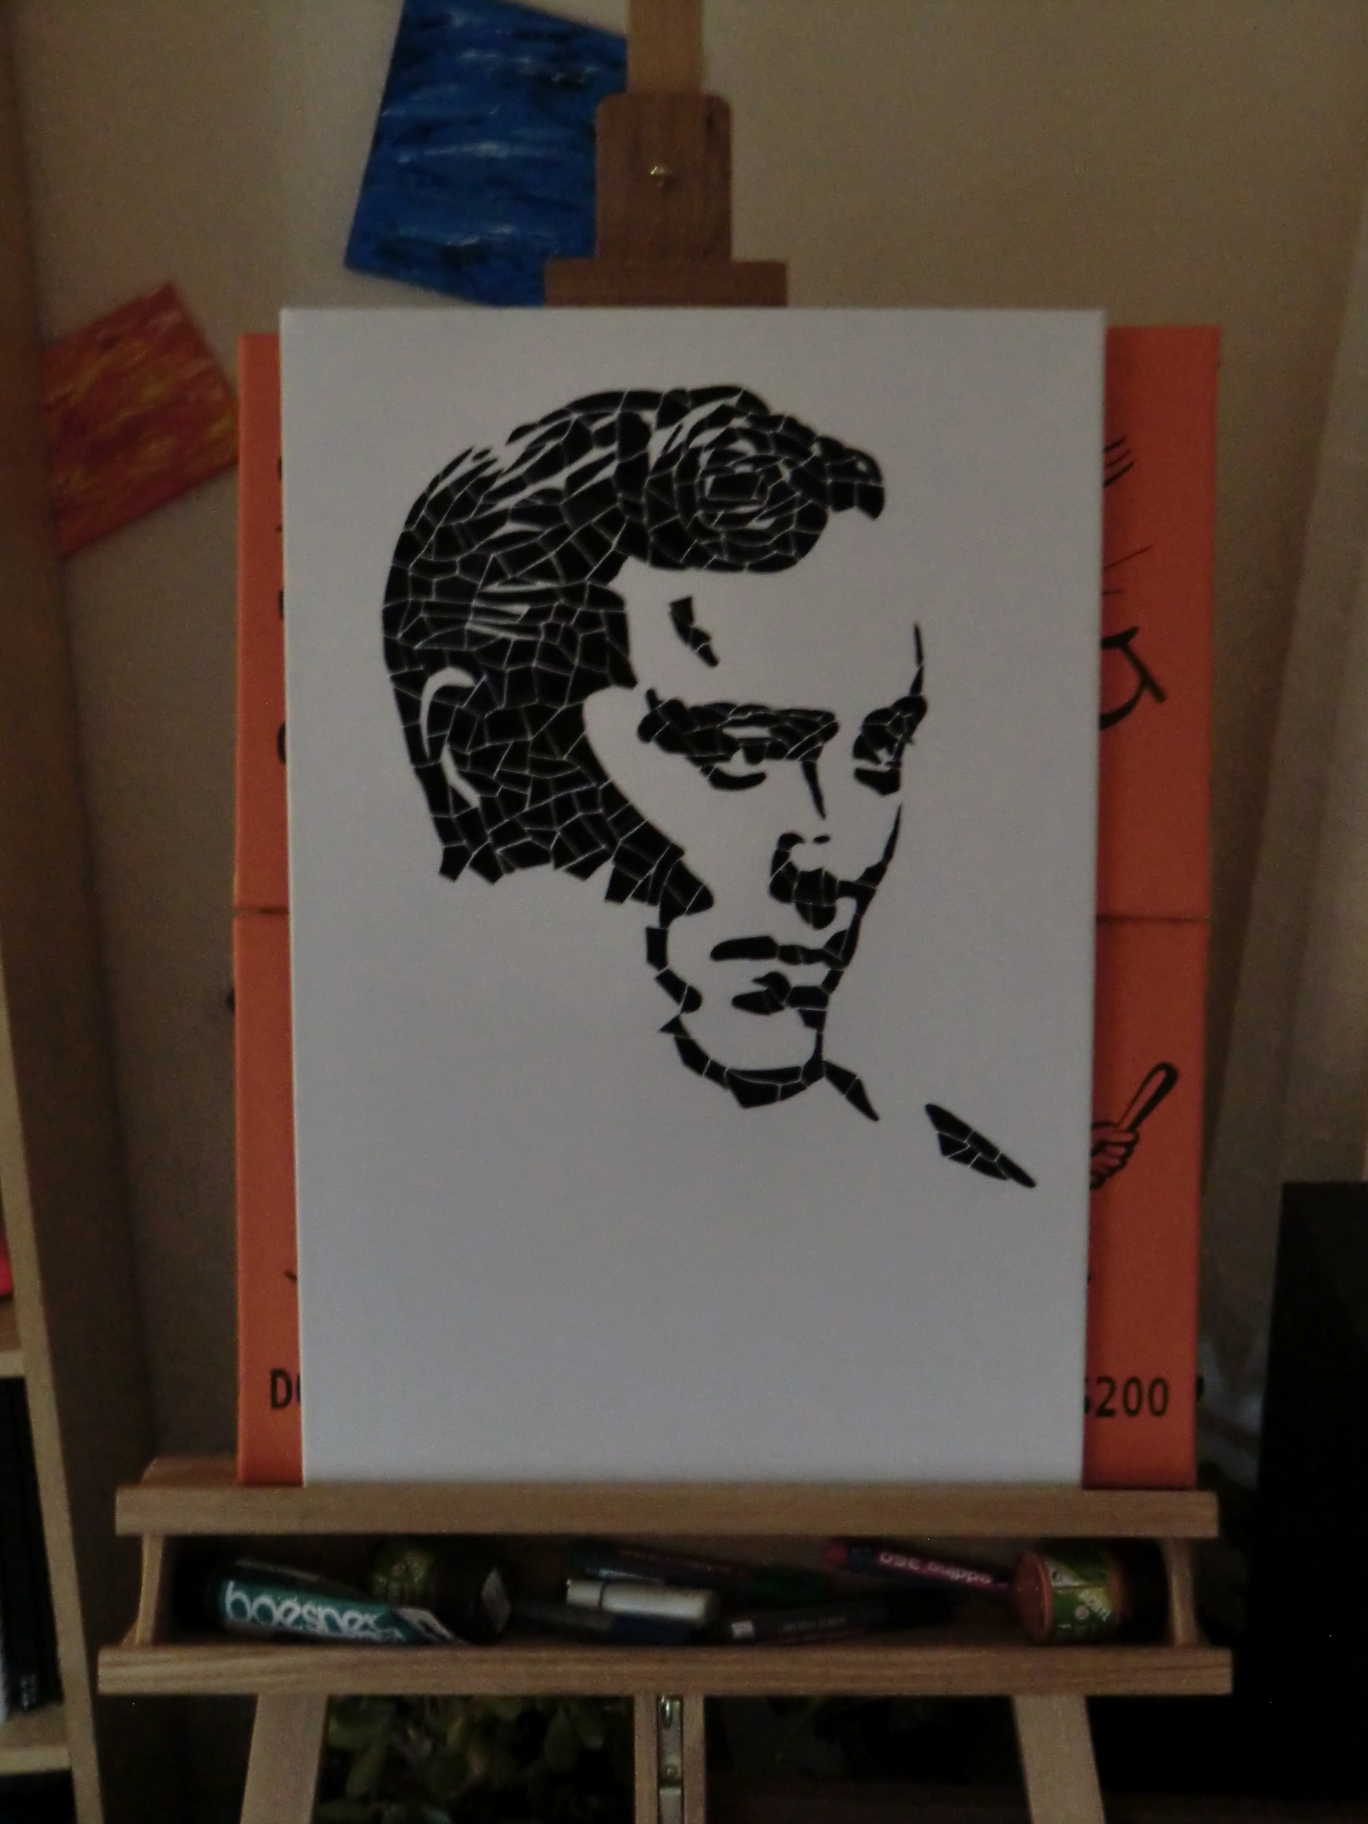
This step requires some patience. I started with the face, to see how the picture will turn out. If the pieces are slightly off, use the box cutter, to make the adjustments. In my experience it's easier to start with one side and move to the next.
Attaching the Clockwork
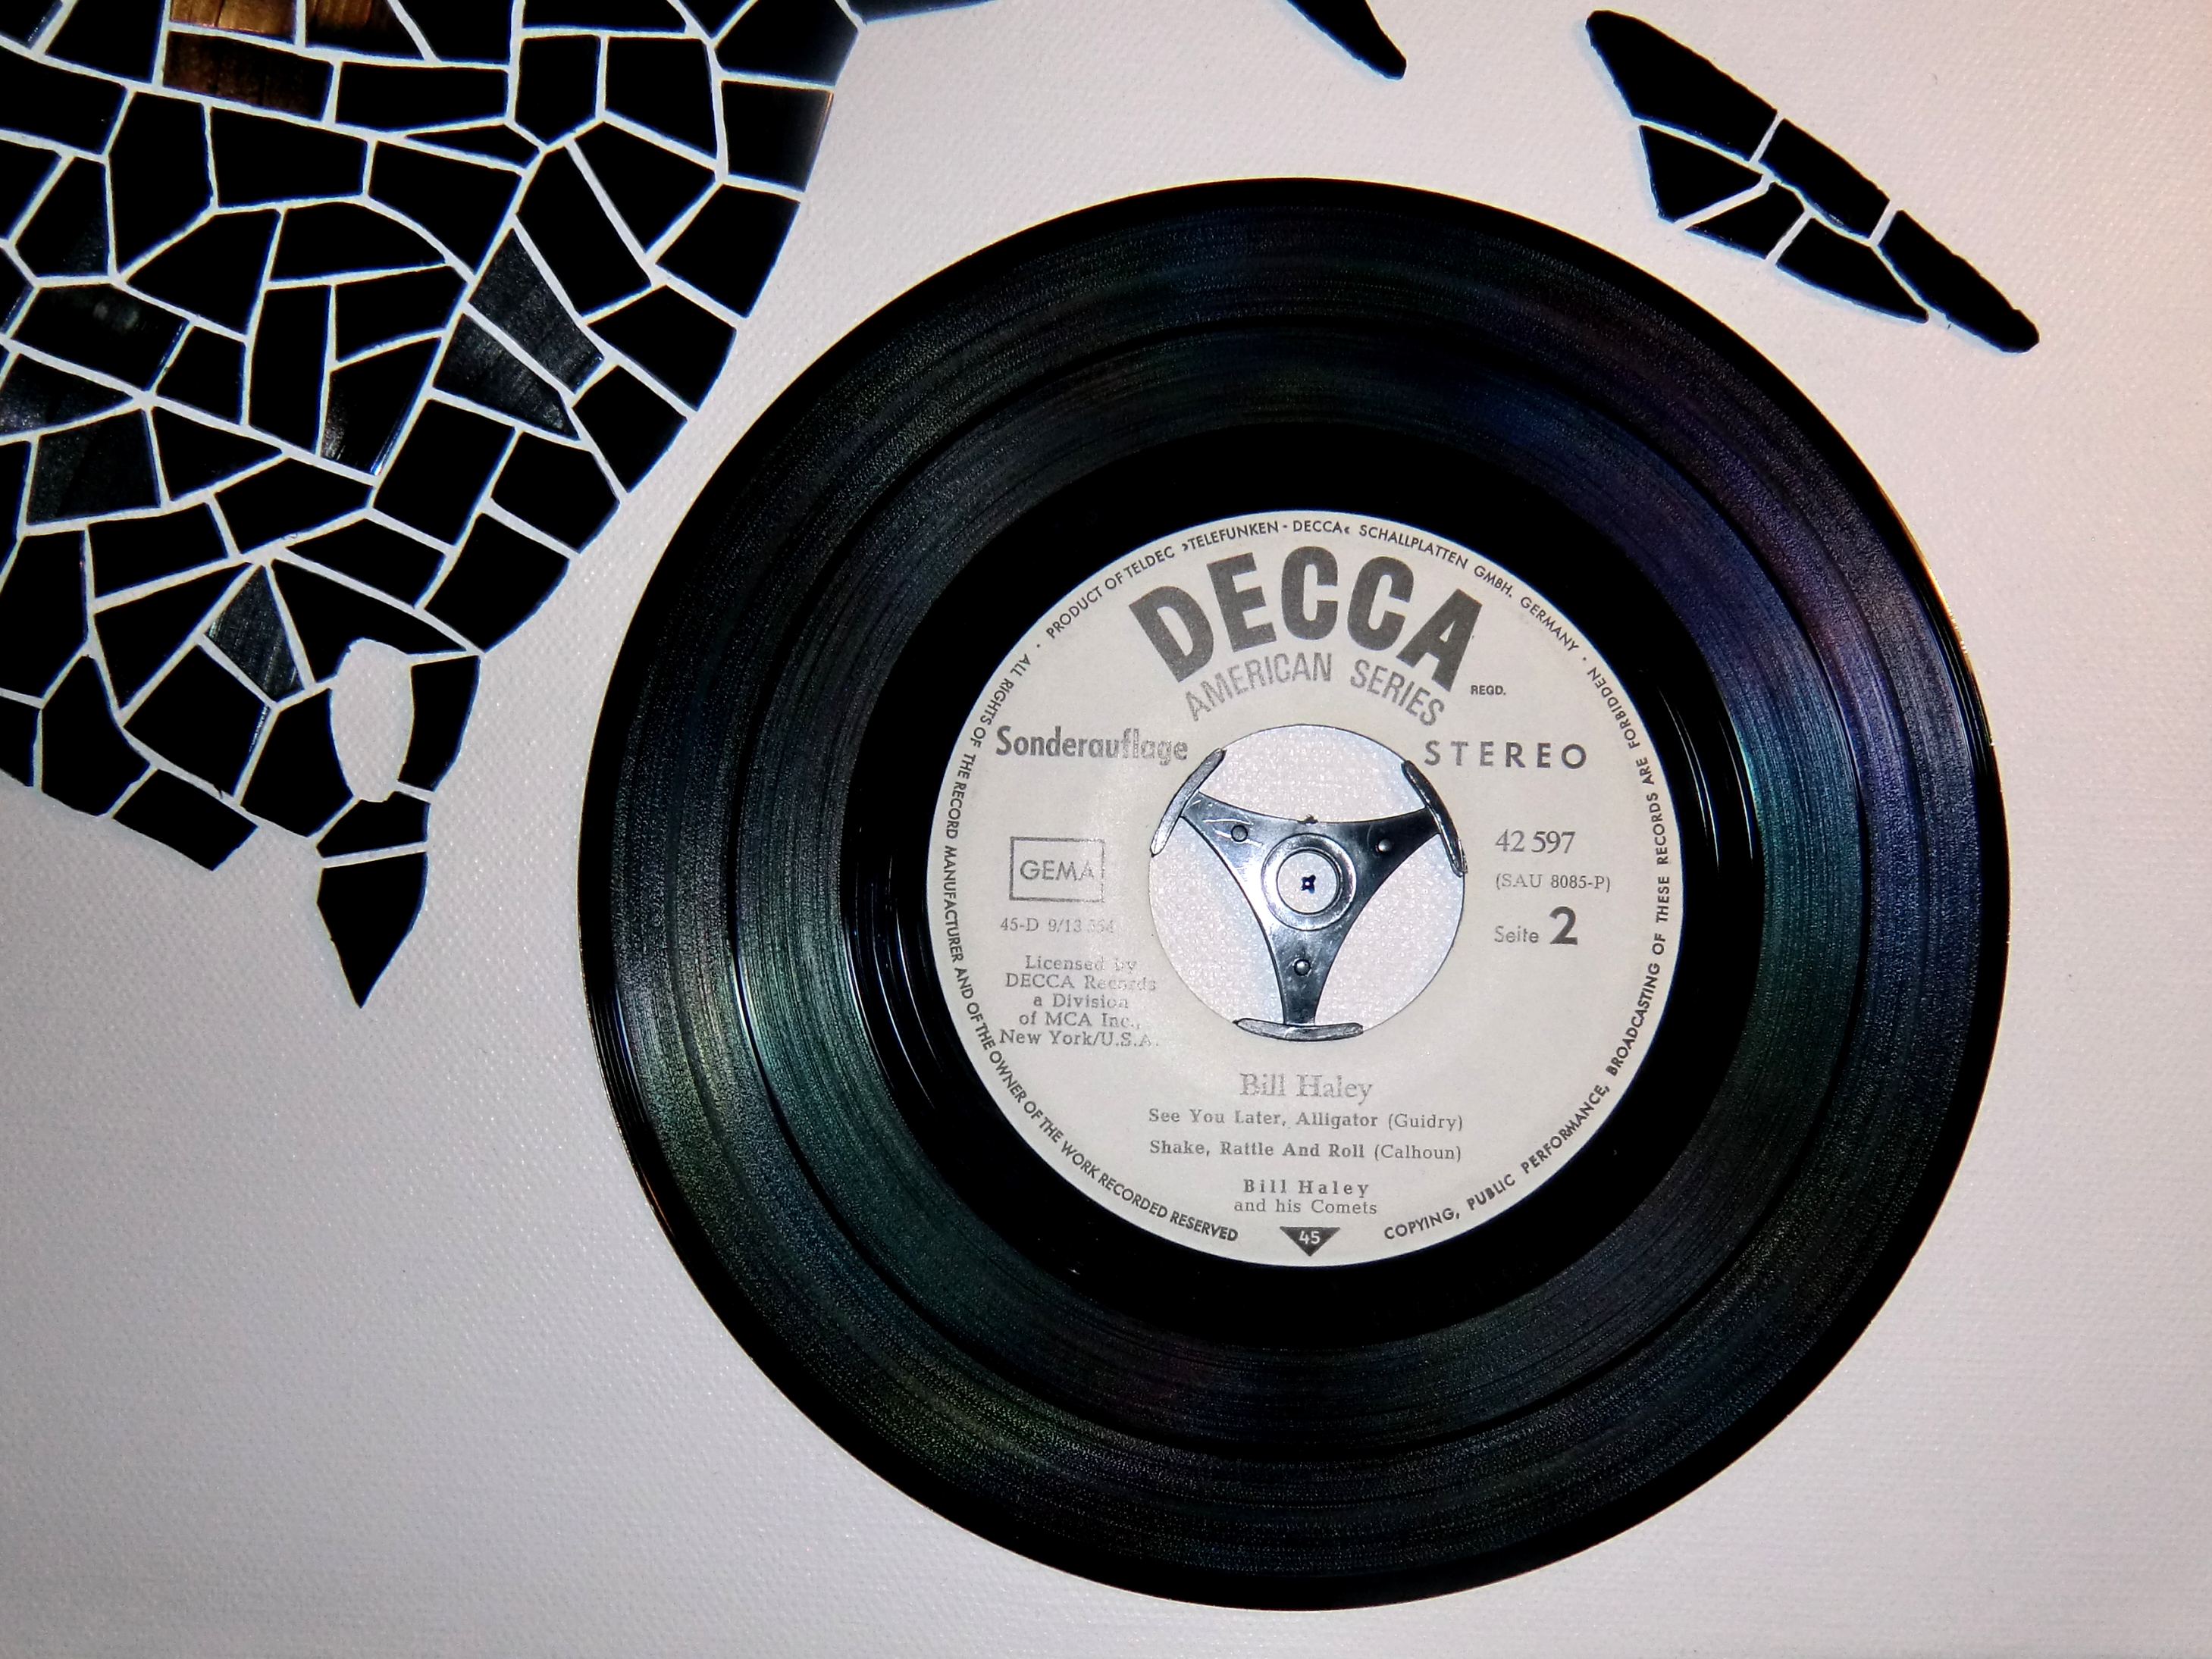
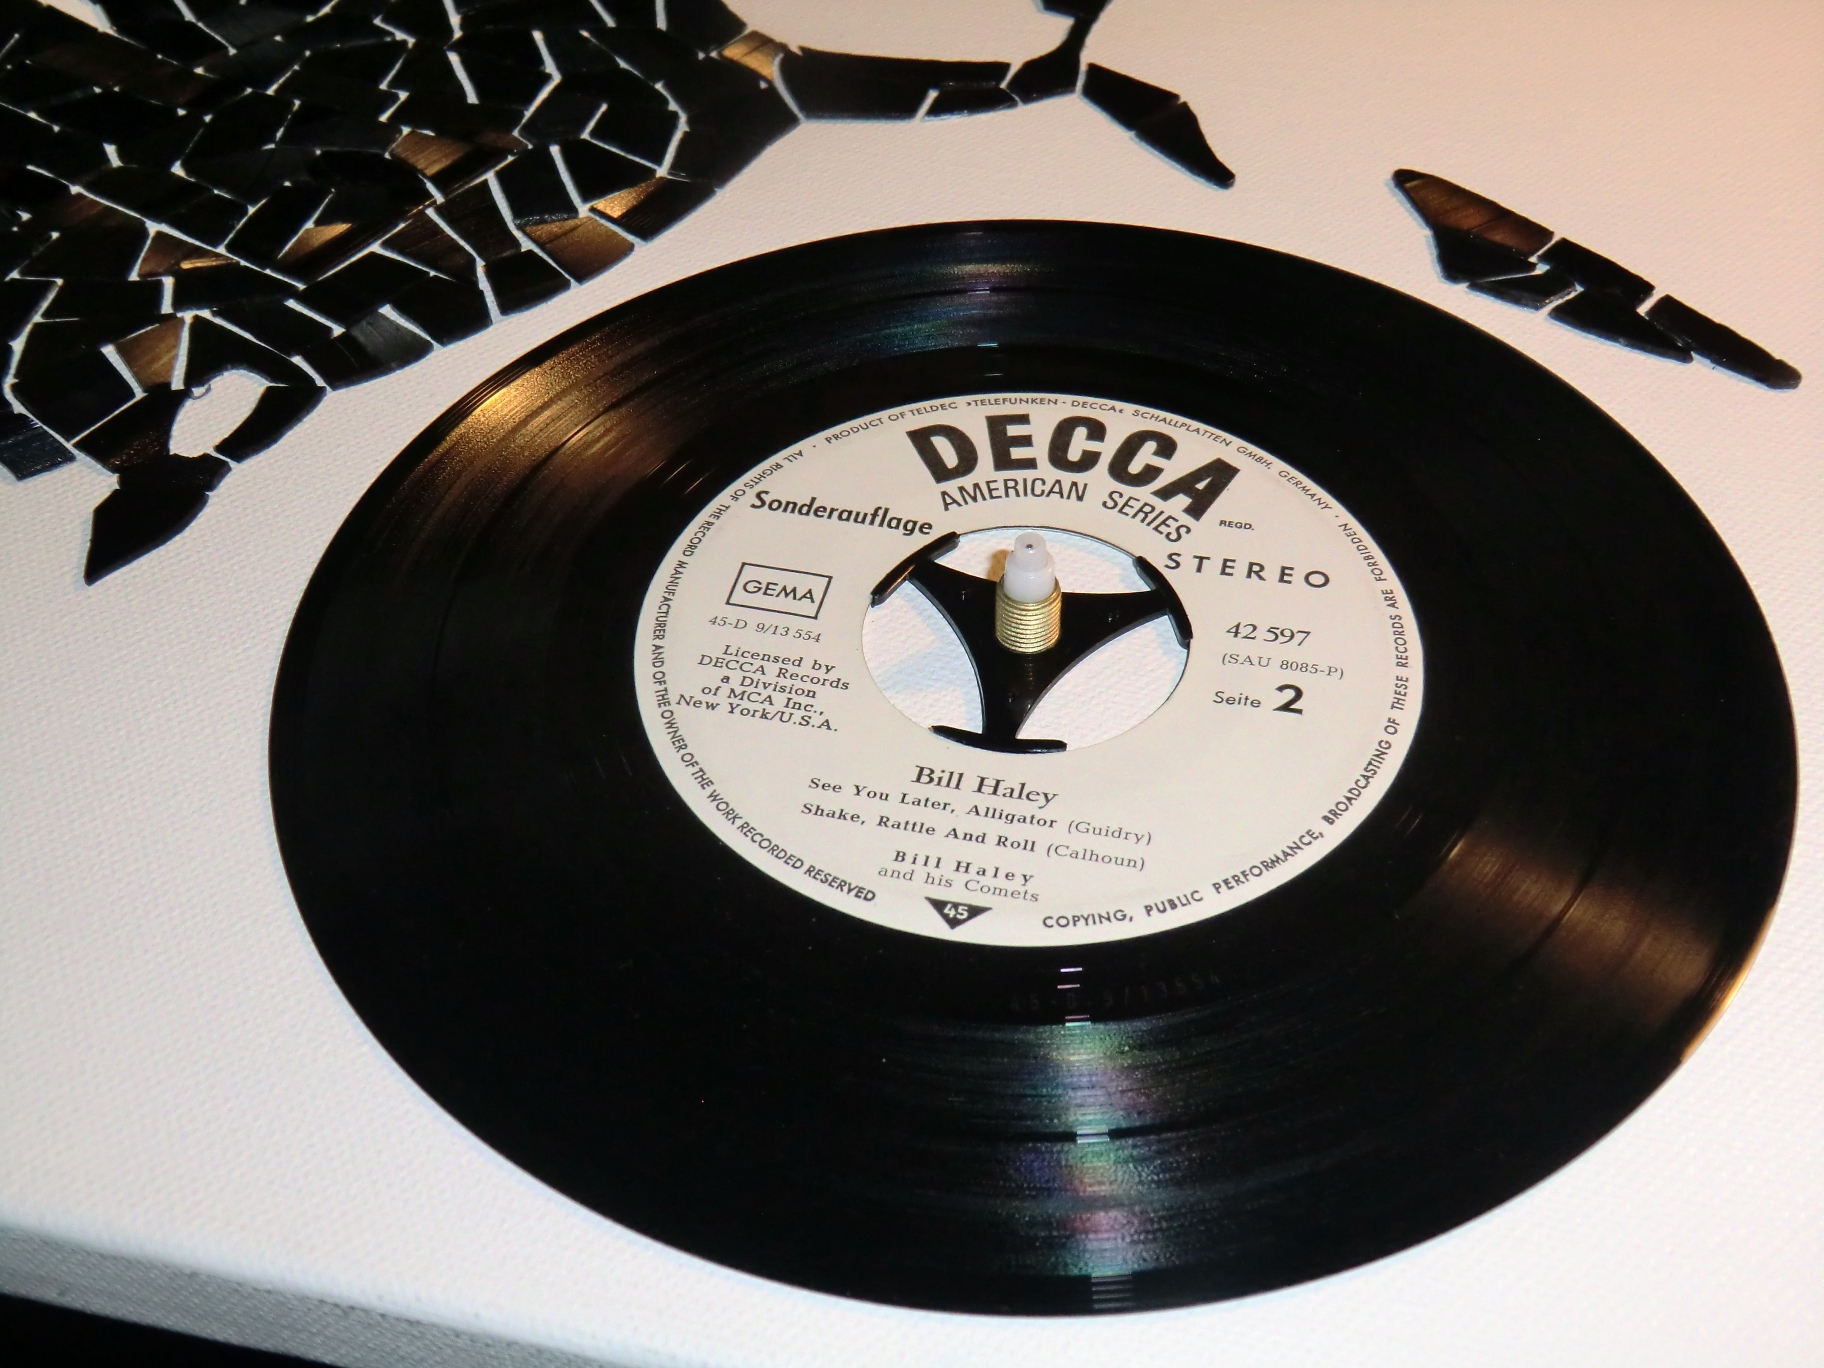
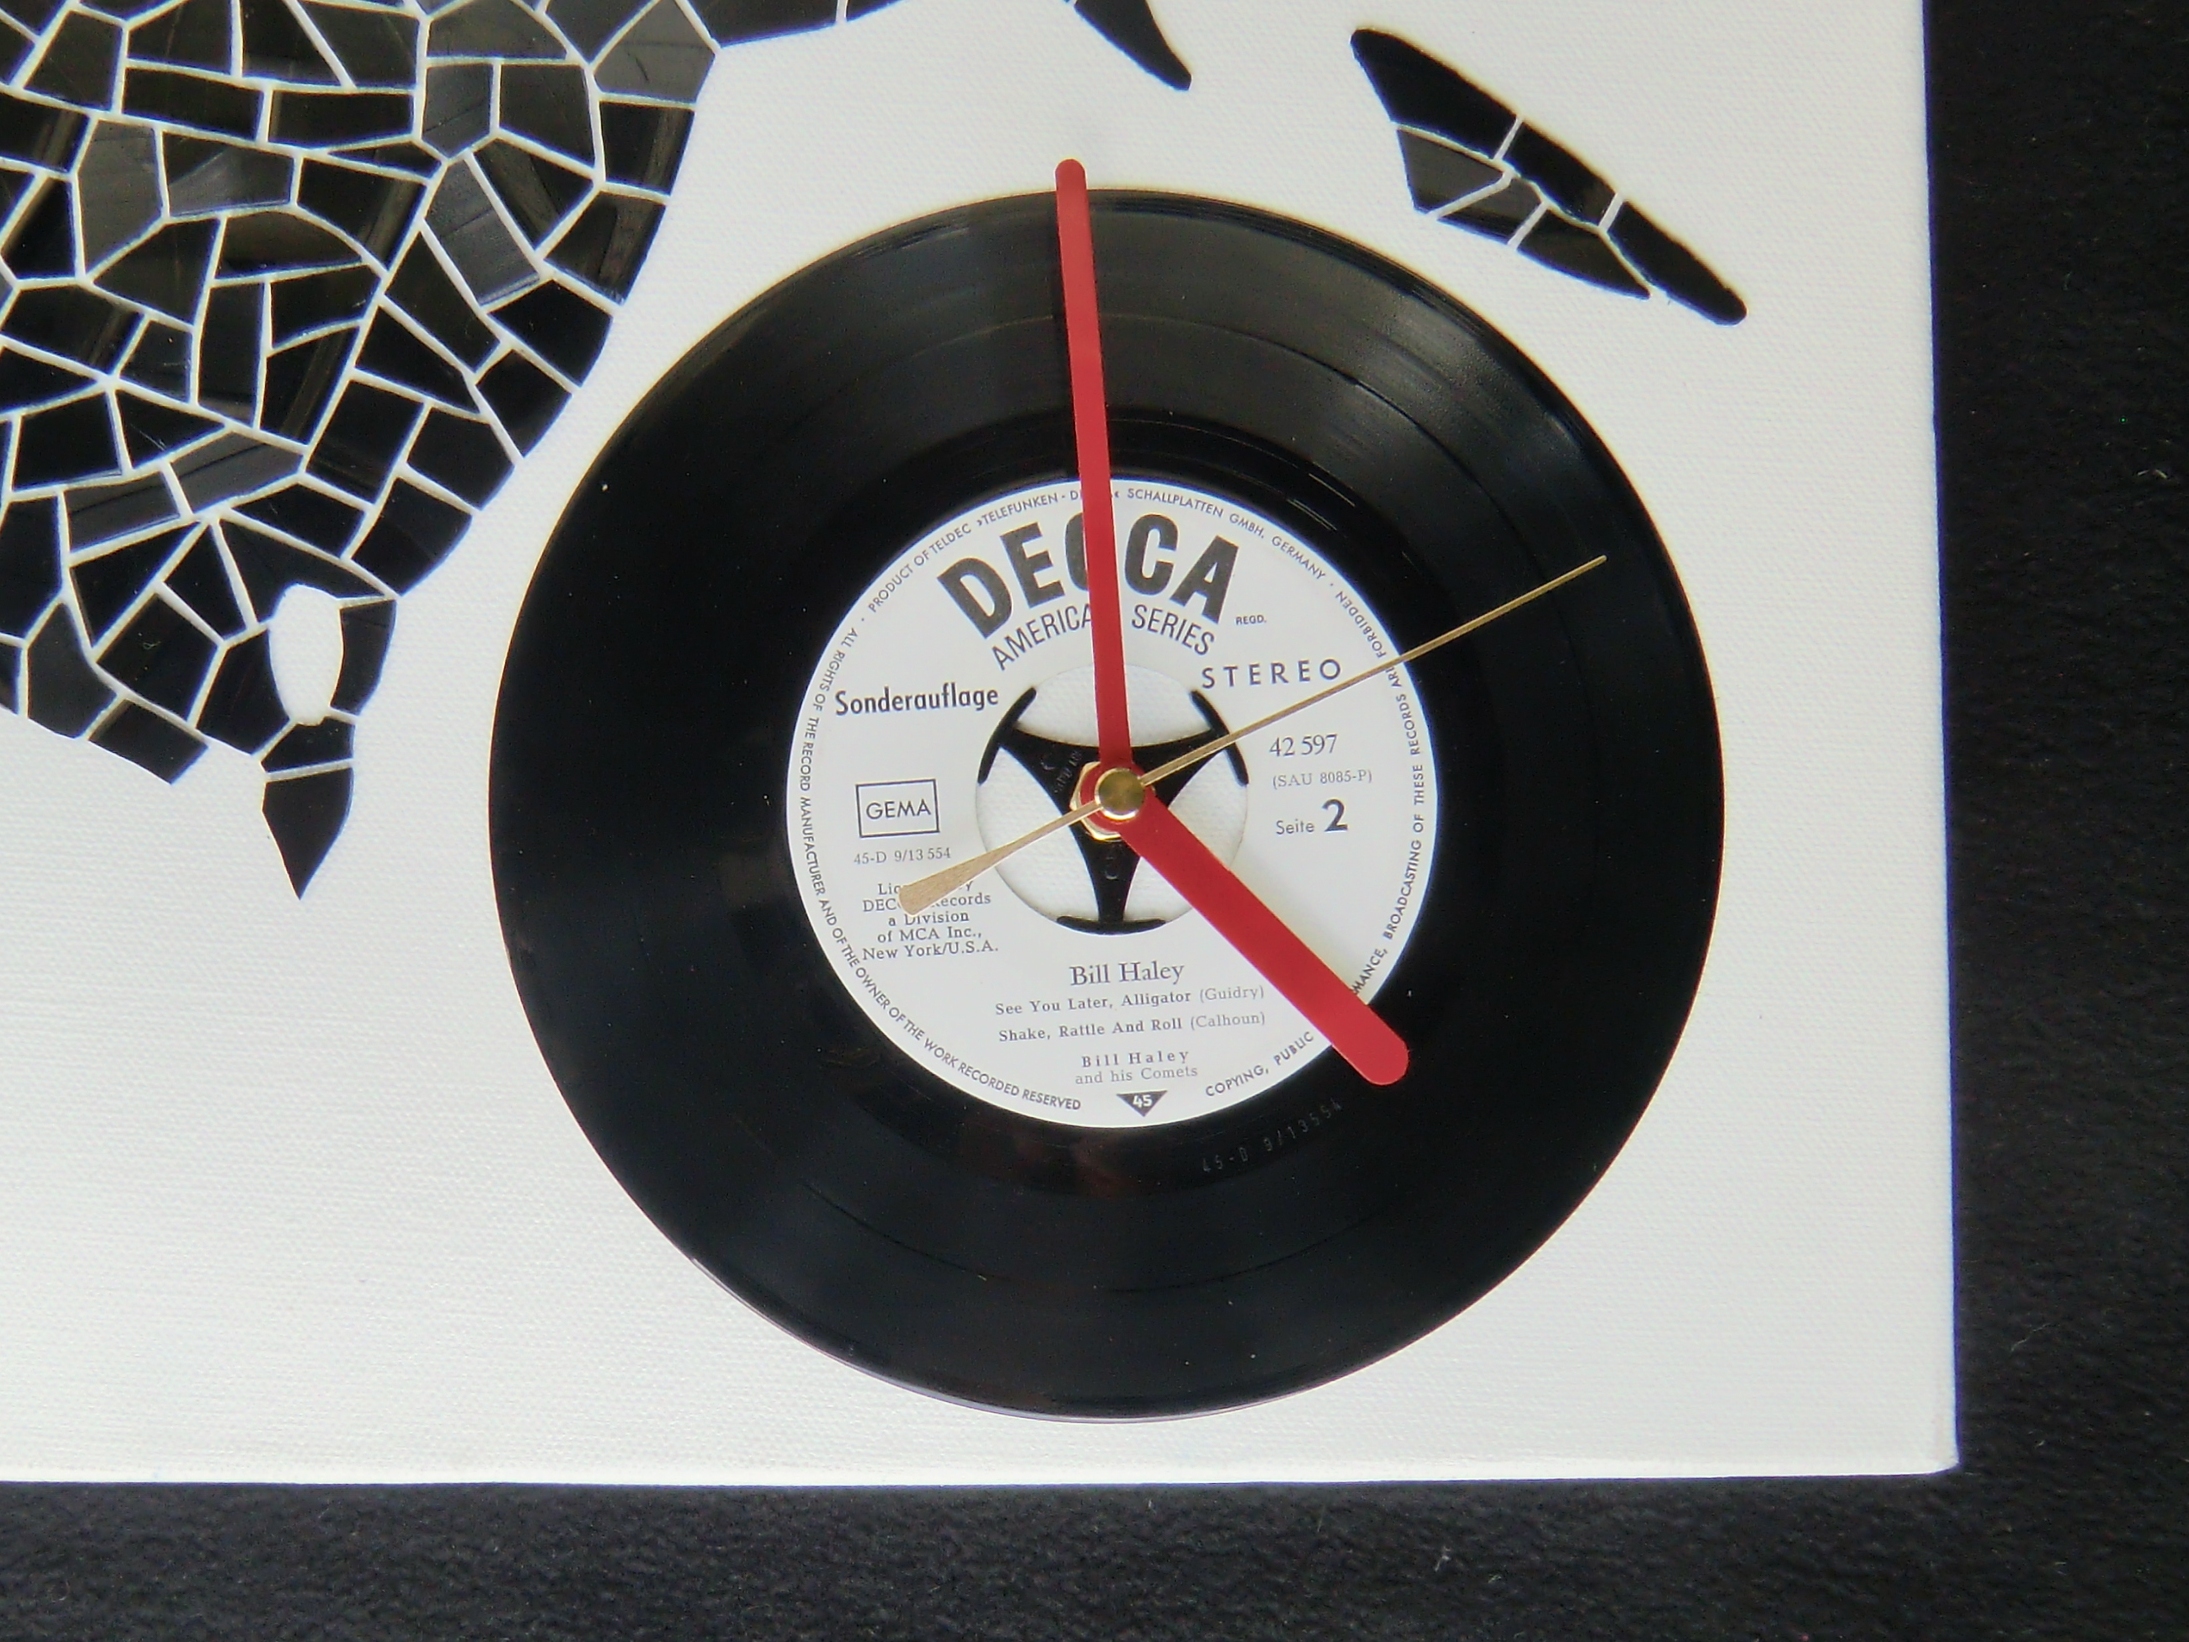
Simply assemble the clock and you are done.