Robotic Claw Business Card
by PenfoldPlant in Workshop > Laser Cutting
132244 Views, 600 Favorites, 0 Comments
Robotic Claw Business Card


Starting the Design

The trickiest part of this project, as is often the case, was the design stage. I started with an idea in my mind of a business card that involved gears and that could move in an interesting way, but very little beyond that. I knew that it had to meet the following specifications:
At first, I expected Number 1 on this list to cause the biggest problems, as 7 square inches really didn't sound like much space for a set of working gears. After a bit of playing with the laser cutter and some scrap card, however, I found I was able to cut effective gears which were incredibly small. I'm fairly sure that it would be possible to make this card half its current size without any functional problems. To design the gears, I used a wonderful piece of software made by Matthias Wendel, called Gear Template Generator. I highly recommend this to anyone interested in cutting their own gears, whatever the size and material.
Another factor that helped with this size constraint was the realisation that, while the mechanism had to fit within a business card when inactive, there was nothing stopping it from overreaching the card's boundaries once the mechanism was deployed.
Number 2 on the list then became the most limiting, as I soon realised that all my gears and levers would have to fit onto a single plane to prevent the card becoming a brick. I played around with different types of card and decided that the best way to build this card would be to use three layers: a thin base layer, a thick, rigid inner layer containing the mechanism, and a thin surface layer.
One morning, while I was sketching ideas for this project, someone showed me a video of a 3D printed grabber mechanism and the rest of the idea just fell into place.
- Must be able to fit on a 3.5" by 2" business card
- Must not be unreasonably thick
- Must have room on which to print an email address and a logo
- Must have one simple lever or slider by which to control the mechanism
At first, I expected Number 1 on this list to cause the biggest problems, as 7 square inches really didn't sound like much space for a set of working gears. After a bit of playing with the laser cutter and some scrap card, however, I found I was able to cut effective gears which were incredibly small. I'm fairly sure that it would be possible to make this card half its current size without any functional problems. To design the gears, I used a wonderful piece of software made by Matthias Wendel, called Gear Template Generator. I highly recommend this to anyone interested in cutting their own gears, whatever the size and material.
Another factor that helped with this size constraint was the realisation that, while the mechanism had to fit within a business card when inactive, there was nothing stopping it from overreaching the card's boundaries once the mechanism was deployed.
Number 2 on the list then became the most limiting, as I soon realised that all my gears and levers would have to fit onto a single plane to prevent the card becoming a brick. I played around with different types of card and decided that the best way to build this card would be to use three layers: a thin base layer, a thick, rigid inner layer containing the mechanism, and a thin surface layer.
One morning, while I was sketching ideas for this project, someone showed me a video of a 3D printed grabber mechanism and the rest of the idea just fell into place.
Designing the Components


When I had the basic layout of the card clear in mind mind, I started drawing it in Adobe Illustrator. I plotted the three layers individually, then repositioned them to see how well they would fit together when the mechanism was deployed.
Cutting the Components


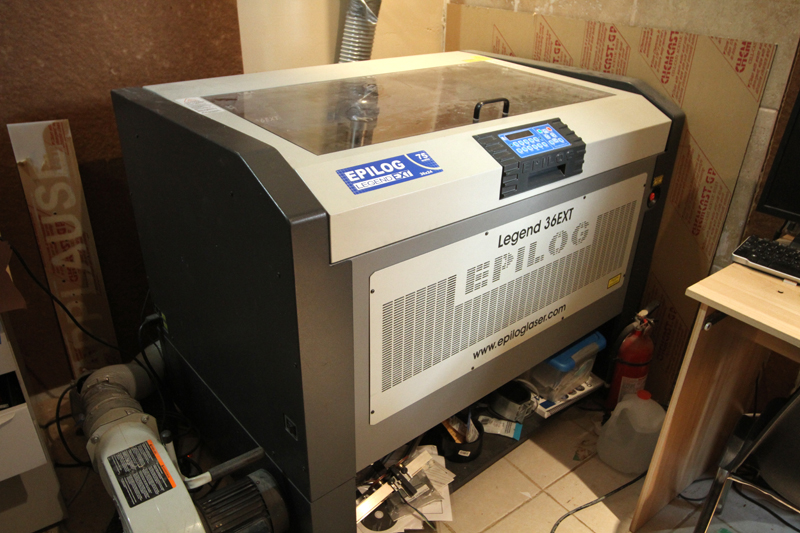
To cut the components out of card I sought the help of my old friend, the Epilog laser cutter.
For the base layer and the surface layer, I used thin white art card. For the inner layer, I used thicker white mounting board.
For the base layer and the surface layer, I used thin white art card. For the inner layer, I used thicker white mounting board.
Sorting the Components


I then carefully laid out the three layers to see that they all fit together.
Checking the Mechanism


I double-checked that everything lined up neatly by posing the innards in various positions.
Gluing the Innards

Once I was sure everything was in order, I started gluing the inner layer to the base layer with superglue, taking care not to accidentally glue down any of the moving parts.
Attaching the Surface


With the superglue dry and all of the moving parts in position, I needed to attach the surface layer to hold it all together. Superglue has a tendency to leach through paper and make it wrinkle in an unsightly manner, so I used paper cement for this step.
The Finished Card


As soon as the glue was dry, I had myself a fun little business card!
Where next? I'm considering trying to make a set of five business cards that combine to form a Voltron-like robot... This one might take a while.
Where next? I'm considering trying to make a set of five business cards that combine to form a Voltron-like robot... This one might take a while.