Rivet Fish
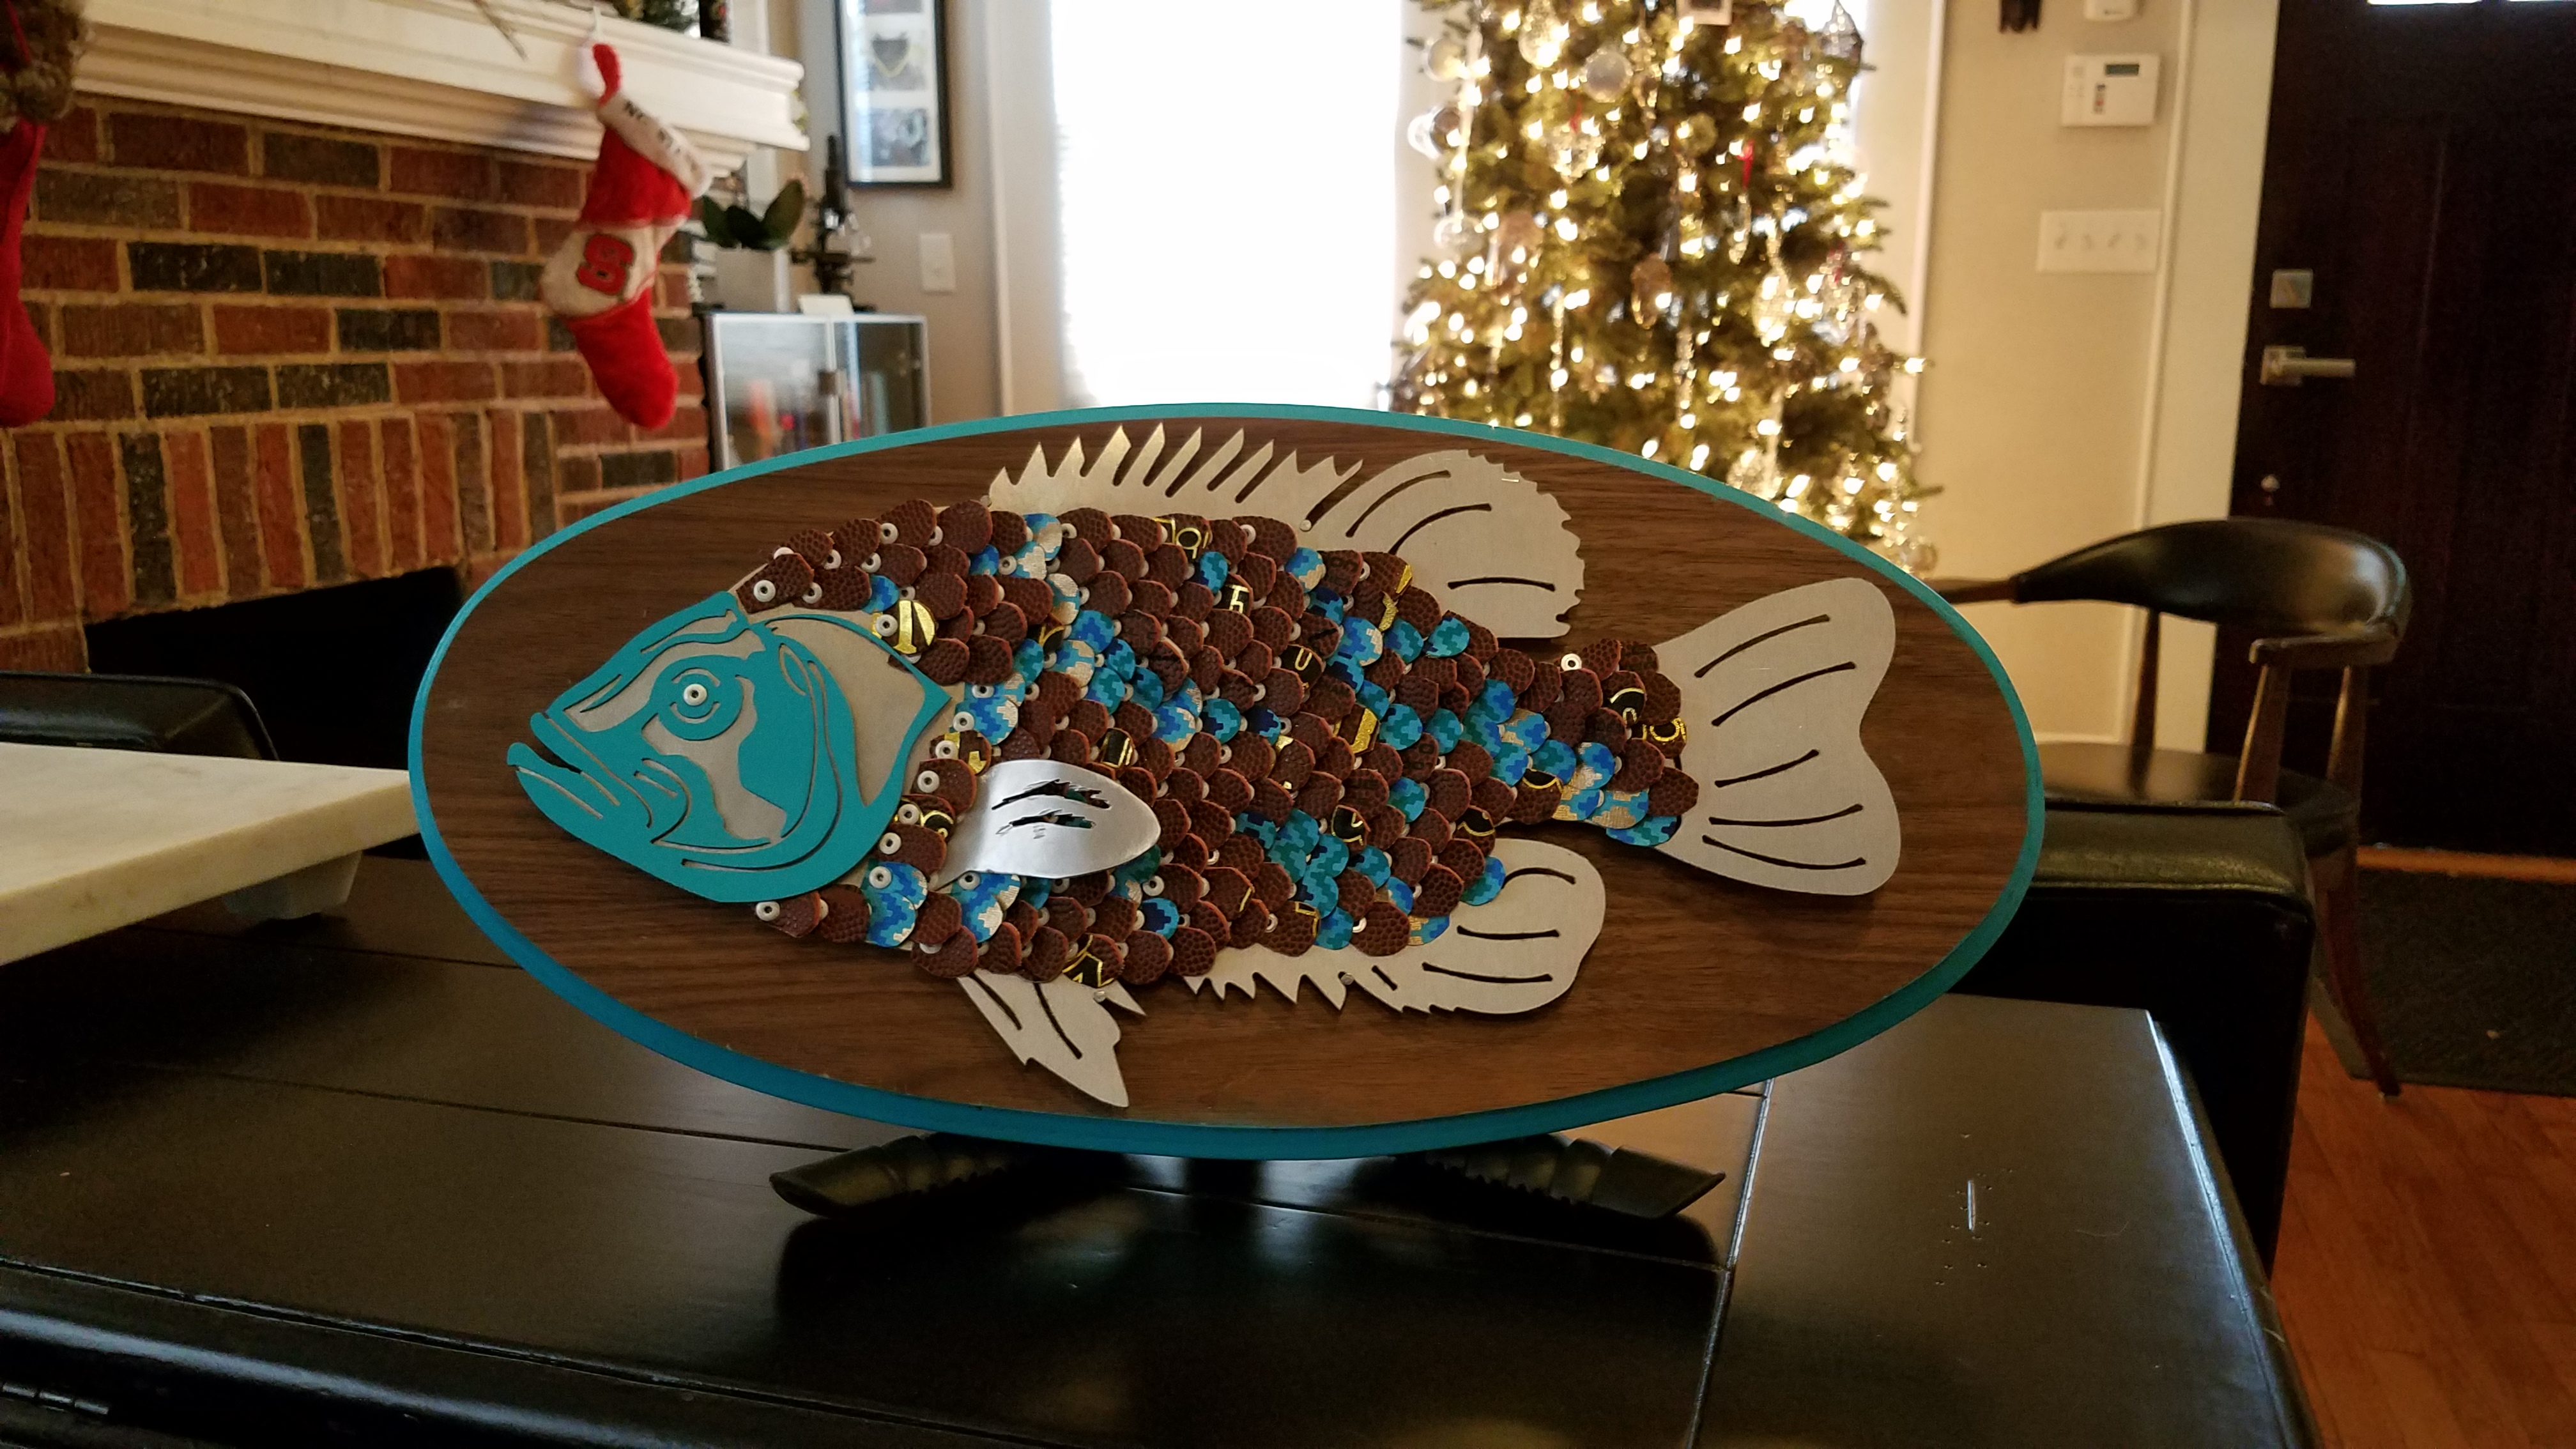
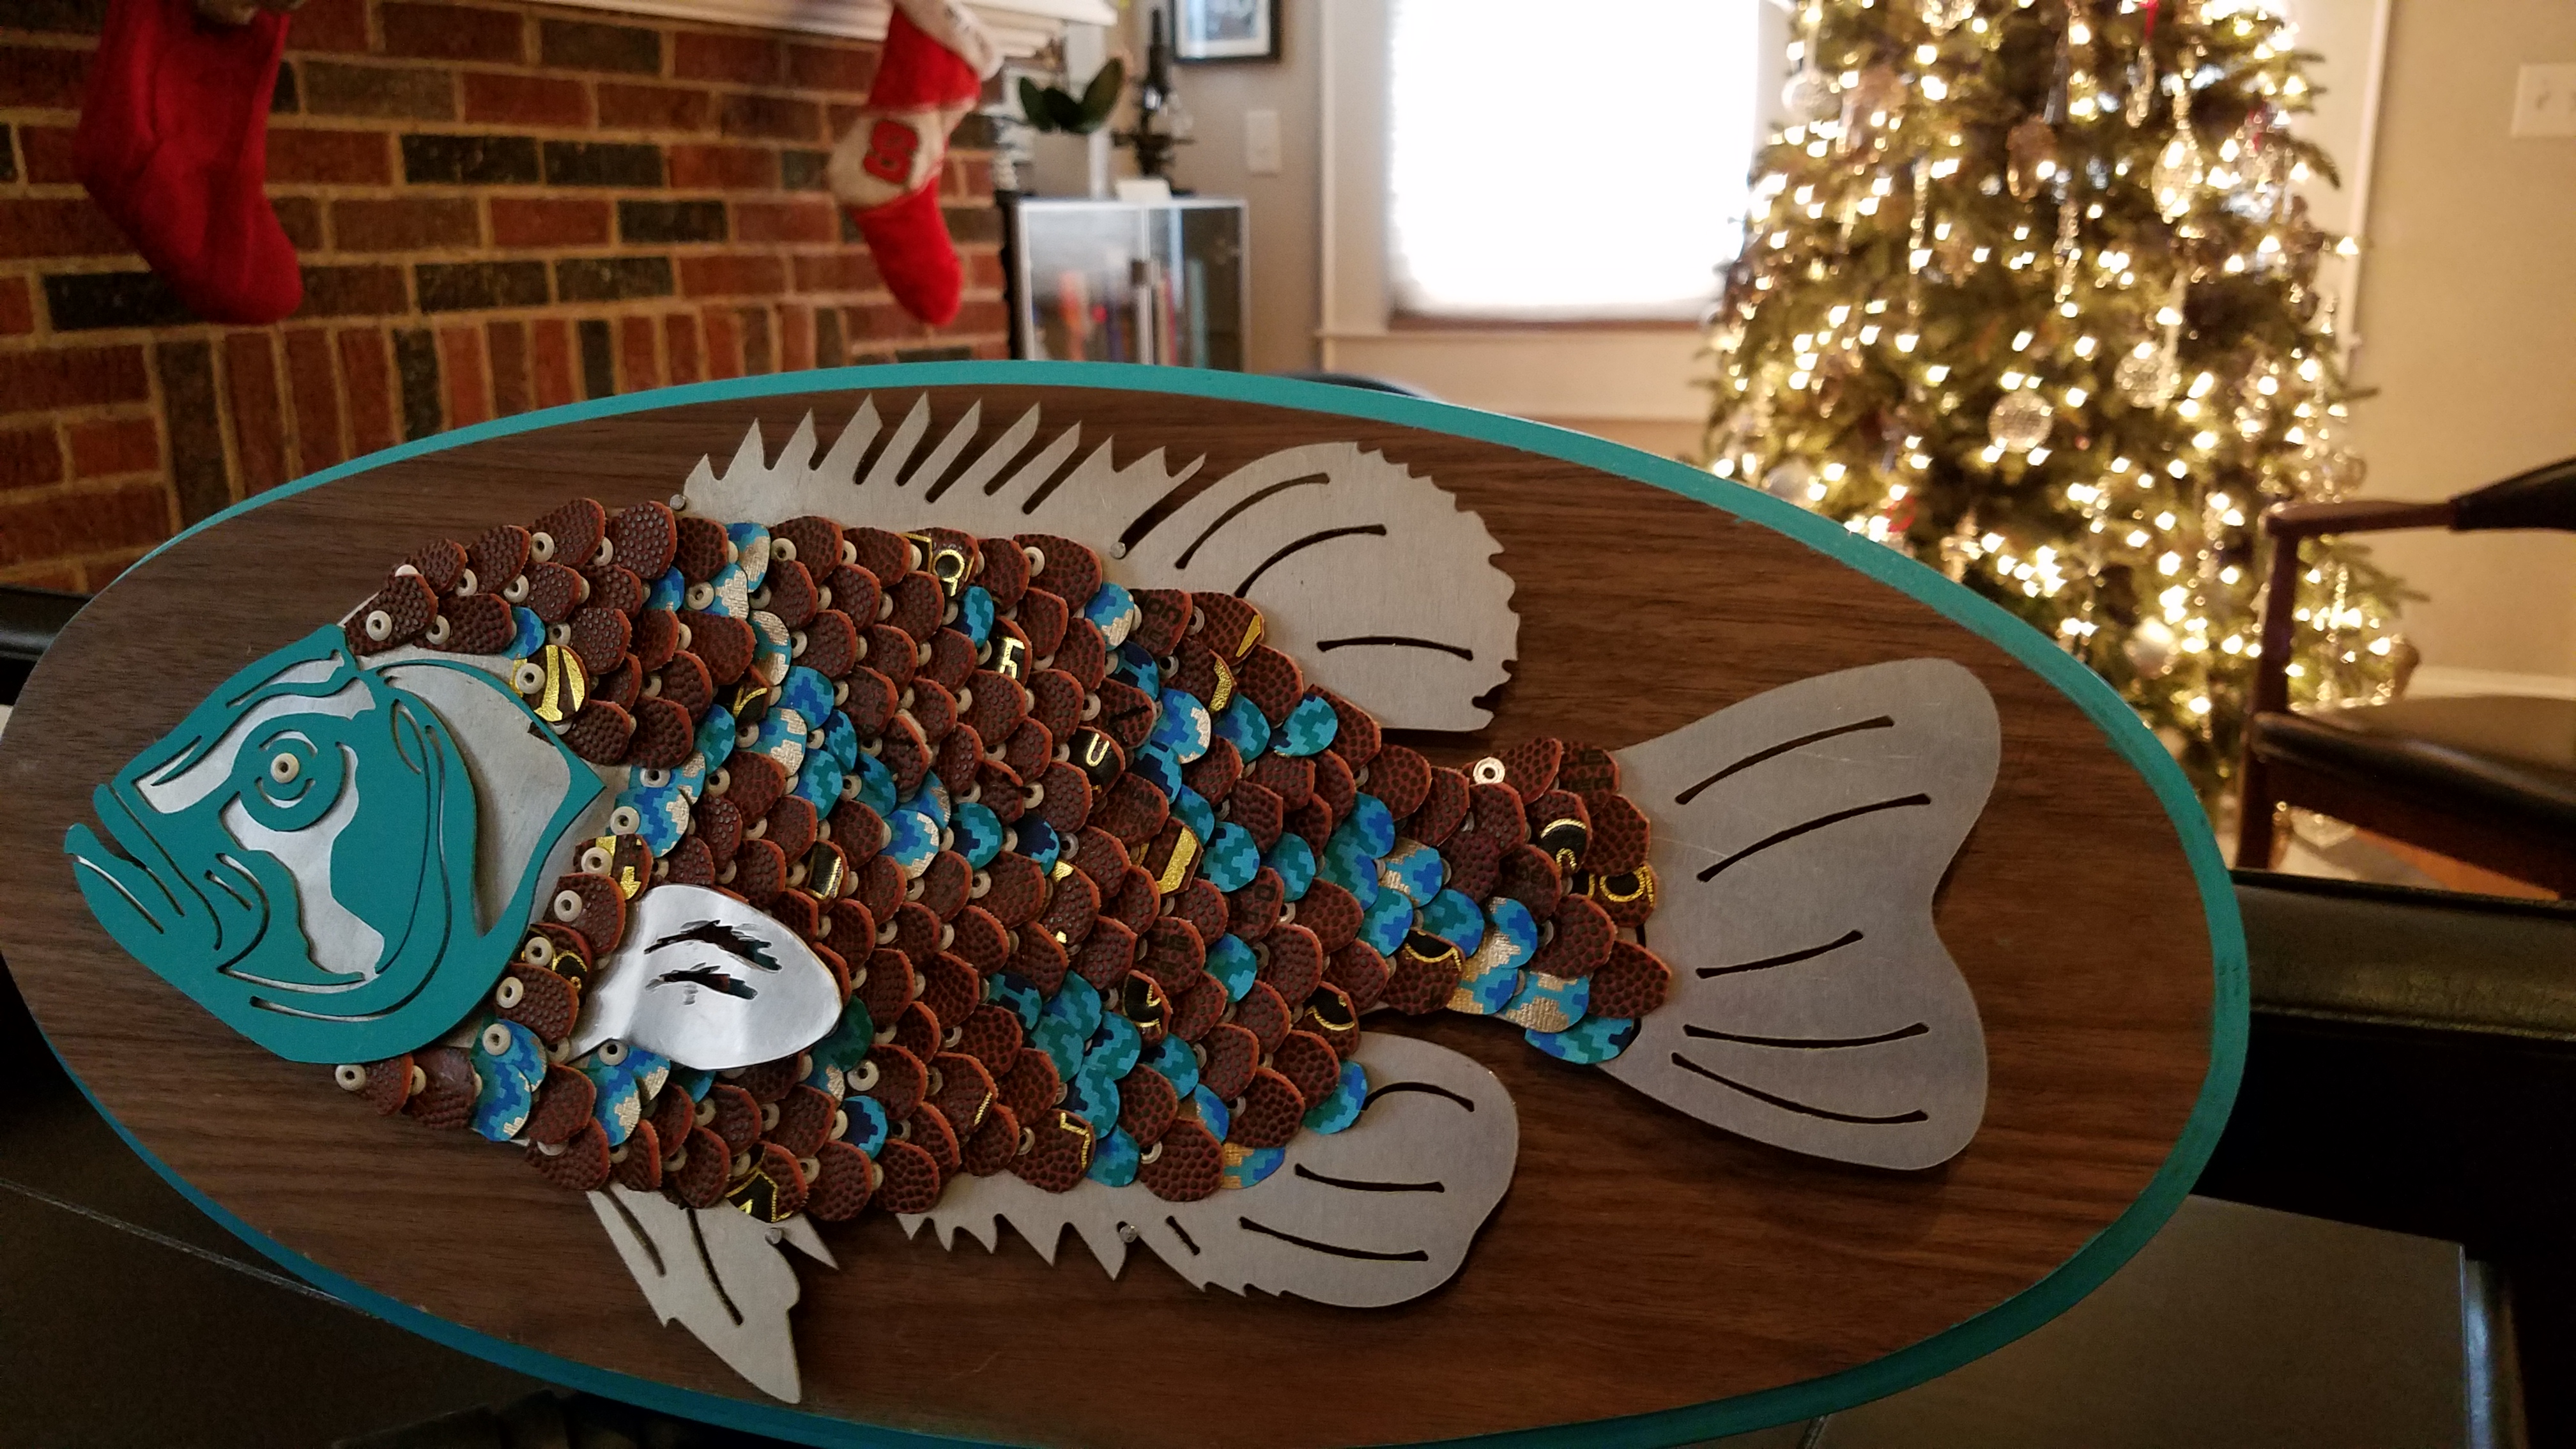
It's the second year that I'm participating in the Invention Studio's Secret Santa exchange!
(Here's the rocket that I made last year!)
This year, my recipient was a freshman! Since it's the end of, y'know, his first semester at college, I really wanted this to be a very special gift. Unfortunately, I didn't know much about him or what he could use.
Since he was a freshman, I figured that he and his parents had already kitted out his dorm room with the essentials, and I decided that what he could really use was some wall art. Because he listed 2 of his interests as fishing and football, I designed and made a chic and trendy homage to the infamous Billy Bass using upcycled materials (a football and fancy paper) and roughly 250 rivets.
You can find the file attached, if you are interested in cutting one yourself!
BOM
Materials:
- 1/32" Aluminum Sheet - approximately a 18"x12" sheet.
- ~250 1/8" diameter x 1/8" thick rivets - to account for the thickness of the leather, the paper, and the aluminum
- 1 football
- some paper
- bright turquoise spraypaint
- 3/4" thick plywood
- small nails
Tools:
- hammer
- waterjet
- rivet gun
- 1/8" punch
- file
- scissors
- x-acto knife
- tin snips
Software:
- Adobe Illustrator (Or, see the file that I'm attaching!)
Design-a-fish!
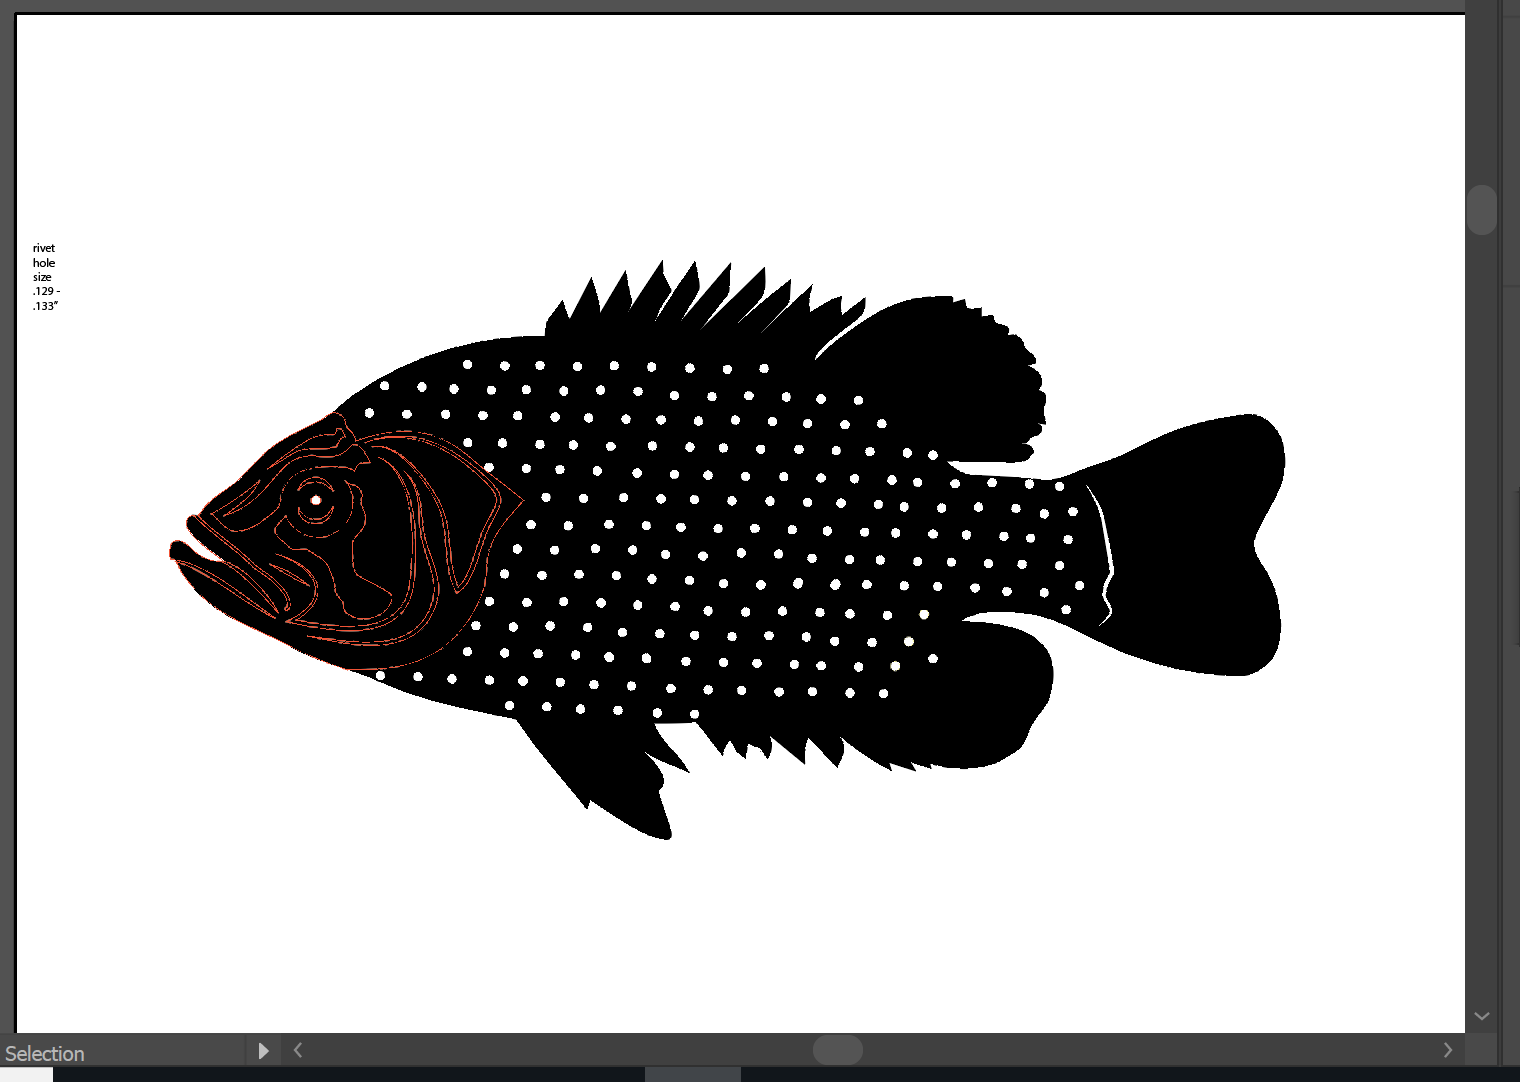
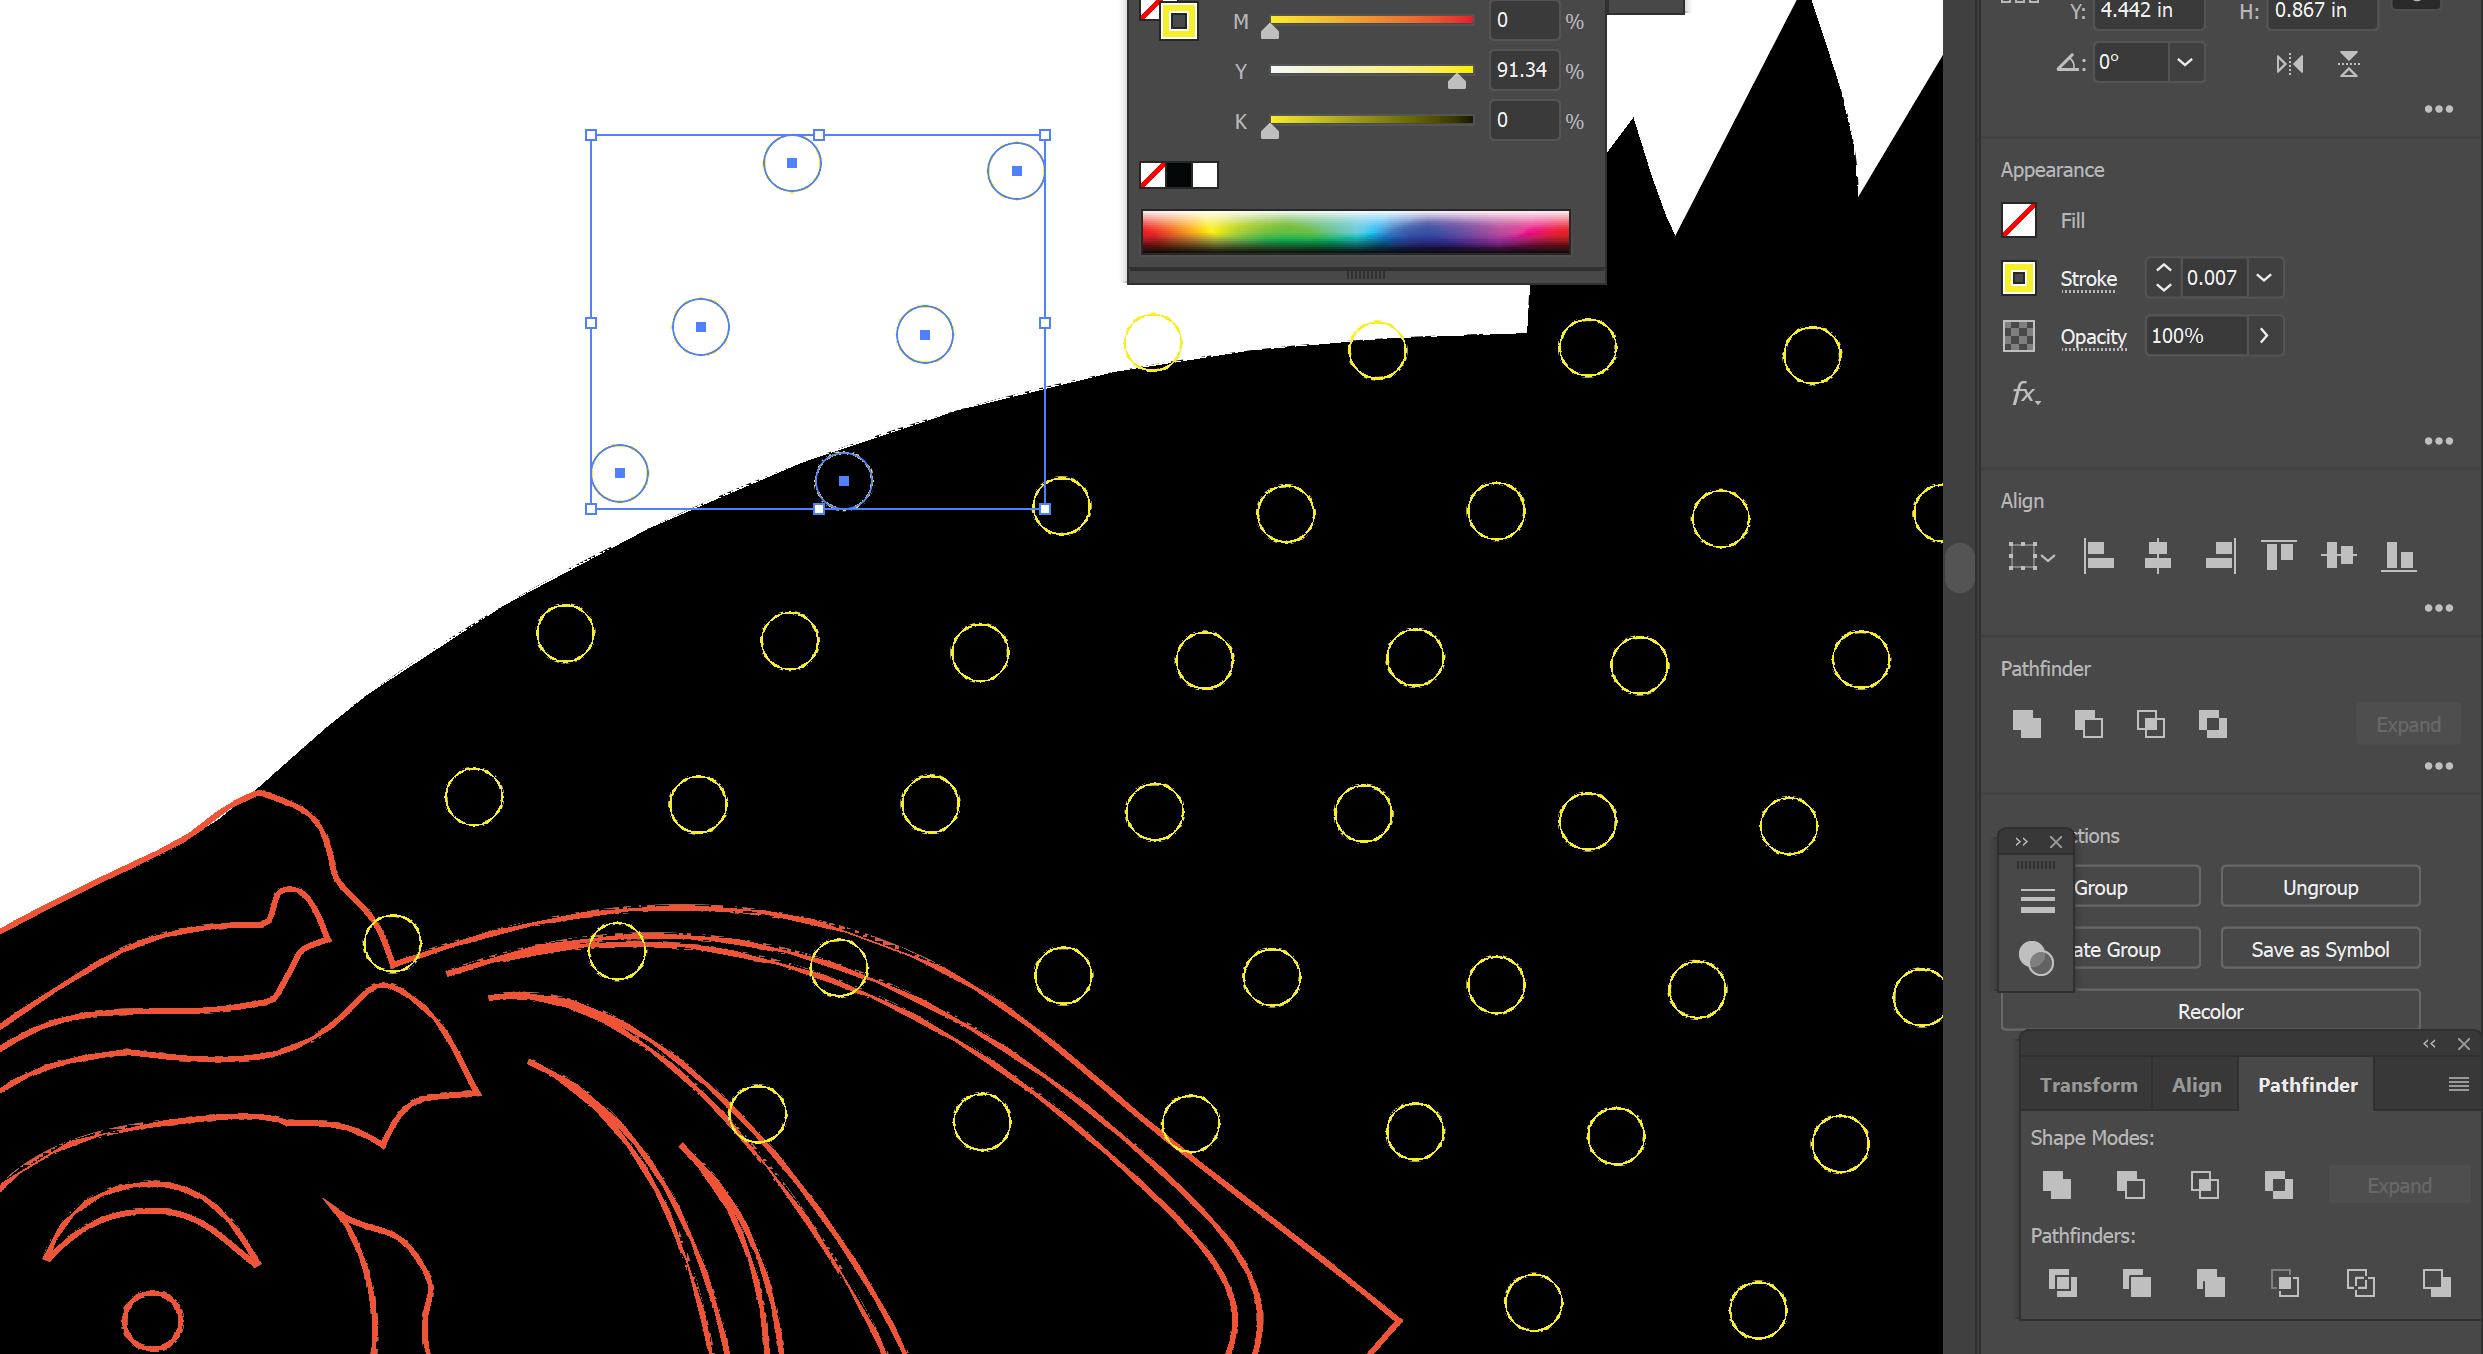
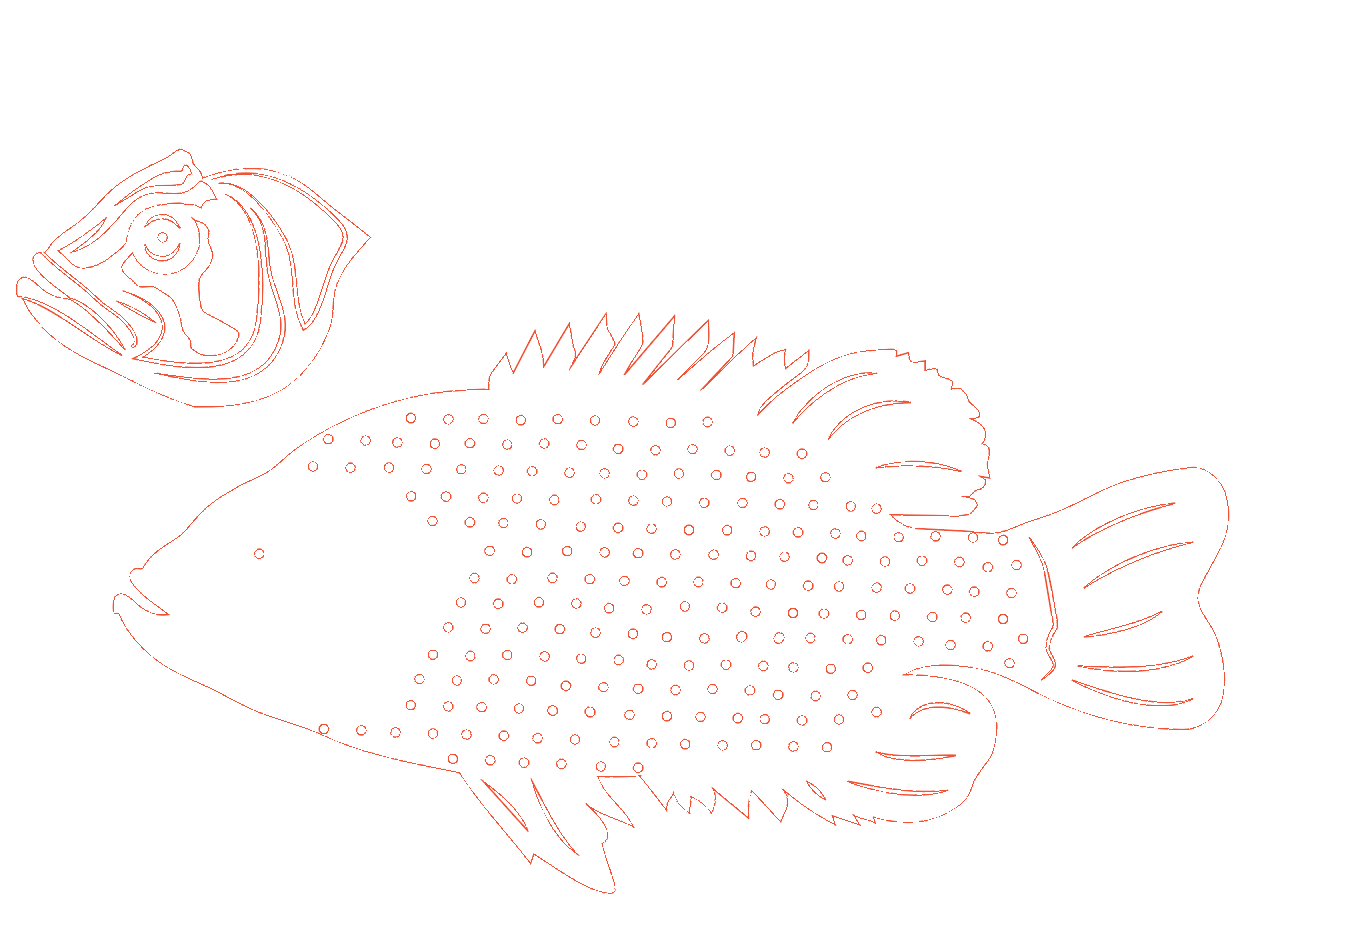
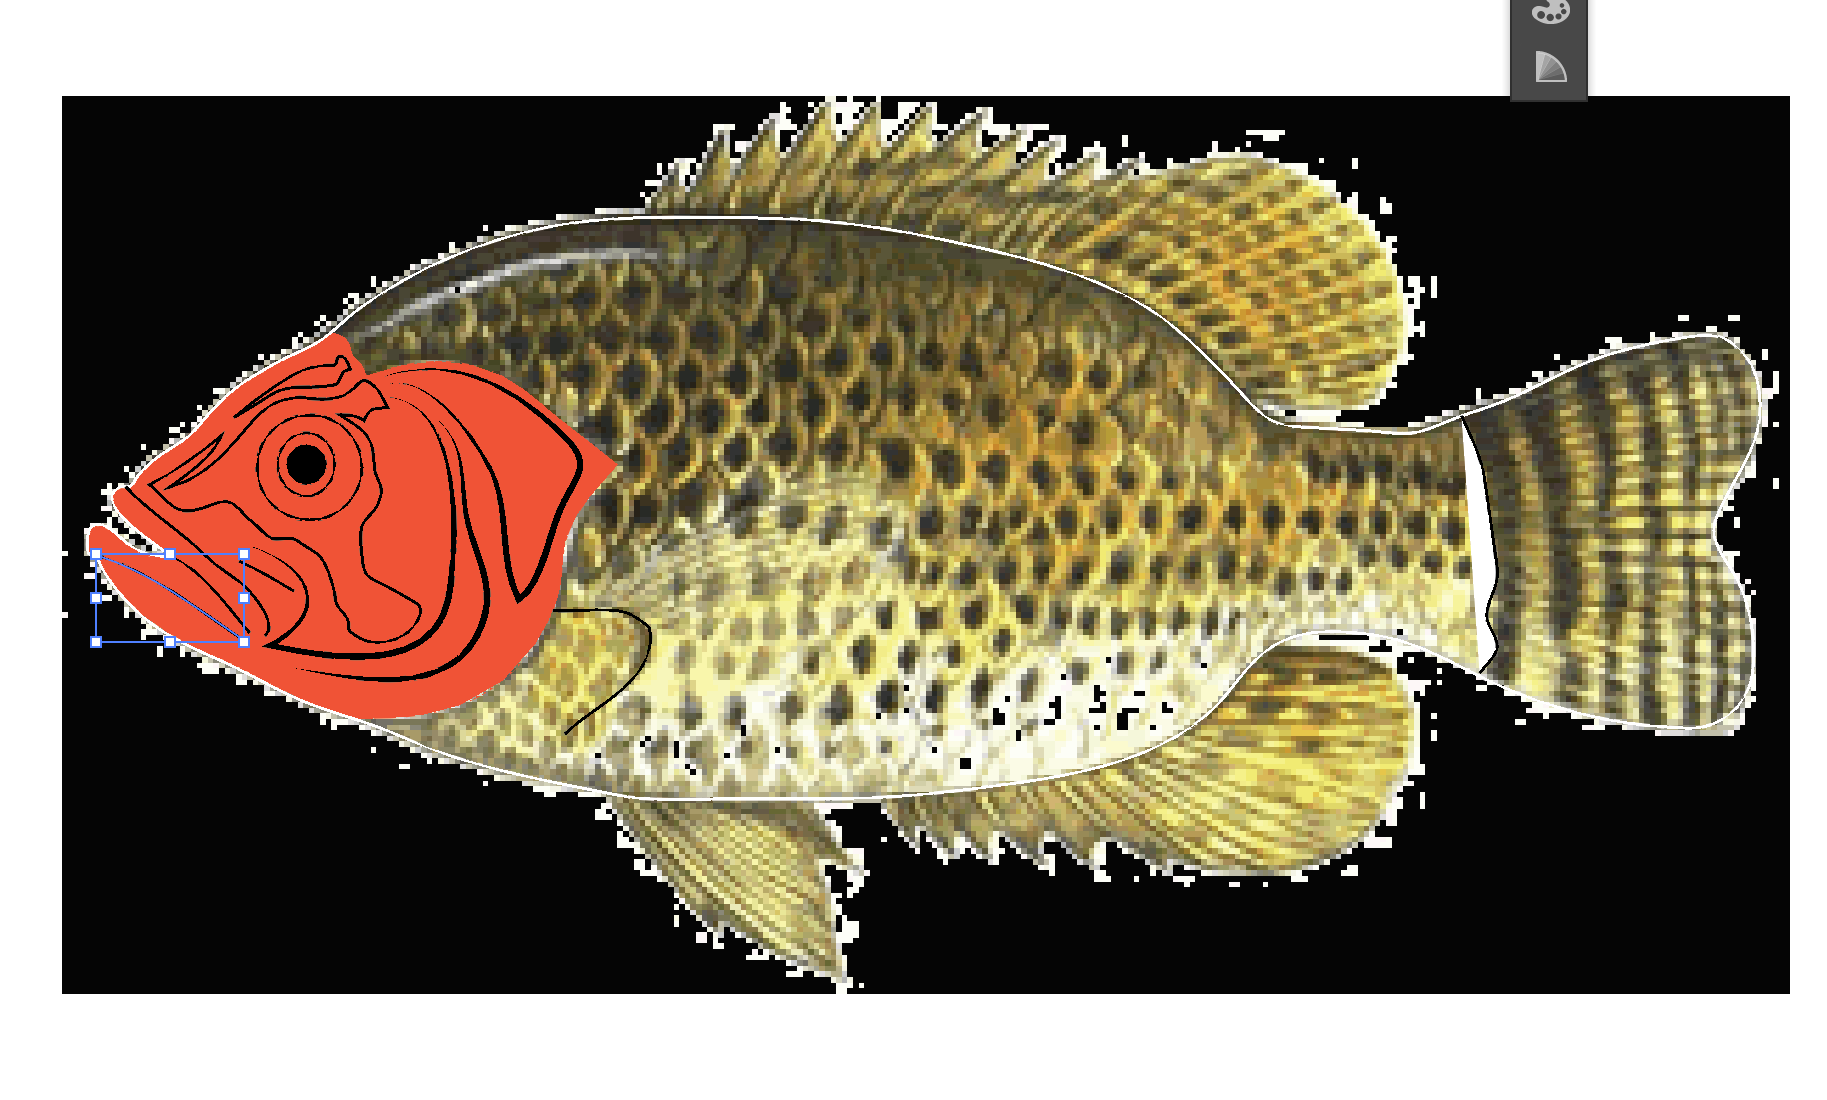
I did a little digging, and I found out that my Secret Santa recipient is from Illinois. After looking at all the different types of fish that can be found in Illinois, I decided that I liked the Rock Bass the best, so I made a custom .dxf file for the head and the body!
If you don't want to do all of this, you can feel free to use my dxf files attached above.
Note: The diameter for all of my rivets in my cutouts was 0.131".
- Import the image of the fish into Illustrator.
- Create the outline.
- Using the pen tool, trace the body of the fish, using short, straight strokes.
- Under Object > Path > Simplify, reduce the number of anchor points your fish has. This will smooth out your path.
- Use the pen tool to trace the fins separately - make sure that these fins have overlap with the fish body.
- Simplify the fins.
- Use Pathfinder > Unite, to add the fins to the rest of the fish.
- Create the details.
- Trace around the face of the fish, leaving an appropriately sized rivet hole for attachment.
- Use the pen tool to trace lines that add character to the face of the fish, like around the gill area.
- Change the stroke profile and weight to better match the lines you are tracing.
- Use Object > Path > Outline Stroke to turn the stroke into a cuttable path.
- Use Pathfinder > Minus Front to subtract these stroke-objects from the outline of the fish head.
- Create the holes for rivets.
- Using the placement of the scales on the drawing, estimate the location for all of the rivet holes.
- Place holes errywhur.
- Export it as a .dxf.
Downloads
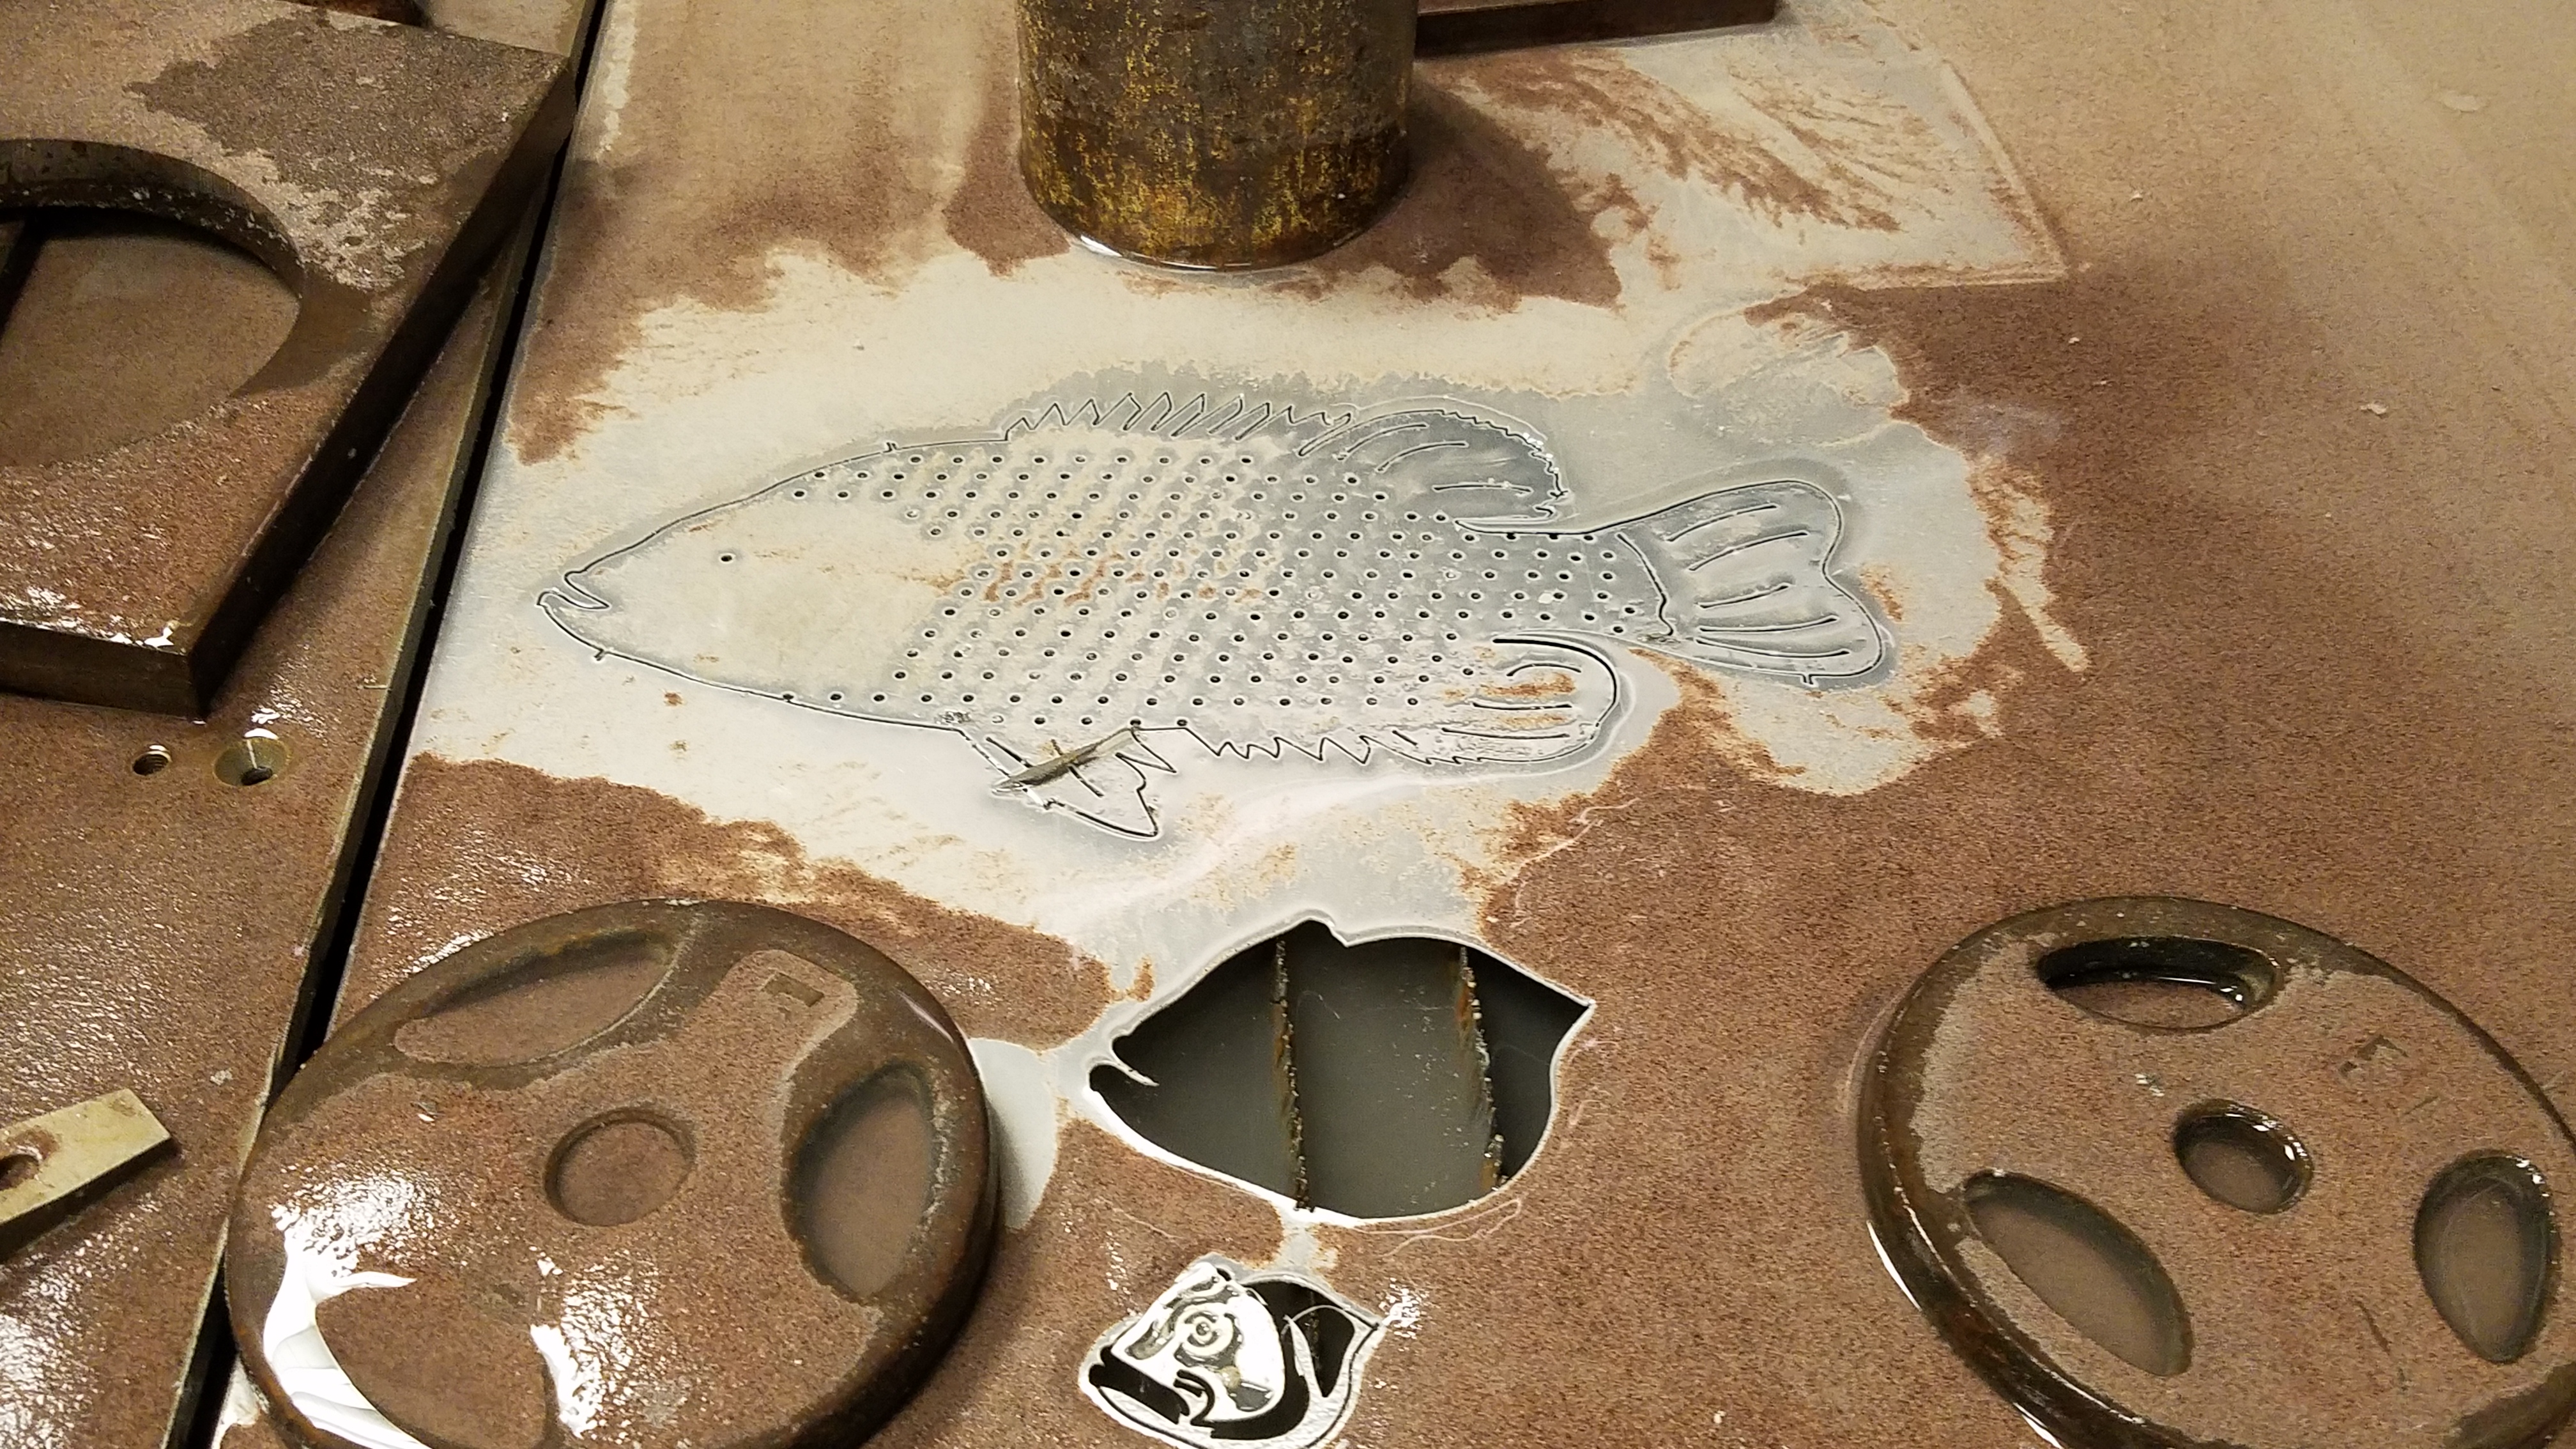
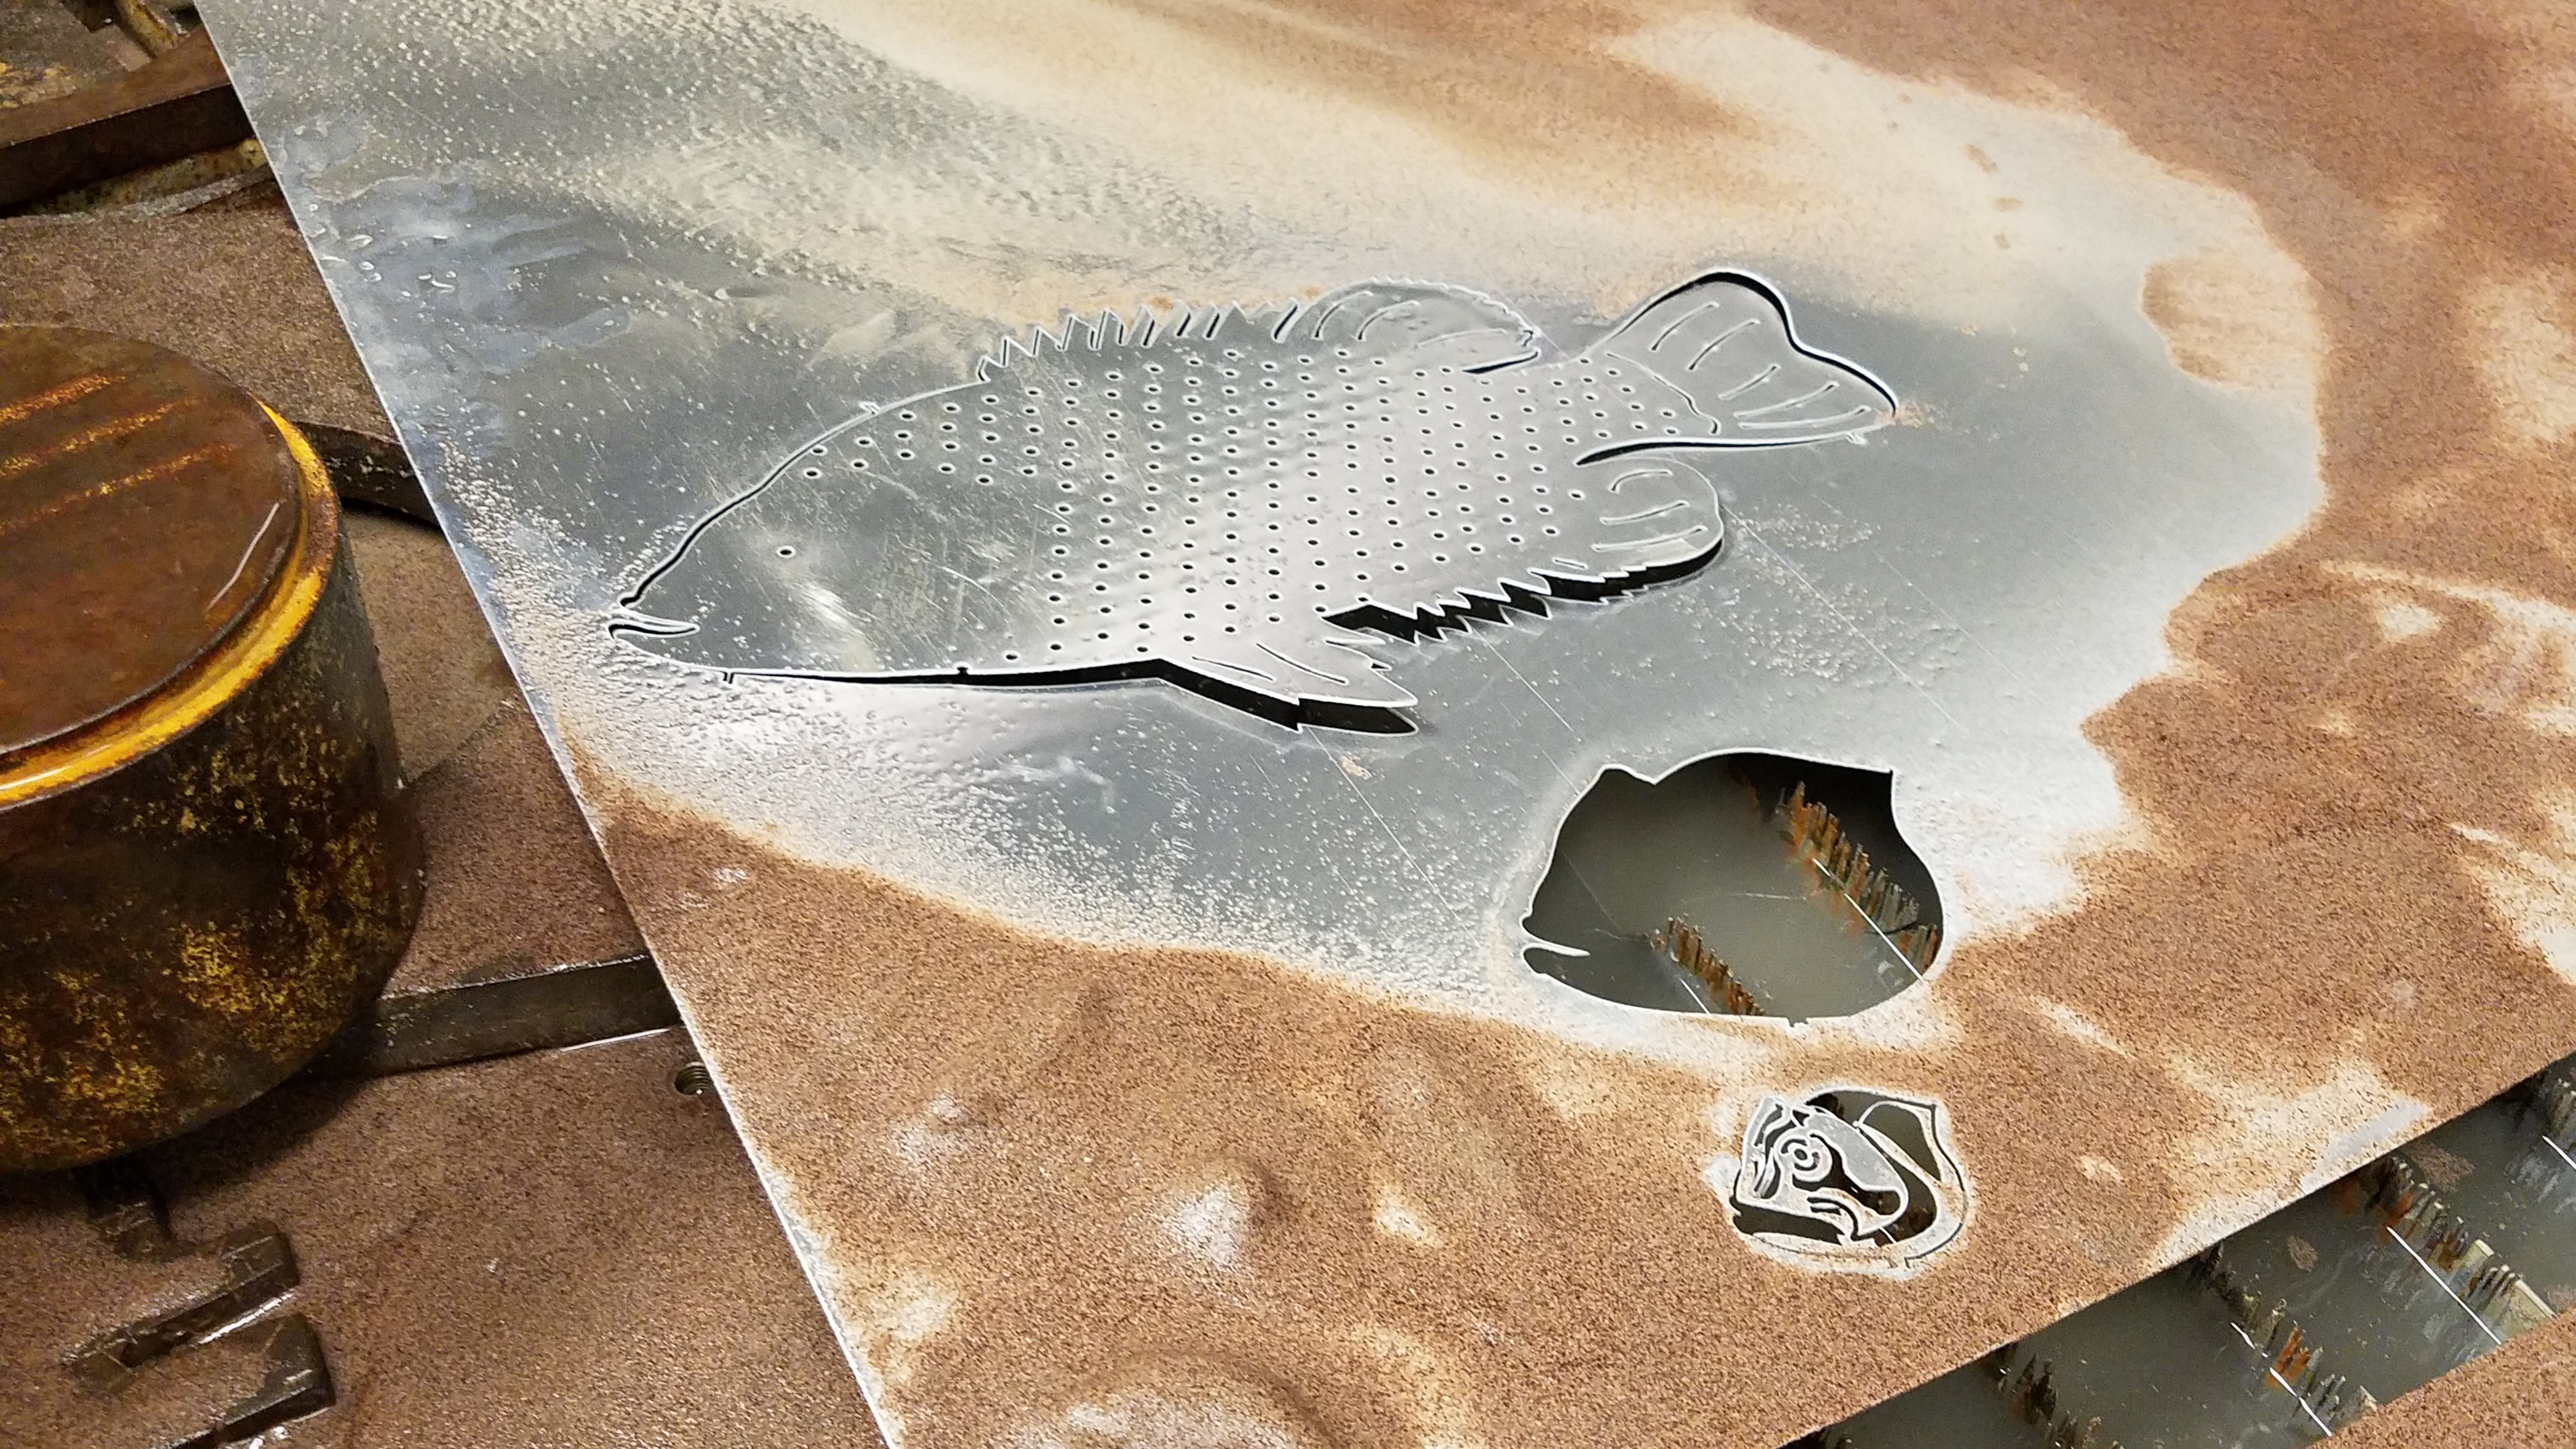
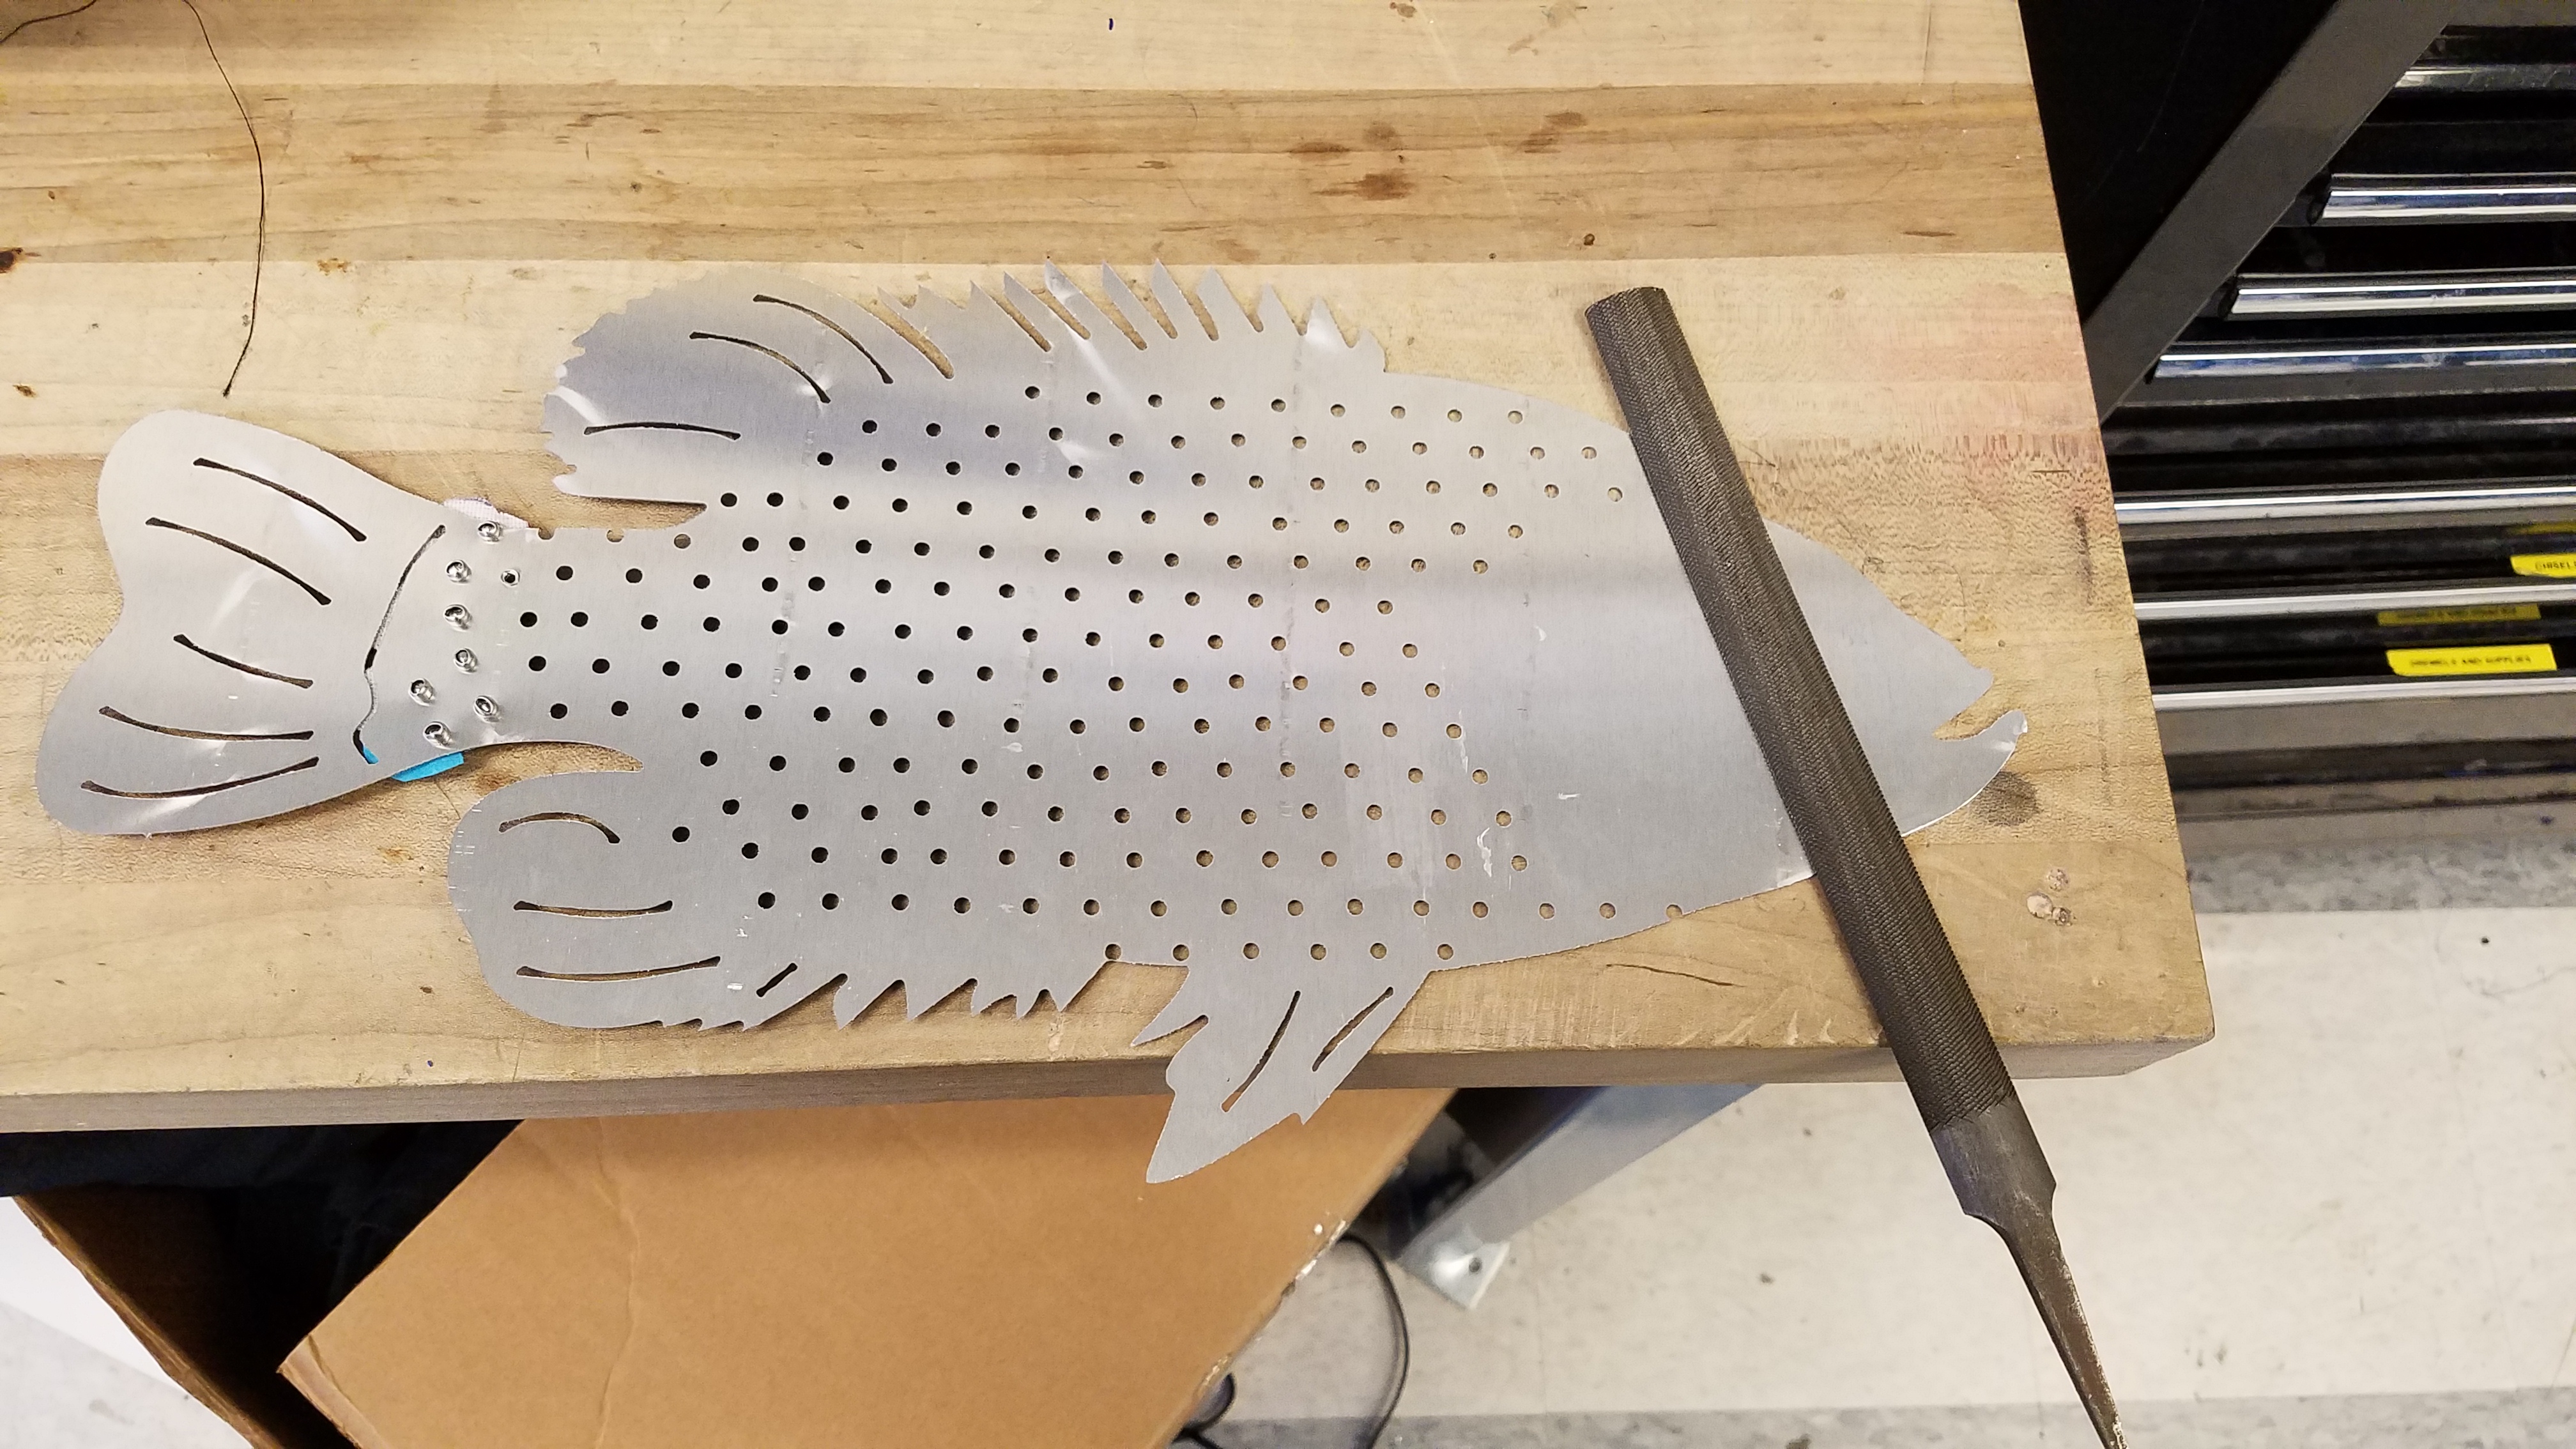
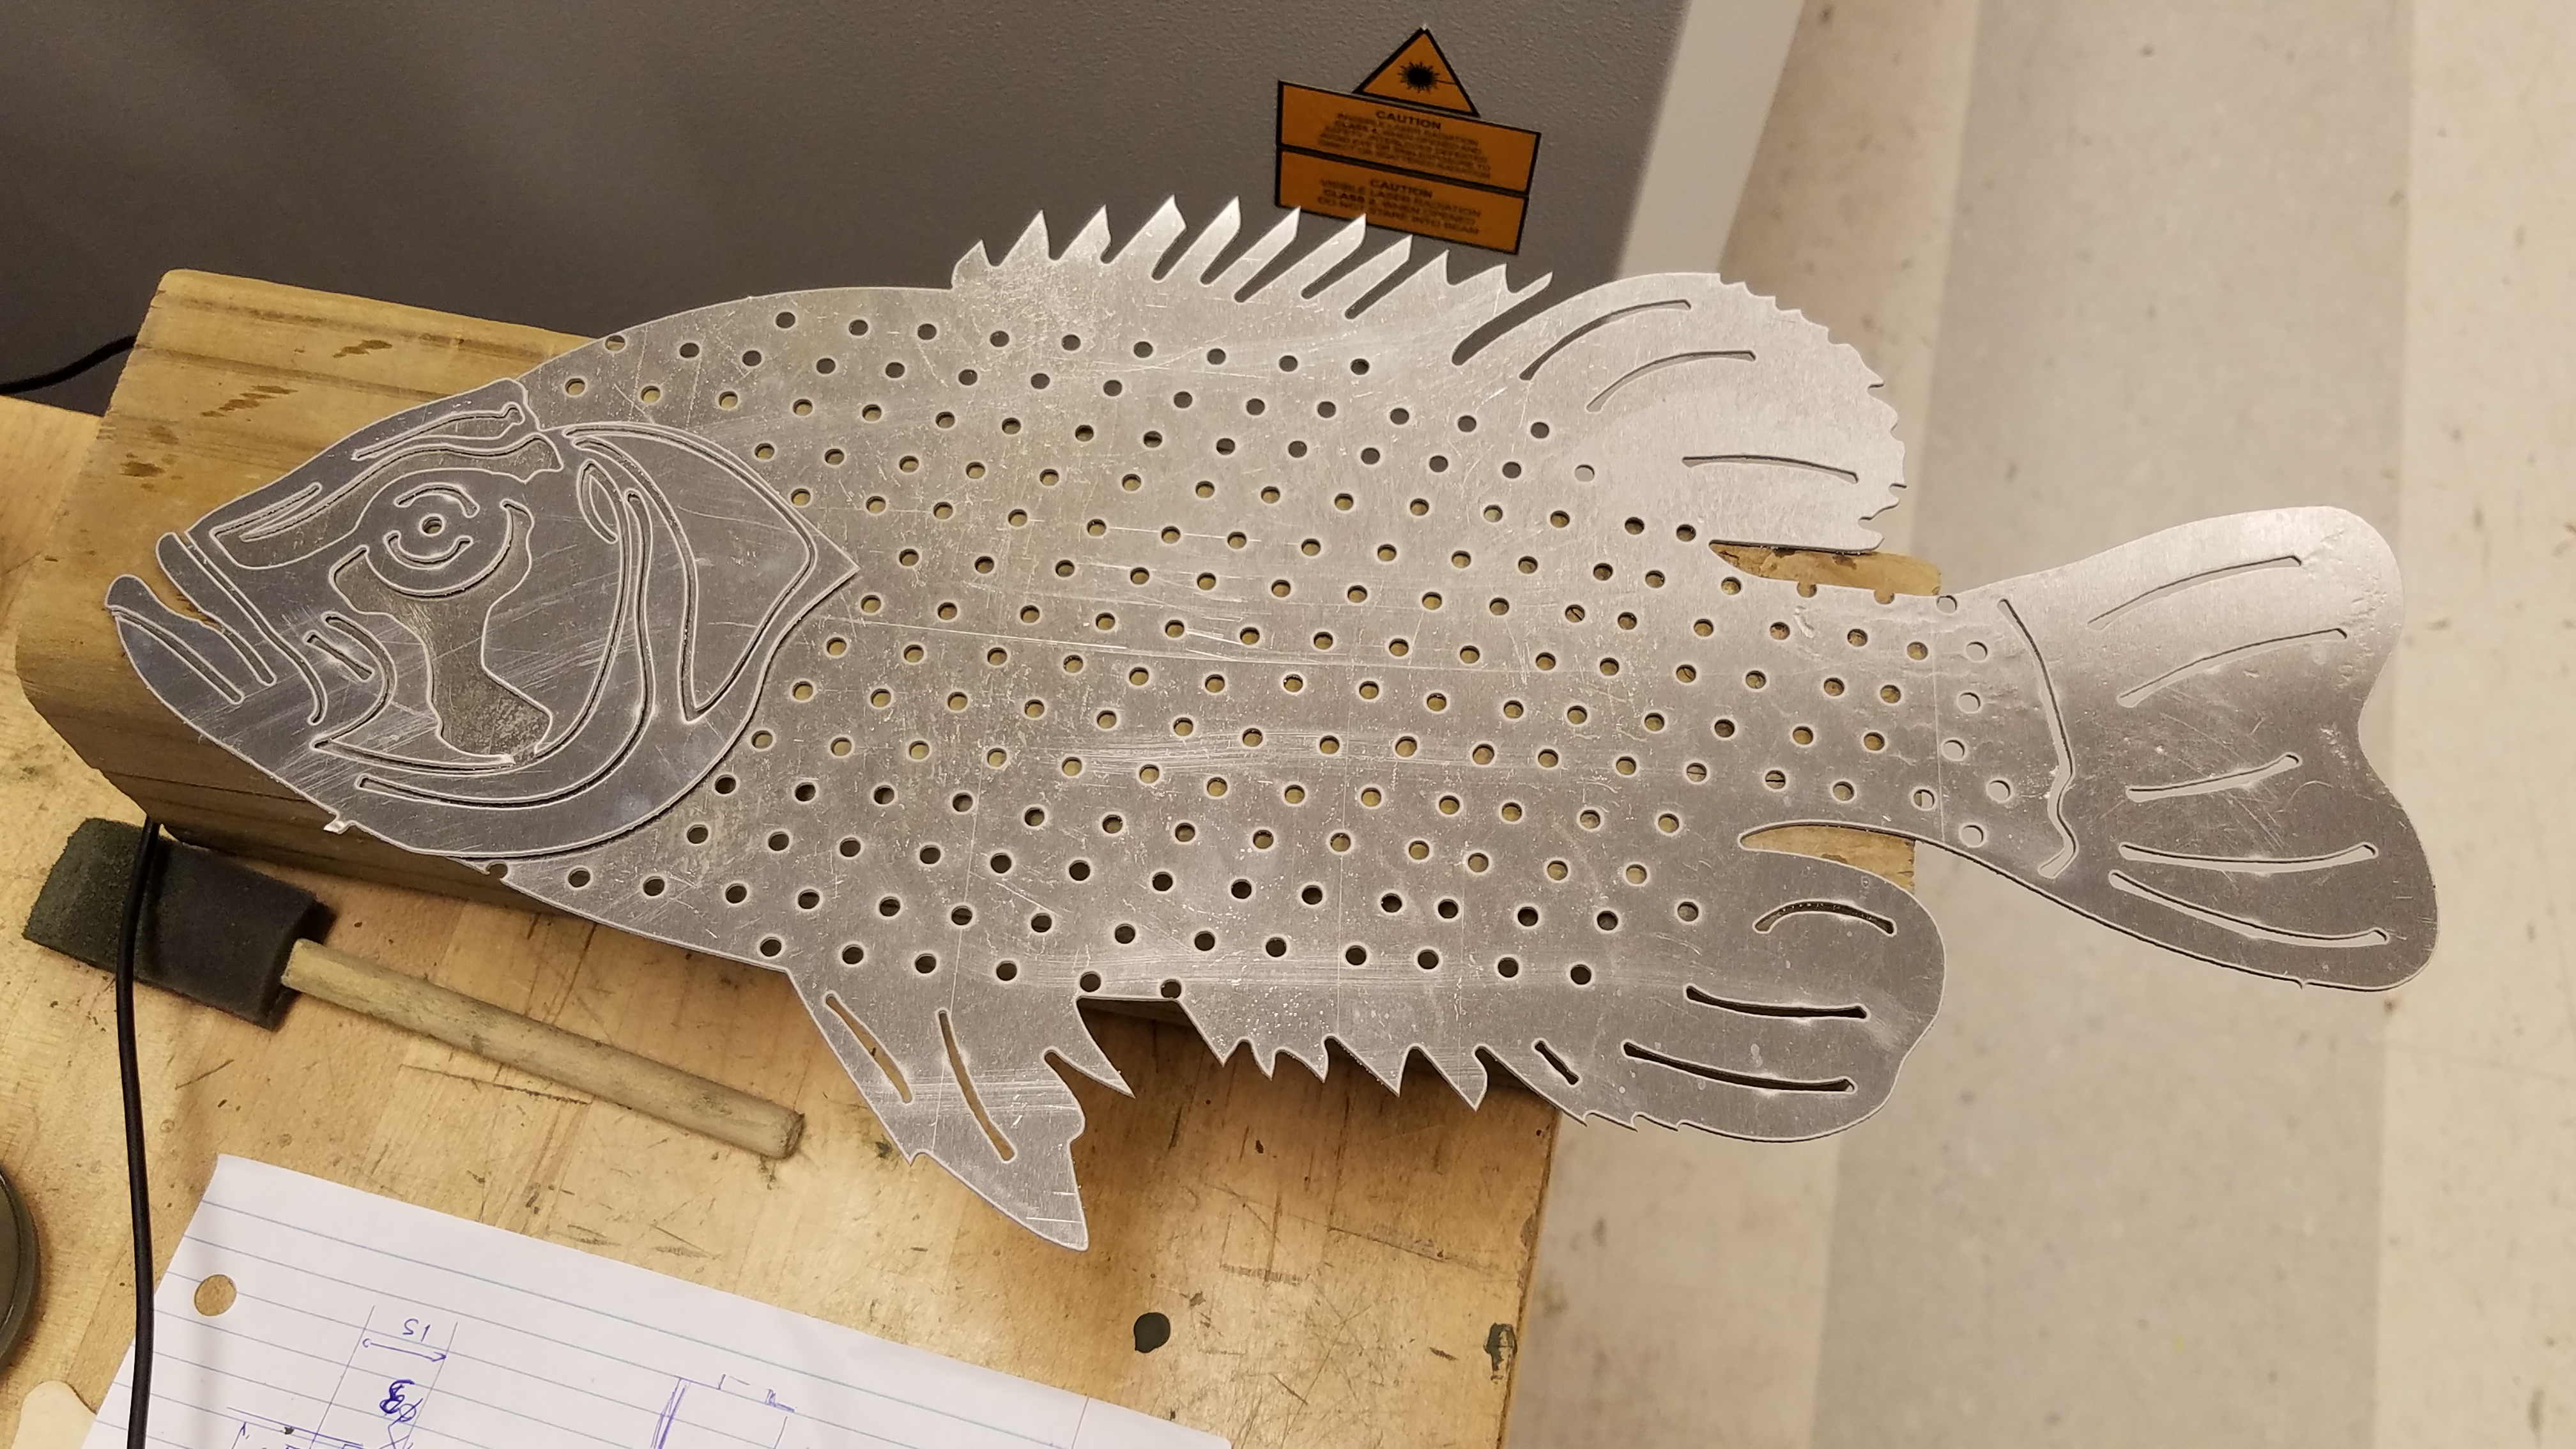
Waterjet Out the Base Pieces.
.jpg)
- Plug that .dxf file into the waterjet.
- Fixture your metal into the waterjet.
- Tab your pieces.
- Run the cut!
- Deburr the edges with a file, but don't worry about all of the holes.
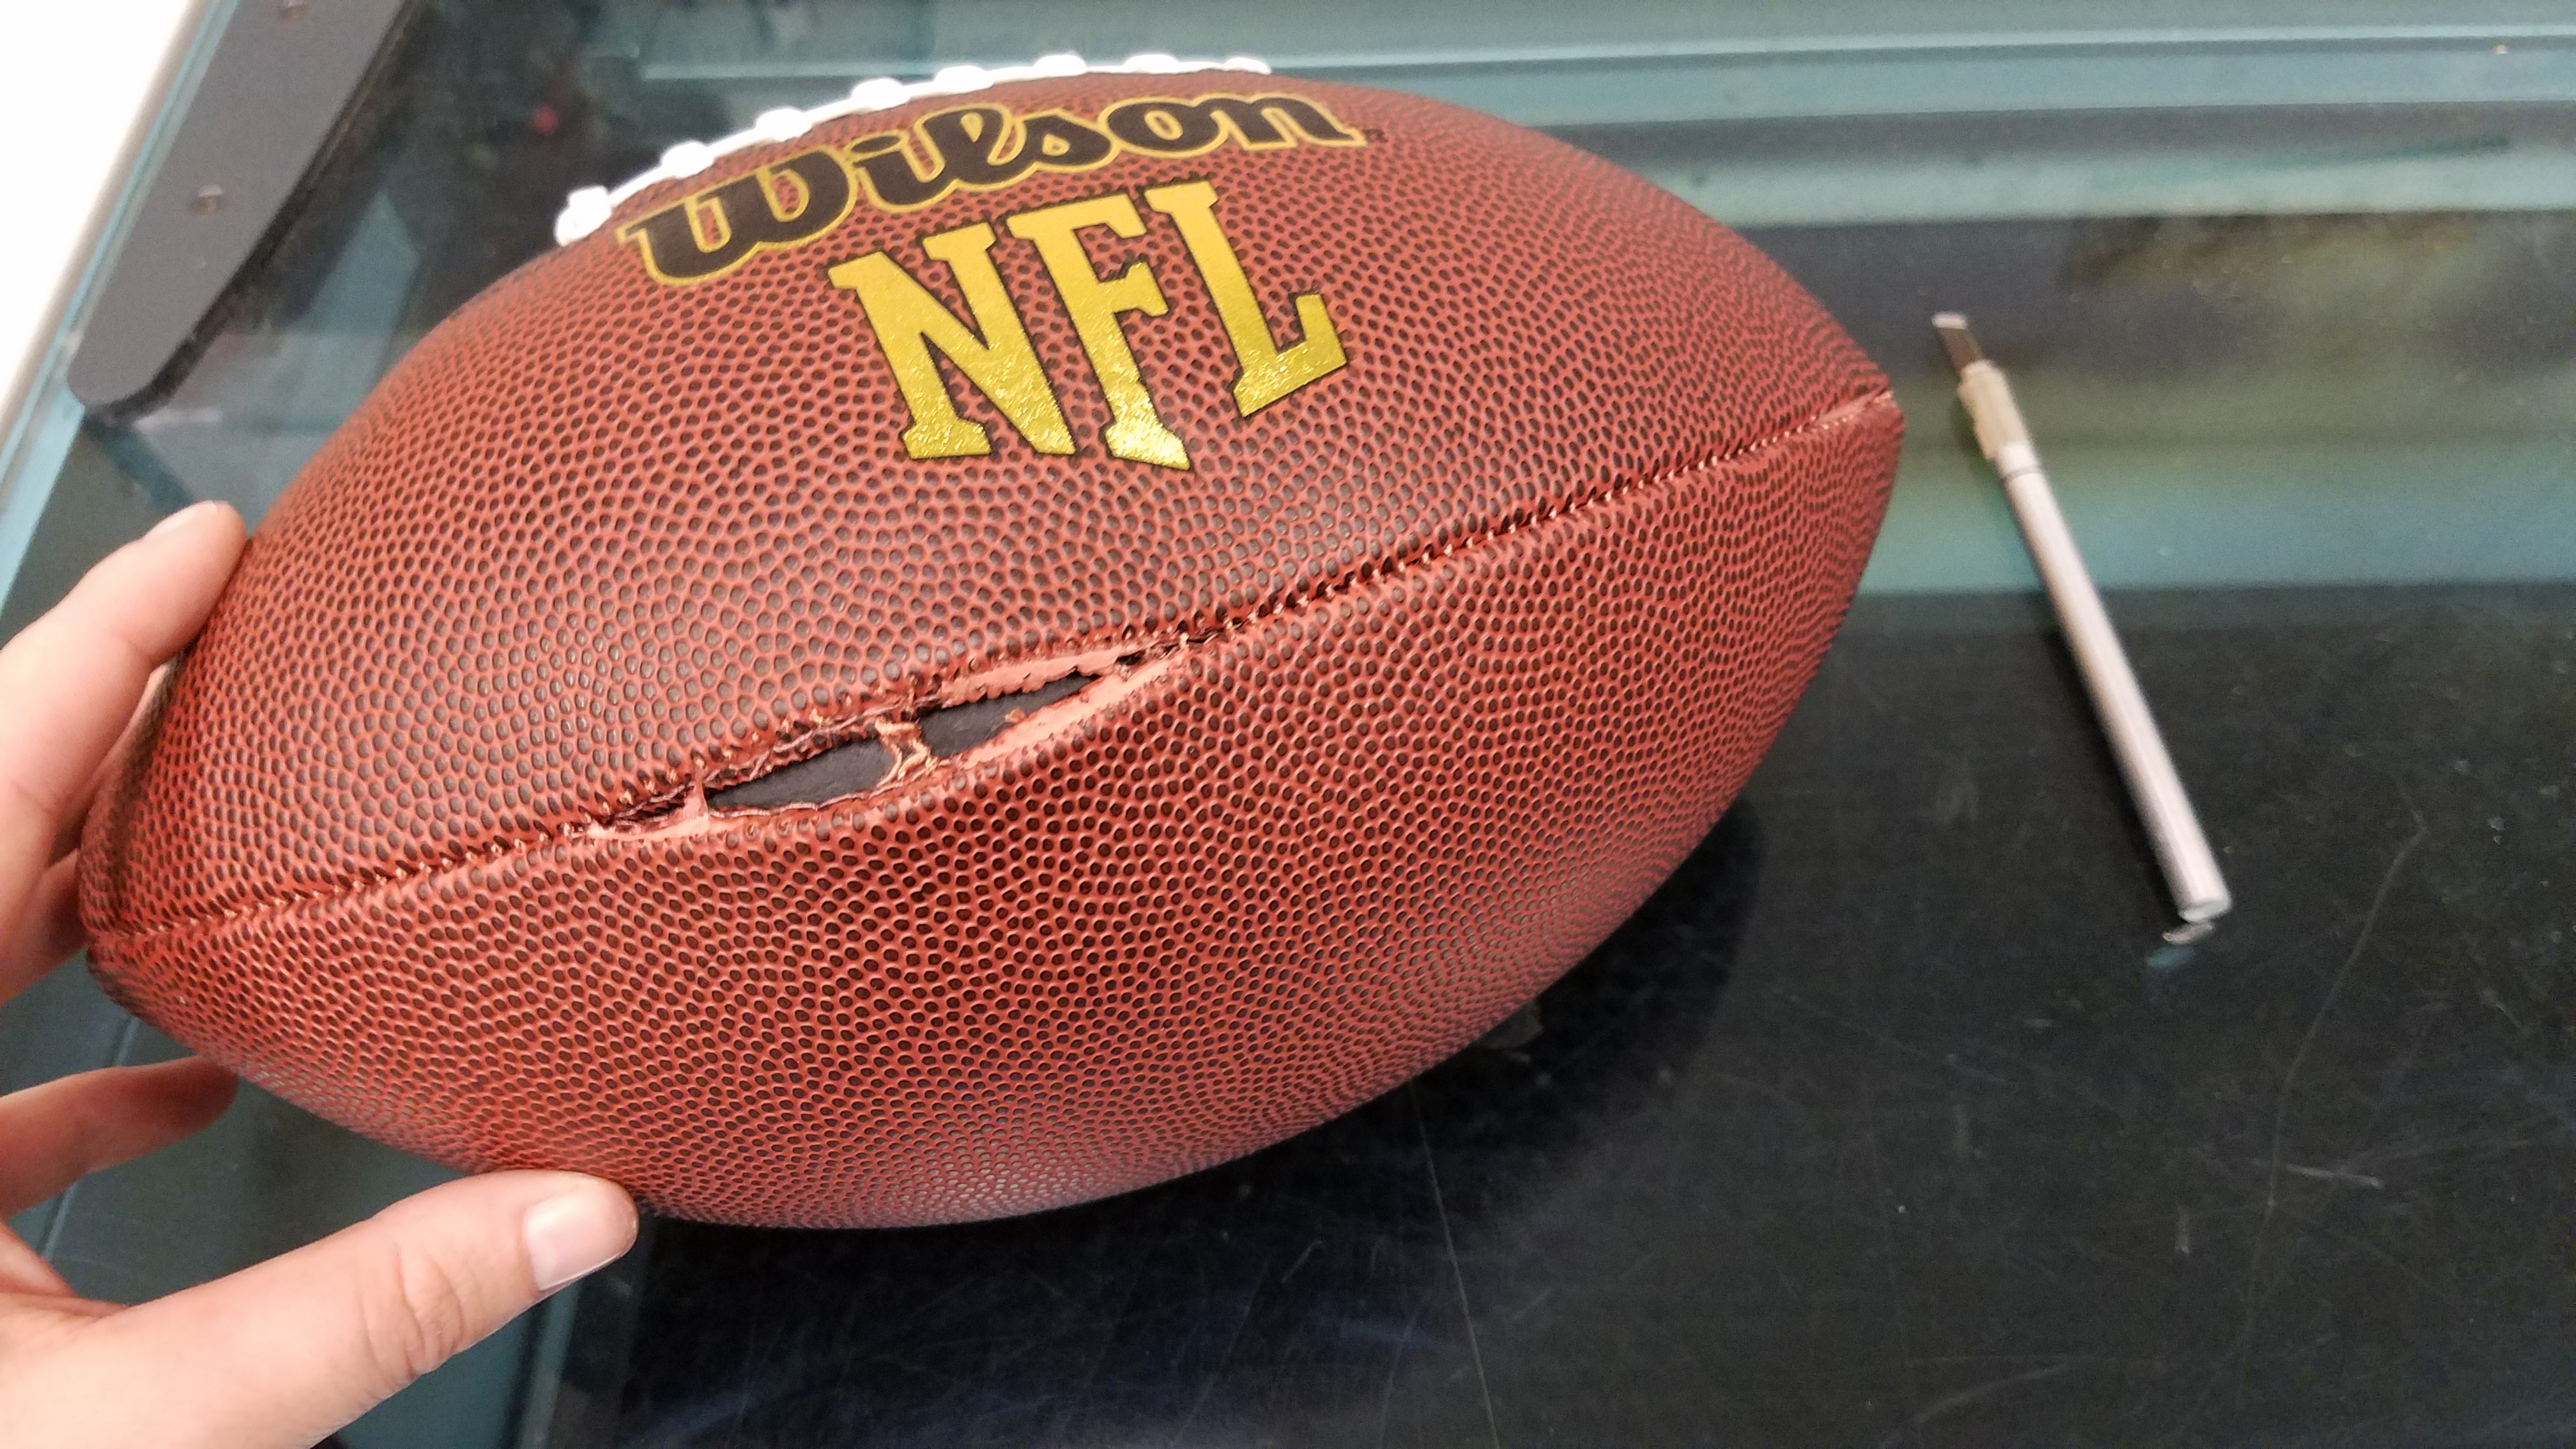
Deconstruct Football.
.jpg)
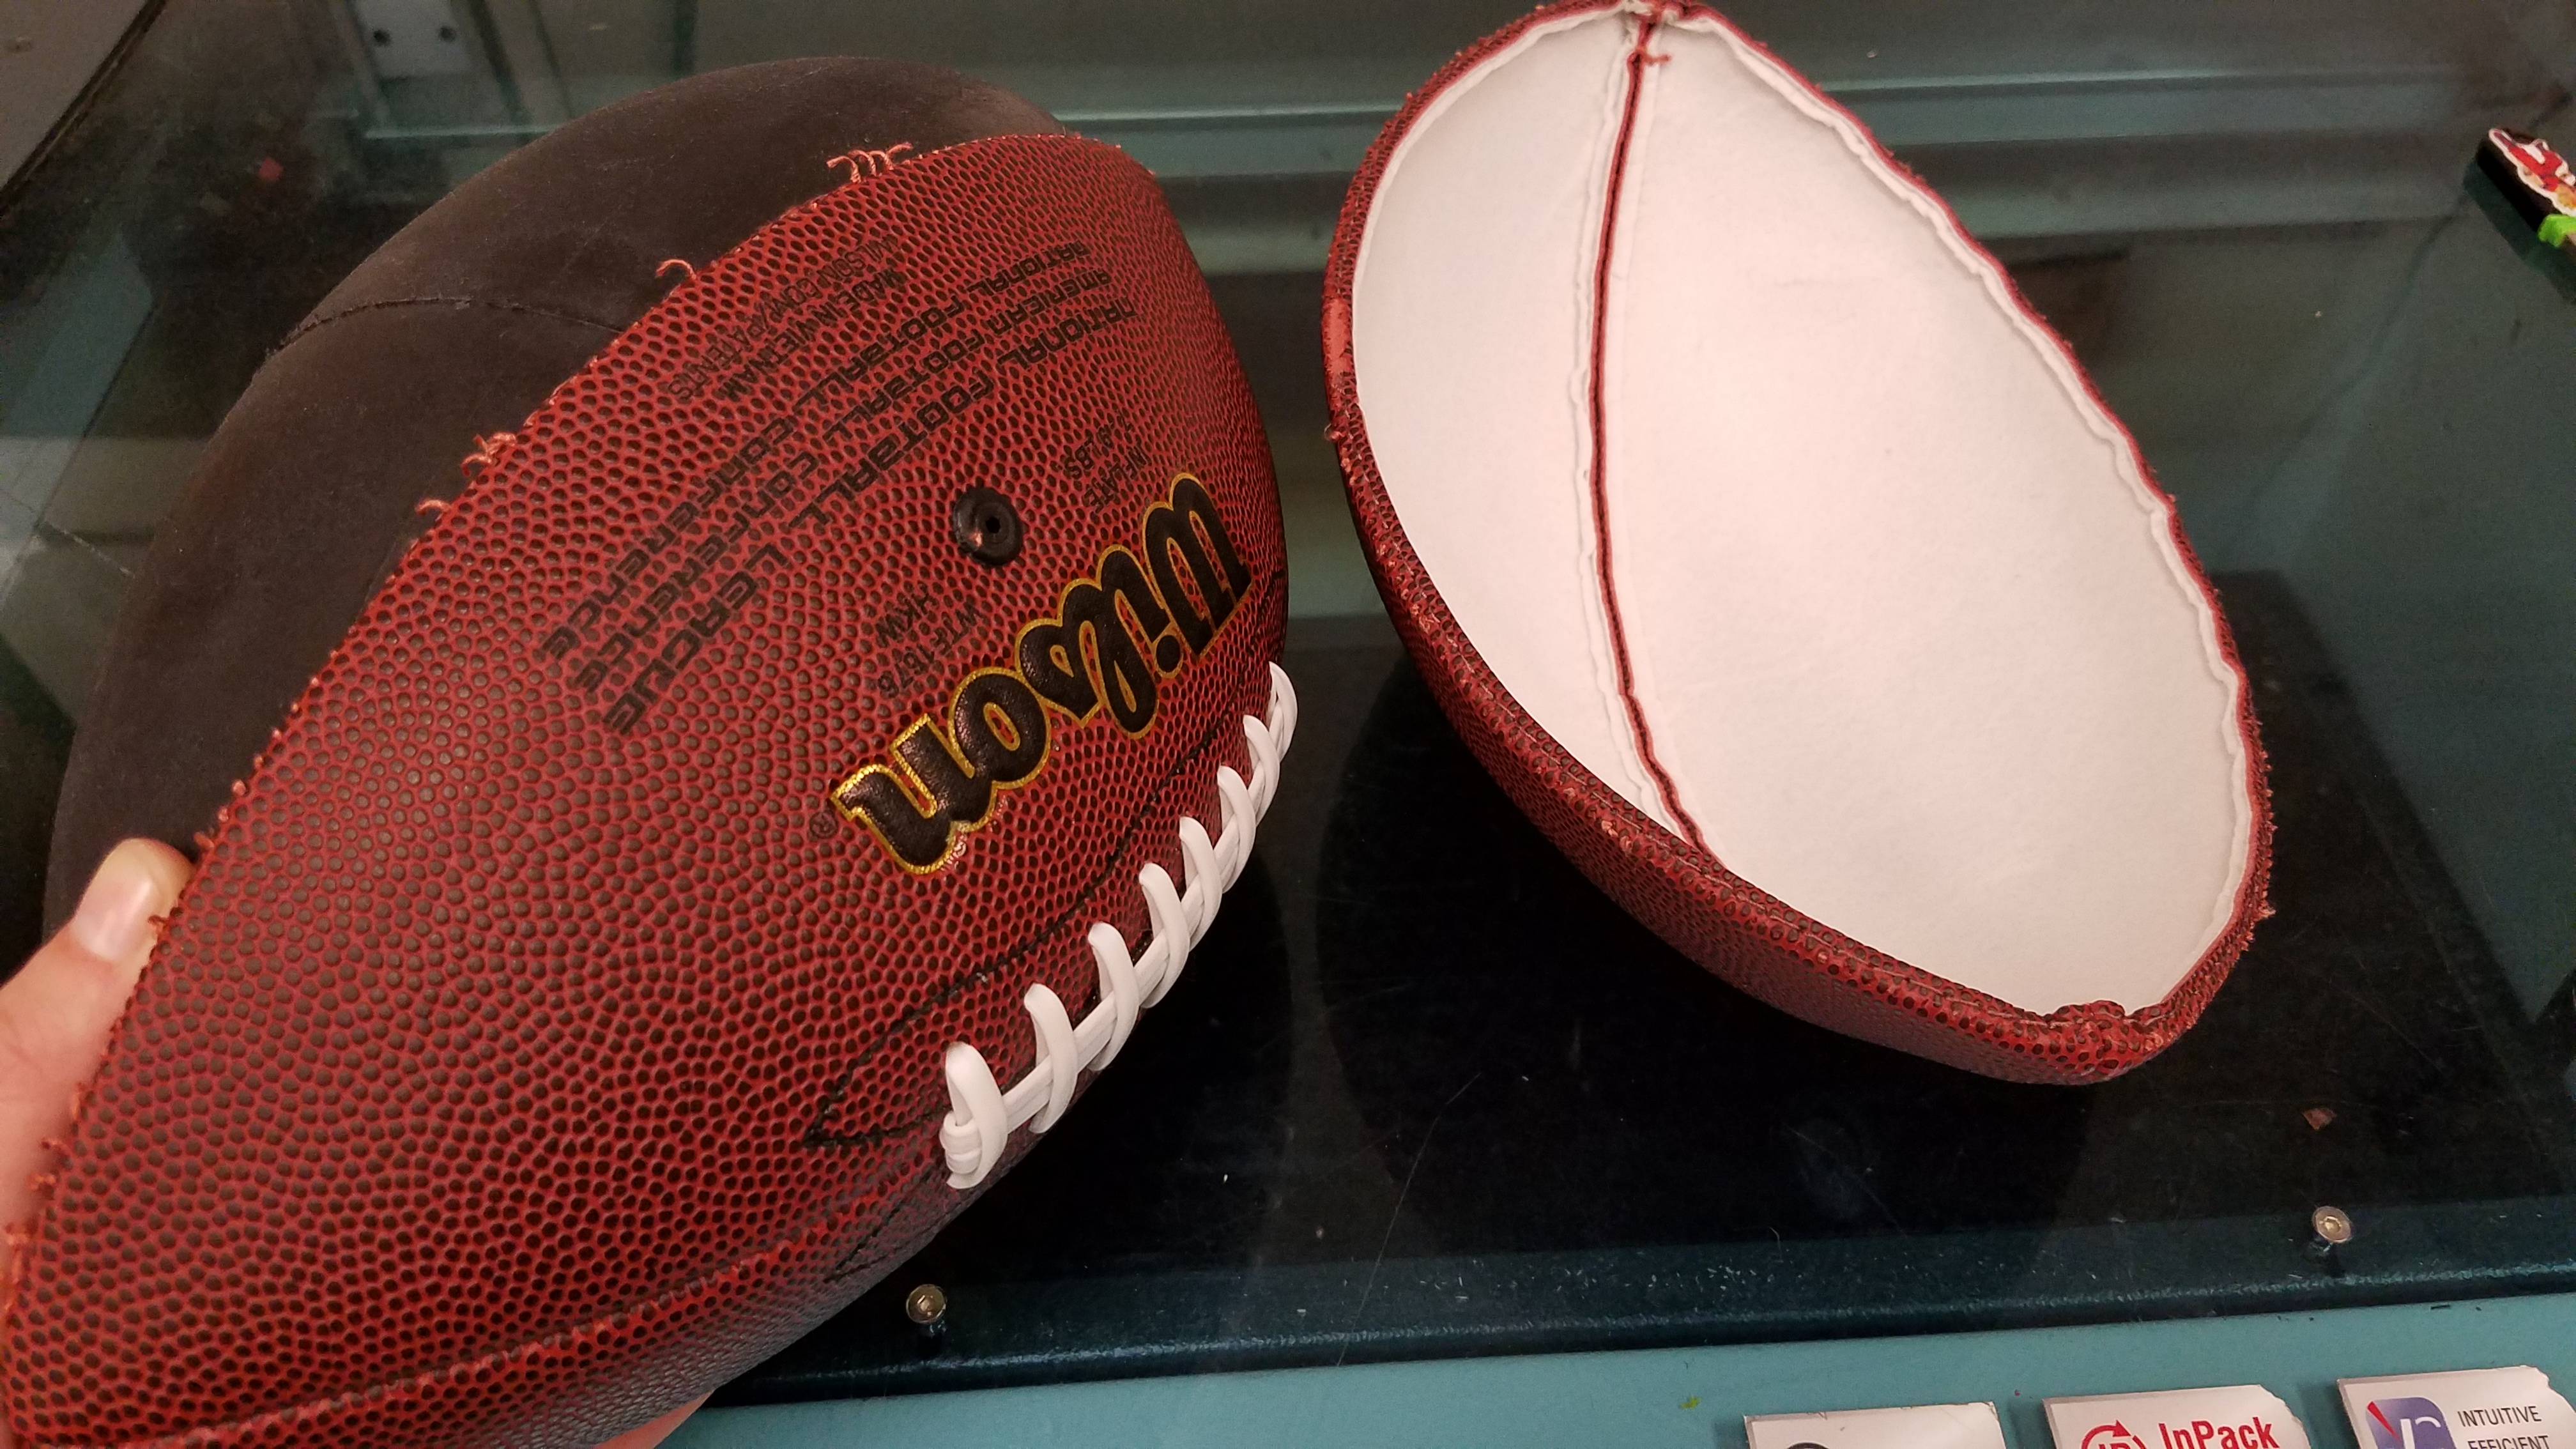
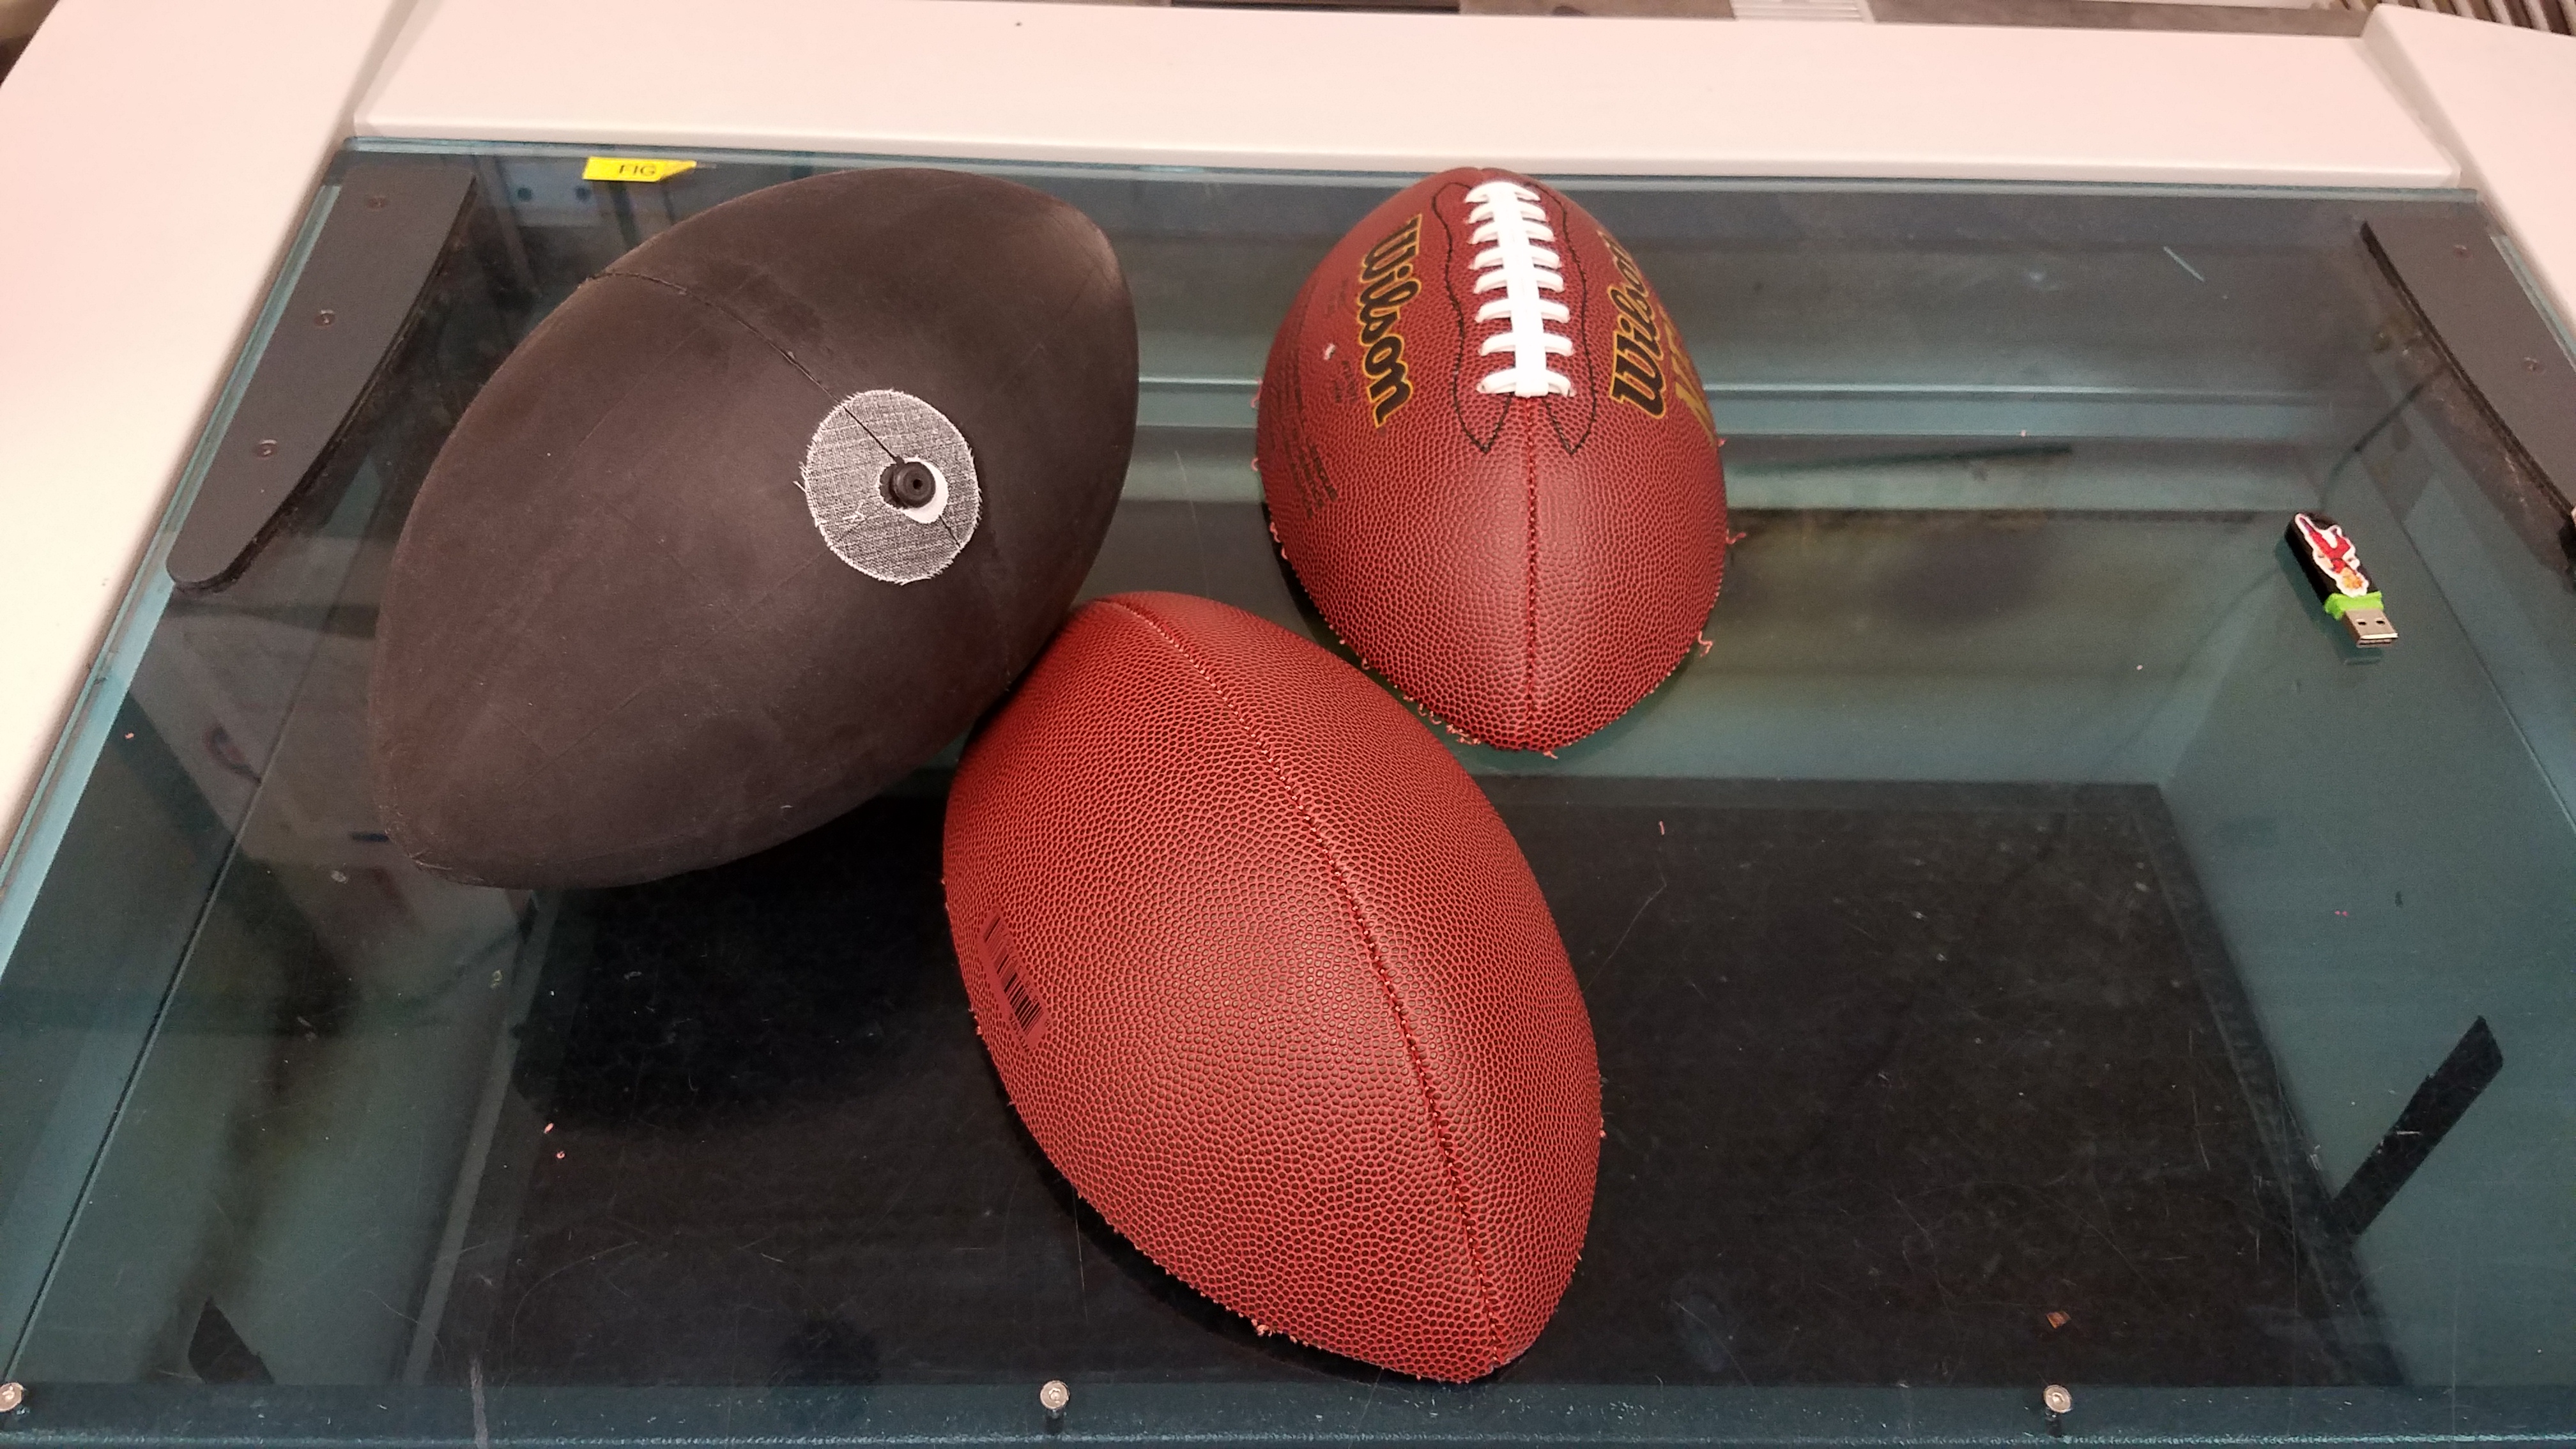
I made the poor decision of buying supplies during Black Friday, where I acquired this football from Walmart. It's a relatively cheap youth practice football, so it is undersized.
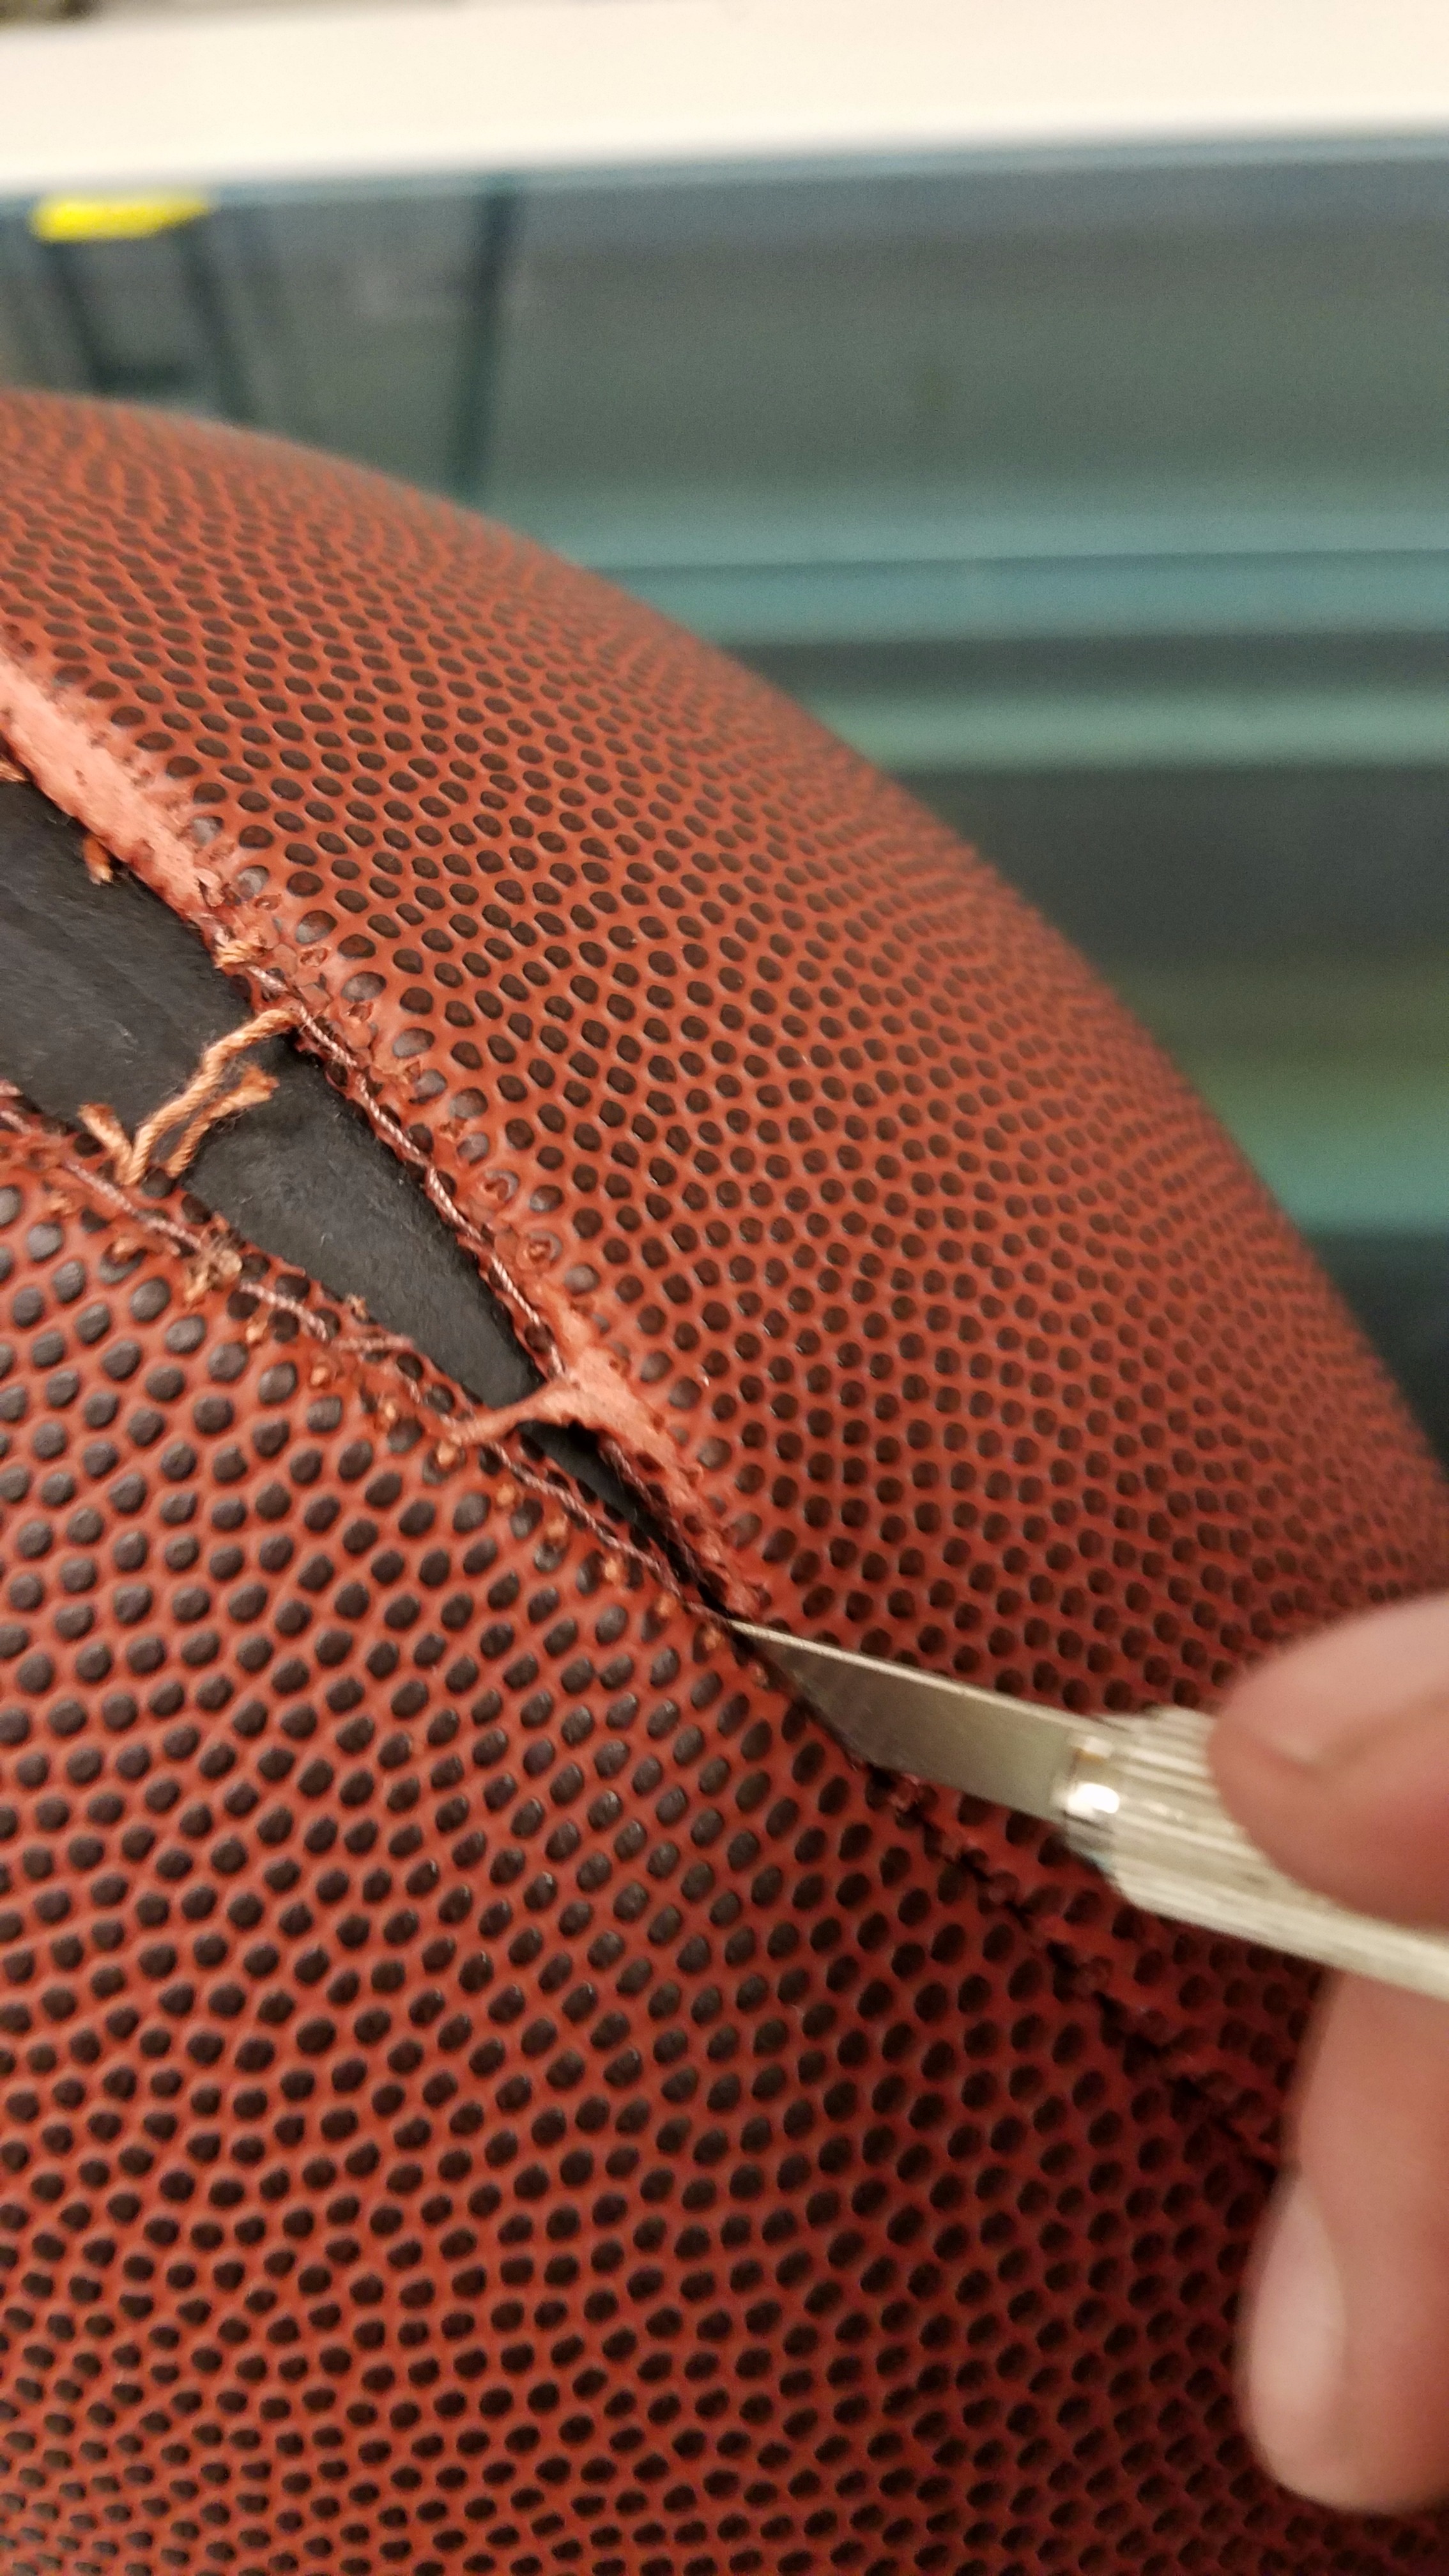
- Using an X-acto knife, split one of the seams open.
- Carefully trace the seam with the x-acto knife, until you are able to separate the halves of the football cover.
- Remove both halves of the football cover.
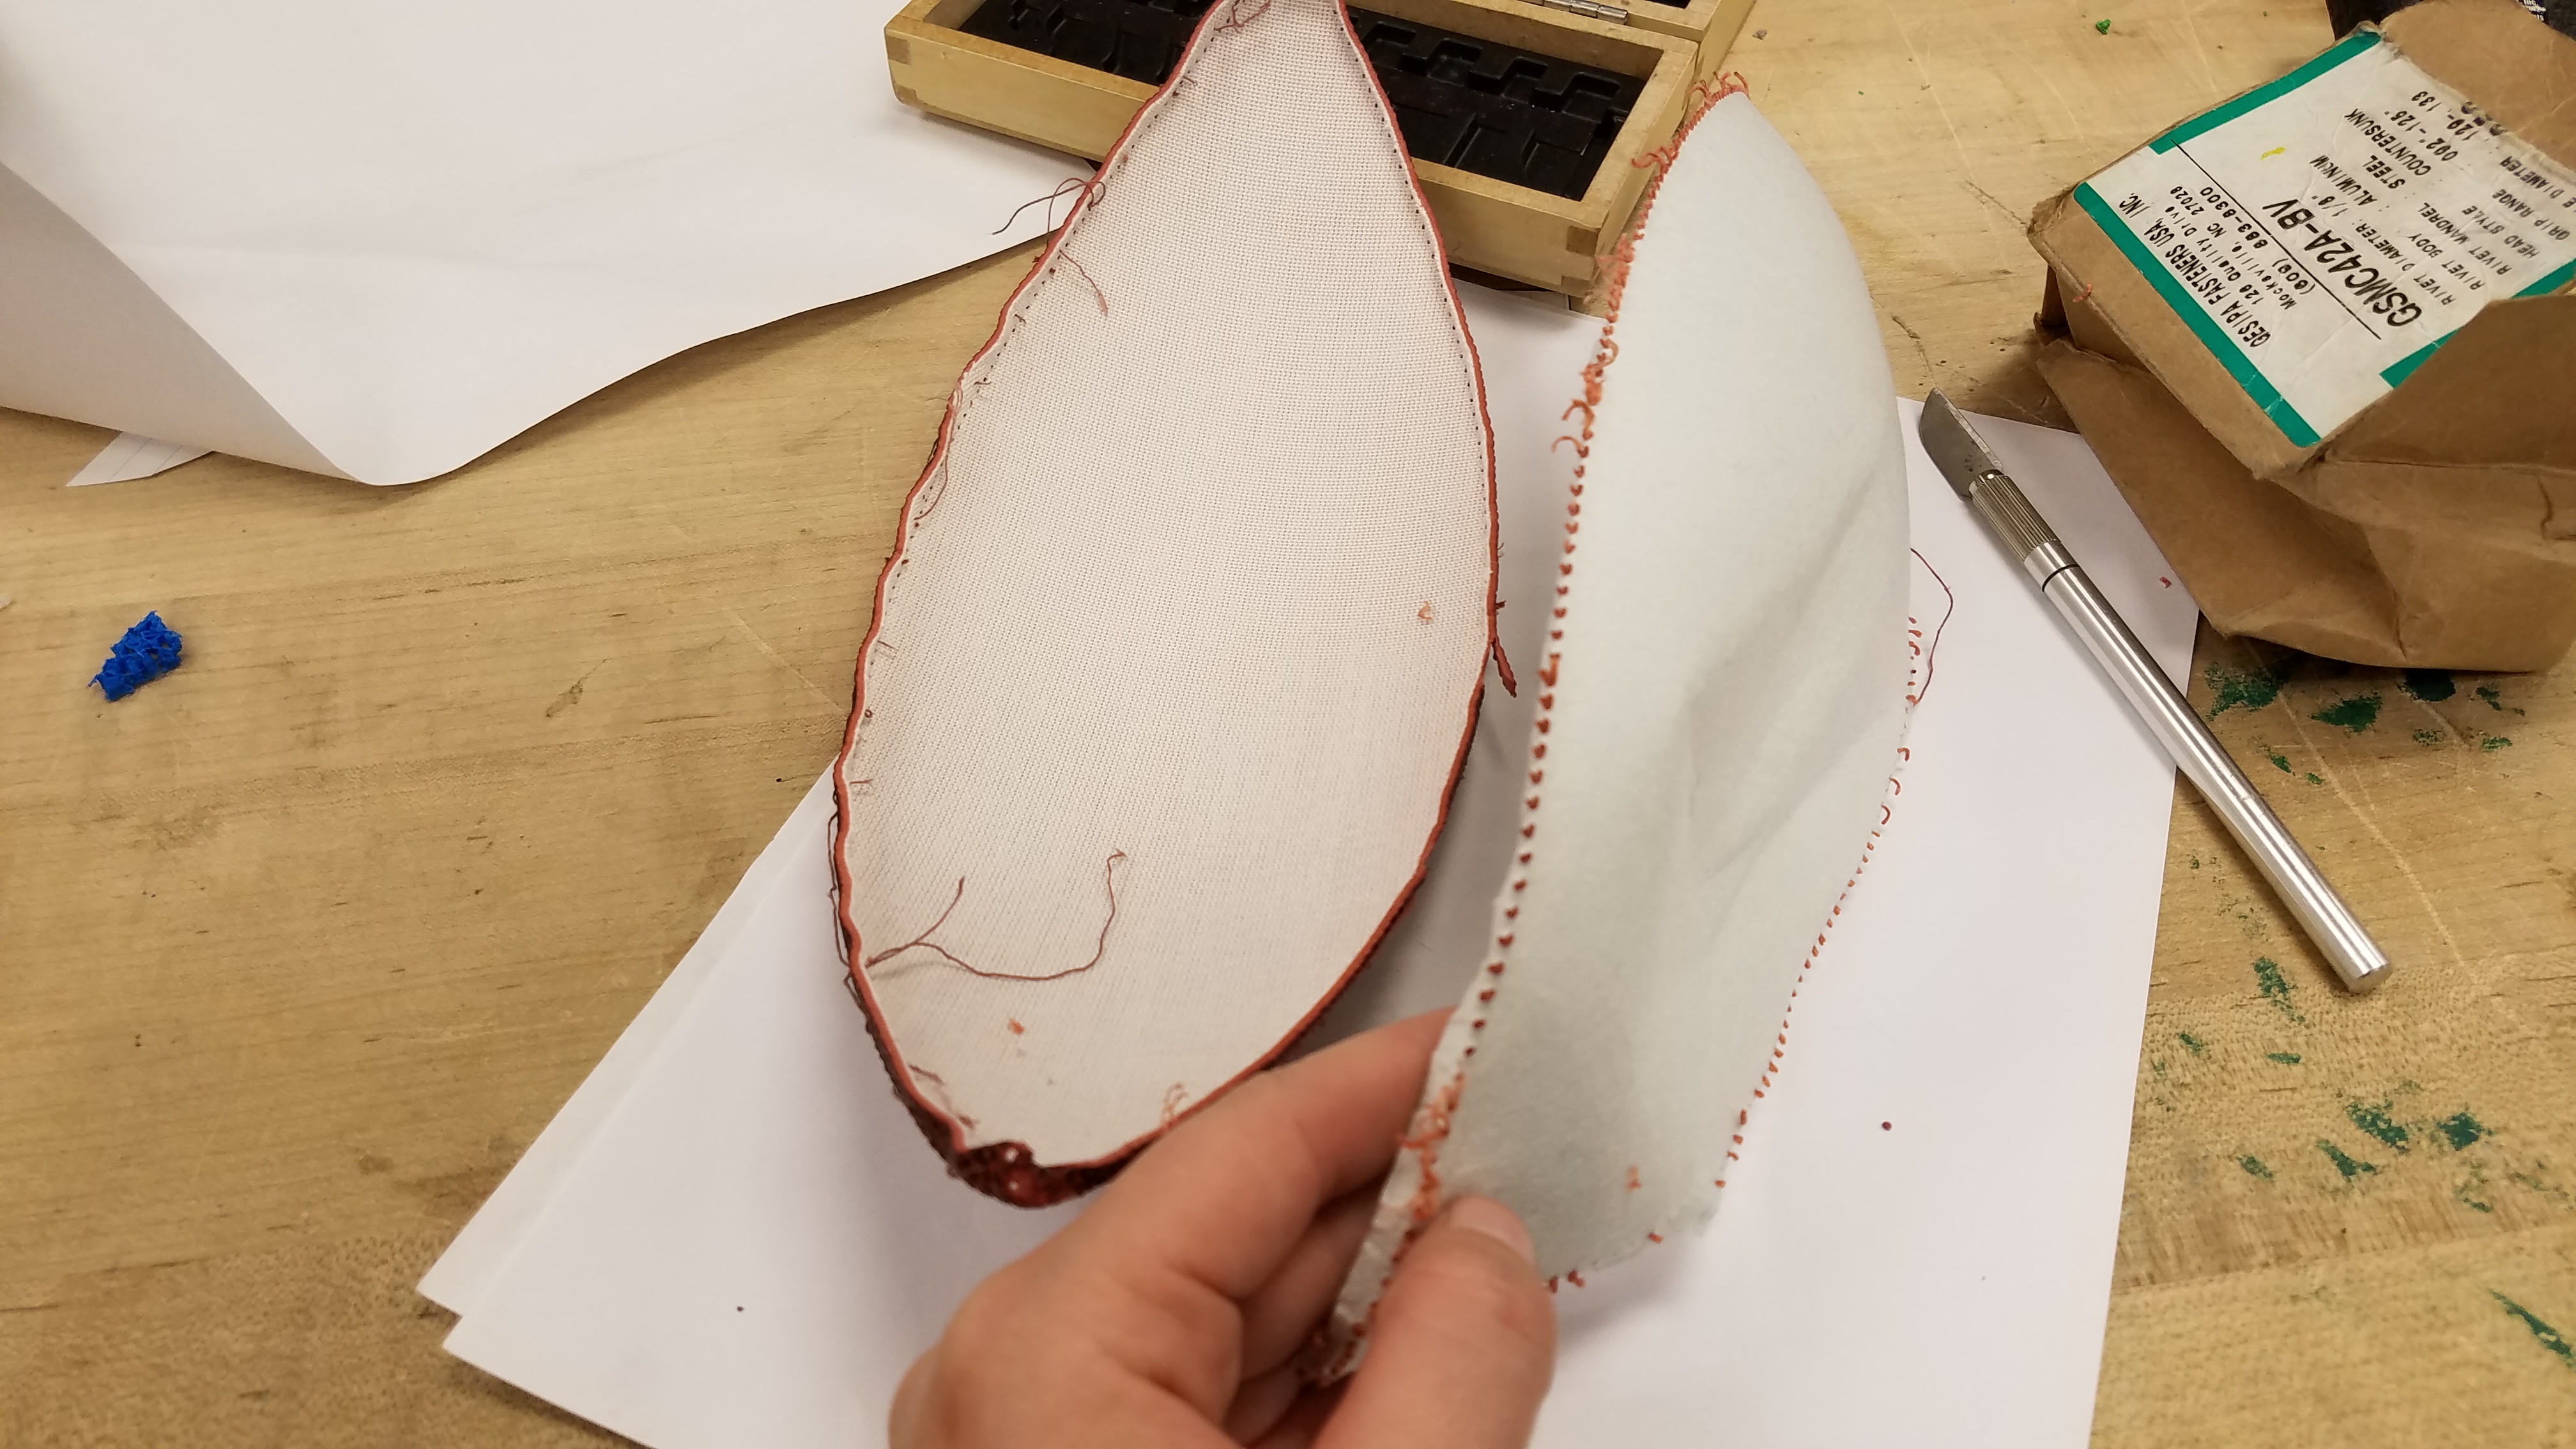
- Separate the halves into quarters.
- Cut the lining out of the quarters.
Cut Scales.
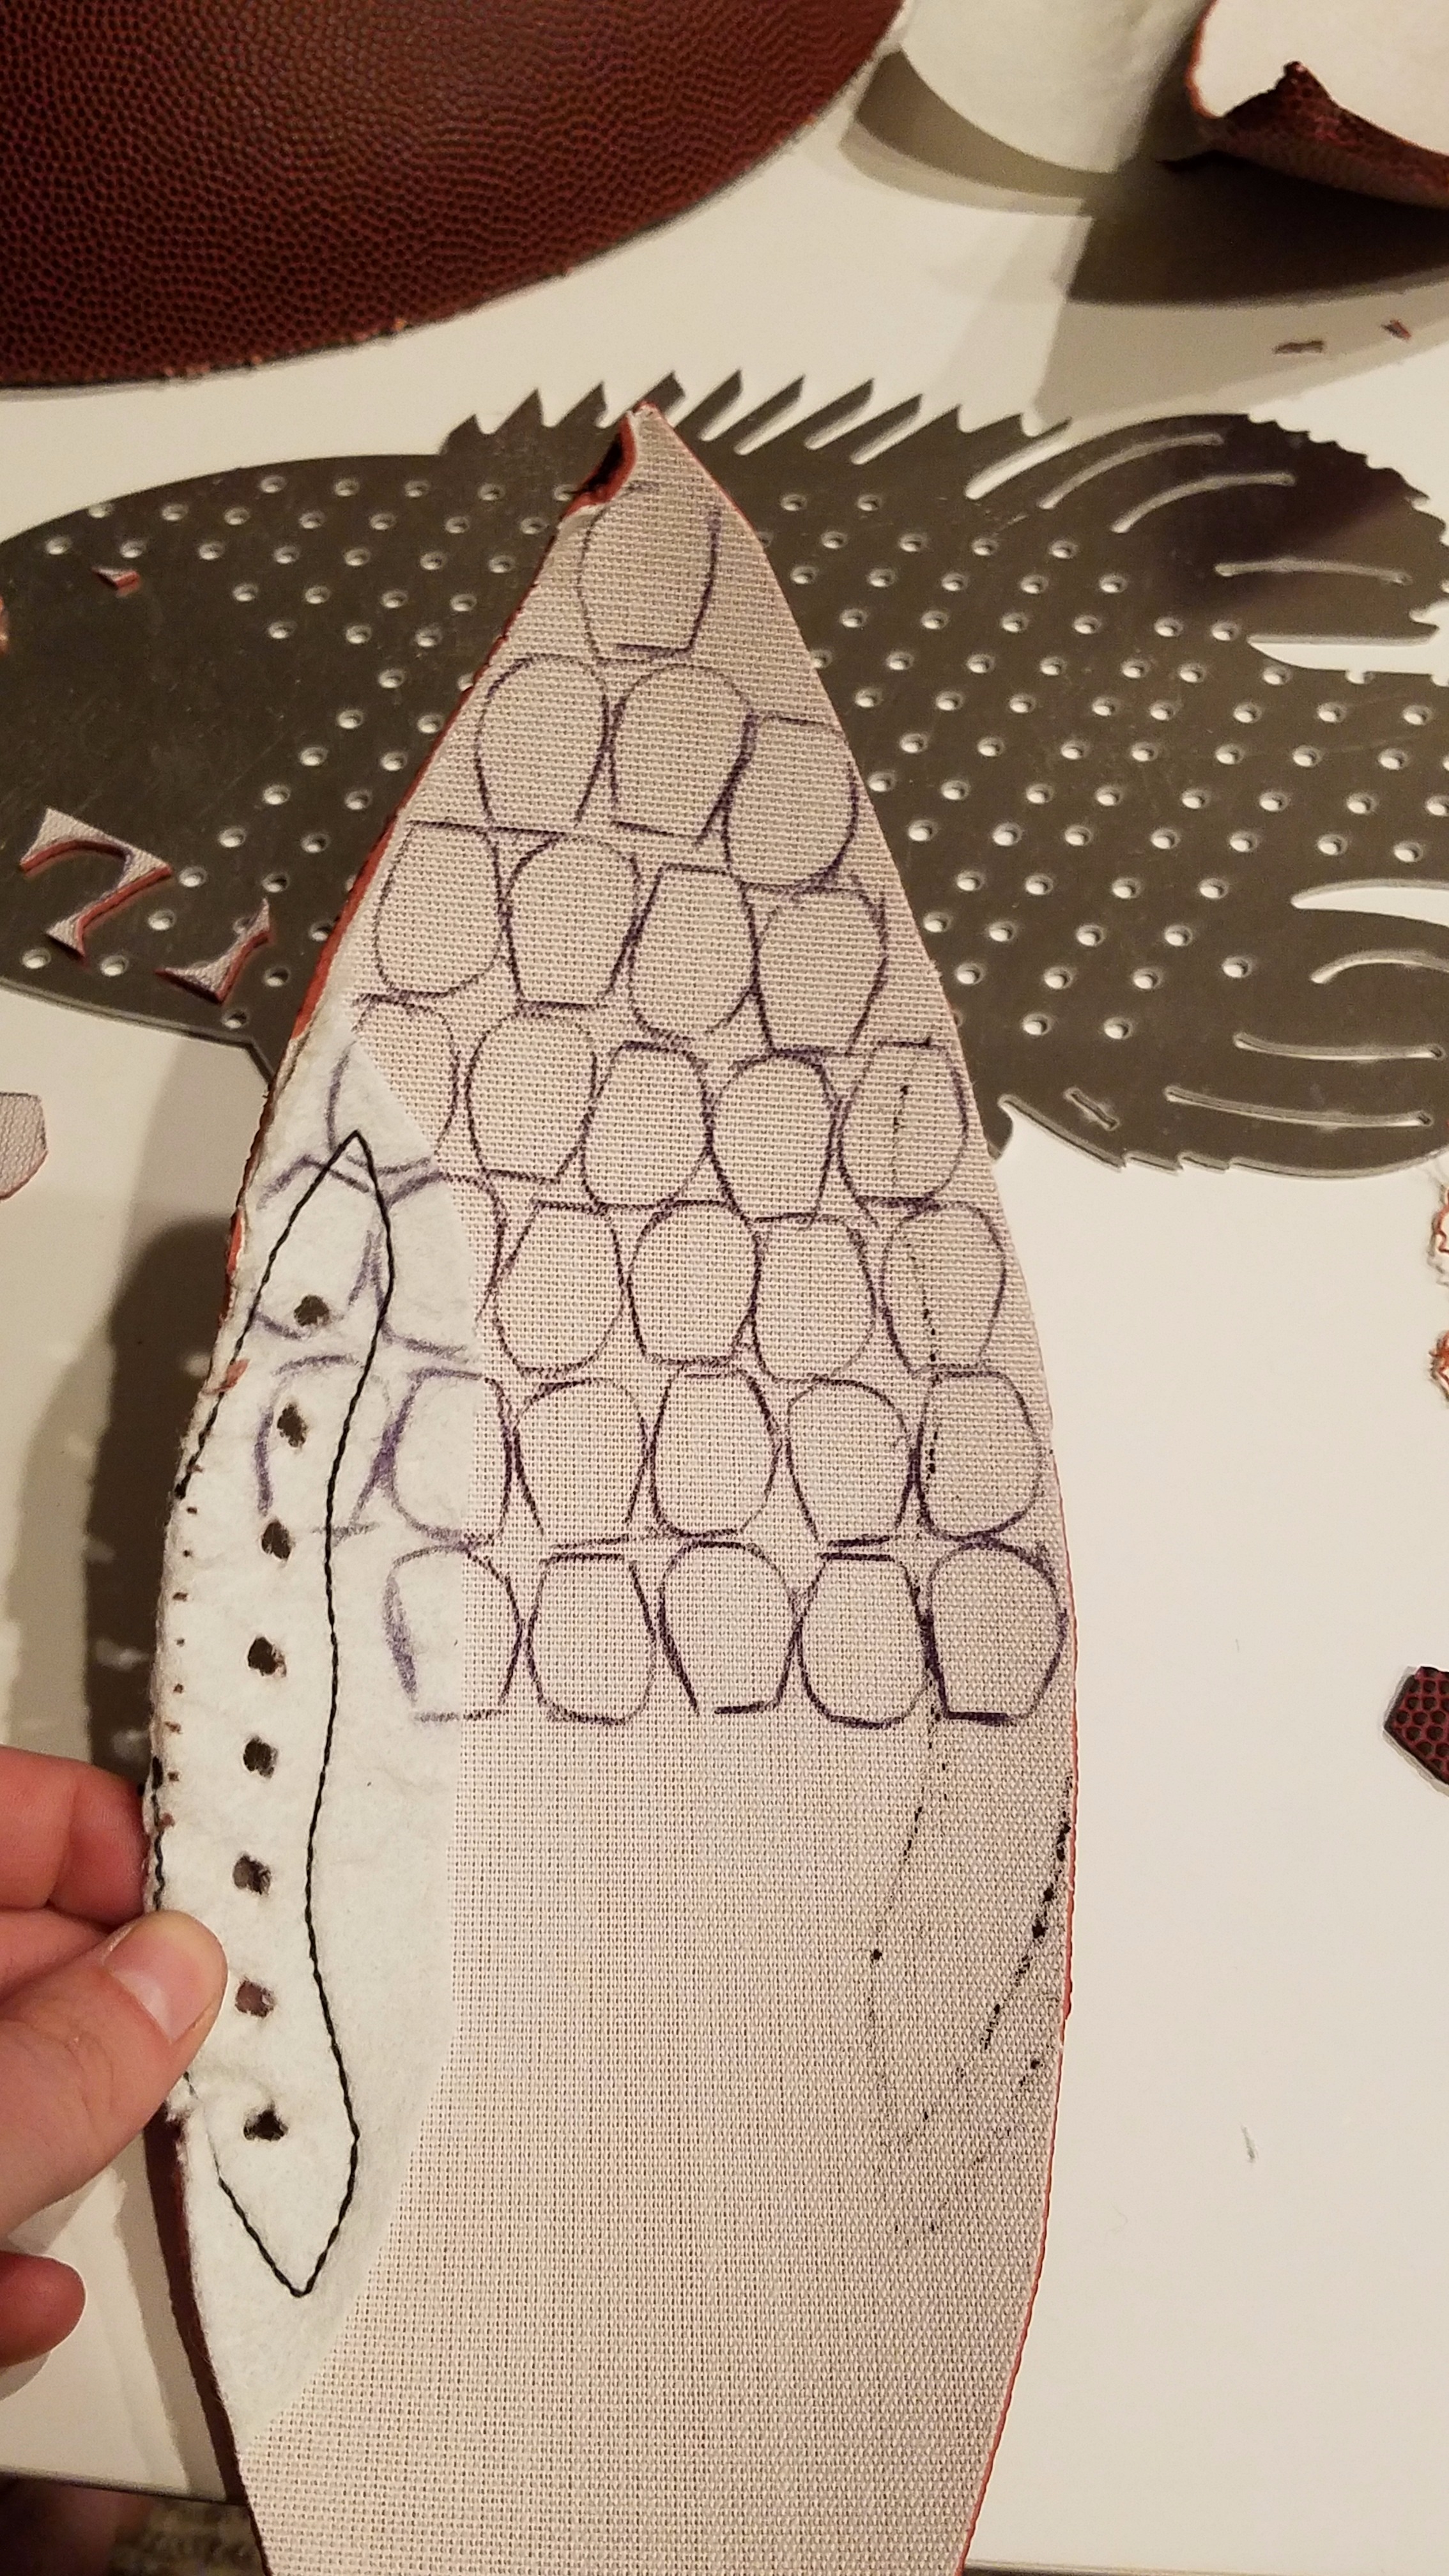
Make a template of the appropriate size by checking it against the metal fish.
Trace a bunch of those templates all over the inside of the football and over the back side of the paper. (I ended up tracing like, 275.)
Cut those out with your scissors.
(I couldn't cut the football material on the laser cutter because of the MSDS warnings.)
Punch Scales.
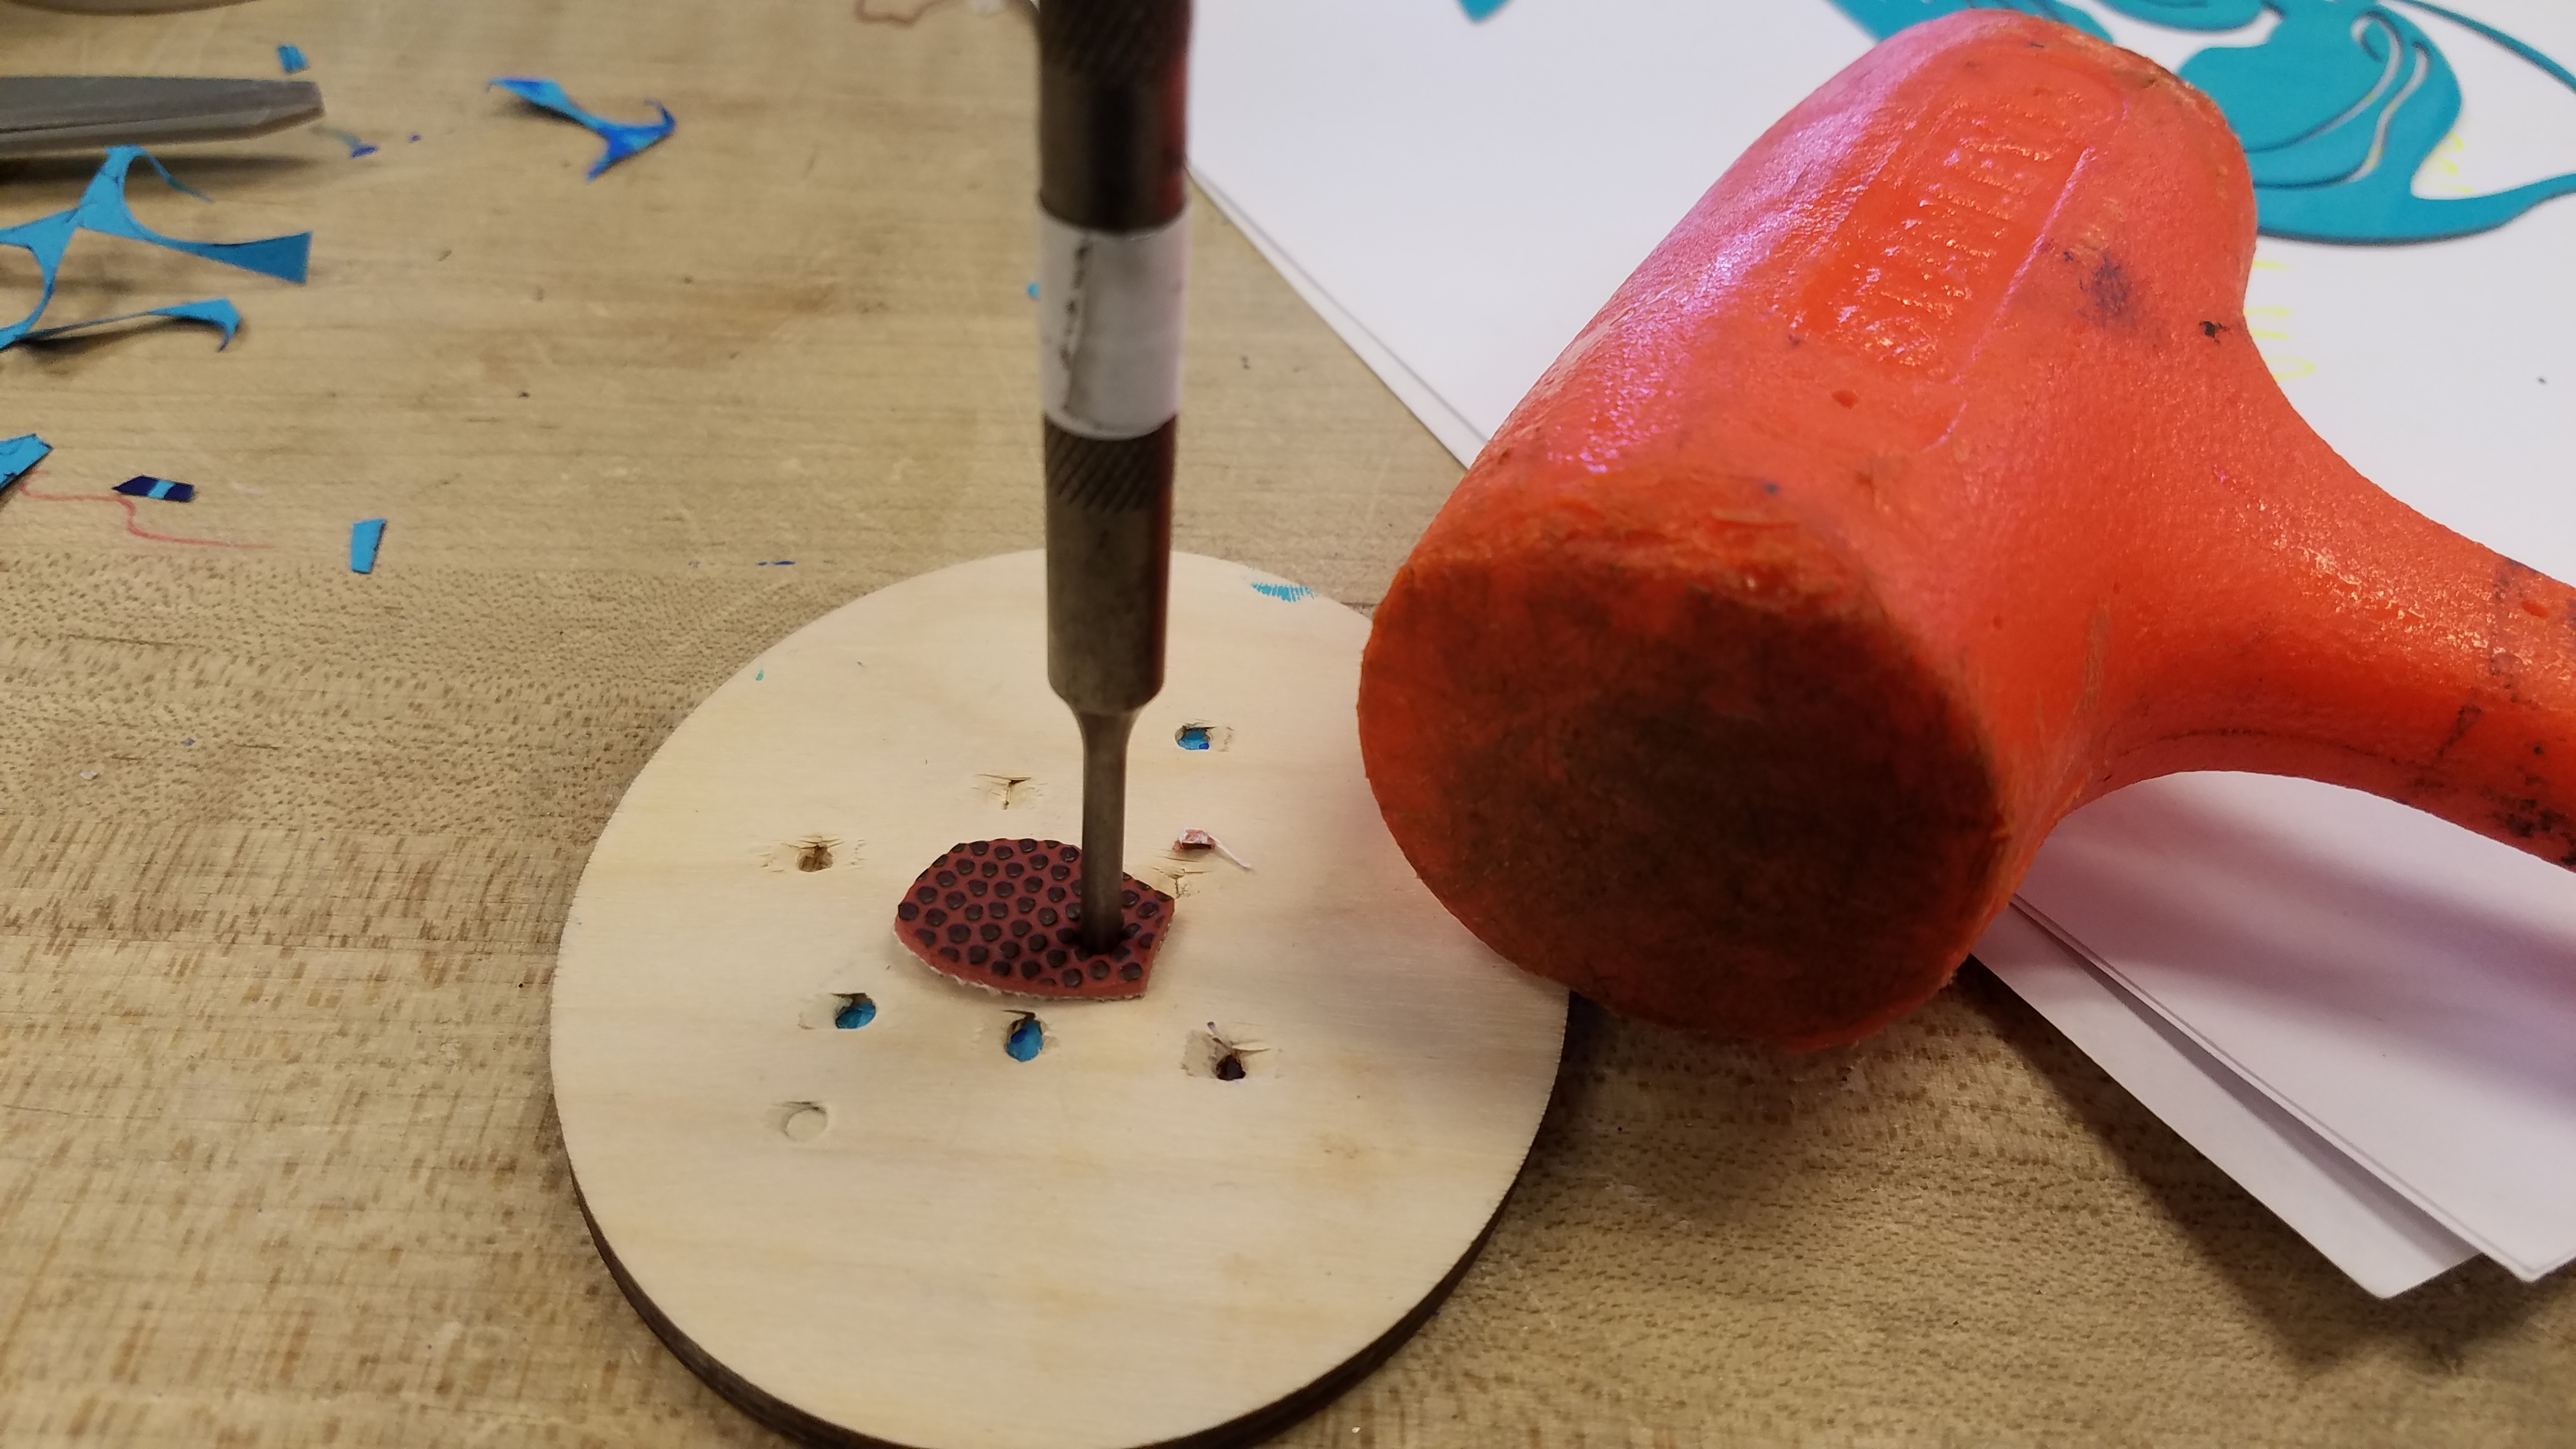
Using a 1/8" center punch, a mallet, and a piece of scrap wood you don't care about, punch a hole in each one of the scales that you've just cut.
Rivet Scales & Accessories.
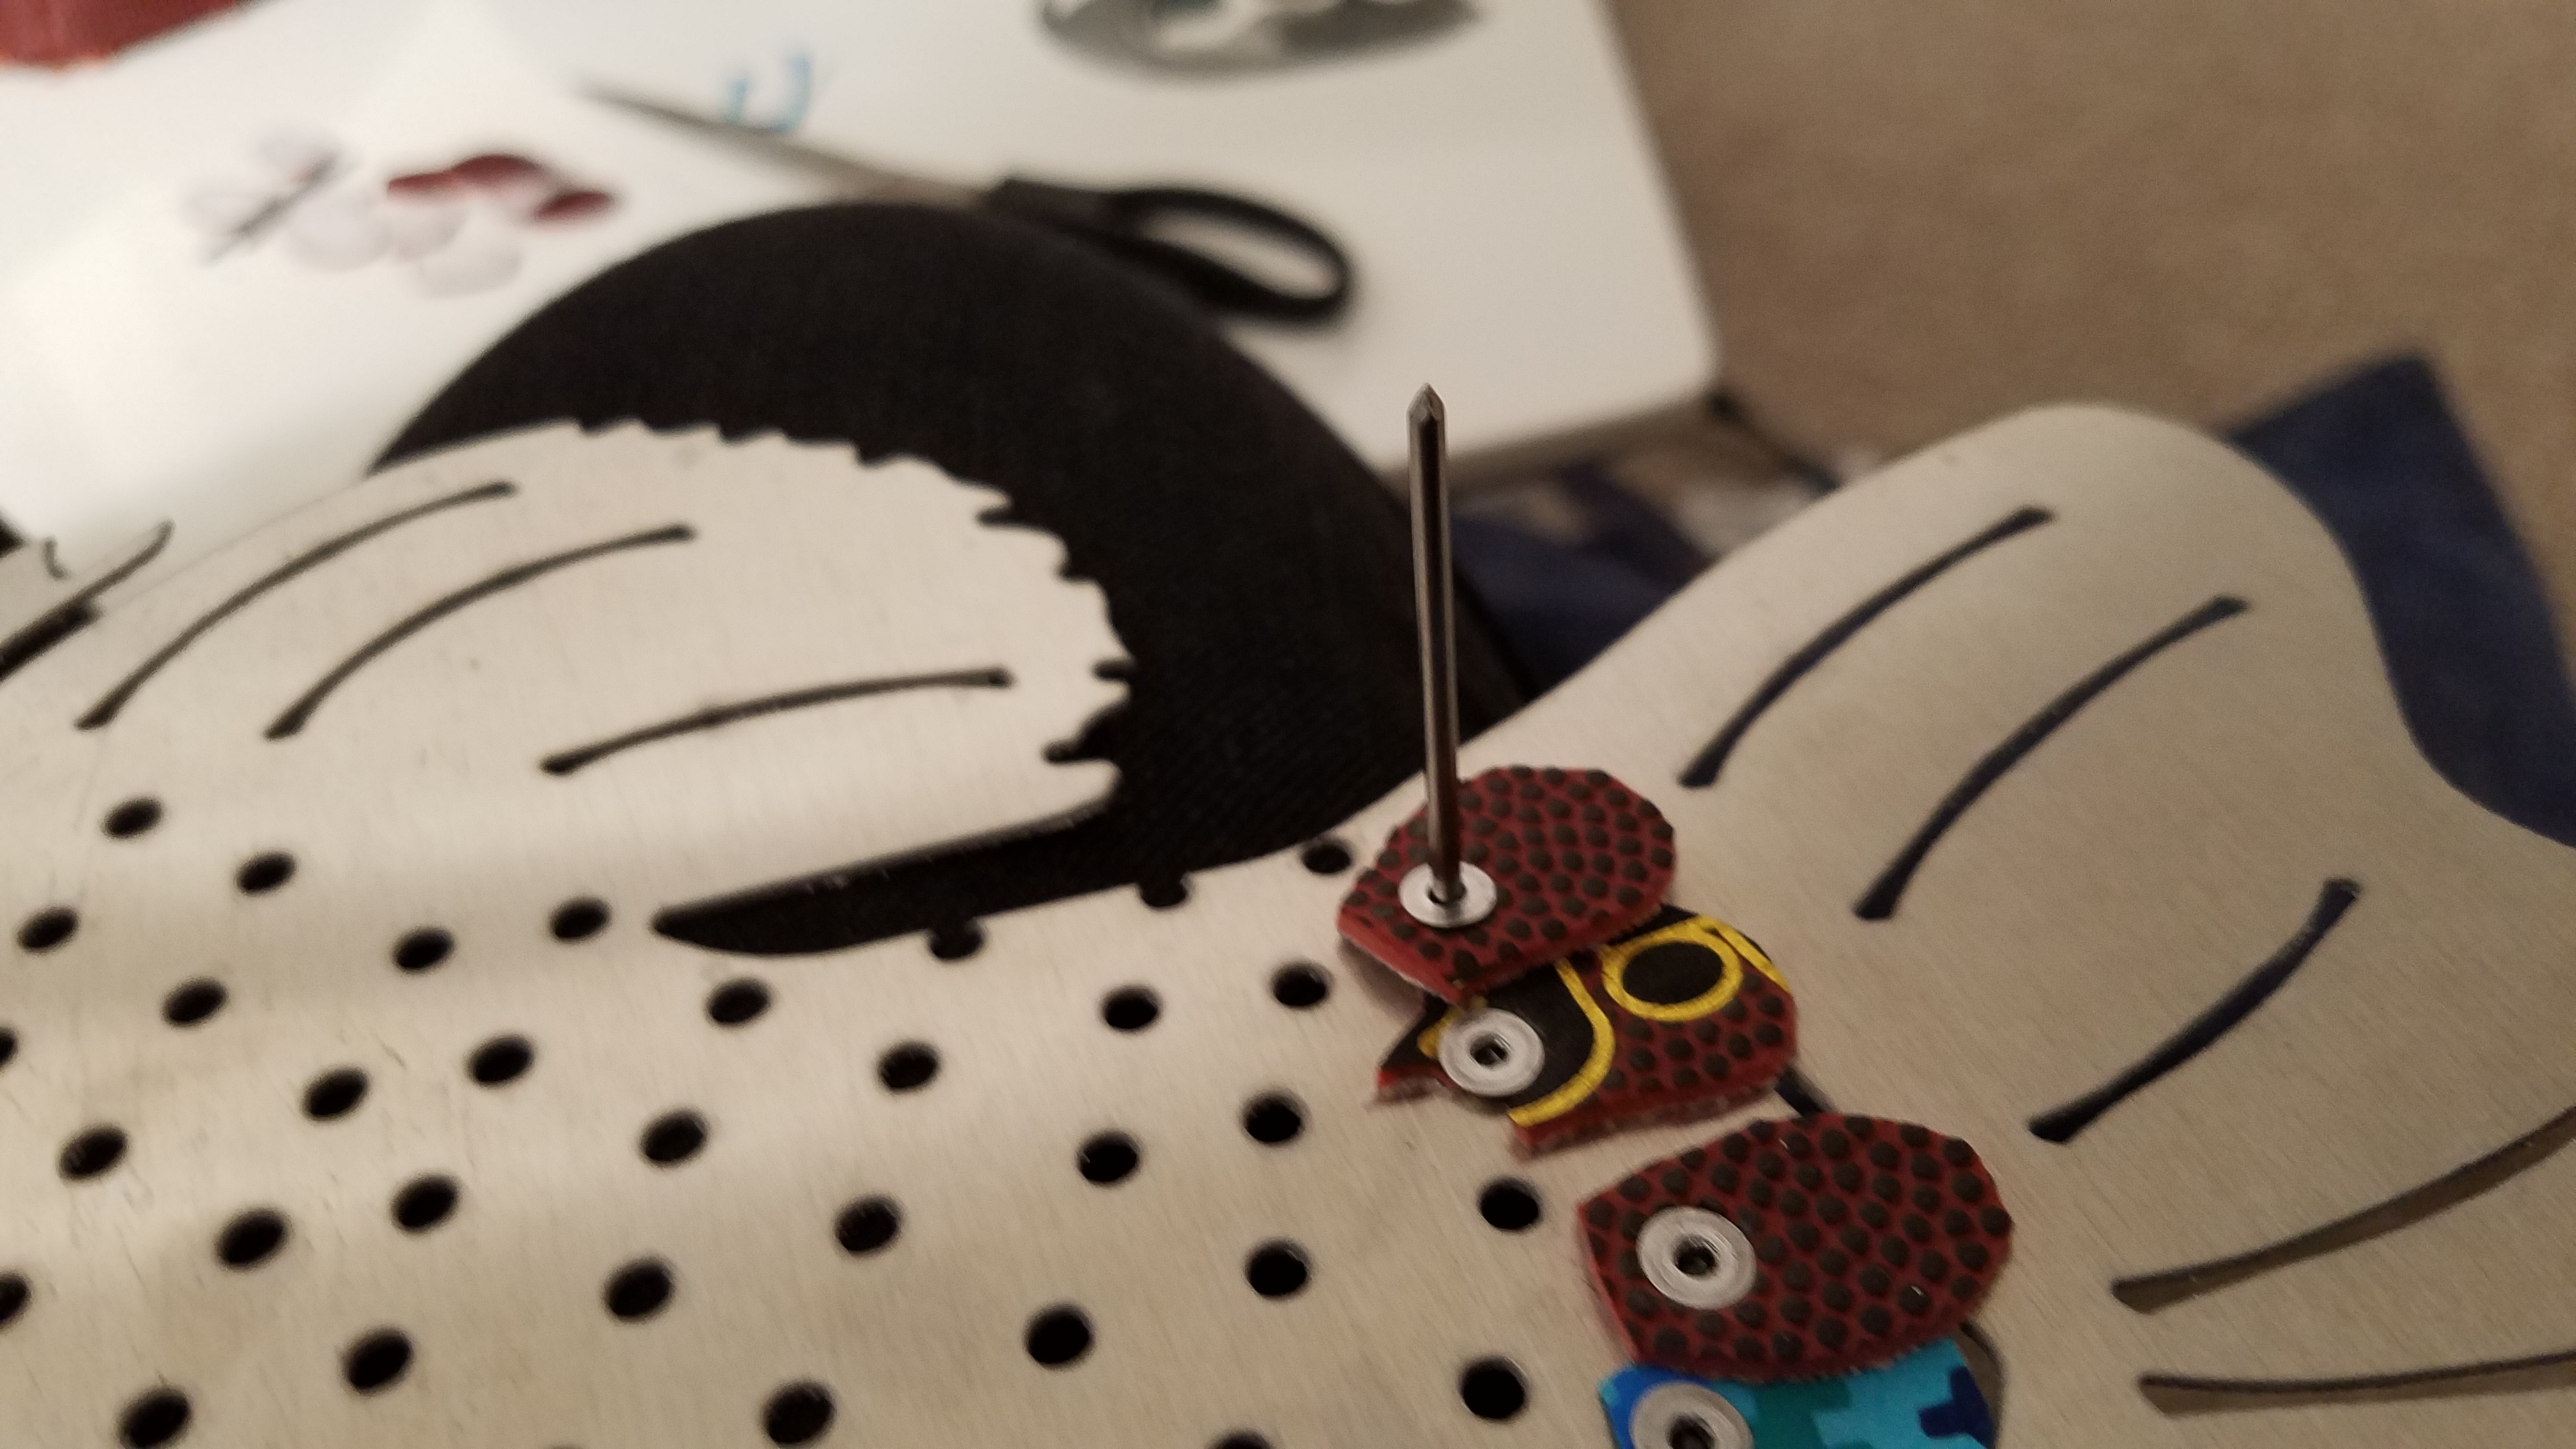
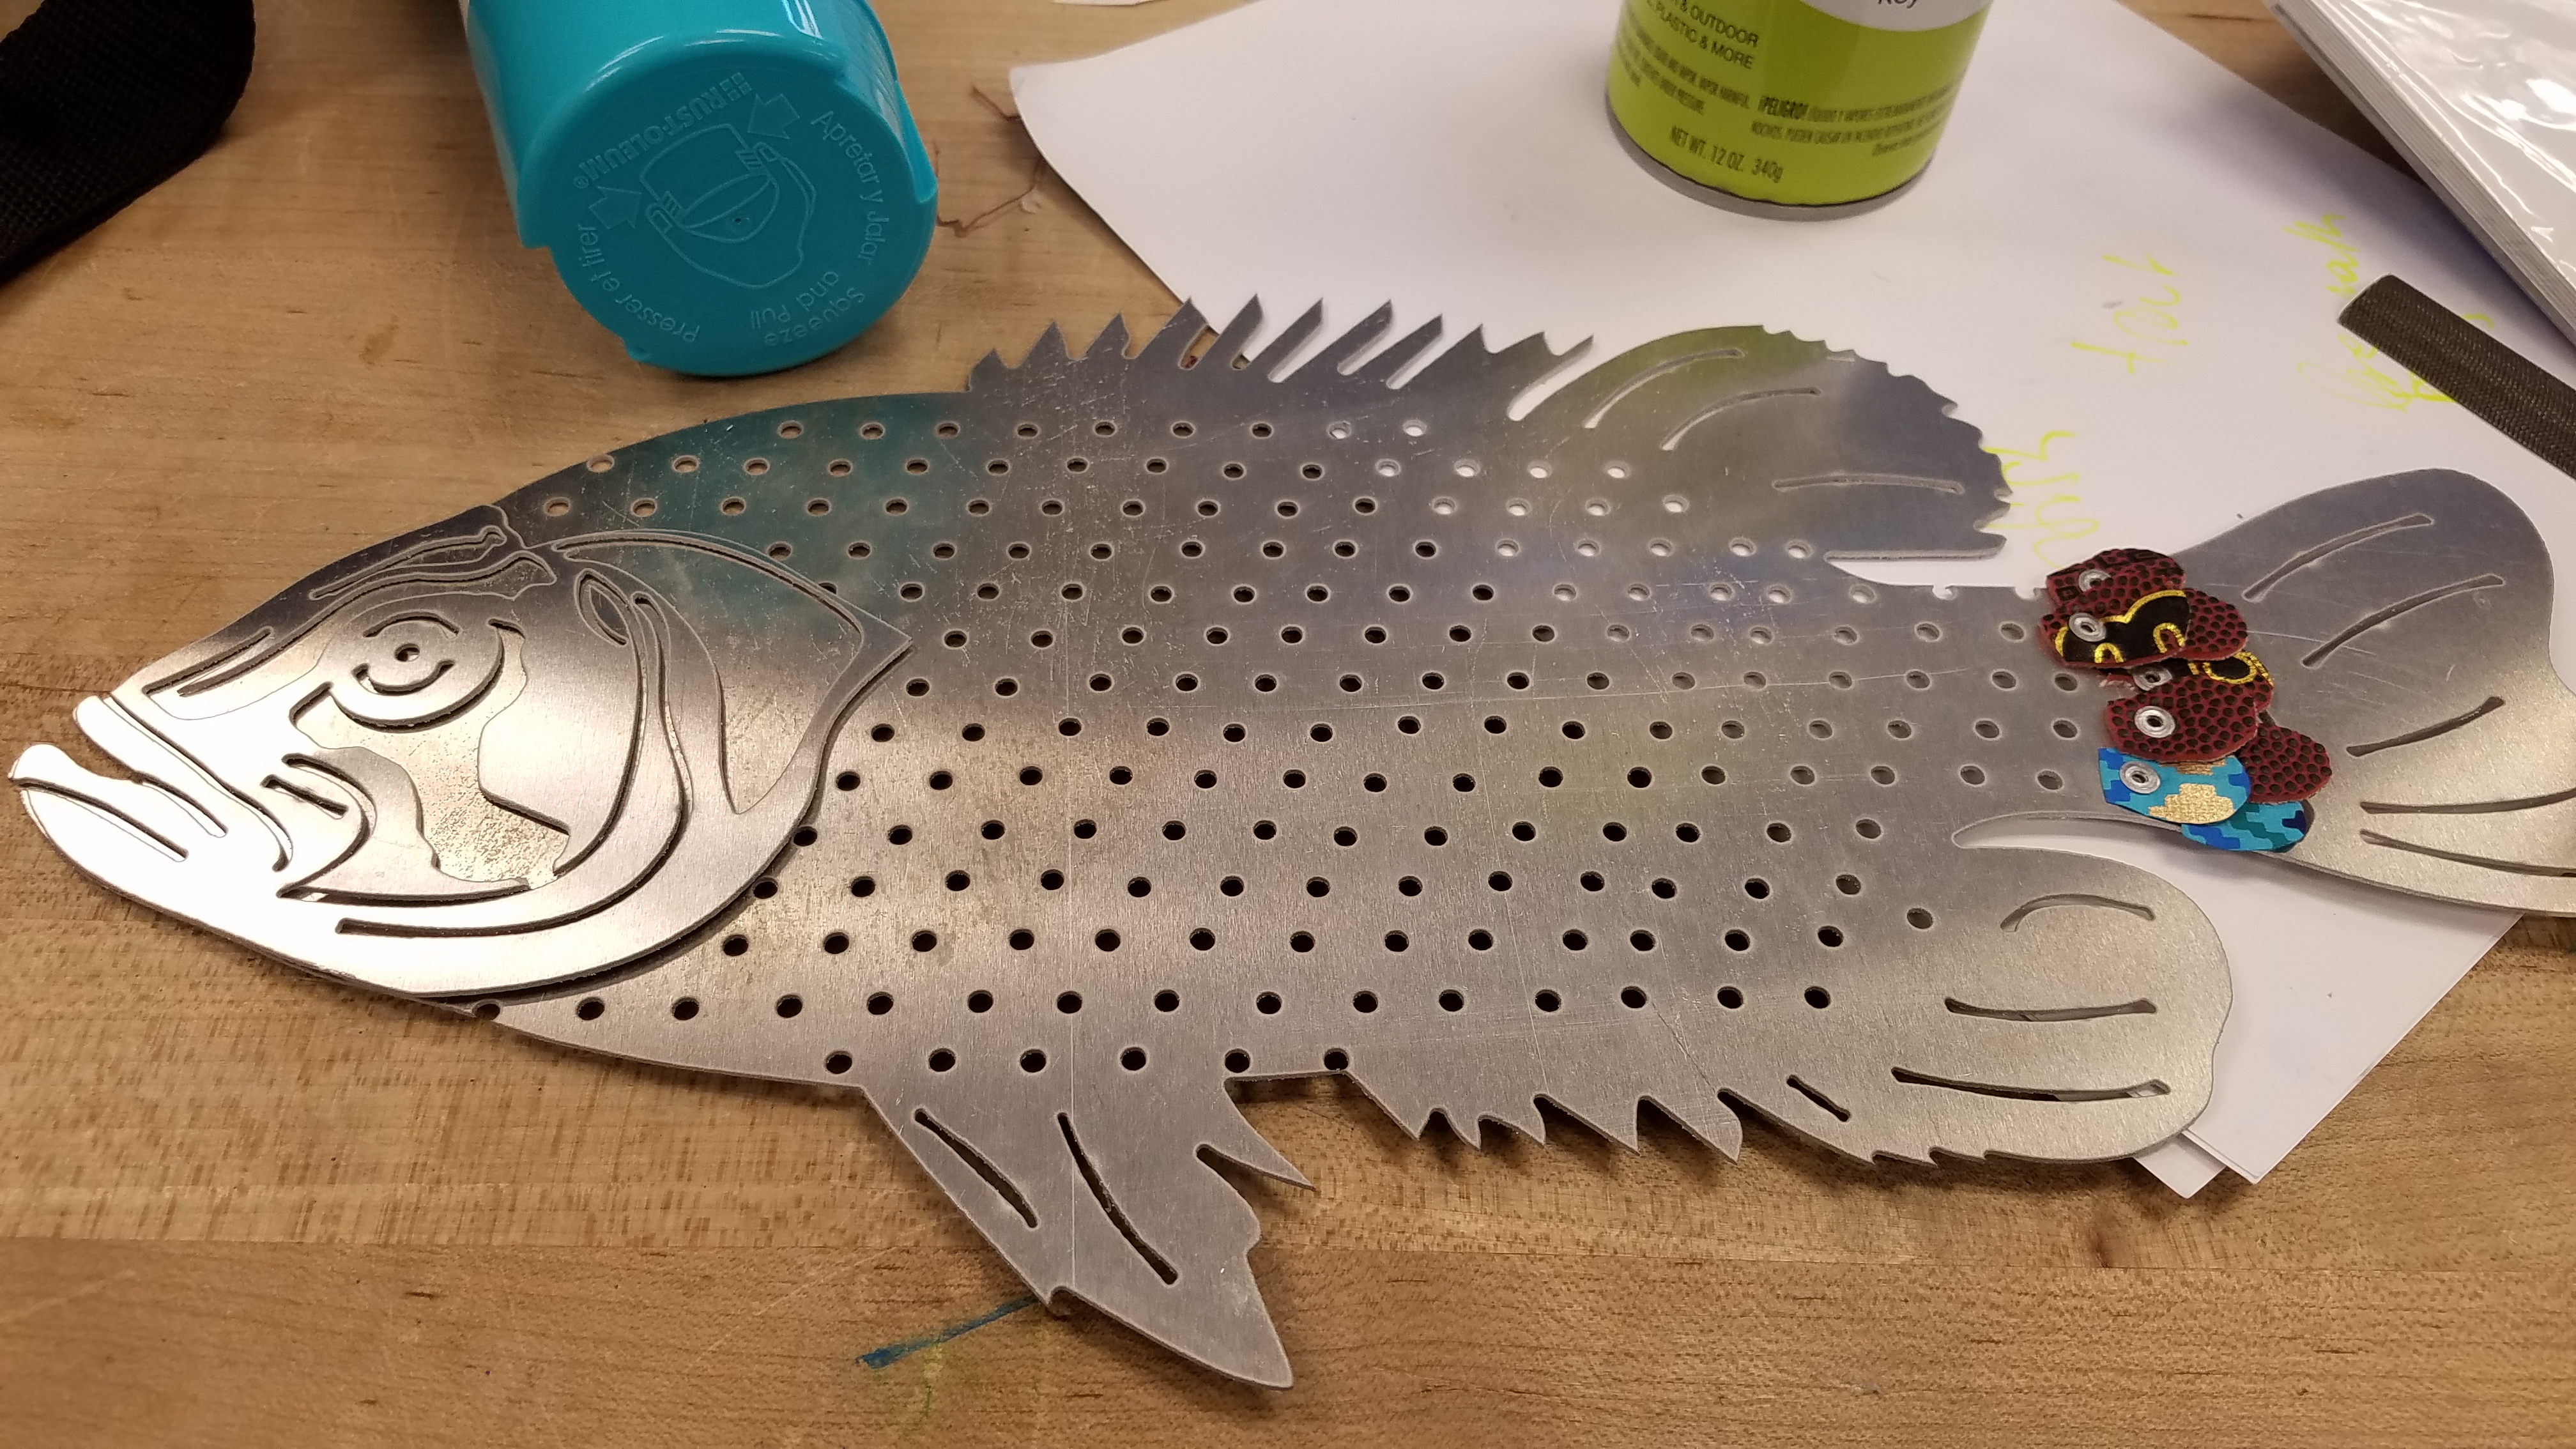
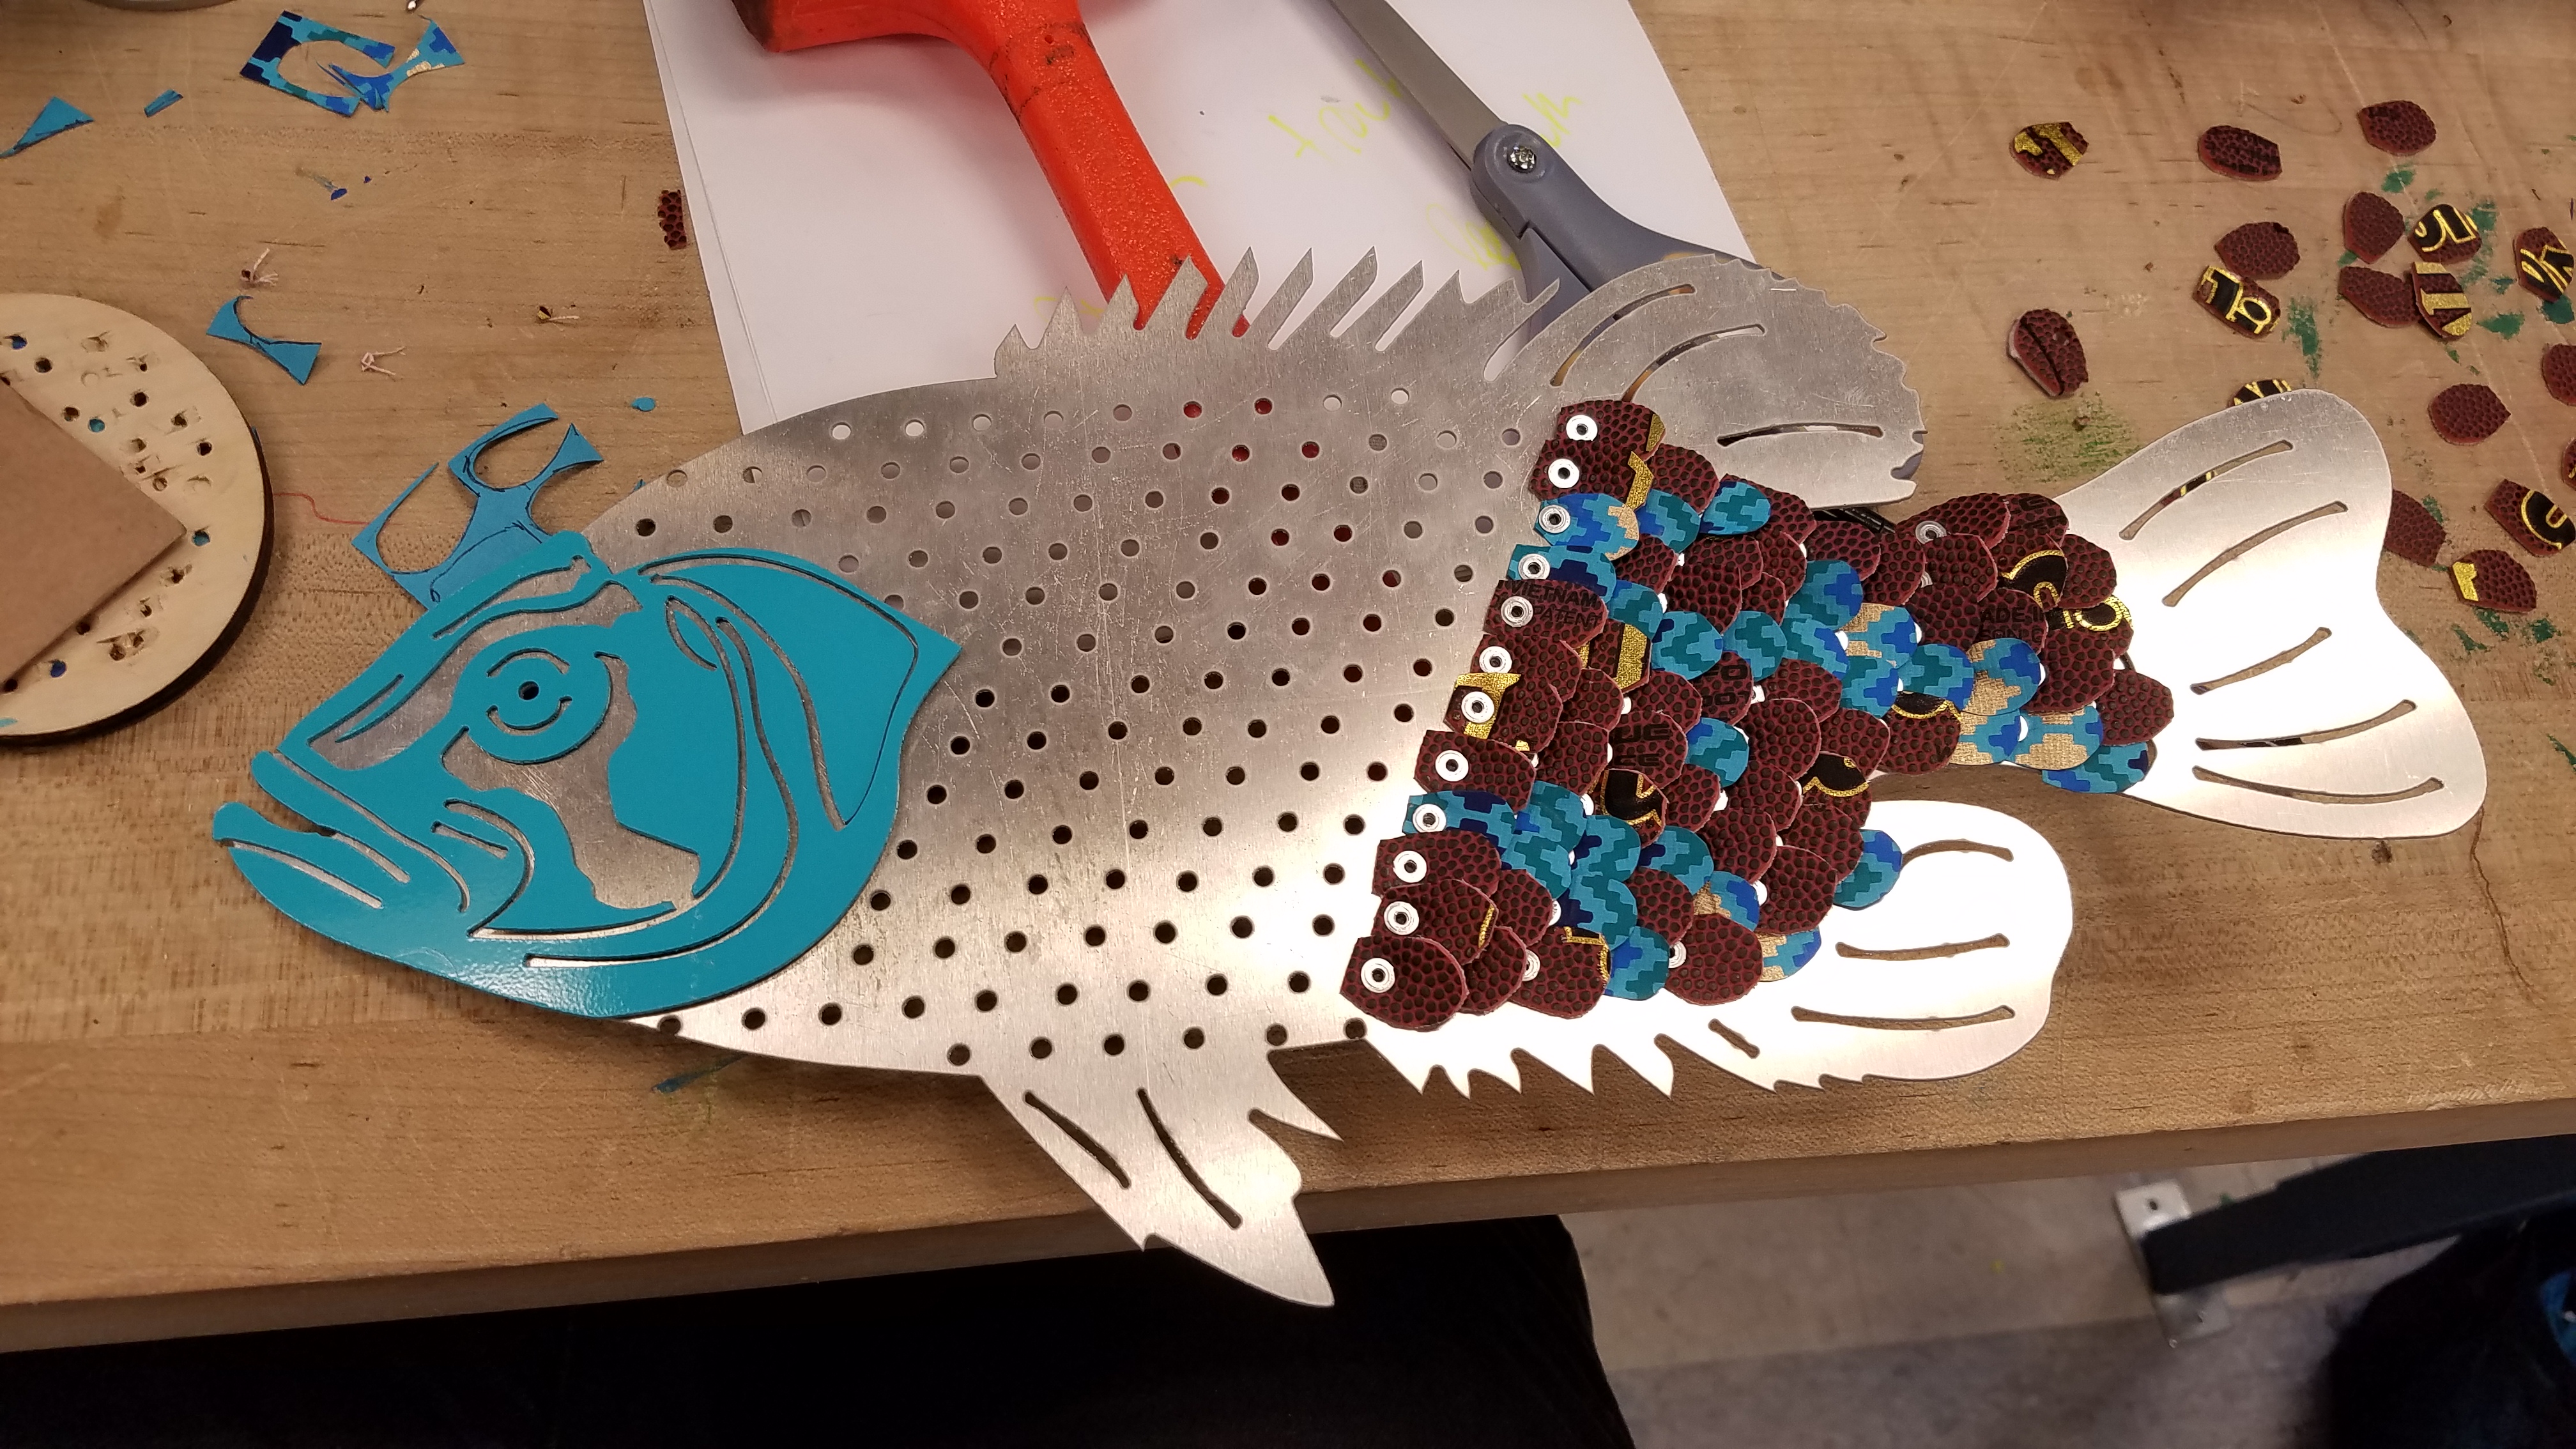
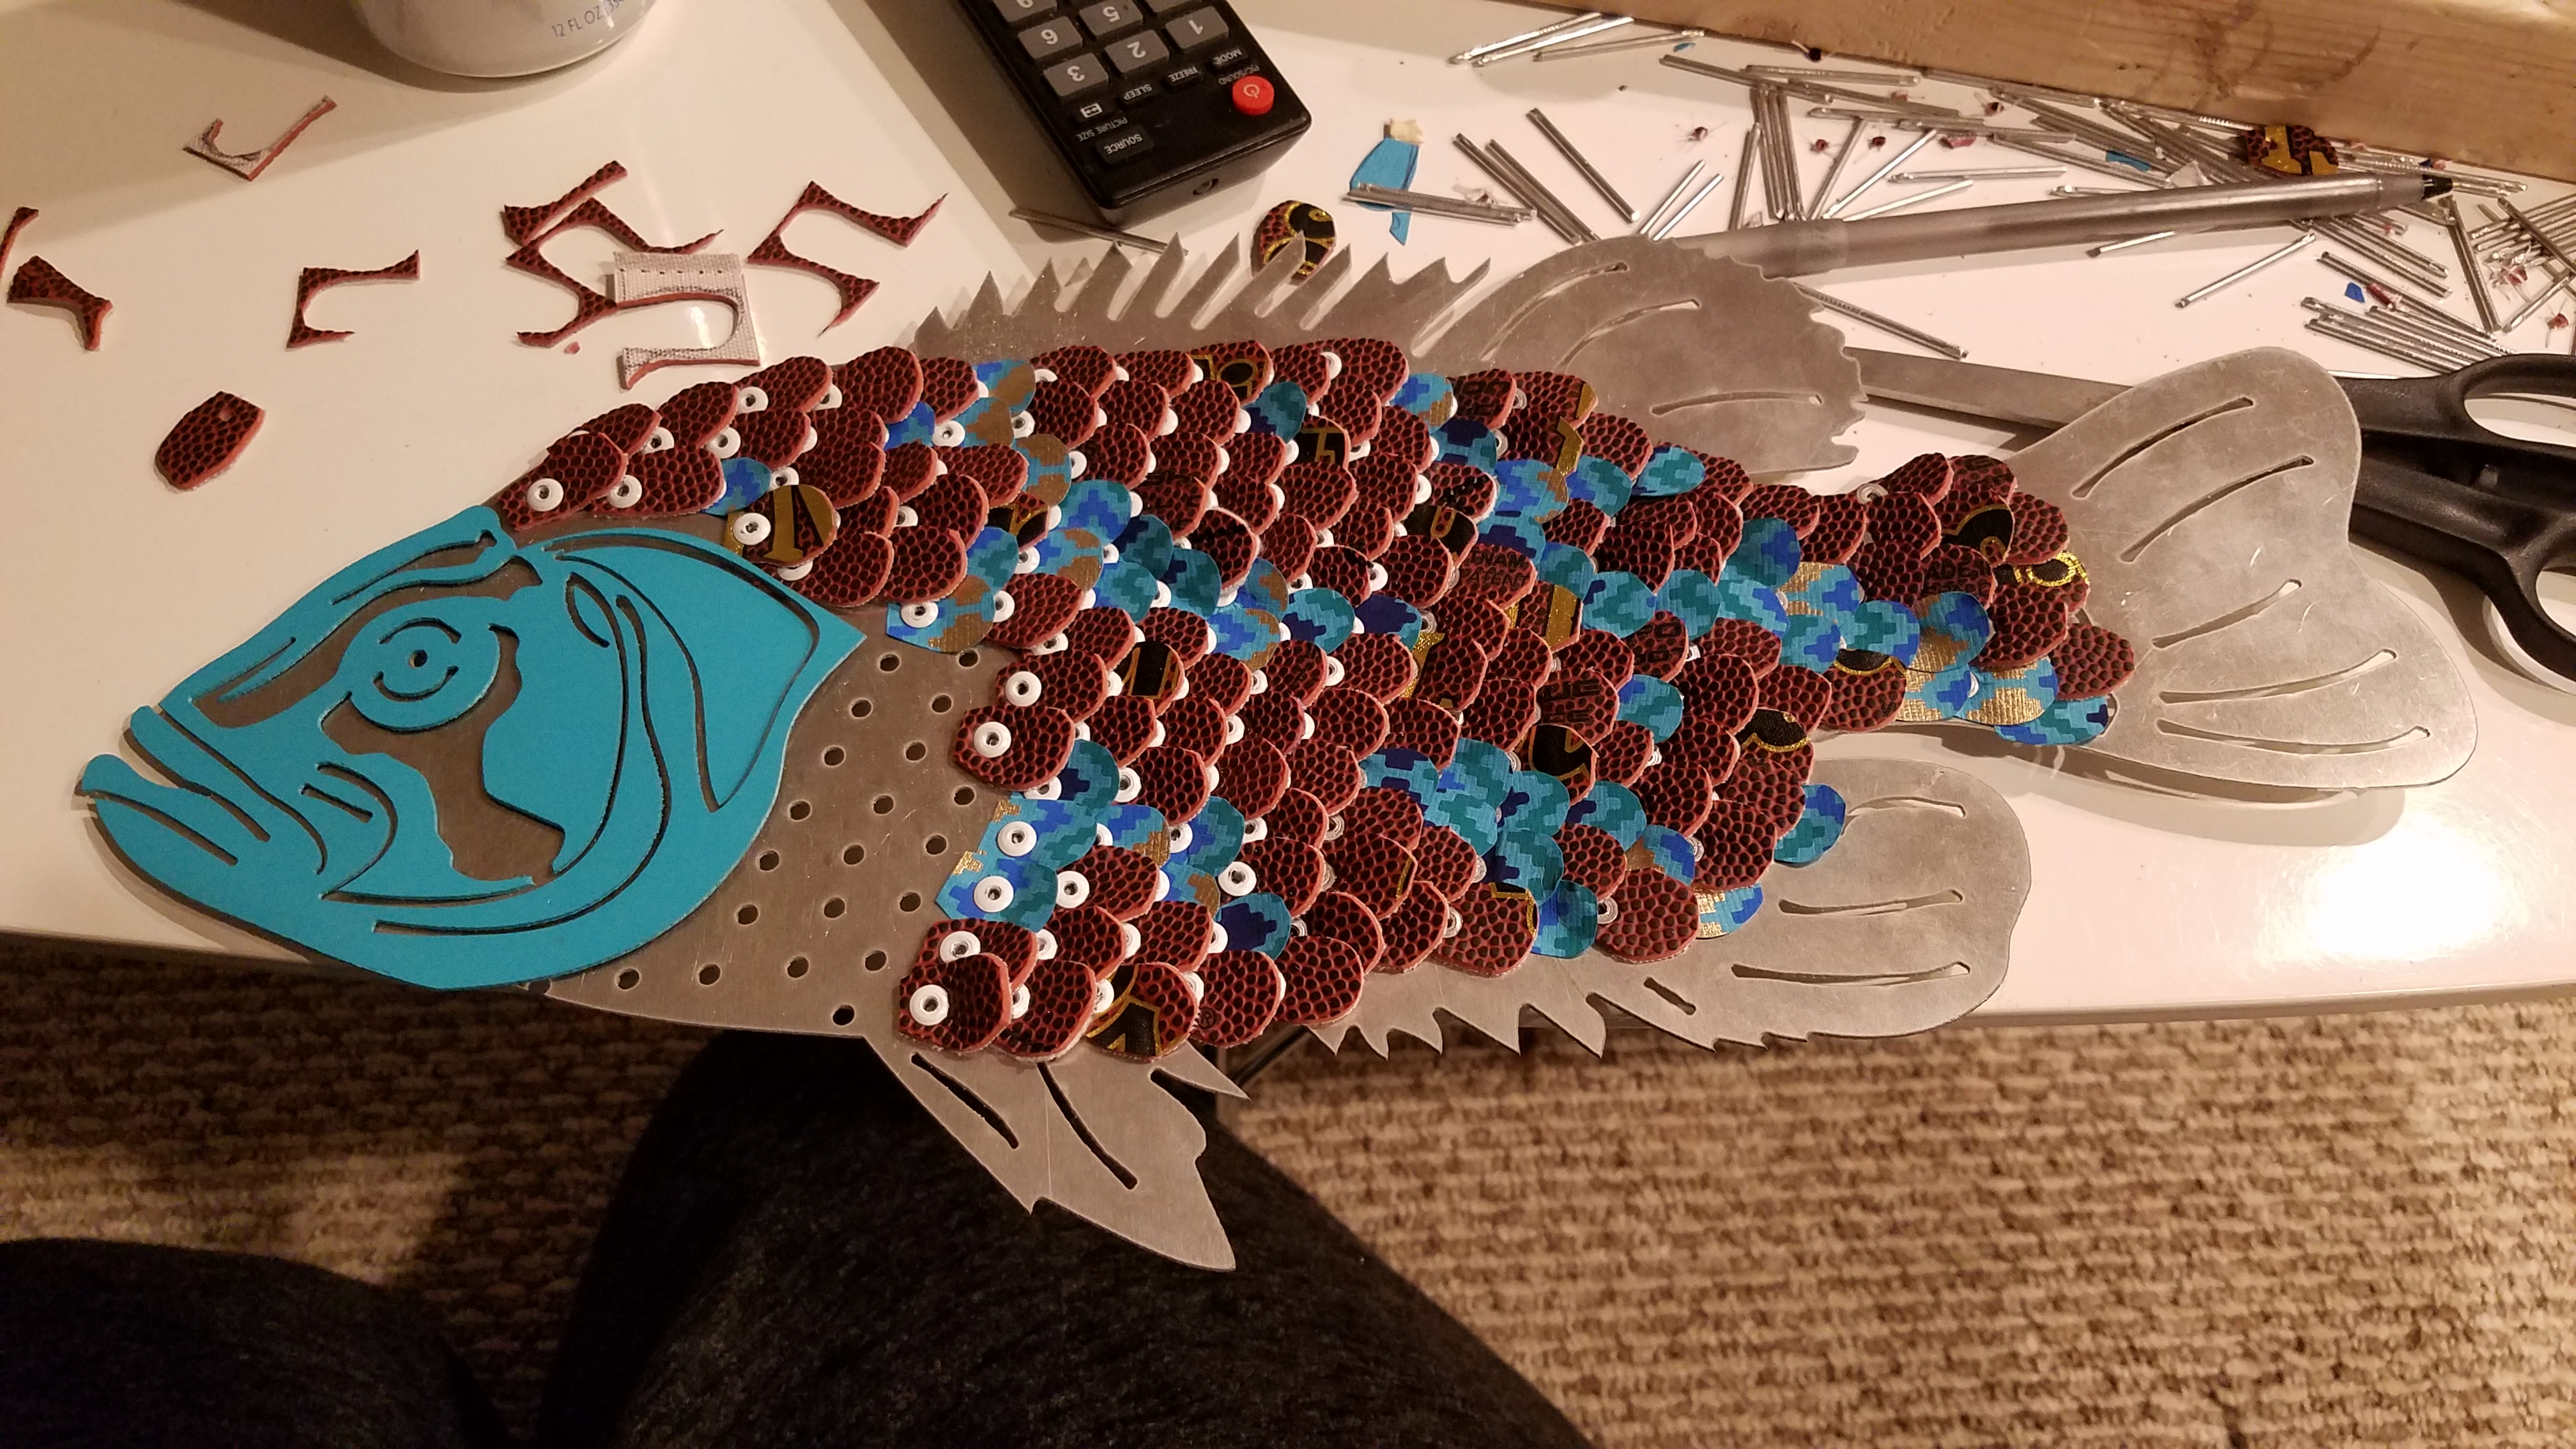
Starting from the tail of the fish and moving towards the head of the fish, rivet the scales on individually. You can pattern the fish however you want, but I just tried to break up chunks of the different colors as needed to keep the overall color composition balanced.
Not going to lie, this part took a while.
Rivet on Accessories.
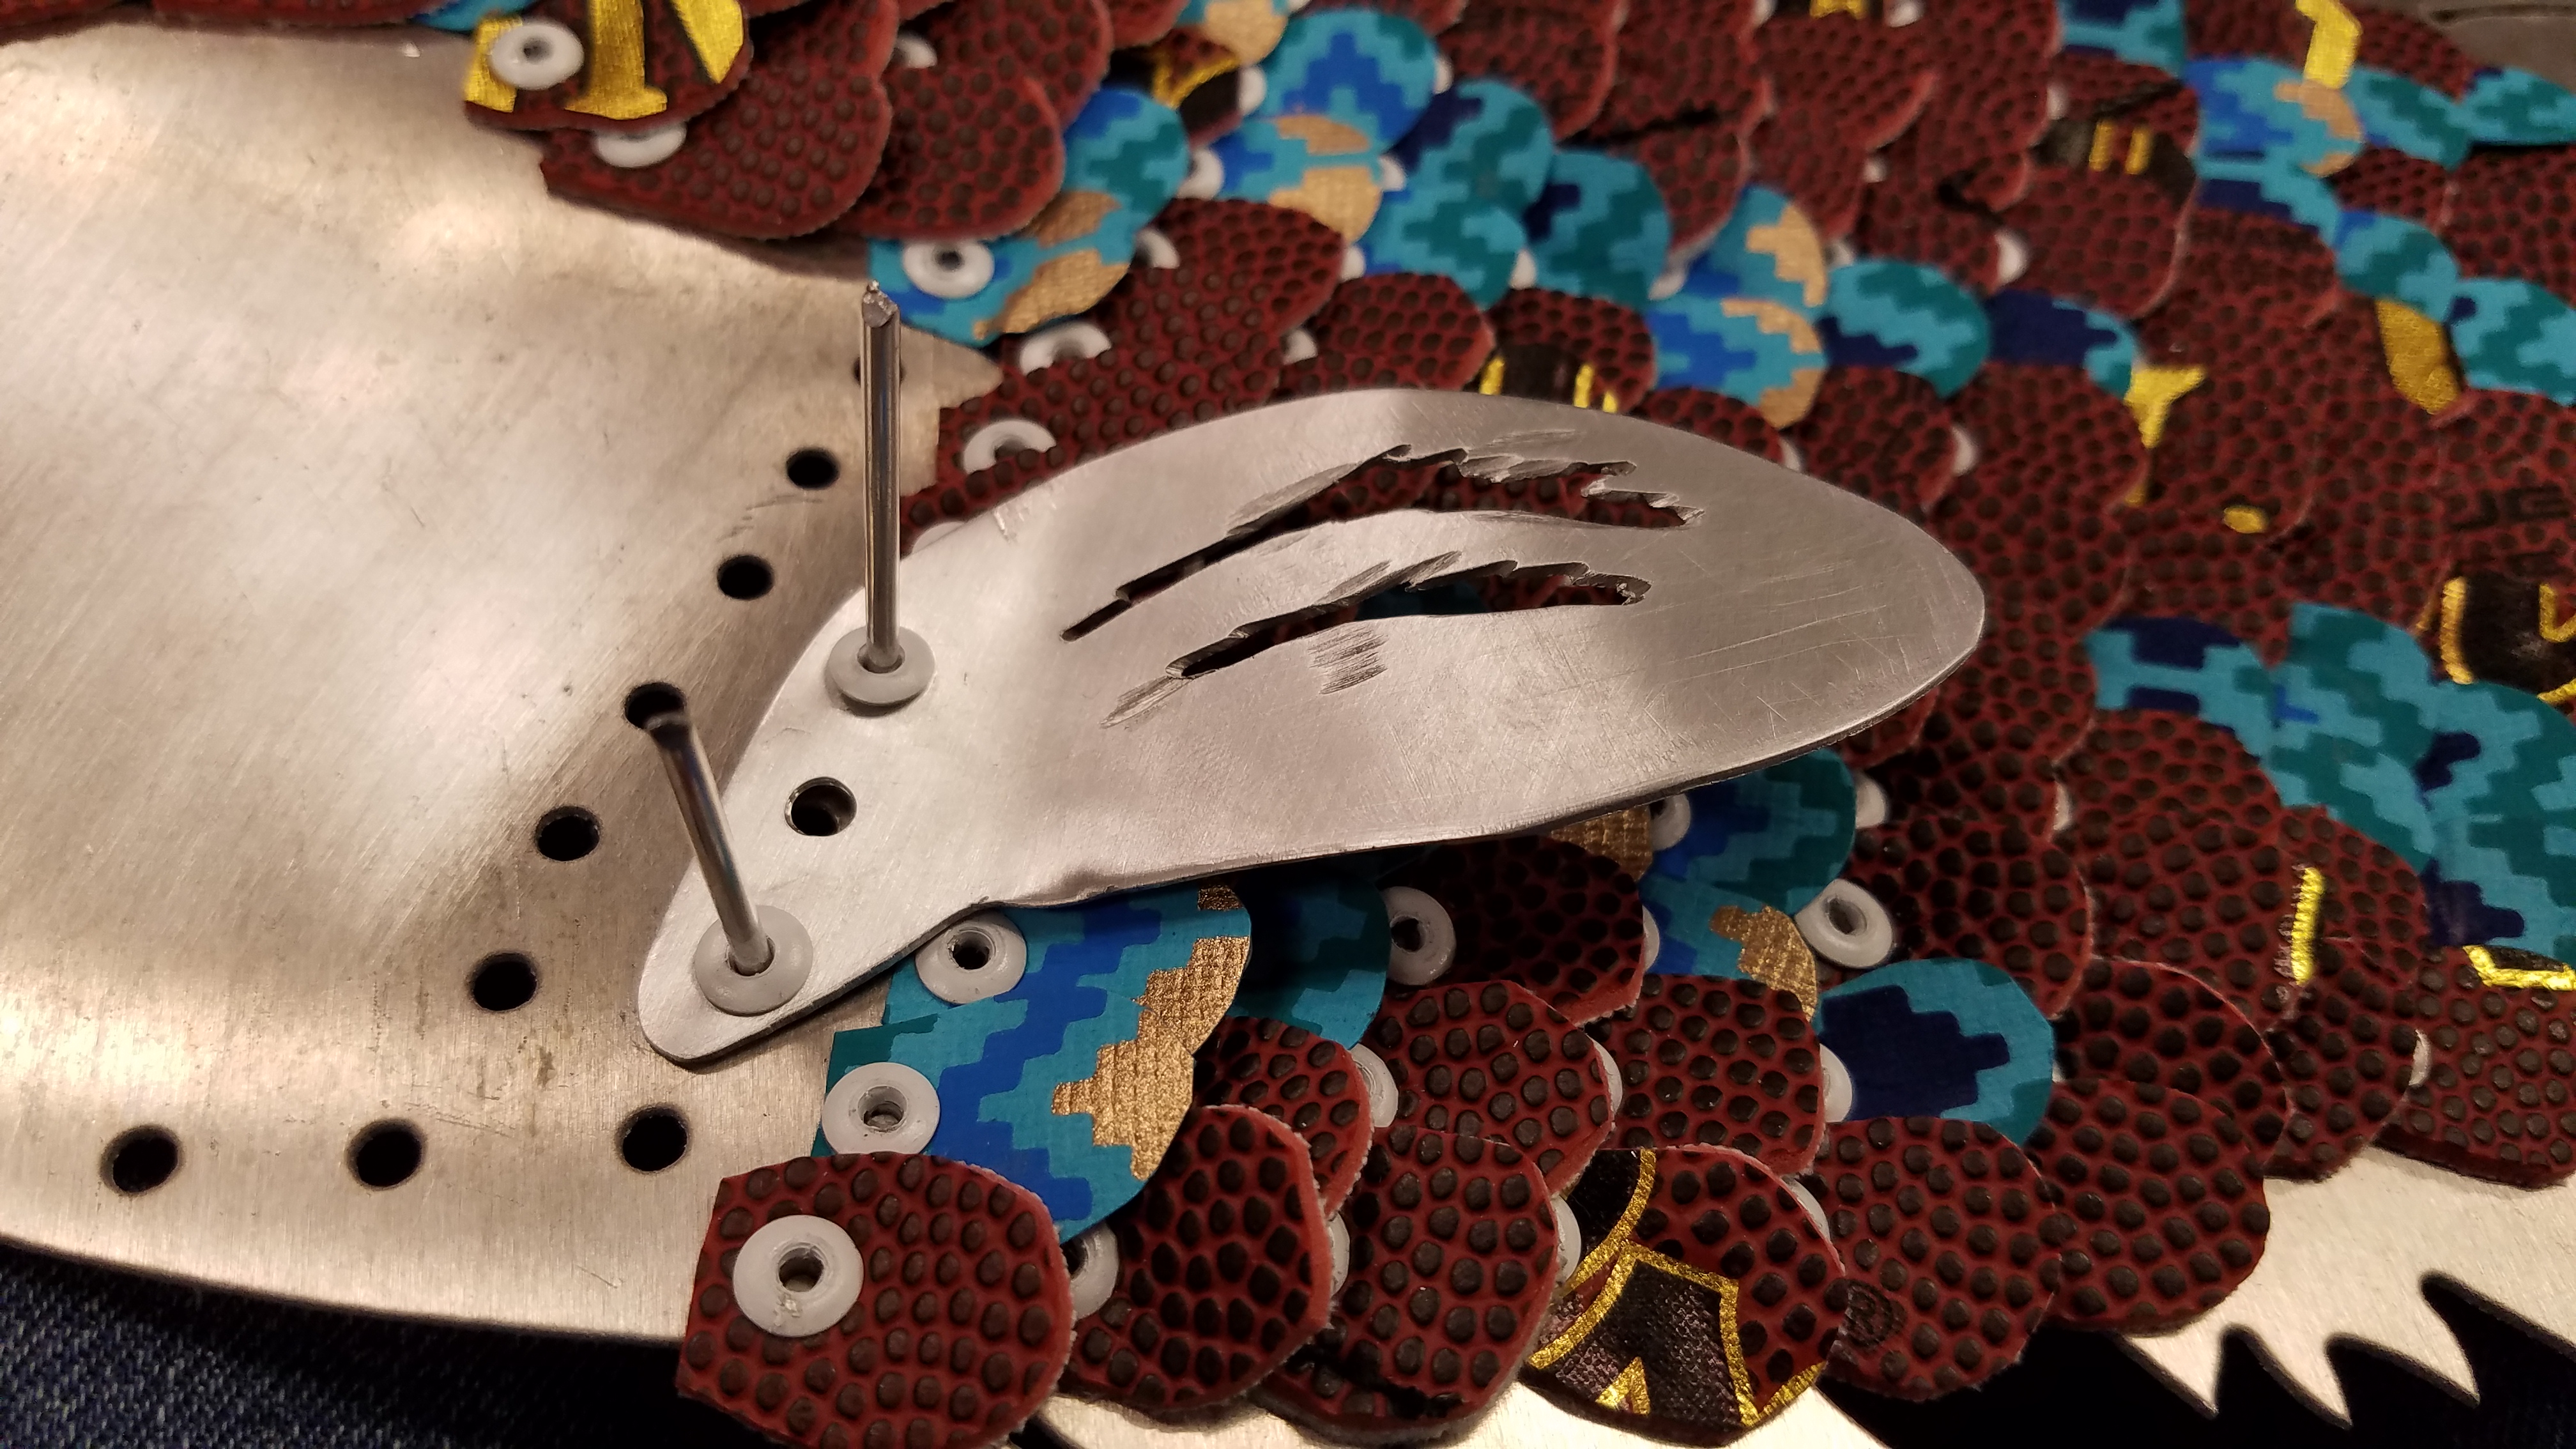
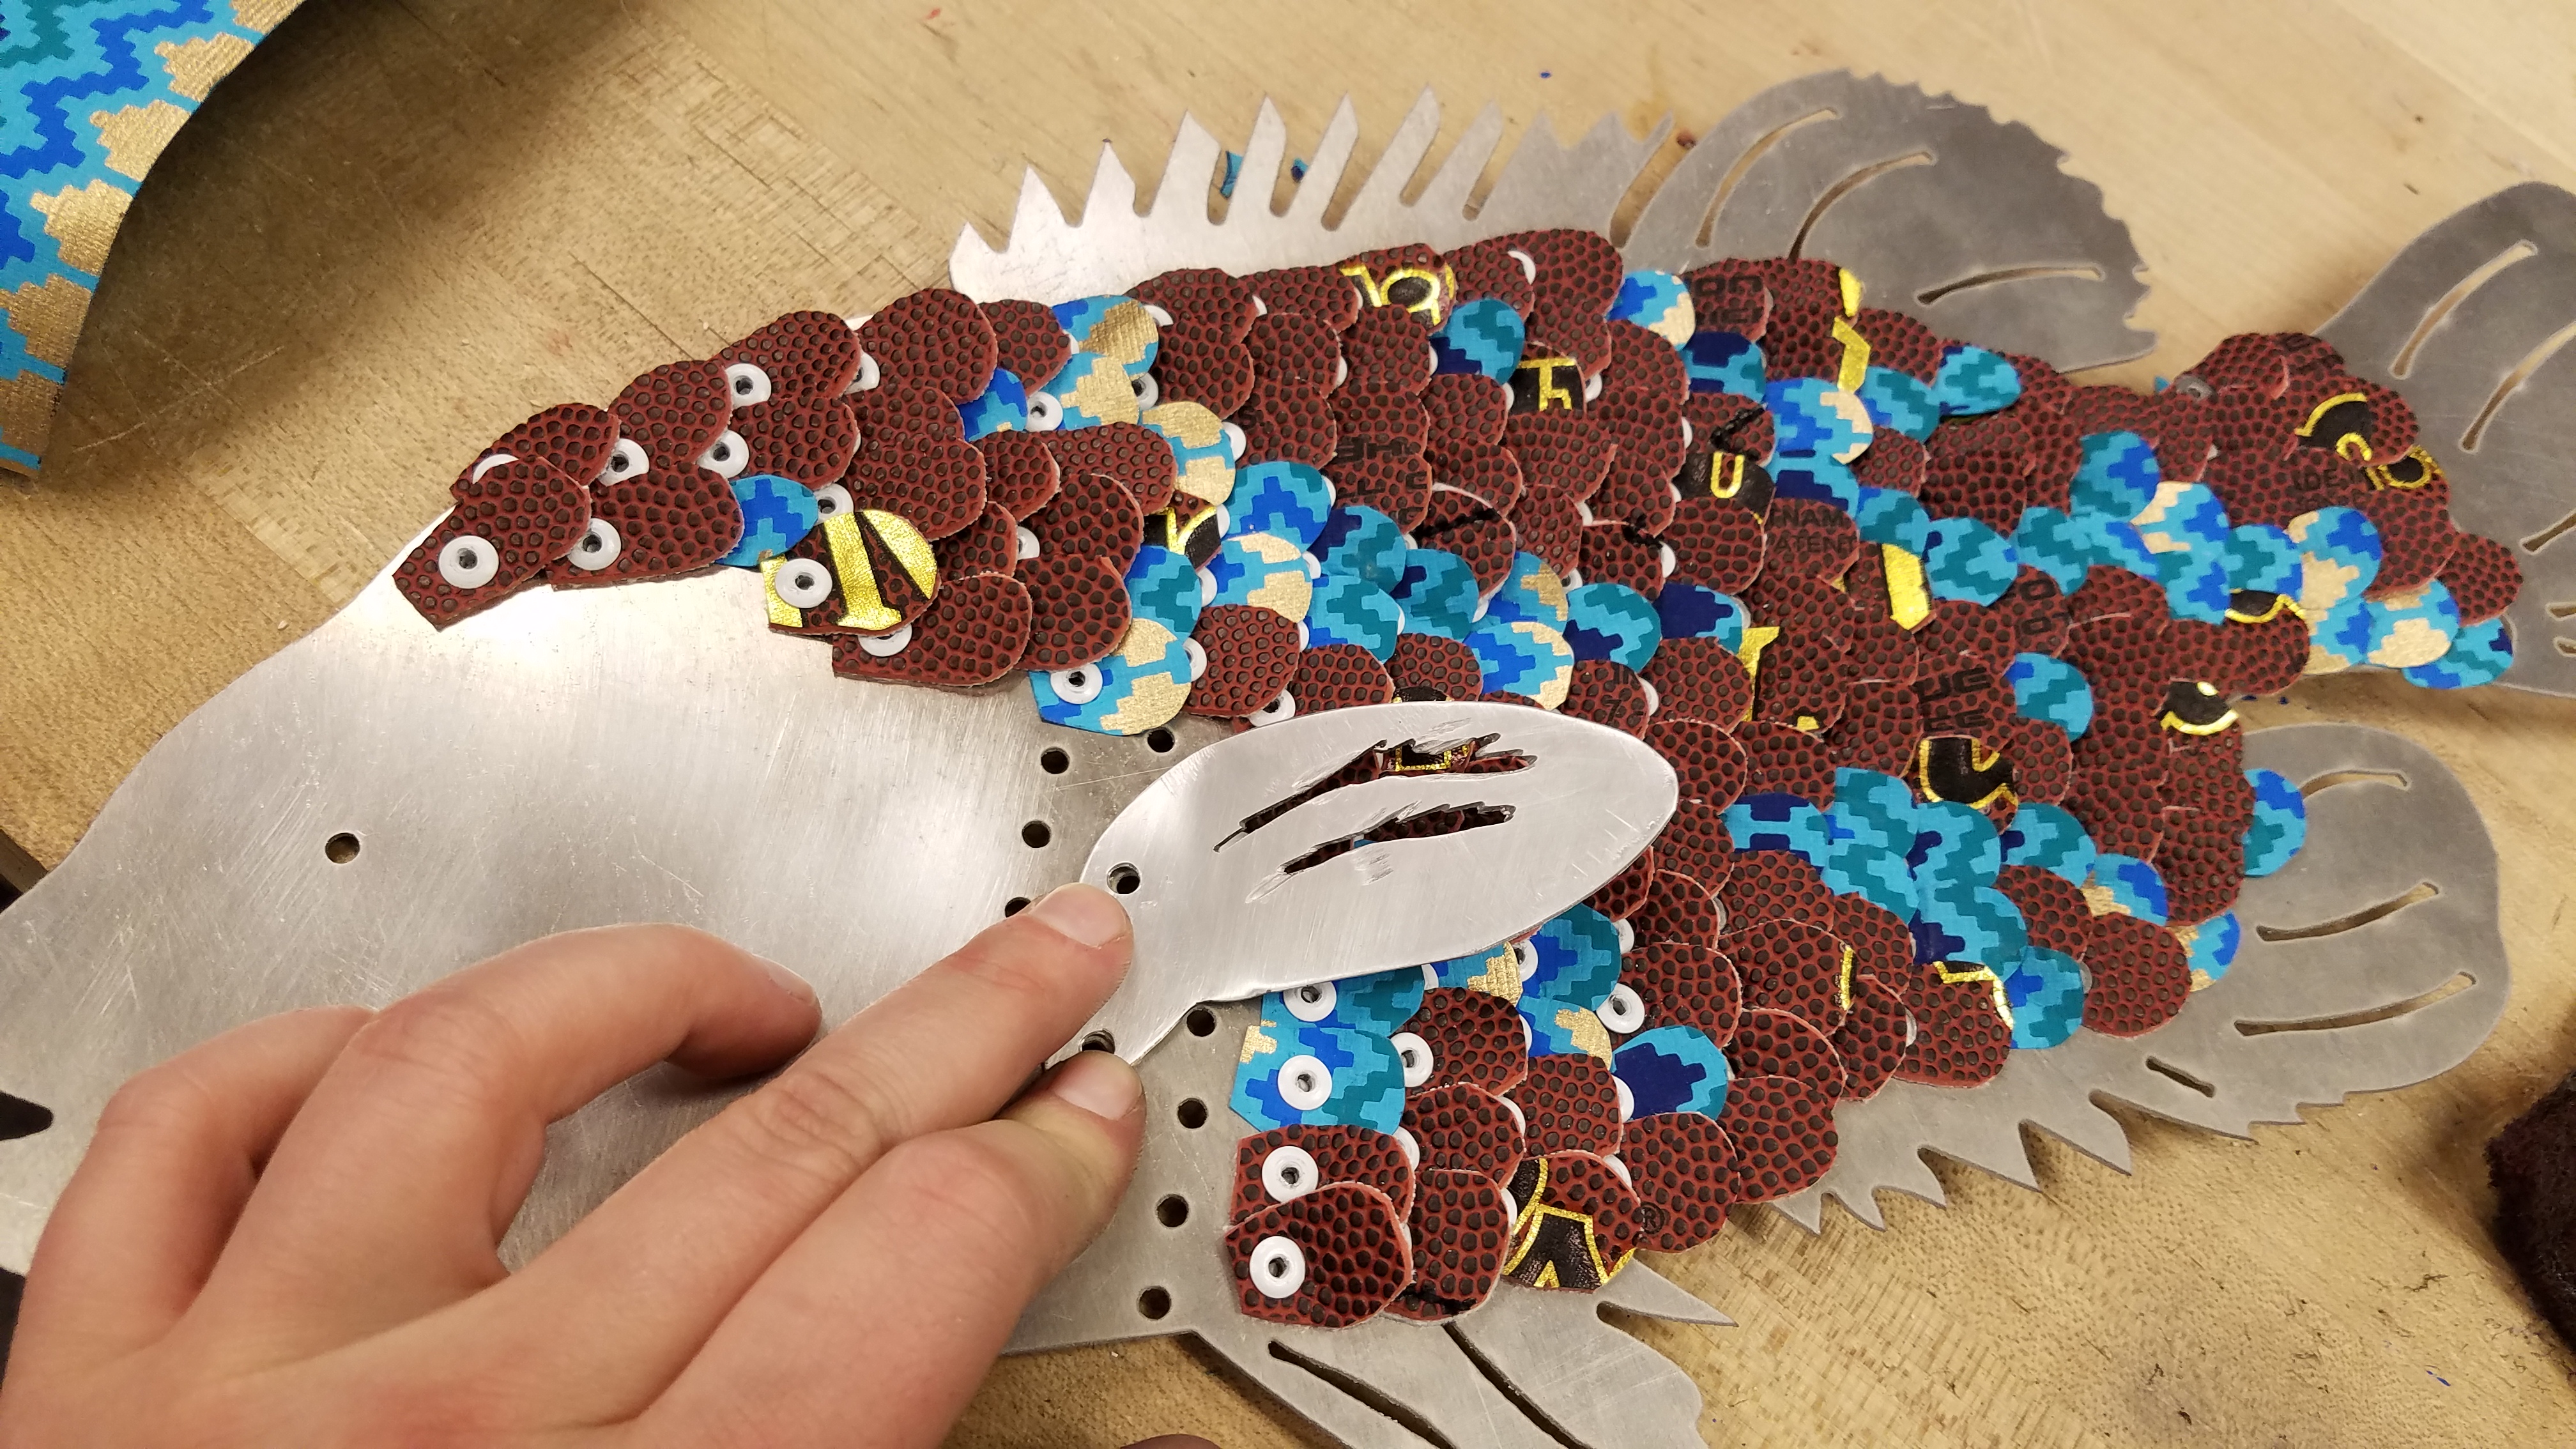
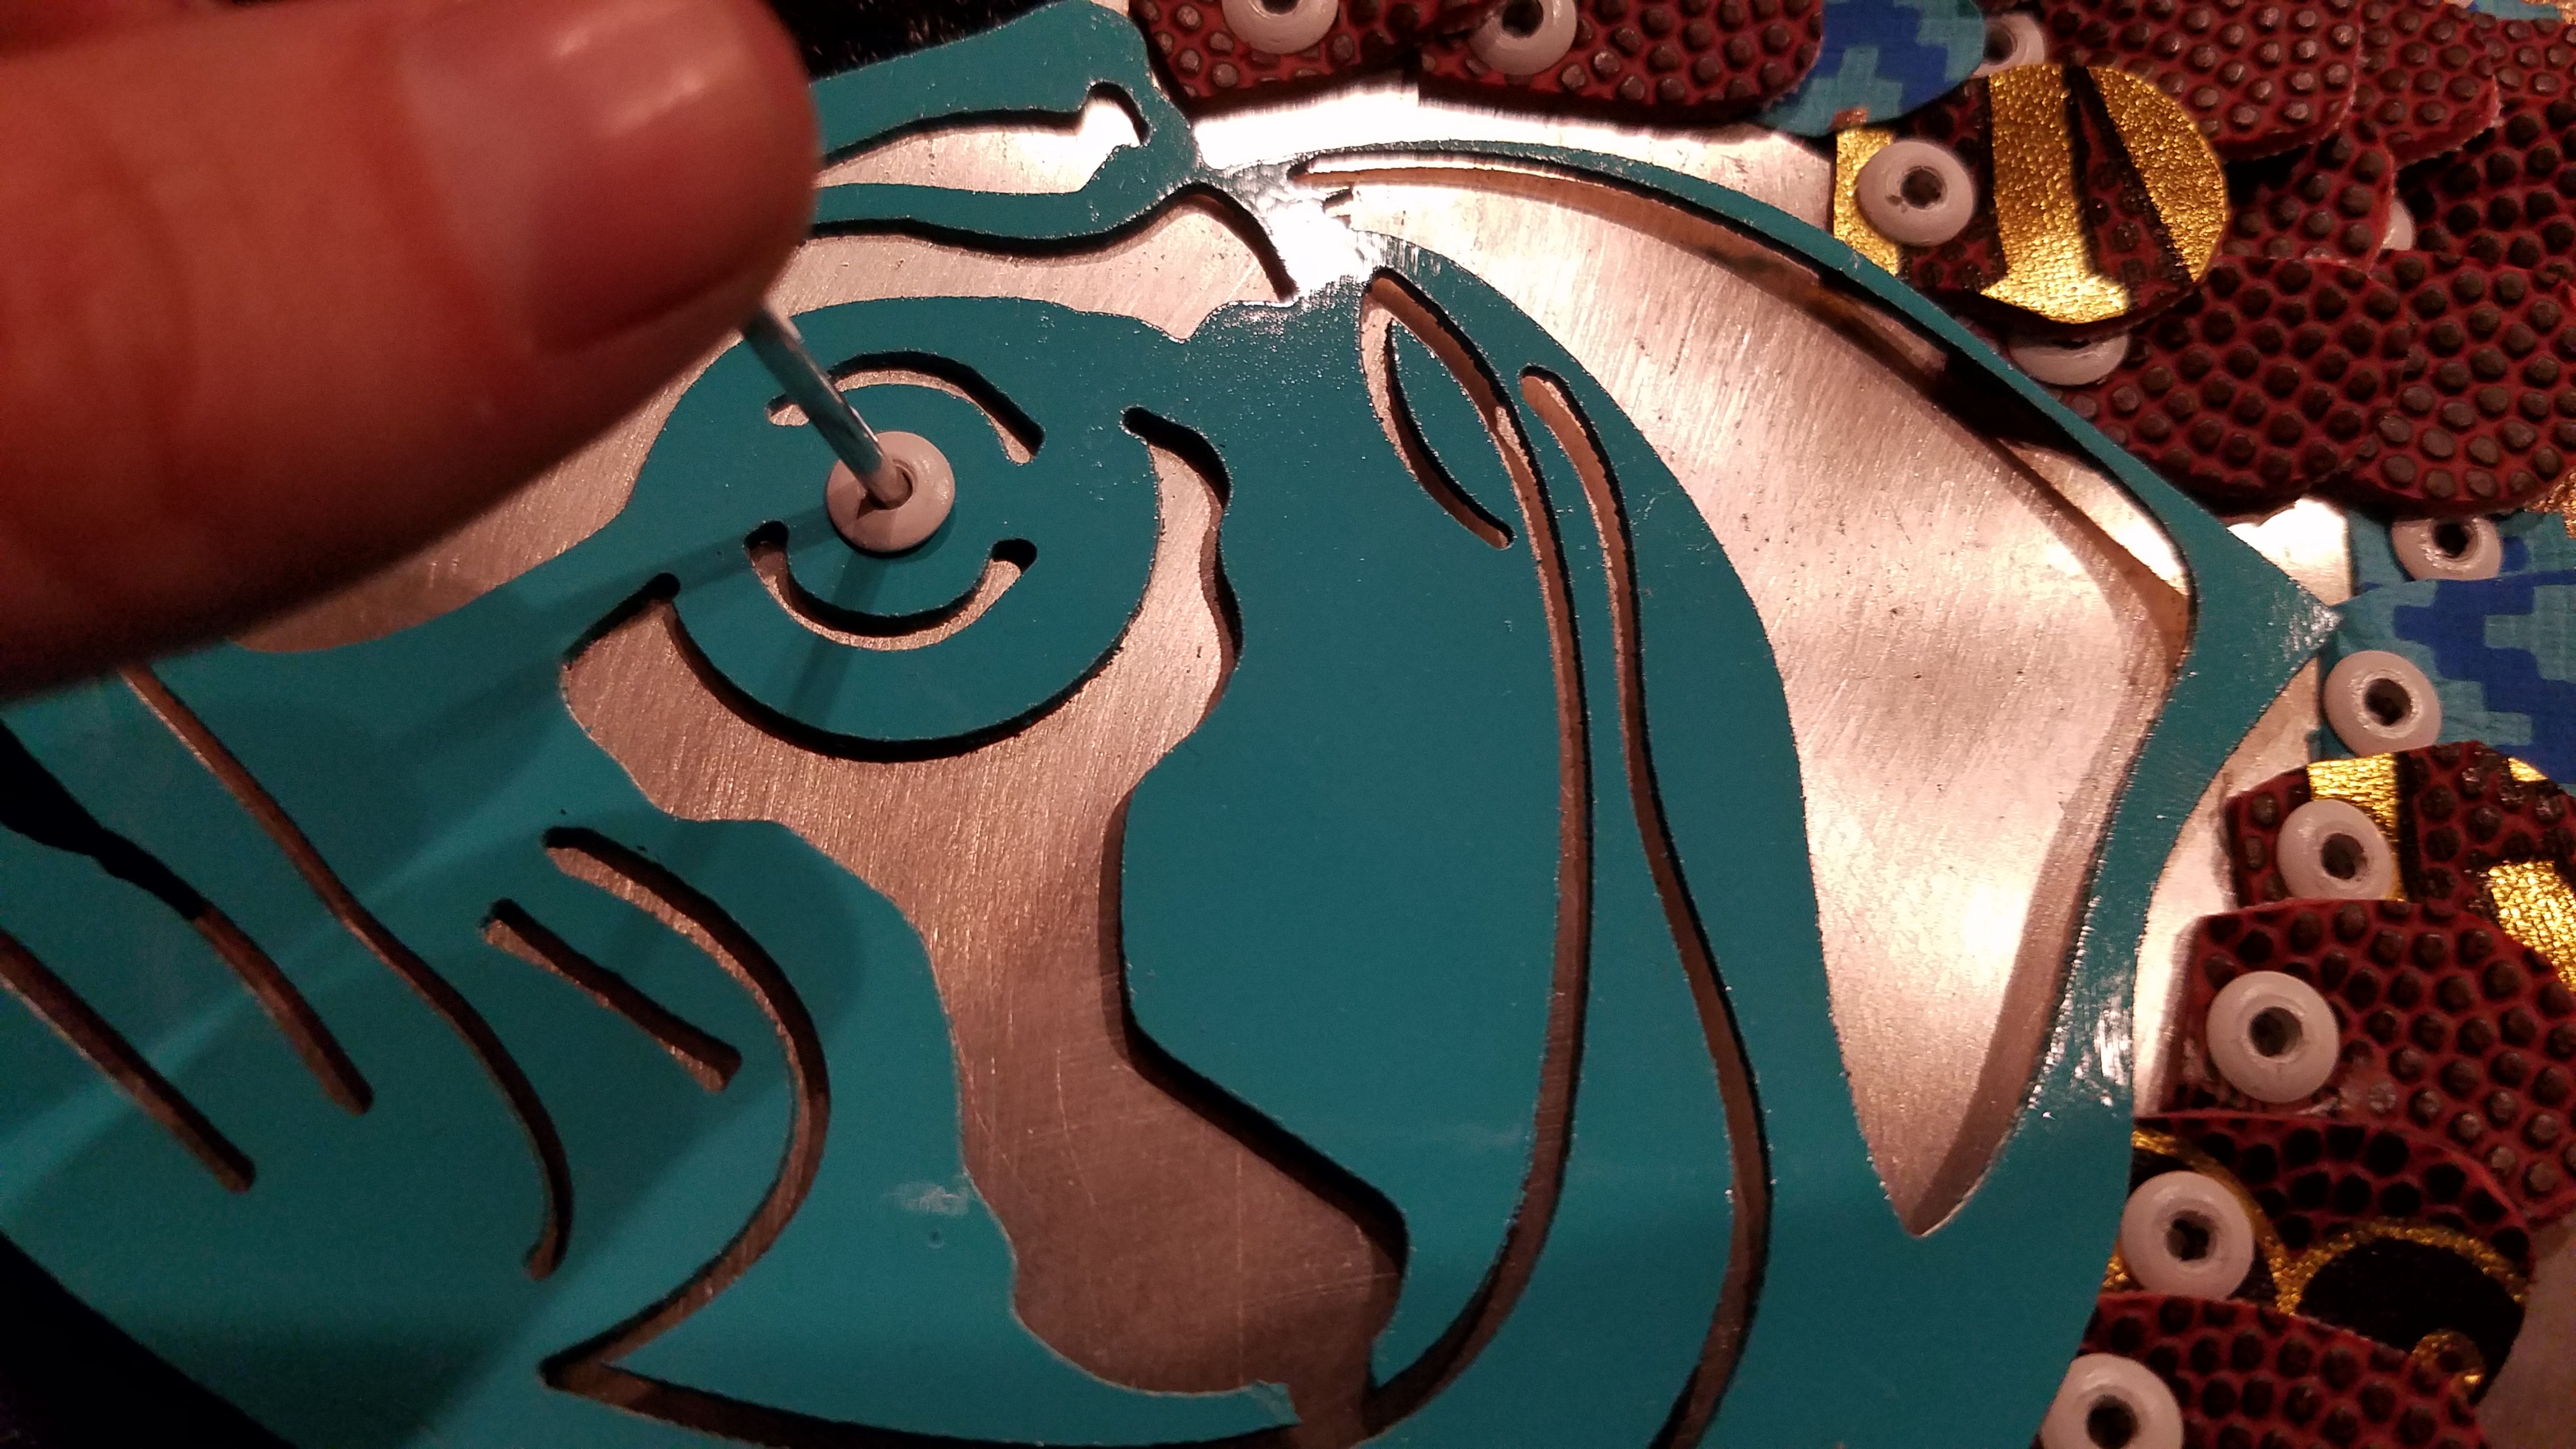
Towards the end of the process, I realized that I didn't have a fin, so I made one really quickly, and riveted it in place.
I also attached the head, which I had spraypainted a bright turquoise.
Prepare Plaque.
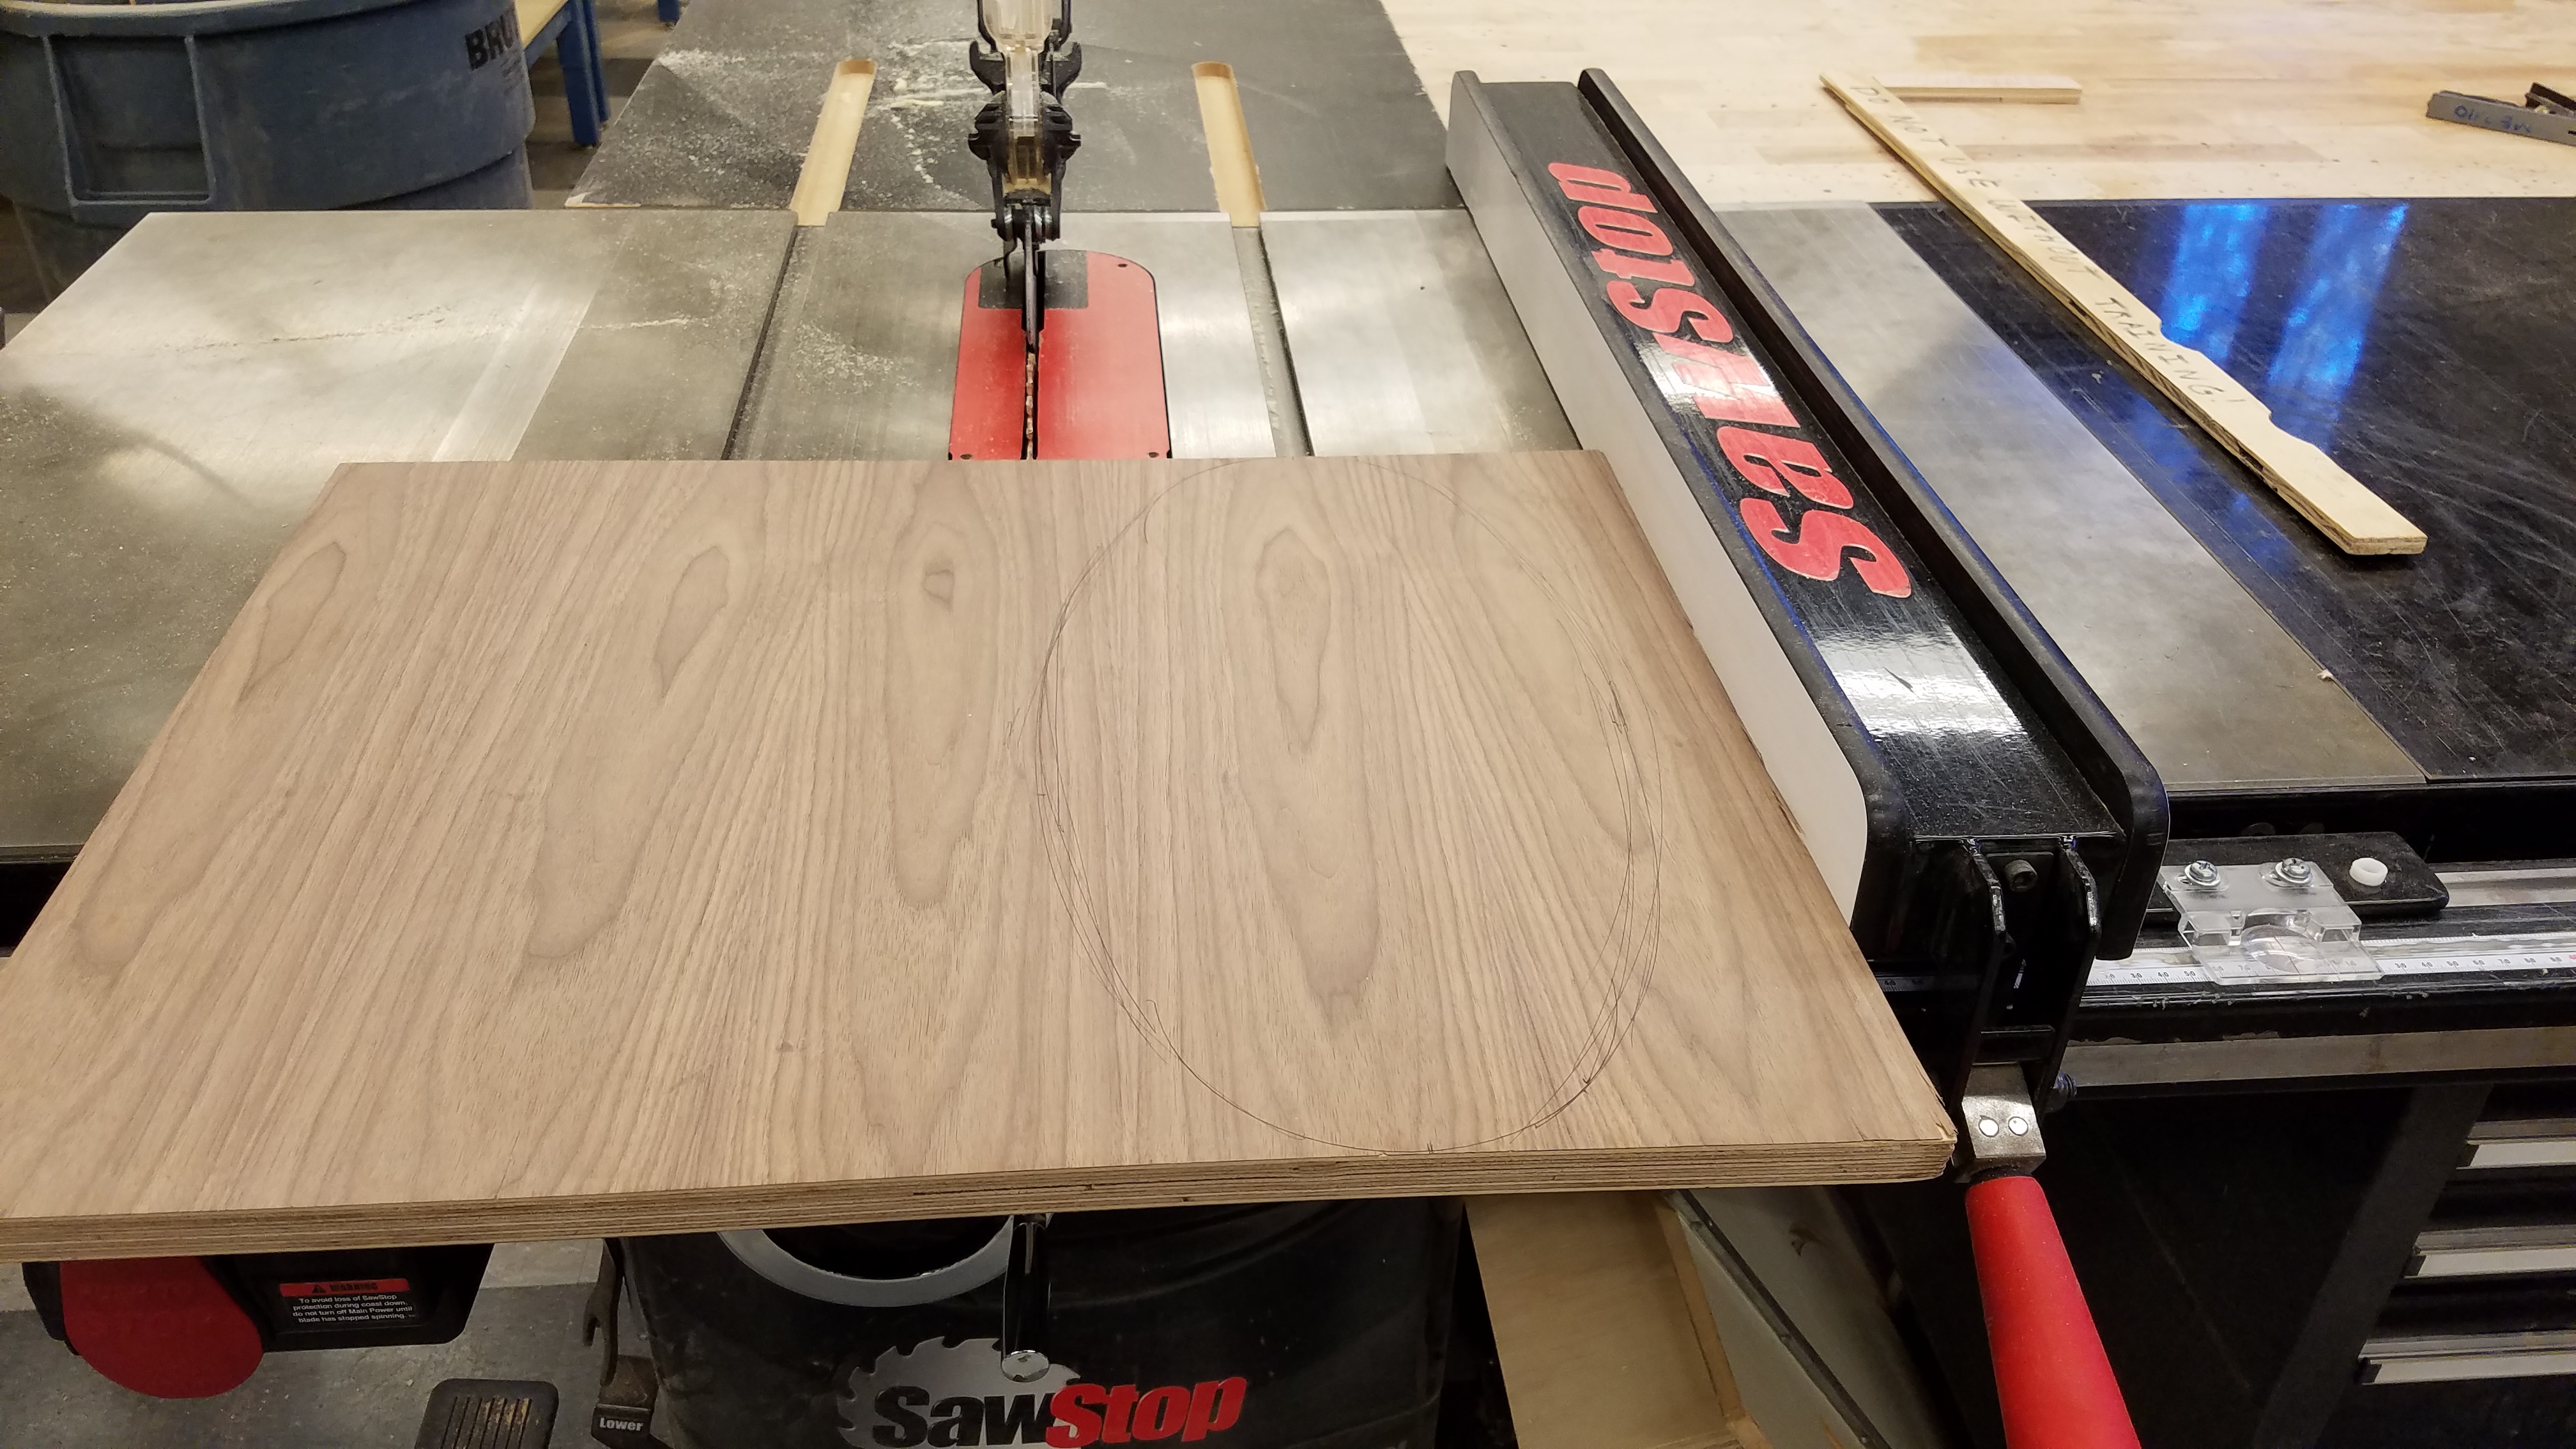
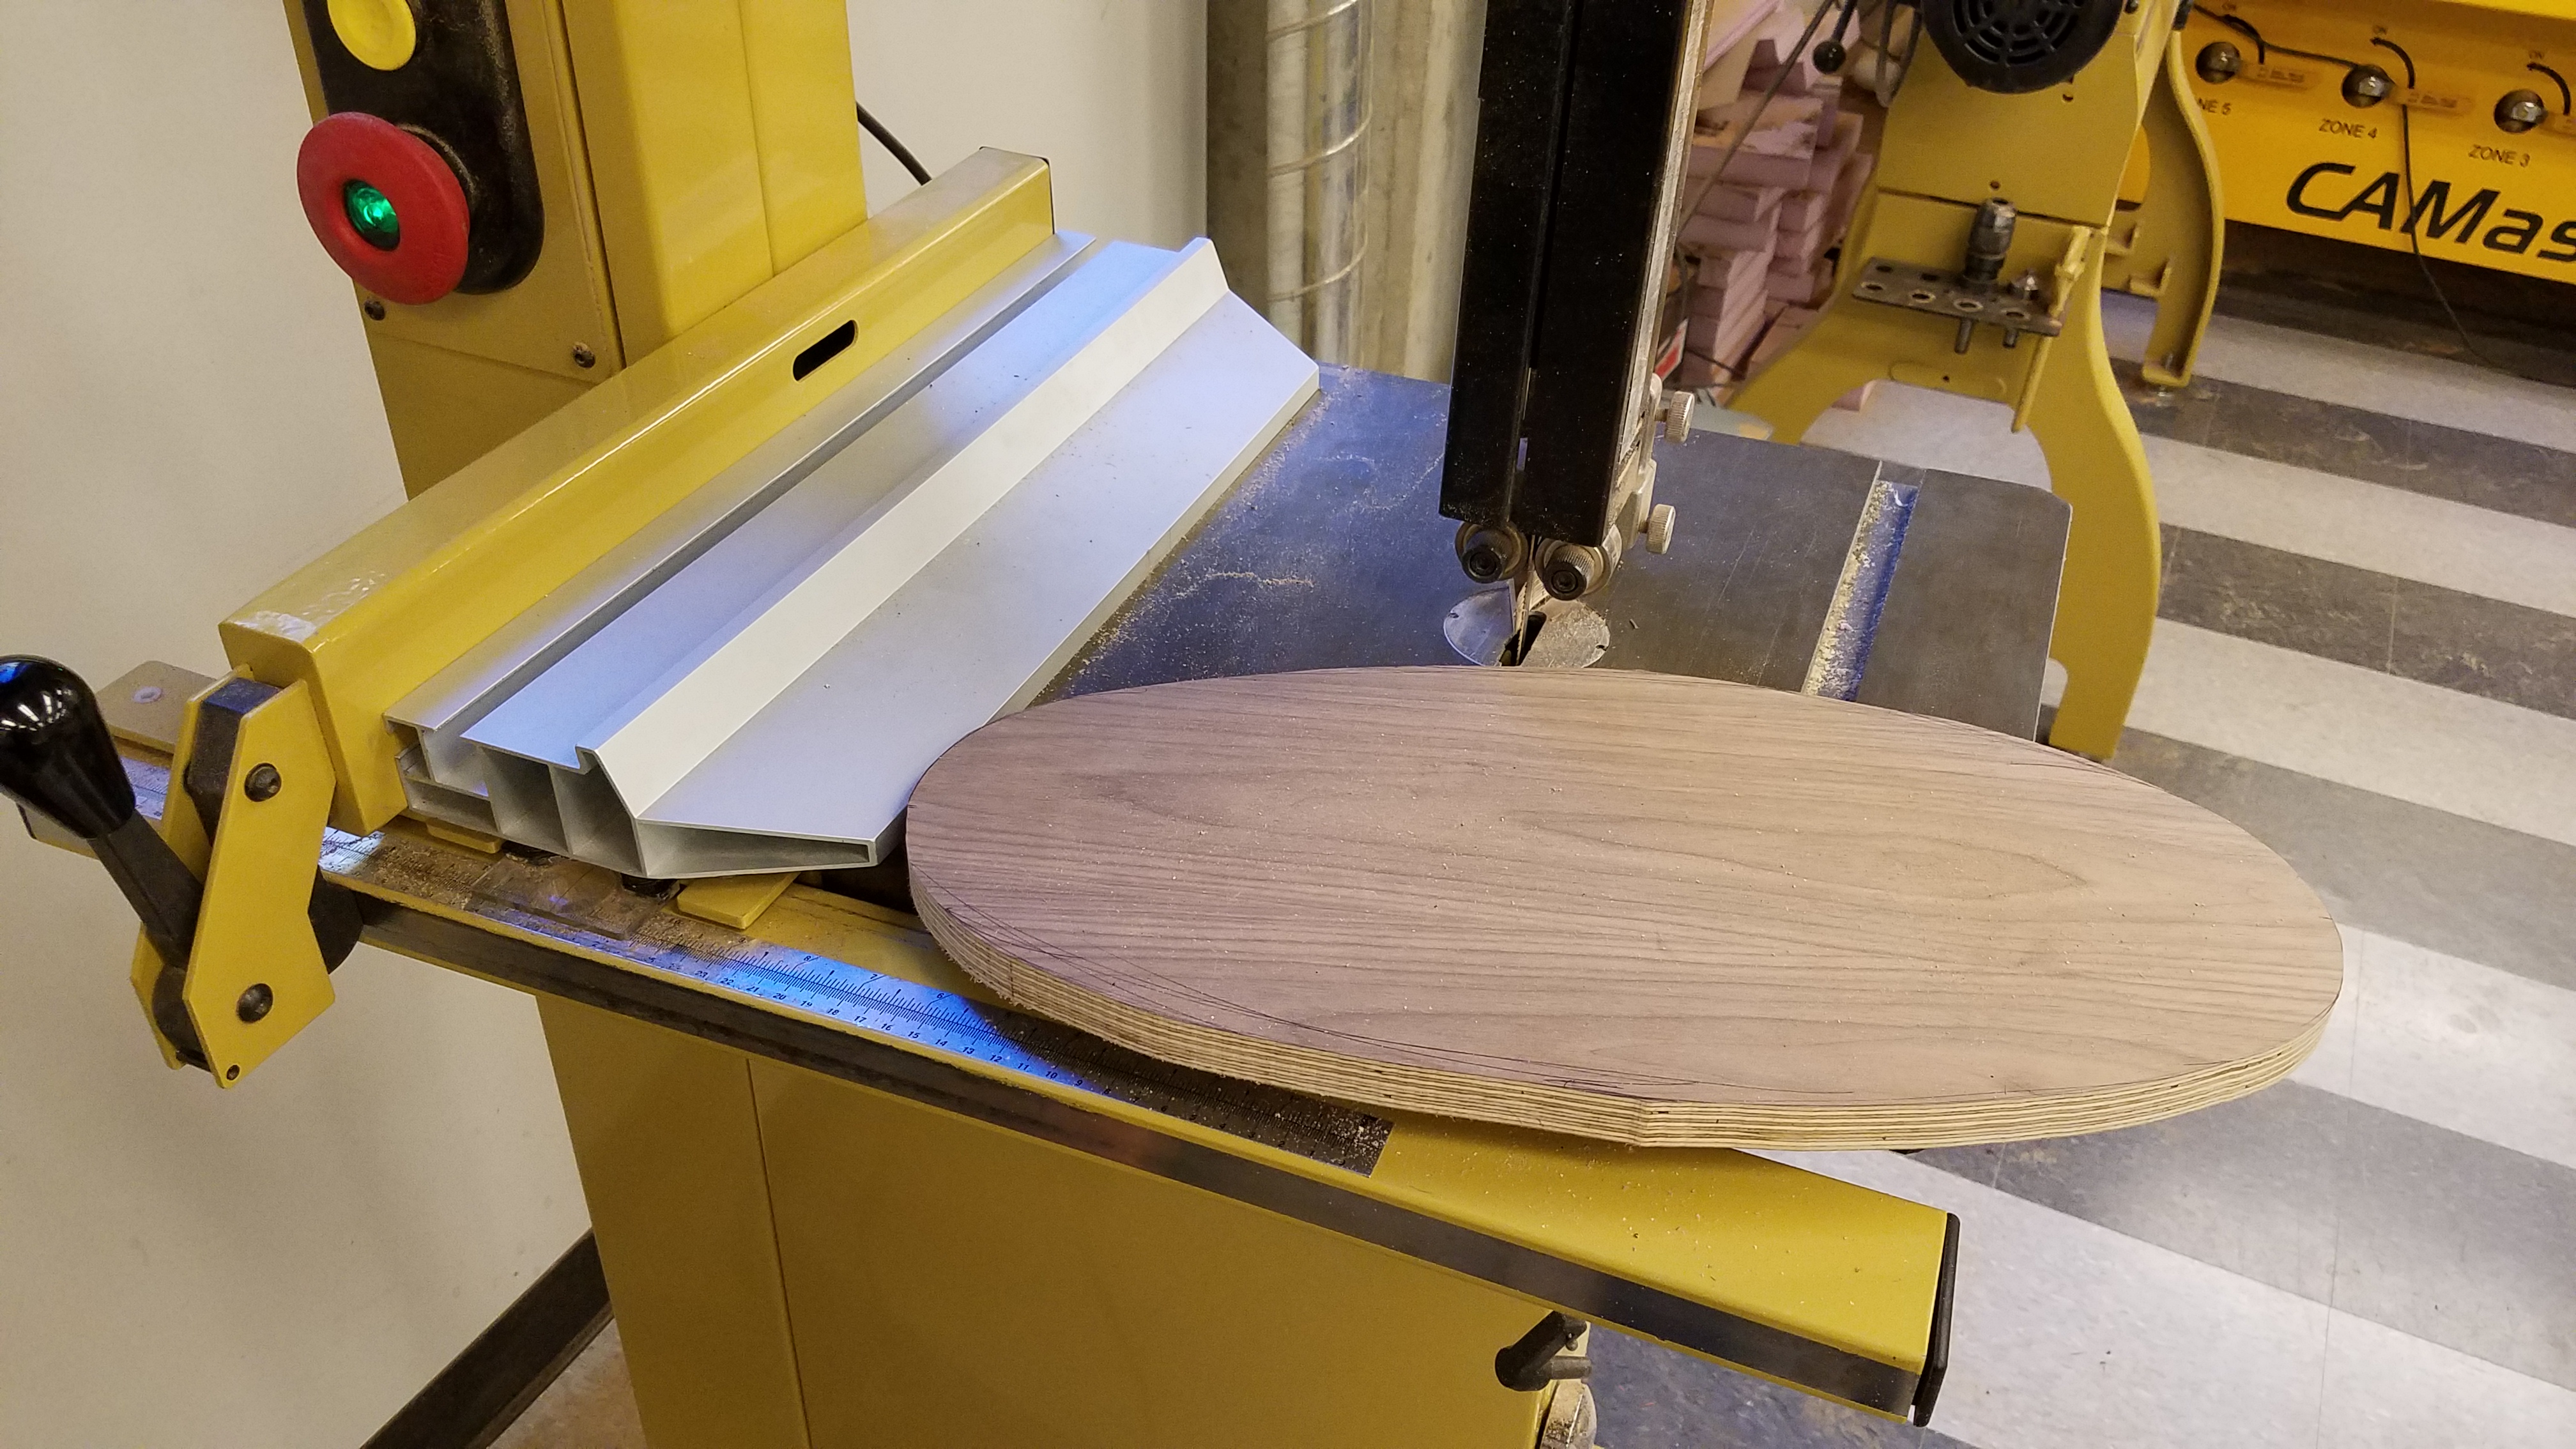
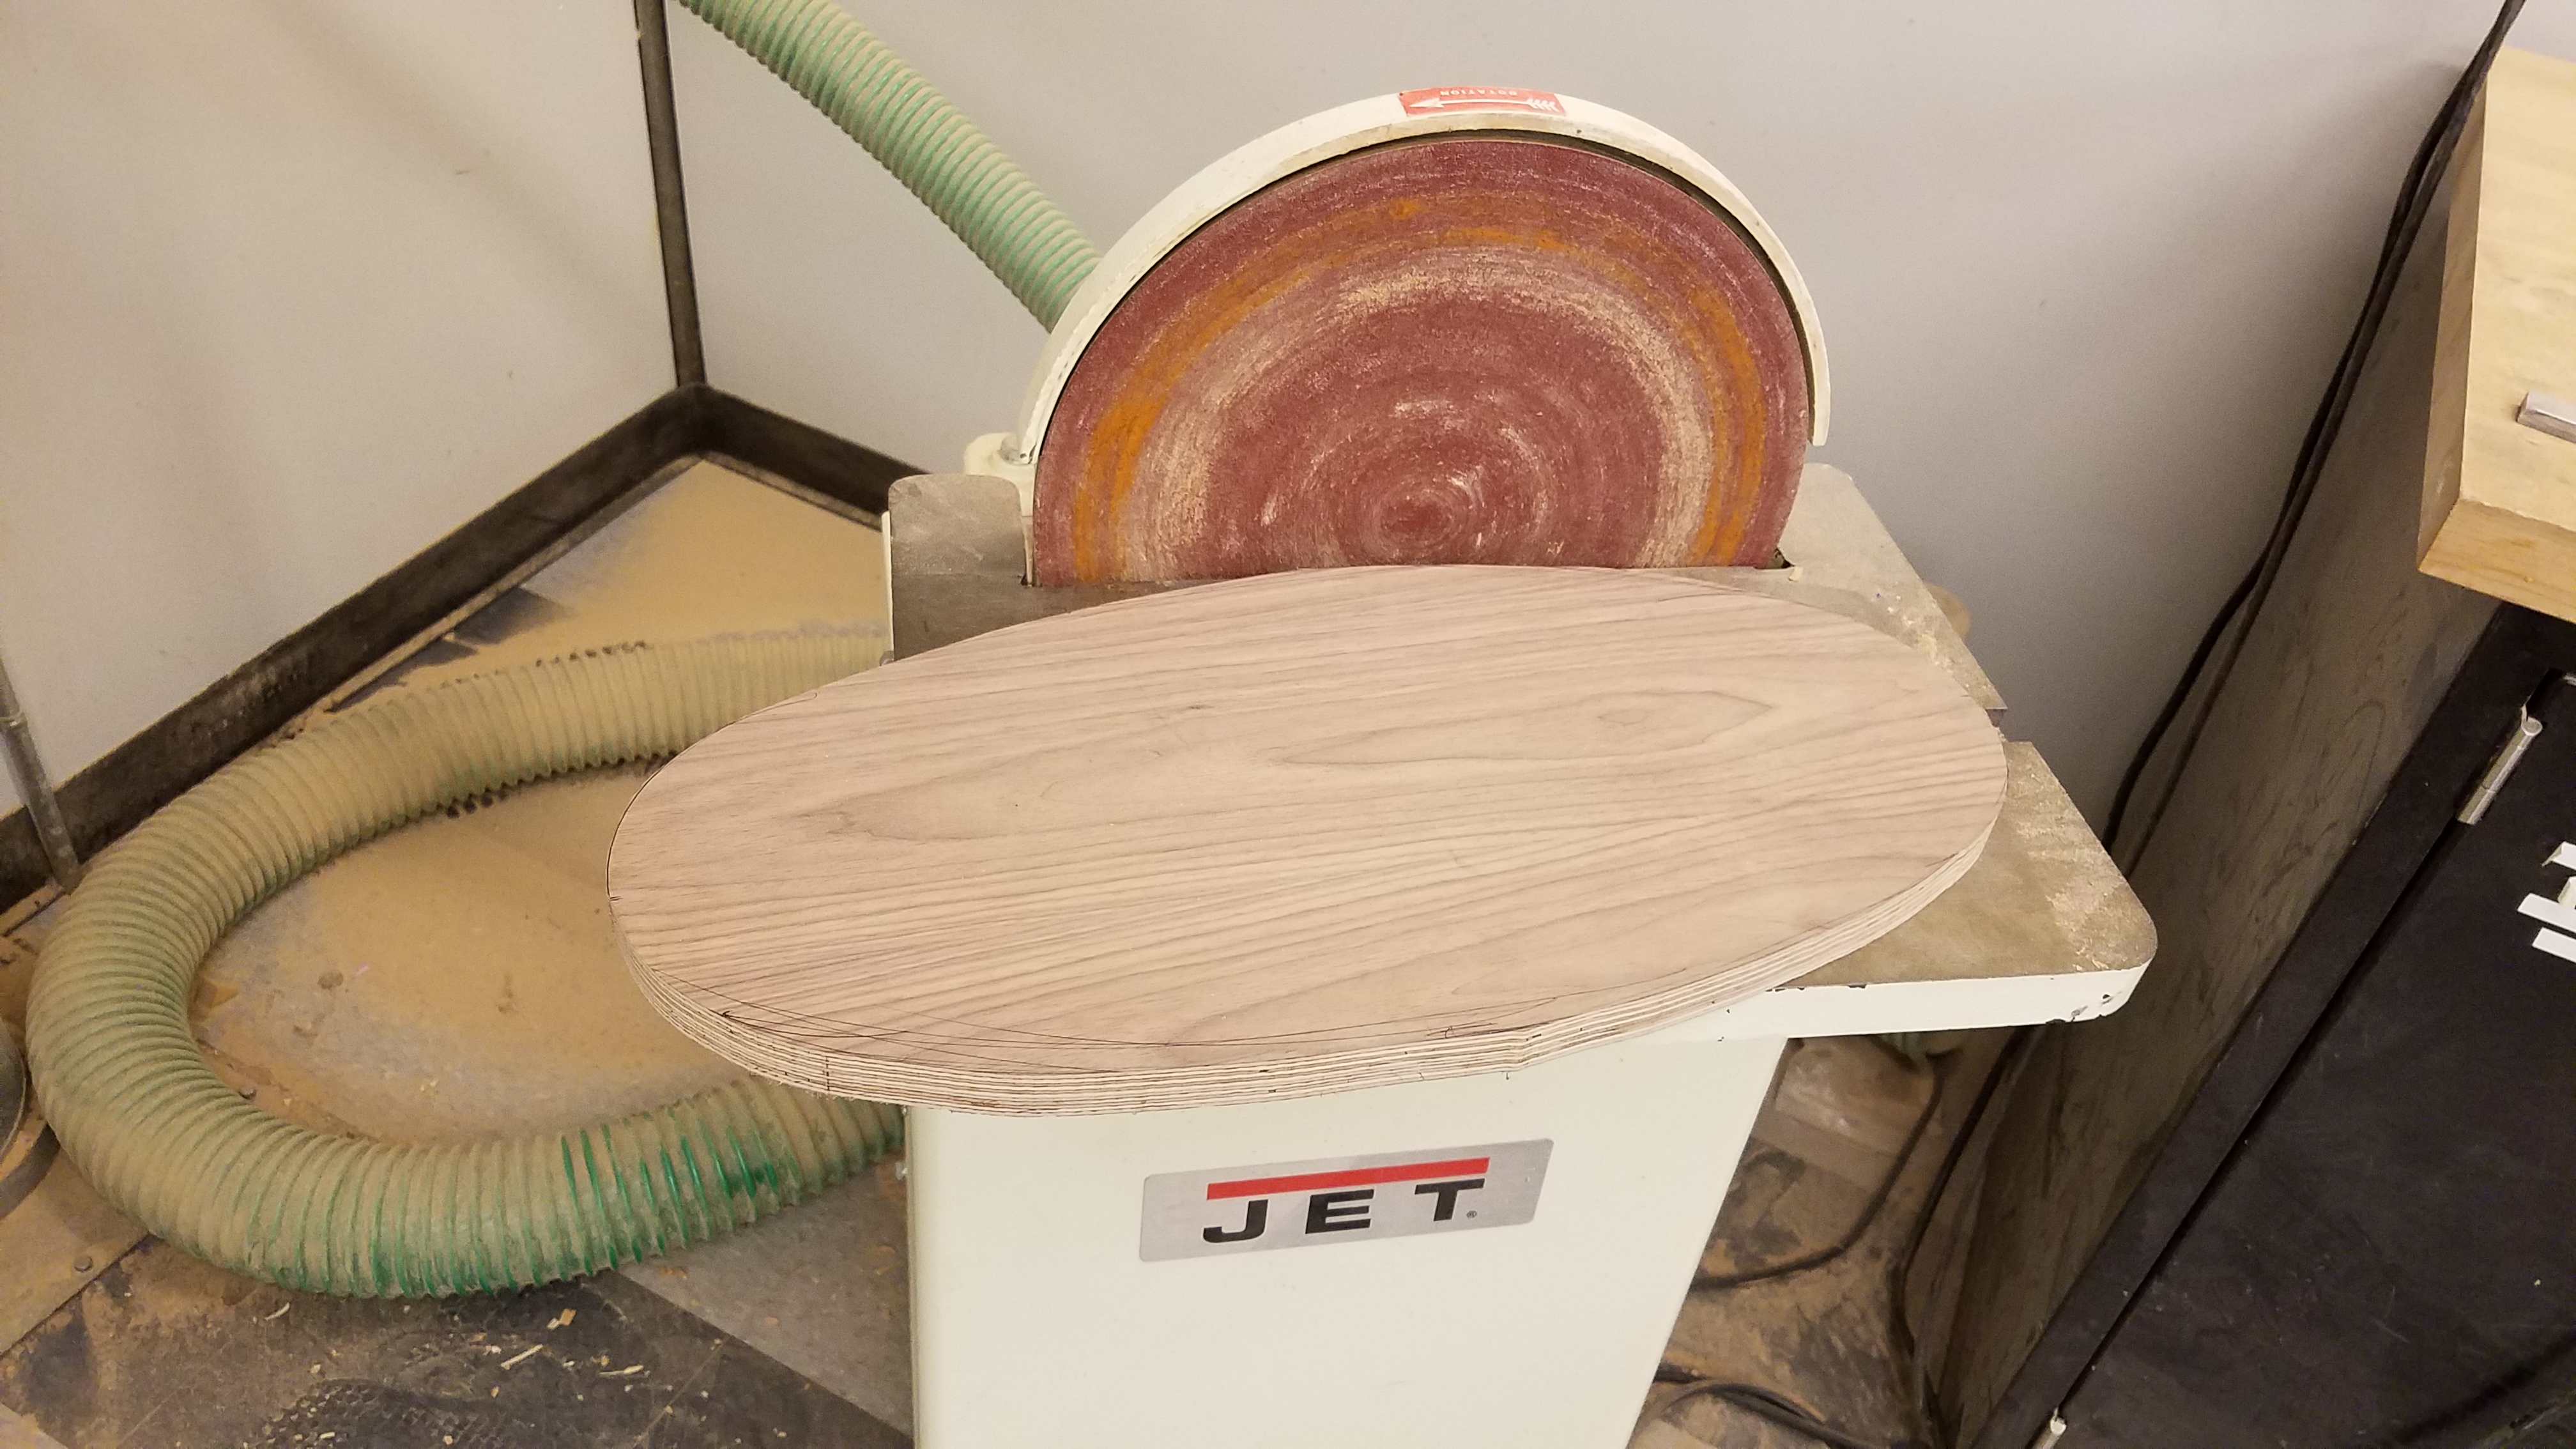
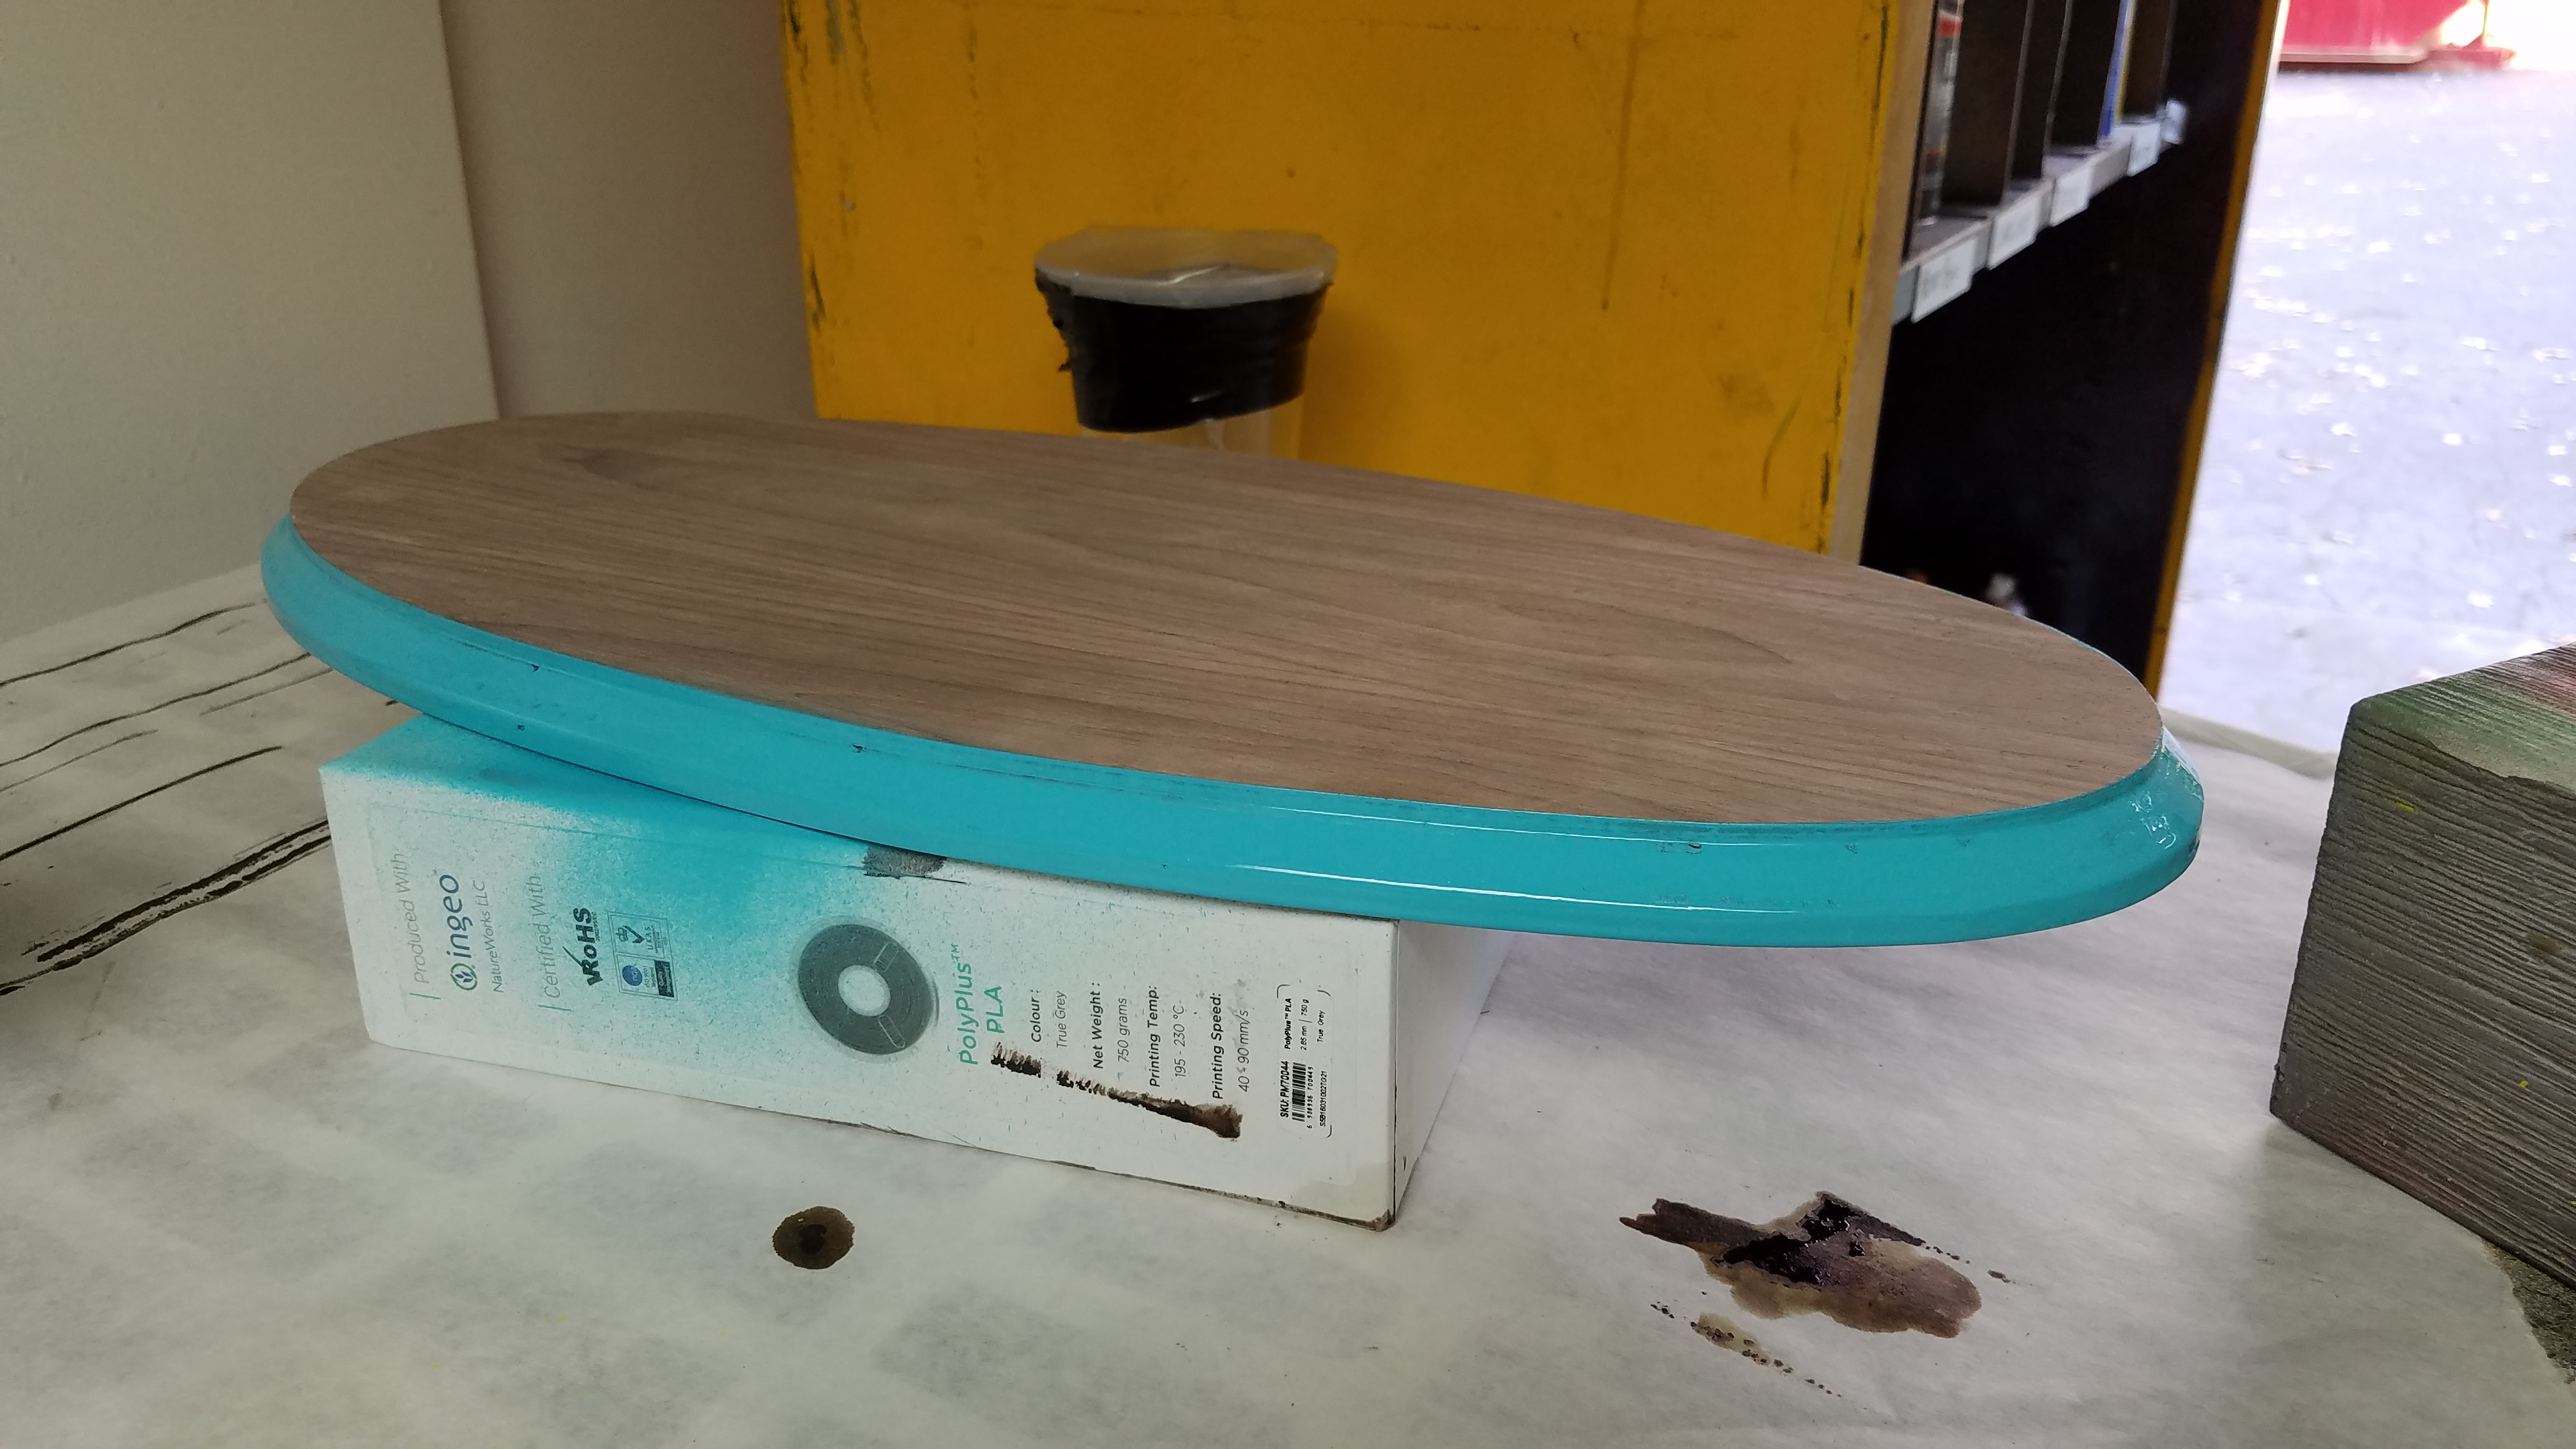
Using the fish as a size gauge, I drew out an appropriately sized oval on the piece of 3/4" plywood that I had. After cutting and sanding the wood down to the template, I routed the plaque on the table router with a 45 degree chamfer bit.
Finally, I painted the plywood edges (to hide that it is plywood, and to provide a nice color complement to the face of the fish). Then, I clear coated everything.
Attach Fish to Plaque.
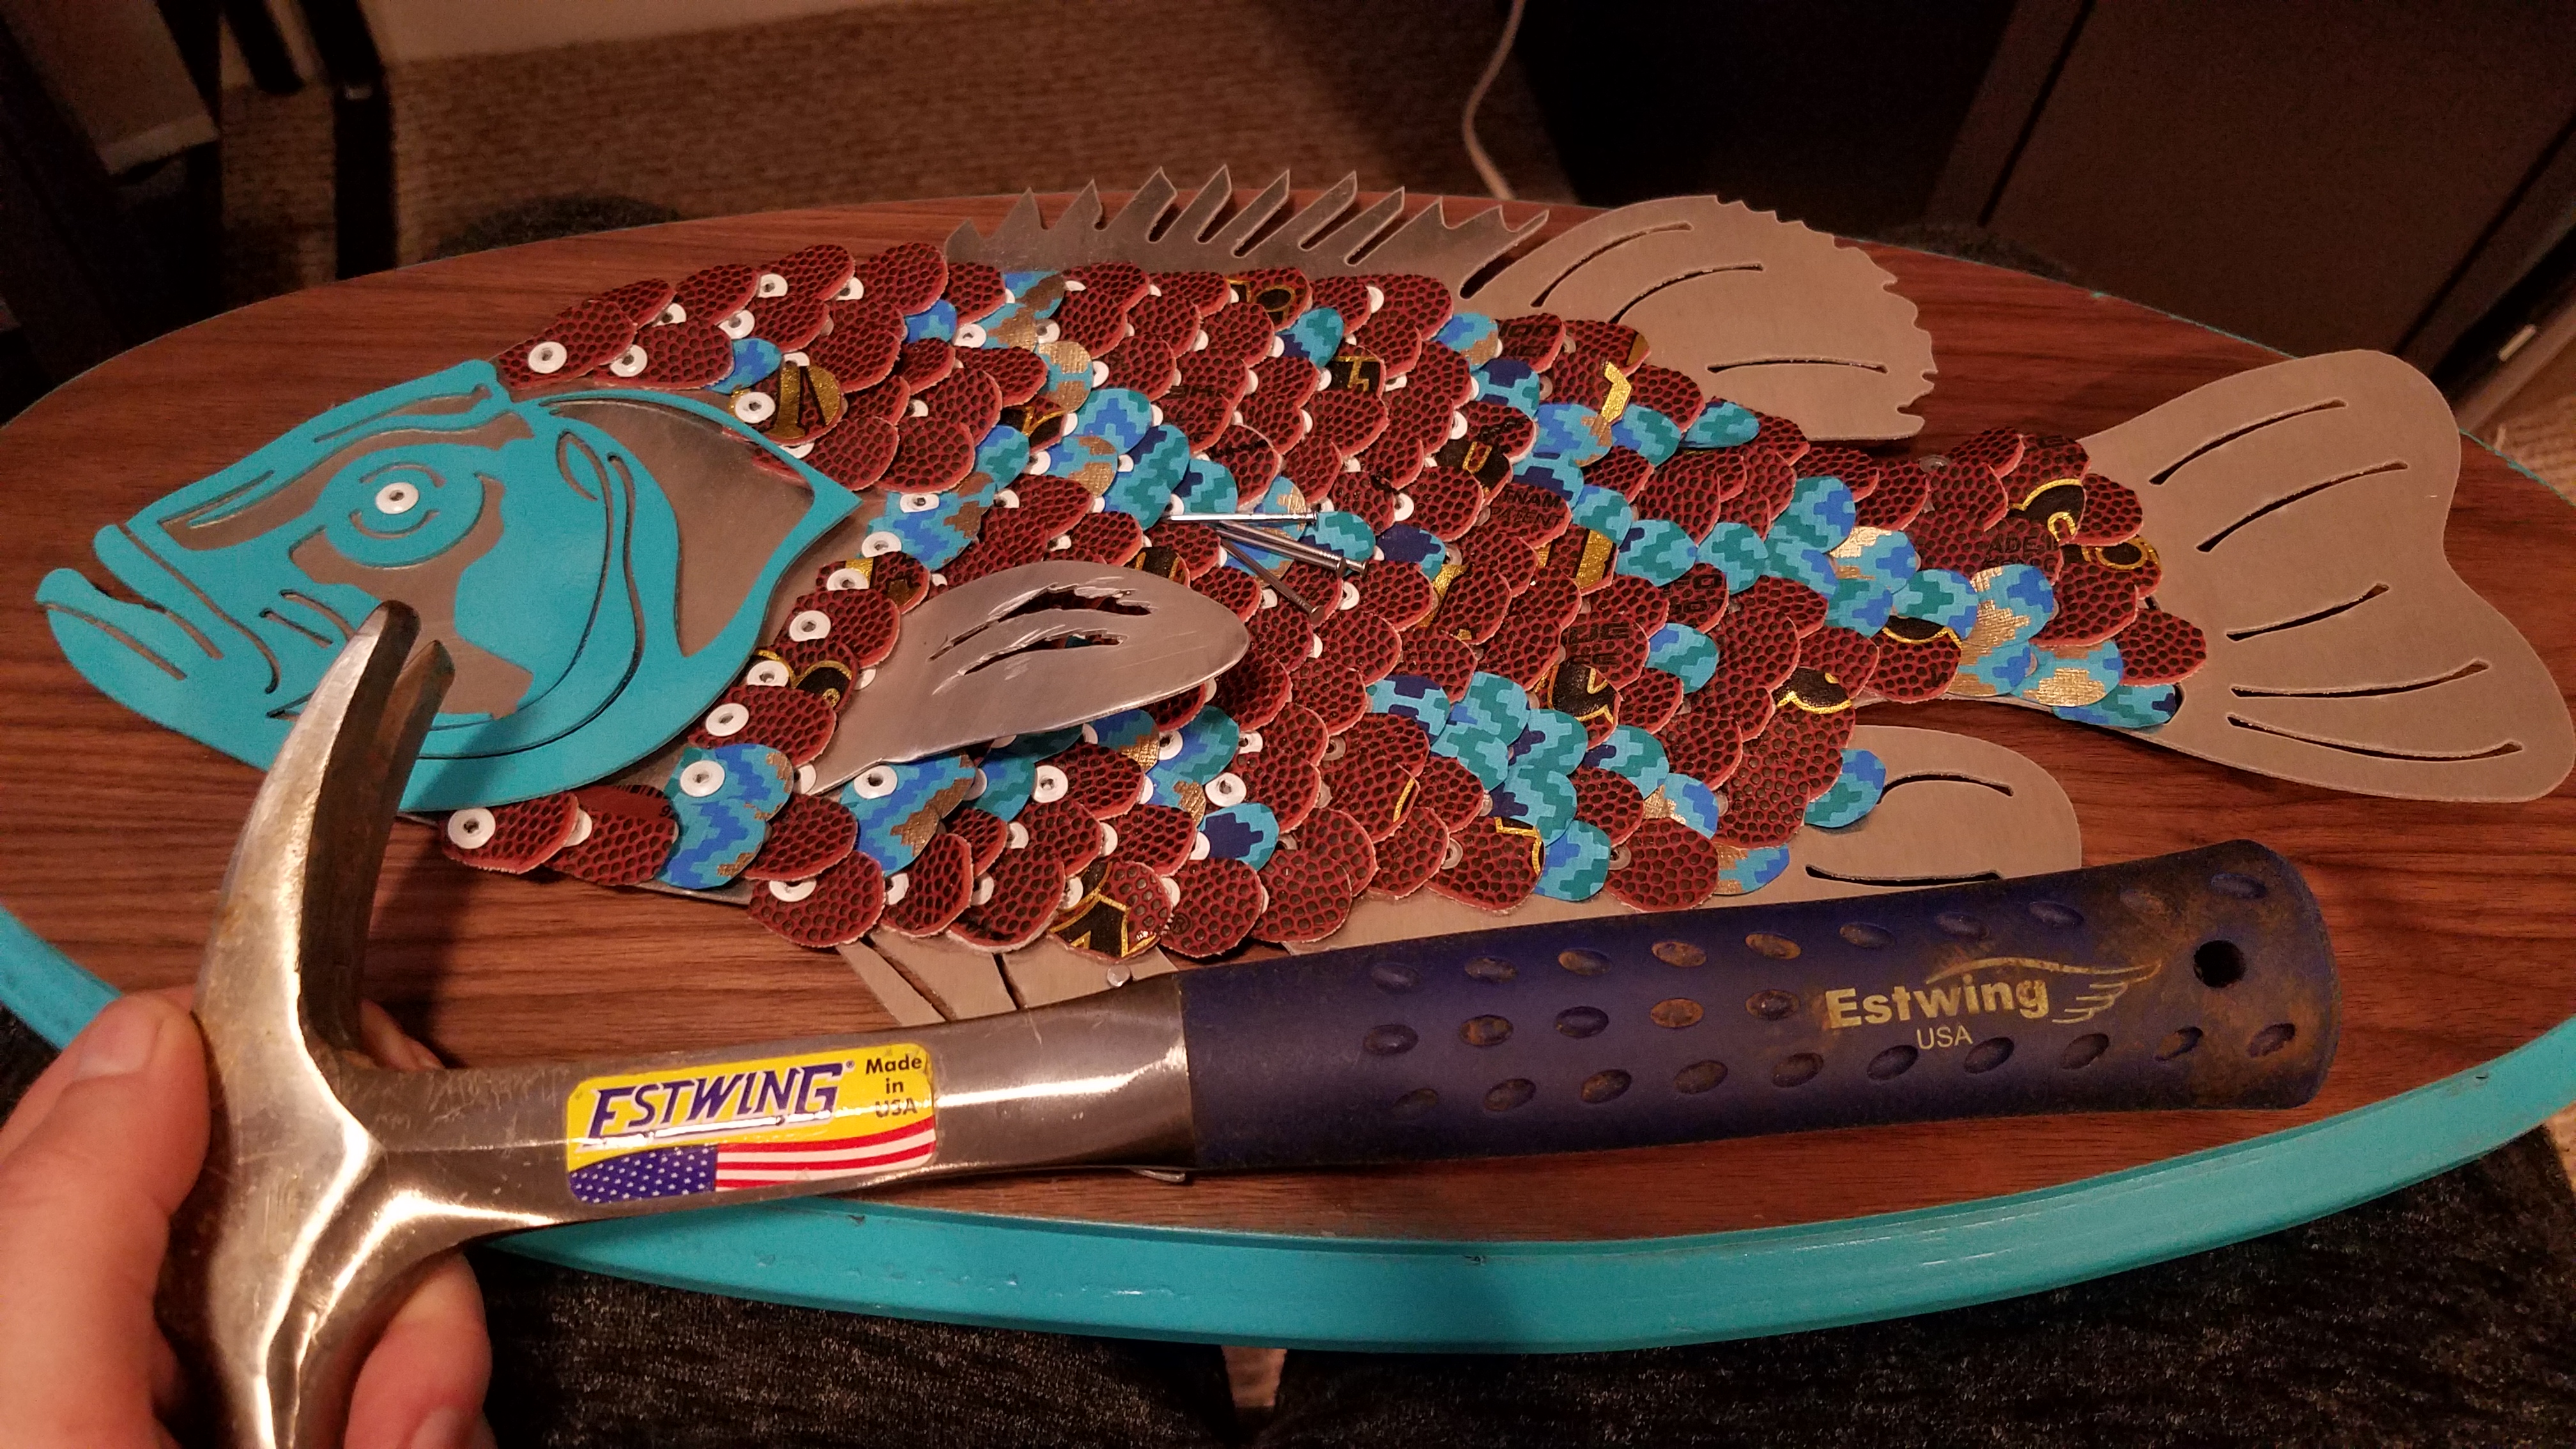
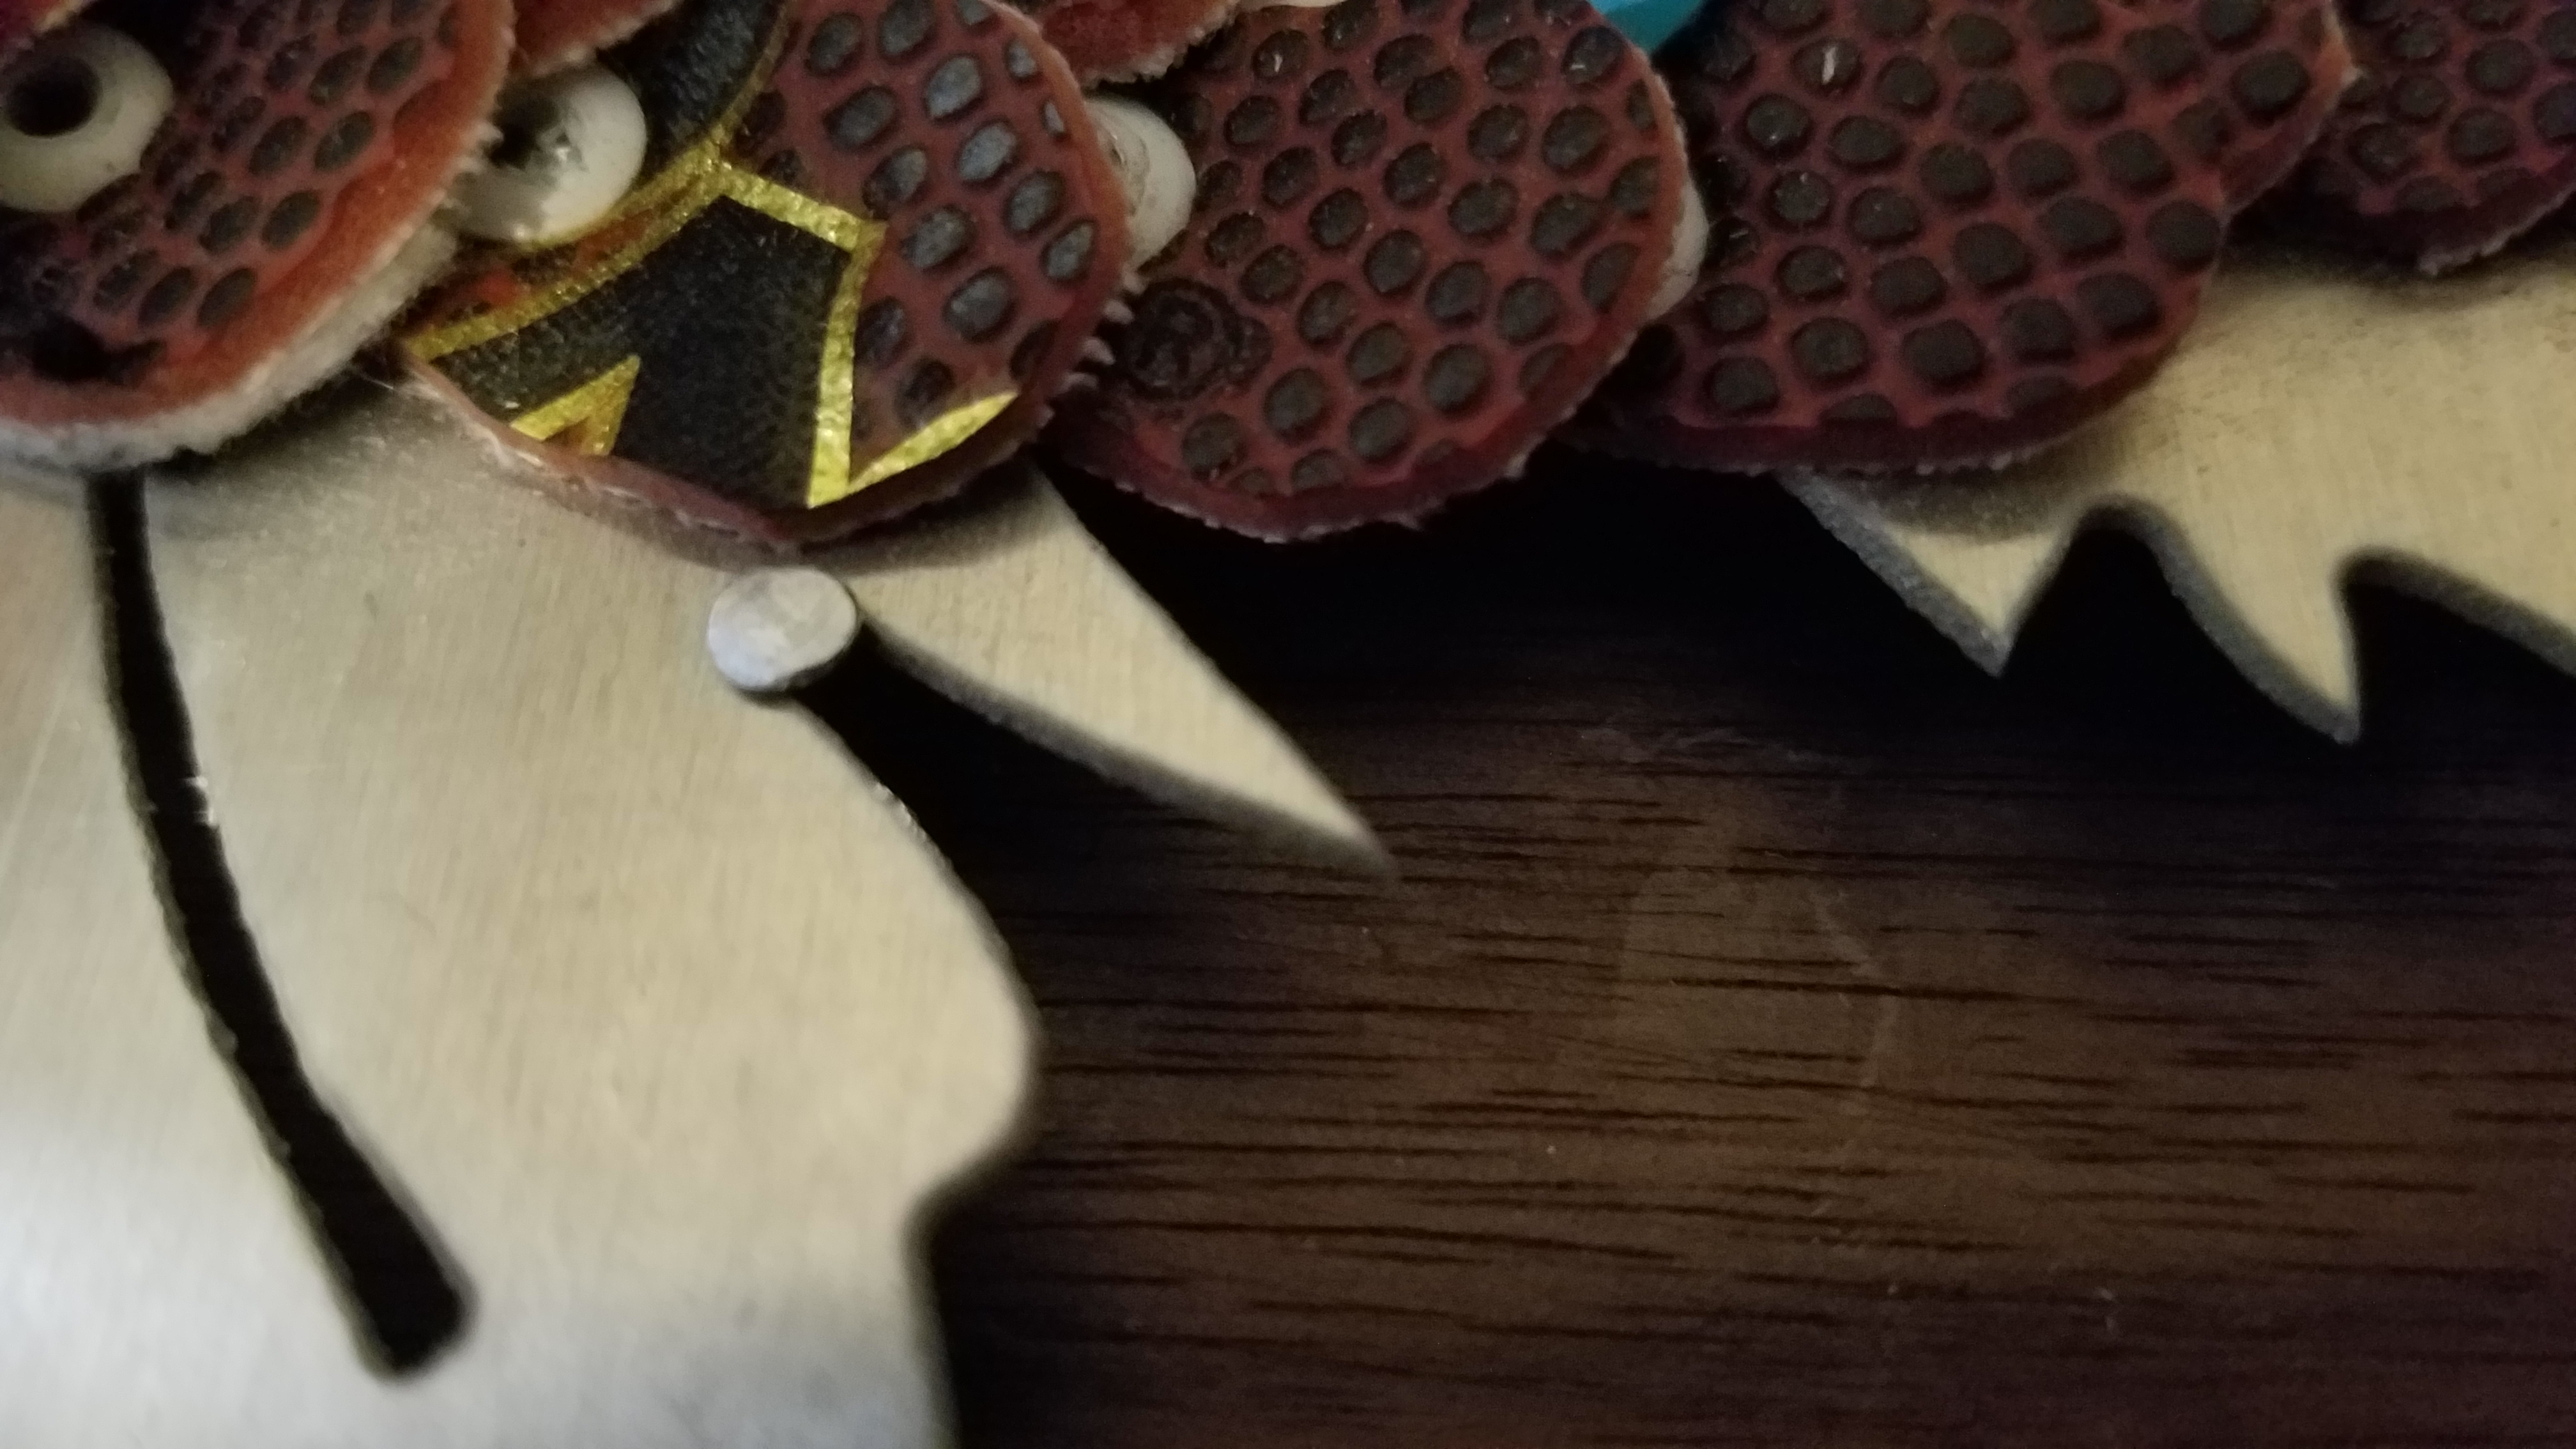
Aligning the fish on the plaque, I used a series of short nails to keep it in place.
Display and Enjoy!
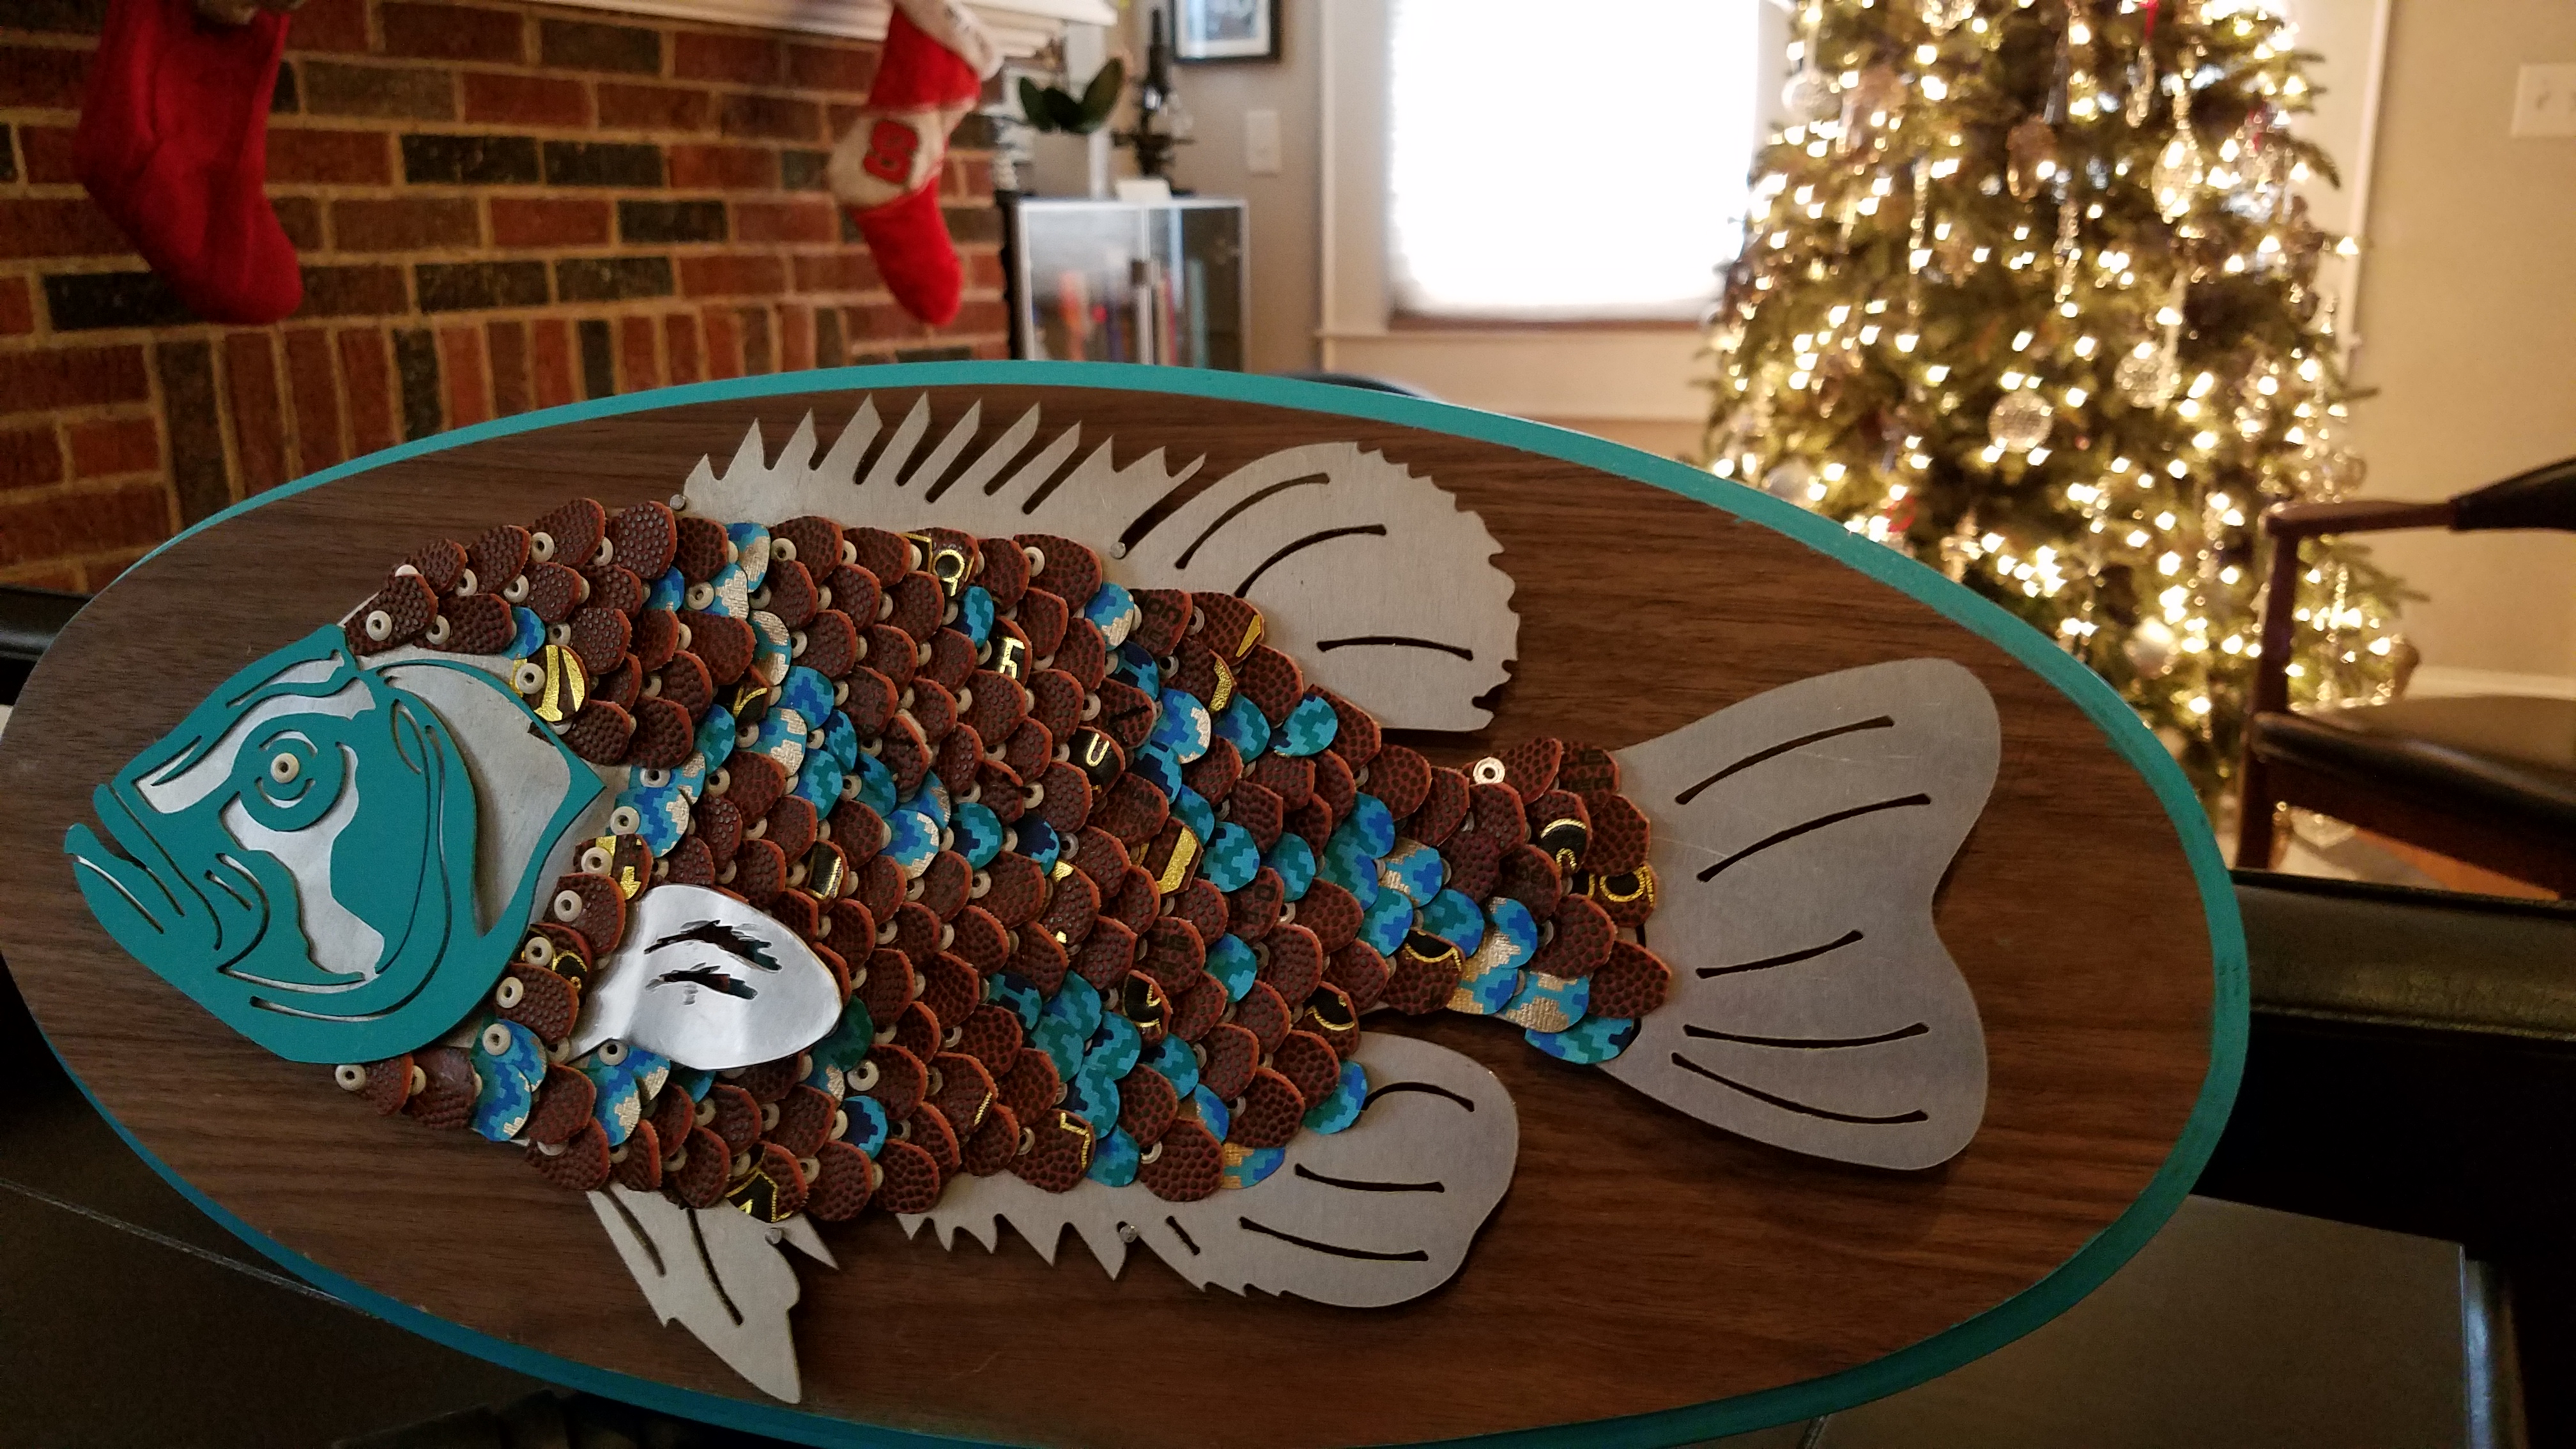
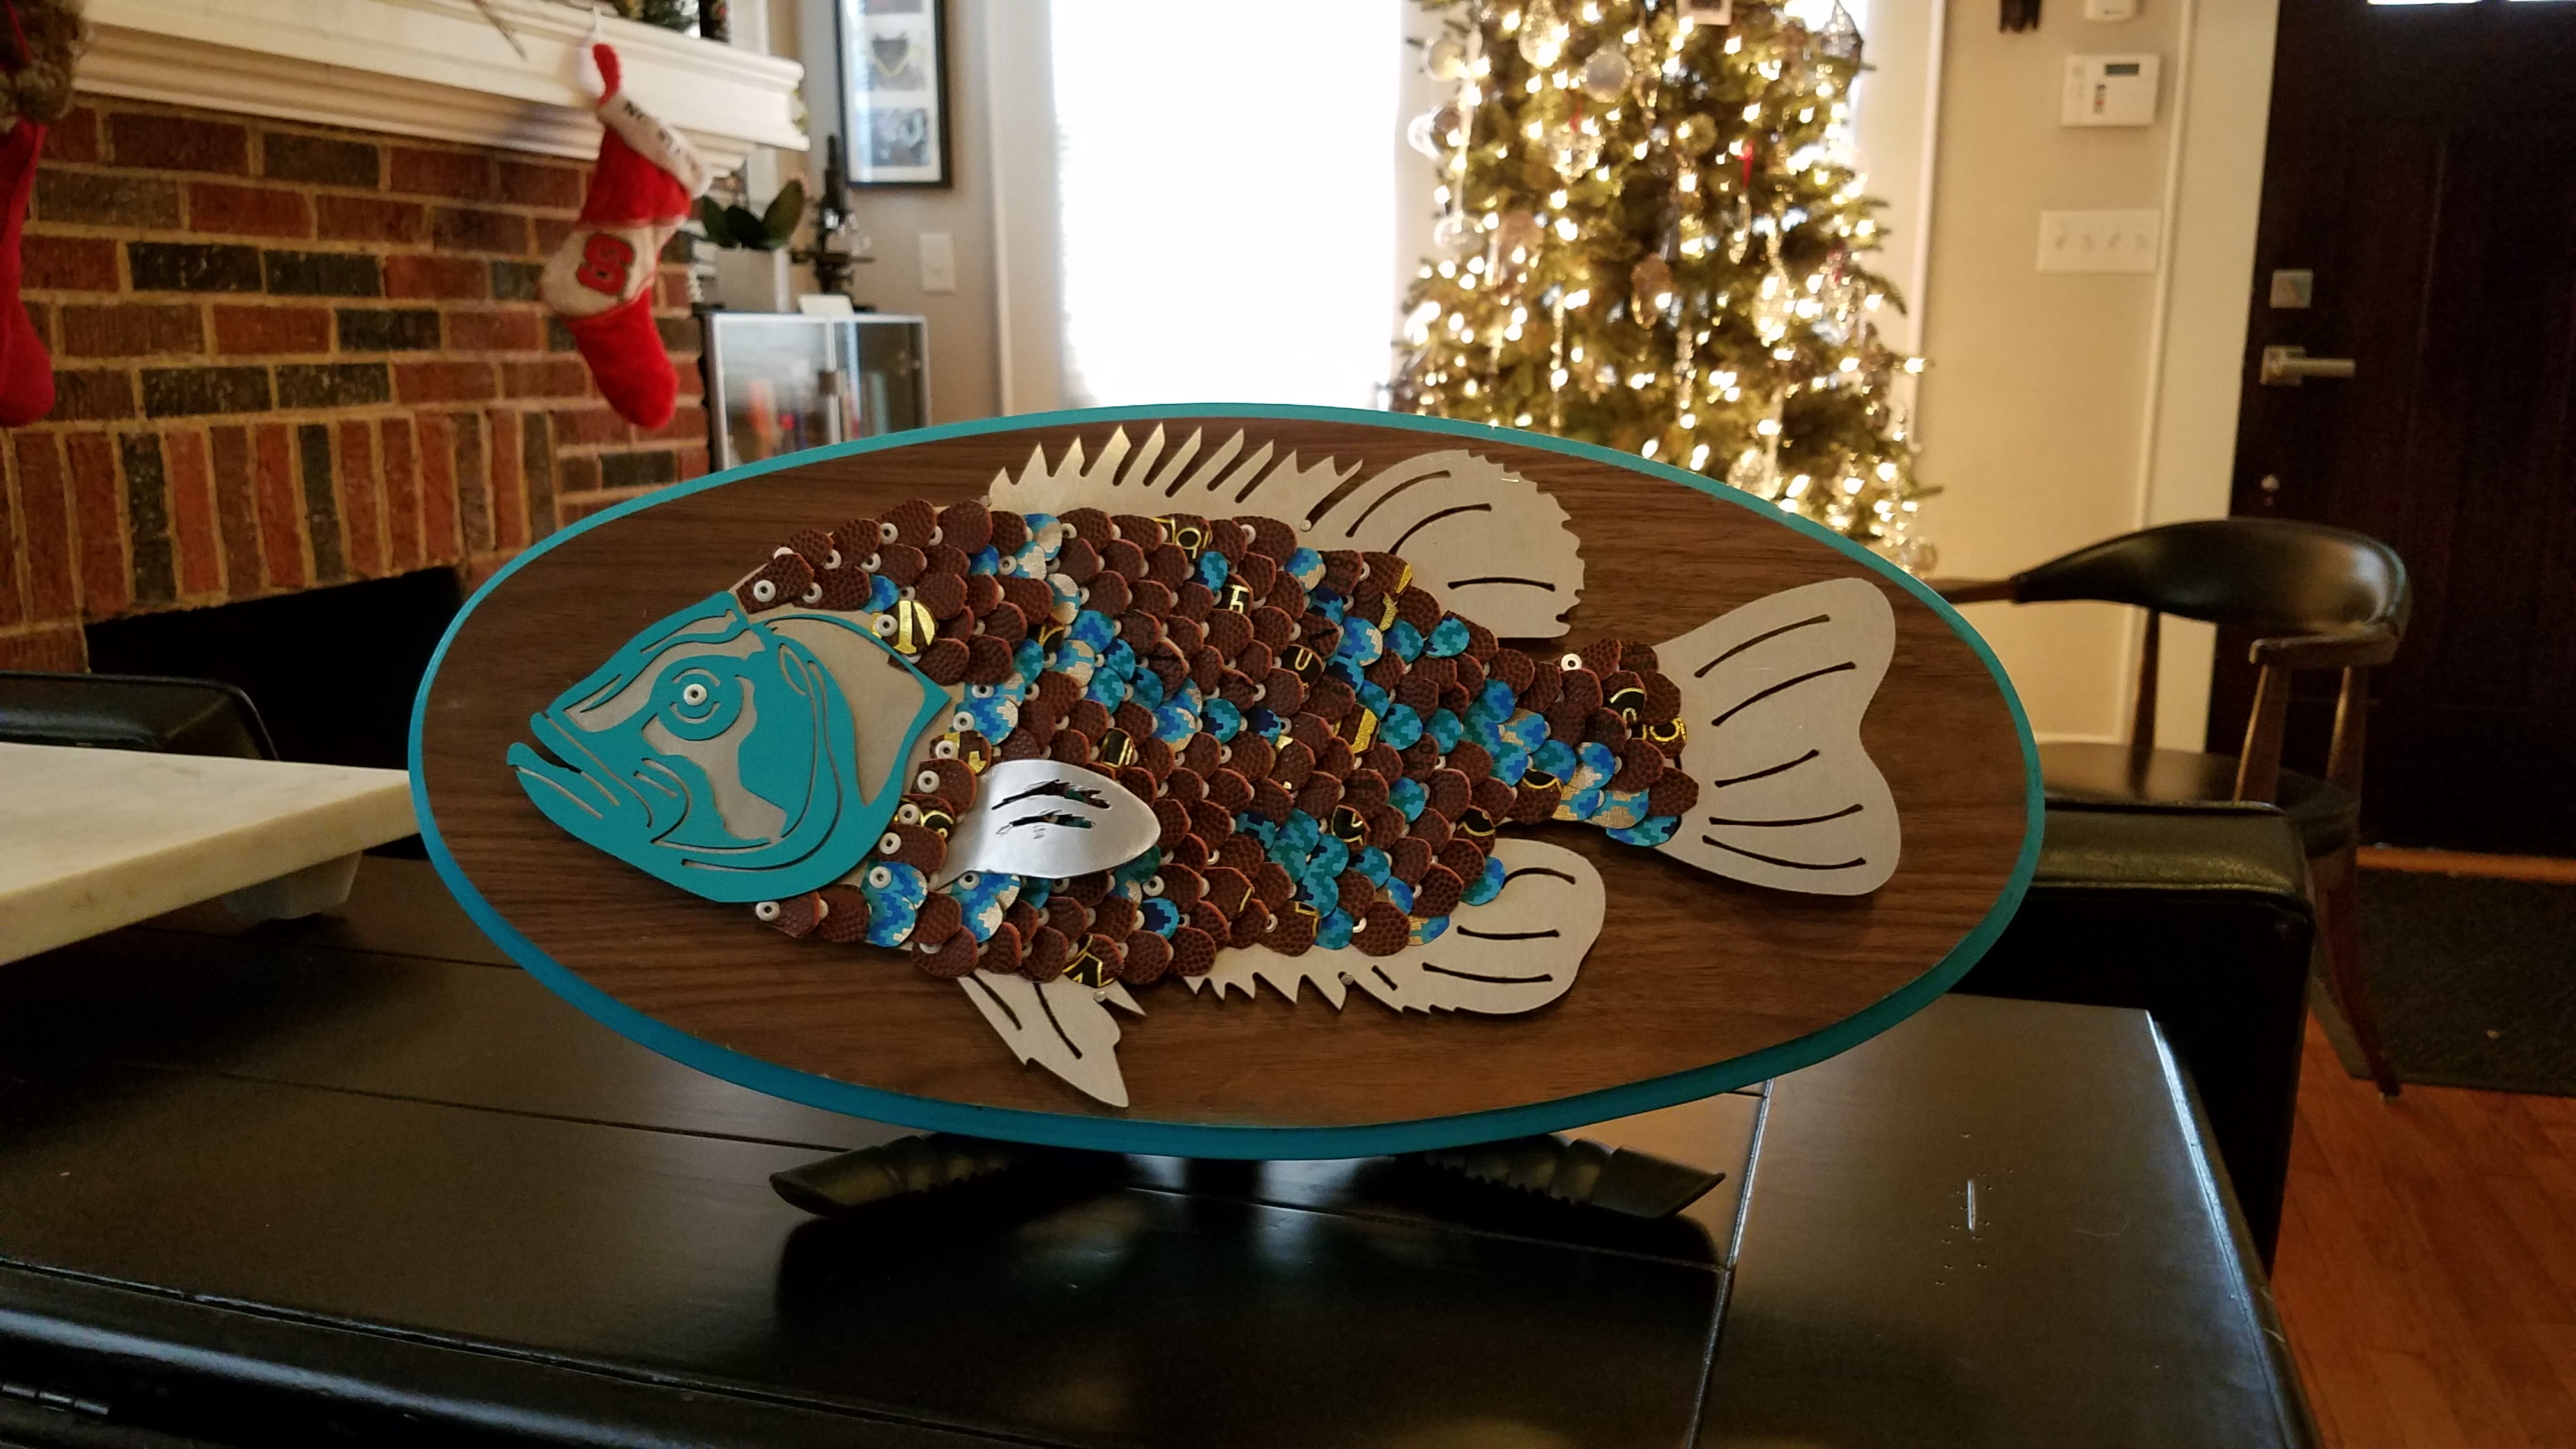
Woo! You've finished! Use it as a festive decoration.
Honestly, this project is a lot of work - what with all the rivets - but my recipient really, really enjoyed his gift. It turned out so well that I would absolutely do this again.
Happy making!