Riverpoint Dxp 3d

by NicFoster in Workshop > Laser Cutting

302 Views, 1 Favorites, 0 Comments

Riverpoint Dxp 3d

Screen Shot 2015-10-13 at 6.54.52 PM.png

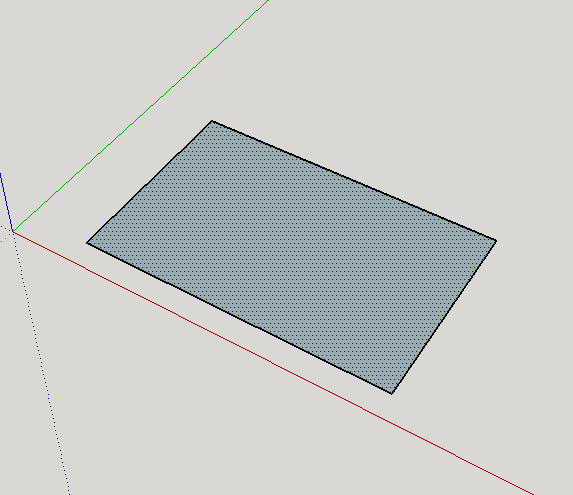
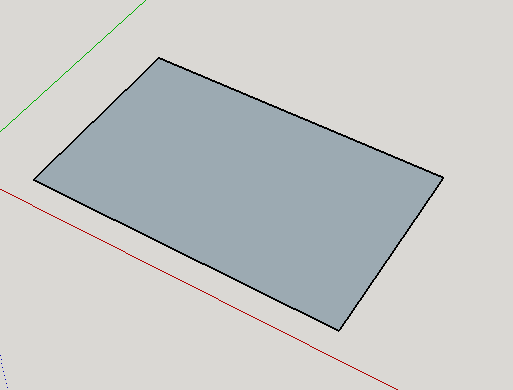
go to the rectangle tool and form a base.

Lift

Screen Shot 2015-10-13 at 7.04.35 PM.png

use the transform tool to lift up the base.
Screen Shot 2015-10-13 at 6.54.42 PM.png

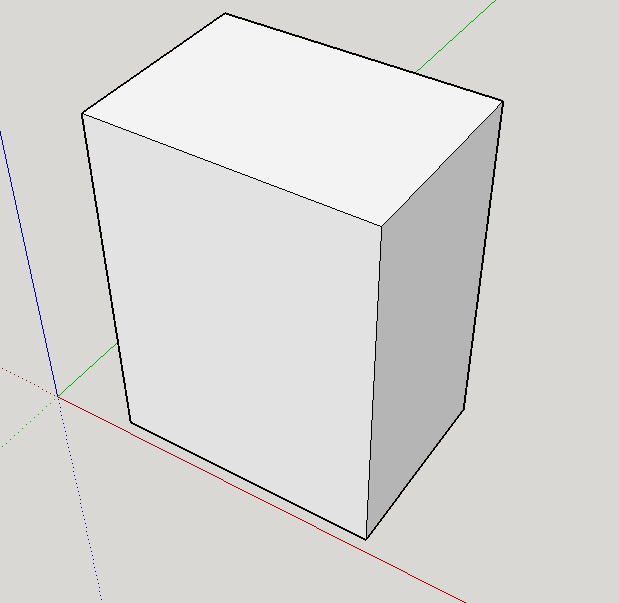
select the base with the pen tool and lift it
Screen Shot 2015-10-13 at 6.51.49 PM.png

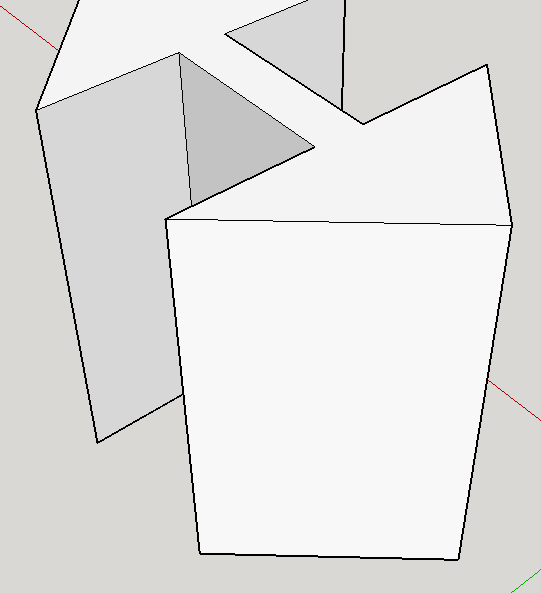
you should have a 3d rectangle a this point.
Screen Shot 2015-10-13 at 6.55.50 PM.png

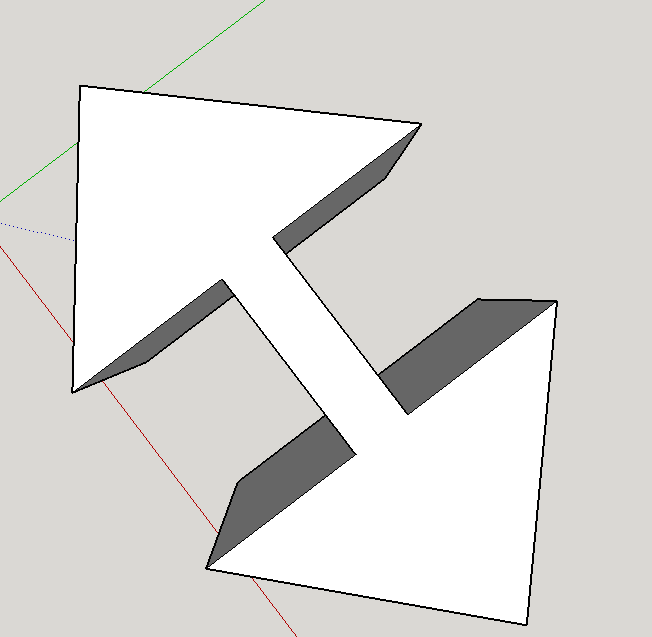
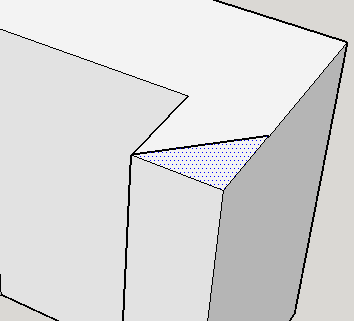
go to the protractor and make 2 90 degree angles to make an arrow.

Screen Shot 2015-10-13 at 7.04.24 PM.png

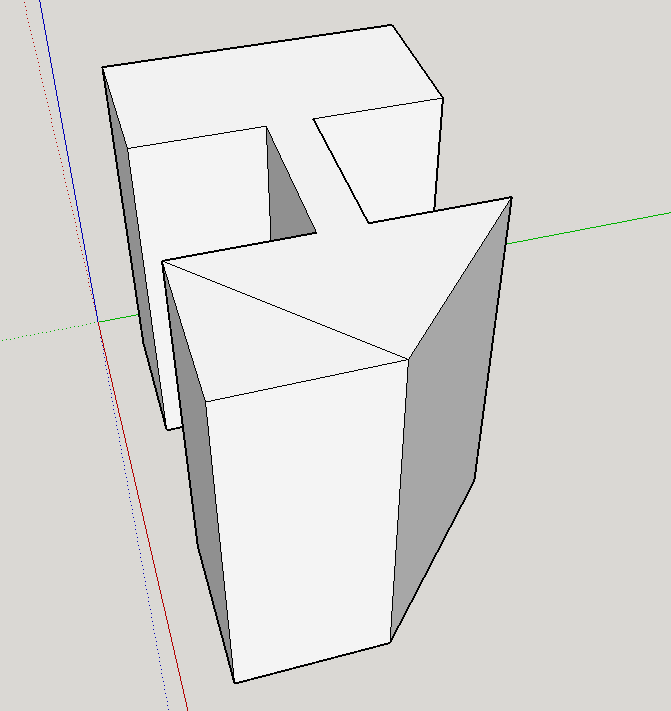
make sure the angles are = in length.
Screen Shot 2015-10-13 at 7.03.24 PM.png

square up both ends of your design

Screen Shot 2015-10-13 at 7.04.14 PM.png

Screen Shot 2015-10-13 at 7.07.14 PM.png

Screen Shot 2015-10-13 at 7.04.42 PM.png

Screen Shot 2015-10-13 at 7.07.21 PM.png

select the 3d text tool on the tool tab and place it on the side of your design
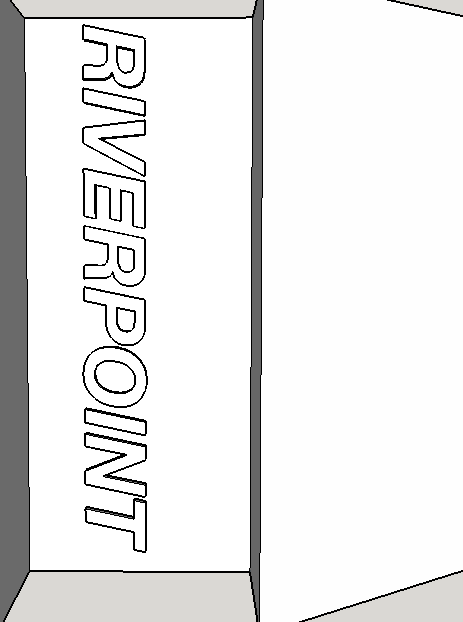
Screen Shot 2015-10-13 at 7.11.32 PM.png

Screen Shot 2015-10-13 at 6.48.23 PM.png

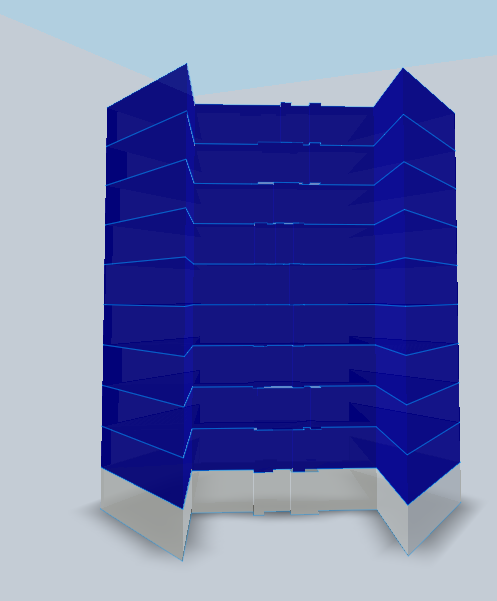
export it over to 123d make, make it an interlocking dxf, then you will be ready to print.