RingMouse - Functional Adaptation of a Computer Mouse to Position the Fingers
by Noraplata in Circuits > Electronics
331 Views, 0 Favorites, 0 Comments
RingMouse - Functional Adaptation of a Computer Mouse to Position the Fingers
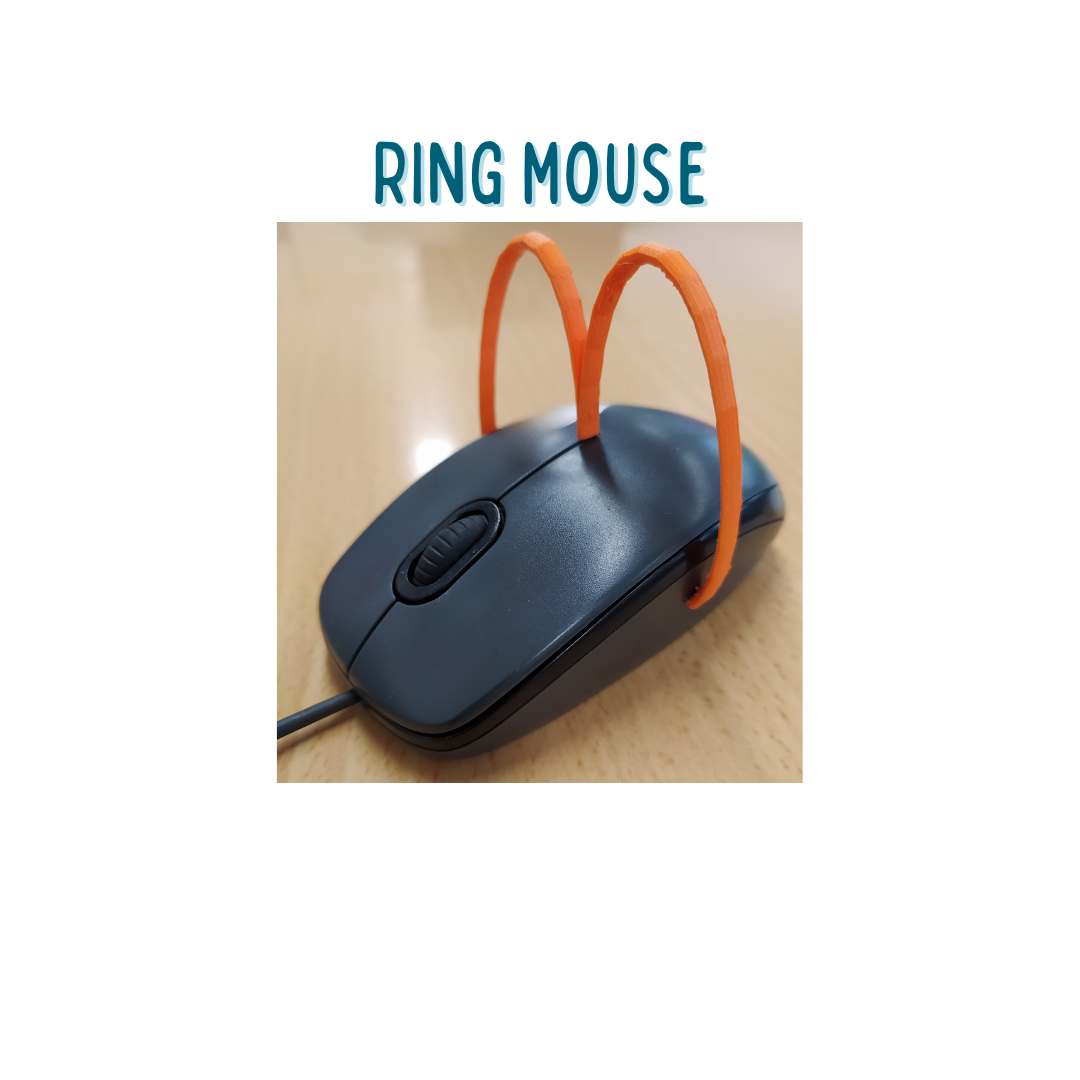
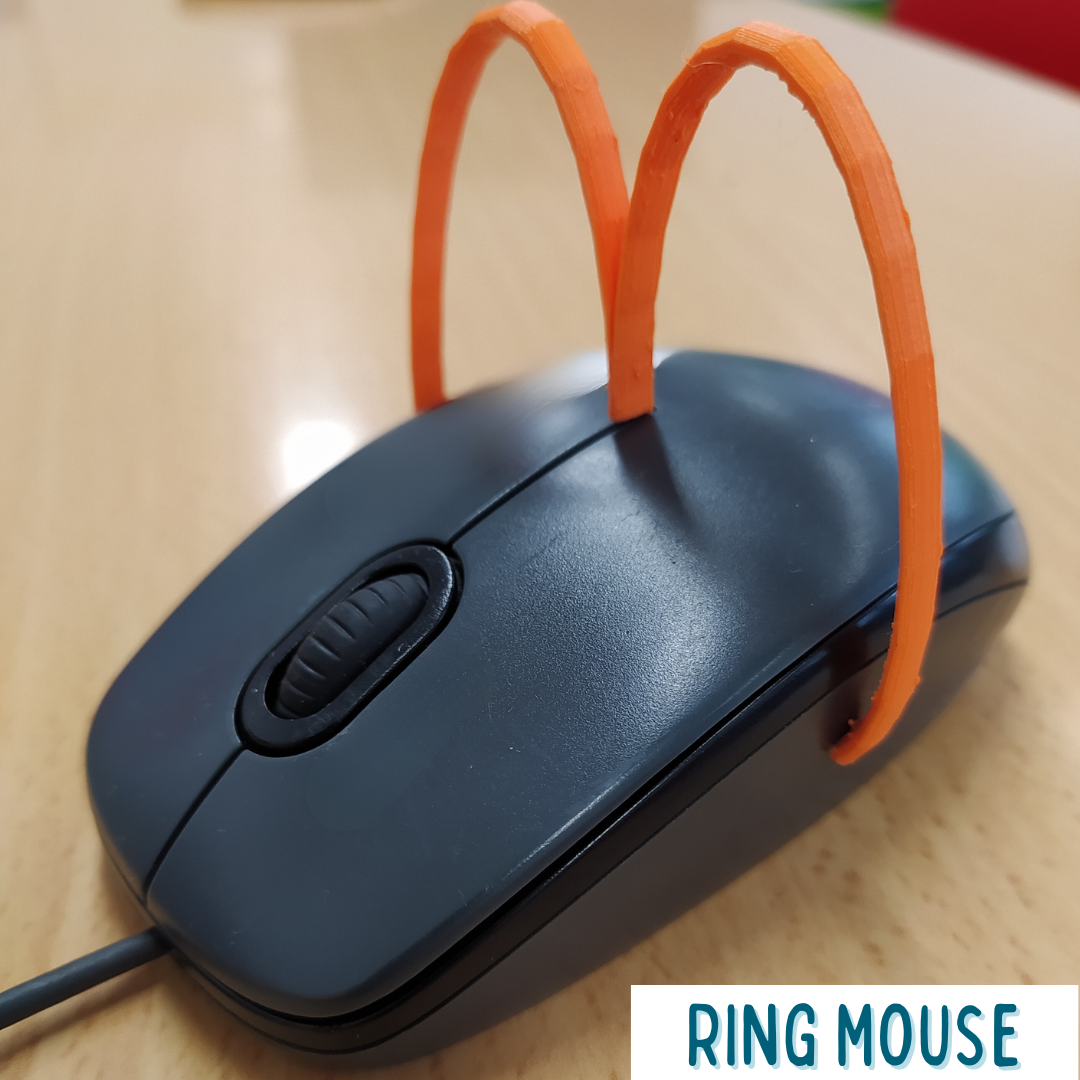
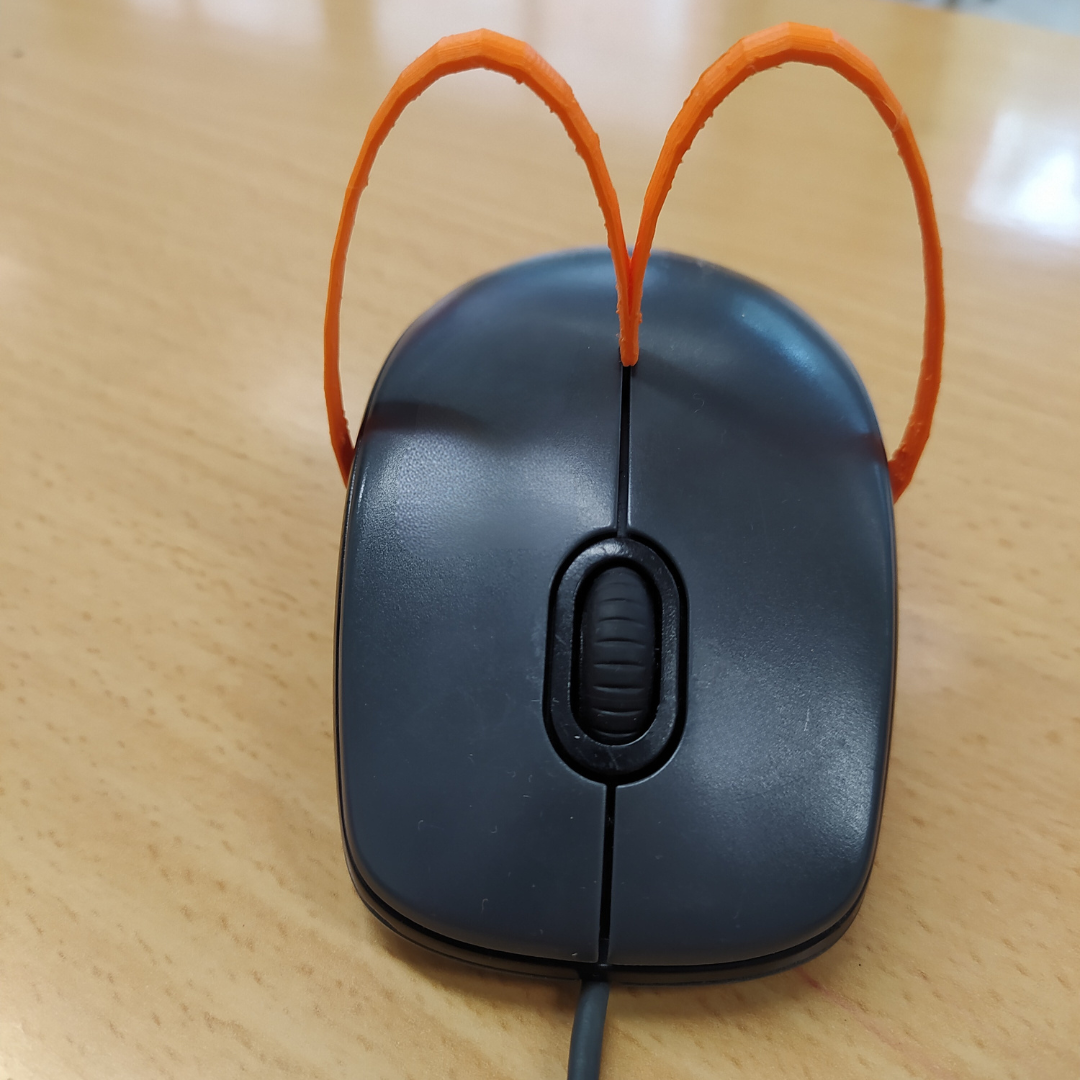
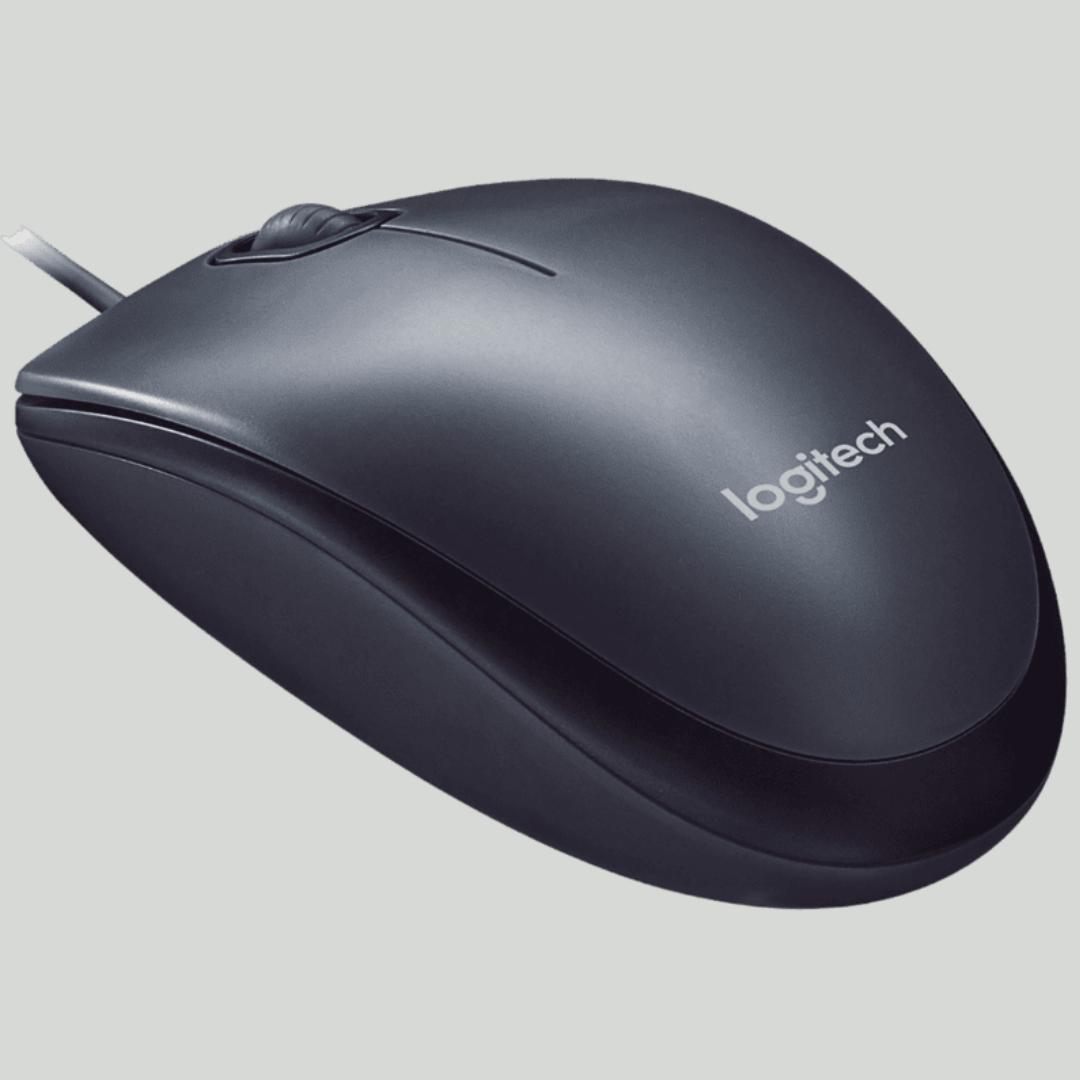
I have created a functional adaptation fot he Logitech M90 computer mouse using 3D printing. My idea for this project arose from the need to address the physical and motor hand requierements of an eight-year-old student at the school where I work. He loves using the computer ans this adaptation allows him to fully utilize the mouse and enjoy his computer experience.
A huge thanks to the center and the family for helping me throughout the project, letting my use the equipment and giving me advice.
Supplies
Supplies and tools I used:
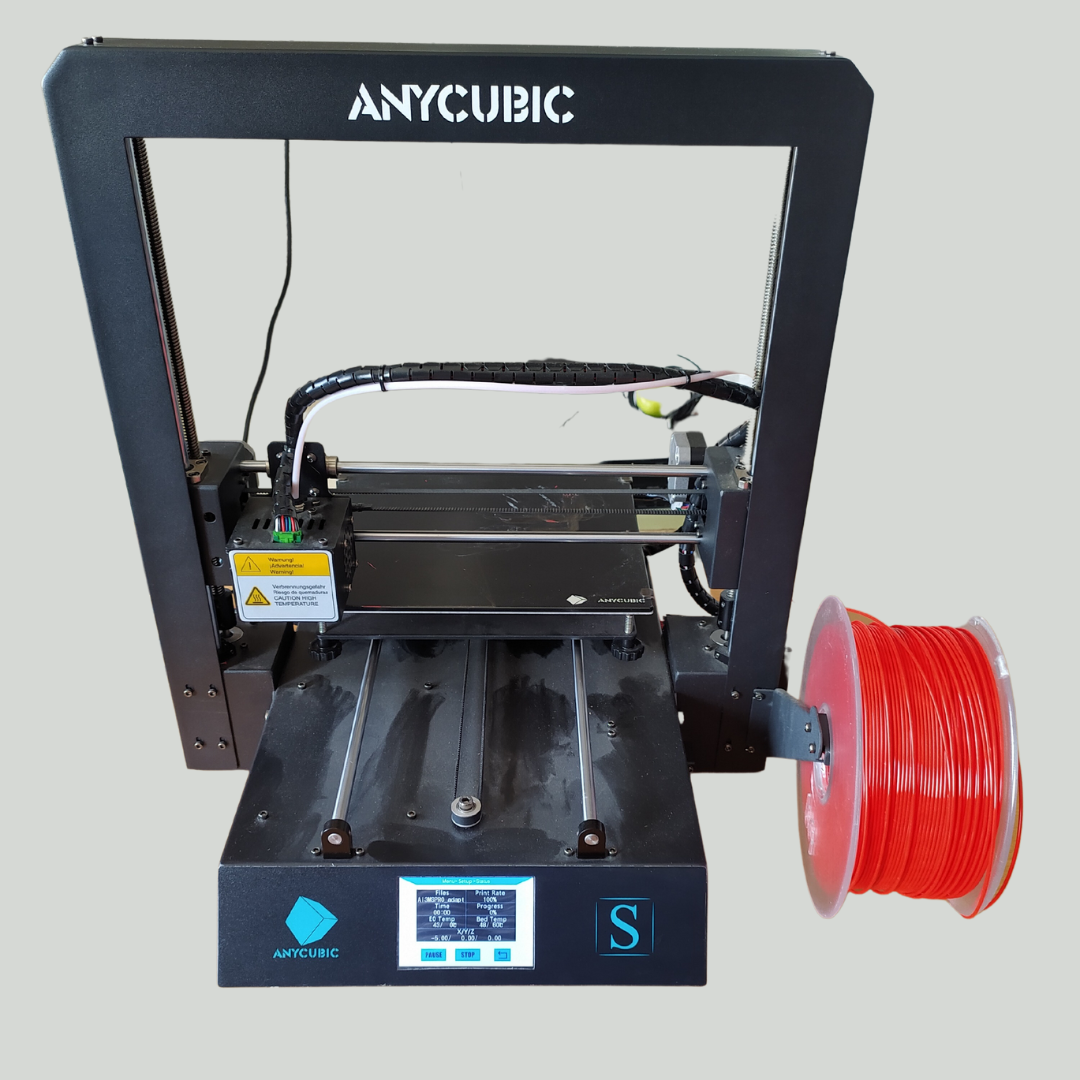
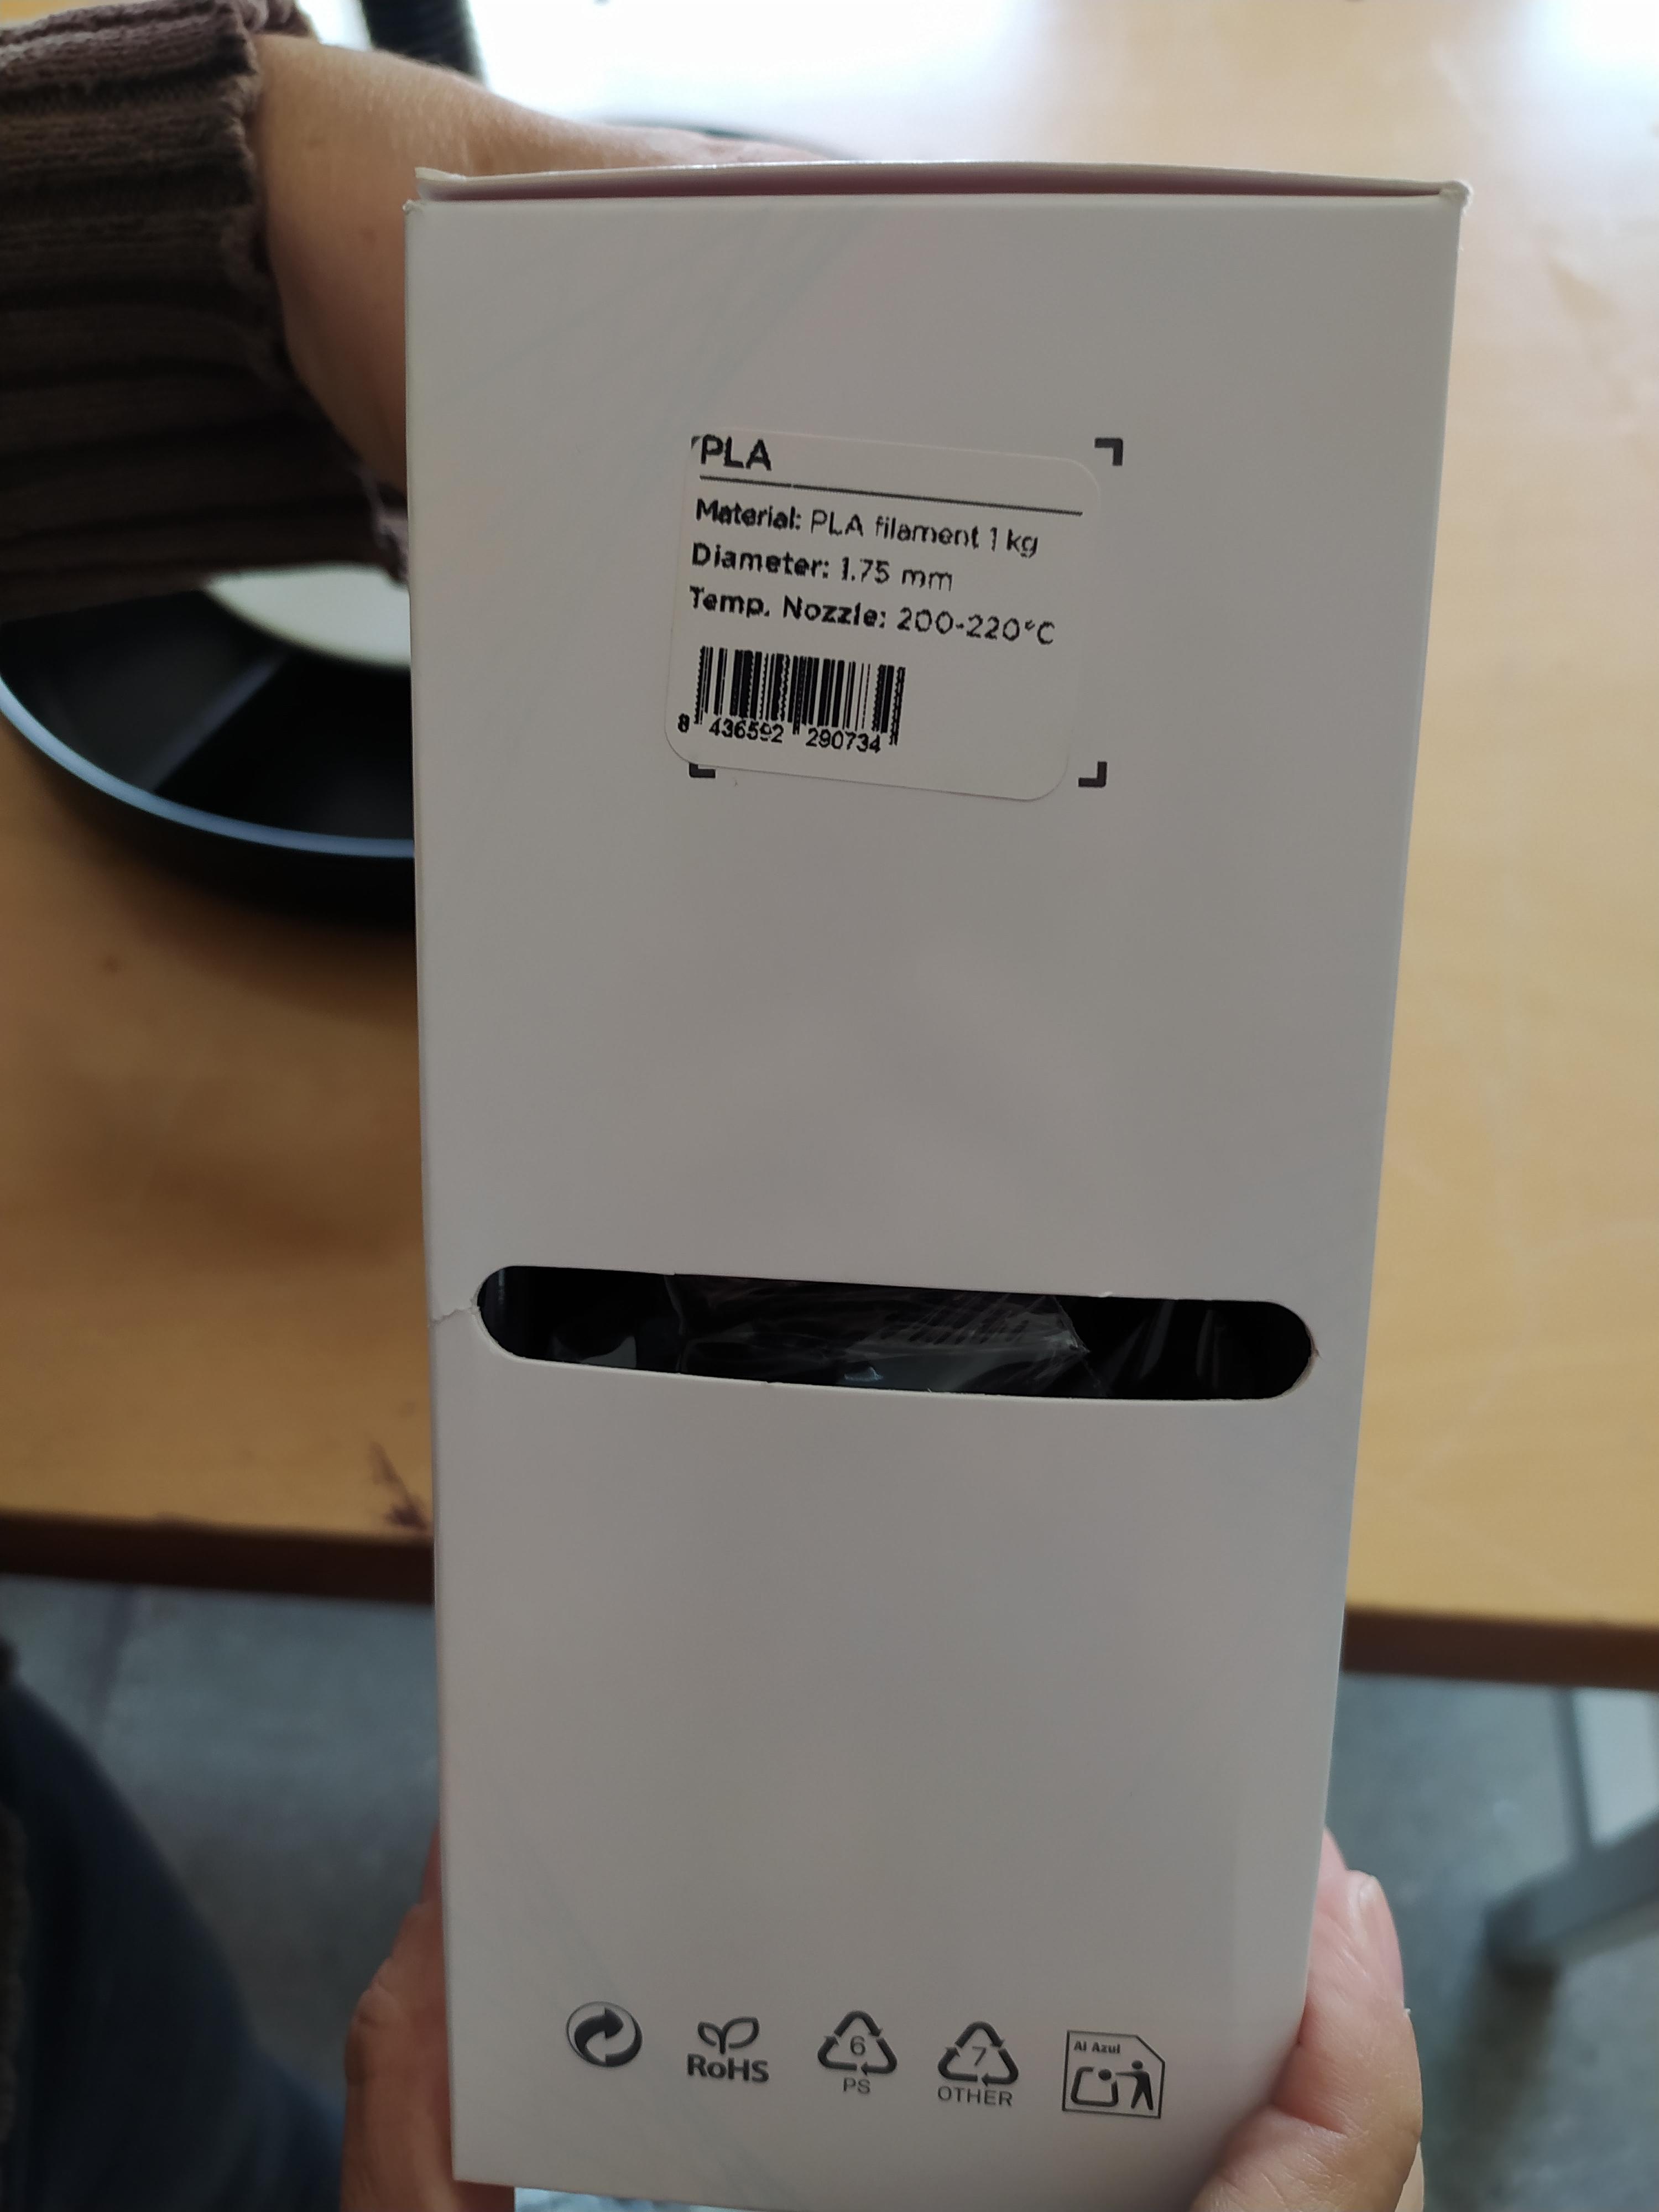
3D printer (Anycubic i3 Mega S)
Memory card
Tape measure
Softwares That I used:
Sketch of the Prototype
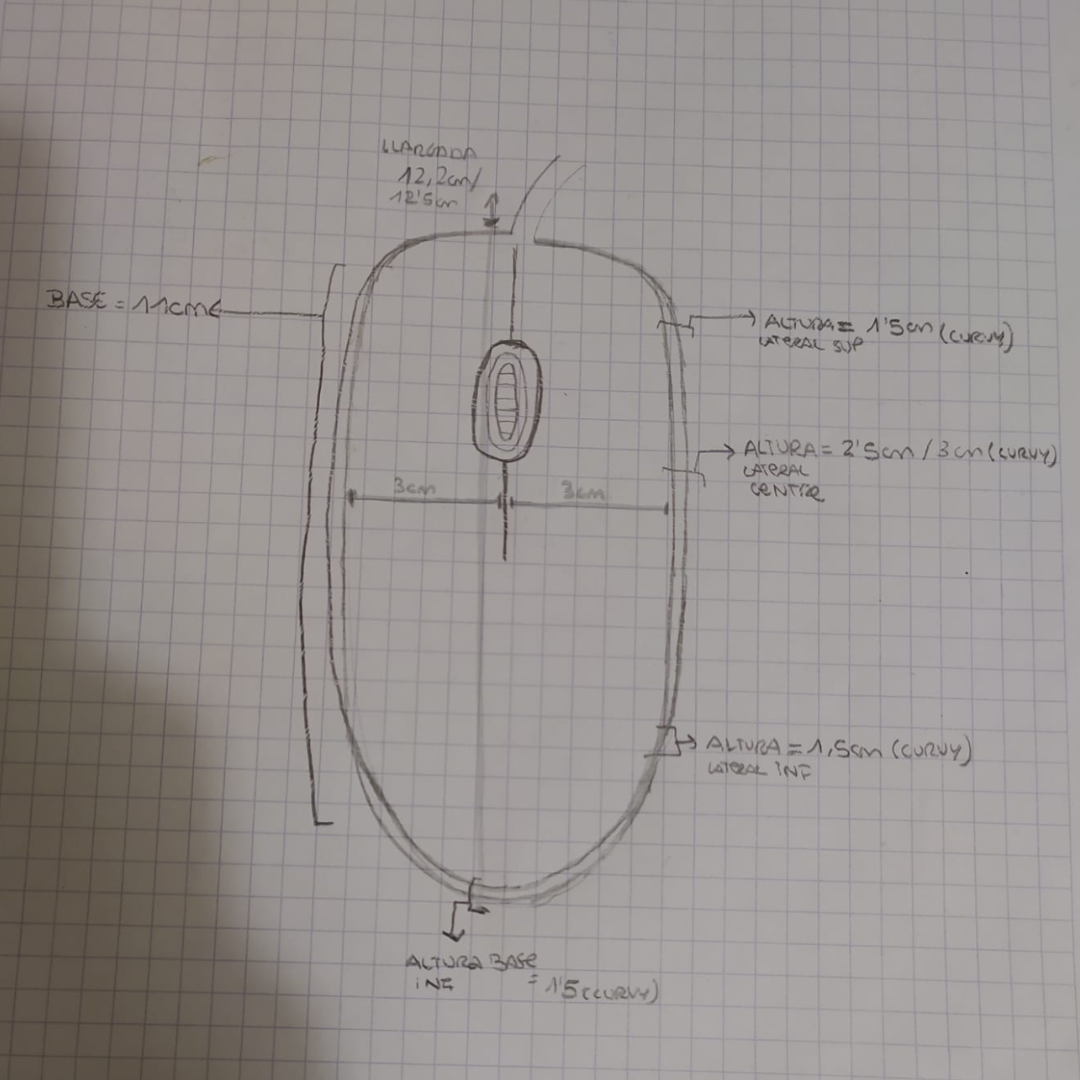
- To begin, gather a pencil, paper and the tape measure to make sketch of your prototype.
- Measure the width and height of all sides of the computer mouse.
- Draw the mouse to scale on the paper once you have taken the measurements.
Design 3D Design Prototype With Tinkercad
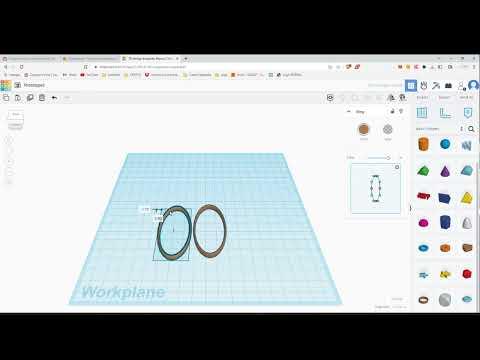
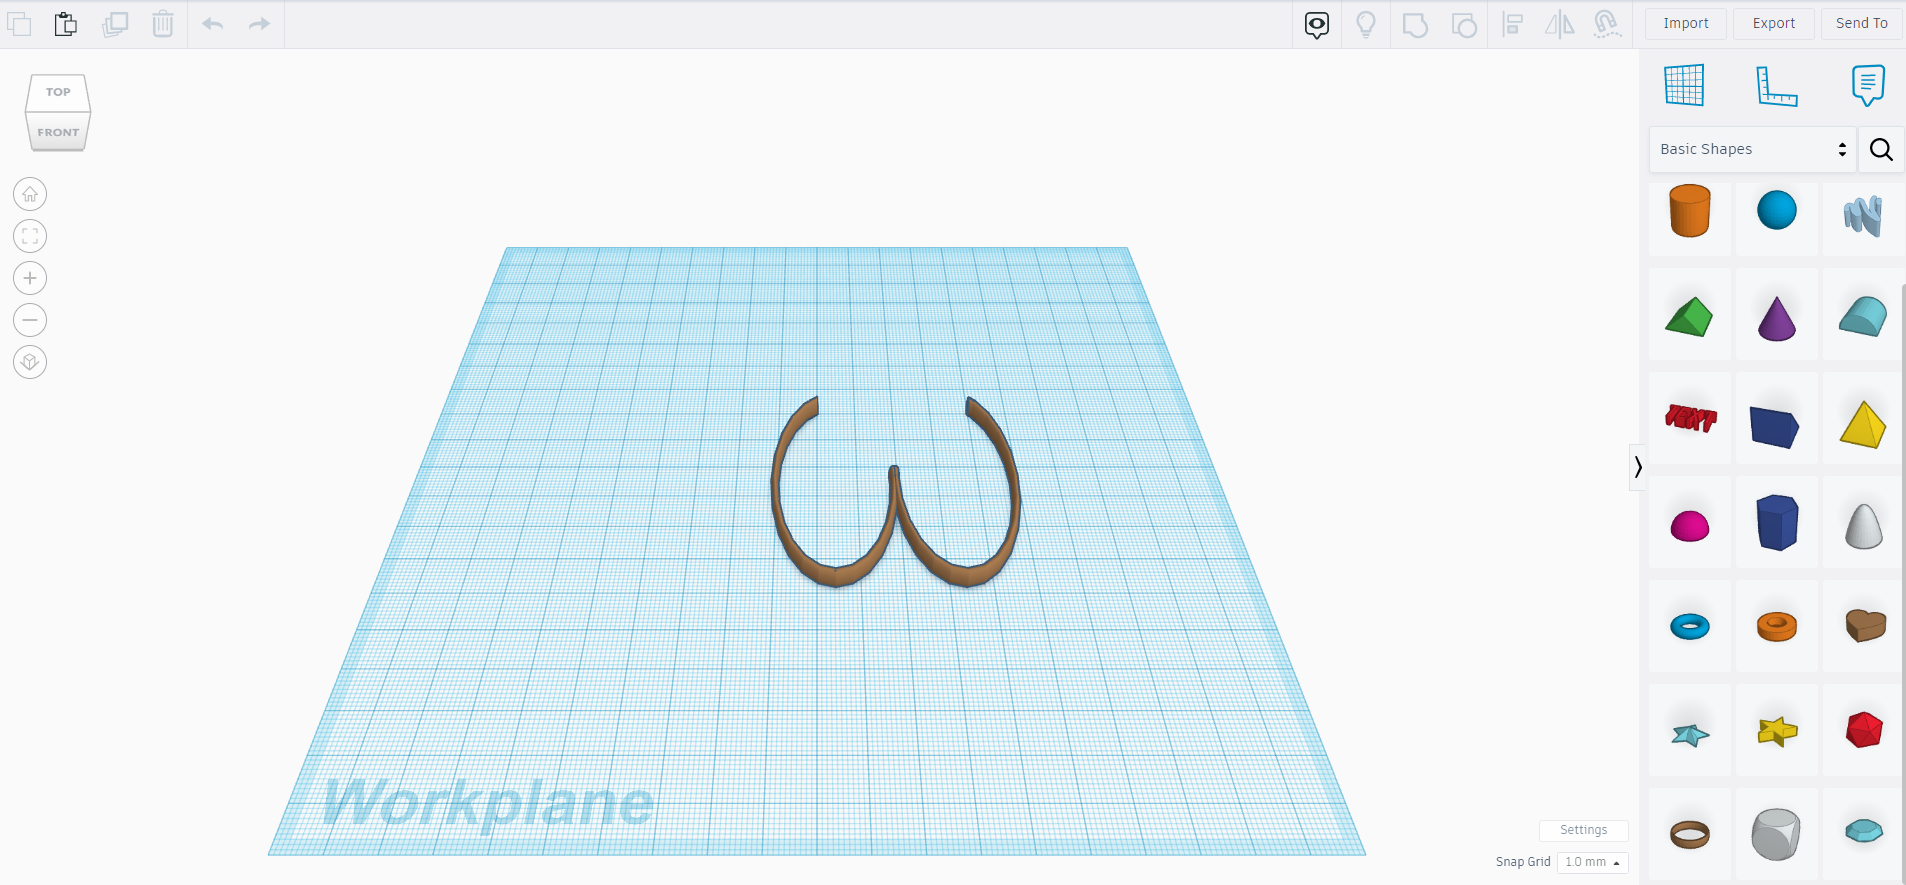
- Use Tinkercad to create your 3D digital design. Tinkercad is a free web application used for 3D designs and much more.
- Create an account or log in to Tinkercad.
- Watch the instructional video and follow the step-by-step instructions to create the 3D prototype design: https://youtu.be/cyIKTVQKy3g
Print Your Digital 3D Design Using Anycubic I3 Mega S 3D Printer
Watch the instructional video and follow the step-by-step instructions to print the 3D prototype design using Anycubic I3 Mega S 3D Printer and UltimakerCura:
https://youtu.be/8dlPqdwyw2o
Instructions:
REMINDER: *This tutorial video is specifically for using Anycubic i3 Mega S 3D printer*
1. Download and Install UltimakerCura for free in your computer.
2. Open the .STL file from Tinkercad in UltimakerCura.
3. After that, a window will appear on the right side. Check the parameters are shown as in the instructional video.
4. Place the prototype in the central area of the printer base. Take your time and check everything's correct.
5. Click the segmentation button to process the prototype.
6. It will display the estimate printing time for the design. In this case it must be about 24 minutes.
7. Connect the memory card on the computer and save it in the memory card in .GCode format.
8. Disconnect the memory card of the computer.
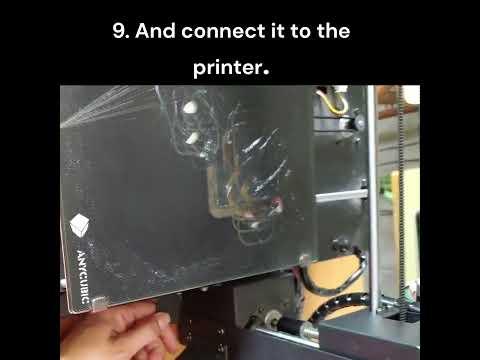
9. And connect it to the printer. Just on the right side of the 3D printer.
10. Go to the printer screen and follow the steps:
1. Press the "Print" button.
2. Select the file.
3. Press "Start"
11. Be patient. It takes a while for it to heat up to the requiere temperature of 210º.
12.It will start immediately once it reaches 210º. This prototype will take approximately 24 minutes to complete.
13.Be patient again. We won't be able to remove the 3D printer creation until it has cooled down.
14. Finally all that's left is to polish any possible imperfections.
And... Try it and Enjoy it!