Ring the Web!
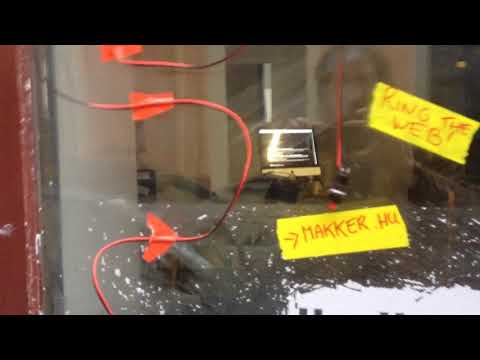
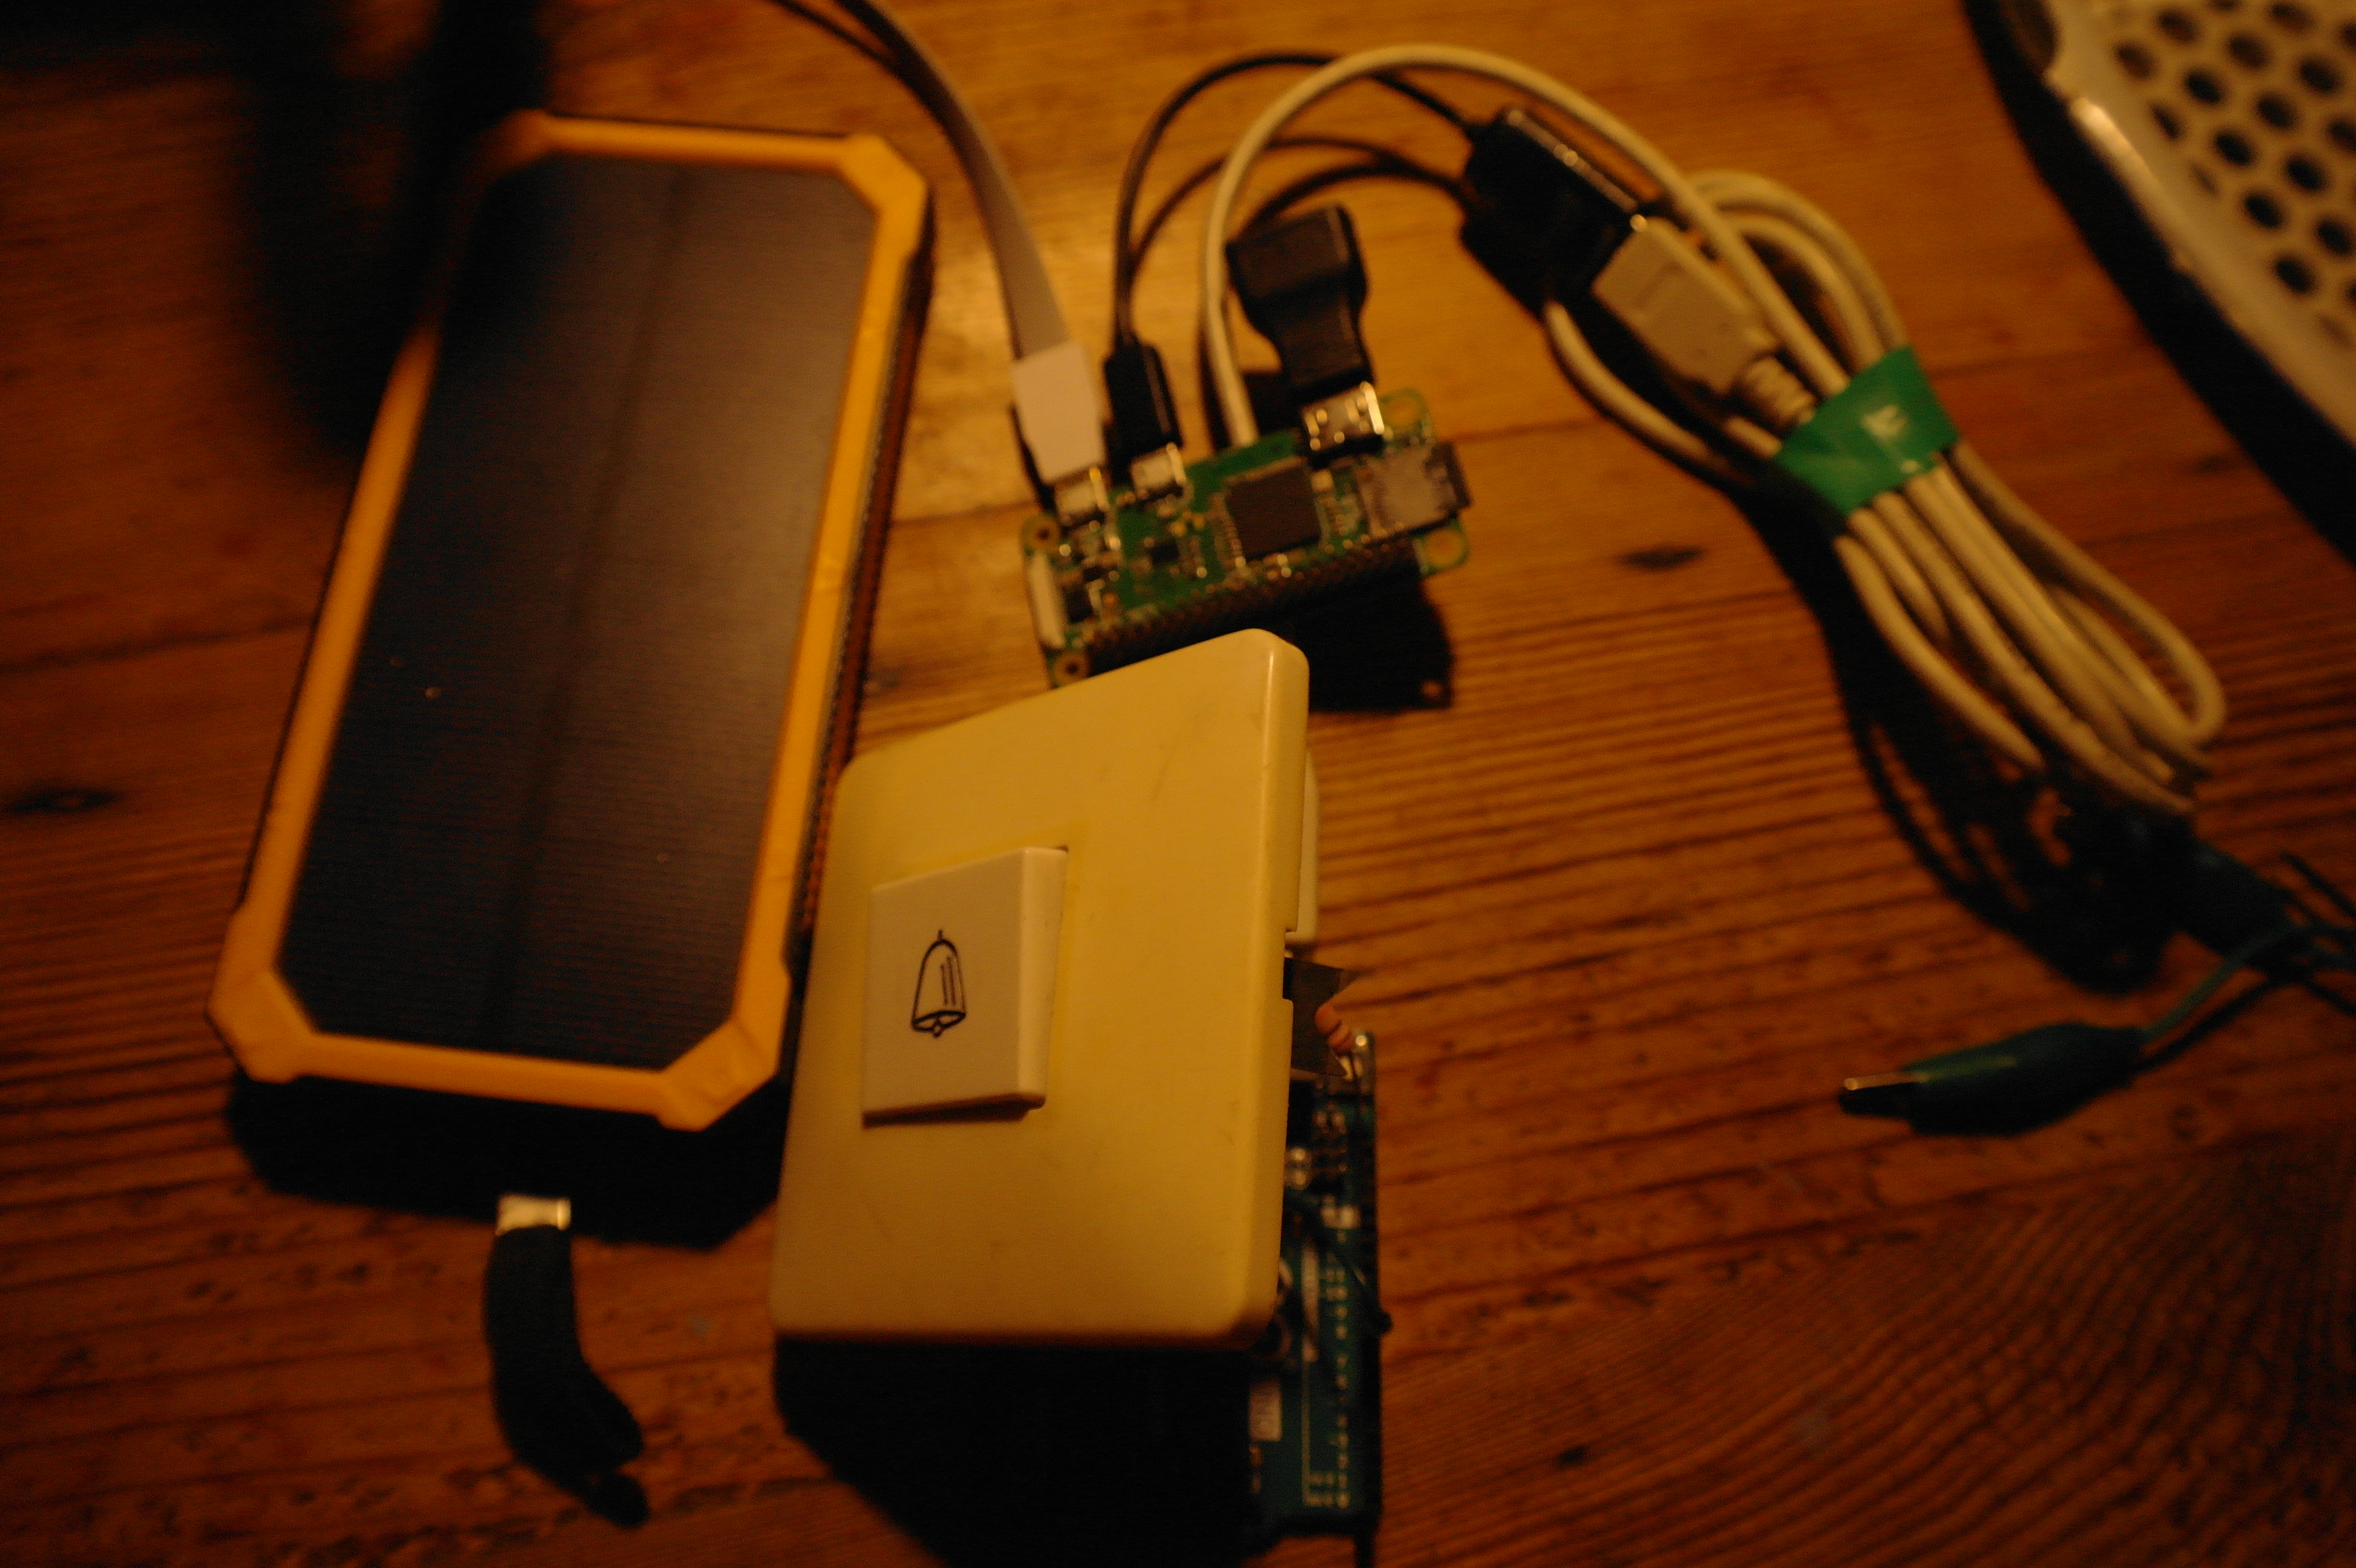
Ring the Web is for affecting websites from local/real places.
More info about it:
You'll need:
- 1 pushbutton
- 10k resistor
- Arduino (any type)
- cables
- small, low-power computer - in this case an RPi
- access to a server or computer with public IP with node.js
- website
Steps:
- Pushbutton to arduino
- Arduino to Raspberry
- Raspberry to server
- Website to server
Pushbutton to Arduino
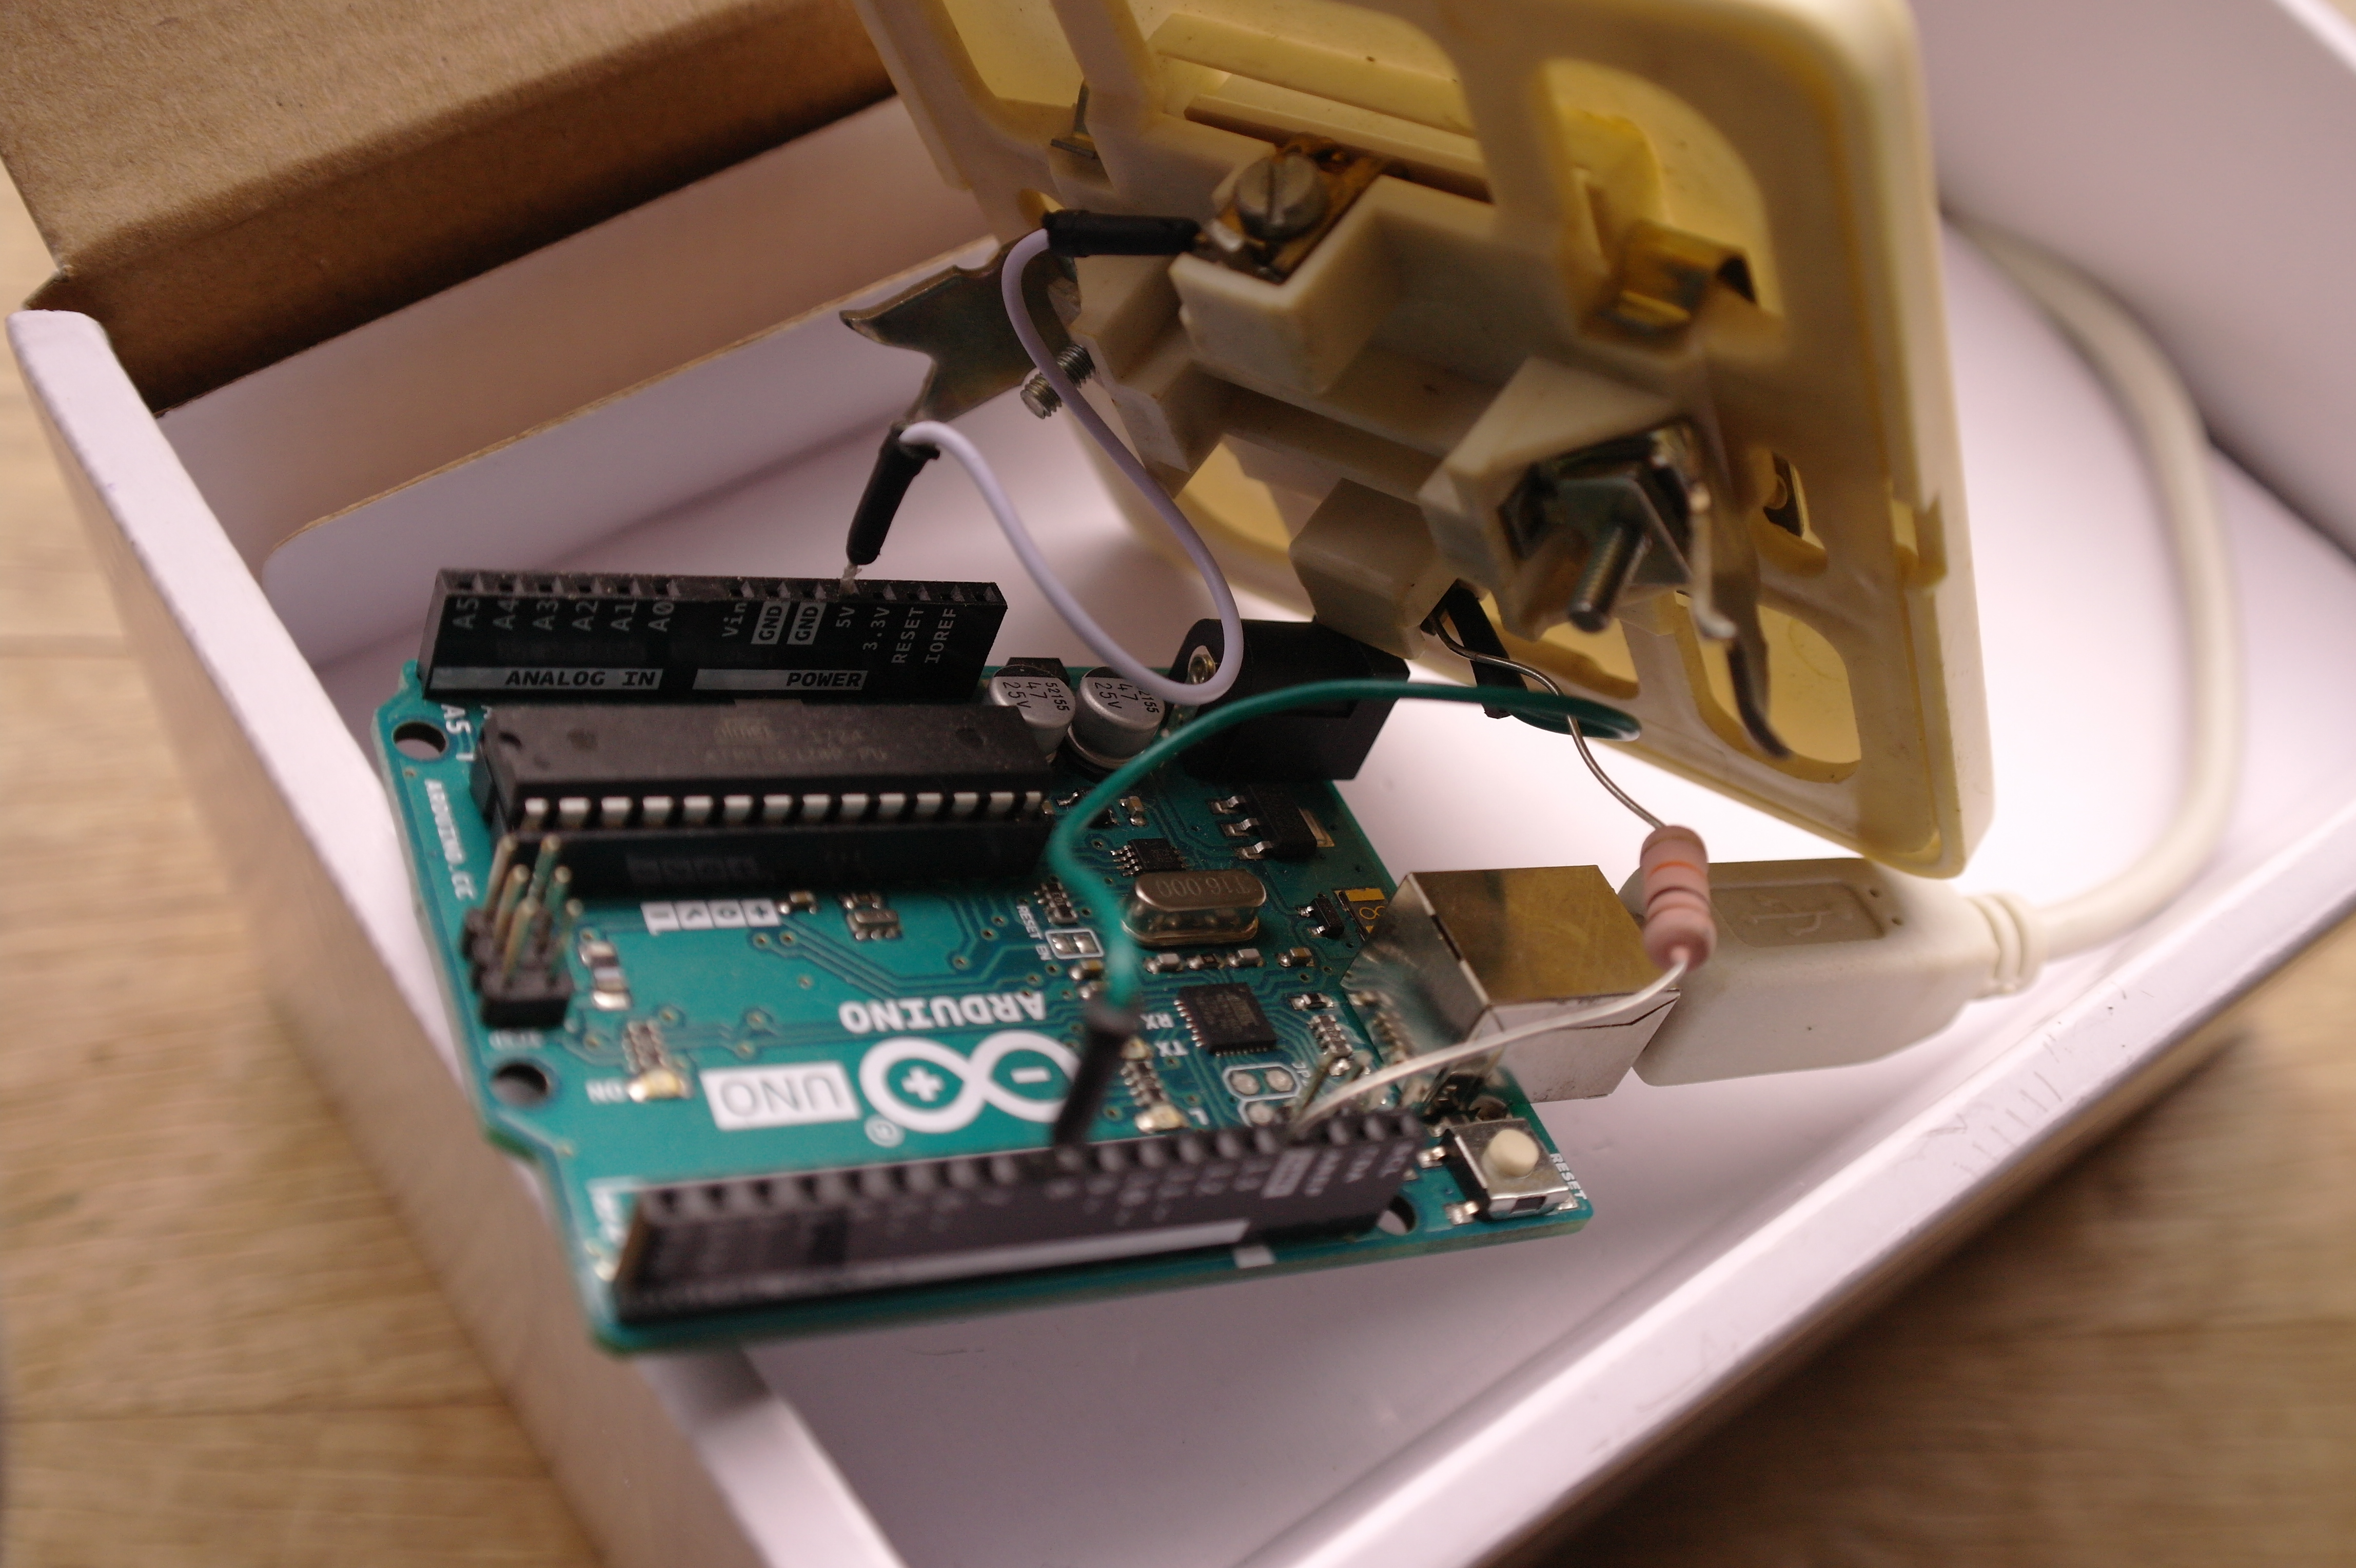
First You need an Arduino and a pushbutton!
Any type of them is possible, it's up to You to choose.
For connecting them, please follow the official button tutorial of Arduino.
Here is the Arduino code:
// Arduino code for reading a digital pin and send value to the serial port

// Balázs Kovács, 2018.


void setup () {

	Serial.begin(9600);	// open up serial port

	pinMode(8,INPUT); 	// connect pushbutton to Pin 8

}


int counter = 0; 		// something used later

void loop() {

	if(digitalRead(8) == 1) { 	// check pin 8 status

		Serial.write("8");

	}

	delay(100);

	counter++;

	if(counter=20) {		// every 20x100=2000ms ->

		counter = 0;

		Serial.write("0"); // sends an "i'm existing" message to the server

	}

}


// that's all!<br>
Arduino to Raspberry
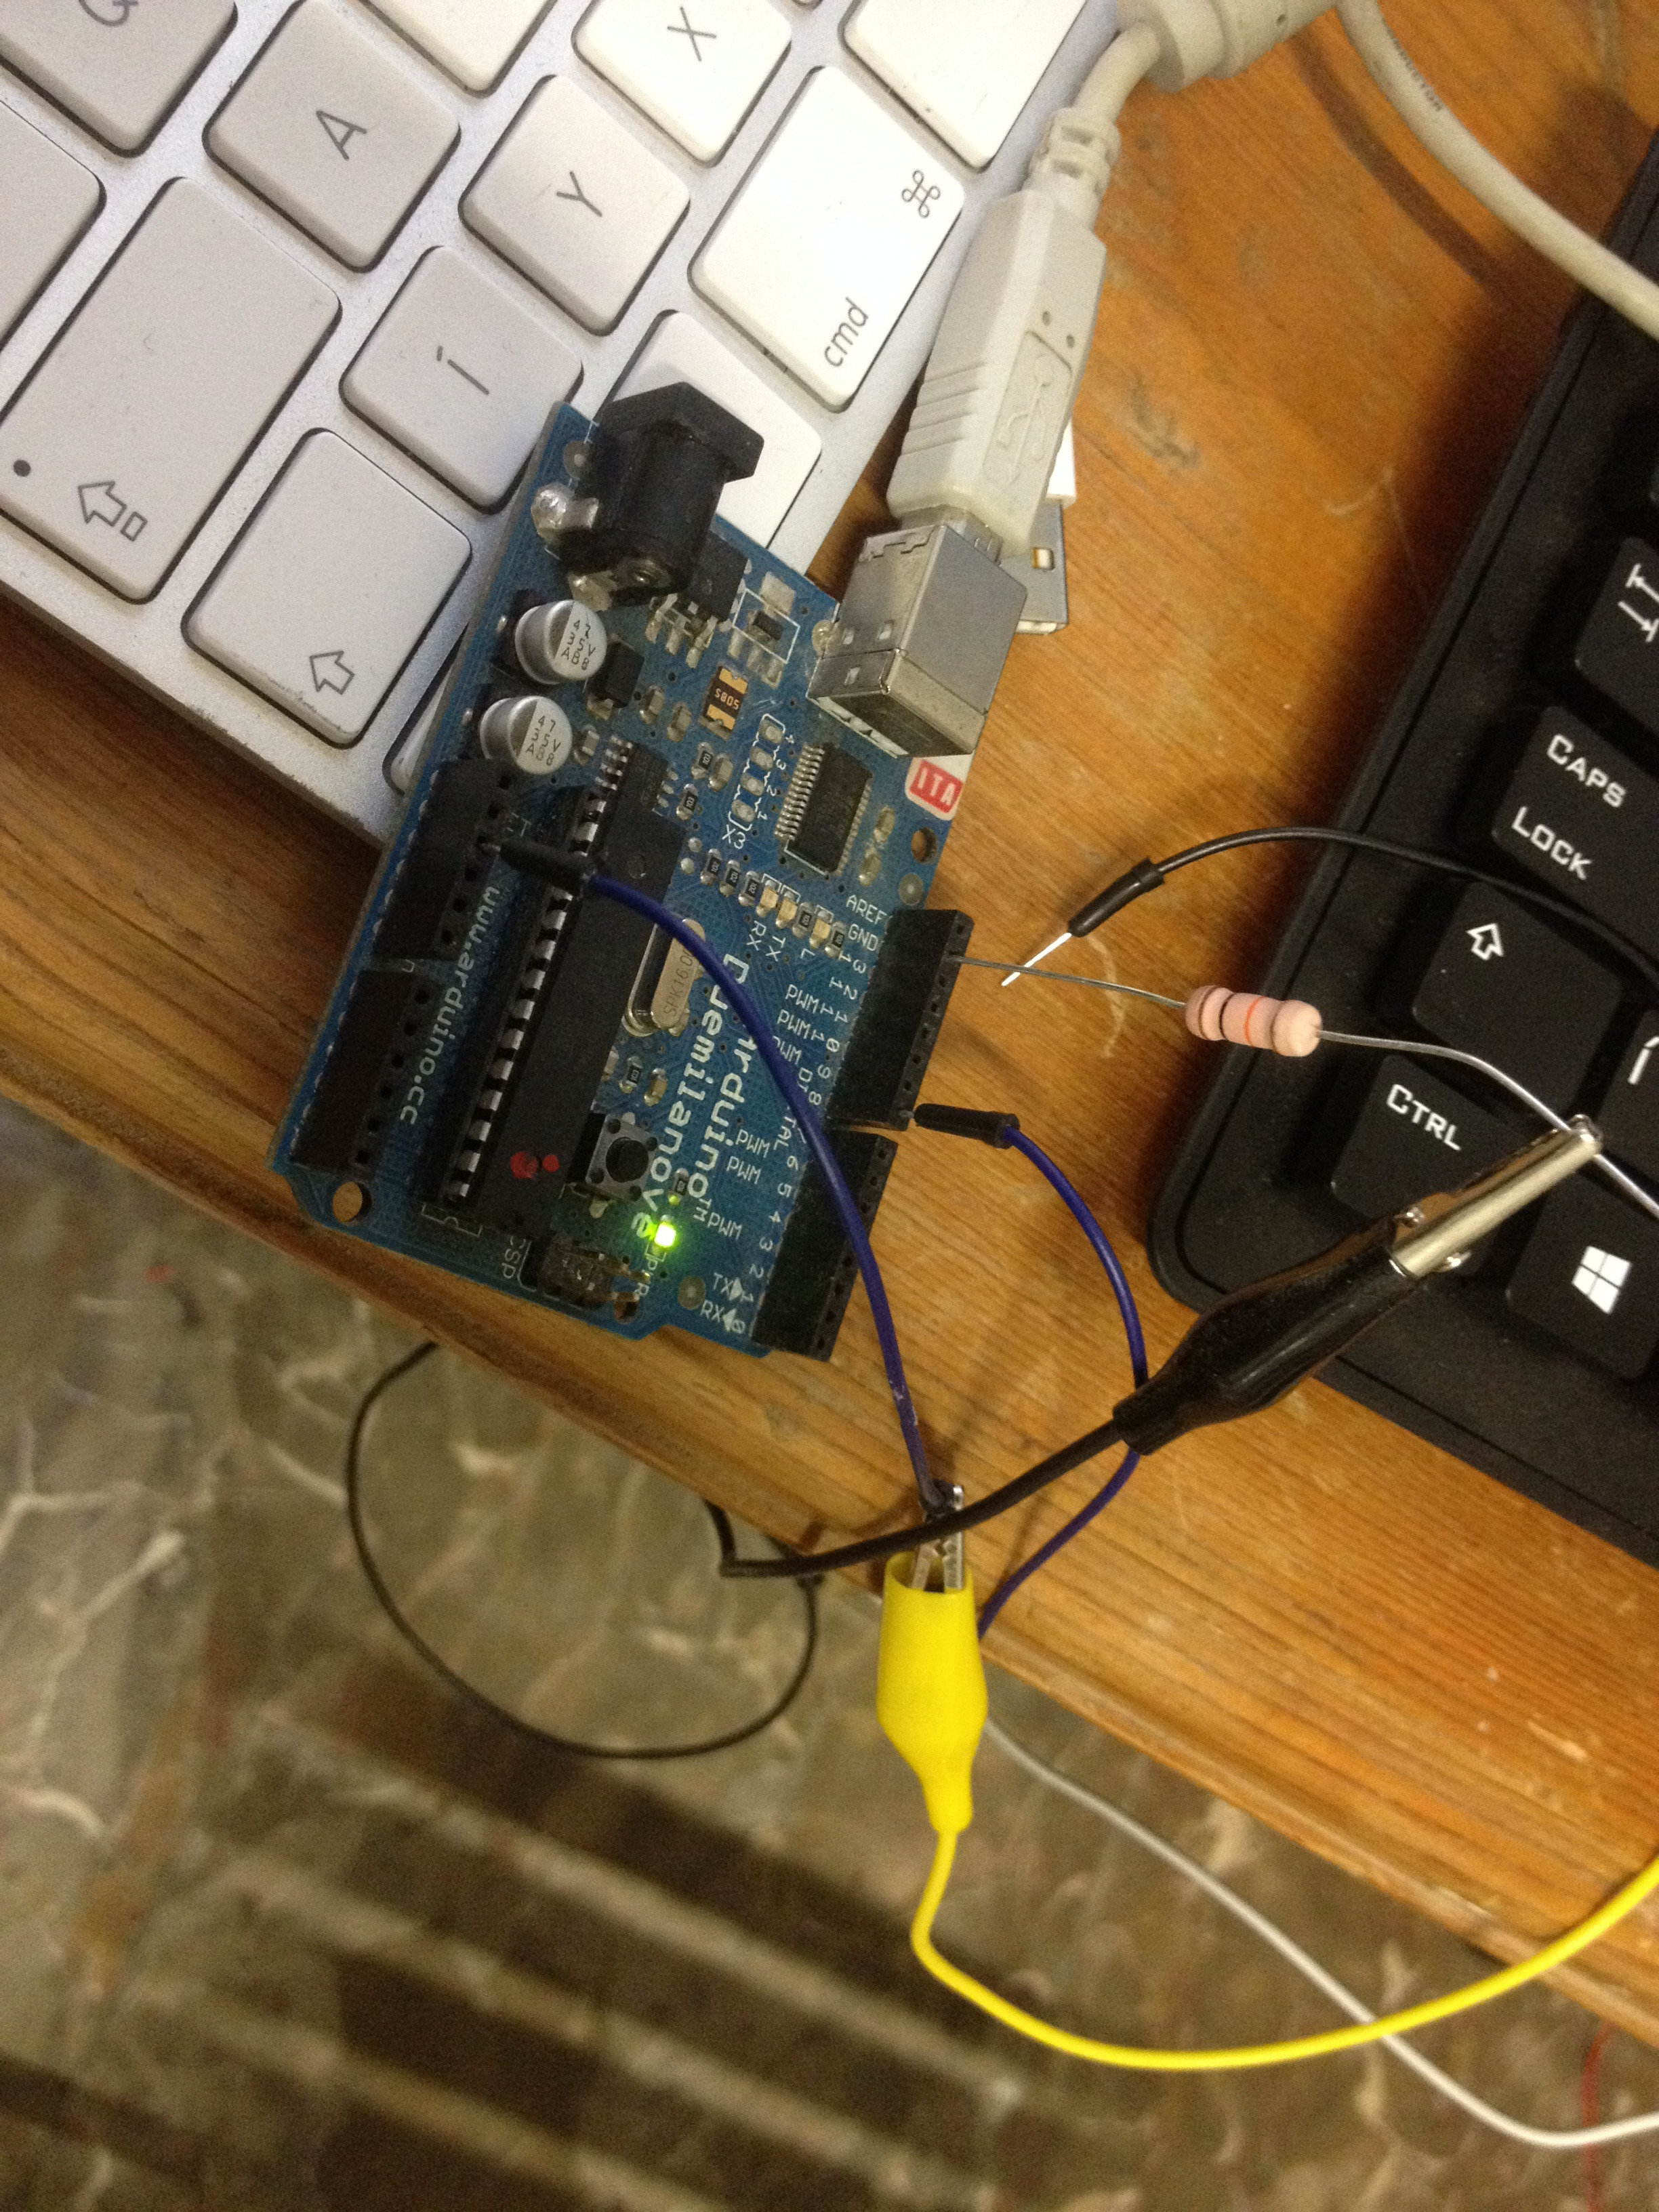
Now we can connect Arduino to a computer. In this case we use a Raspberry, because of its low power consumption.
Connect it via USB or directly with the RX-TX pins, described here.
Then install node.js and npm as described here. The keywords are:
curl -sL <a href="https://deb.nodesource.com/setup_8.x" rel="nofollow"> https://deb.nodesource.com/setup_8.x </a> | sudo -E bash -
and then
sudo apt-get install -y nodejs
Npm (Node.js's package manager) needs socket.io-client and serialport modules, so install them:
npm install socket.io-client
npm install serialport
Open and save a something.js file with the following code:
// initialize the socket.io connection:
var socket;
var io = require('socket.io-client');

socket = io("http://yourserver.com:port");
// if the connection to the server is successful:
socket.on('connect', function(){
    socket.send("i'm here!");
    console.log("connected to the server");

});

// initialize the serial port communication, NB /dev=ttyACM0 can be changed:
var SerialPort = require('serialport');
var serialPort = new SerialPort('/dev/ttyACM0', {
    baudRate: 9600
    });

// If something comes from the Arduino, sends different messages
// to the server according to it
serialPort.on('data', function (data) {
    console.log('Data:', data.toString('ascii'));
    if(data.indexOf('8')!==-1){
            socket.send('/RingTheBell 1');
        }
		if(data.indexOf('0')!==-1){
                socket.send('/client1 1');
                }

});
// Read data that is available - i think it's not necessary
serialPort.on('readable', function () {
    console.log('Data:', port.read());
});
Now You should set up the server side node.js code also, until that You can start and test the script by
node ./something.js
If something is wrong, please let me know!
Server-side Code
On the server side, we need node.js with socket.io server.
So add it with:
npm install socket-io
Then You'll need a similar script to the code on the 2nd step, with the difference, that it waits for connections, and if they're present, it'll broadcast any message sent from the client to all the clients, in this case, to the website users...
So, open a serverscript.js with the followings:
var http = require('http'),
	io = require('socket.io');

// open up a minimal http server. socket.io needs it.

var server = http.createServer(function(req, res) {
	res.writeHead(200,{ 'Content-Type': 'text/html' });
	res.end('hello');
});

// turn tcp socket on - set your port!

server.listen(7004, function() {
	console.log("TCP server running on port 7004");
	});

// analyze tcp messages

var socket=io.listen(server);

socket.on('connection', function(client, rinfo) {

	client.broadcast.emit('system','somebody connected... ');


	client.on('message', function(event){
		console.log(event);
		// broadcast any message to every connected users!
		socket.emit('message',event);
		});
	client.on('everybody', function(event){

		});
	client.on('disconnect',function(){
		socket.emit('message','somebody disconneted...');
		});
	});
Give a try to test it with
node ./serverscript.js
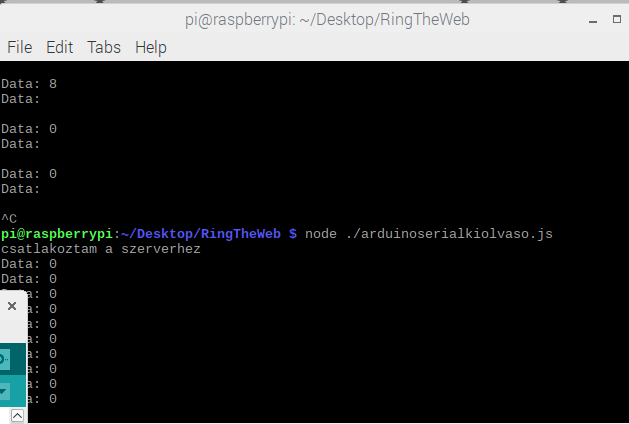
If the client is running too, You should see their communication on both consoles. At least these:
Data: 0
- periodically tells the system that the Arduino->Raspberry->server communication is working.
and
Data: 8
- tells that button is on.
Configure Website
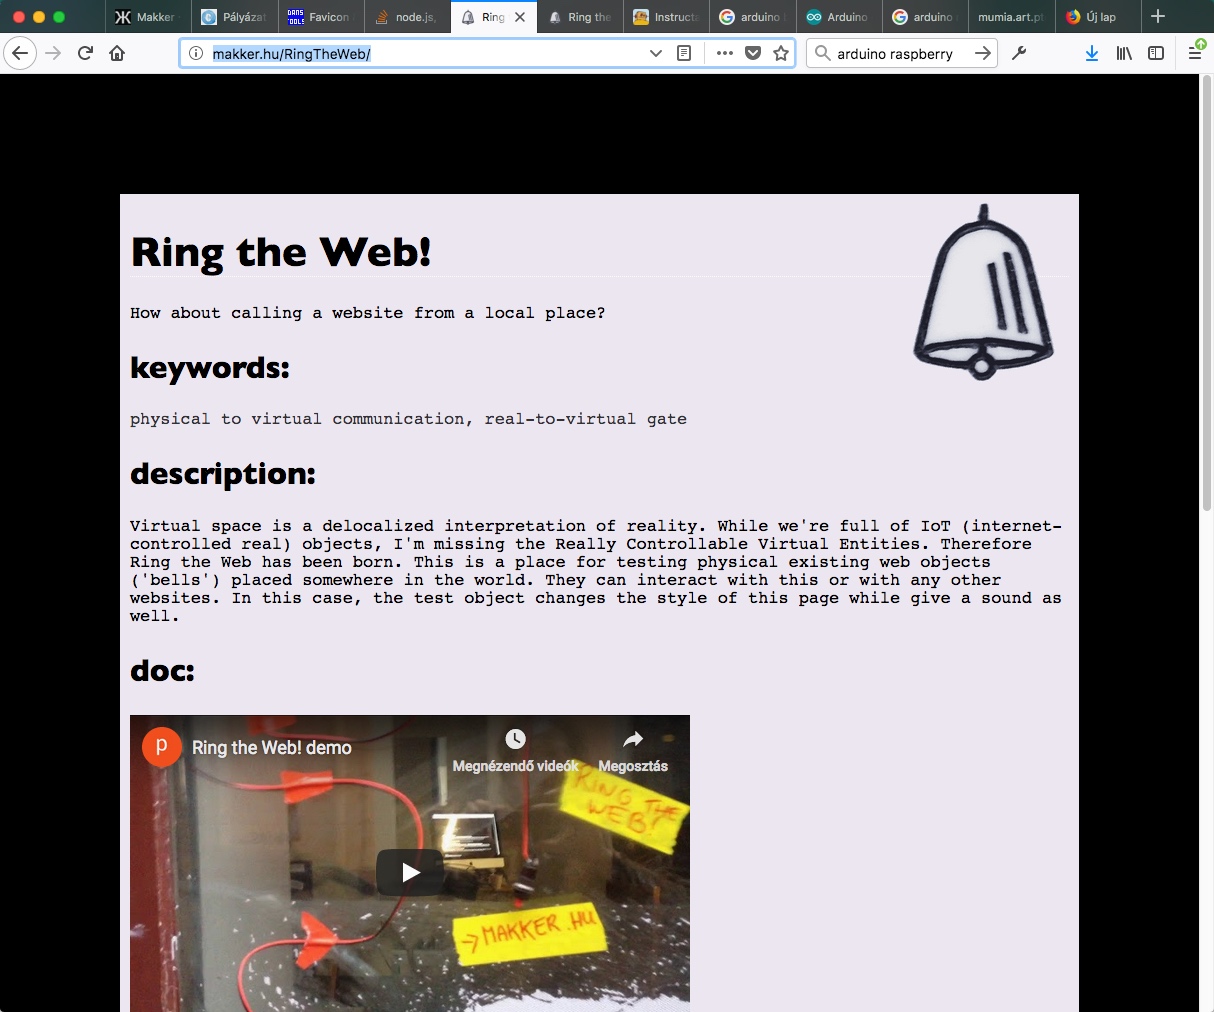
Now we're ready with the 75% !
Finish the hard work with include the code for the website.
It's easy.
first, include socket.io client:
<script src="https://cdn.socket.io/socket.io-1.4.5.js></script><br>
then create the message-analyzer system:
var socket;

socket = io("yourserver.com:port");<br>	socket.on('connect', function () {
    	socket.send('anonym client - a website user - is connected!');

socket.on('message', function (msg) {

// if You want to see every message, just uncomment it:
//		console.log(msg);

		if (msg == "/RingTheBell 1")

// here comes the code to use for expressing the pushbutton event:
			{
					document.body.style.background = "#ccc";
					setTimeout(function() {
						document.body.style.background = "#000";
						}, 1000);
					};

		if (msg == "/client1 1")
			{
// here you can place something which reacts to the connected client status
			};

 });
Voilá!
ready.