Rigging a Character With Blender
by HelloWorld01 in Design > 3D Design
240 Views, 2 Favorites, 0 Comments
Rigging a Character With Blender
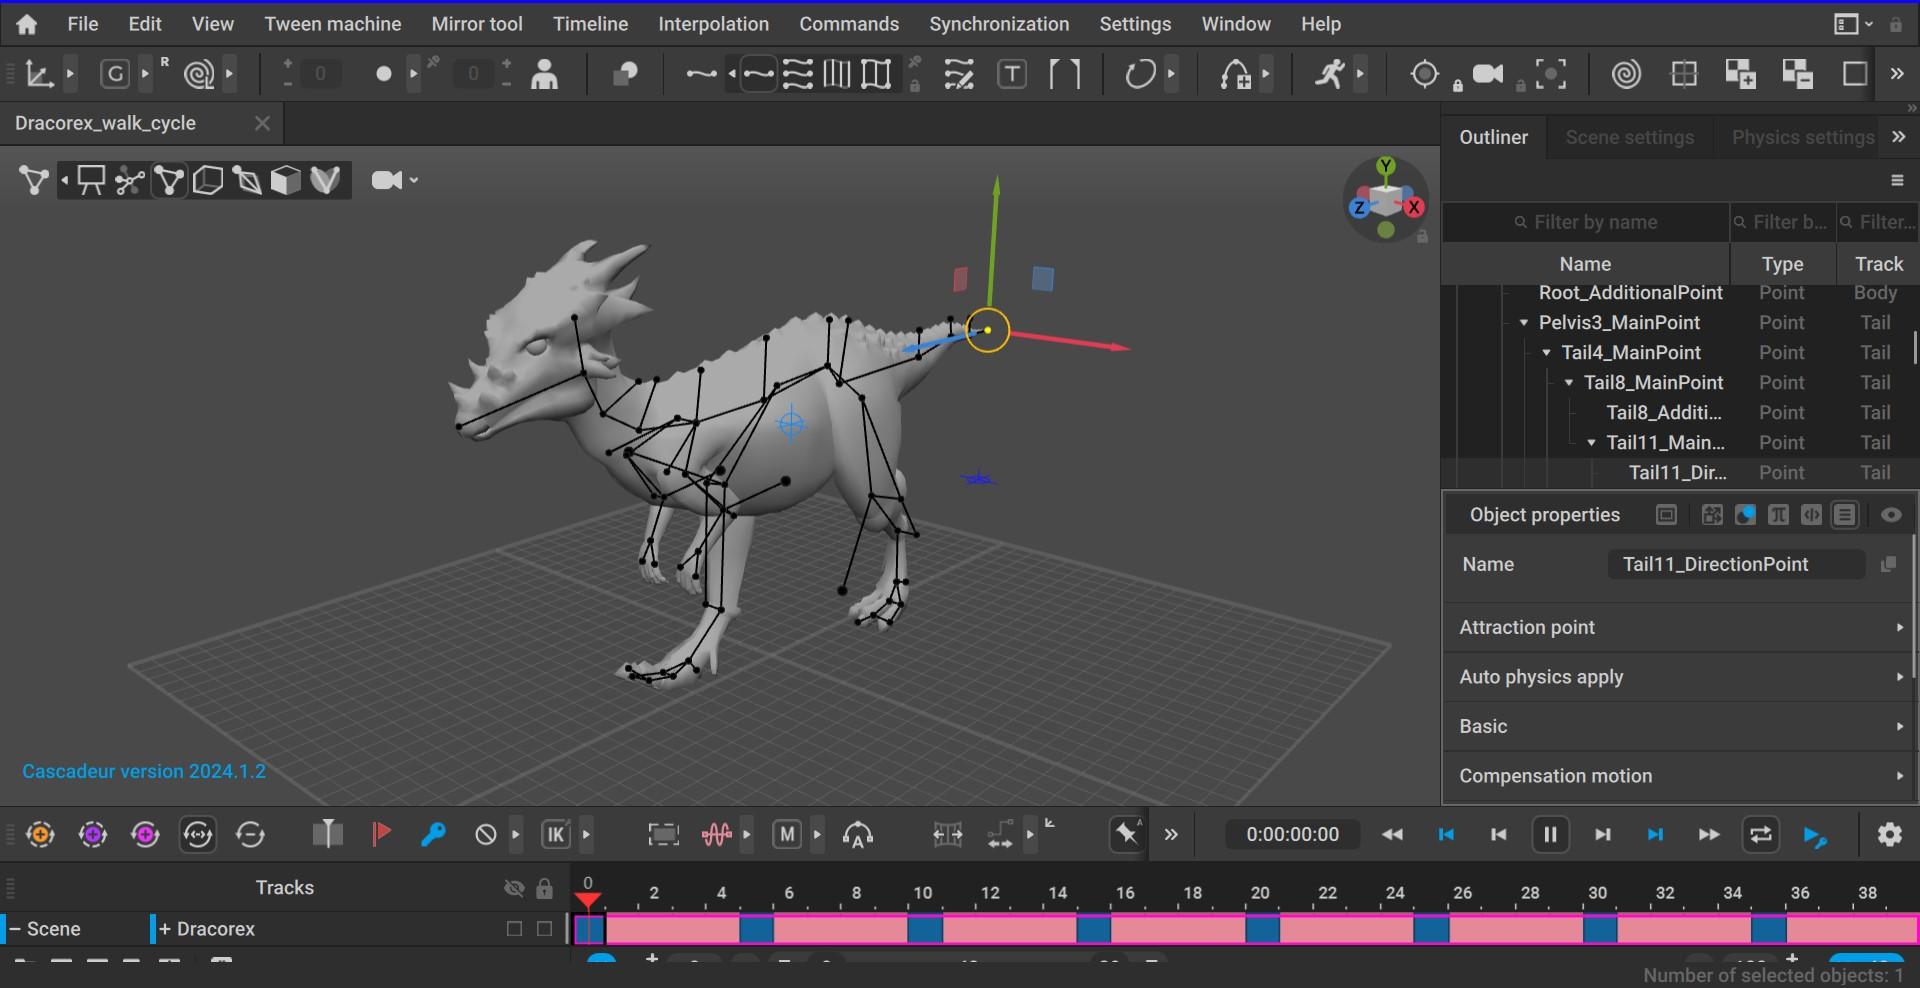
In this instructables, I'll teach you step-by-step how to rig a character in Blender
But first, what is rigging ? Let's say, I have a 3D model of a character, but he's in a pose that I don't like. If you rig that character, you can change it's pose to anything you like, even impossible ones (like the head touching the back) then you can even animate them.
Supplies
- A computer with Blender installed (if you don't have that, I'll take care, don't worry, just keep reading)
Finding a Character
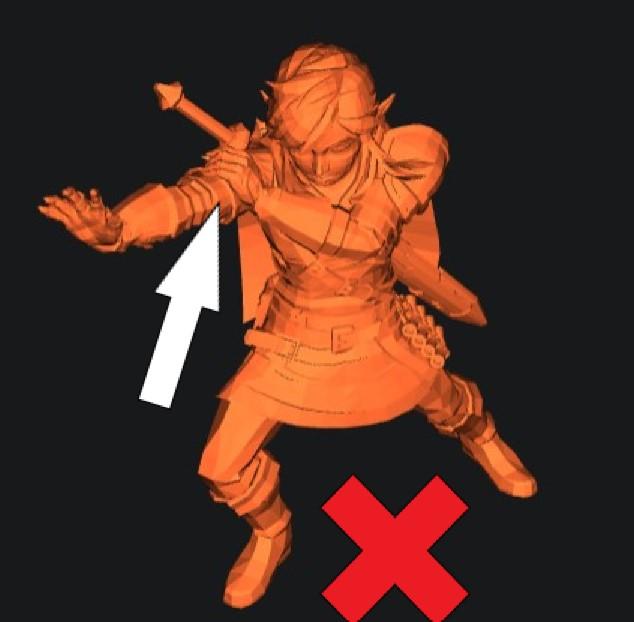
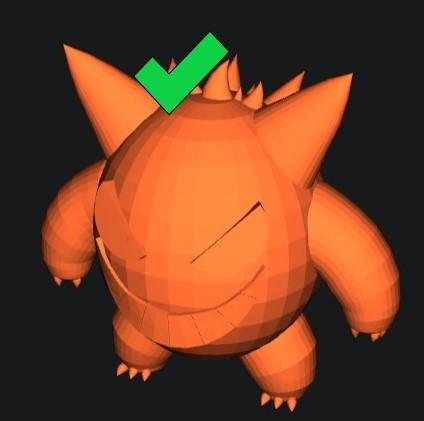
First, you need to find a character to rig. In this lesson, I'm not teaching you to create one, just to rig it
So you can upload ones you made or find some on printables, makerworld, and others.
So ideally, you should find ine that has no part of the body touching another. For example: (At the top)
Install (If You Already Have It, Skip This Step)
Setting Up the File
So you should (when you open the program) find options of file types. Open a 'General' file type.
Then, you find the 'File' part, click 'Import' then find your character in the explorer. It should show up in the middle and main part, the 3D viewport. If tou can't see it or see a weird shape, try un-zooming and you should see better
Quick Pause: Understanding What Is Happening
.png)
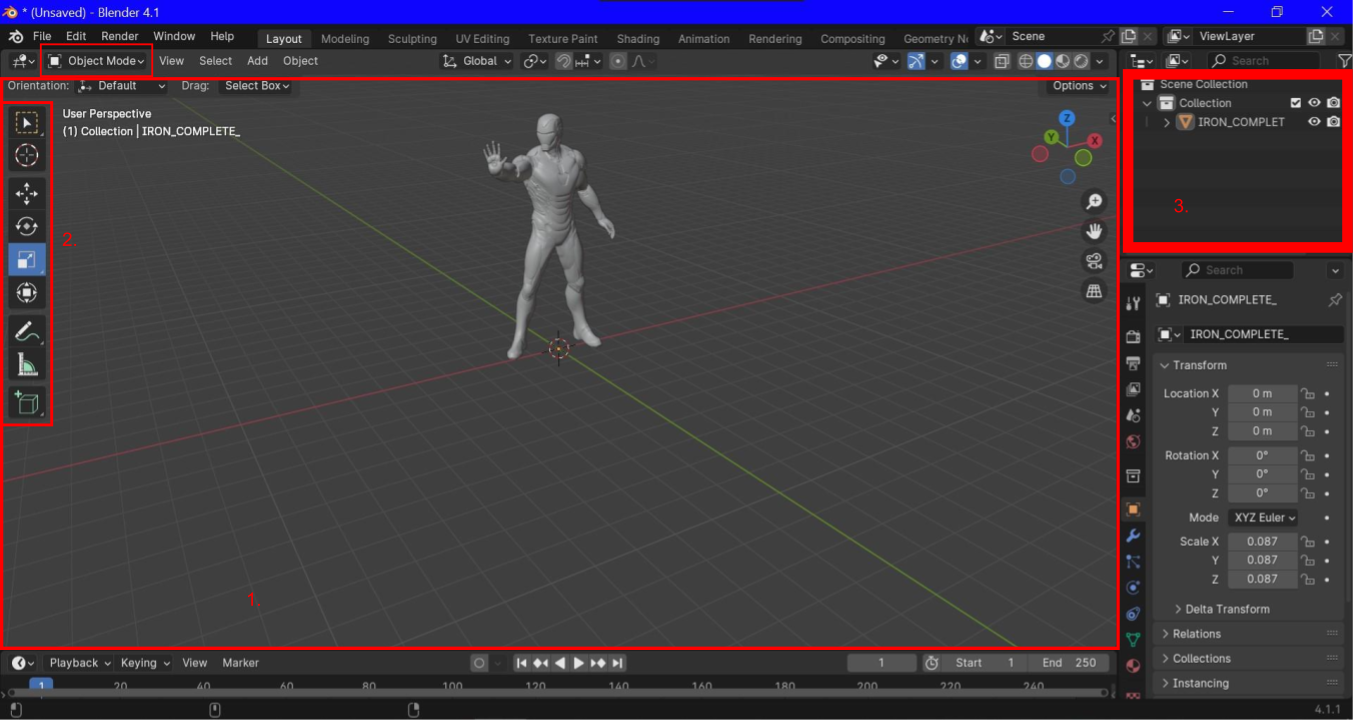
So, I wanted to make this quick pause so that you can understand what is happening.
First the Blender application:
- The 3D viewport. It's where you see everything that happens, interact with objects, ...
- The tools. It's where you can select tools to interact in different ways with the world.
- The hierarchy (I don'tknow if you write it like that, but I'm confident) pronounced ('Hi-ar-Key'). That's a list of everything that's present in the world
- The modes. In there, yu can access ALL the modes to interact differently. By default, you are in object mode.
Ok, so normally, you should have everything straightened up in your mind. So...
Rigging
This is it!
So it's going to be in two parts: first, you upload the first bone, then you extrude it to create multiple.
Uploading the First Bone
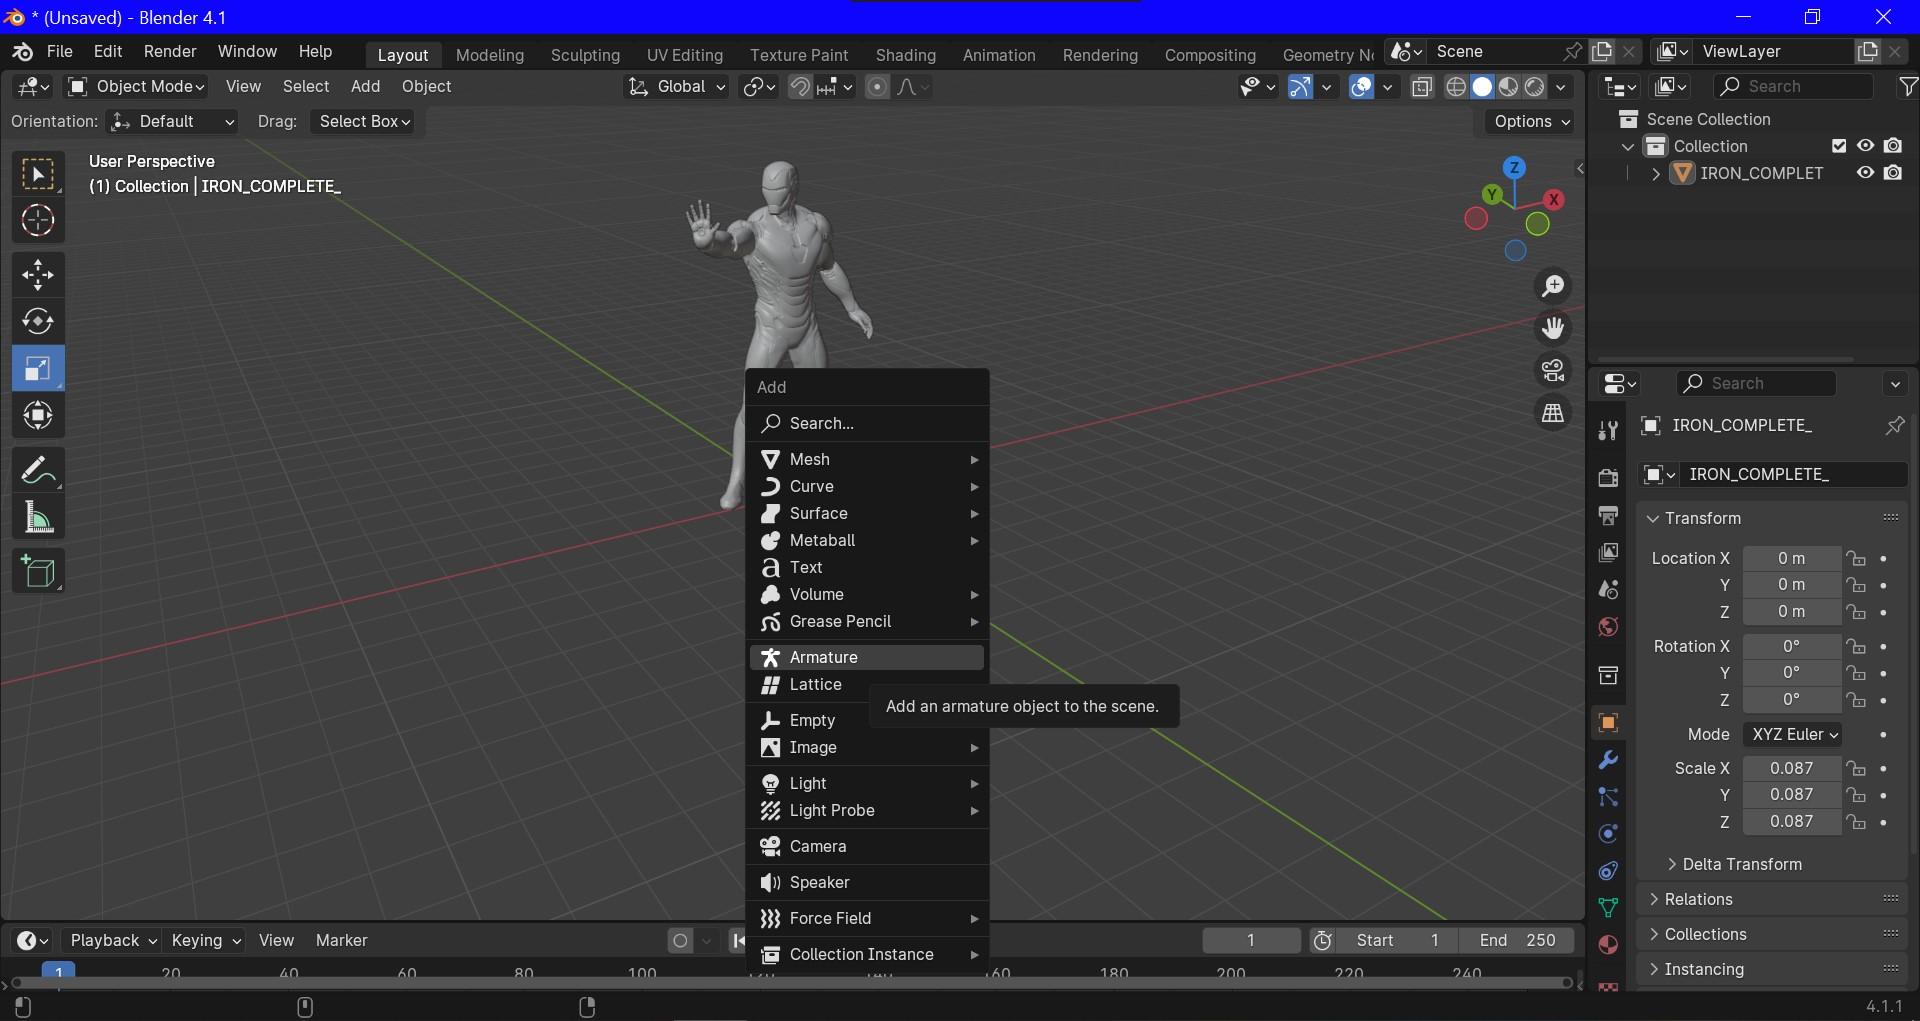
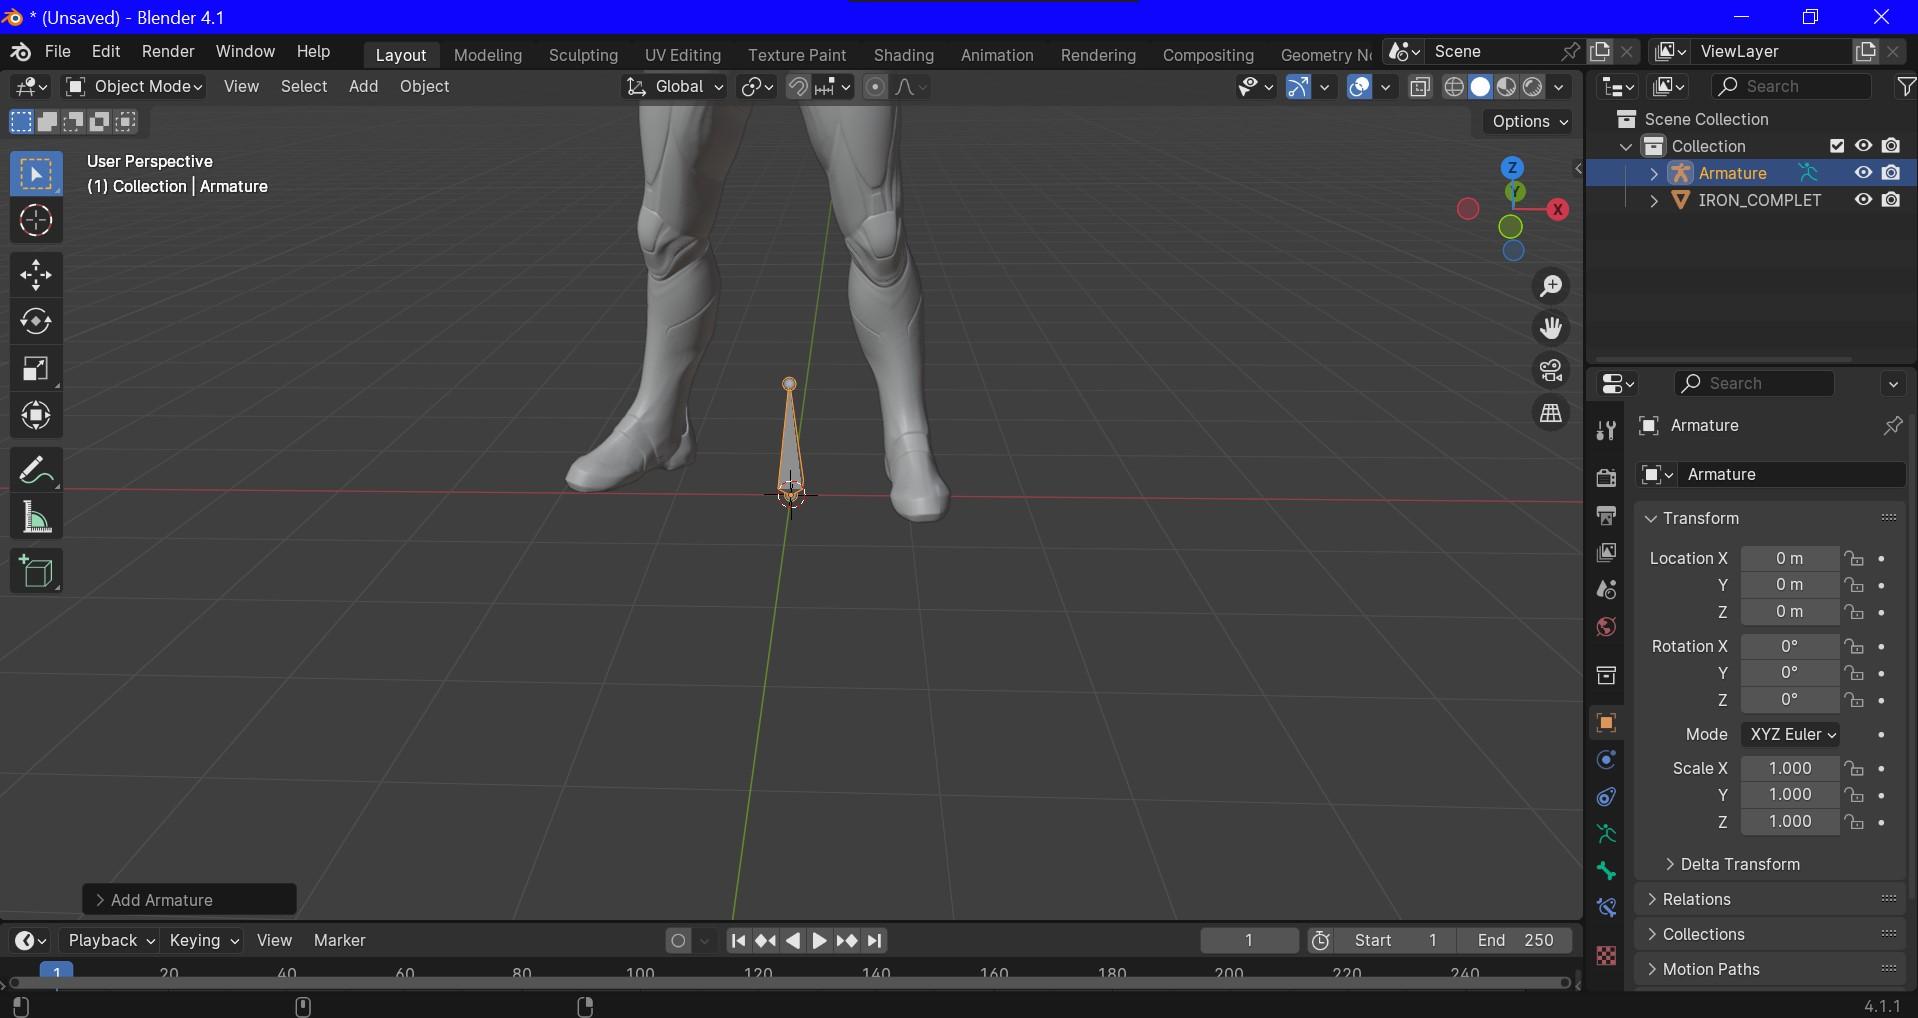
So, first you open the 'Add' menu by clicking 'Add' next to the modes dropdown or (recommended) press "Shift+A".
That done, you should see a list appera at the front of you. By selecting any, you add a new component to the world. You're going to select 'Armature'.
FIRST⚠ click the x-ray button (you find it in the top right corner of the viewport, a button with two squares)
Then, you should see a small object that looks like the image above (the second). then you need to position and rotate it where I show you (in the Third image) by clicking 'G' to Grab and 'R' to 'Rotate'. One tip: after pressing G or R, you can constrain it to a dimension (X, Y, Z). If you don't know these, you can try it then revert it with 'Ctrl+Z' or 'Command (Cmd) + Z'. If you want a position reference, I align it with the two legs.
Doing the Rest of the Body
Then, you switch to edit mode (step 4, n°4) WITH THE BONE SELECTED and then, you look and should see that only a sphere of the bone is selected. Then you multiply the bones by selecting a direction (one of the spheres) and clicking E (for Extrude) then dragging your mouse.
TIP: you can lock it to the X, Y or Z axis.
If you need help, like 'AAH ! I don't know if I need to put a bone here or there !' try yourself ! Just stand up, and look at your body.
Posing (Grand Finale)
Okay ! So now, you switch to object mode (AGAIN !) and you hold shift and click your other model. Then, Ctrl + P and click 'Automatic weights' What you did, was you joined the two models (the bones and the character) so you told the bones (or the computer that tells the bones) that the bones are THERE compare to that model.
Then you switch to 'Pose mode' and click an articulation and 'R' mive the mouse and have fun !