Reviving an External DVD R/RW
by Silas in Workshop > Home Theater
10980 Views, 14 Favorites, 0 Comments
Reviving an External DVD R/RW
Once in a while i enjoy a bit of dumpster diving, and I get most of my parts/components for projects this way.
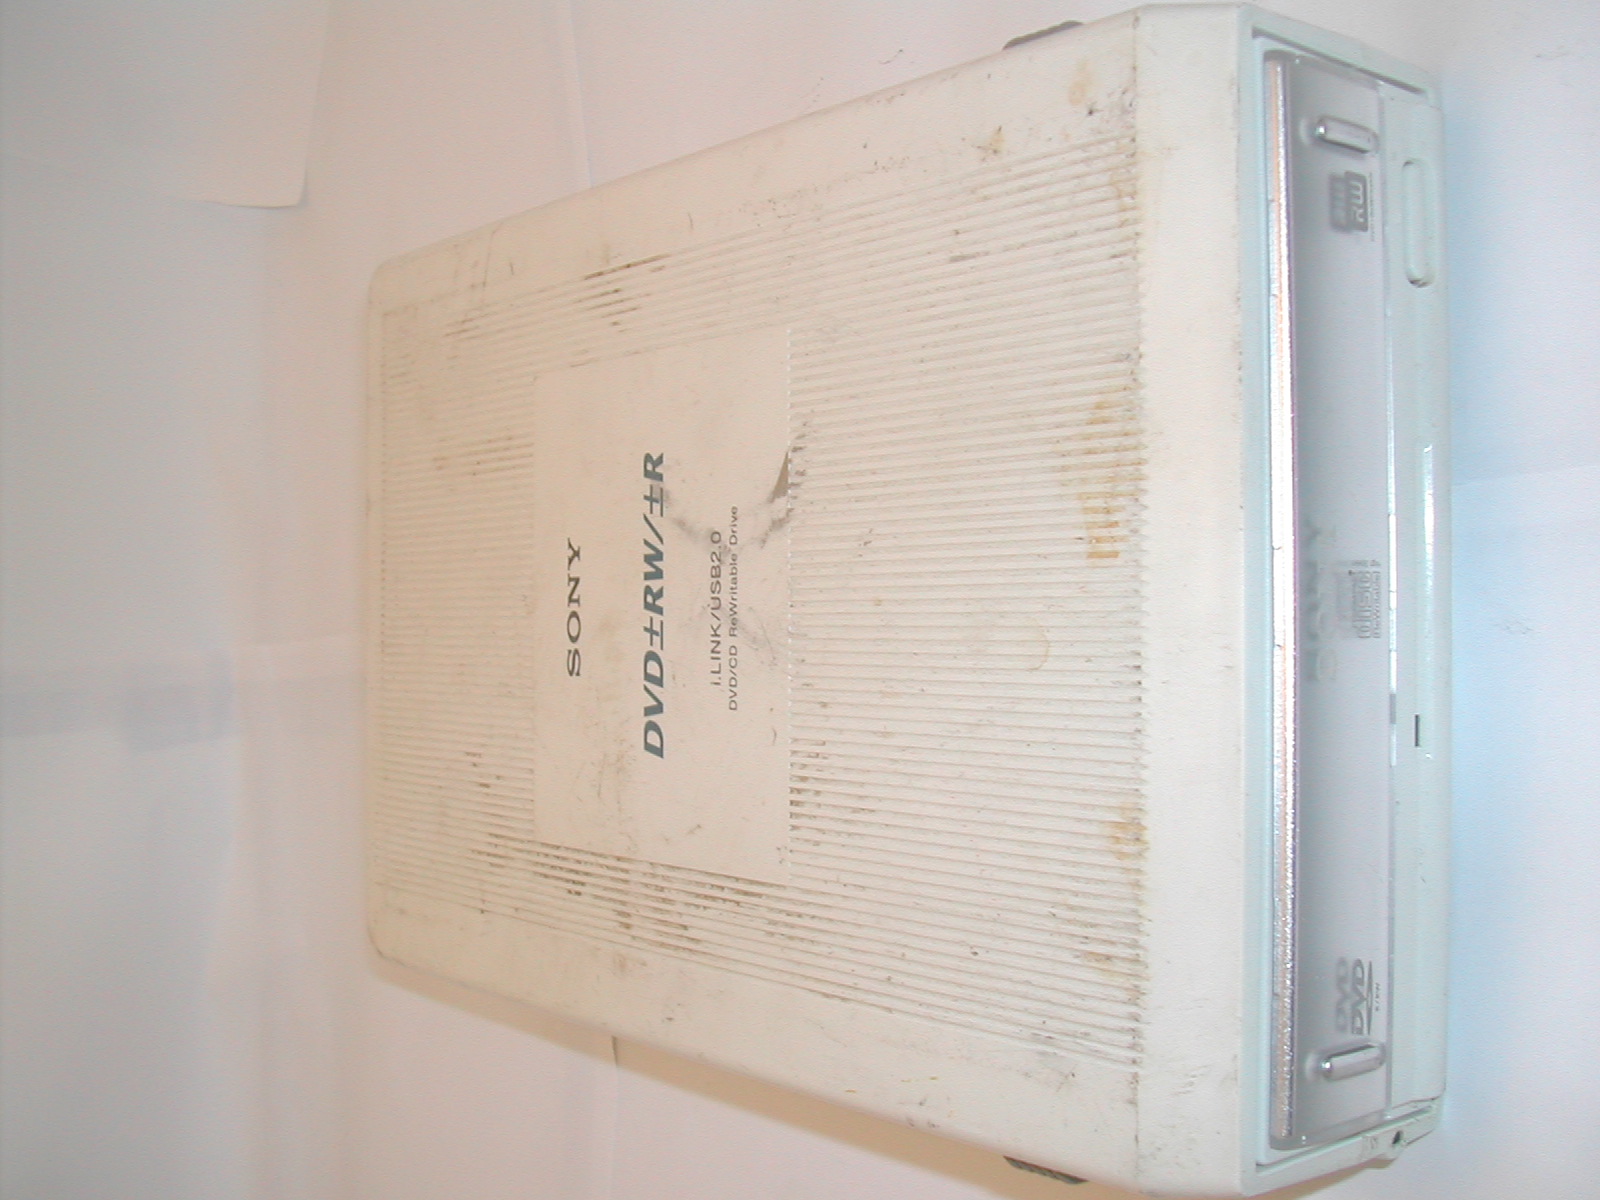
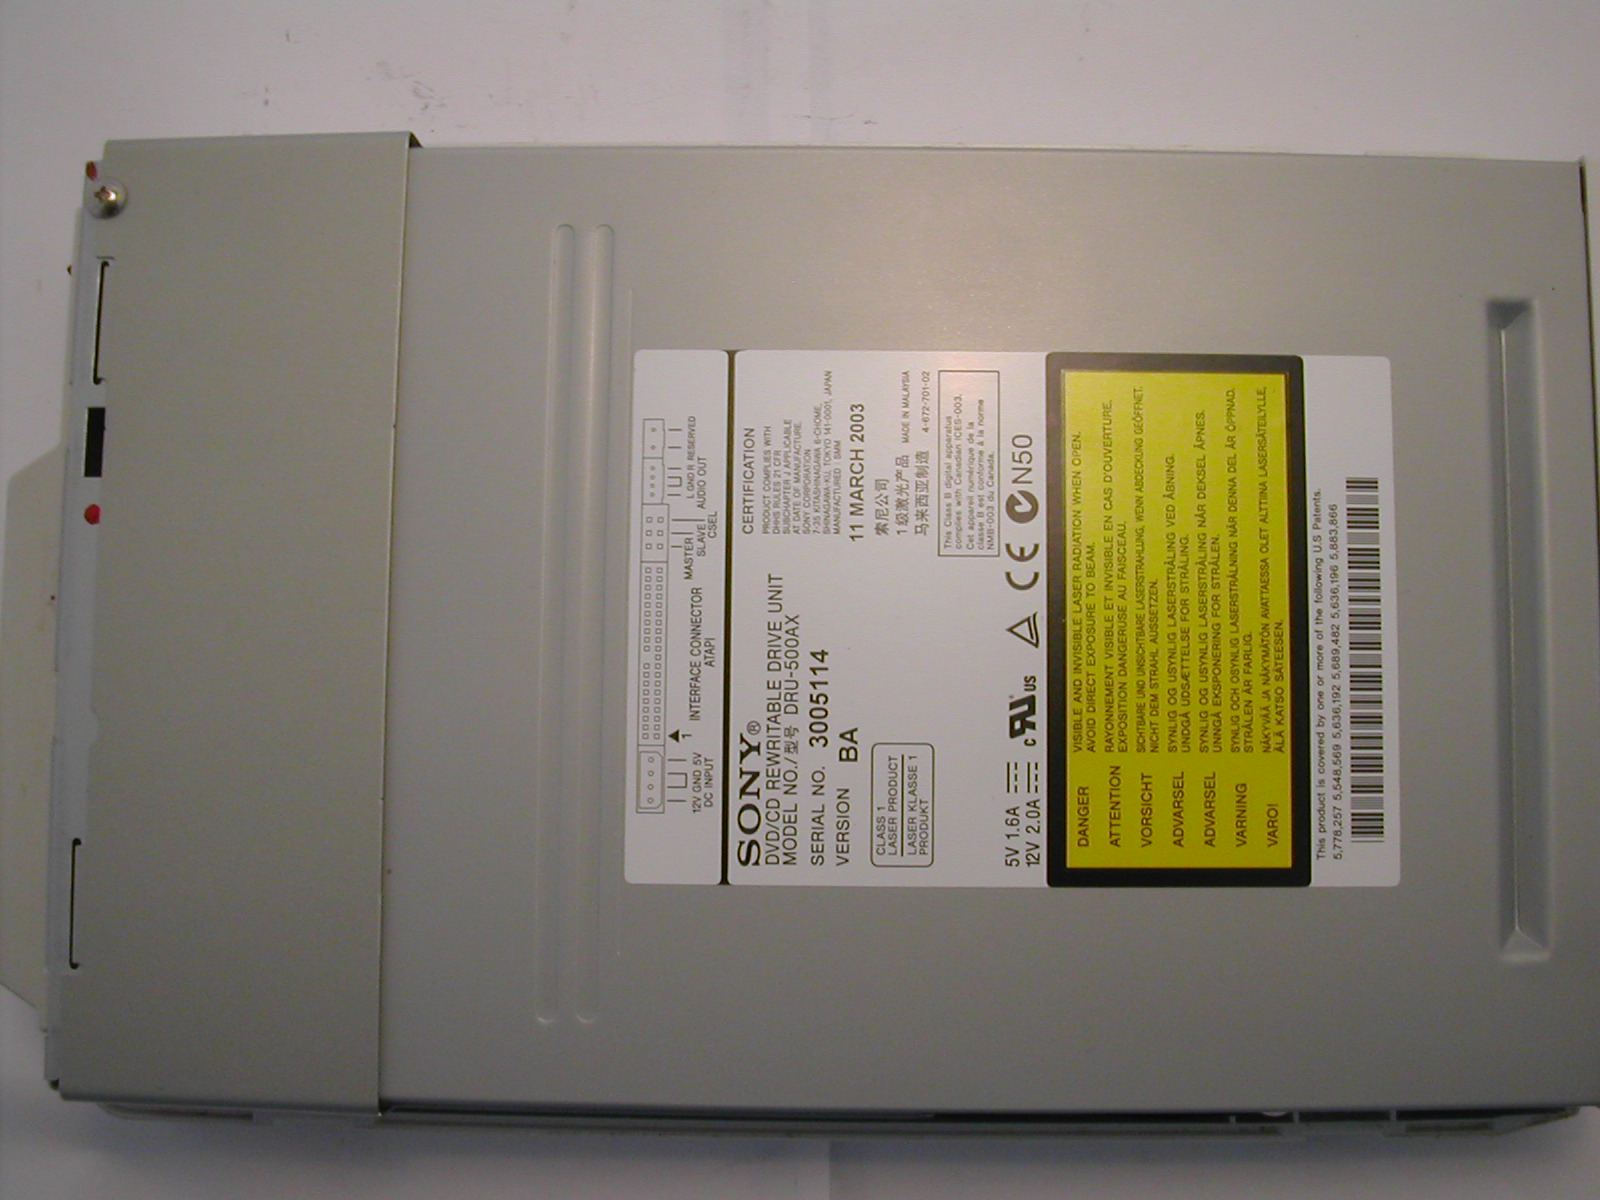
I found an external SONY DVD R/RW 2 days ago, but there was no cables. I don't need an external drive, so i don't even bother to scrounge some up. Also the casing was battered abit and really filthy.
I found an external SONY DVD R/RW 2 days ago, but there was no cables. I don't need an external drive, so i don't even bother to scrounge some up. Also the casing was battered abit and really filthy.
Disassembly

Tools:
Screw driver
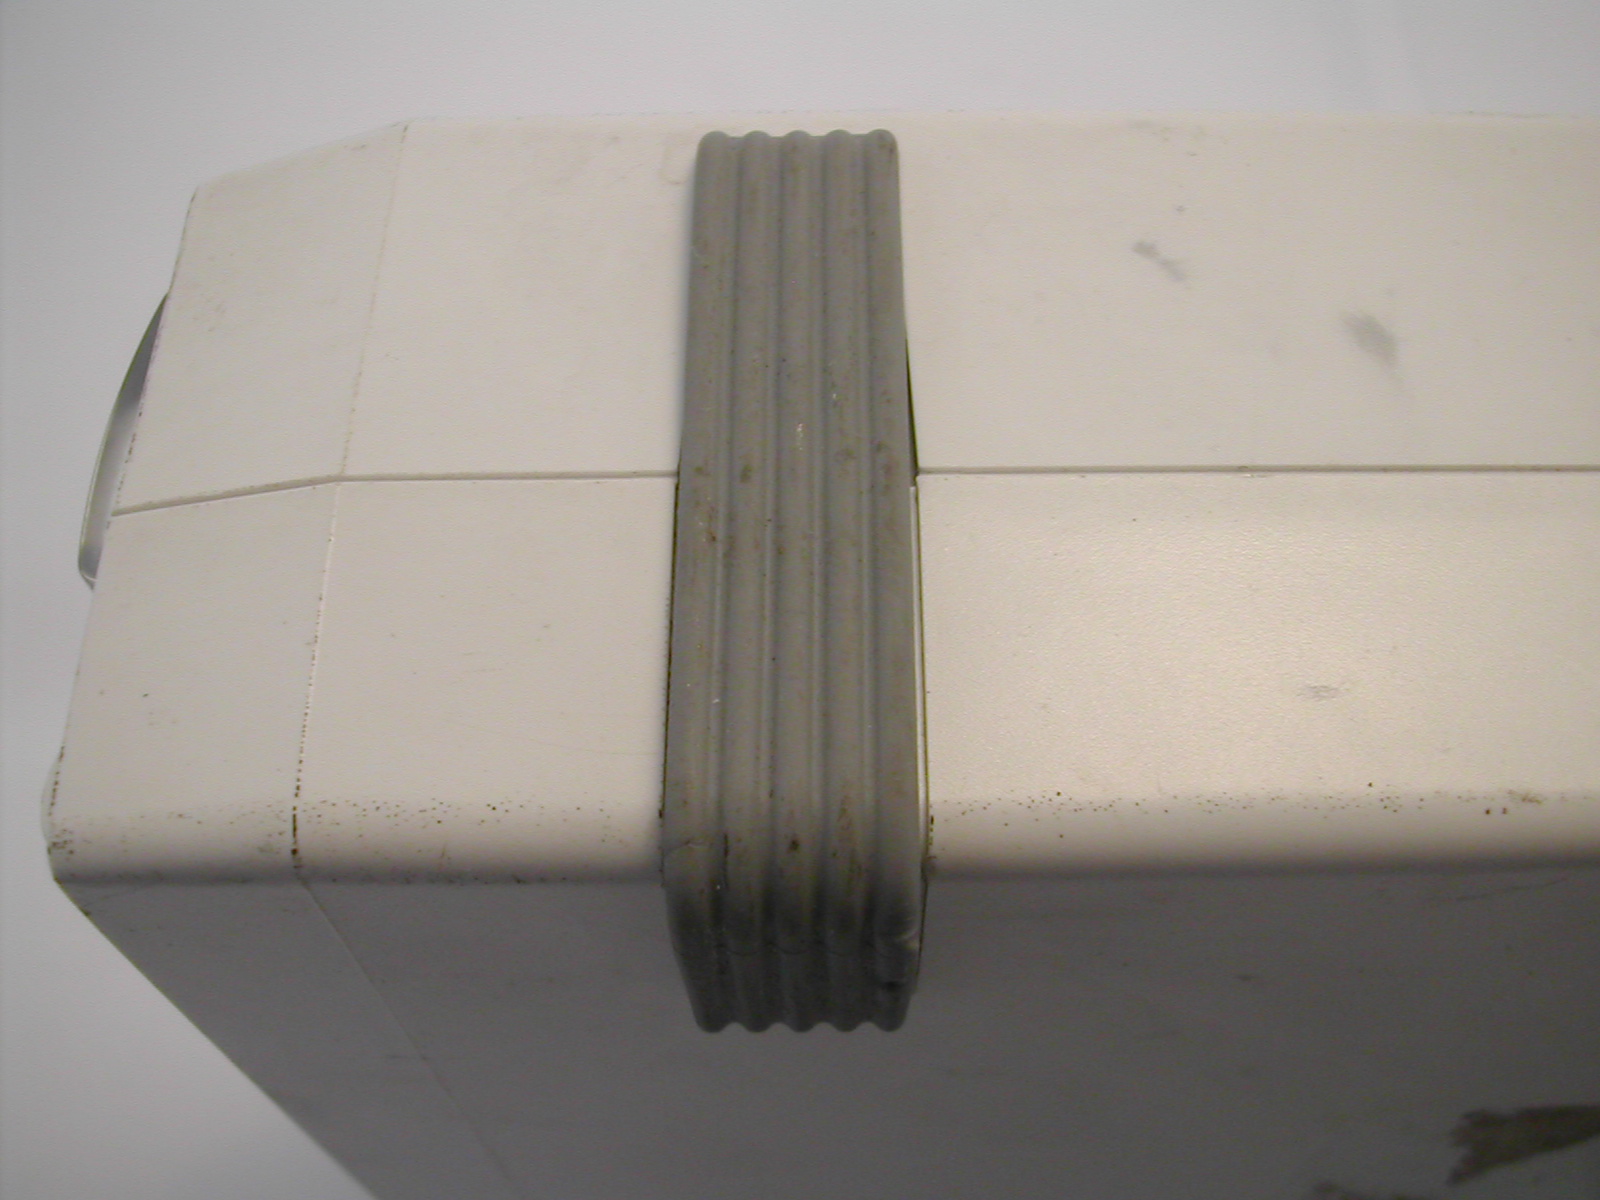
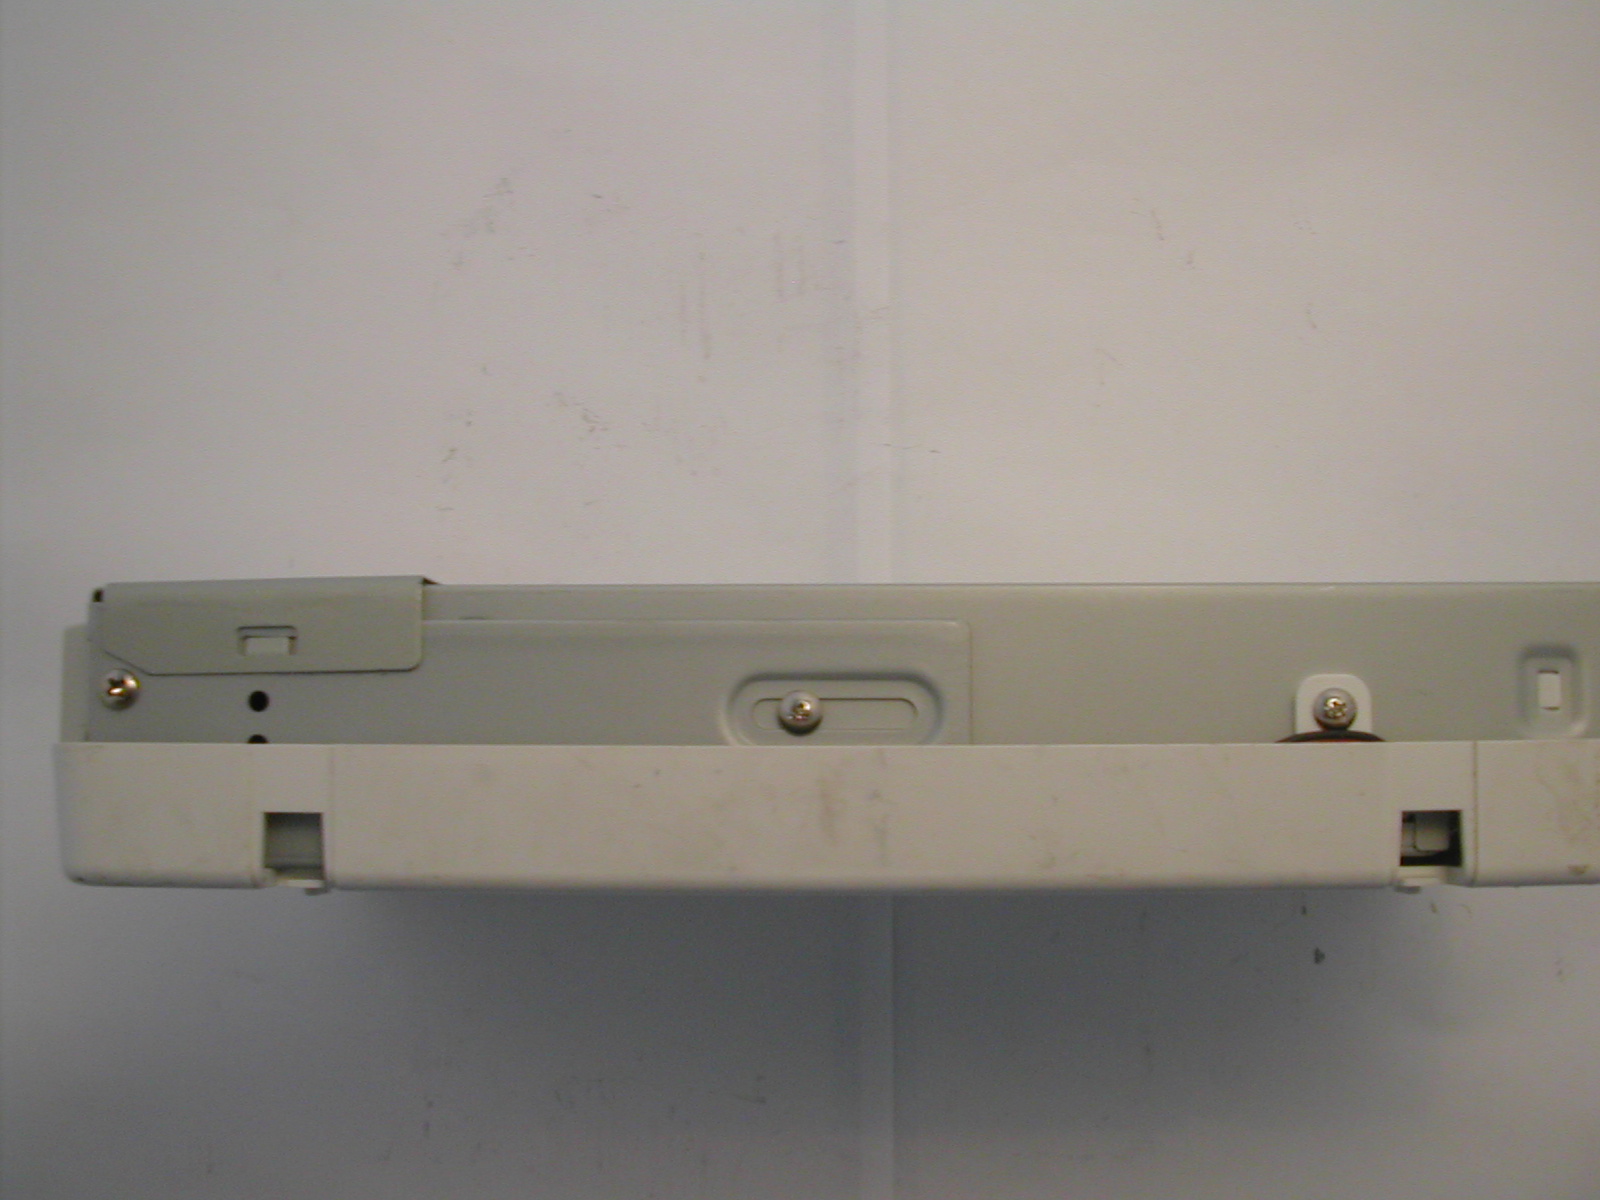
1 - Pull of the rubber feet (pic 1 & 2)
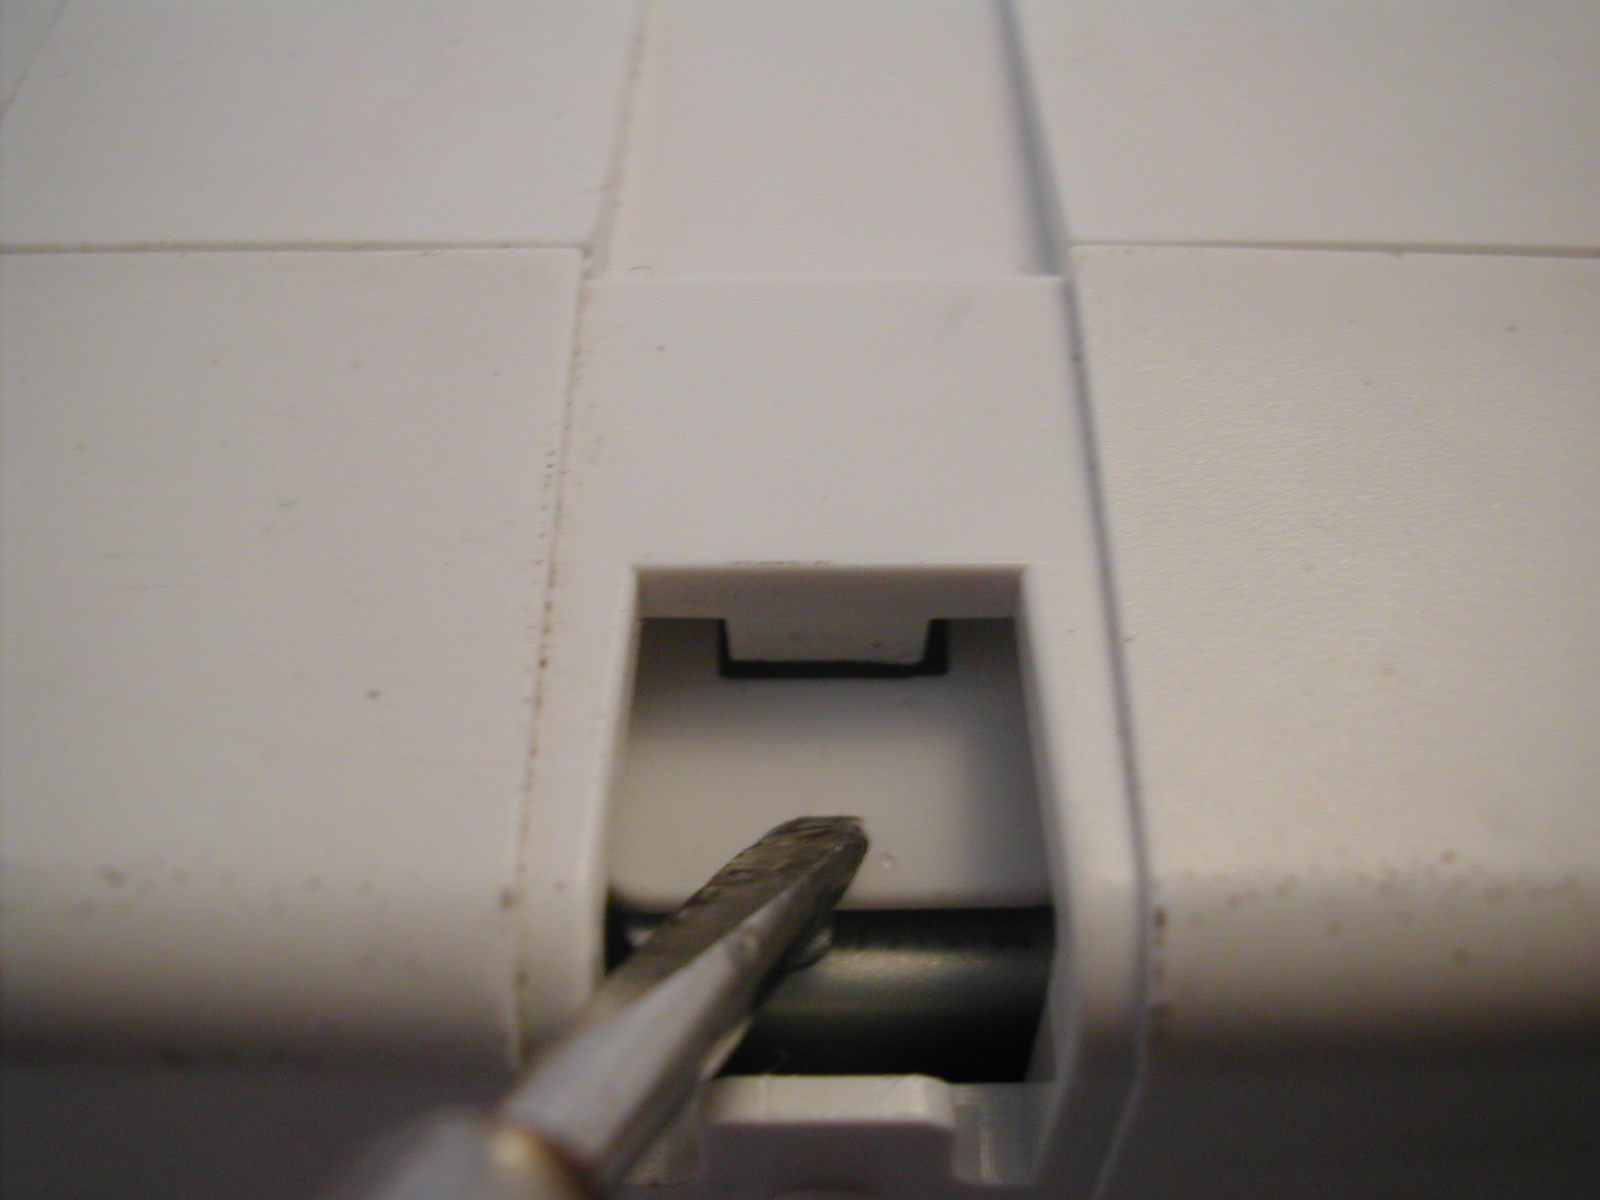
2 - Press down on the levers, then press in up so they dosen't lock. Do this one at a time (pic 3)
3 - Pull off the casing (pic 4)
4 - Screw out the screws, and remove the metal shield (pic 4 & 5)
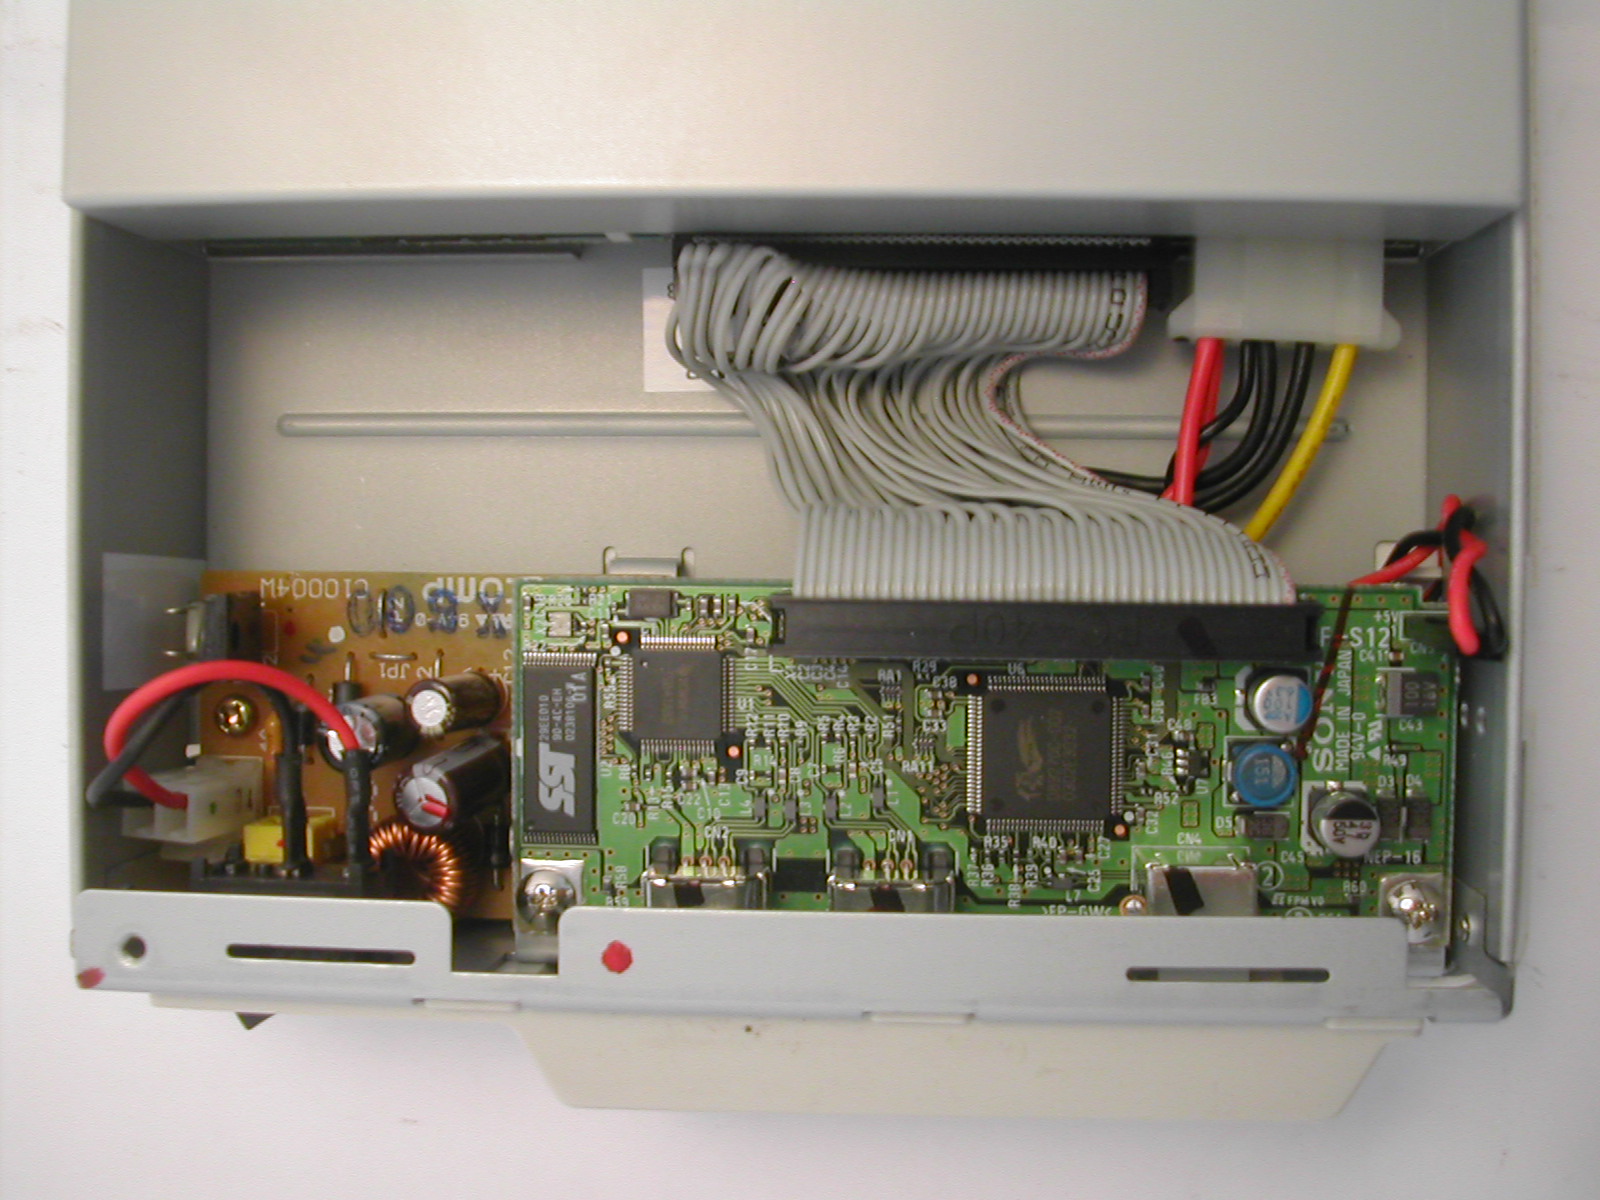
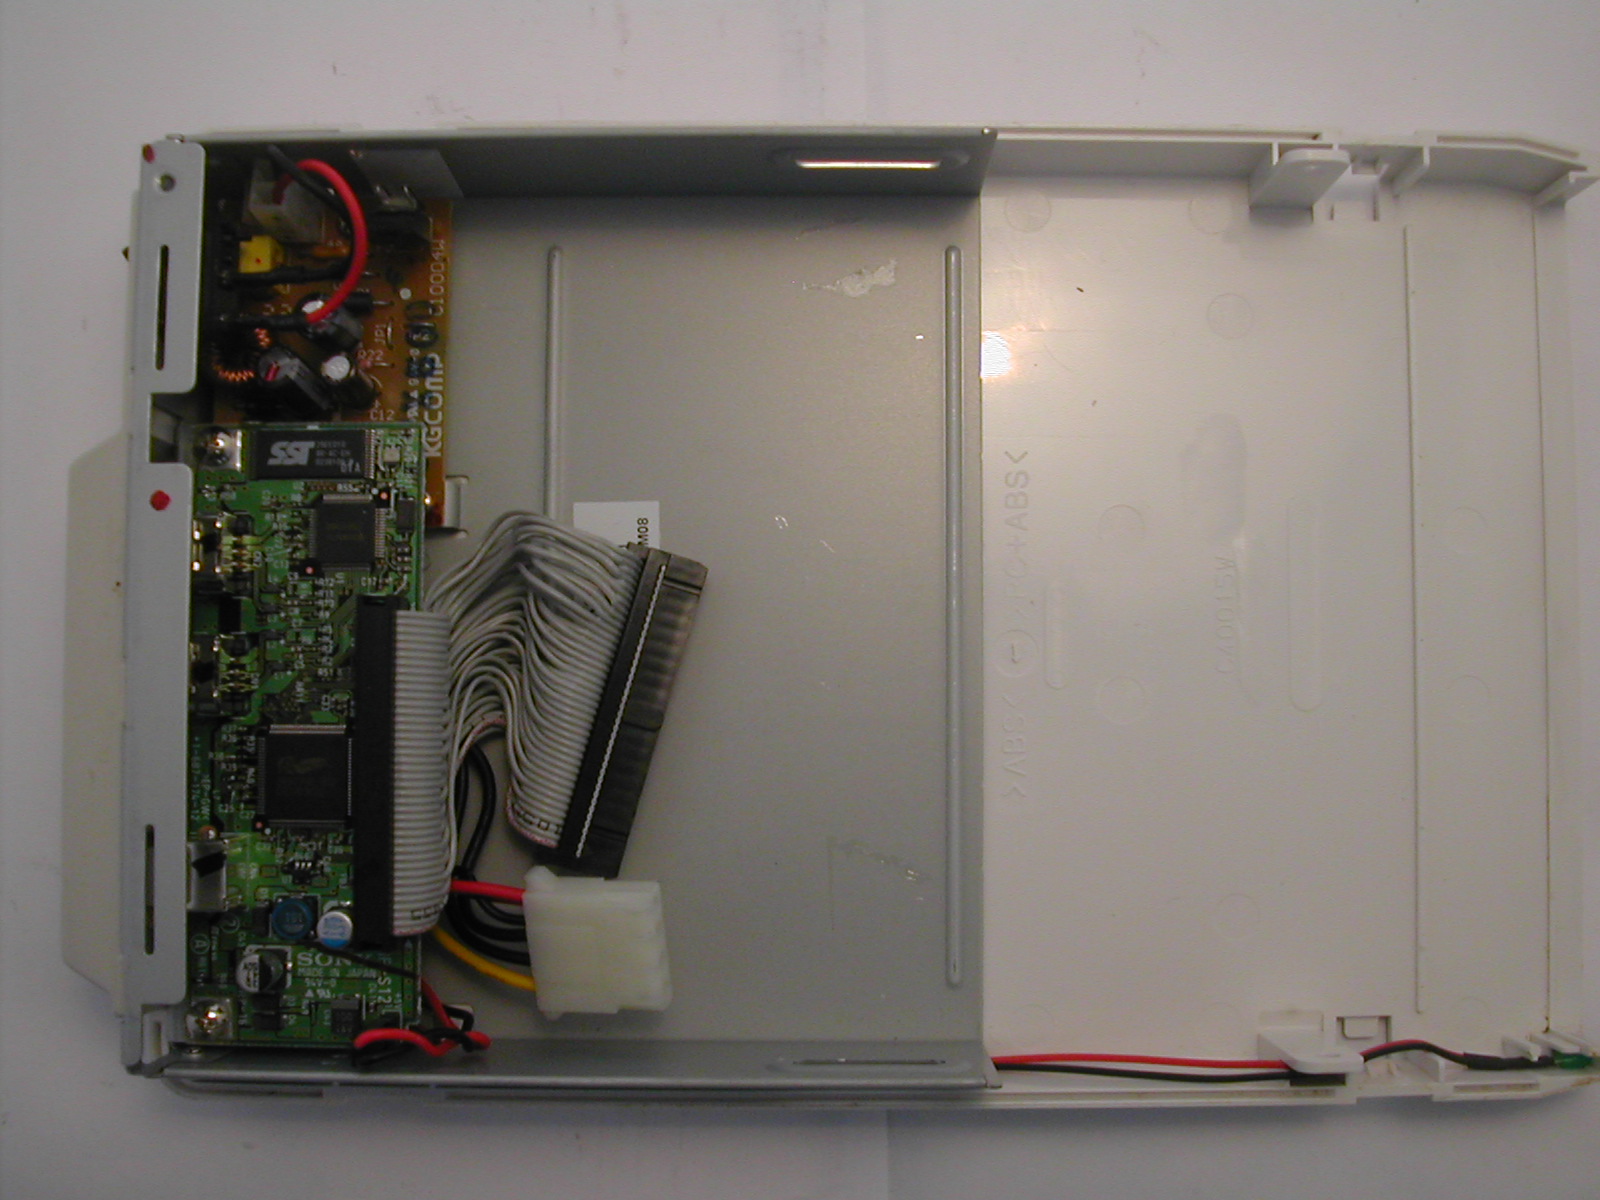
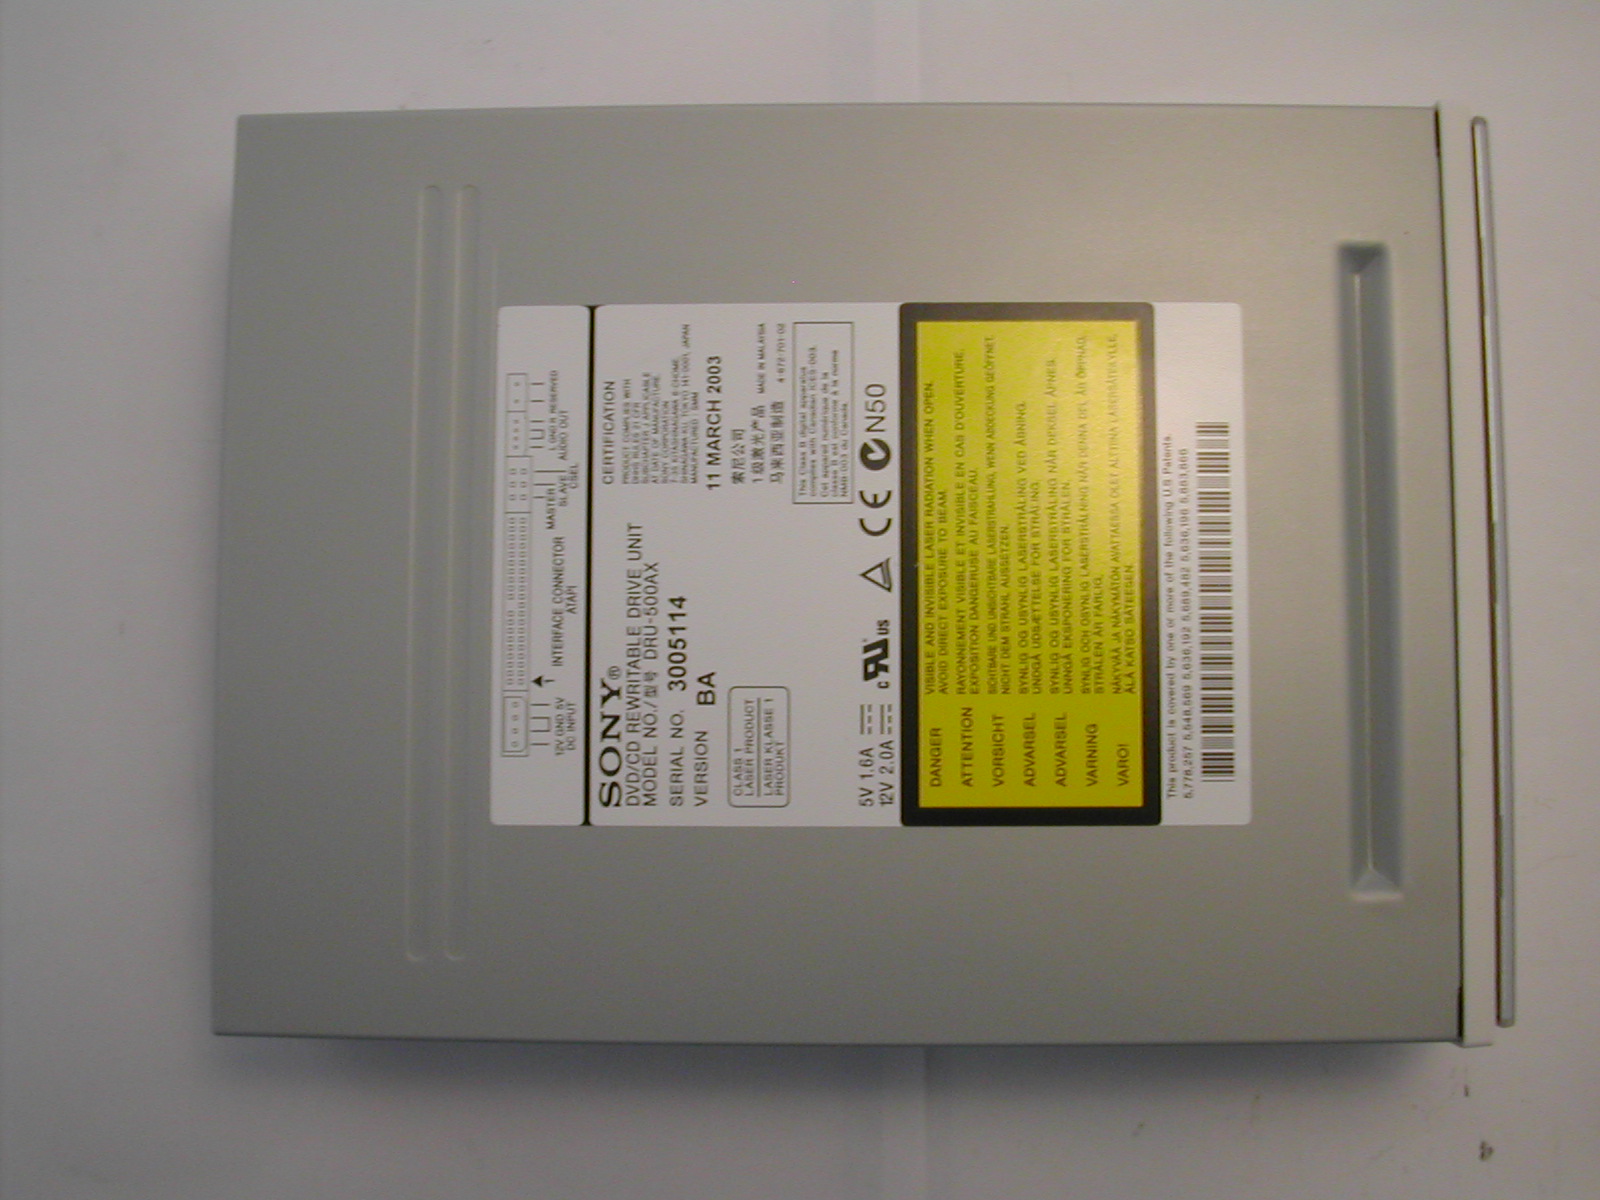
5 - Pull out the drive, so you can take off the cables. (pic 6 & 7)
6 - Done (pic 8) Now you need to install it on your PC.
Screw driver
1 - Pull of the rubber feet (pic 1 & 2)
2 - Press down on the levers, then press in up so they dosen't lock. Do this one at a time (pic 3)
3 - Pull off the casing (pic 4)
4 - Screw out the screws, and remove the metal shield (pic 4 & 5)
5 - Pull out the drive, so you can take off the cables. (pic 6 & 7)
6 - Done (pic 8) Now you need to install it on your PC.
Install
1 - You need to deside if the drive will be your Master or Slave drive, and set the pins accordingly.
2 - Hook up that bastard, and start your PC.
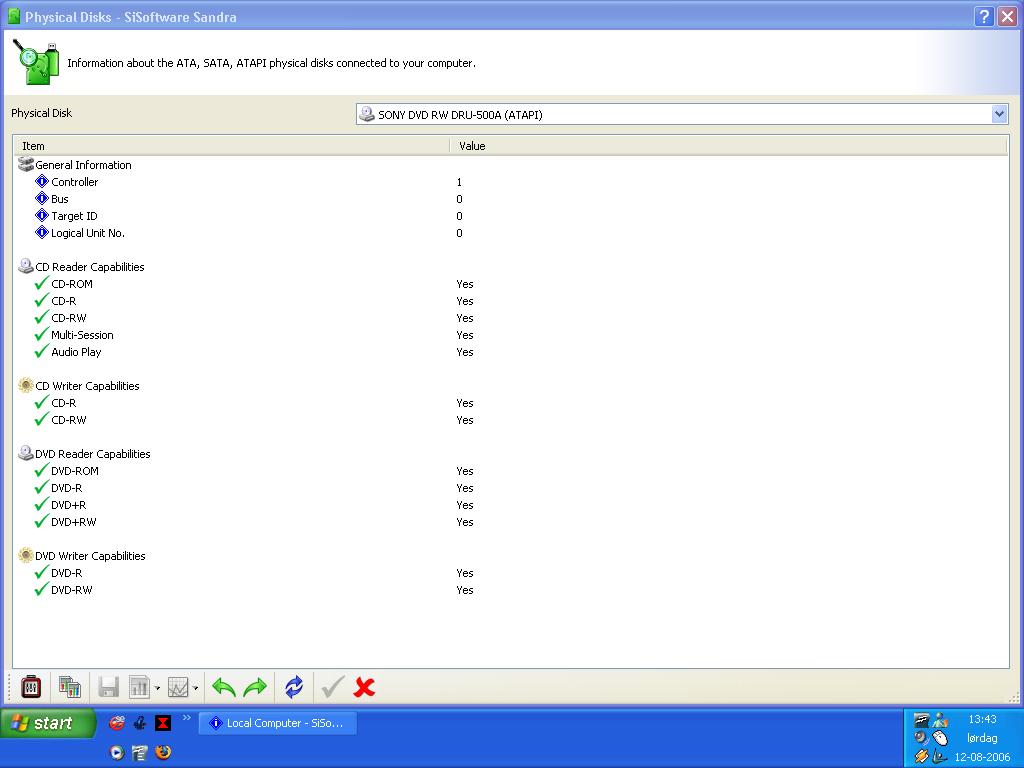
3 - Finished, and it works! (pic 1)
2 - Hook up that bastard, and start your PC.
3 - Finished, and it works! (pic 1)