Revamped Hair Trimmer


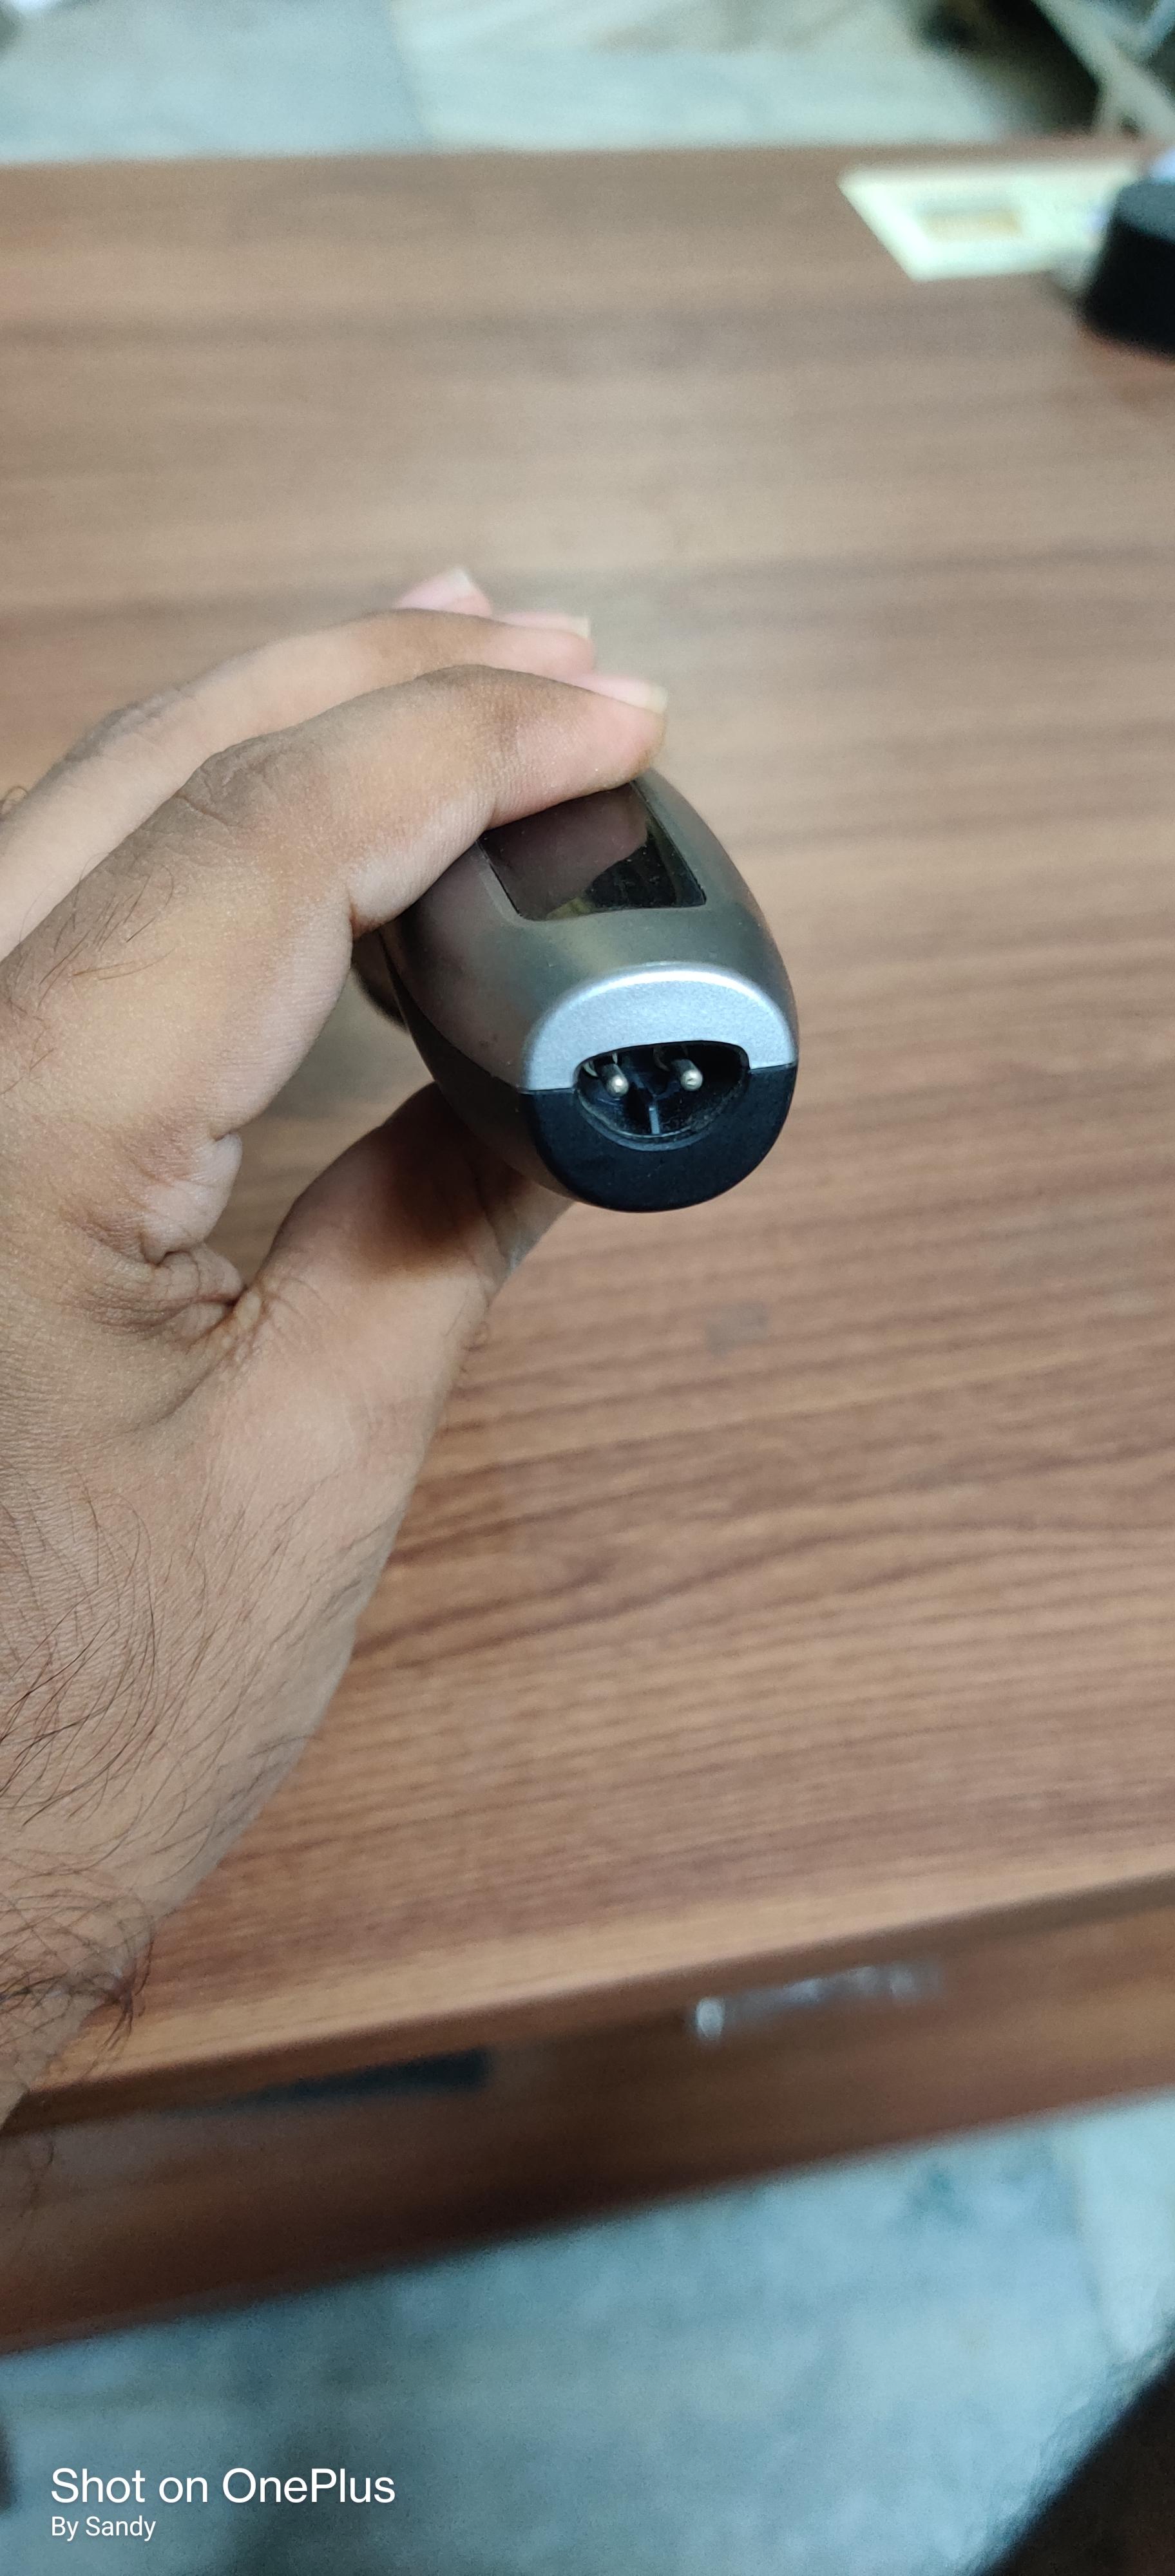
I have a hair trimmer, but unfortunately, I've lost the charger cable for it. Rather than disposing of the trimmer and buying a new one, I've come up with an idea to repair it, maximizing its use and saving money. Since I couldn't find the specific connector needed and the trimmer's input requirement is 5V, I decided to utilize a USB pin. Luckily, I have a micro USB breakout board that I can use for this purpose. Interestingly, a similar connector is used to charge one of my Android mobile phones, so there's minimal risk of losing the charger cable again.
Supplies


Dismantling the Hair Trimmer


Remove the blade from the hair trimmer. Locate the screws and unscrew them. Carefully split the case open, ensuring not to damage the circuit inside. Remove the connector hose and set it aside safely (it will be used in the next steps).
Installing the USB Breakout Board


Identify a suitable location inside the case to place the breakout board. Use a nipper to remove any unwanted plastic, ensuring a perfect fit for the breakout board.
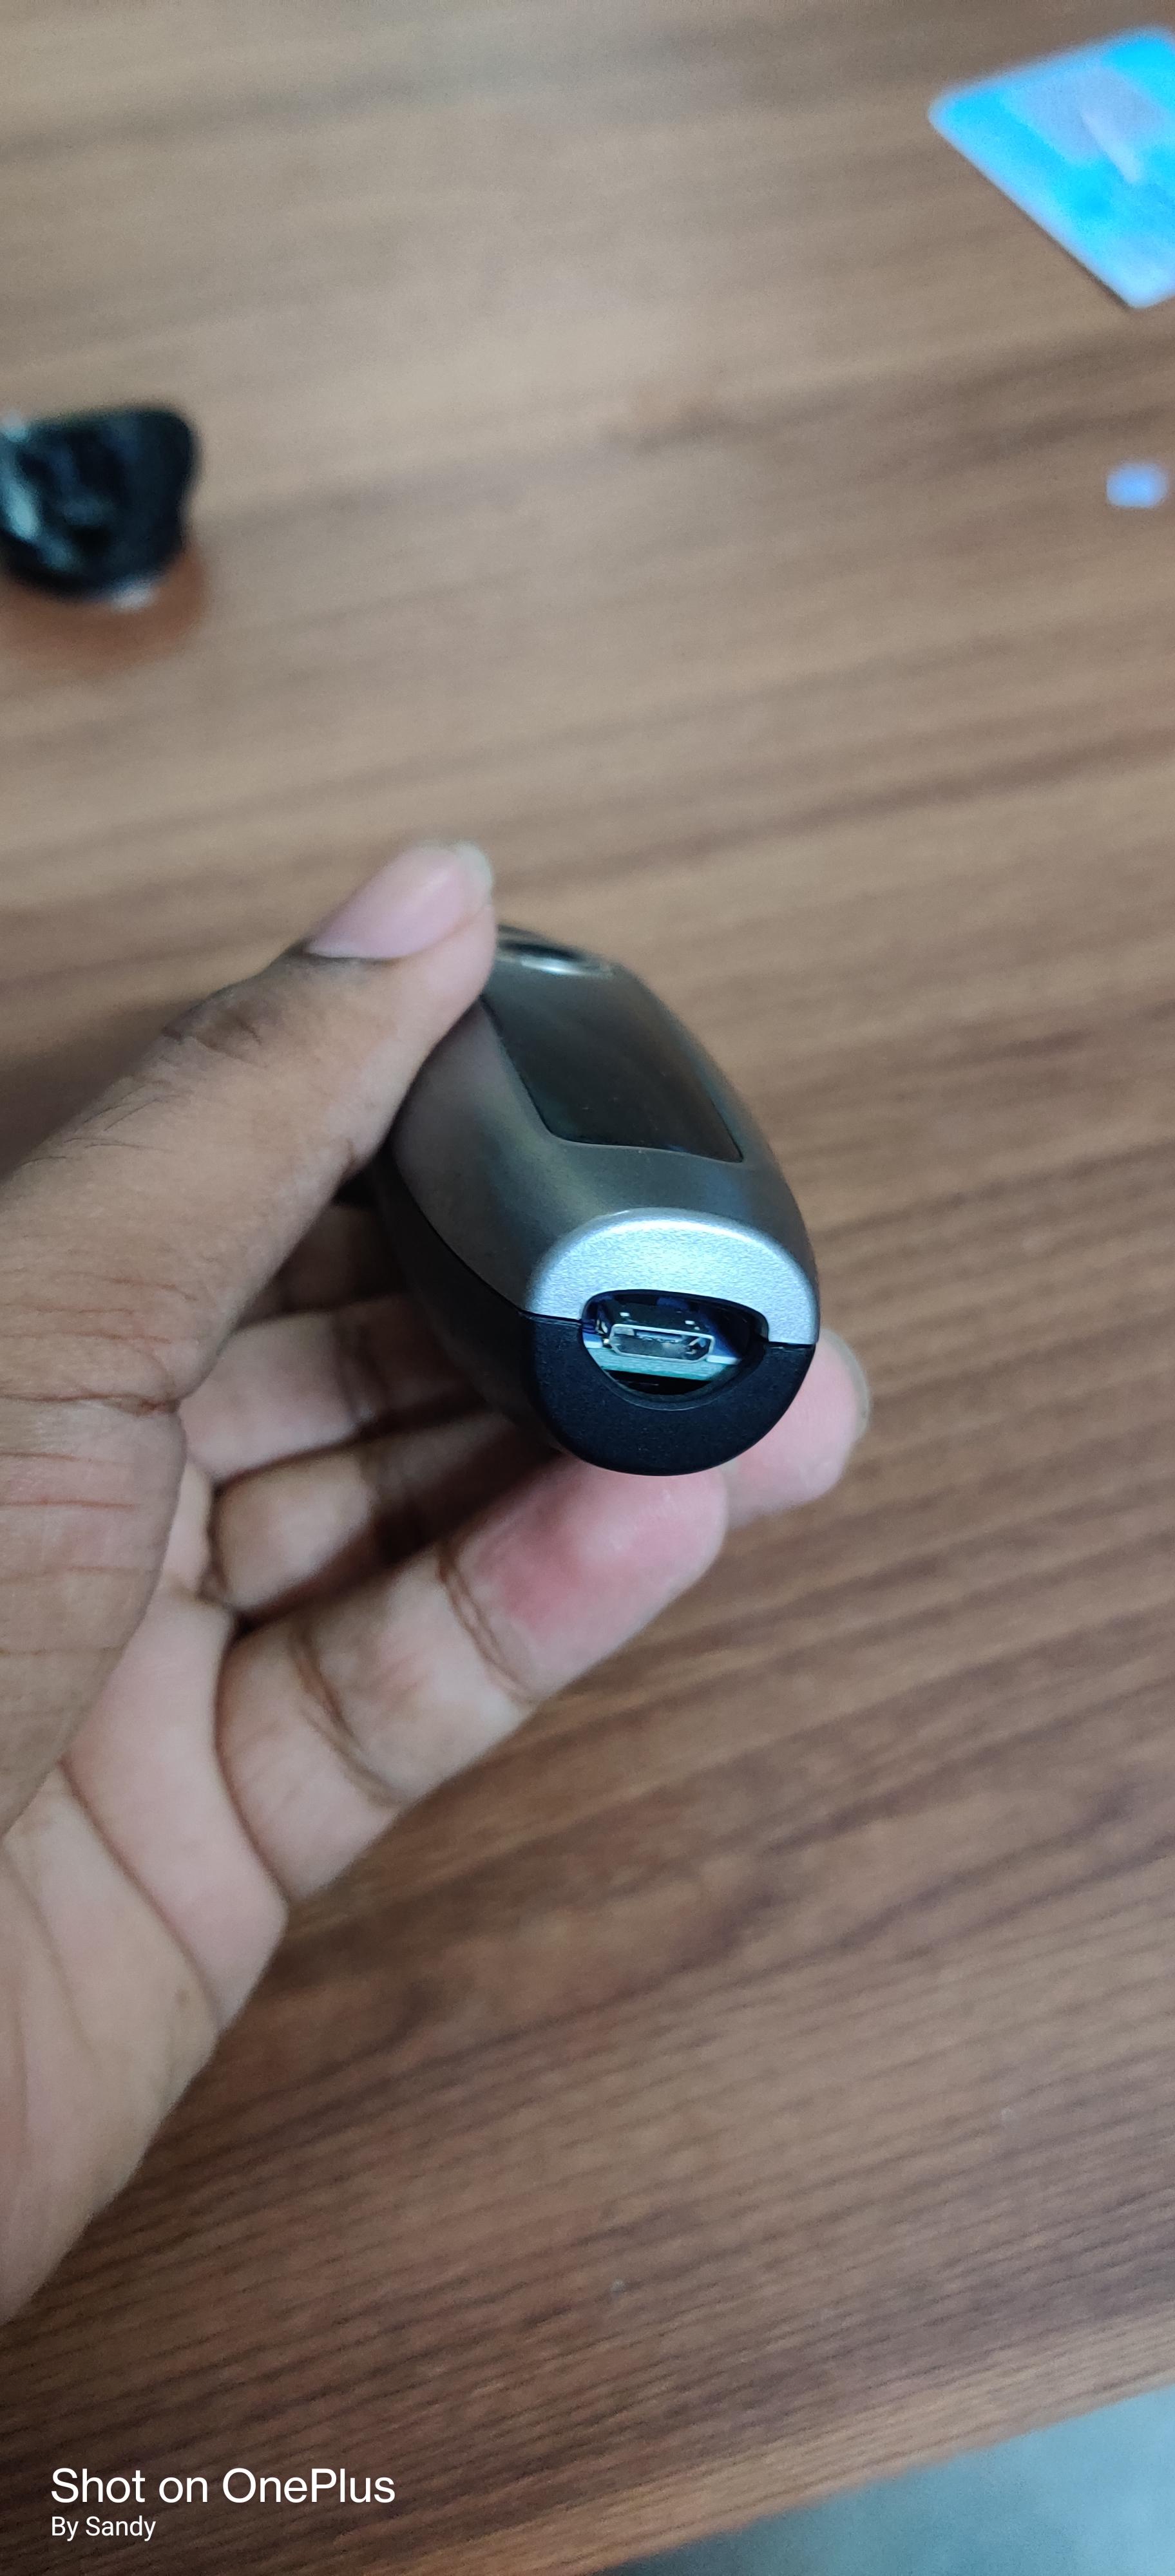
Wiring
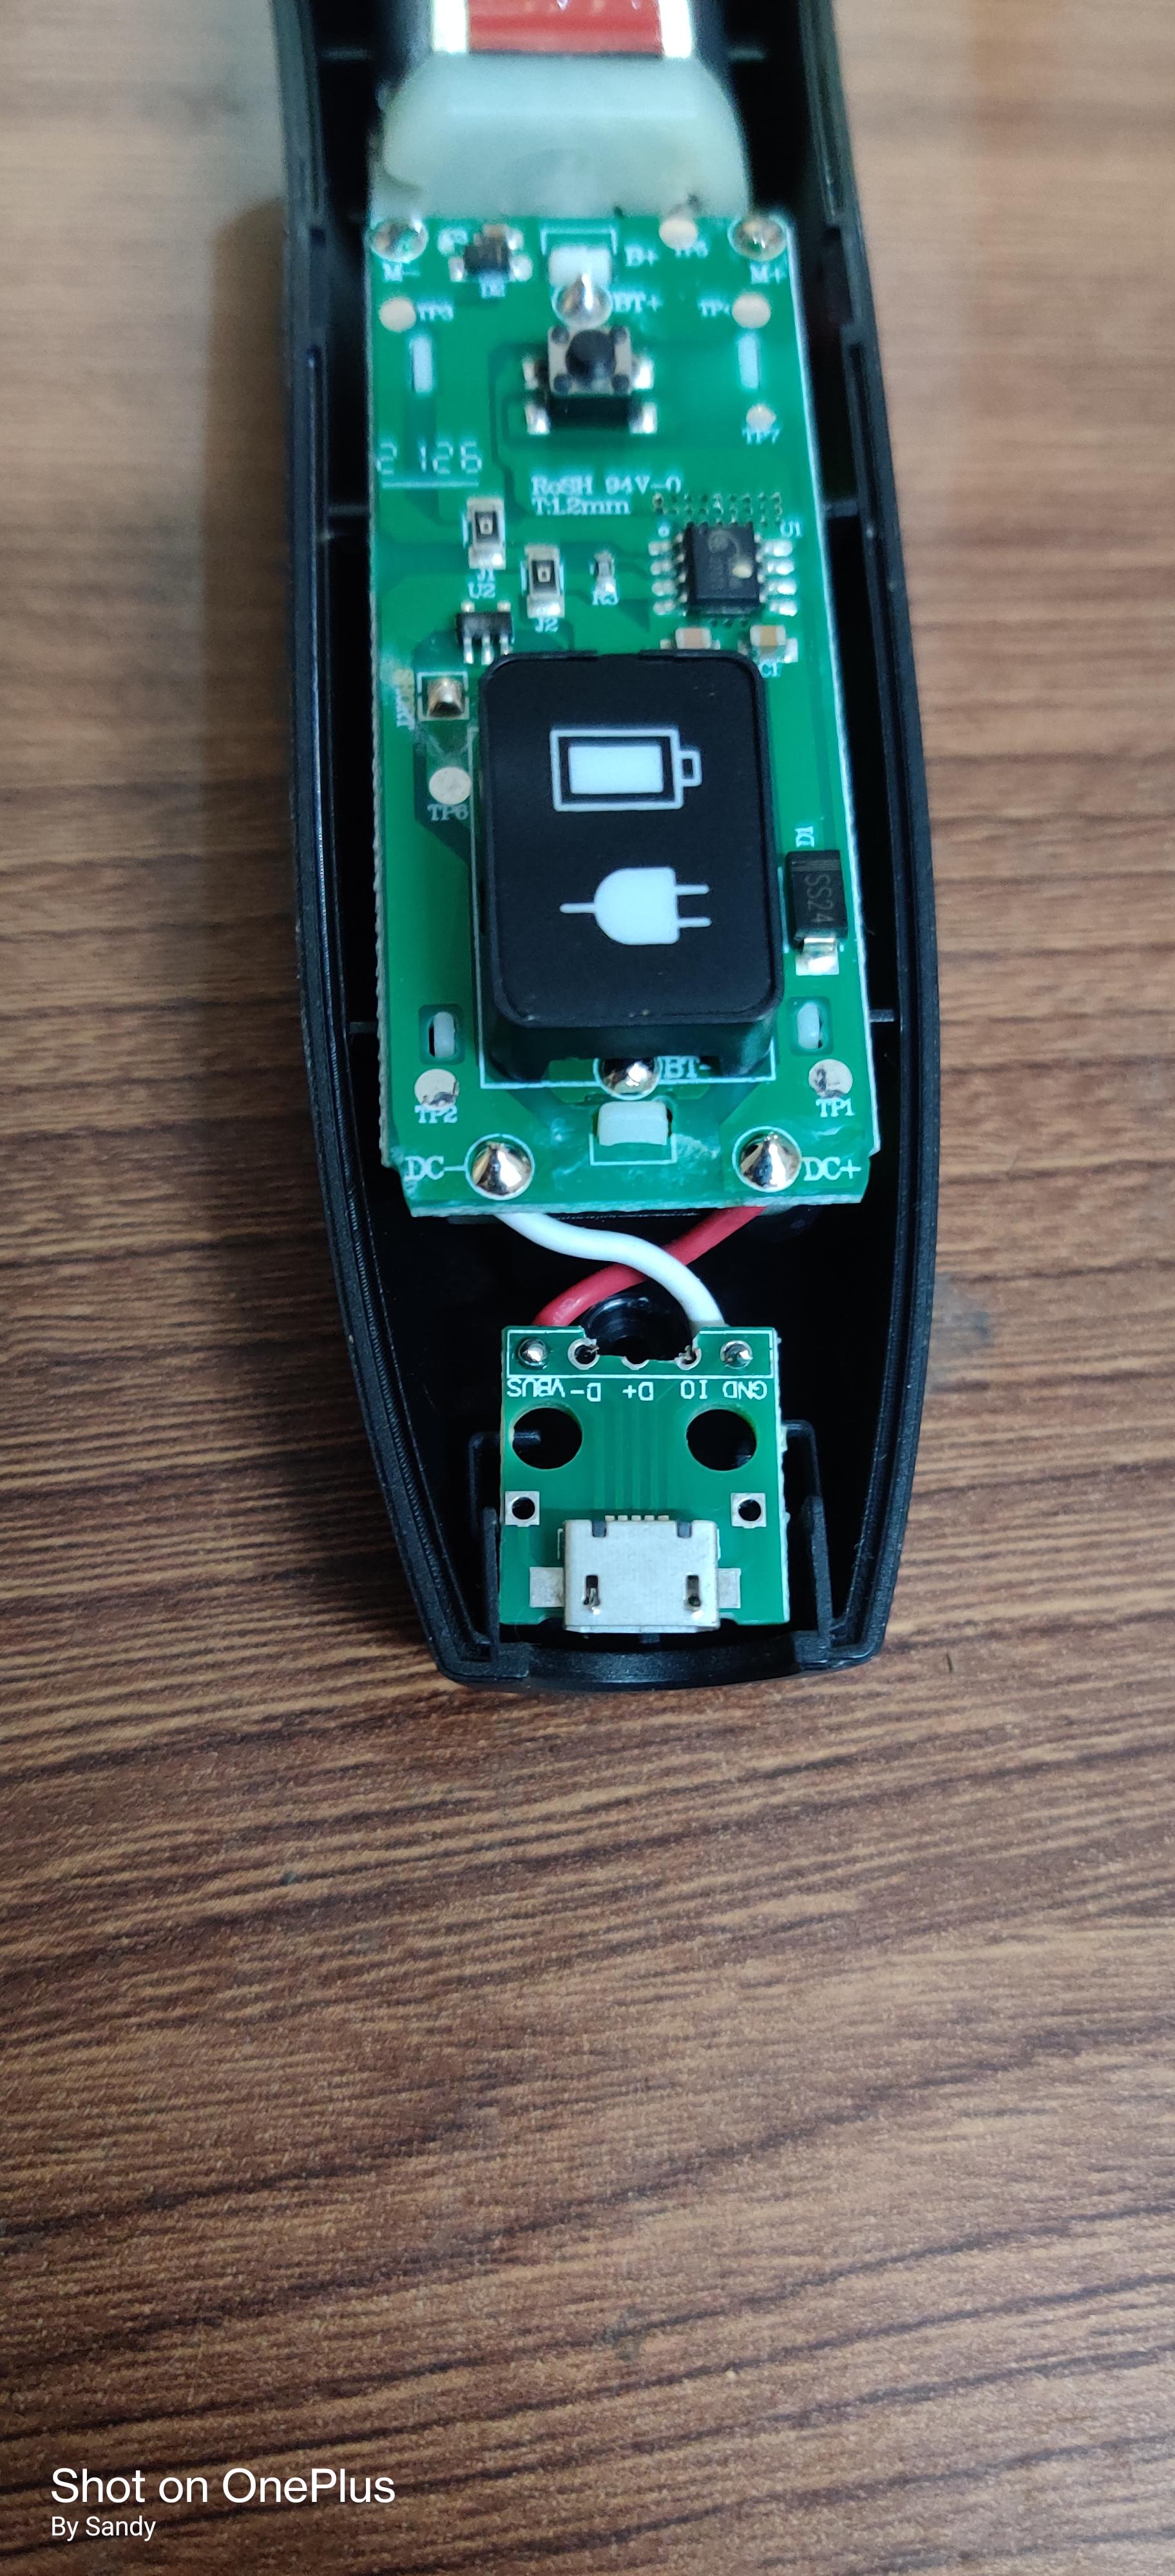

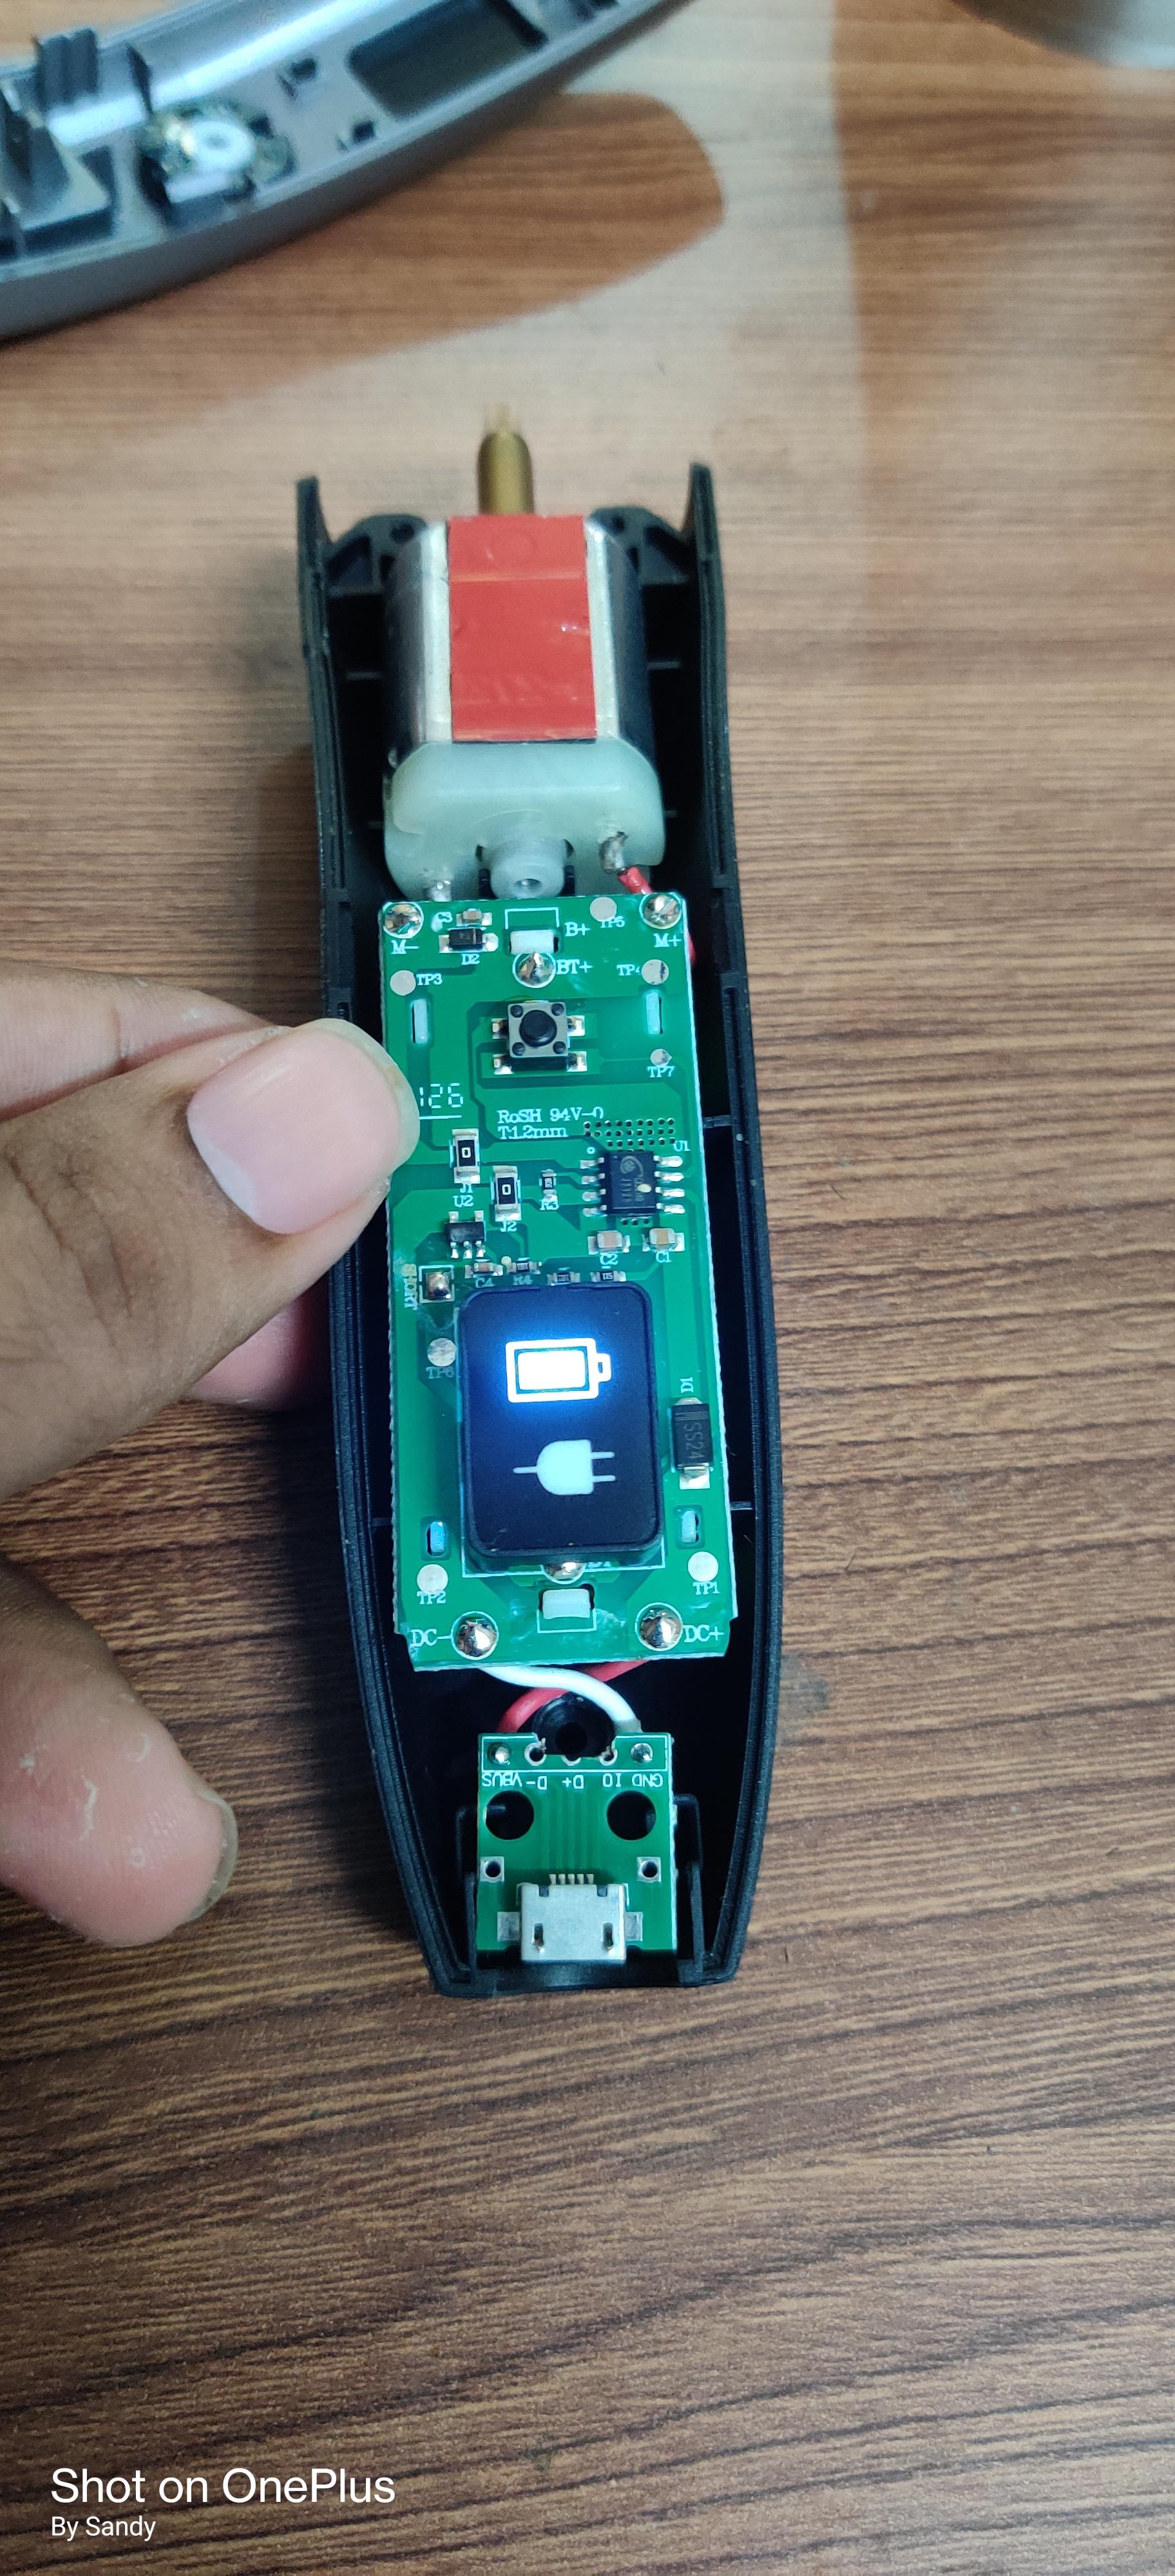
Desolder the existing connector and solder the wires to the breakout board. Remember, the red wire is positive, and the white wire is negative. Test the connections to ensure everything is working perfectly.
Securing the Enclosure

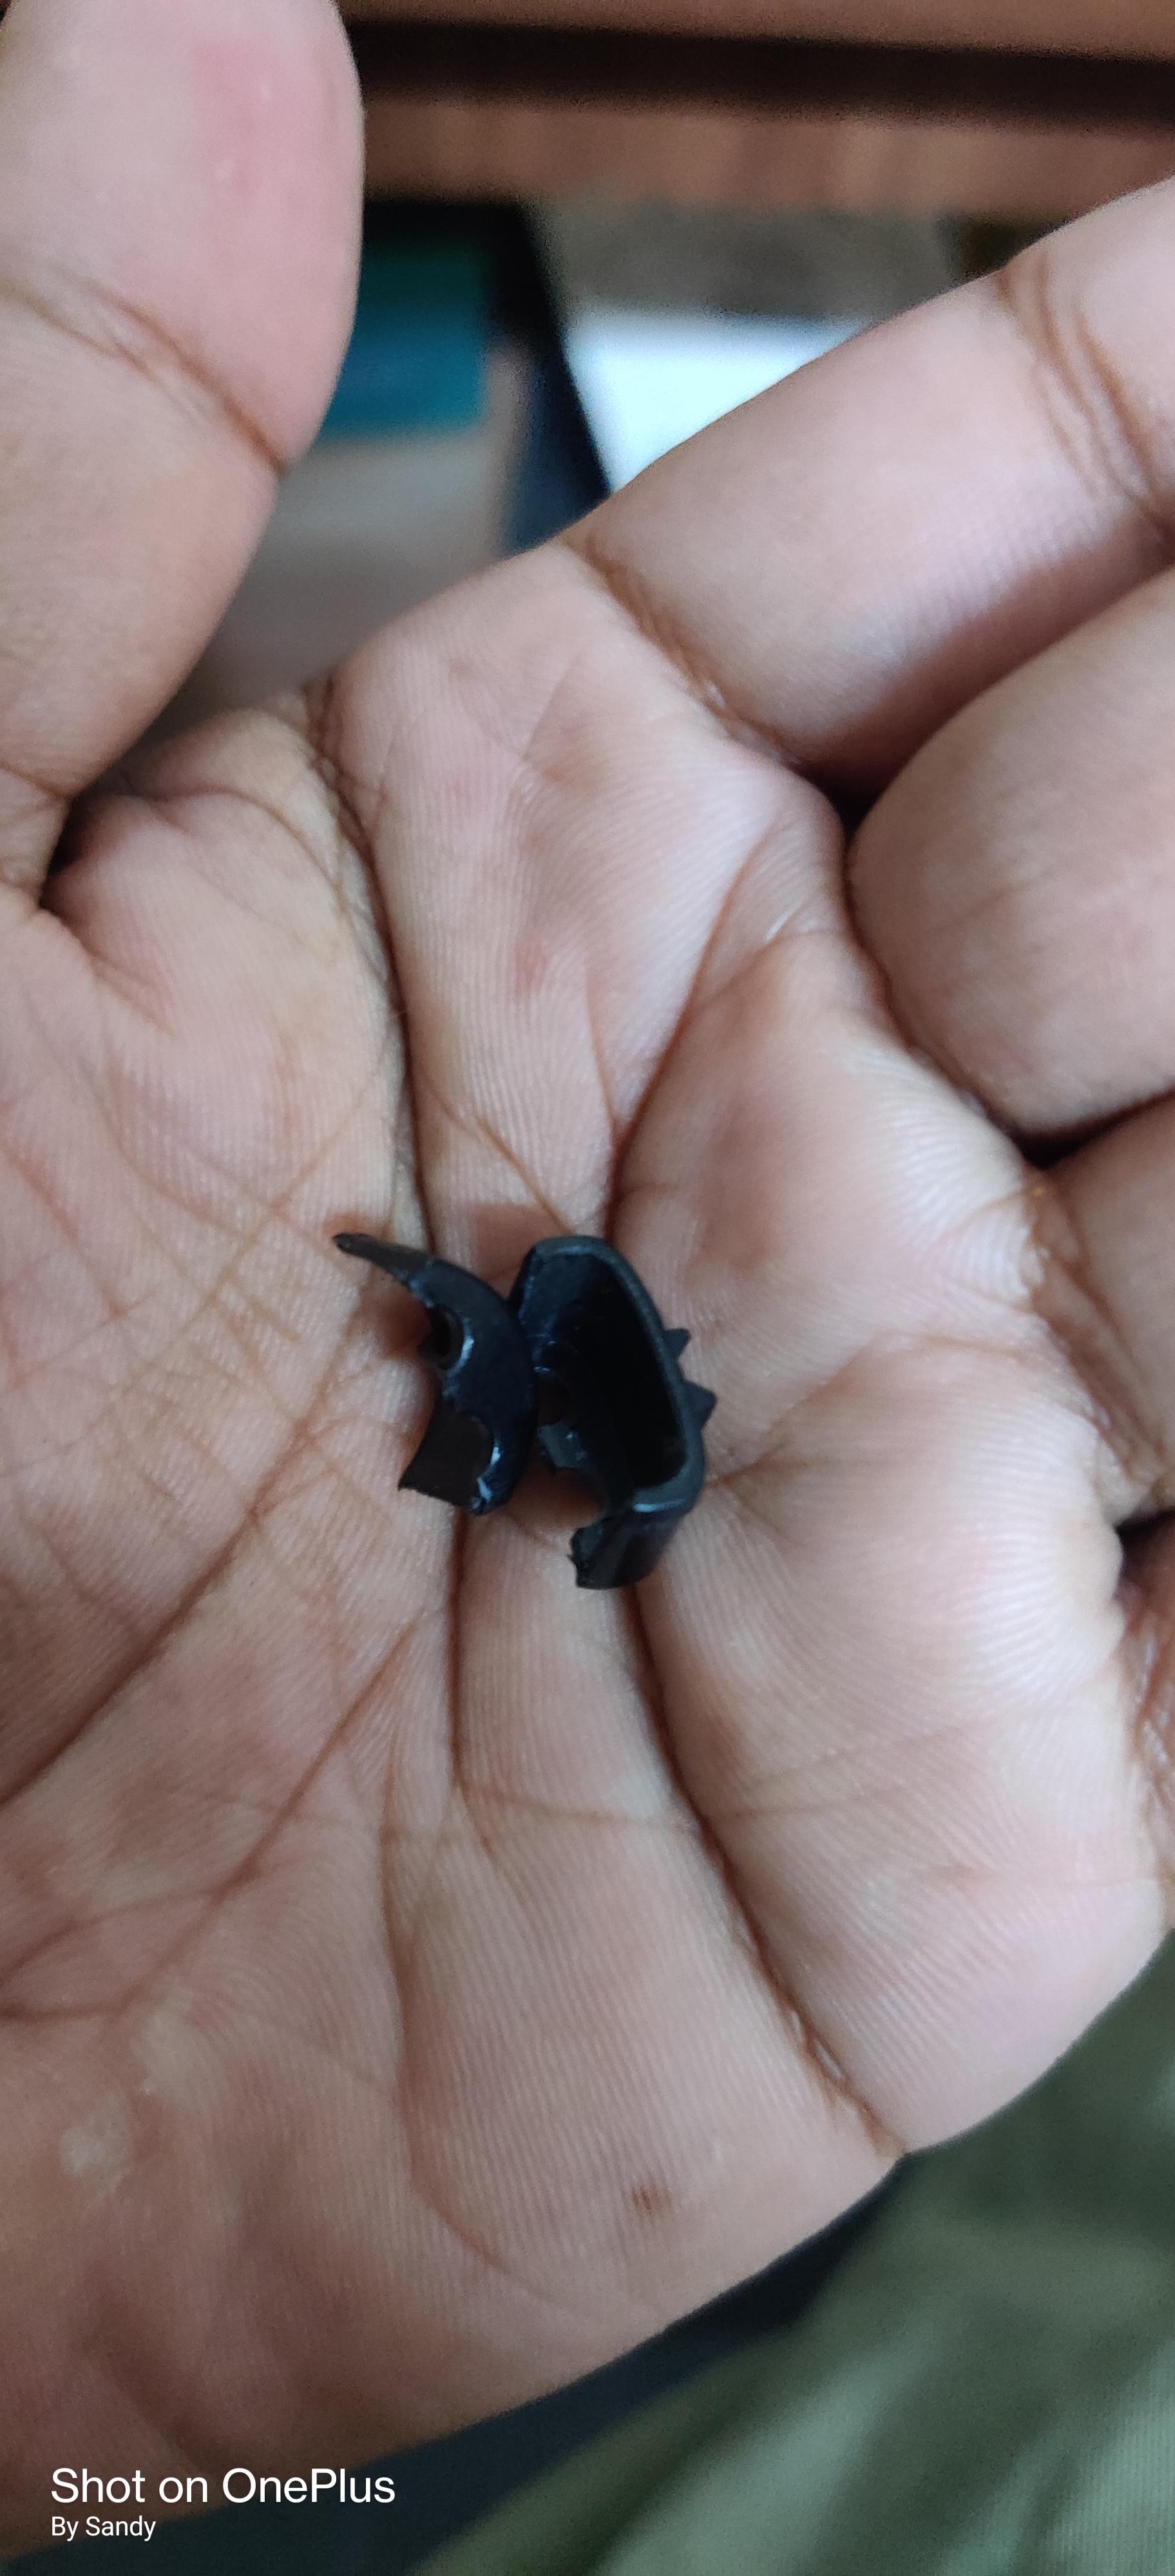


After fitting the case, I noticed that the USB breakout board is a bit wobbly. To stabilize it, I decided to take the connector hose and split it in half. I placed the top half of the connector hose over the breakout board and closed the trimmer case securely. Now, the breakout board is steady and doesn't wobble anymore.
3D Print


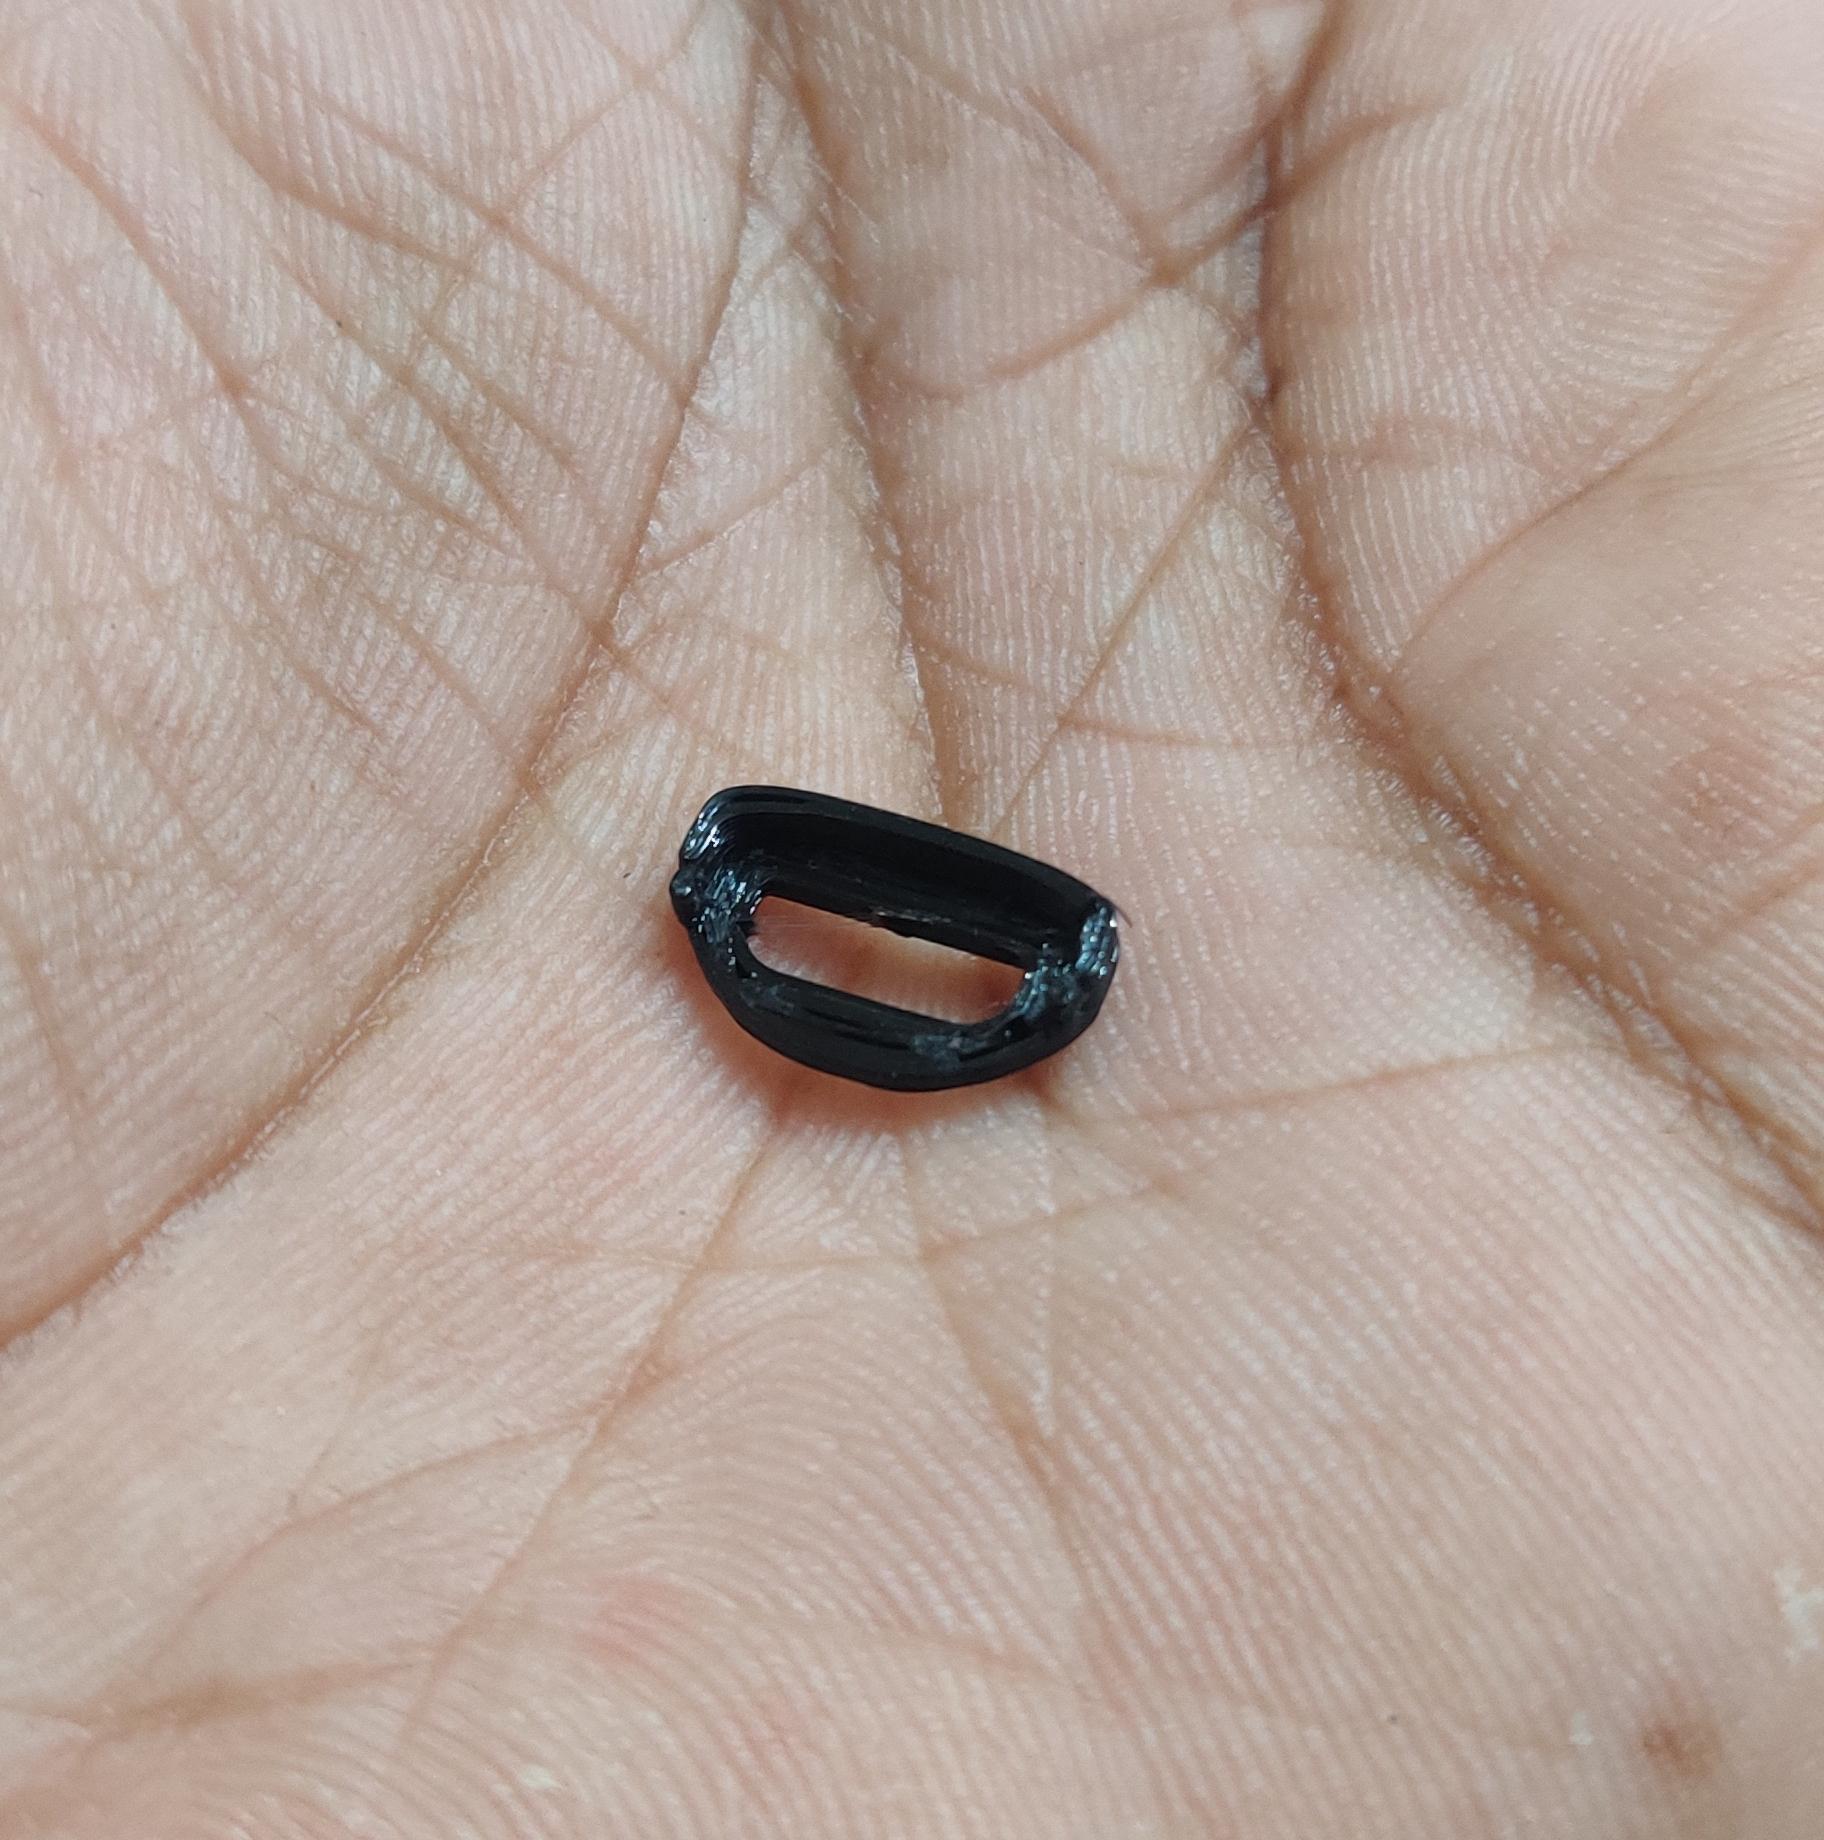

After replacing the charging port, I noticed there was quite a gap left behind. To prevent dust from entering the hair trimmer, I took the initiative to 3D print a cap and inserted it into place. The 3D printed cap fits perfectly, ensuring that no dust can enter the trimmer. Attached stl file.
Downloads
Ready for Action!


Revived the hair trimmer with a new lease on life. Let's put it back into action!