Reuse Cans for Cards With a Cricut Maker
by poppy.oceanblue in Craft > Cards
5324 Views, 37 Favorites, 0 Comments
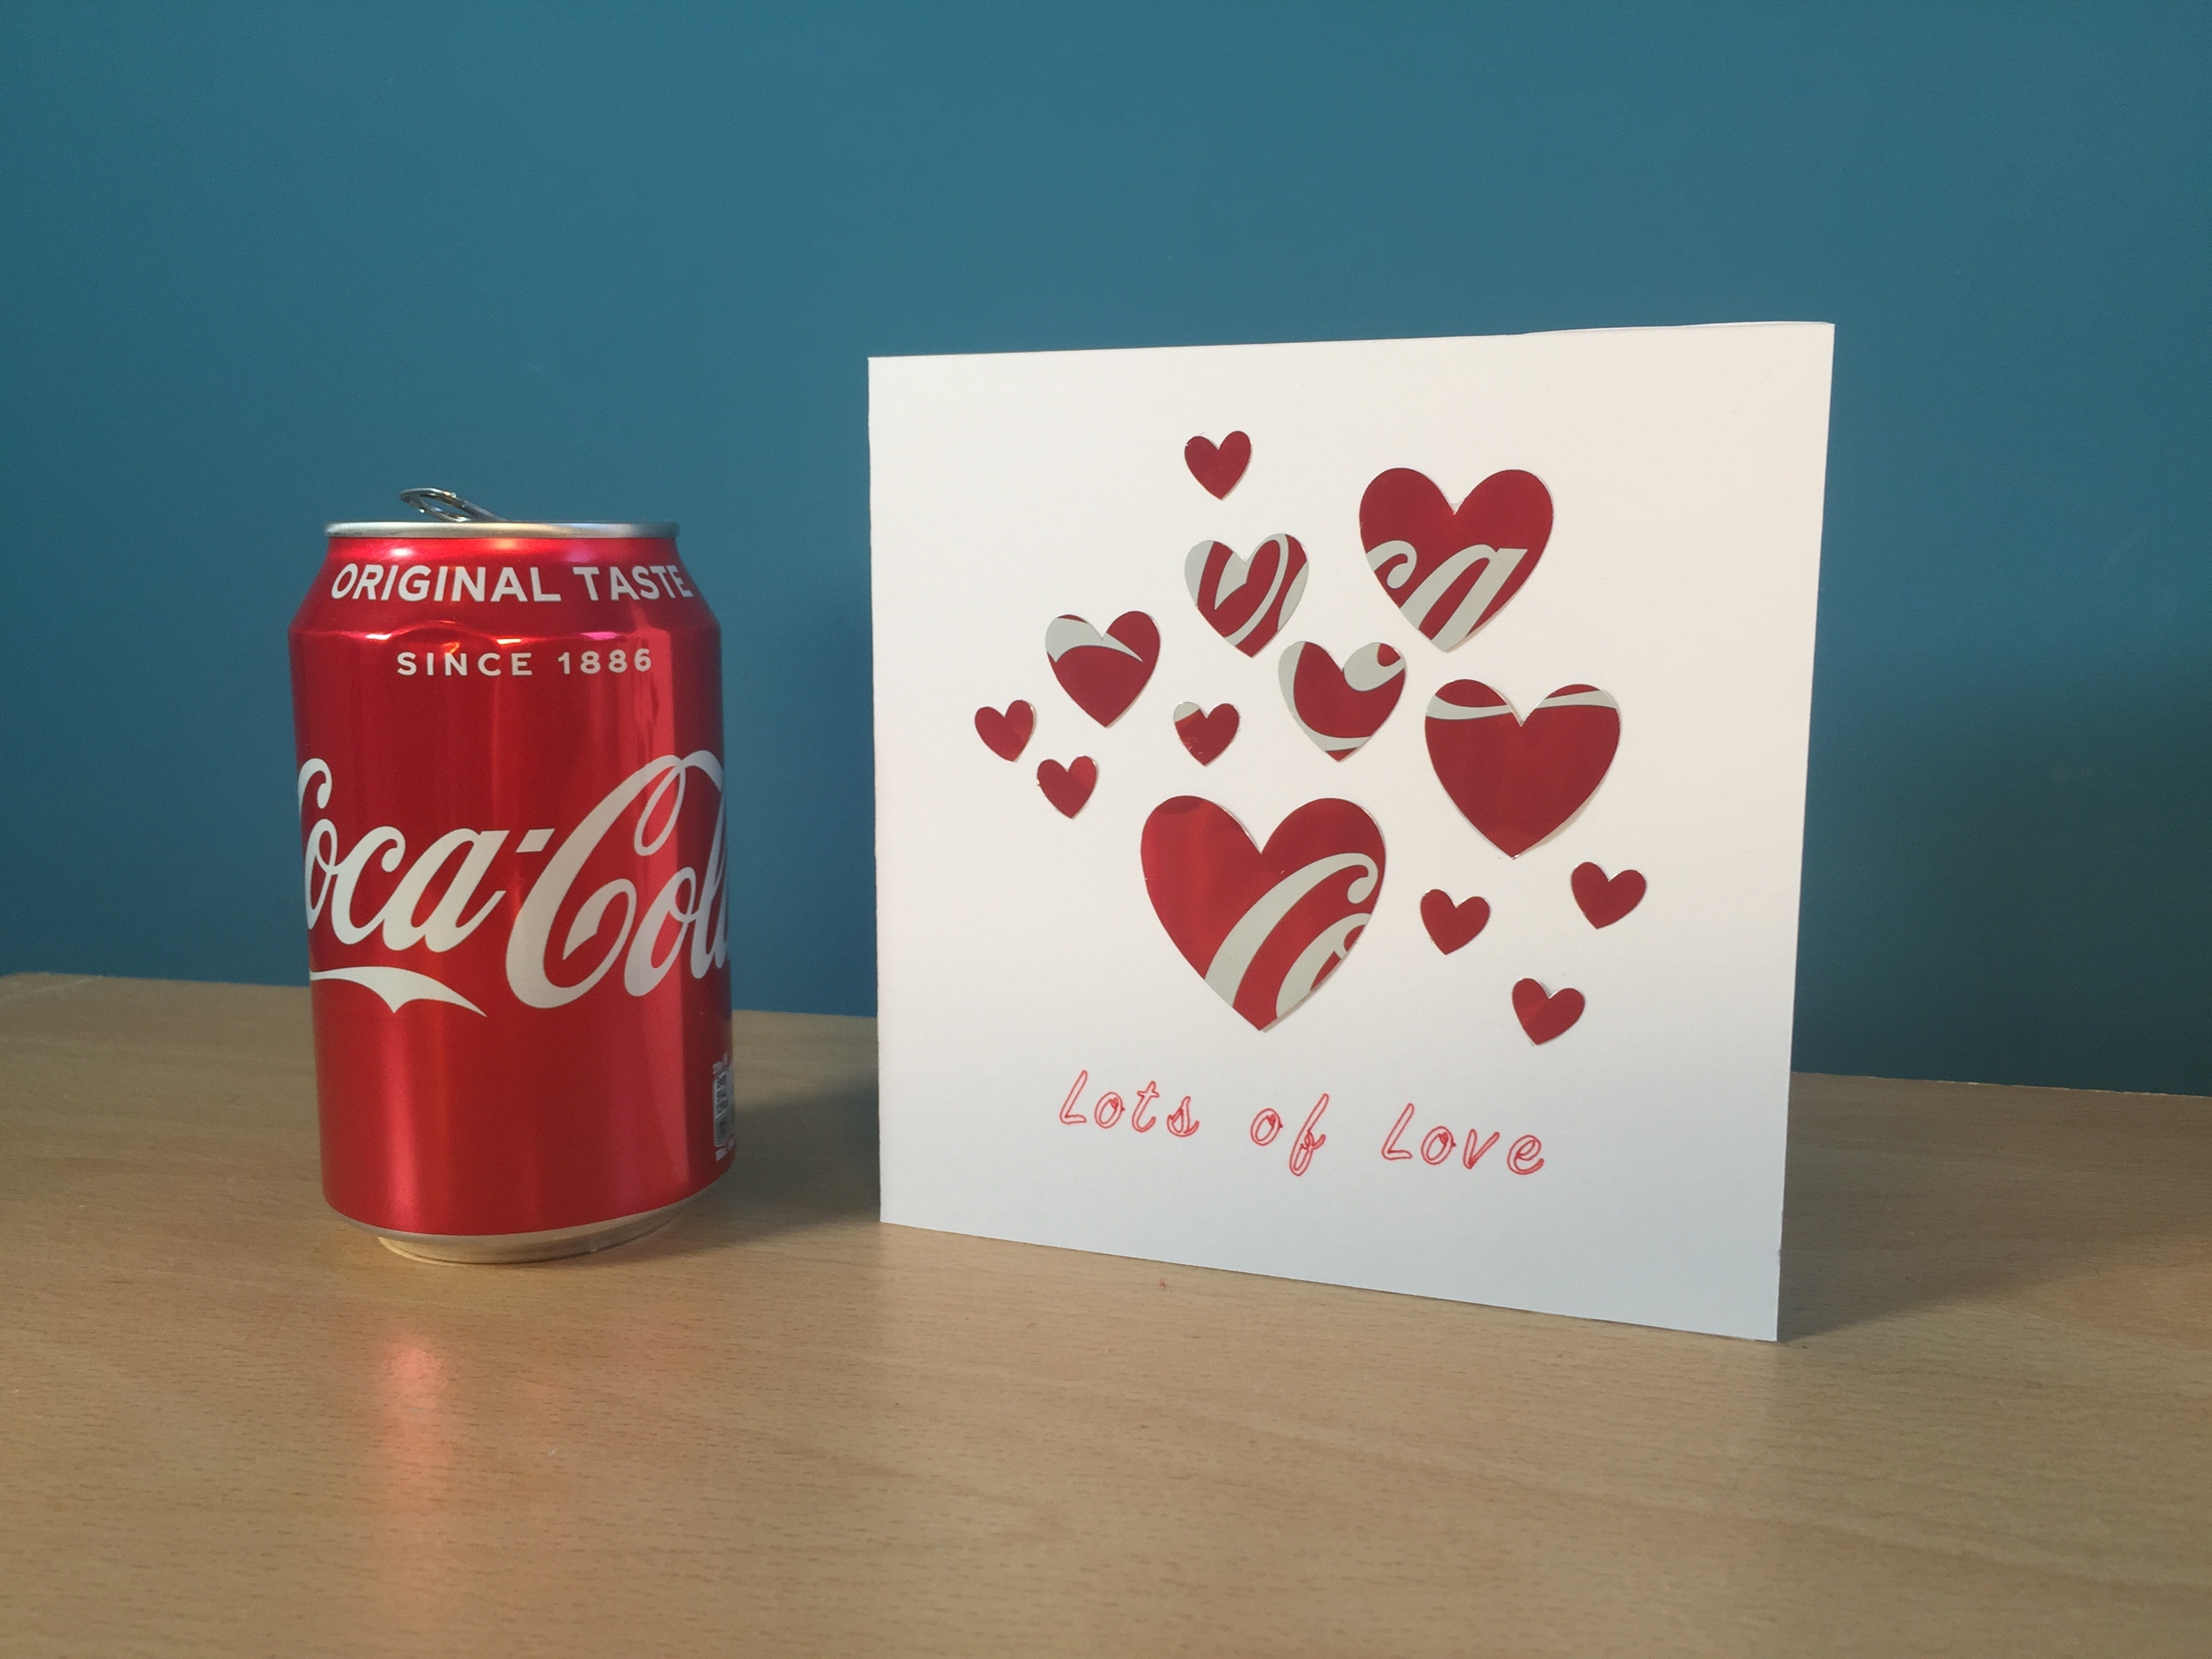
Reuse Cans for Cards With a Cricut Maker
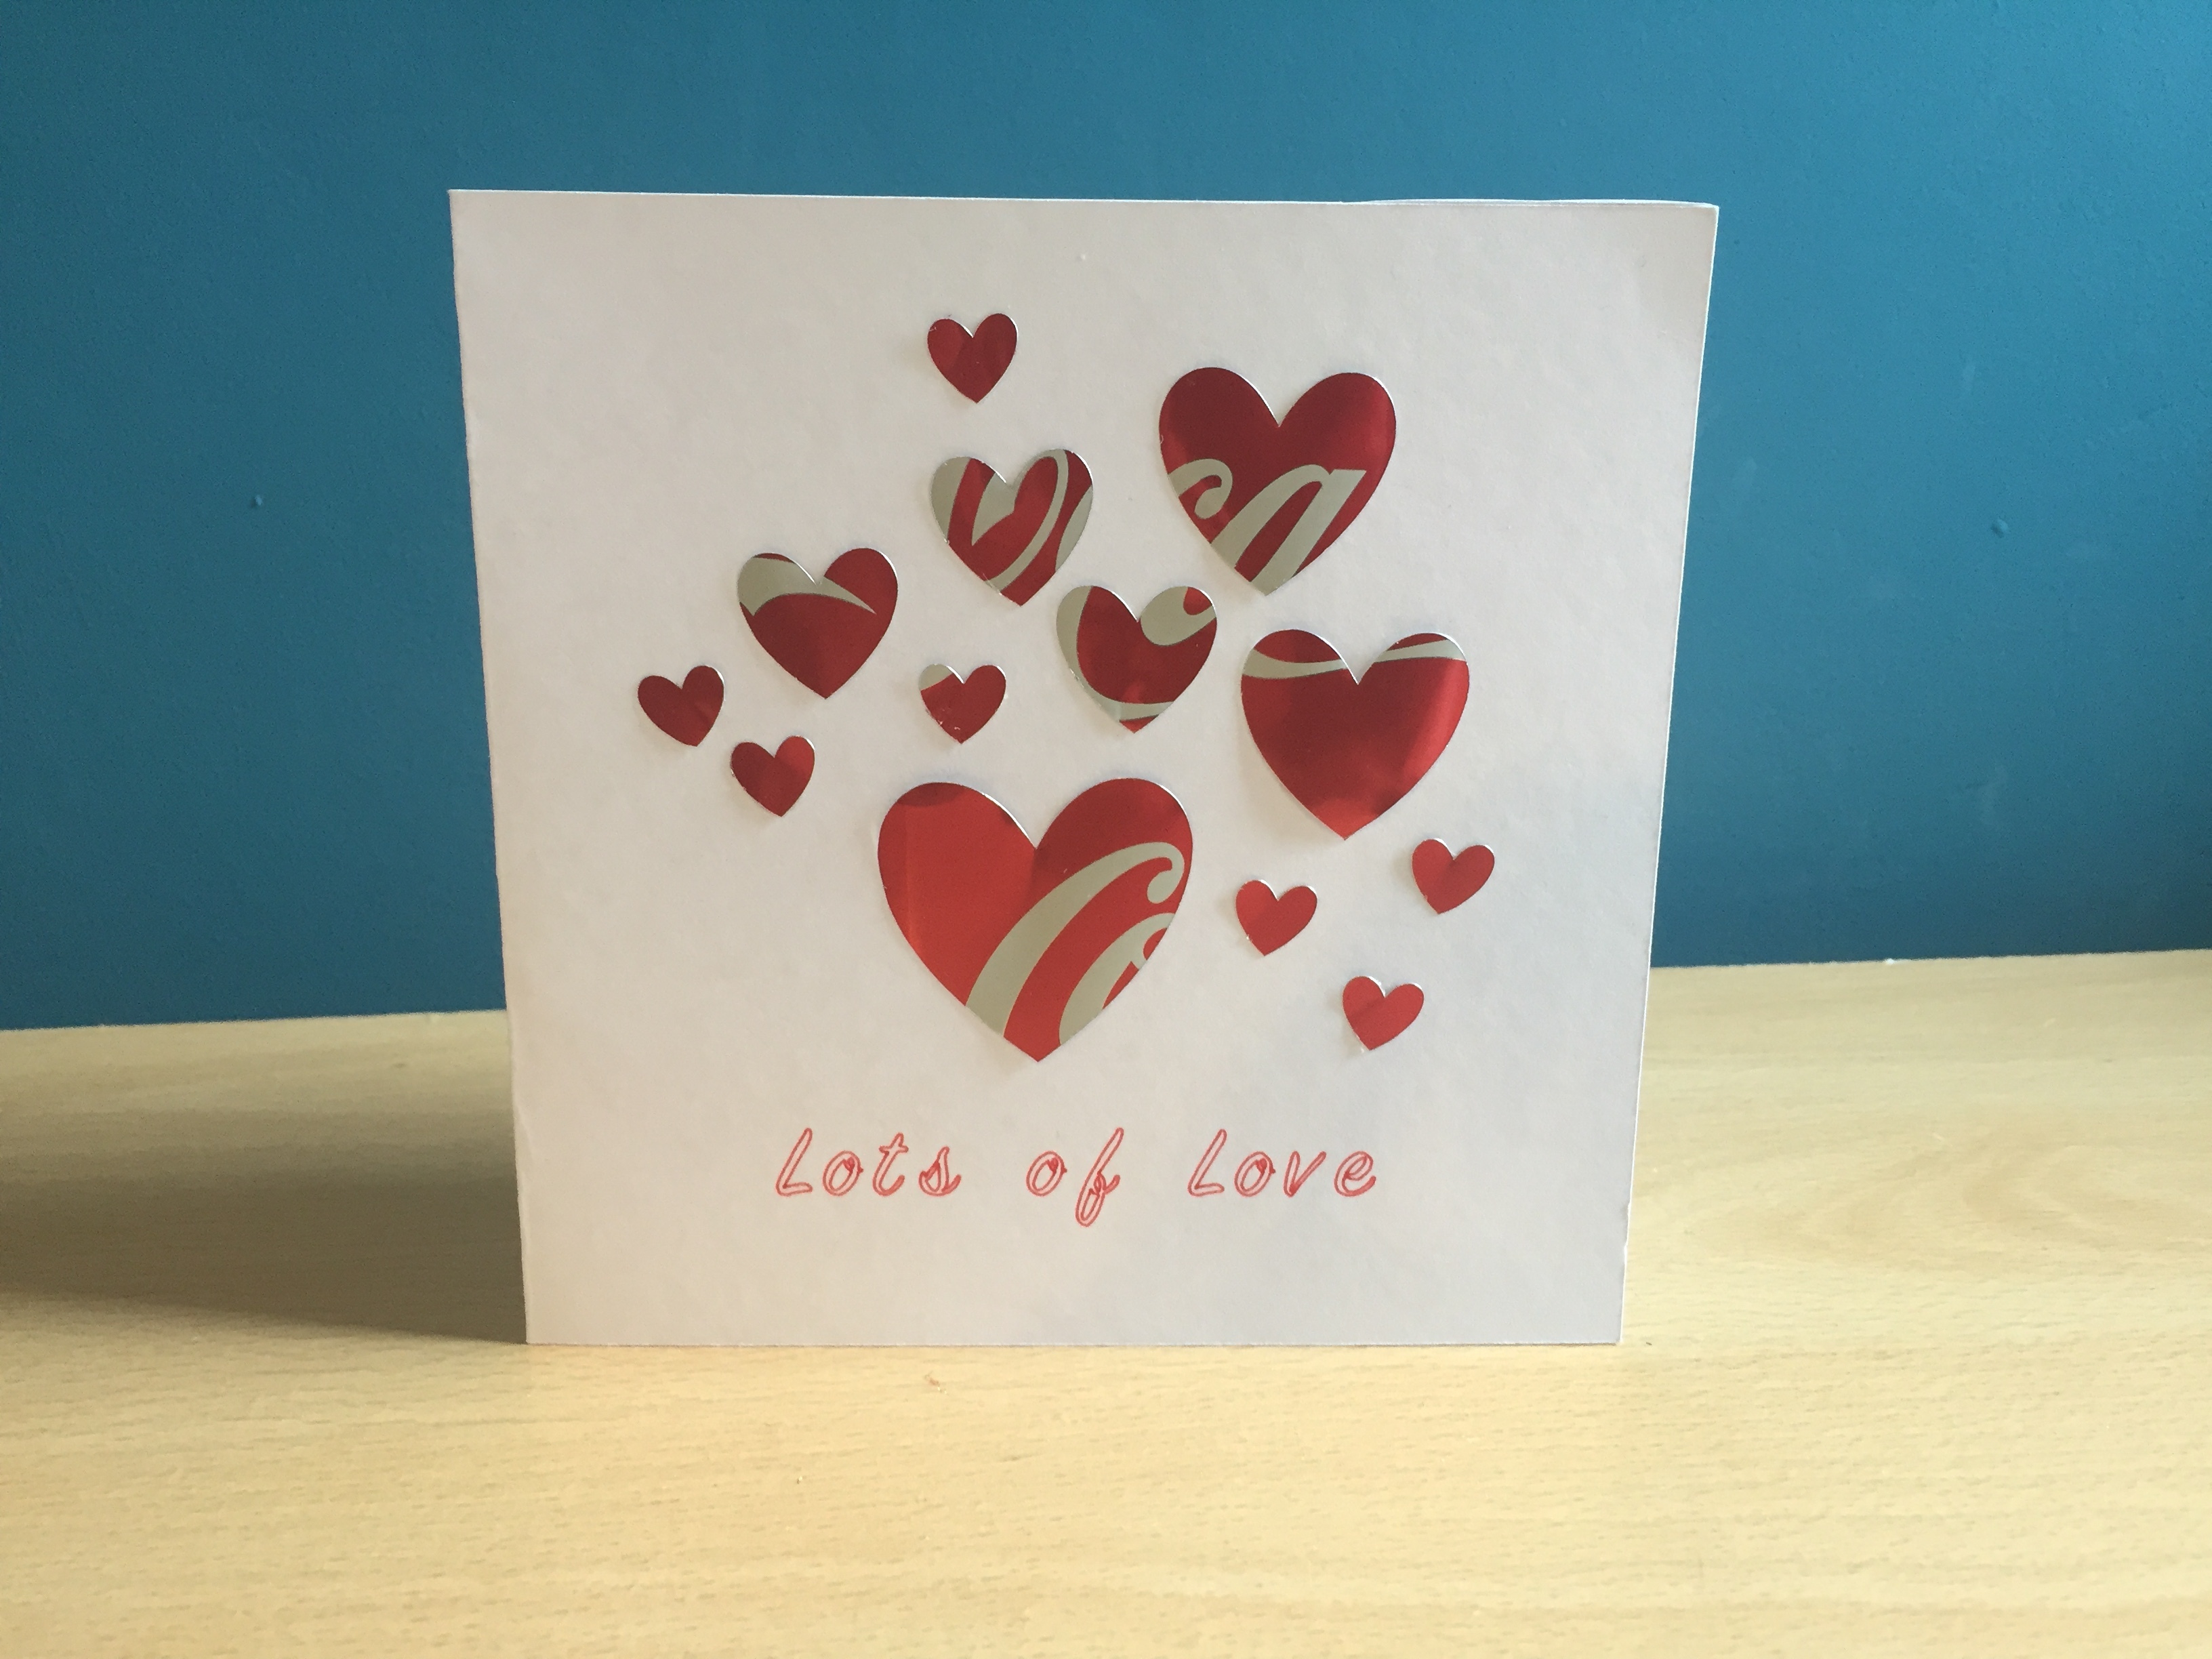
My boyfriend loves Coca-Cola®, so I turned one of his empty cans into a Valentine’s card. I've written the instructions for making it with a Cricut® because it can cut, score and write the card as well as cut the aluminium shapes. If you don't have access to a Cricut®, you can use scissors or other cutters such as a Sizzix® machine.
Materials and Tools
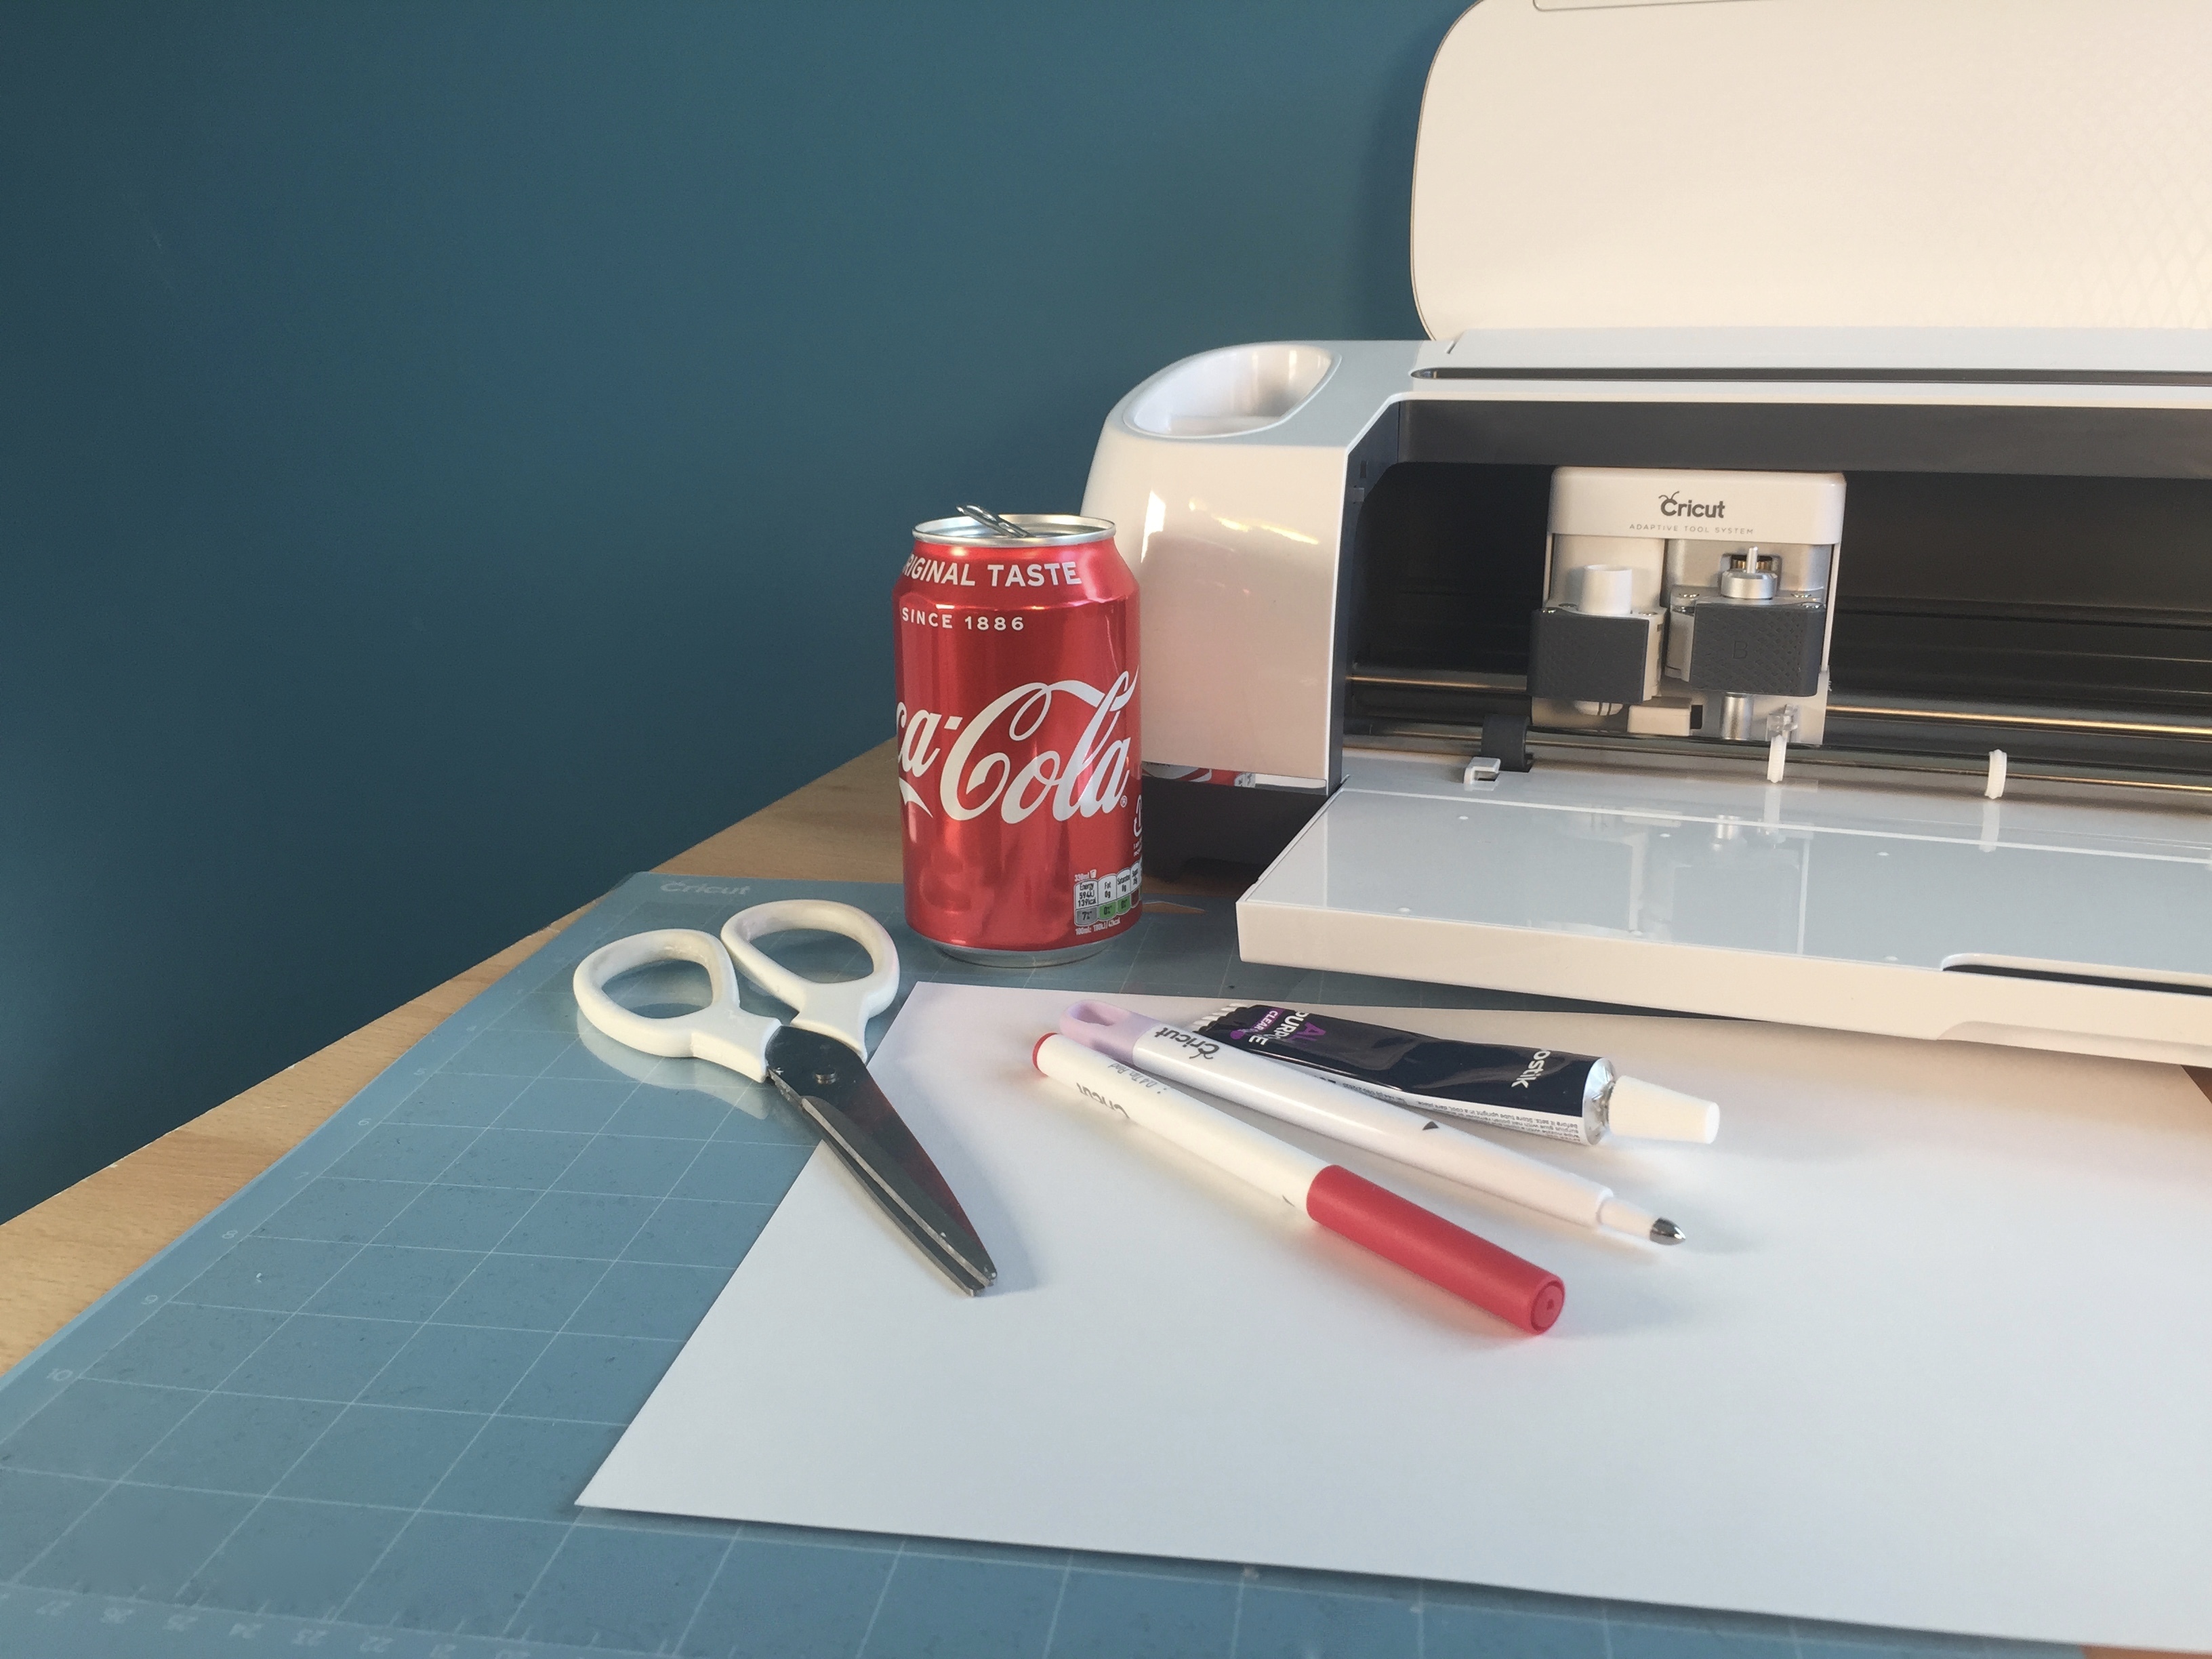
- Aluminium Can(s) - it's good to have some spares
- Cricut Maker®
- Computer with Cricut® Design Space installed
- Cricut® LightGrip Mat
- Cricut® Scoring Stylus
- Cricut® Pen (I used Red - 0.4 Tip)
- Scissors
- A4 White Card
- Glue (e.g Bostik or UHU® All Purpose Glue)
Prepare the Aluminium Cans
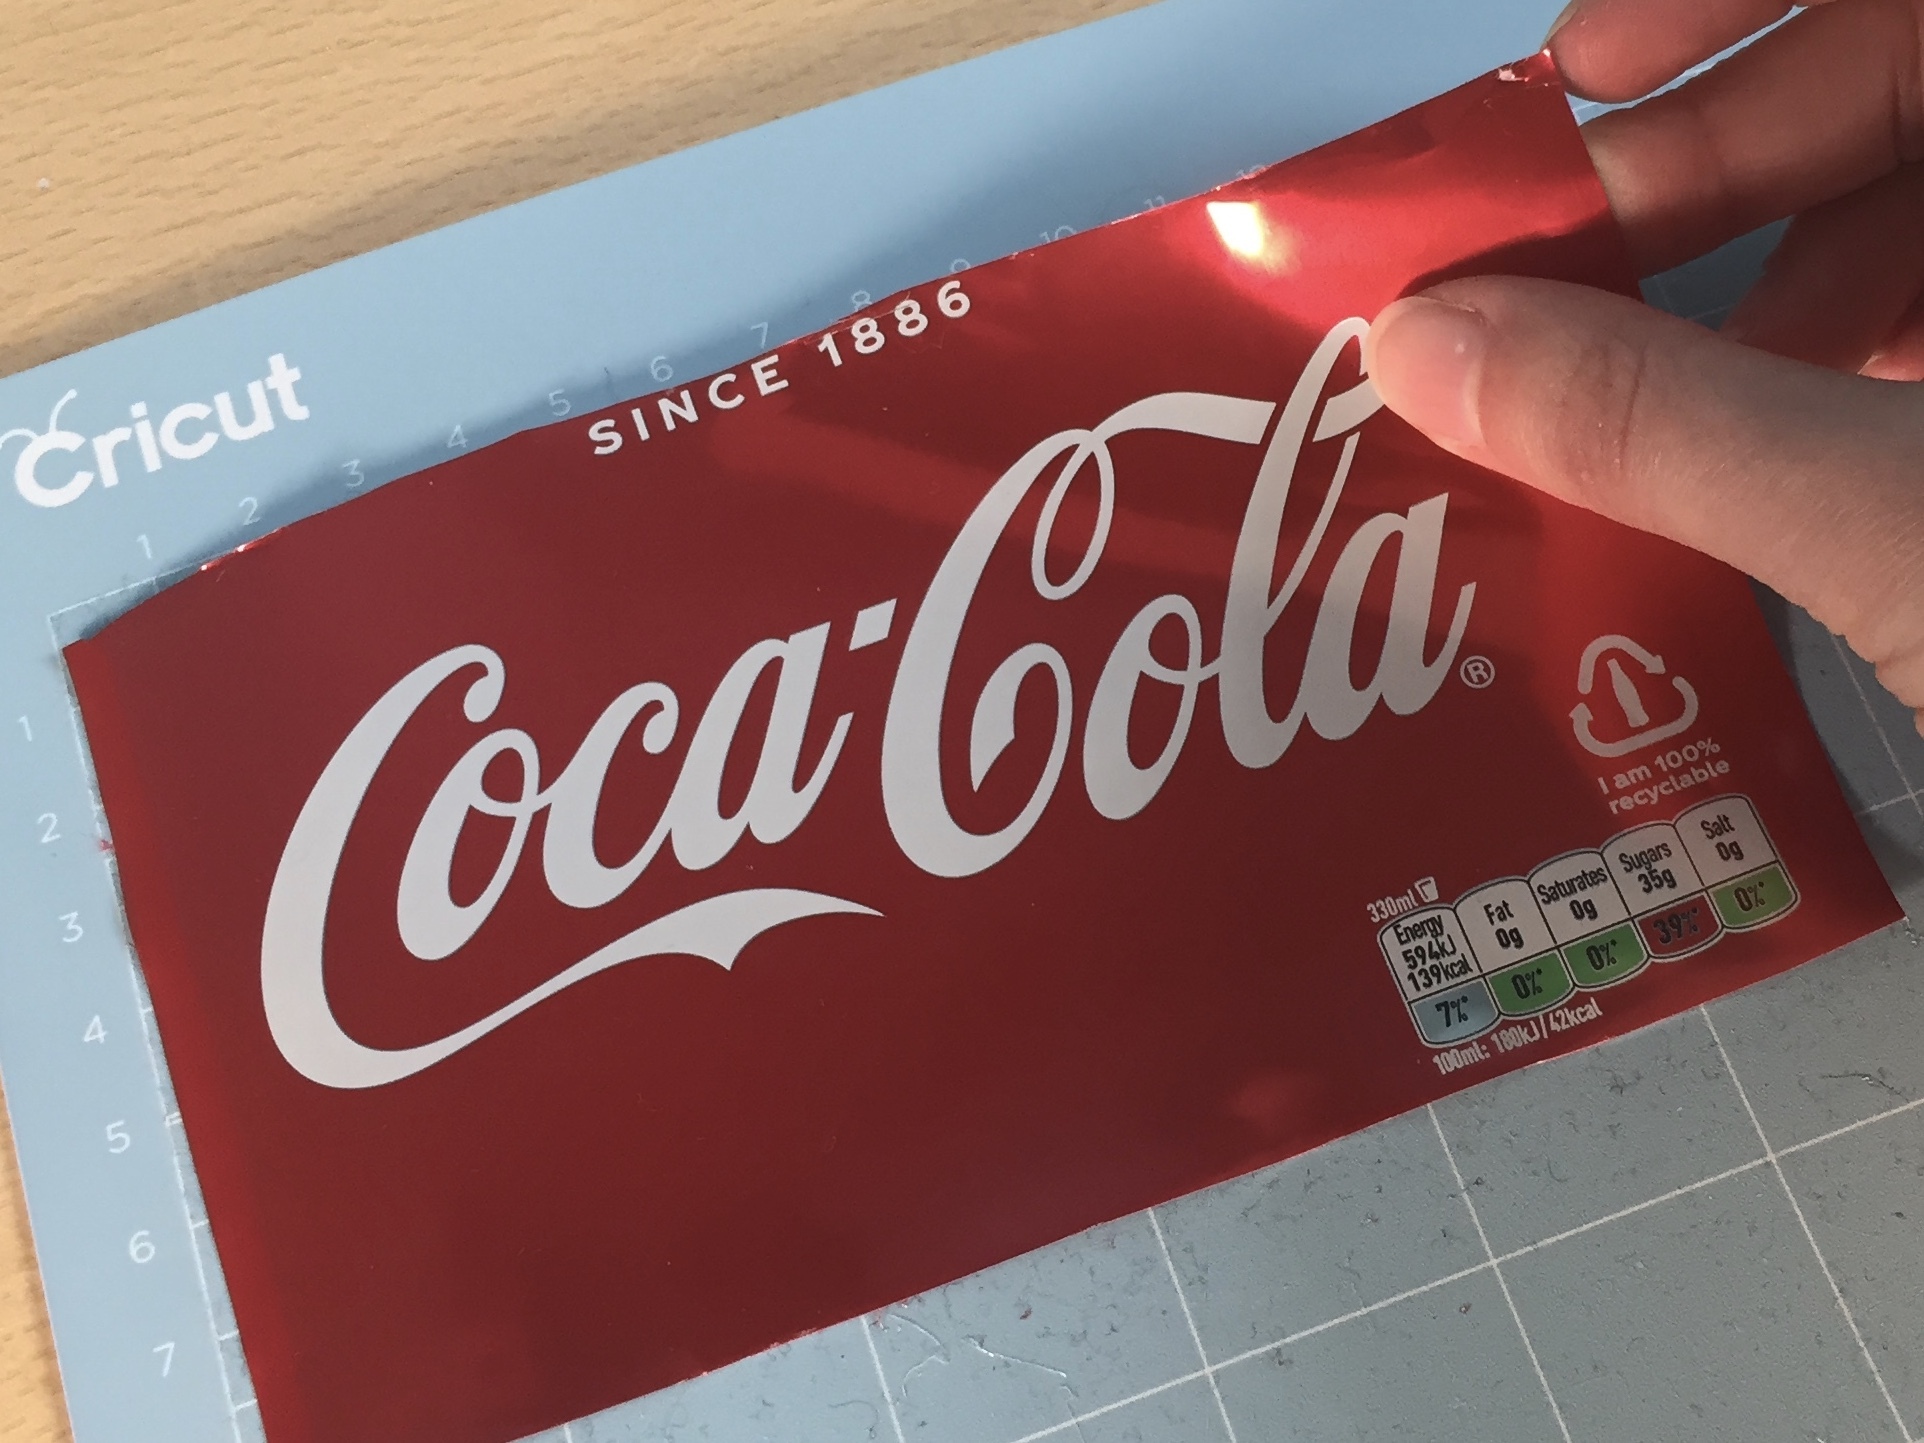
Rinse the cans and leave to dry
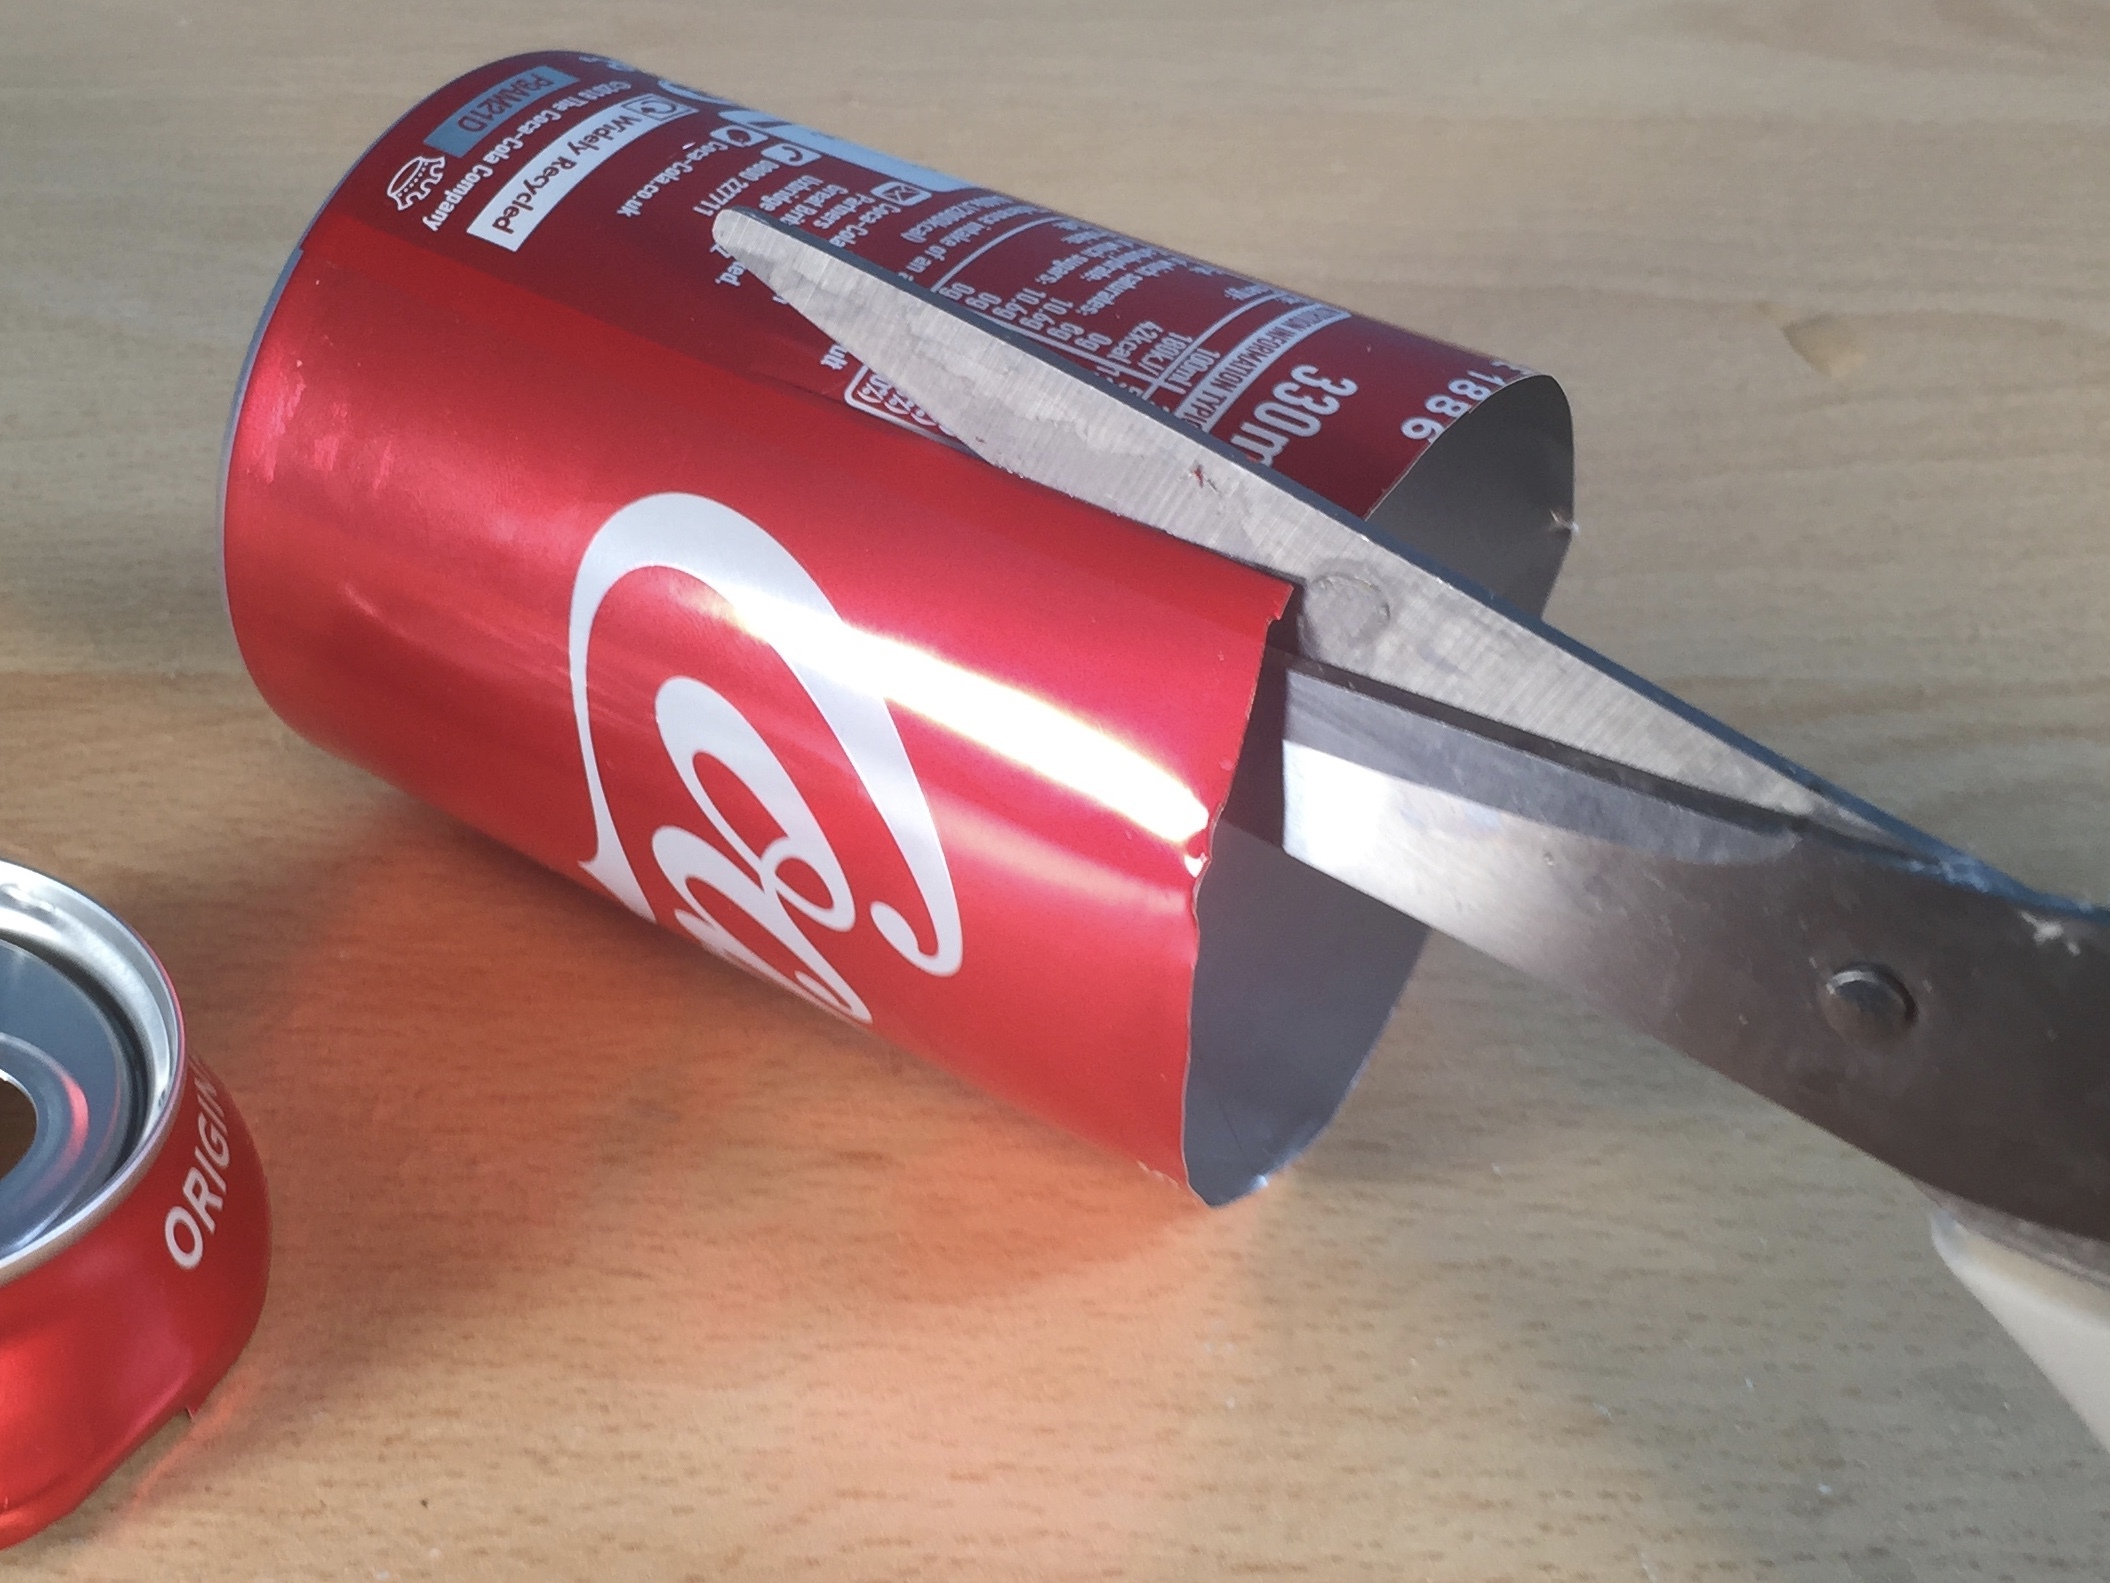
Cut around the top of the can with scissors
Cut a vertical line down from the top to the bottom of the can
Cut around the base of the can
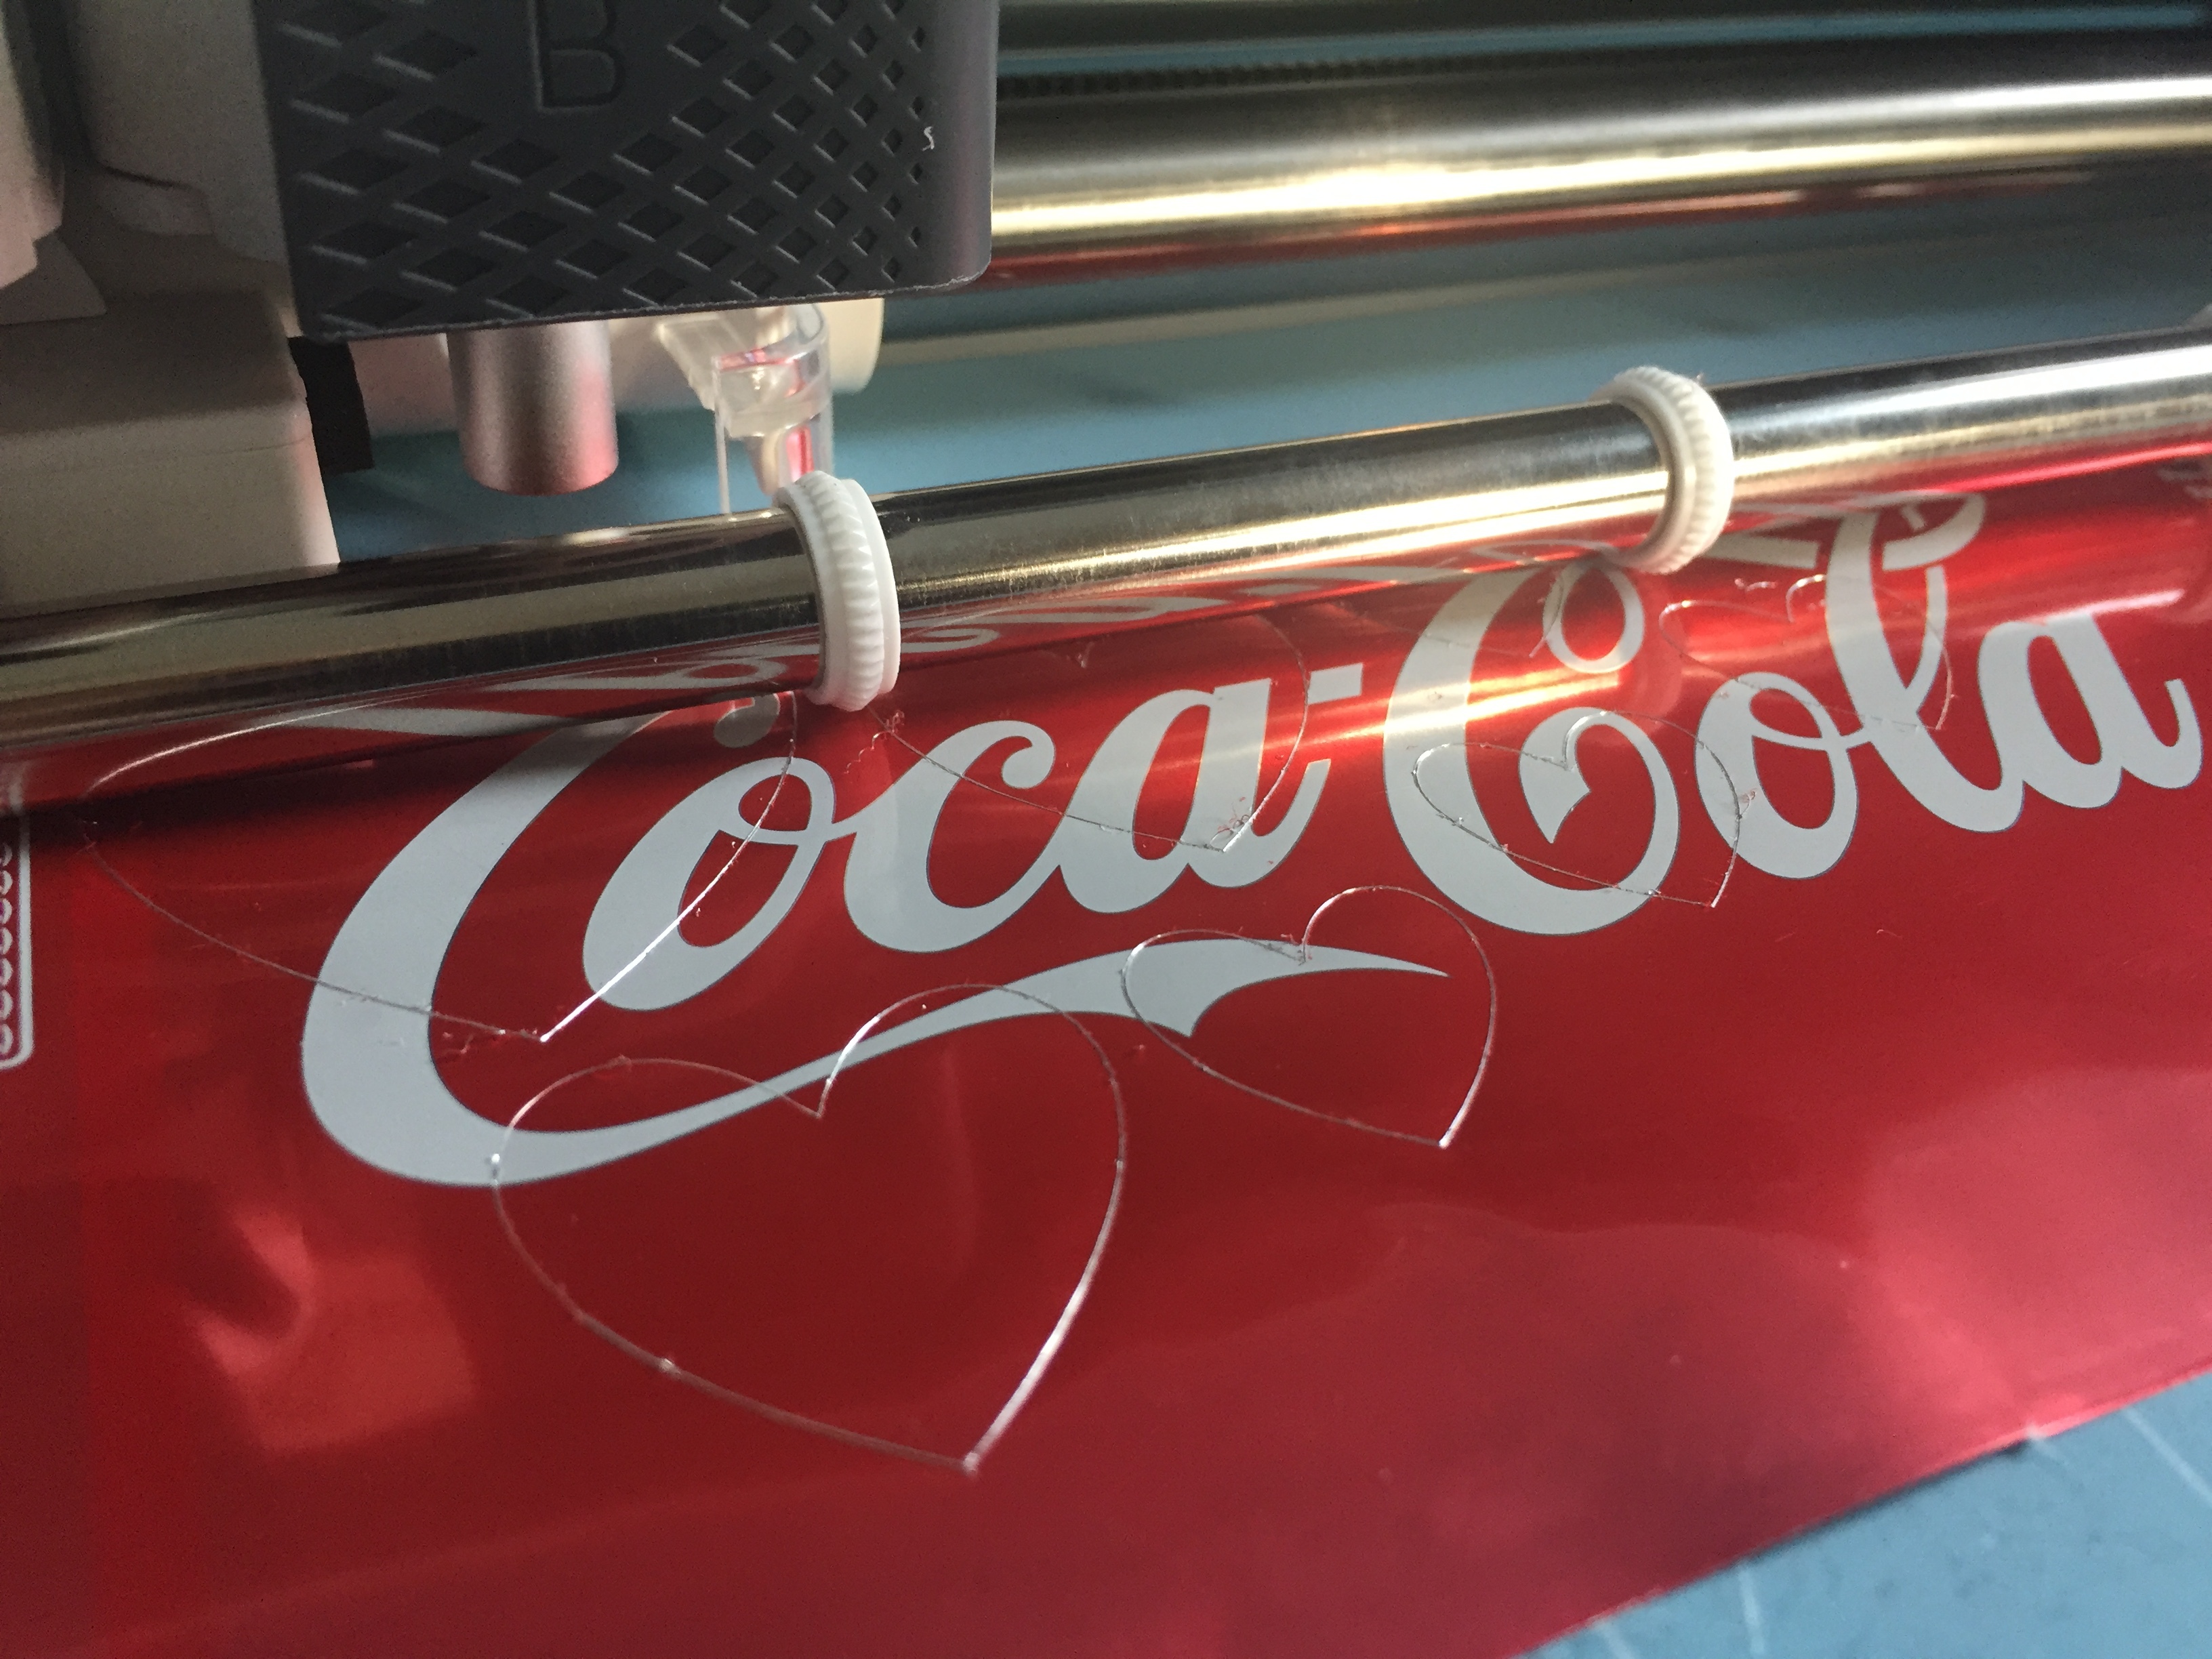
Spread the can out flat on the LightGrip mat. Tip: Use a scraper or brayer to apply pressure to help the can stick to the mat. You could also tape down the edges if necessary
Safety warning: Be careful of sharp edges
Draw the Hearts in Cricut Design Space
Open a New Project in Cricut® Design Space
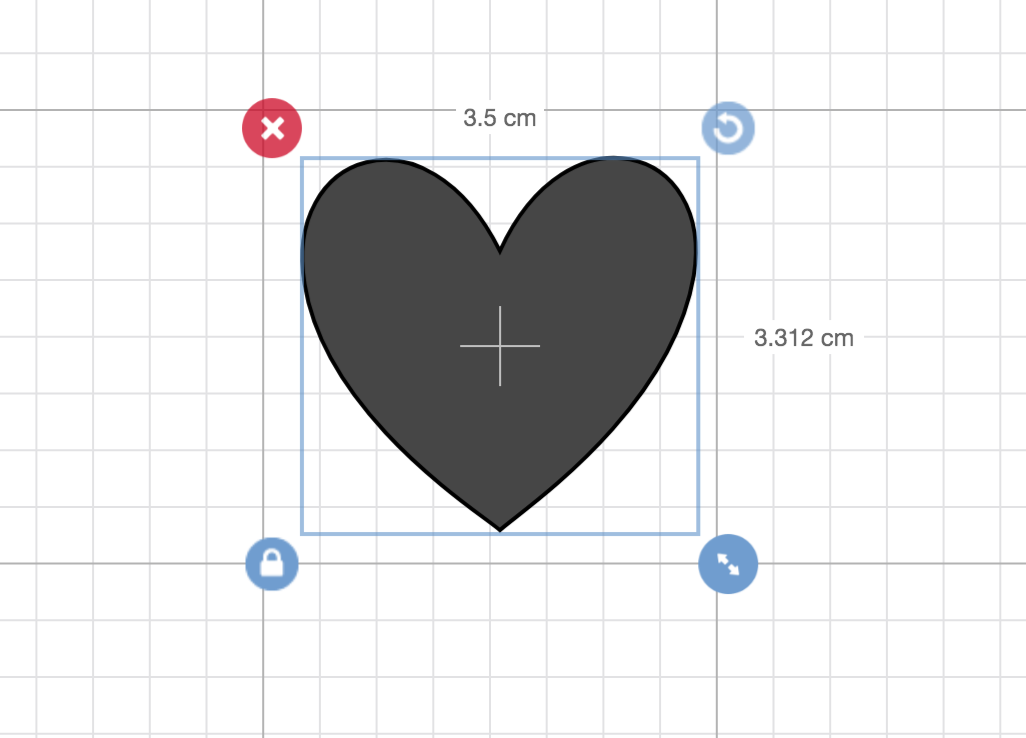
Go to the Shapes icon in the toolbar on the left side of the screen and insert a Heart
With the Heart selected, drag the arrow button on the bottom right to resize it
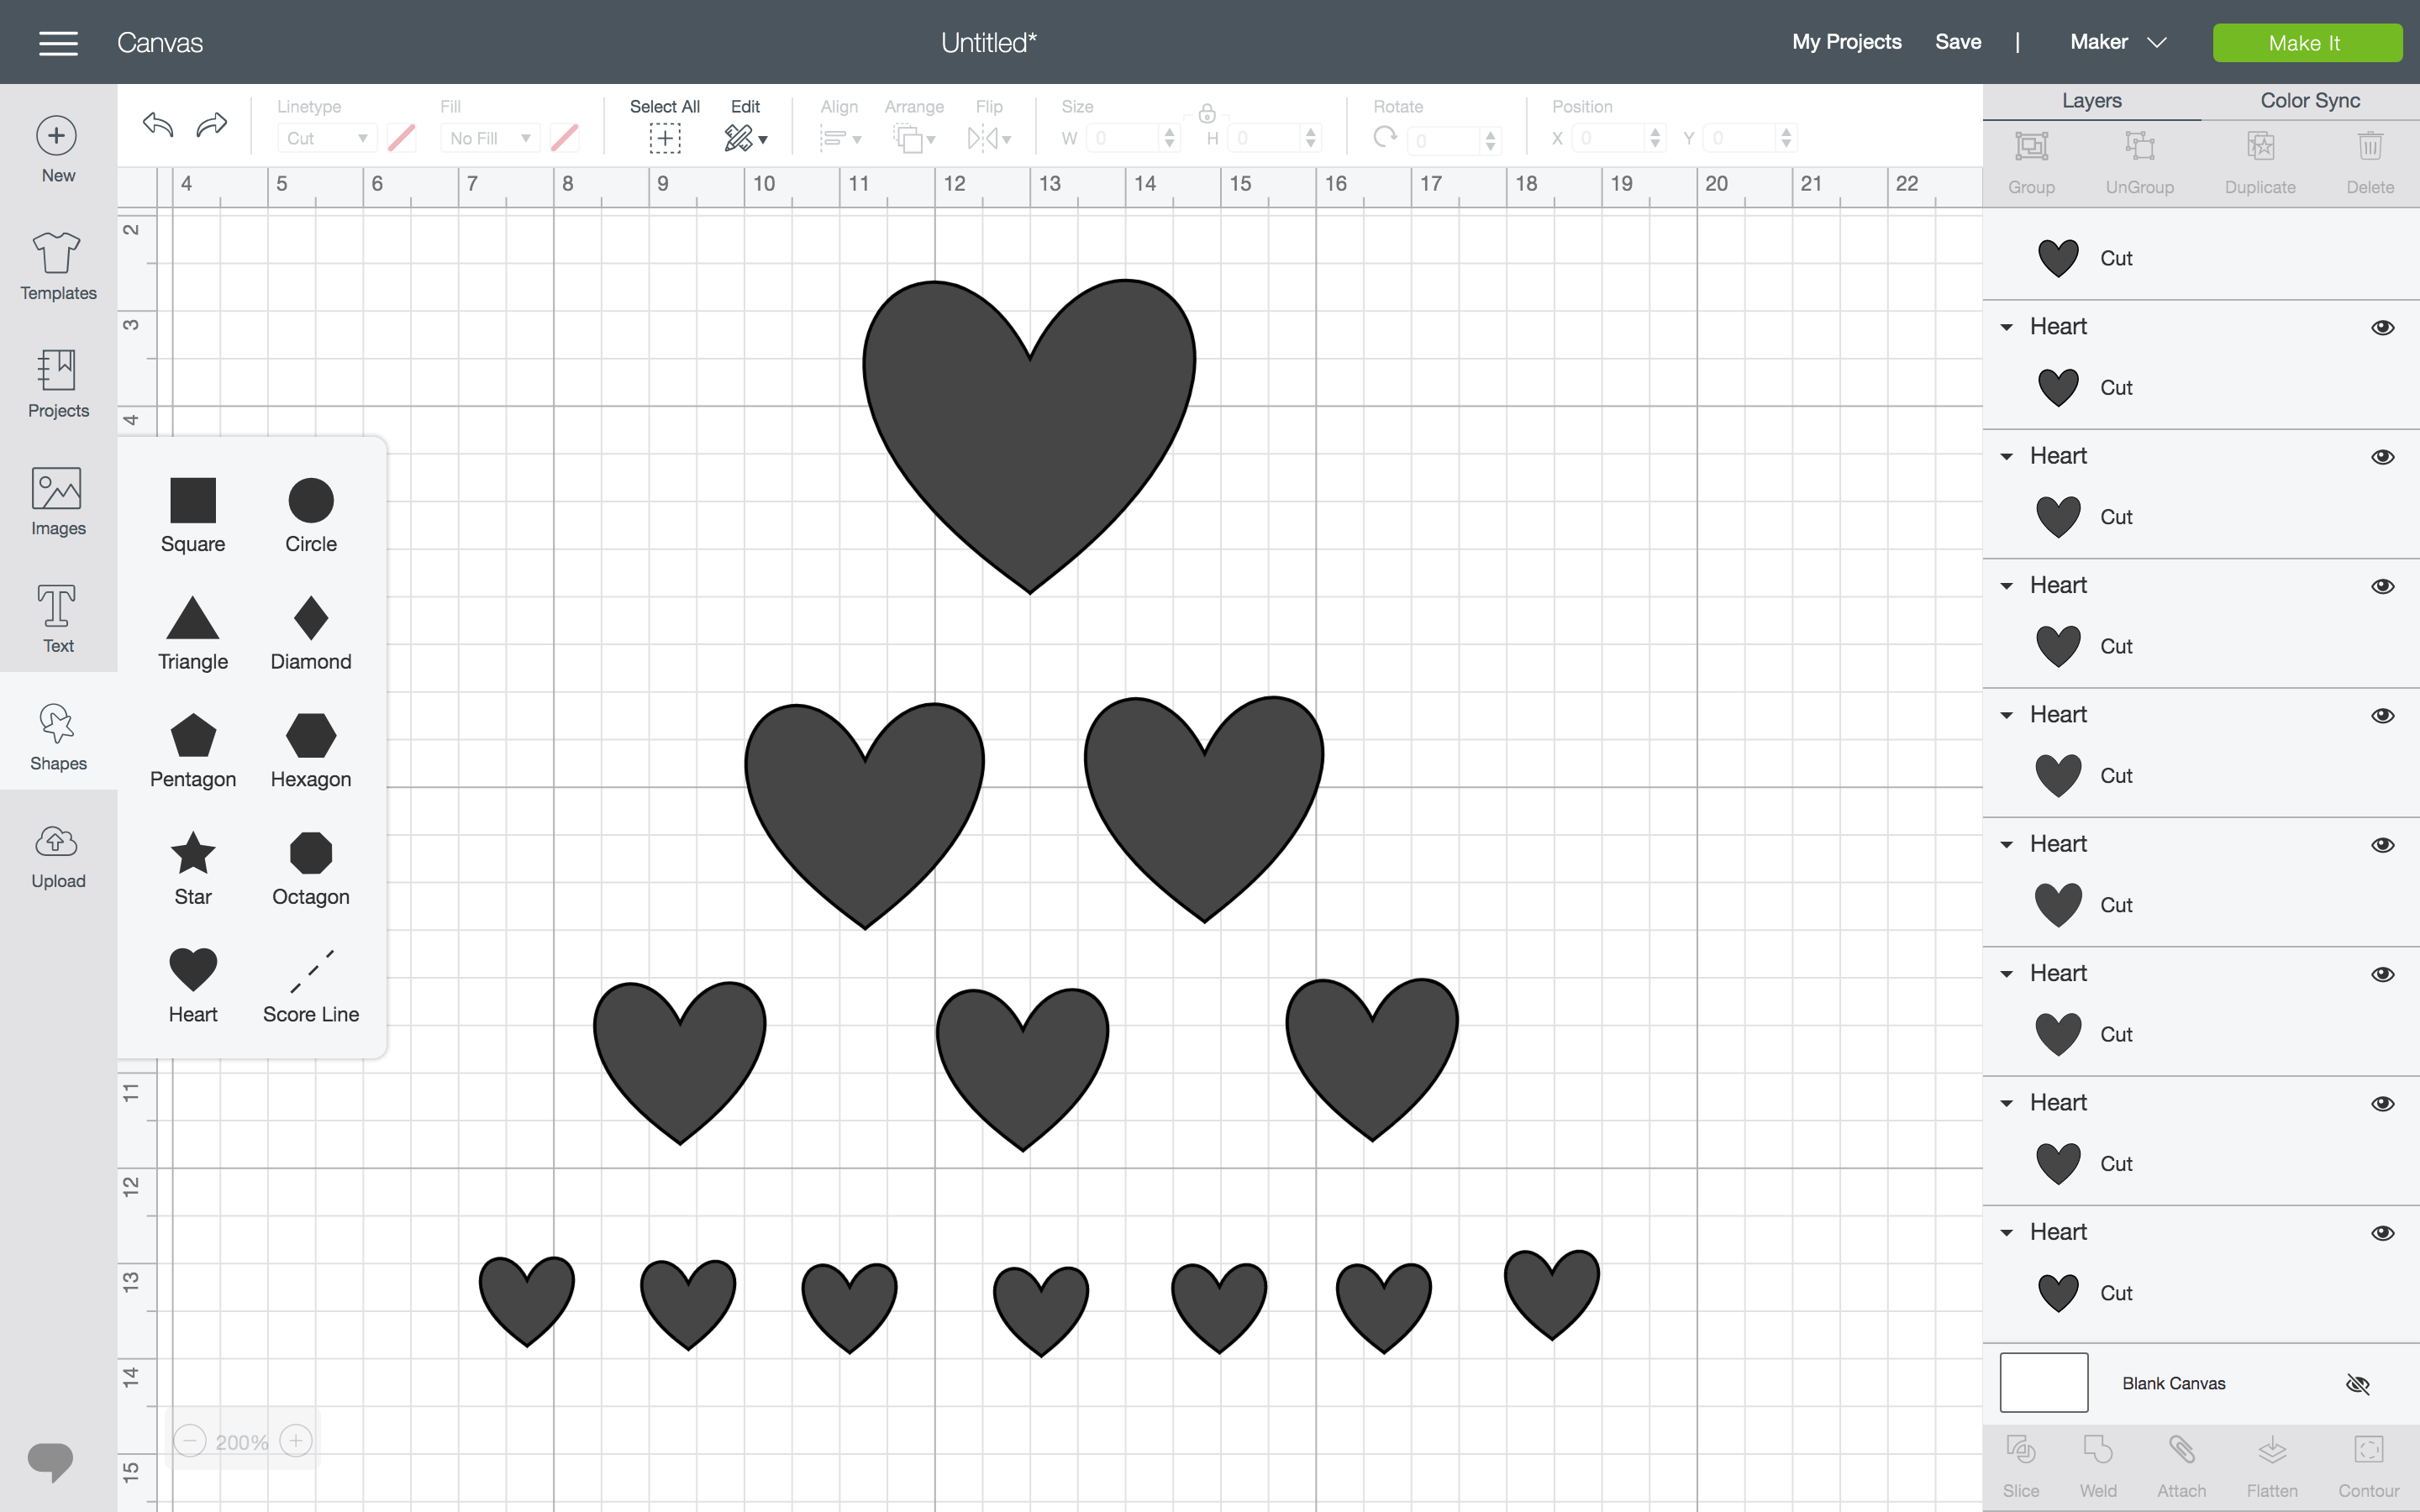
Create hearts of different sizes. I used 4 sizes with widths of approx. 1, 1.8, 2.5 and 3.5cm.
Tip: The width and height resize proportionally, but you can turn this off by clicking the lock button on the bottom left
Copy and paste the hearts to create enough for your card design. I used 1x large, 2x medium, 3x small and 7x extra small
Click the Make It button on the top right corner of the screen
Arrange the hearts on the virtual cutting mat so they will fit on the can
Click Continue
Add a Custom Setting for Aluminium Cans
Connect the Cricut Maker® to the computer using Bluetooth or a lead
Click Browse All Materials
Click Material Settings
Scroll to the bottom of the page and click New Material
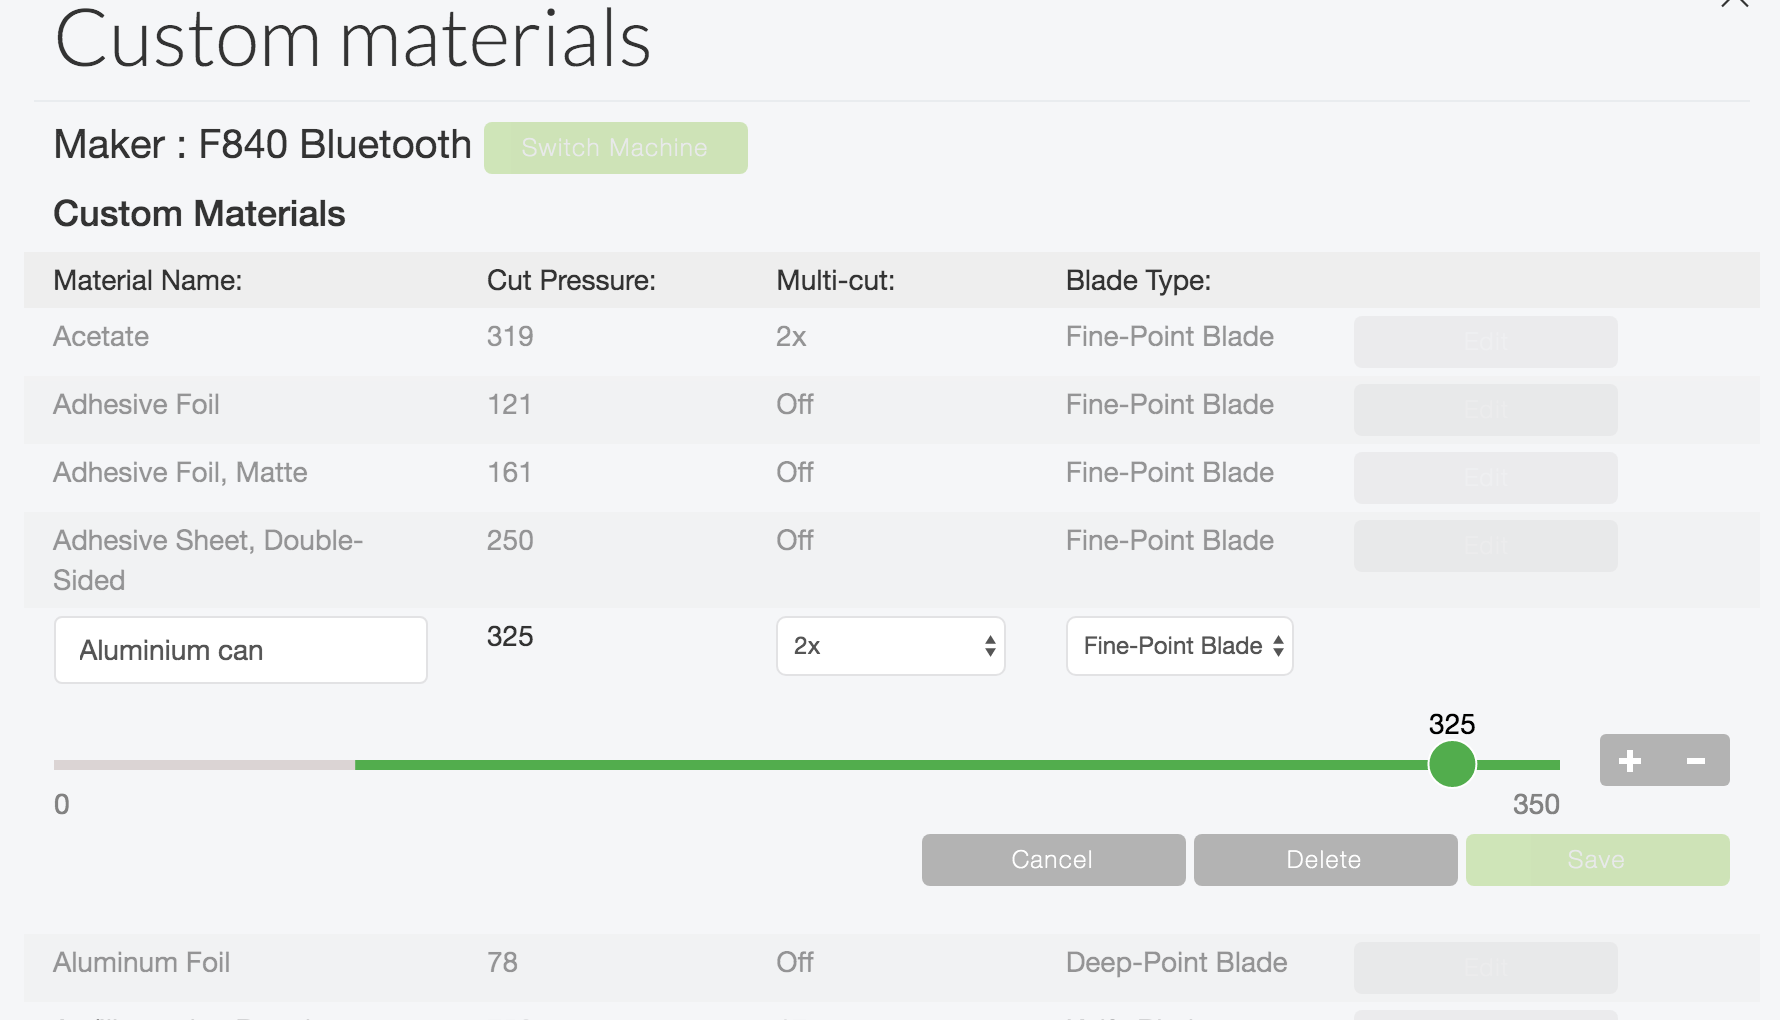
Type in a name e.g. Aluminium Can and click Save
Choose the following settings: Cut Pressure: 325, Multi Cut: 2x, Blade Type: Fine-Point Blade
Click Save and close the settings page
Choose the Aluminium Can as the material
Load the Cutting Mat with the aluminium, into the Cricut Maker®
Set the pressure to: More
Cut the Hearts
Insert the Fine-Point Blade into tool holder B
Press the flashing Go button
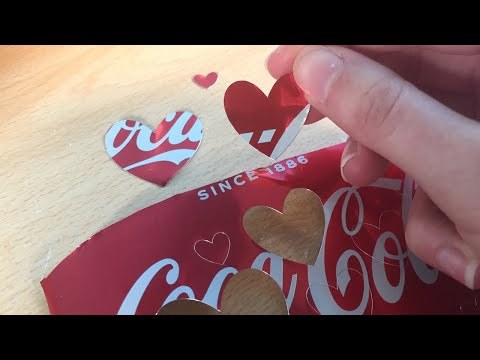
Once the machine stops cutting, unload the mat and remove the aluminium. If the blade hasn't cut all the way through, bend the aluminium slightly and peel the hearts away
It's useful to have an extra drinks can to remake any hearts where the graphics are cut in a position that doesn't look right
Create the Greeting Card
Create a new project in Cricut® Design Space
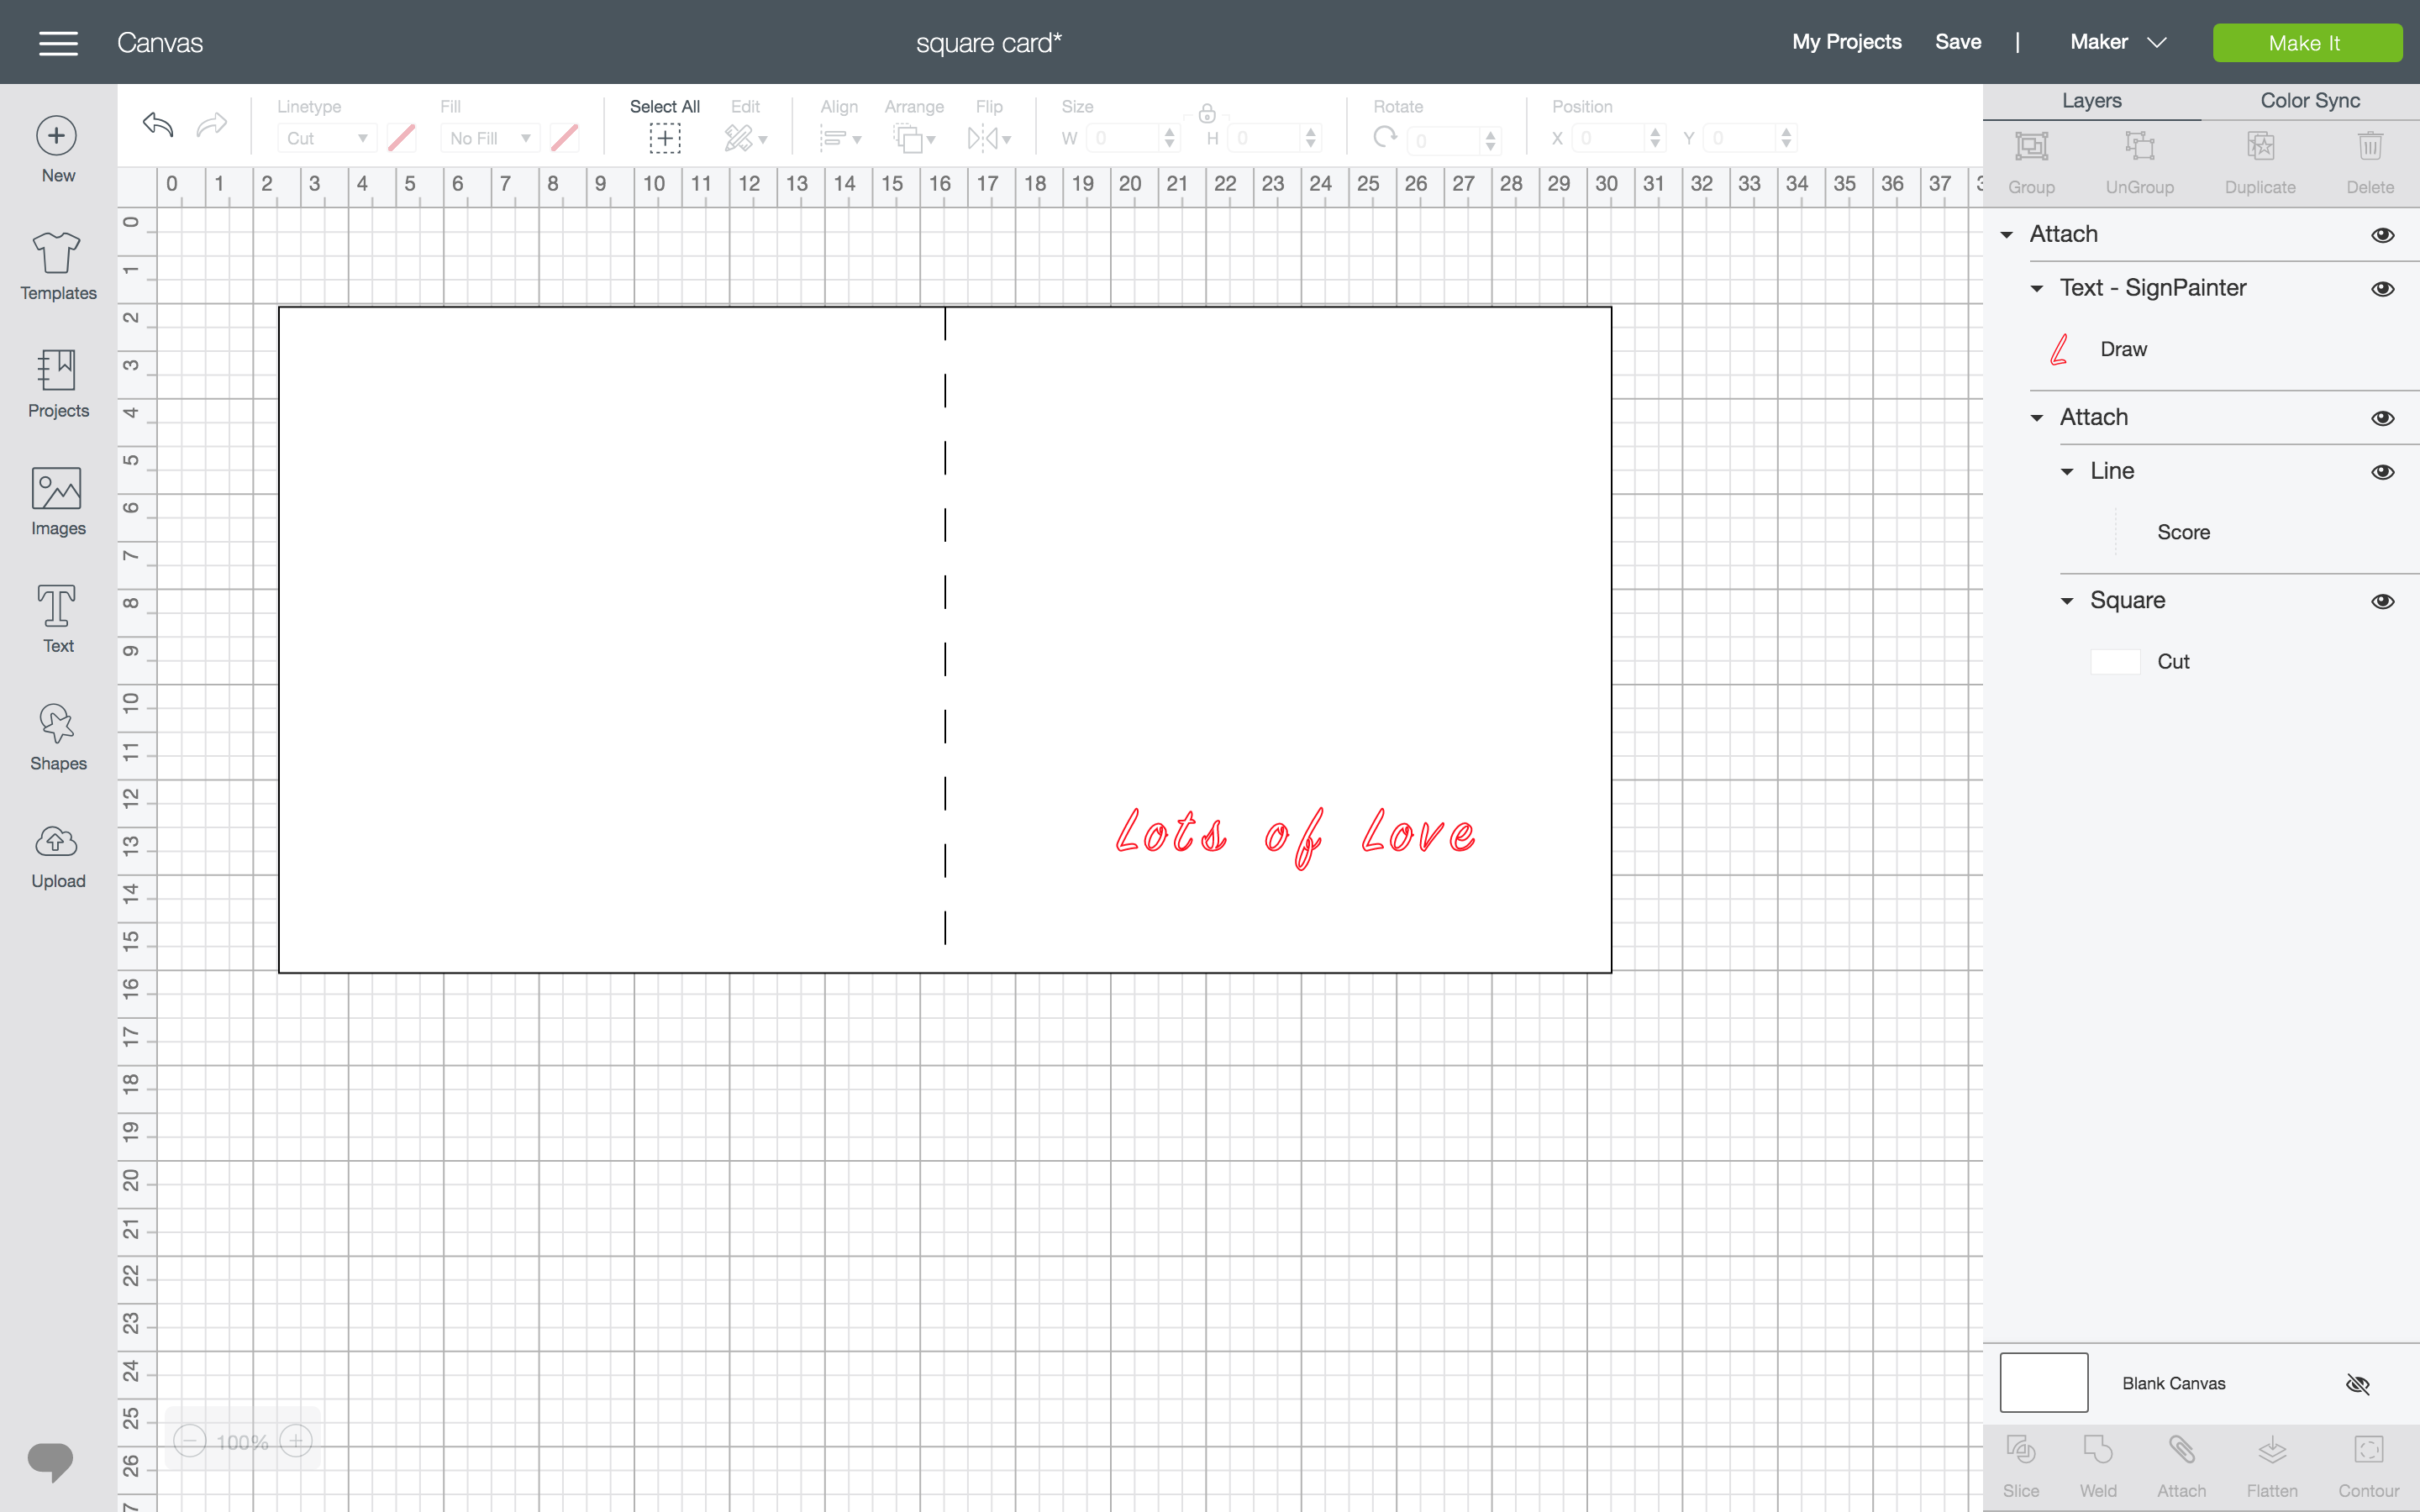
Insert a Square from the Shapes icon toolbar
With the square selected, unlock the proportions by clicking on the lock button on the bottom left. Resize the square so it becomes a rectangle. If you are using an envelope, make sure the card will fit. I set it to be 28 x 14 cm
Insert a Score Line from from the Shapes icon toolbar and set the size to be the same as the height of the rectangle e.g. 14cm
Select the Rectangle and Score Line and go to Align > Center
With the Rectangle and Score Line still selected, click Attach at the bottom right of the screen. This tells the Cricut® to create the score line on the rectangle
Click on the Text icon from the toolbar
Type the message for your card in the text box that appears. Select a font from the toolbar at the top of the screen. I used a font called SignPainter
Change the line type from Cut to Draw from the tool bar at the top of the screen
Position the message on the Rectangle. The message should be on the right hand side of the score line in order to be on the front when the card is folded
Select both the Rectangle and message and click Attach
Cut the Greeting Card
Click Make It
Place the A4 card on the cutting mat
Arrange the greeting card on the virtual cutting mat so it will fit on the A4 card. Rotate the design or card if necessary
Click Continue
Click Browse Materials and choose Heavy Cardstock
Set the pressure to: Default
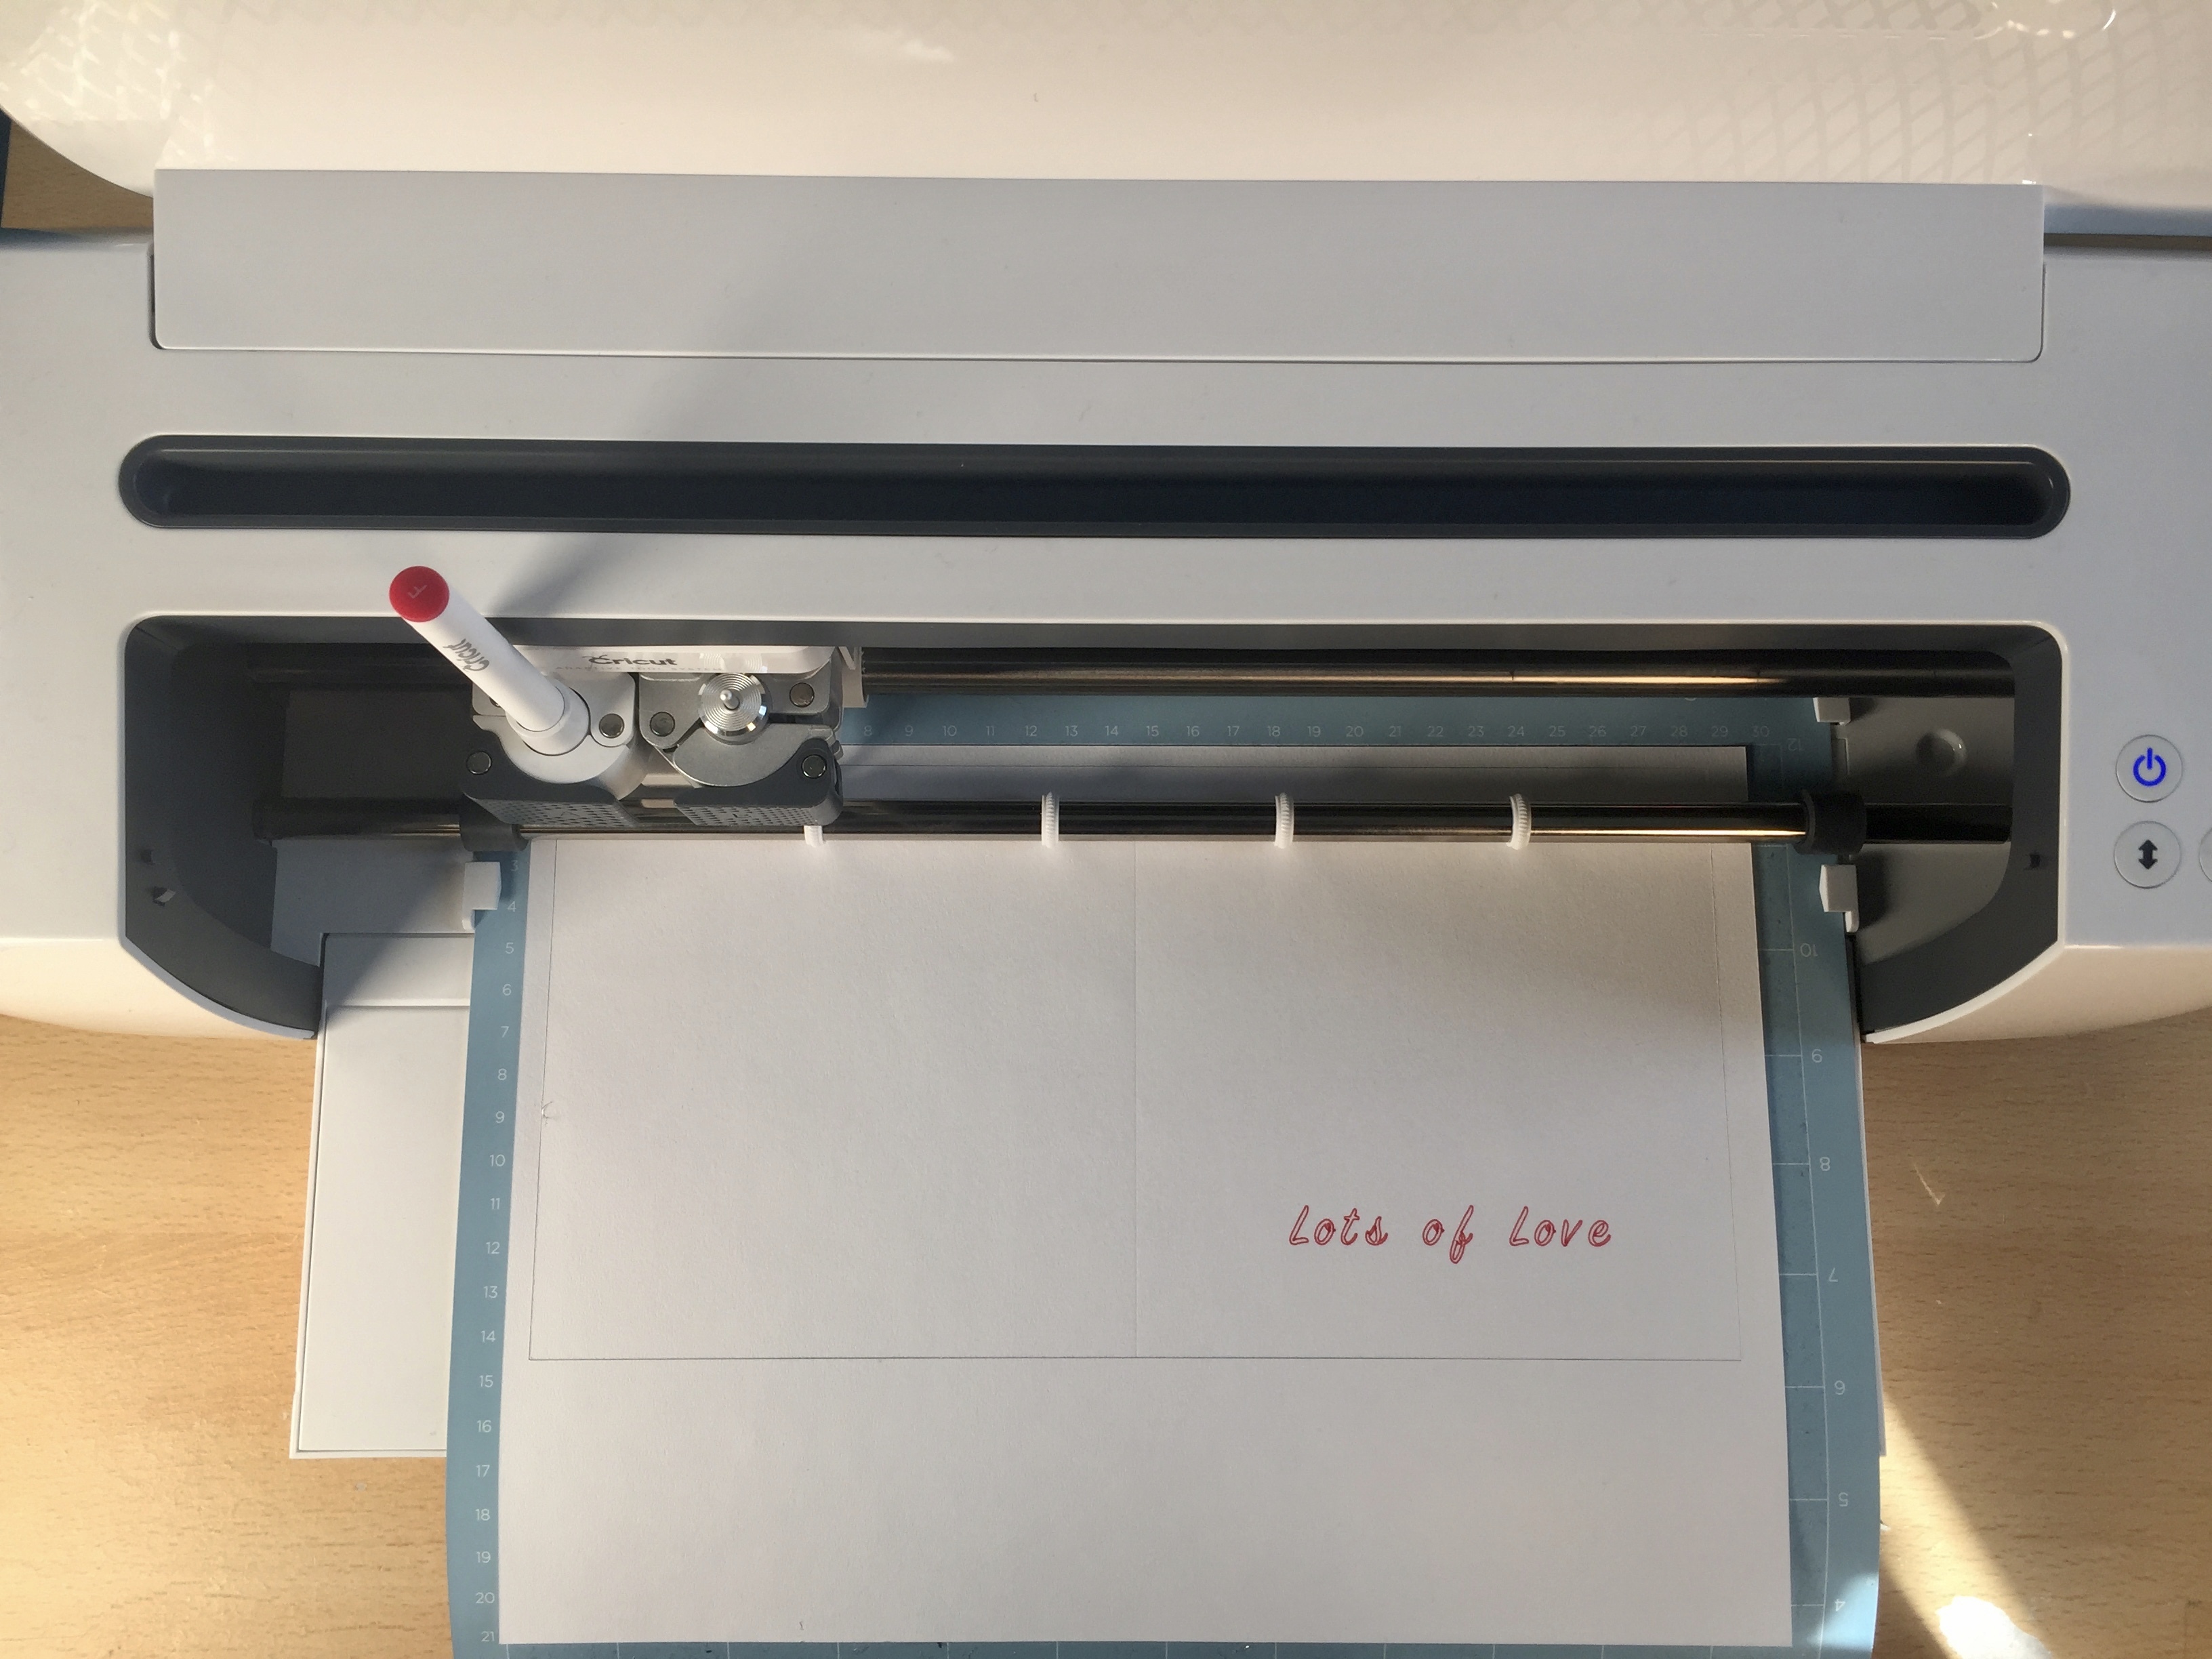
Click Edit Tools and select the Scoring Stylus and click Apply
Load the Cutting mat with the card on it, into the machine
Place the Scoring Stylus into tool holder A
Press the flashing Go button
When prompted, remove the Scoring Stylus and insert the Pen
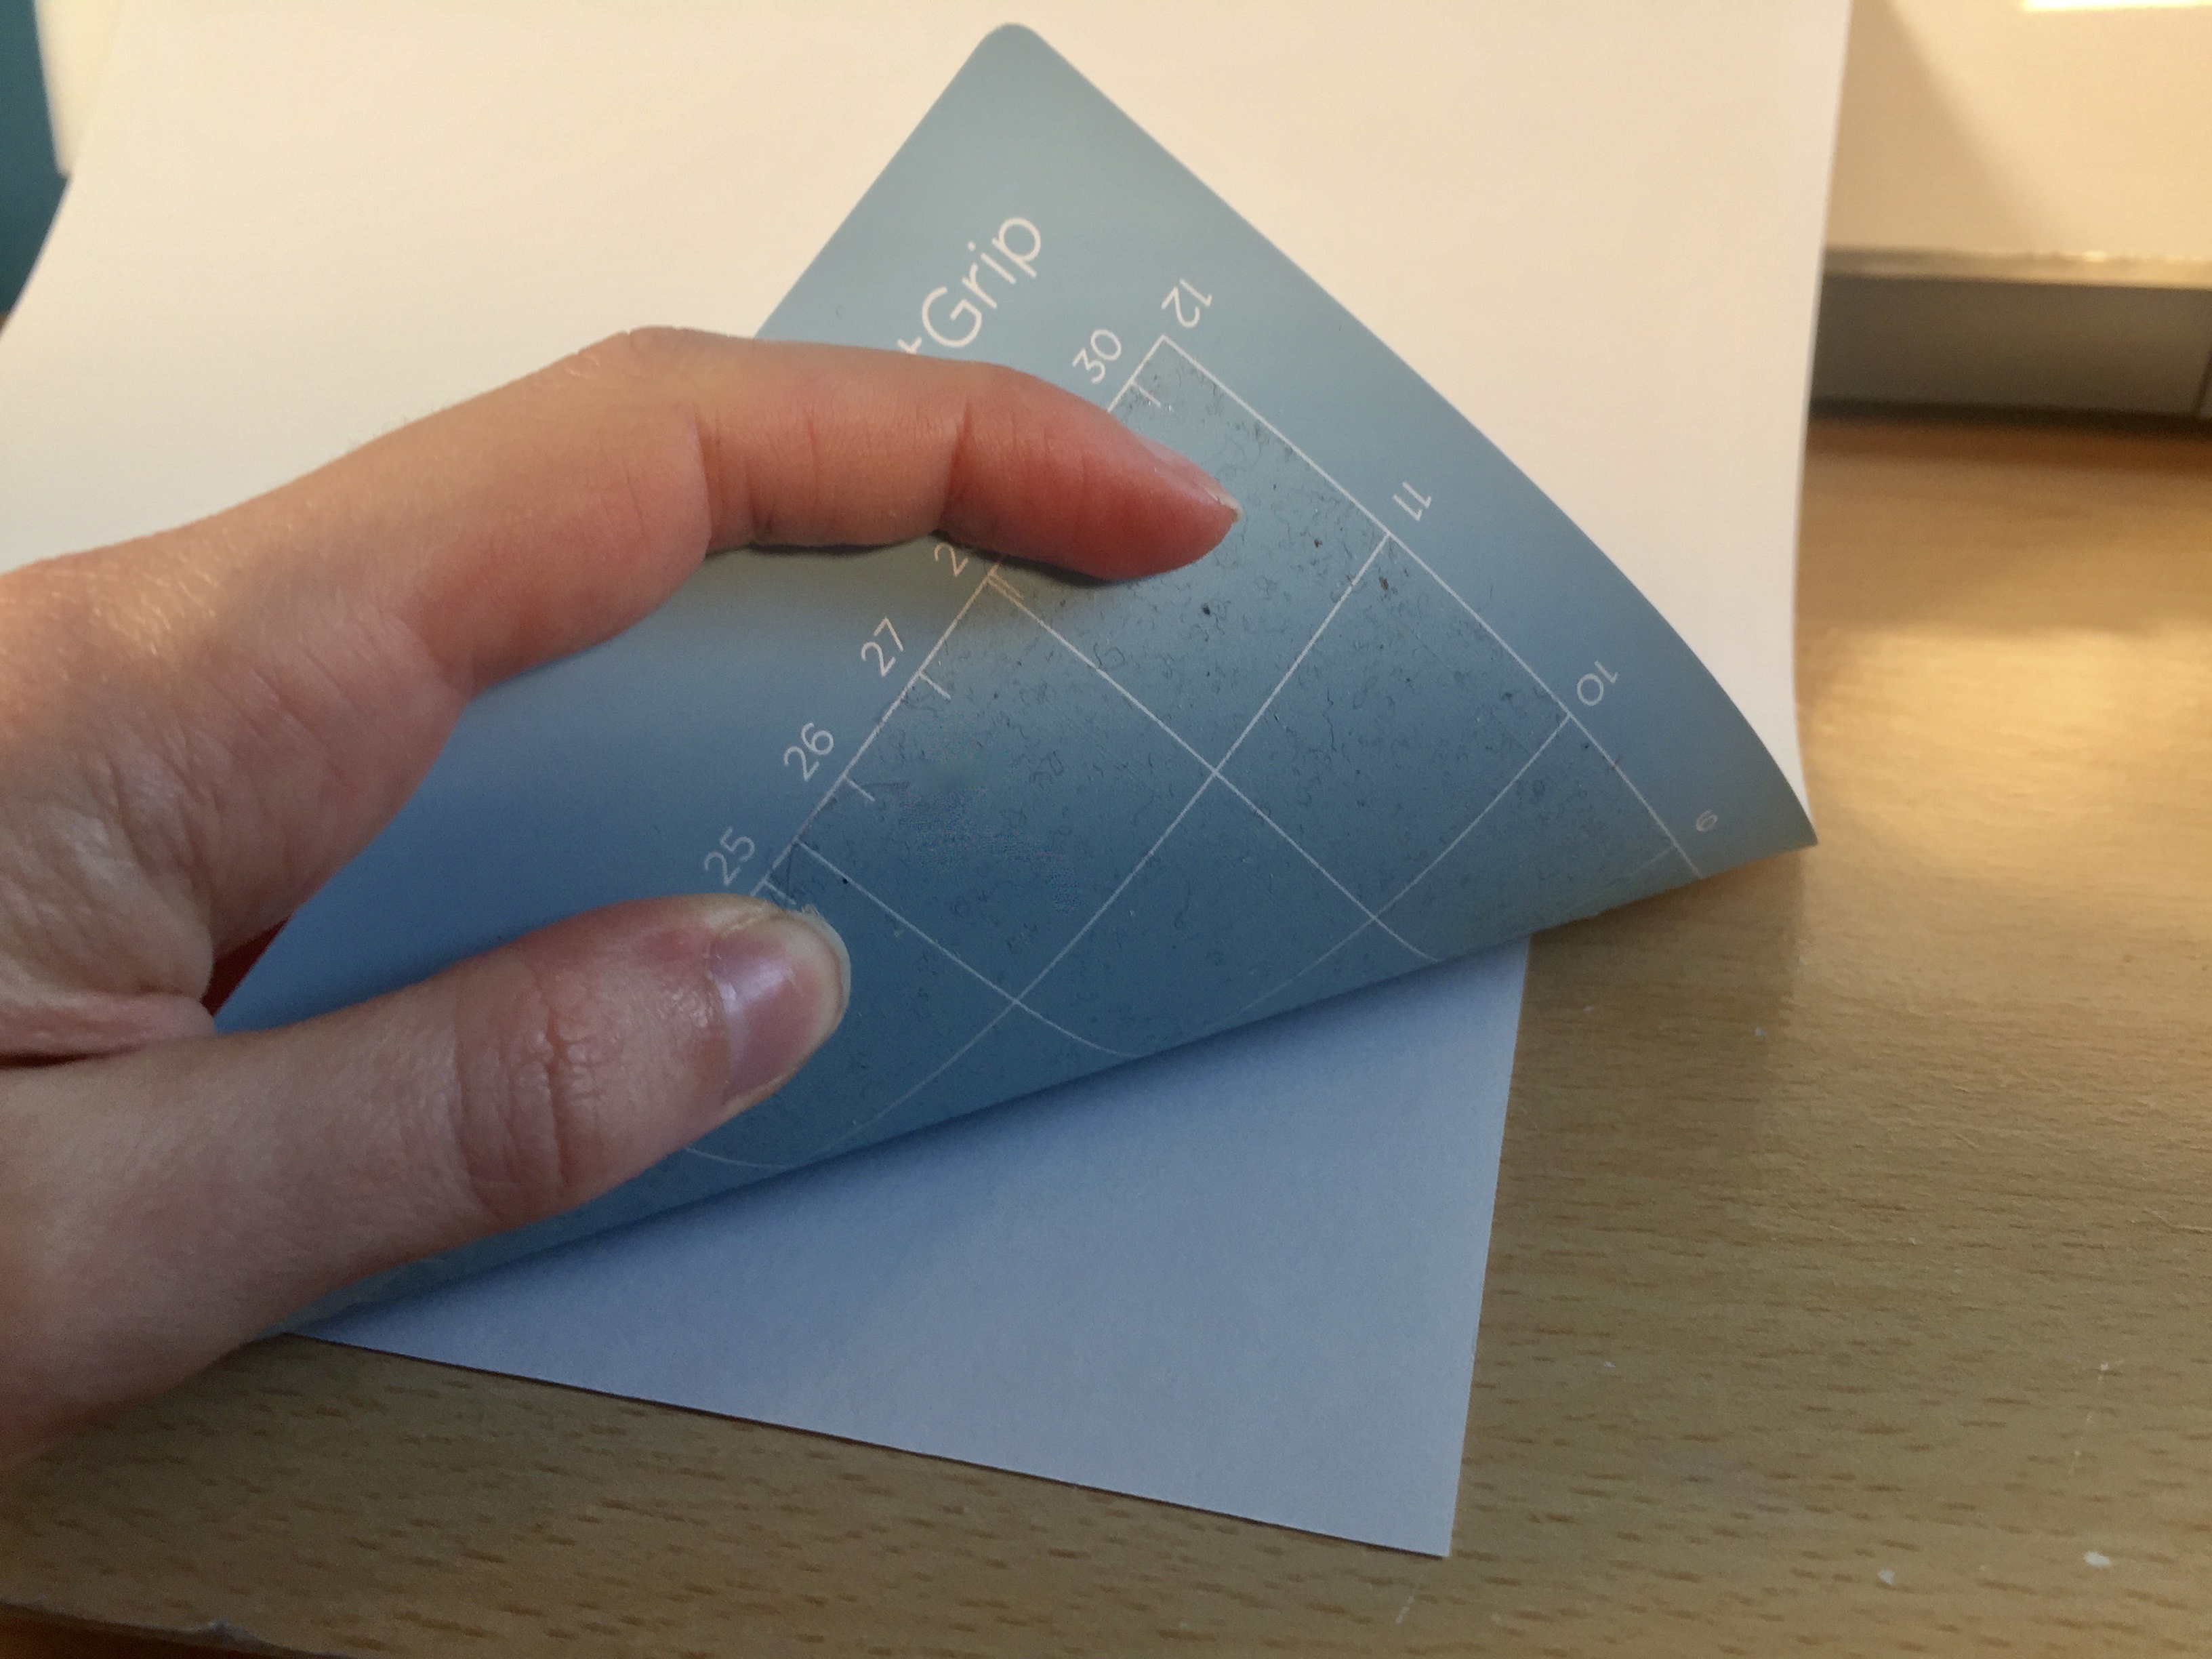
After the card has been drawn and cut, unload the mat
Remove the card from the mat, by placing the mat upside down on a clean surface and peeling the mat away from the card. This stops the card from curling
Assemble the Card
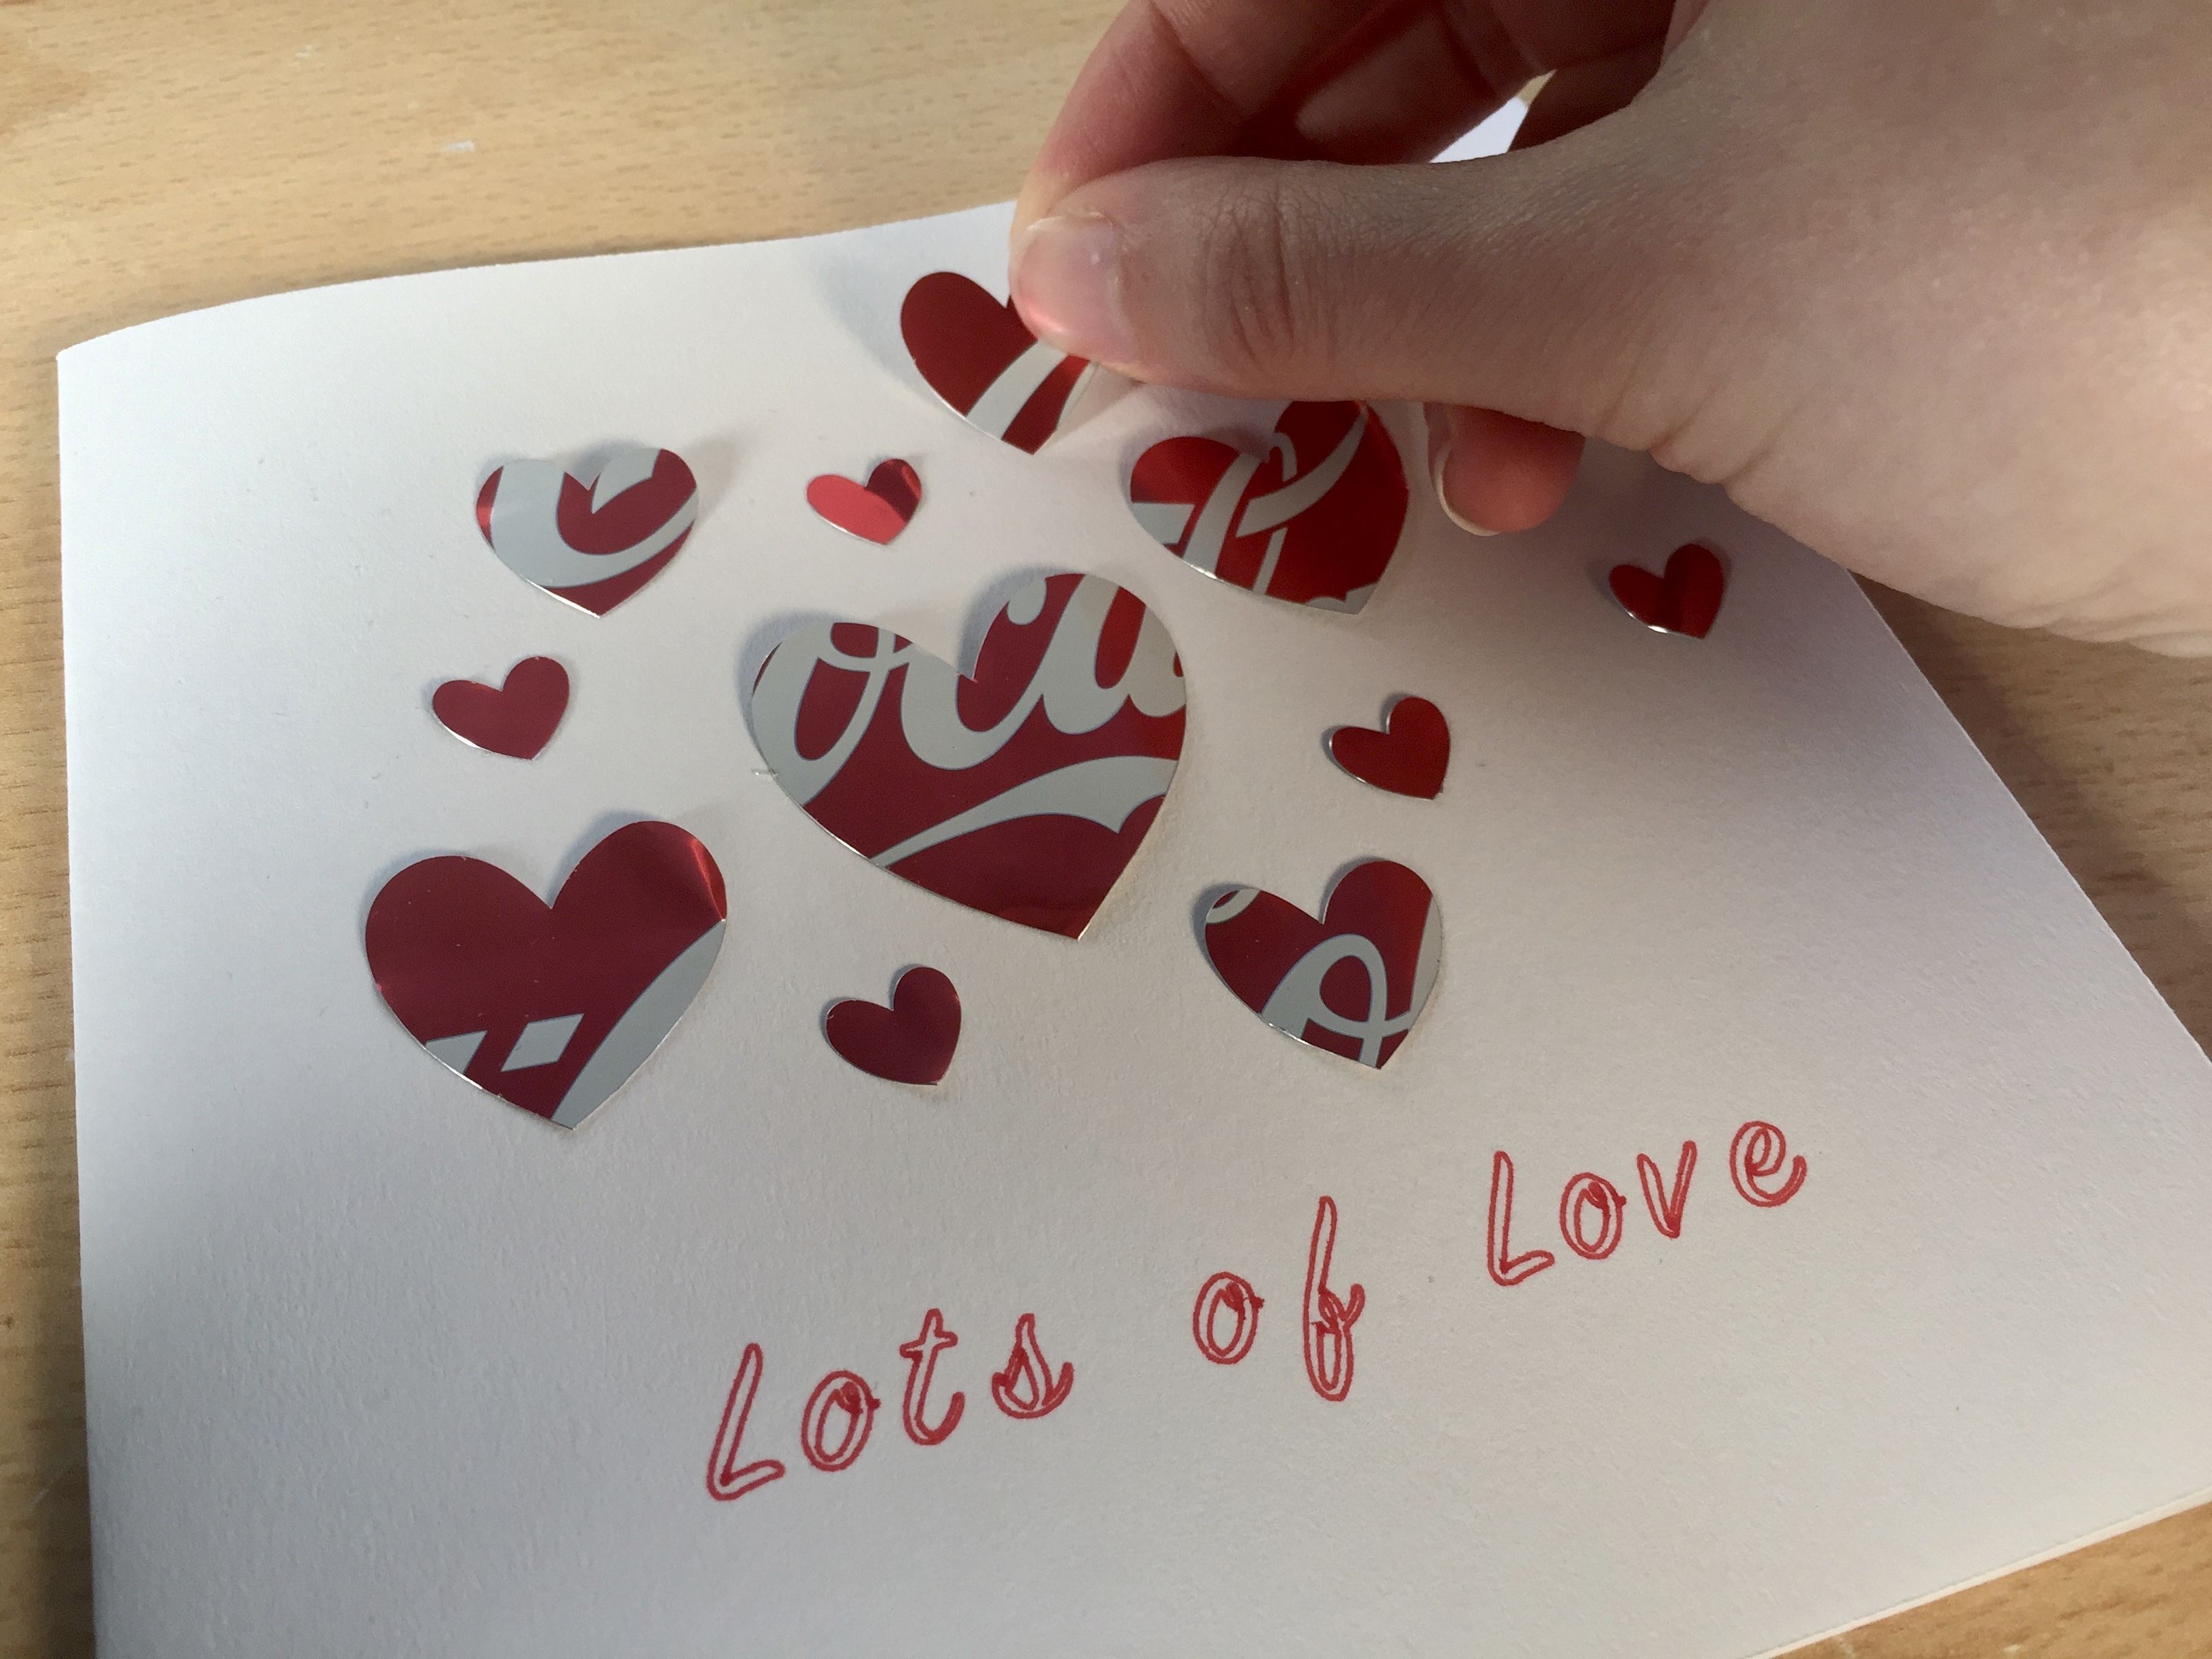
Fold the card along the score line
Play around with the hearts to find a design you like
When you have decided on a design, apply glue to the back of each heart and stick it on the card