Retro Raspberry Pi Tumblr GIF Camera
by bekathwia in Circuits > Raspberry Pi
14902 Views, 162 Favorites, 0 Comments
Retro Raspberry Pi Tumblr GIF Camera
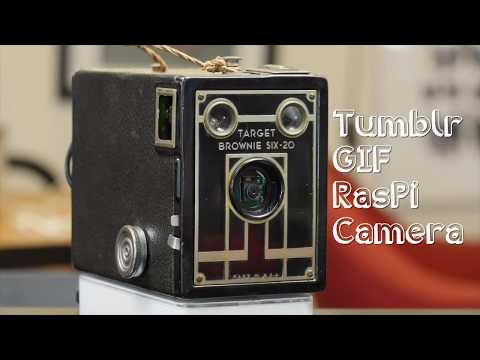
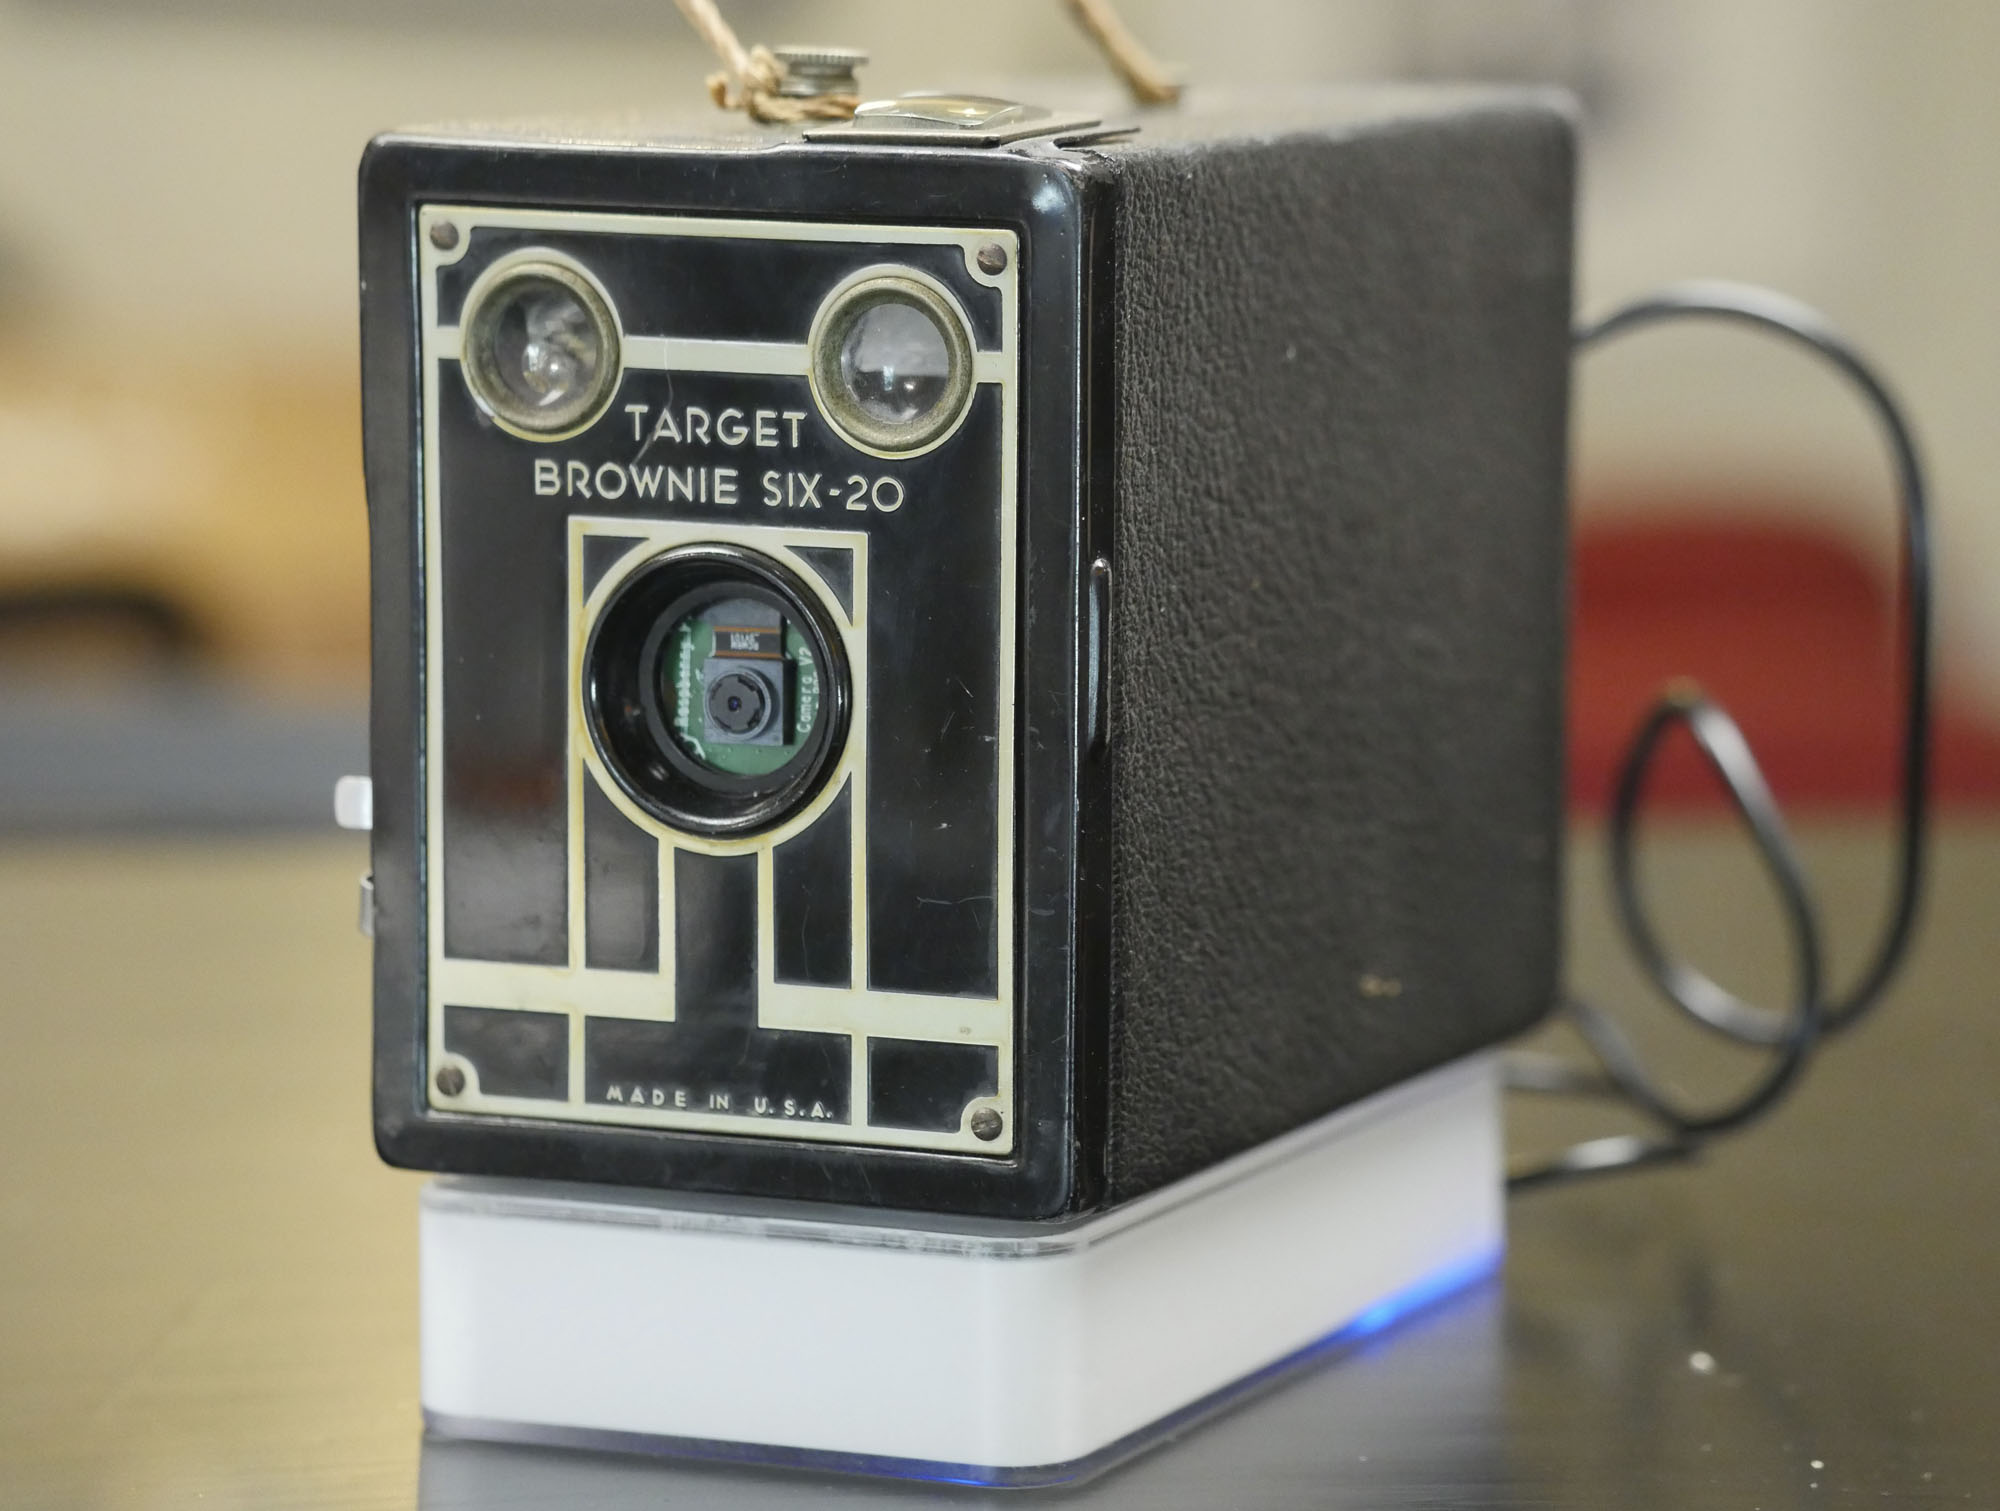
I wanted a way to use my vintage cameras in a new, digital way. I have a few kicking around in various conditions, but haven't used them in ages because the film is costly to develop. Follow along with this Instructable to see how I put a Raspberry Pi and Pi Camera inside a retro film camera, and programmed it to upload GIFs to my Tumblr.
The code is based on Lara's free Instructables Raspberry Pi Class, which contains valuable background info if you're new to electronics, programming, or the Pi. If you have some Pi experience, you may appreciate the Pi Tumblr GIF Photobooth Instructable, which is a more concise overview of the class content. The same code can be used to run a photo booth at your next party! I chose to take my camera mobile with a big battery pack to capture GIFs at Maker Faire NY this year.
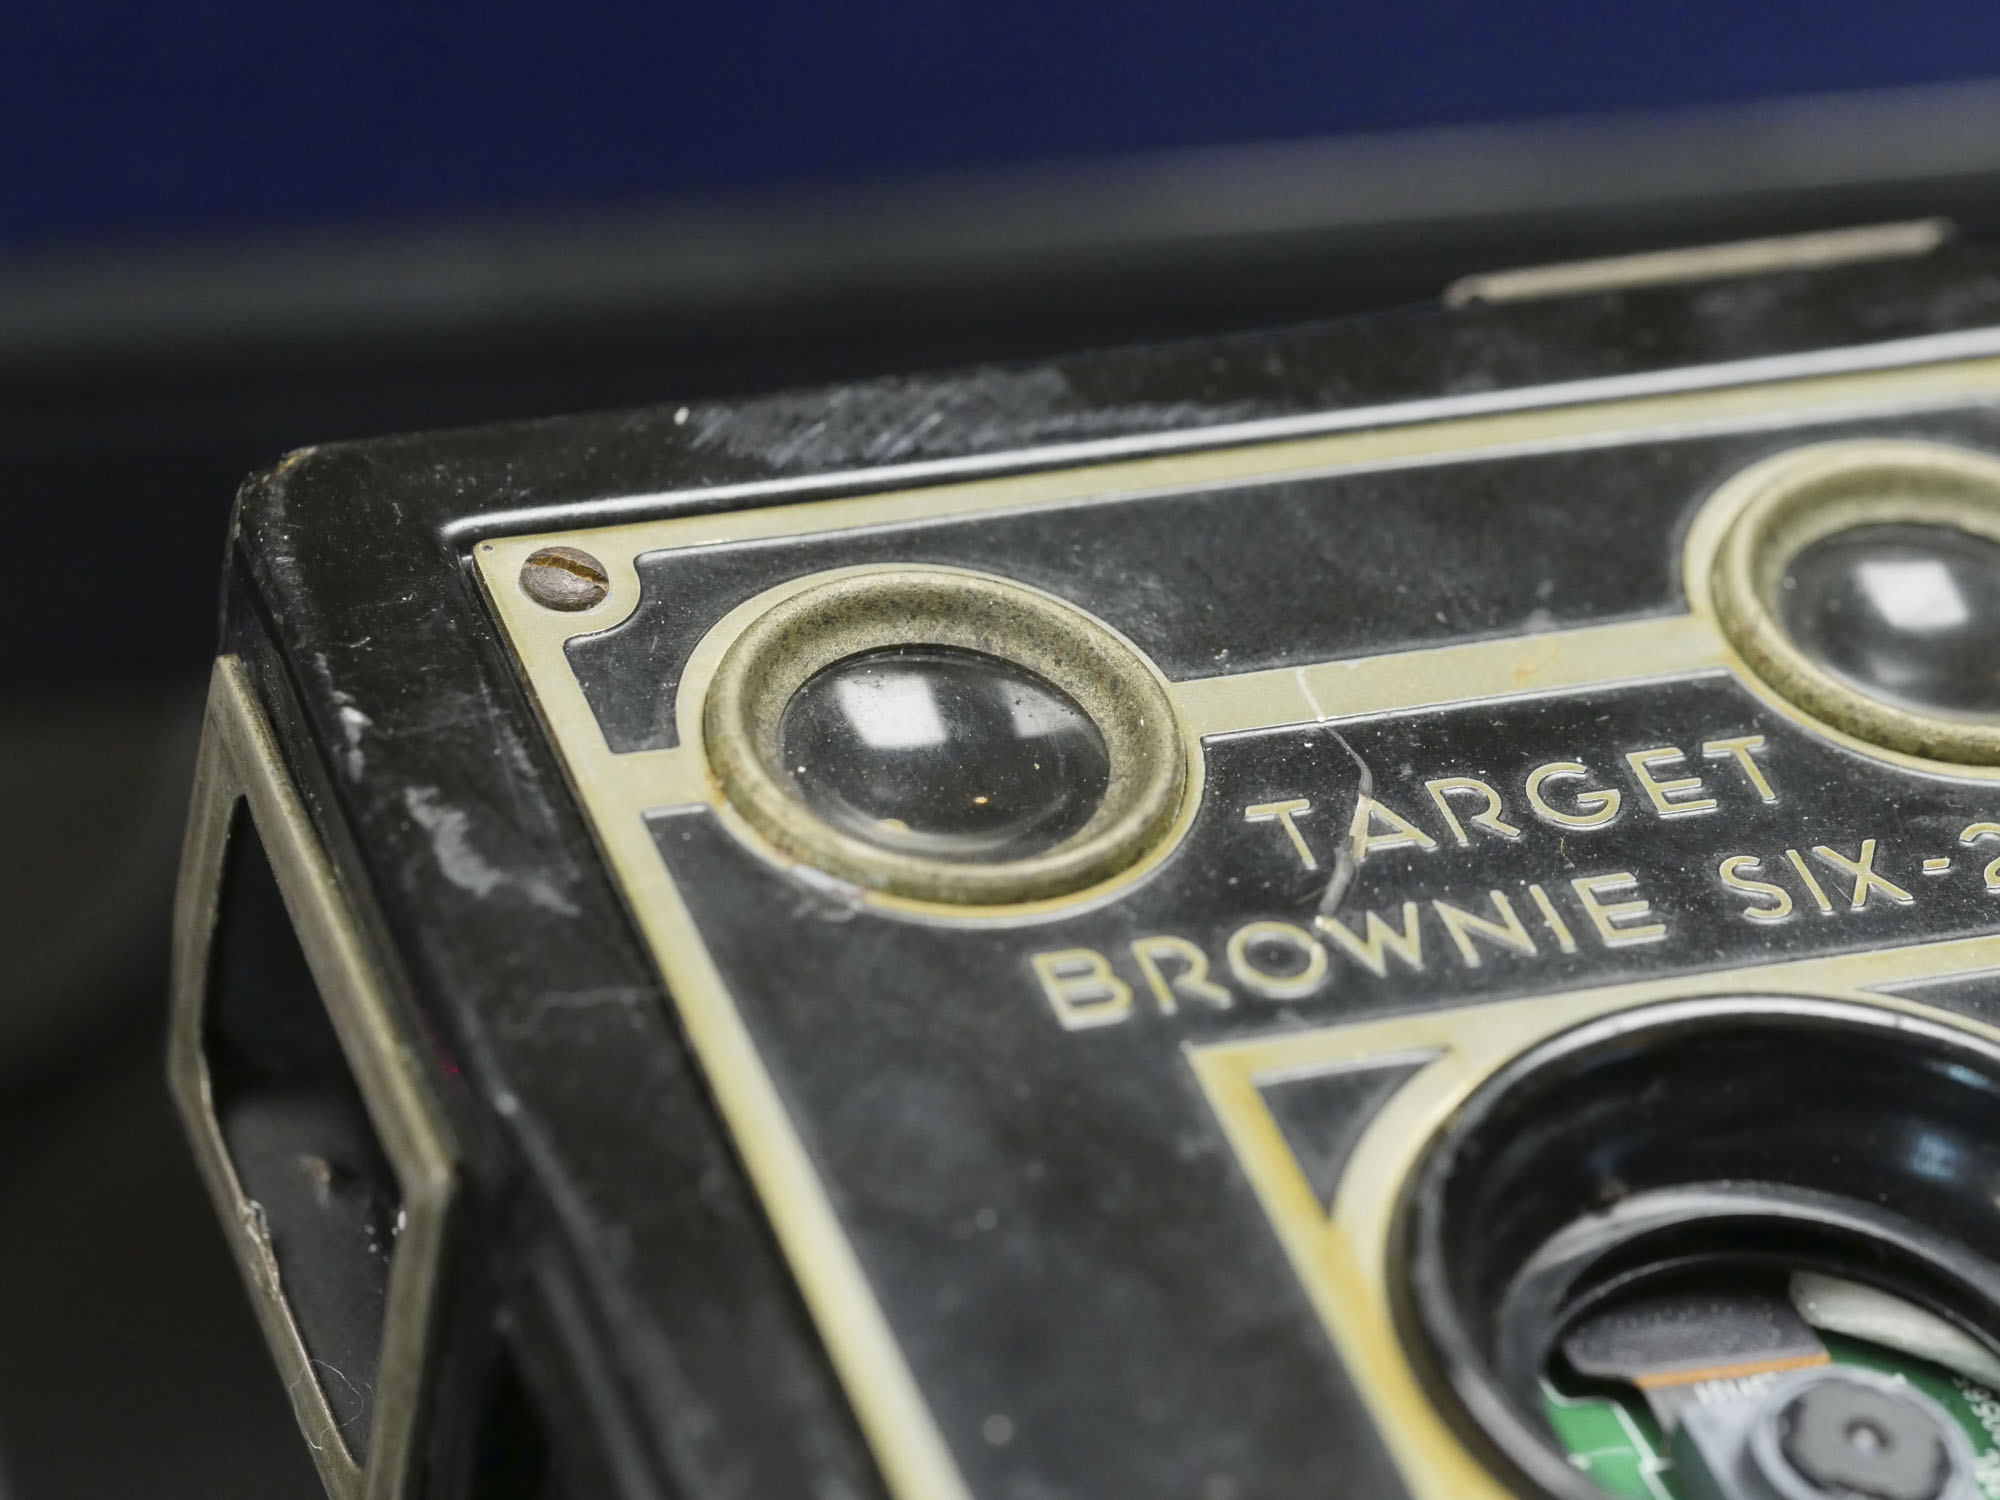
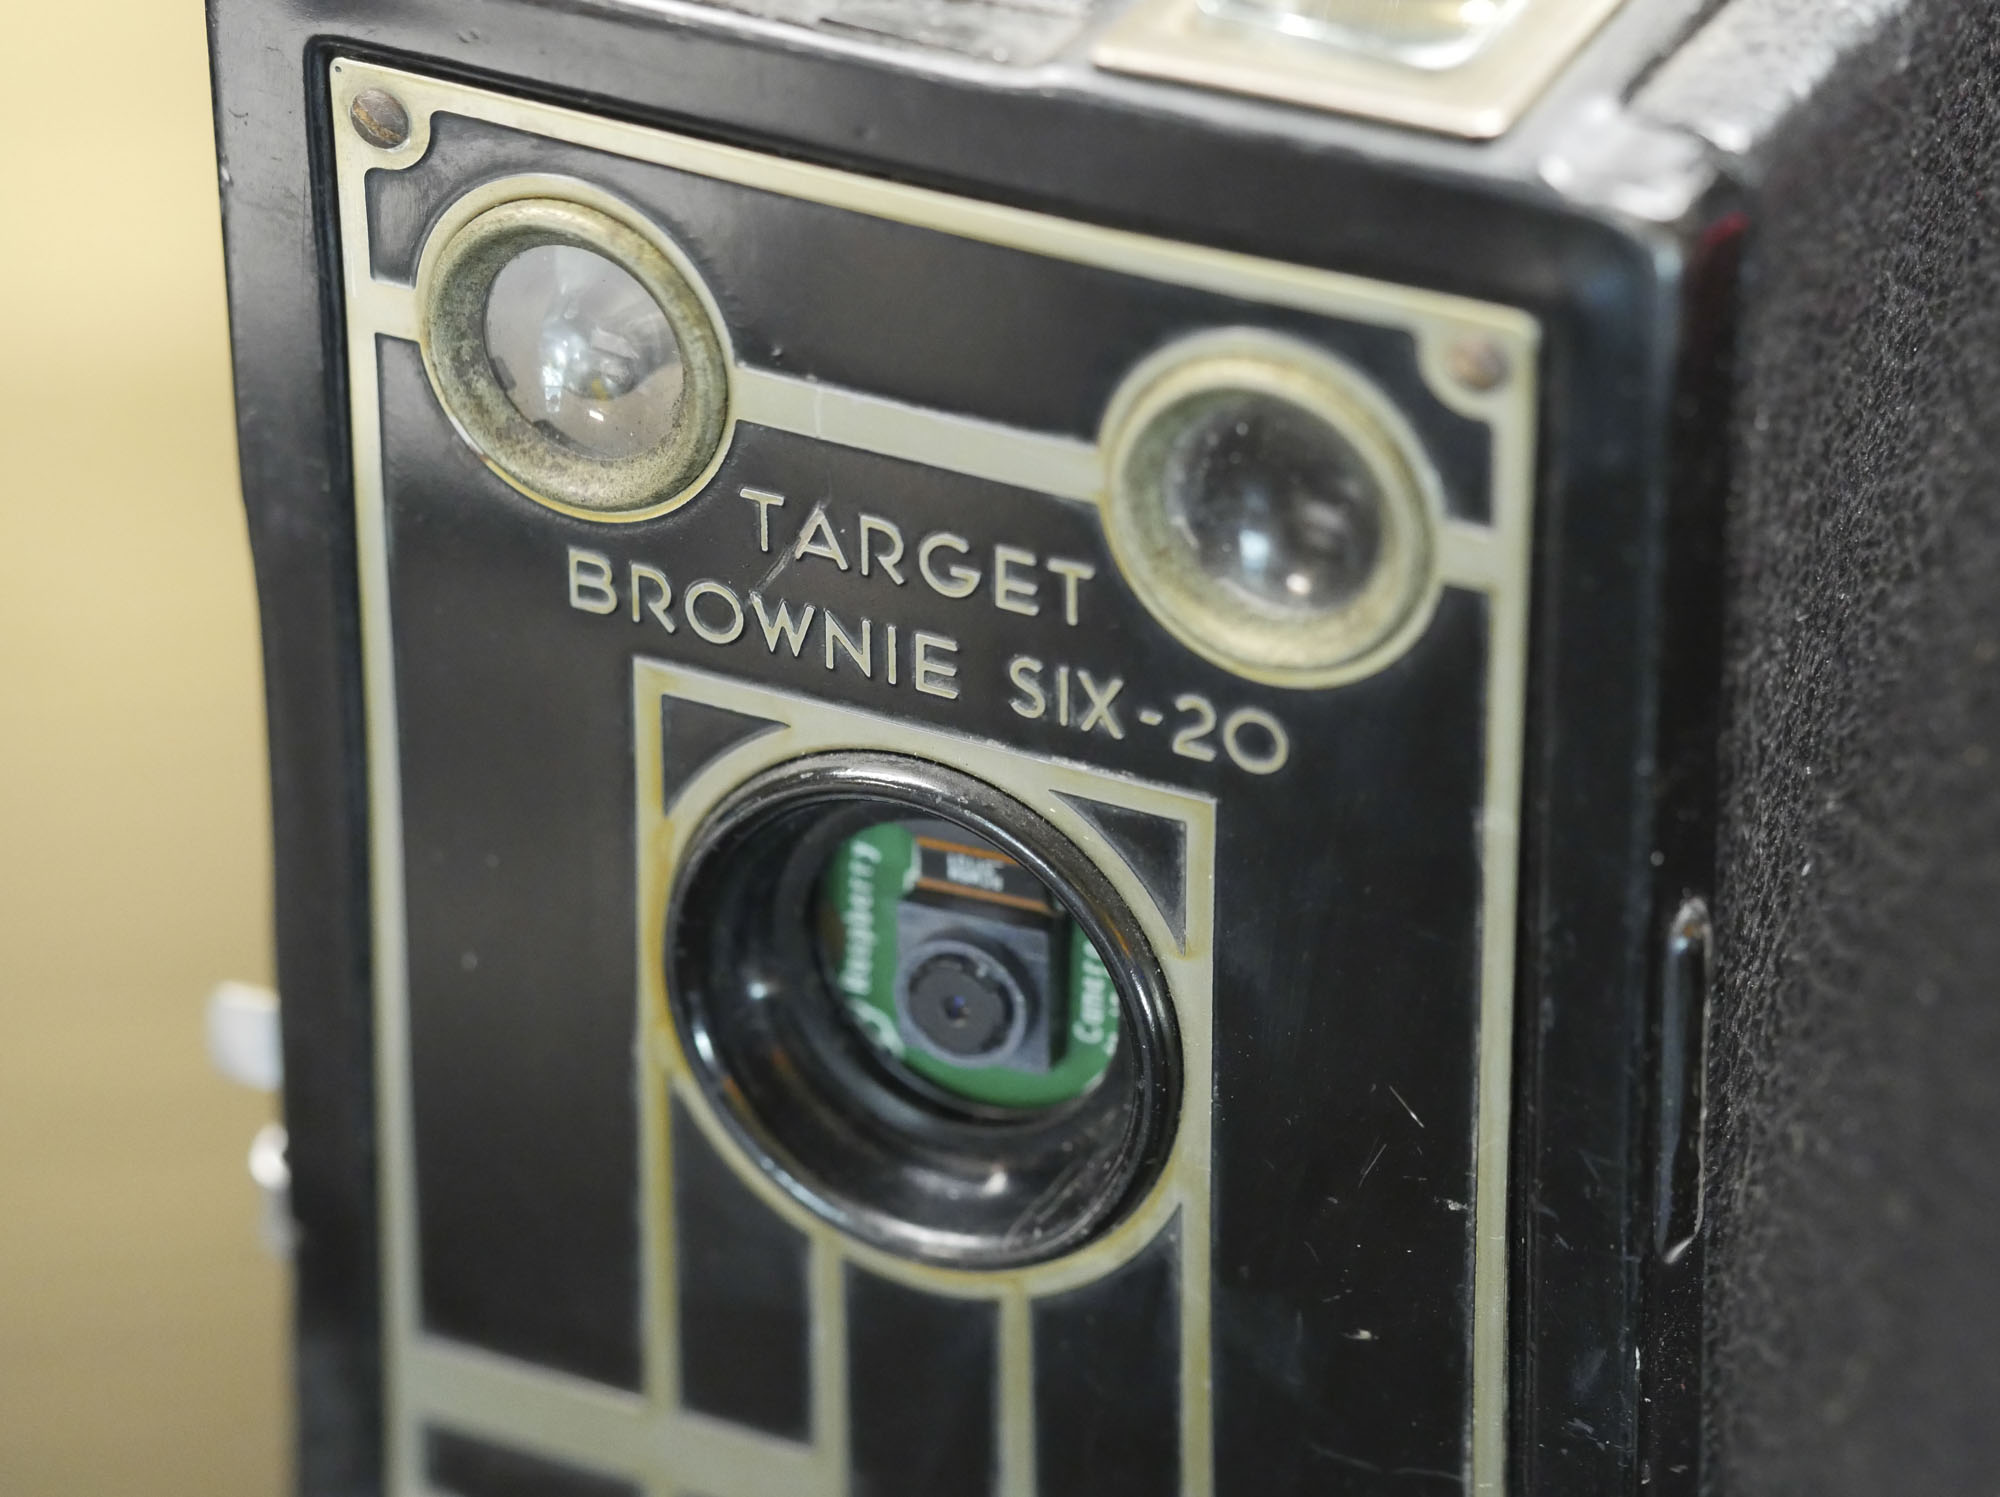
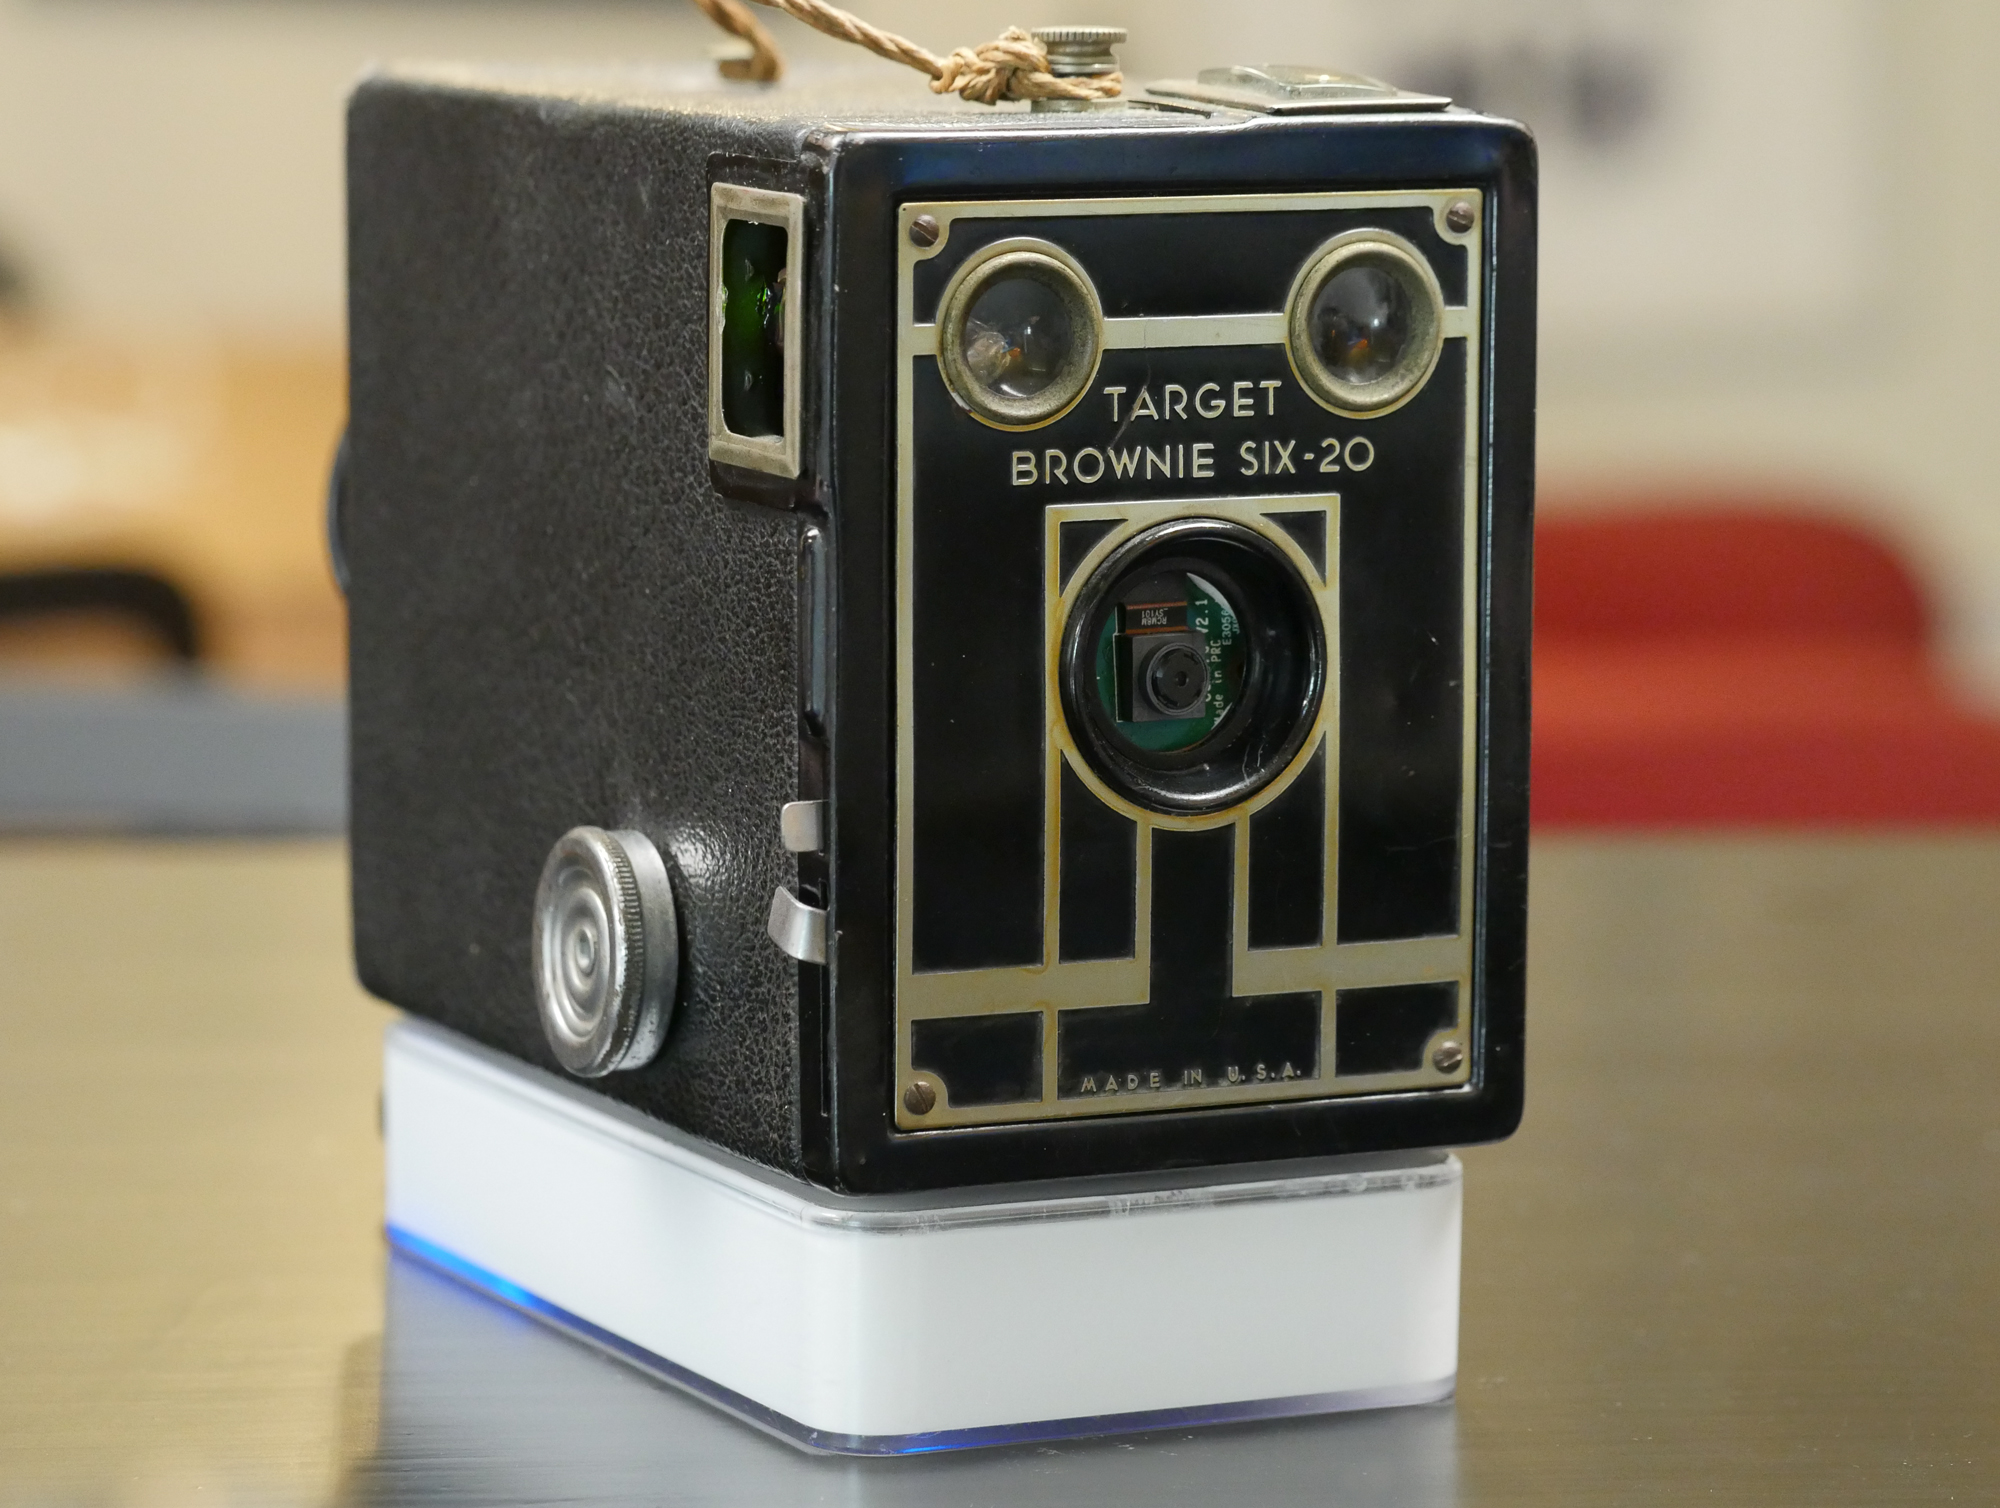
This Target Brownie Six-20 is a 40s camera, and it was pretty dirty and didn't take great photos, so I don't feel bad about gutting it. I'd think twice about cutting and drilling through some other members of my collection. If you take this on, be sure you're comfortable disabling your camera's ability to shoot film, as my methods are a bit destructive.
For this project, you will need:
- Boxy vintage camera (mine's a Target Brownie six-20)
- Raspberry Pi model A+
- SD card with Raspbian
- Pi camera with ribbon cable
- Powered USB hub
- Wifi dongle
- Three LEDs (I used white, green, and red)
- Three resistors (any between 100-220 ohms)
- Pushbutton
- Wires with female headers
- Solderless breadboard
- Micro USB cable
- Keyboard & mouse (I used this mini keyboard with trackpad)
- HDMI display with cable
- Wireless internet network name and password
- Tumblr account
- Tumblr API client info
- Small screwdriver
- Double stick foam tape
- Hot glue
- Heat shrink tubing
- Soldering iron and solder
- Battery pack
To keep up with what I'm working on, follow me on YouTube, Instagram, Twitter, Pinterest, and subscribe to my newsletter. As an Amazon Associate I earn from qualifying purchases you make using my affiliate links.
I used the Raspbian operating system for this project, which includes Python 2, but you'll need to install some packages using the following lines of code in your Pi's terminal window in order to run the script:
sudo apt-get update
sudo apt-get install imagemagick
sudo apt-get install mpg321 -y
sudo apt-get install python-RPi.gpio python3-RPi.gpio
sudo pip install pytumblr
Prototype Circuit
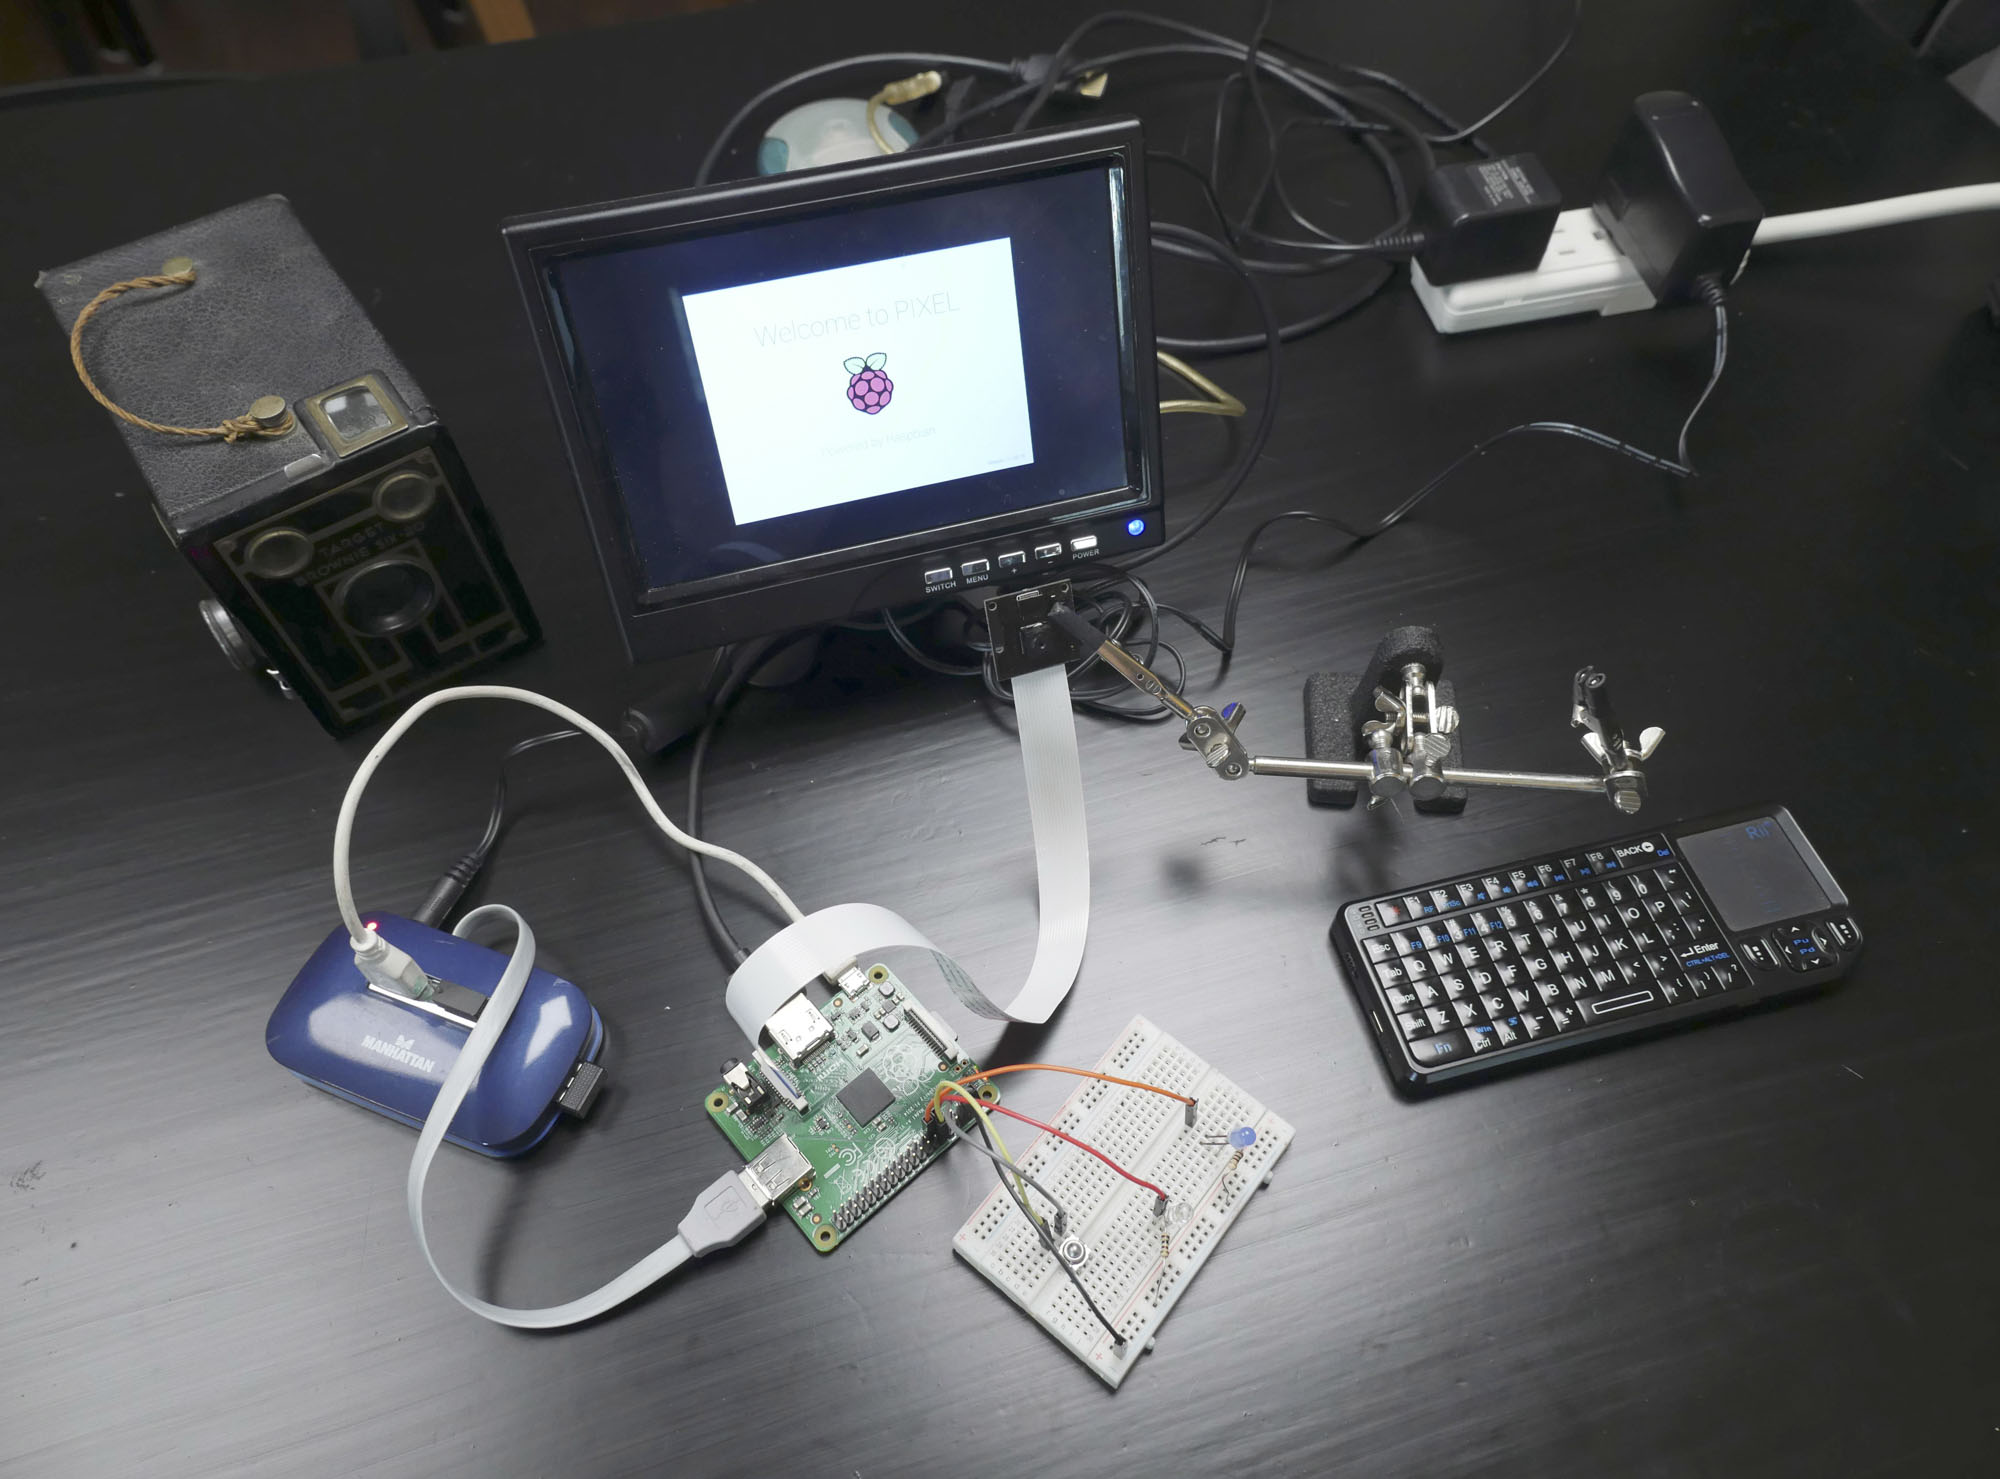
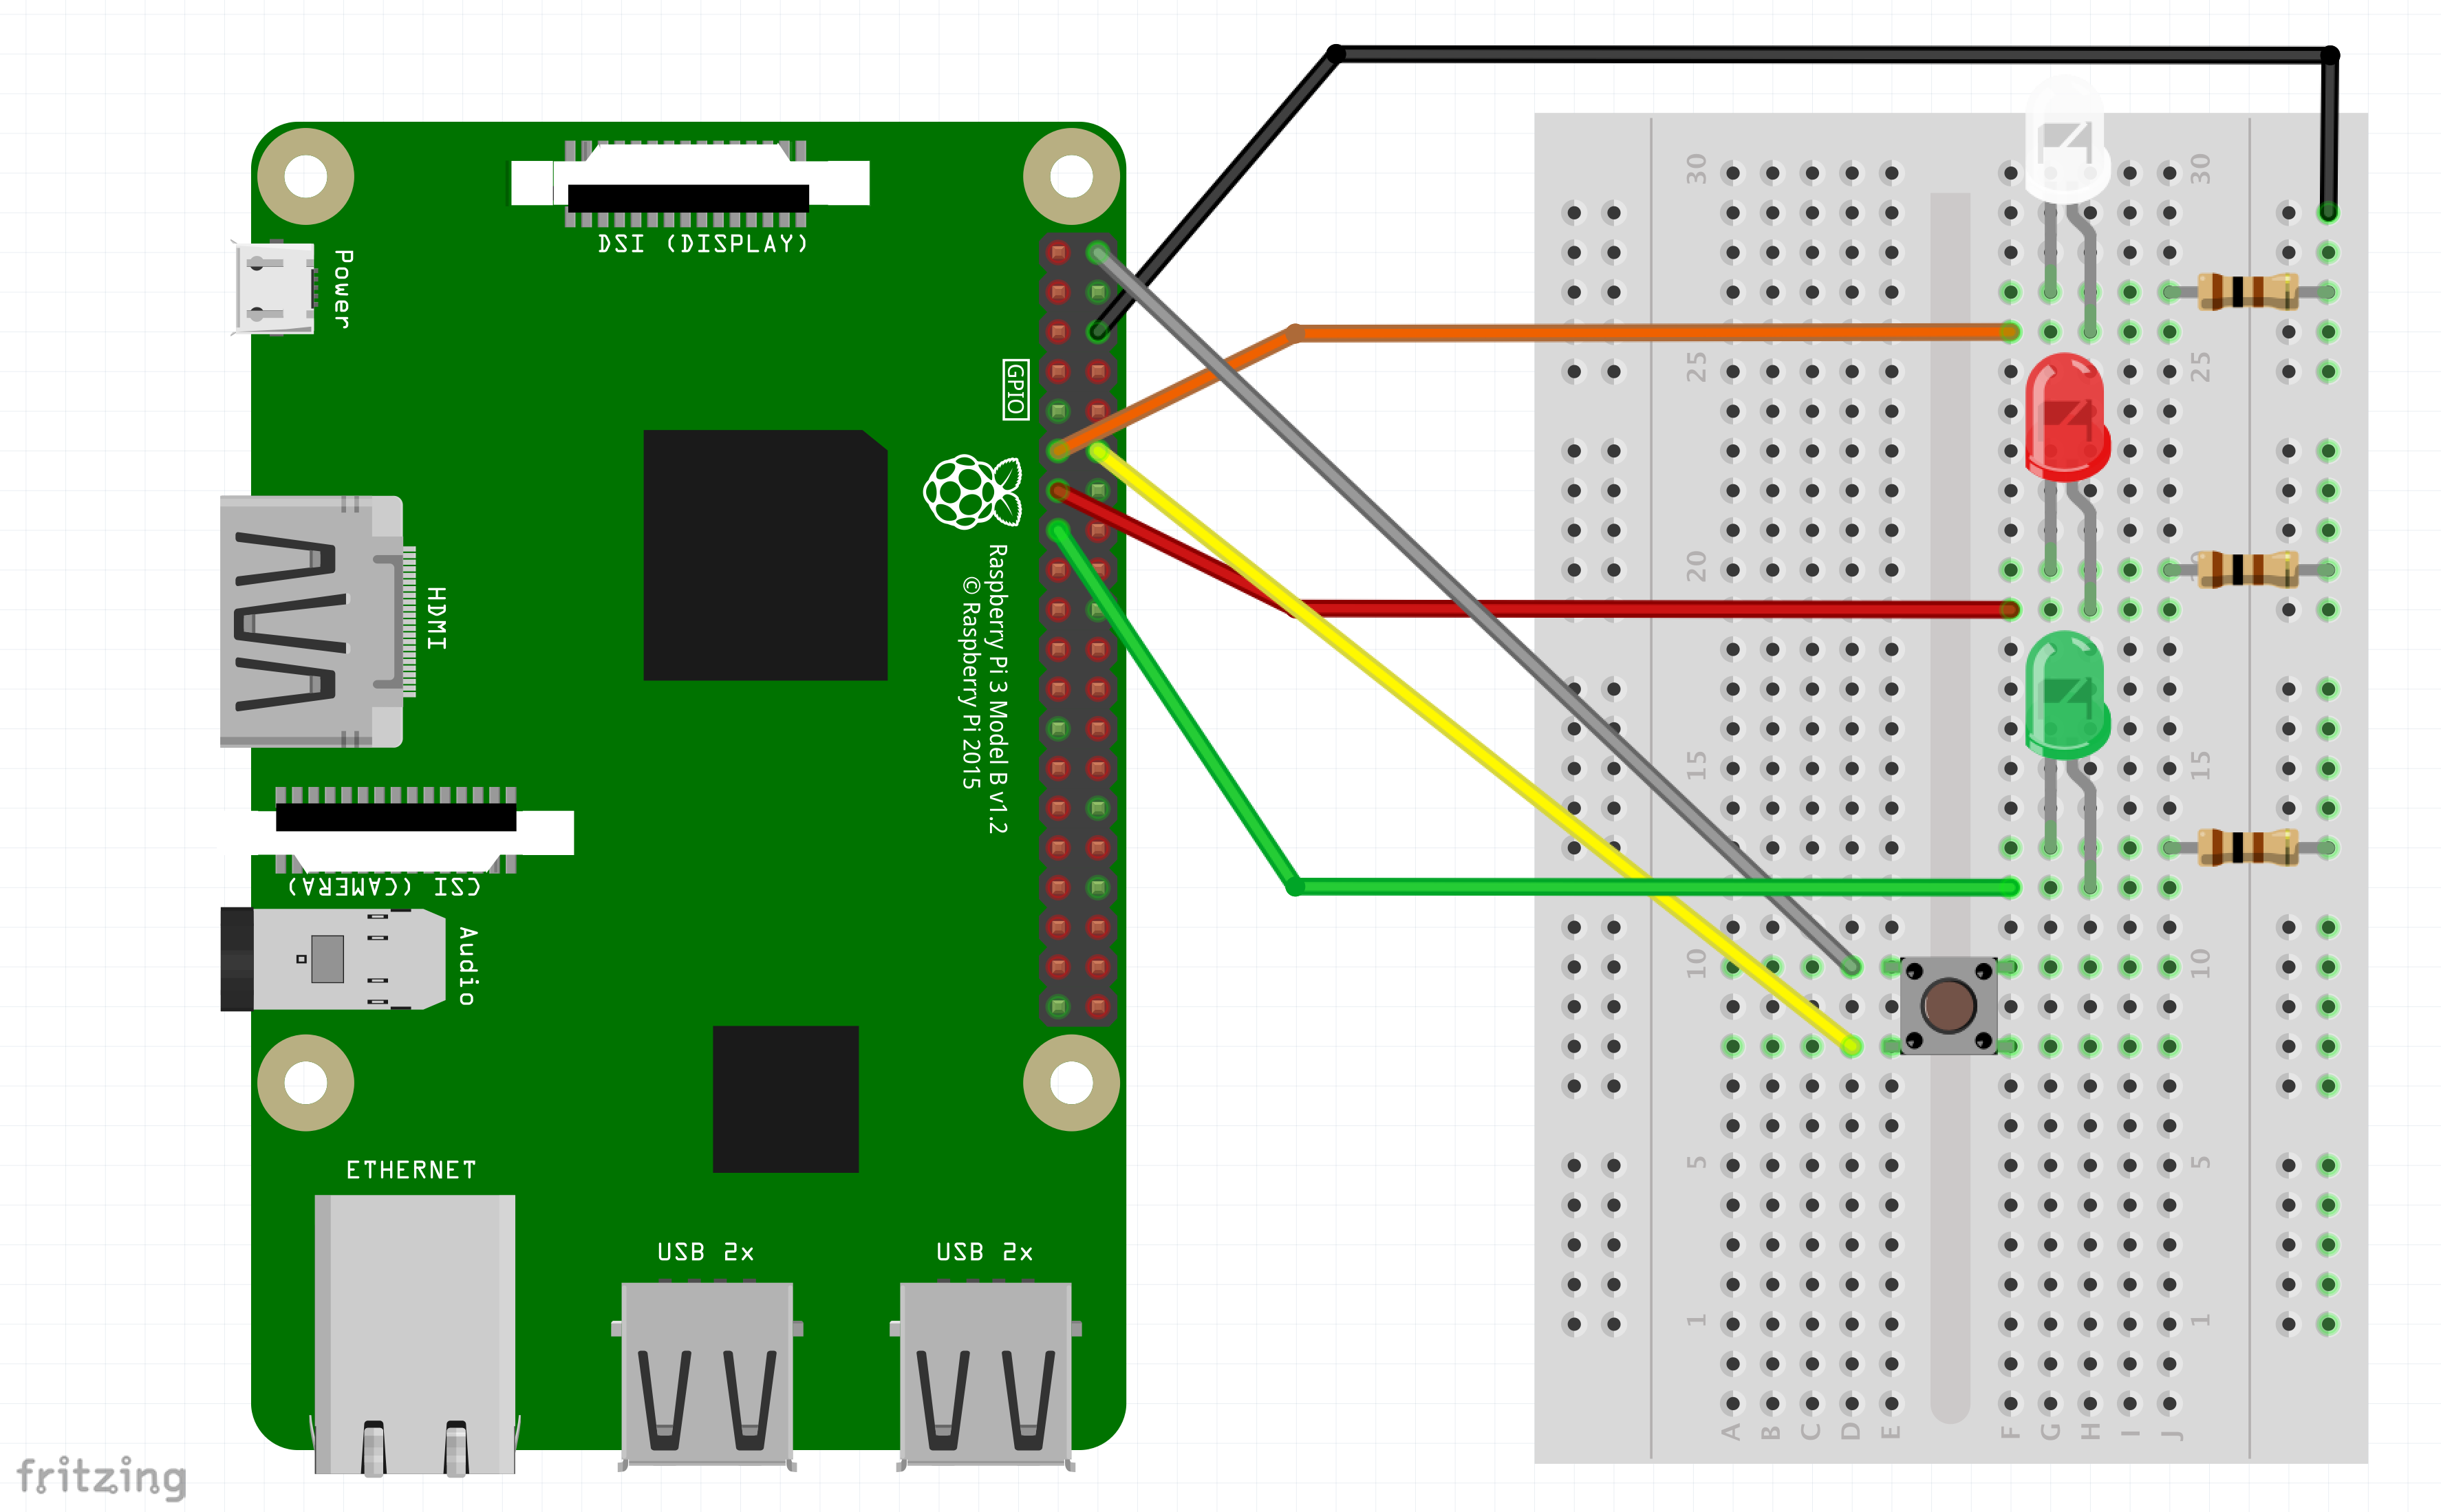
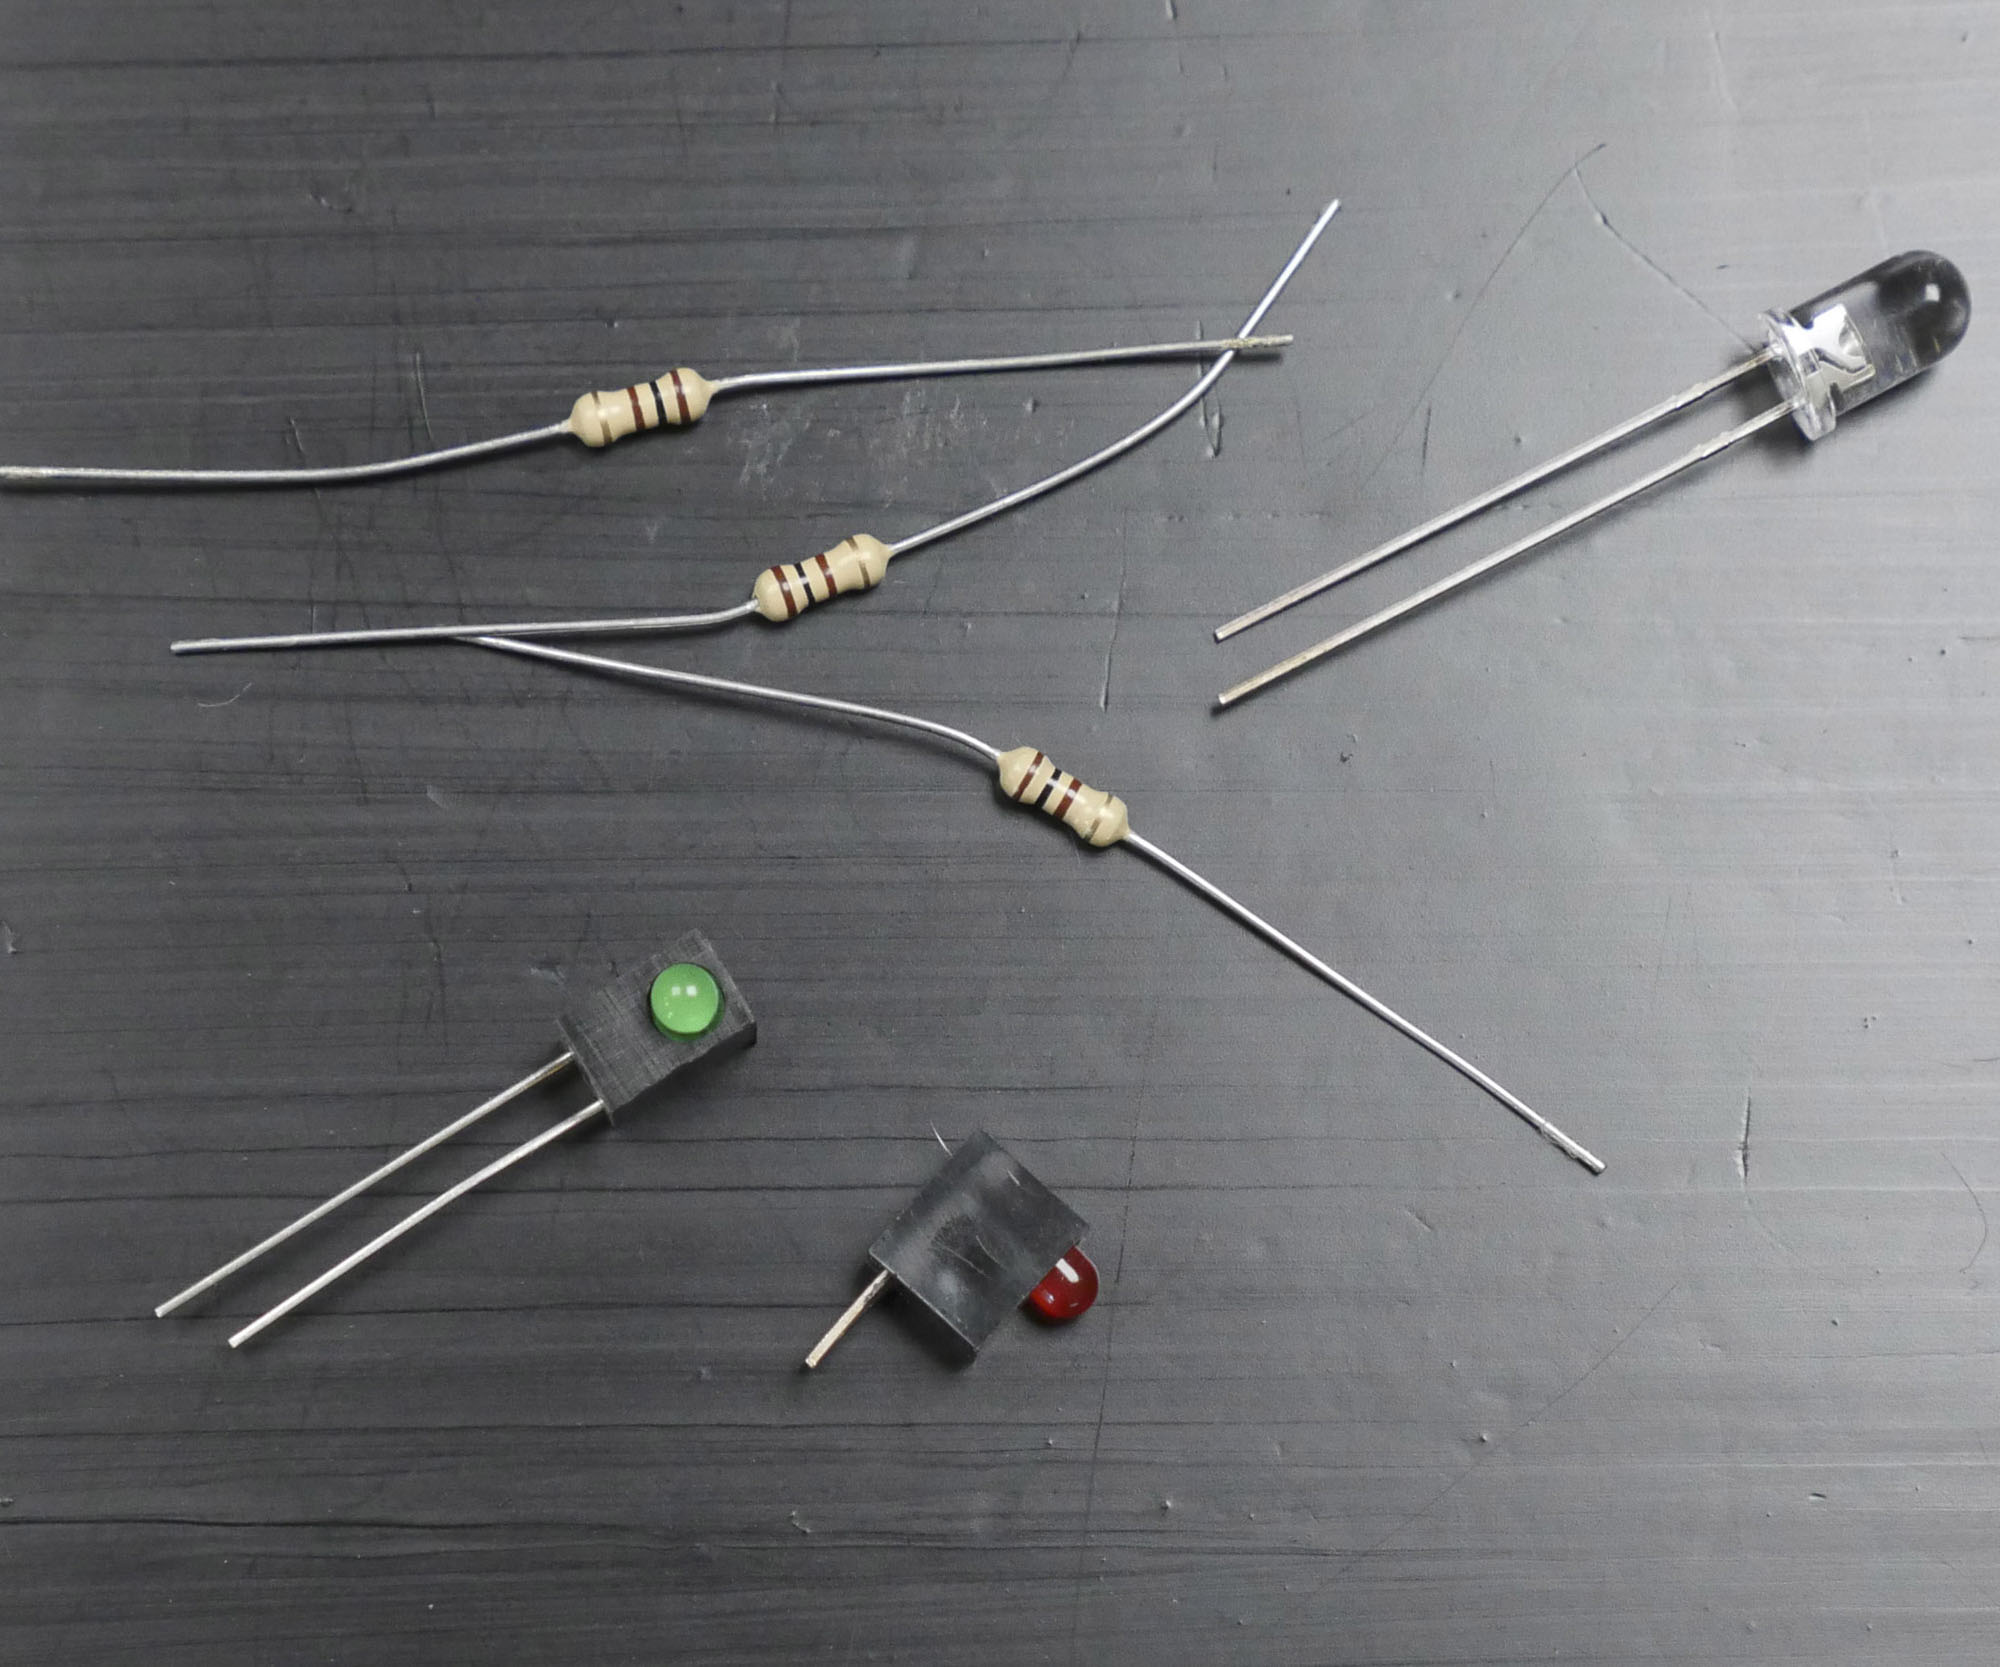
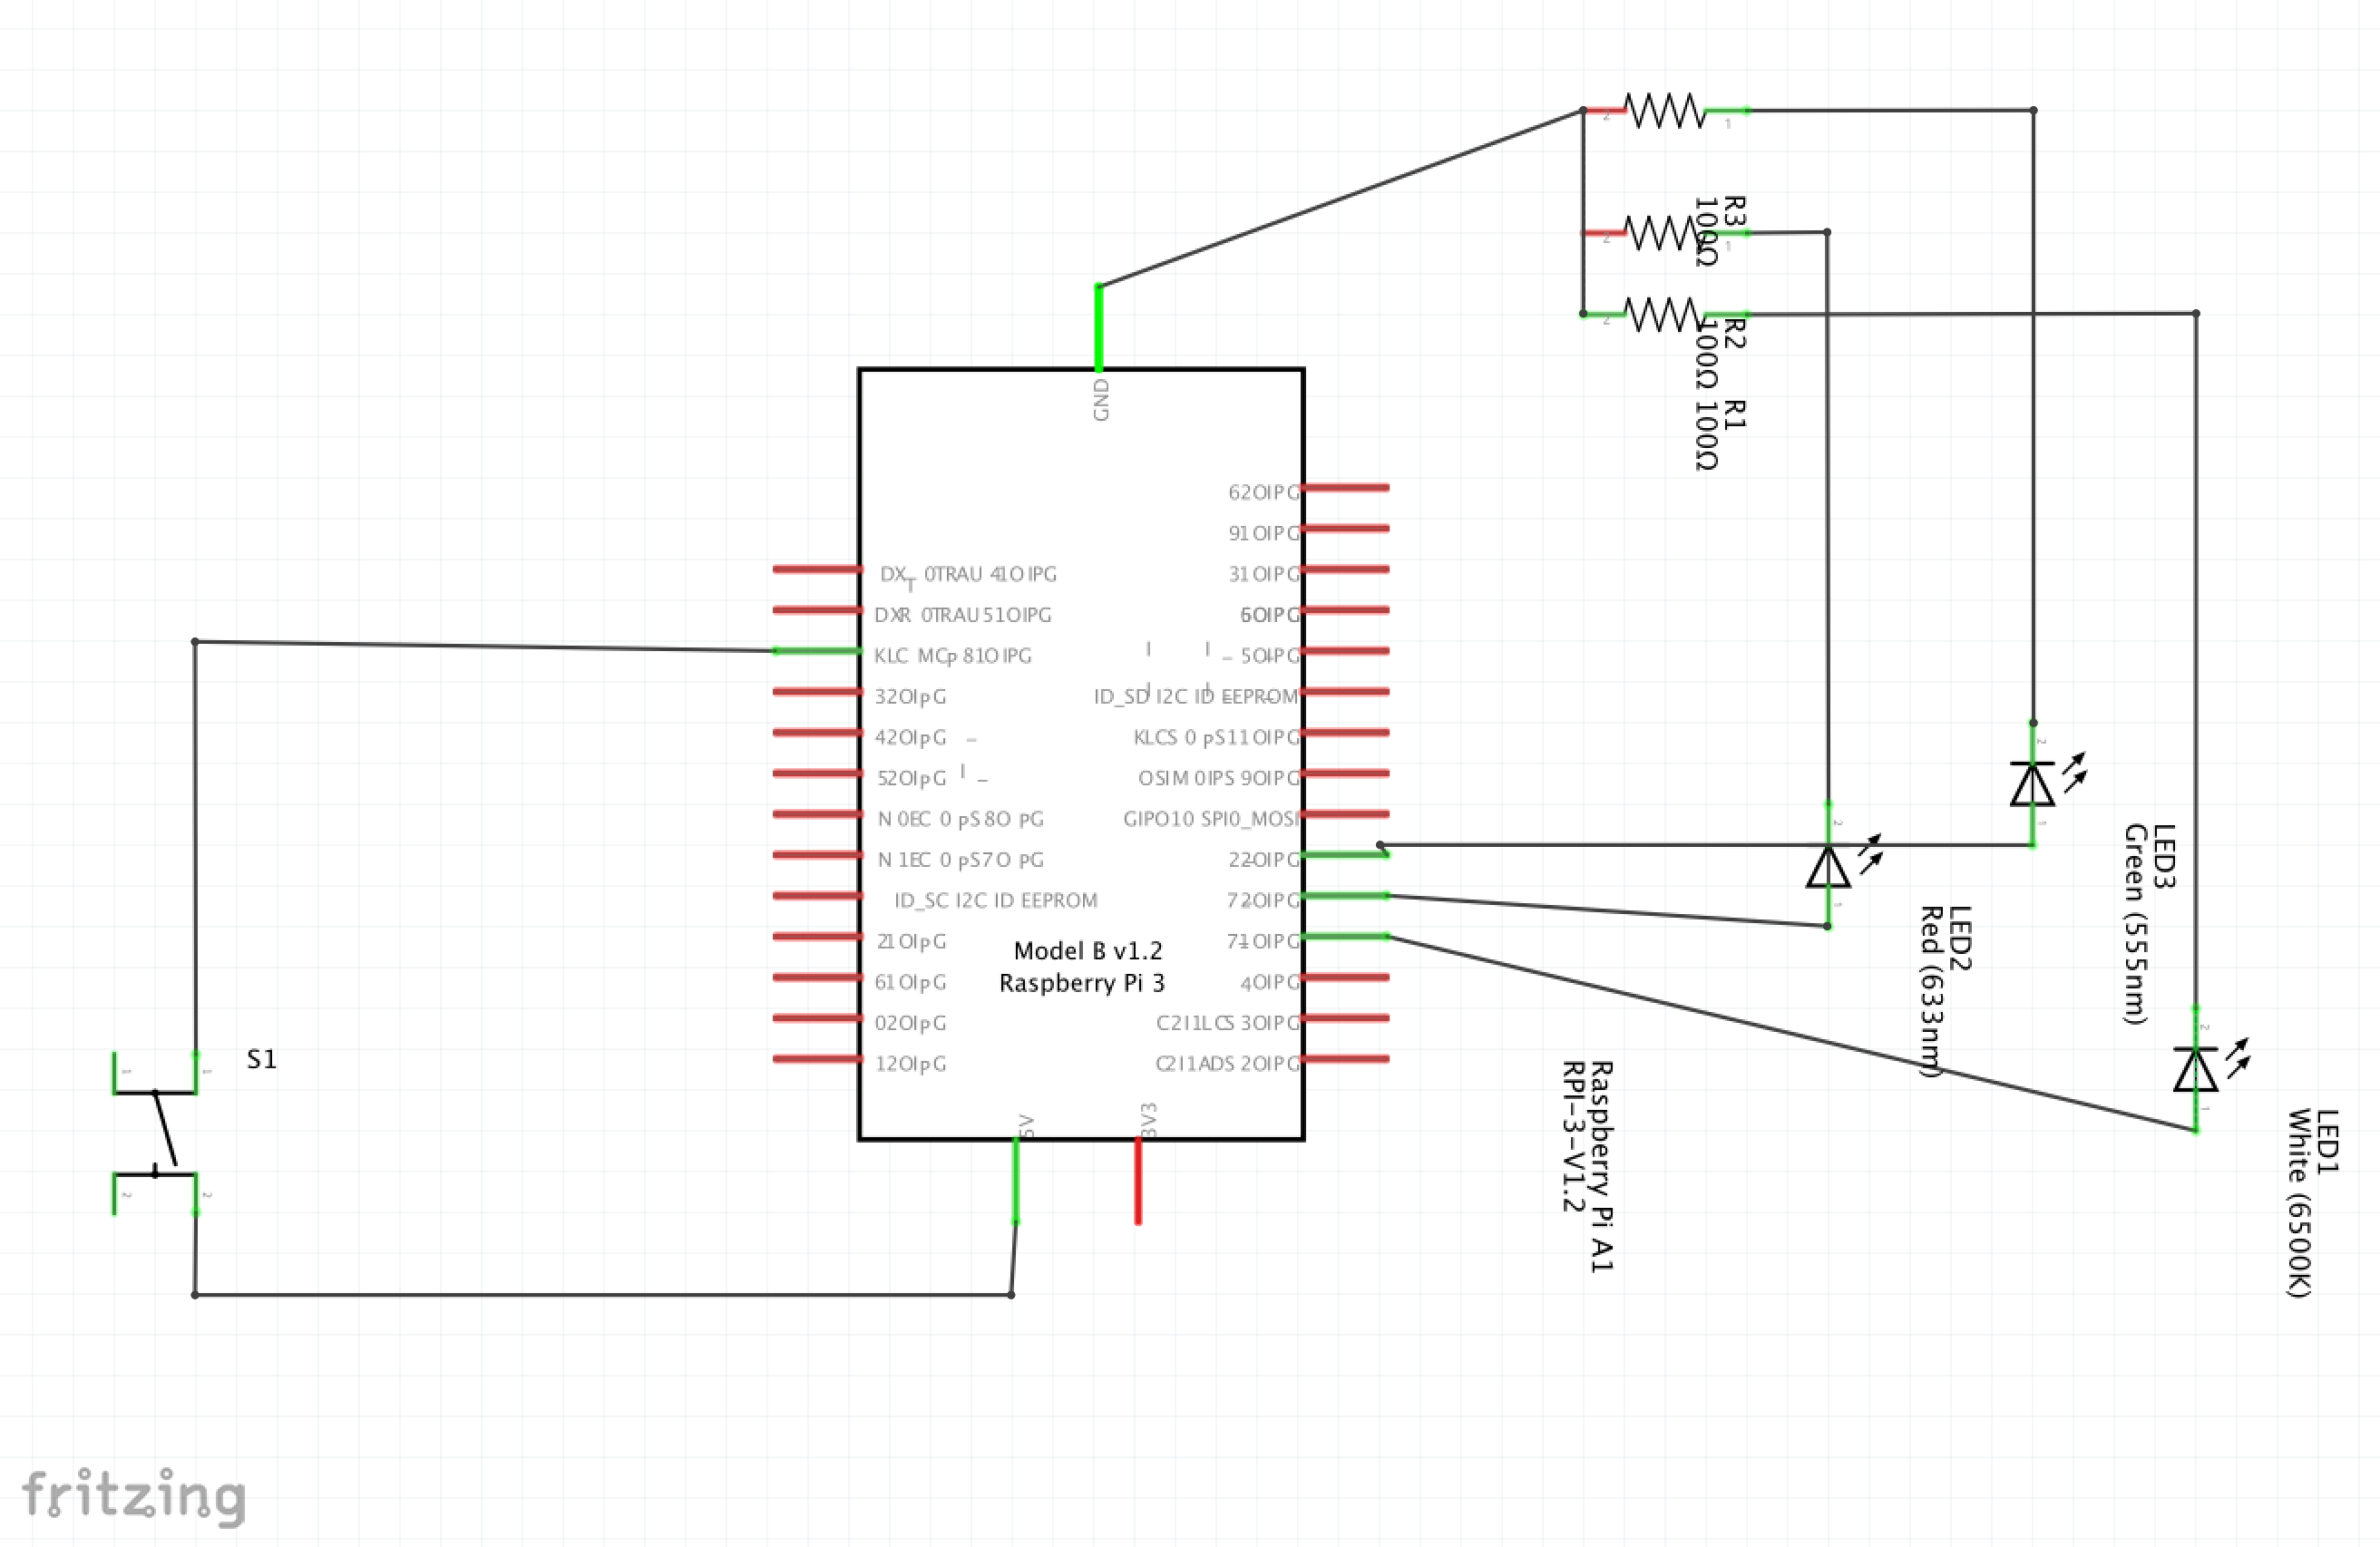
I prototyped this project outside of the camera (no soldering required), then moved the components inside the camera. I recommend this method in order to troubleshoot installation problems vs. base functionality problems. Get it working before trying to shove everything into a tiny, sometimes metal, place!
One LED is programmed to turn on when the Python script starts up, and another flashes in time with the photos being taken after you press the pushbutton. A third LED stays lit while the Pi is processing and uploading the GIF, so you know when it's ok to take another.
Downloads
Disassemble Camera
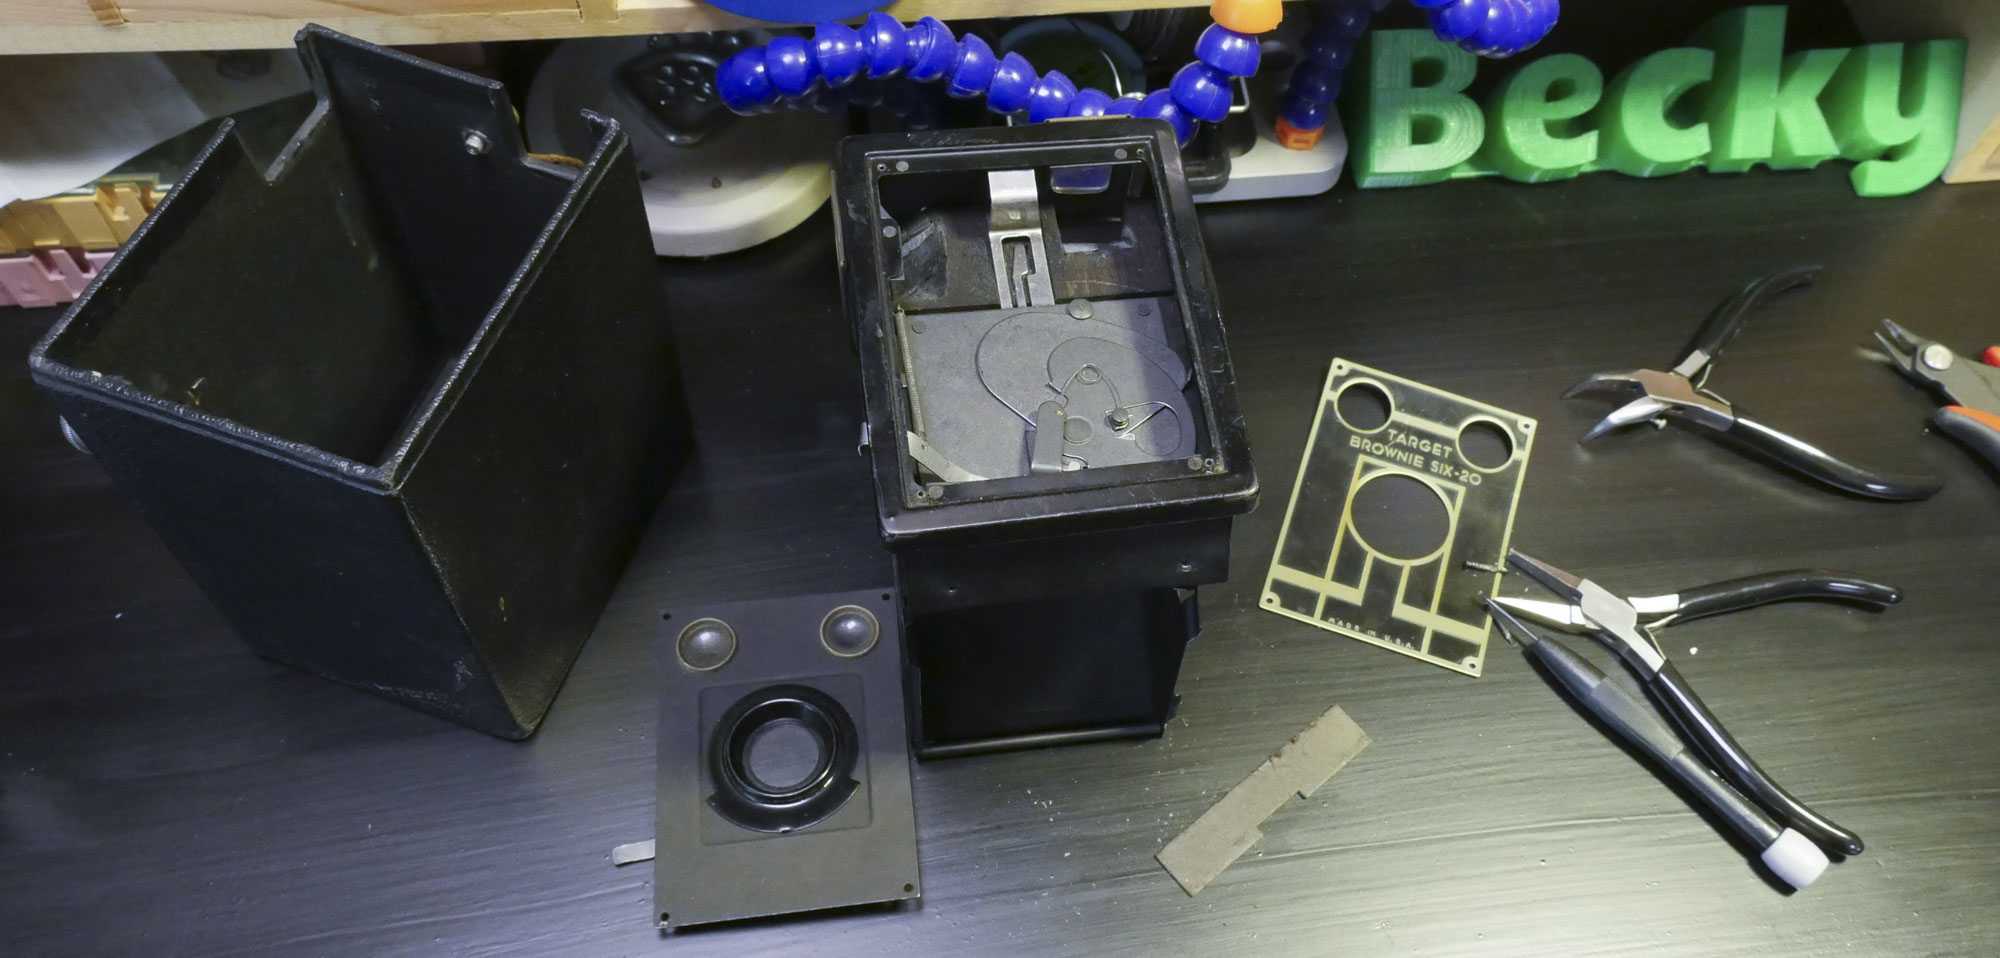
After I finished troubleshooting the code and circuit, I moved on to build everything into my camera.
In addition to opening the camera up from its box (this video was helpful in remembering how), I used a small screwdriver to remove the front panel of the camera. Set the screws in a cup or tray somewhere safe; they're tiny!
I (carefully) smashed out the lens glass to make room for the pi camera.
Mount Pi Camera
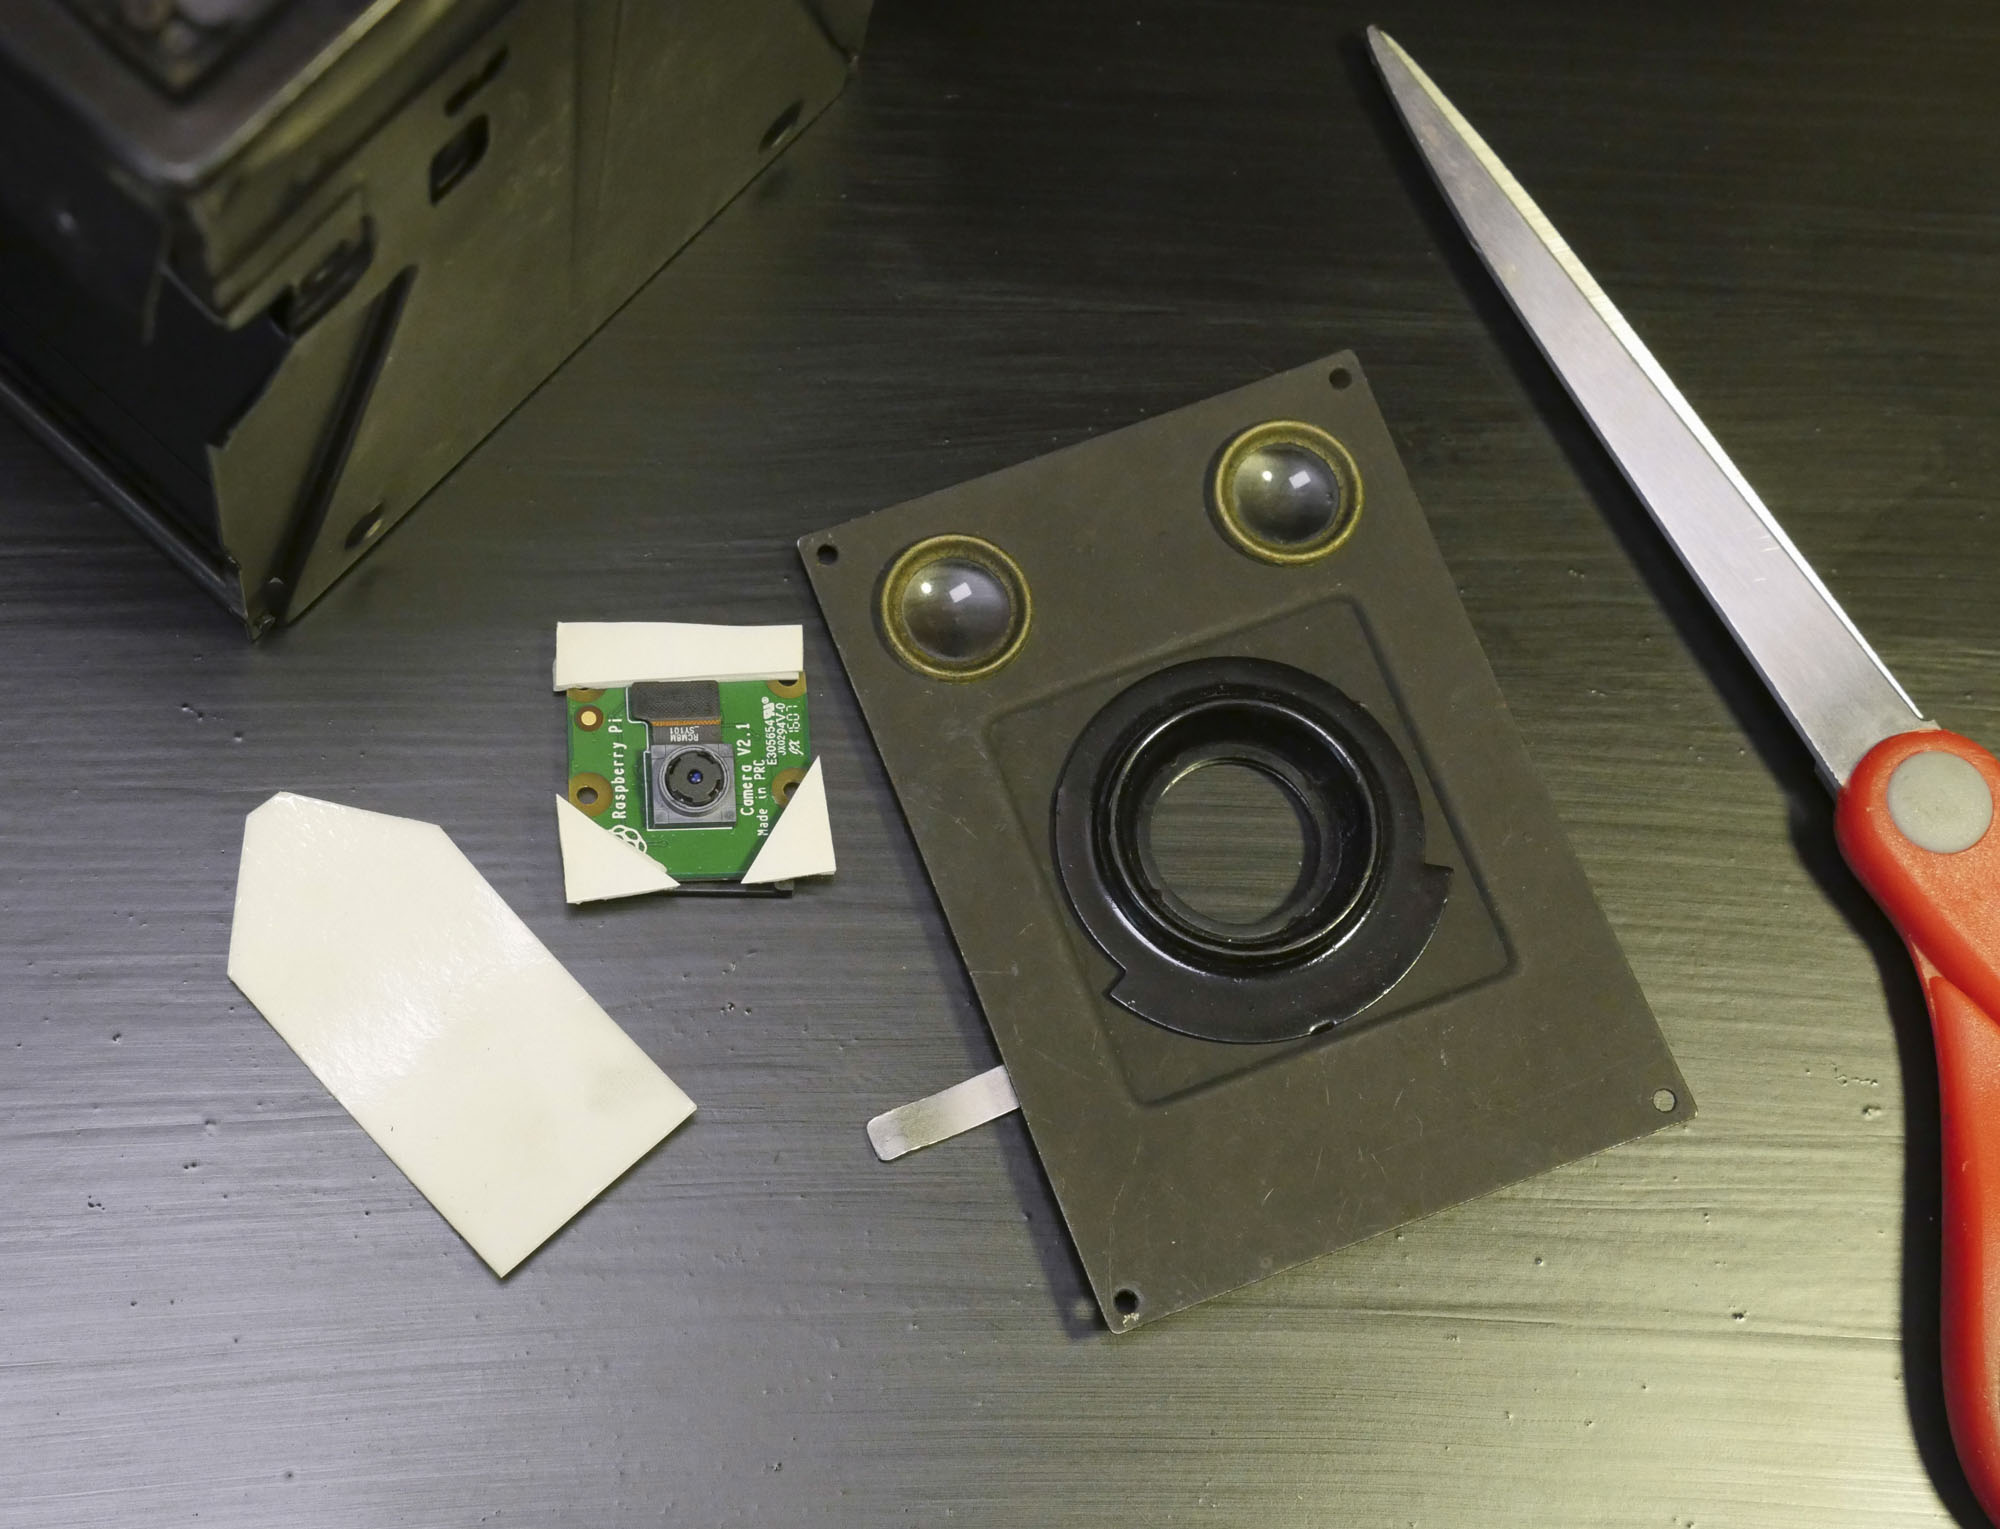
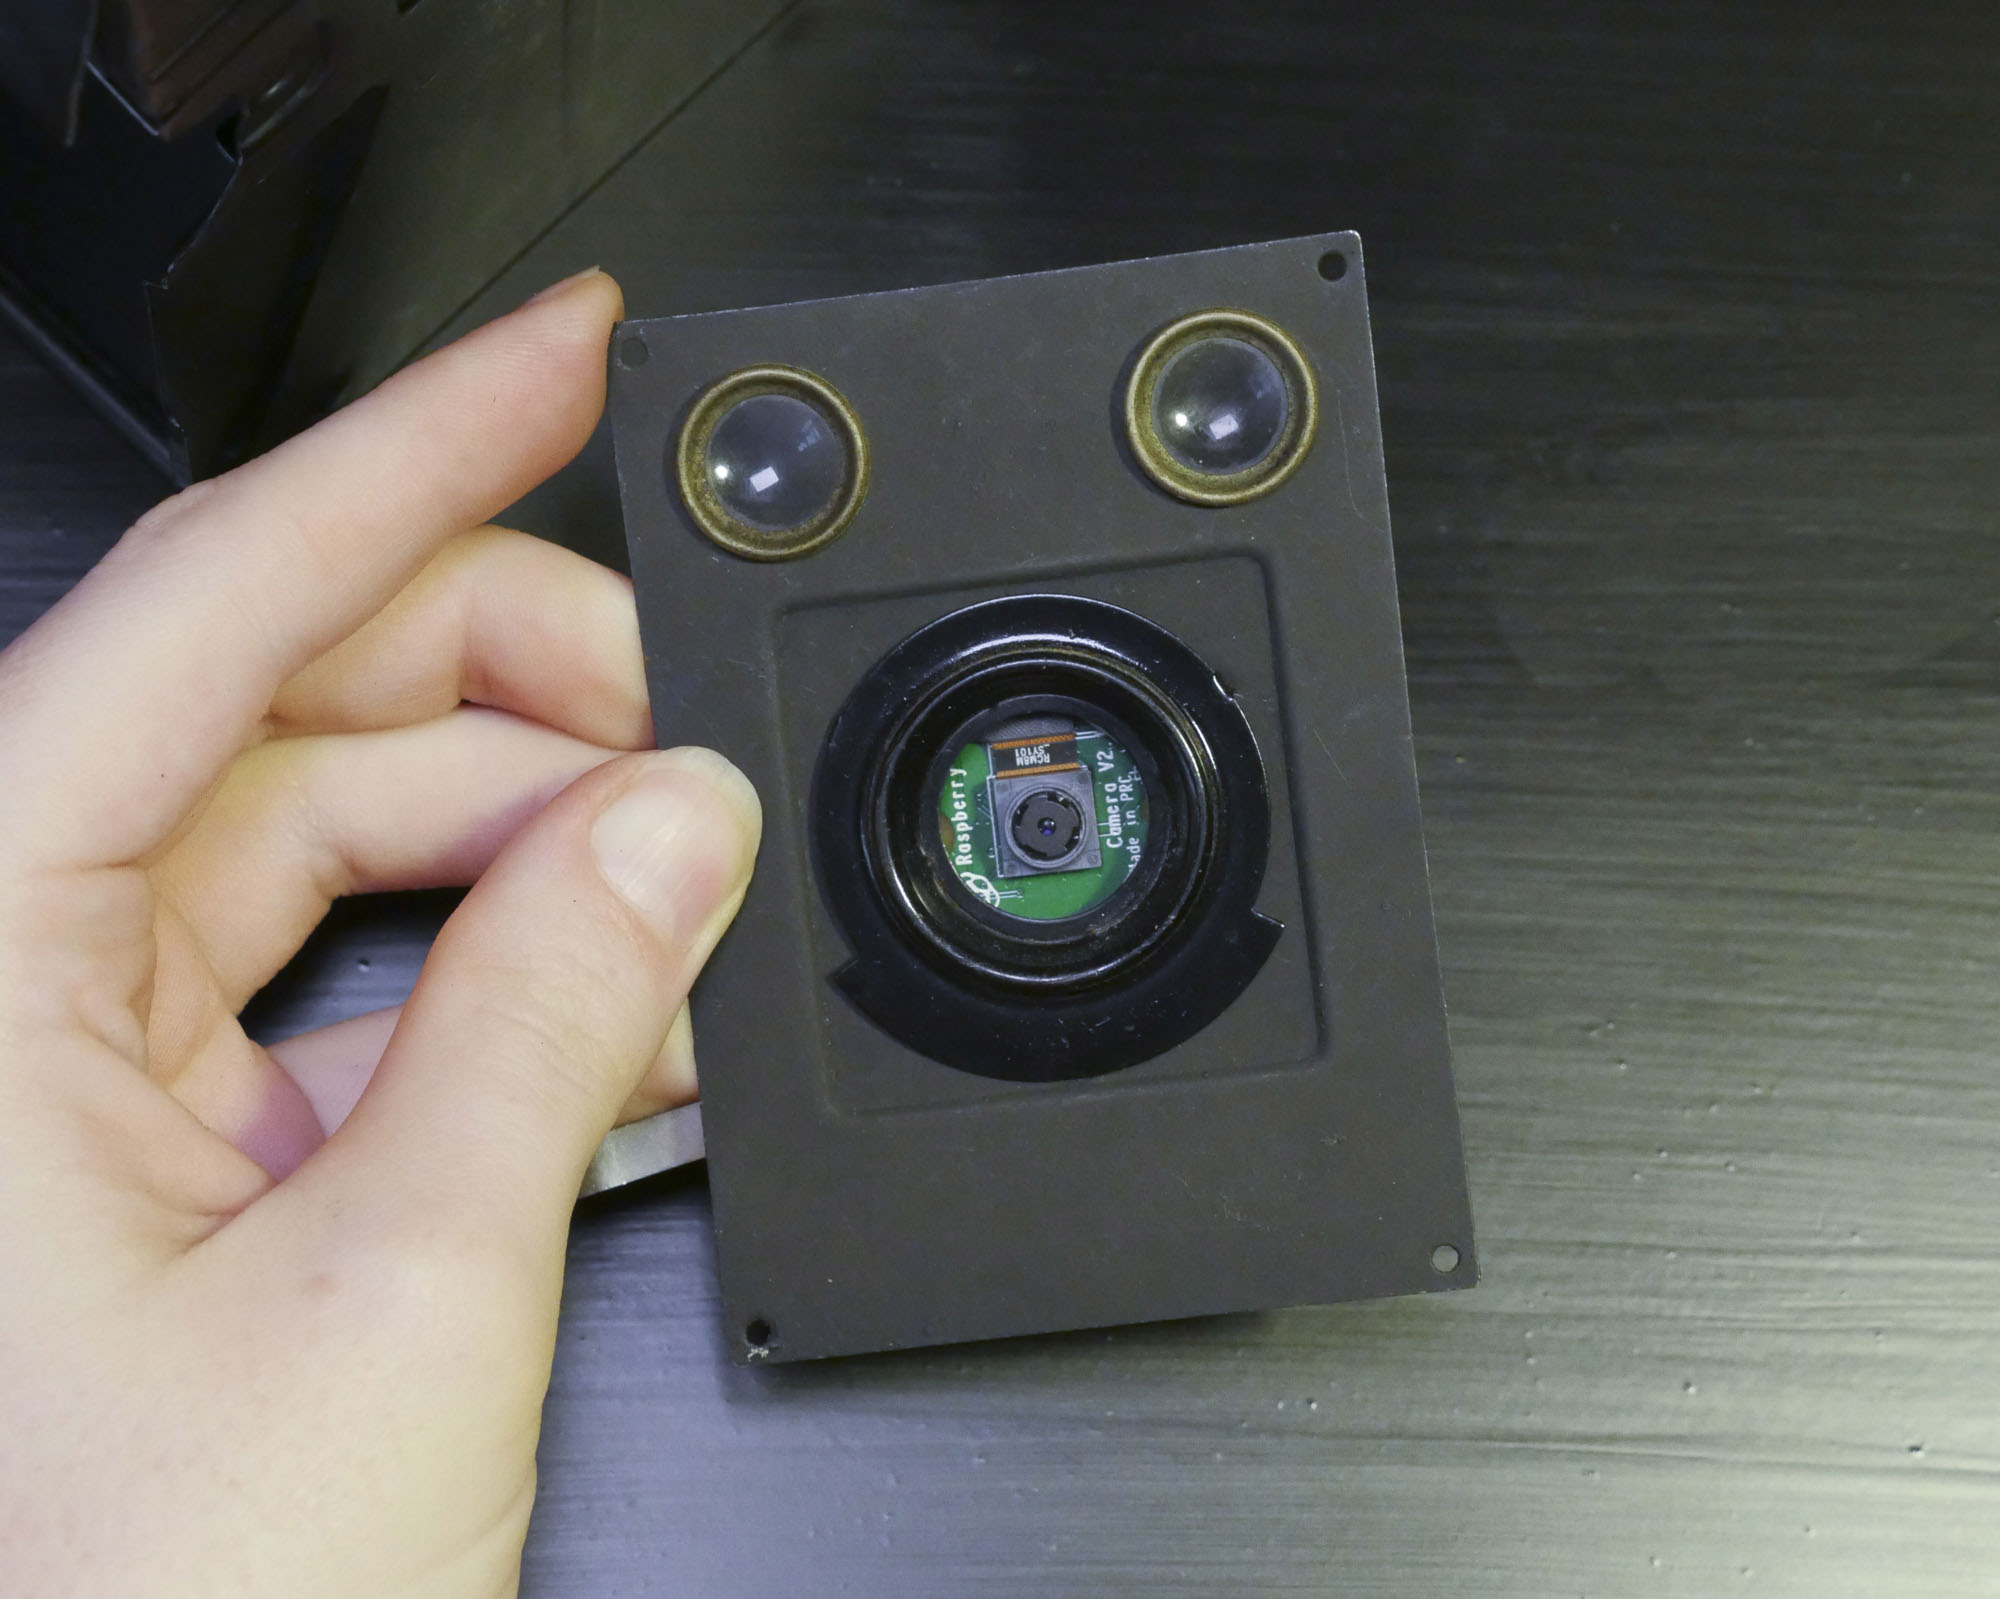
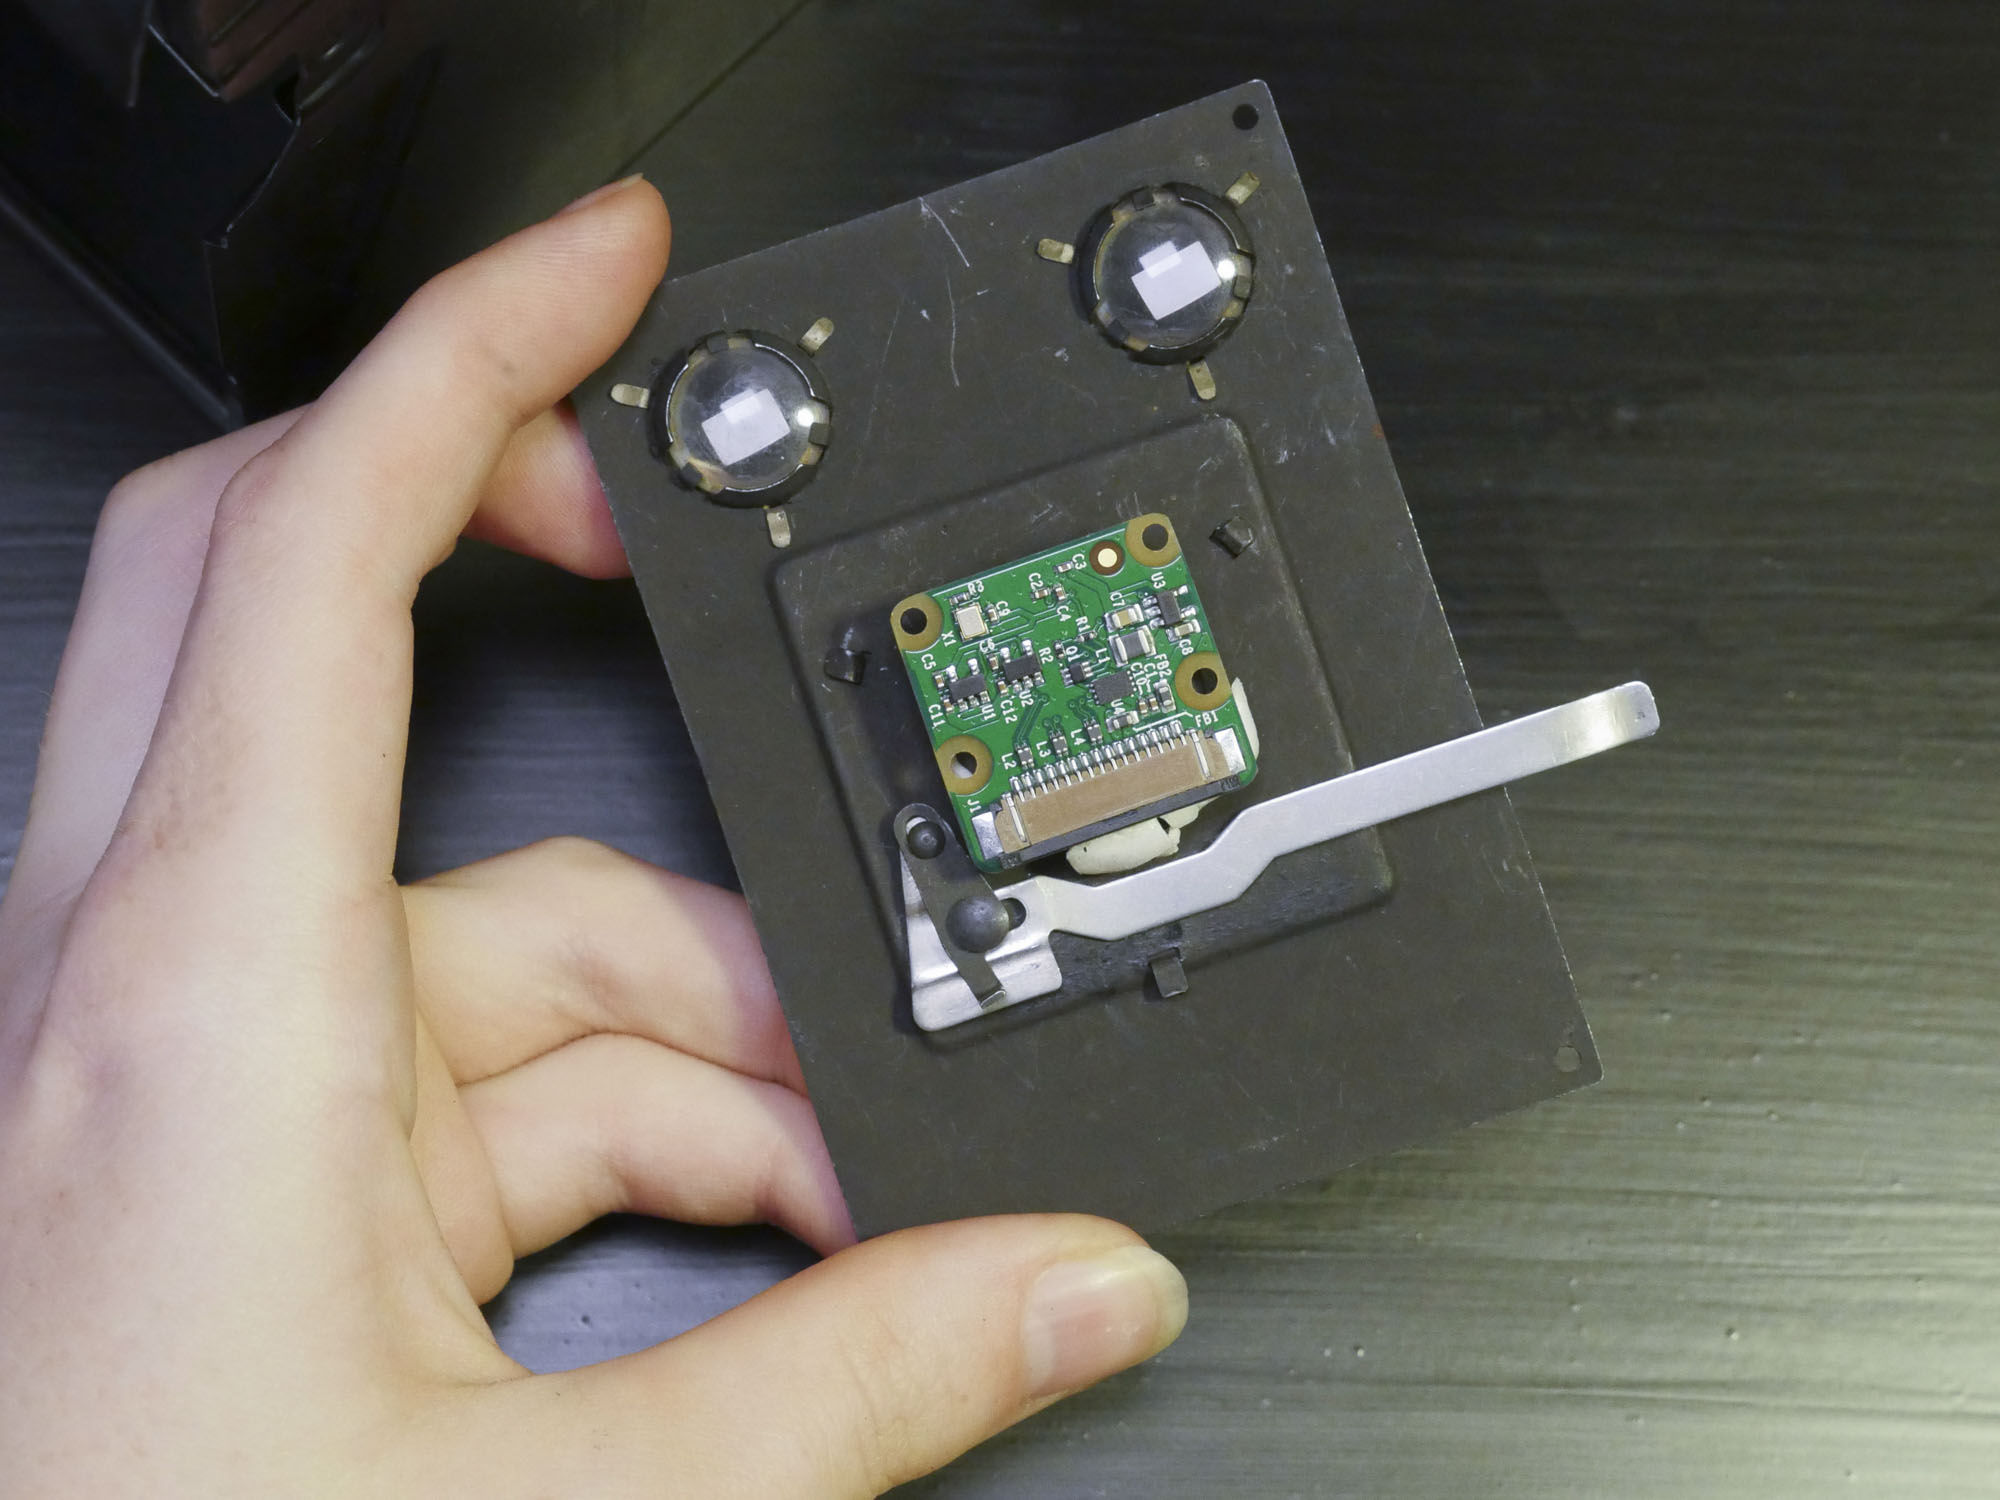
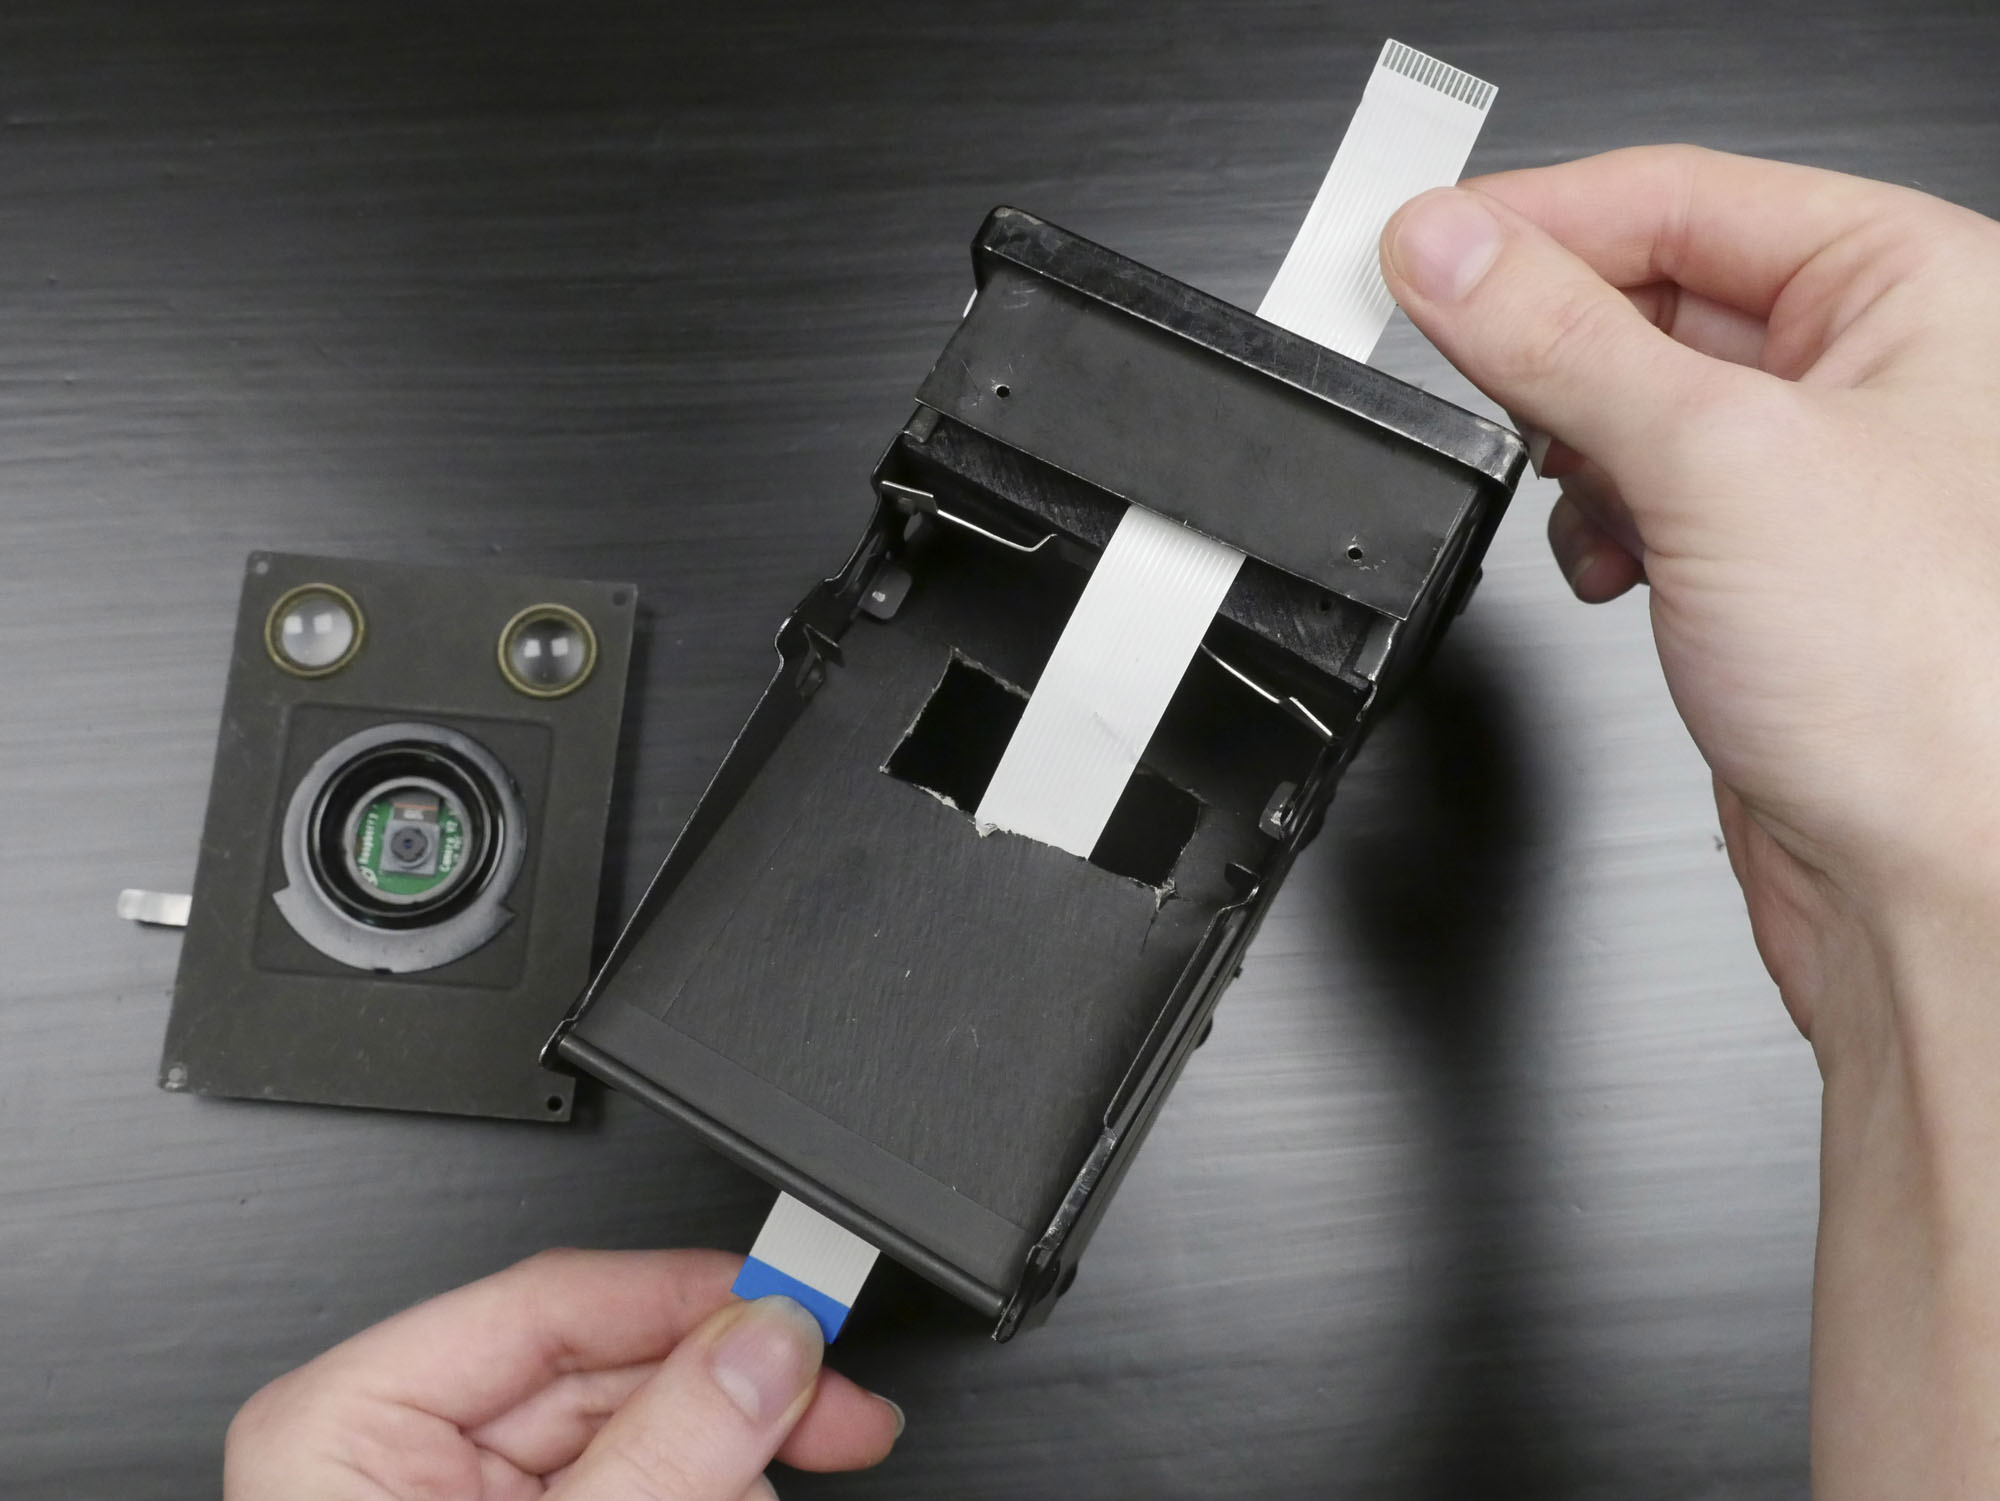
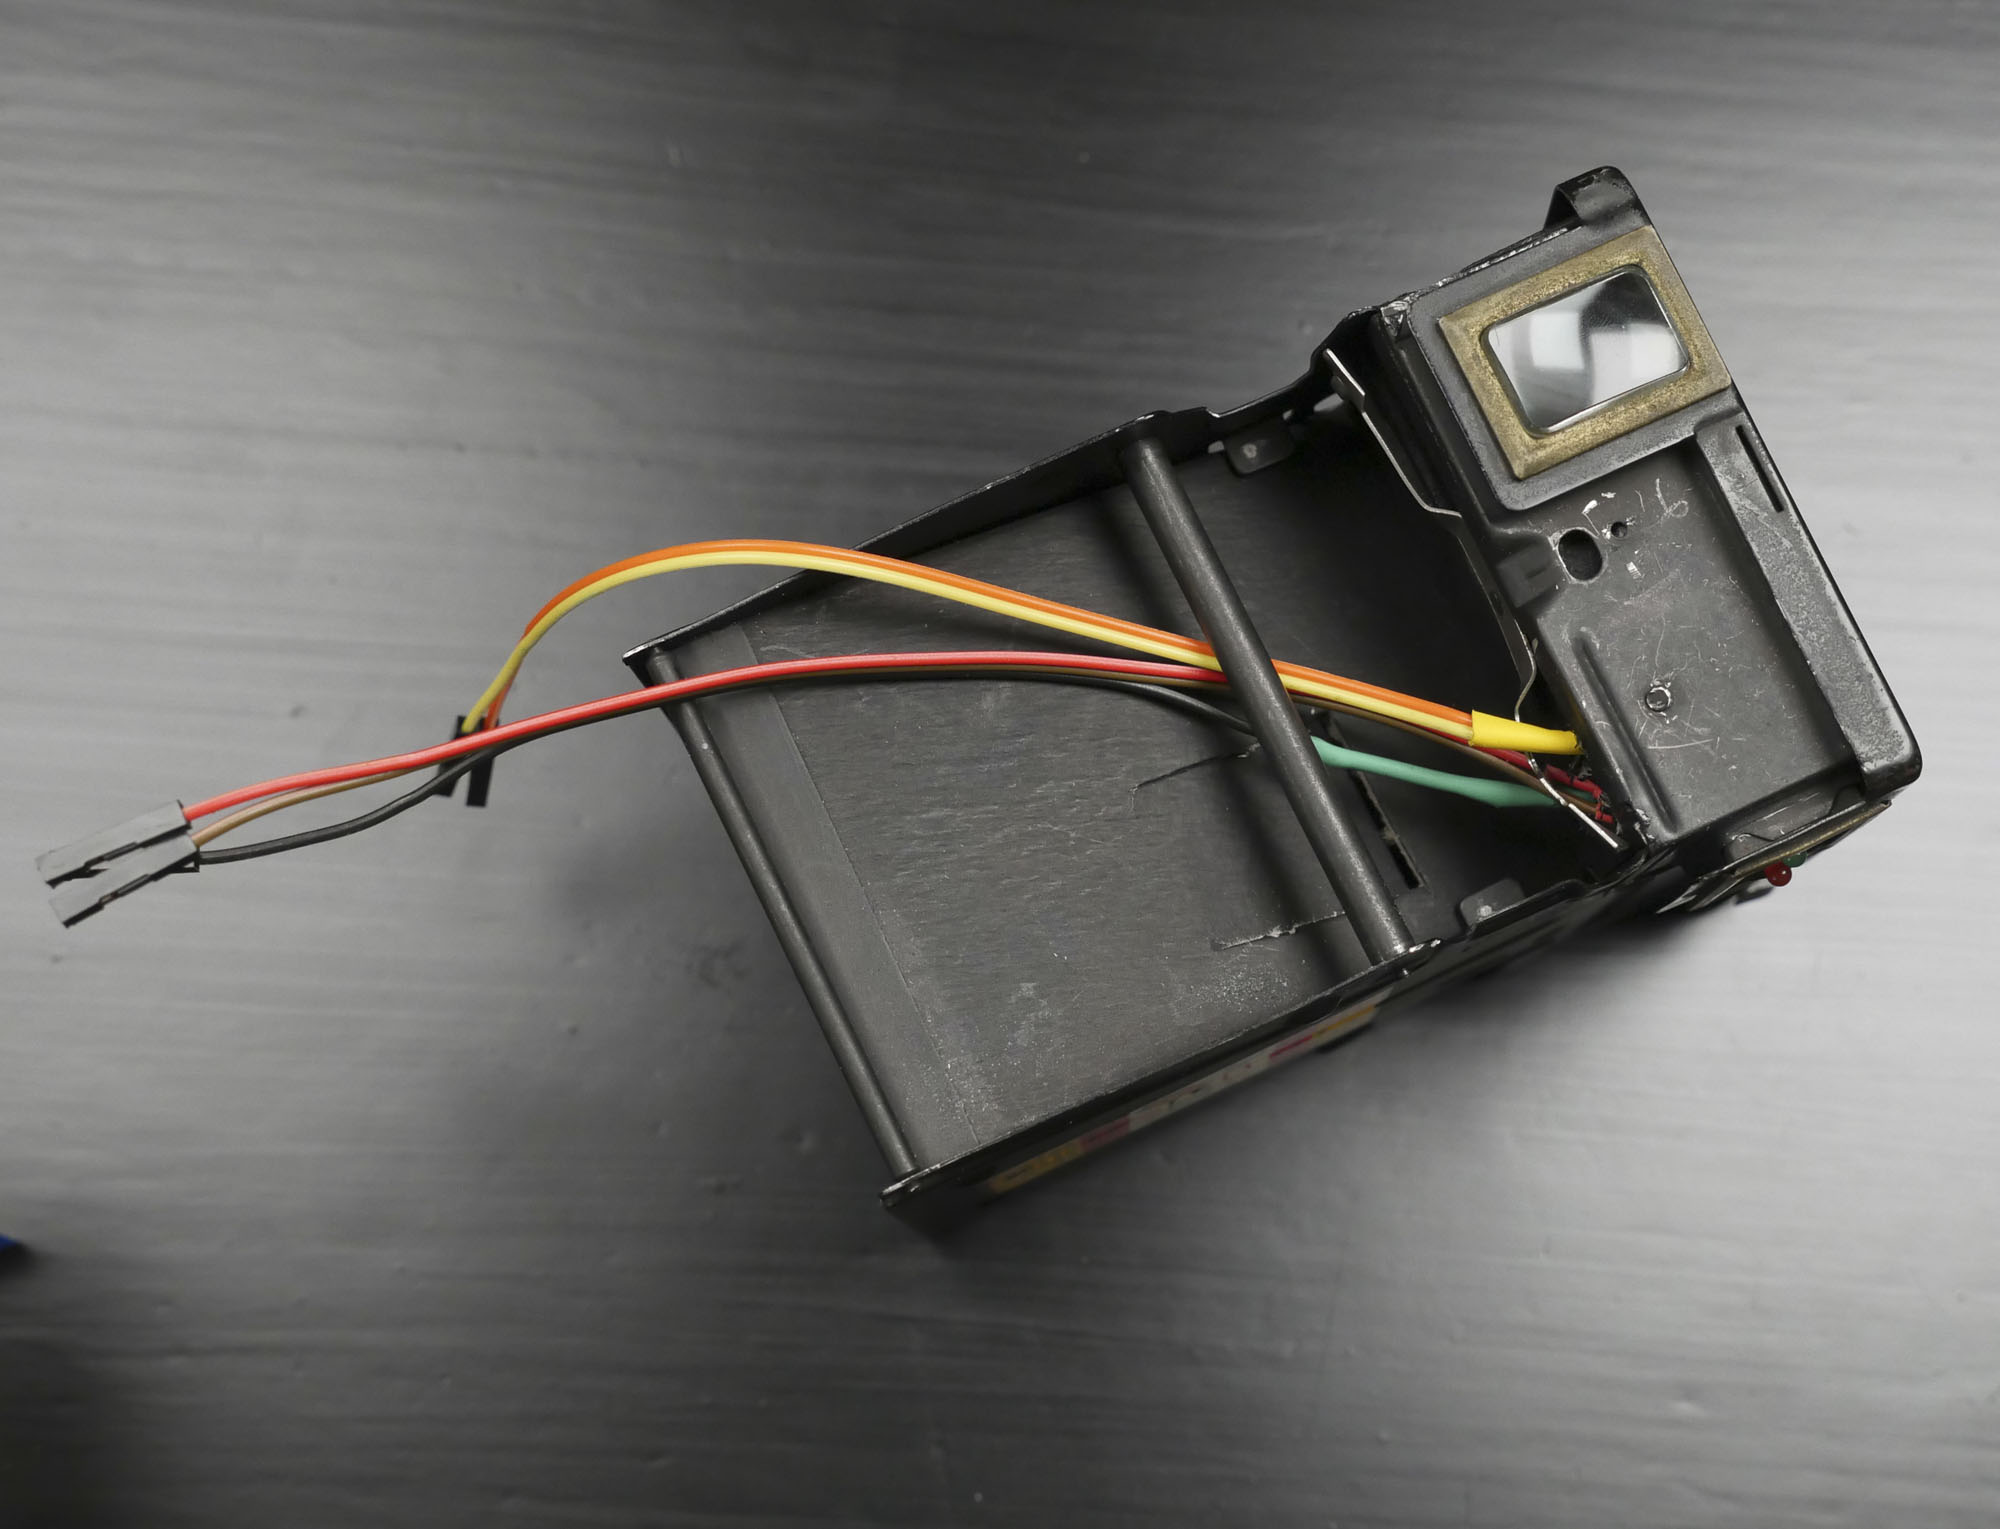
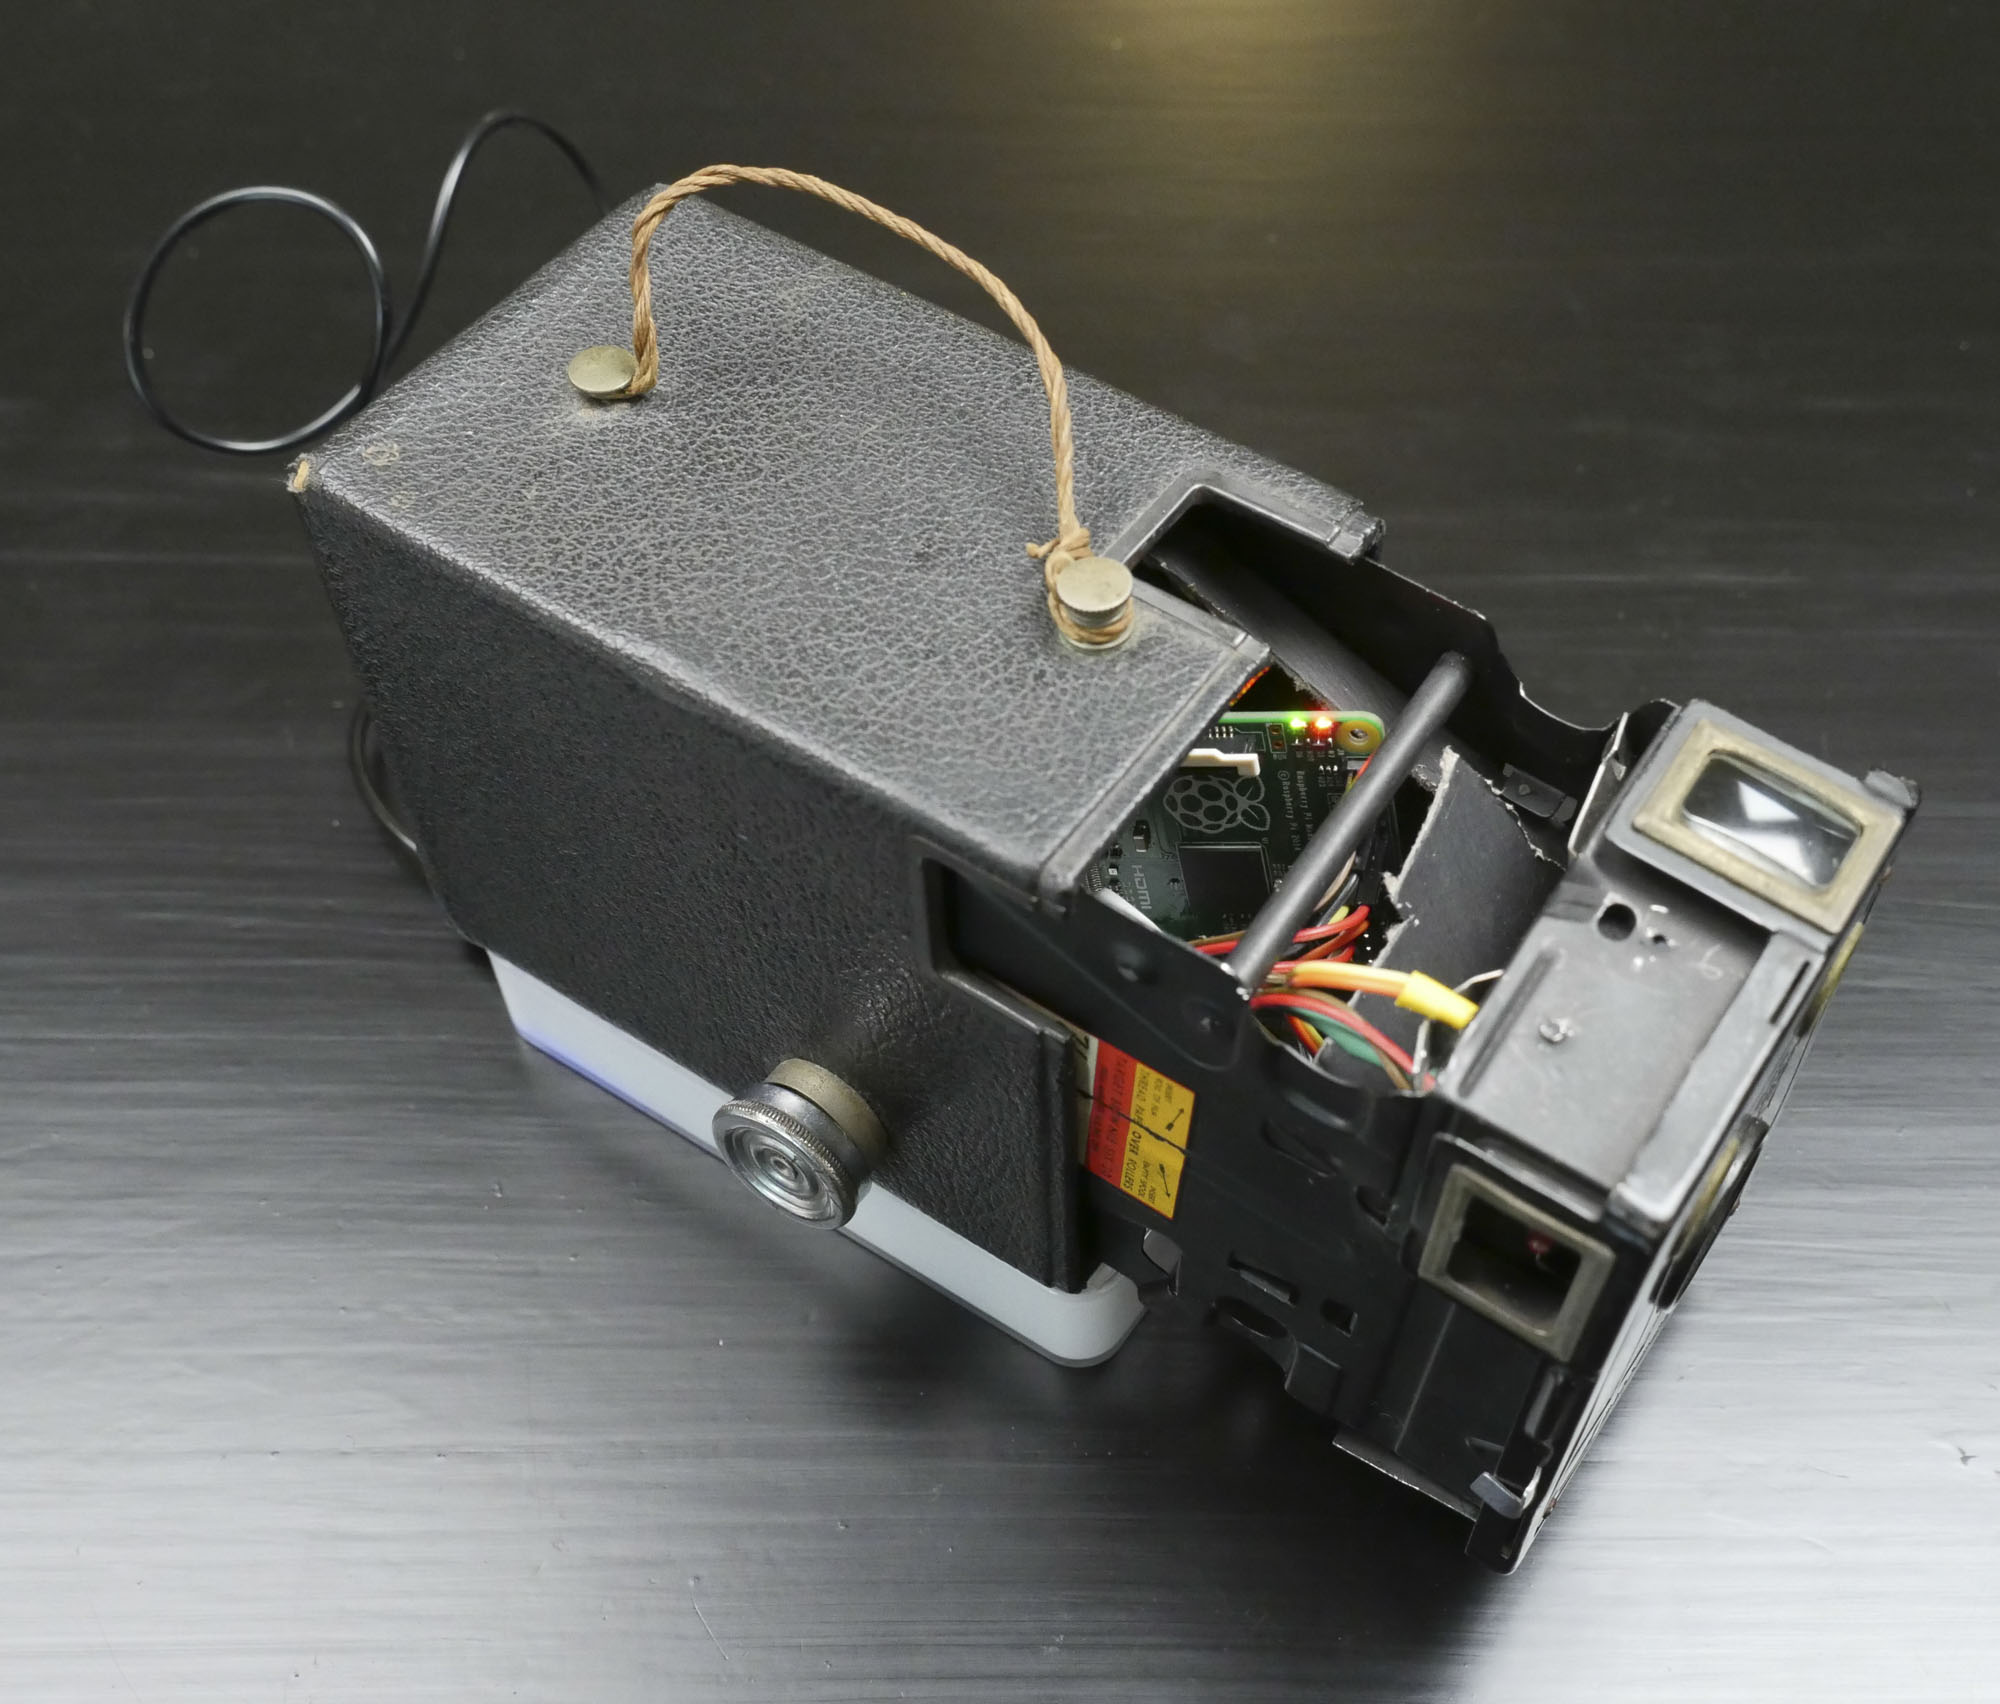
I used double-stick foam tape to mount the pi camera inside the inside of the front panel of my vintage camera. I routed the ribbon cable through to the main body of the camera, which I opened up by cutting out the interior cardboard.
Install Pushbutton
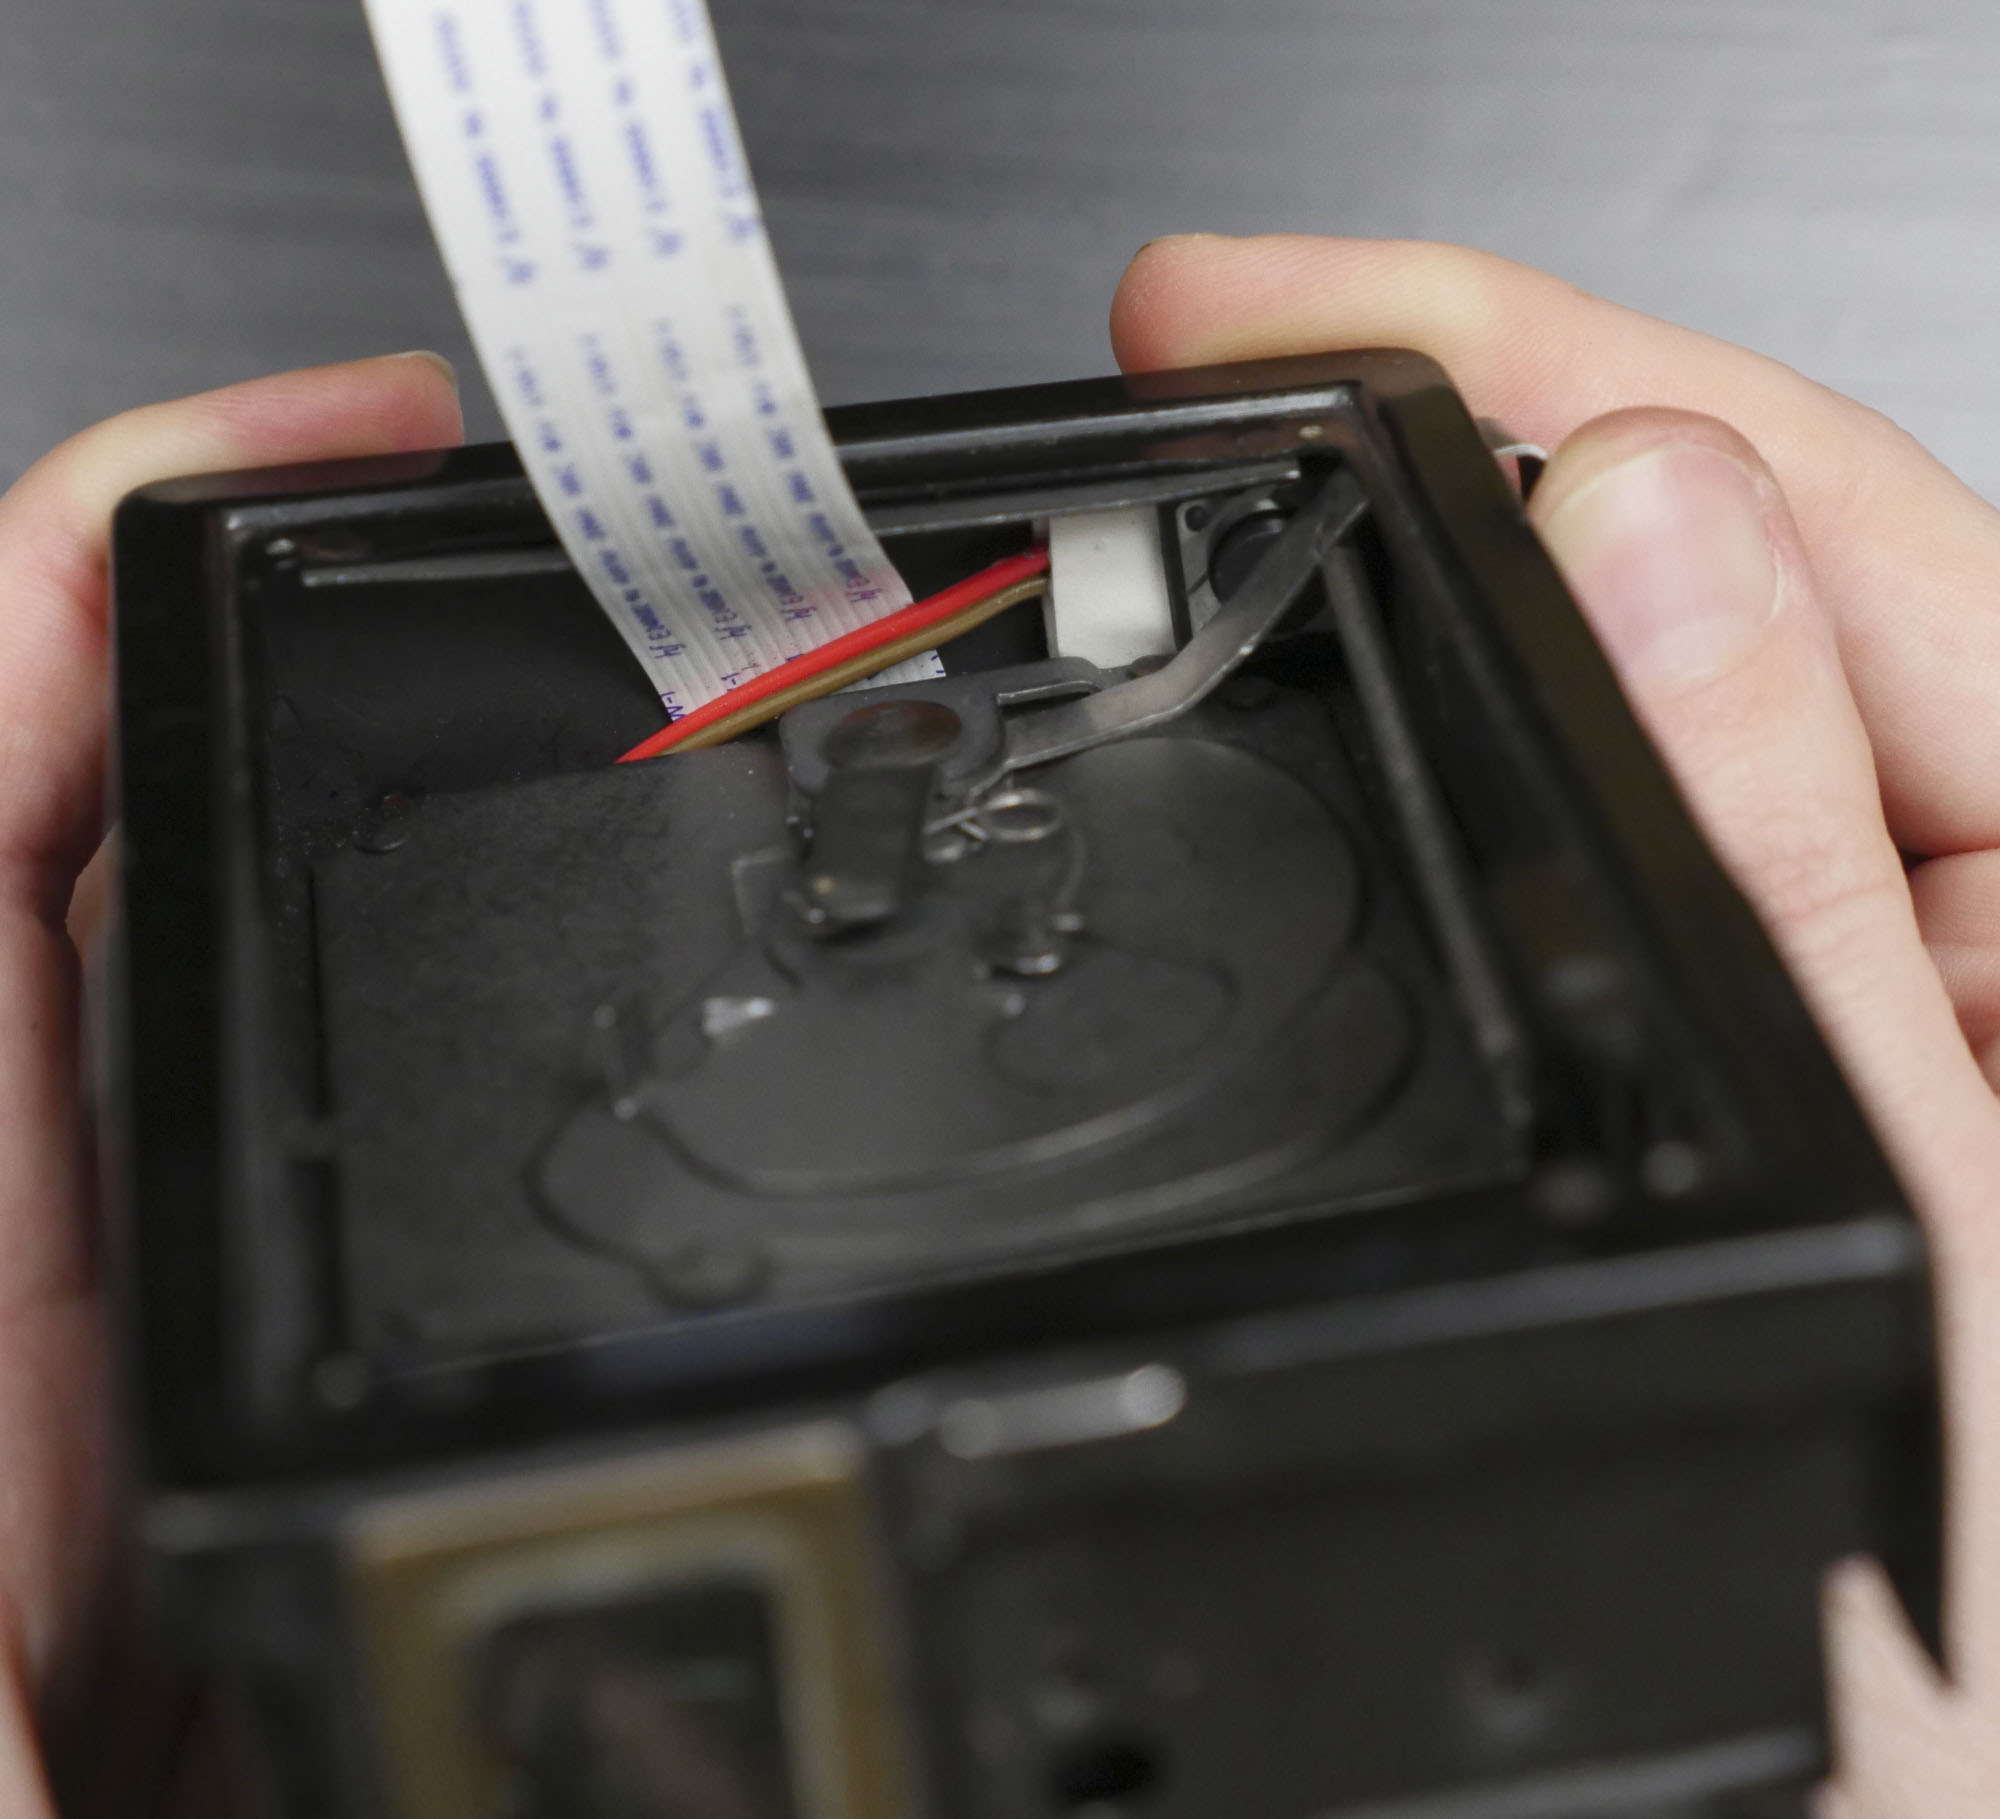
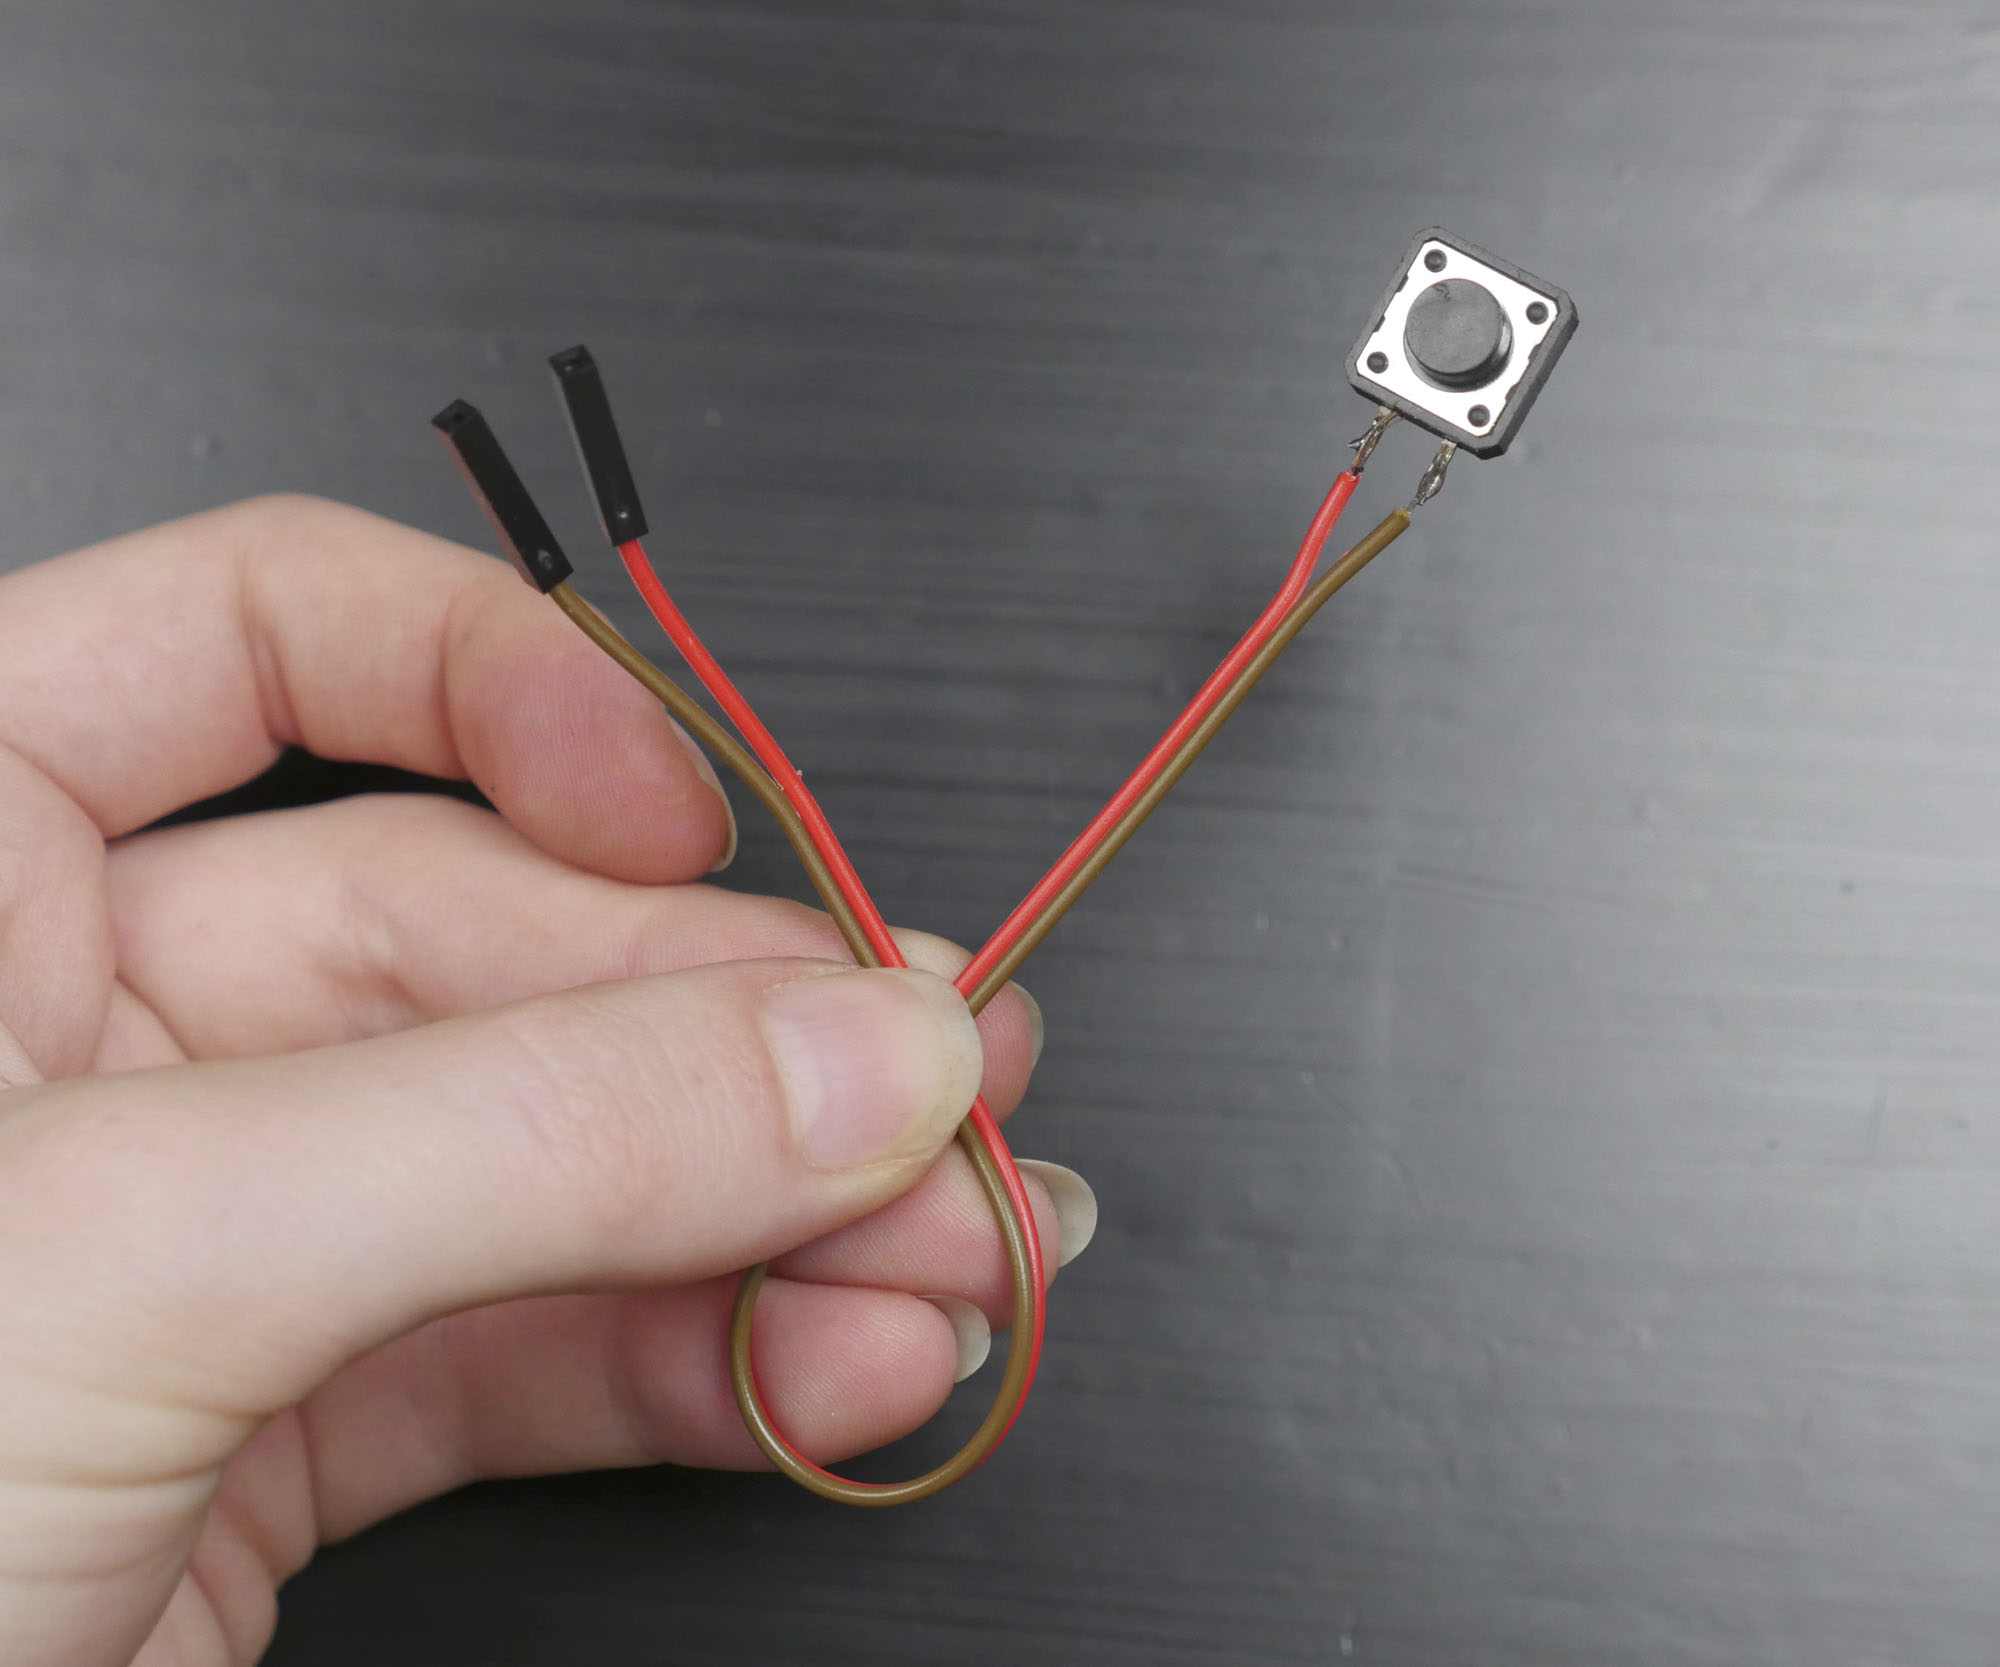
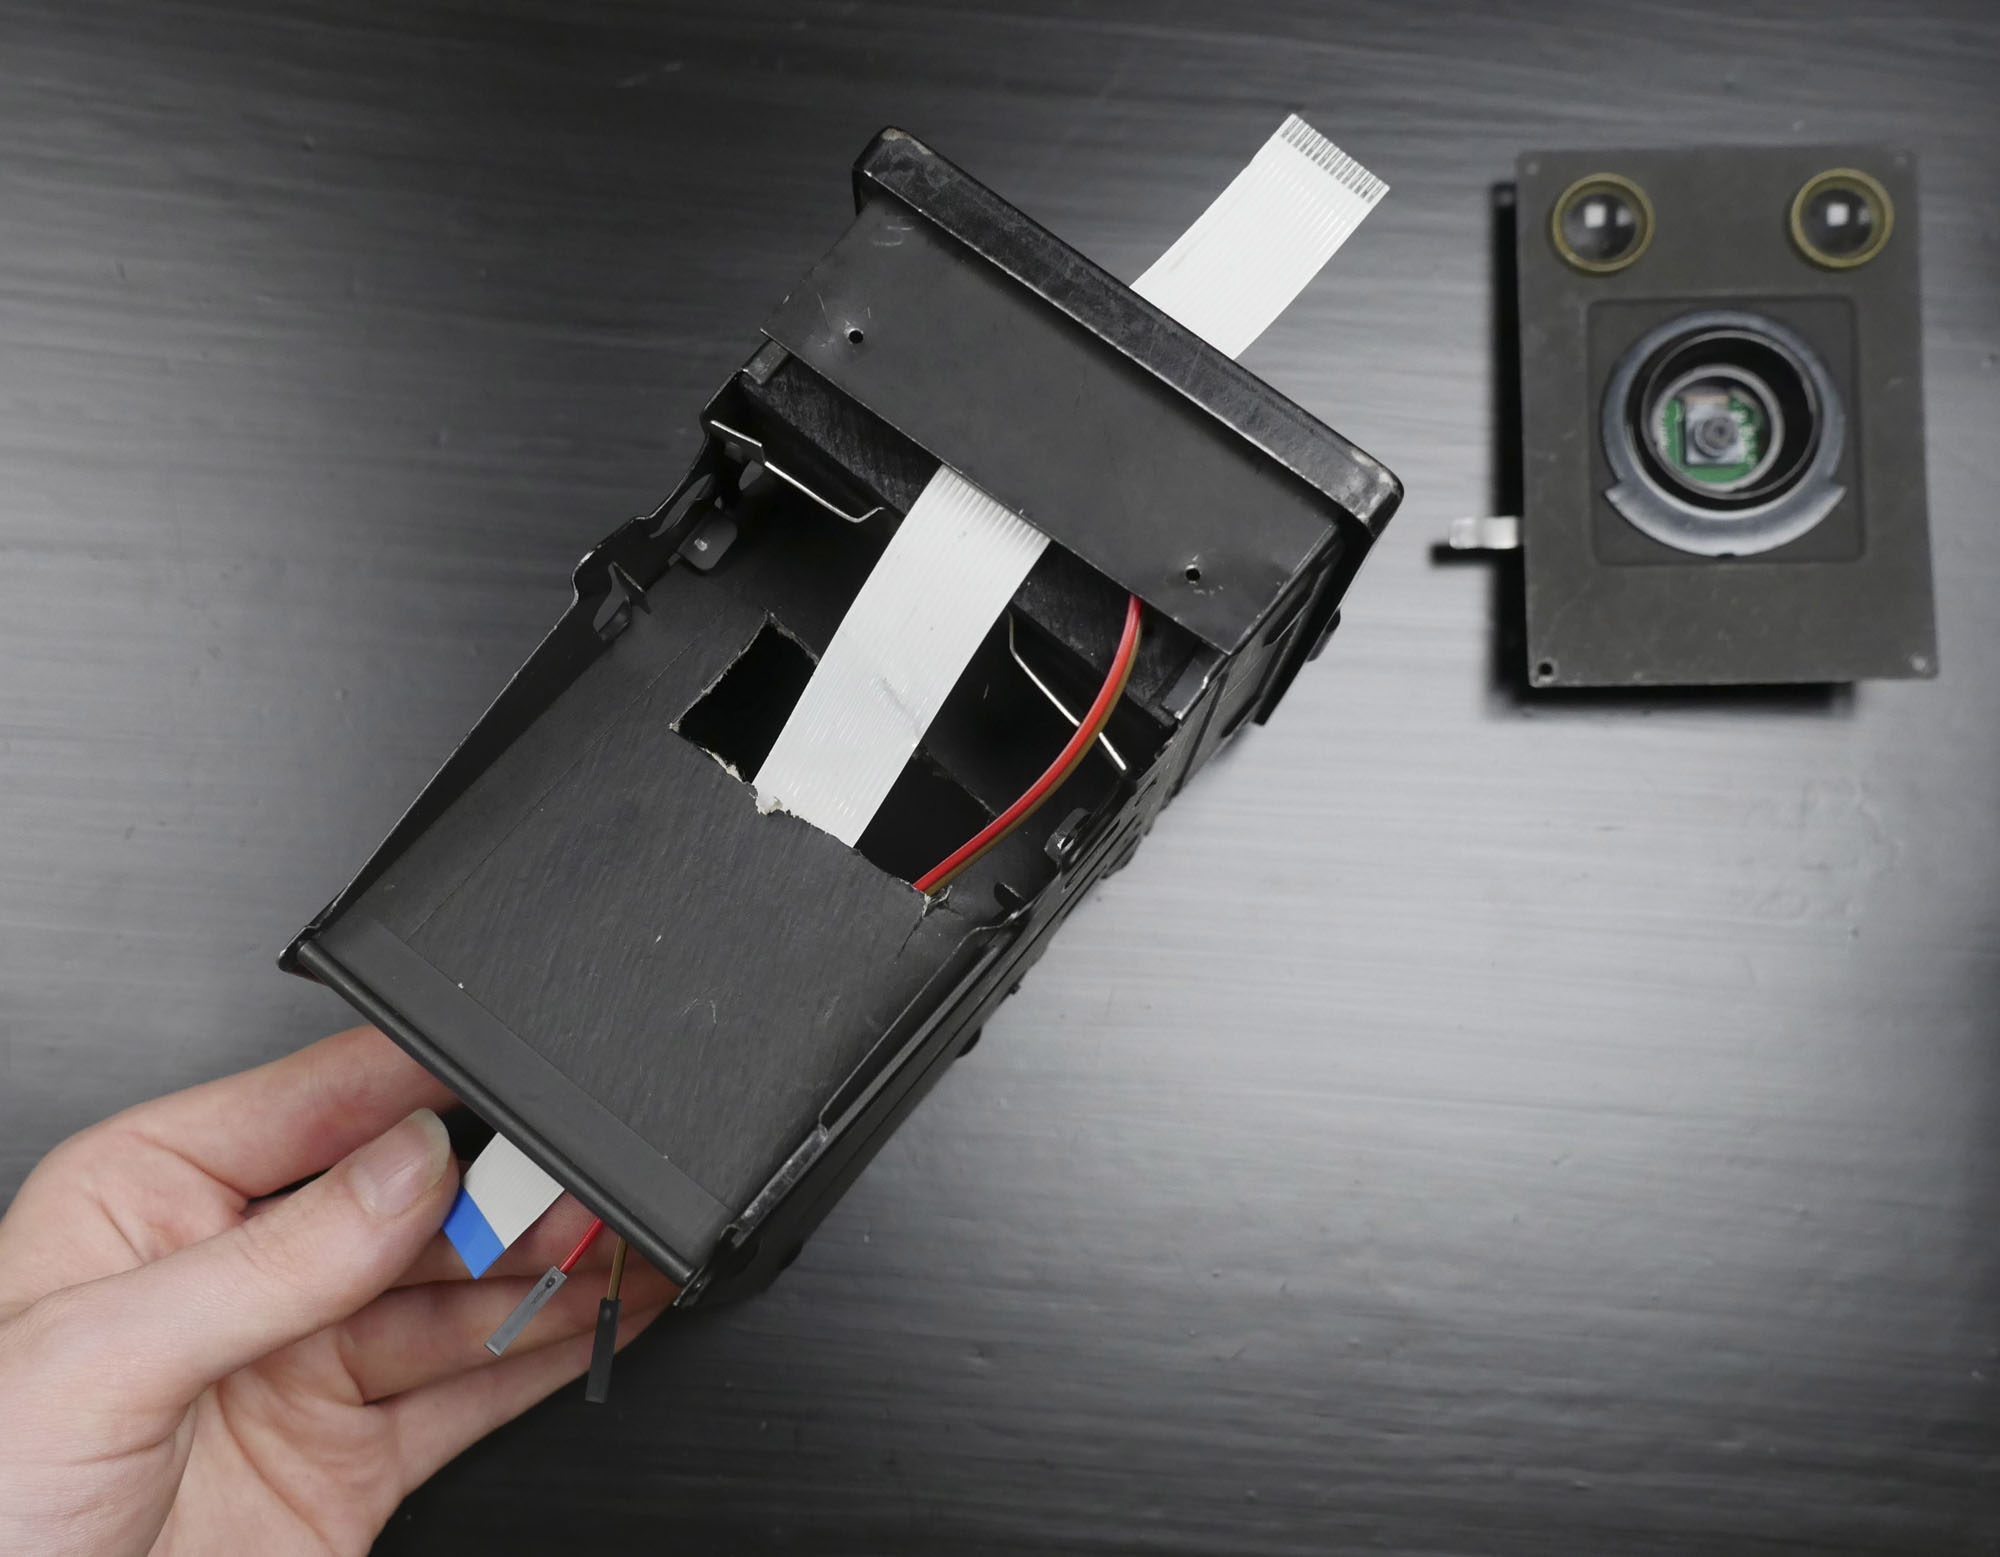
I installed the pushbutton to be triggered by the original shutter lever, and ran its wires to the interior camera body as well.
Prepare and Install LEDs
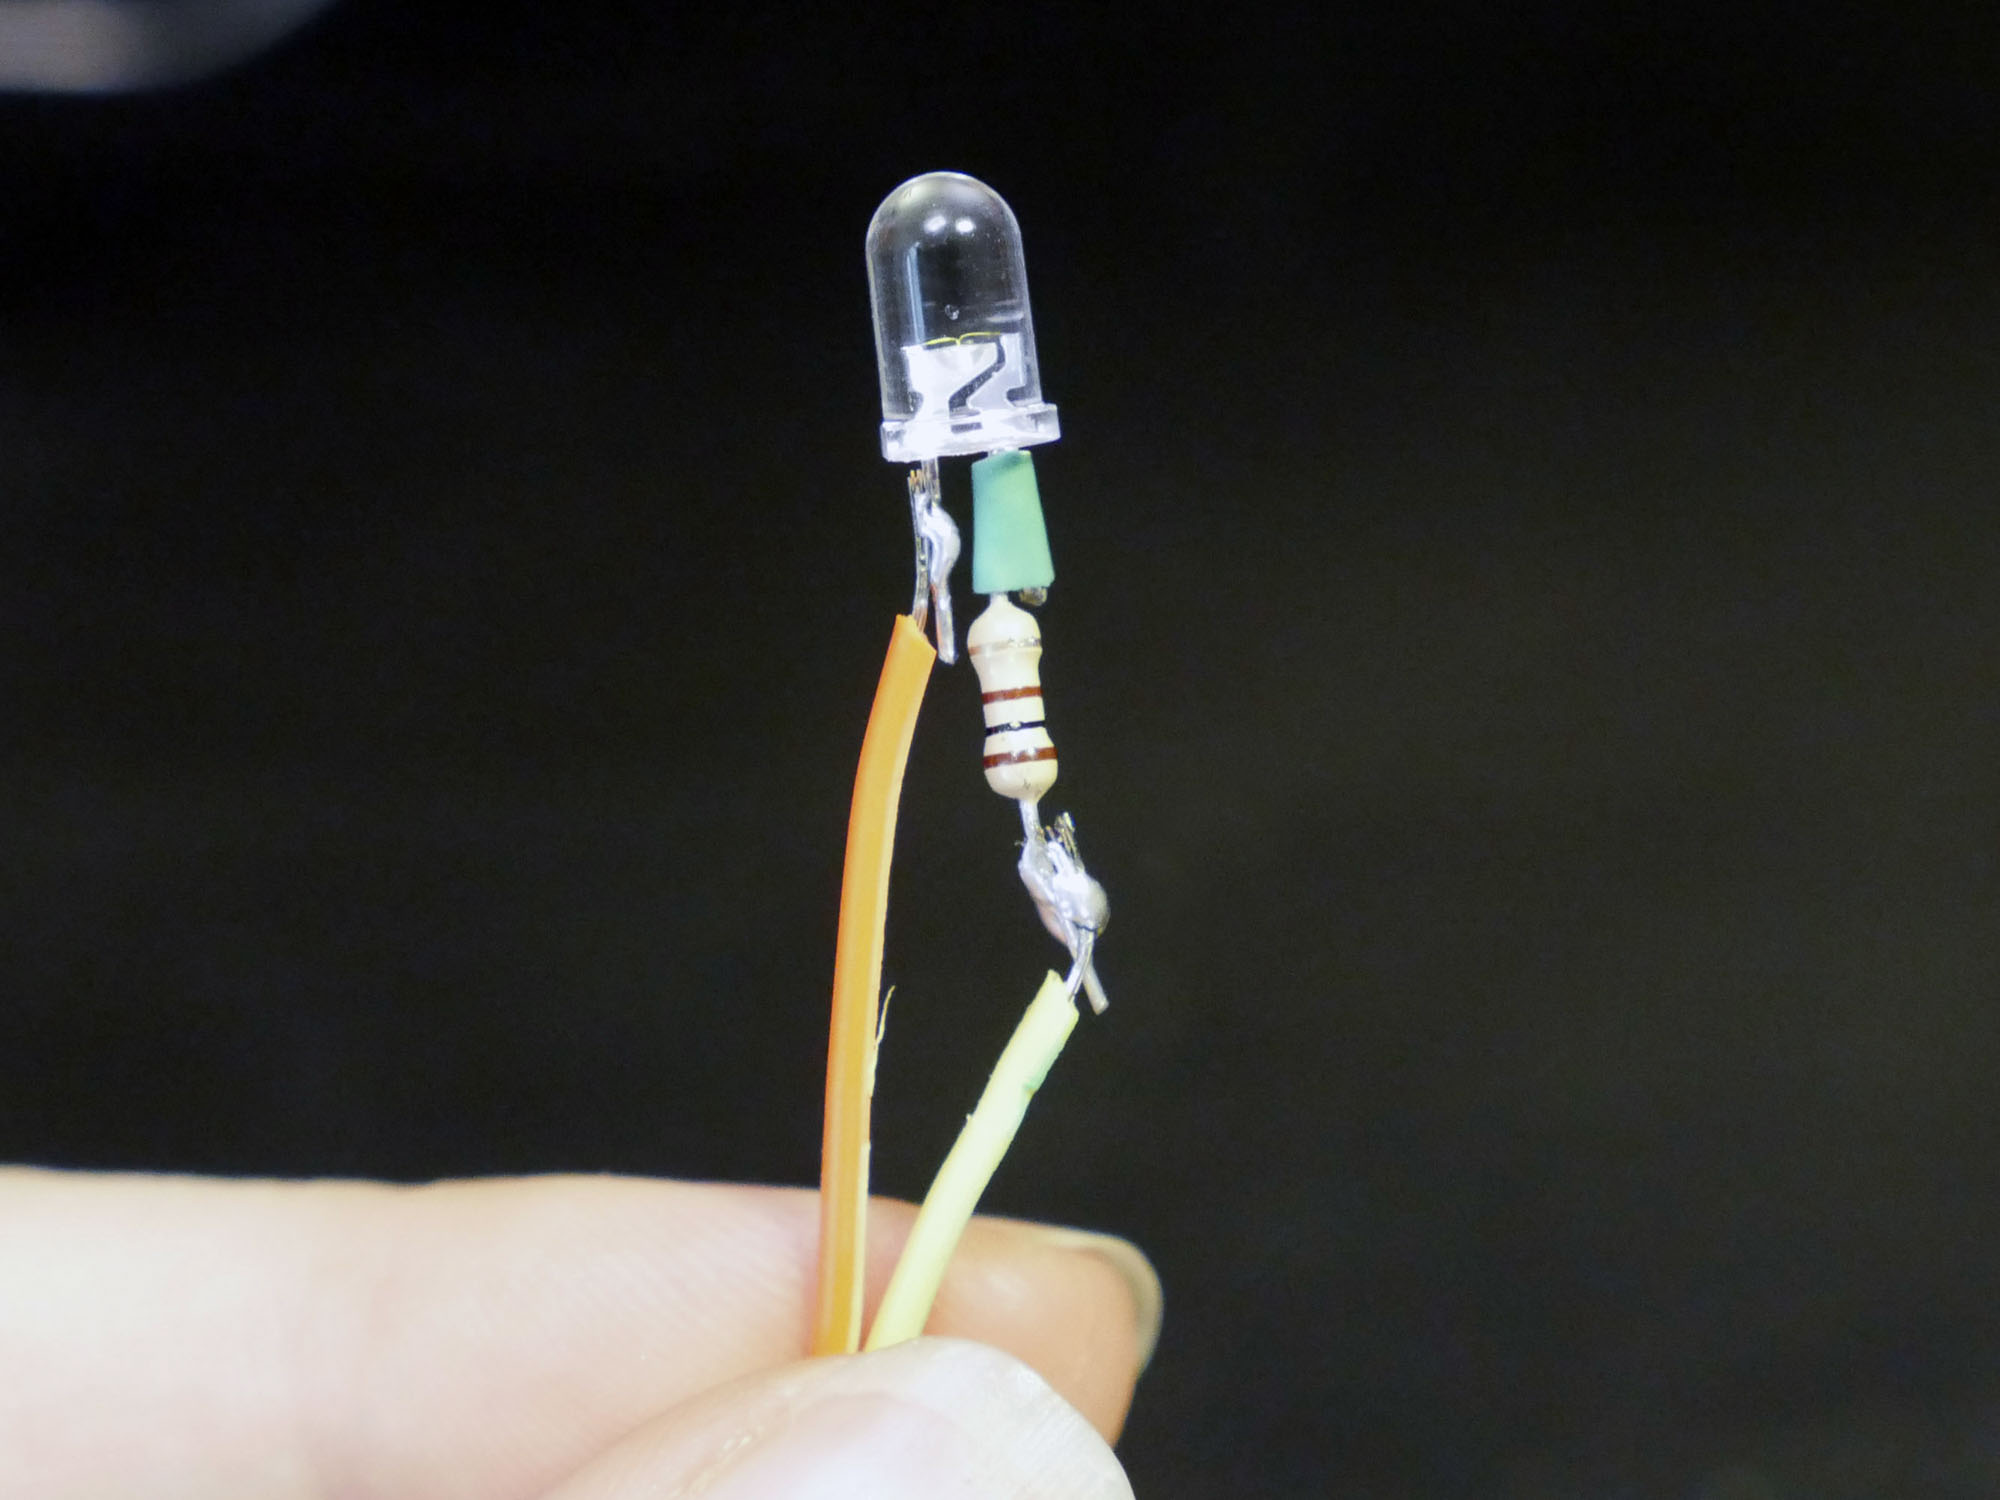
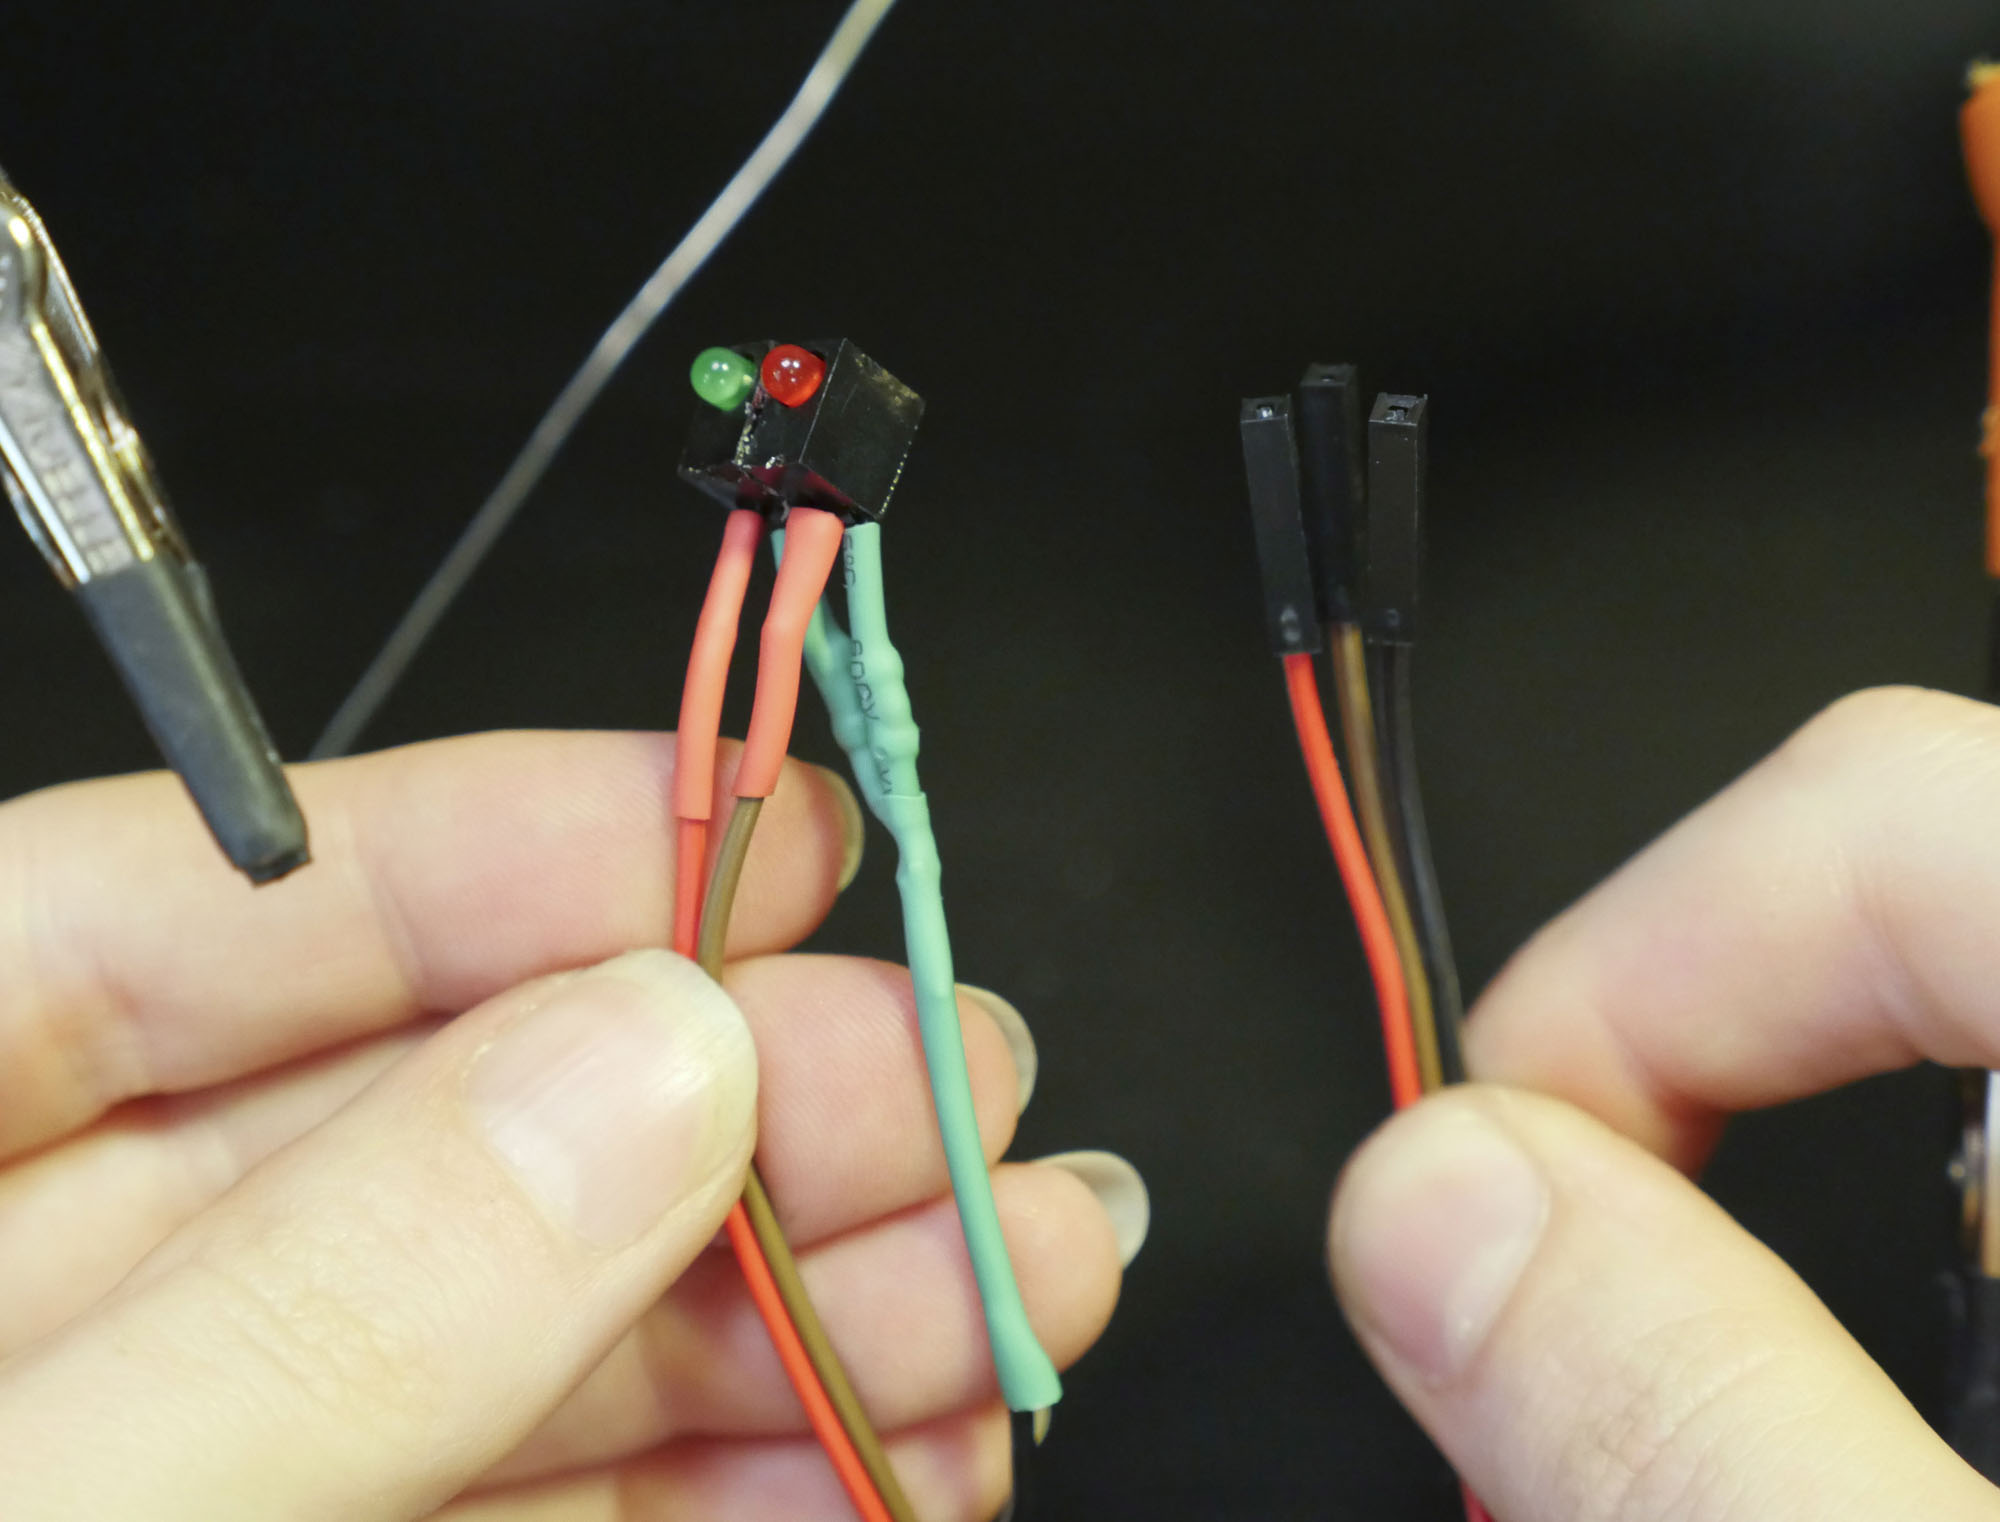
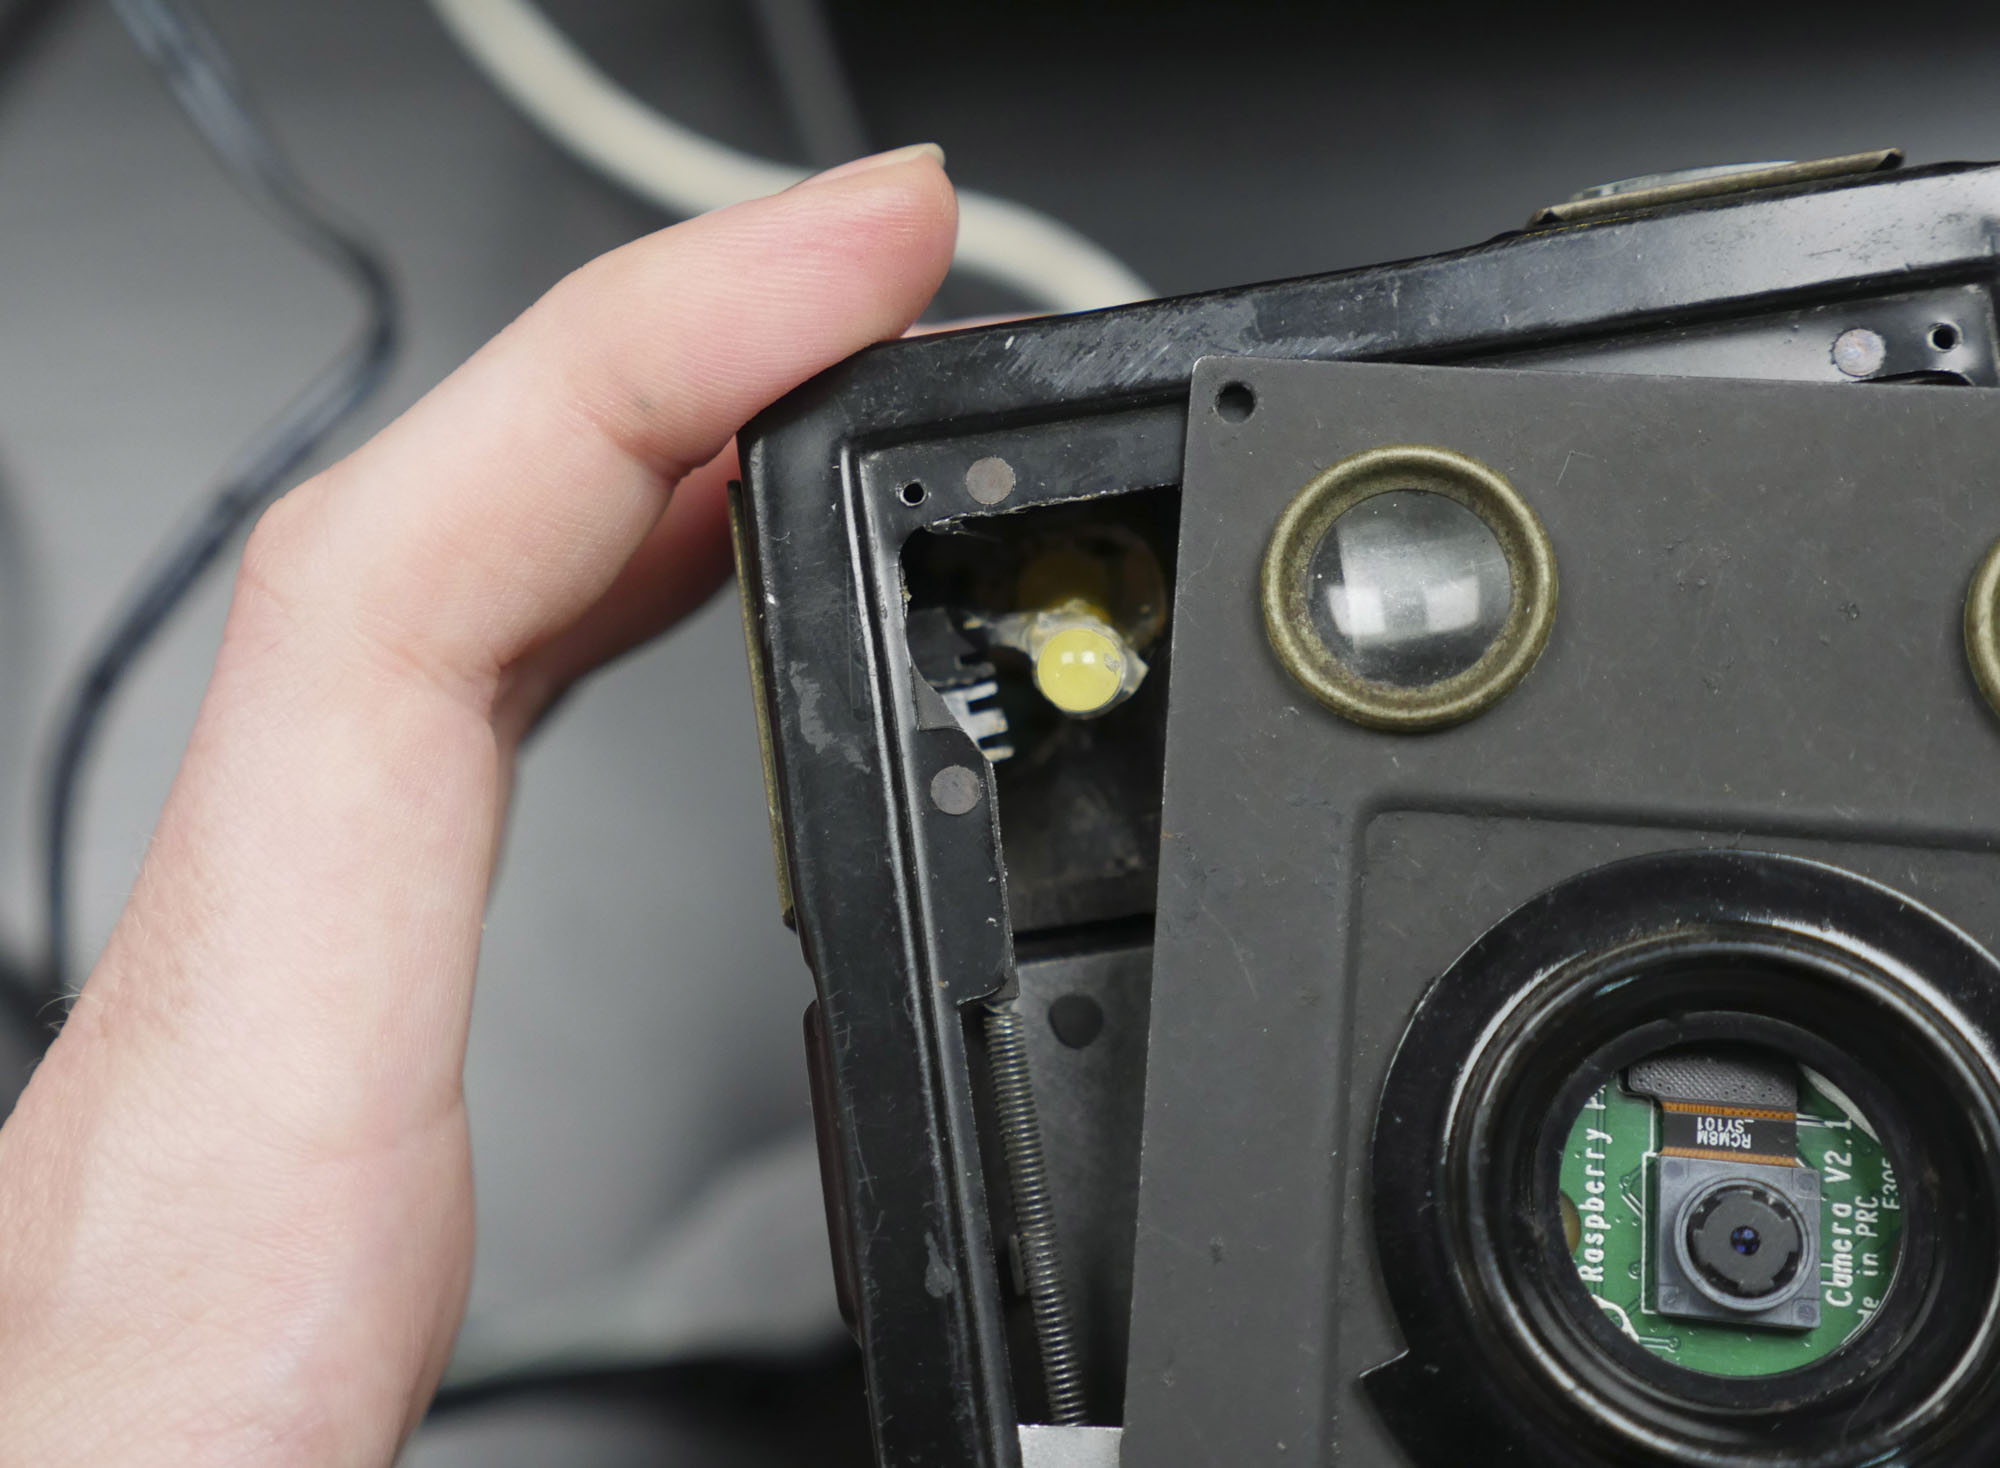
I soldered the LEDs up with some resistors and heat shrink tubing, then used some hot glue to secure them in place.
All the wires route back into the main body of the camera, which was big enough for the Pi once I cut out the cardboard.
Test and Configure
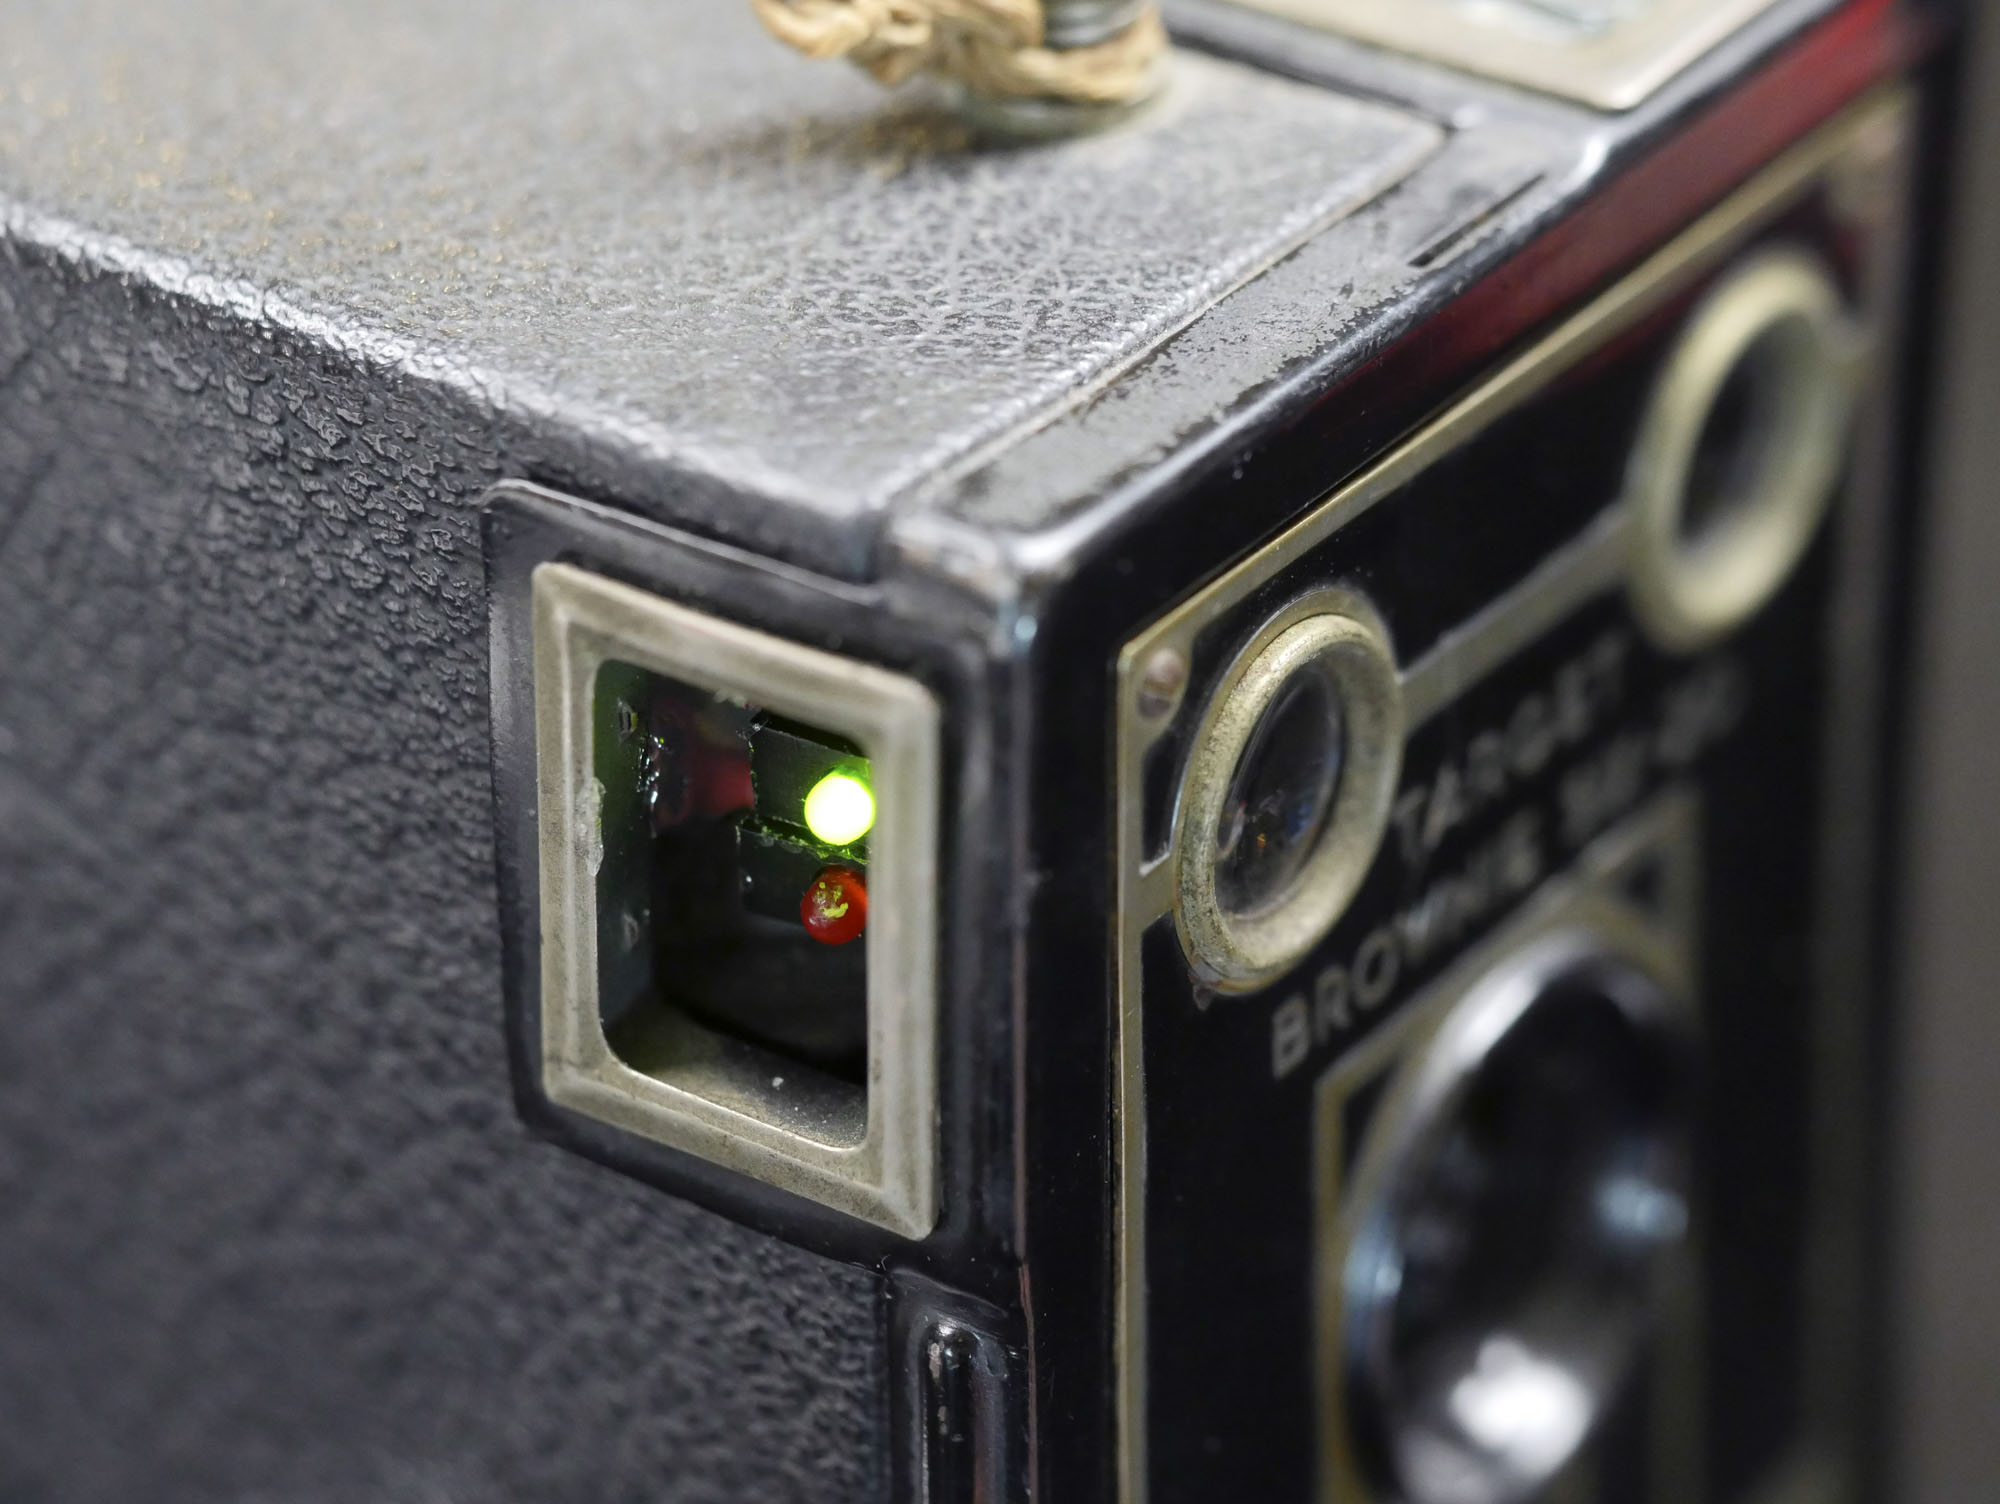
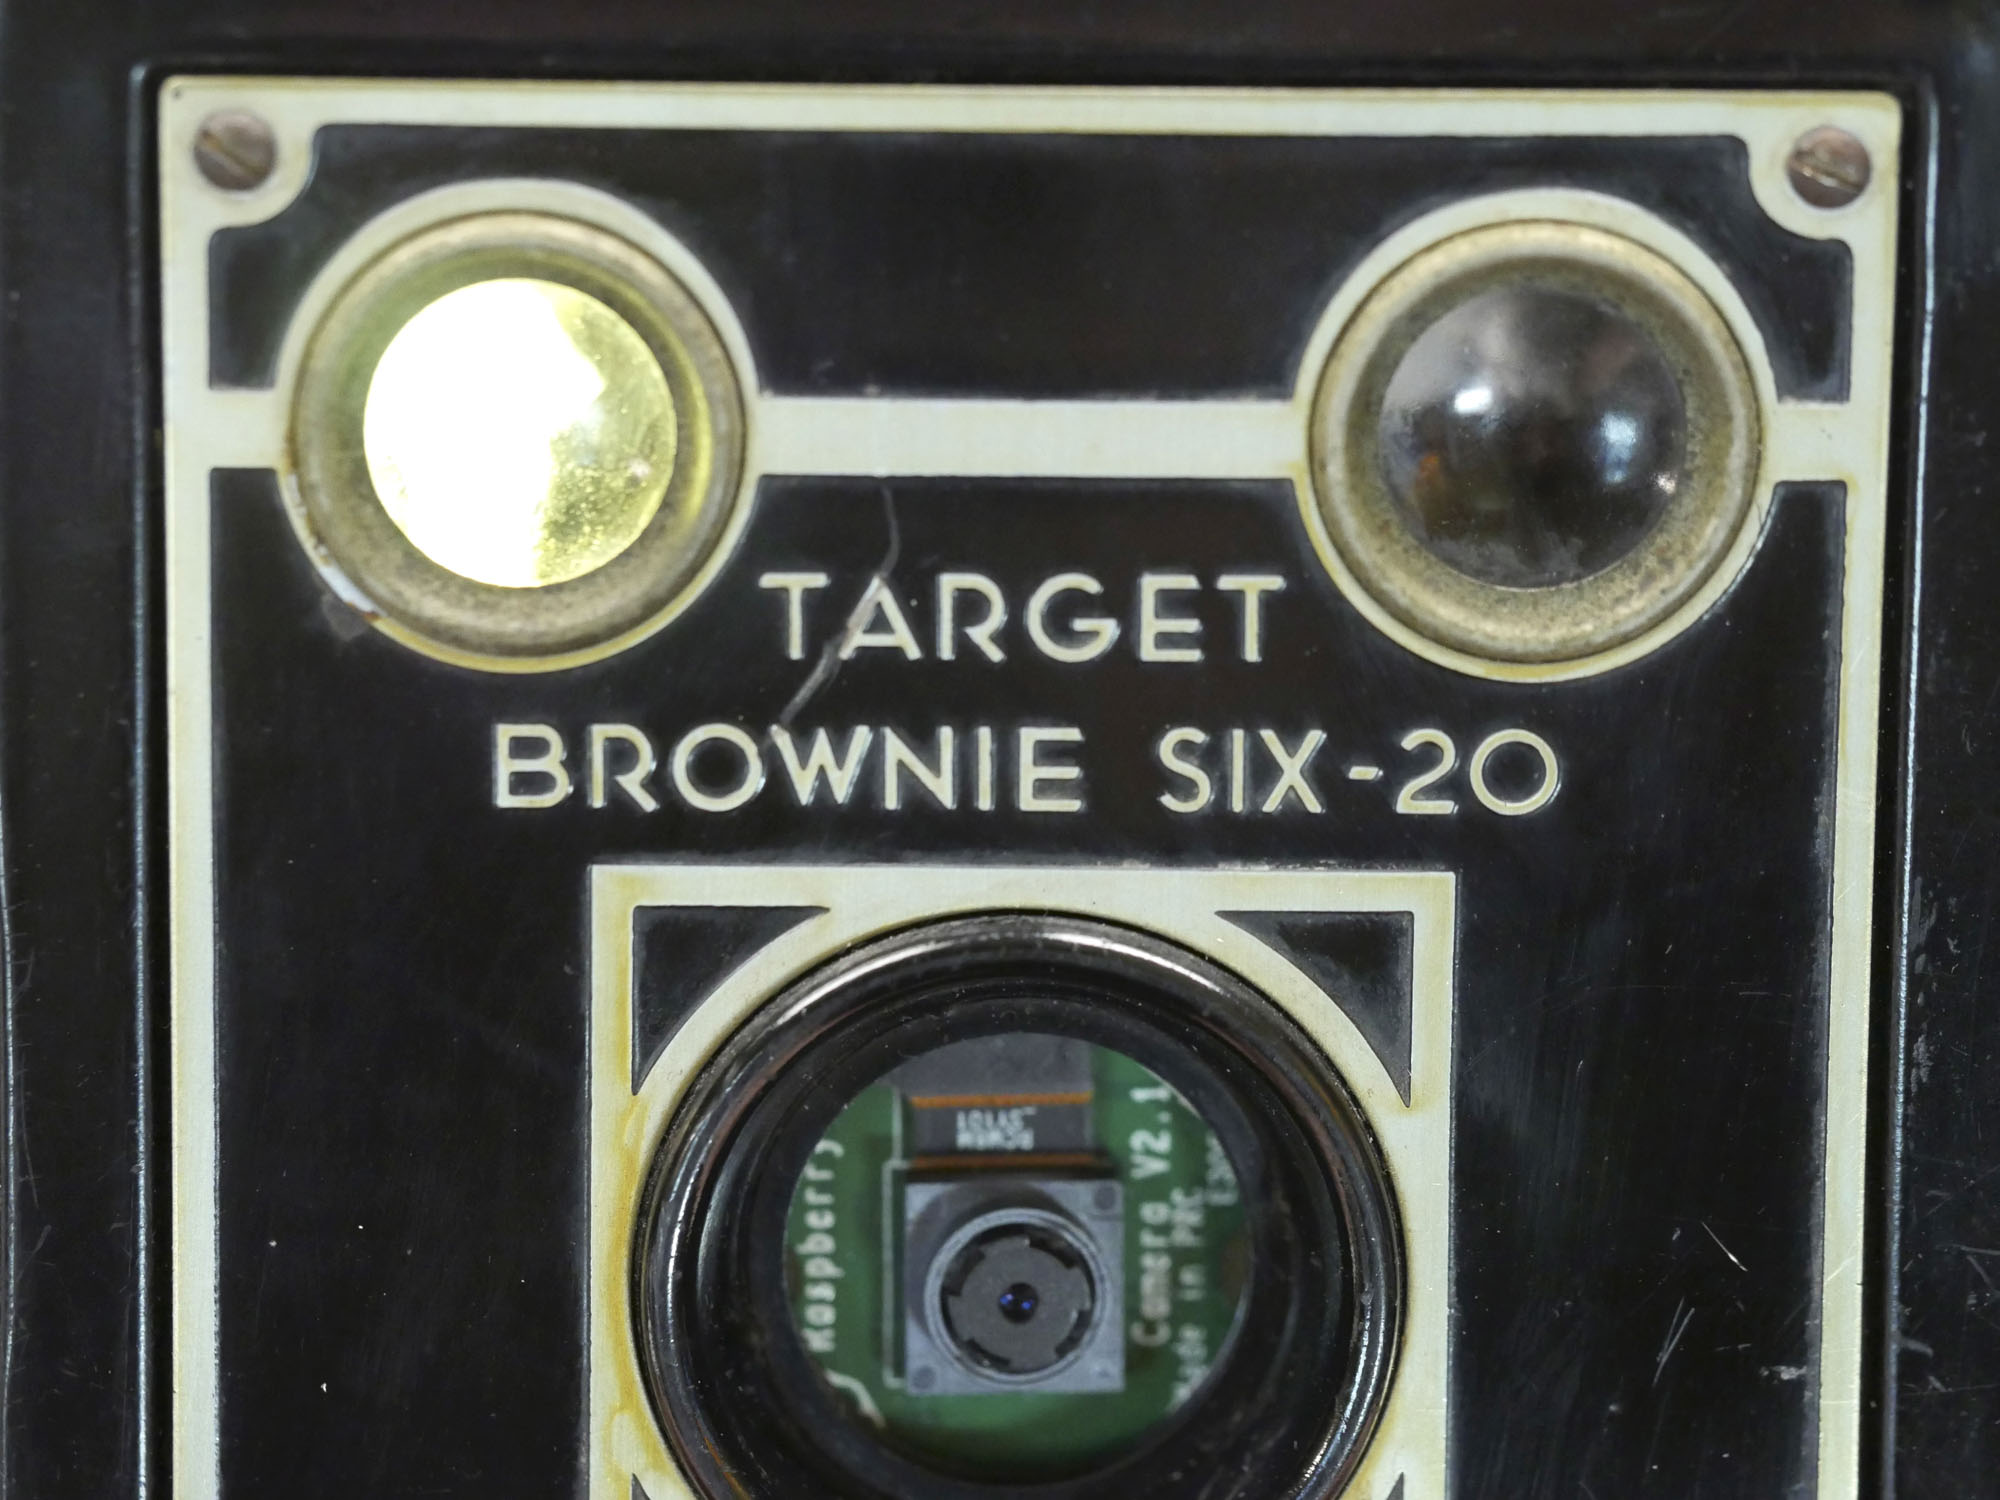
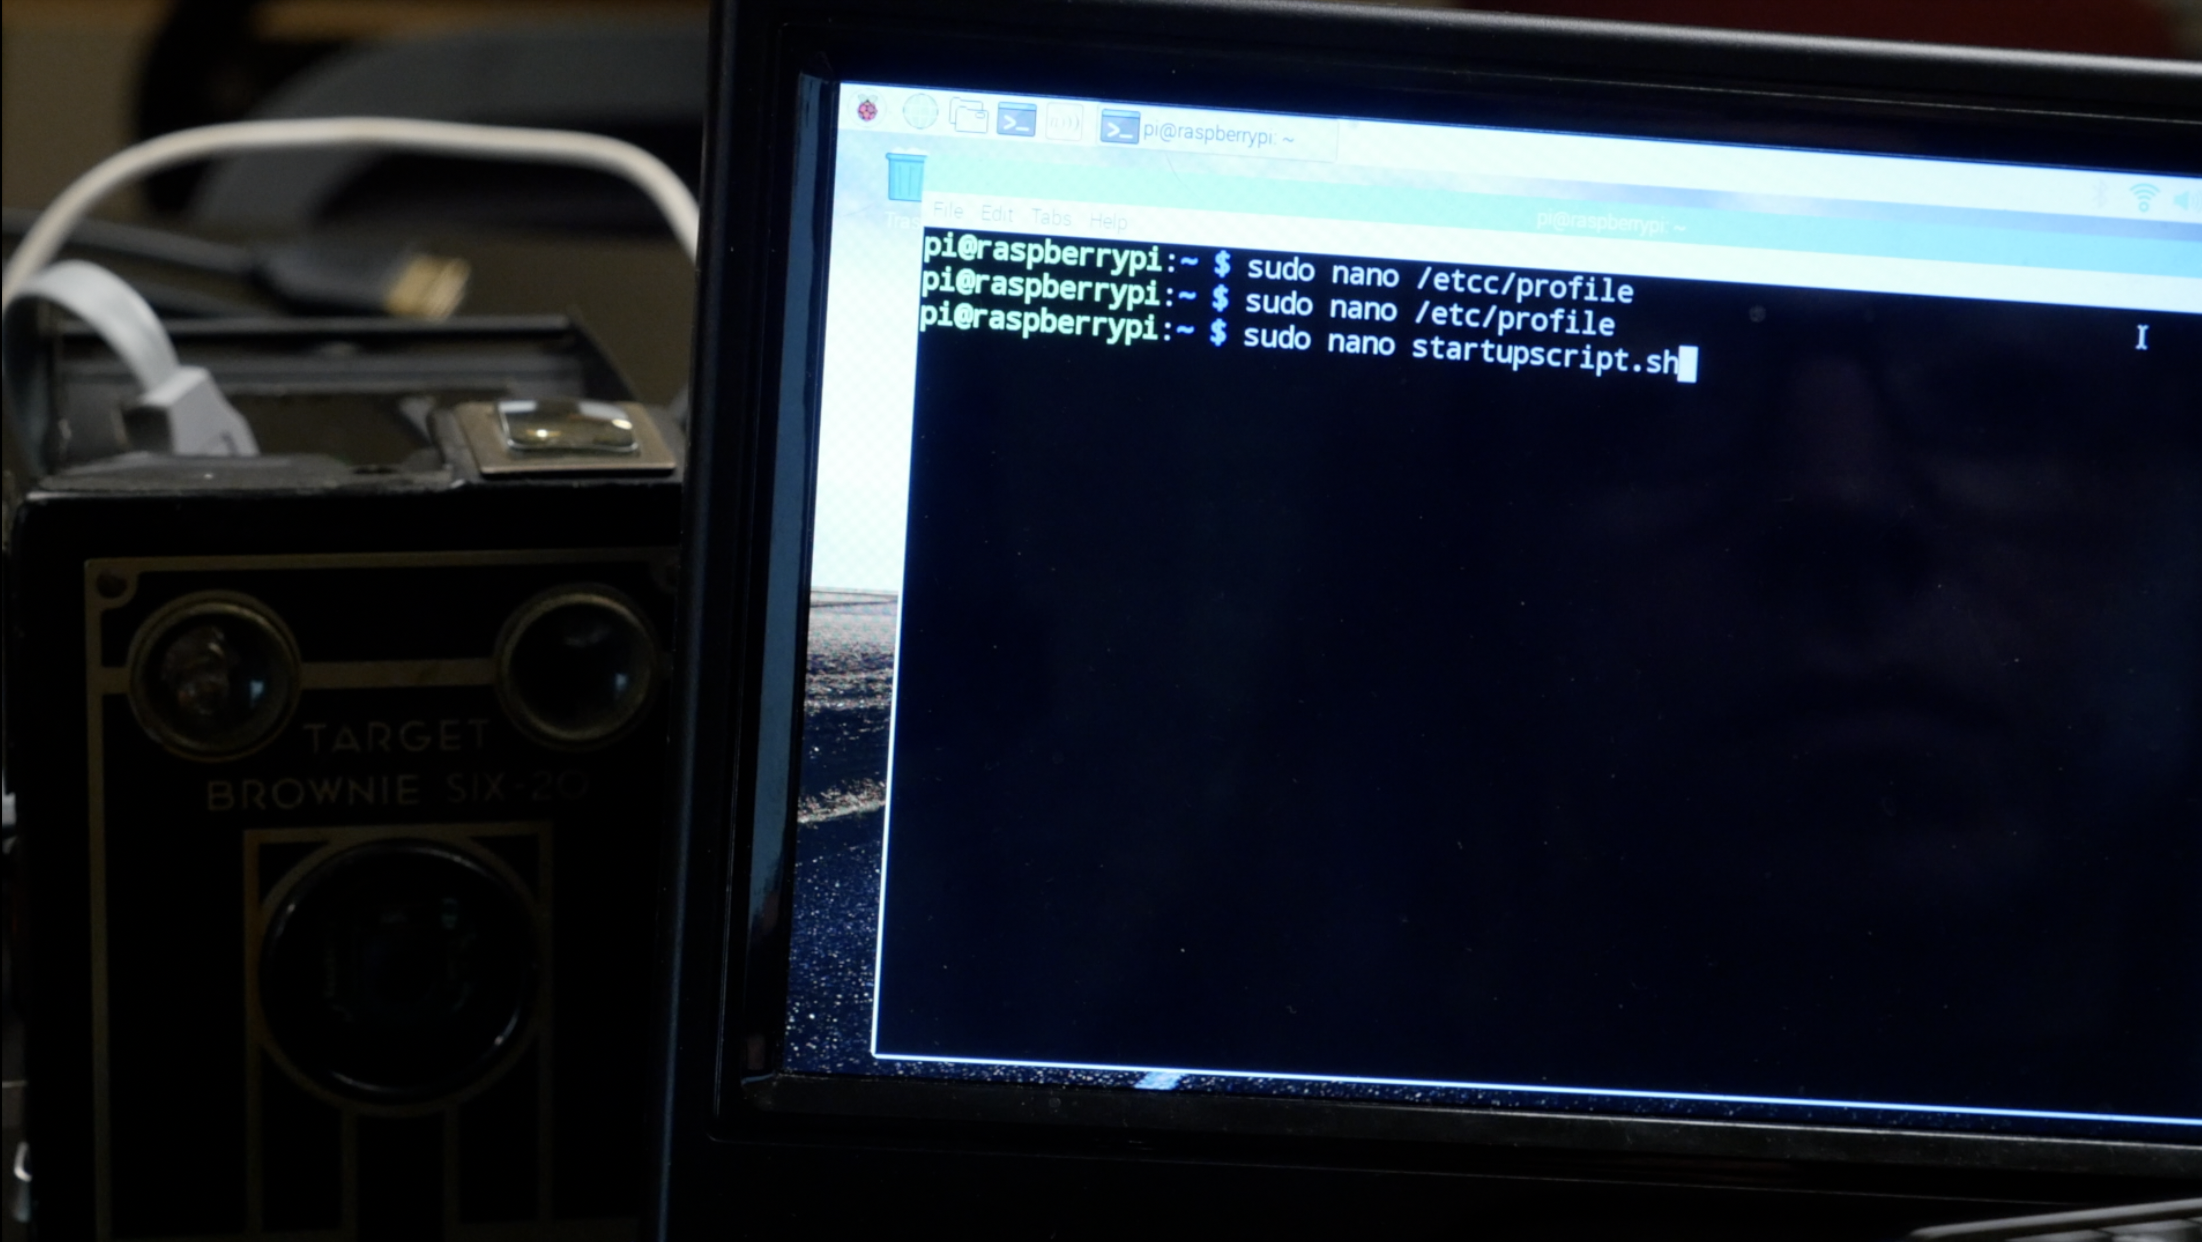
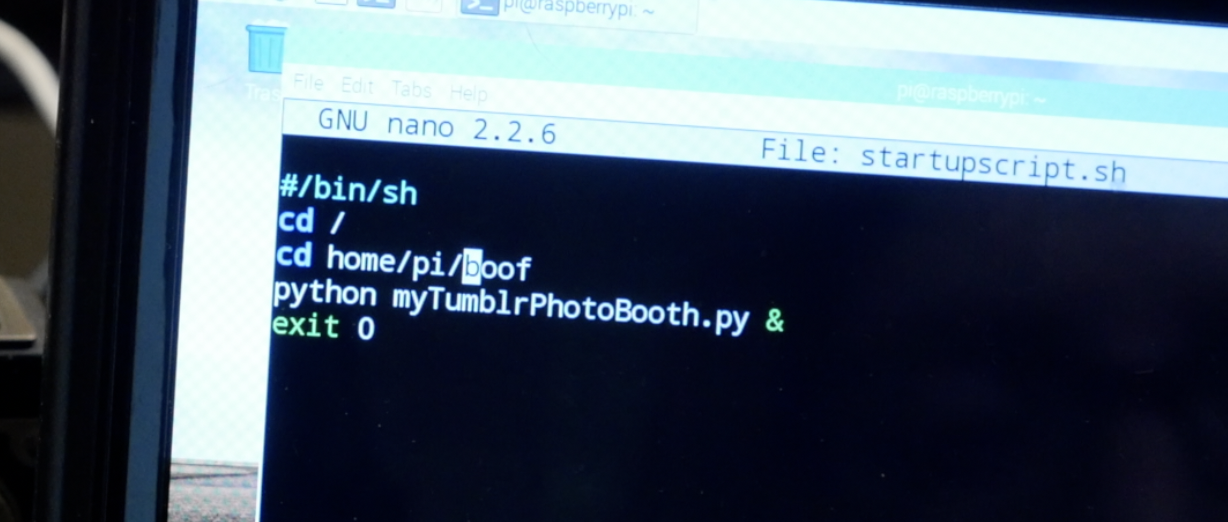
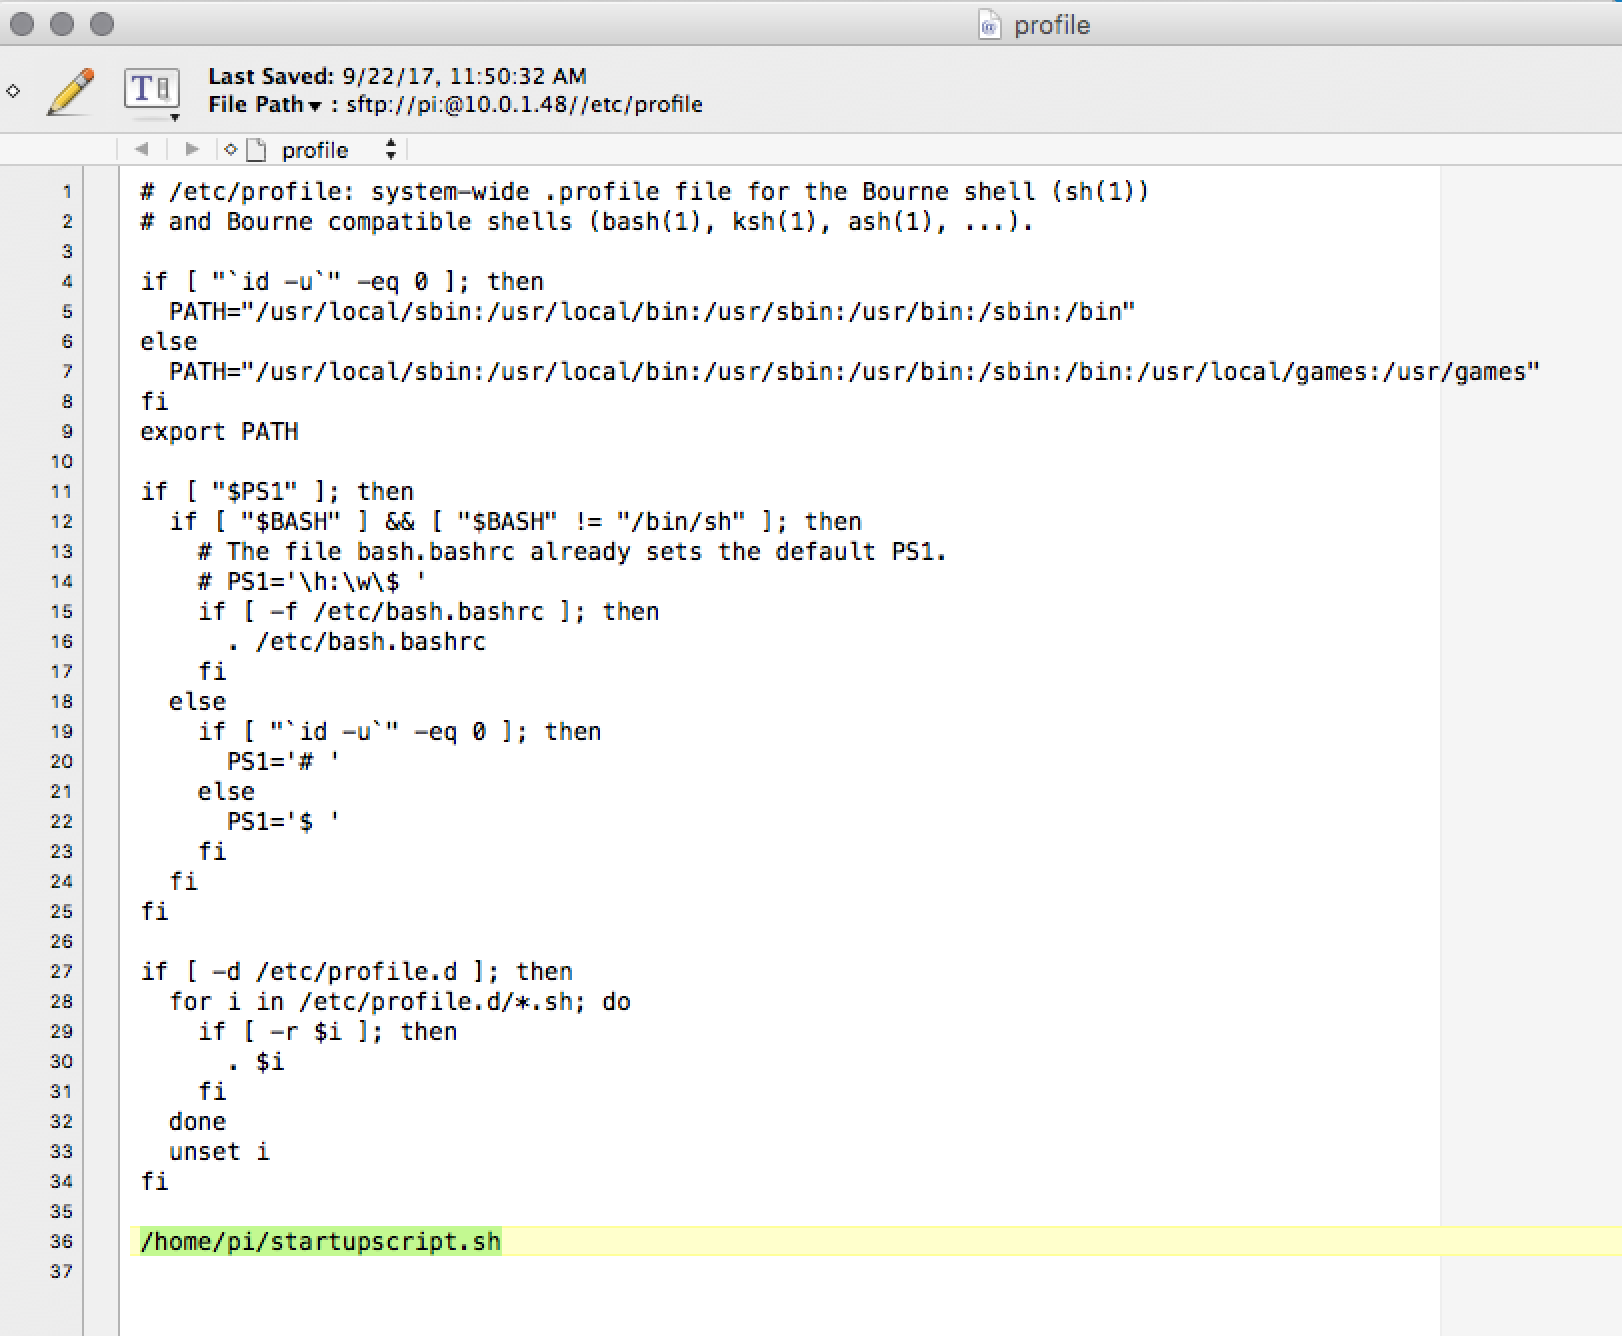
I plugged everything in again to test it out inside the new build, and I added a shell script to run my Python script when the Pi boots up, so I can operate it without a screen or keyboard. I also added my phone's tethering wifi network to my Pi so I could take it with me to Maker Faire.
The shell script should be located in /home/pi and contain:
#/bin/sh
cd /
cd home/pi/boof
python TumblrGIFCamera.py &
exit 0
You'll also need to add the startup script to /etc/local by appending this line at the end:
/home/pi/startupscript.shAdditionally, the permissions must be executable on both the python script and shell script, which you can set with the following command lines:
sudo chmod +x /home/pi/startupscript.sh

sudo chmod +x /home/pi/boof/TumblrGIFCamera.py
Close It Up
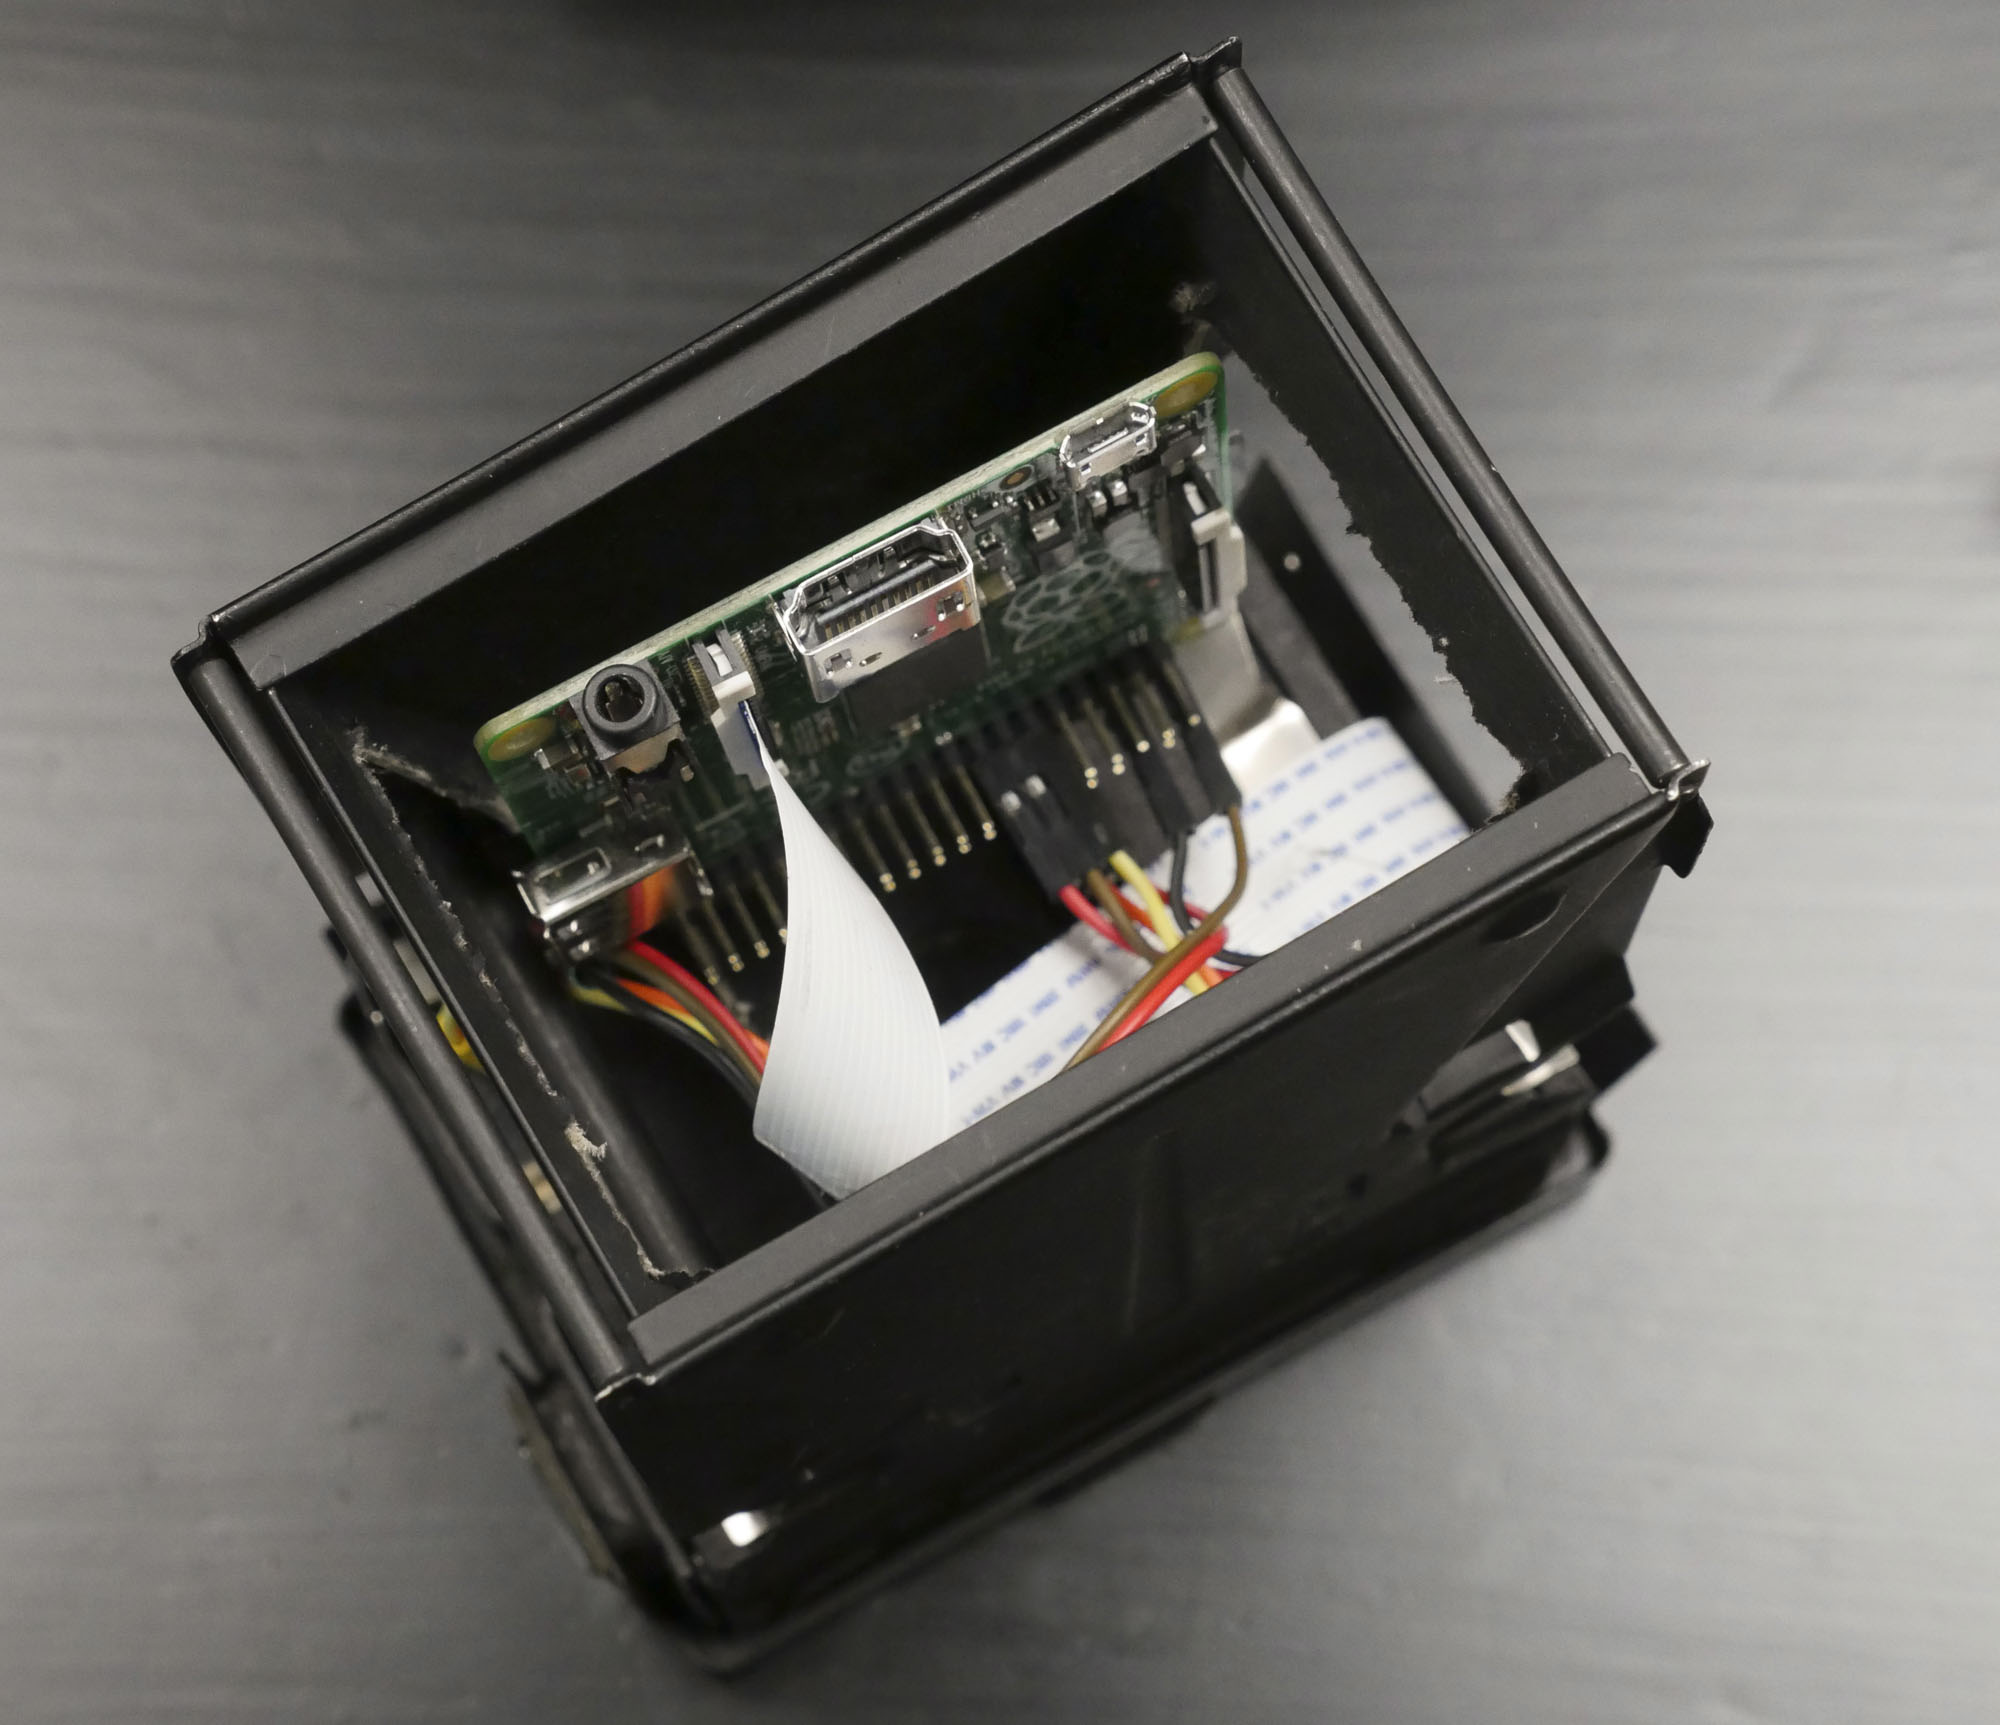
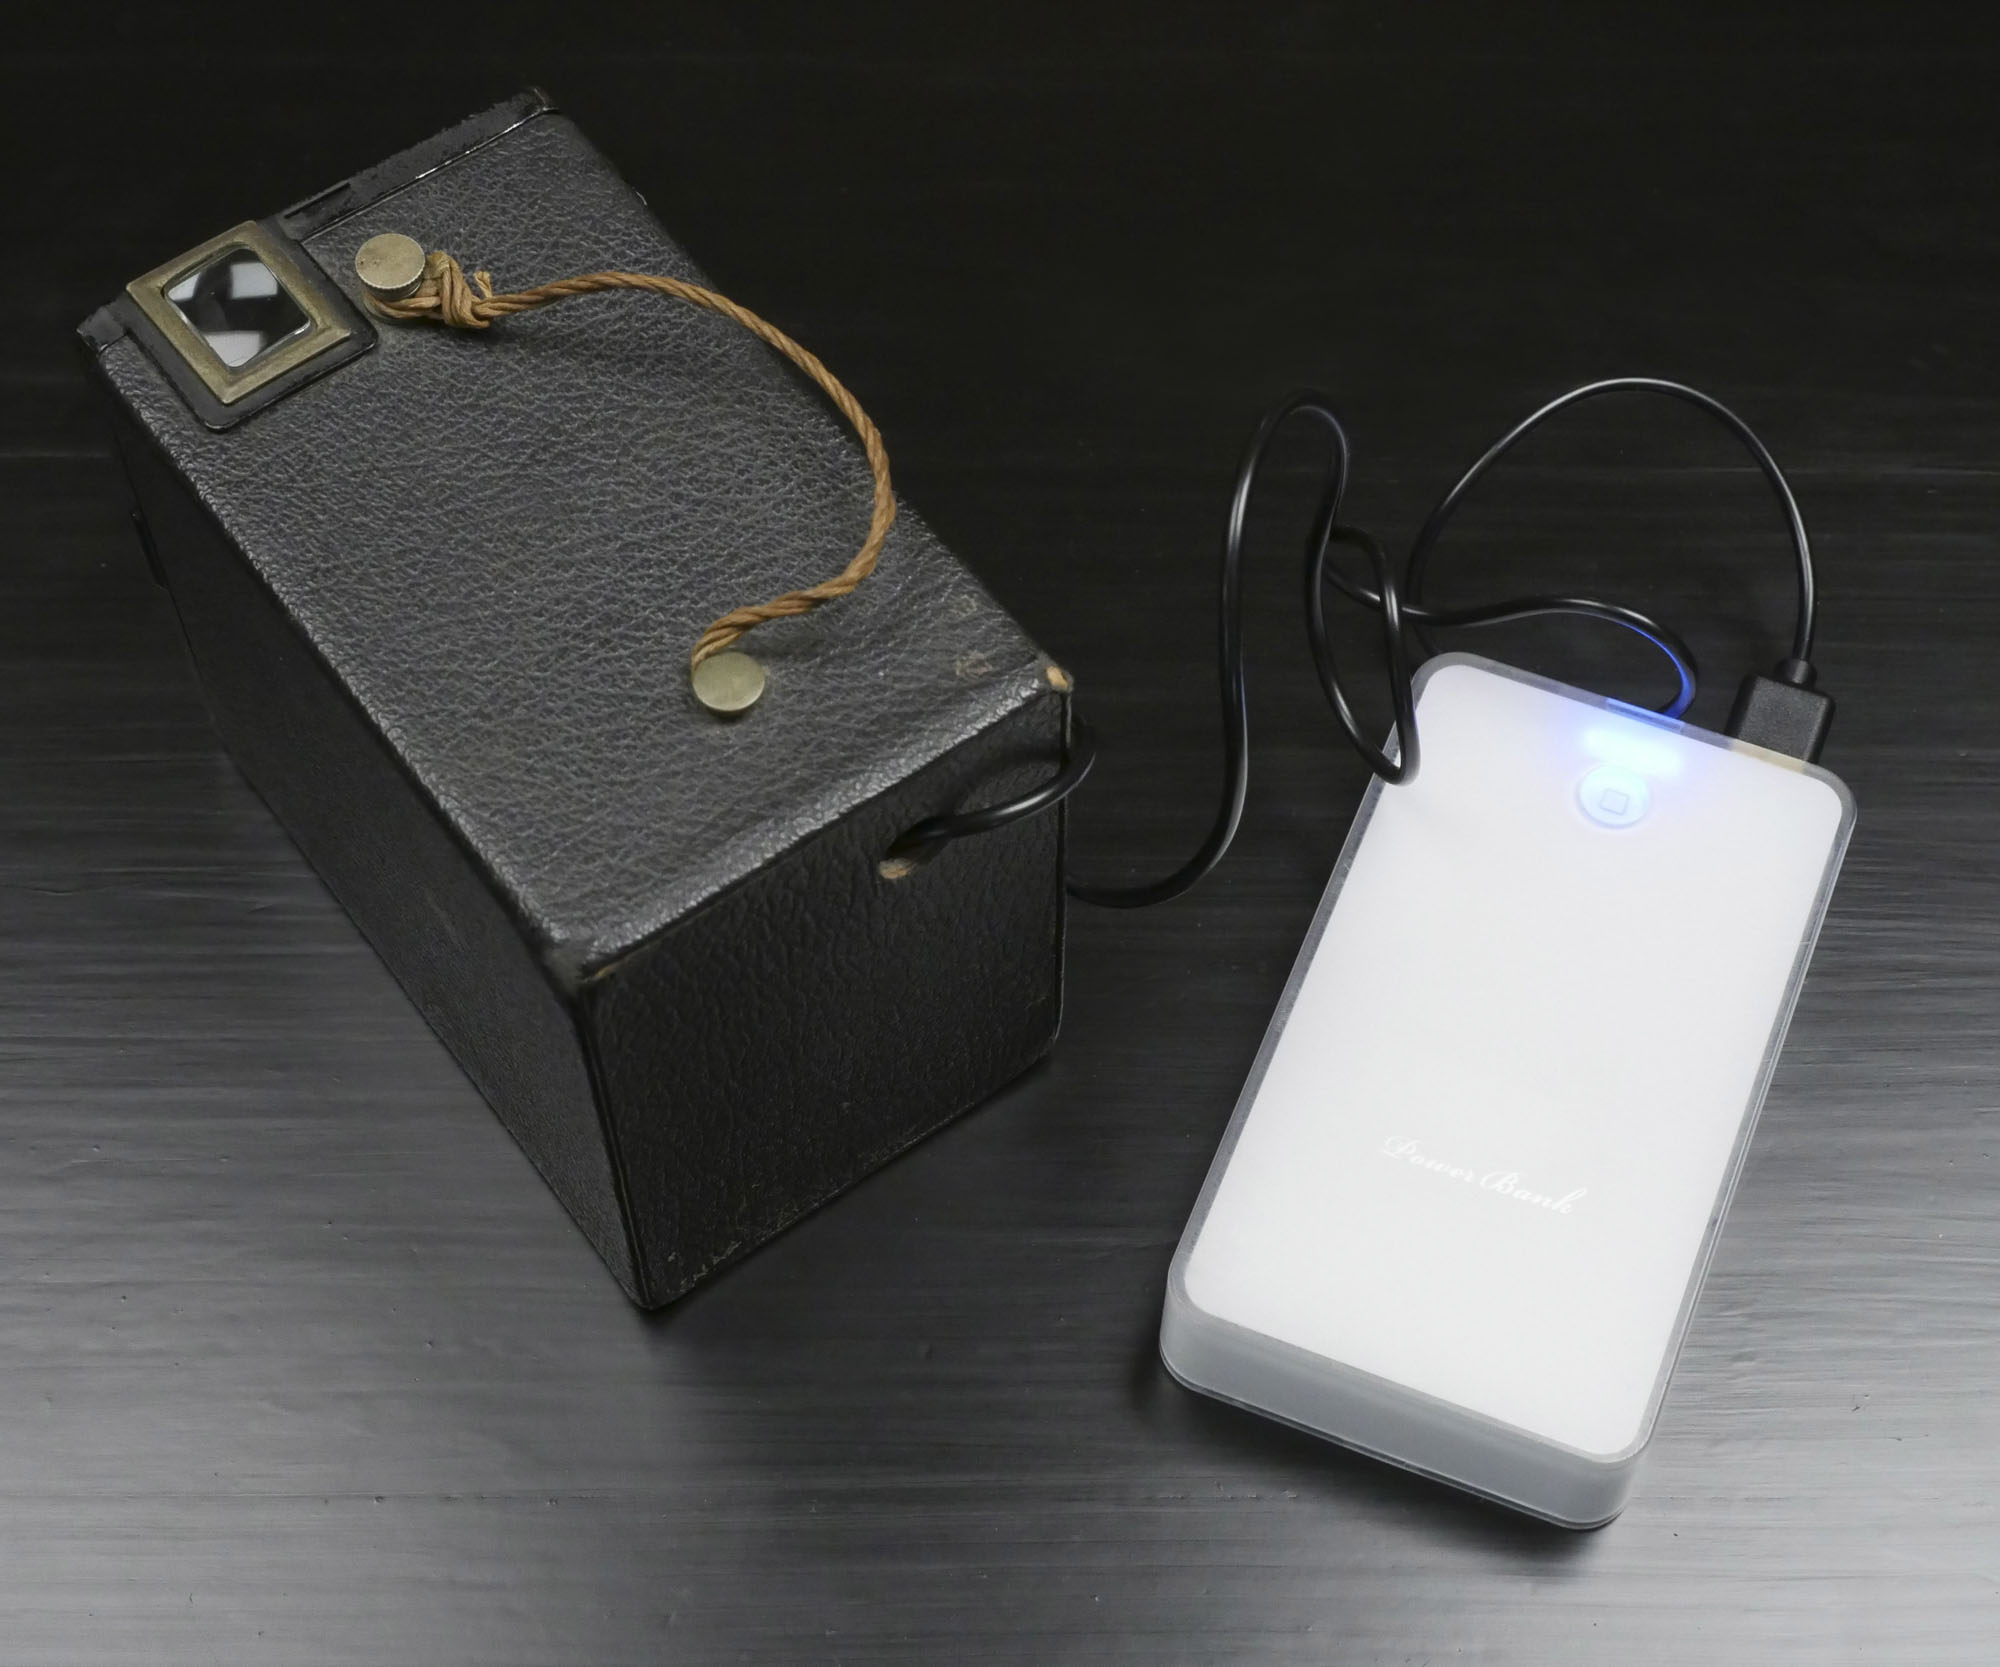
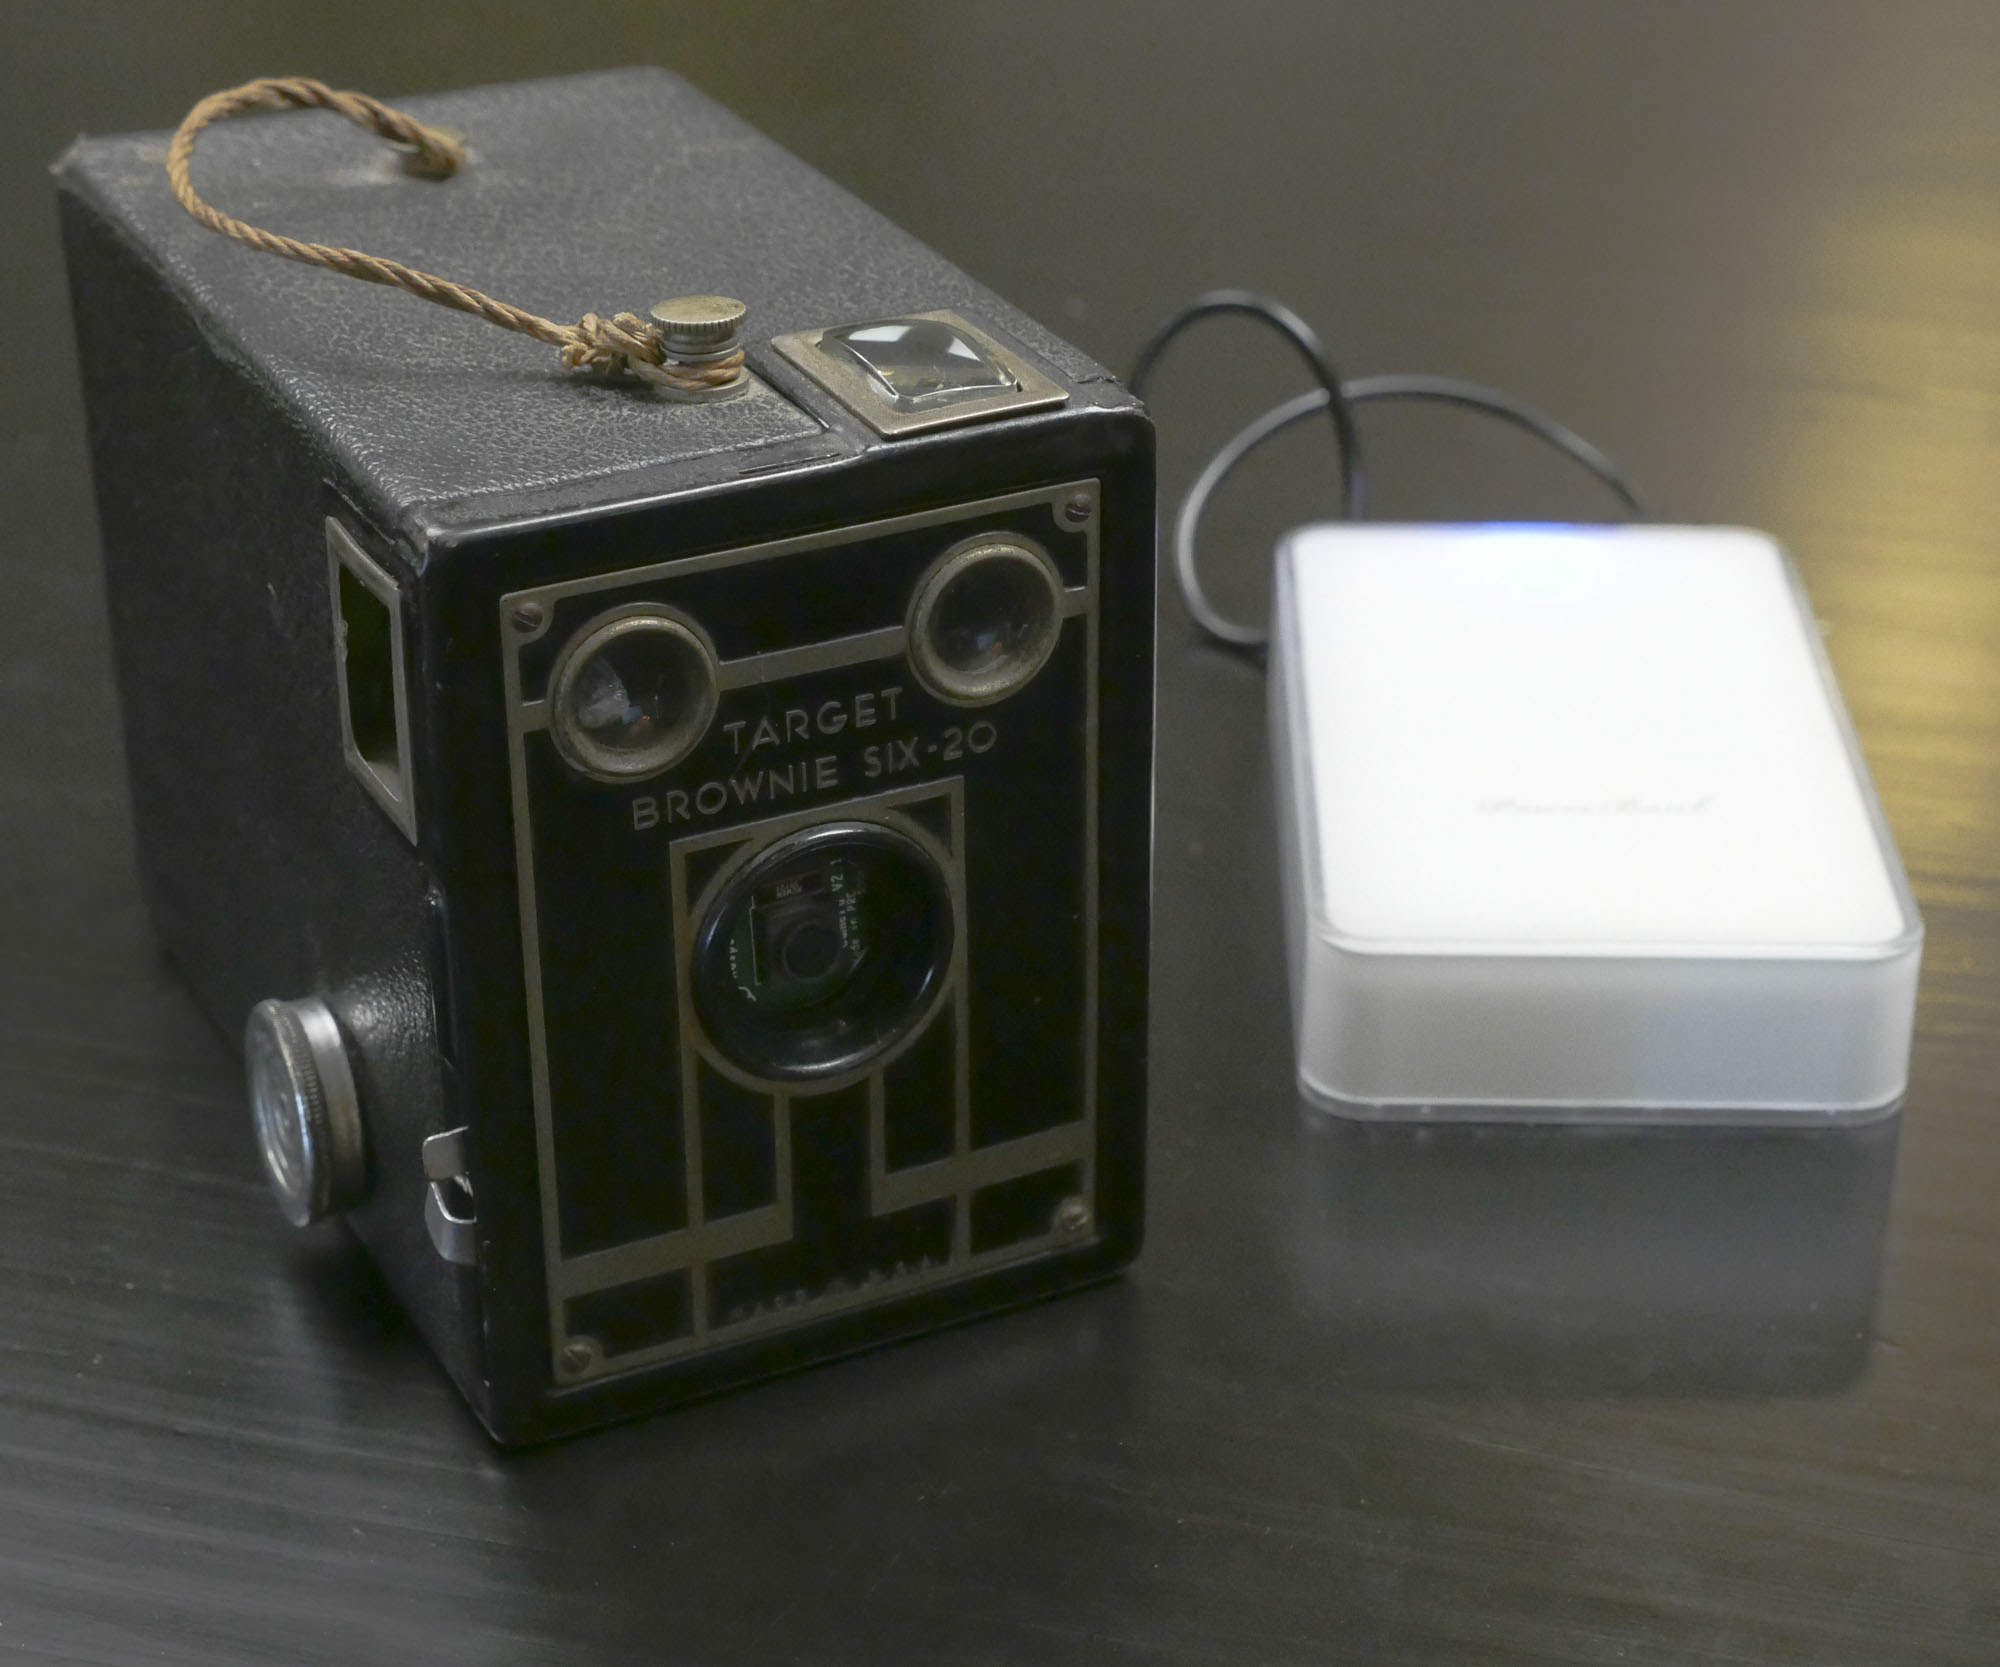
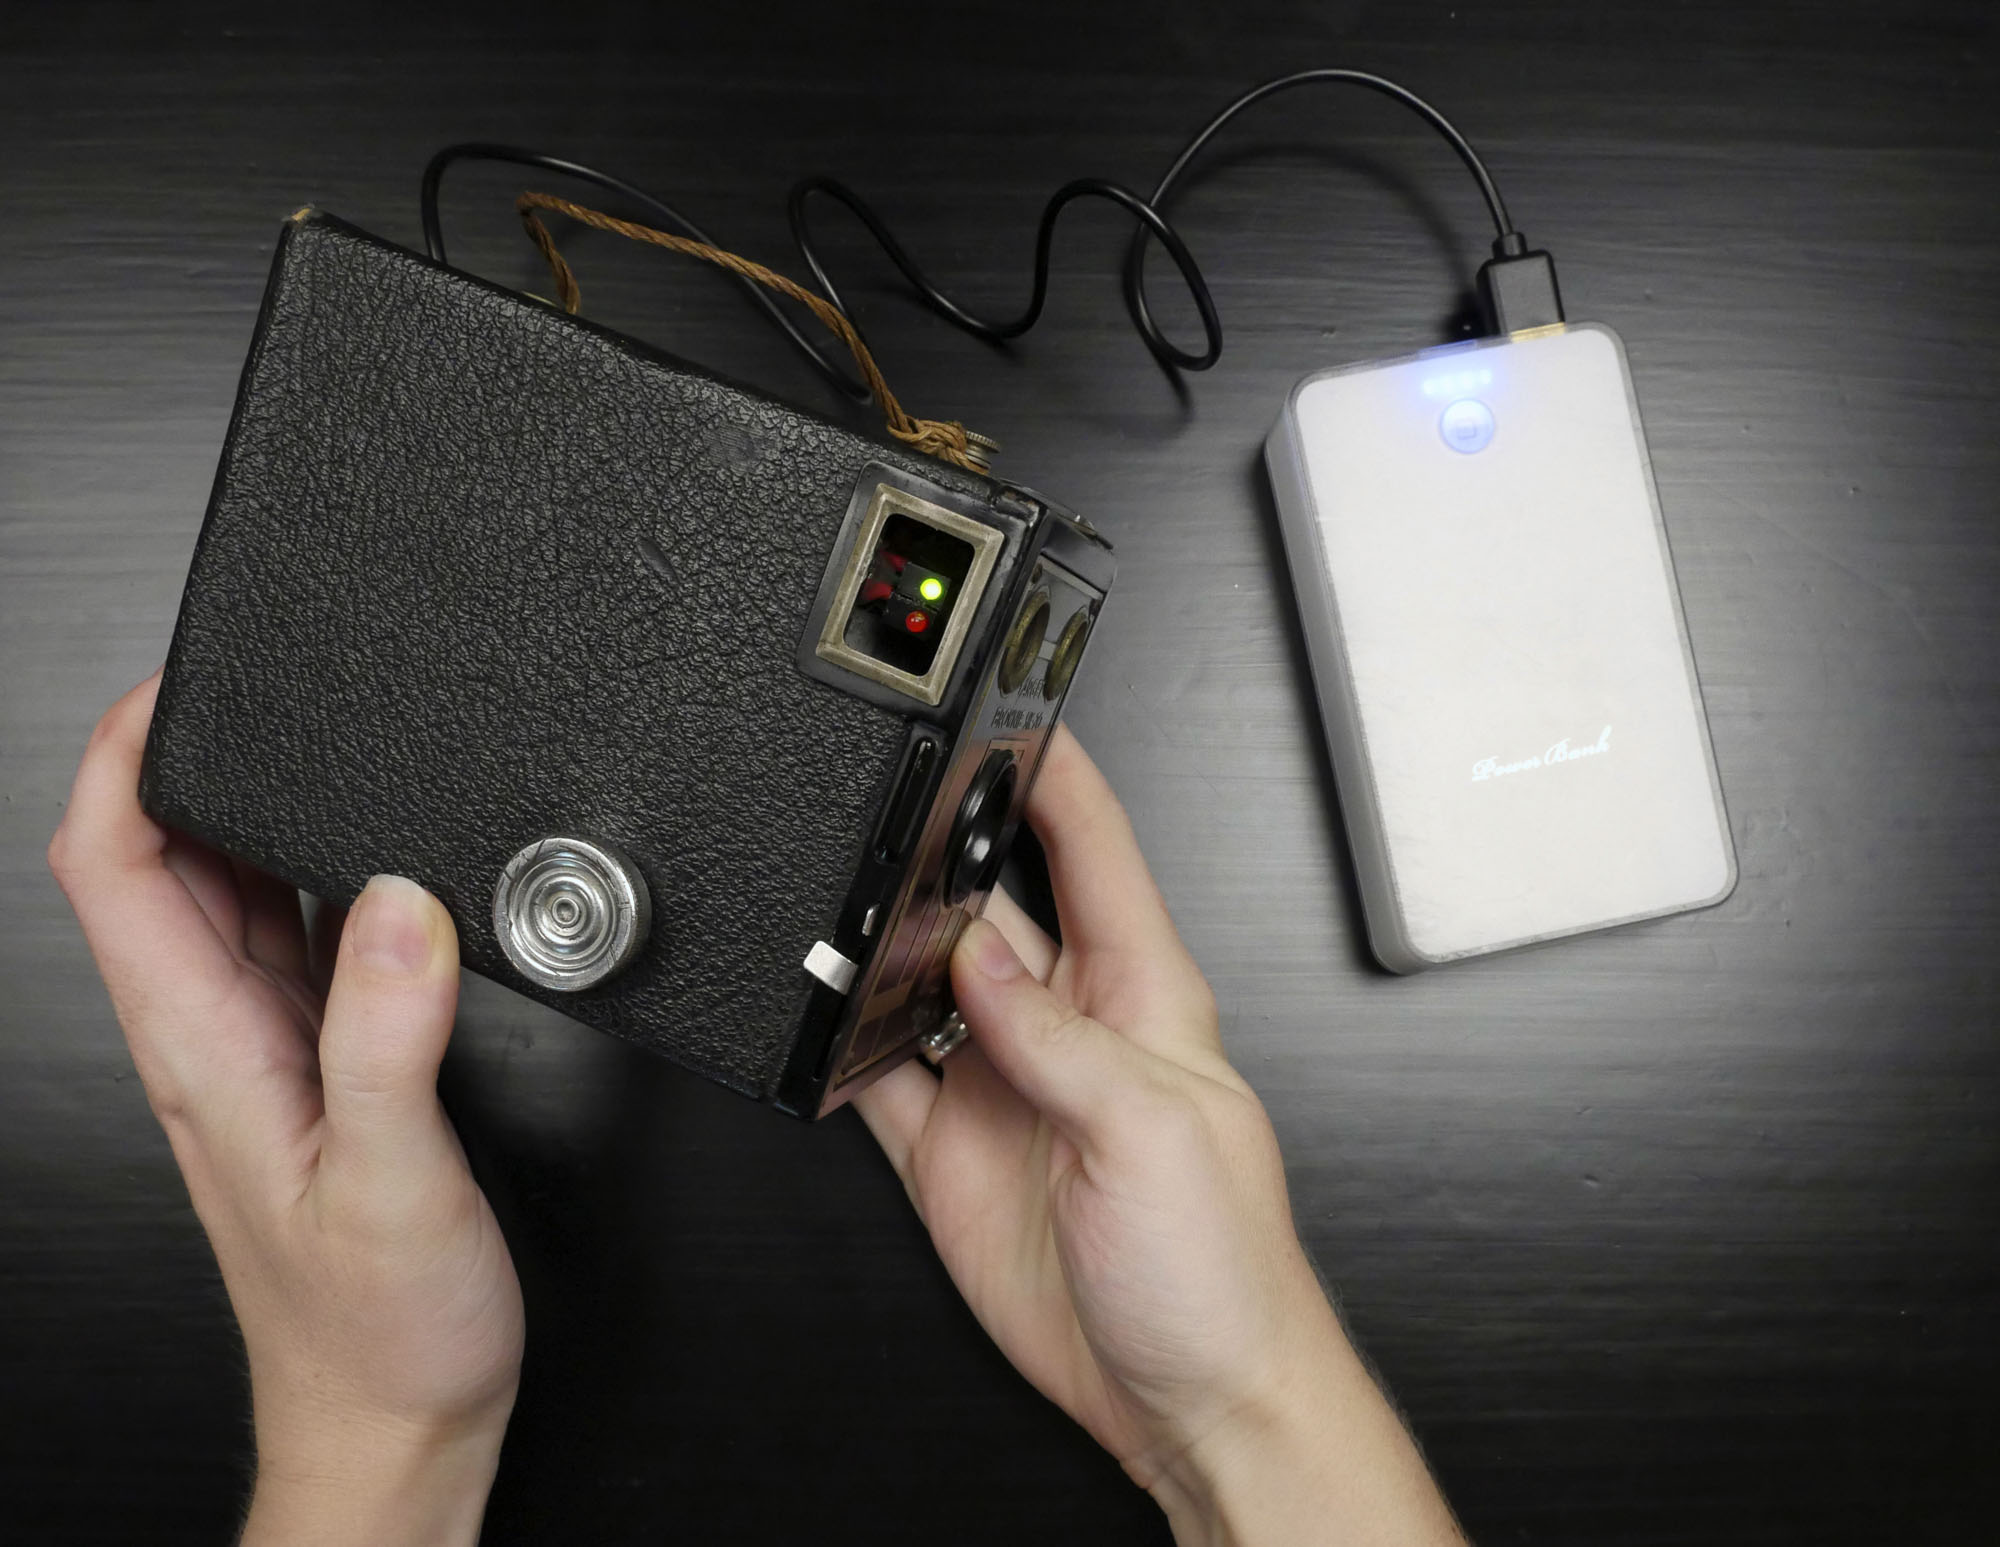
I routed the power USB cable through the back cover and closed up the camera, checking to see that it boots and the green LED turns on, and it flashes the white LED when taking photos, etc.
Battery Power
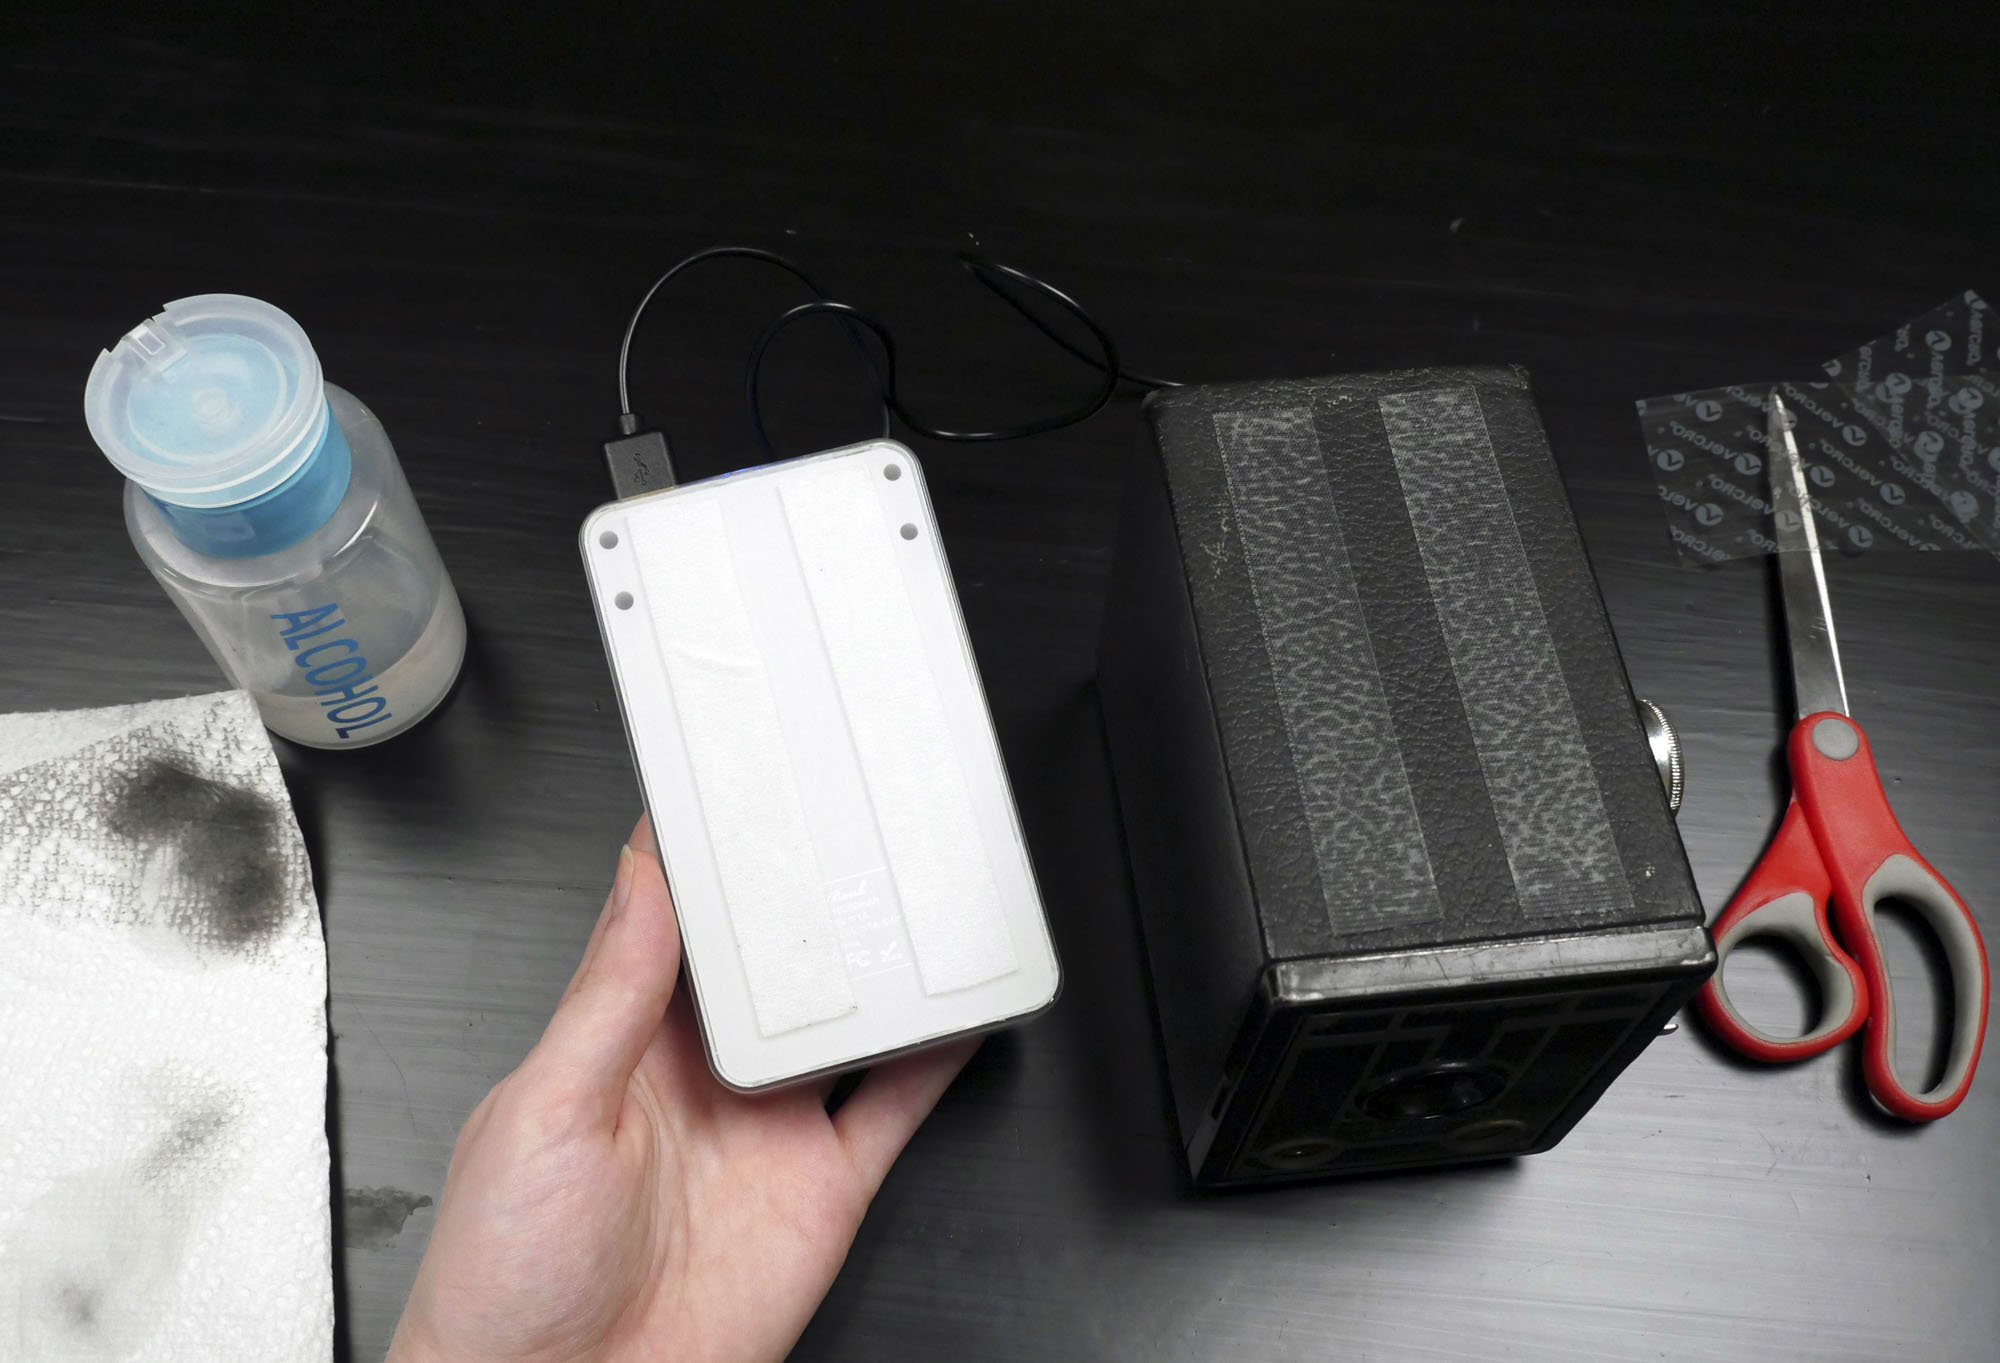
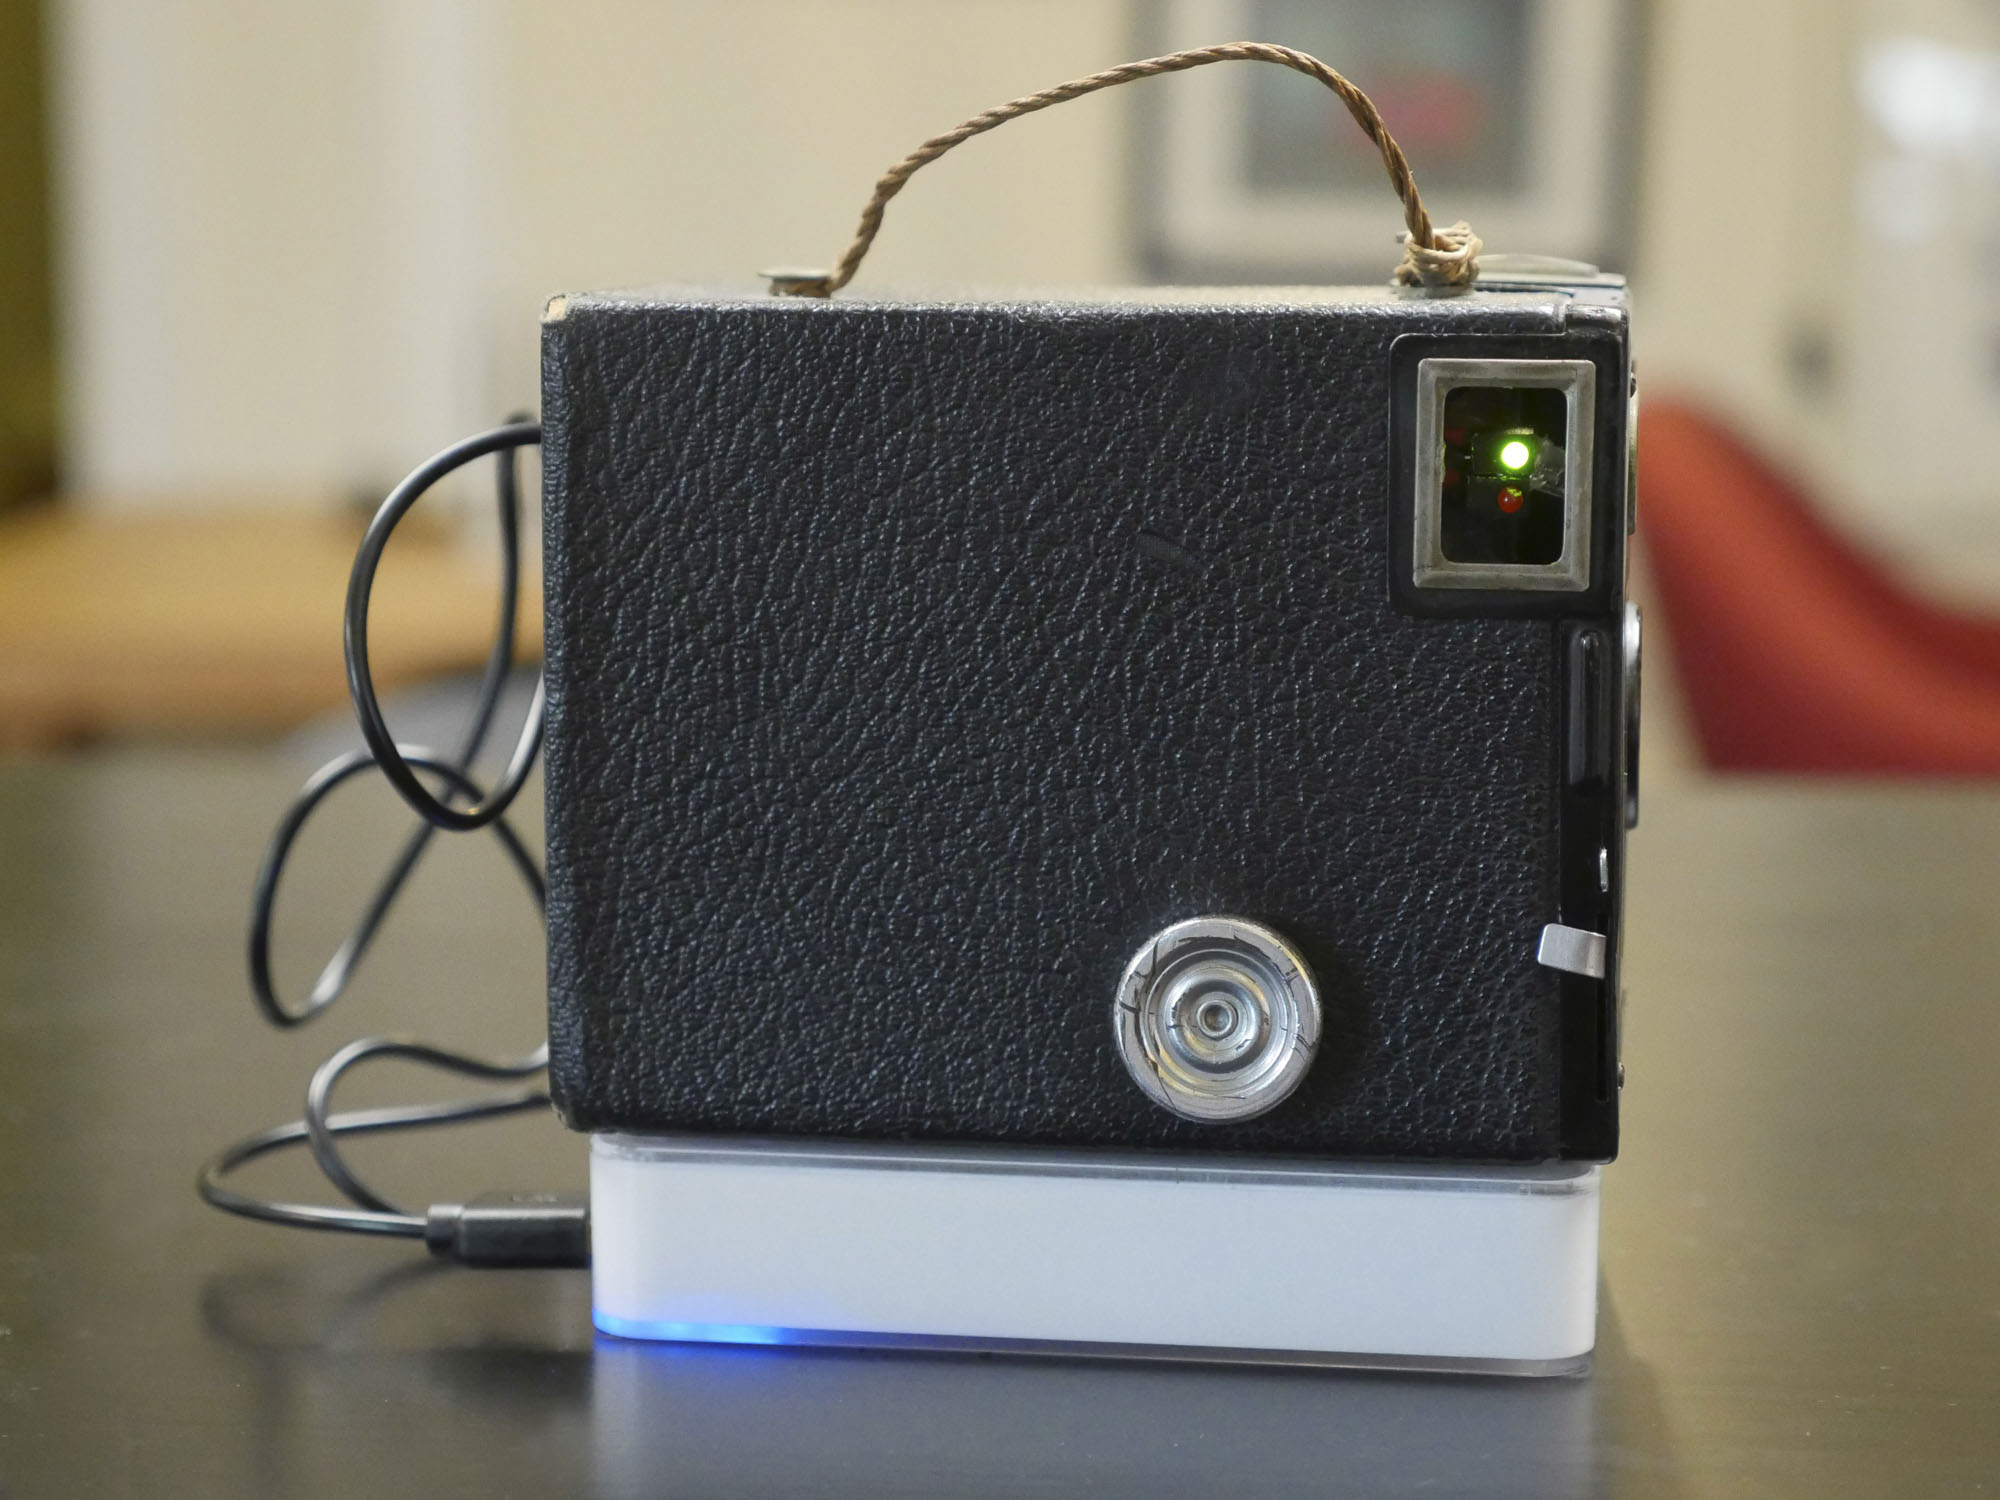
If you're staying put with your camera, you can power it from the USB hub or wall power supply, but I wanted to take mine with me by adding a USB battery pack. I used velcro tape to secure it to the underside of the camera. Ideally the battery would fit inside the camera body somewhere, but for my purposes (long day, need easy access to battery activation button), this arrangement worked just fine.
Use It!
Final Thoughts
I had some connectivity issues occasionally, which kept the file from being uploaded, and then it would get overwritten with the next GIF. So ideally in the next version, the code would be optimized to save all the GIFs with different filenames so as to keep them all.
The Raspberry Pi model A fits inside my camera, but was significantly slower in "developing" the GIFs than a faster RasPi 3 I've tried this code with before.
I need to add another shutter indicator LED that's easier to see from the photographer's point of view while holding the camera. As it stands I have to look in the side to see when to shout out "change!" to capture the subject in different moments.
Please share your thoughts and feedback with me in the comments! I'd love to hear what you have to say.
To keep up with what I'm working on, follow me on YouTube, Instagram, Twitter, Pinterest, and Snapchat.


