Retro Arcade Revival: a Digital Fabrication Journey in Fusion 360
337 Views, 2 Favorites, 0 Comments
Retro Arcade Revival: a Digital Fabrication Journey in Fusion 360
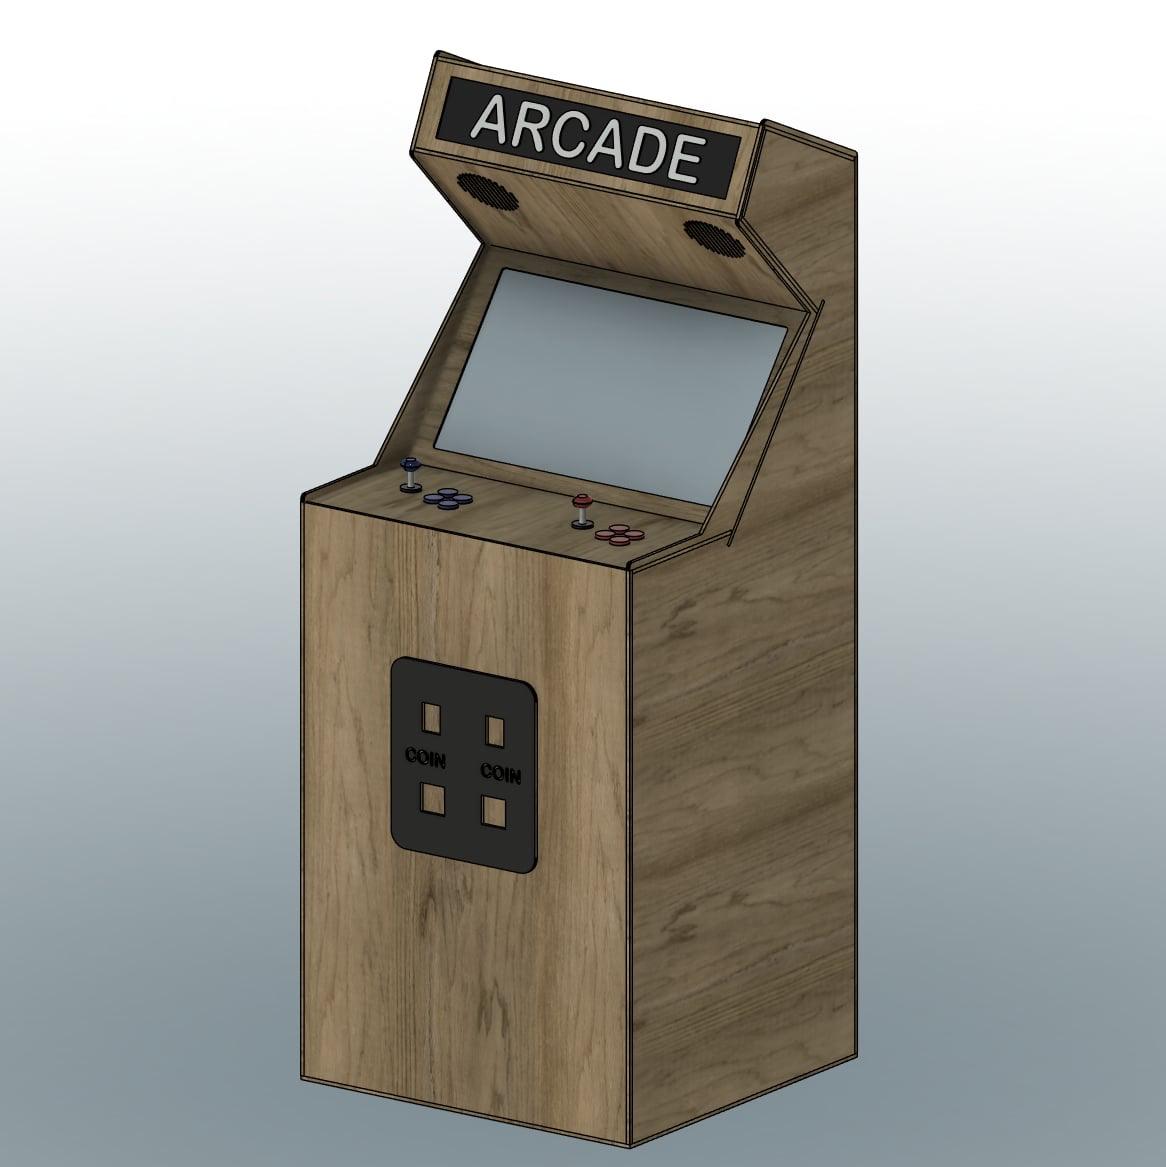
This project is a detailed guide to designing a classic arcade cabinet using Fusion 360, taking you from the initial concept sketches through to preparing your model for CNC machining. With an emphasis on precision and a nod to nostalgia, this guide caters to both beginners and experienced users looking to expand their digital fabrication skills. The result is a beautifully crafted, CNC-ready design, set to turn heads and stir up the fond memories of coin-operated gaming.
Supplies
- Fusion 360 software installed on your computer
- Basic knowledge of CAD and 3D modeling
Conceptualization
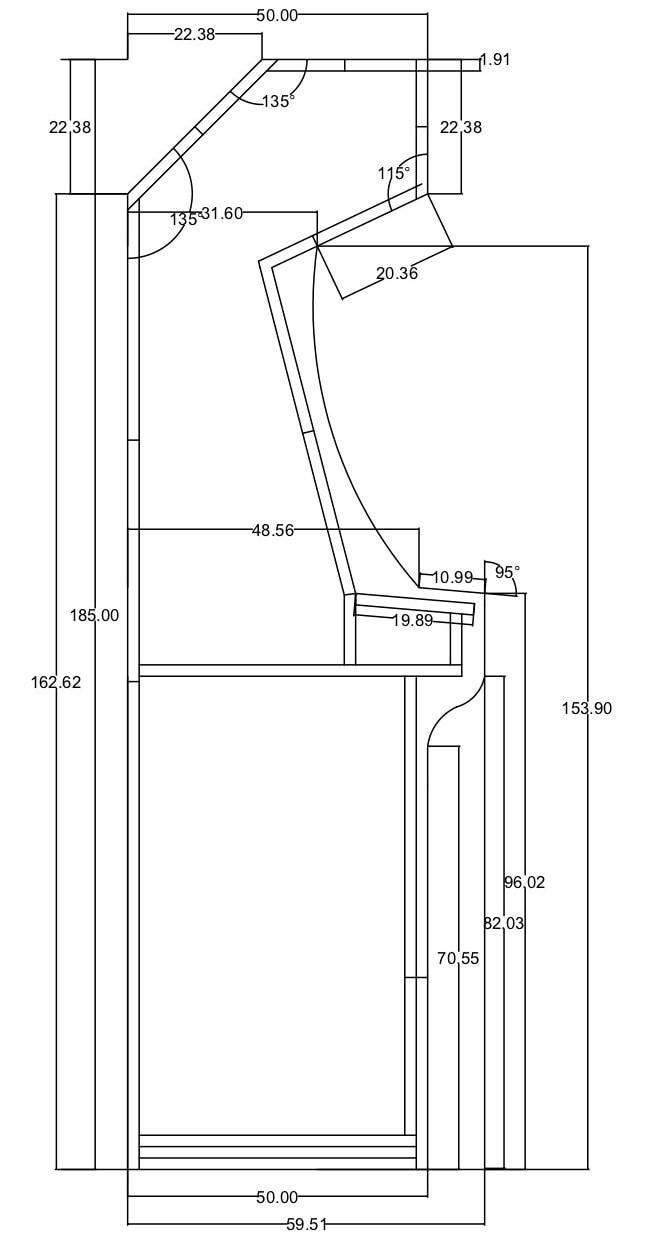
Begin by sketching a basic concept of your arcade cabinet. Define your dimensions and the overall look you aim for. This will serve as the blueprint for your Fusion 360 model.
Starting Your Fusion 360 Project
Open Fusion 360, create a new project, and name it appropriately. Familiarize yourself with the user interface if you haven't already.
Modeling the Side Panels
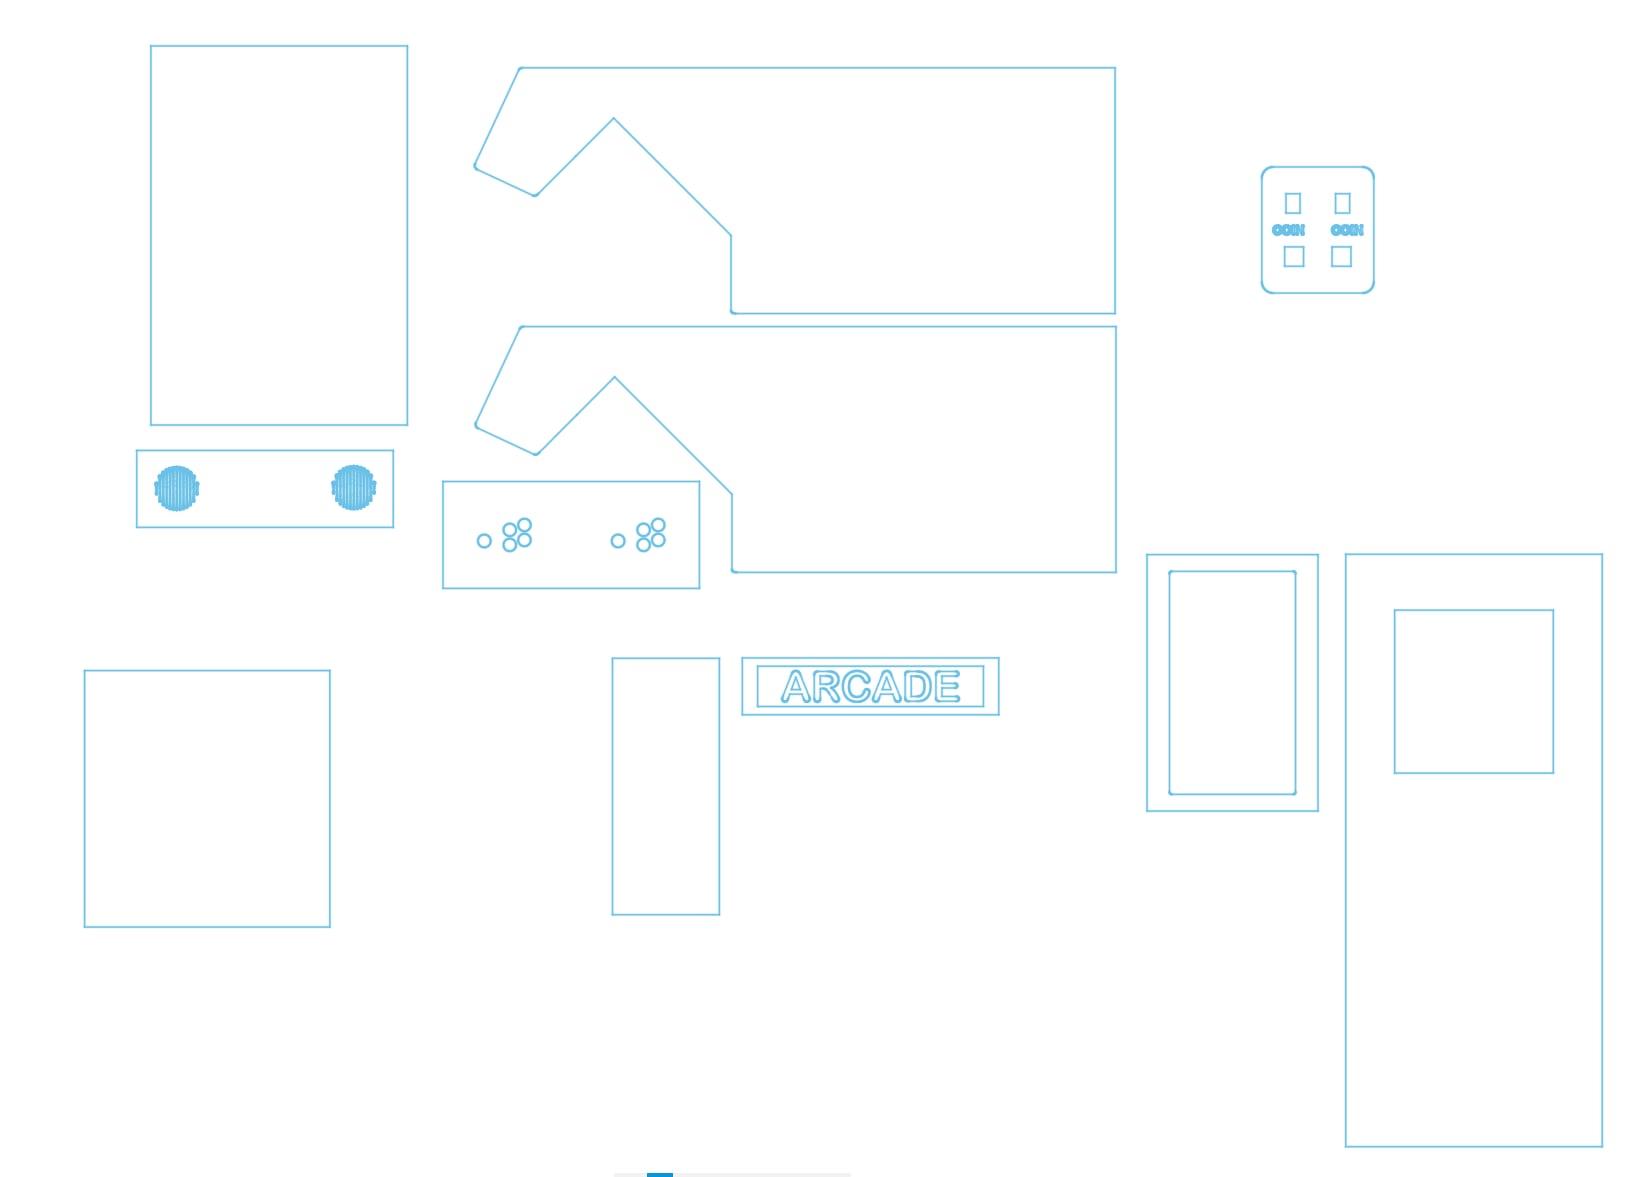
Select the 'Create Sketch' option to draw the profile of your side panels. Once the sketch is complete, use the 'Extrude' tool to give the panels thickness.
Designing the Base, Top, and Control Panel
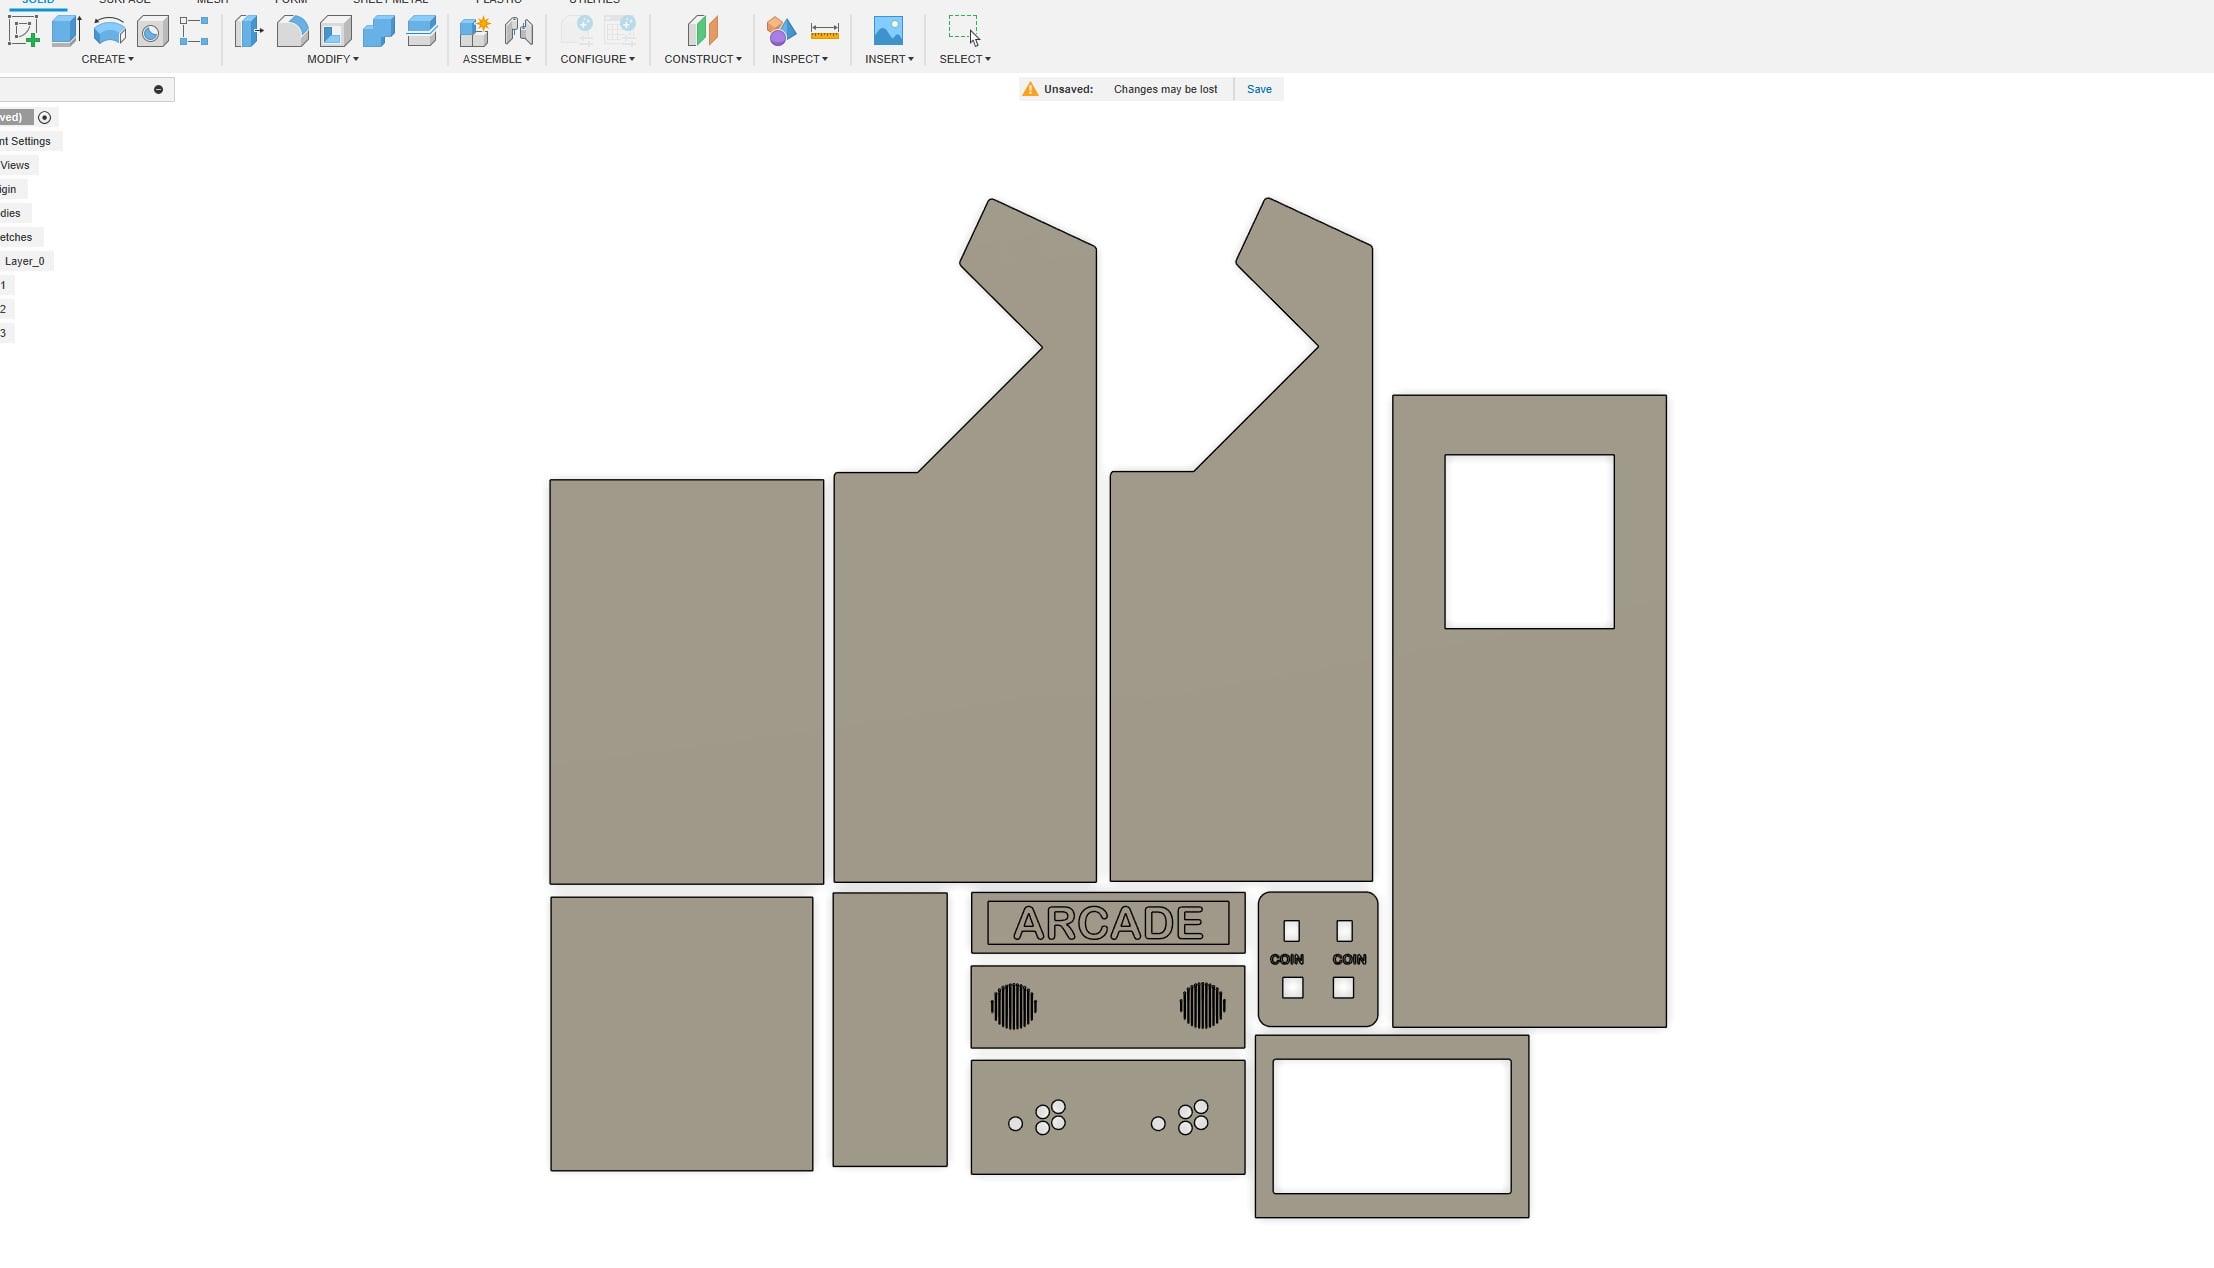
Similarly, sketch and extrude the base, top, and the control panel. Ensure that these parts align with your side panels' dimensions.
Creating Space for Components
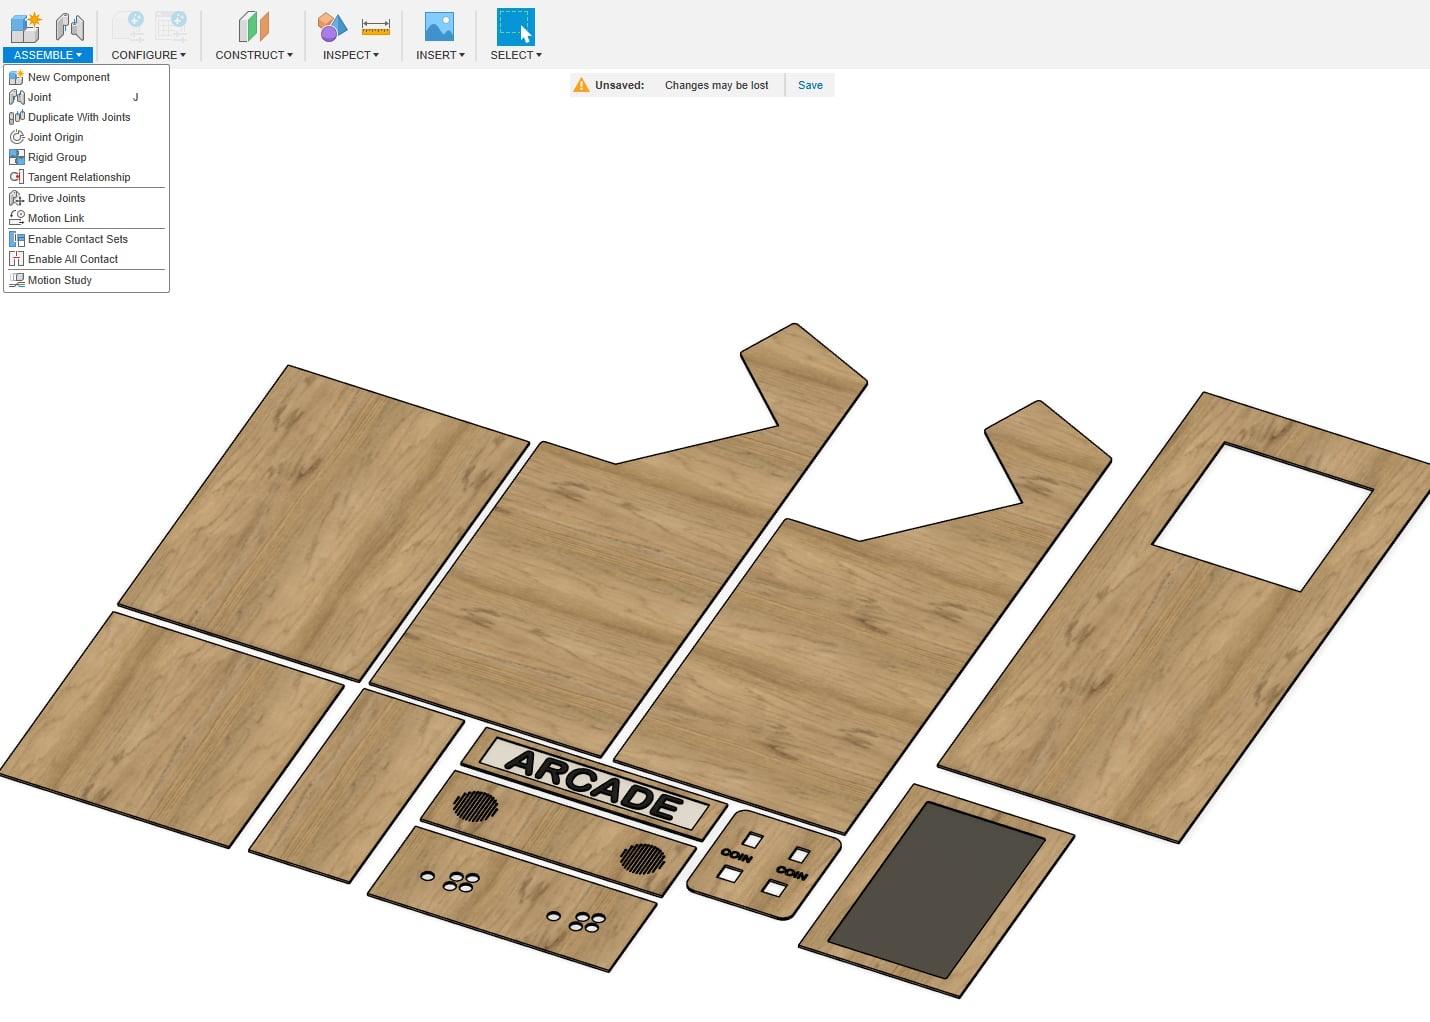
Use the 'Hole' tool to add spaces for the arcade buttons, joystick, speaker grills, and the screen on the control panel and marquee.
Assembly
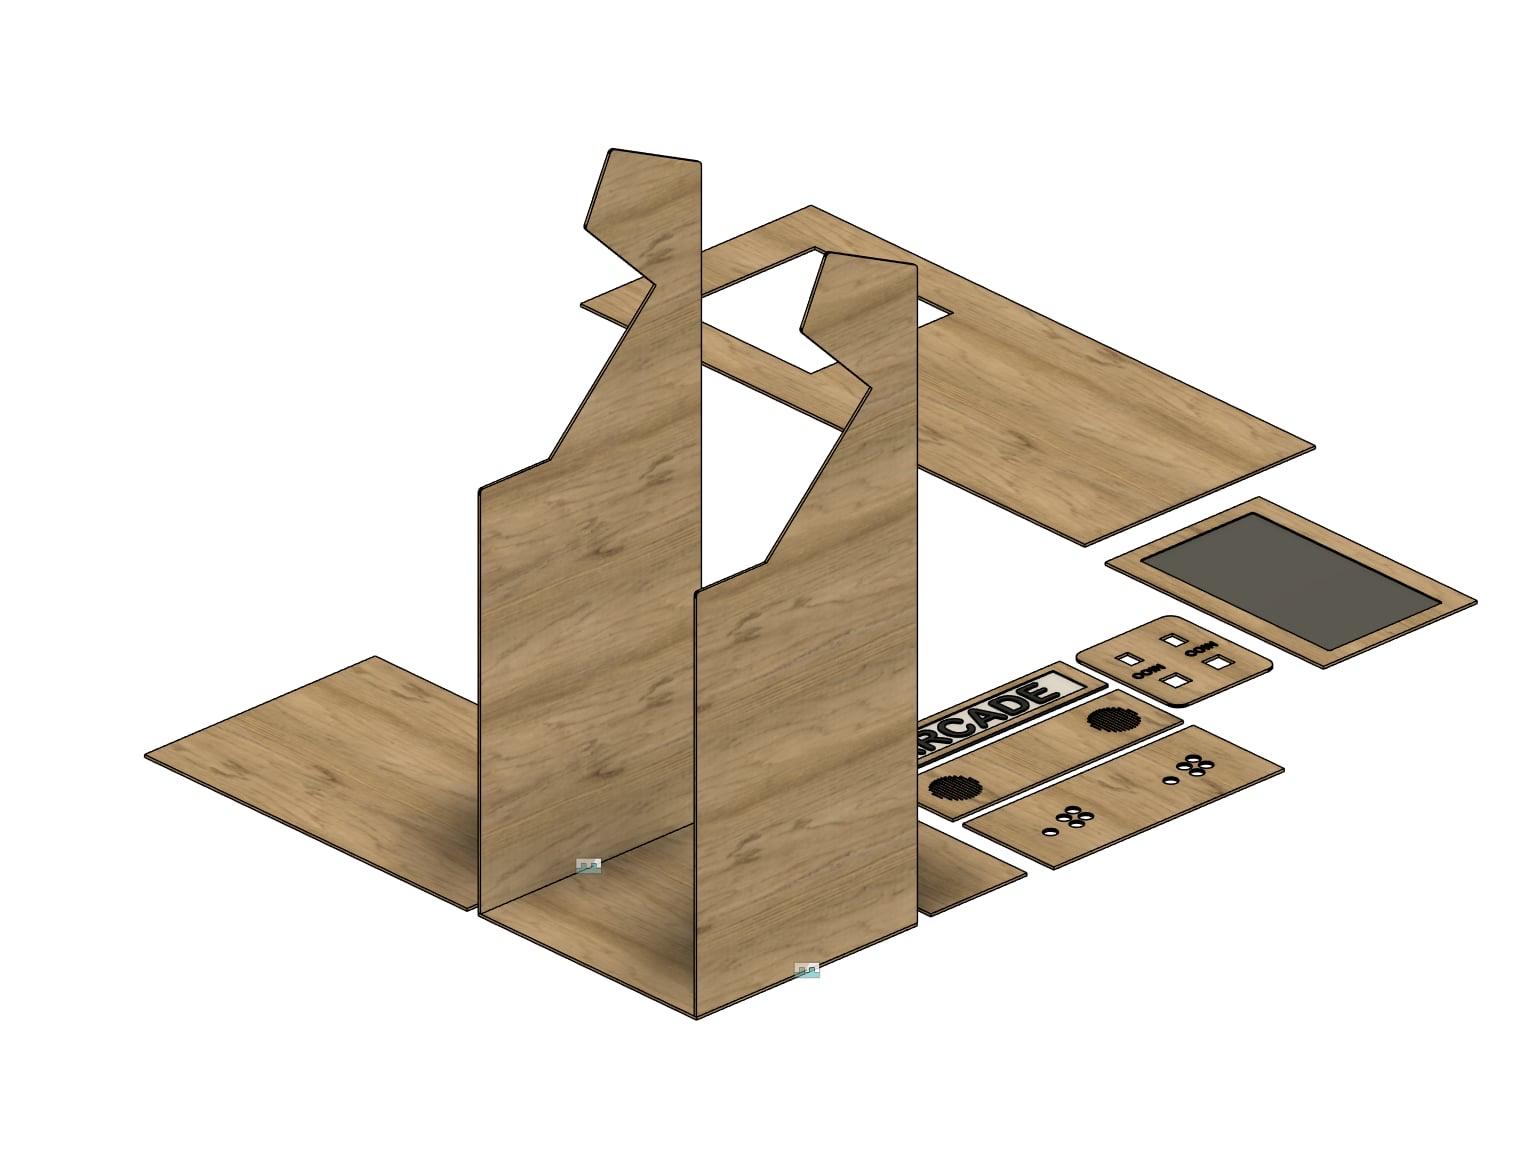
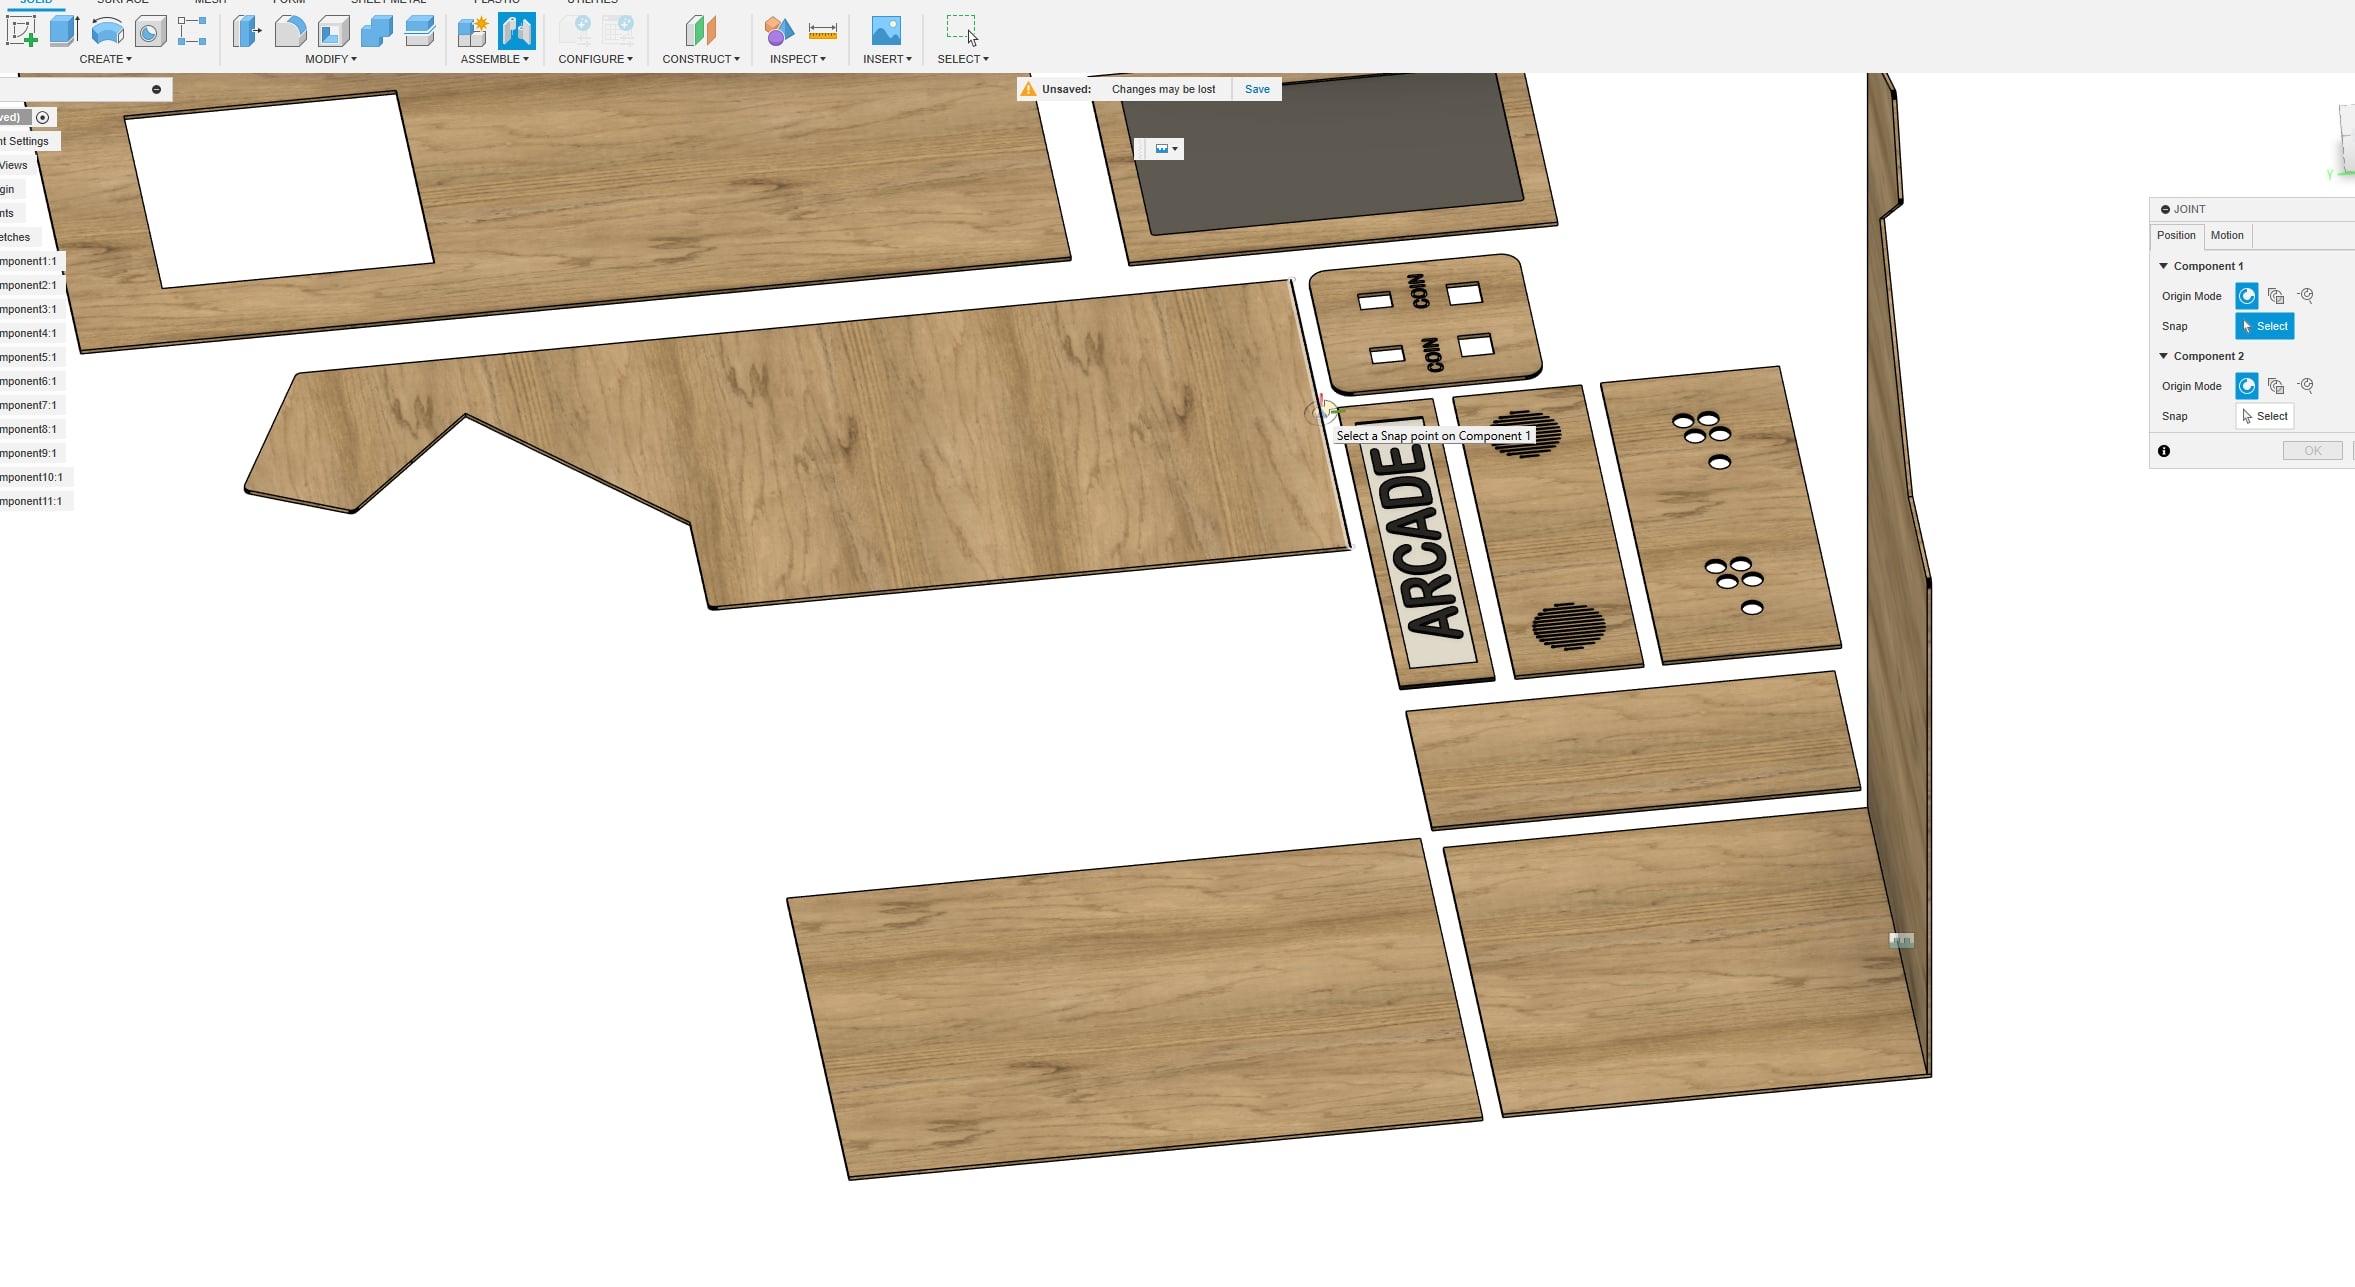
With all components modeled, use the 'Assemble' features to put together your arcade cabinet. Align each piece correctly and use the 'Joint' tool to simulate how they would fit in real life.
Applying Textures
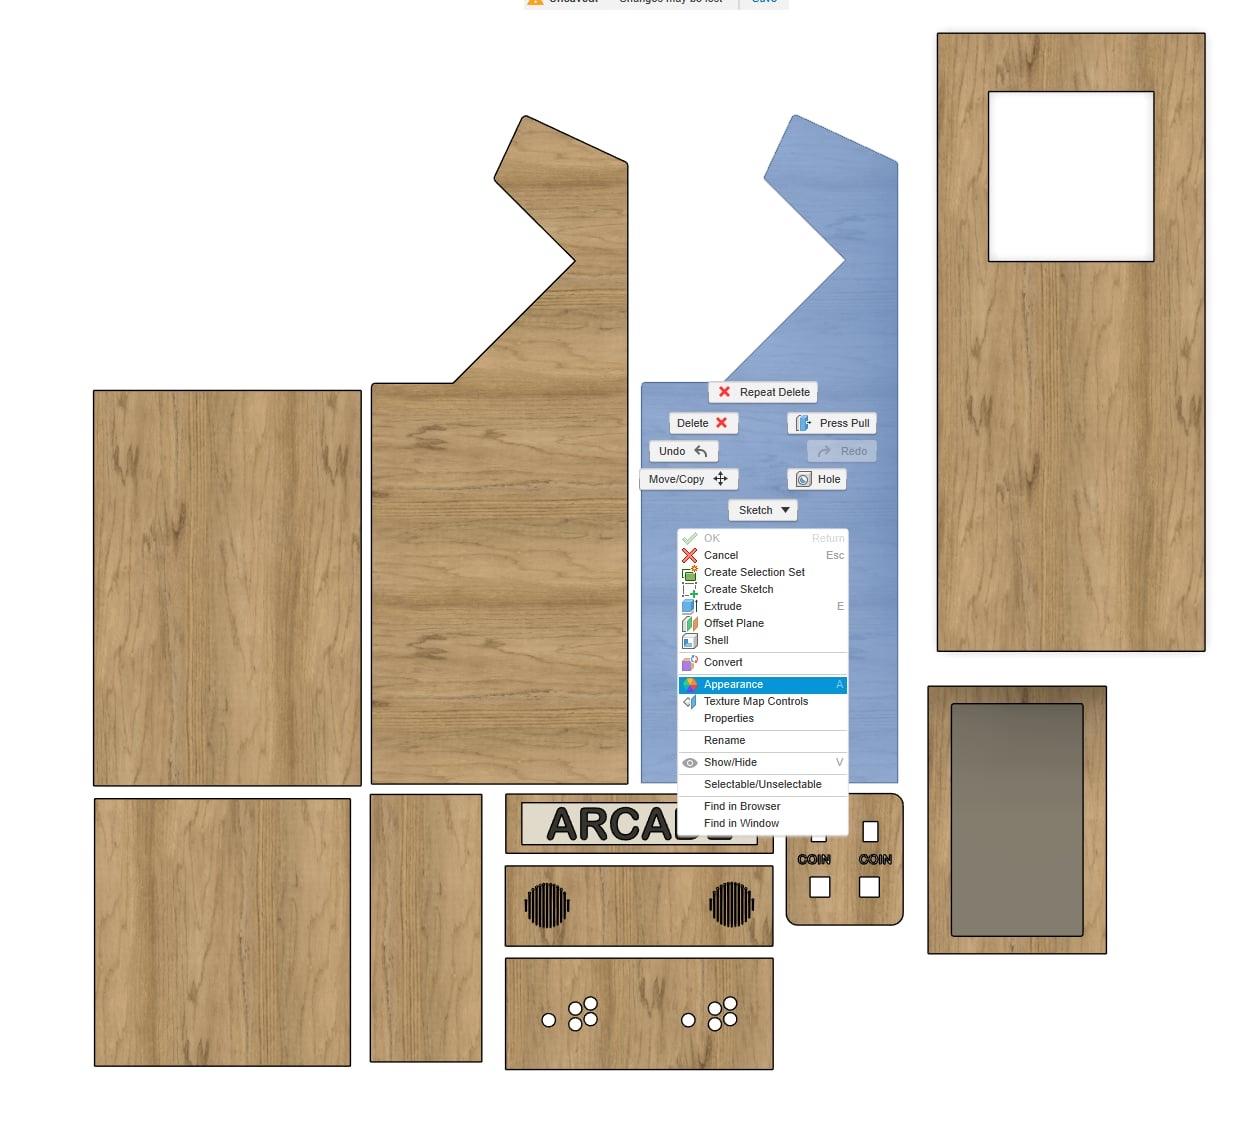
To bring your model to life, apply materials and textures that mimic real-world appearances, such as wood grain for the panels.
Rendering
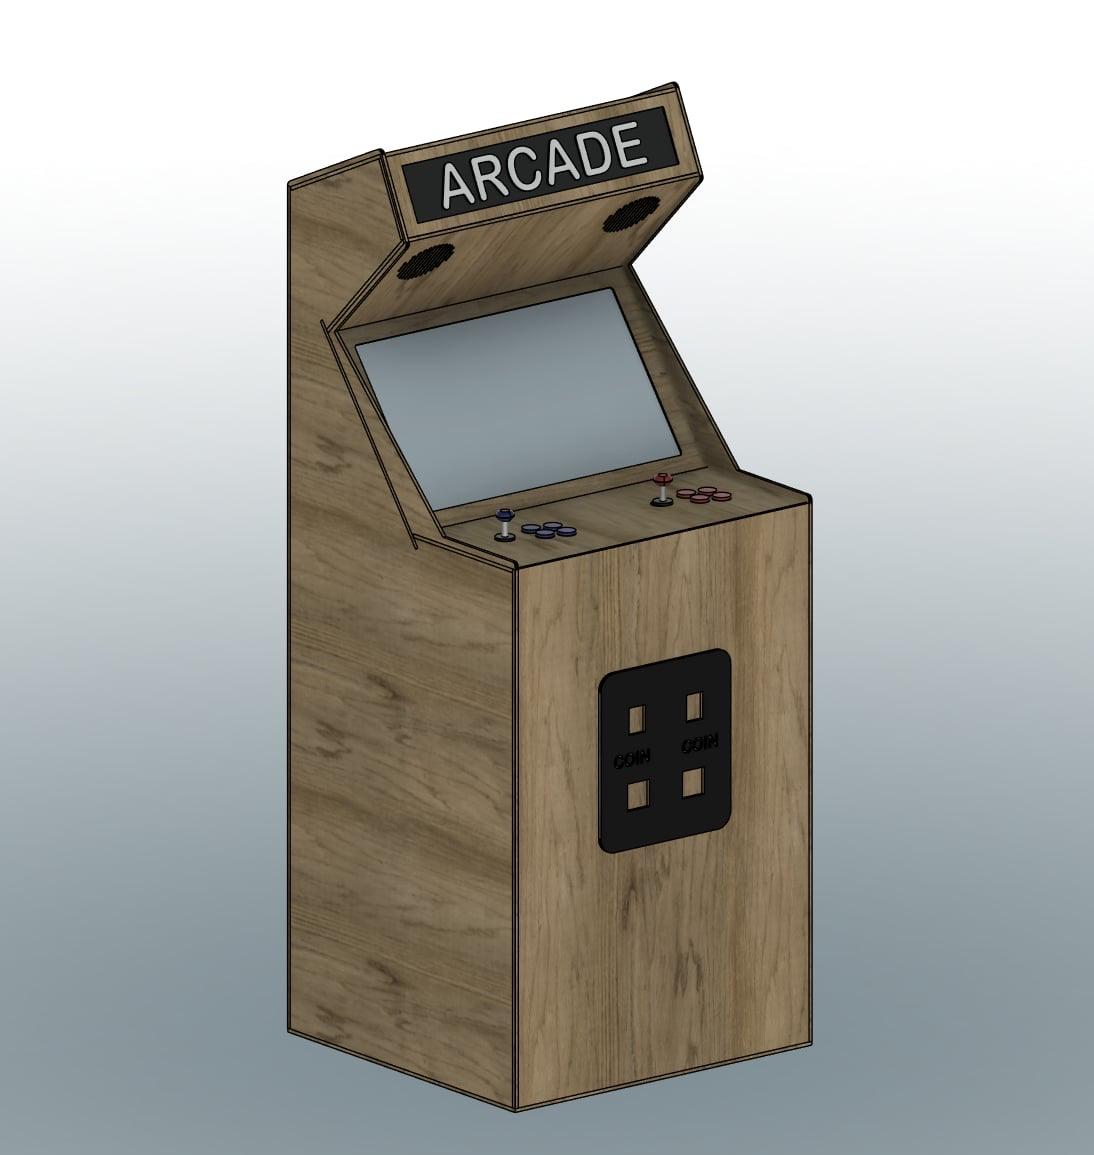
Use the rendering workspace in Fusion 360 to create realistic images of your arcade cabinet. Adjust material properties, lighting, and camera angles to get the best shot.
Finalizing Your Design
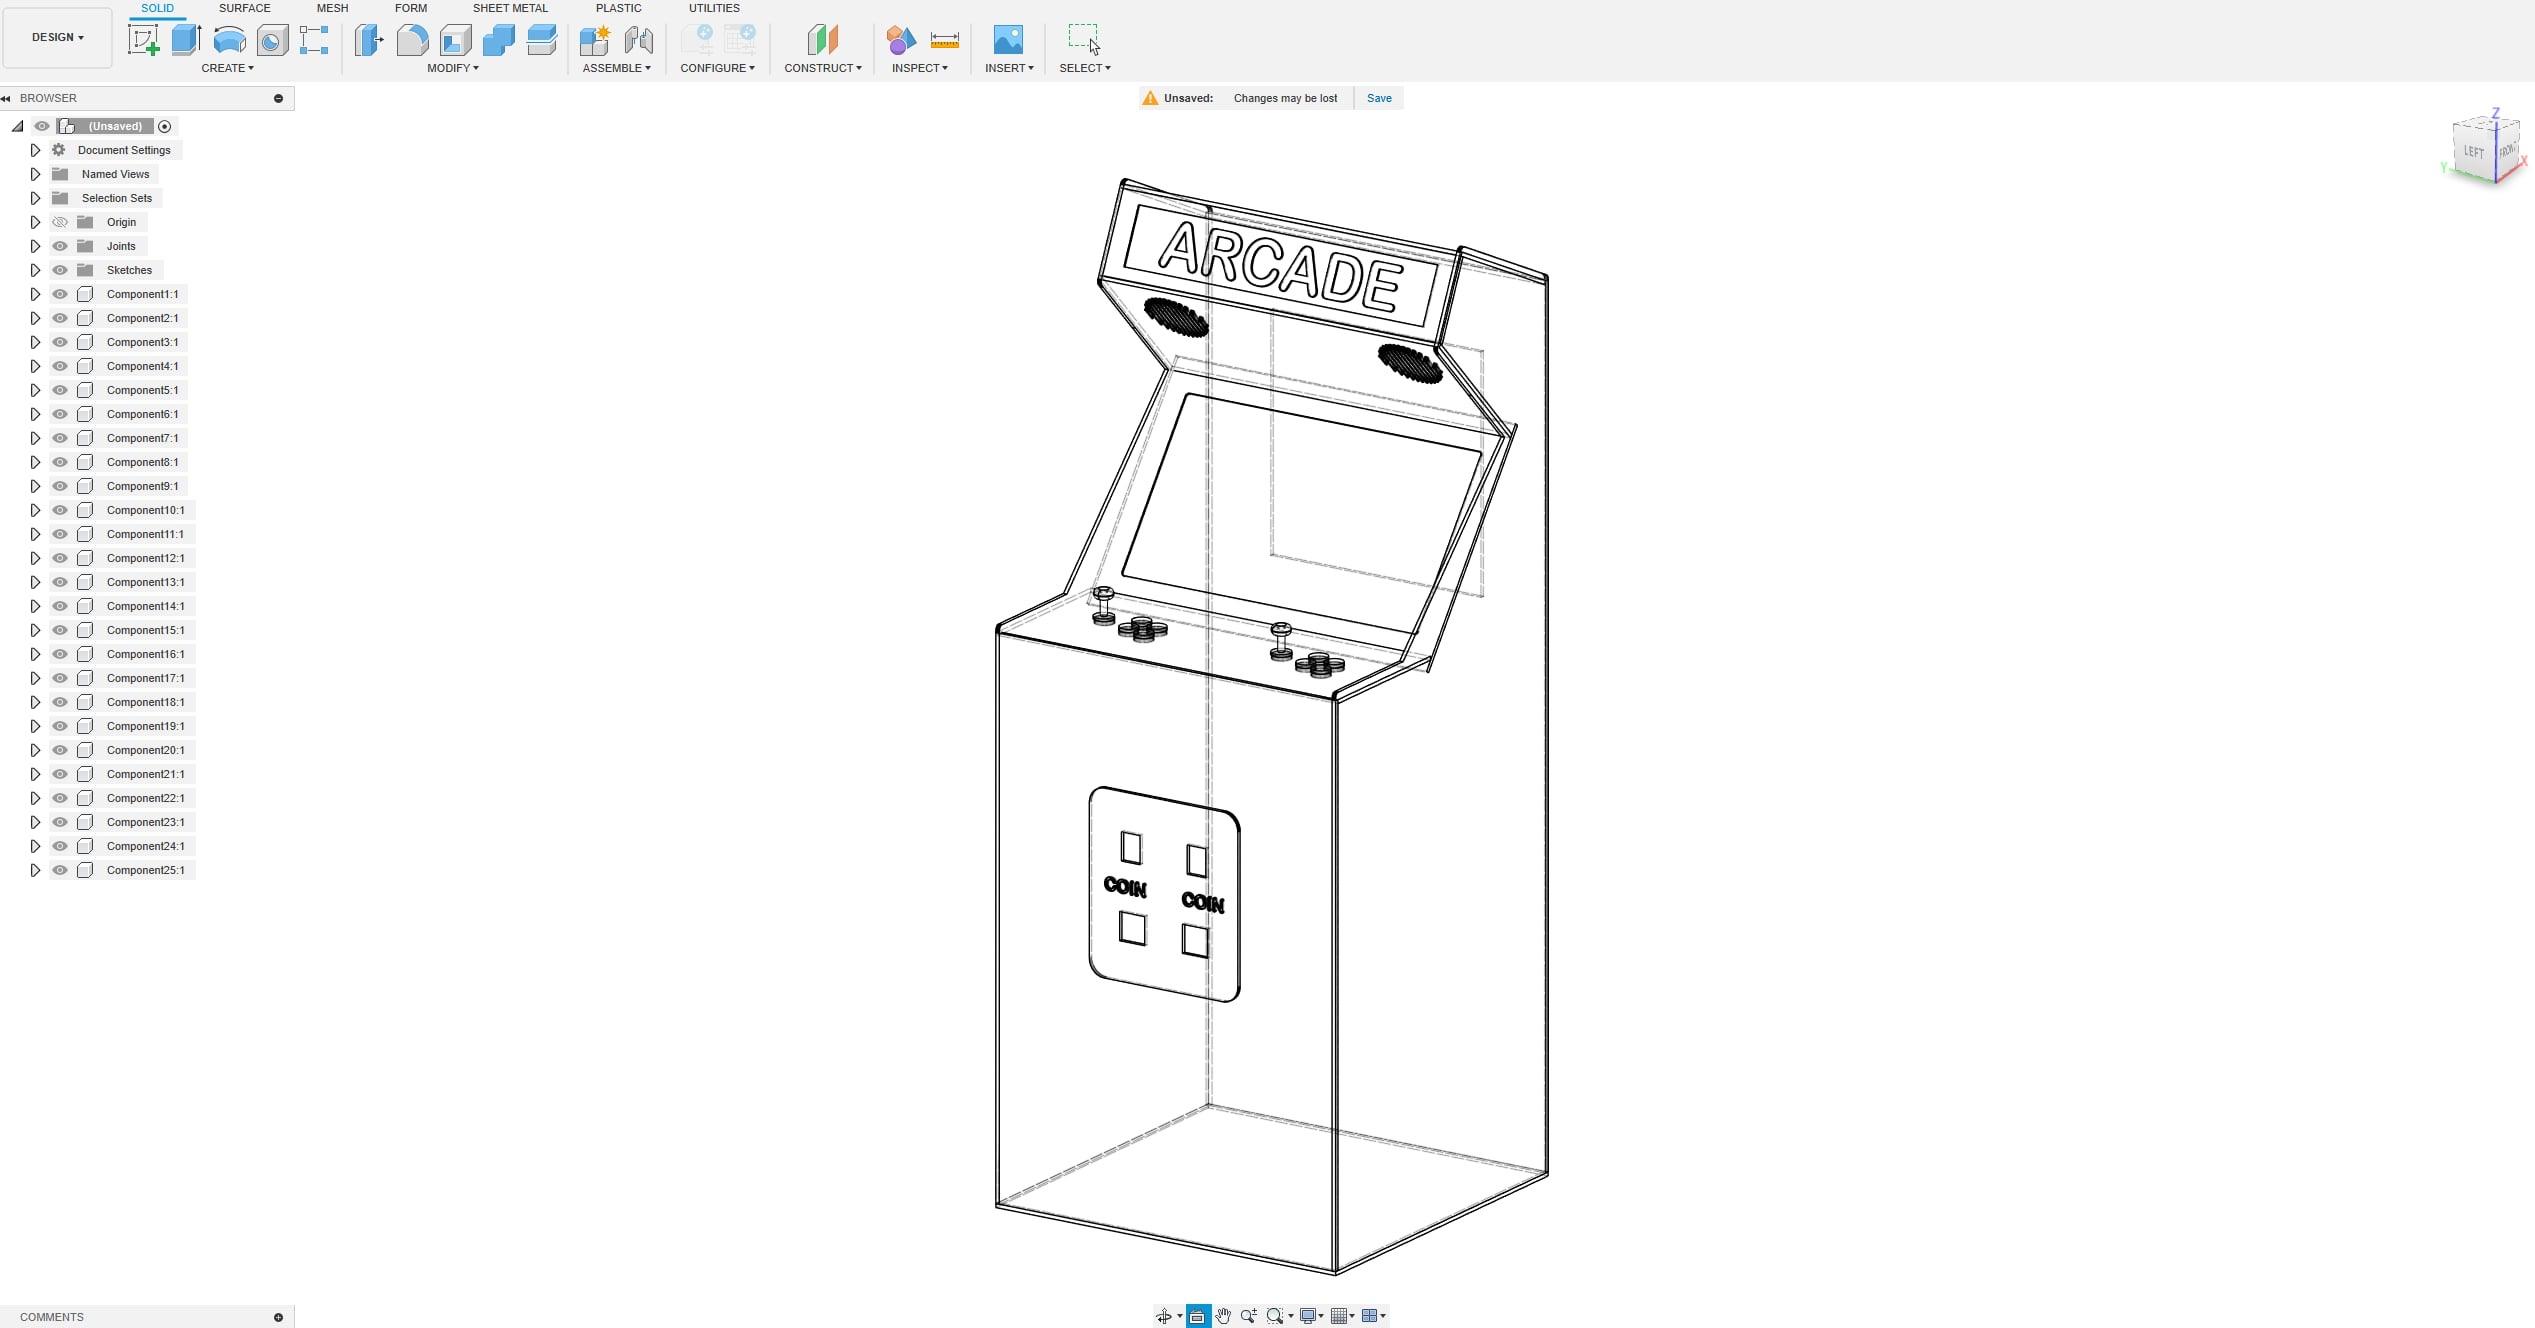
Review all components of your arcade cabinet design for any final adjustments. Ensure that all joints are correct, and that the model is a cohesive unit. Check for any errors in the sketches and extrusions, and verify that all parts are correctly aligned and assembled.
Preparing for CNC Manufacturing
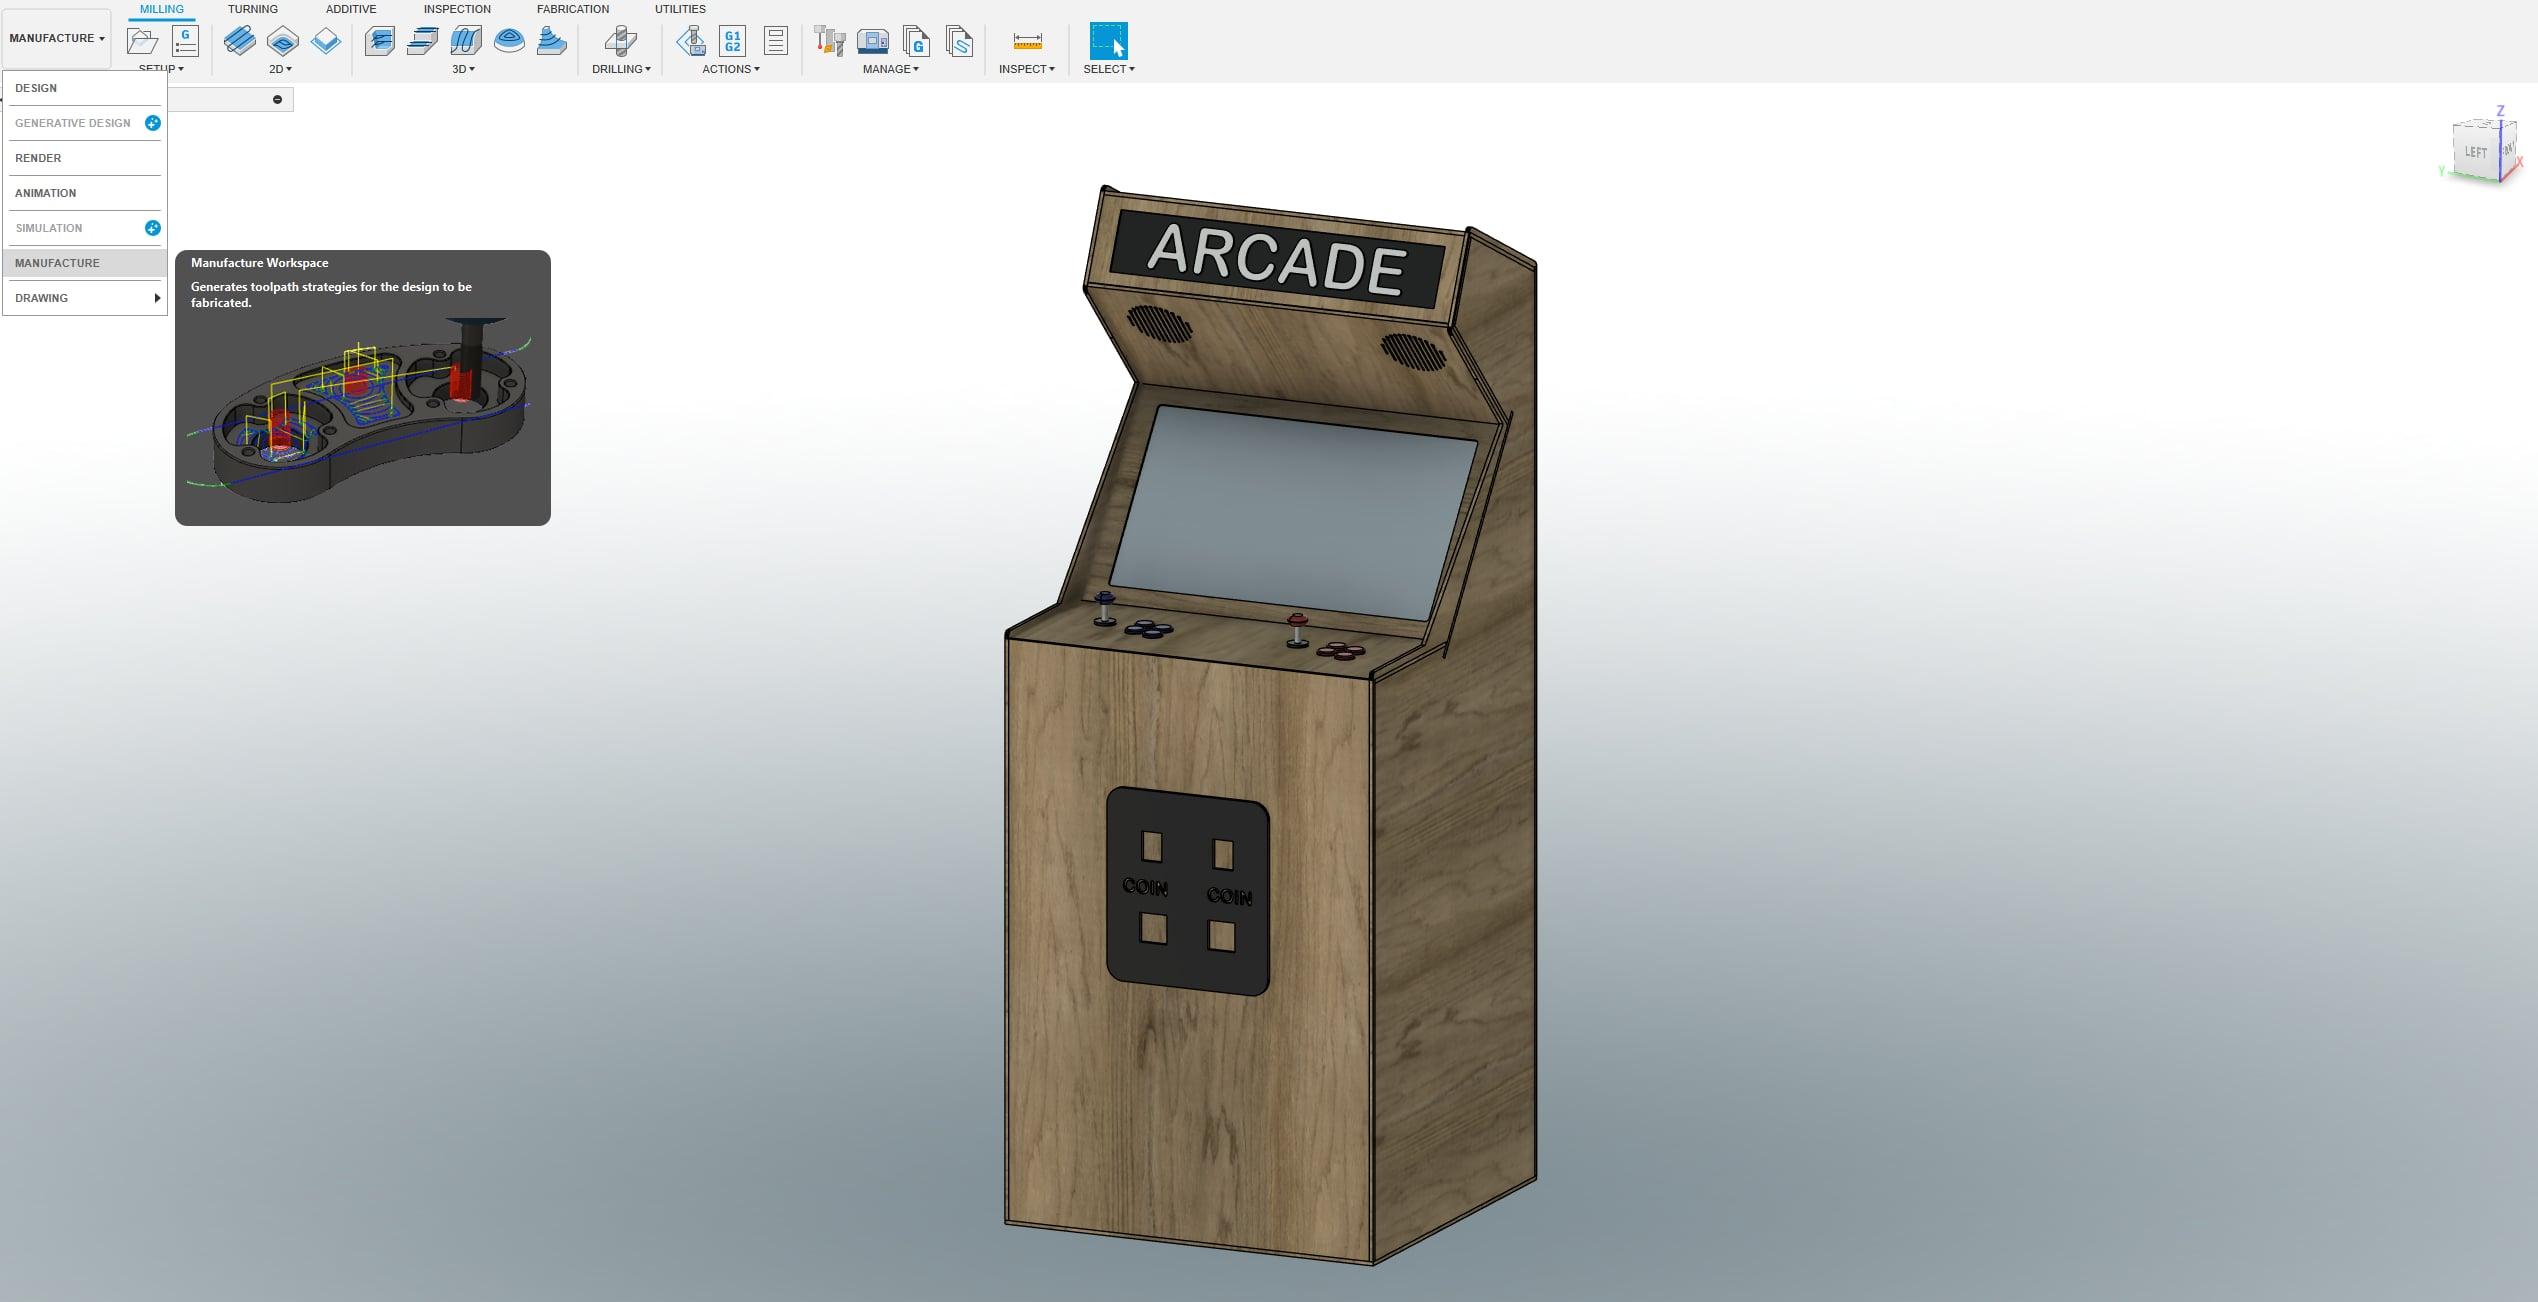
With your digital design finalized, the next step is to prepare your arcade cabinet for the manufacturing process using a CNC machine. Here's how to get your design CNC-ready in Fusion 360:
- Toolpaths and CAM Setup: Switch to the CAM (Computer-Aided Manufacturing) workspace in Fusion 360. Here you will generate the necessary toolpaths for your design. Begin by setting up your stock – the raw material block from which your parts will be carved.
- Selecting Tools: Choose the appropriate cutting tools for each operation. For intricate details, you might need smaller end mills, while larger flat surfaces can be milled with bigger tools.
- Defining Operations: Define the operations such as 2D cutting, pocket clearing, and drilling. For each operation, select the geometry to be machined, the tool that will be used, and the type of cutting strategy.
- Material and Cutting Parameters: Enter the correct material properties for the wood you'll be using and adjust the cutting parameters, such as the feed rate and spindle speed, according to the tool manufacturer's recommendations.
- Simulating Toolpaths: Run a simulation of the toolpaths to ensure there are no collisions or errors. This step is crucial for visualizing the machining process and catching any potential issues before the physical cutting begins.
- Post Processing: Once you're satisfied with the simulation, use the 'Post Process' function to generate the G-code, which is the programming language that CNC machines read to create your part.
- Quality Check: Review the G-code to ensure it's optimized for your specific CNC machine and material. Check for any redundant movements or inefficient toolpaths that could be improved.
By following these steps, you will convert your 3D model into a set of instructions that a CNC machine can follow to bring your arcade cabinet to life. This process bridges the gap between digital design and physical reality, allowing for precision manufacturing of your creative vision.