Retractable Hanger
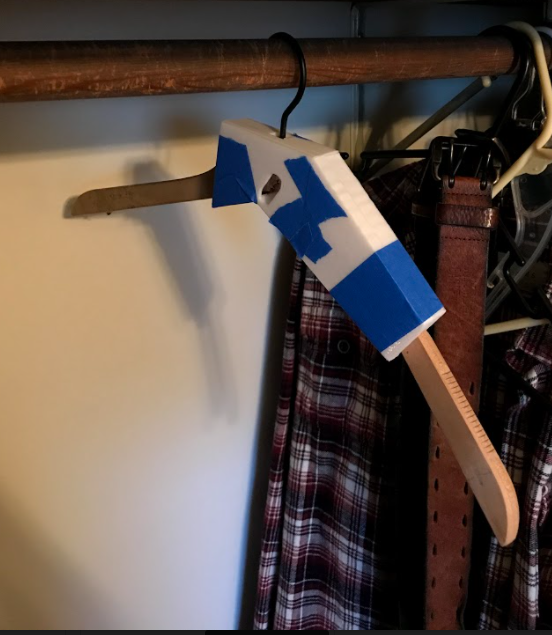
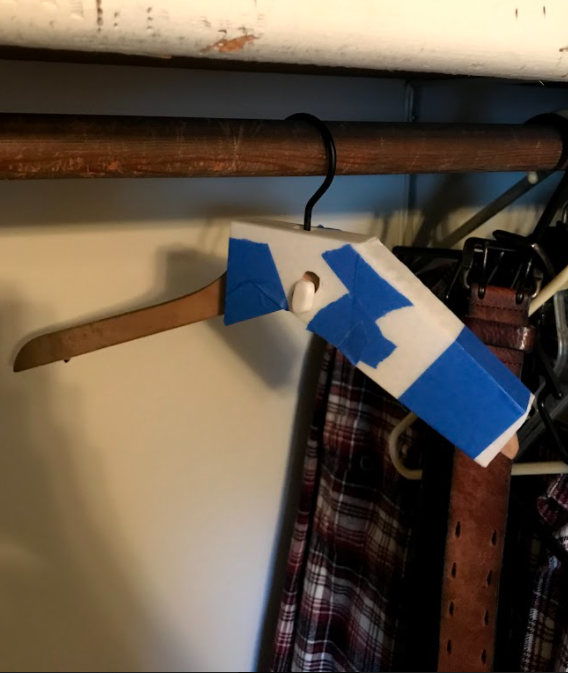
If you'd like to create a fun hanger with a retractable arm so as not to stretch your clothes but ALSO save you time, you've come to the right place! This instructable covers a DIY type process of turning an existing hanger into a fun one, provided you have access to a 3D Printer and some other bits and pieces.
Supplies
Access to a 3D printer with at least a 5"x5" bed, plus filament
Existing clothing hangers which can be altered (hacked to pieces and used for parts)
Super Glue
A single spring
Ta
Measure the Existing Hanger and Design/Print Your Parts

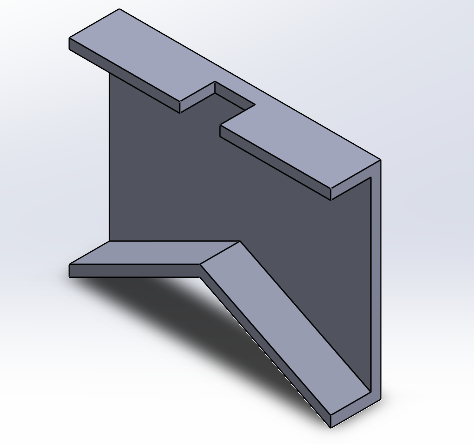


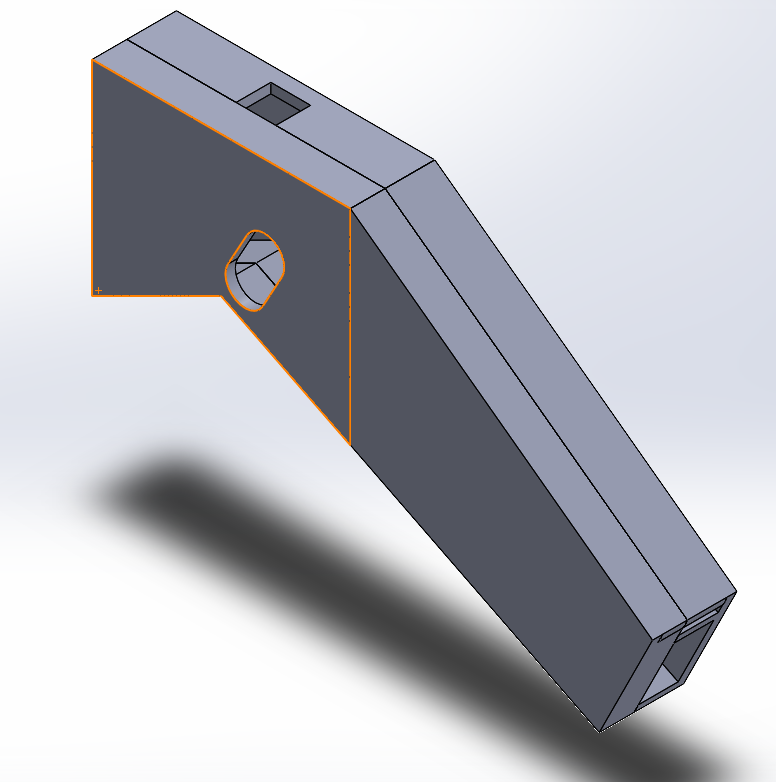
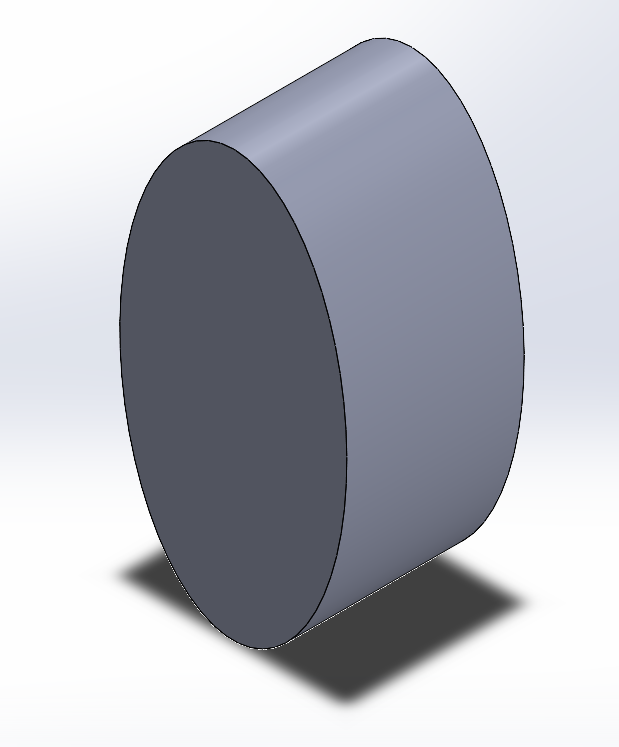
First you must take measurements near the hook on the clothes hanger to determine the size of your shell that you will print, as well as the thickness of the hanger to determine the thickness of the shell. The hanger will be cut in half, but it's easier to design the shell to hold both halves, so as to not alter the angles at which the arms point out and hold your shirt. Make an additional part to act as a track for the extendable arm to slide in, make a part for the button to pop up into and lock the arm into place, and design a lid for the track portion. Be sure to make the top part of the track/shell have a wall to stop the retracting arm from sliding out of the shell. And finally make your button! I gave mine enough space to easily pop out of the whole in the shell, but it also has to be low enough that it slides in the track. When designing the shell, be sure to give it enough total height to accommodate the arm AND the button.
Putting It All Together
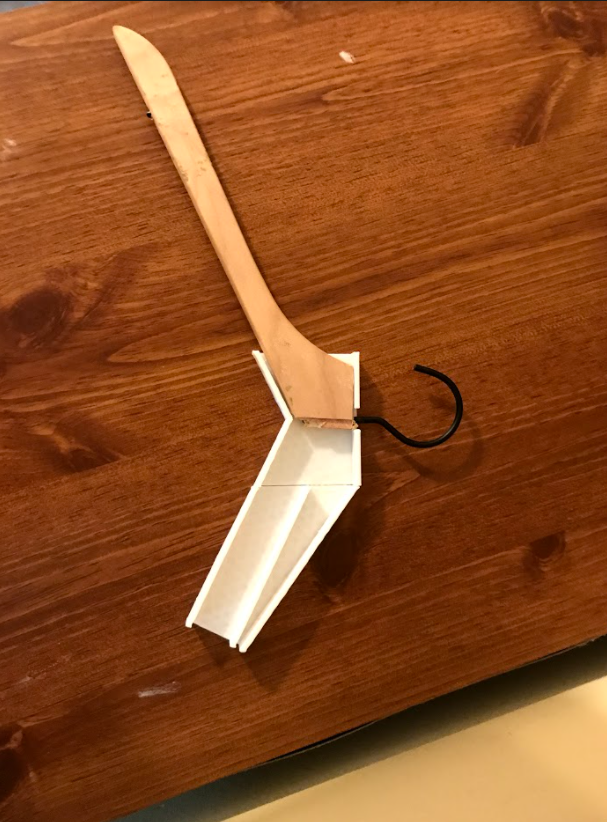

Next, glue the half of the hanger you chose to keep to the shell piece designed to hold it, and attach the track shell to the part holding the hanger. The retractable arm is a little tricky, as you have to cut it to a length that will match the original hanger arm in length but also line up with the hole for the button to pop out of, and you can print supports to hold the button in place while it slides inside the shell track. The supports also will prevent the arm from sliding out of the shell when it is extended.
Finished Product!

Simply attach the top parts of the shell (I just taped it all together) and you now have a clothes hanger with a retractable arm! No more worrying about stretching your shirt out or taking too much time to get ready in the morning! If you have a large enough bed on your 3d printer, you can make the shell into two halves instead of 4 pieces, which will make the end product prettier and more stable.