Resist Dyeing T-Shirts With Bleach and 3D Printed Resist
by RobPaige in Craft > Fashion
746 Views, 1 Favorites, 0 Comments
Resist Dyeing T-Shirts With Bleach and 3D Printed Resist
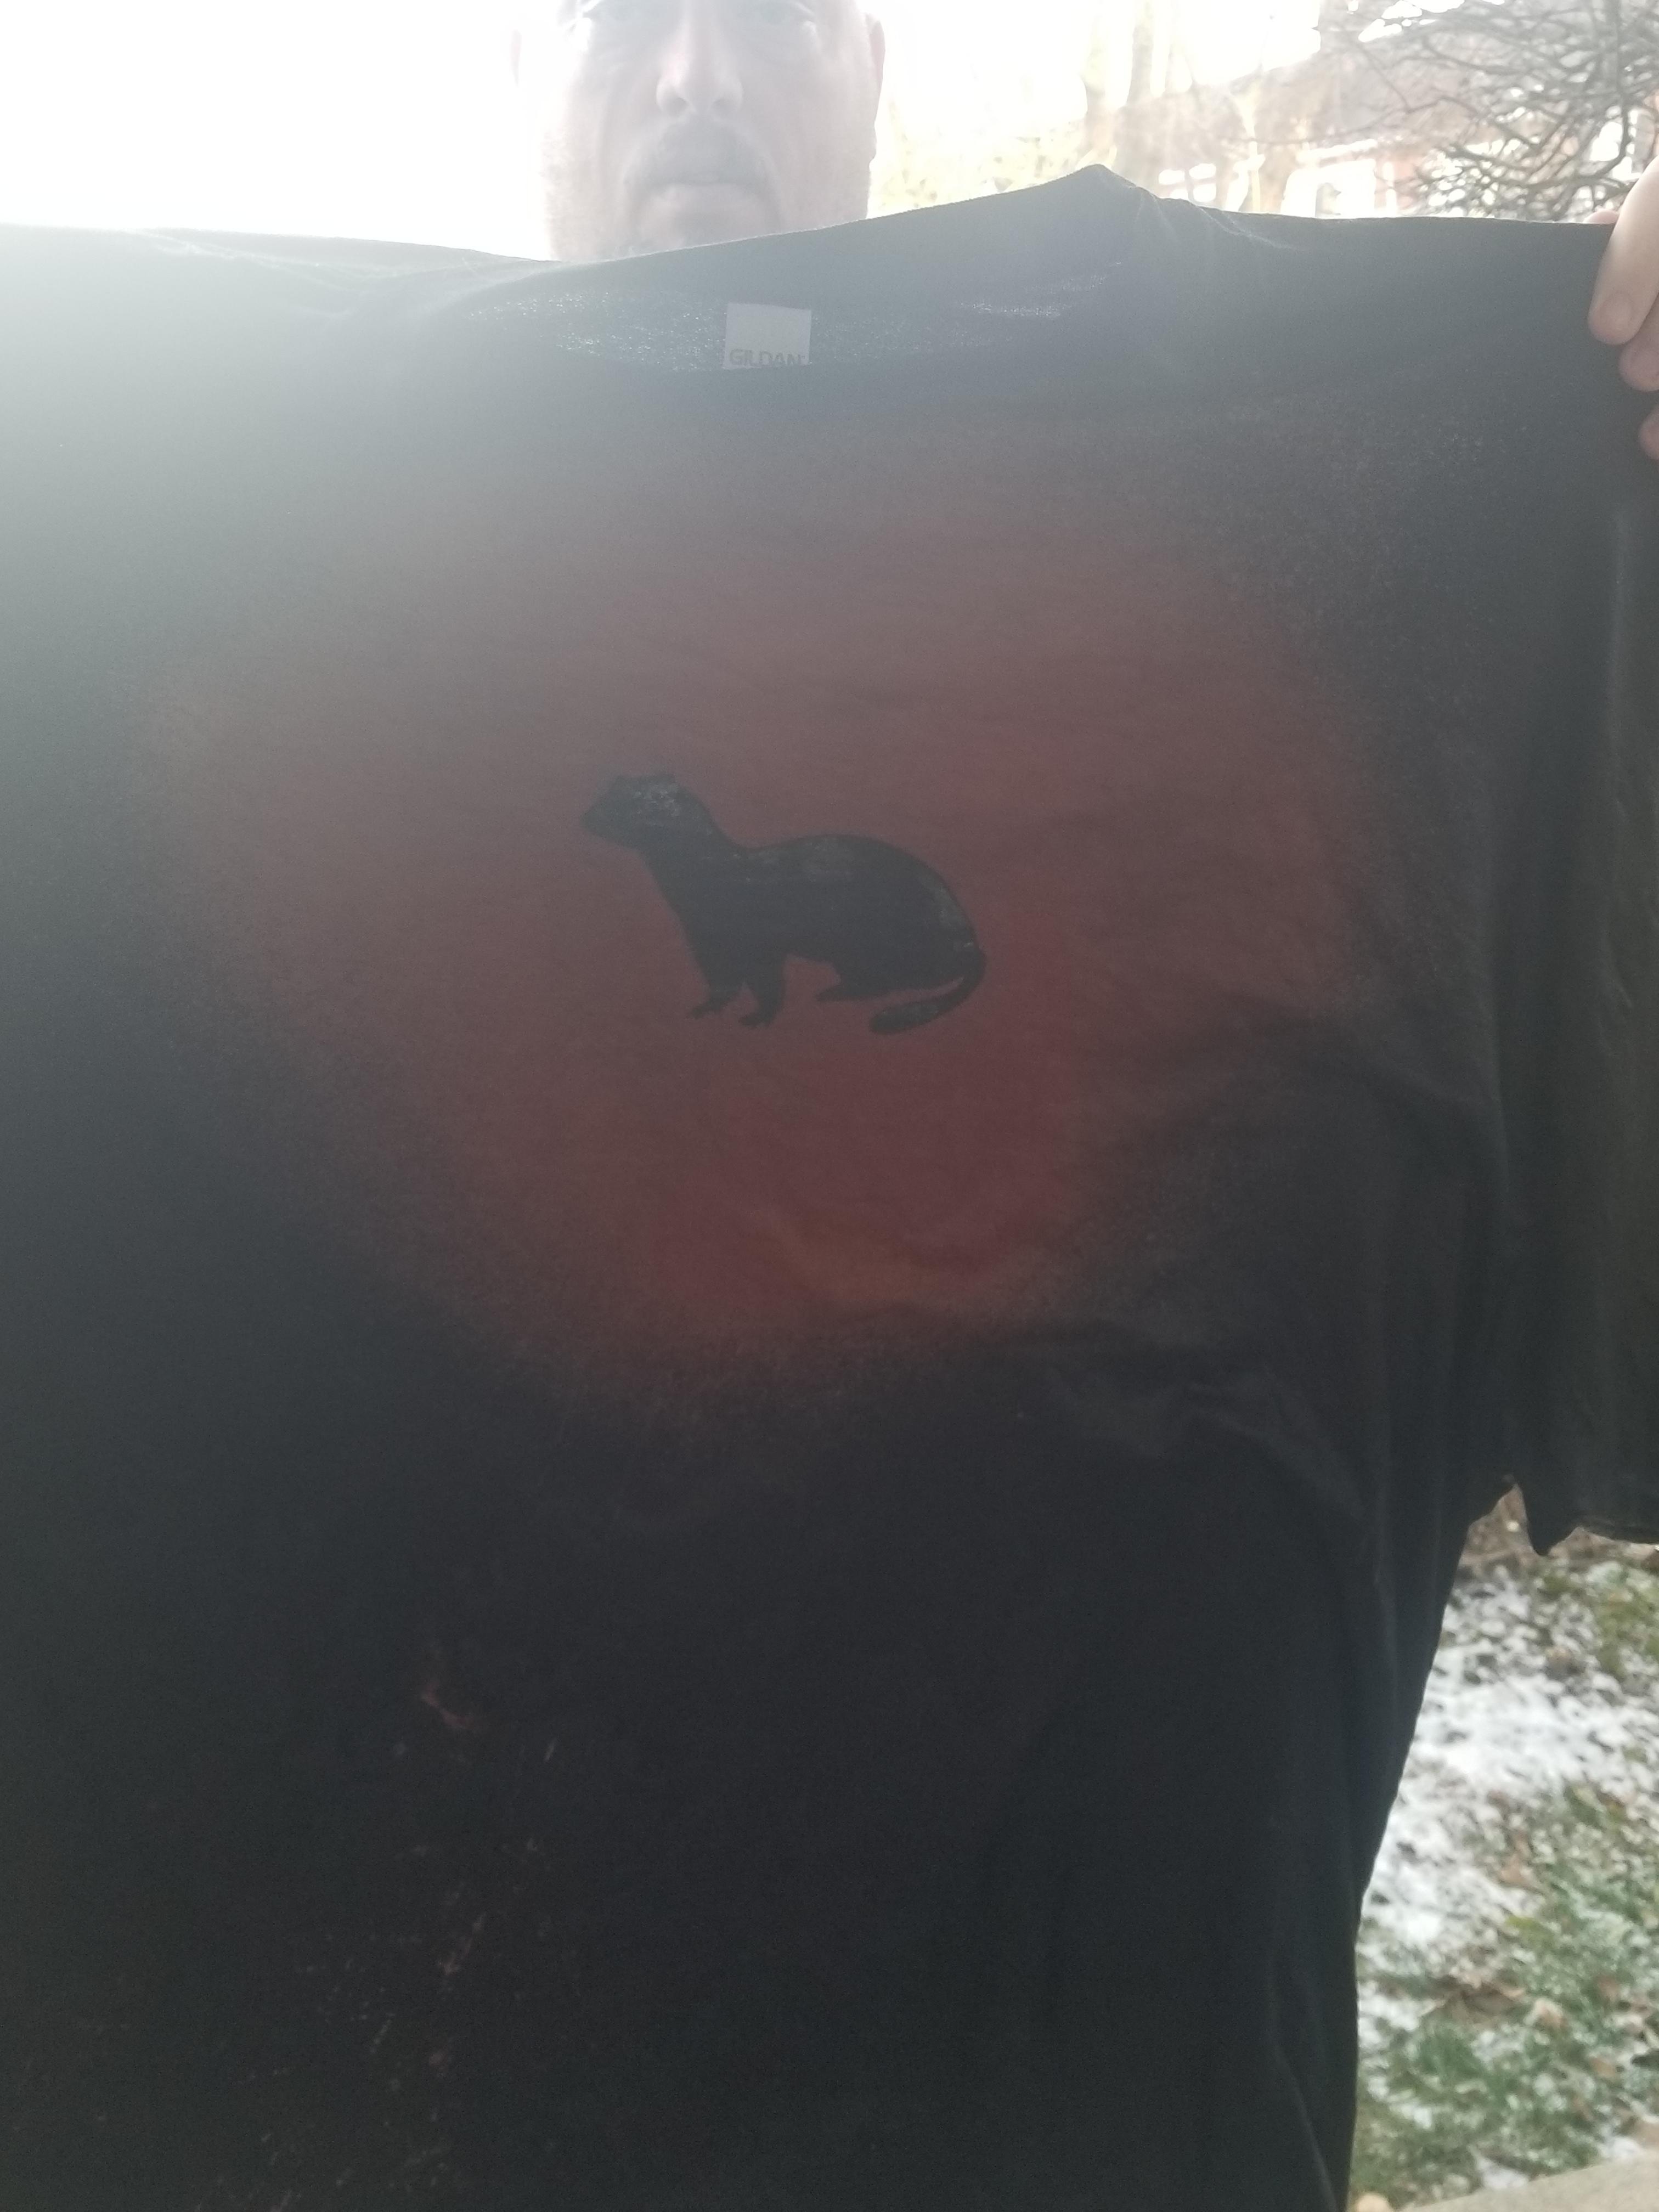
Bleach dyeing cotton garments is easy and fun, and with a 3D Printer or Vinyl Cutter, there are unlimited customization options available. In this instructable, I'll walk you through the method by which I made myself an awesome ferret shirt.
Supplies
Safety Supplies:
Gloves
Goggles
Bowl of Water
Project Supplies:
3D Printer
Filament (I use PLA), white or translucent is the best
Spray Bottle
Bleach
Glue Stick (purple is a good idea)
100% Cotton Garment
Step One: Design the STL
Either use the .stl file I've provided, or make your own. I take a black and white image, typically in .jpeg format, and use convert.io to convert the .jpeg into .svg format. Import the .svg into TinkerCAD, adjust the size, and export the resulting .stl file.
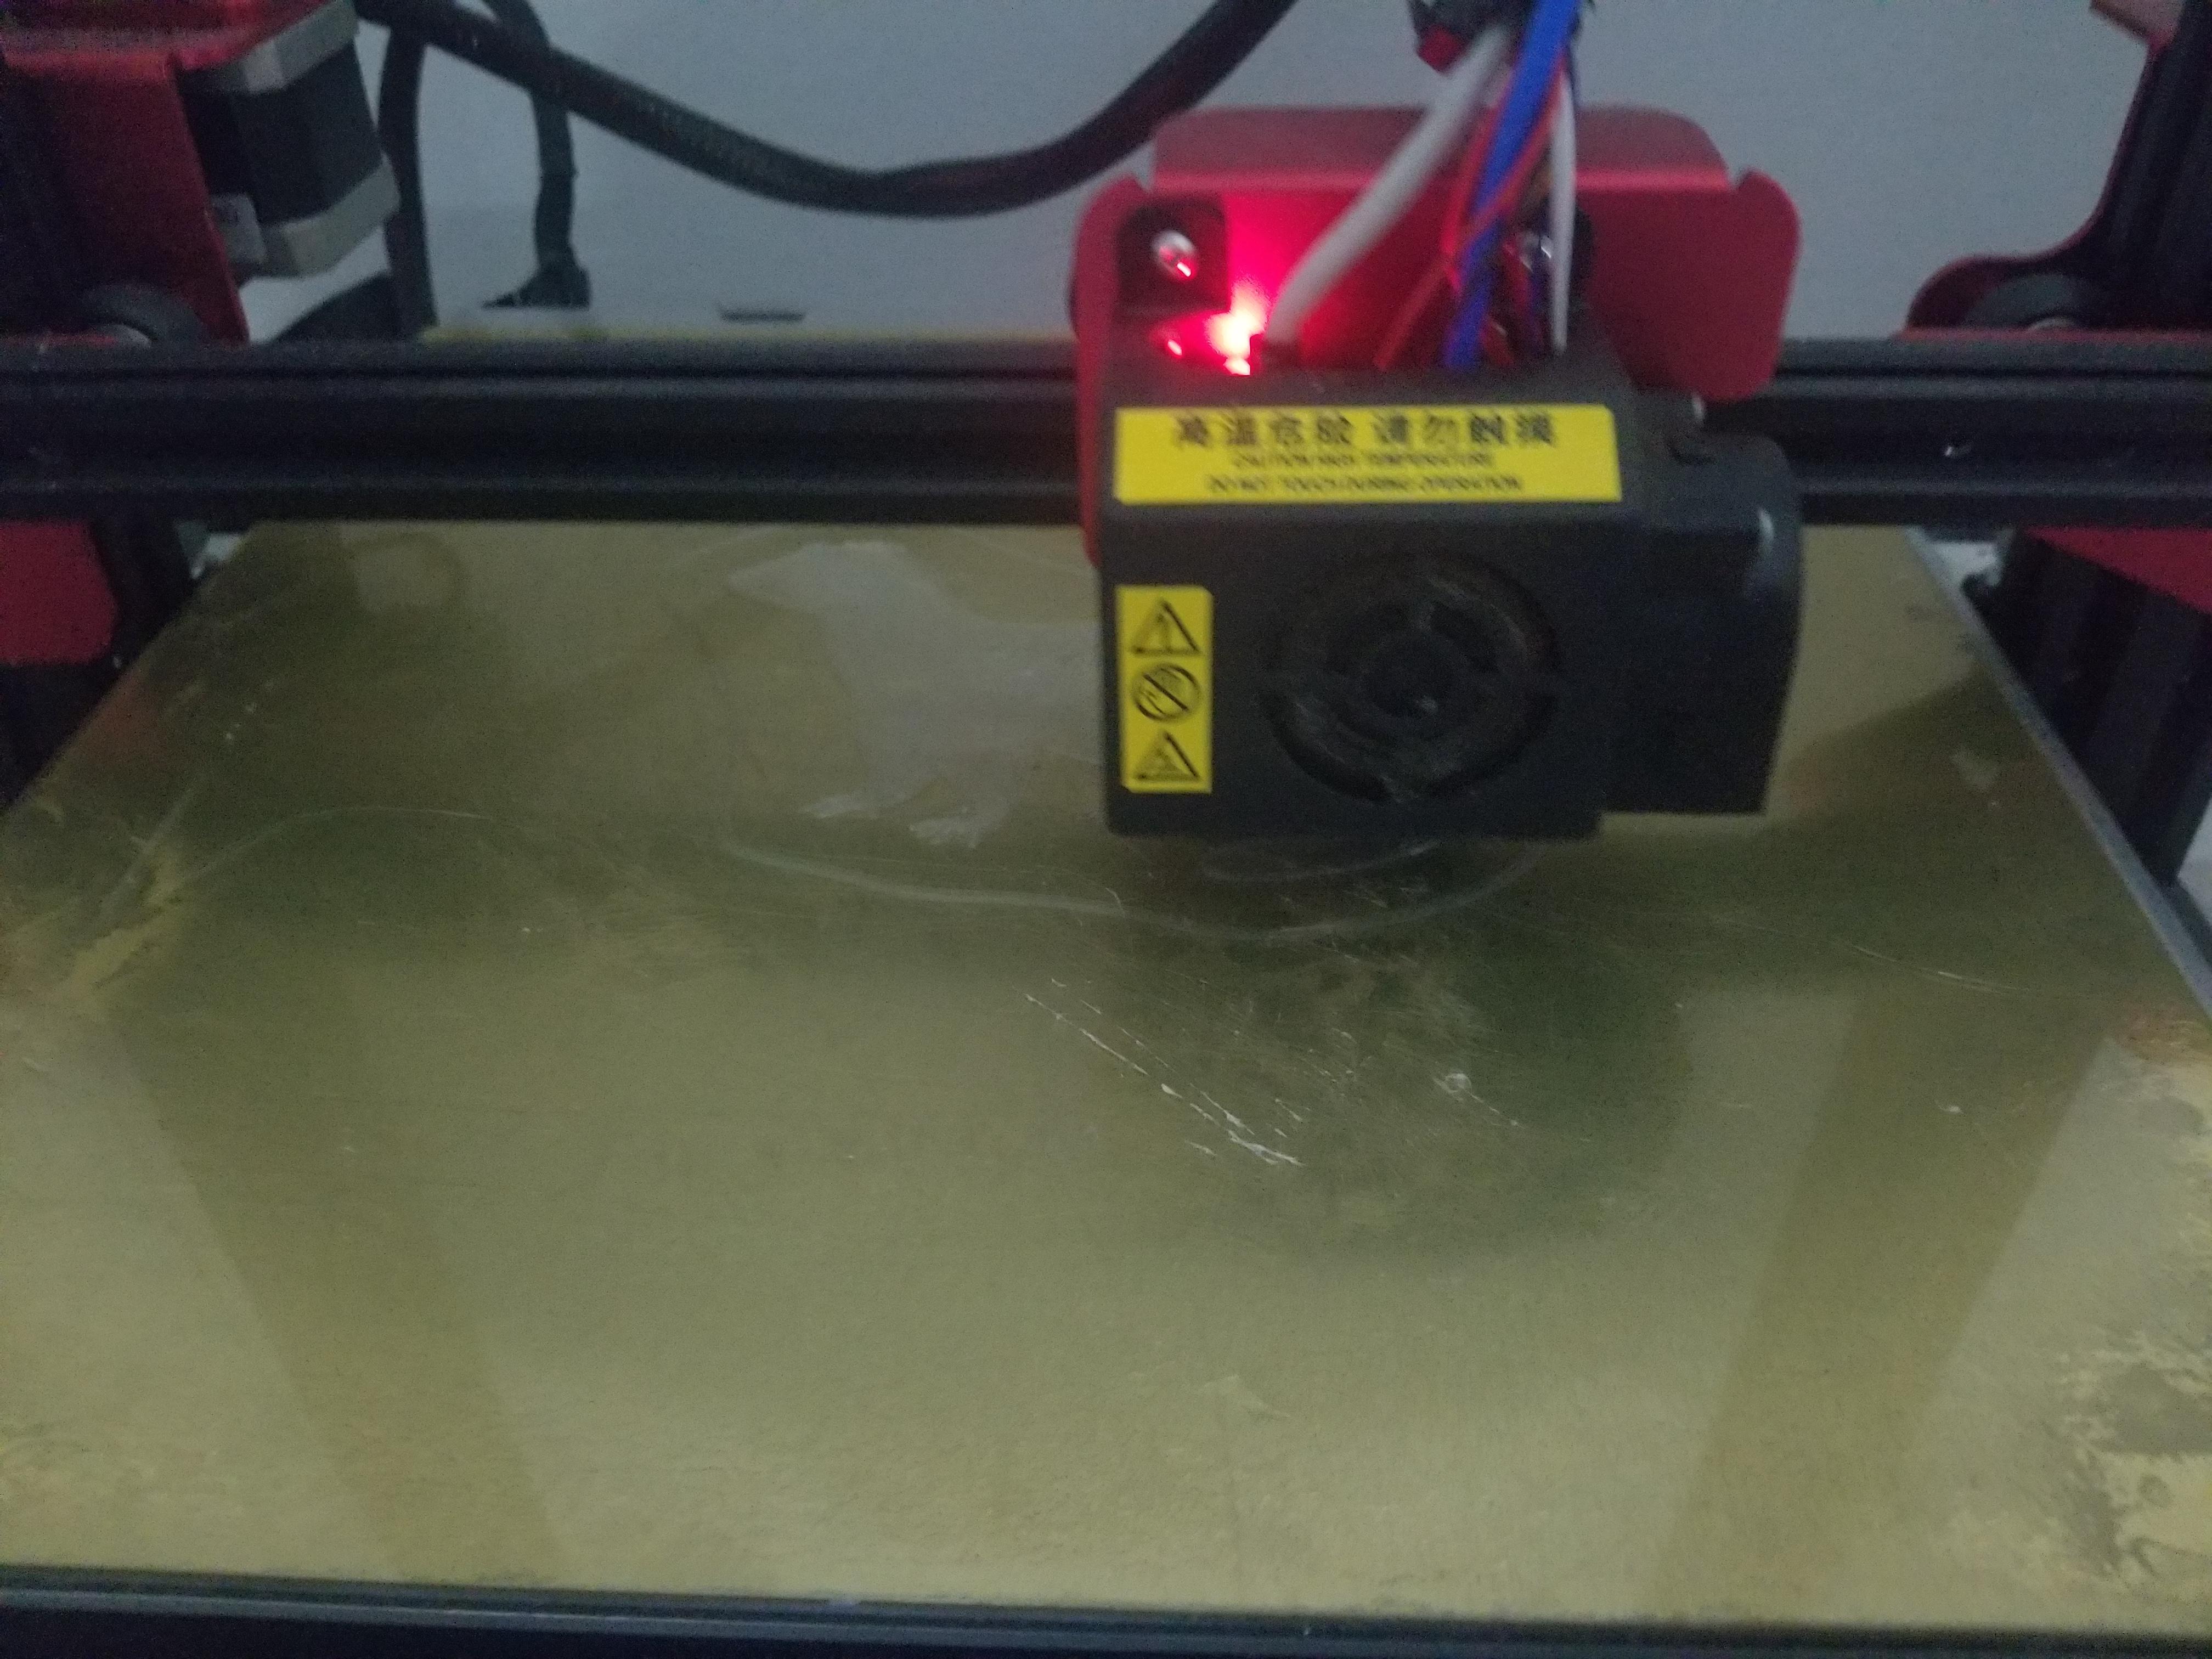
Step Two: Print the Resist

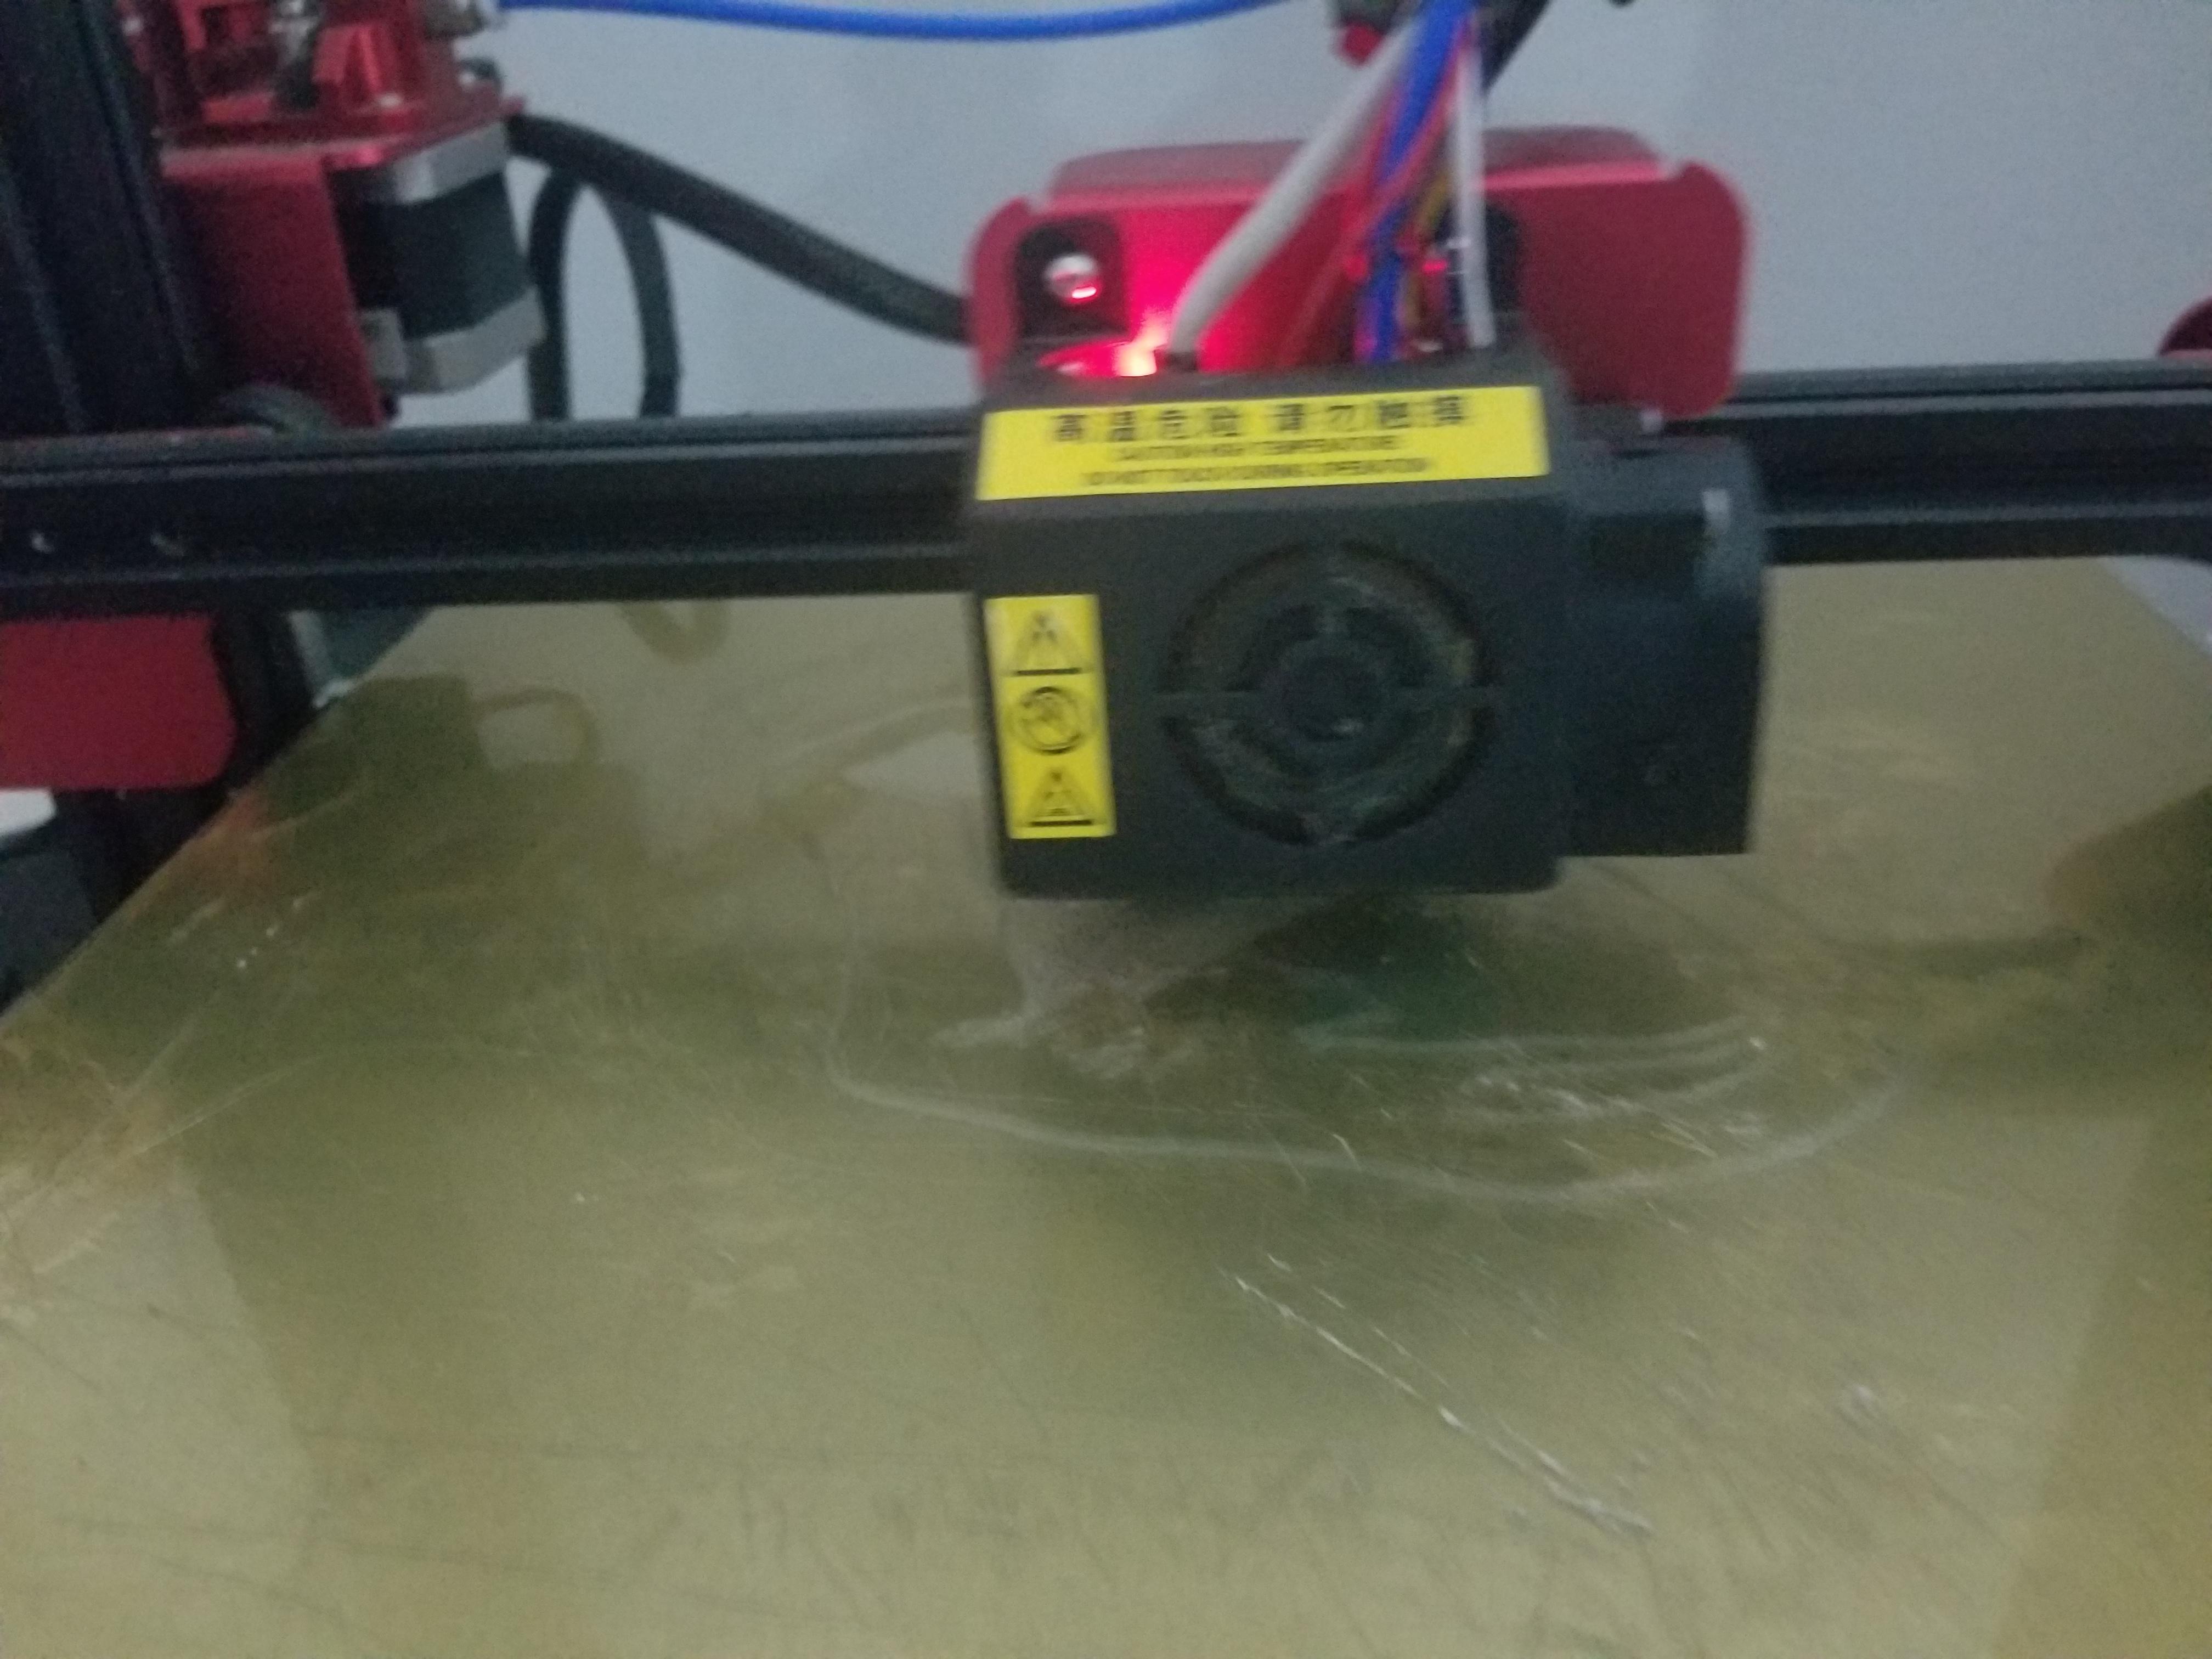
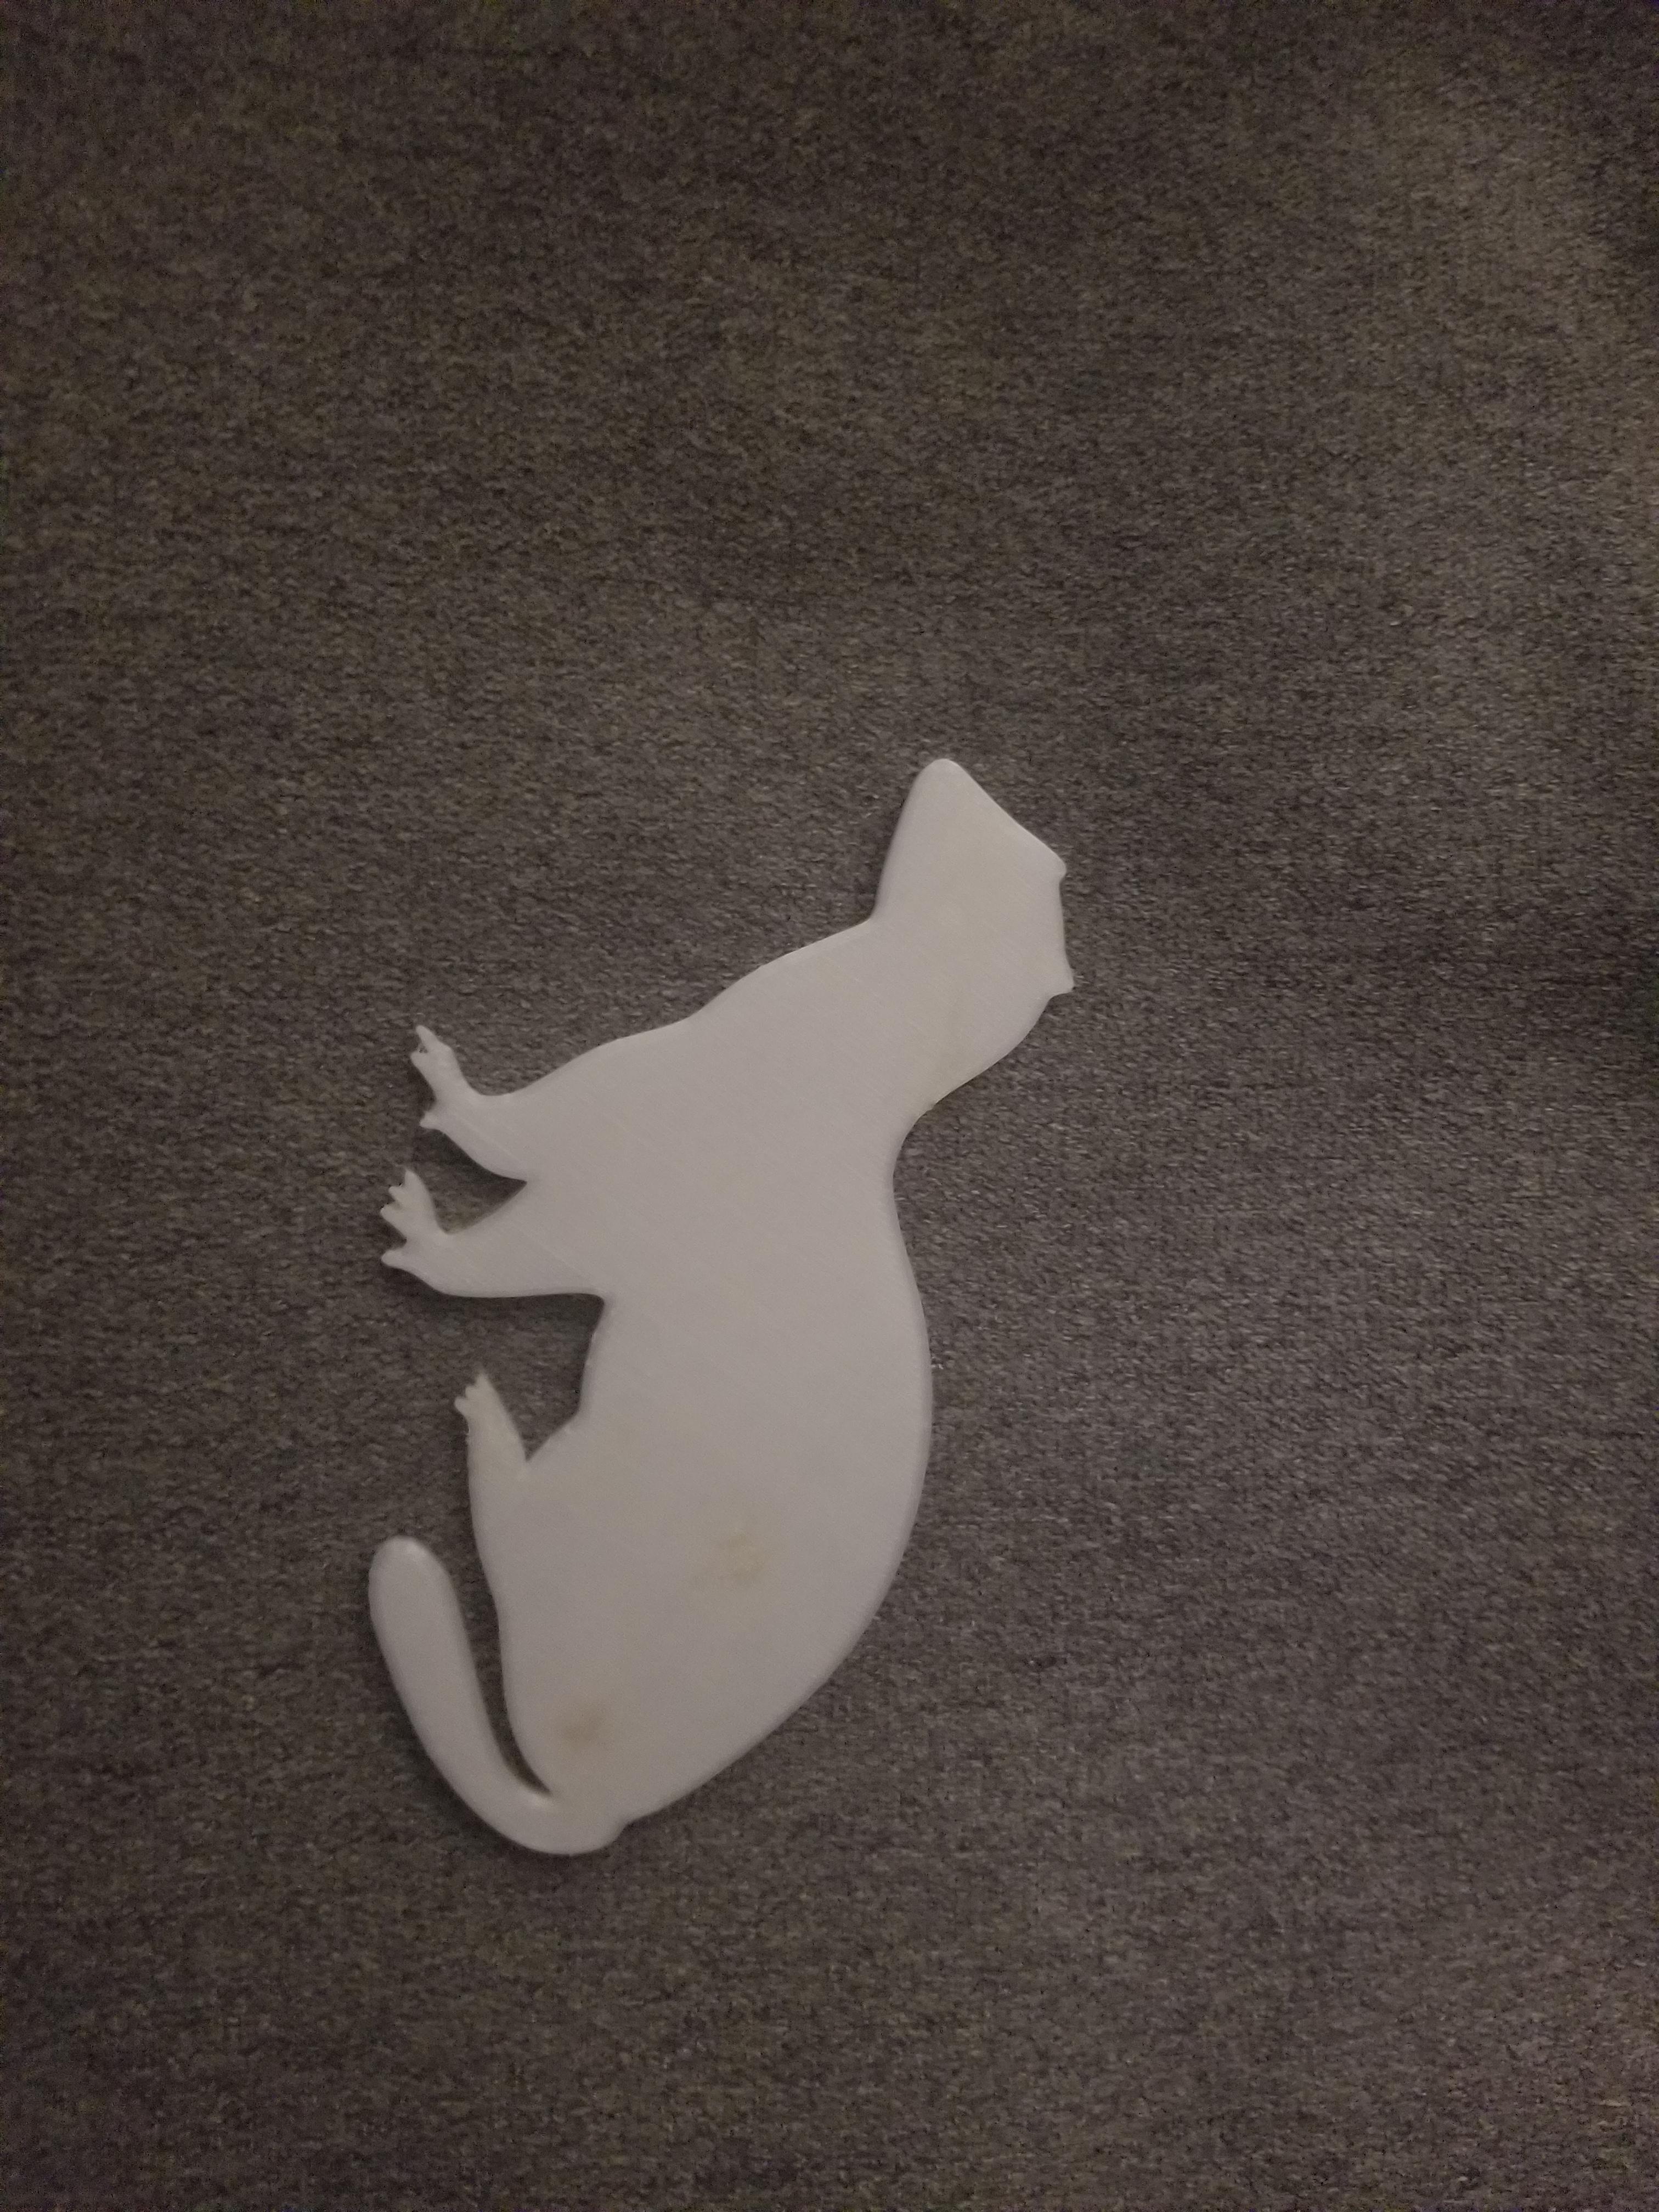
Open Cura, and load the .stl file. I like to keep my resists at 3mm tall. Because of the claws, I print this .stl slow, at 40mm/s. This doesn't need to be a strong part, so keel the infill less than 15%. Send the file to your printer and print the resist.
Downloads
Step Three: Prep Your Garment

First, make sure it's 100% cotton, or test a location on the garment to ensure the bleach will work. Alternately, you can use different colored dye on white garments. Once you've done that, insert a cardboard sheet so the bleach/dye doesn't bleed through.
Step Four: Glue the Resist to the Garment
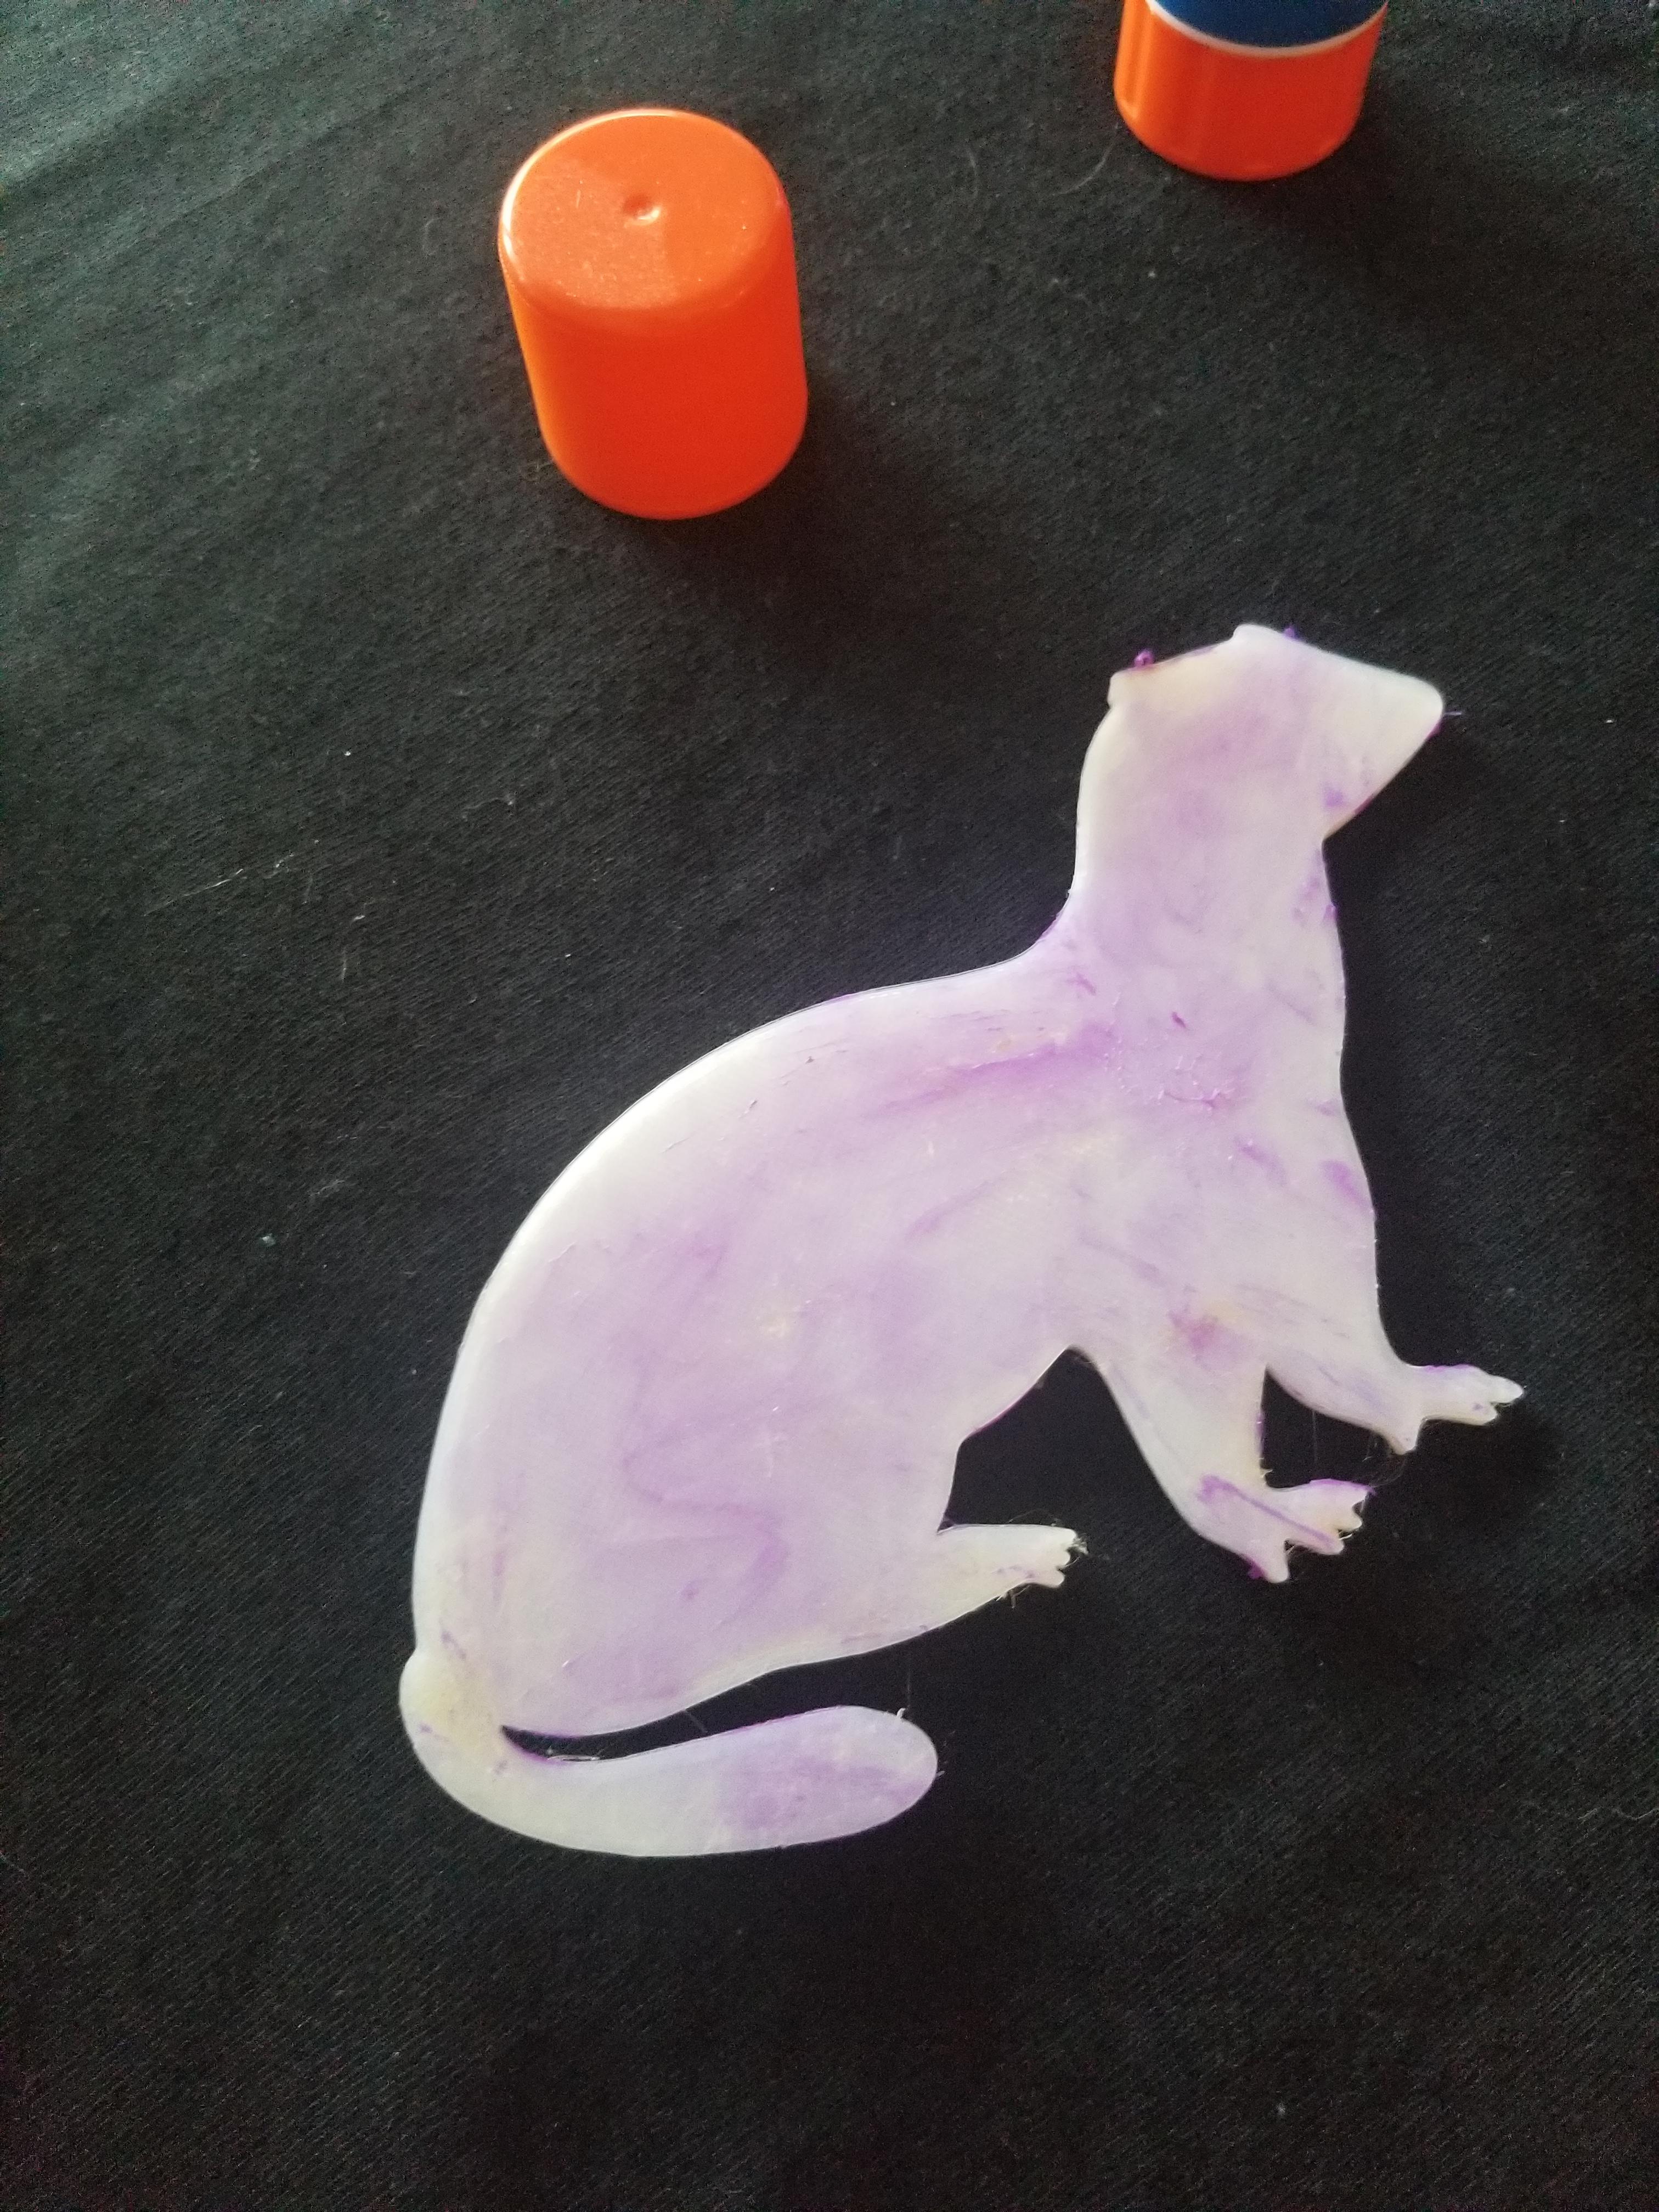
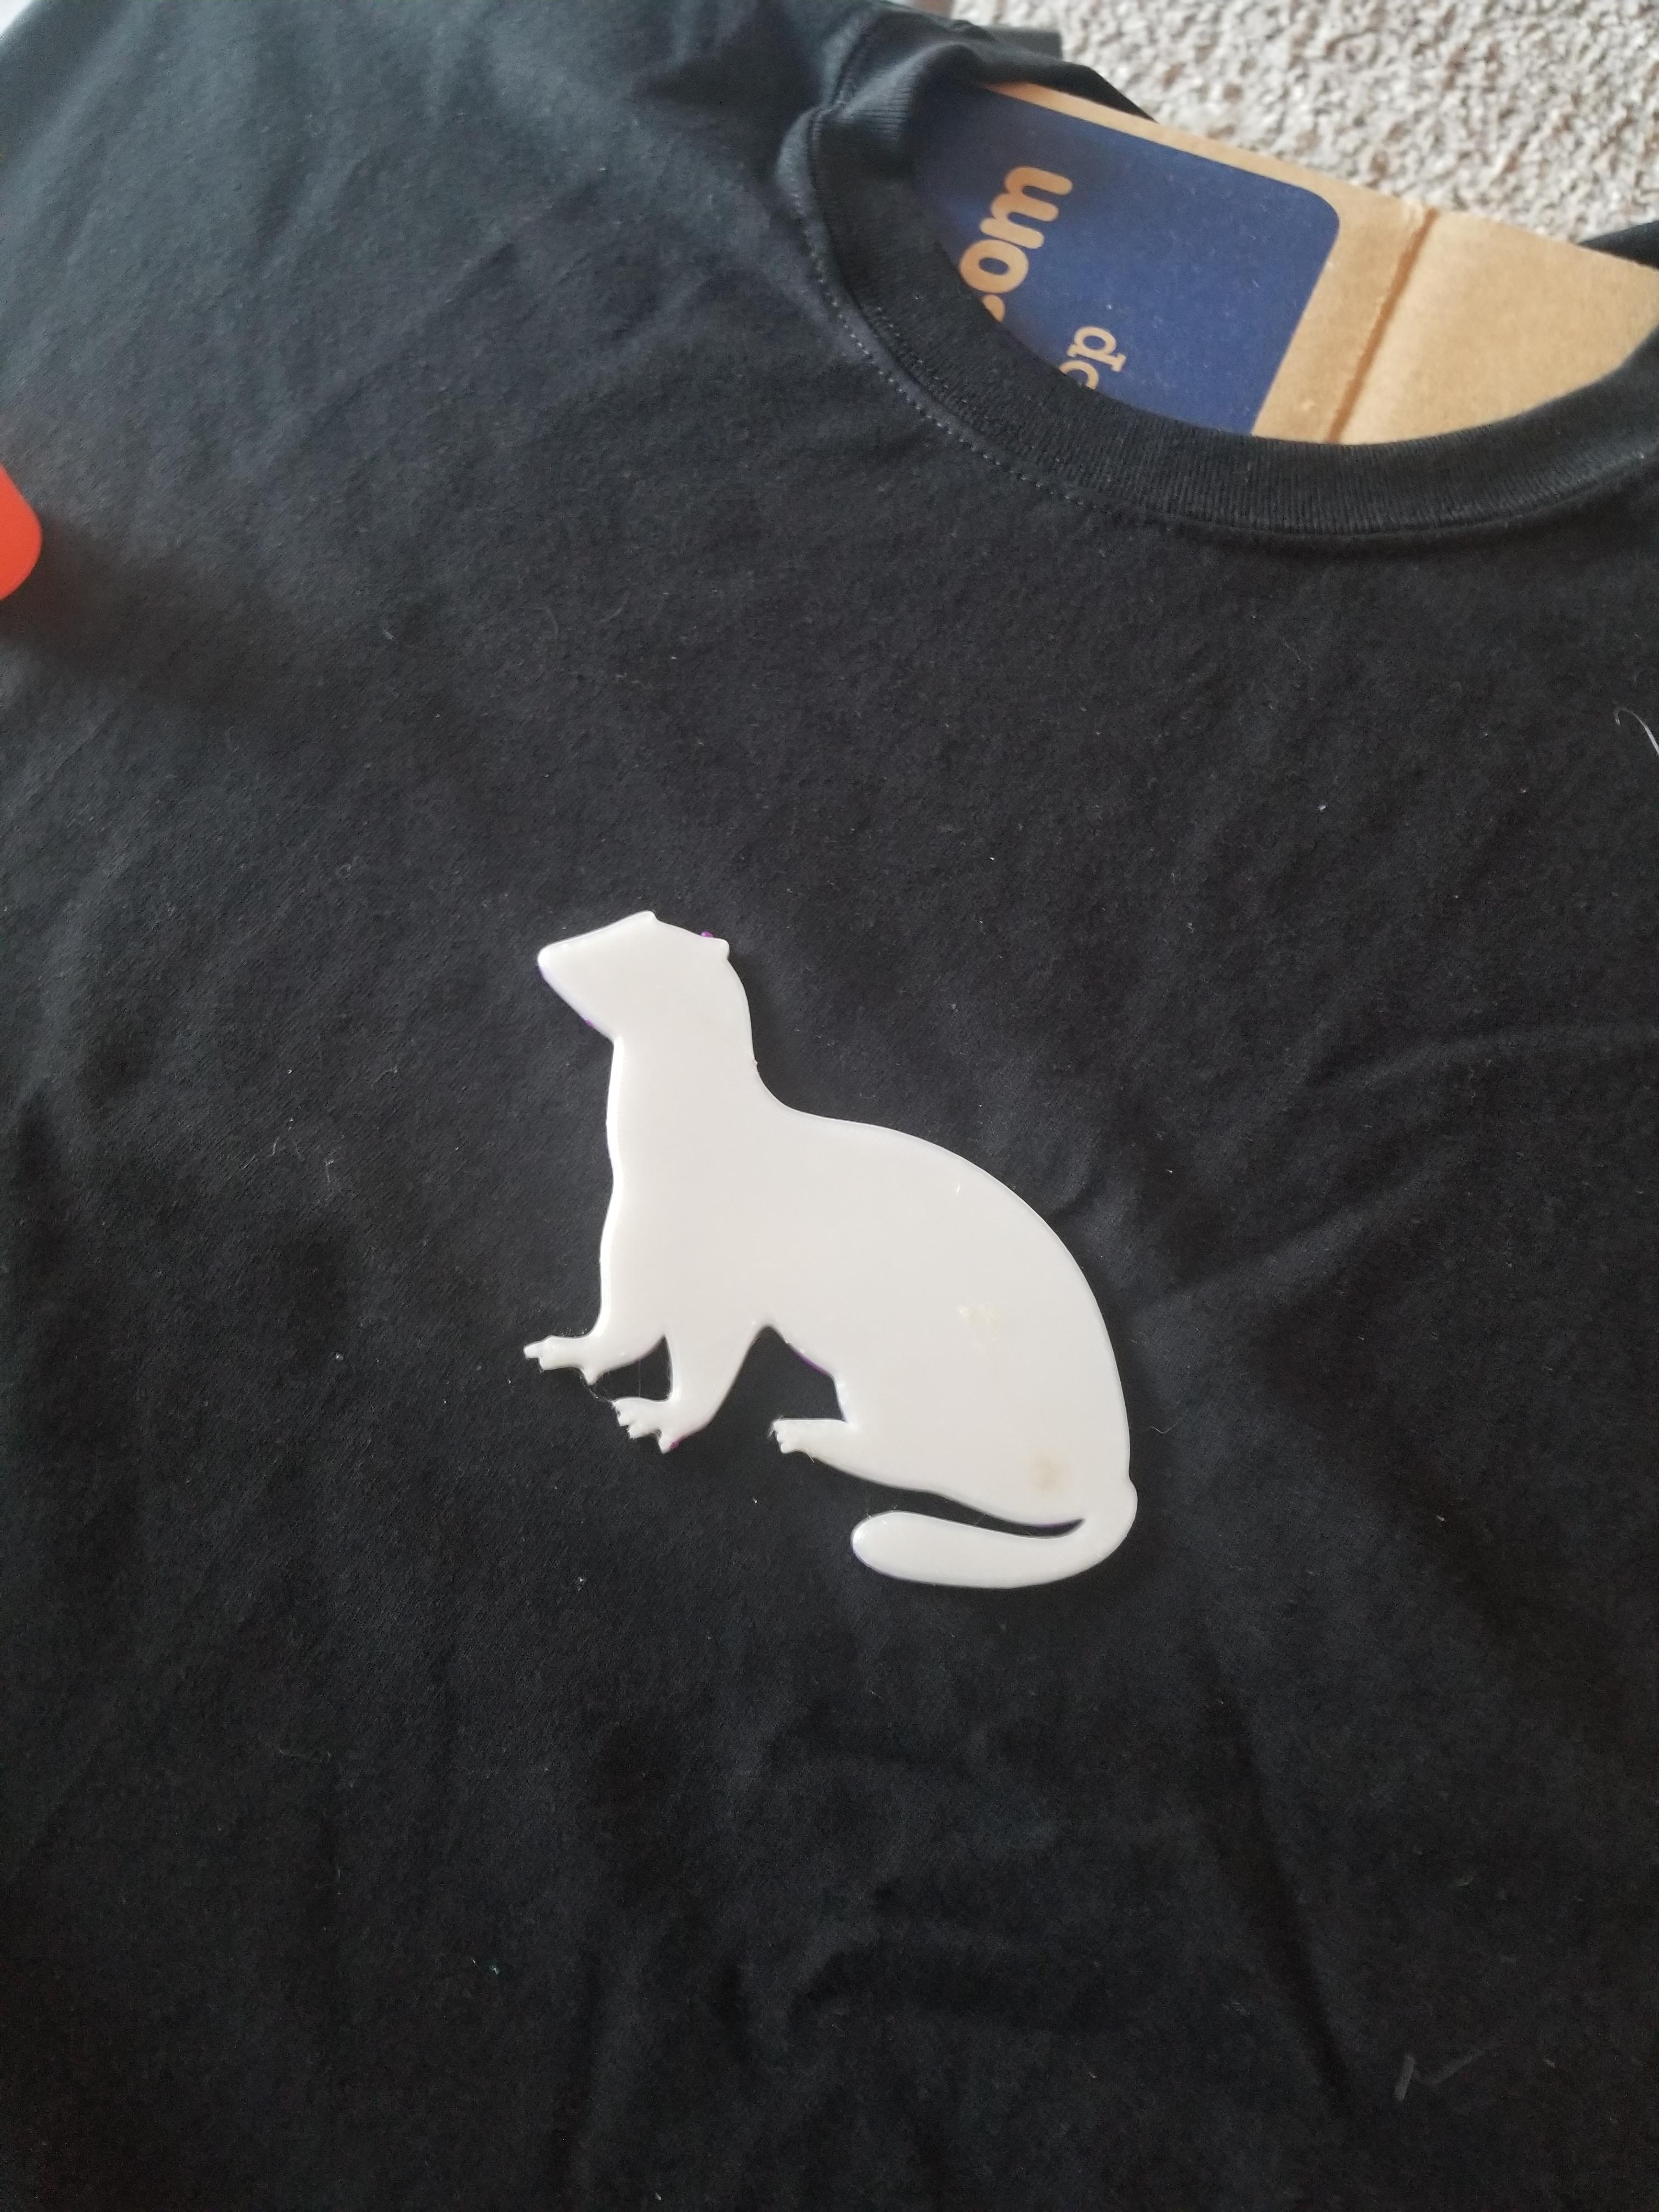
I used translucent filament and purple glue stick for a reason. The purple shows up on the plastic rather well, and you want to cover the entire resist. Once this is done, apply the resist to the garment, press down firmly. You can wait to ensure a strong bond, but I personally don't do this.
Step Five: Spray the Bleach
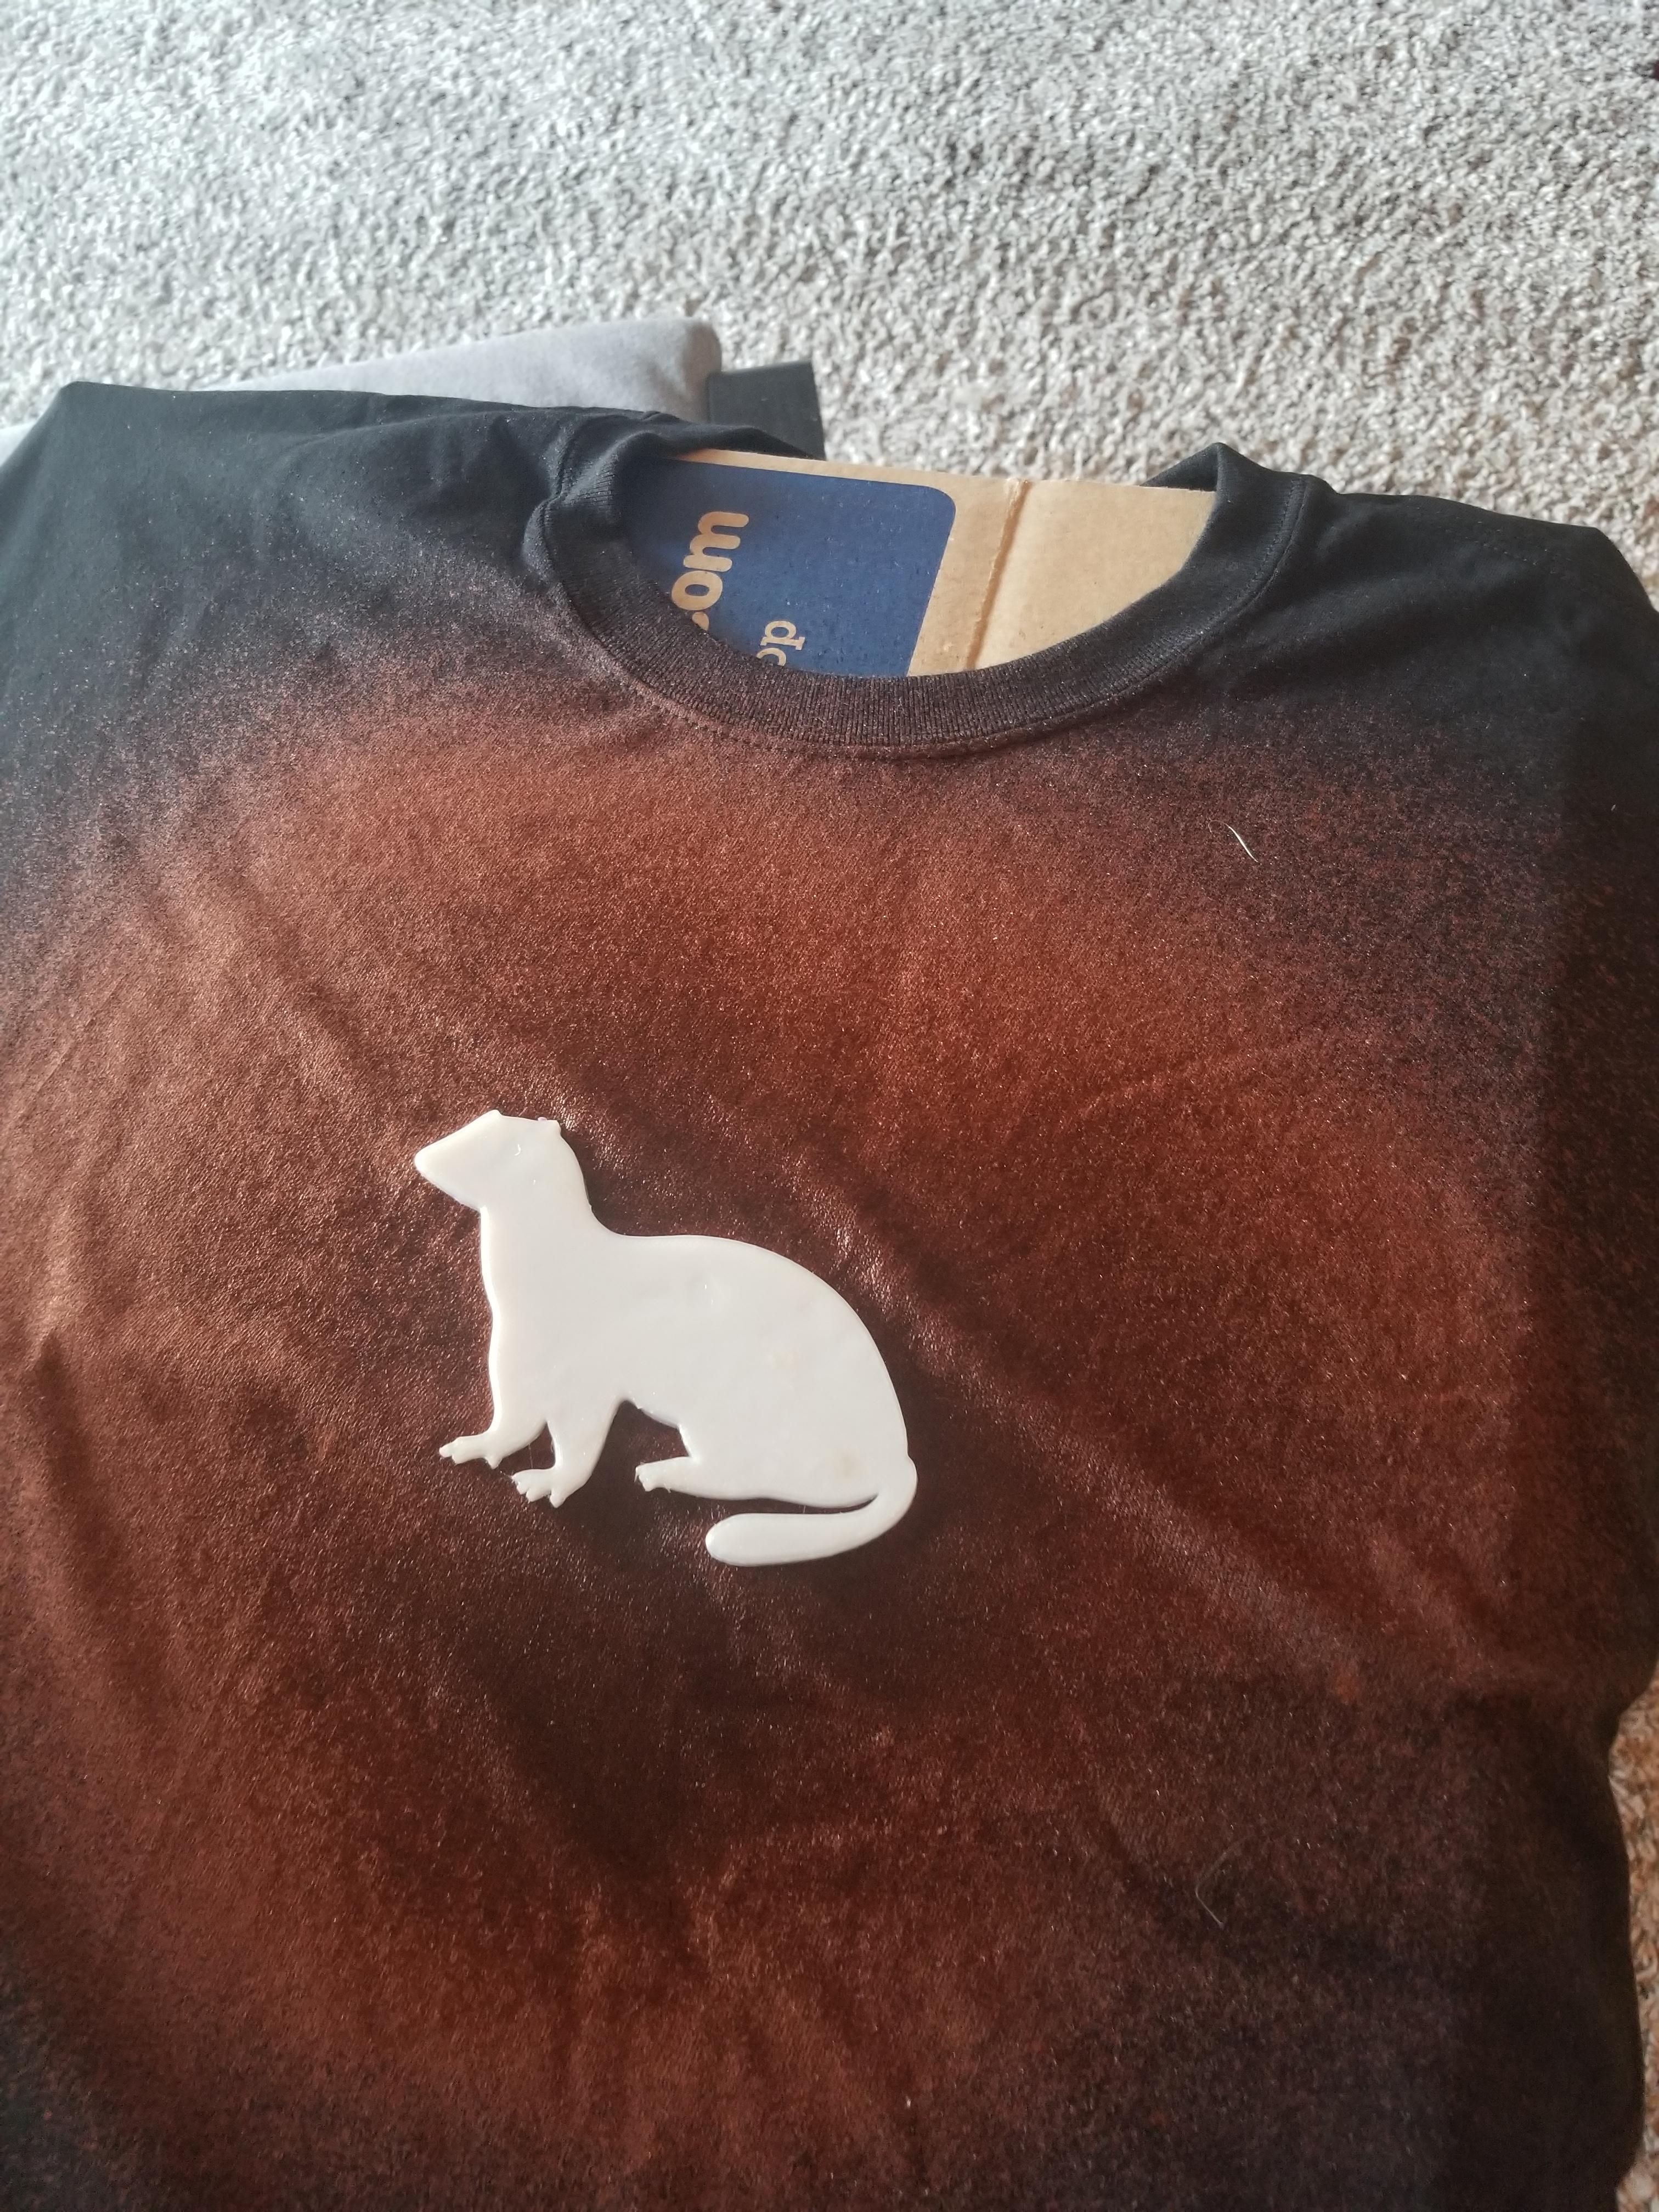
Spray bleach on and around the resist as much or as little as you'd like.
Step Six: Stop the Bleach
Depending on the concentration of bleach, results can be seen in minutes (I get this with Clorox) or hours (I saw this with a non chlorine solution). Once you're seeing results, remove the cardboard and dunk the garment in cold water. You want to soak it thoroughly. After the bleach has been neutralized, you can peel the resist off.
Step Seven: Wash the Garment
Was the garment as directed on the label, dry it, and wear it with pride.