Repurposed and Recycled Electronics Tiles
5388 Views, 84 Favorites, 0 Comments
Repurposed and Recycled Electronics Tiles

.jpg)
.jpg)
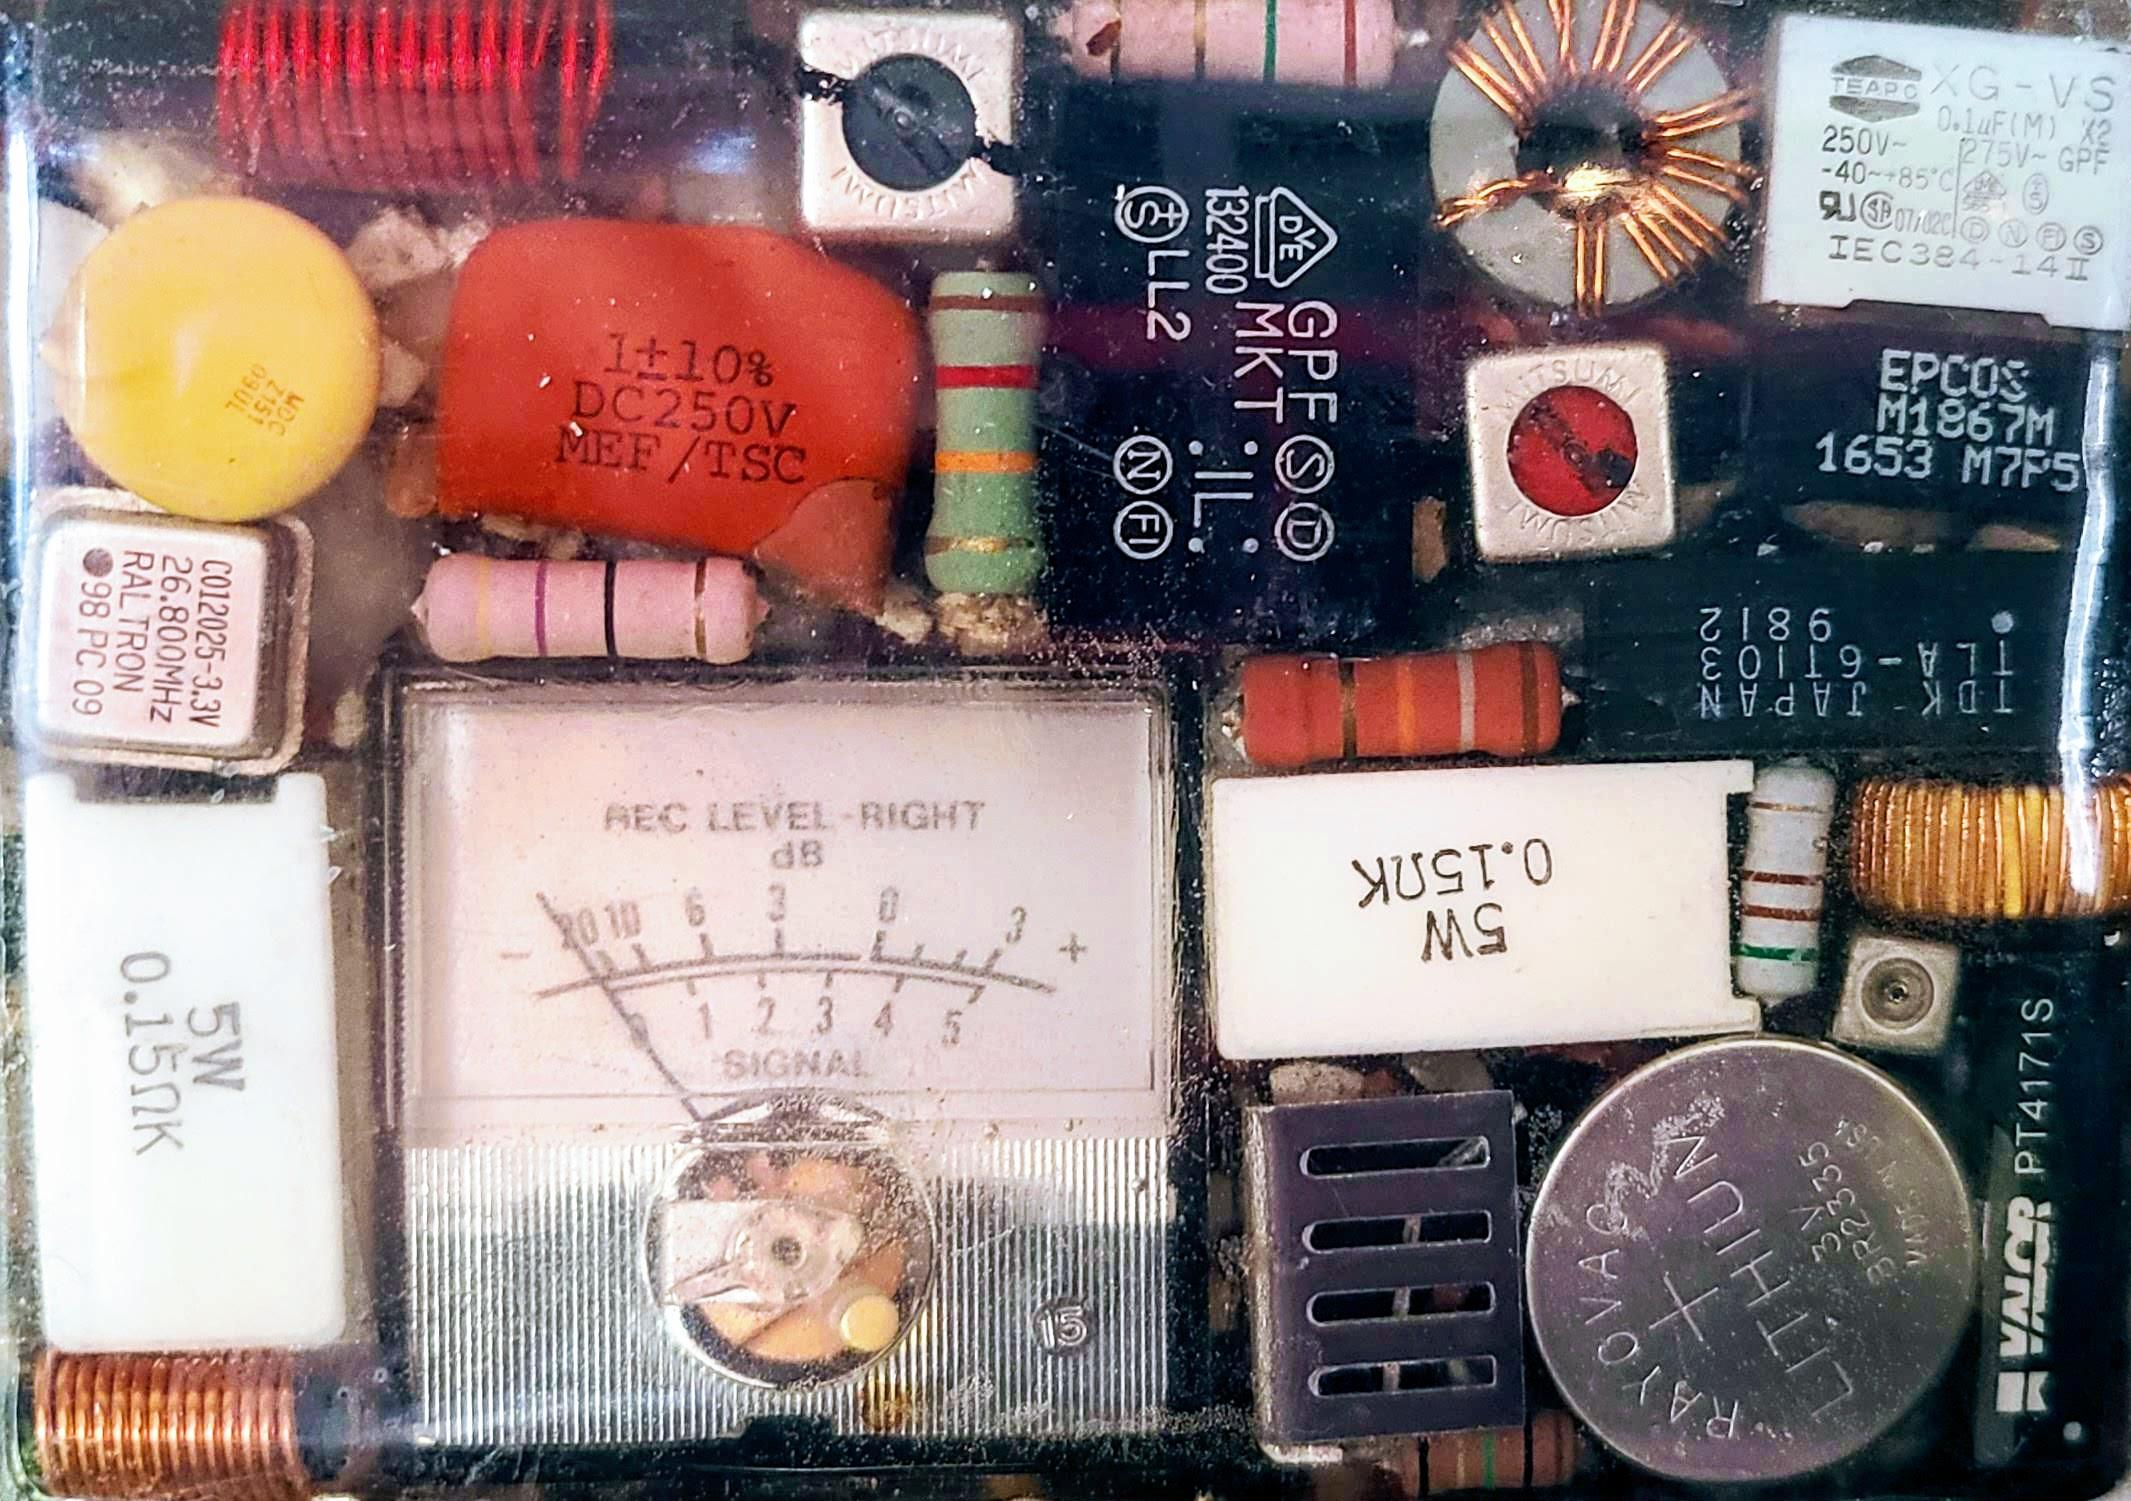
I needed something to spice up my kitchen. I already had a great glass block backsplash, but I had some bare corners to the left and right of it. I knew how many TVs, cd/dvd players, radios, computers anything with a circuitboard wound up in the trash/landfill.
I was originally looking to do something with the green boards, but when I opened the item, I found a treasure of colors and textures among the things attached to the boards (I have no idea what any of those pieces are called). I have little to no experience with electronics so this was a huge surprise. I previously worked on an epoxy countertop, so I combined that knowledge on epoxy with the traditional idea of tiles on the backsplash with these little gems I found inside common electronics. They also contain a lot of recyclable plastic both the housing and sometimes inner pieces and can be kept out of the landfills. It's a win win! And so it began....
Supplies
Tile Materials:
-Paraffin wax (optional) This is usually sold in bricks. I recommend the smaller bricks or pellets because they melt more quickly. You can also get scented to jazz up the whole process! These can be found on Amazon here for $9.32.
-1 or 2 Organizers with plastic bins. You can find the bin at Home Depot or Walmart for around $17.00. It is important to find the product that has three bin sizes. If you are using this tutorial for tiling. The three sizes in this organizer are specific sizes that are progressively smaller. the middle size is exactly half the size of the large and the small is half the size of the medium. Otherwise, you can use any container without a lid.
-Spray dry teflon lubricant. It can be found at Ace Hardware here for $6.99. I used this brand, but I imagine that you could use any dry wax lubricant. It is important that it is not an oil or lubricant that remains a liquid. This one sprays on wet but then dries to a wax.
-Table Top Epoxy Resin. Illstreet is the brand that I found to be the best at $22.95 for the quart size and $66.75 for the gallon size. I purchased the gallon size to make 115 tiles and had a little less than half left over. I have tried others from the craft stores and found that I like this one the best.
-Many, many old electronics- Free
Tools:
-Palm sander (not orbital) or vibrating tool of any kind
-Coarse sanding block
-Optional heat gun
-Many disposable rubber gloves
-Safety glasses
-Rigid plastic containers approximately the size of 1/2 gallon (these can be found at most dollar stores) for single use
-2 Plastic measuring cups for each batch single use (these can also be found at most dollar stores)
-Paint stirrers (sometimes paint store will actually give these away
-Electric burner to melt wax
-Crappy pot to melt paraffin wax (this will ruin the pot)
Tools for dismantling electronics: (not all of these tools are required, but you never know what you will need for this part)
-Flat head screwdriver
-Phillips head screwdrivers of varying sizes
-Set of small hex keys
-Small wire cutters
-Needle nose pliers
-Soldering iron
-Hammer
Safety and Preparation
Safety first! All electronics are to be unplugged before dismantling. Safety glasses and gloves should be worn at all times. When pouring and mixing epoxy resin, be sure to work in a well ventilated area.
Once you have collected a bunch of bits and pieces from your circuitboards and sorted your pieces, prepare your work area. Lay out newspaper or a plastic table cloth on a table where you can access the bottom side of the table. Make sure the area is clean and reasonably free of dirt and dust. Lay out your containers from the organizer boxes with your sorted pieces. Lay out stirrers and all mixing containers.
Finding and Dismantling Electronics


You can find these by putting ads on local facebook or craigslist. You are recycling electronics. Be sure to add that tidbit to your posts. Old computer parts, cd/dvd players, even VCRs. I have shown an old TV/monitor as an example. I am honestly never quite sure what kind of treasures I will find. The monitor only required the phillips head screw driver, but you never know what you may need. It helps to have different sized screw drivers. I dismantled several electronics and set aside all the boards to be "picked" when I had a little collection. When picking the pieces off the board, it might make life easier to use the soldering iron on the back of the board while pulling the piece on the front. This is how they were assembled, right? You will want to use your fingers or a small flat head screwdriver to pull/pry off the items. Most are fragile and would get damaged if you were to use pliers or any grabbing device other than your fingers. Don't worry you will get the hang of it.
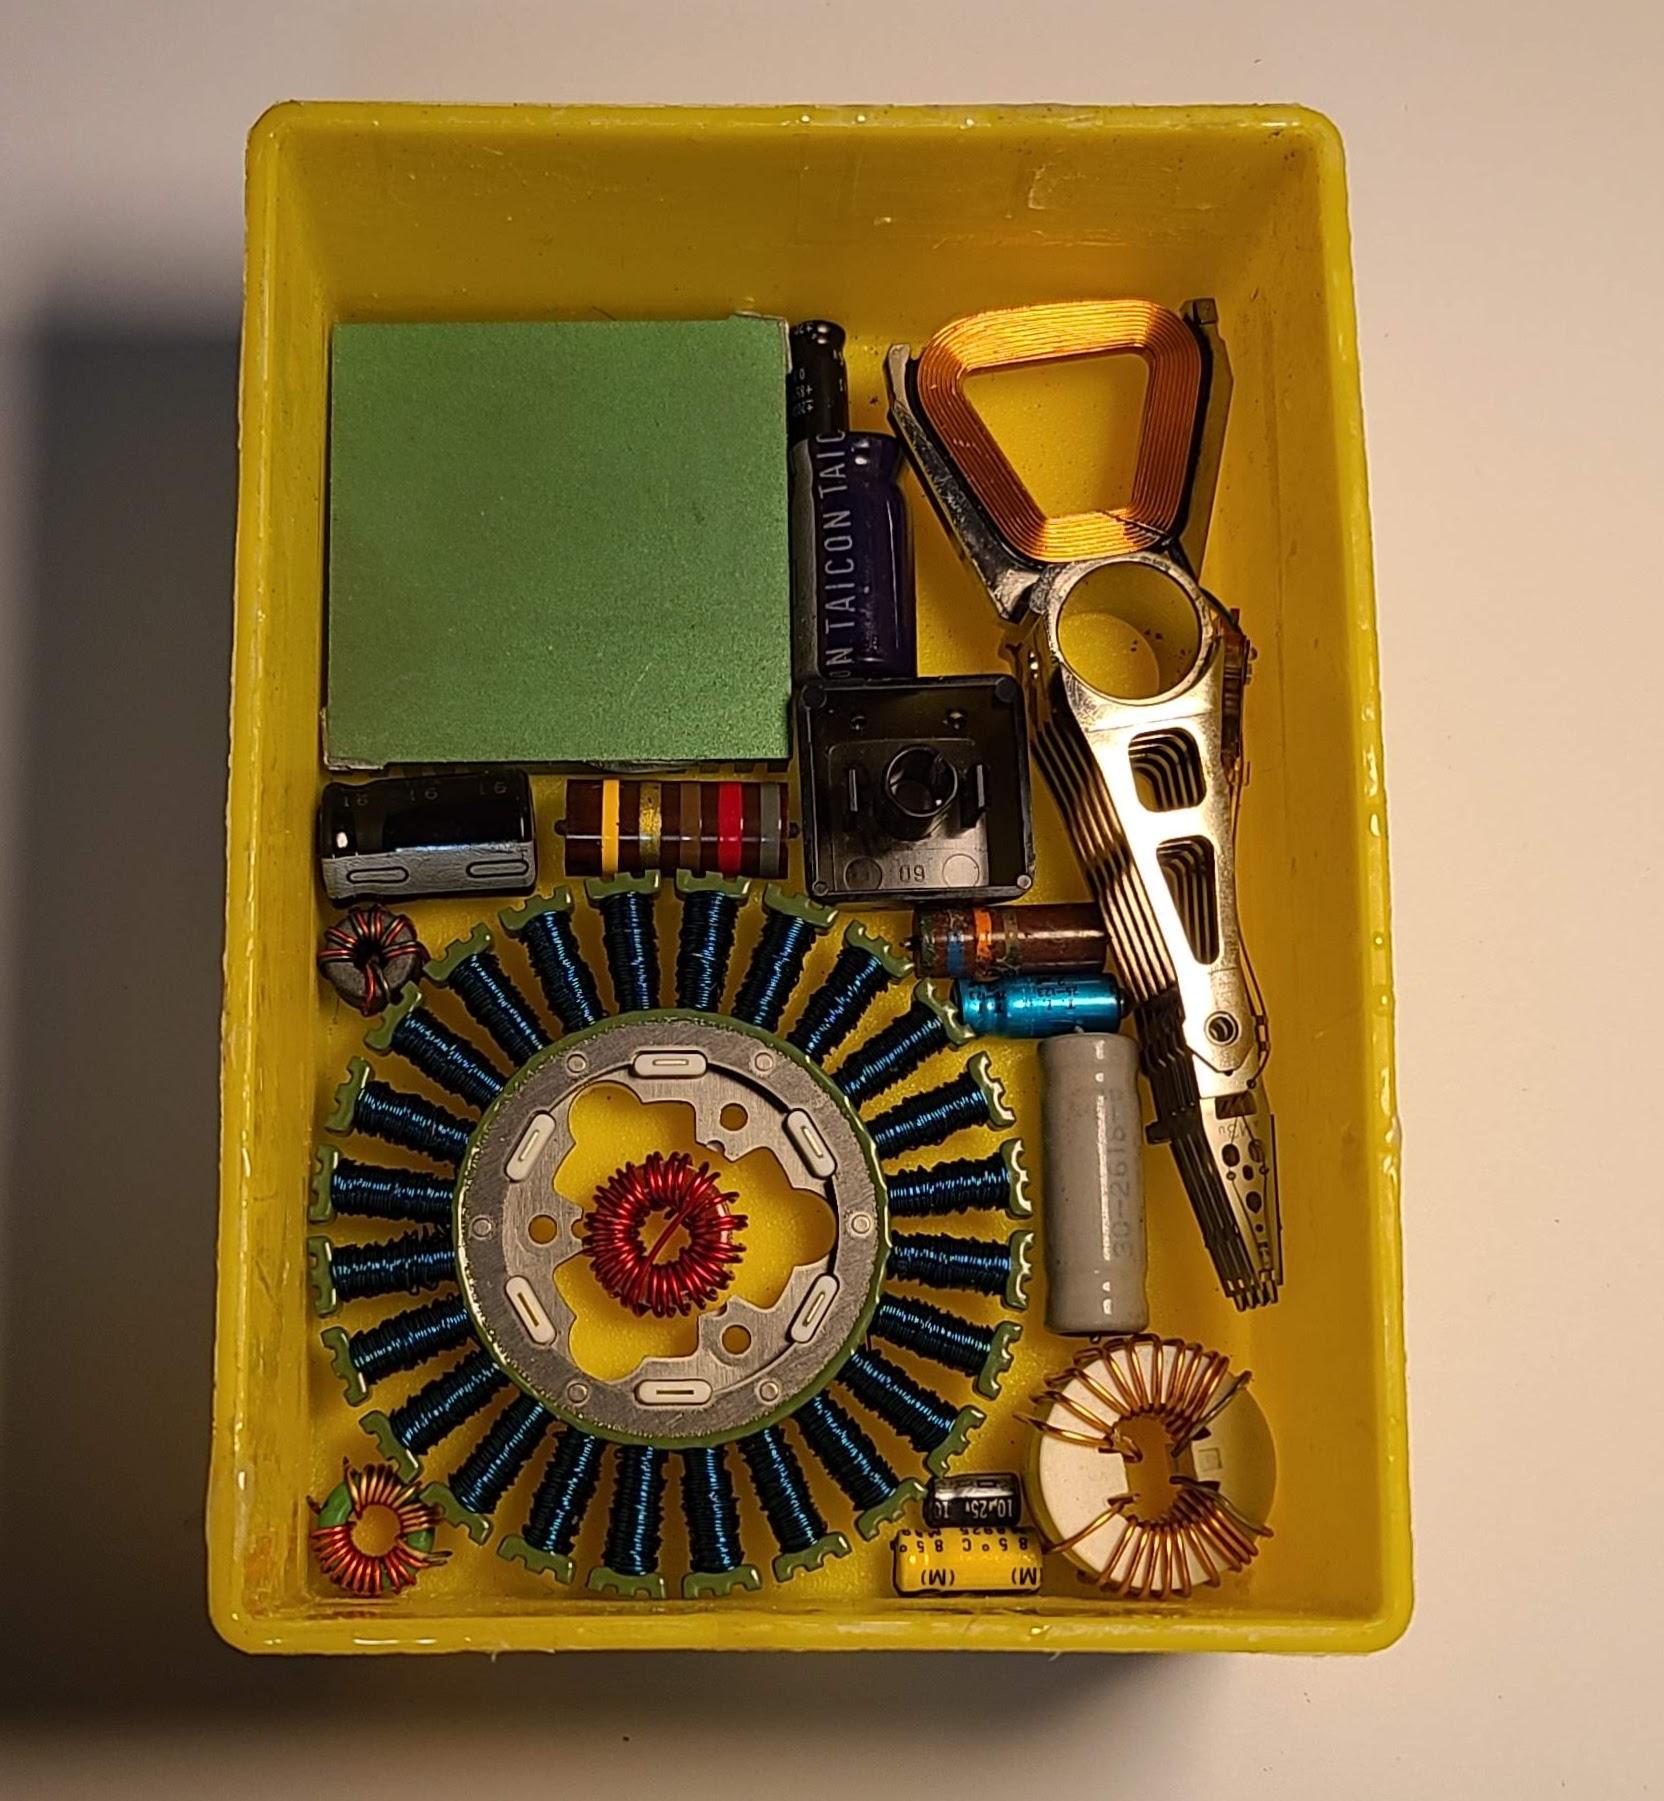
I used the plastic boxes from the second organizer to sort the pieces removed from the circuit boards or you can use anything from plastic cups to food storage containers. If you don't care to keep your tiles containing uniform items. You can sort by size, type or color. Sort the pieces any way you like. When the project is complete, you can store your pieces in the molds in the organizer for future use.
Preparing the Molds


Take the molds that you plan on using (only do two or three for the first round so you can get a feel for it) and decide if you want slightly curved edges and corners. If you want sharper edges, don't use the paraffin wax. If you want the slightly curved edges then you put melted paraffin at the bottom of the mold.
If you want the tiles to be a uniform thickness, now is the time to mark, with a permanent marker the height of the wax and the height of the tile (this needs to be 1/4" to 1/2" higher than the items inside). Use an electric stove or small plug in burner to melt the wax and pour approximately 1/4" (or to your mark) in the mold. As the wax dries it will slightly shrink creating a sunken area in the middle. The wax must be dry prior to lubricant application. Whether you use the wax or not, you must use the spray lubricant. Spray all interior surfaces being sure to use just enough to avoid drips. Let the lubricant completely dry.
Planning Your Bits and Pieces


Take an unwaxed/lubricated mold and pre-plan your bits and pieces. Snap a photo for later reference. If you want to just go for it, by all means, go for it without pre-planning!
Mixing and Pouring Epoxy


Mix the Epoxy Resin in the smallest amount as the first batch will be for a test. Using the measuring cups mix the epoxy EXACTLY at a 1:1 ratio. If the measurements are wrong the epoxy will not set properly. There is a time limit but take your time to get it right. Pour about 1/4" in the bottom of the mold and place your pieces in position. Remember, the bottom is the front so the side of the pieces visible will be facing down. There is a little bit of wiggle room while you are positioning. Be careful not to push down on the pieces. They should be slightly floating on some of the epoxy. Now cover the pieces with at least 1/4"-1/2" or epoxy depending on how thick you want your tile or to your mark.
Place the completed boxes next to each other but not touching on the table. Using the vibrating tool without any sandpaper, power on and move the tool on the underside of the table under the boxes. This is done to remove the bubbles. In addition, you can used the heat gun to bring the bubbles to the surface. Always keep the heat gun moving so that nothing melts. This is not to dry the epoxy. This step must be completed as soon as the boxes are done to prevent any bubbles from setting.
This needs to set for 4-8 hours. I always work with caution so to stick to 8 hours. You will be looking at the back of the tile. It may not be too pretty but that is ok, it is the back.
Releasing and Finishing


After the curing period, turn the container over and tap the mold squarely on a table. You may need to squeeze the top edges to help the release of the tile. you may notice some sharp edges around the back edges of the tile, use your sanding block to flatten the back edges to be flush with the back of the tile. This helps it to lay flush against the surface on which you are putting the tiles. This completed tile can be installed, as I did, in any tiling project or if you used a different container with a different application in mind. Now you are ready to go!