Repairing a Computer Keyboard
by LasVegas in Circuits > Computers
194100 Views, 40 Favorites, 0 Comments
Repairing a Computer Keyboard
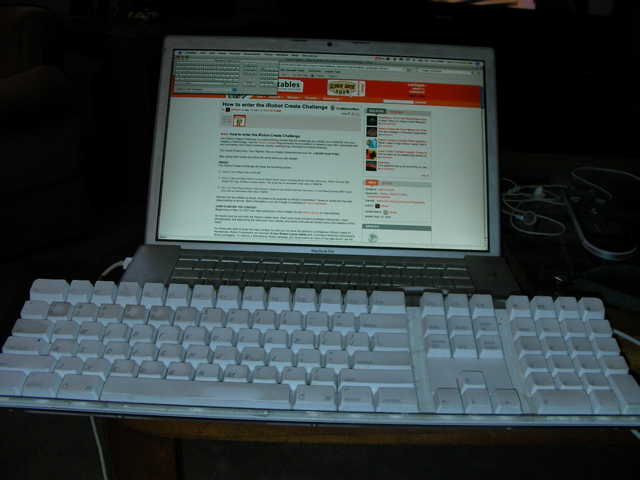
This instructable will guide you through diagnosing and possibly repairing of a USB keyboard.
In today's throw away society, we tend to run out and buy a cheap $15 keyboard to replace our previous high quality keyboard. This is fine as a temporary solution, but eventually we're going to want that quality feel and function back.
Most of the time, quality keyboards die because of abuse. Not necessarily intentional, but abuse nonetheless. A few drops of any beverage with acid it in will surely cause an eventual failure. This would include almost any juice (most are "vitamin fortified" which included citric acid) or soda.
Supplies
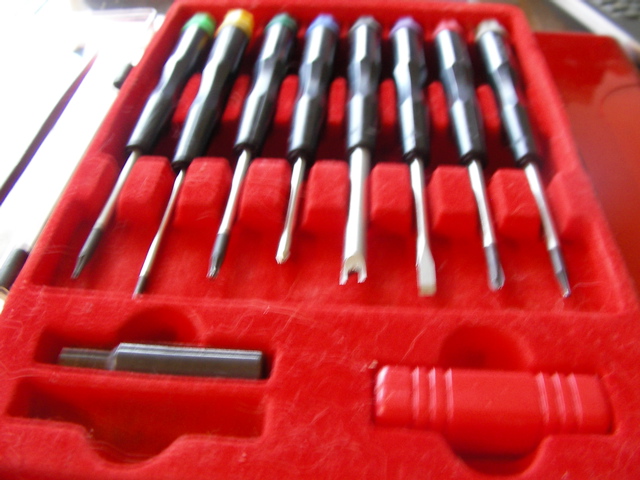
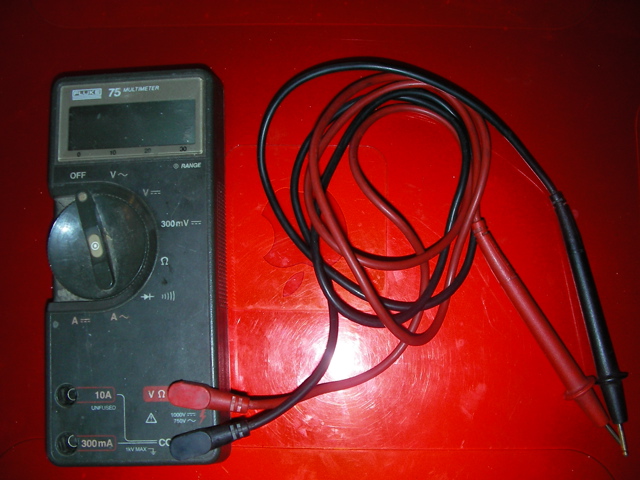
We're going to need drivers for our specific keyboard. Most need only a small Phillips screwdriver. Some, such as this one, may also need a tiny Allen or Torx driver. I have a kit that has about every tiny driver one would ever need... It's handy to have.
We'll also need an Ohm Meter or Multimeter and a computer. I'm using a Mac here, but any Computer will do. We'll also need an On-Screen Keyboard for testing.
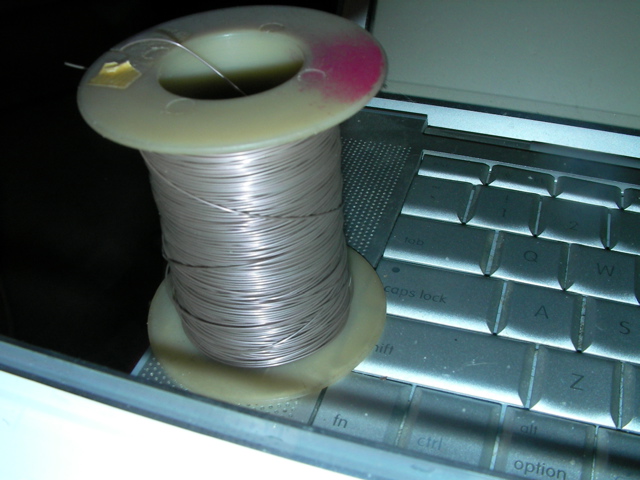
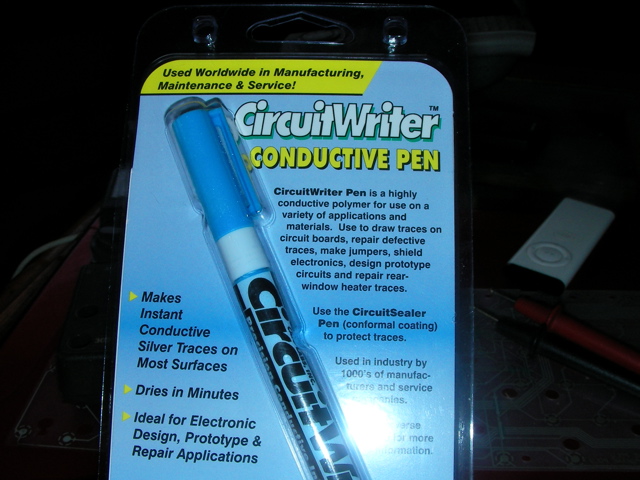
Lastly, we'll need about 6-8 inches of 30 guage insulated wire, commonly called wire-wrap wire and a conductive pen (available from Radio Shack).
Prepare the Computer.
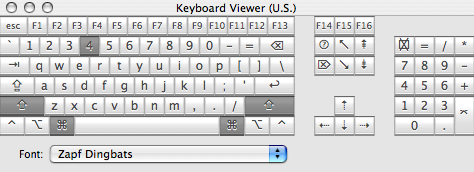
The first thing we need to do to is diagnose the keyboard. Find out what' wrong with it. Otherwise, we'd have no hint as to what to fix.
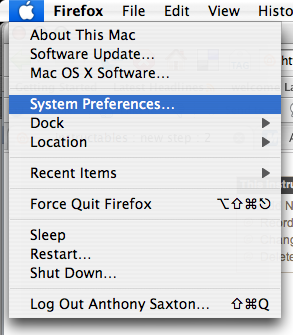
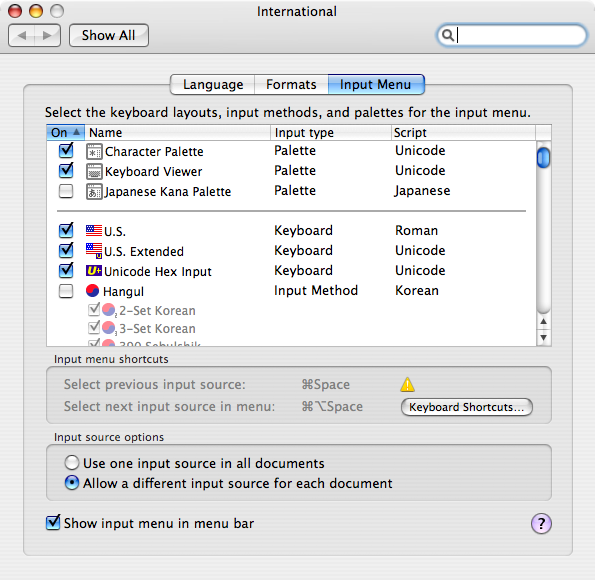
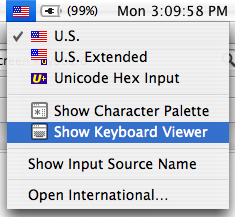
On a Mac, we need to enable and bring up the Keyboard Viewer. Open the International preferences pane located in System Preferences (under the Apple menu). Place a checkmark next to Keyboard Viewer. Close the preferences pane. Now, we can select the Keyboard Viewer from the Flag menu.
On a Windows machine, go to the Start menu, point to All Programs, point to Accessories, point to Accessibility and finally select Onââ¬â€Screen Keyboard. Note: A message box with a link to more information about the Onââ¬â€Screen Keyboard may appear. To close the box, select OK.
Test the Keyboard
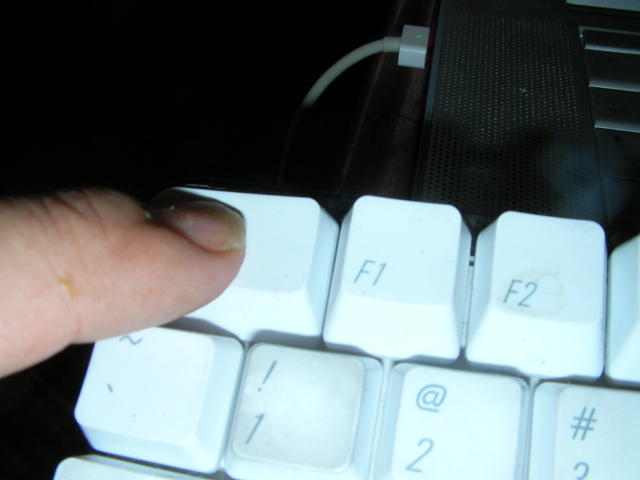
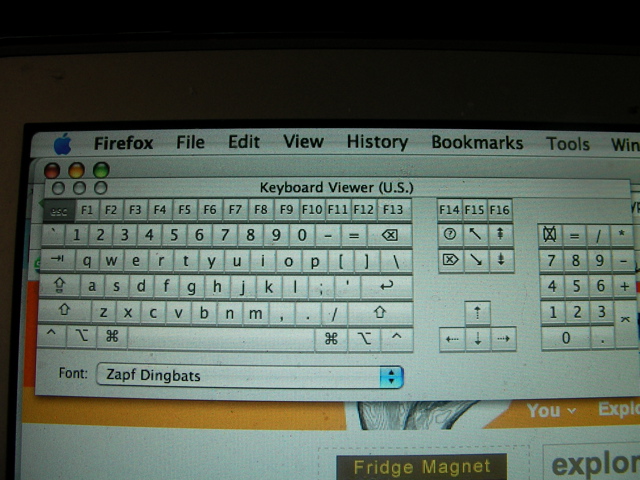
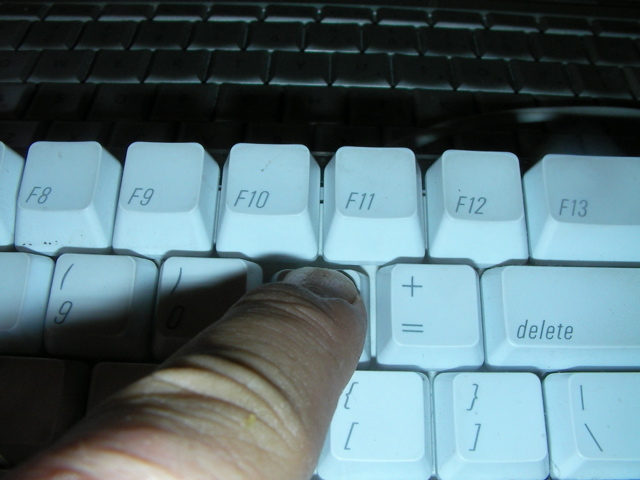
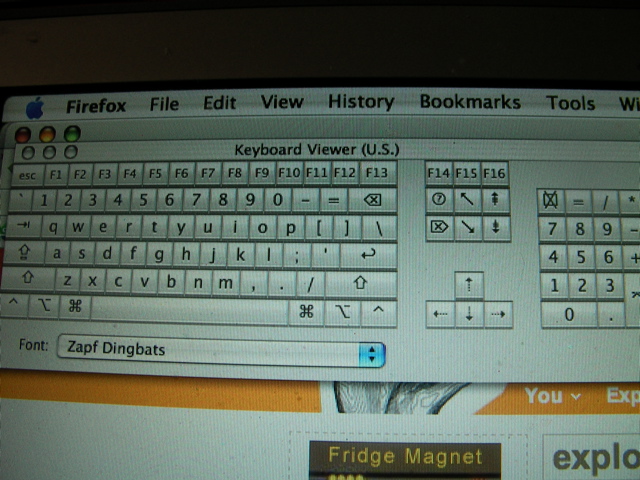
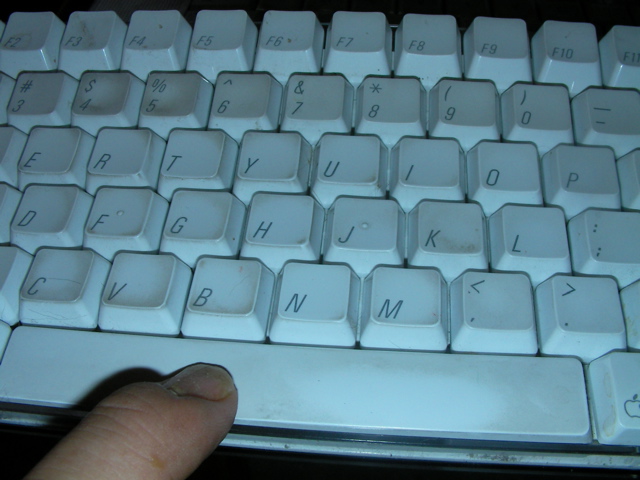
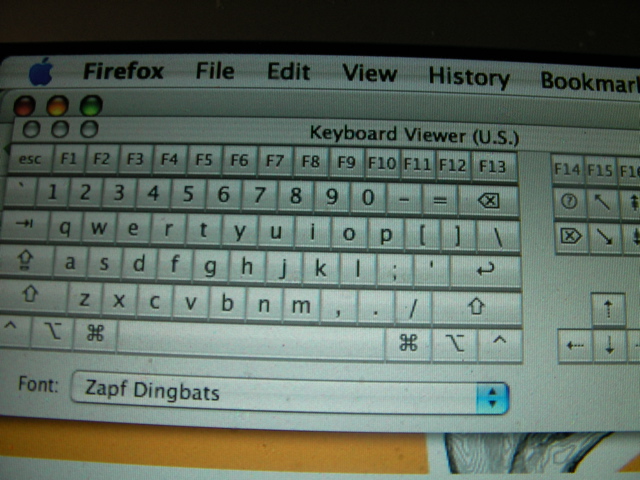
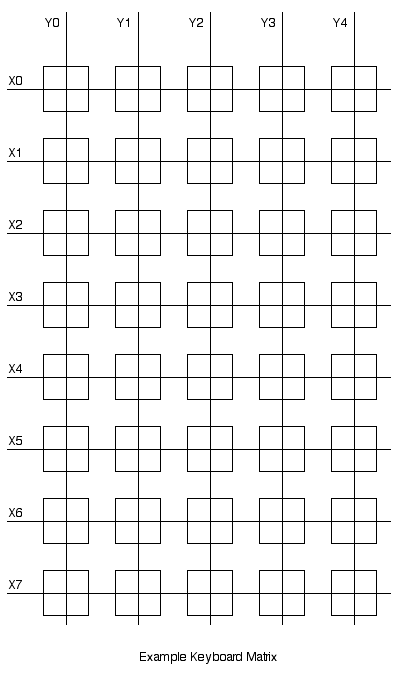
Plug the keyboard into an available USB port. It's okay to leave another keyboard attached. The computer can see both simultaneously. To prevent entering erroneous data into an important document, we may want to open a new text file in TextEdit, WinWord or our favorite text editor...
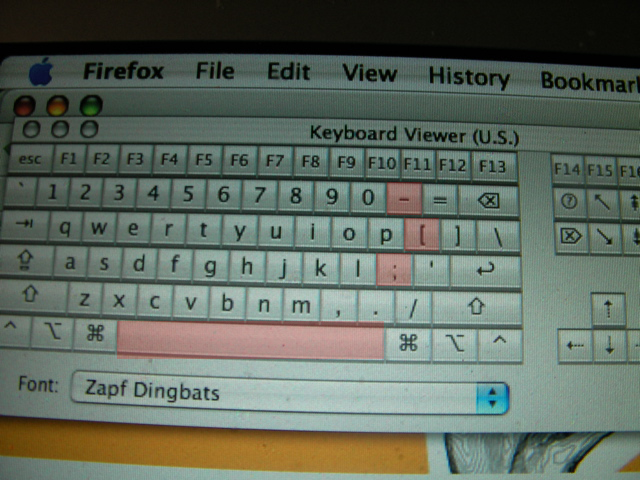
Starting from any corner, start pressing one key at a time and note that the same key displays grey on the screen keyboard. Proceed testing every key and note those that don't respond. On this keyboard, keys 'minus', 'left bracket', 'semi-colon, and Space failed.
Note how the bad keys follow a pattern. This is indicative of a failure in the keyboard matrix. Just one trace would suffice to cause this failure.
Disassemble Keyboard
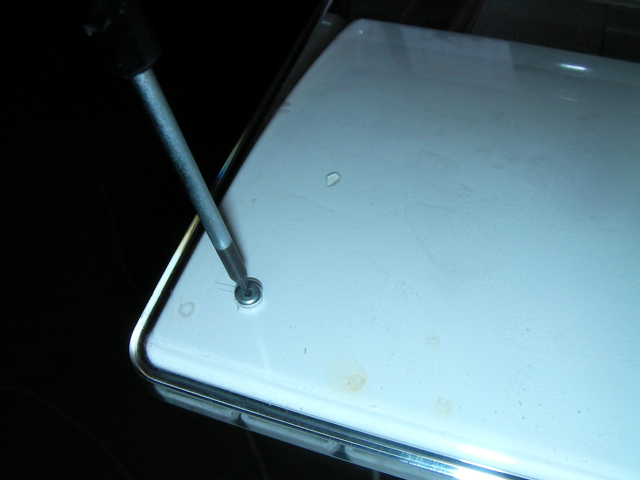
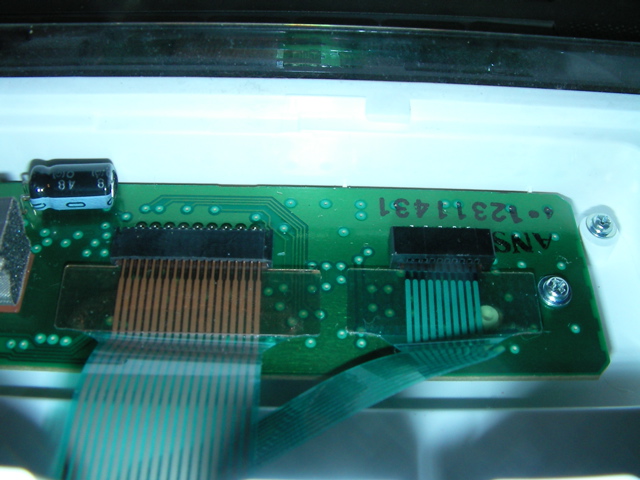
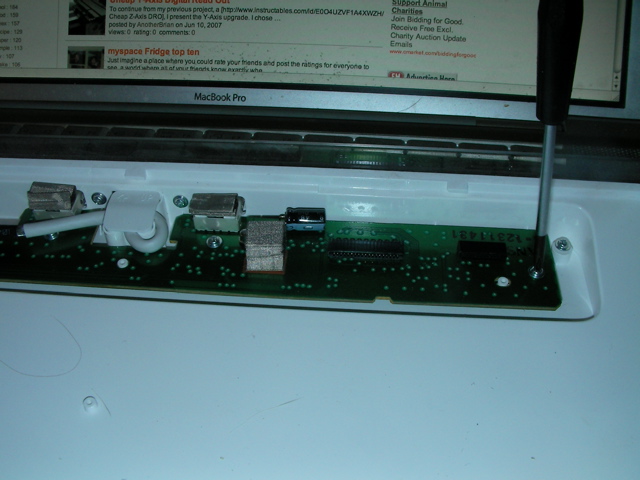
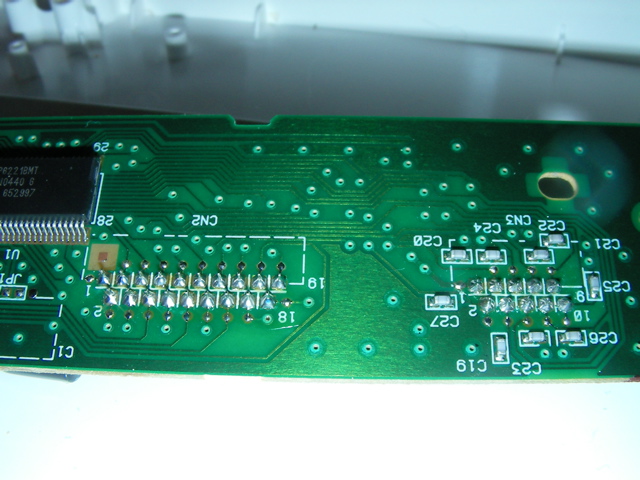
Disassemble the outer case. This consists of removing three Allen screws from the underside of the keyboard. The keyboard assembly then lifts out of the base.
Note that two ribbons are coming from the keyboard assembly and connected into the keyboard encoder circuit. Remember that keyboard matrix from the previous step? These ribbons are the X and Y axes of that matrix.
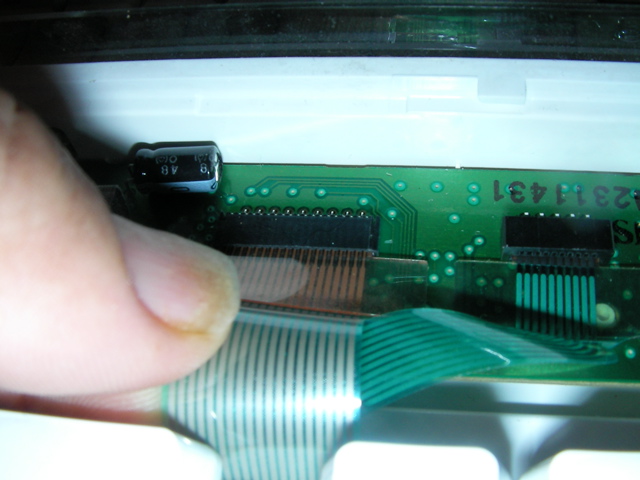
Depending on the manufacturer of our keyboard, these ribbon cables may be latched in or held with a pressure connector. In this case a pressure connector was used. To remove these, just pull on the tabs on both sides on the cable. Pull straight back to avoid damaging the cable. On the latched type connectors, we would need to open the latch on both sides of the connector. The ribbon should then slip easily out of the open connector.
Remove all screws holding the encoder board into place. We need to access the "solder side" of the board.
Construct Test Jumper

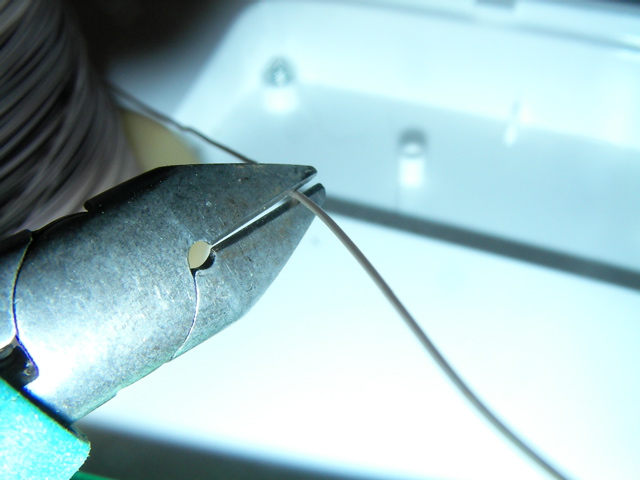
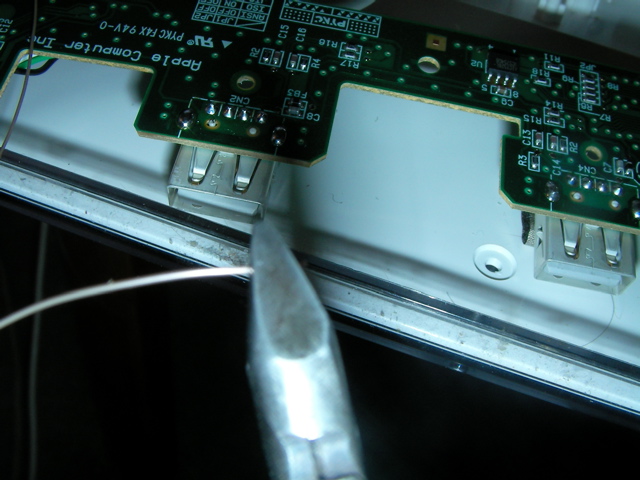
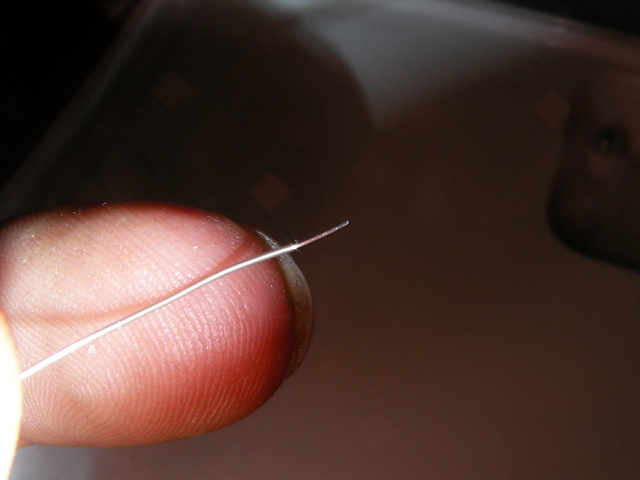
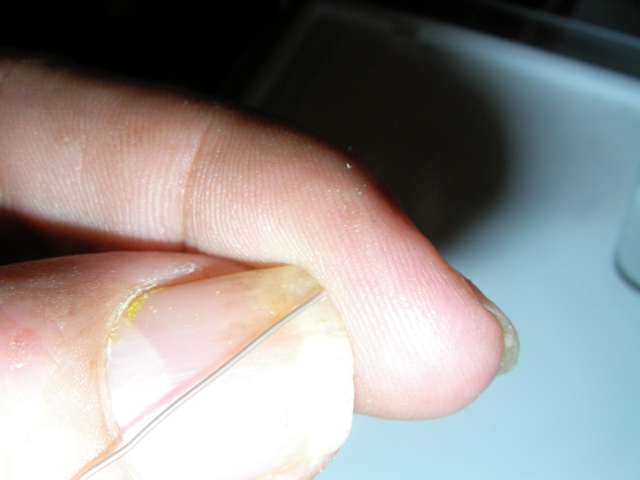
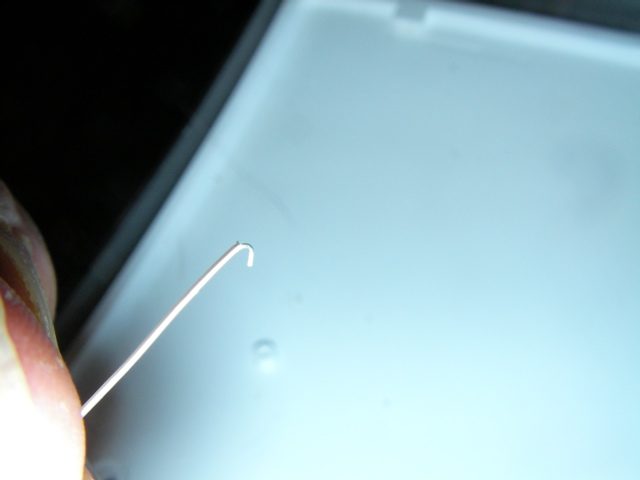
Now we need a jumper wire to test the keyboard encoder.
Simply cut a 6-8" length of 30 guage wire and strip about 1/32nd to 1/16th of an inch from each end. Using your finger and thumbnail, curve one end of the exposed wire to form a tiny hook. This will help us hold that end in place while we probe with the other end.
Simply cut a 6-8" length of 30 guage wire and strip about 1/32nd to 1/16th of an inch from each end. Using your finger and thumbnail, curve one end of the exposed wire to form a tiny hook. This will help us hold that end in place while we probe with the other end.
Test the Encoder Board.
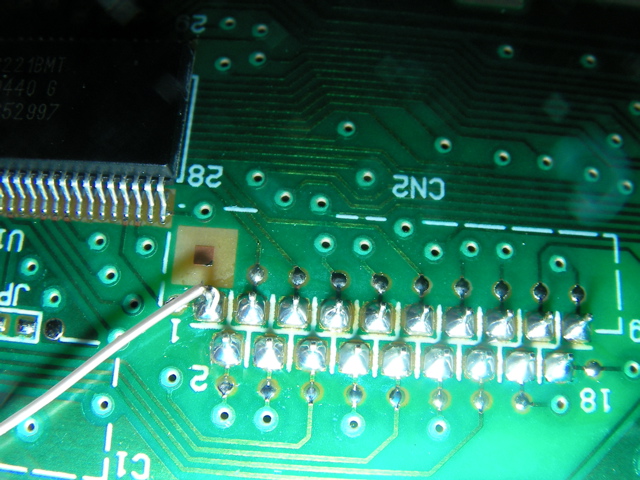
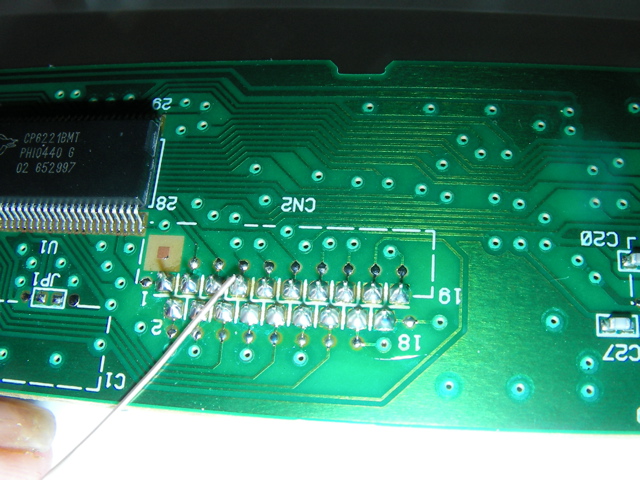
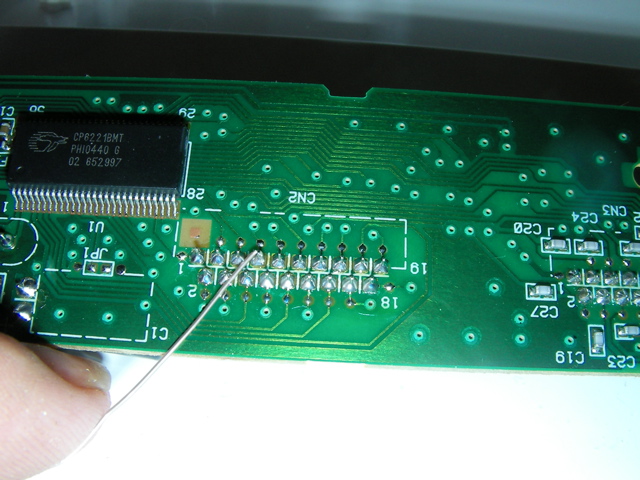
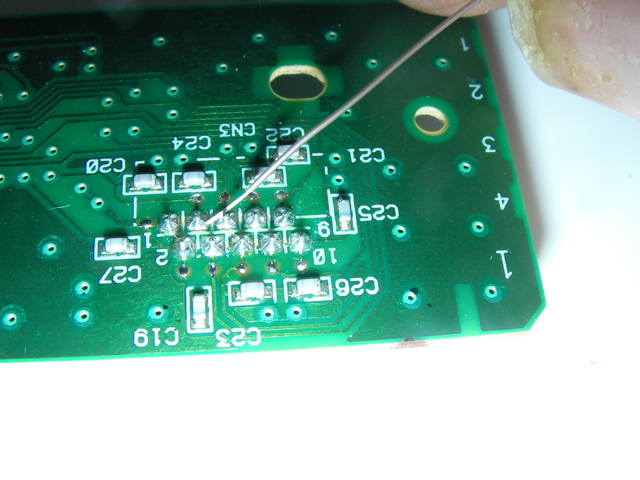
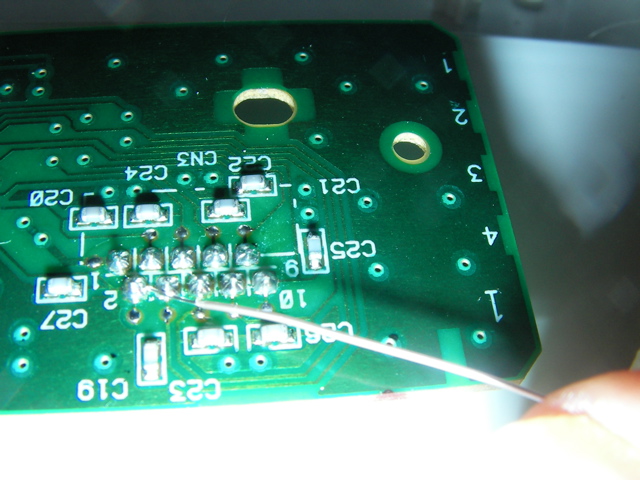
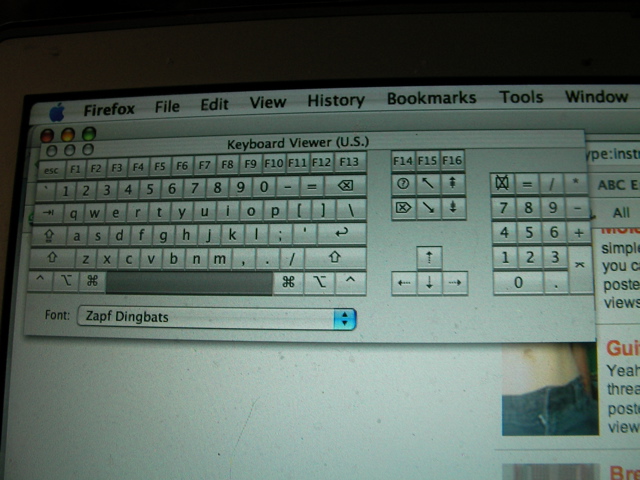
Using the jumper wire from the previous step, we will test the Keyboard Encoder. If this test is successful, our chances of successfully repairing the keyboard just went through the roof. A failure here would normally mean the keyboard's a doorstop.
Examine the two connectors. One will be smaller than the other. Since the failing keys are positioned vertically from each other, the failing line will likely be one from the larger connector. If the failed keys had been across the keyboard, we'd look for the bad line on the smaller connector. We will use the hook on the suspect connector and use the other to test it.
Using one hand, hook the hooked end of the jumper onto pin one (it should be marked) and hold it reasonably tight. Too tight, we'll straigten the wire and have to fix it again. Too loose and it falls off the pin.
Now carefully drag the other wire across each side of the other connectors pins, watching for flashes in the Screen Keyboard. Pay particular attention to the failed keys.
If you see any flashes at all, that line on the hooked connector is good. If it turns on the Caps Lock key, touch that pin again to turn it off. This way we avoid shorting out the Cap Lock LED.
Proceed to move the hook to pin number 2 and retest. Continue with each pin of the suspect connector. If they all pass but none of your bad keys appear to be pressed, test again then reverse your wire and test the other connector the same way.
If any of the lines produce no reaction at all when jumped; Note that line. It may not be a problem, but a ground line for the assembly. But then is could be our entire problem too.
When you do see one or more of our problem keys appear during this test, mark down the number of the hooked pin that it appeared on. Recheck that line to verify that all of the problem keys appear when jumpered with different lines on the other connector.
In this case, the problem keys all appeared when testing line 18 (of 19) on the large connector. This is good! It means a lot more work, but the problem is in the matrix itself and probably fixable.
If the bad keys did not appear while testing either connector than the Encoder chip is bad. We could carefully examine that all the traces on the Encoder Board are intact and repair any break we find. Then test again. We're not going to go into detail of that rare problem because it isn't the situation here.
On to the Keyboard Assembly
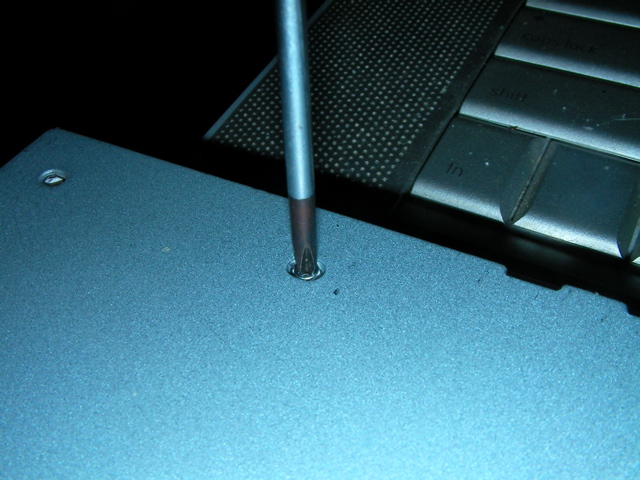
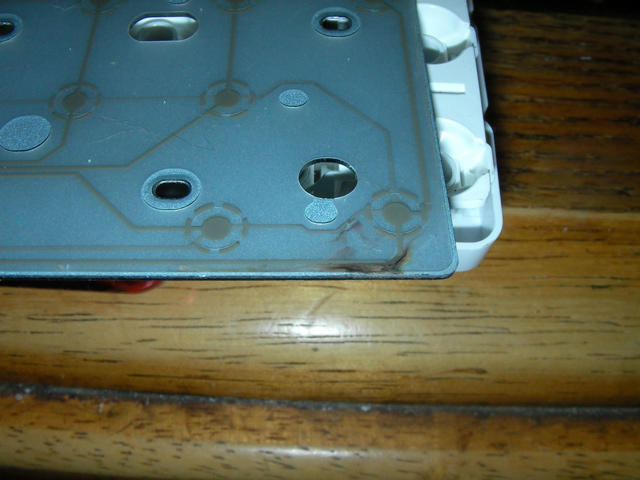
Okay... In the previous step, we determined that pin 18 of the large connector is the culprit. That trace is damaged somewhere within the Keyboard Assembly. We now need to disassemble the keyboard assembly. Take care that there are a lot of little pieces in this assembly. Don't loose any of them! Use a parts box, dish or other organized container to hold parts.
There are 33 screws on the metal plate of this keyboard assembly. This is quite typical of keyboards. All of them have to be removed. There are three additional raised screws that should be left alone. These "extra" screws act to ground the plate with the encode board when the keyboard is assembled.
When you remove the screws make sure that the keyboard is laying on a stable surface. Don't use your lap!
Once all of the anchoring screws are removed, carefully lift off the plate to expose the flexible printed circuit boards. These are the actual matrix of the keyboard. Look carefully for any discoloration that would possibly indicate the problem area.
When we lift off the matrix take great care. There is a tiny flexible cap at every key position. These must be collected and stored safely while we work.
We can set aside the keys after we've put away the little caps. We only need to work with the matrix sheets.
Follow and Test the Bad Trace.

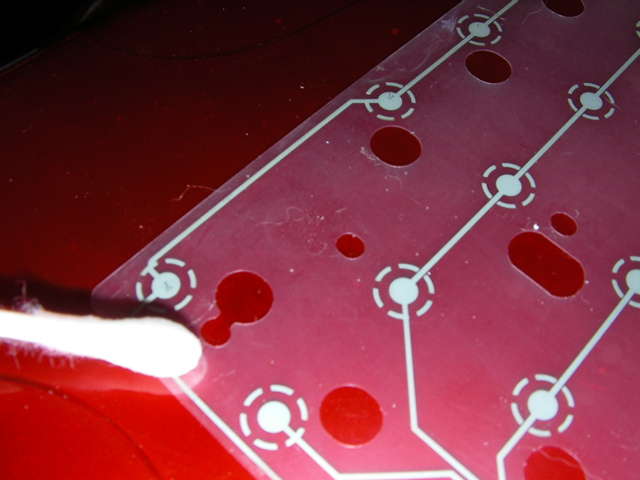
Yes. We already spotted where we think the problem is, but we could be wrong! Note that each ribbon connector lead to opposite matrix sheets. There's an unprinted sheet between them with holes at each key position. Turn the sheet so the suspect connector is on top.
Note that the three sheets are attached together. DO NOT SEPARATE THEM! We can pull them apart where they aren't melted together, but if we break the bond(s) they will never align properly again.
Follow the trace from the ribbon connector that we noted from the Encoder test. It should eventually lead to one of the offending keys. Actually it will lead to all of them, but we're satisfied when we come to the first one with the problem.
In this case, that line also led to the Asterisk (*), Plus, Minus and Enter keys on the Numeric Keypad before leading to the offending Space key. Since we had no problem with the aforementioned keys, we can assume the problem is in the trace somewhere between the Enter and Space keys.
The previously noted discoloration happens to be right on this trace! So we know just where to test.
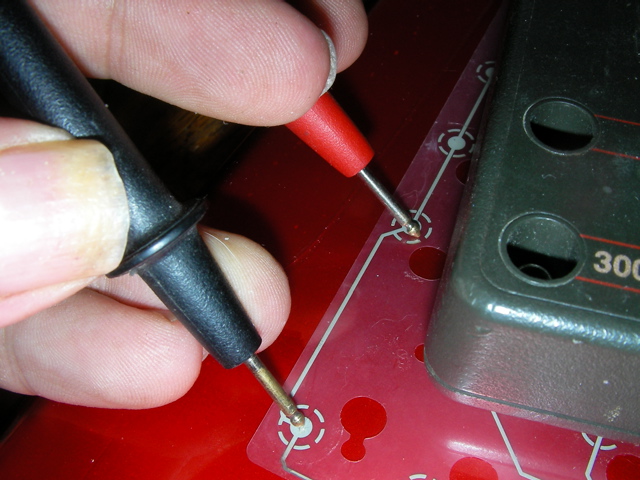
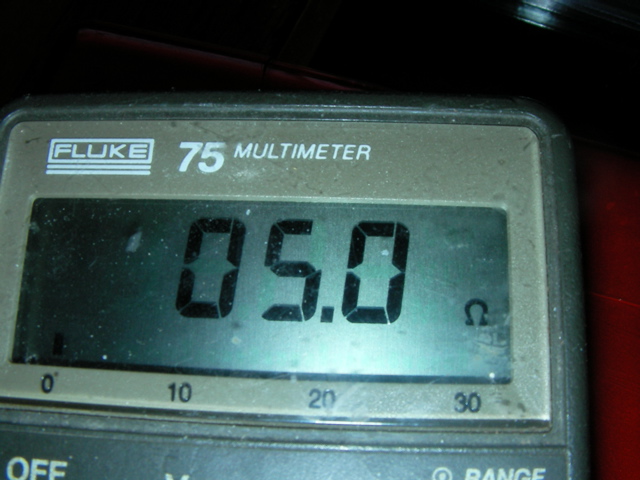
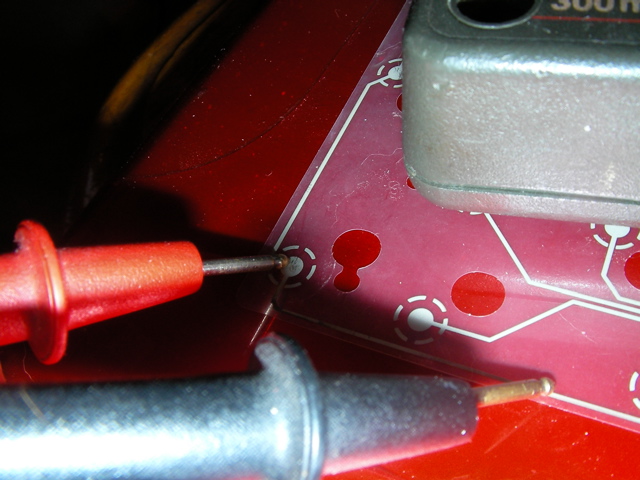
Using our Ohm Meter, measure the resistance between two previous known good key points. In this case, it reads about 5 ohms. Now measure from the last known good key point to the first bad key point In our case, this reads about 85K ohms. Yep! The trace is bad!
Use a cotton swab dipped in clean water and lightly clean the bad area. Let it dry completely.
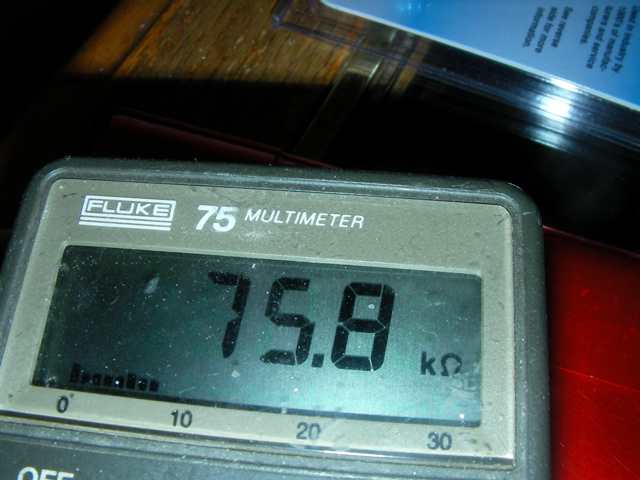
Remeasure the trace from before the bad spot to after the bad spot. Here we read about 76 K ohms. This needs repair!
Repair the Trace

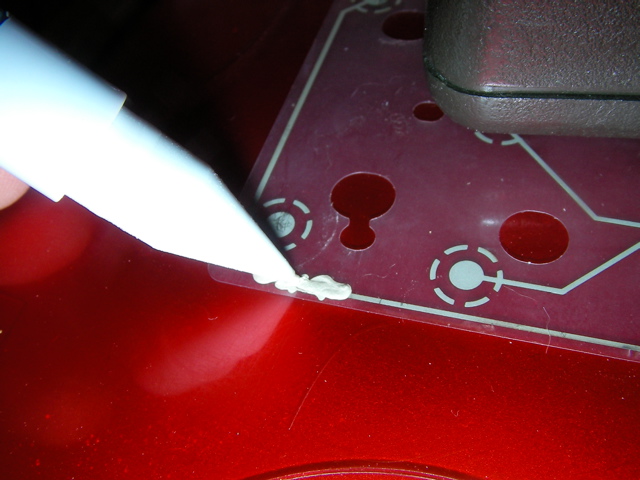
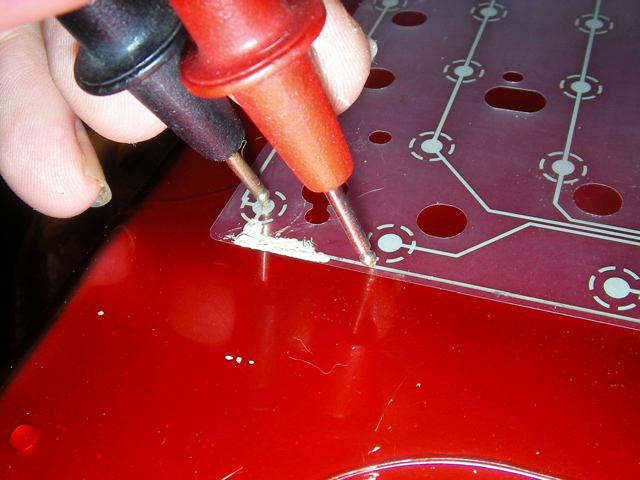
Using the Conductive Ink Dispenser, carefully dab the ink from a good spot of the trace before the problem area, over the problem area and into a good spot after the problem area.
Don't "draw" it on like an ink pen or felt marker! The liquid component in this pen will dissolve the original tracing material and break it if you scratch across it. Just dab lightly to cover the area. Also be careful not to get too near another trace.
Use a weight to hold the other sheets away from this area for at least 10 minutes to let it dry.
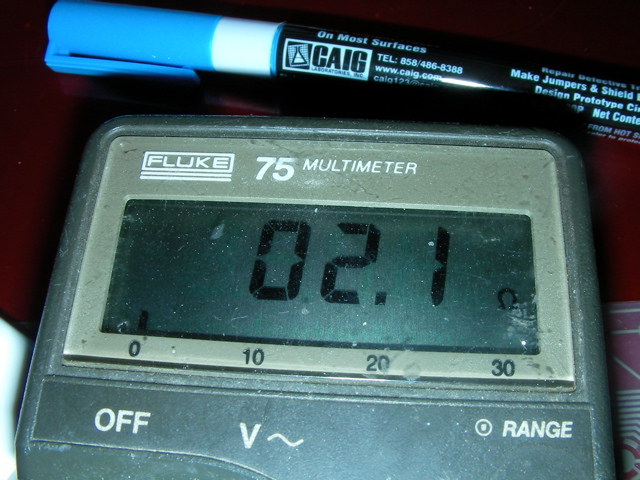
After 10 minutes, test across the problem area. Don't measure on the patched area, but the original traces before and after the patch. We now measure about 2 ohms. I'd call that a success!
Now for the hard part! :)
Reassemble the Keyboard Assembly
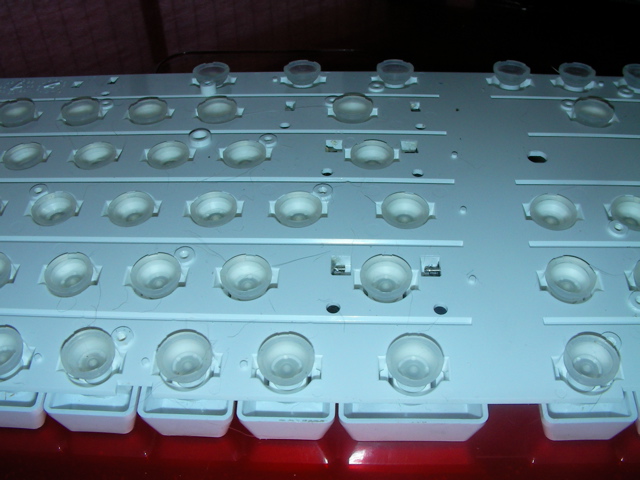
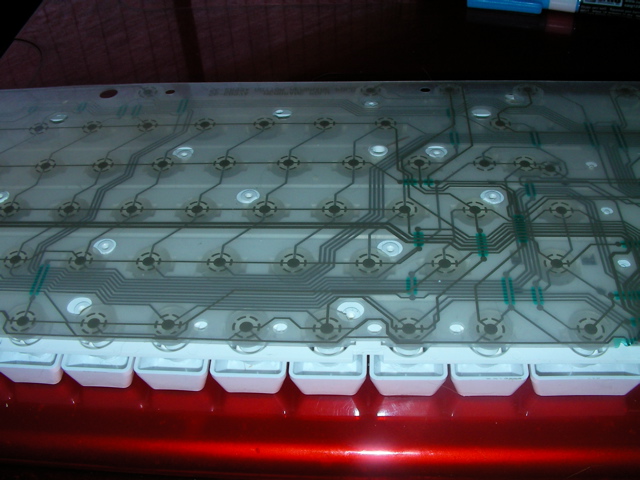
Return the keyboard to the solid surface and carefully place the flexible caps at every key position. Note that some keys on the edges are pushed up by the weight of the assembly. Make sure that the little nub on the cap is in the key's hole. On the others the caps simply need to fit the recess. Make sure that every key has a cap! If we're missing any, get on our knees and find them! They're easy to bounce away.
Take extreme care that there are no cat, dog, human or whatever hairs anywhere around the caps or on/in the matrix sheets! If there are, clean out the hairs with that wet cotton swab.
Now we need to place the matrix sheets exactly in the right position. Note that there are a number of "keys" that appear as raised plastic on the Key Assembly. These will pass through matching holes in the matrix sheets. Also note the position of the Caps Lock LED. There will be dark contacts on the matrix sheets that will line up with the LED perfectly.
Very carefully place the matrix sheets in the proper position. Don't slide it around or we'll likely move our caps from where they're supposed to be.
Reattach the Back Plate
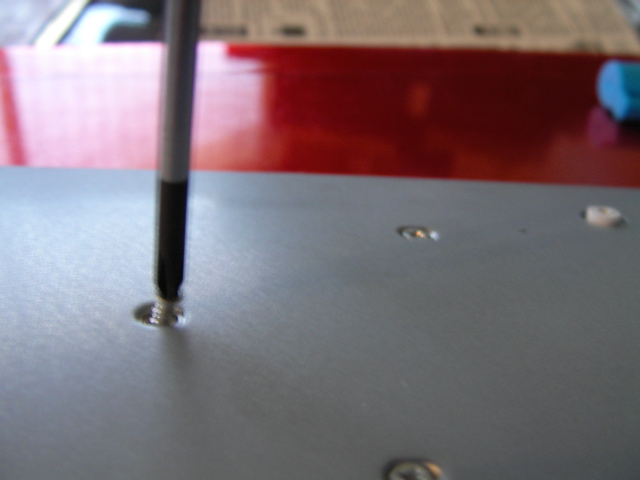
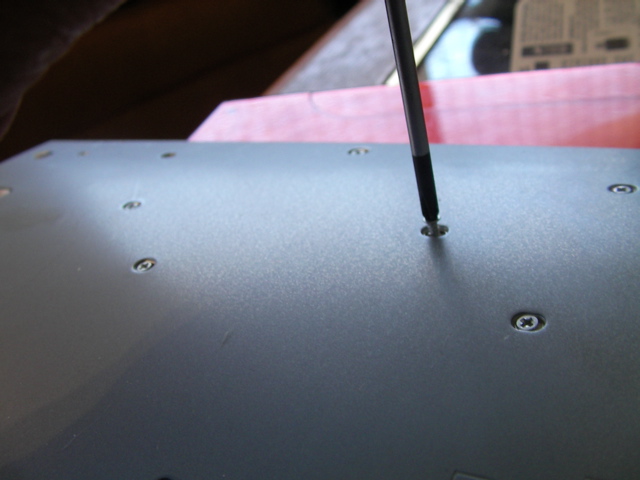
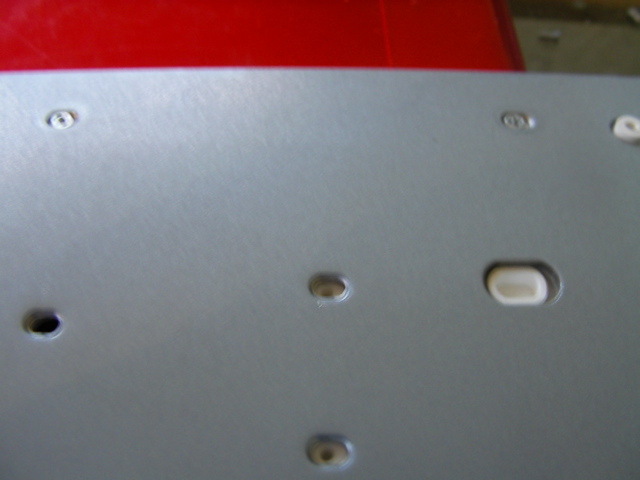
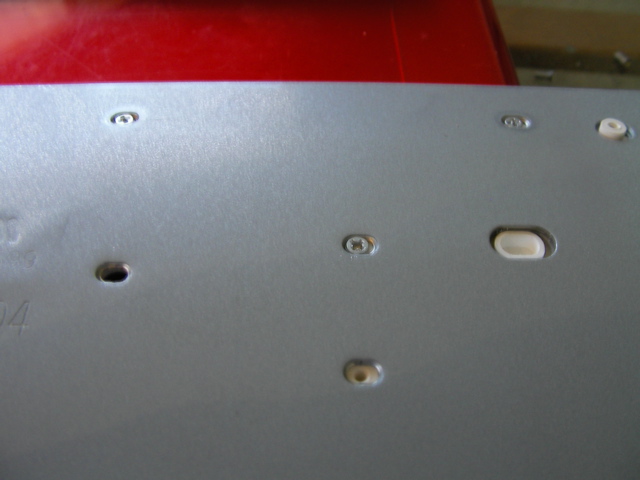
Carefully place the backplate over the Matrix Sheets in the correct position. Note how the anchor holes line up.
This plate was attached with "self-tapping" screws. For this reason, we must align the threads before feeding the screws in. We do this by turning the screw counter-clockwise until we feel the click of the threads lining up. Then carefully turn clockwise to screw in the screw. If the screw starts to tip, pull back and realign the screw. Any cross-threading (cutting new threads) could destroy the keyboard.
Note how the holes in the plate are elongated. when we're done, they should all be roughly centered.
Start with a corner hole and screw in the screw most of the way. We want all the screws slightly loose to do our final alignment. Proceed to the opposite corner and insert the screw (most of the way). Now do the other two corners. Continue adding screws at least two holes away from the previous screw until they've all been placed.
As you're adding your screws, note where the plate seems to have the largest gaps from the screw hole. Add your next screw there. This way we're balancing the plate as we add screws.
Test the Repaired Keyboard Assembly
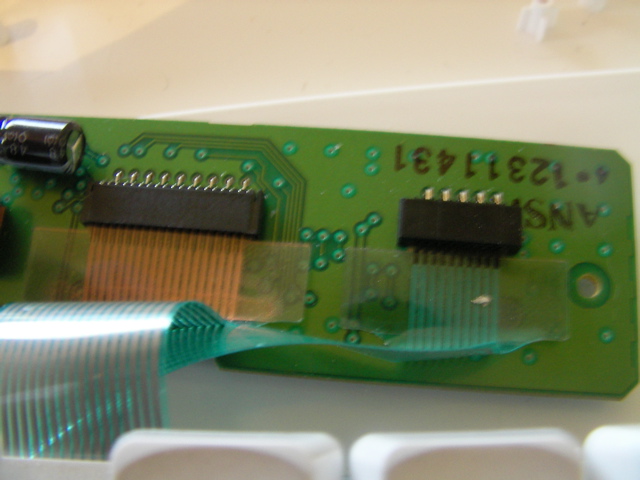
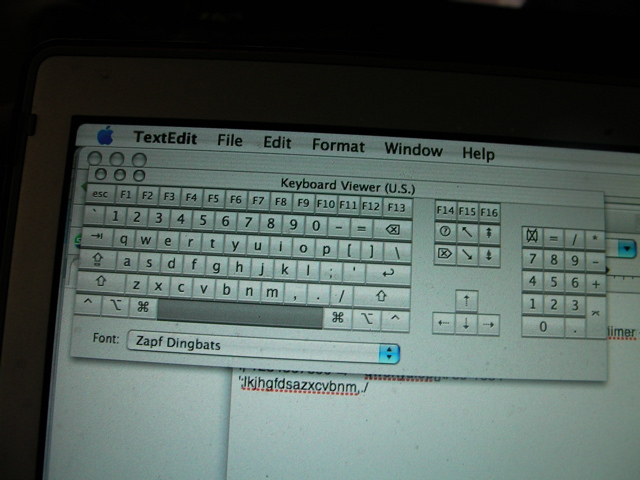
Carefully reattach the Keyboard Assembly to the Keyboard Encoder board. Neither has to be screwed down... We're just testing.
Check every key and make sure it works. If any new keys don't work or two keys press each other, you've got a hair in there! Remove the screws surrounding the problem area to the side of the keyboard. Hold it slightly open on the edge and blow hard into the space. Don't spit! We really don't want to start over! :) Now, put the screws back in.
Once the keyboard tests okay, disconnect the Keyboard Assembly and tighten the screws using the same every other screw technique. This process aligns the torque across the plate, much like tightening a car's wheel.
Reassemble the Keyboard
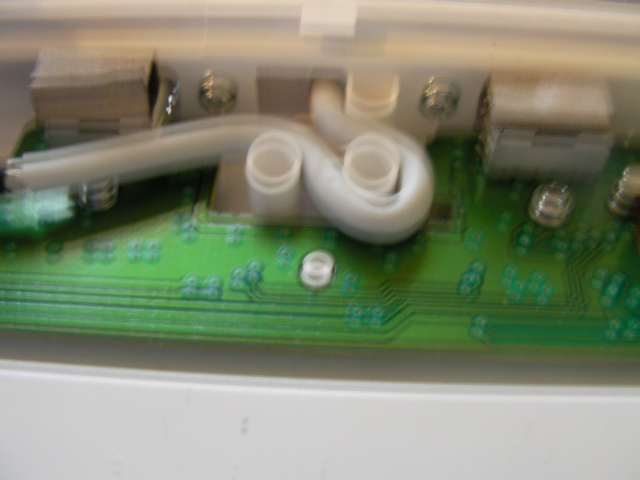
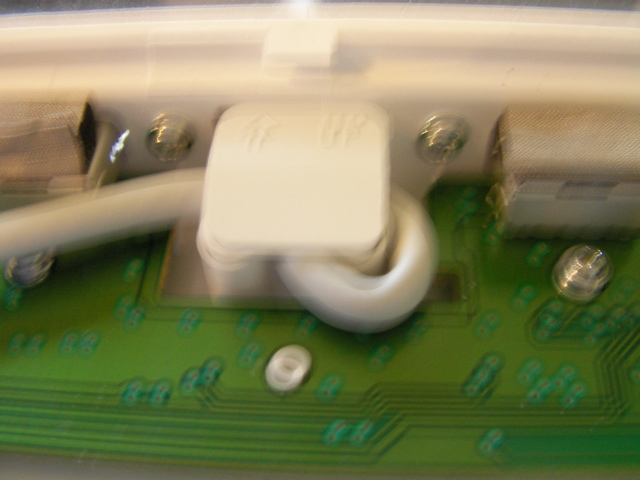
Now reinstall the keyboard encoder, making sure the tension relief on the USB cable is correct.
Reattach the Keyboard Assembly cables and finish putting the keyboard back together.
One last test, of every key and we're Done!
Pat yourself on the back for a job well done.
Reattach the Keyboard Assembly cables and finish putting the keyboard back together.
One last test, of every key and we're Done!
Pat yourself on the back for a job well done.