Renegade BBS in Ubuntu Linux - Telnet|Multi-Node
by pyro222 in Circuits > Linux
29021 Views, 31 Favorites, 0 Comments
Renegade BBS in Ubuntu Linux - Telnet|Multi-Node
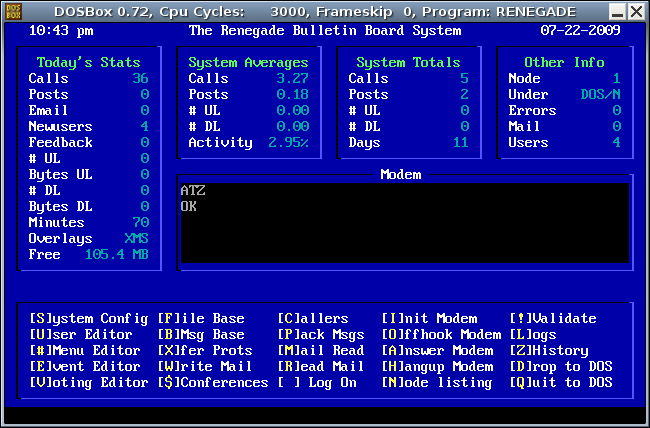
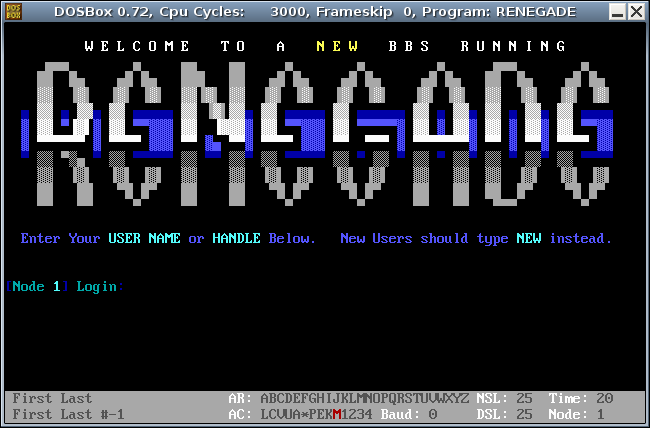
Install a classic multi-node Renegade BBS with telnet support in Ubuntu Linux.
Remember the good ol' days? When social networks consisted of nothing more than a copy of pcplus, a 9600 baud modem and for many SysOps, a copy of the legendary Renegade BBS. Wouldn't it be great to revisit those days using your Ubuntu system. There are many open source BBS resources out there for Linux, but I came up short in finding anything even remotely mentioning renegade and Linux in the same sentence. This left me feeling nostalgically challenged so I set out to find a way to run a telnet multi-node Renegade BBS from my Ubuntu system. In this instructable, I will show you how I achieved this and hopefully inspire some much needed creative improvements as well.
DISCLAIMER: Before we begin, please note that I am not responsible for any damage done to your system as a result of the following processes. Also note that we will be opening multiple TCP ports for direct connection without any Linux authentication. This is most likely a security issue. PROCEED AT YOUR OWN RISK!
Install Files and Support Software.
Install DosBox (Linux DOS Emulator)
$ sudo apt-get install dosbox
Create a folder under your home folder called renegade. NOTE: You may wish to create a new user account named "renegade" and grant it minimal permissions. If you choose to do this, be sure to login under the new account before proceeding.
$ mkdir ~/renegade
Get and Extract Renegade BBS
$ cd ~/renegade
$ wget http://mysite.verizon.net/tjm694/rgv100f.zip
$ unzip rgv100f.zip
Get and Extract the FOSSIL driver.
$ mkdir foss
$ cd foss
$ wget http://fido.mbse.eu/files/local/comms/FCI0106.zip
$ unzip FCI0106.zip
$ cd ..
Start DosBox
$ dosbox
Install Renegade BBS in dosbox.
Z:\> mount c ~/renegade
Z:\> c:
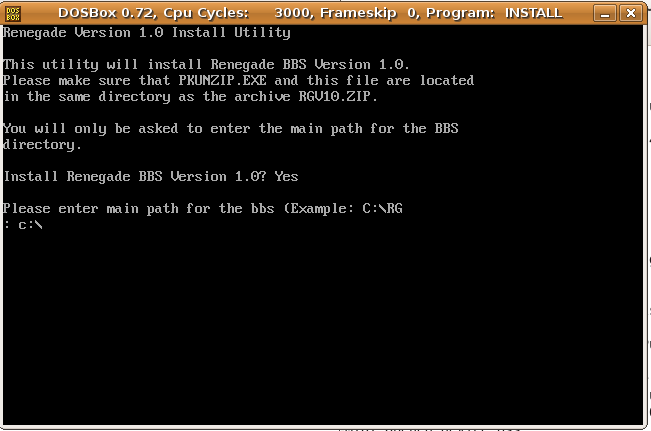
C:\> install
When the installer asks you for the "main path" of the bbs, enter in "c:\".
Keep the DosBox window open...
Create and Modify the Config Files.
To create a generic config file for DosBox, type the following command into DosBox.
C:\> config -writeconf n1.conf
Exit DoxBox
C:\> exit
Edit the config file
$ gedit ~/renegade/n1.conf
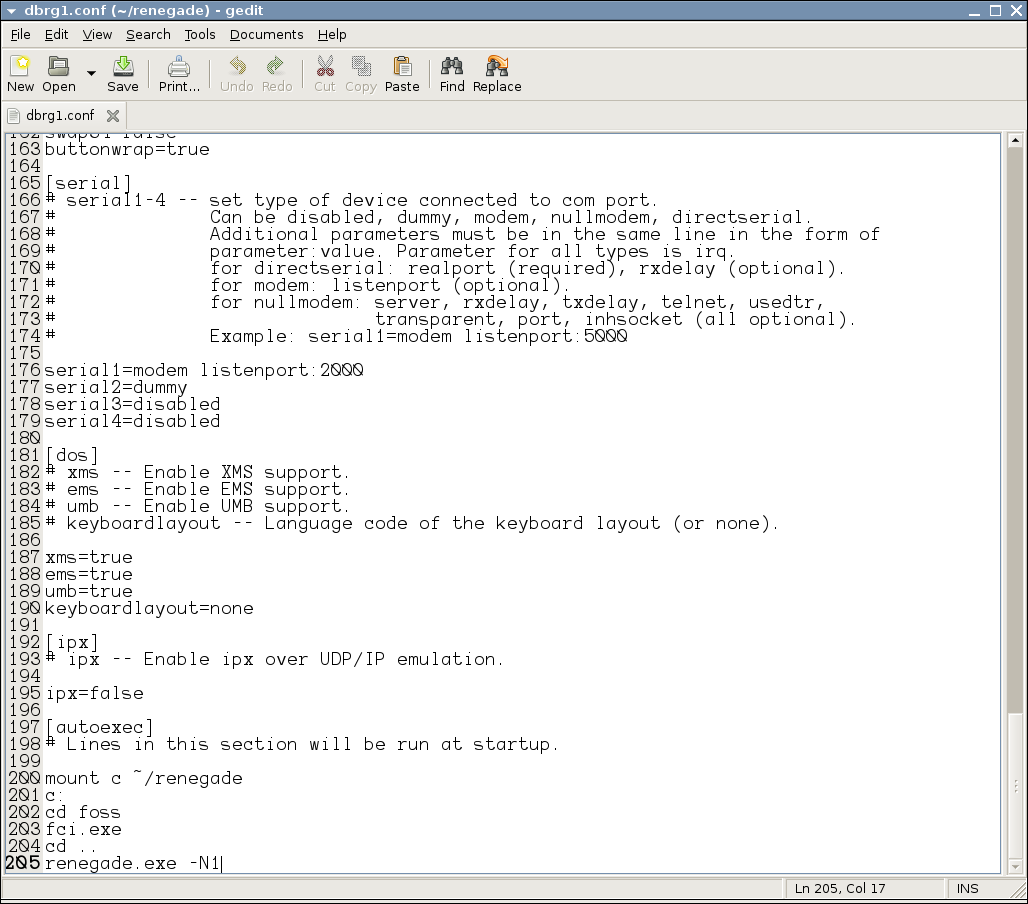
Find the section labeled [serial] and change its contents to read as follows..
[serial]
serial1=modem listenport:2000
serial2=dummy
serial3=disabled
serial4=disabled
Now find the section called [autoexec] and add in the following lines(it should be the last section).
[autoexec]
mount c ~/renegade
c:
cd foss
fci.exe
cd ..
renegade.exe -N1
Save the config file as n1.conf
Now go back and change the listenport on serial1 from 2000 to 2001
Also change the "-N1" argument after renegade.exe in the [autoexec] section to -N2 and save as n2.conf
Repeat accordingly until you have created 4 separate config files n1 - n4.conf, utilizing listenports 2000 - 2003 and executing renegade.exe on nodes 1 - 4 using the -N<node#> argument.
(I imagine you could essentially create as many nodes as you wish.)
Create Launchers.
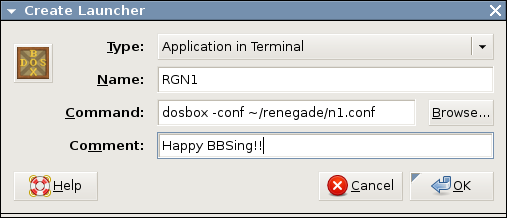
Now we will create four launchers that will spawn each node of the BBS.
Right-Click on the desktop and click "Create Launcher"
Change the application type to "Application in terminal".
Name the launcher "RGN1"
Under command type: "dosbox -conf ~/renegade/n1.conf"
Repeat process changing "RGN1 to RGN2" and "n1.conf" to "n2.conf" and so forth until you have created a launcher for all four nodes.
Start and Test

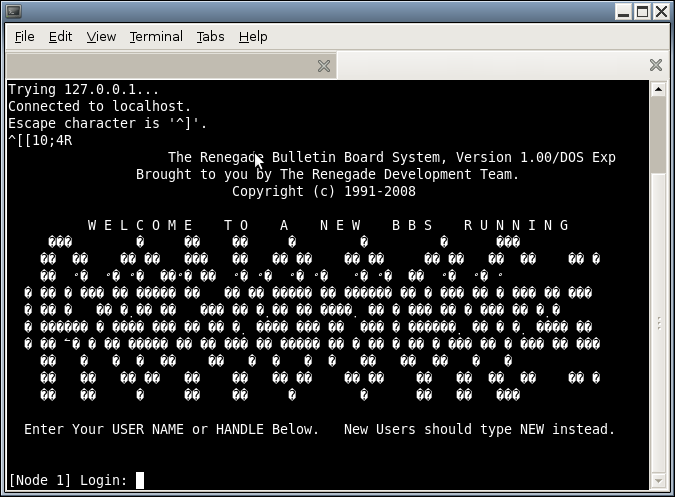
Now Launch the first node using the launcher (RGN1) that we created in the previous step.
You should see a screen like the one in the picture below.
Open a terminal window and type the following command to test the node.
$ telnet localhost 2000
If all went well in the setup process, you should see a real ugly, default Renegade login screen in your telnet session.
You should be able to launch all four nodes and telnet to each of them on ports 2000-2003. Setup your port forwarding on your router accordingly, and invite your friends to check out your new hella underground hella leet Renegade BBS.
But what about the cool ANSI menus? The command line seems to lack the ability to recreate those old ANSI characters so it defaults to a basic ASCII type emulation. Read on to the next step for a simple solution.
What About ANSI?
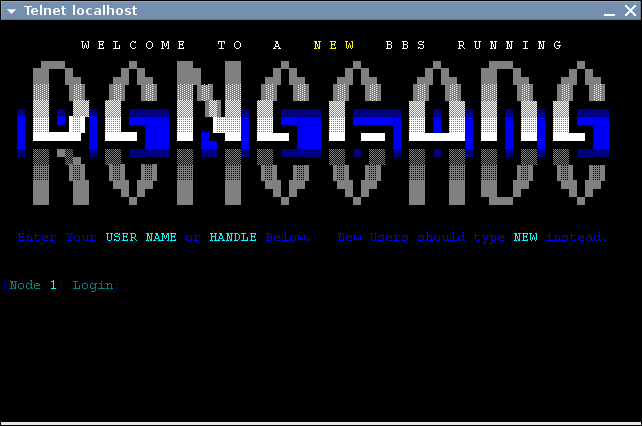
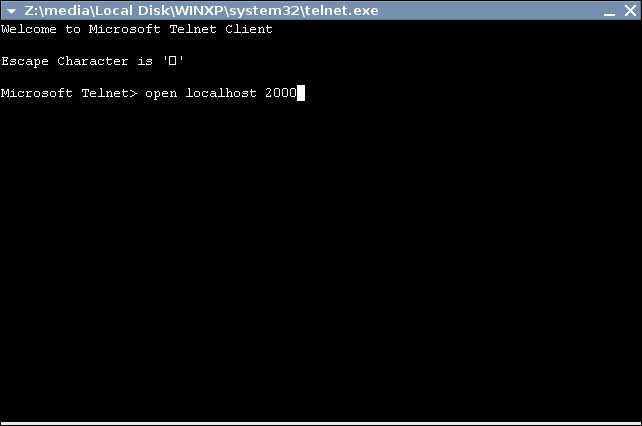
To proceed you will need to have wine installed as well as have access to an installation of Windows. (Any version of windows, post win95 should suffice).
On your windows installation locate the file "telnet.exe" under \windows\system32.
Copy telnet.exe somewhere on your ubuntu installation and open it with wine.
A new window will come up. At the prompt type open localhost 2000.
You should now see something a little more sentimentally appetizing.
Thank you for viewing my instructable. Please feel free to make any suggestions or ideas for improving the quality and security of this project.
-pyro