Remote Trigger With CHDK for Canon A2300 and Arduino
by JoseBarreiros in Circuits > Remote Control
4658 Views, 9 Favorites, 0 Comments
Remote Trigger With CHDK for Canon A2300 and Arduino

This instructable will show how to trigger a Canon A2300 with Arduino by USB pulse.
For enabling the remote trigger option you need to change the firmware of the camera with CHDK which is a temporary firmware saved in the SD Card for Canon cameras that enhace their capabilities.
Links:
Materials
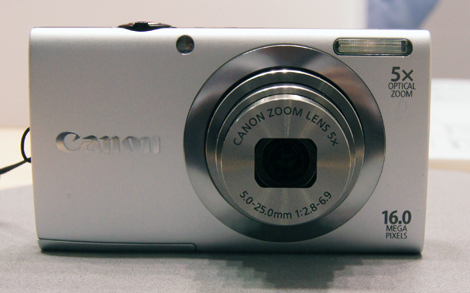

- Canon camera (I'm using A2300)
- mini USB male connector
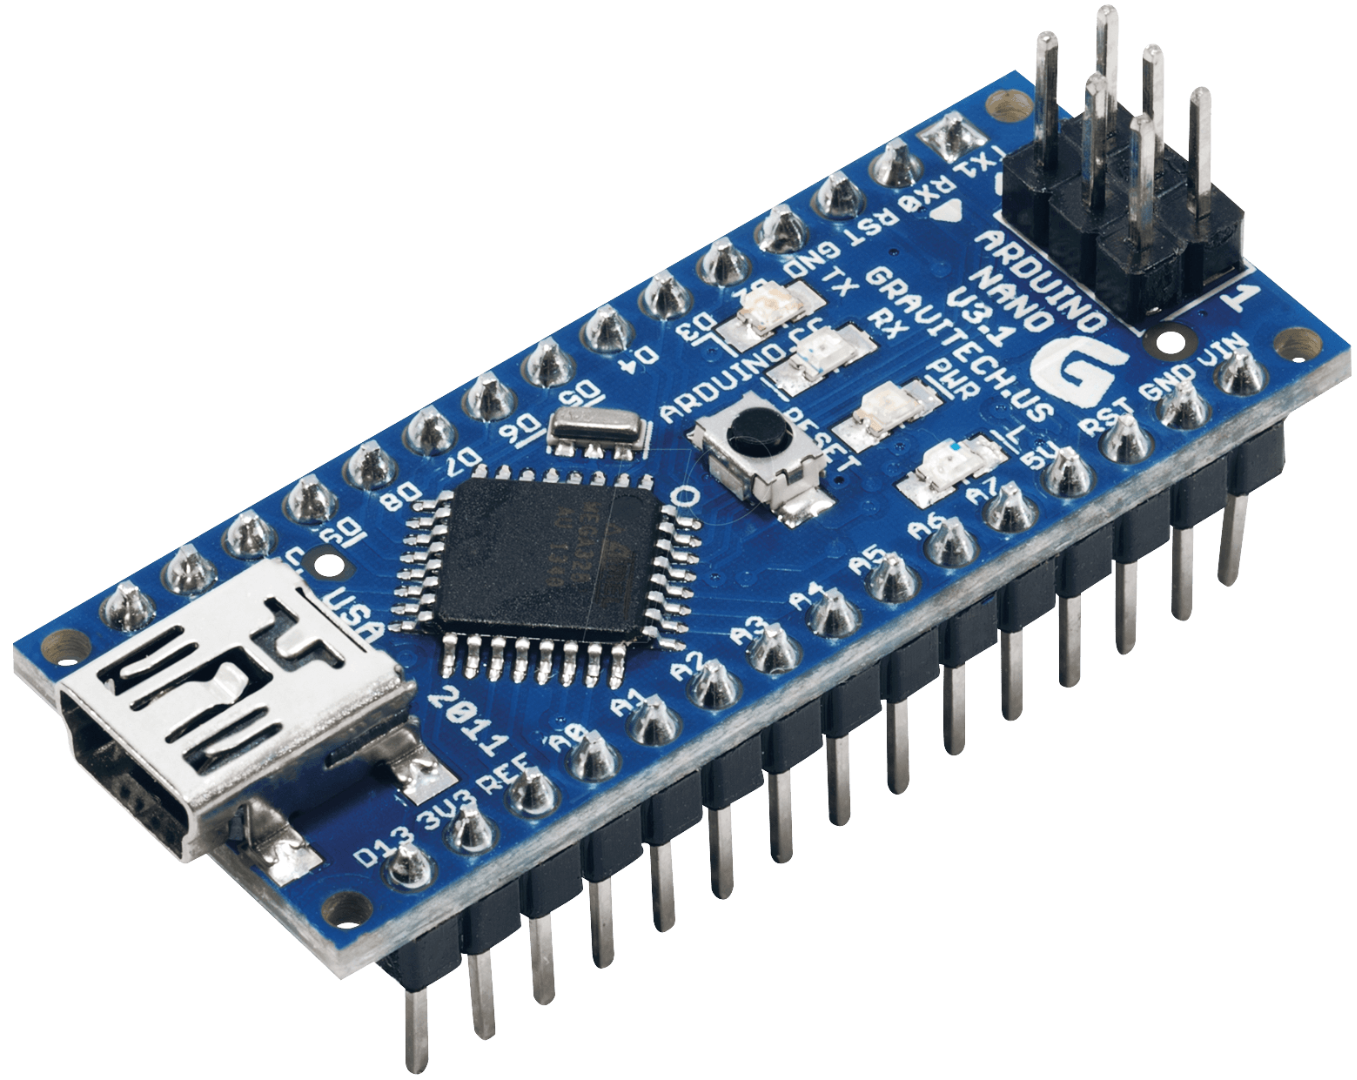
- Arduino board
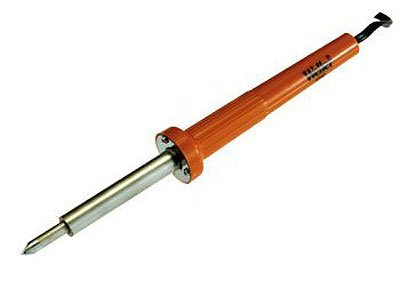
- Solder iron
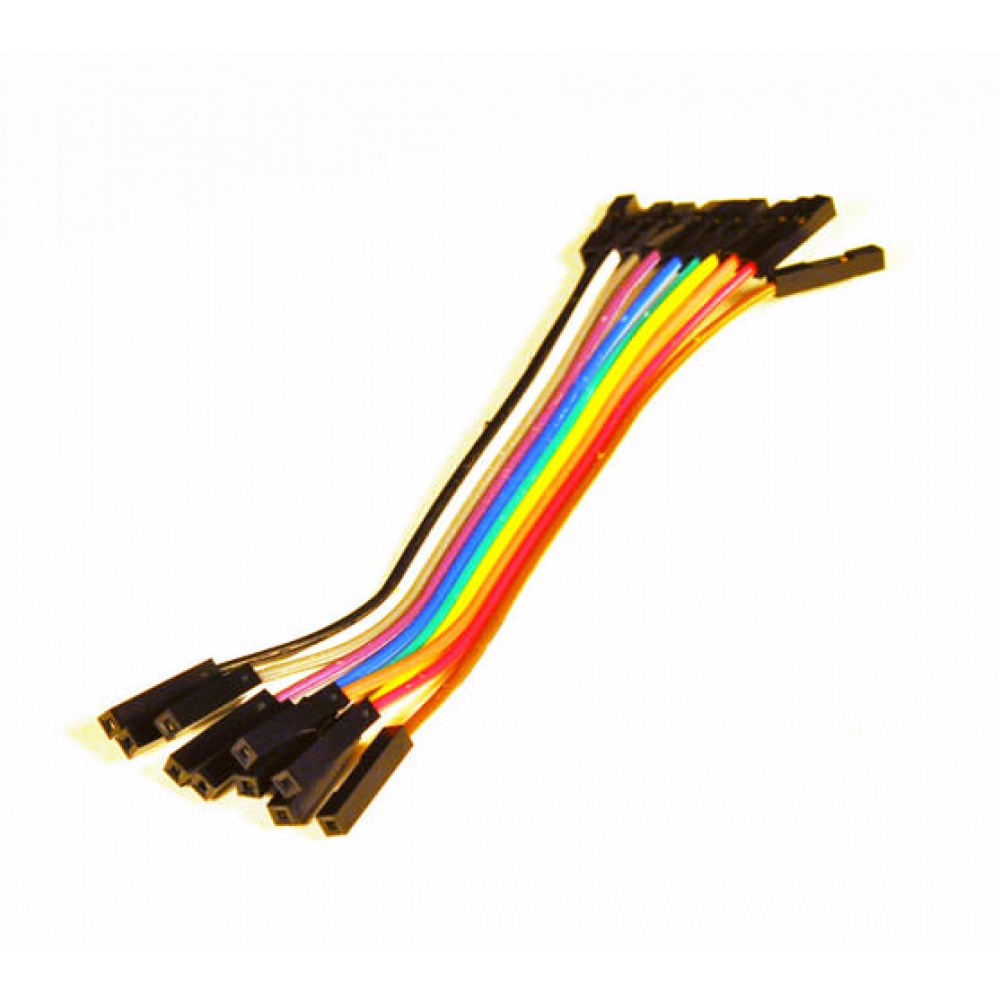
- 2 female jumper wire
Soldering the USB Cable
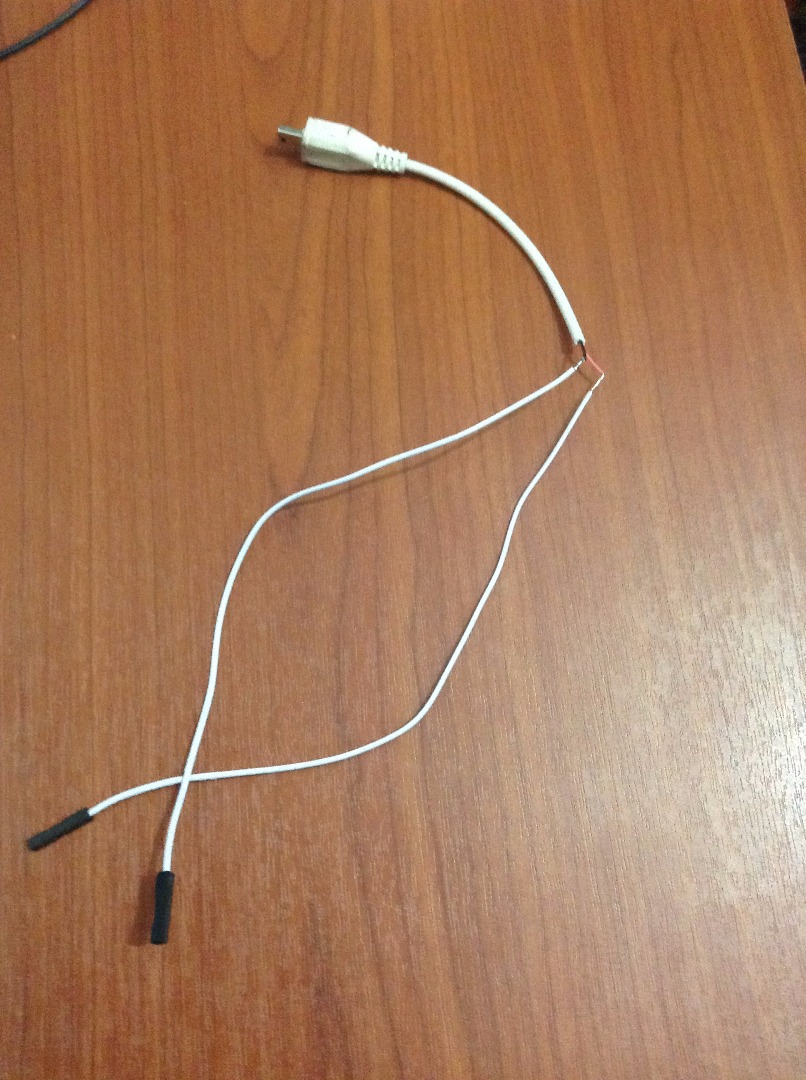
First, cure one end of the jumper wires. Then solder the two wires to VCC and GND pins of the mini USB connector.
Links:
Setup Your Camera
First, you need to upload the CHDK firmware in your camera following this steps:
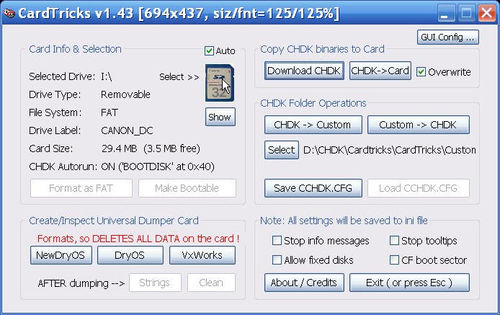
- Download CardTricks v1.44 from: http://savedonthe.net/download/78/CardTricks-144-S...
- Download the firmware (I'm using "PowerShot A2300 1.00E Complete" Firmware) from: http://mighty-hoernsche.de/
- Format the SD card and upload the firmware in the SD card ( http://chdk.wikia.com/wiki/CHDK/Installing_with_Ca... )
Notes:
- The firmware version depends on the Camera model. Note that for PowerShot A2300 you have 1.00E, 1.00C and 1.00F.
- If after uploading succesfully the CHDK firmware, your camera doesn't turn on, you should try the other firmware versions.
All the steps are explained here: http://chdk.wikia.com/wiki/CHDK/Installing_with_Ca...
Setup USB Mode Operation
For enabling the USB mode operation you need to follow these steps:
- Access to CHDK Main Menu: <ALT> mode and press the MENU button.
- Access to CHDK Settings
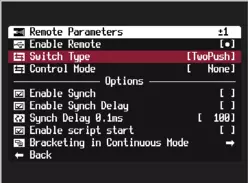
- Access to Remote Parameters
- Select "Enable Remote"
- Select Switch Type [TwoPush]
- Exit from Main Menu and <ALT> mode
For more information: http://chdk.wikia.com/wiki/USB_Remote
Arduino Code
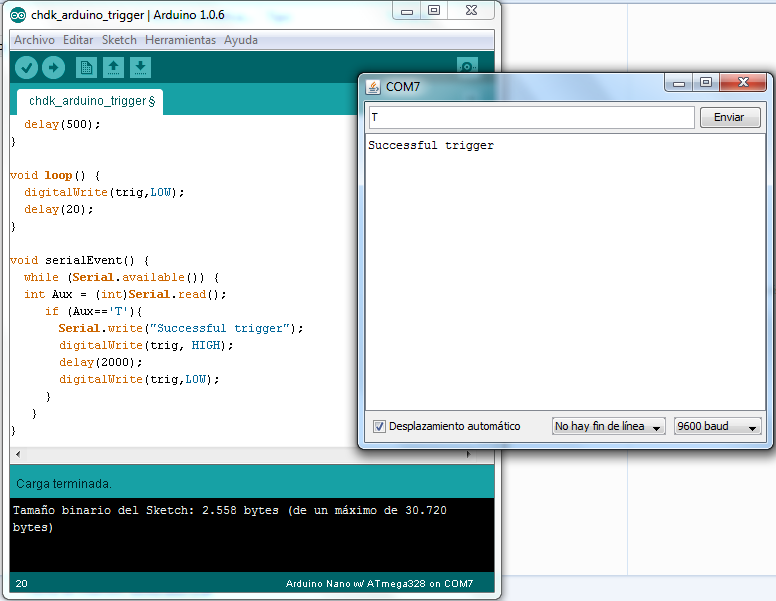
The following code triggers the camera in TwoPush Operation with pulses over the miniUSB port. The pulses are sent when Arduino receives a "T" over serial port.
int trig = 9; //select the output pin
void setup() {
pinMode(trig, OUTPUT);
// initialize serial:
Serial.begin(9600);
delay(500);
}
void loop() {
digitalWrite(trig,LOW);
delay(20);
}
void serialEvent() {
while (Serial.available()) {
int Aux = (int)Serial.read();
if (Aux=='T'){
Serial.write("Successful trigger ");
digitalWrite(trig, HIGH);
delay(2000);
digitalWrite(trig,LOW);
}
}
}
Finally, upload the code to the Arduino with Arduino IDE (https://www.arduino.cc/en/pmwiki.php?n=Main/Softwa...)
Downloads
Putting All Toguether

First, connect the Arduino to the PC and then connect the miniUSB cable (that you already have made) to the usb camera connector and to the Arduino pins: GND and D9.
microUSB cable-----Arduino
VCC----------------------D9
GND--------------------GND
Open "Serial Monitor" in Arduino IDE and send "T" to trigger the camera.
Note:
Make sure you have selected the right serial port and board in Arduino IDE.