Remote Finder | Find Your Remote Easily
by hemeshlikeselectronics in Circuits > Arduino
2786 Views, 18 Favorites, 0 Comments
Remote Finder | Find Your Remote Easily

We watch TV Daily. One of the biggest problems we face while watching TV is The Remote Being Lost. It is such a big headache keeping track of our TV Remote. Sometimes we even leave the Remote in another room and wonder where the remote is. To solve the problem, I created the Remote Finder. So this device has an app which is connected to it. When the remote is lost we can simply go to the app and type 1 for the buzzer to BEEP and we can simply type 0 if we find the remote to deactivate the buzzer.
Materials Required
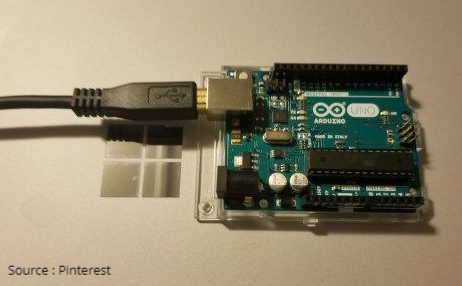
1 X Arduino Data Transfer Cable for Nano or Uno
1 X HC - 05 Bluetooth Module
1 X Piezoelectric Buzzer
1 X Breadboard or Protoboard
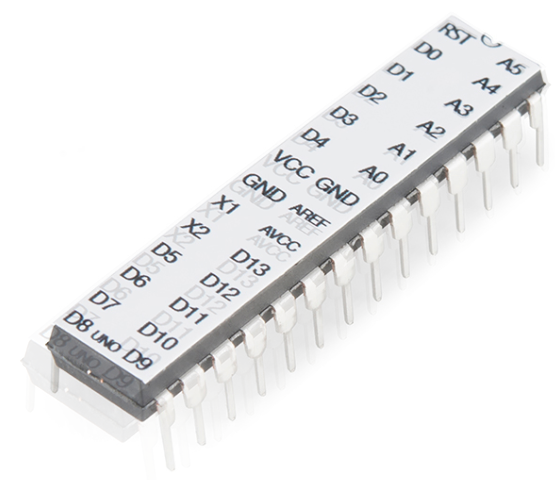
1 X ATmega 328P
Build the Circuit

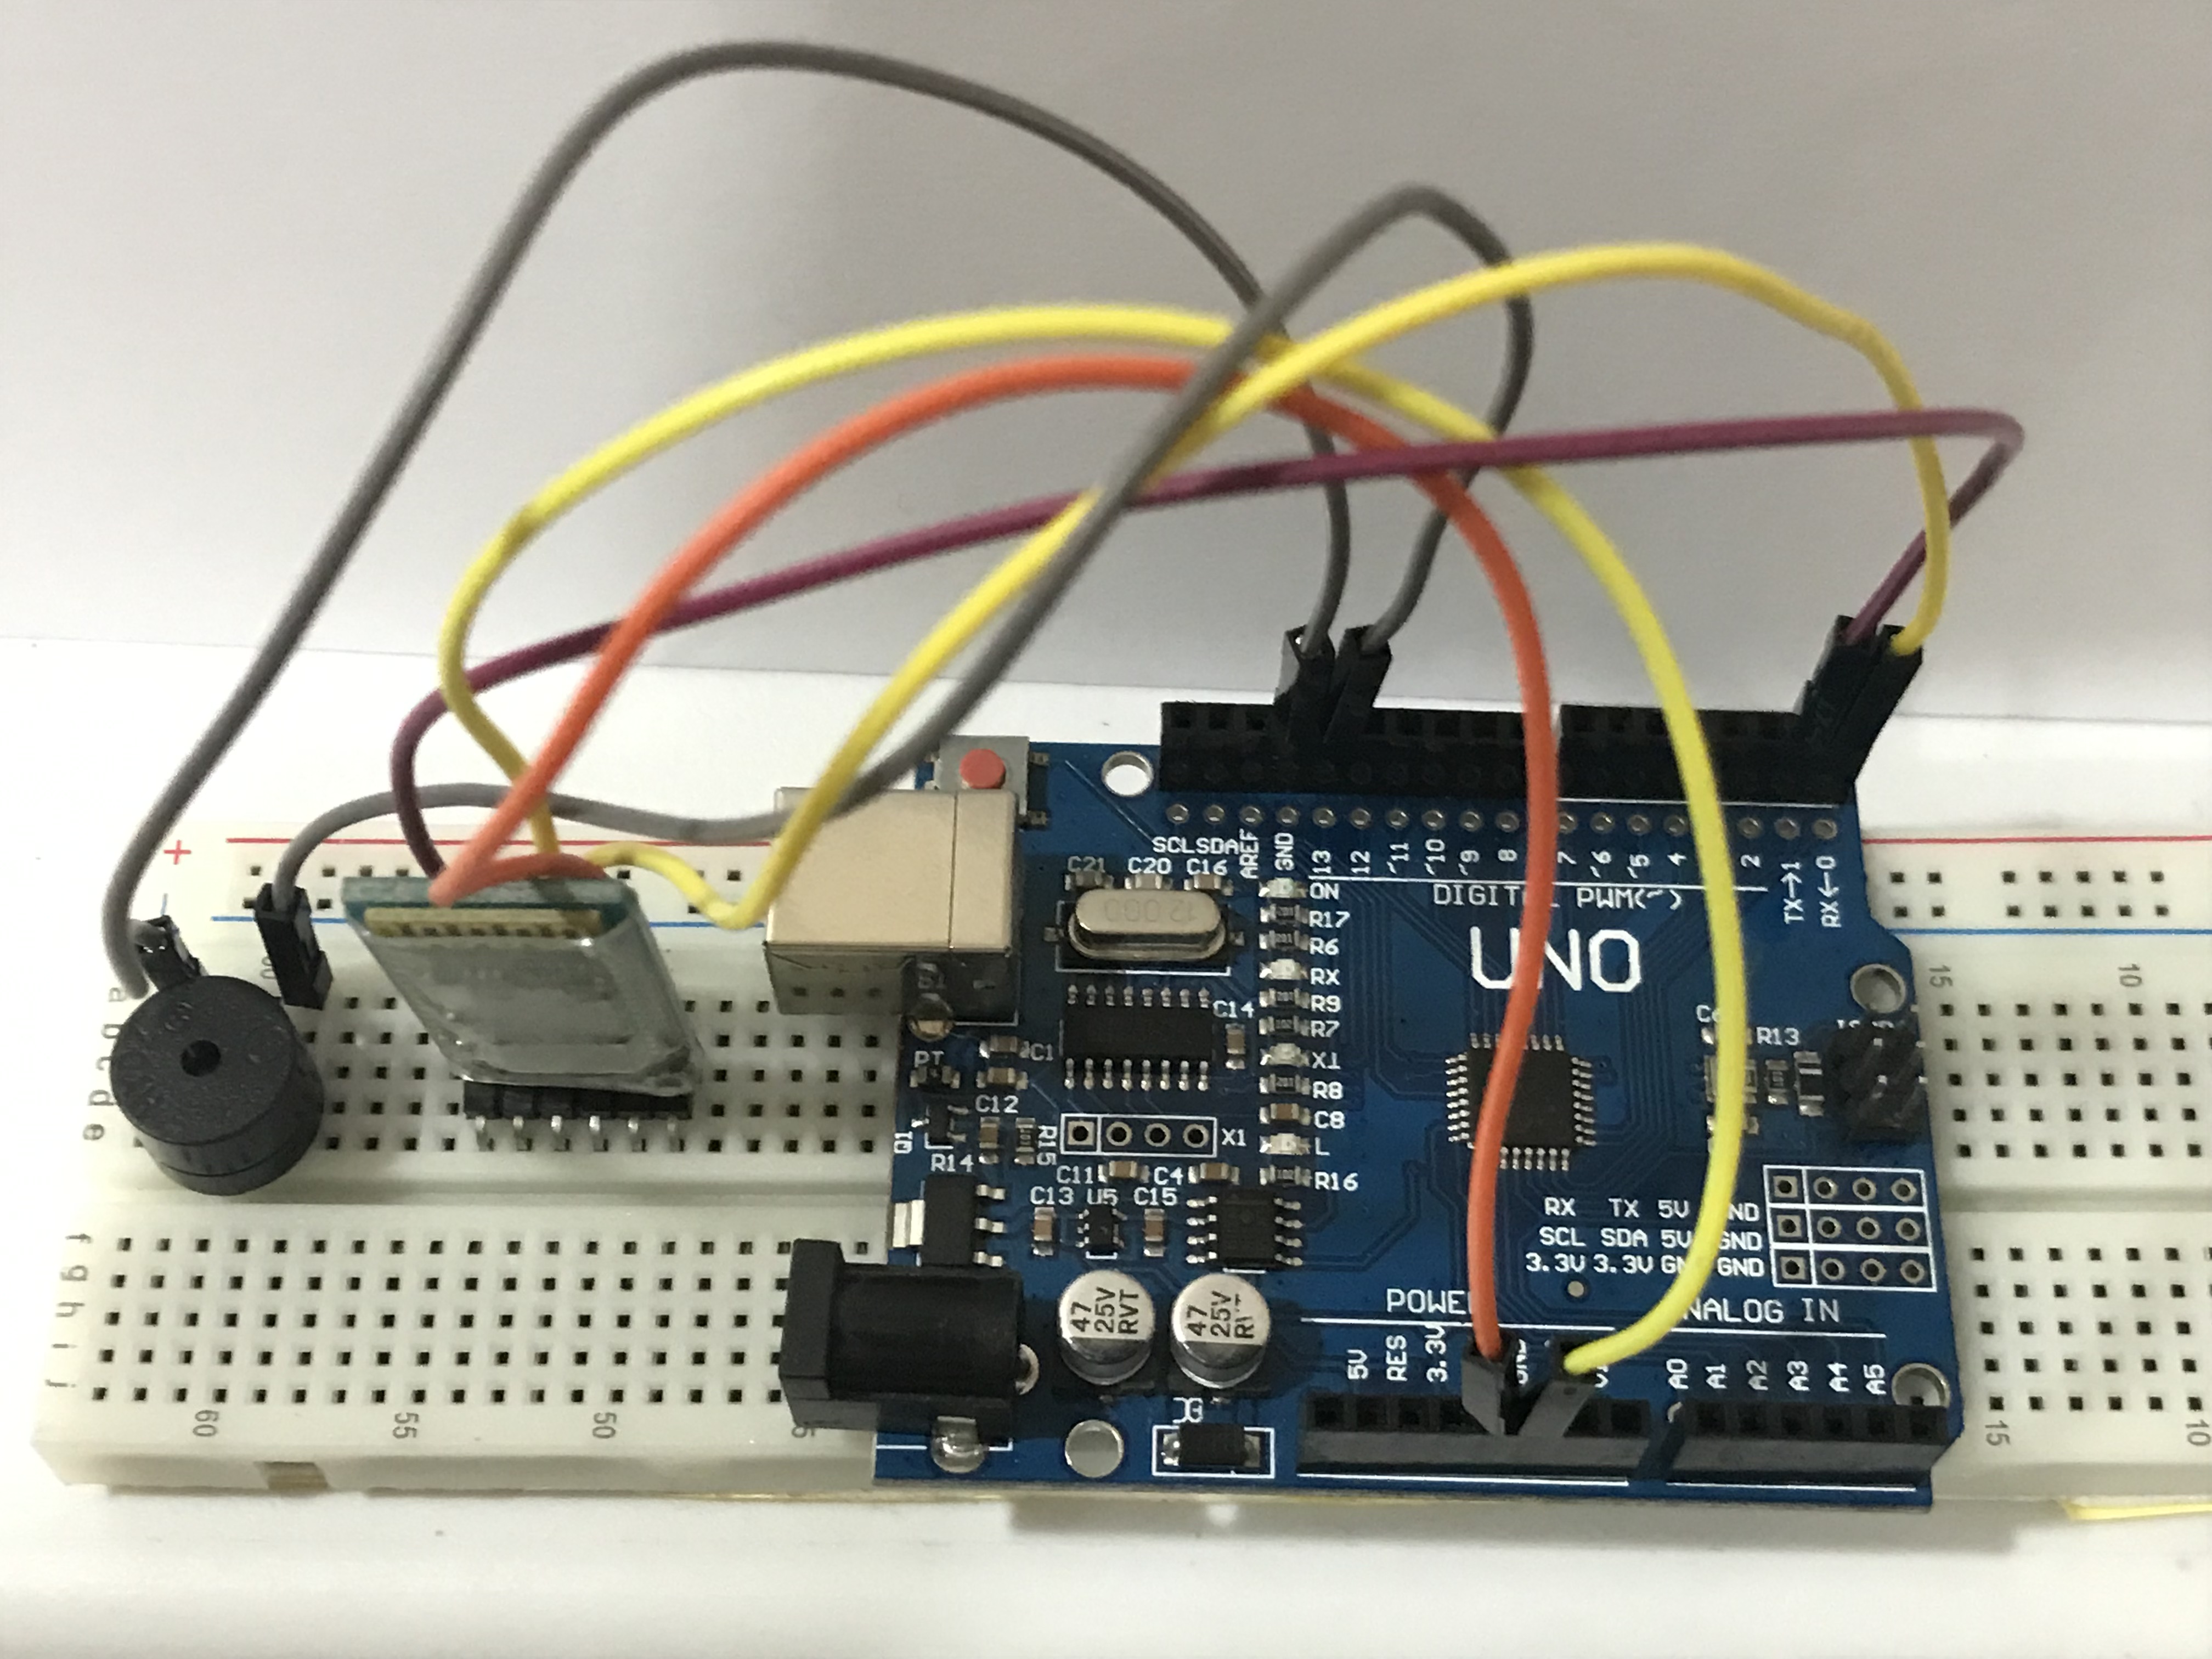
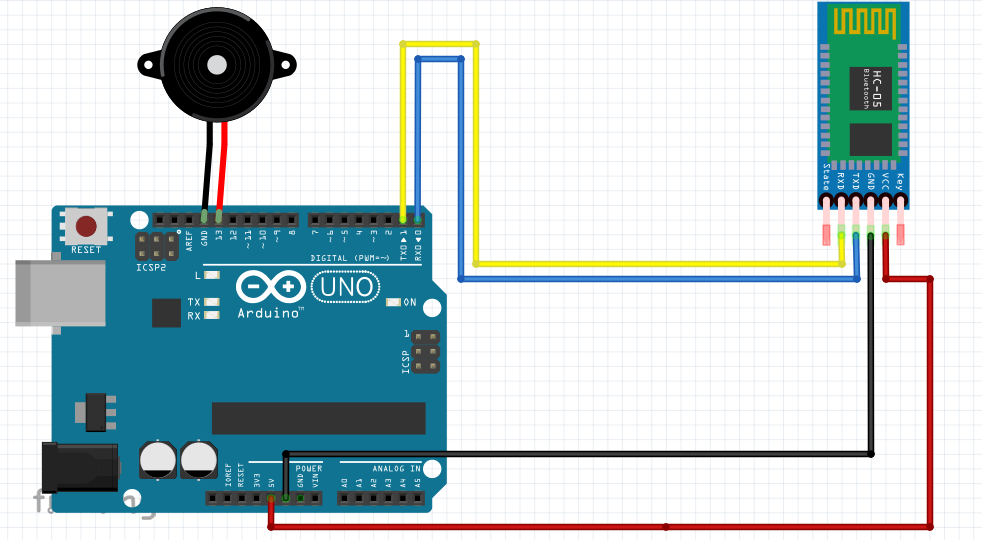
Build the circuit on a breadboard as given in the Fritzing sketch above. Here are the connections:-
HC - 05 Bluetooth Module:-
1 HC - 05 TX --- Arduino RX
2. HC - 05 RX --- Arduino TX
3. HC - 05 VCC --- Arduino 5V
4. HC - 05 GND --- Arduino GND
Buzzer:-
1. Buzzer +ve --- Arduino D13
2. Buzzer -ve --- Arduino GND
Upload Code
1. Open up your Arduino IDE
2. Copy the code given below and paste it in the IDE :-
char data = 0;
void setup() {
Serial.begin(9600);
pinMode(13, OUTPUT);
}
void loop () {
if(Serial.available() > 0) {
data = Serial.read ();
Serial.print(data);
Serial.print("\n");
if (data == '1')
digitalWrite(13, HIGH);
else if(data == '0')
digitalWrite(13, LOW);
}
}
3. Connect the Arduino to the Computer with the help of USB cable.
4. Important - Remove the TX and RX wires connected to the Arduino from the Bluetooth Module before uploading the code.
5. Select the COM Port and the Board (Arduino / Genuino Uno).
6. Click Upload
Connecting the App
After uploading the code, connect the RX and TX pins of the Bluetooth module to the Arduino just like before.
Now Open up your Android Device, then follow these instructions:-
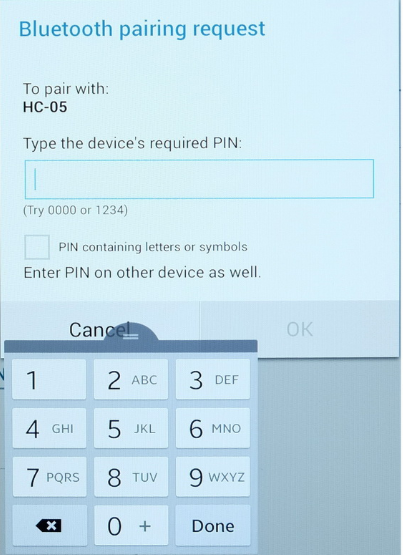
1. Go to Settings and then click on Bluetooth on your device.
2. Select the Bluetooth Module Mainly Named " HC - 05 ".
3. Enter the passcode which is mainly "1234".
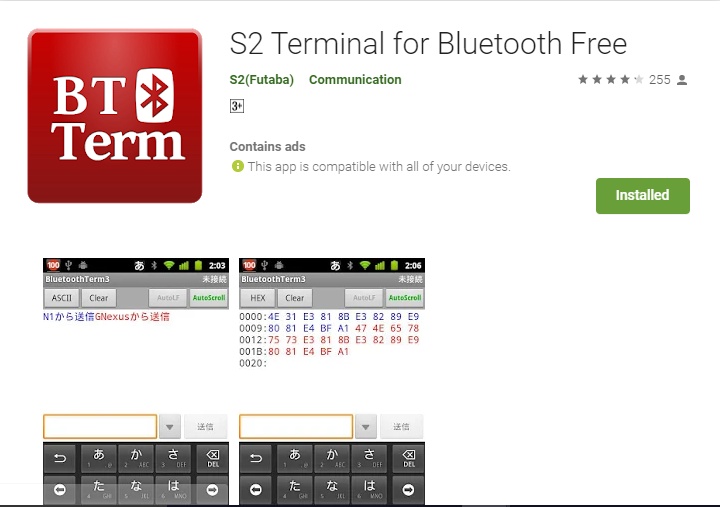
4. Download the APP S2 Terminal from the Play Store.
5. After Downloading, open the App.
6. Click on " Connect A Device " Option on the top right corner and select the Bluetooth Module.
Testing
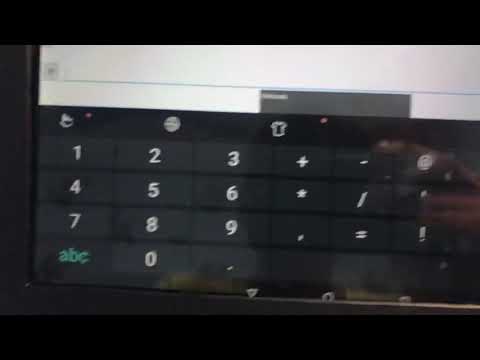
After connecting the Bluetooth module, type 1 on the bar for the buzzer to beep. You can stop the buzzer by typing 0.
If it is not working try the following:-
1. Re-upload the code.
2. Check the connections.
Shrinkify
To shrink the project for attaching it to a remote do the following things:-
1. Change the Arduino board to an ATmega 328P for increasing the battery's life span
2. To make this portable, remove the USB Plug and attach a 9v or 4 x AA Battery pack
+ve Terminal of the battery --- Vin pin of Arduino
-ve Terminal of the battery --- GND pin of Arduino
3. Remove the Breadboard and solder the components into a perf board or solder them directly by wires.
Final Touches
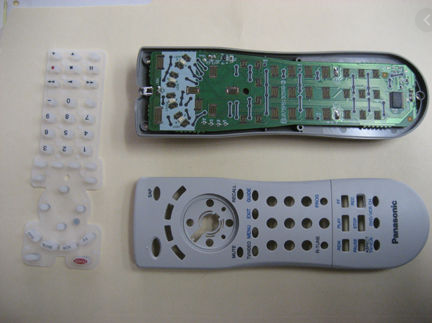
After soldering, enclose the project mainly in a box or else if you can dare, you can open the remote and store the project there and don't forget to make a hole for holding the battery outside.
----------------------------------------| There You Go You have a Remote Finder |--------------------