Remote Controlled Band Flyer Lamp
by Koji Crill in Workshop > Lighting
4895 Views, 139 Favorites, 0 Comments
Remote Controlled Band Flyer Lamp
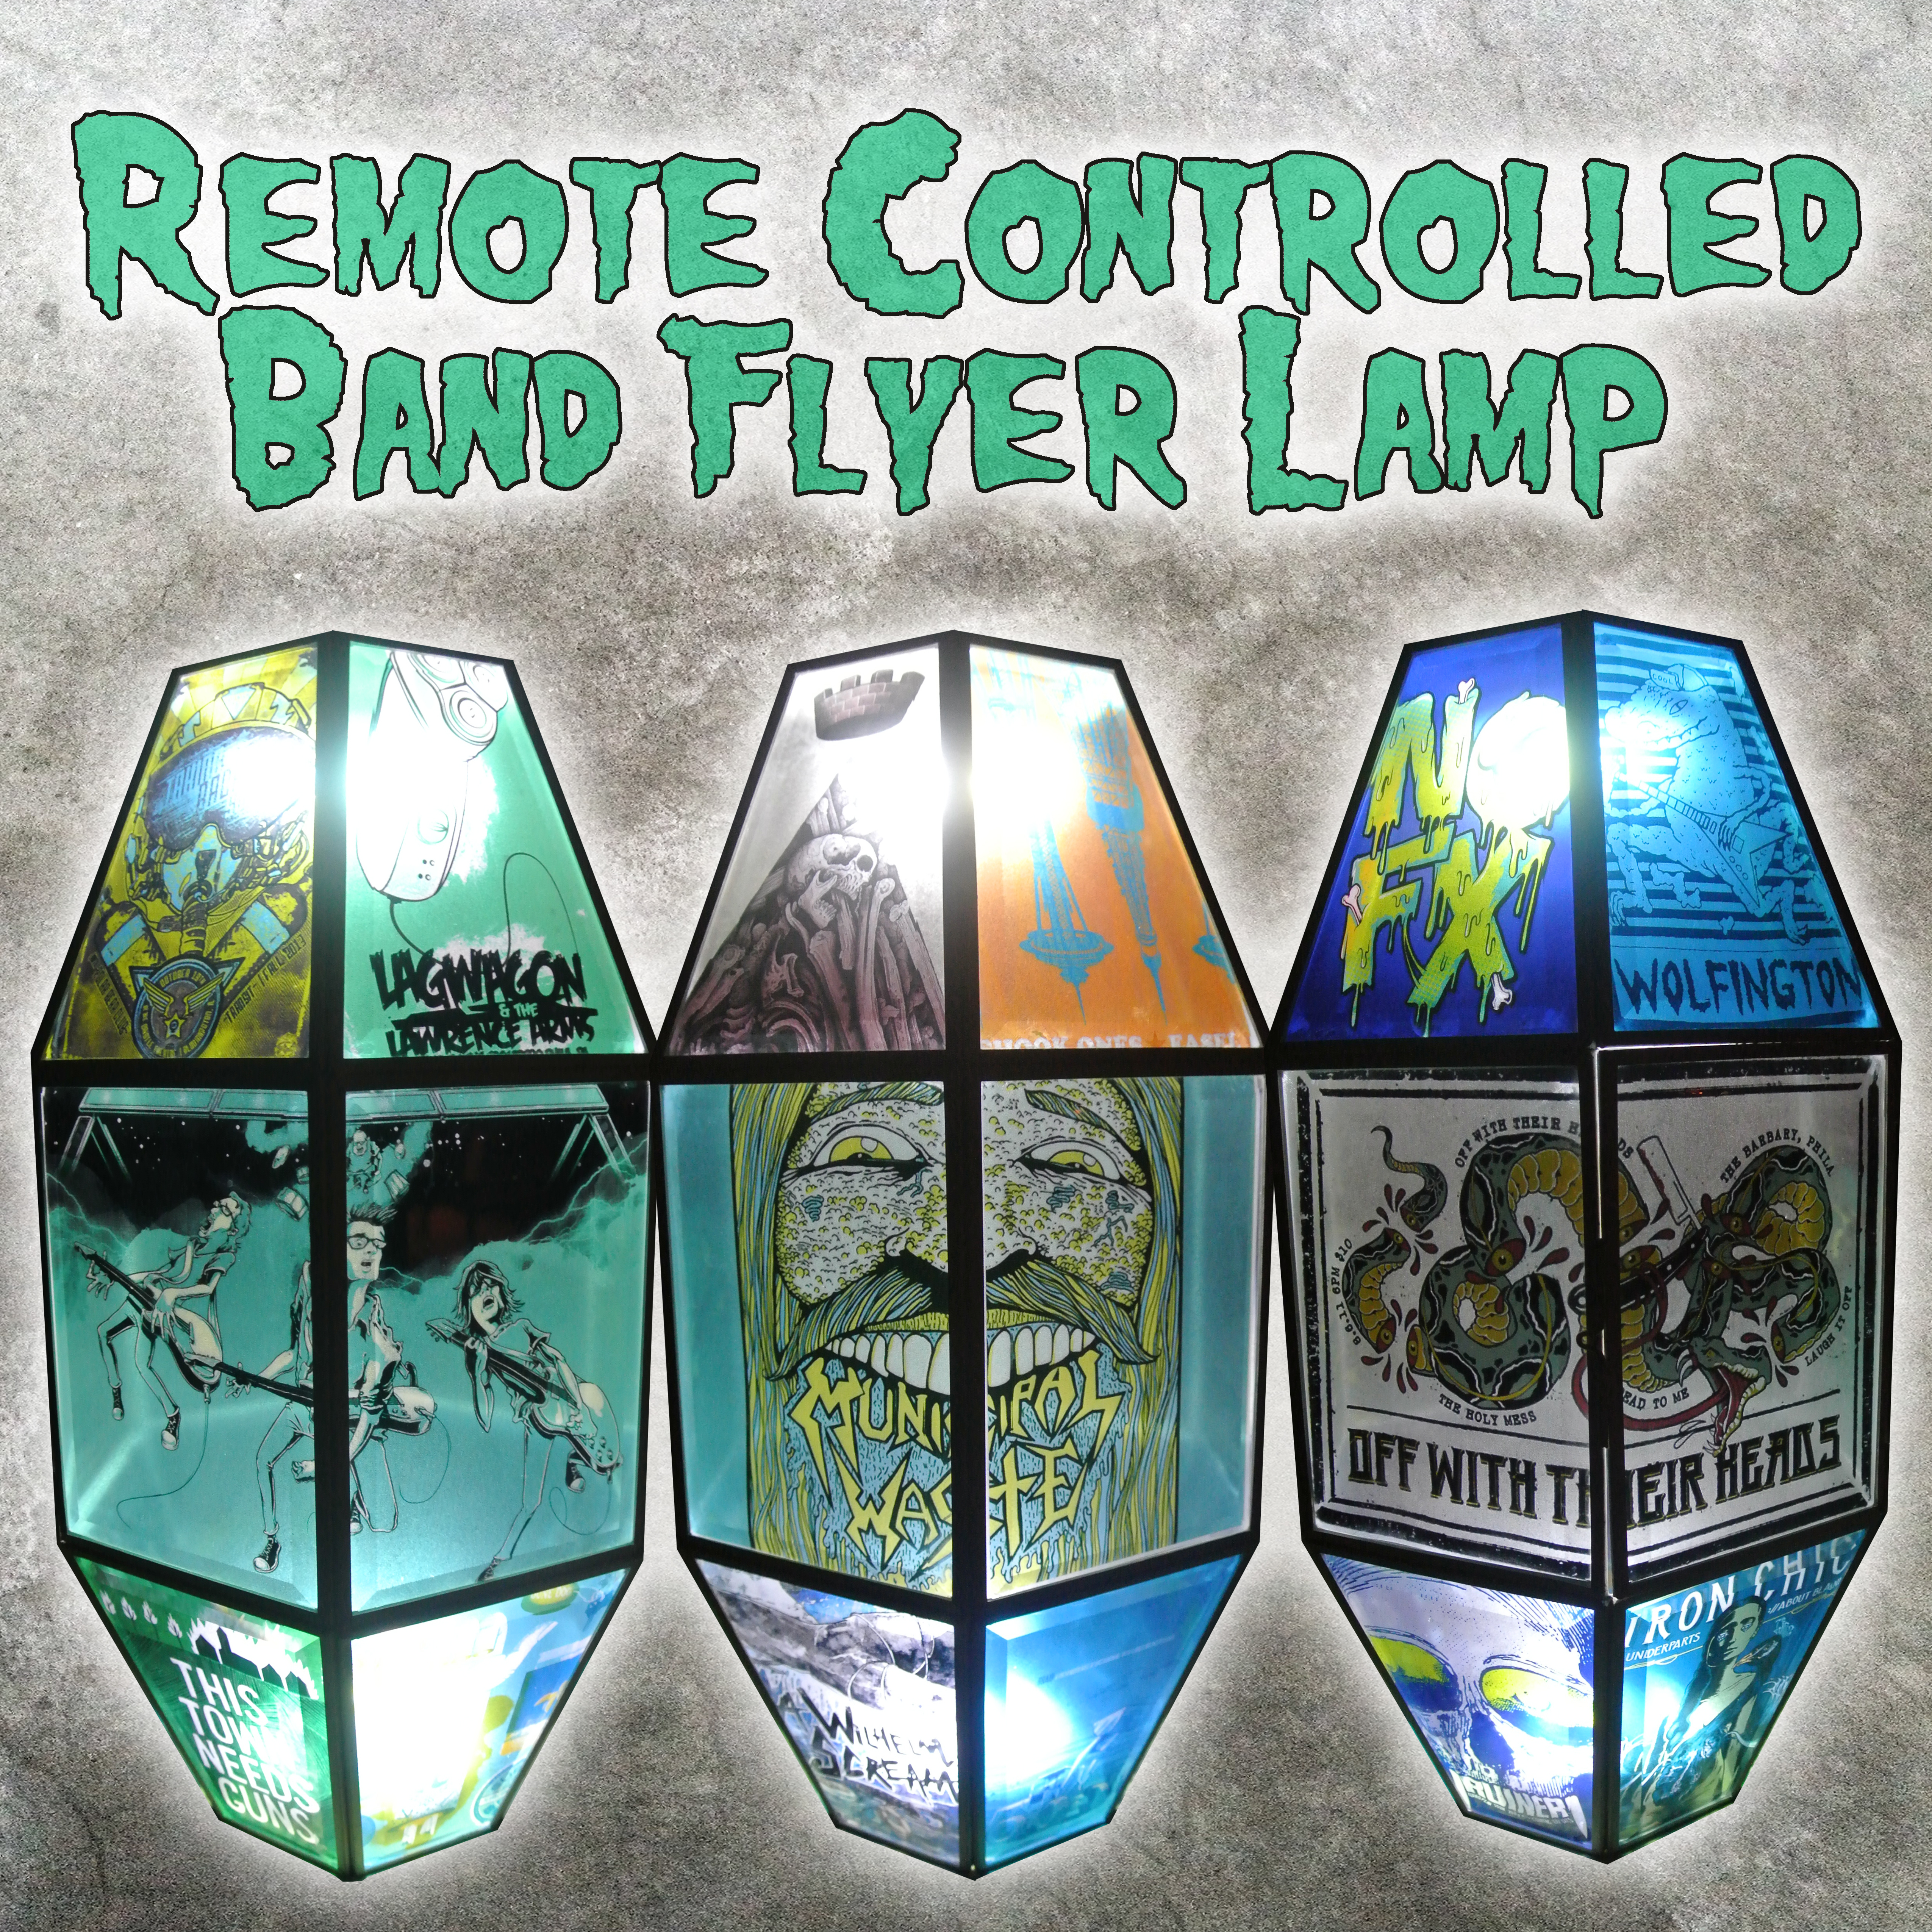
Let's kick this thing off with a couple preliminary questions.
- Do you have eyes?
- Do you like awesome things?
If you've answered yes to more than none of these questions than I've got the perfect project for you!
I'm going to show you how to make a remote controlled lamp out of transparent flyers from all your favorite bands. I really think it's going to look great in your new place! "What new place?" you ask. I don't know man.... maybe the new place you find on ABODO.com. <--- That's a shameless plug for my work who let me do this on the clock. A very rad place. (Sorry Instructables moderators)
Alright! Let's make like a box of macaroni and craft!
Supplies
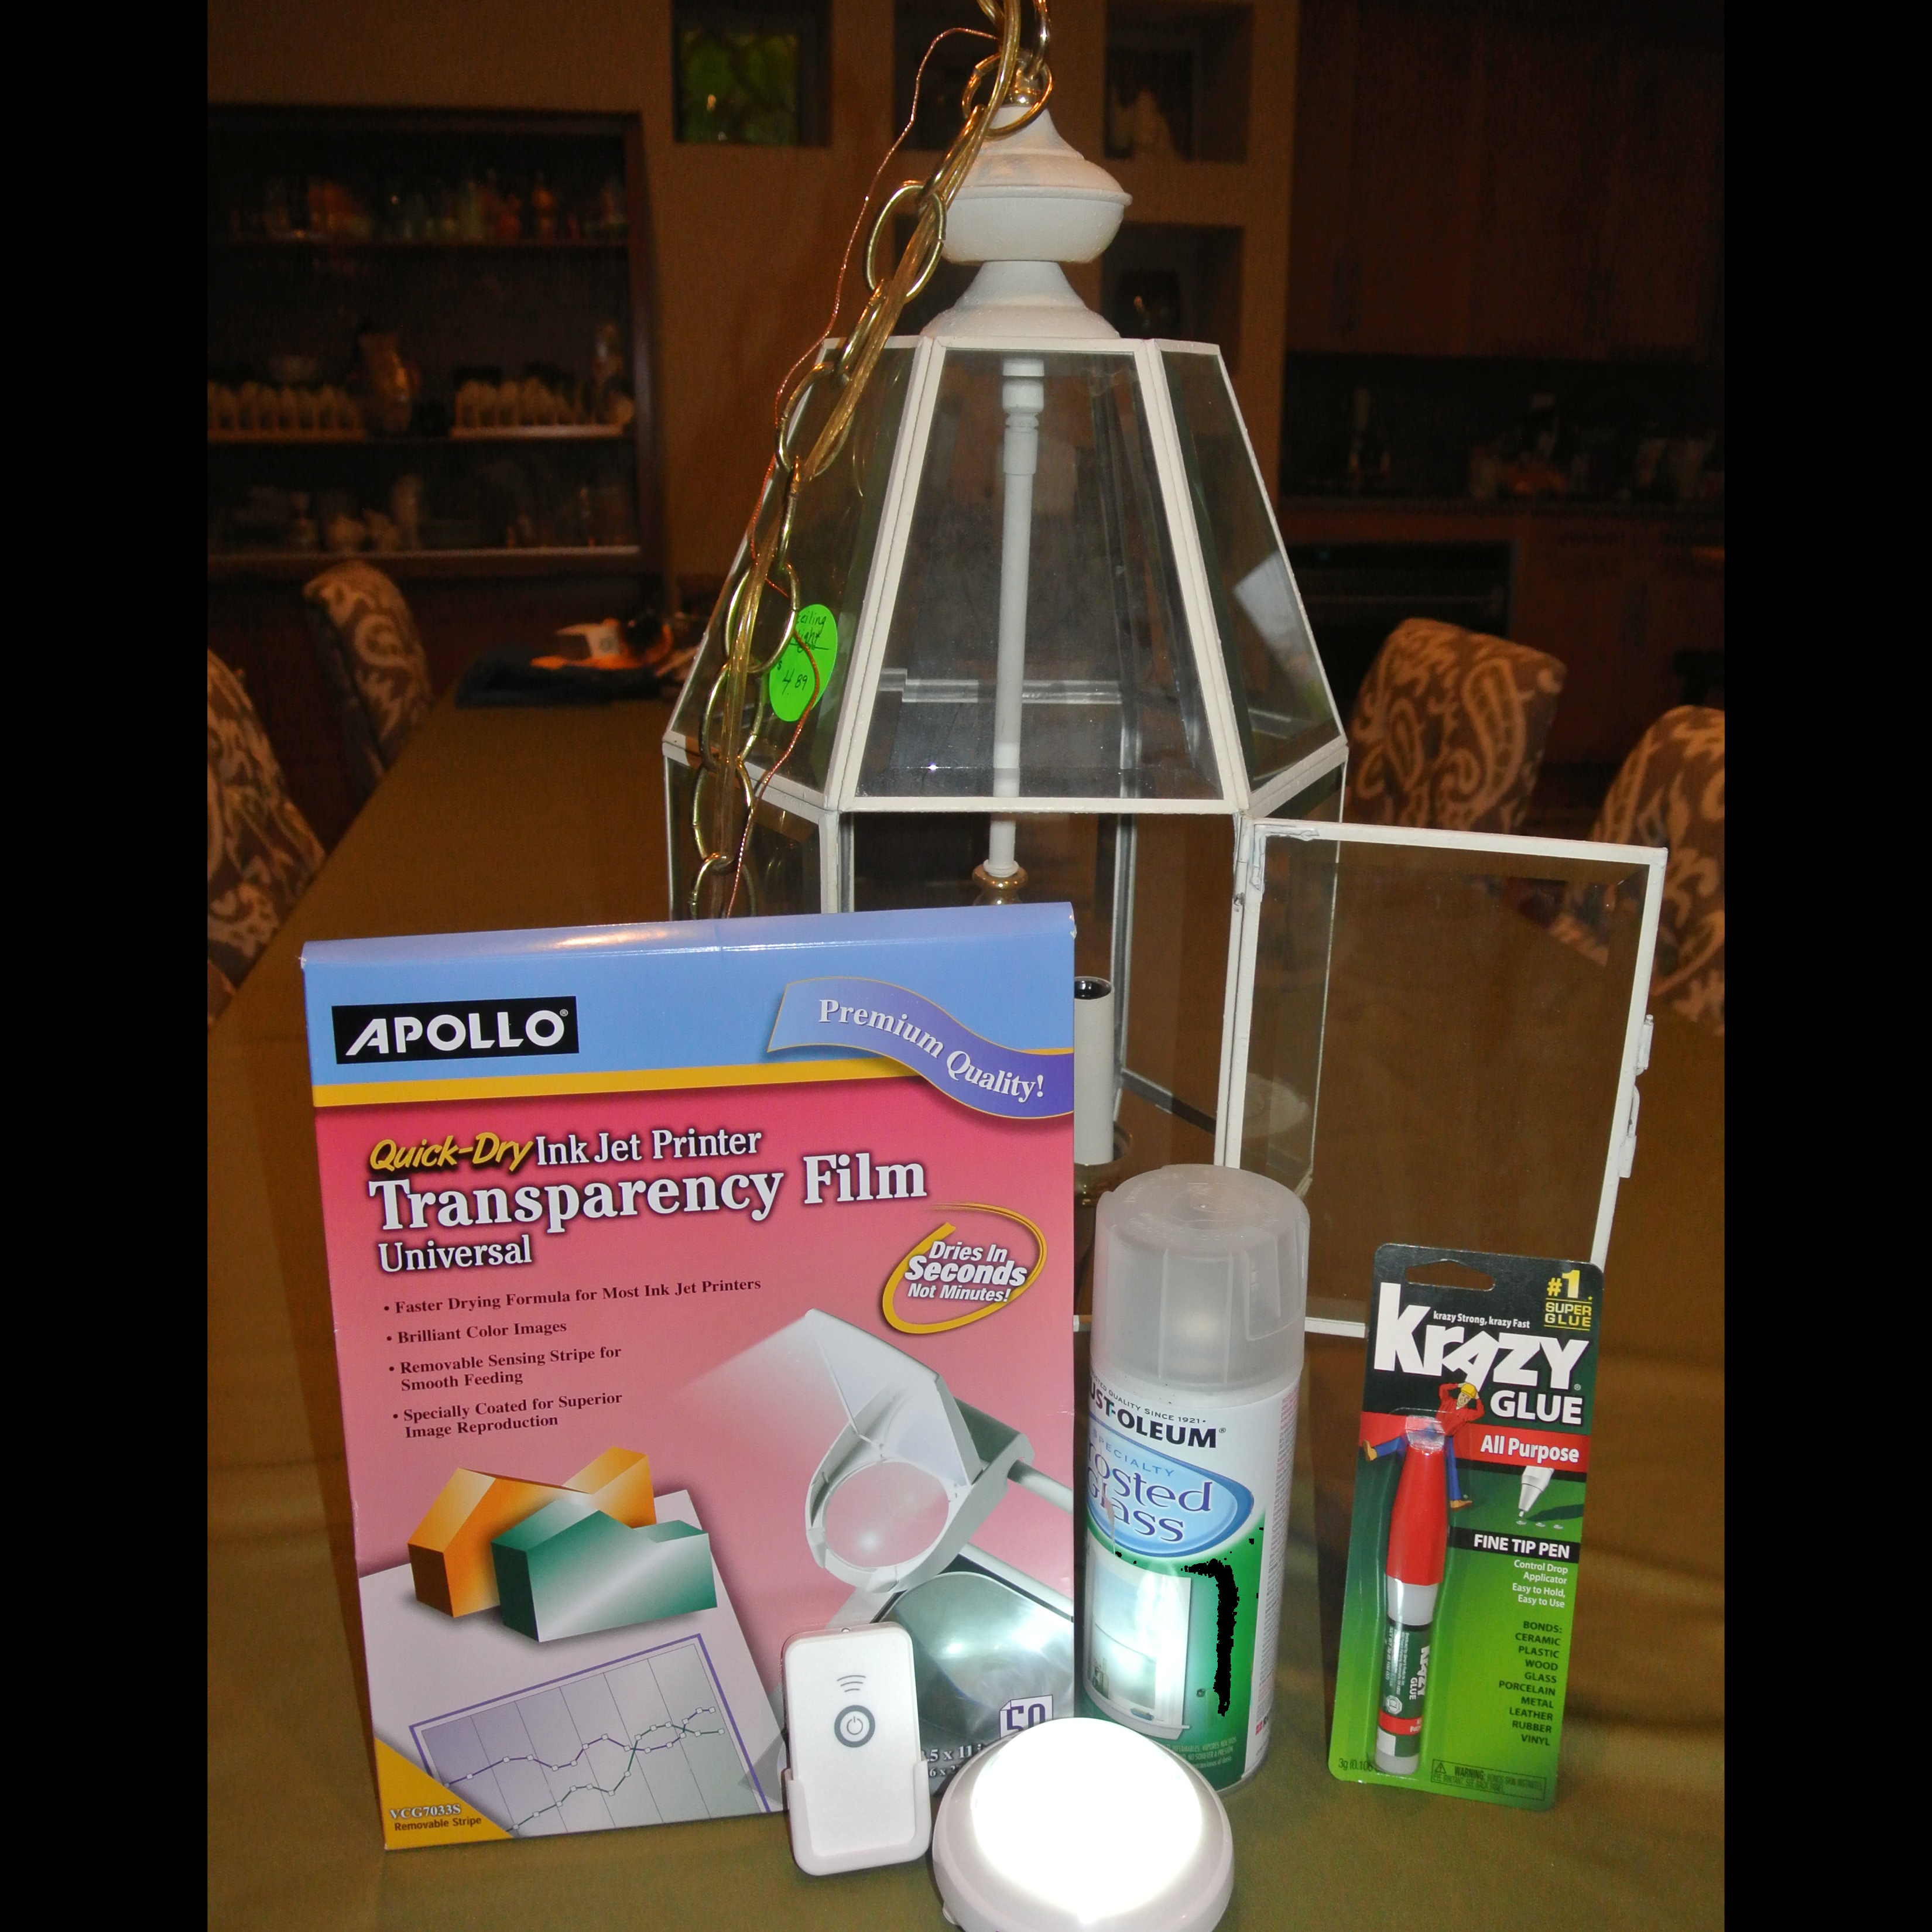
I know you're all jazzed to start but you're going to have to get a few things first. "What things?" you demand. I'm getting to that.
These things:
- Ceiling light fixture- You can find these at thrift stores. Any glass light fixture with flat panels should work.
- Transparency printer film- Office supply stores usually stock this. They make film for inkjet and laser printers so make sure to buy the right kind for your printer.
- Frosted glass spray- You can find this at home improvement and craft stores.
- Remote controlled LED light- You can find this at home improvement stores.
- Super glue- Any quick drying super glue with a fine tip will work.
- Computer
- Scissors
- Old newspaper
- Glass cleaner
- Paper towels
Disembowel
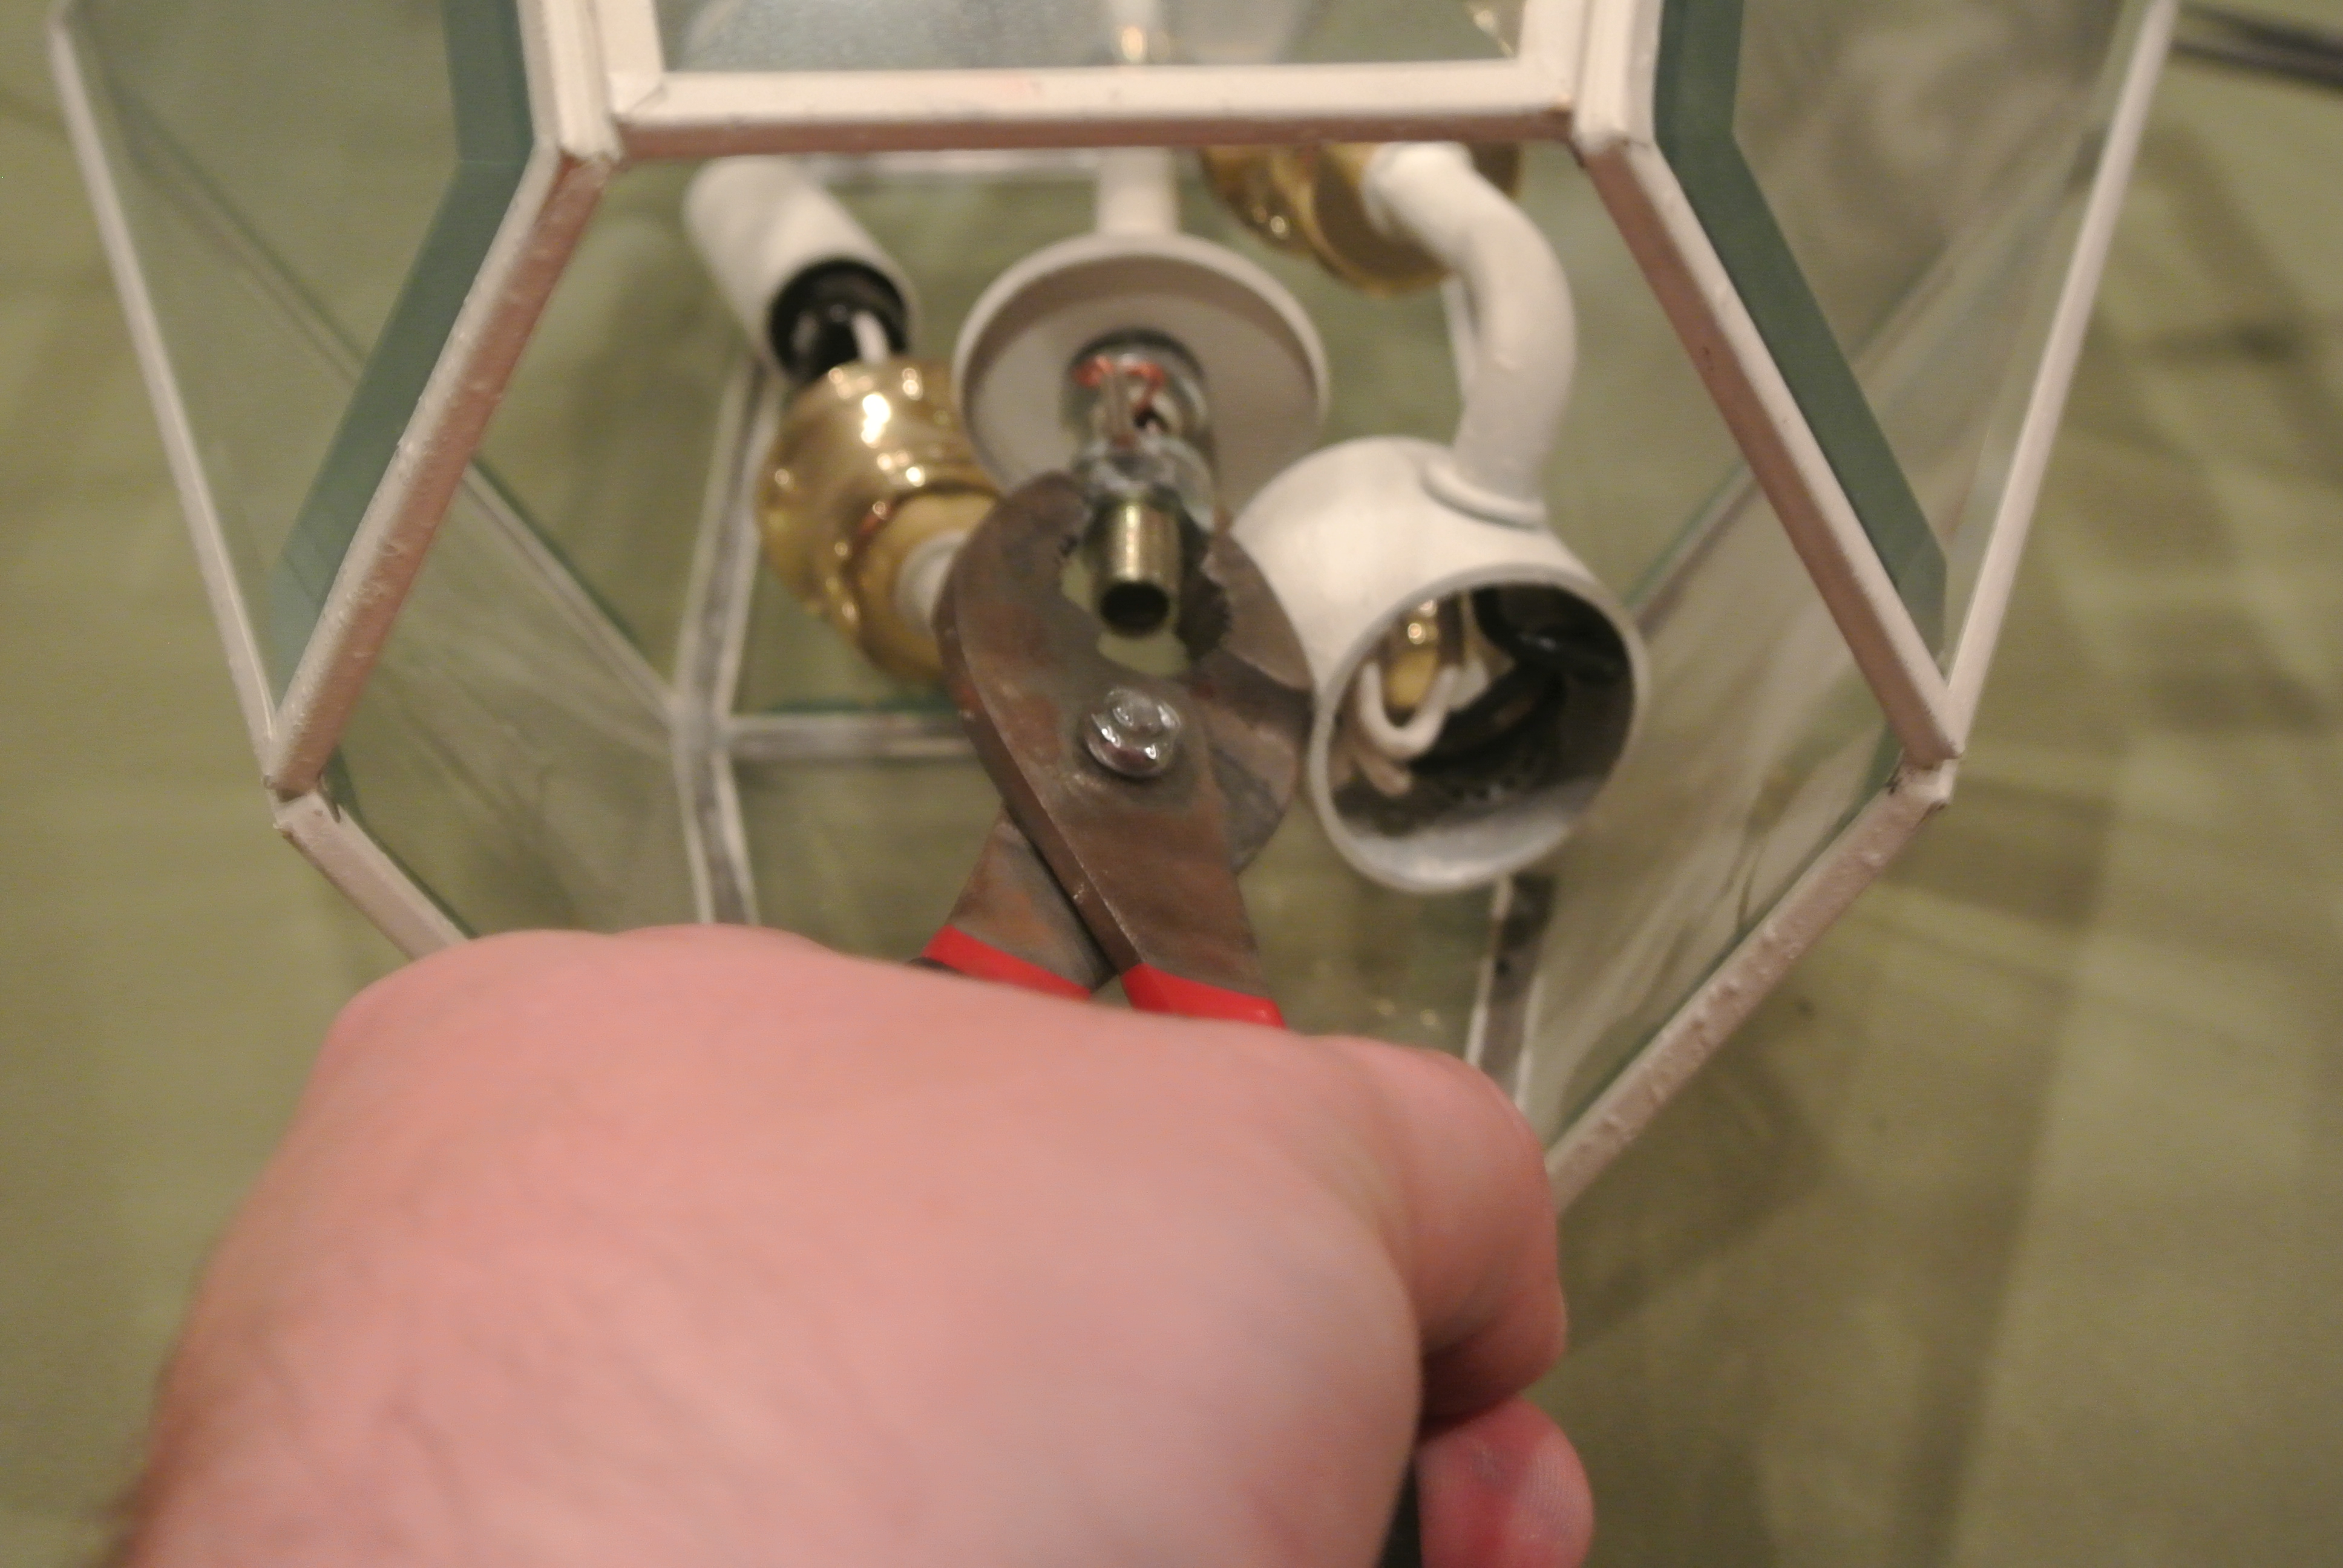
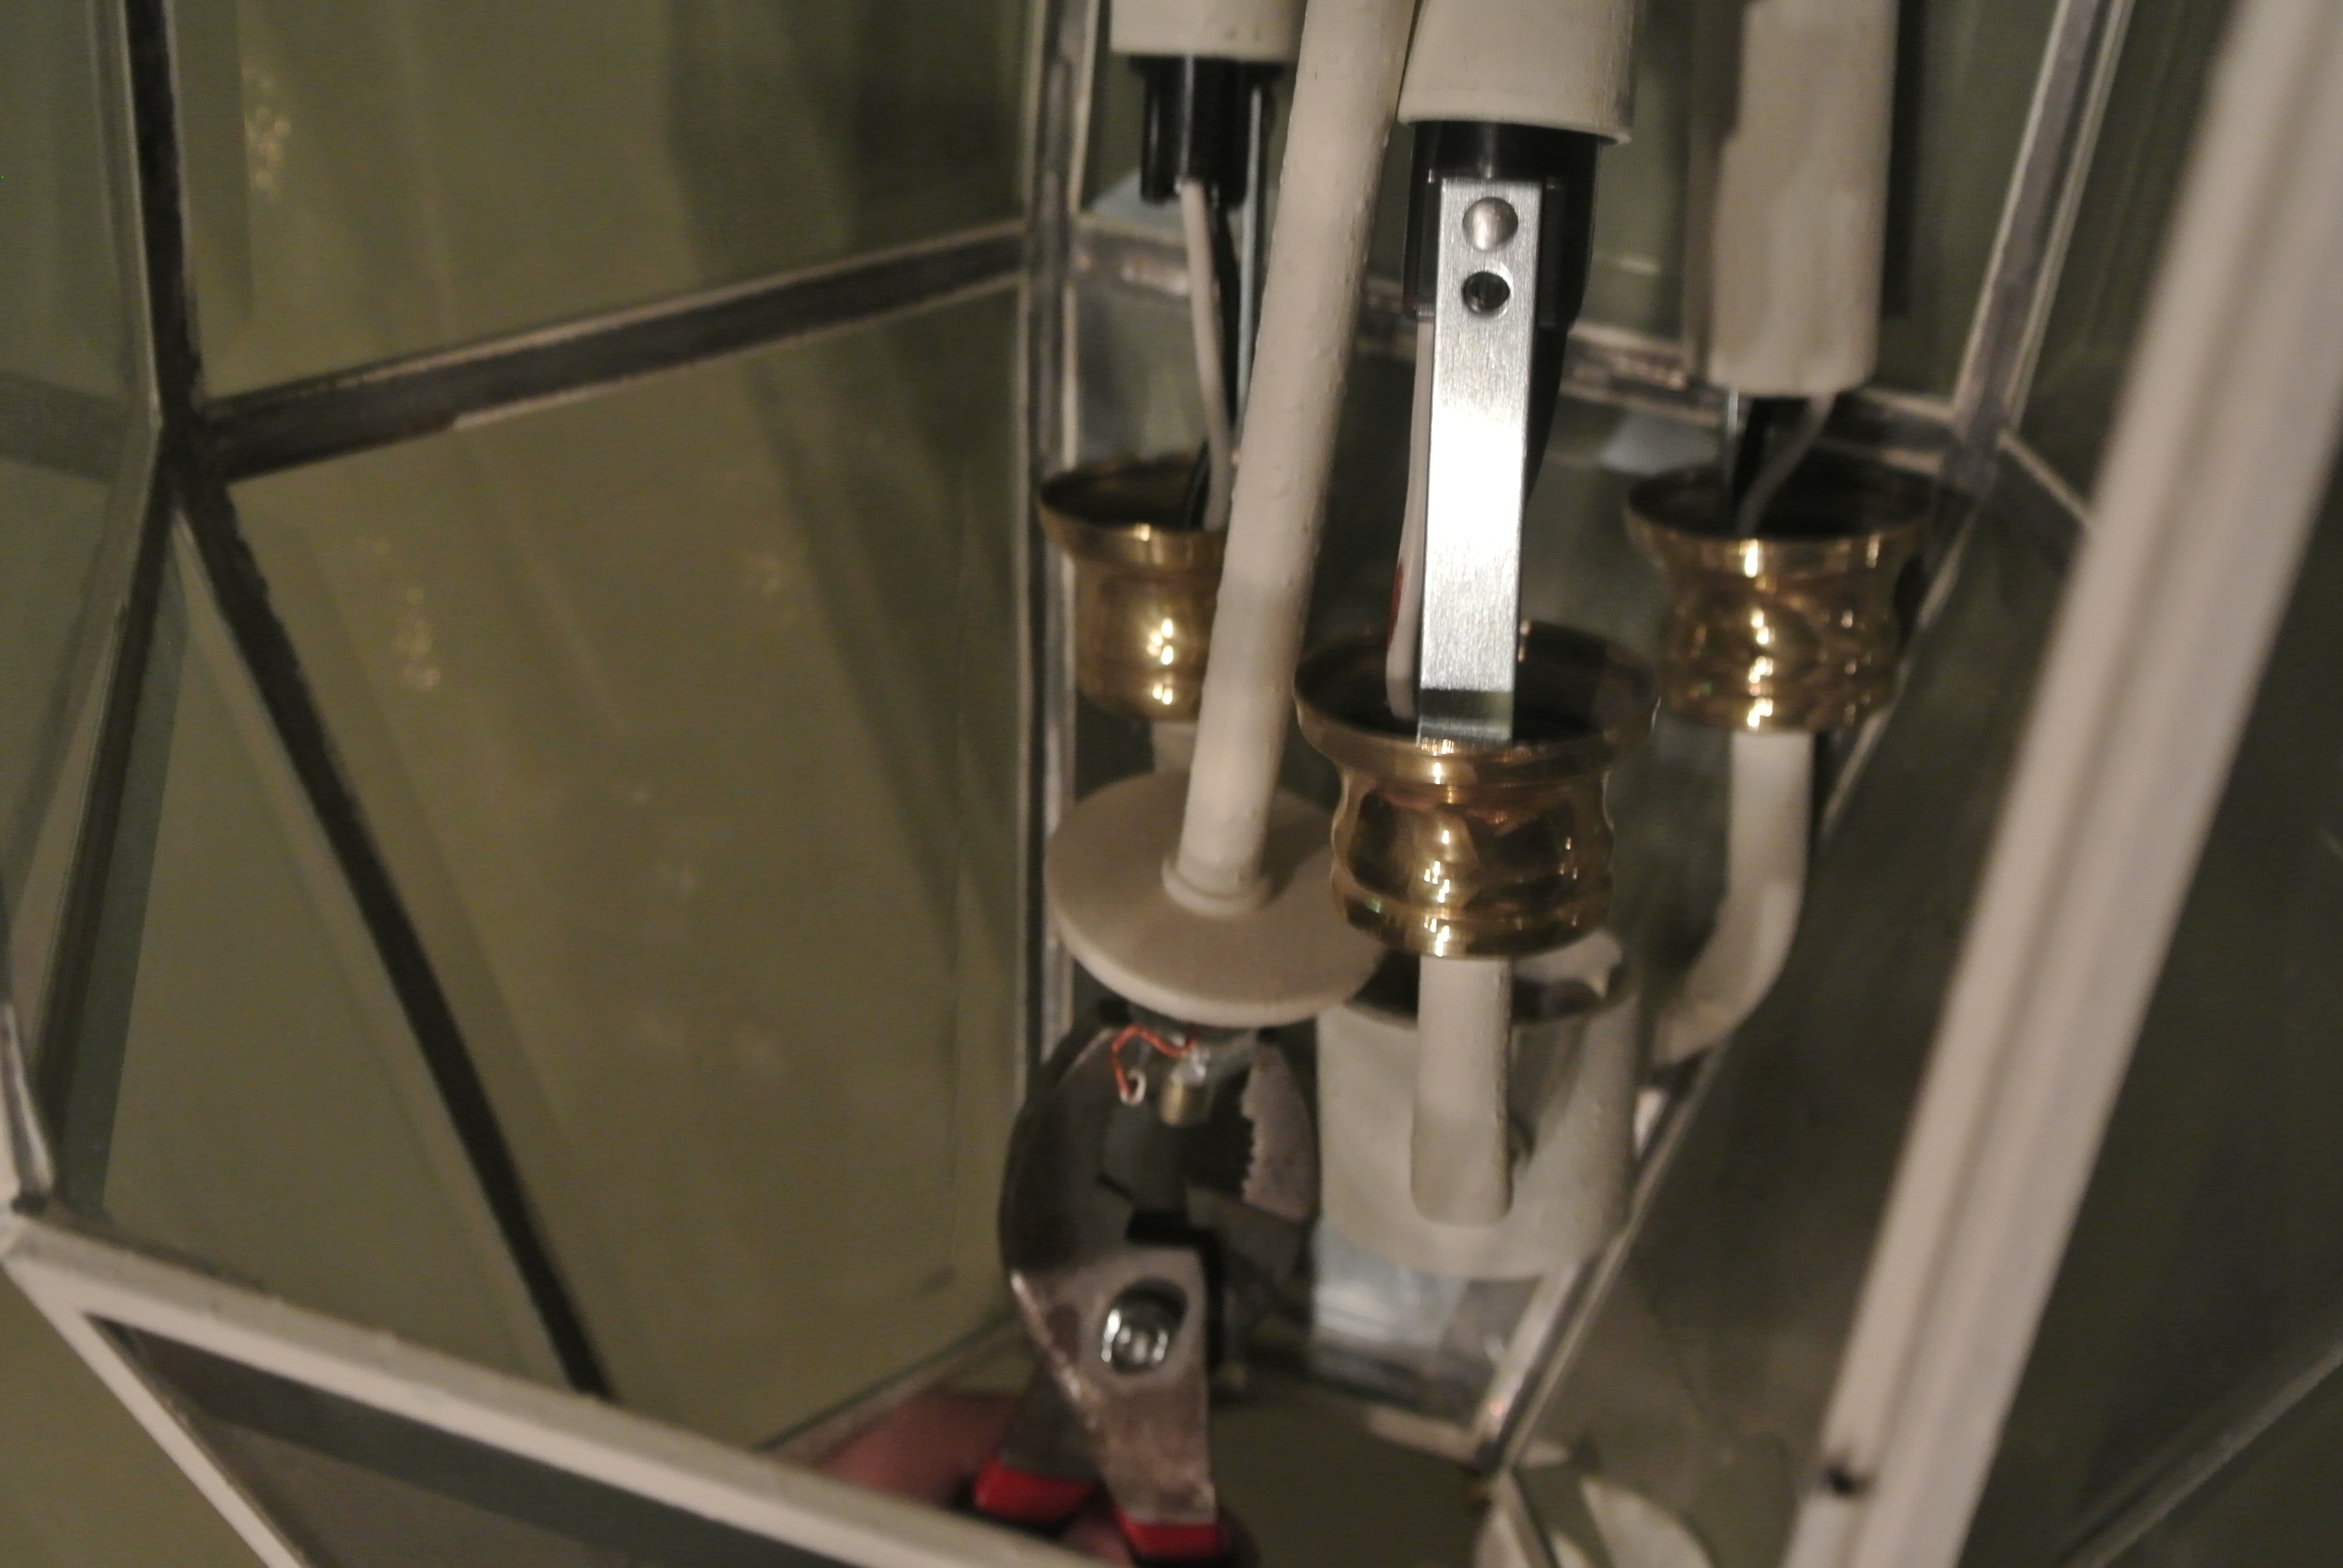
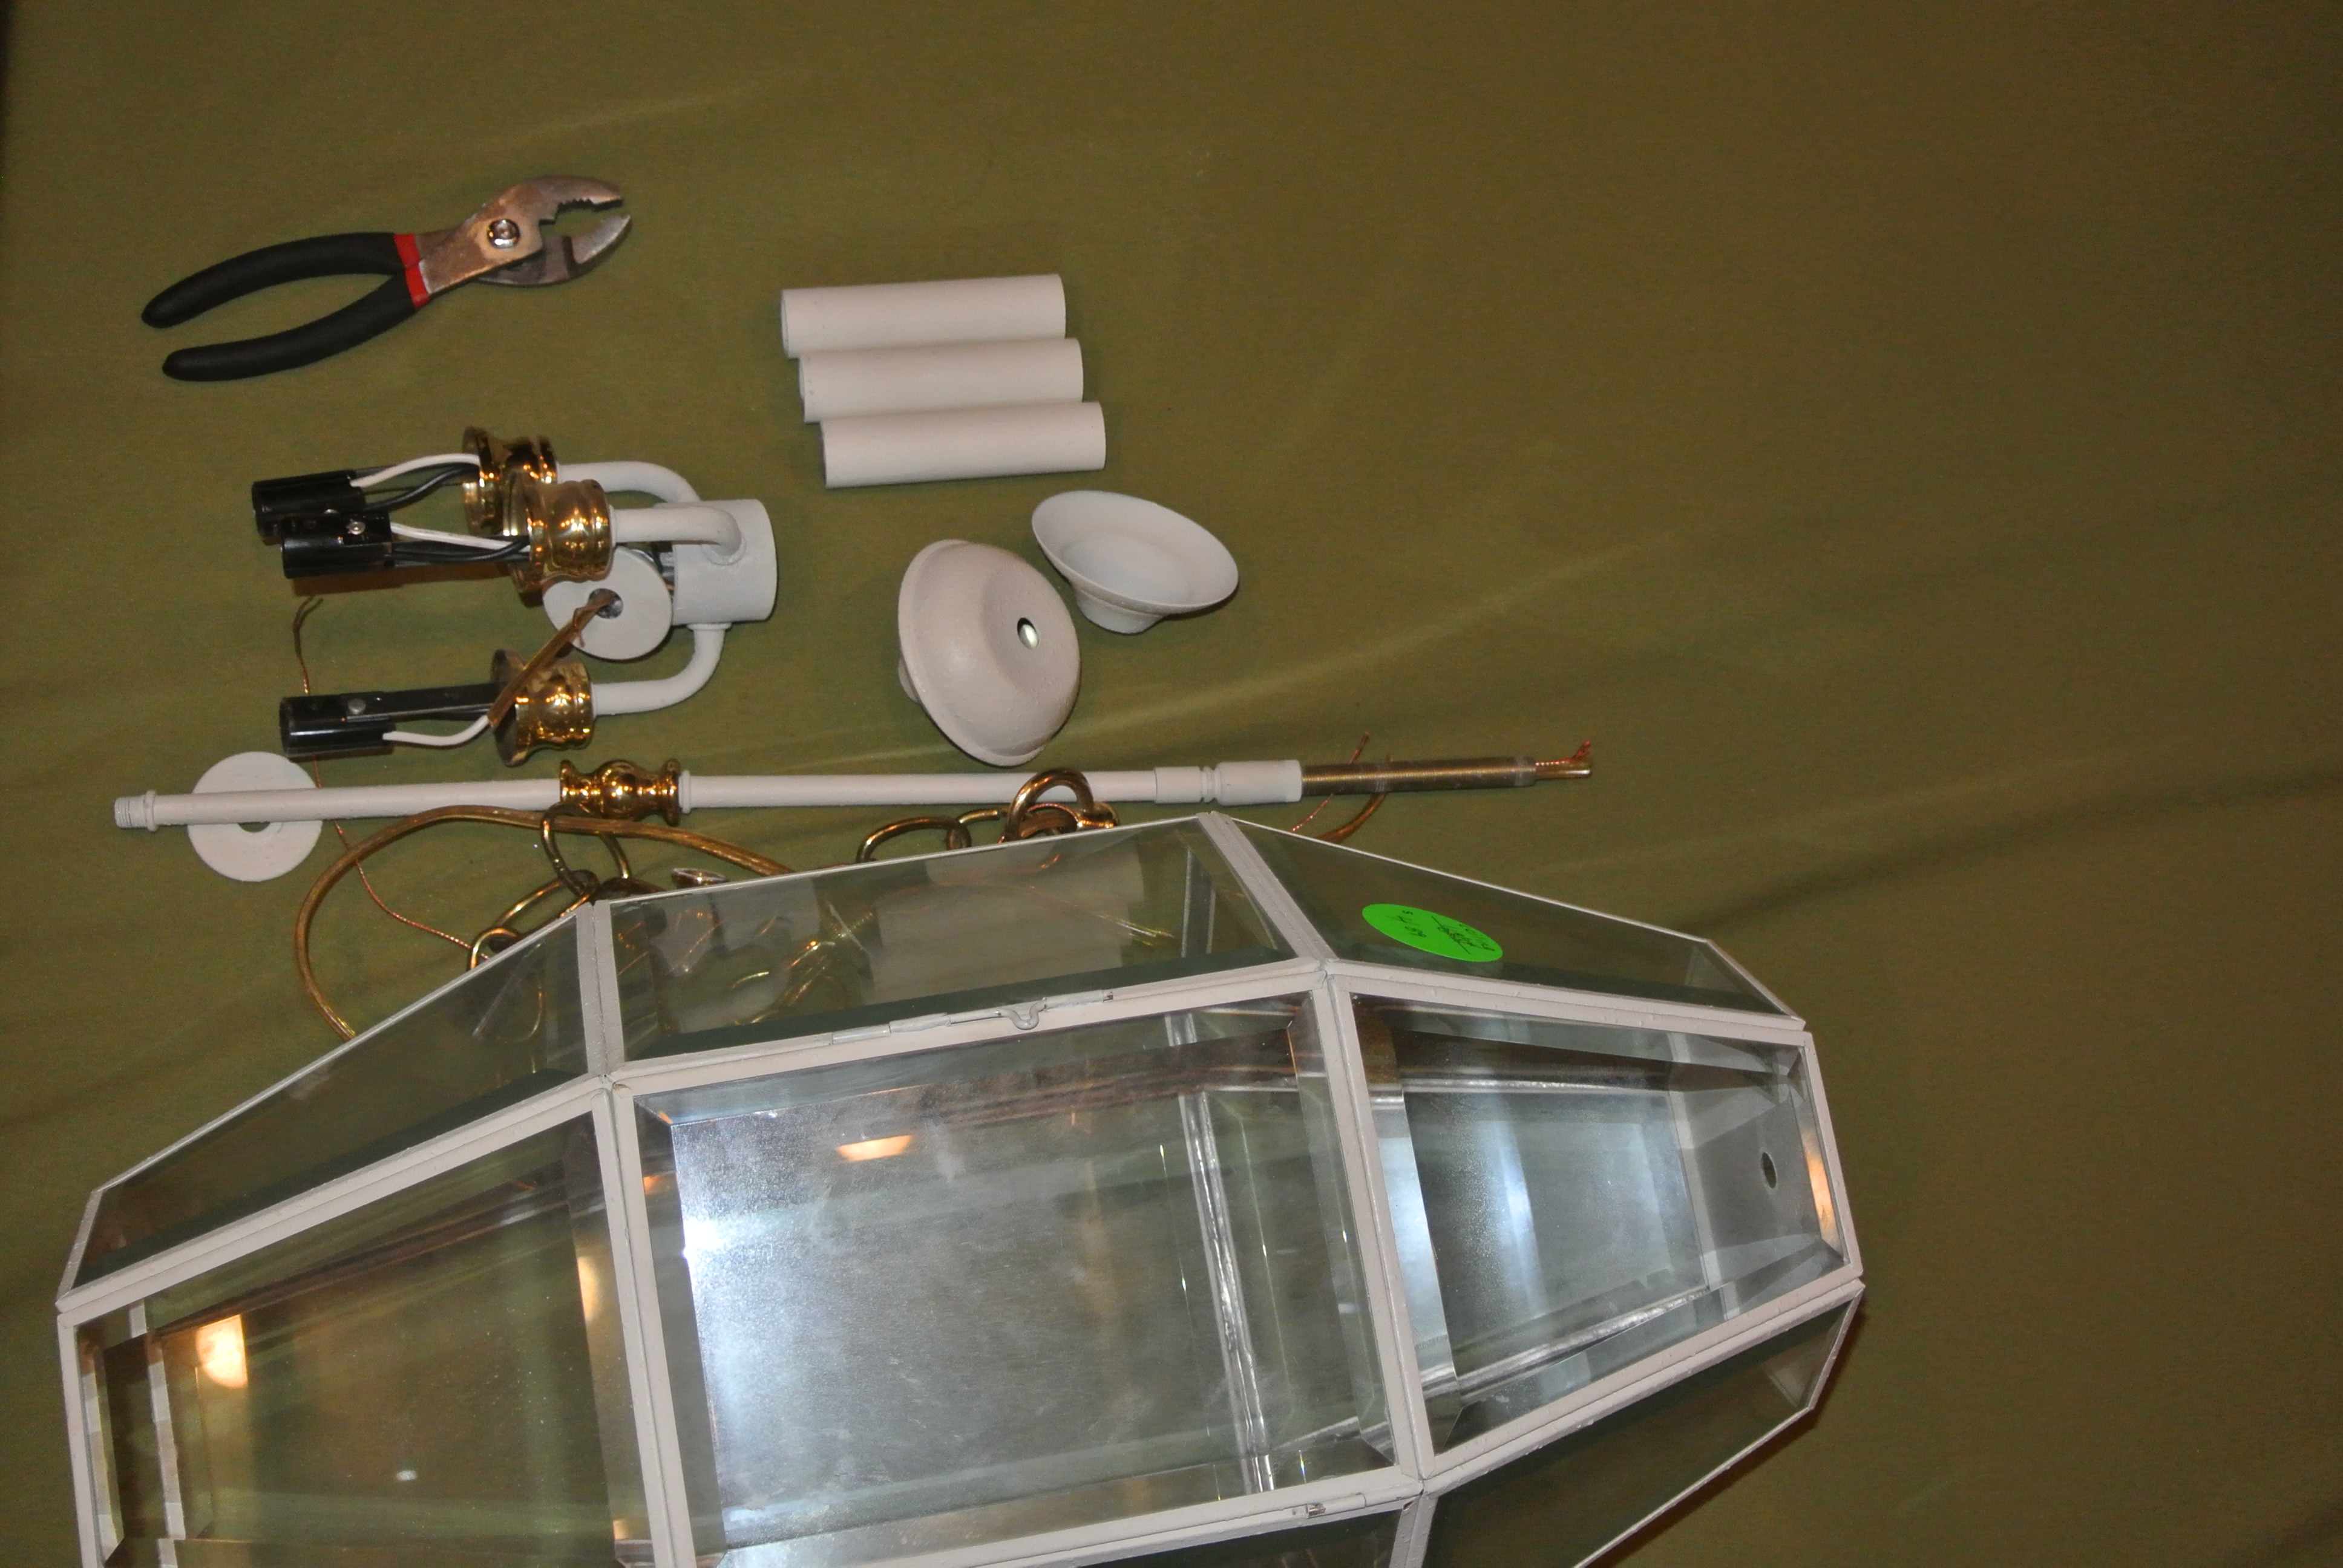
Pull the guts out of you light. Every light is different so this might take some trial and error.
Clean
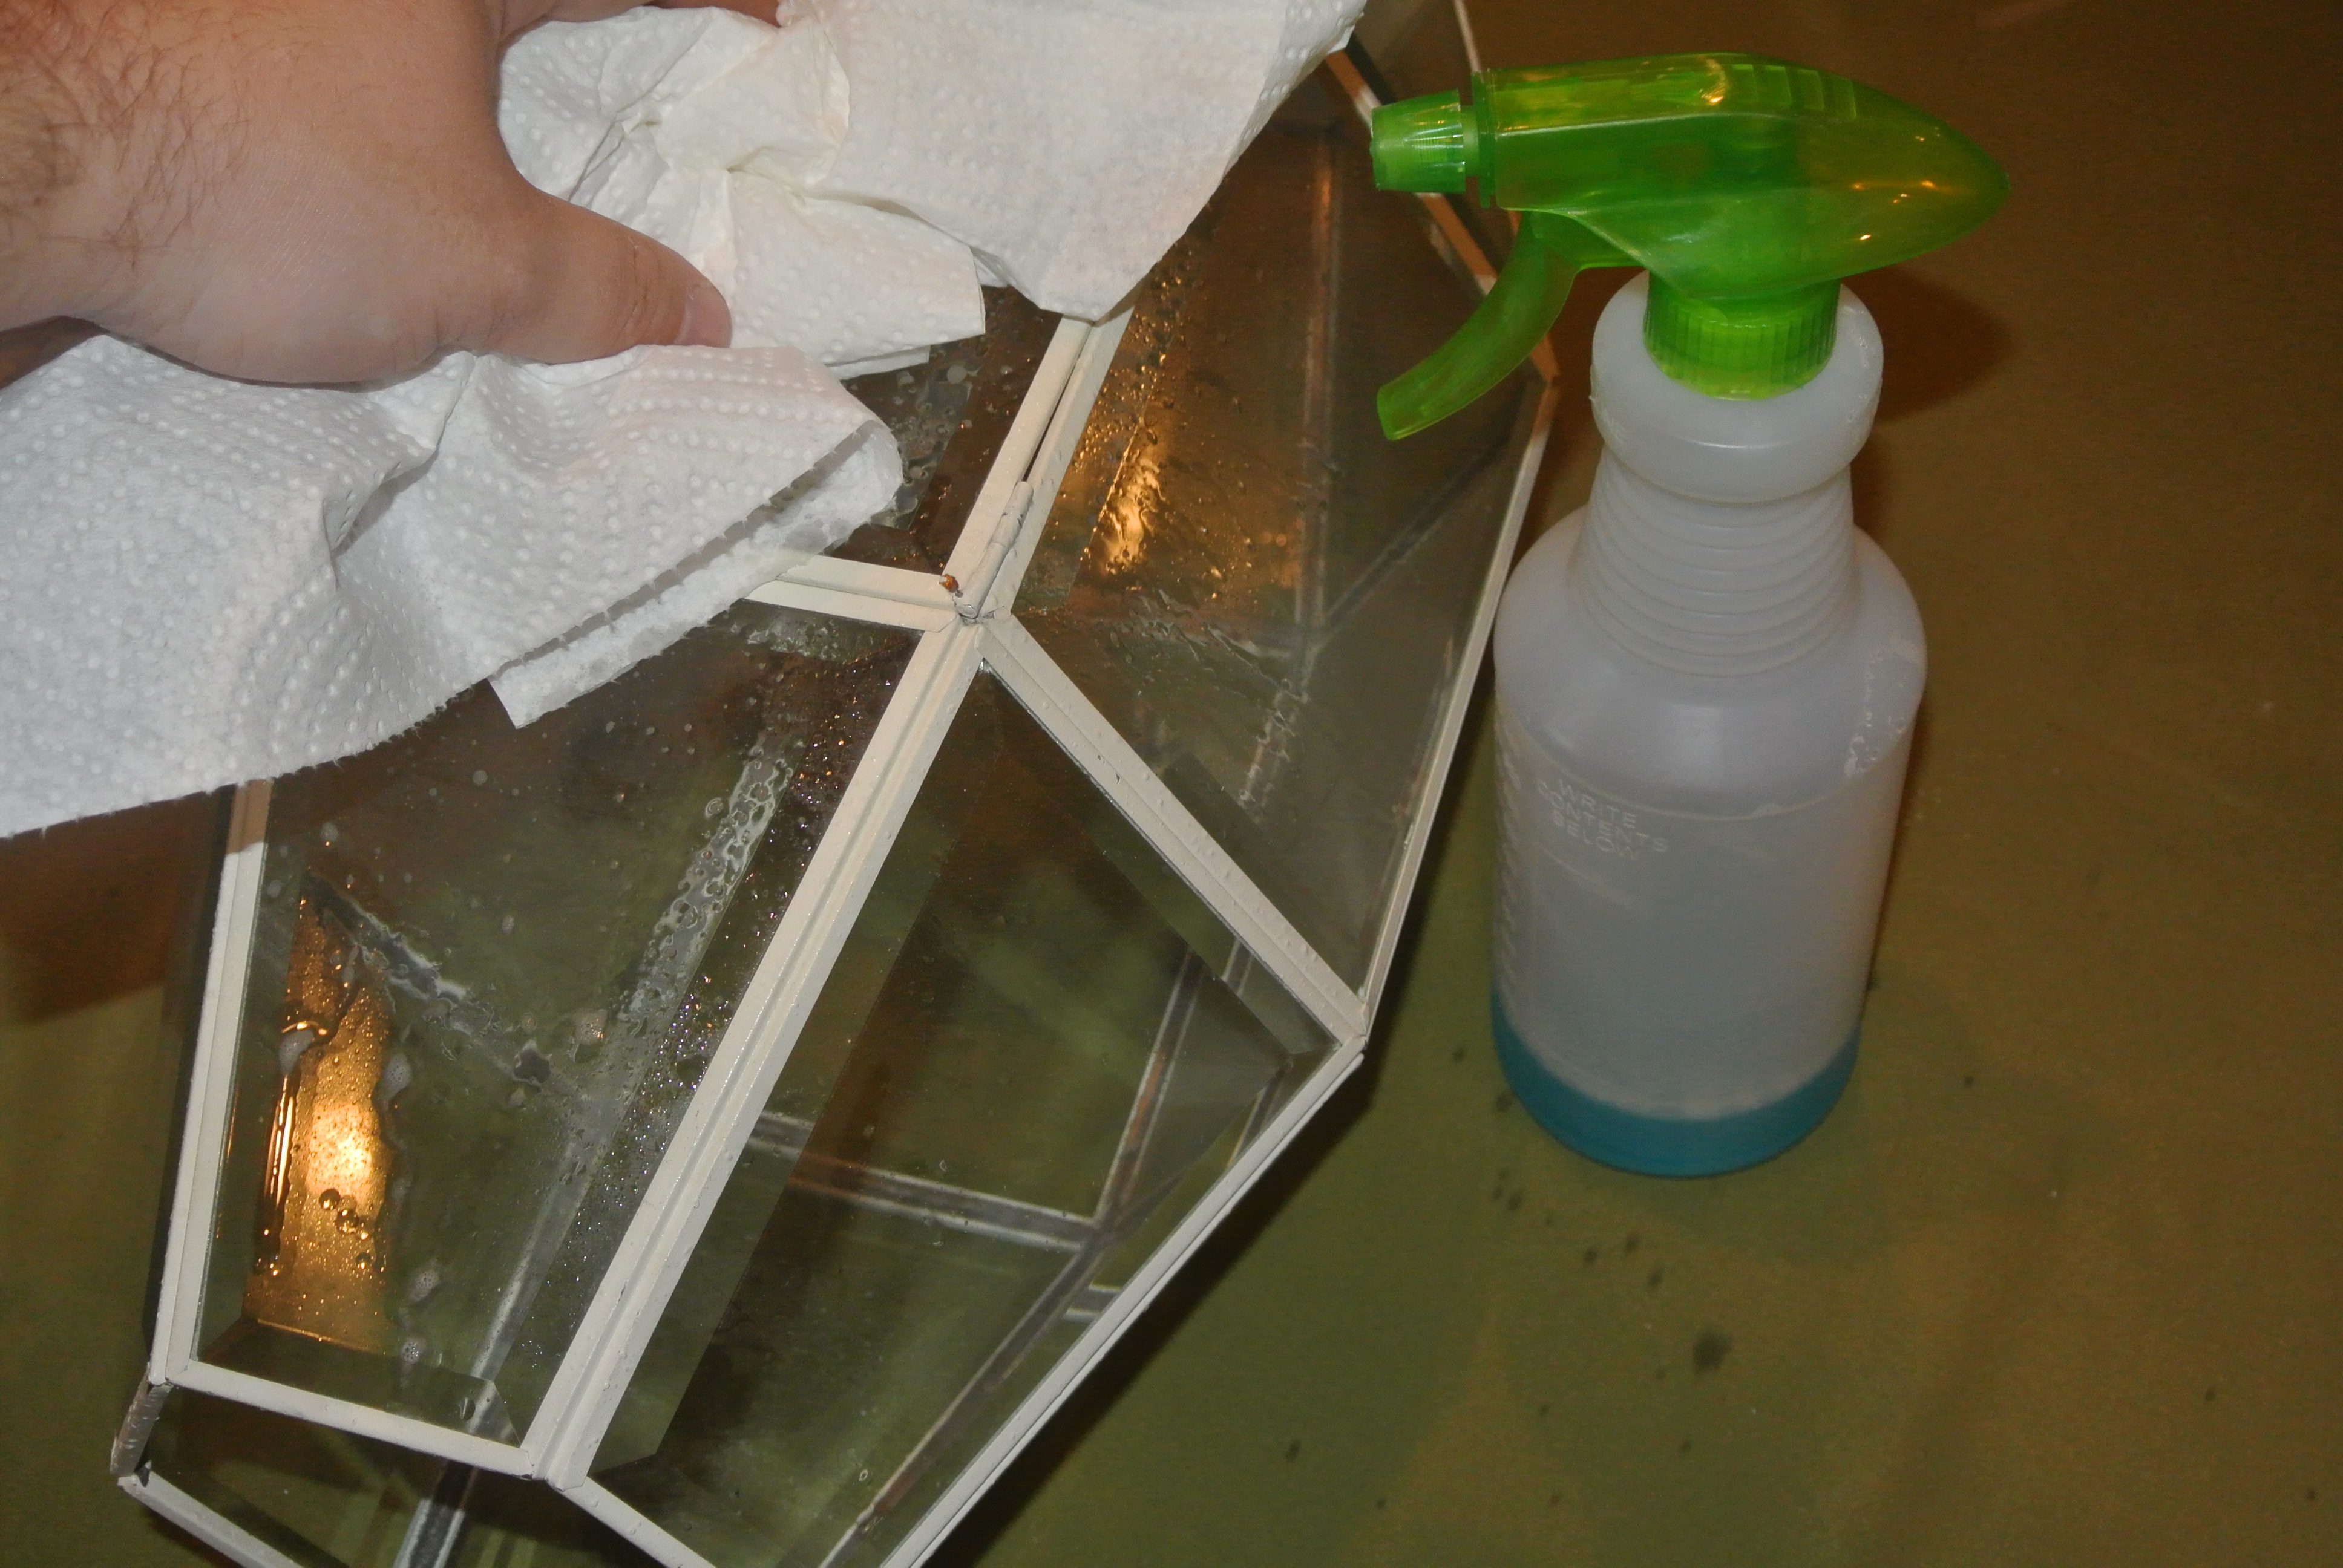
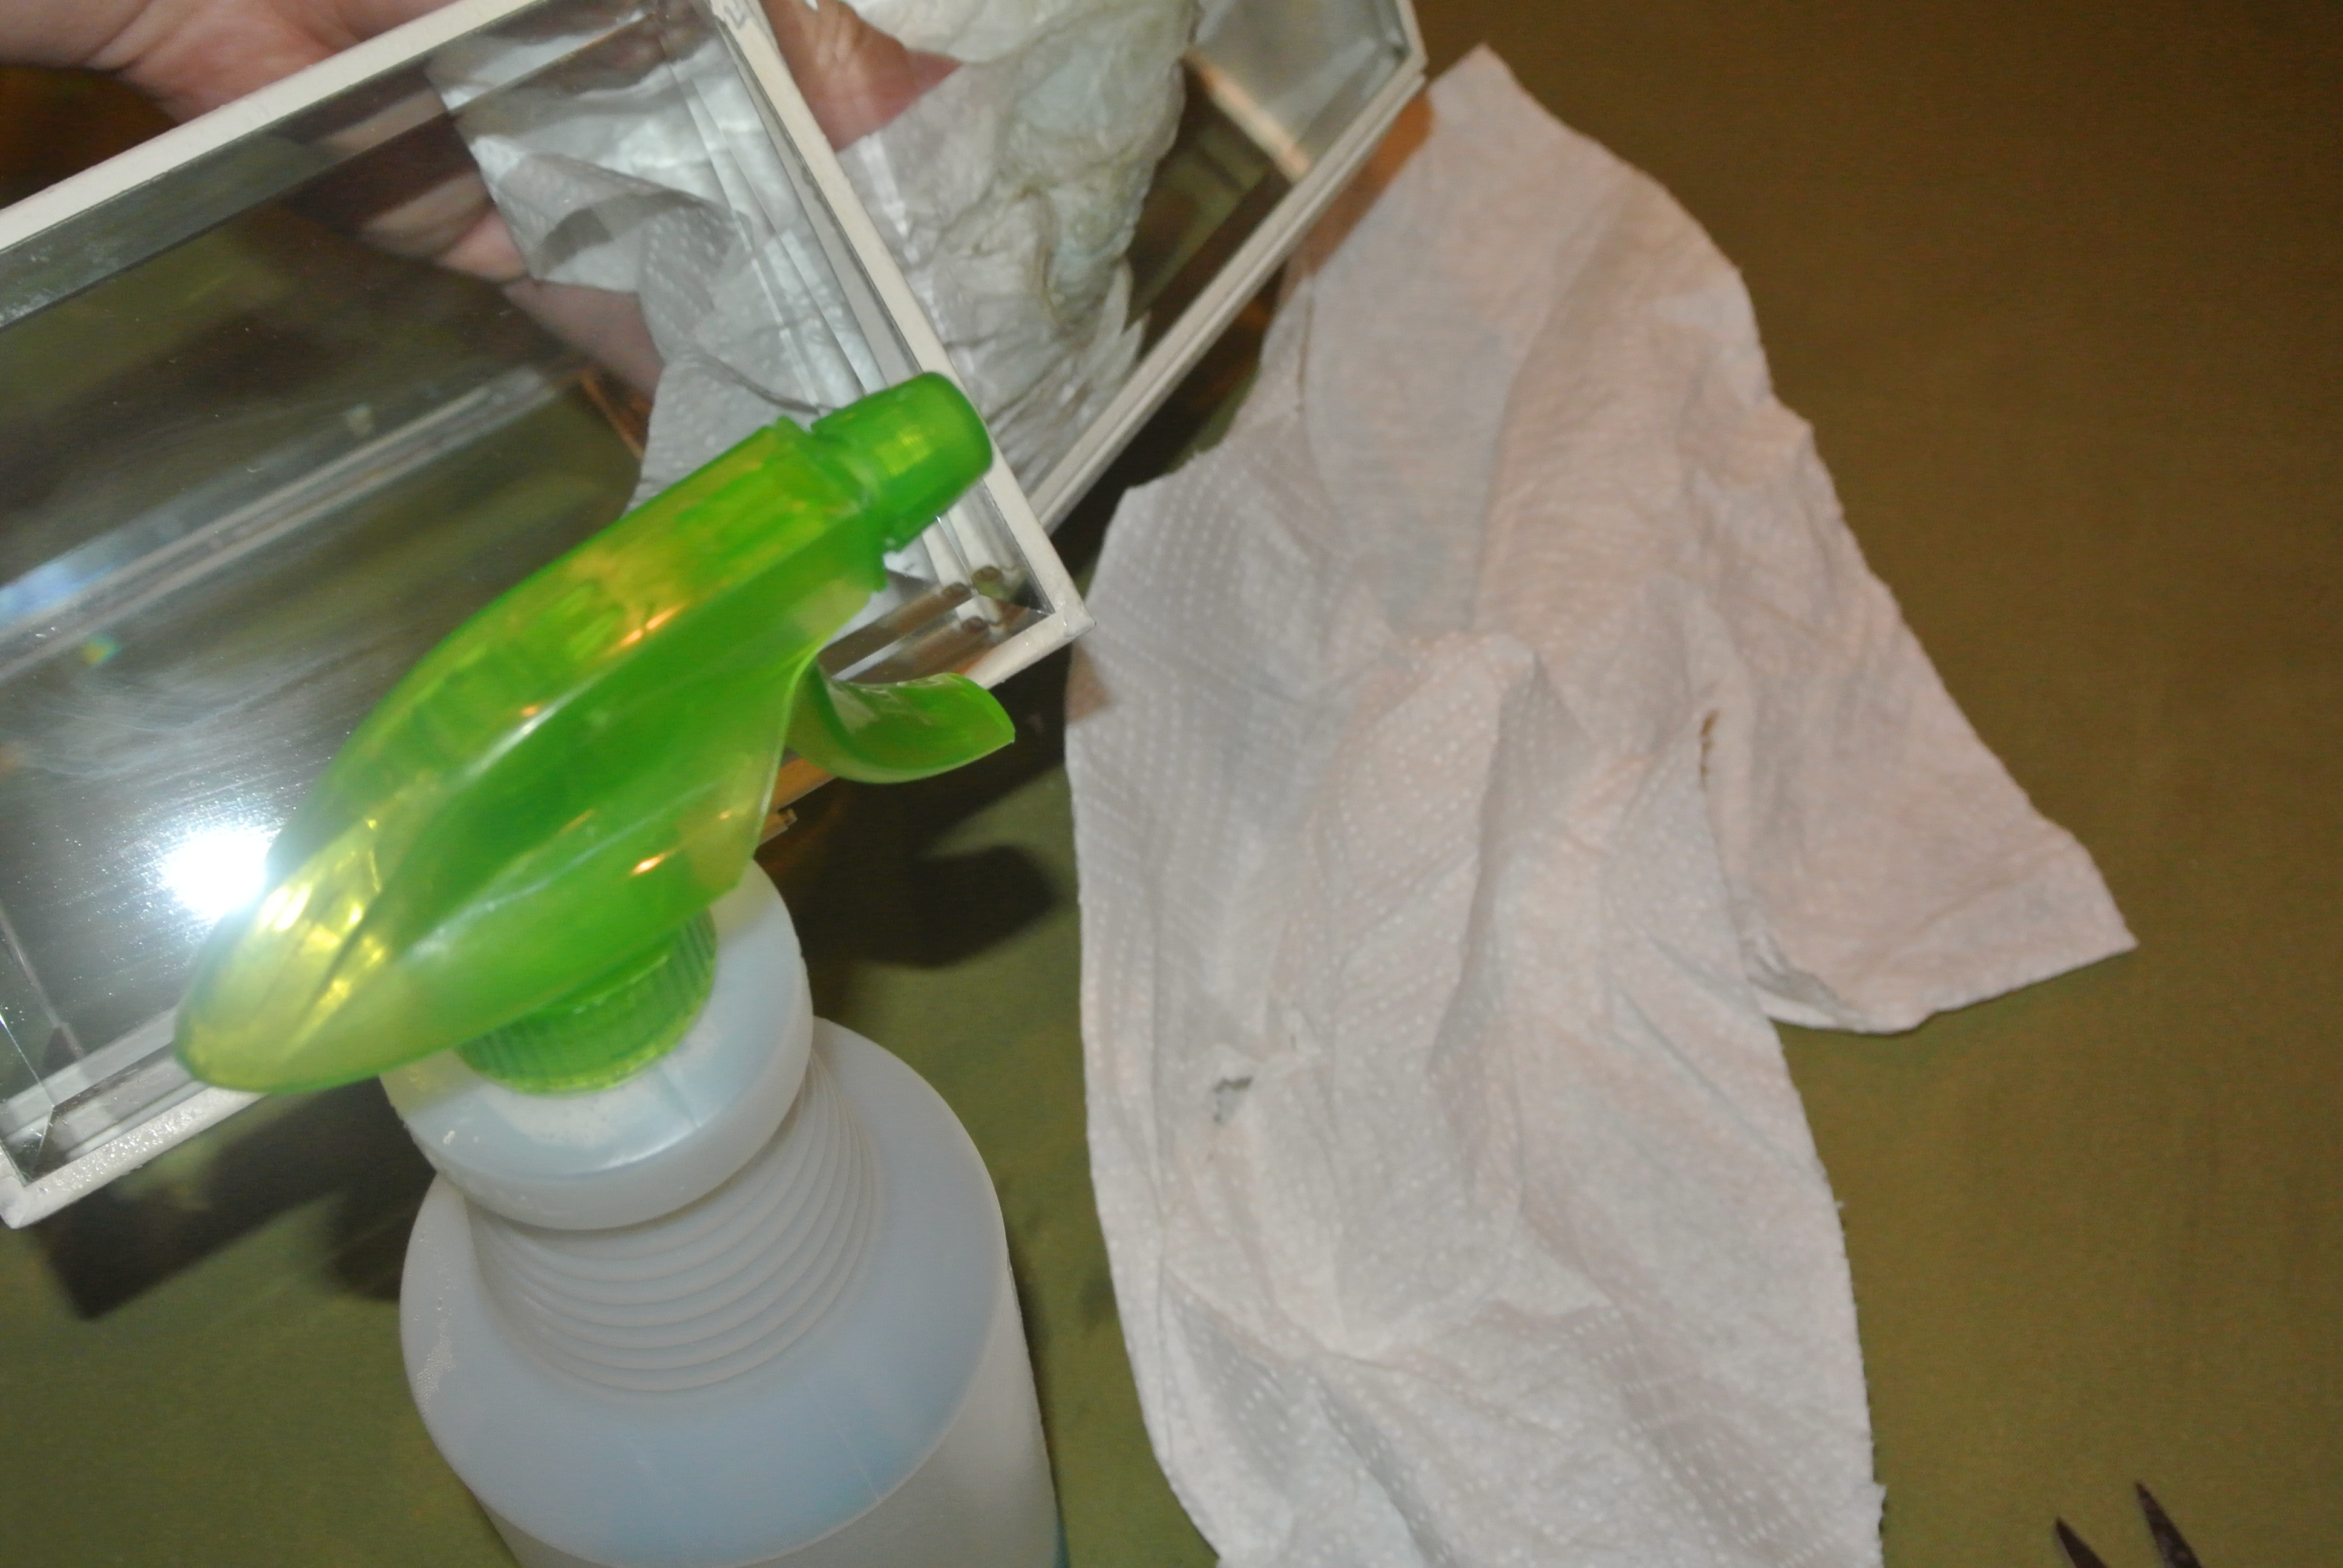
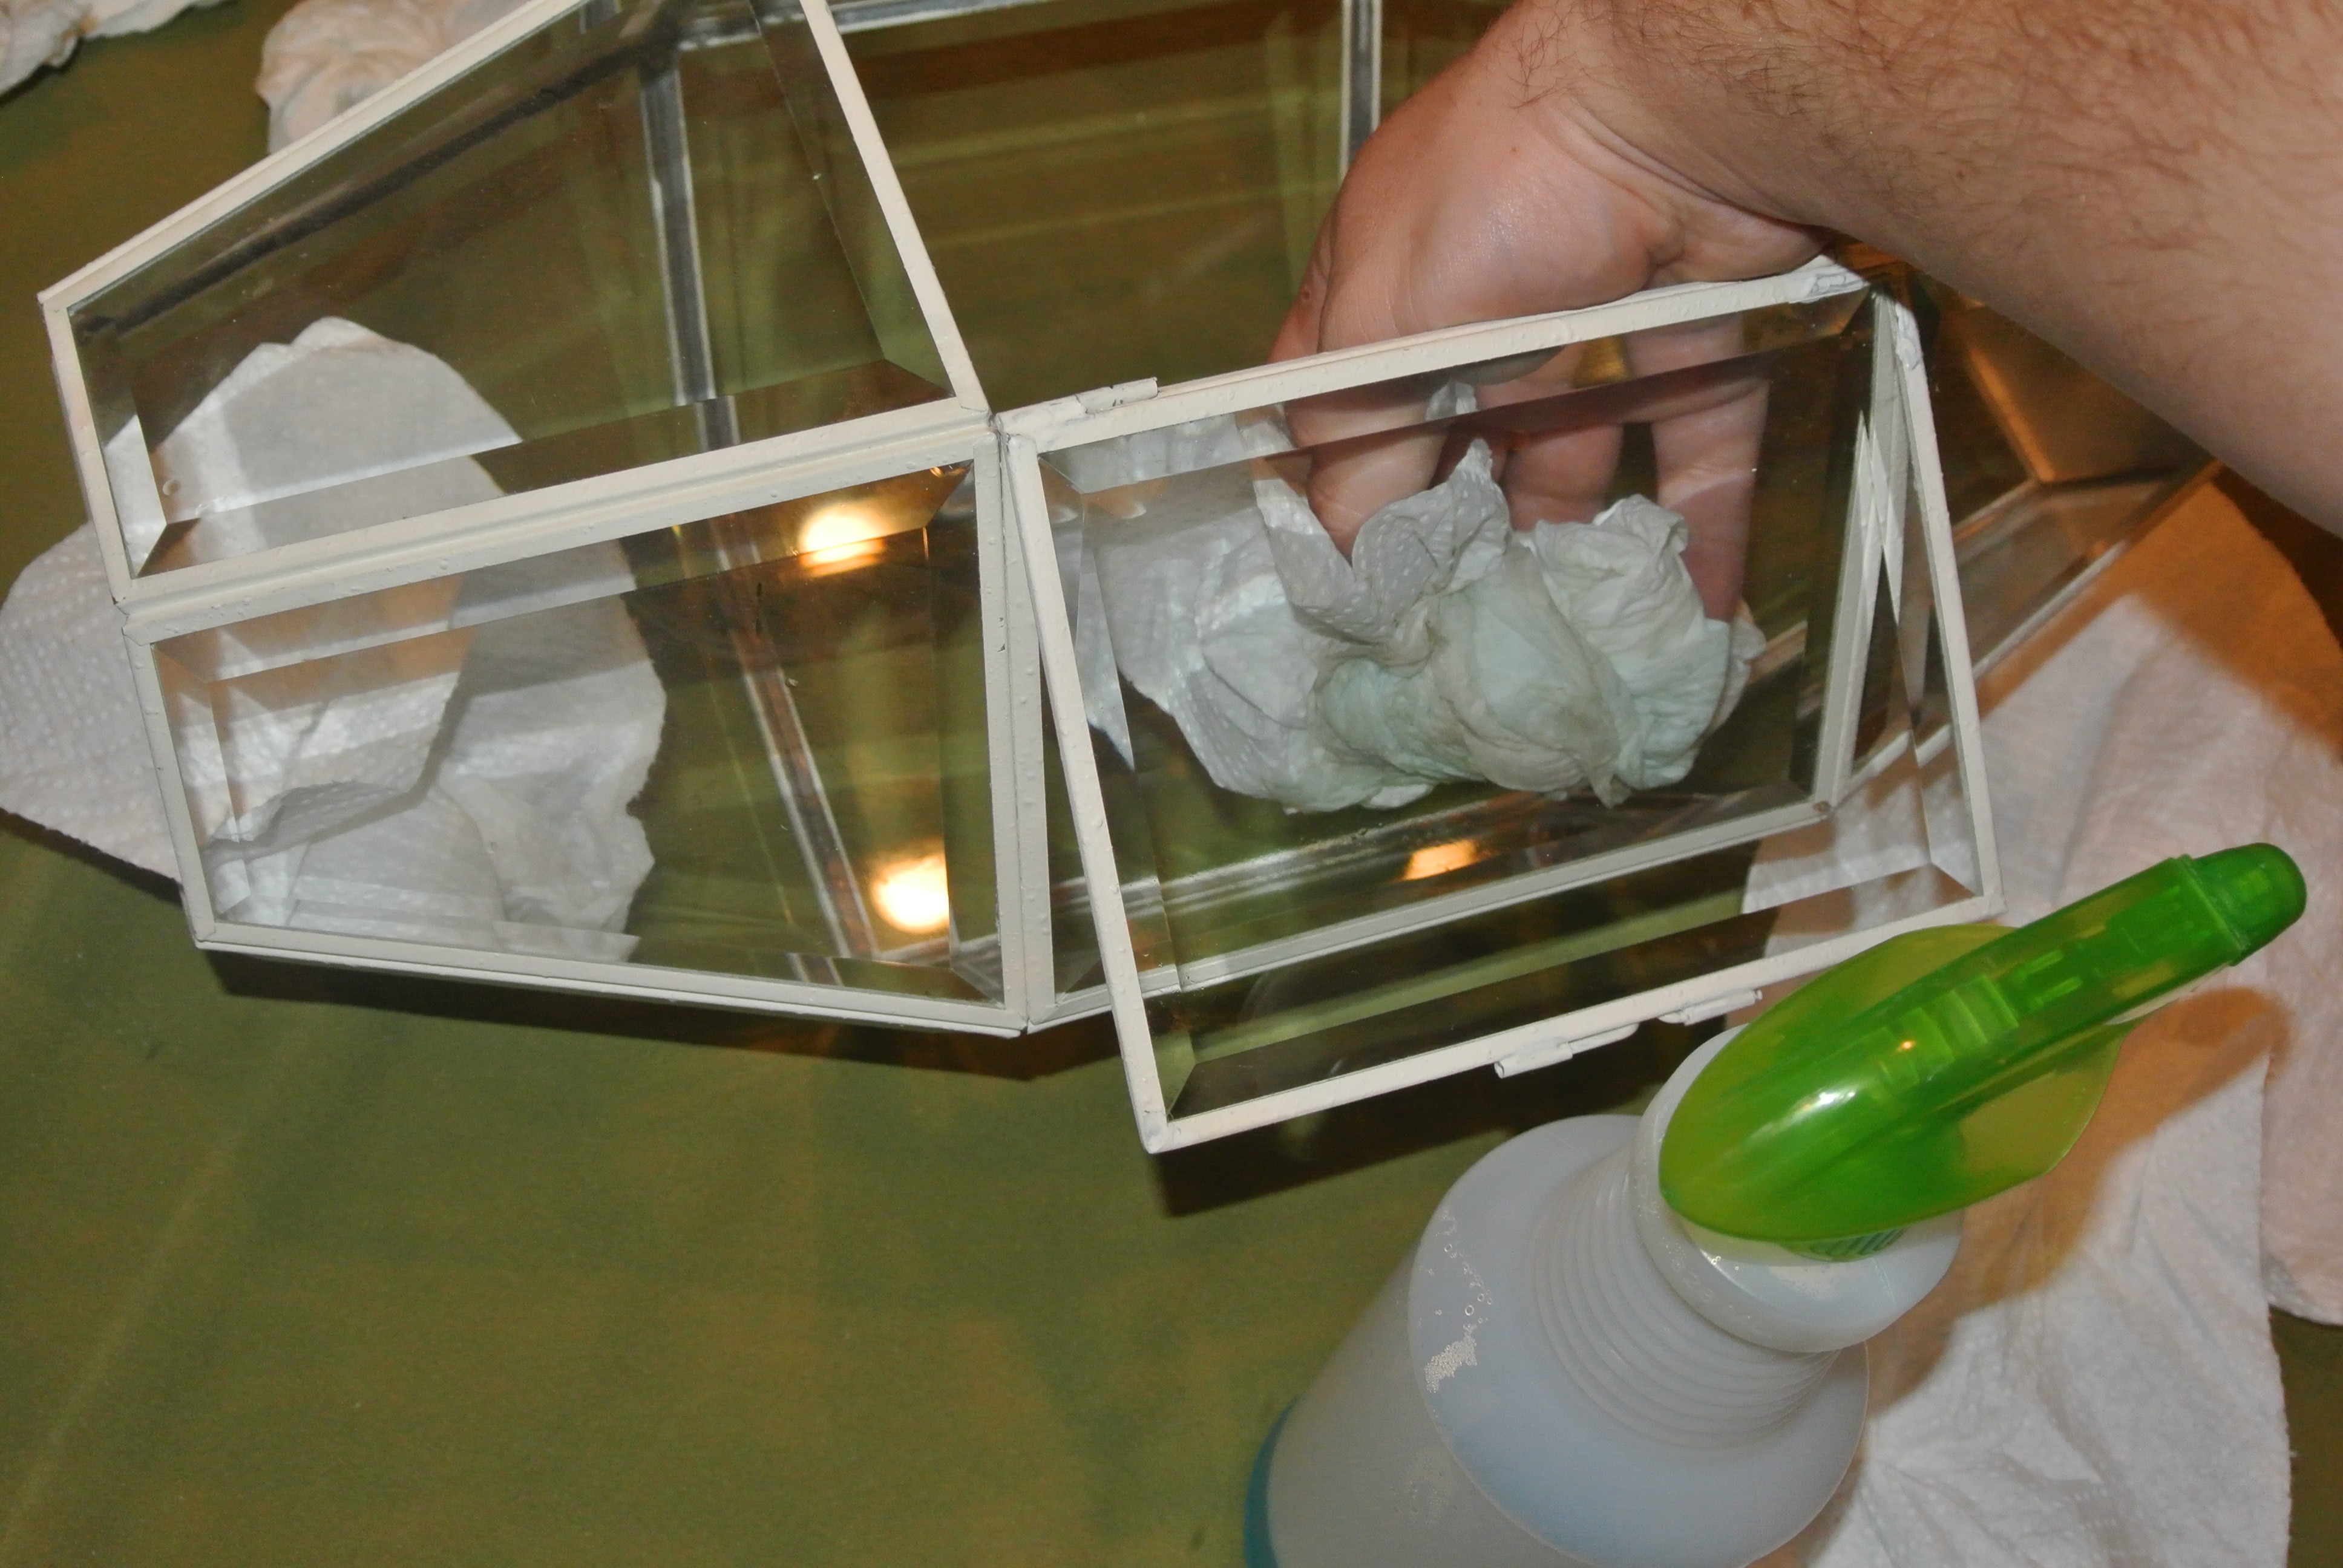
"WEEEEEEEEEAAAAK!" You scream. I know, I know. It has to be done though. Grab some glass cleaner and scrub up.
Art
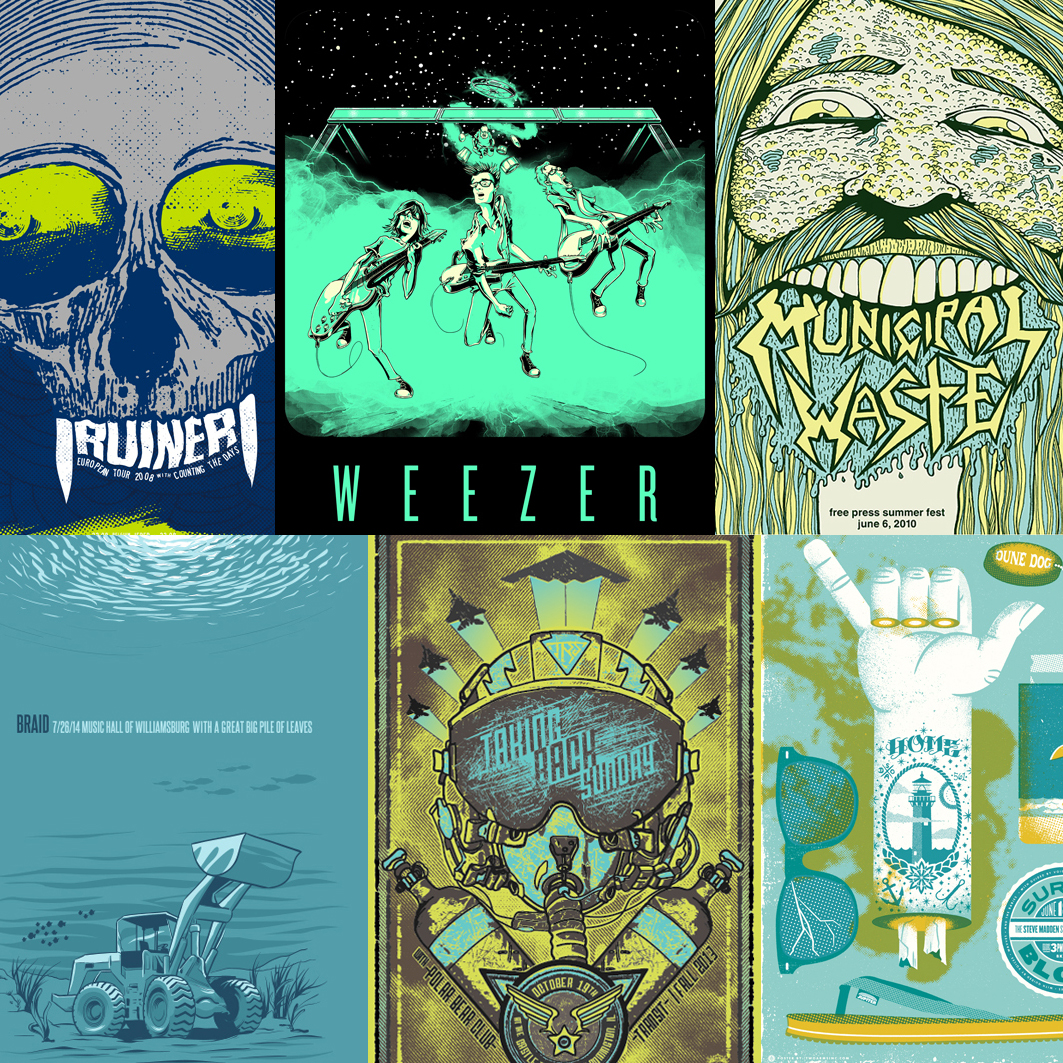
"But where do I get the art?" you blurt out. You sure do ask a lot of questions. Are you a cop?
I used gigposters.com to find most of the artwork but a simple Google search works for most popular bands. It doesn't even have to be band artwork.
Here are some other ideas for themes:
- TV or Movies- Battlestar Galactica, Star Wars, Happy Days, etc.
- Comics- Marvel, DC, Jim Gaffigan, etc.
- Photos- Friends, Family, Jim Gaffigan, etc.
- Your Own Art
Make It Fit
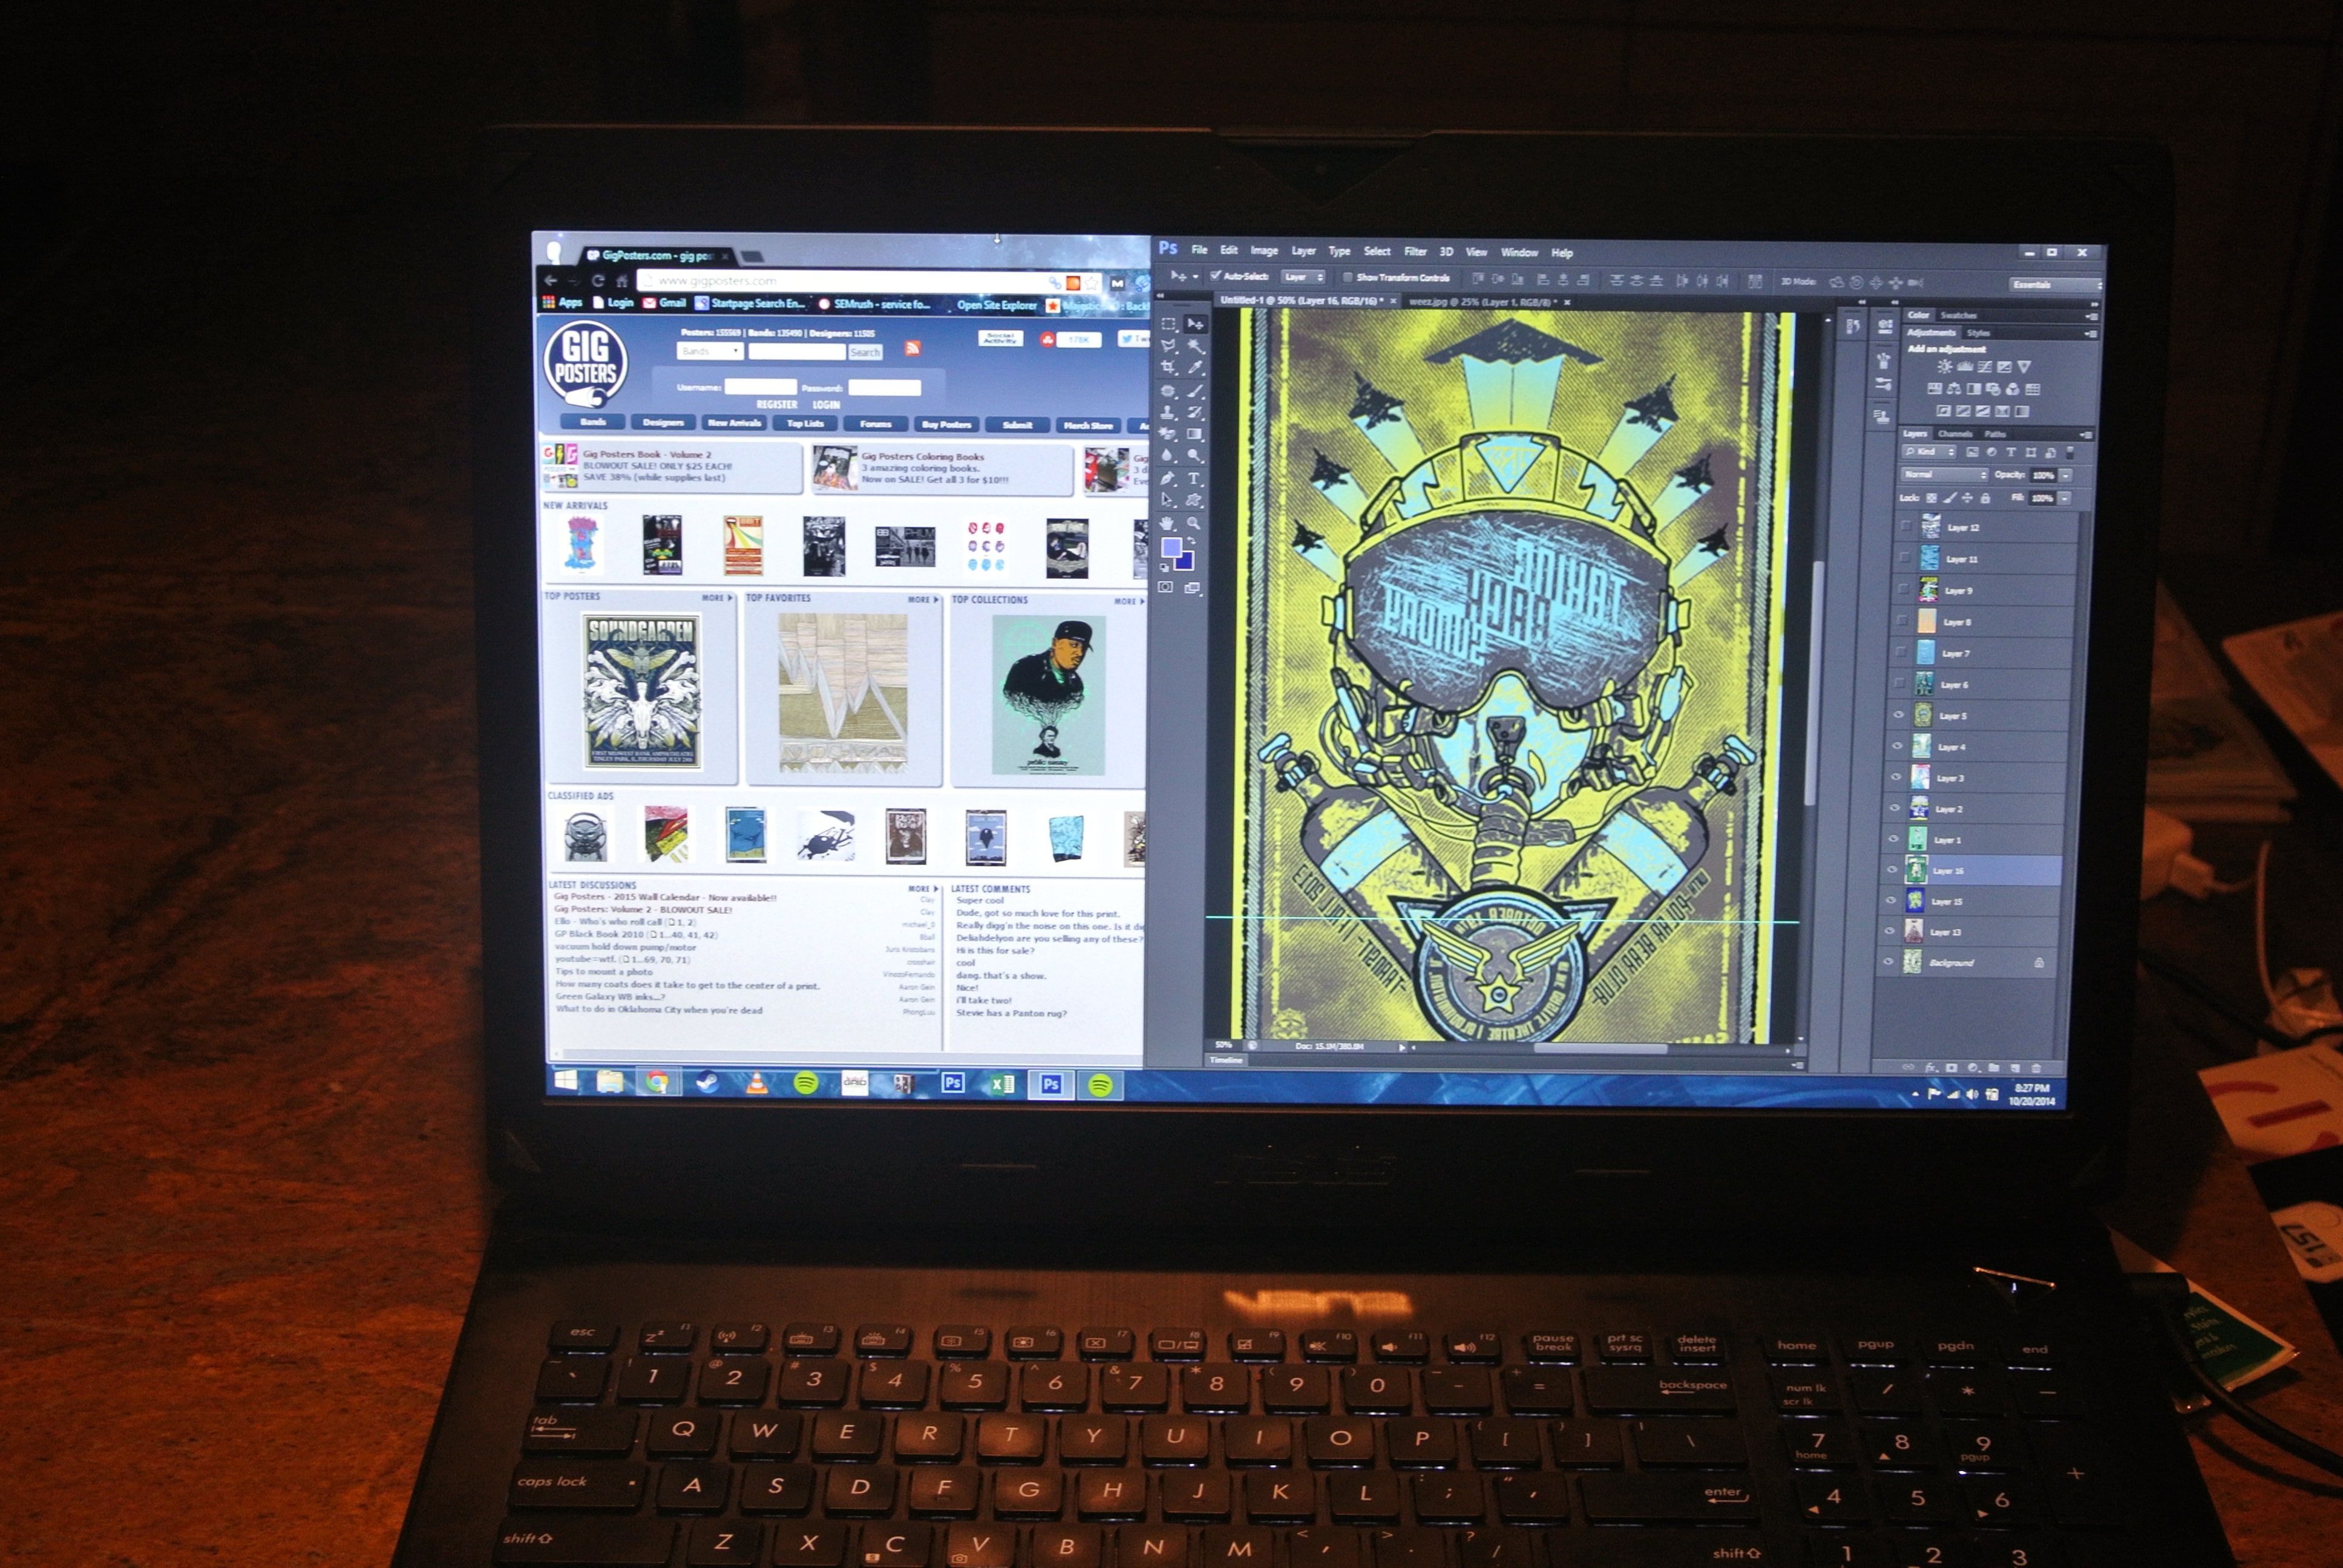
Once you have your art gathered you'll want to make sure you print out the right size. Here are some steps to make sure you get it right the first time.
- Measure a panel of glass on your light fixture. For the trapezoid pieces I printed the art out as rectangles and cut them in to the right shape after.
- Create a new project with those dimensions on your photo editing software.
- Size each piece of art to fit. If you are trying to spread out the image over two panels then make sure you have the image centered and you have doubled the width.
- Flip the images horizontally so that the image is printed backwards. This is so when you glue them to the glass you don't have to glue the printed side. This becomes important in the next couple steps.
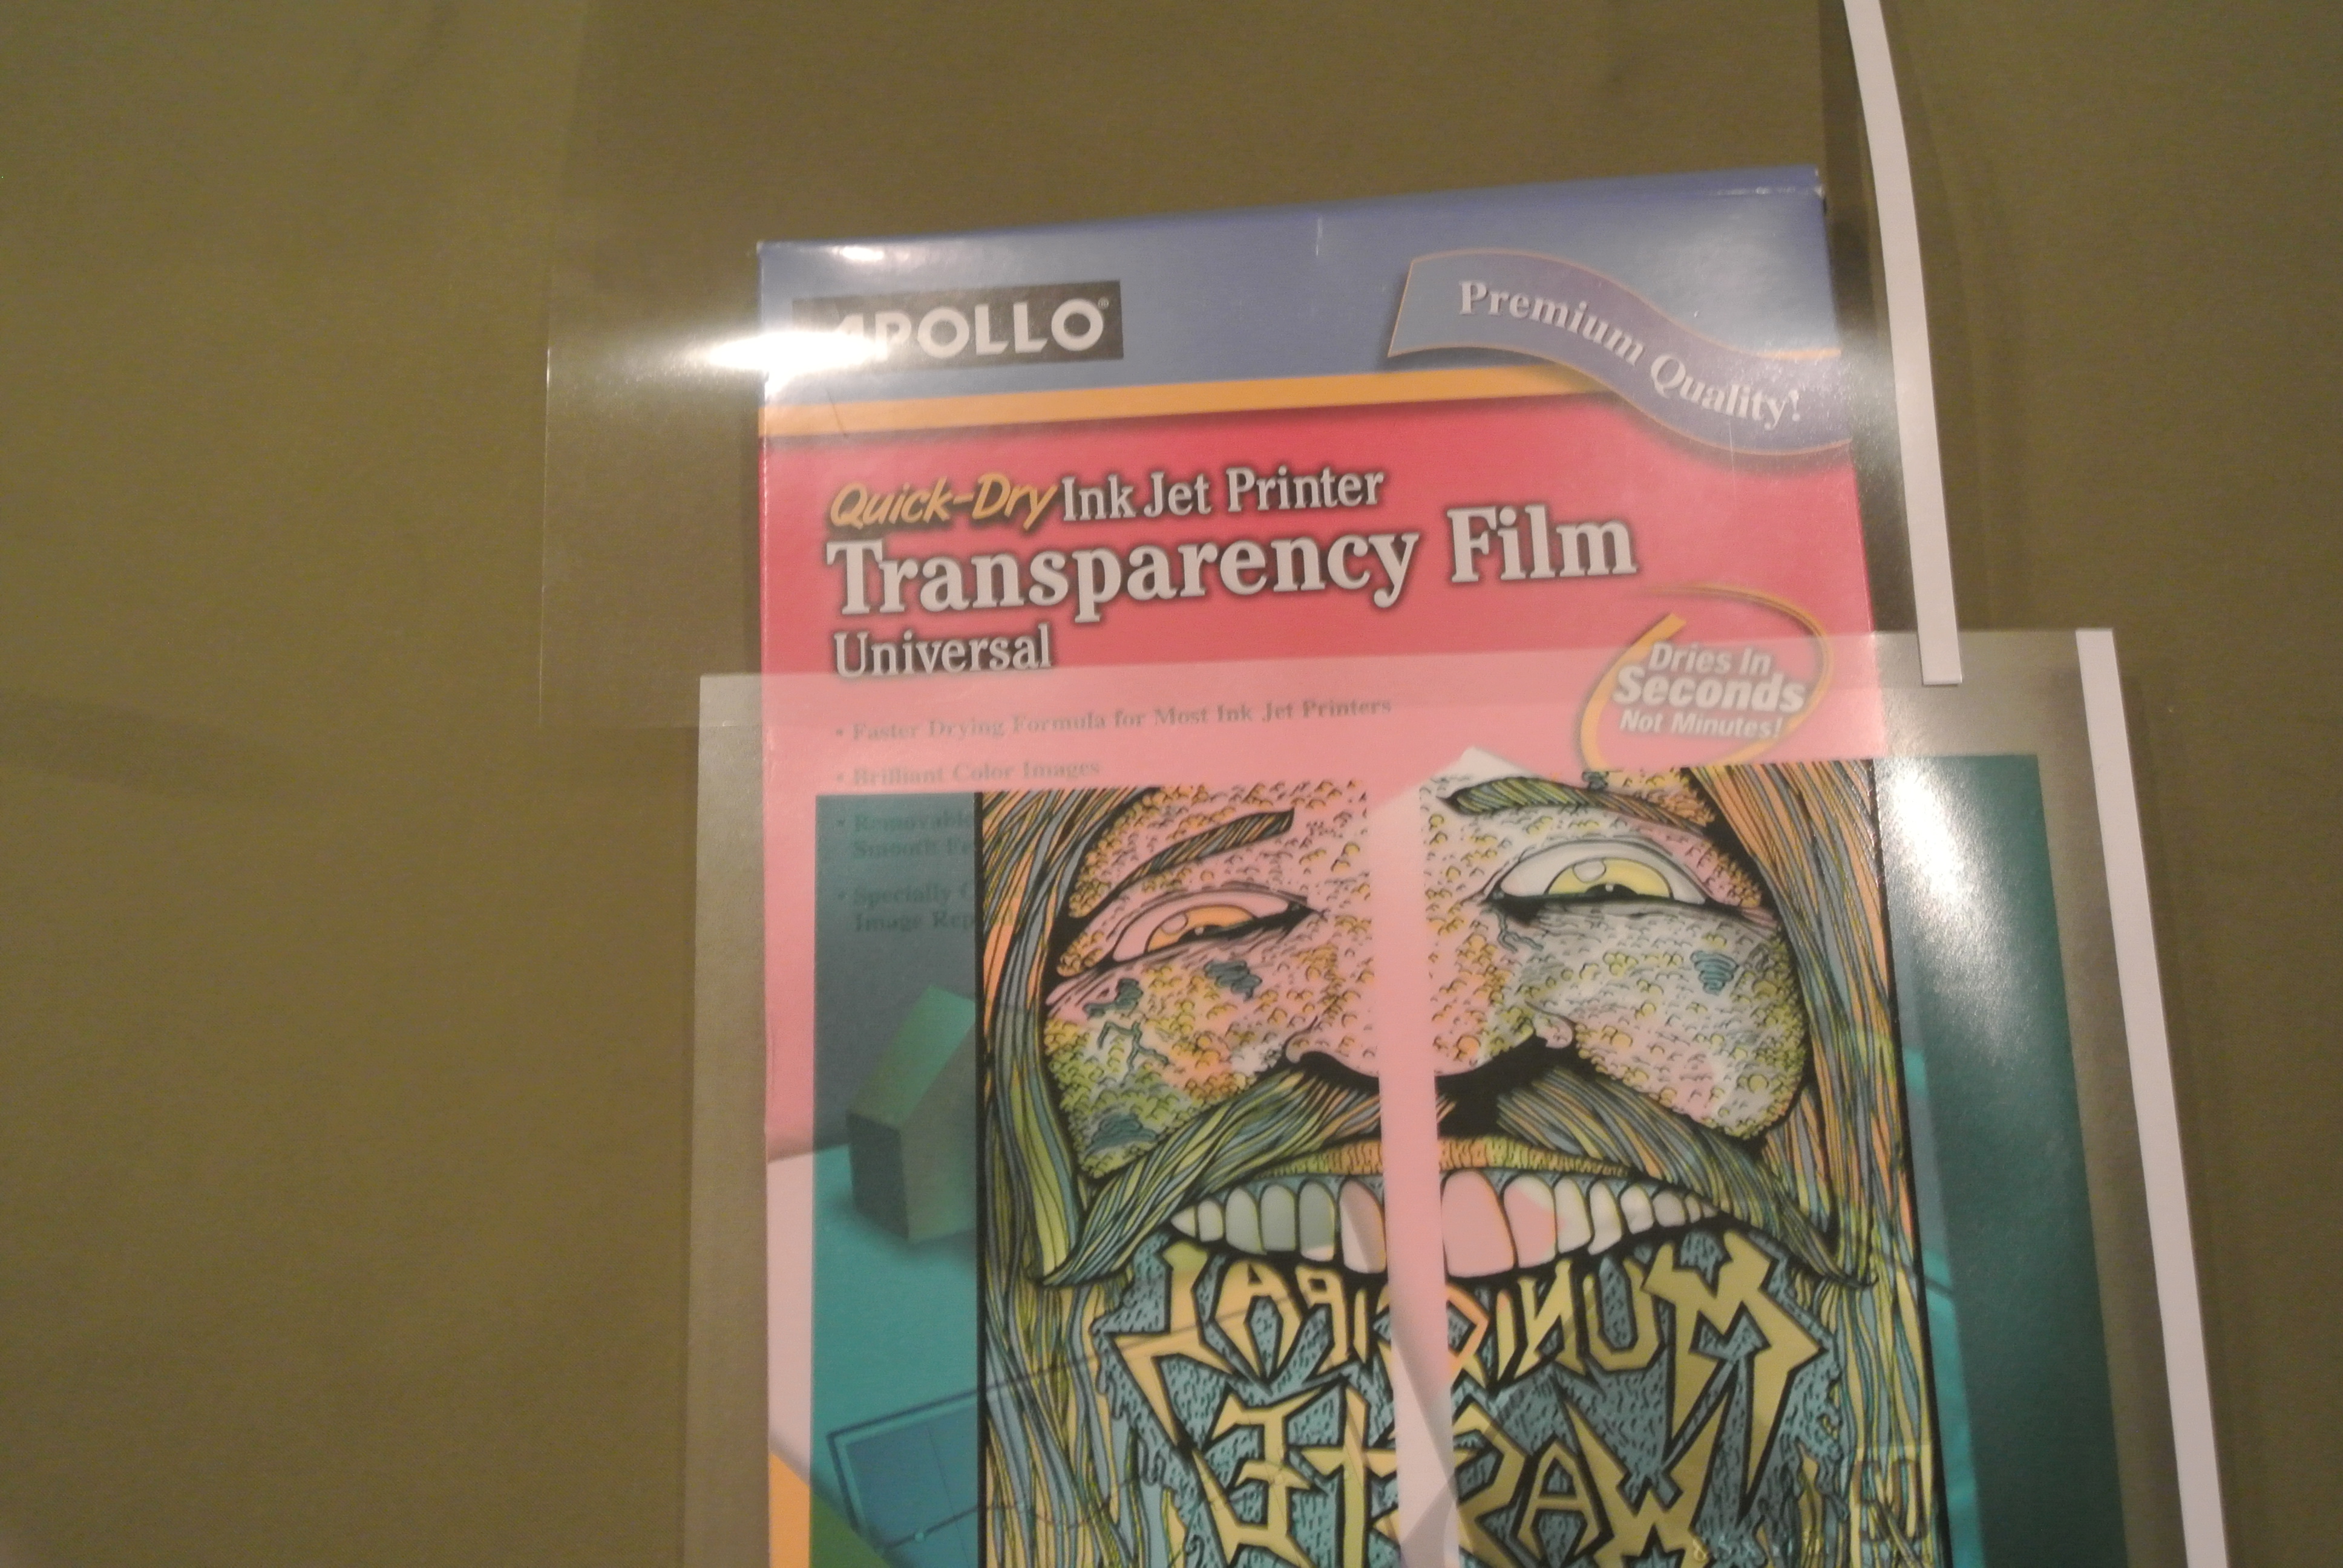
Now it's time to take all of your newly sized files and print them on your transparencies. "Is there any specific way I need to do this?" you say timidly. I'm so glad you asked! There are a couple things to remember when printing on transparencies.
- Transparency sheets for inkjet printers have a specific side that the ink goes on. The rough side is the side that should be printed on otherwise the ink won't dry and will smear all over the place. This means you will need to figure out which way to place the sheets in the paper tray to get them to print right. I suggest a small test print to figure it out.
- Most printers have a setting for printing transparencies.
- Once one is printed you should allow time for it to dry before stacking or placing it face down on anything.
- I've noticed that my printer works best when I only have one sheet in the tray at a time.
Get Frosty
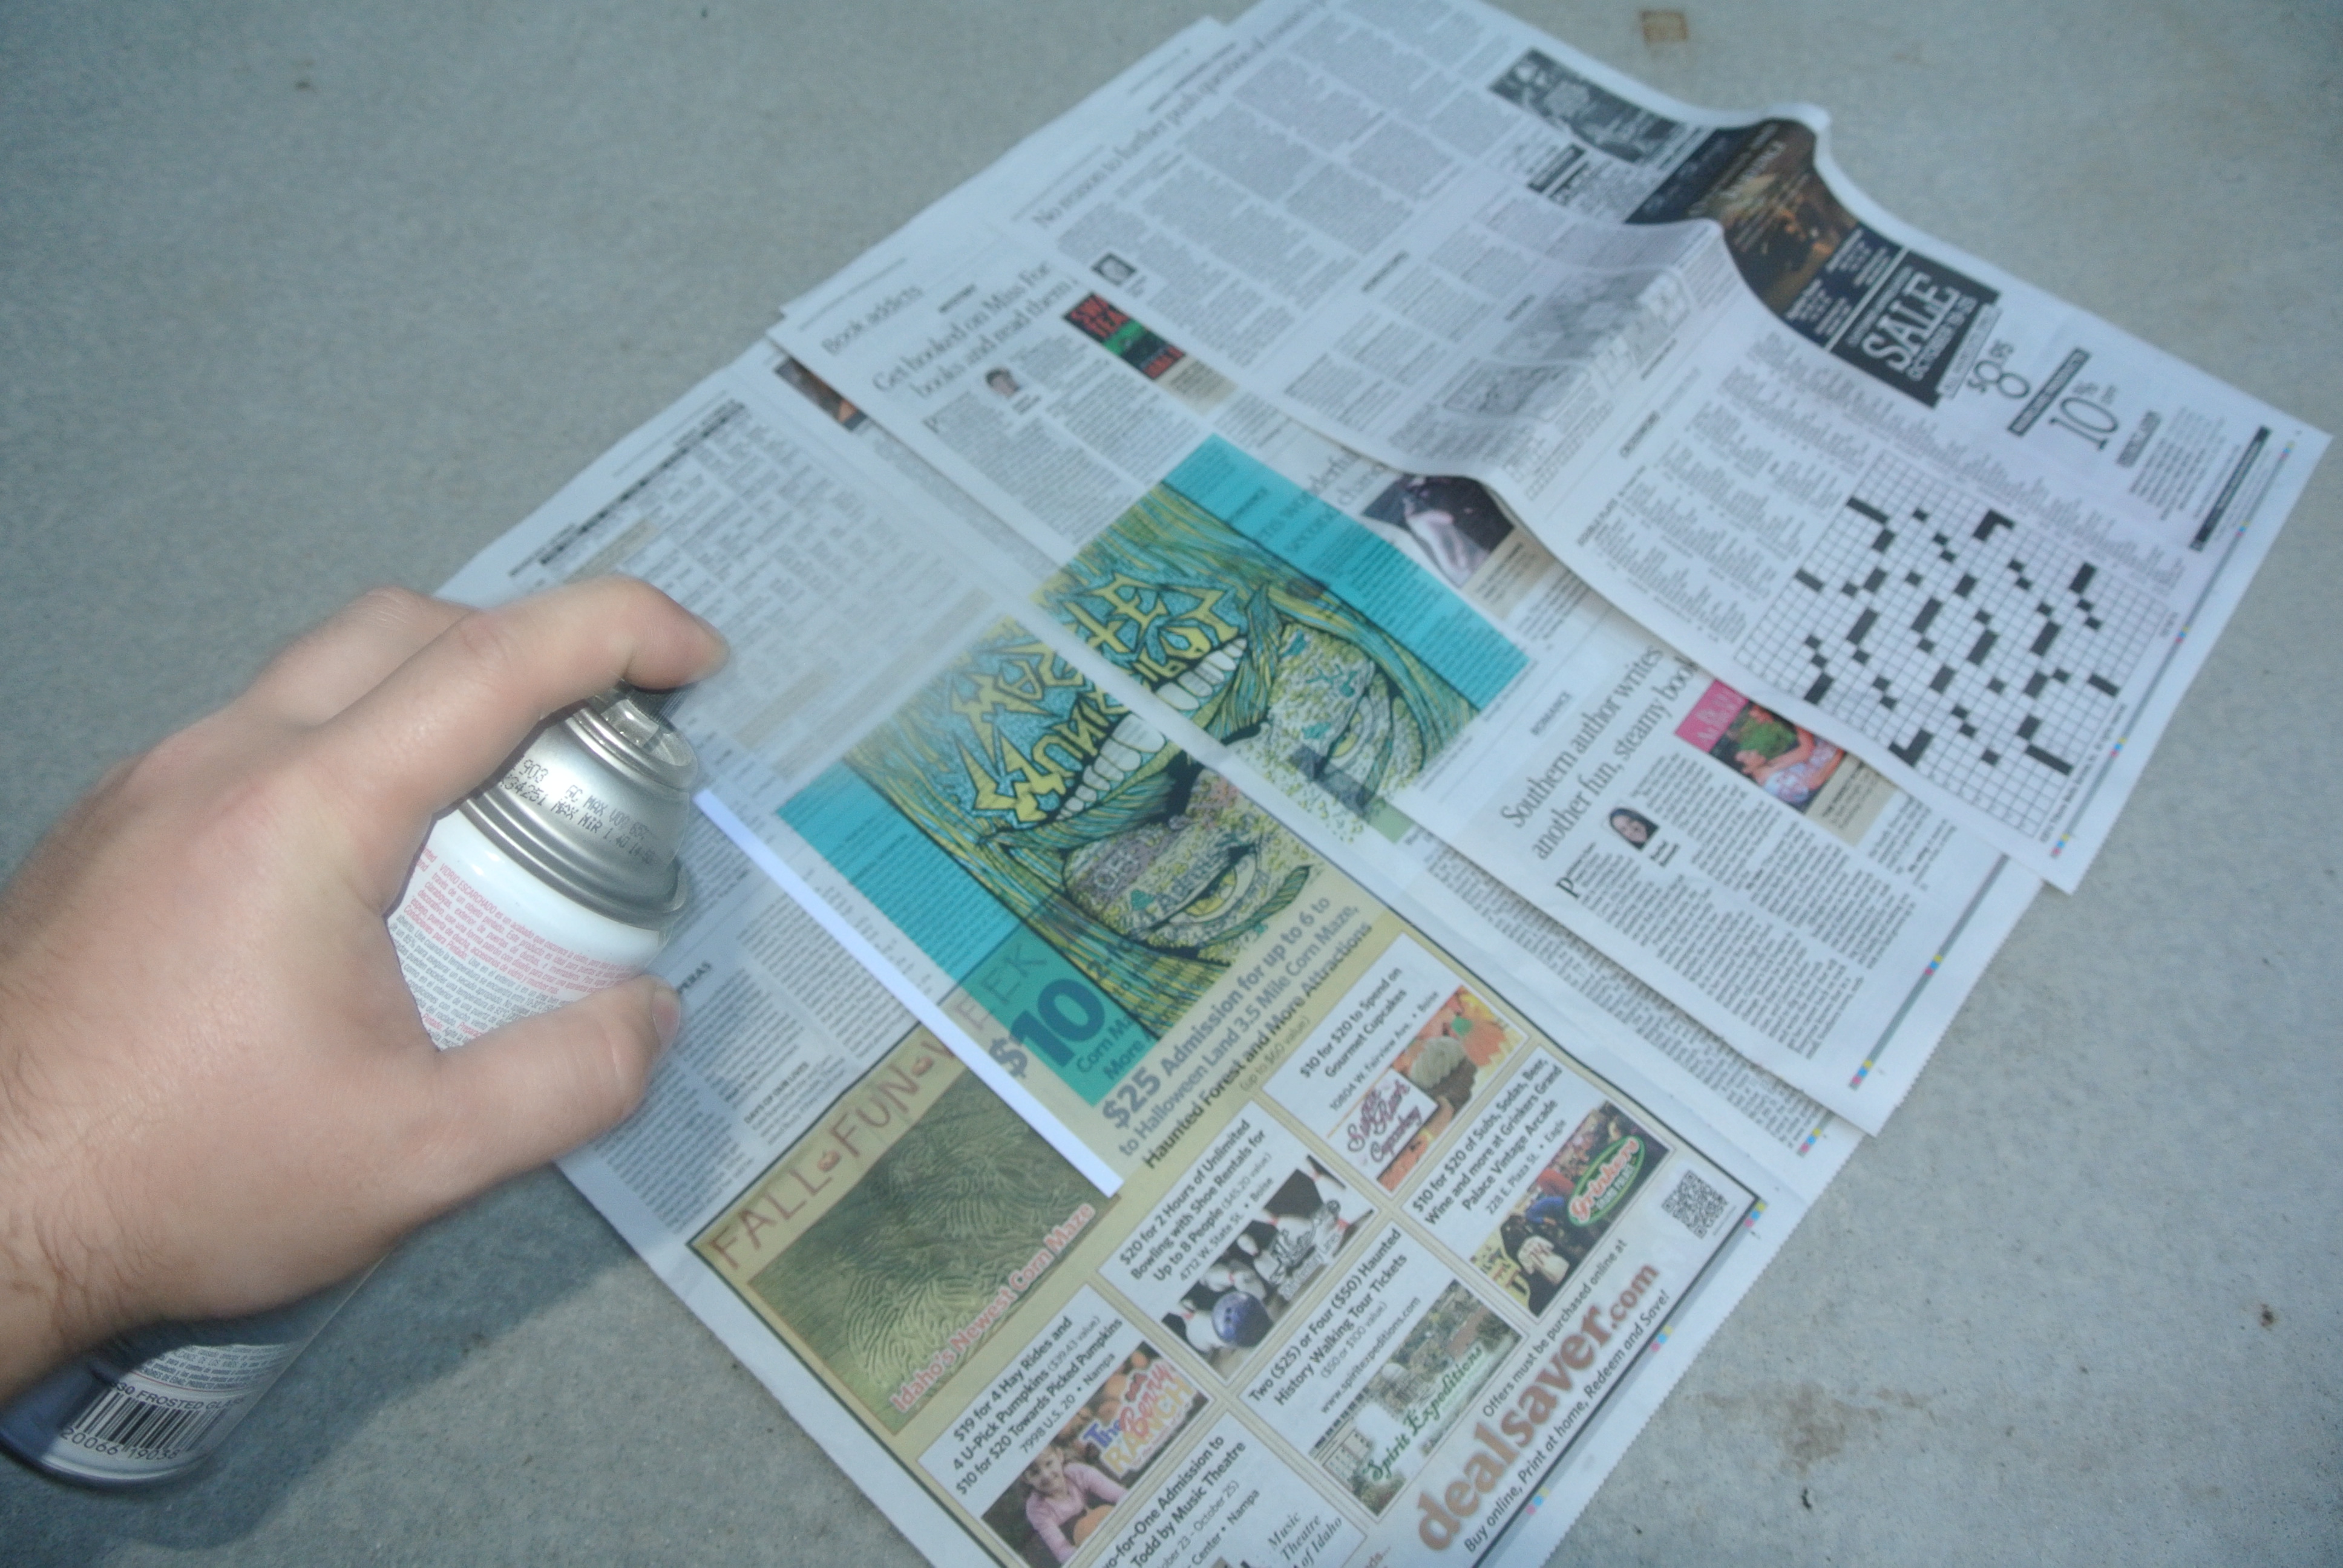
You've got everything all printed out and might have noticed that the transparencies are just a little too transparent. Any light area on the art is almost completely see-through. To help the prints pop more we are going to spray a little glass frost on the transparencies.
- Lay down your newspaper OUTSIDE
- Place the art smooth side down so that when you spray you coat the rough side of the transparencies.
- Follow the instructions on the can. Make sure you're the right distance away while coating the art.
- Make sure each sheet dries before stacking or placing face down.
Cut
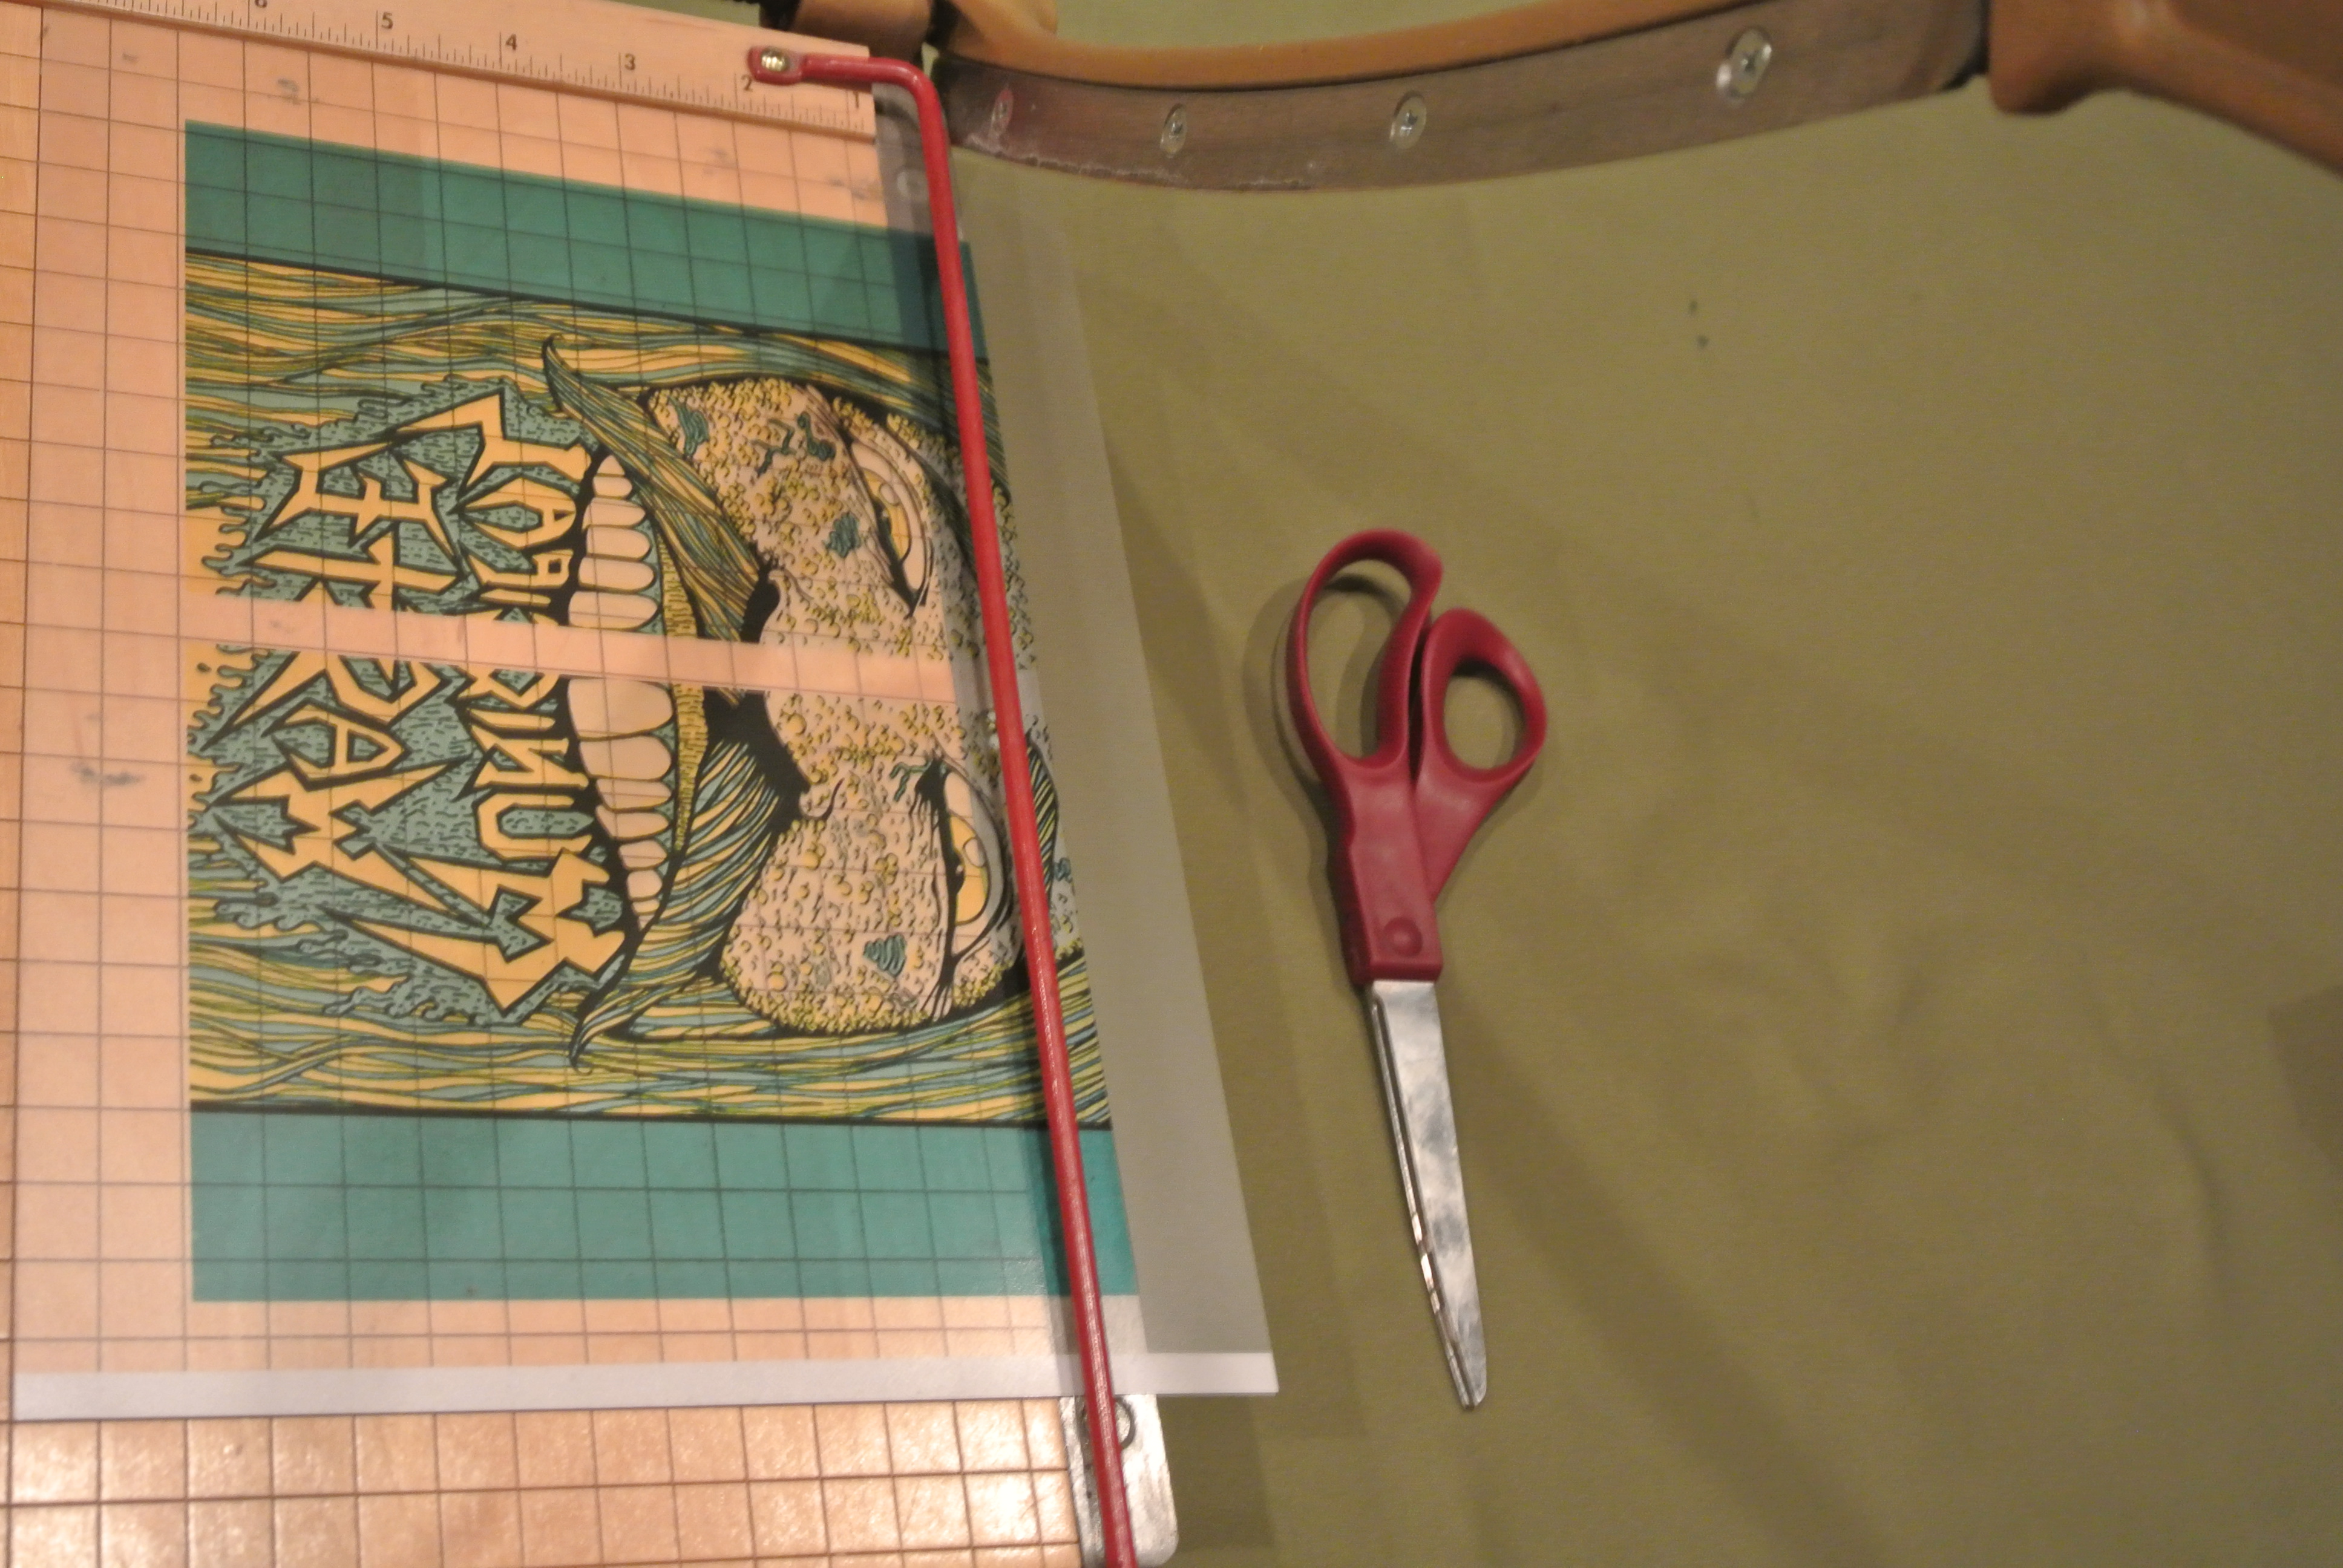
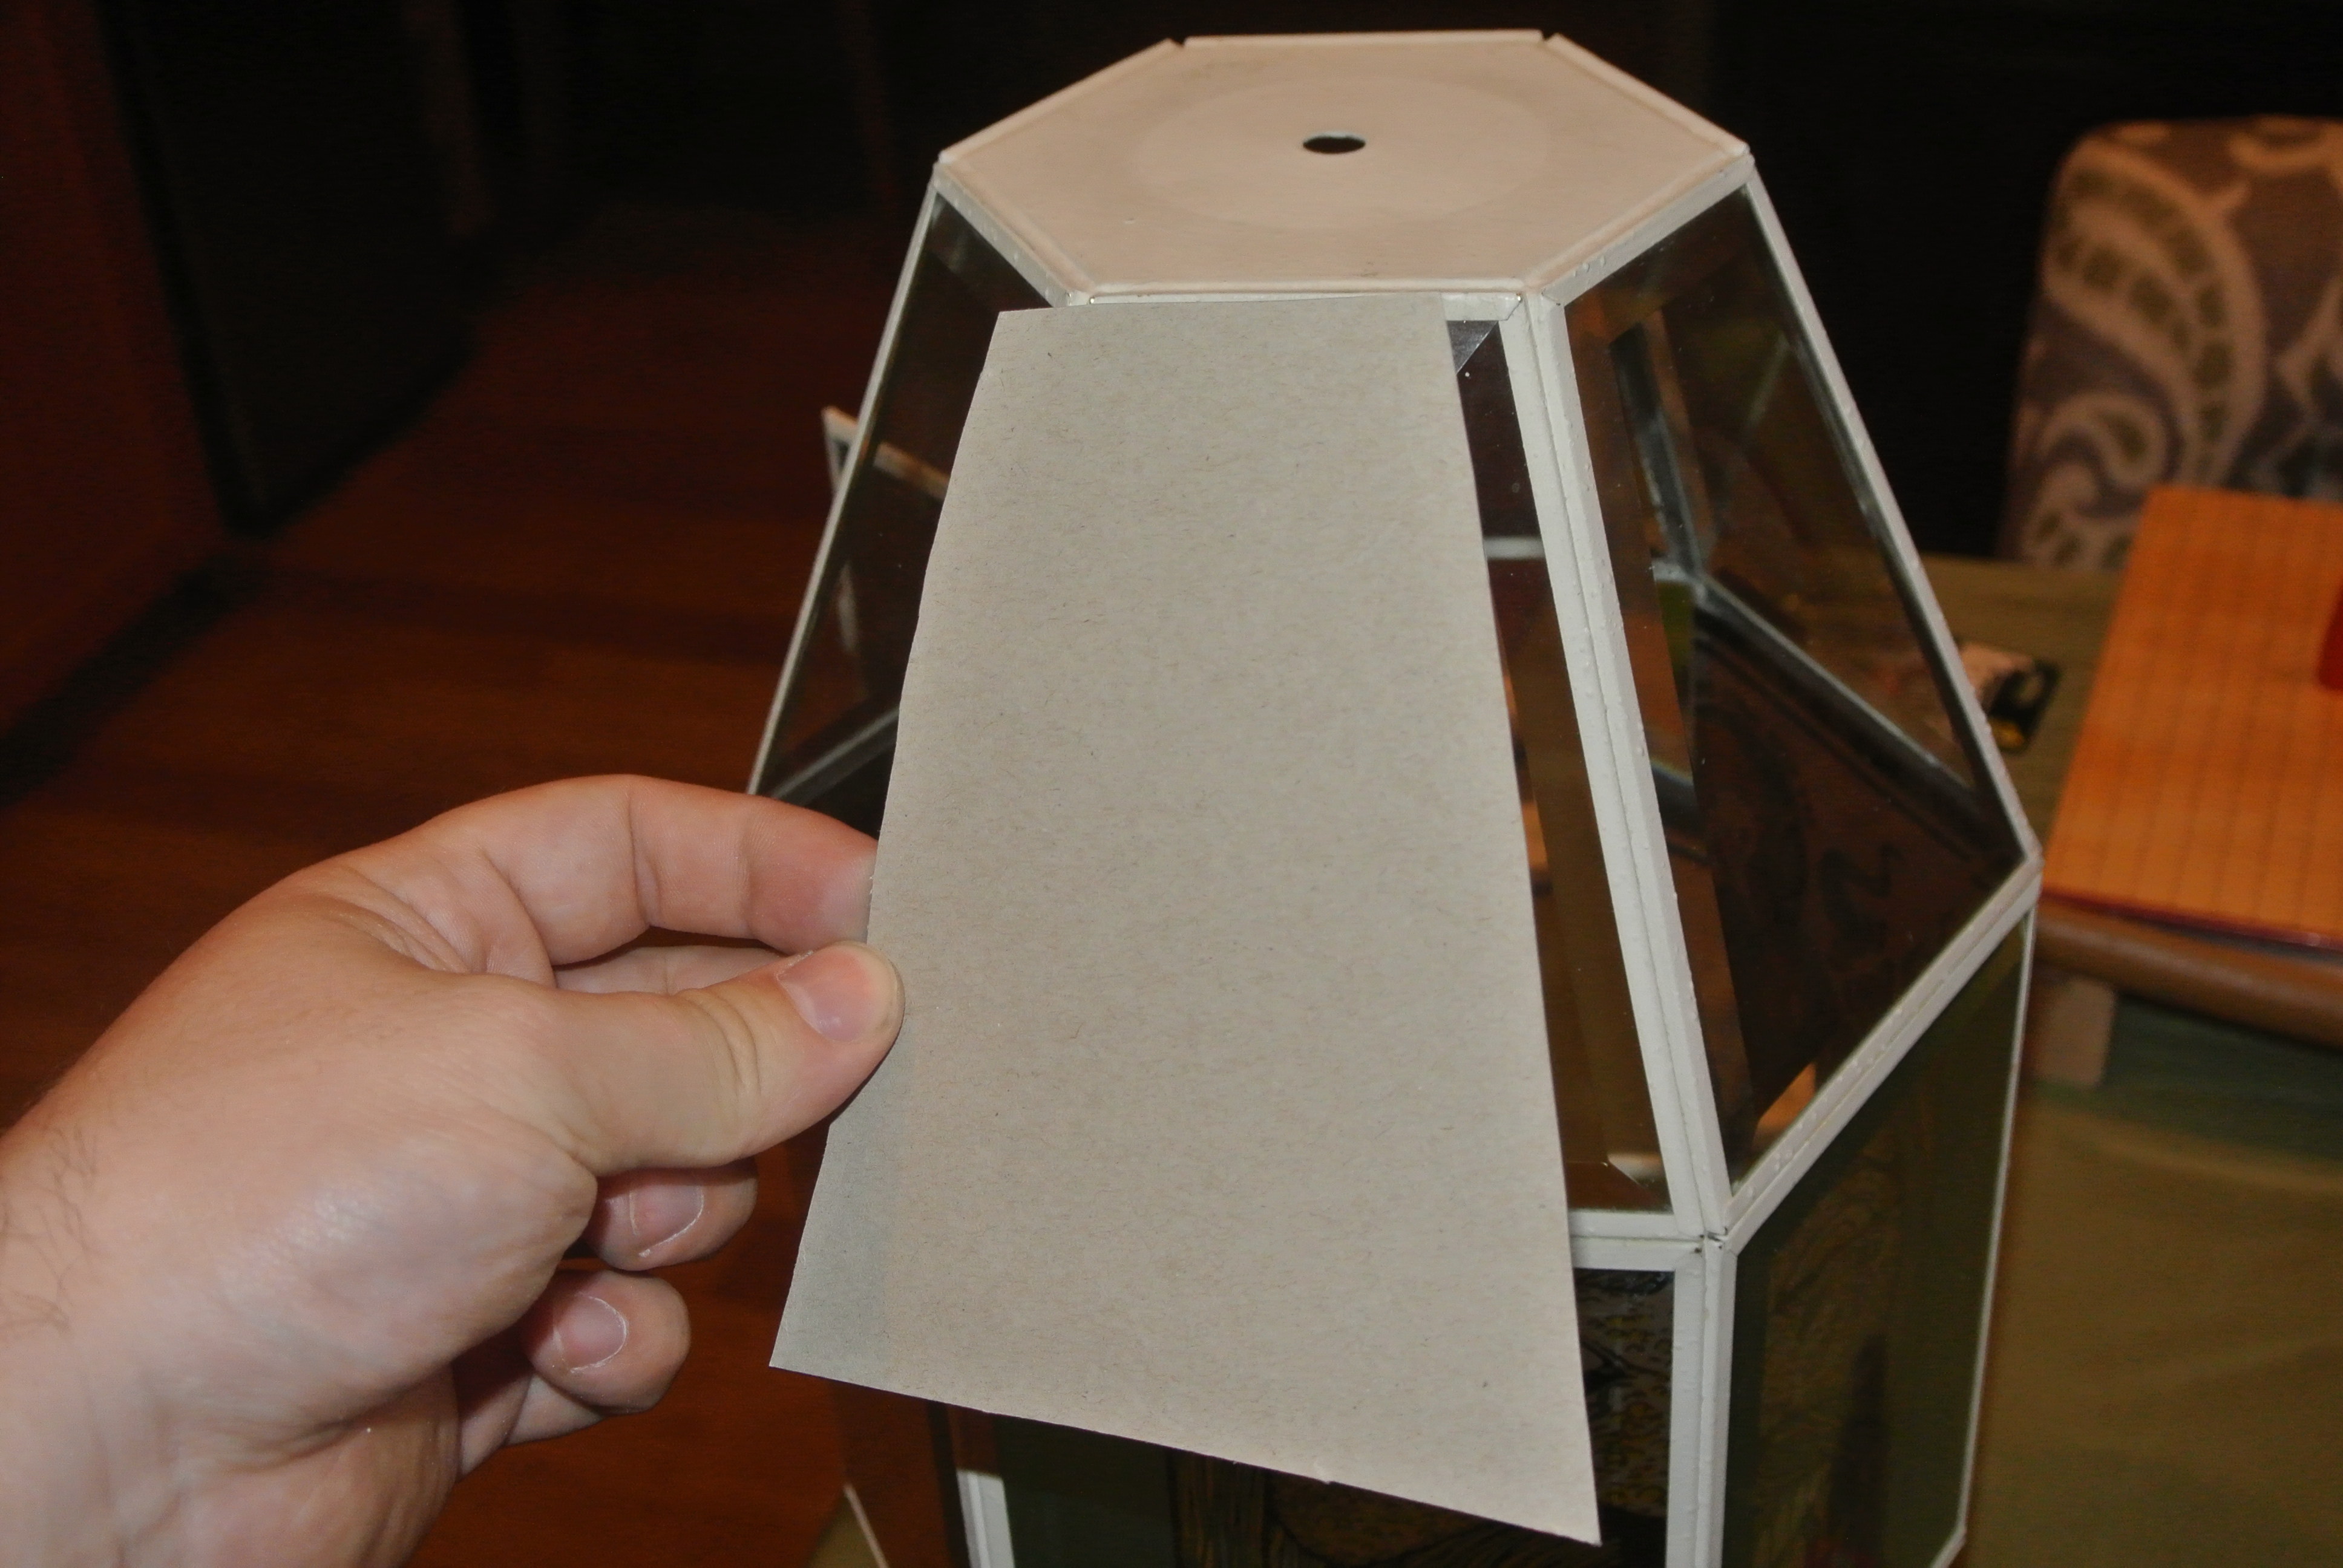
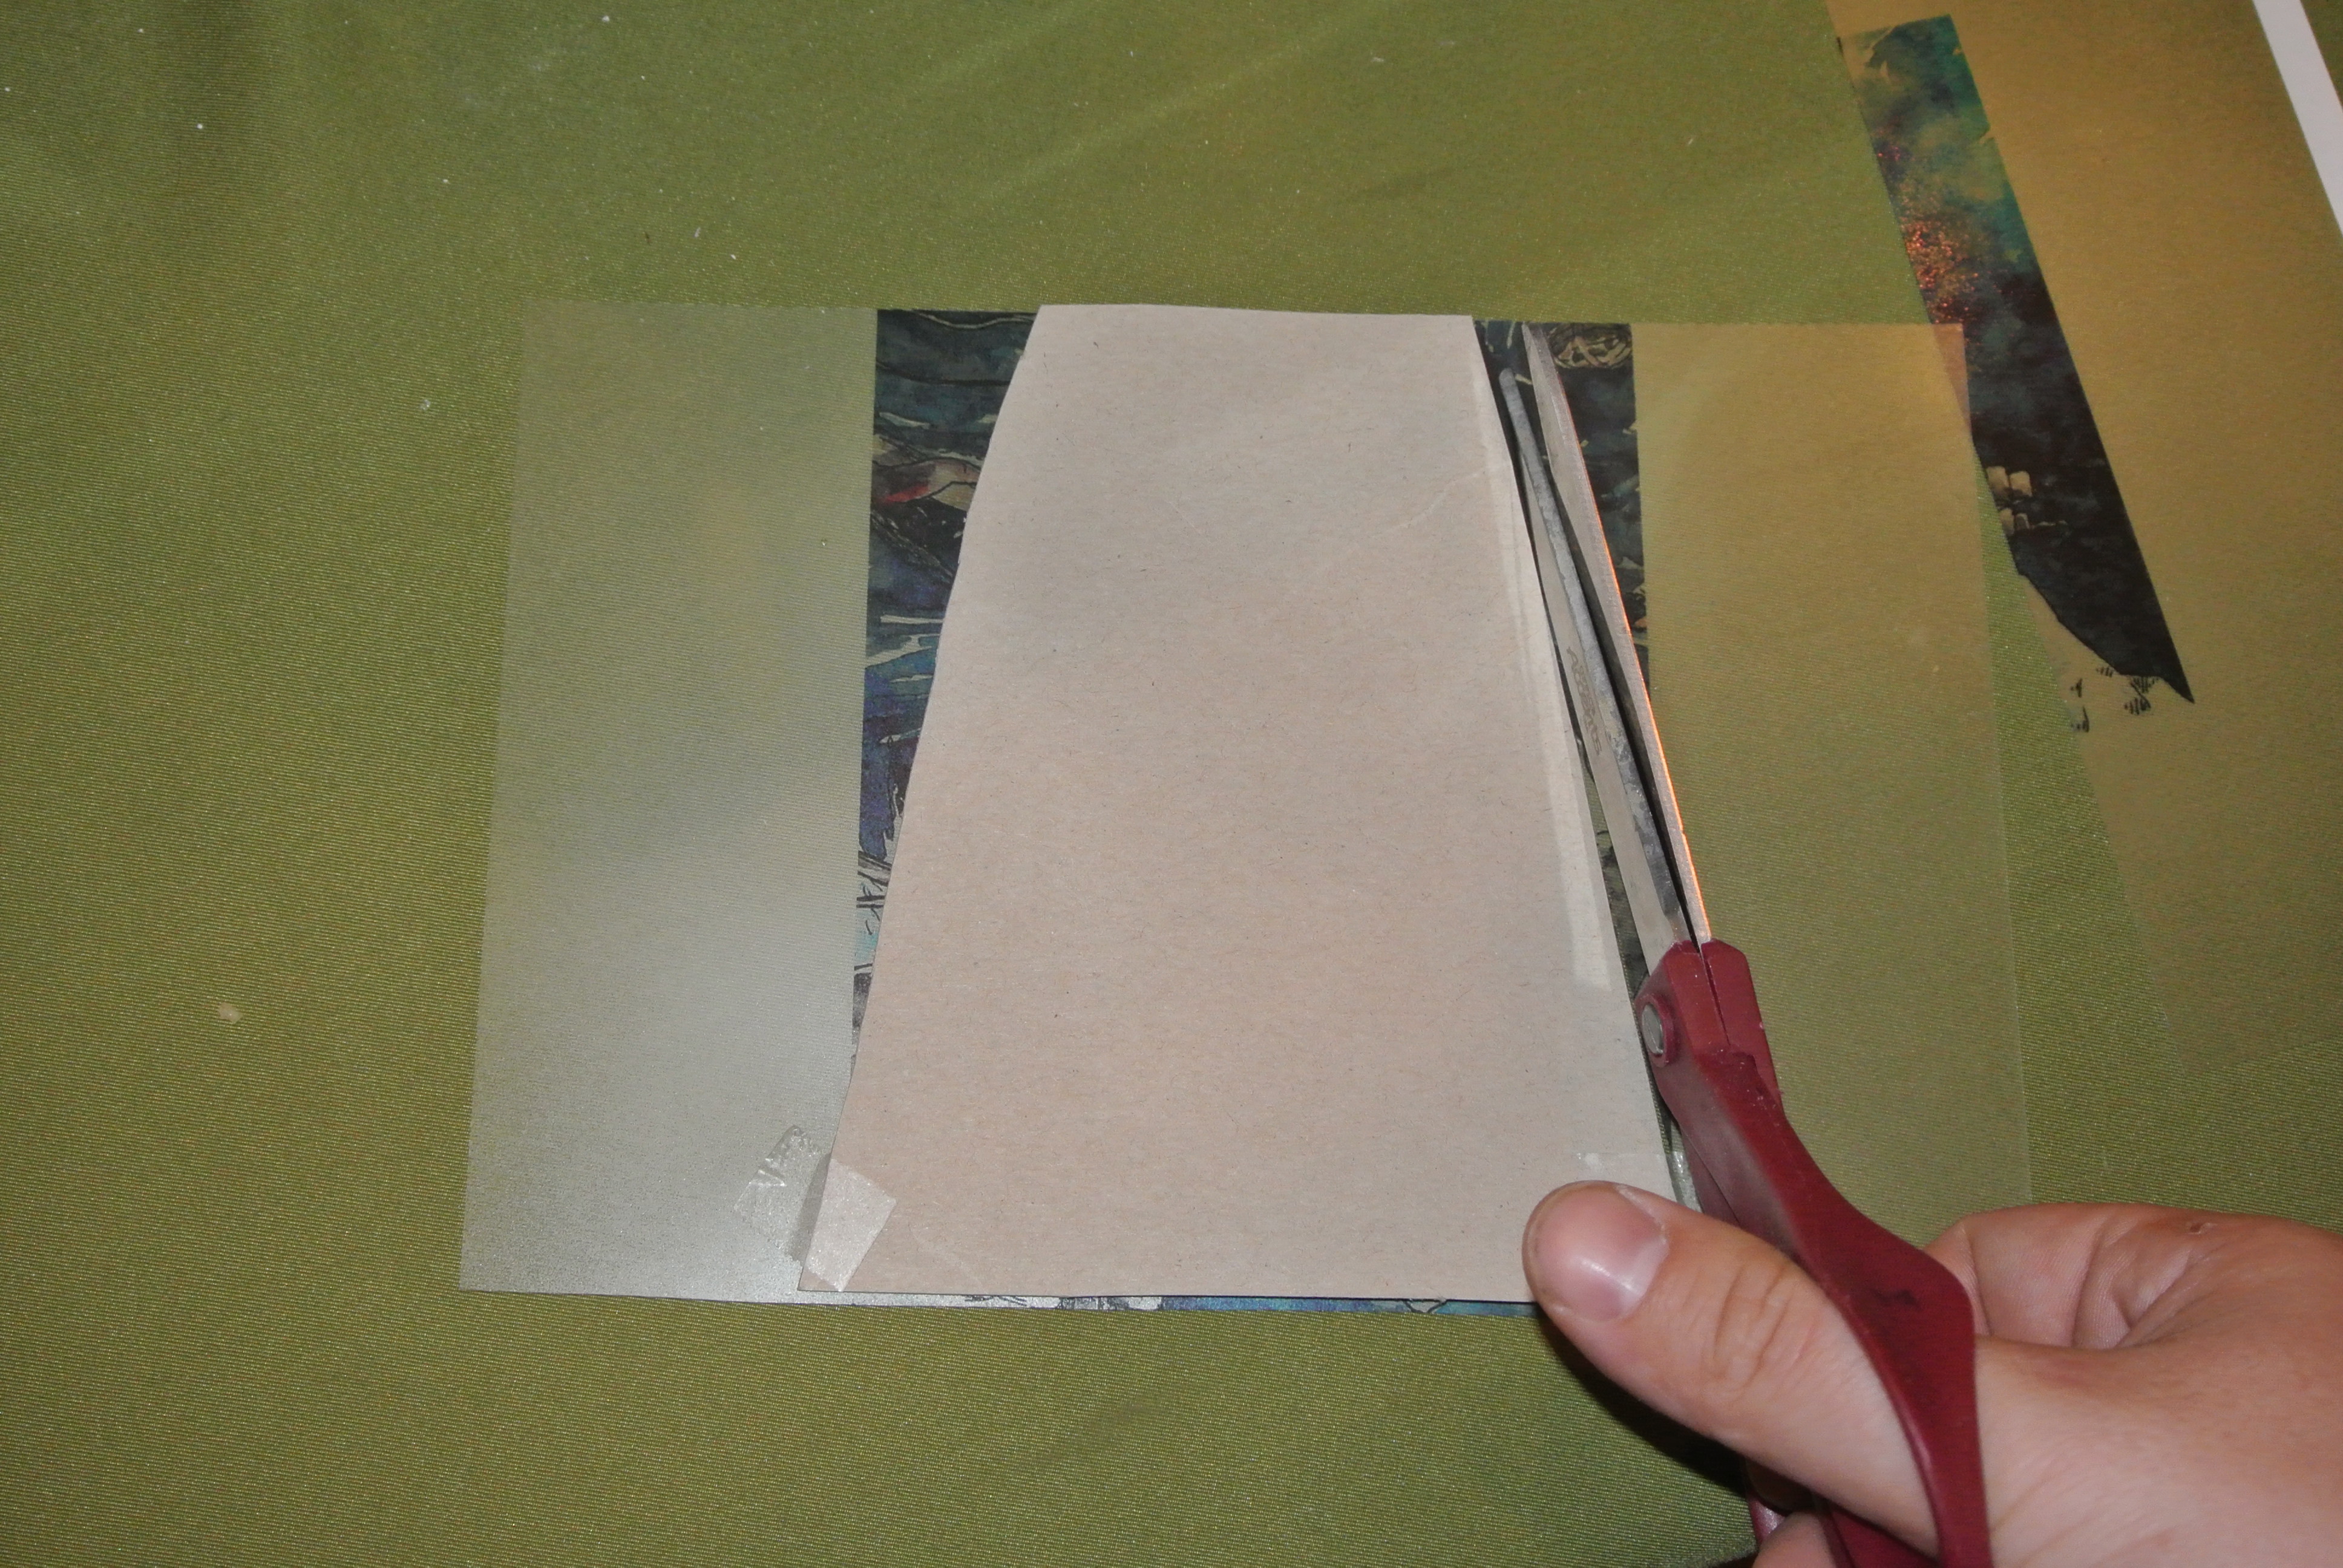
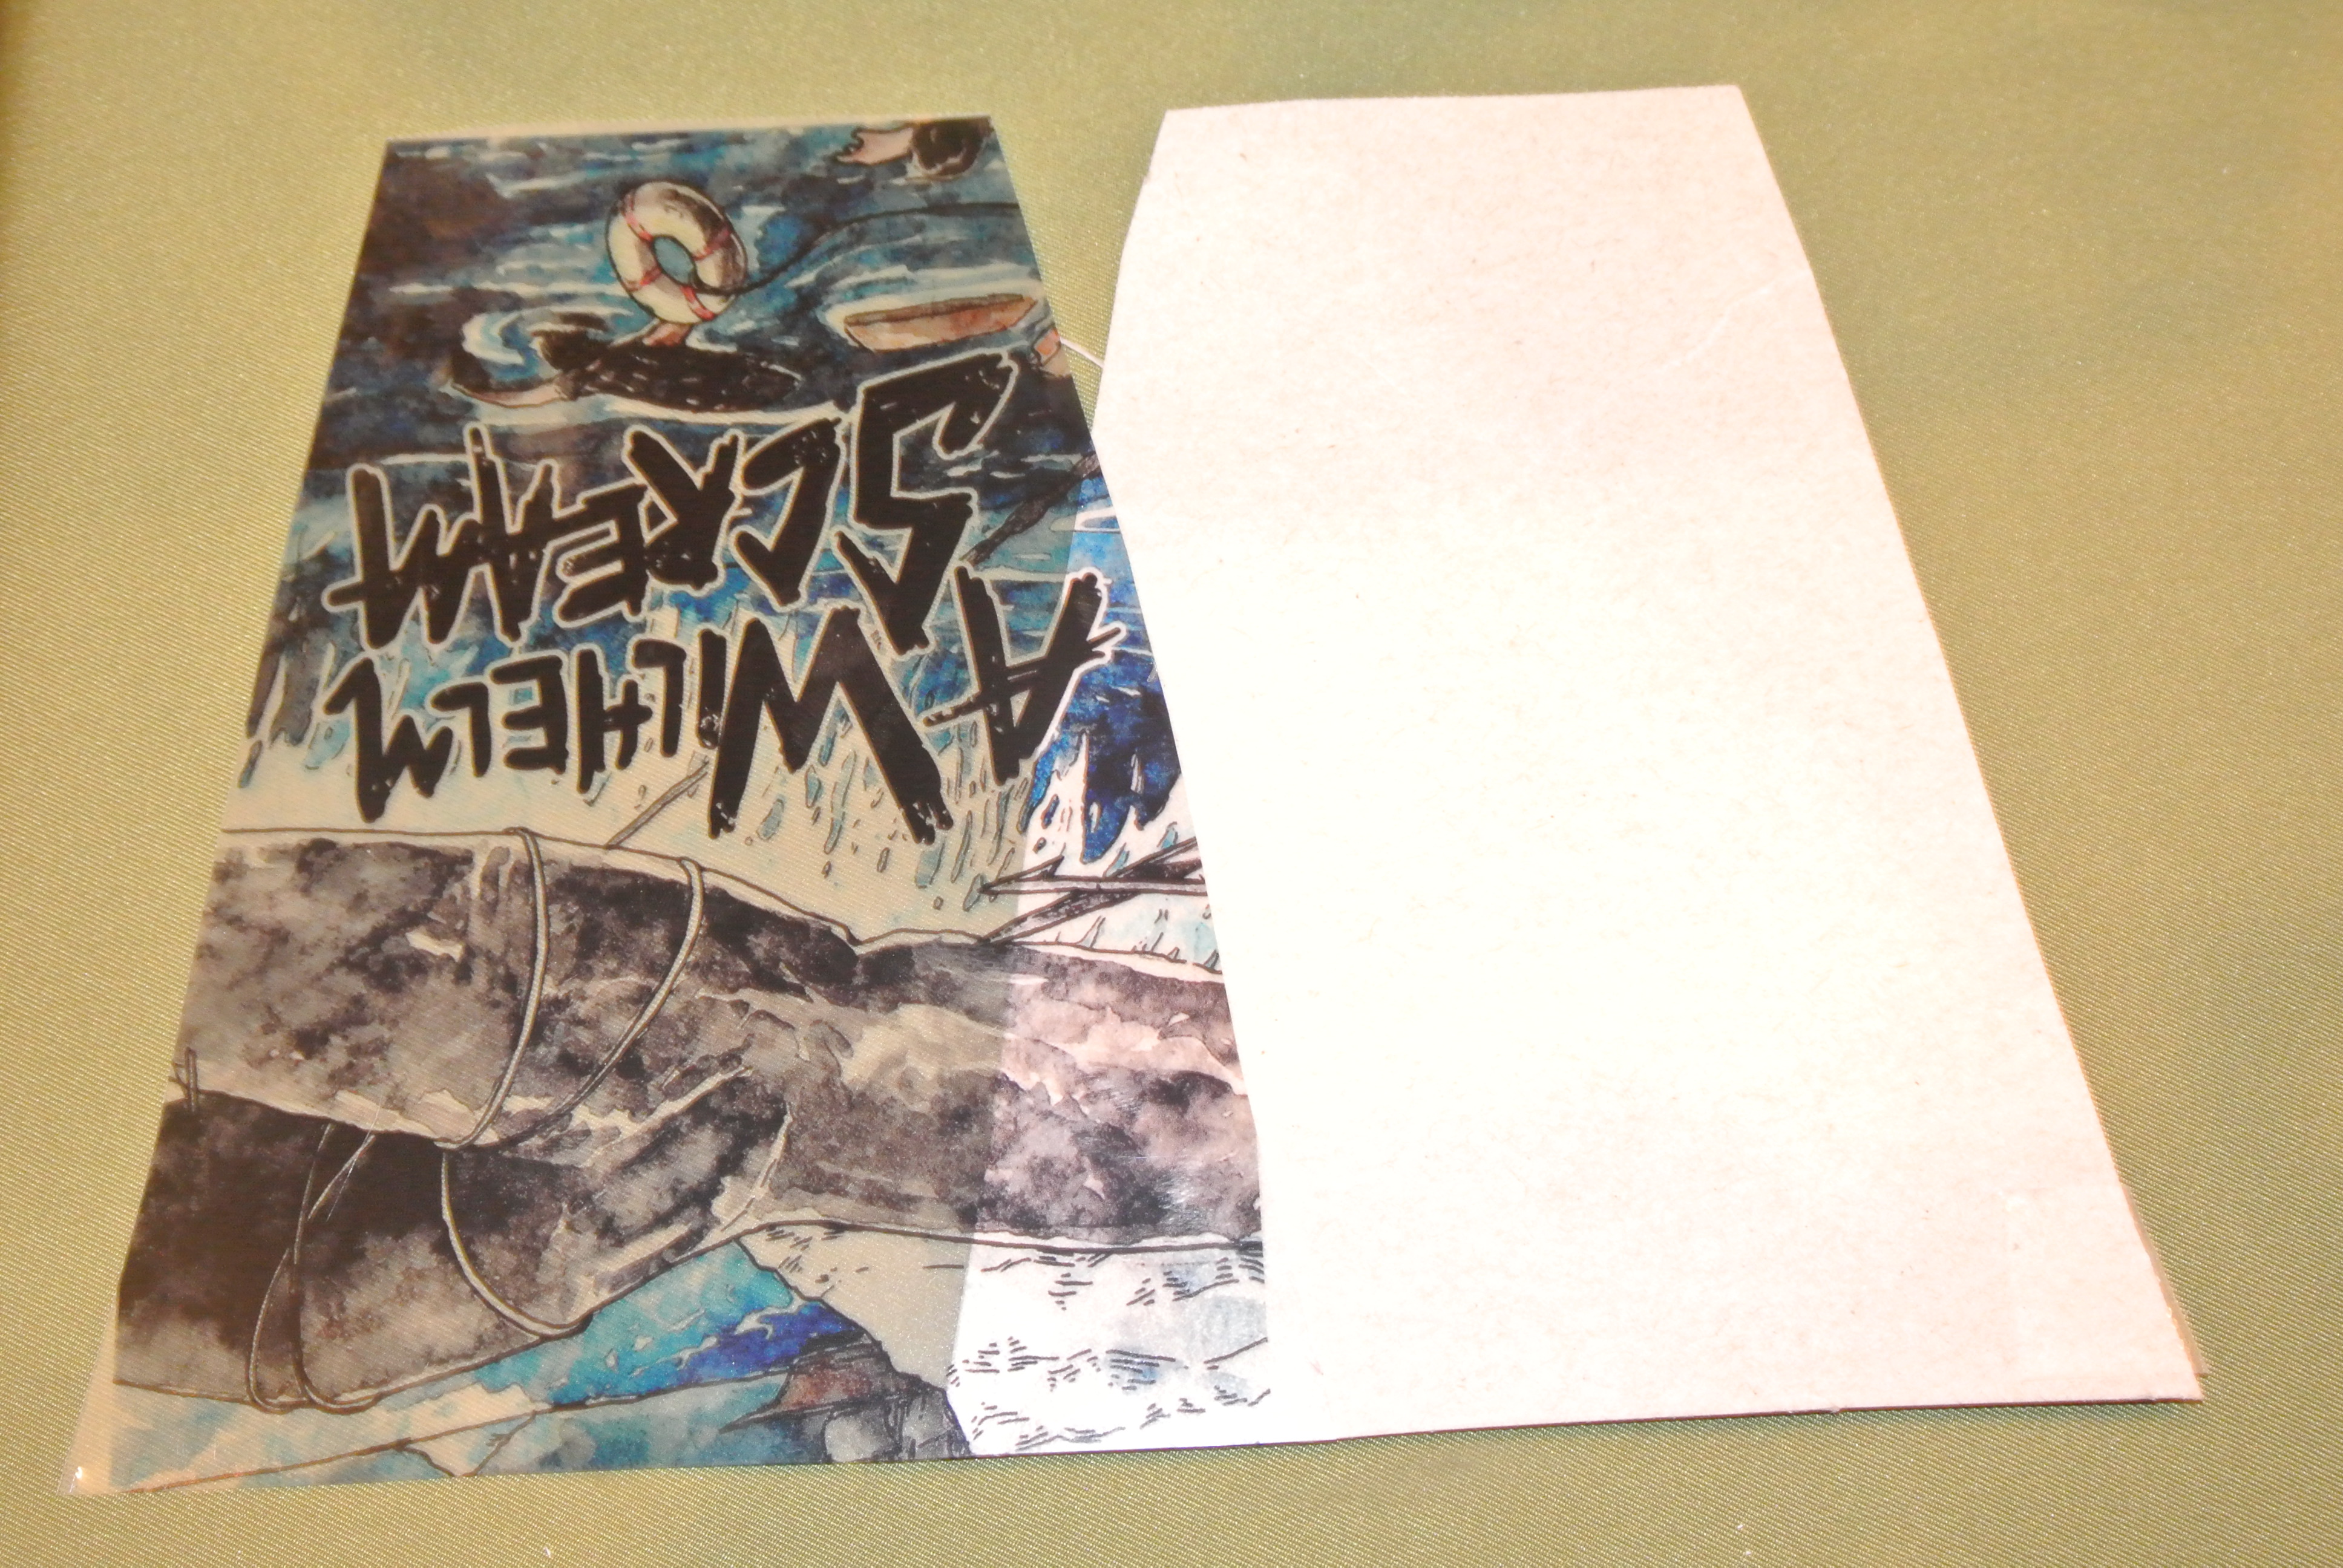
It's time to cut out each panel of art. This isn't entirely an exact science. Remember you can cut more off but once it's too small you'll have to print a new one. Hopefully these points will help you out.
- Plan out where each piece is going before you start.
- This is a lot easier with a paper cutter with a sharp blade. Like way way easier.
- If you are cutting with scissors then I suggest making a template out of cardboard to trace around while cutting.
- Cut each piece one at a time.
Press Em Up Against the Glass
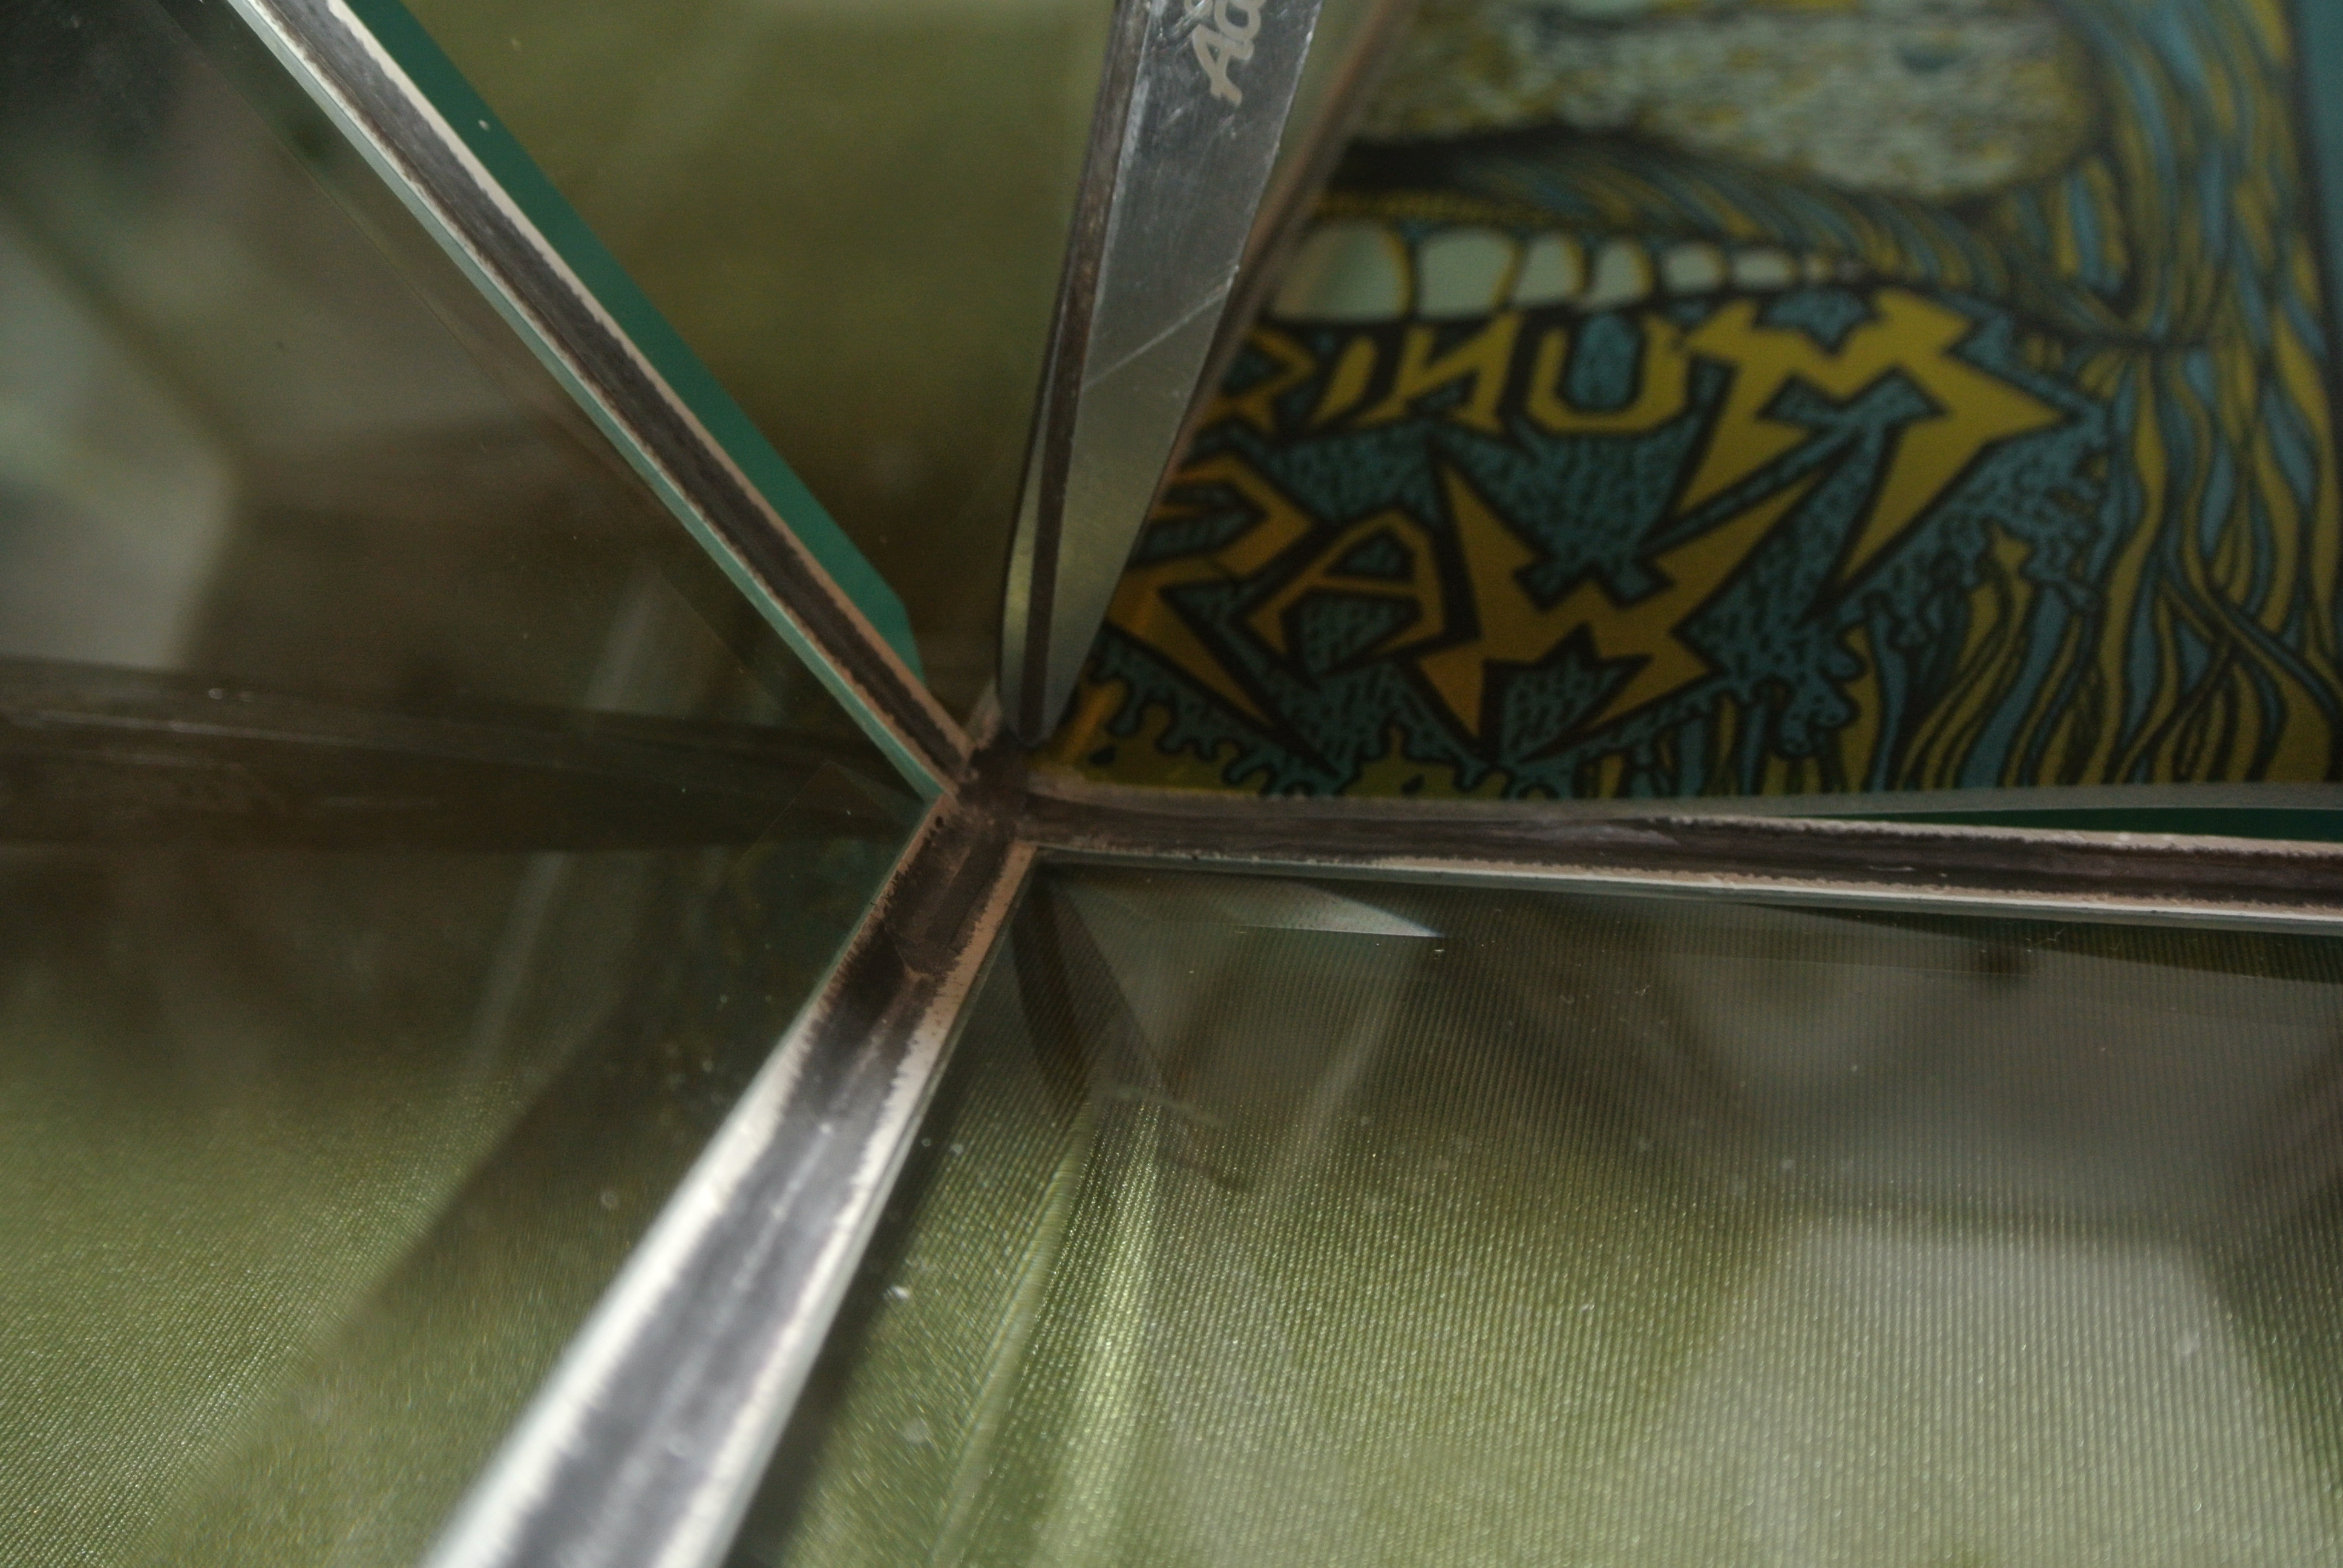
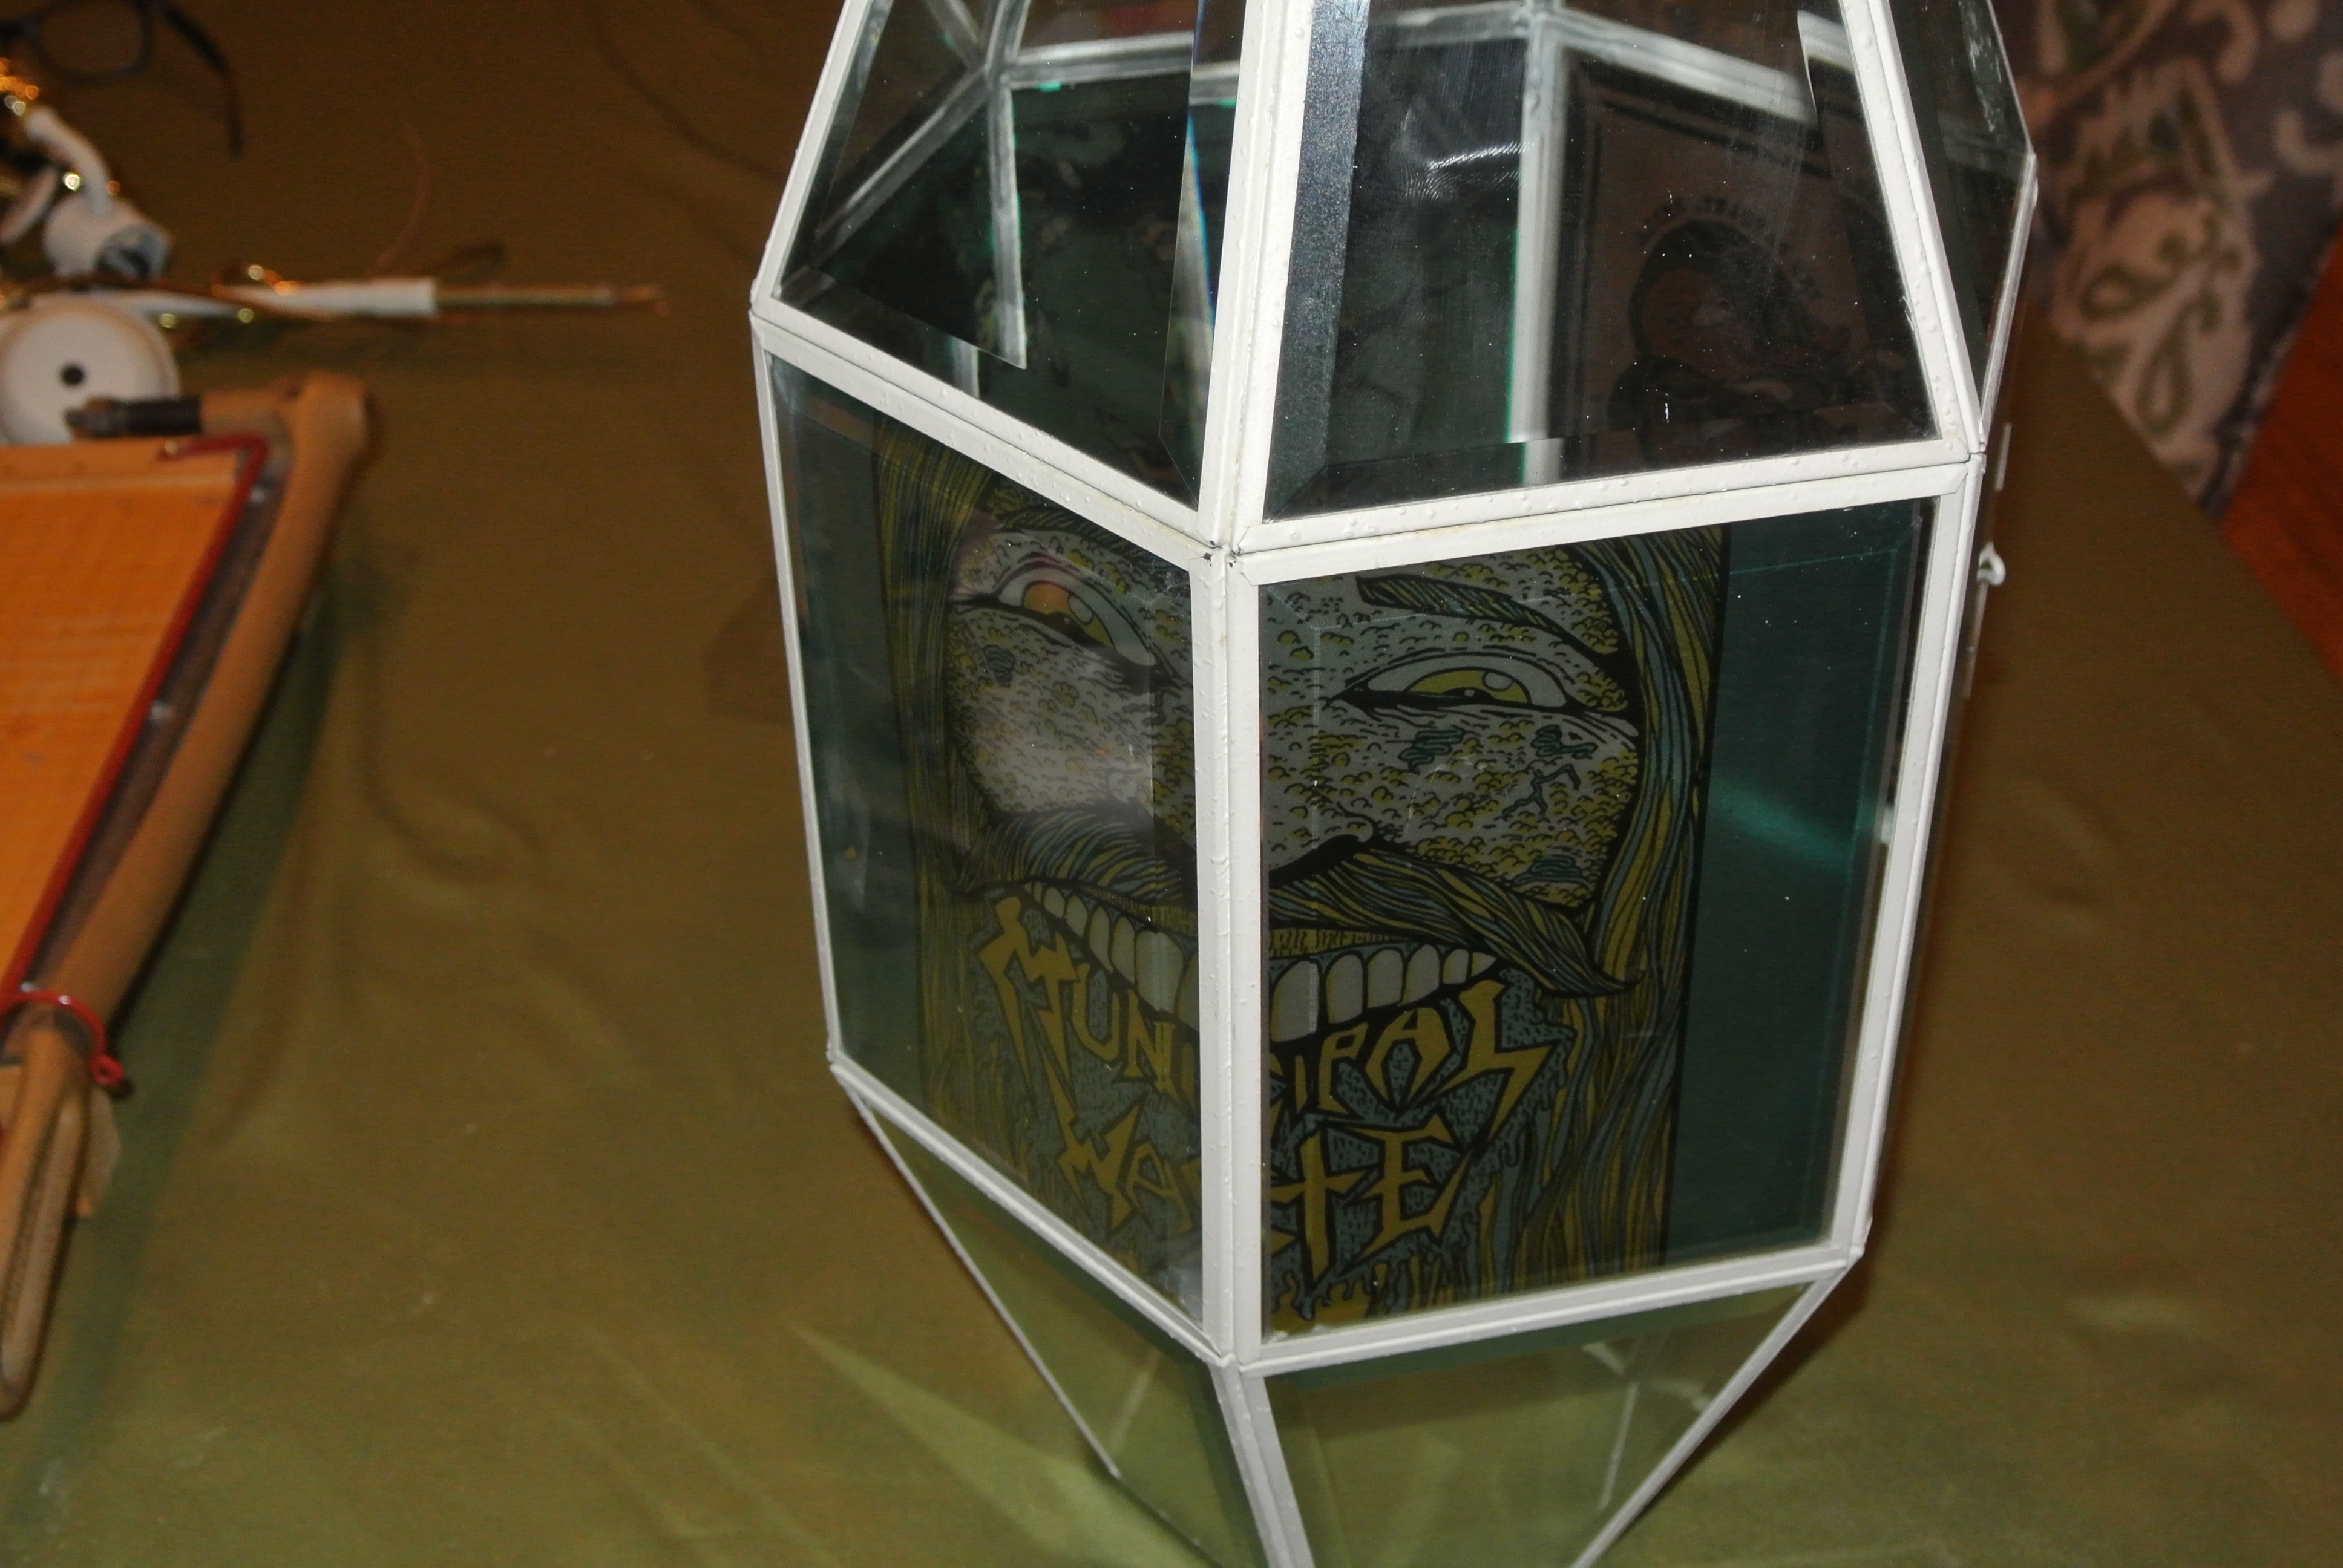
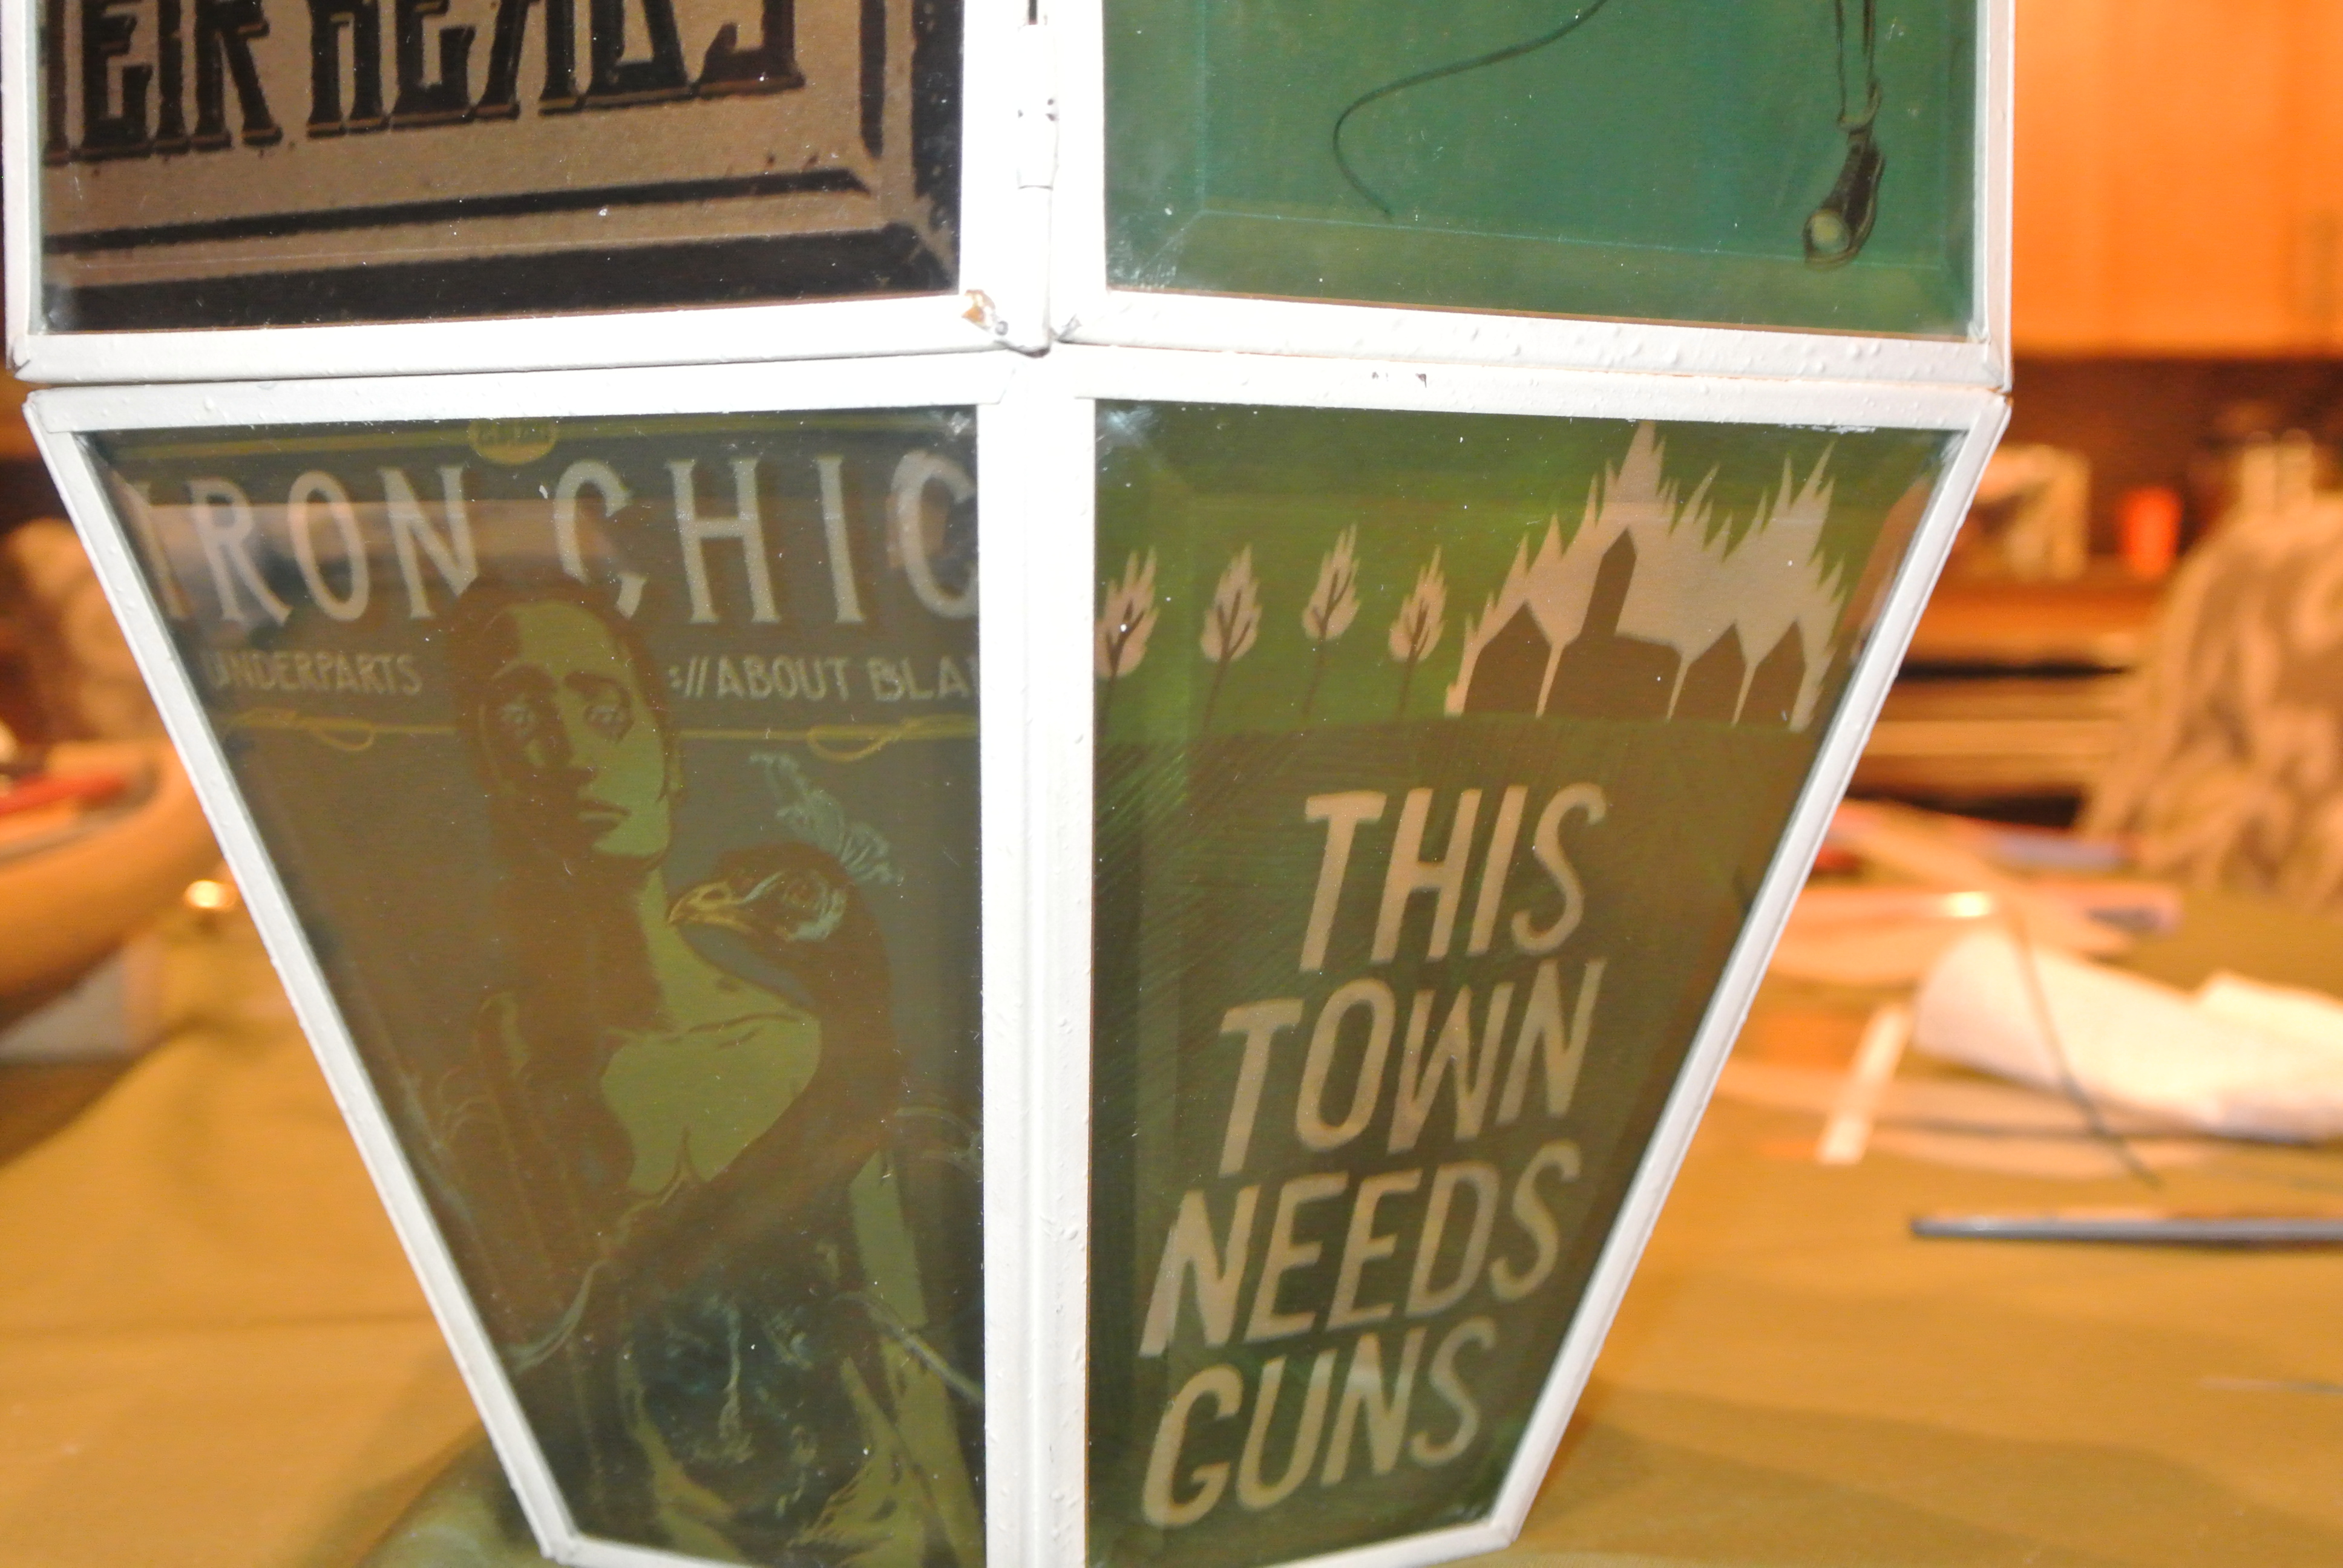
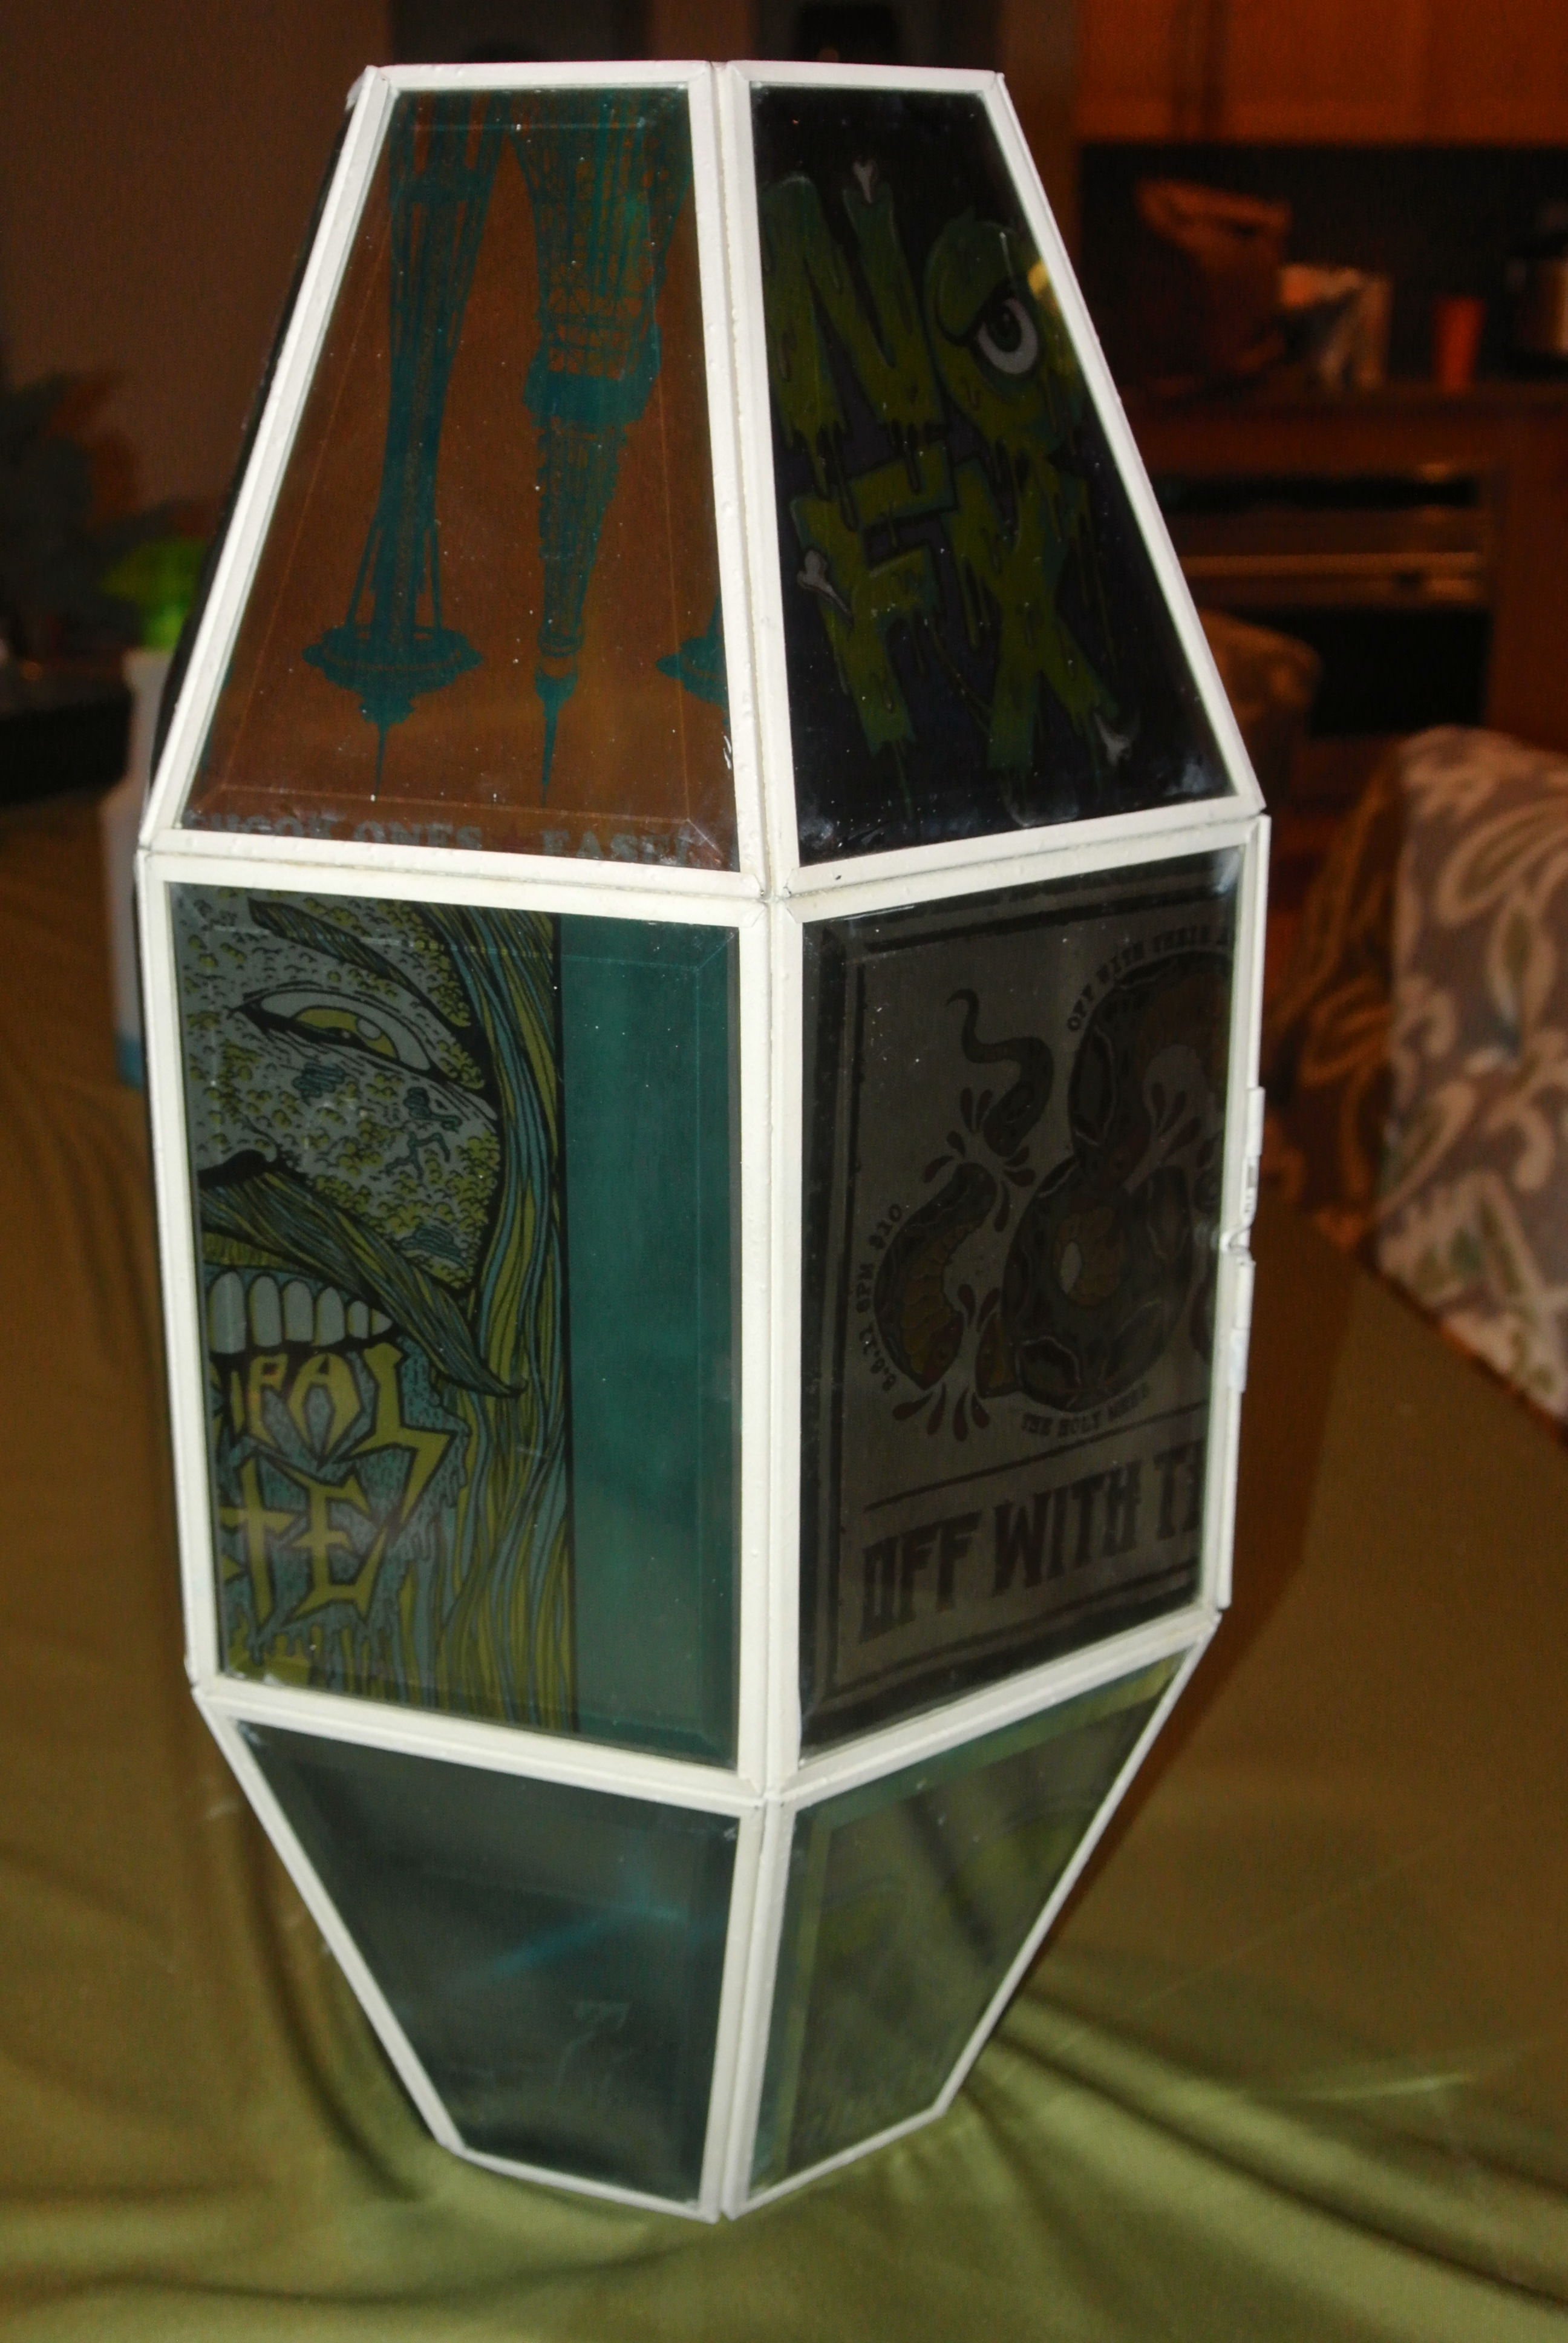
Let's get to gluing. "But I need a list of bullet points to make sure I'm not totally goofing everything up" you say. Oh, I almost forgot you were there. Well let me do you a solid.
- Before gluing make sure the piece will fit. Trim if necessary.
- Make sure the smooth side is against the glass.
- Make sure if you are using two panels for one piece of art that you aren't putting them on the wrong sides.
- Only use a tiny amount of glue.
- Try to glue to something other than the glass. I glued to the white frame when I could.
- A small dot in each corner is plenty.
- Glue one corner at a time.
- Use the tip of your scissors to hold down each corner until it dries.
Finishing Touch
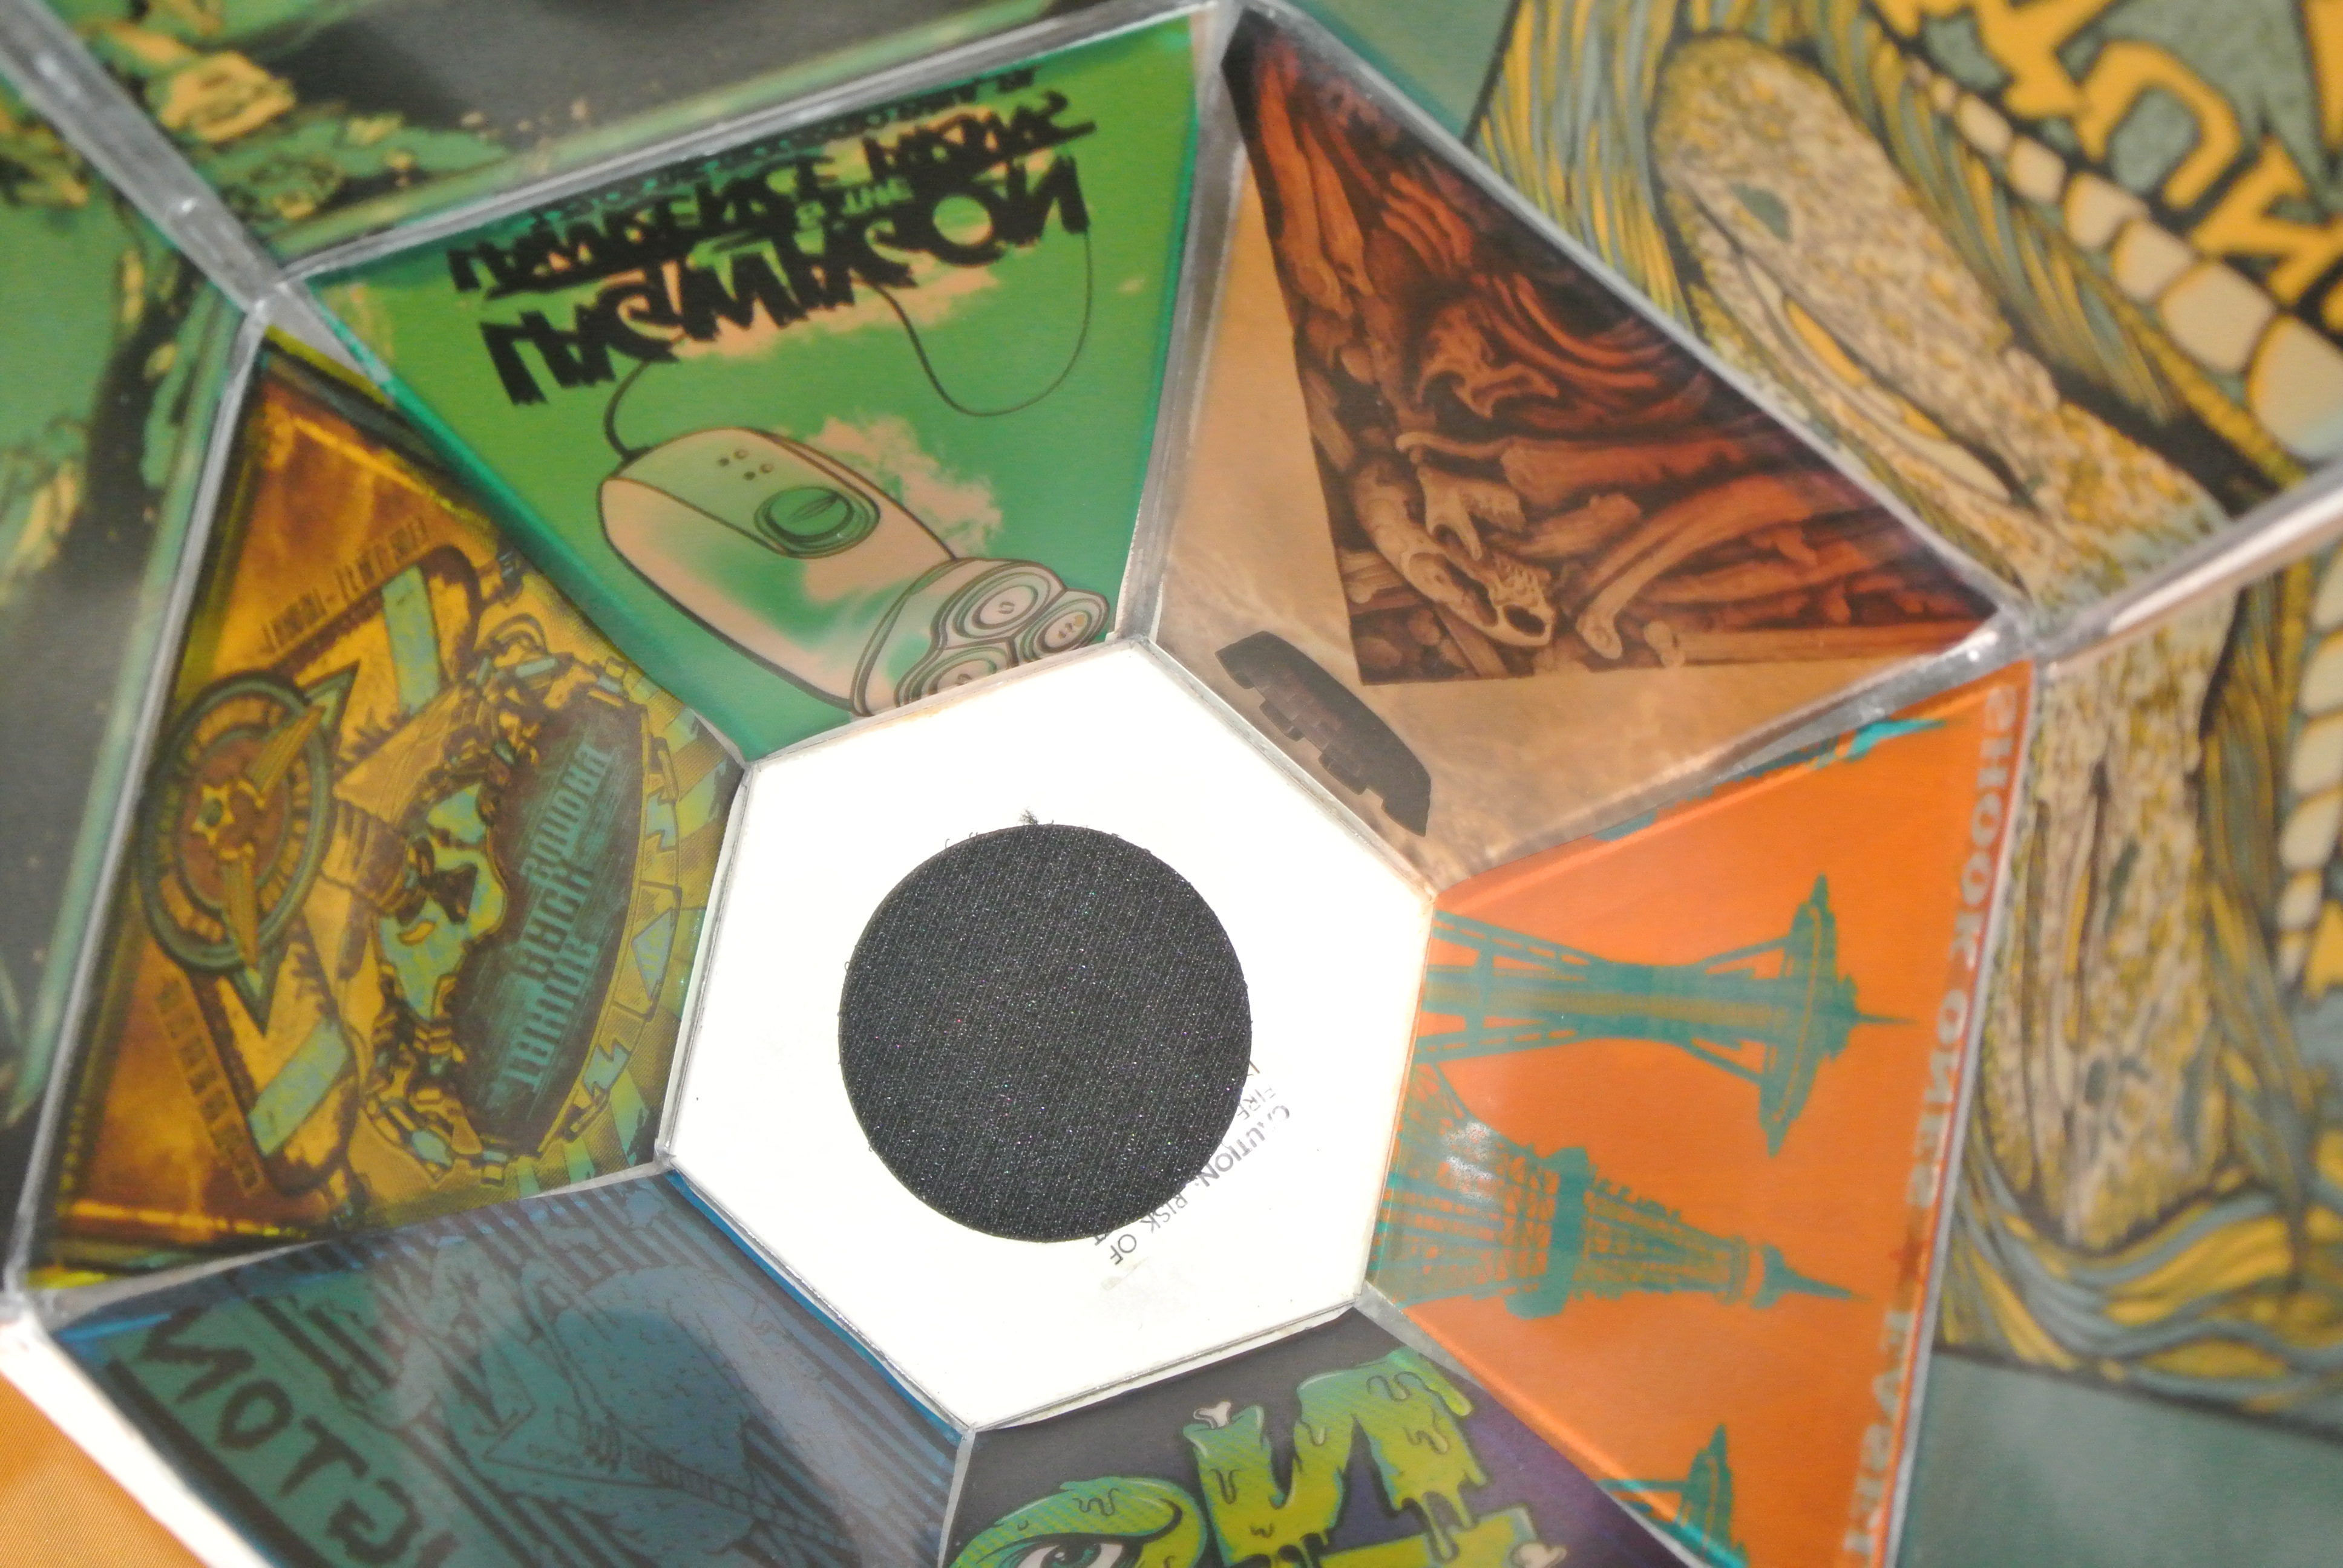
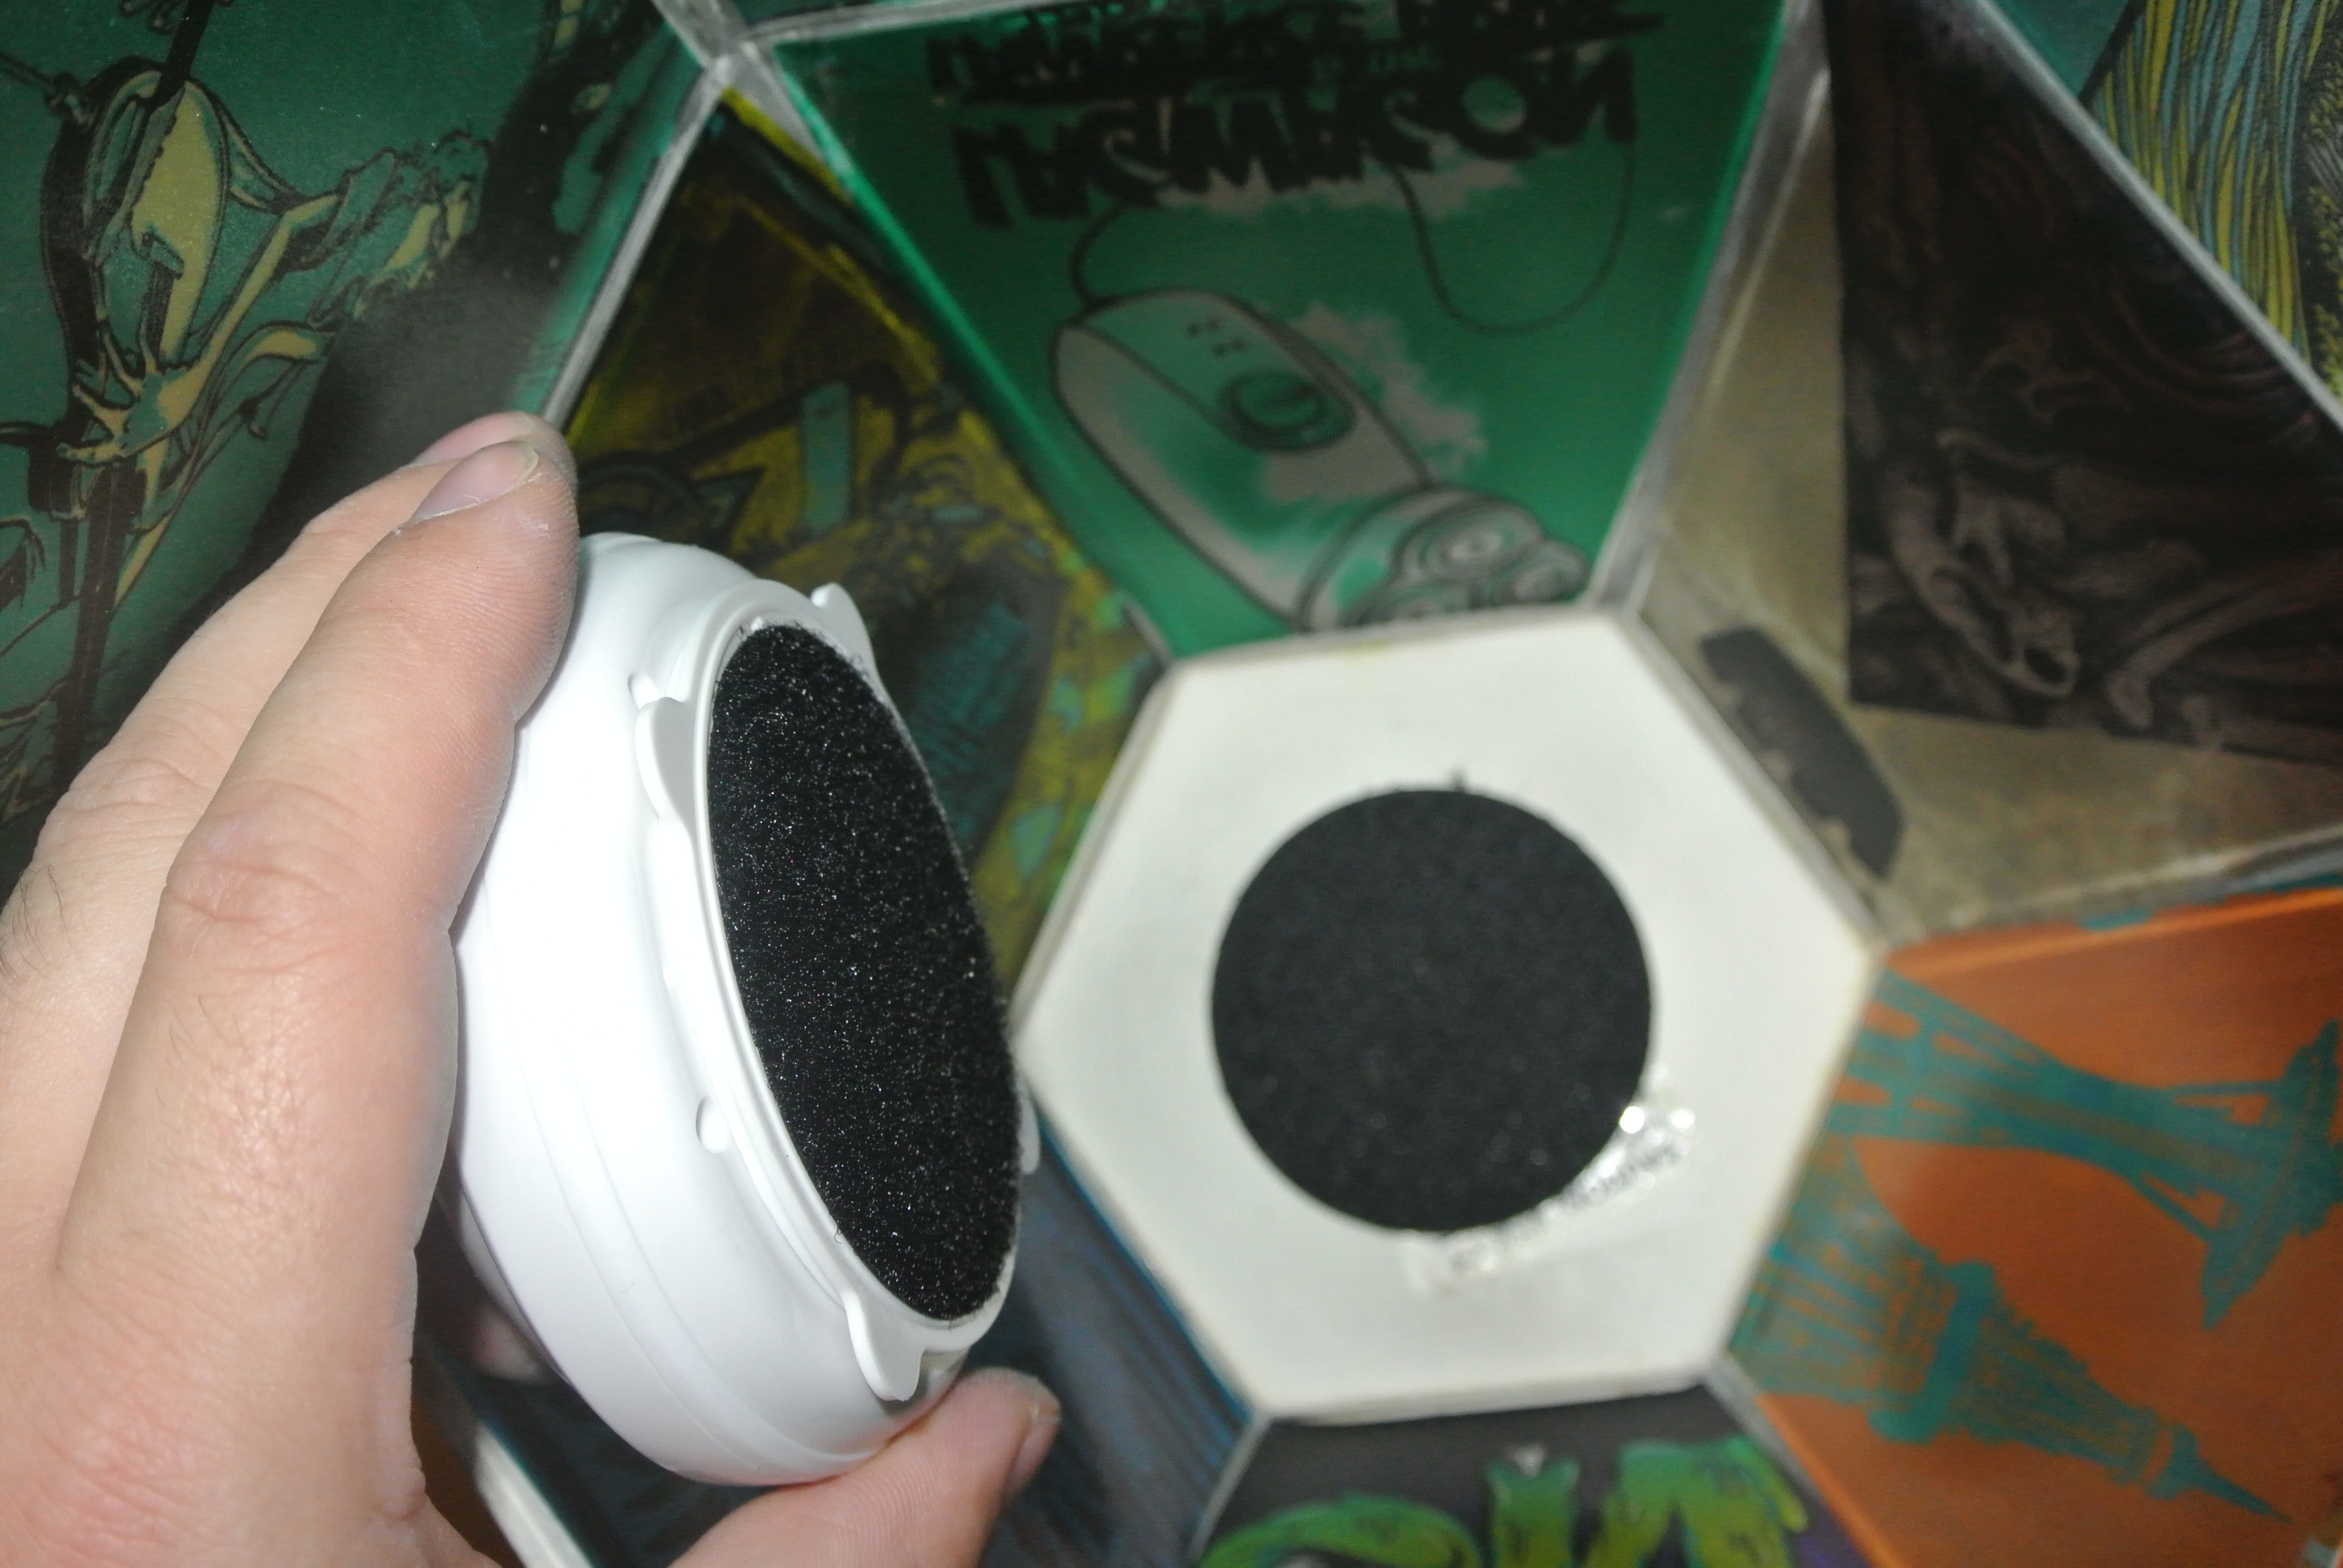
You're so close! One last thing to do. Let's get lights in that bad boy! The set of lights I bought came with velcro with adhesive on the back. You can glue them but it might be hard to switch out the batteries.
LET THERE BE LAMP!!!
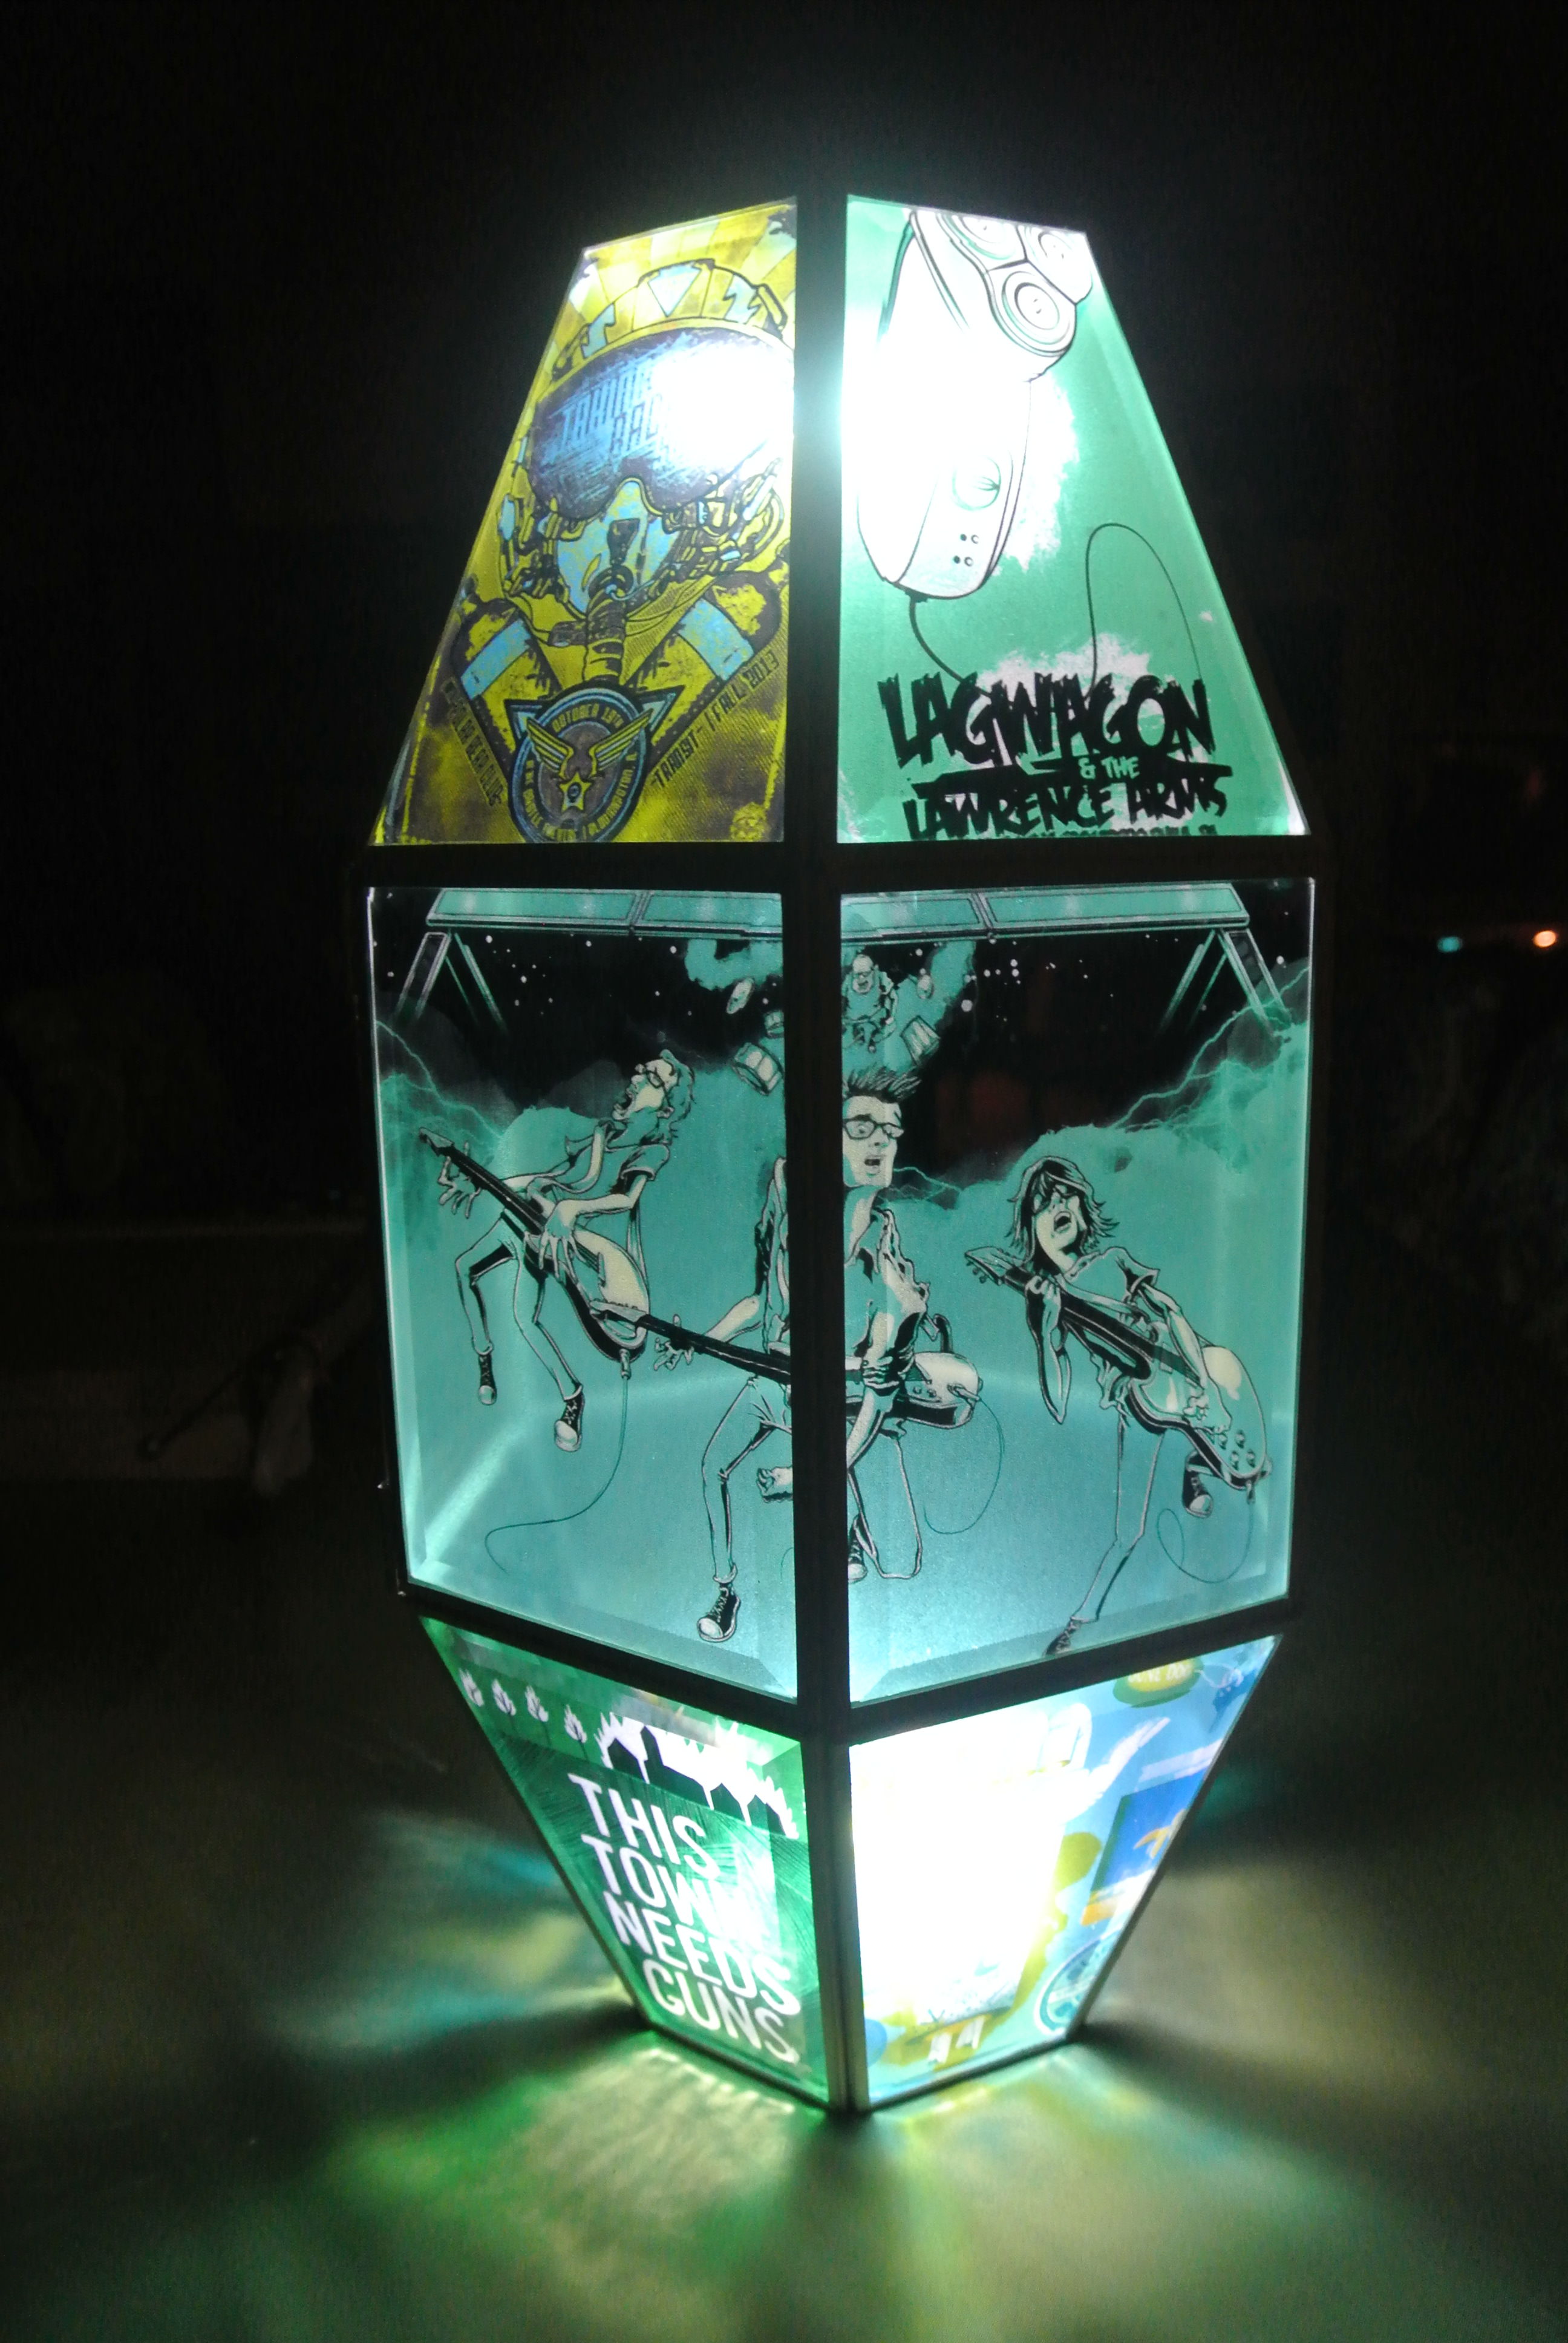
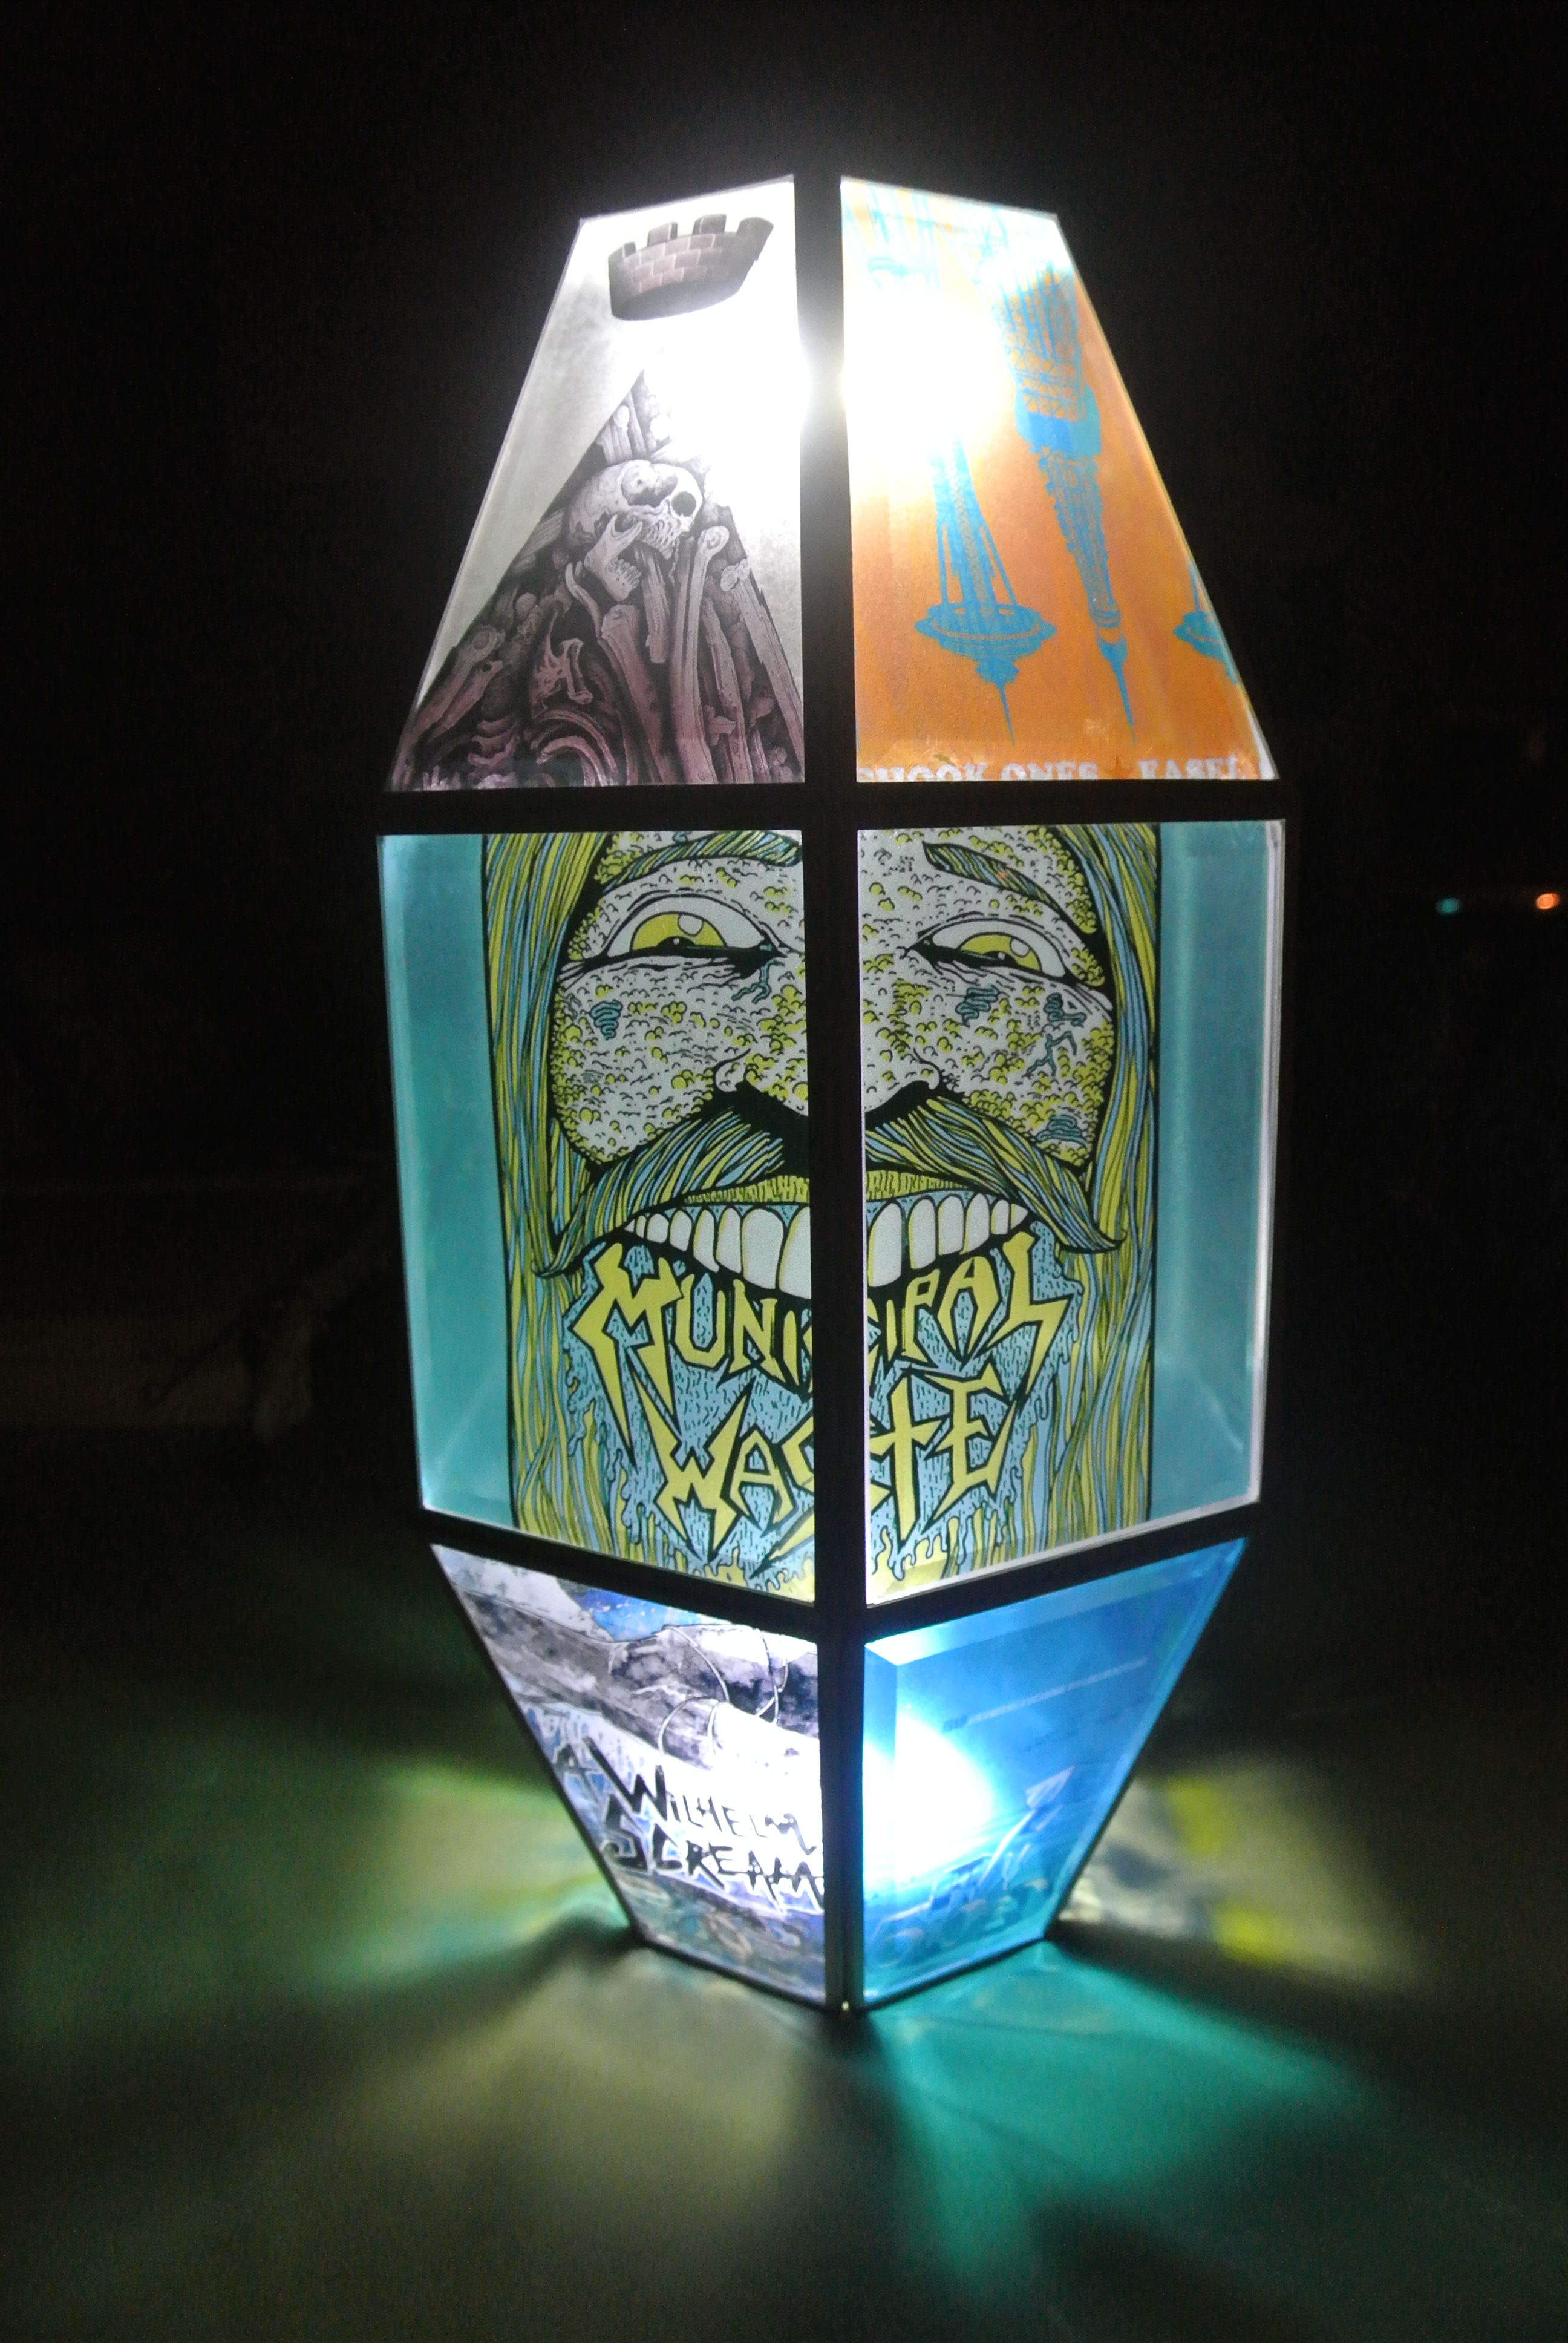
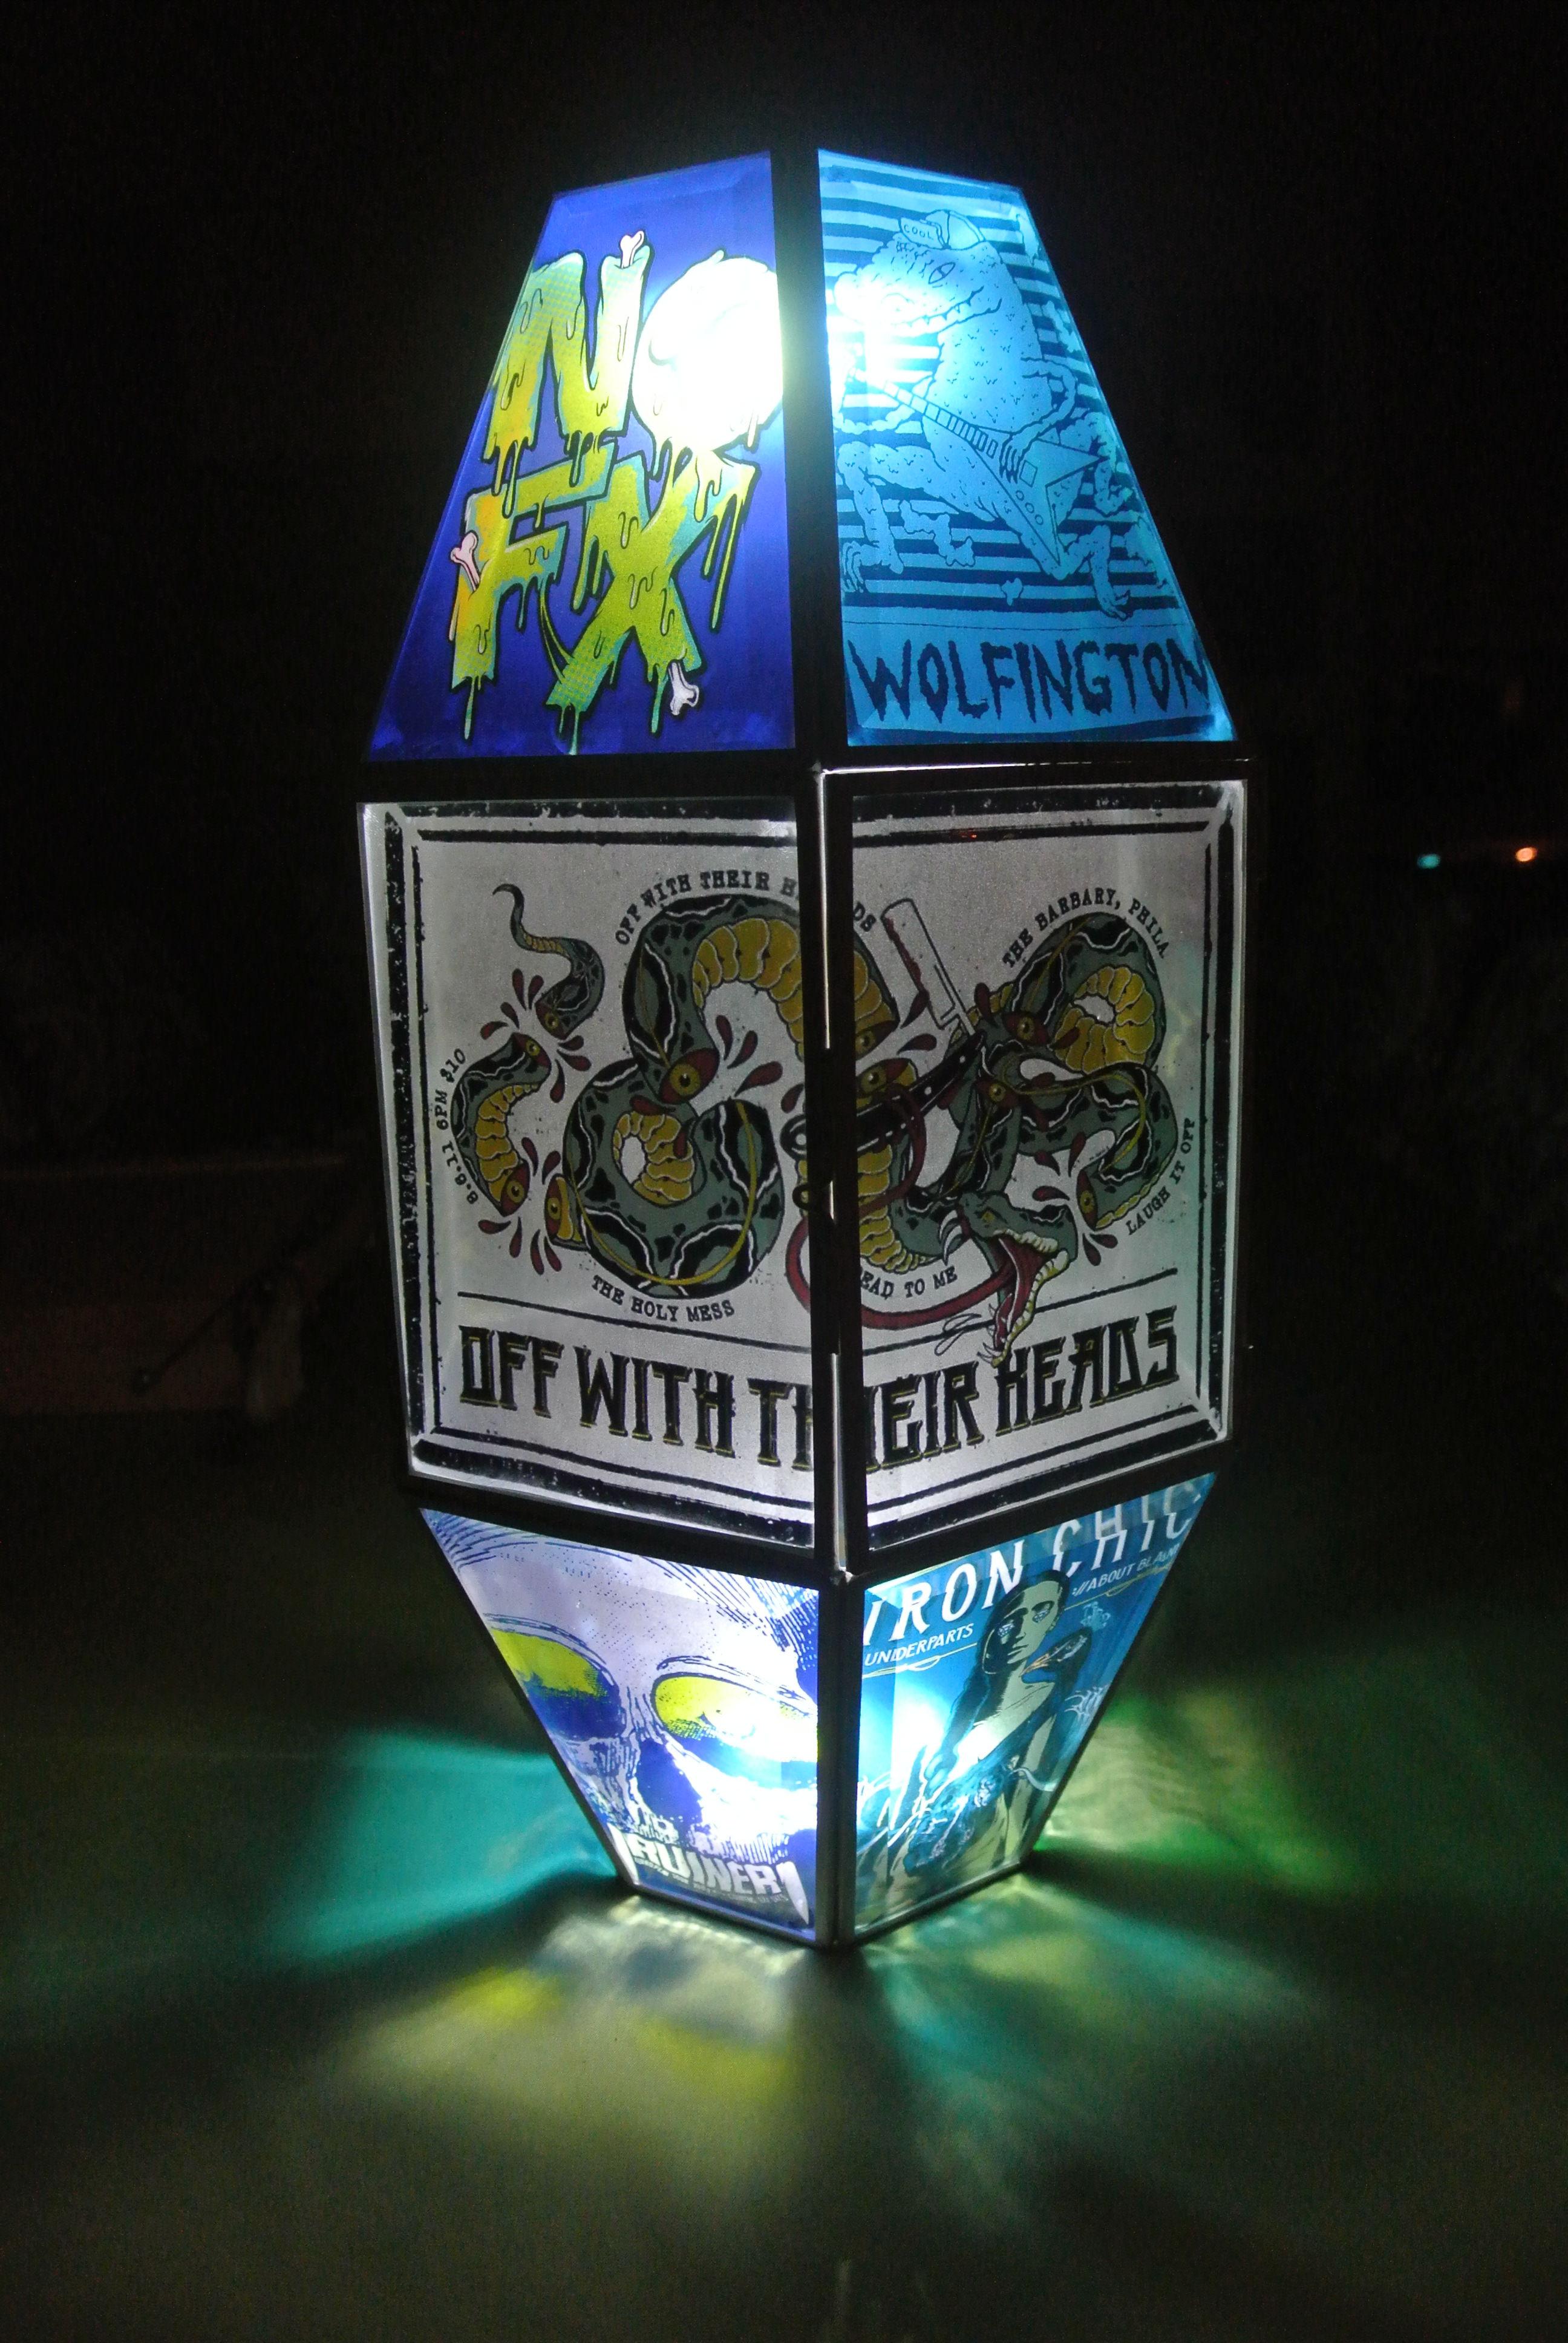
Thanks for checking out my instructable. I plan on making many more so please follow or share or pin it or vote or tell your friends about it if you've enjoyed this project. If you're making one let me know what bands you are putting on yours. I would love to see someone else take this and make it their own.