Remote-Boombox-Pi
Recently, I am interesting in boombox. So I bought some component from EBAY and trying to make a simple boombox by myself.
The boombox that I want to make must have those functions:
1. It is very chip due to i don't have a lot budget on this project.
2. It must be cute.
3. I can control the boombox on and off easily.
4. I don't want too many wires on it so that I can take it over any place that i want to.
so, Let's get start.
Step 1: What We Need in This Project.


There is a list that we need in this project:
1. Raspberry Pi 3 model B Kit x1
2. Power button For RPi3 x1
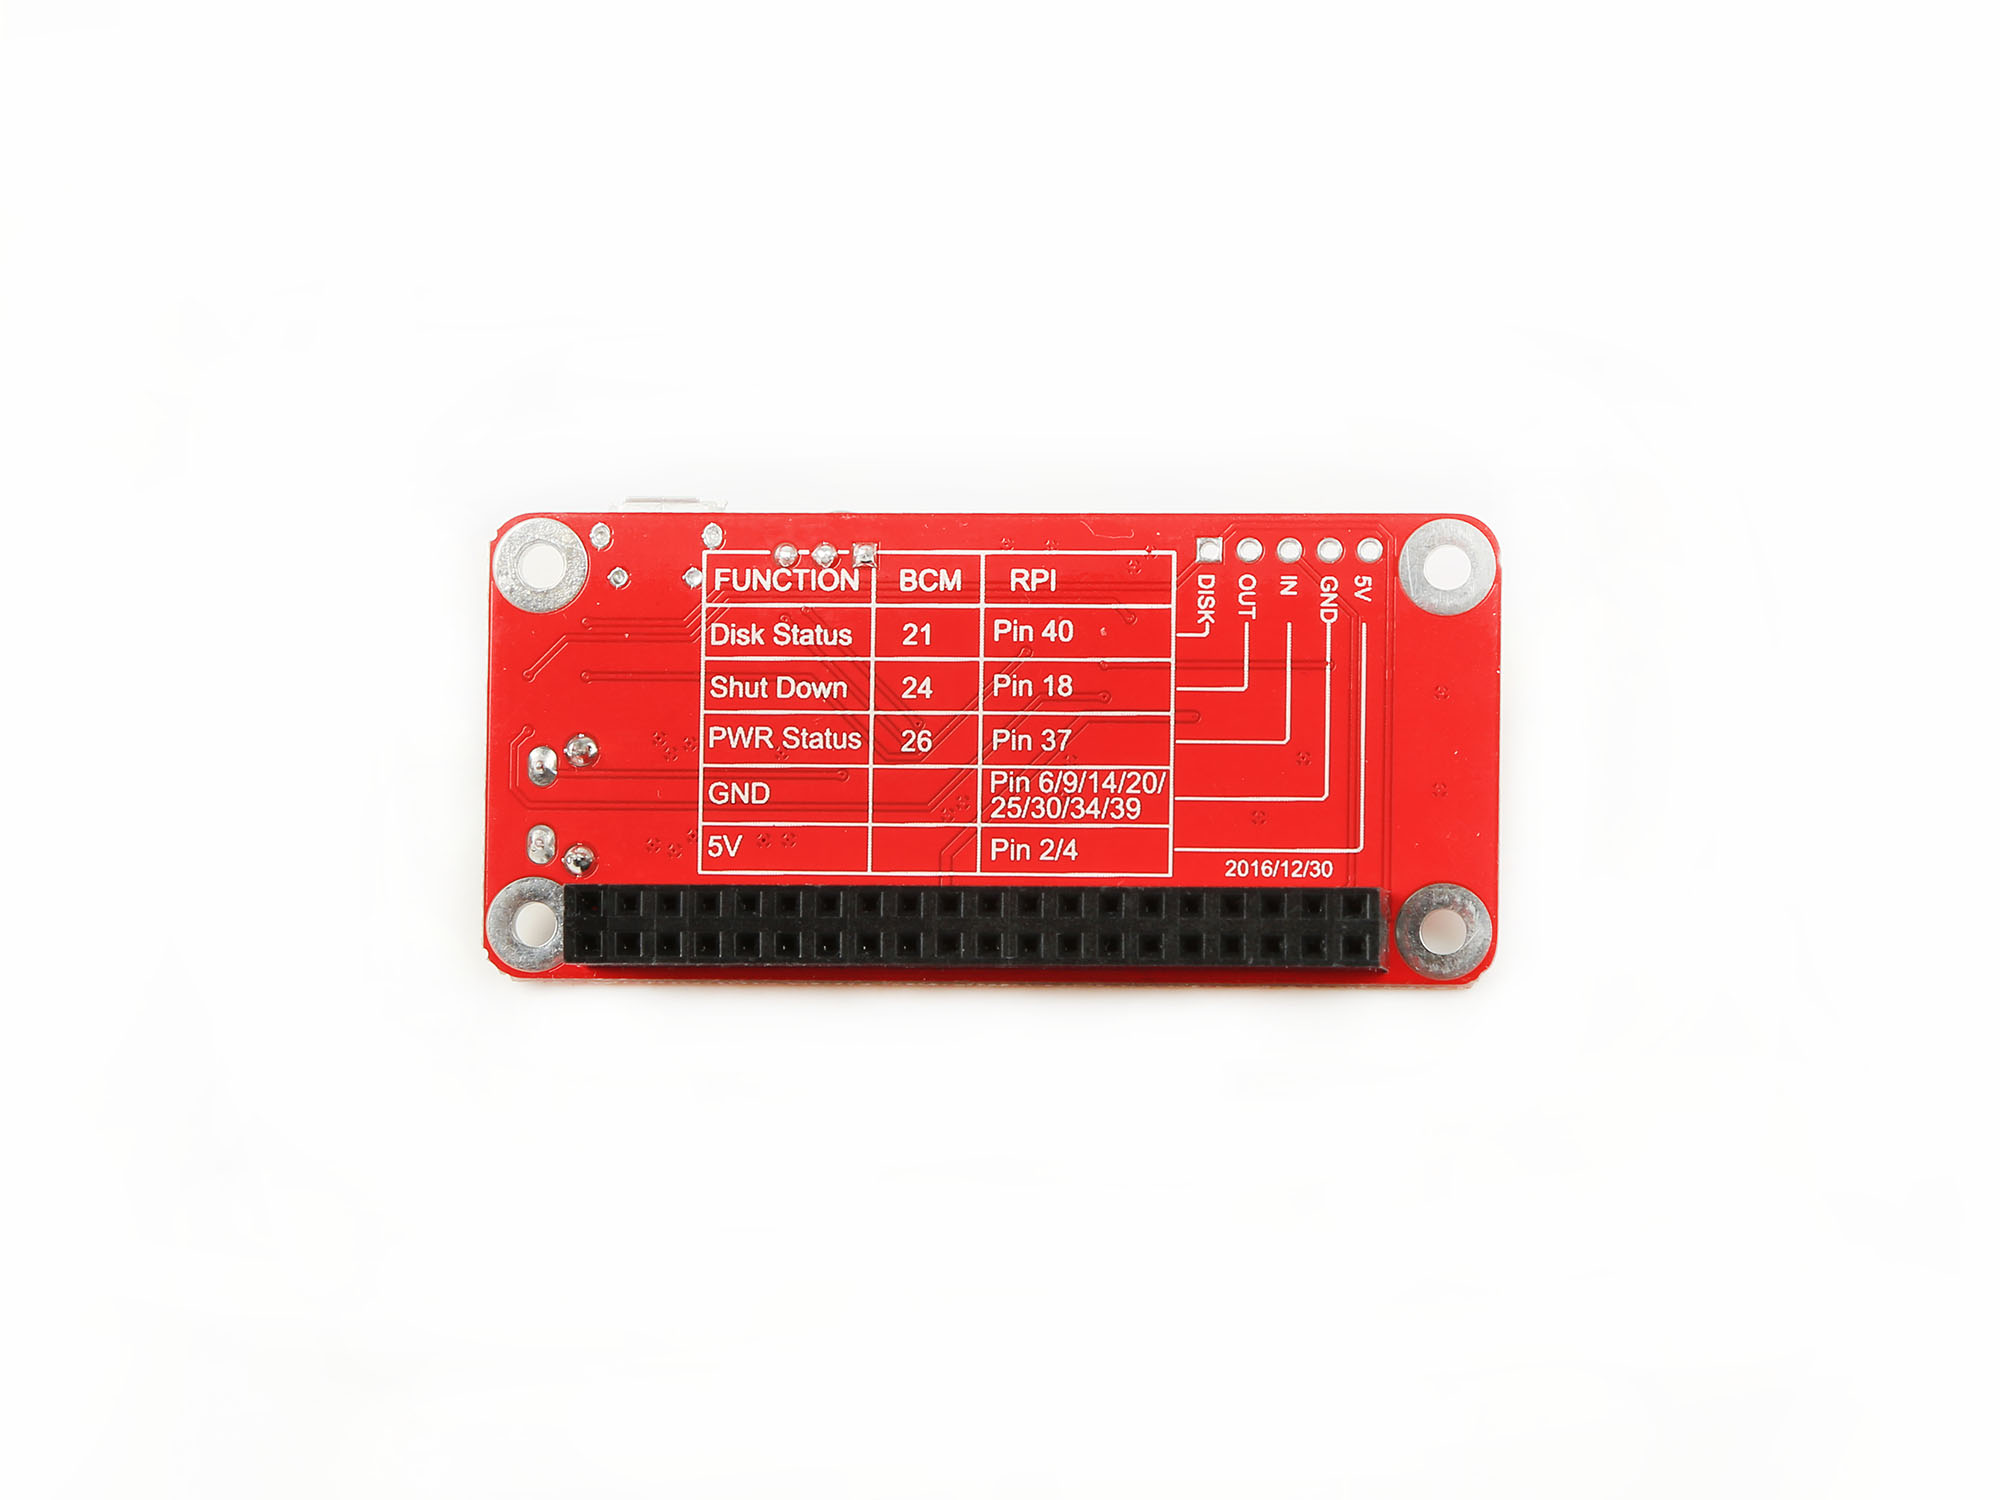
3. Pi Supply & USB HUB x1
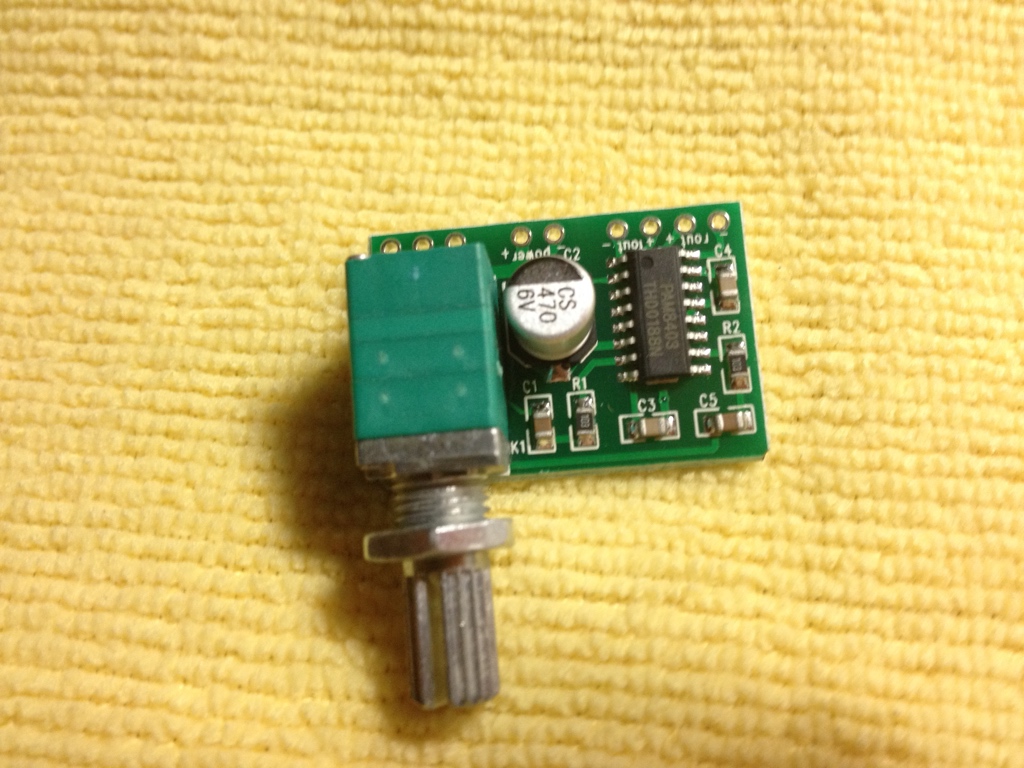
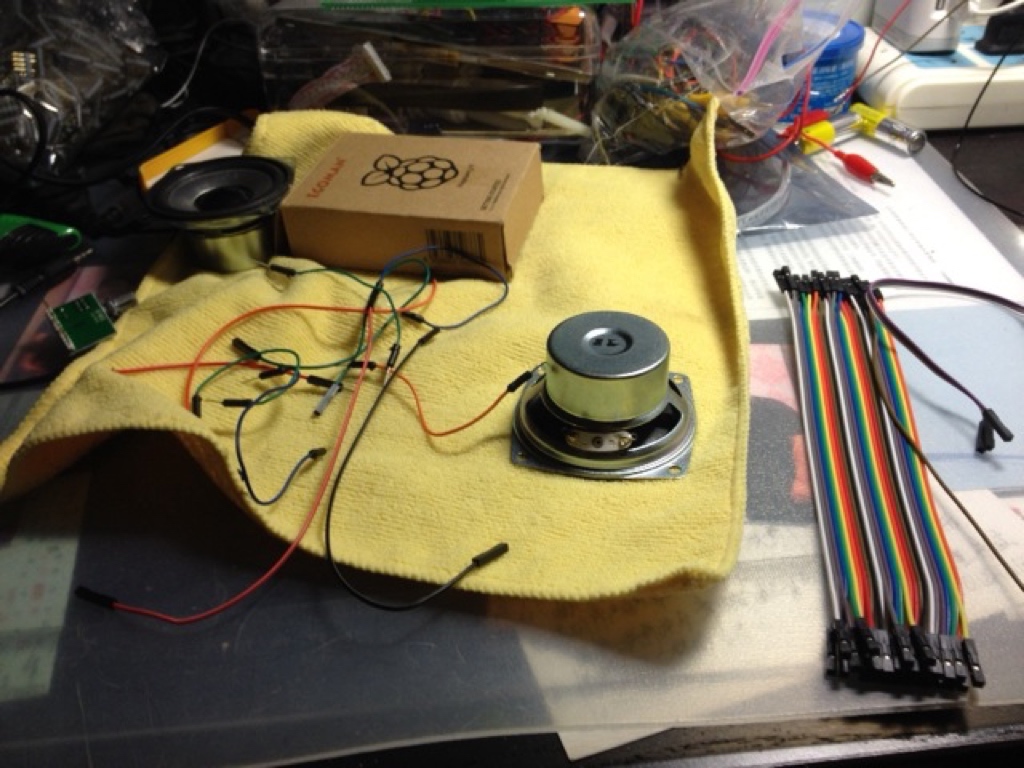
3. 5V amplifier x 1
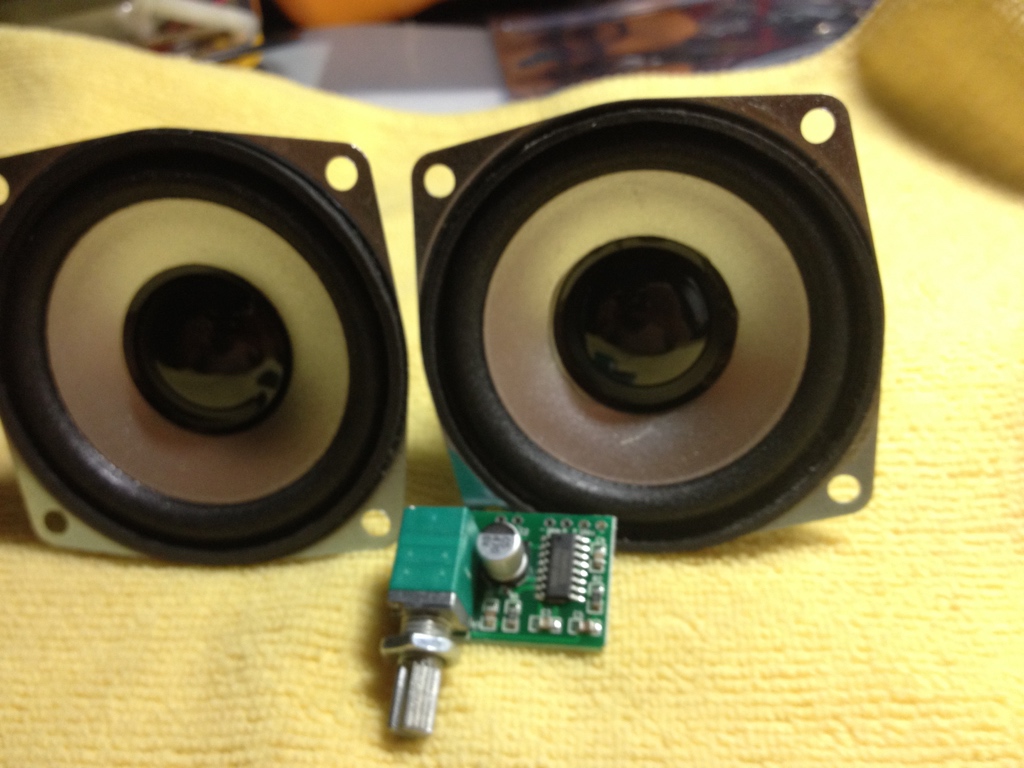
4. 5V mini speaker x2
5. Dupont wire x N
6. Screw driver x1
7. glue gun x 1
8. Electric Solder iron x1
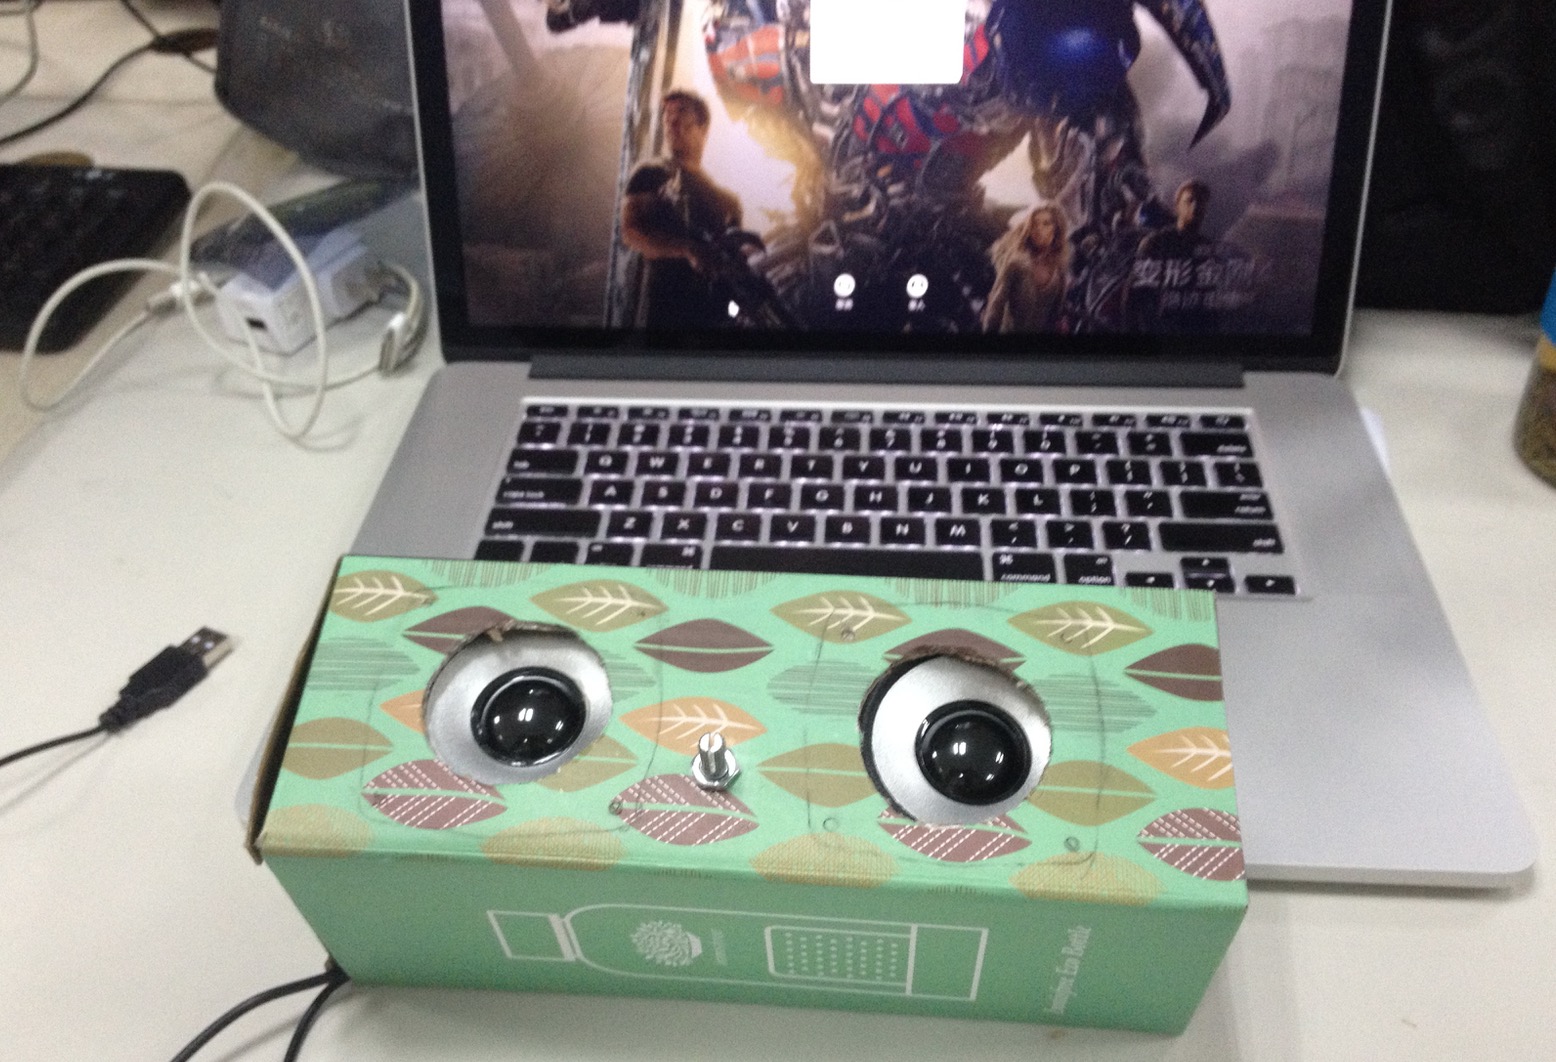
9. An empty box just fit for this project.(maybe you can use your wine box)
------------------------------------------------------------
That's all.
Step 2: How to Assemble It.
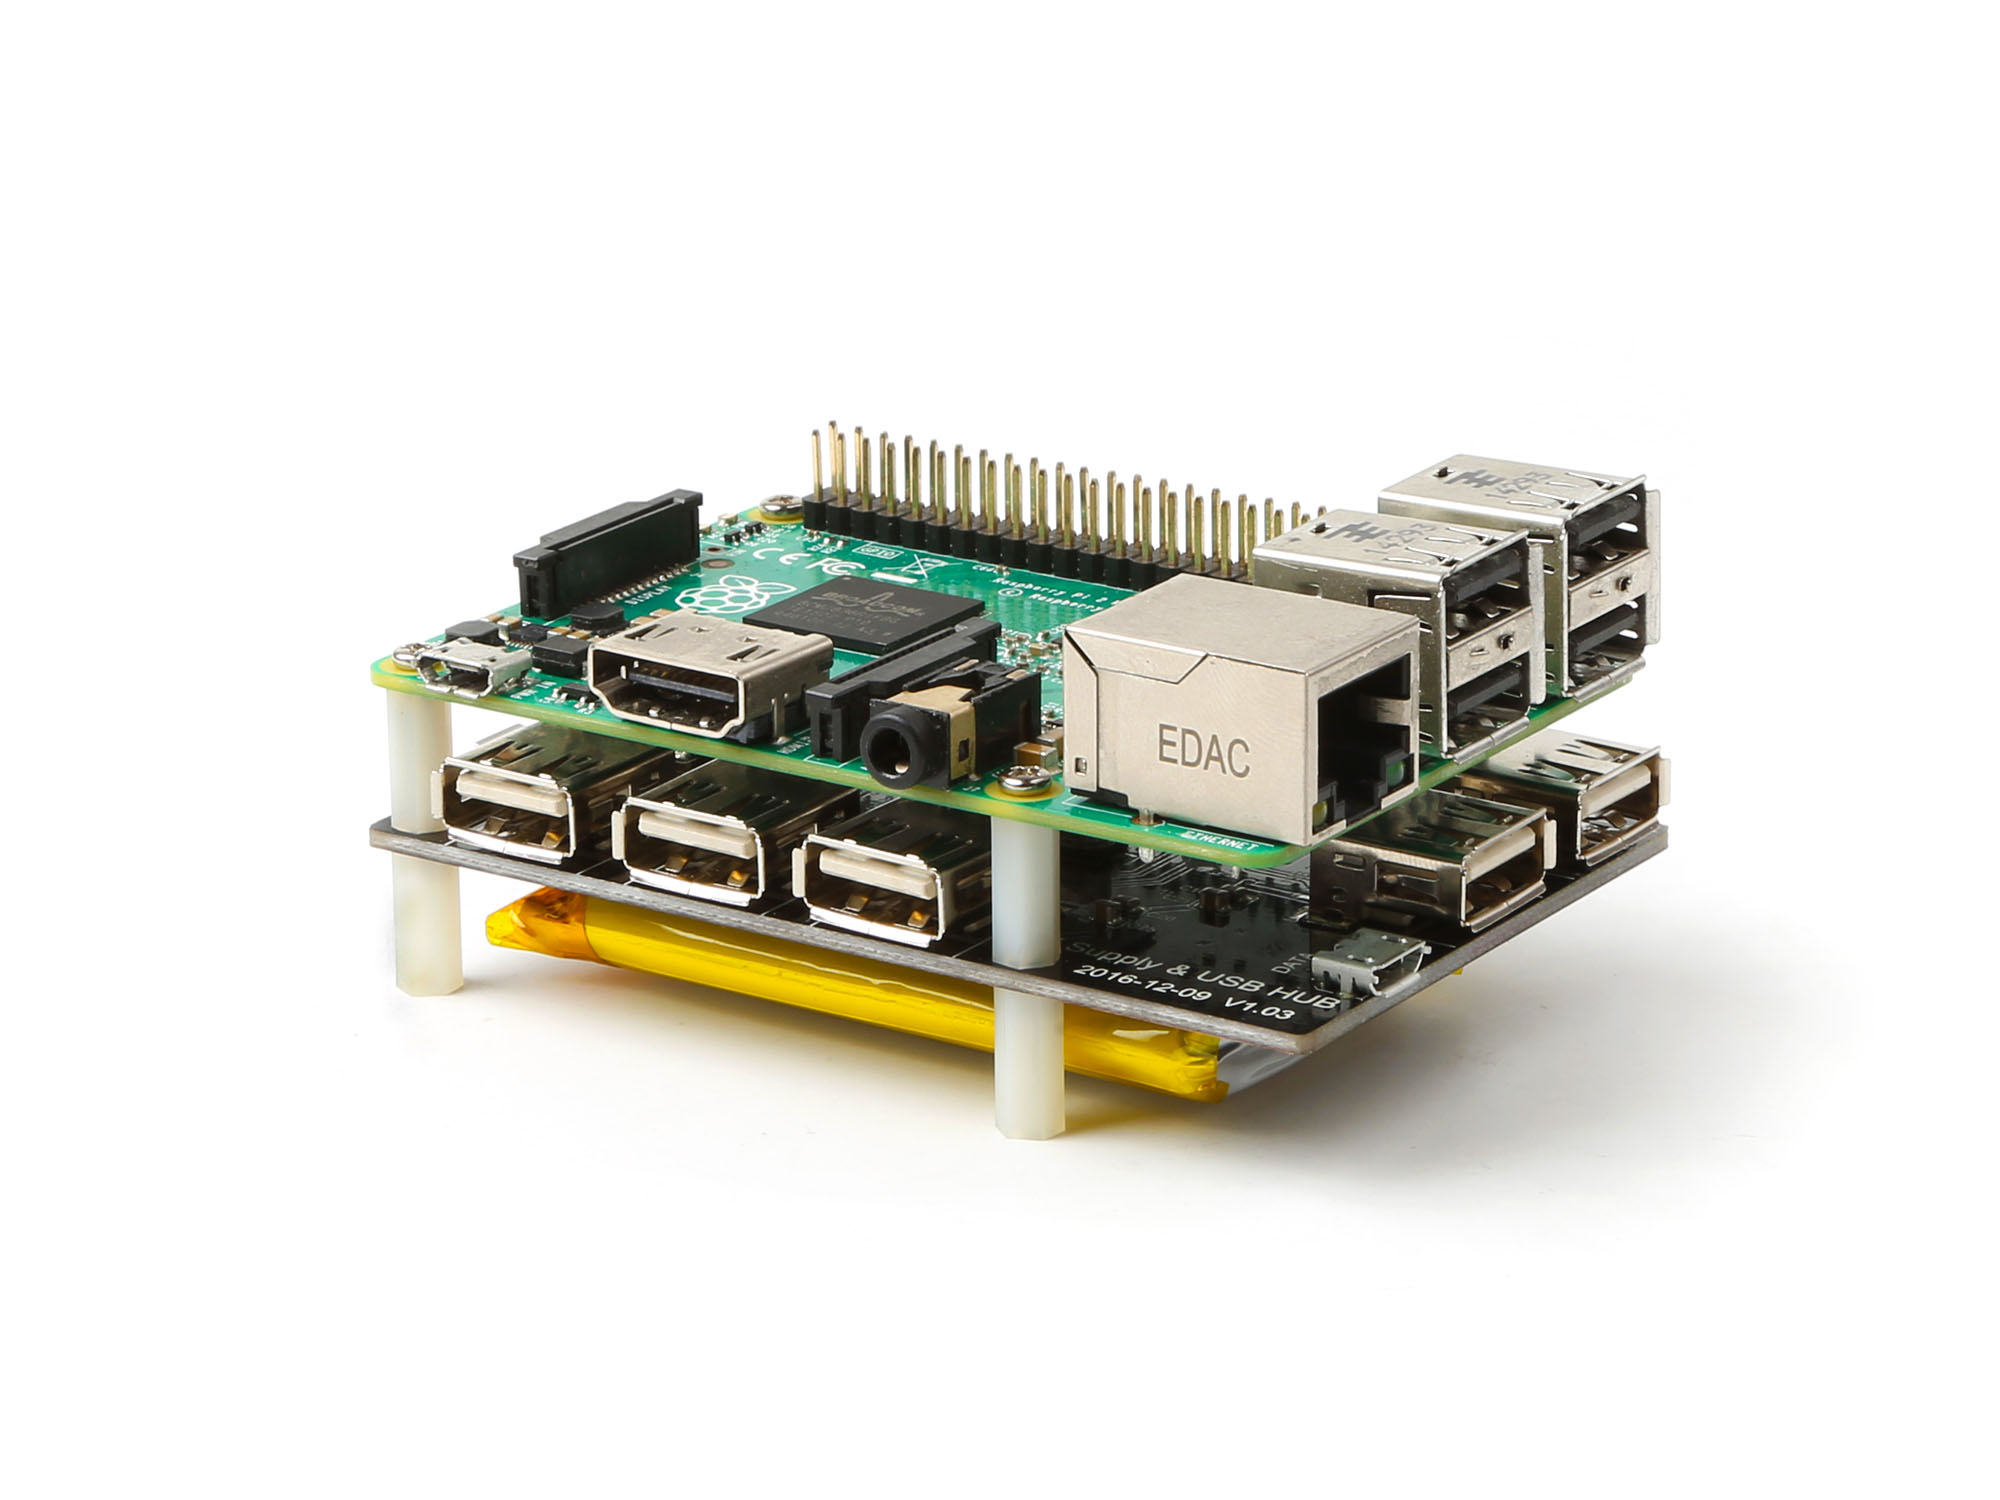
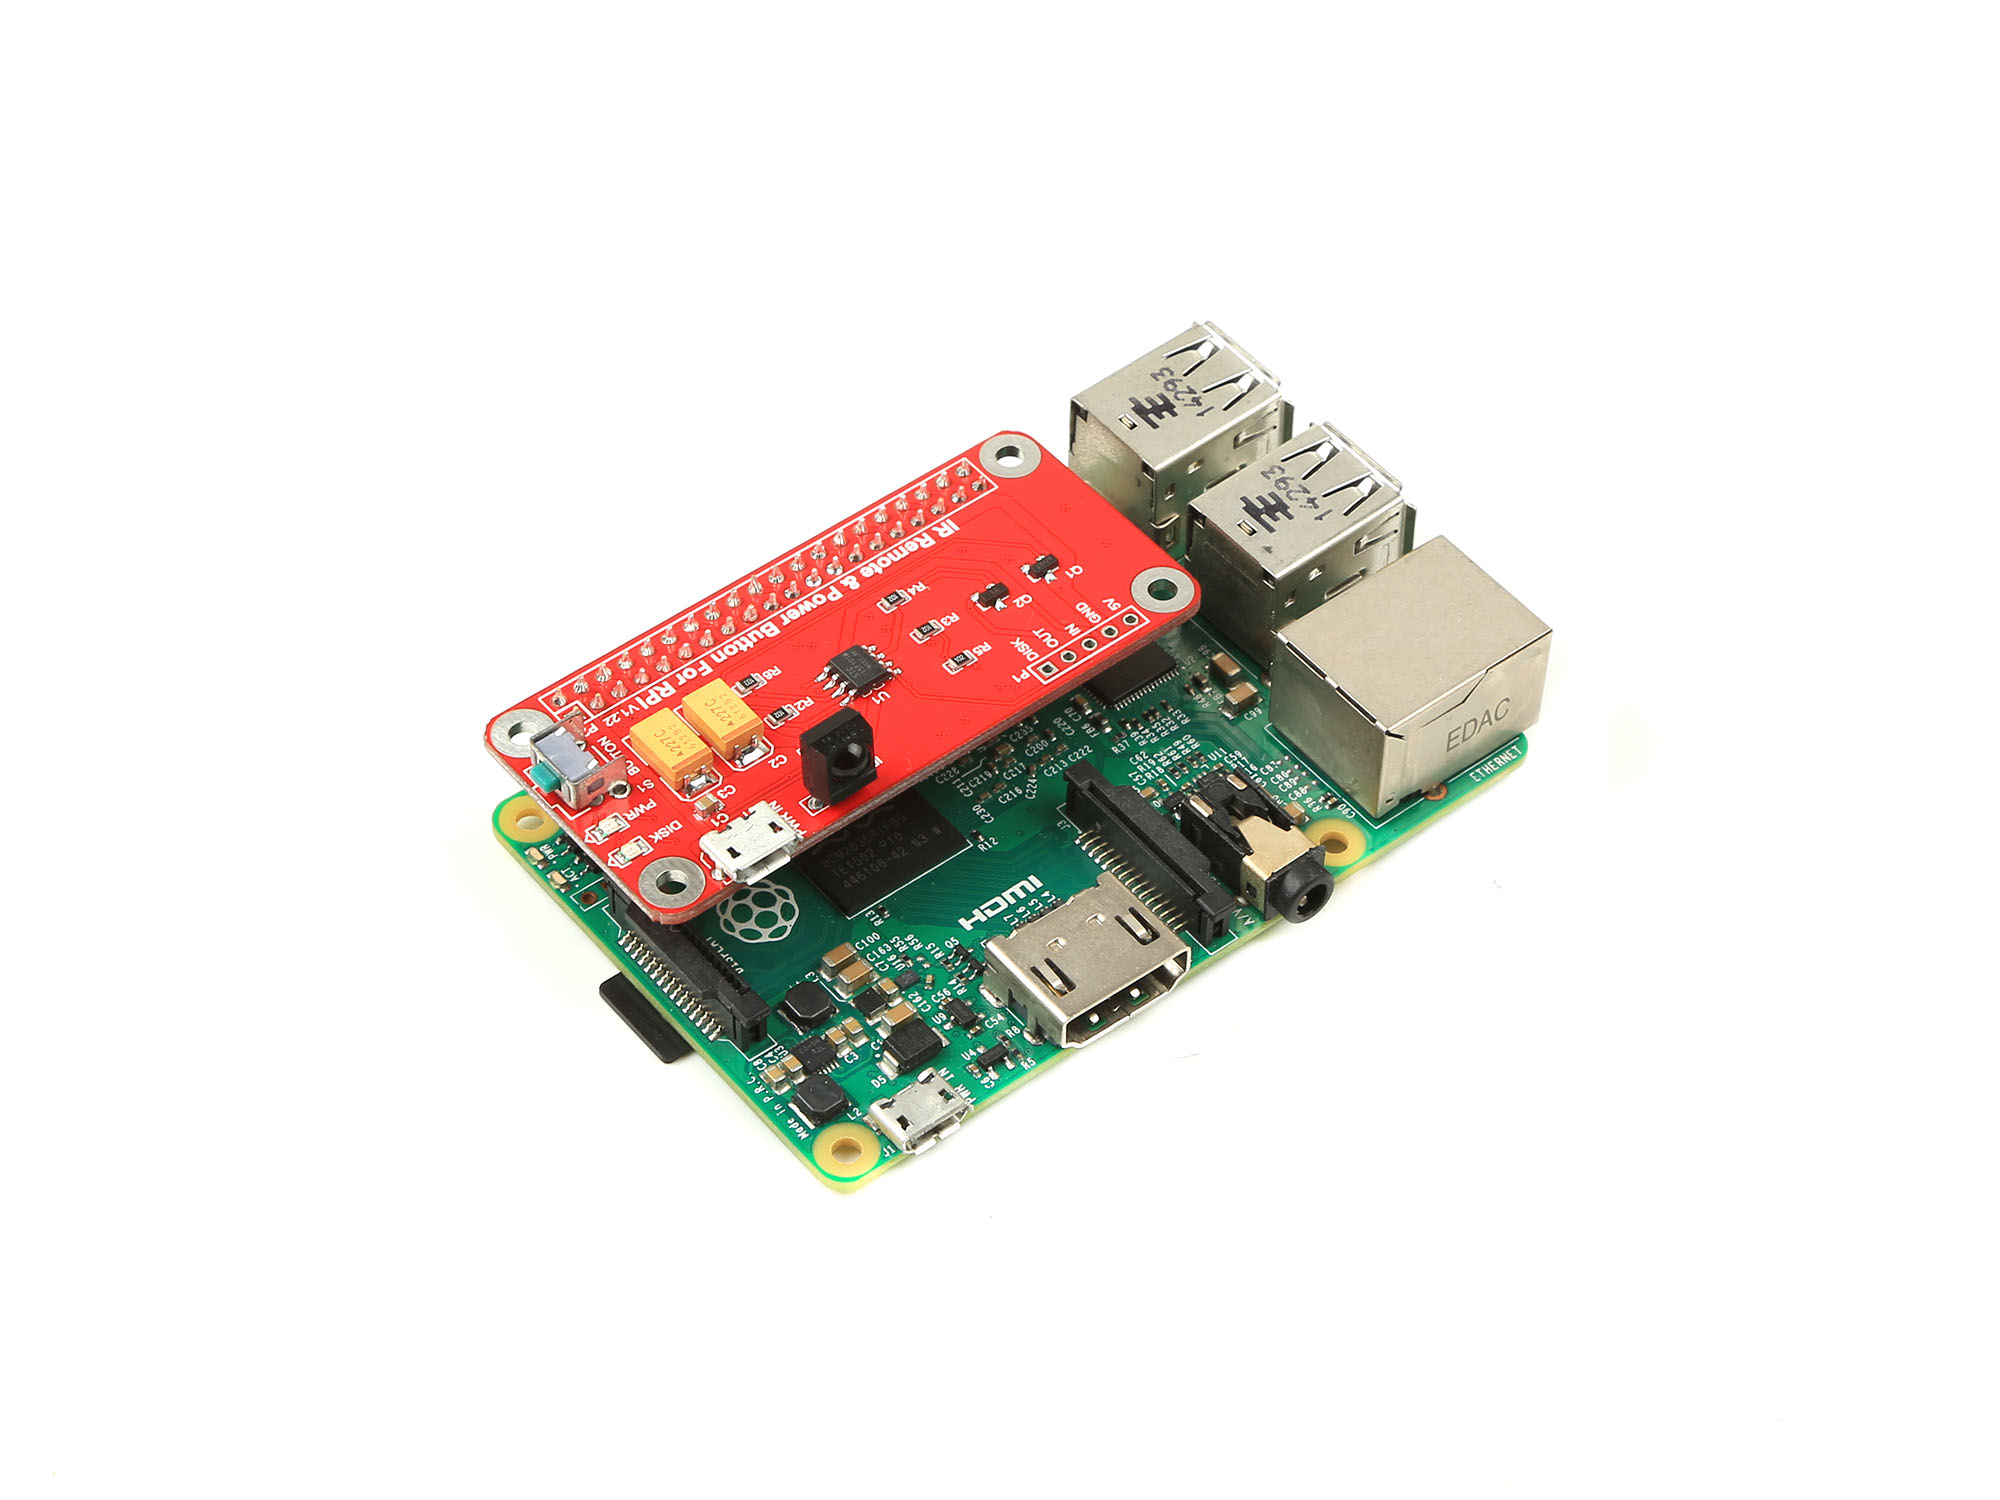
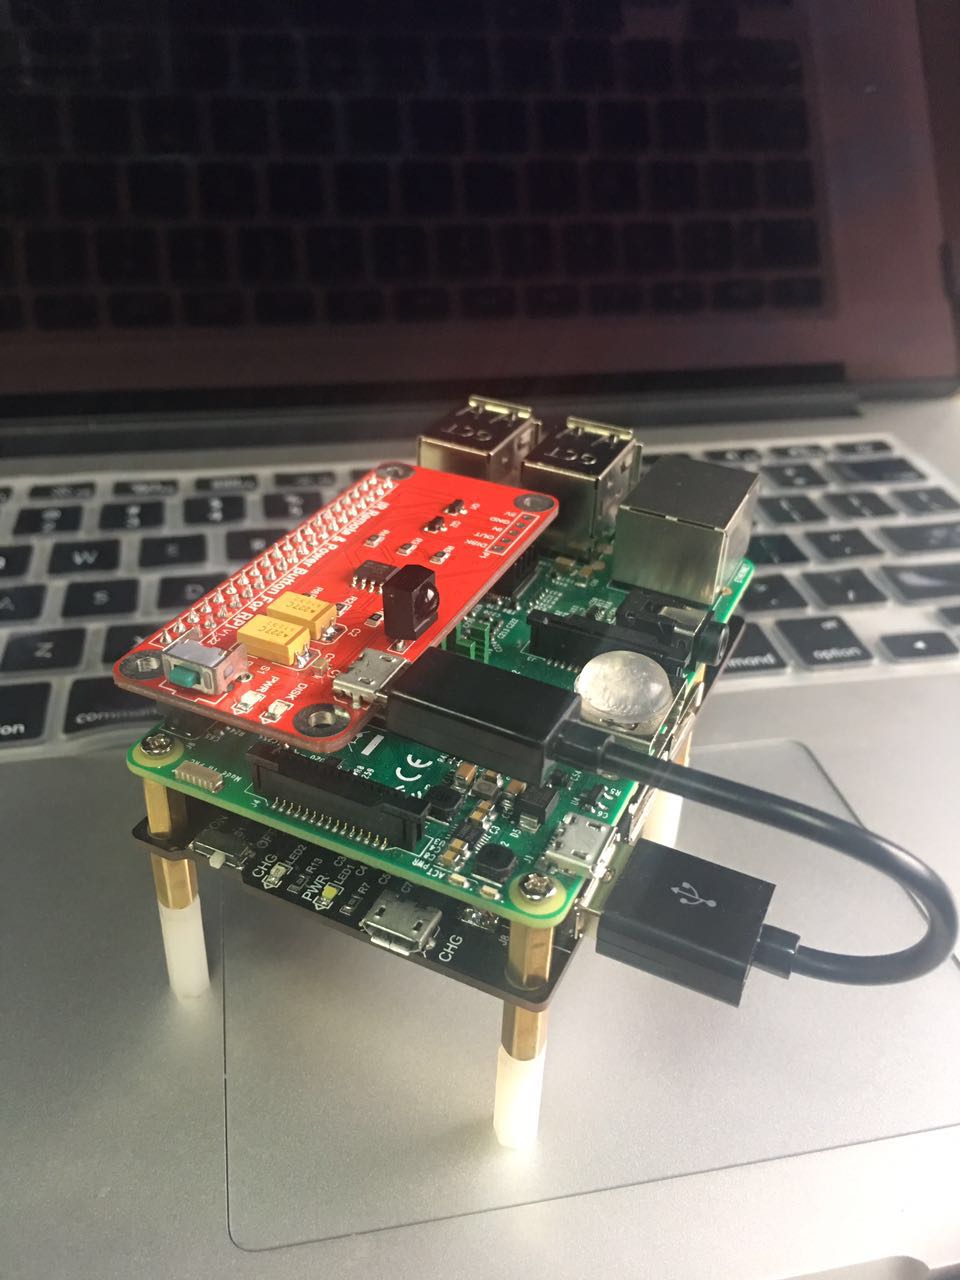

1. Hook up your IR Remote & Power button For RPi to Raspberry Pi on GPIO Pins.
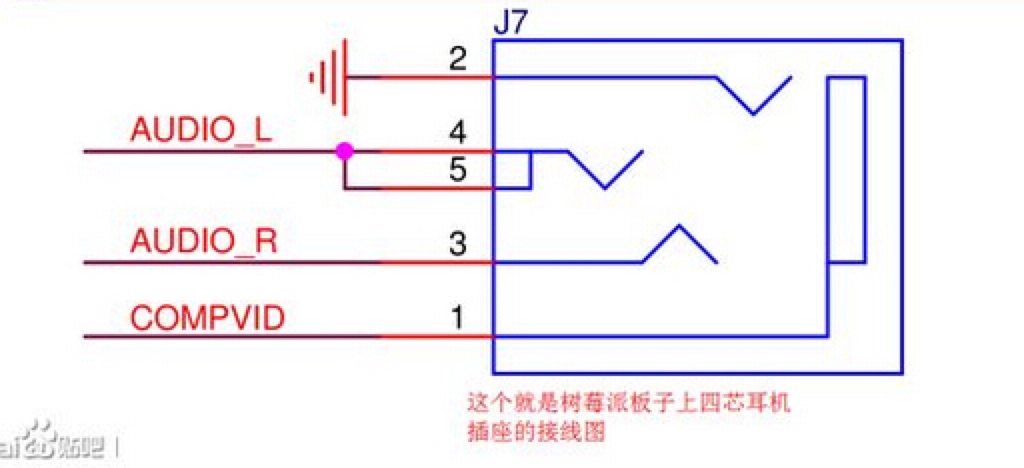
2. Find a Jack port and solder it as picture that i posted.
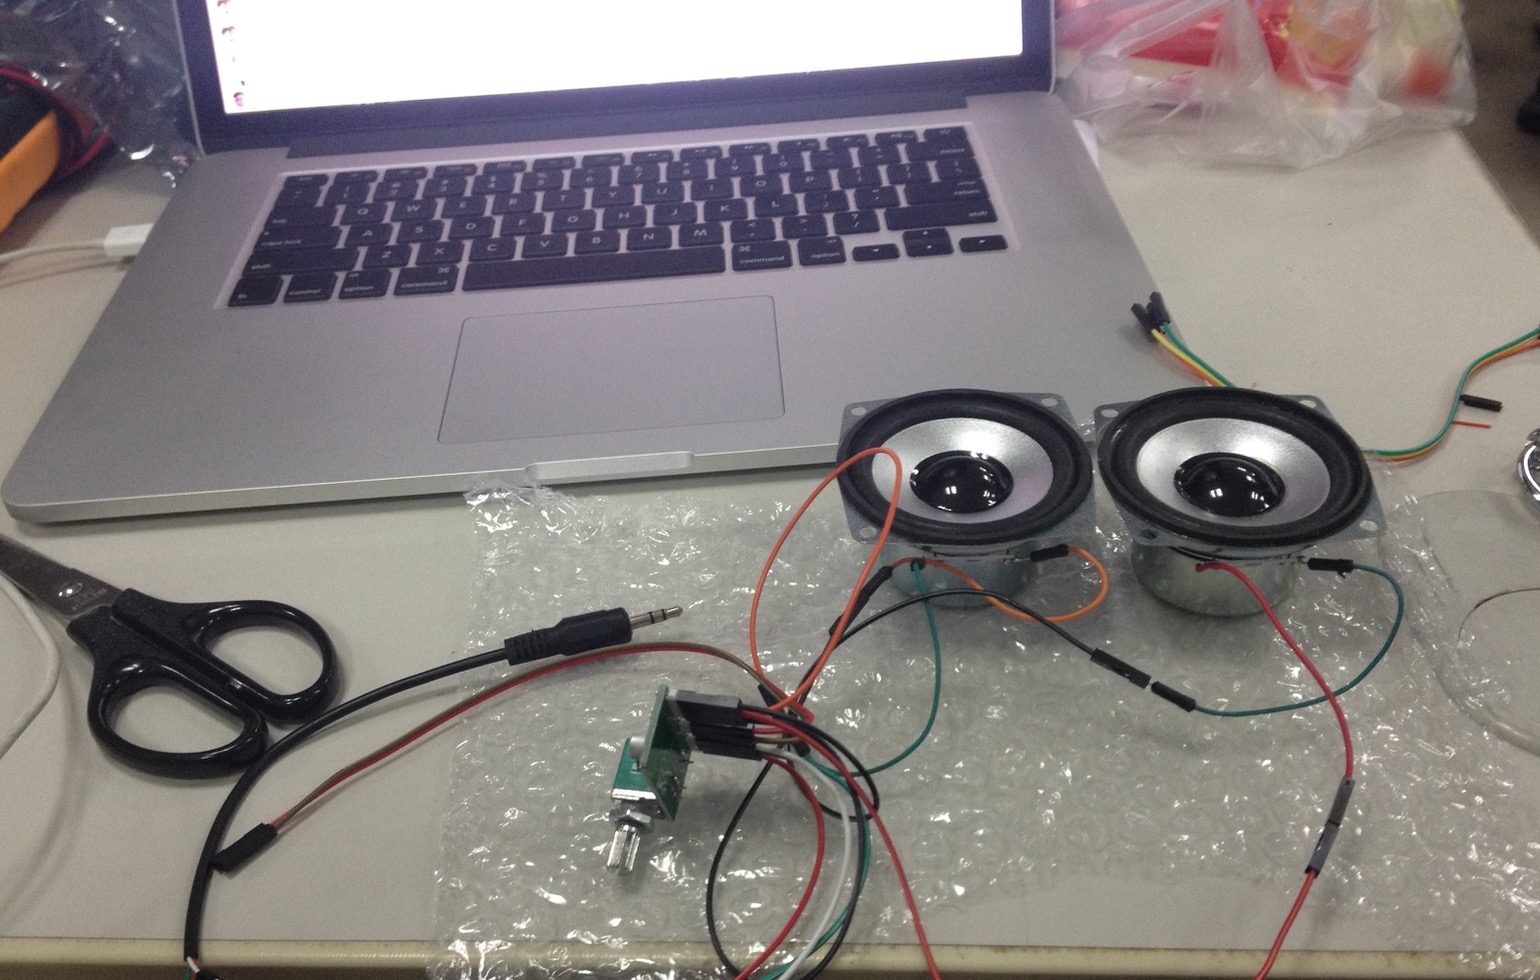
3. Connect your Amplifier with two speakers.
4. Burn the Latest Raspbian image file into 16GB TF card and insert it to your Raspberry Pi card slot.
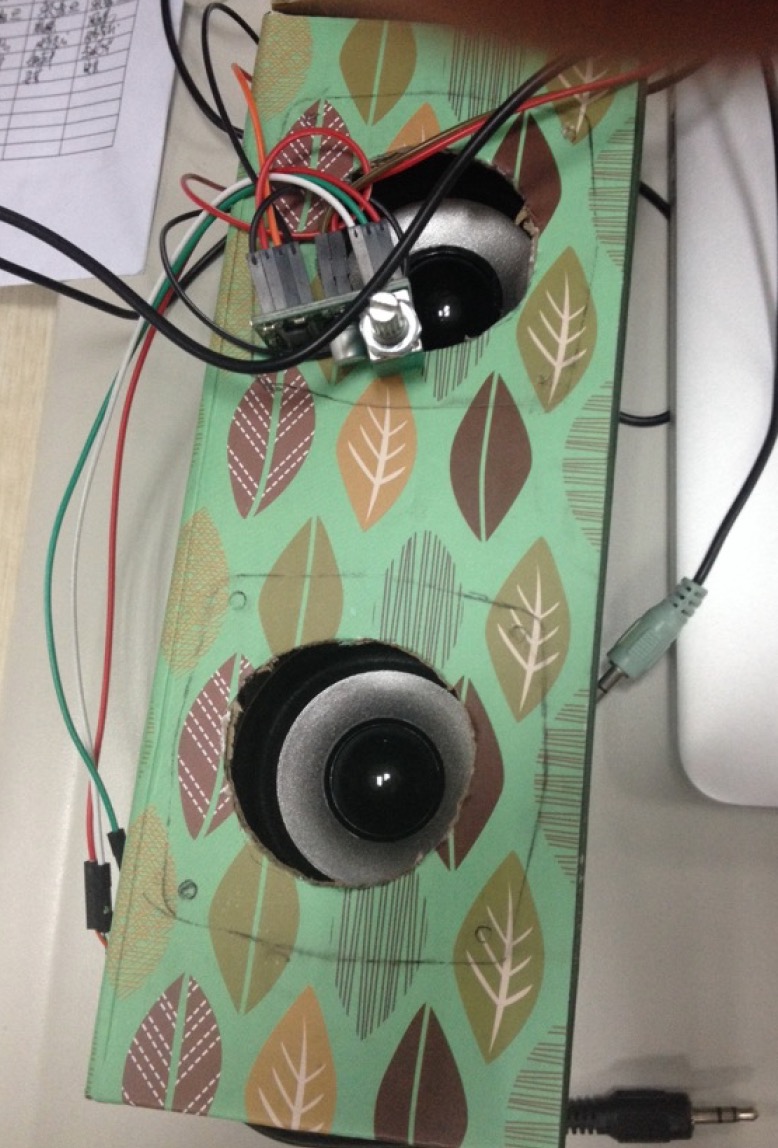
5. open two holes on the box for the speakers.
6. Connect Amplifier with Speaks and raspberry Pi .
7. Put all together and power on your Raspberry Pi.
Step 3: Install Software and Configure the Power Button.
1. Login to your Raspberry Pi and open a terminal.
2. Modify /boot/config.txt file , In this case, I modified config.txt file with vim.tiny command as following:
sudo vim.tiny /boot/config.txt
add this two parameters into the config.txt file:
device_tree=bcm2710-rpi-3-b.dtb
dtoverlay=power-off,gpiopin=26 dtoverlay=pi3-act-led,gpio=21
and Press ESC and type ":wq" to save it and quit.
3. Reboot your Raspberry Pi.
sudo sync ; sudo reboot
4. Download shell script from Github to drive the power button.
sudo apt-get install -y wiringPi
cd ~
git clone https://github.com/yoyojacky/powerbutton.git
cd ~/powerbutton
sudo mv ~/powerbutton/gpioshutdown /etc/init.d/
sudo chmod +x /etc/init.d/gpioshutdown
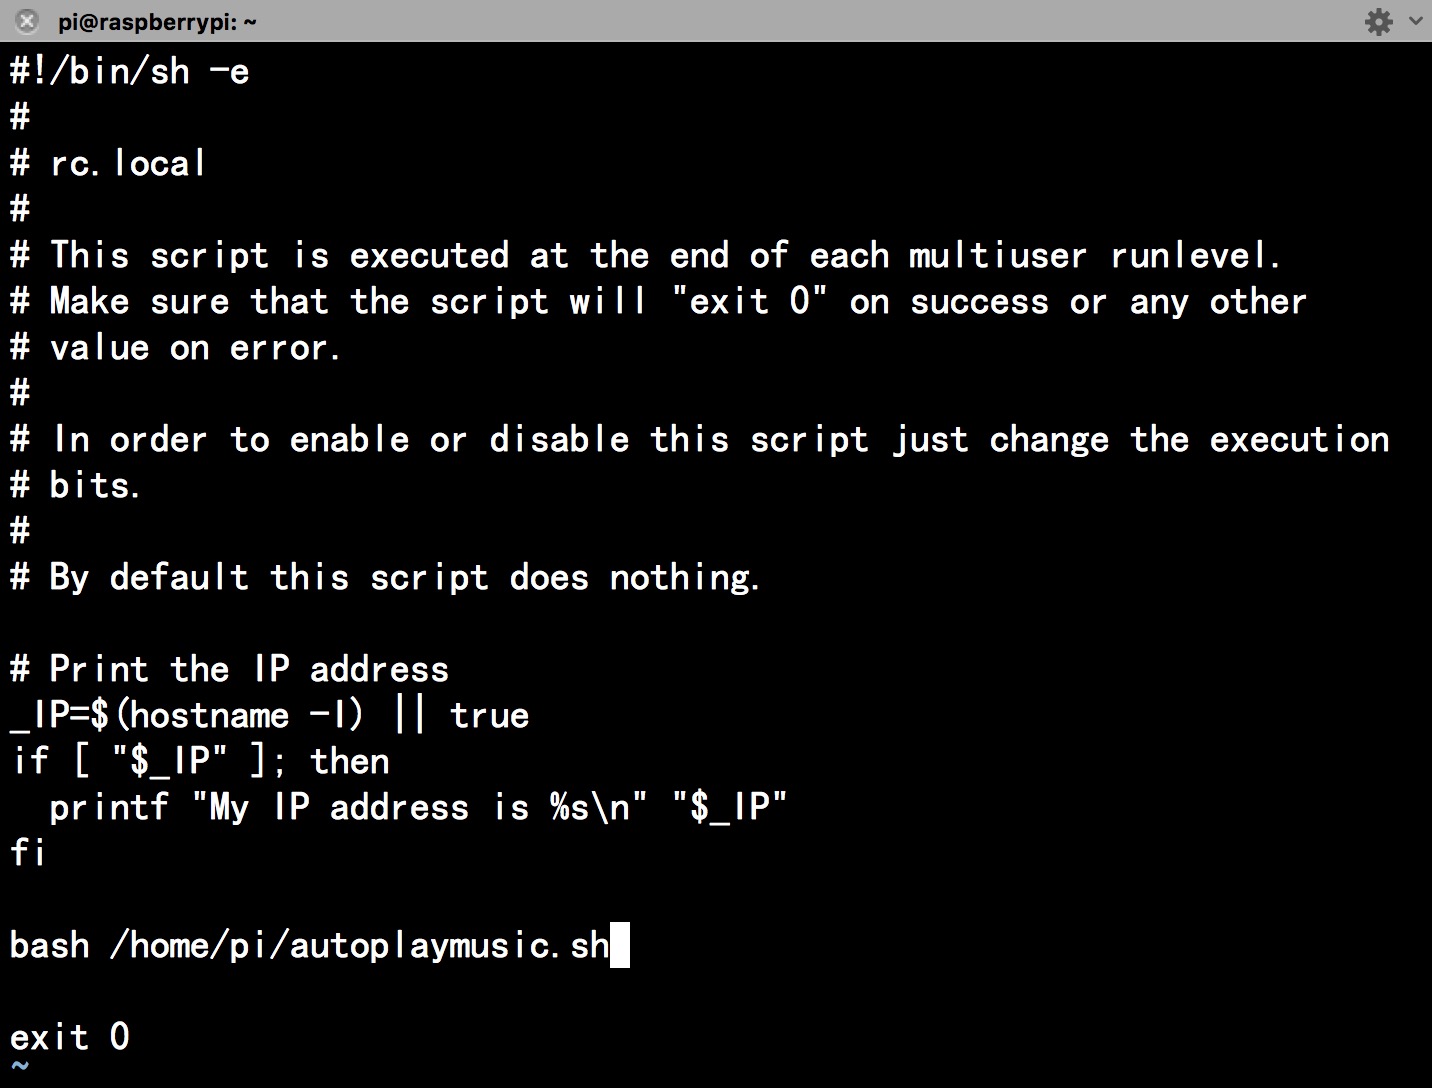
sudo vim.tiny /etc/rc.local
Add this two lines before exit 0
gpio mode 25 out
gpio write 25 1 4
After reboot, you can use the remote controller to power on/off your raspberry Pi already.
Step 4: Upload Music and Create a Playlist.

You can upload MP3 file which you like or just write down a spider script to grab music from internet.
My way is upload the MP3 file to Raspberry Pi, and write a shell script to play the music automatically.
1. Upload MP3 file to Raspberry Pi's Music folder.
2. Install "omxplayer" player by this command:
sudo apt-get install -y omxplayer
2. Create a shell script and give it an execute rights as following command:
sudo vim.tiny autoplaymusic.sh
and typing those into it.
#!/bin/bash
# Function: play MP3 music automatically.
#
MUSIC_DIR="/home/pi/Music/"
PATH=$PATH
# play music as a loop.
cd $MUSIC_DIR
for i in `ls`
do
omxplayer -o local $i ;
sleep 2
done
Press ESC and typing ":wq" to Save it and quit.
Next step is make sure it can be executed when Raspberry Pi started.
So, using this command :
sudo chmod +x autoplaymusic.sh
sudo vim.tiny /etc/rc.local
Add this:
bash /home/pi/autoplaymusic.sh
Press ESC and typing ":wq" to Save it and quit.
Finally, using your IR remote controller to turn on your Rapsberry Pi boombox and enjoy it.
Thanks for watching~