Reminder Board
I am a freshman attending Chaparral High School in Temecula, California. It was hard to remember all the things I needed to do for school like getting ready and remembering what assignments I need to do for homework. I knew that I needed something that would be light, big enough to fit in my backpack and not get crushed, and easy to write on. That's when I decided to make the reminder board.
I didn't have a lot of advanced tools accessible to me so I used a lot of household items but you may have to get some from the store.
Supplies
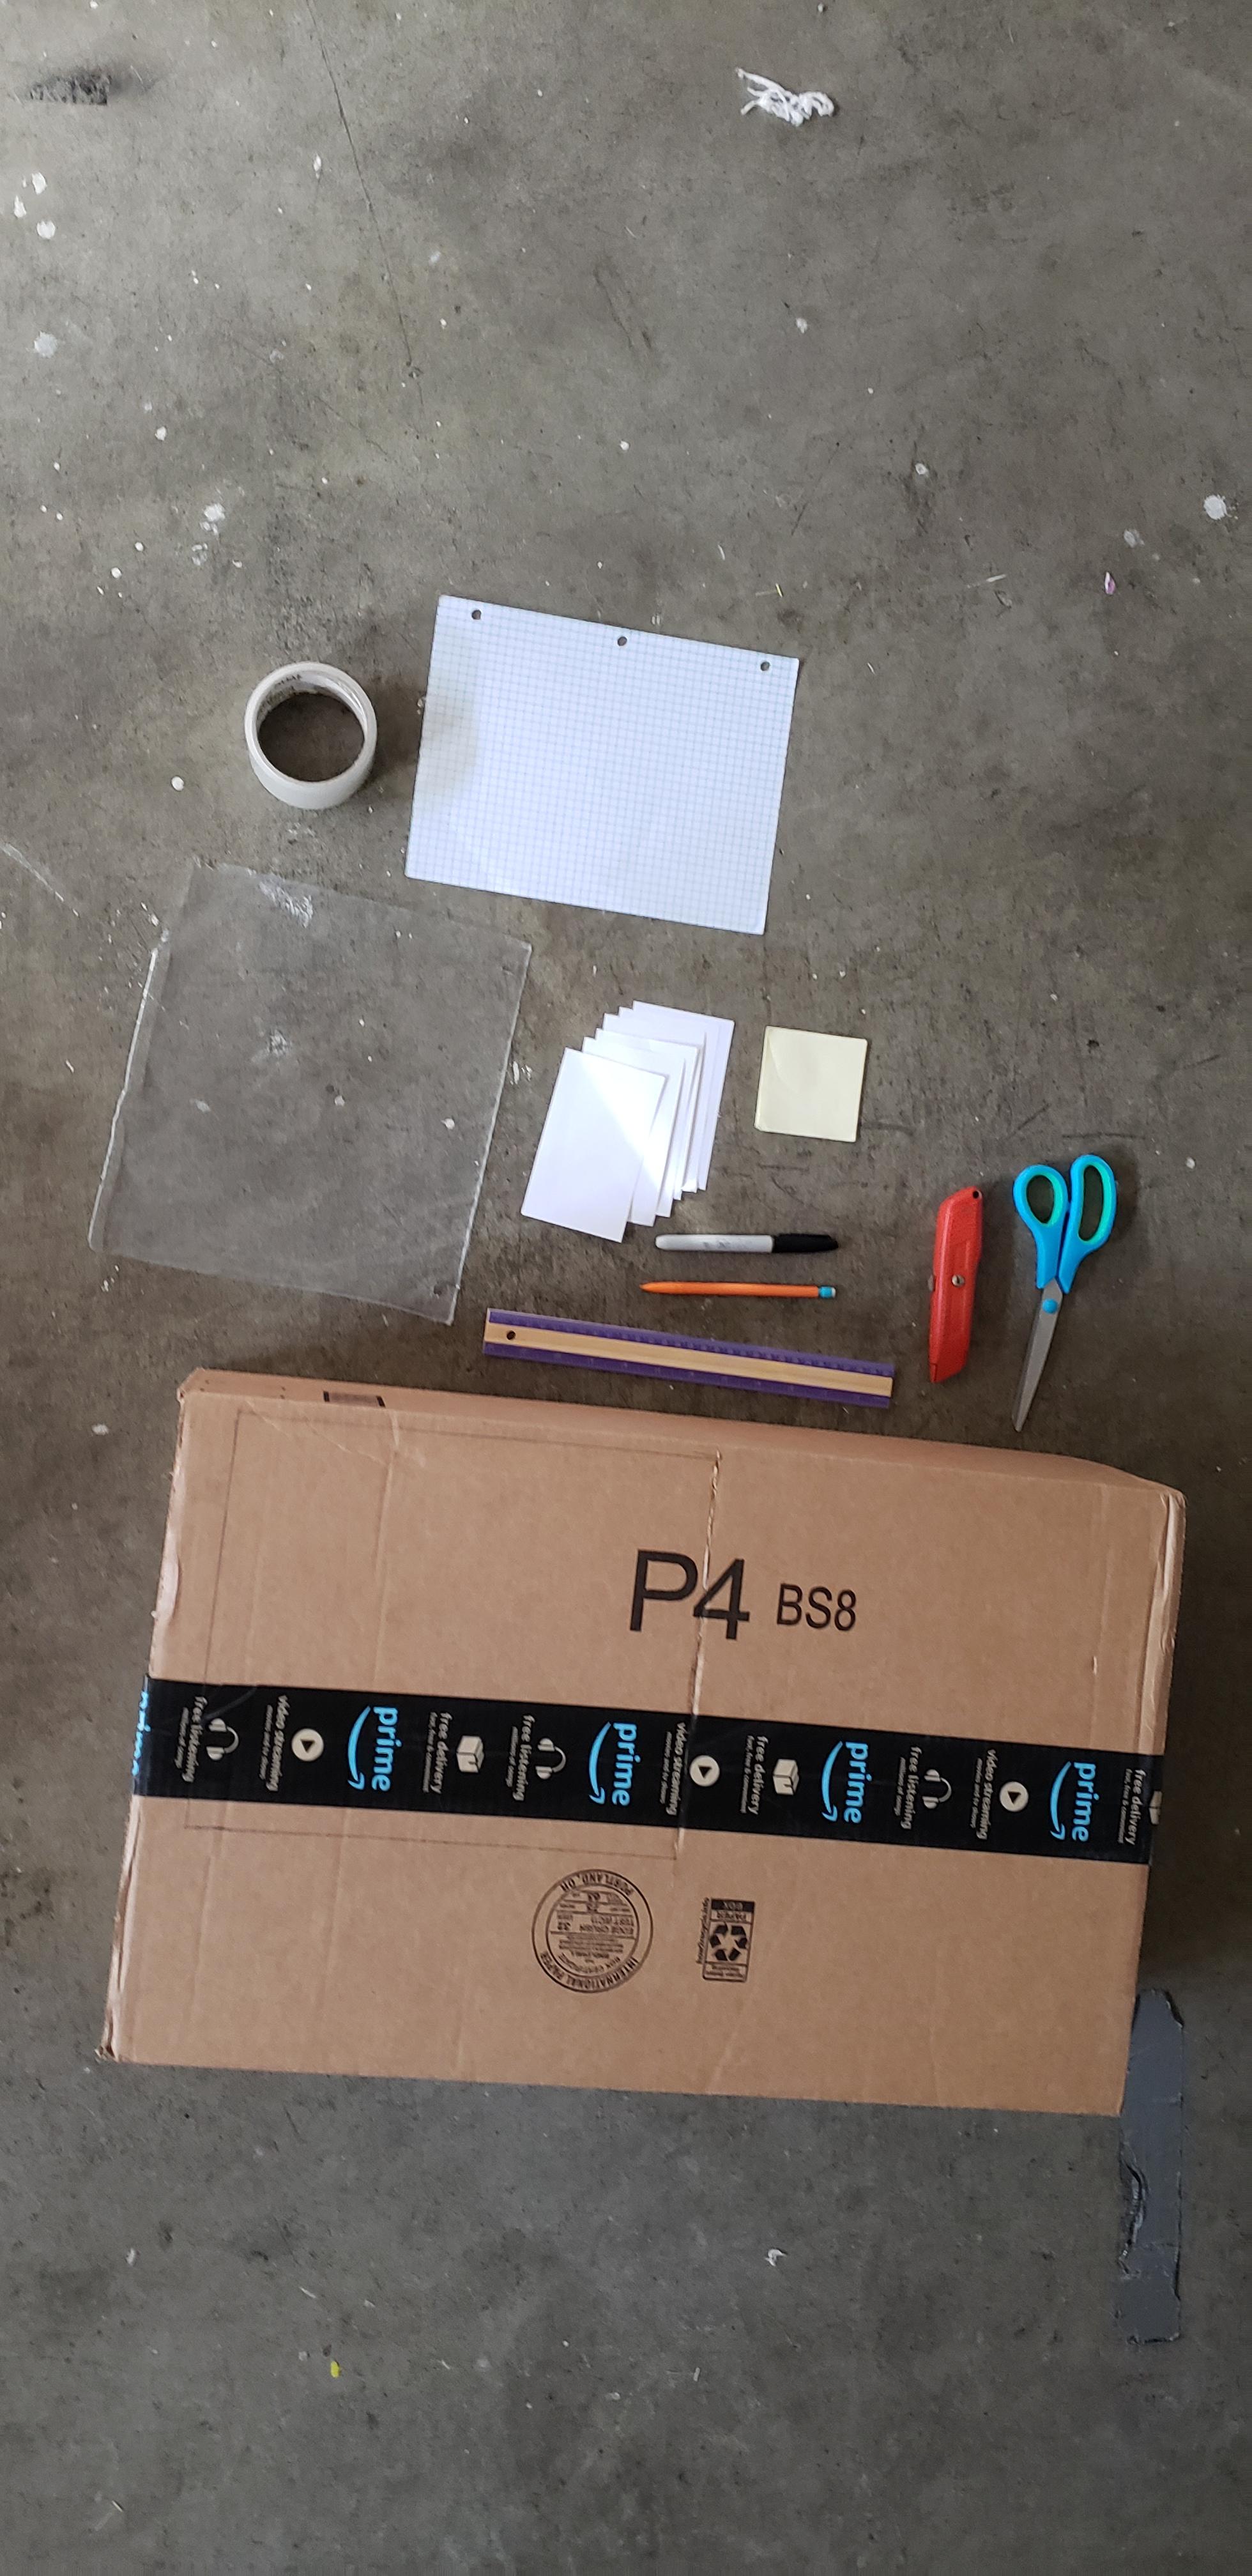
The materials I used were:
-A computer with Fusion 360
-A roll of clear tape
-1-2 plastic sheets (The kind from a binder)
-3 index cards
-6 sticky notes
-Scissors
-Pencil
-Marker
-Ruler
-A lot of cardboard (enough to cut out two boards that are 12 in. length x 10 in. width)
-A piece of paper (can be any kind)
-Box-cutter (optional, you could use the scissors or a blade sharp enough to cut the cardboard)
Make the Board

I used Fusion 360 to plan how big the board should be to fit the index cards and sticky notes for all six of my periods and concluded that it should be about the size of a binder.
- Take the cardboard and trace two rectangles that are 12 inches in length and 10 inches in width.
- Cut out both, align them, and tape them together. This will make it strong enough to survive in your backpack.
Make the Title Cards
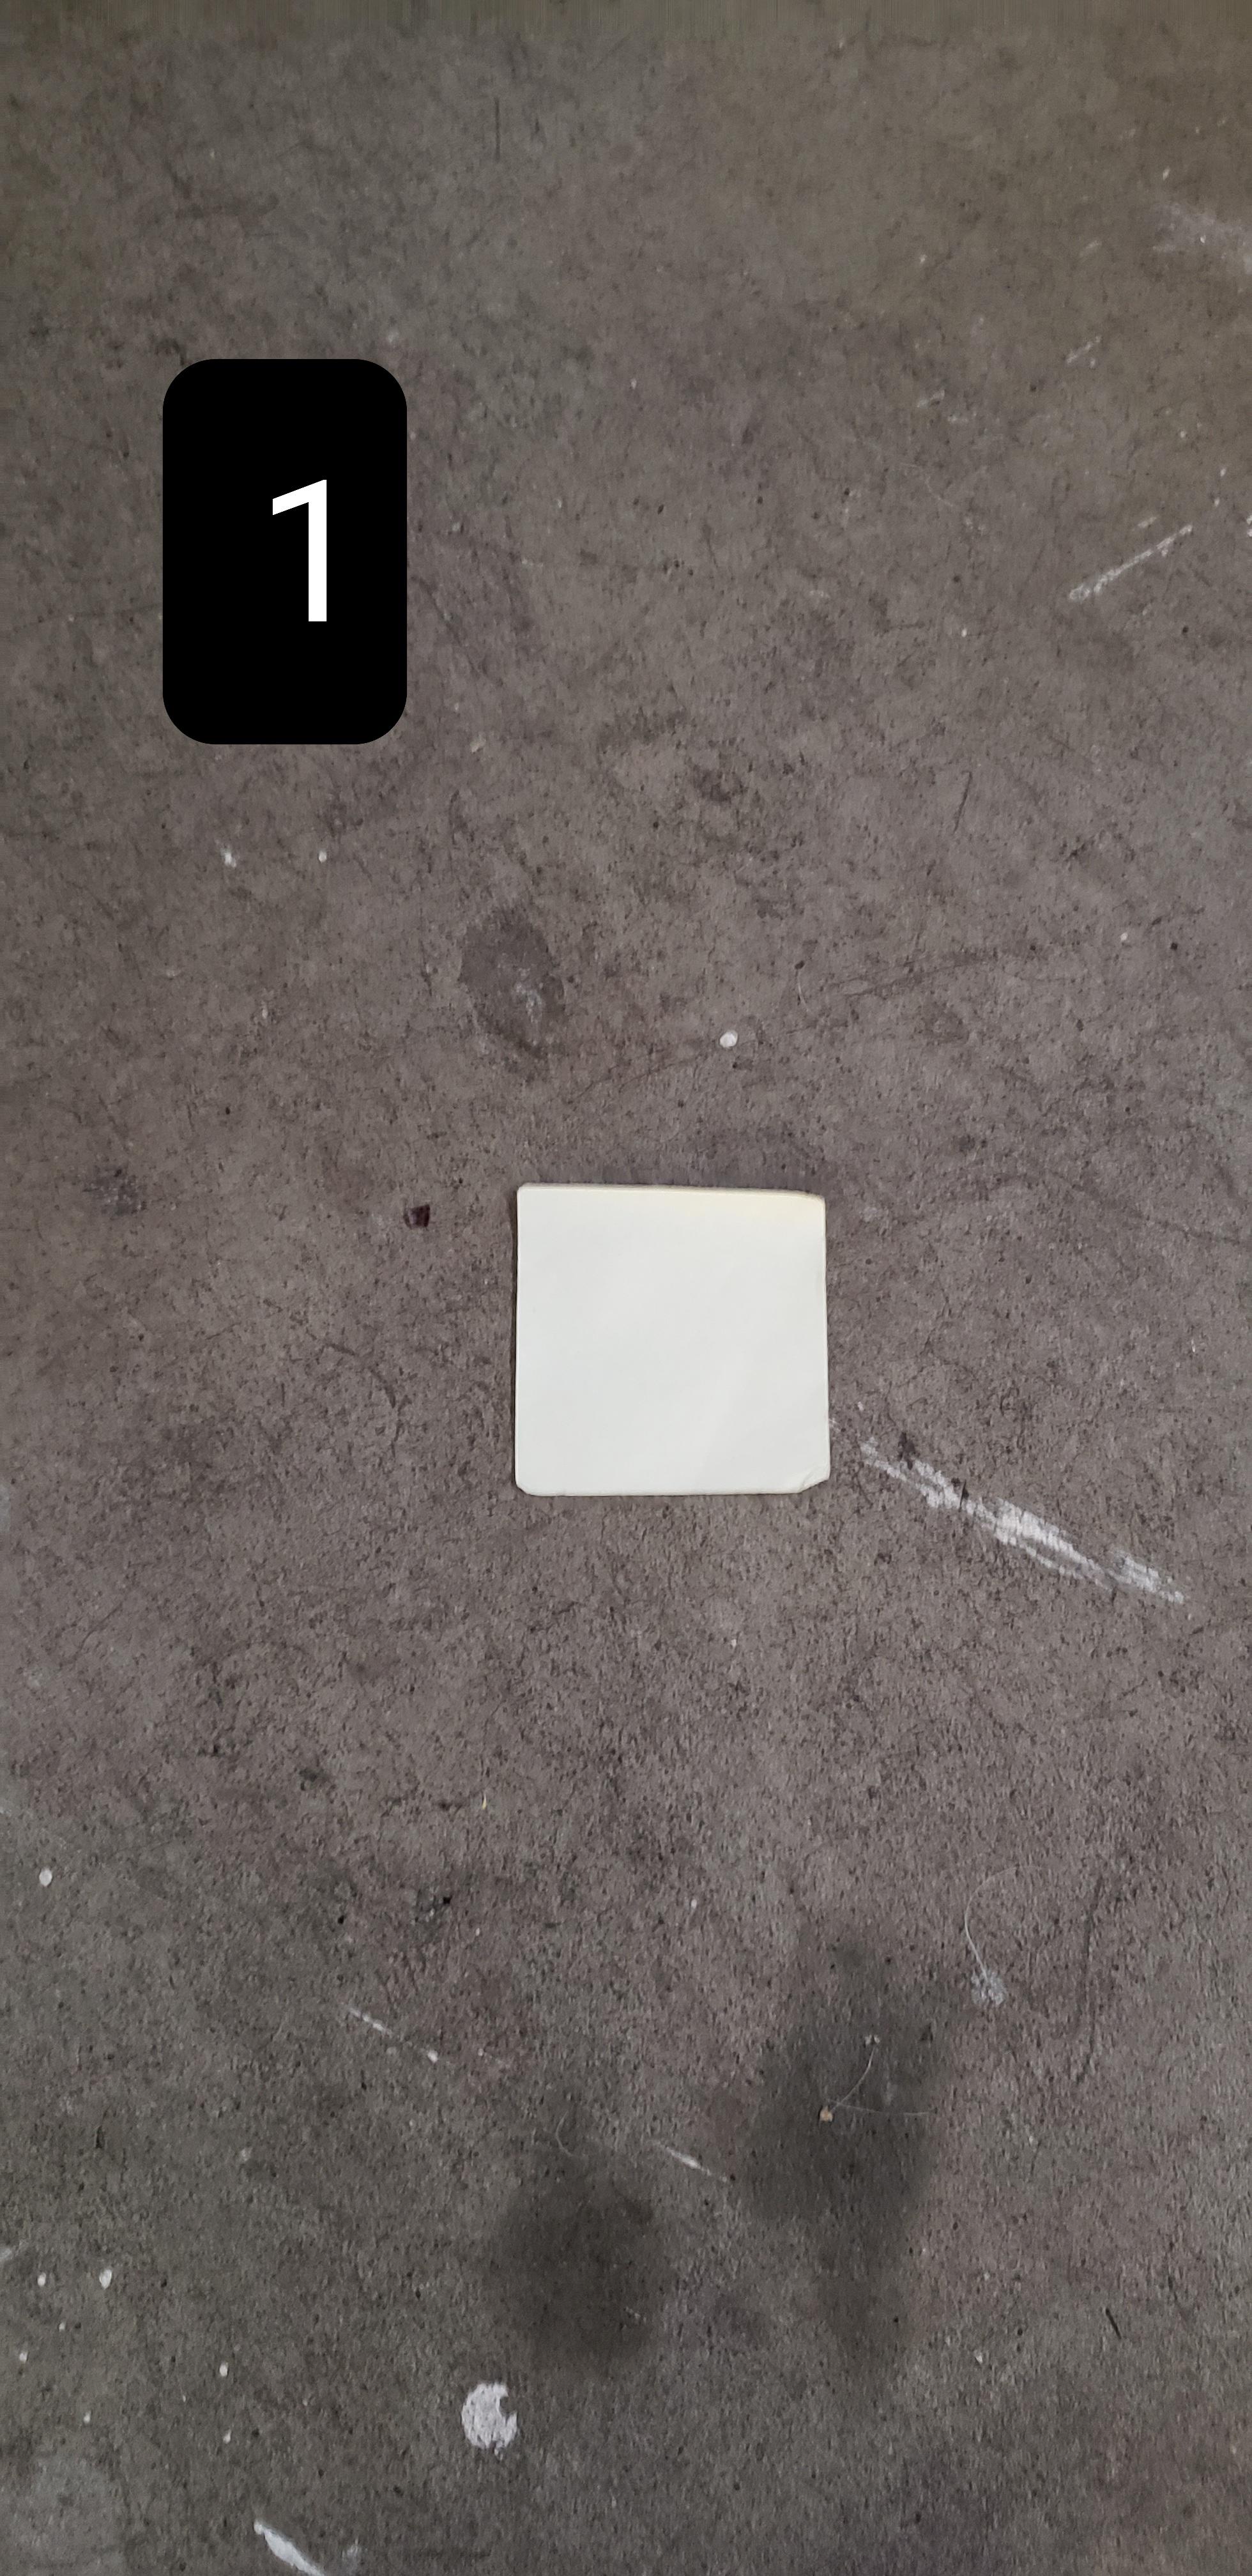
The sticky notes will be used to title what period you have. You can follow the pictures in number order to fold it like I do but any way is correct.
- Fold the sticky note in half with the sticky part sticking to the other end (Picture 2).
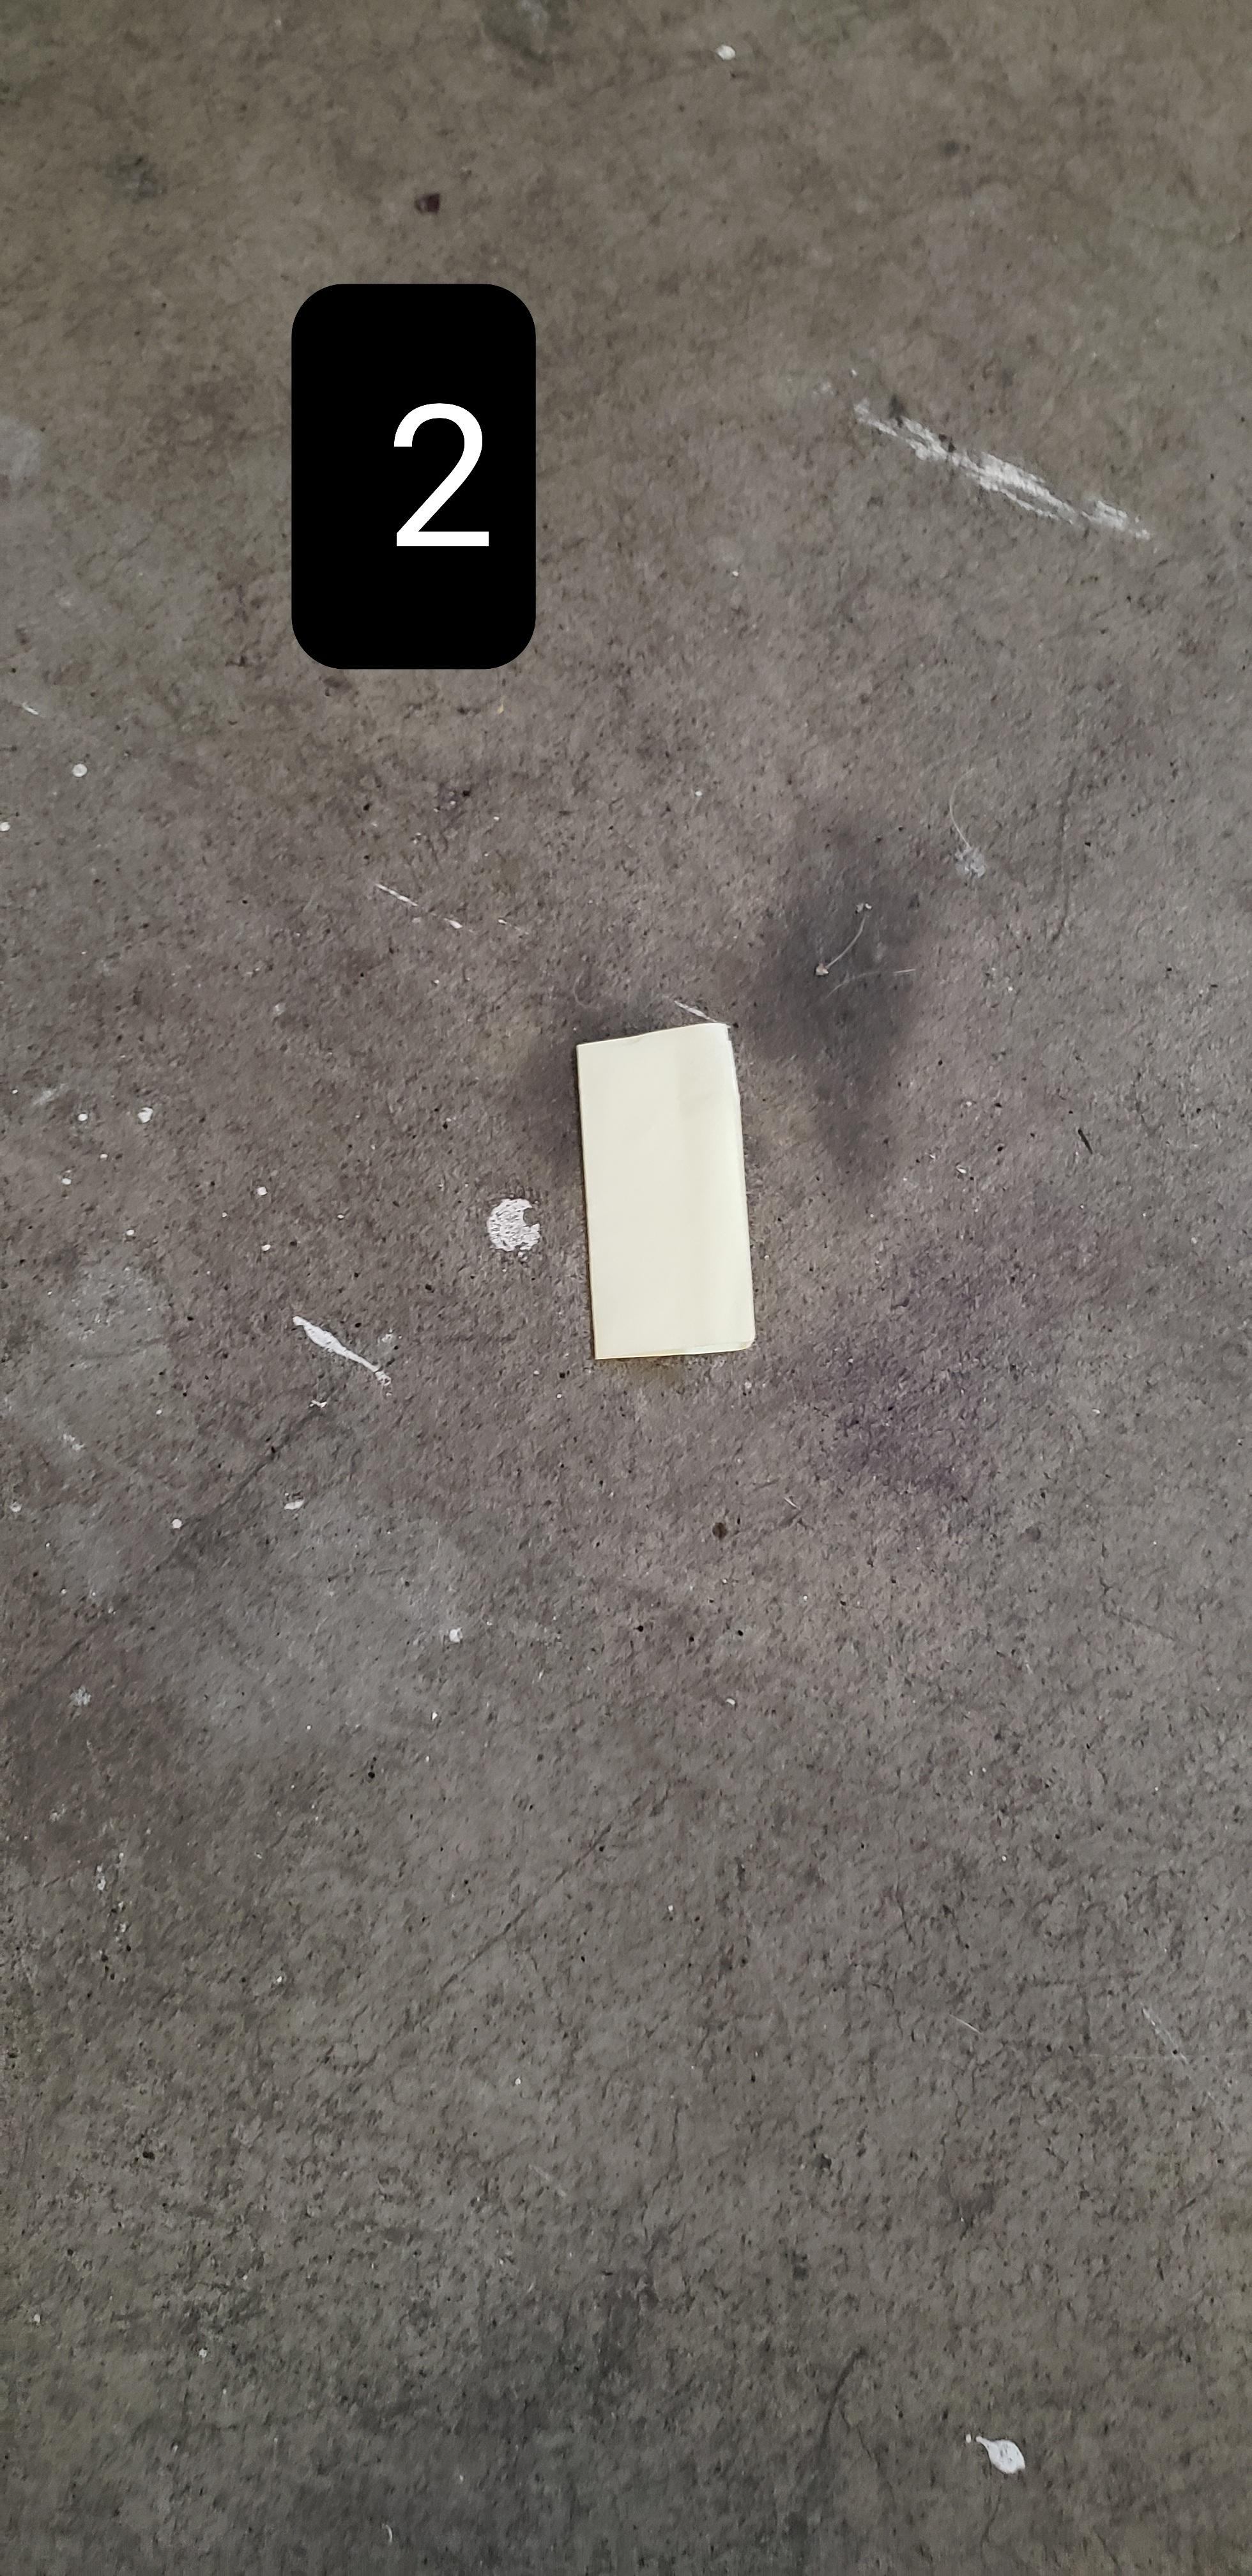
- Unfold and fold both ends towards the middle crease (Picture 3).
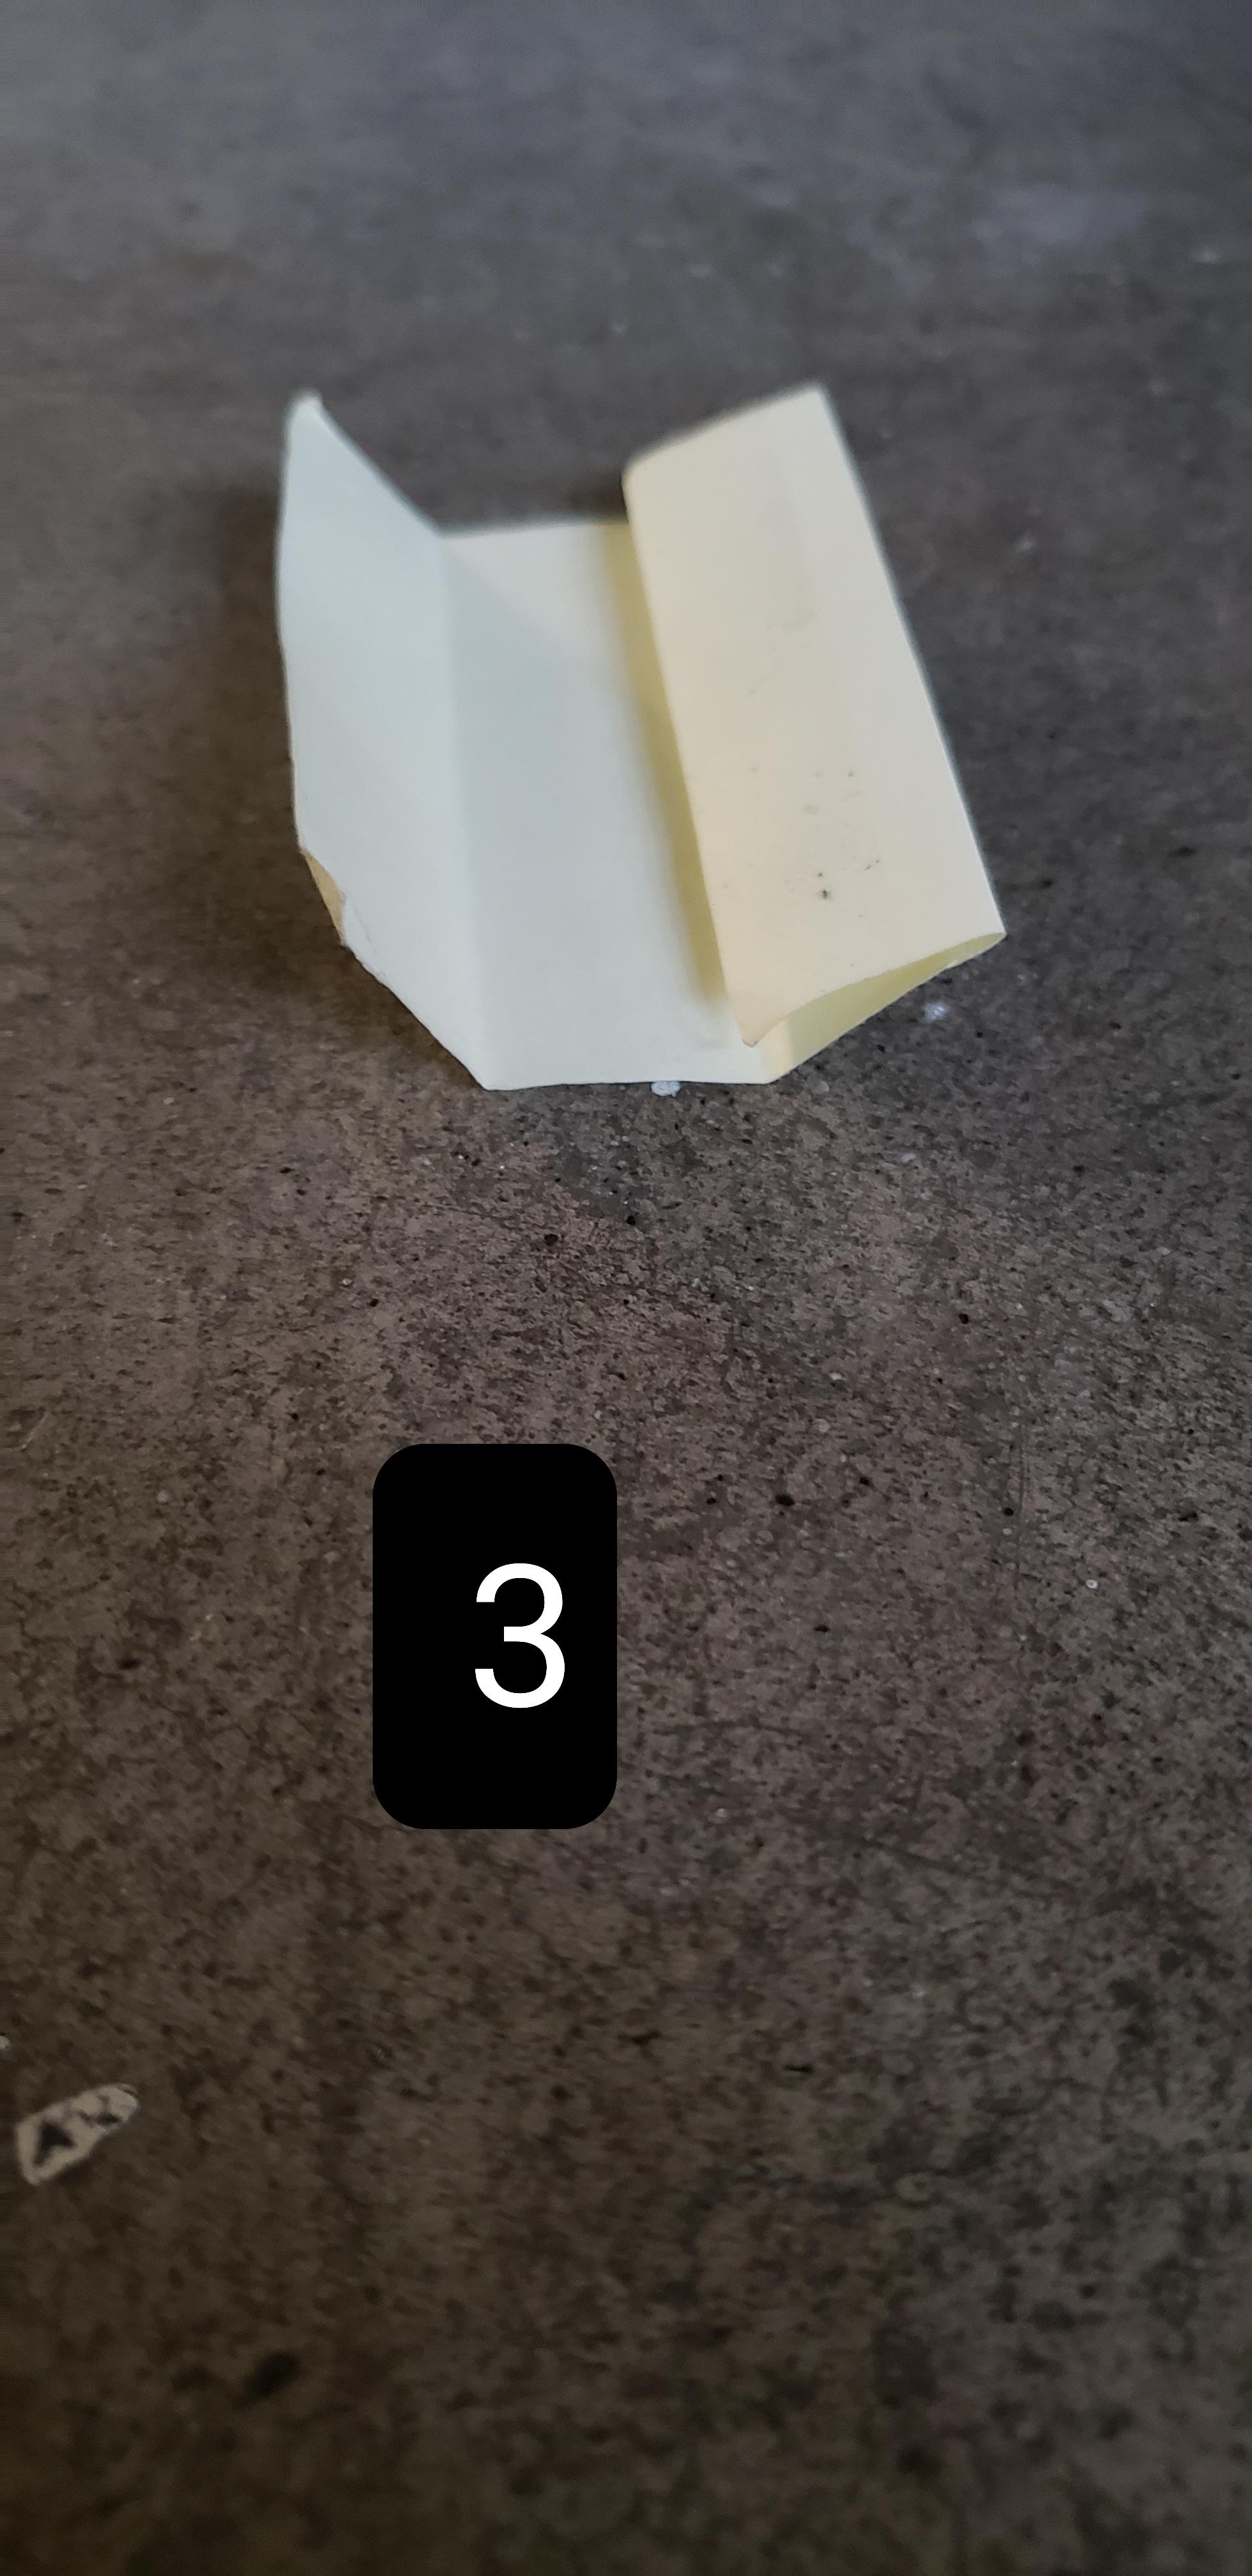
- Unfold everything and fold each column of the sticky note, starting at the side with the non-sticky part and ending with the sticky part. Make sure that when you fold the sticky part, it is facing down and prevents the entire sticky note from unfolding (Picture 4).
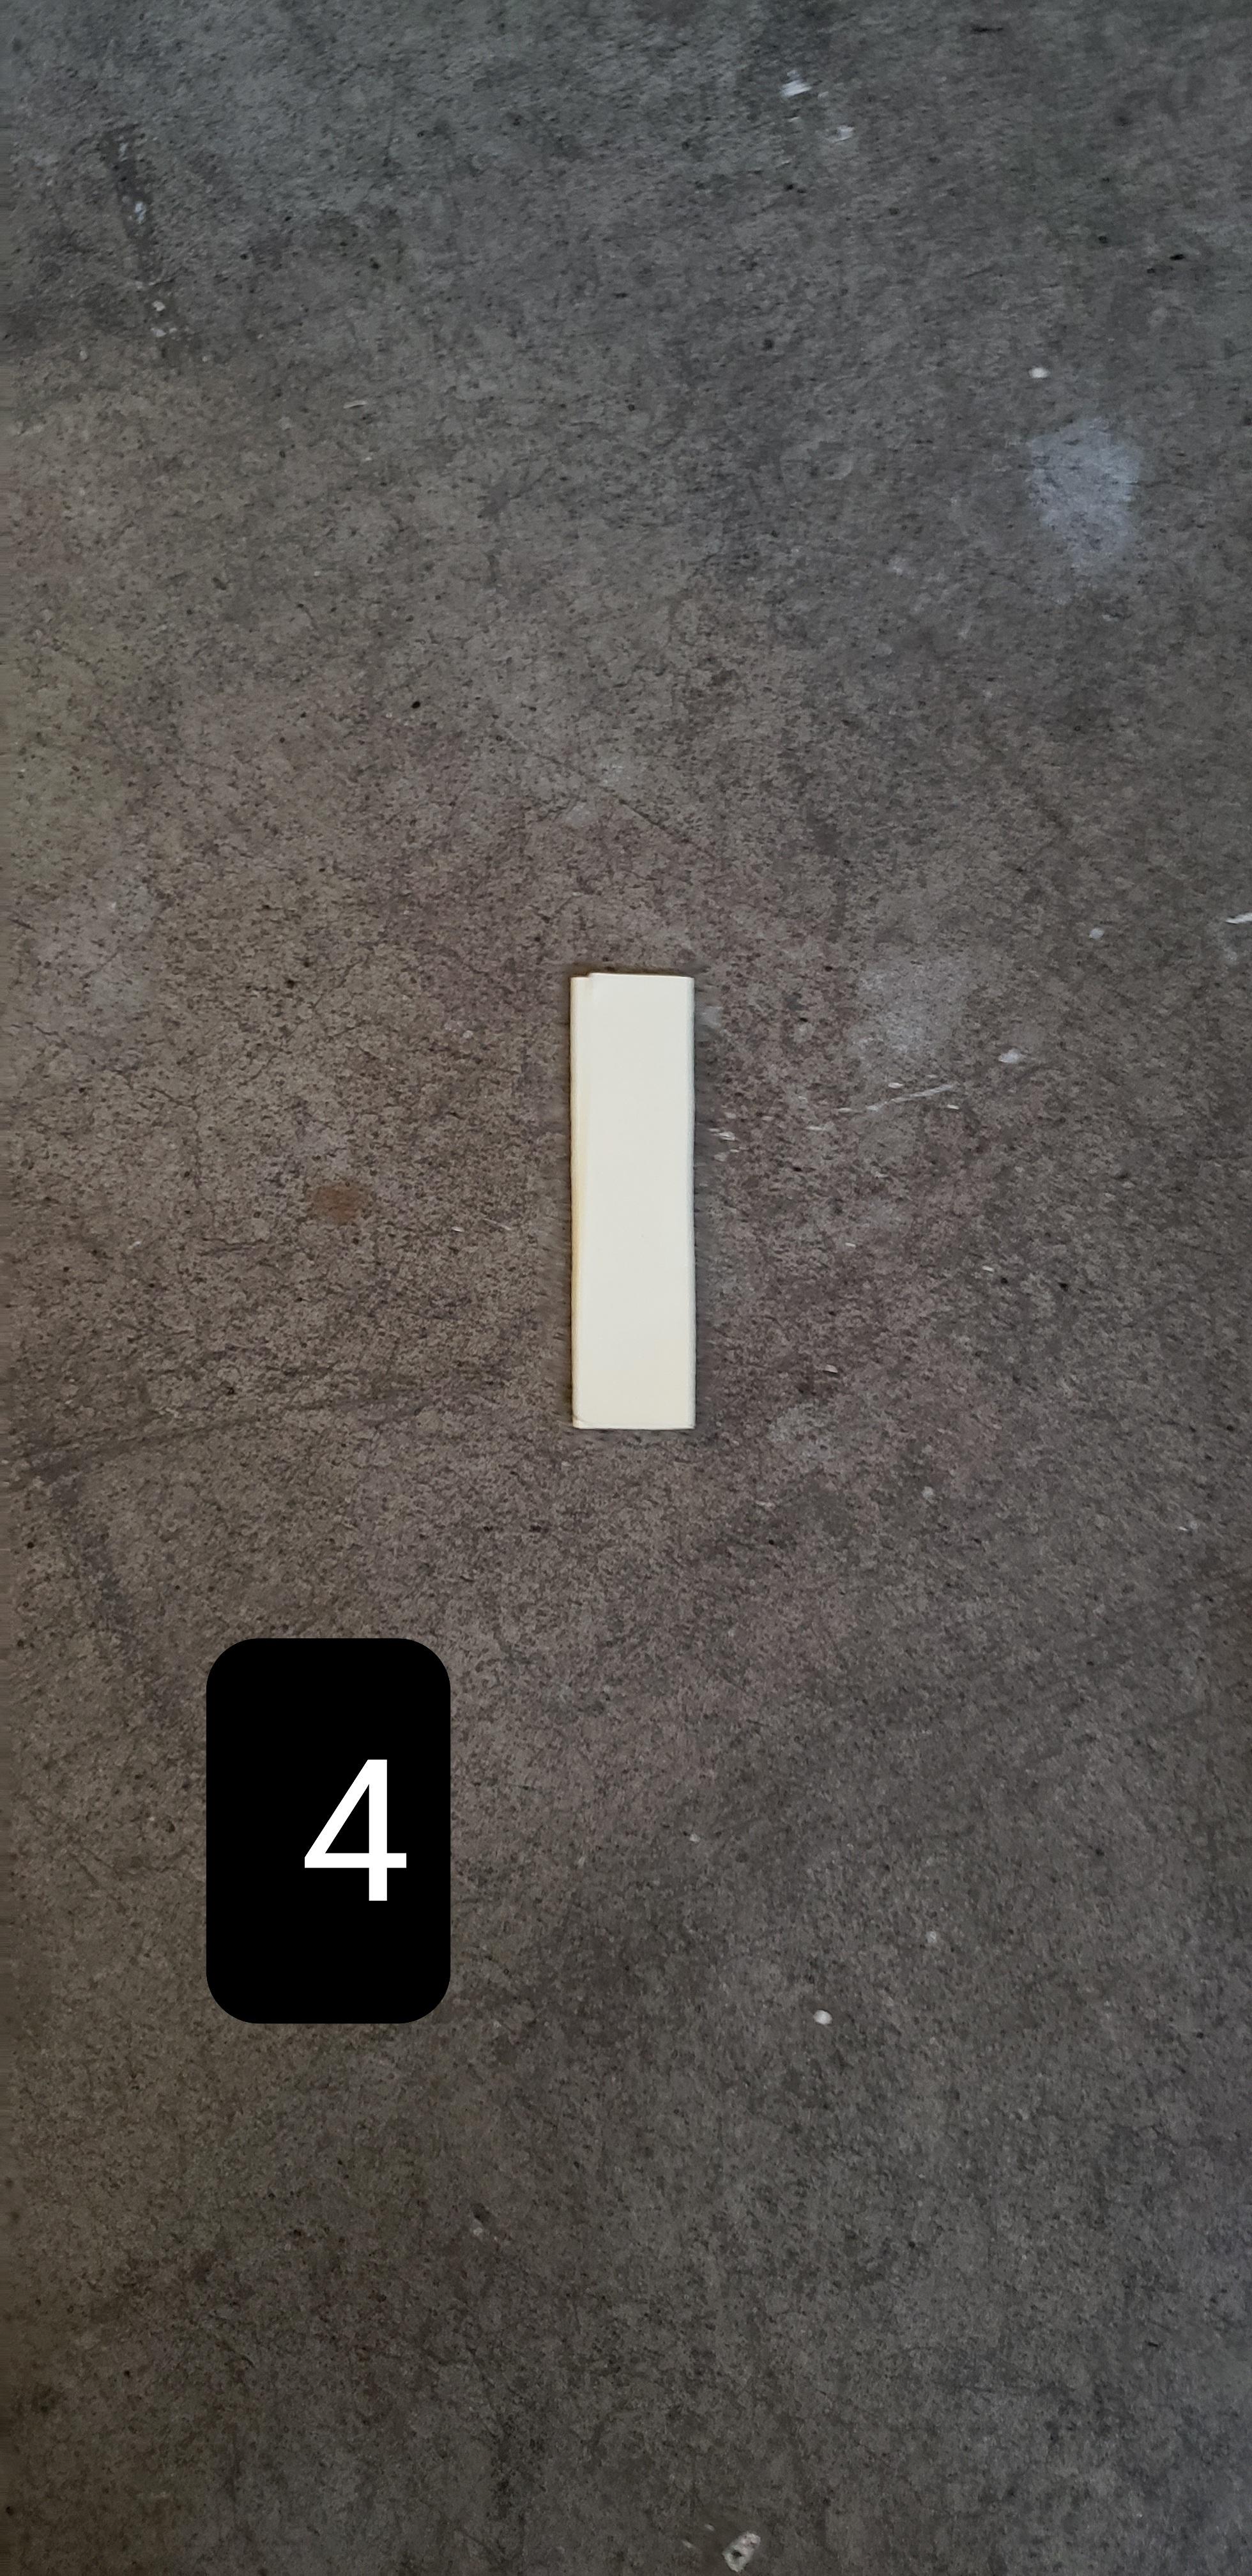
- Wrap the sticky note with the clear tape so you can write on it with a dry erase marker.
Repeat this section 5 more times to result with six folded sticky notes.
Make the Description Cards
The index cards will be used to write what you need to do.
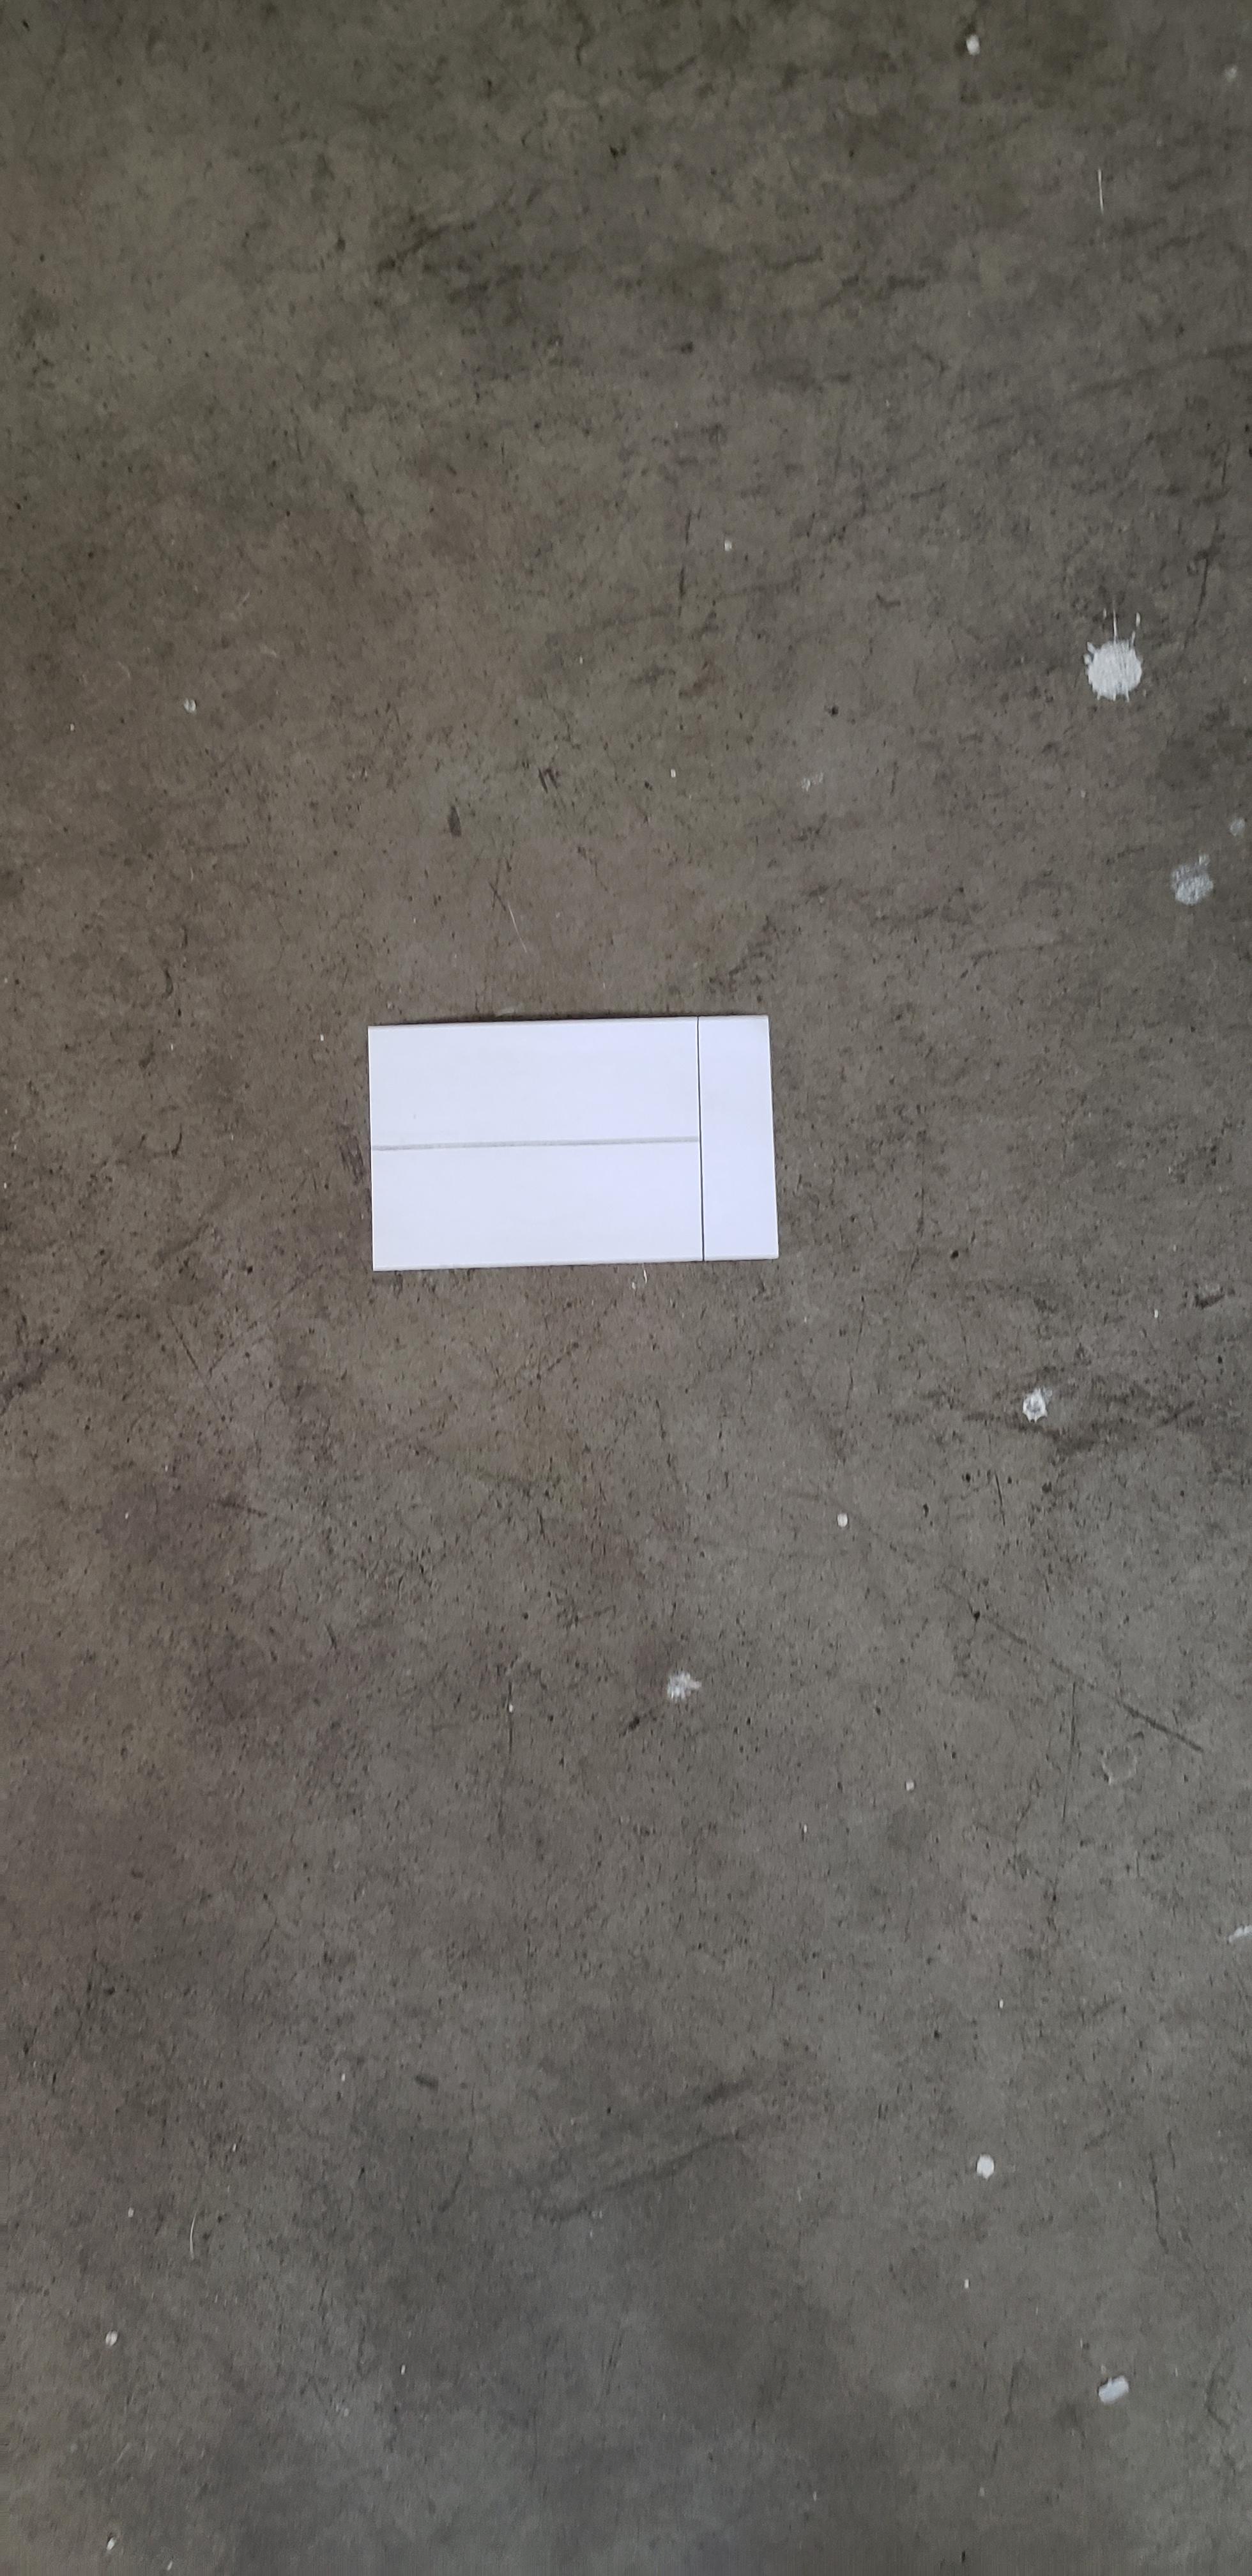
- Draw a line from the center (hot-dog way) that goes 4 inches in length. Both sides should be 1.5 inches in width.
- Cut off the column where the line ends and discard it.
- Cut the index card in half and you should have two halves of an index card 4 inches in length and 1.5 inches in width.
- Wrap both of the halves in clear tape so that you can write on it with a dry erase marker.
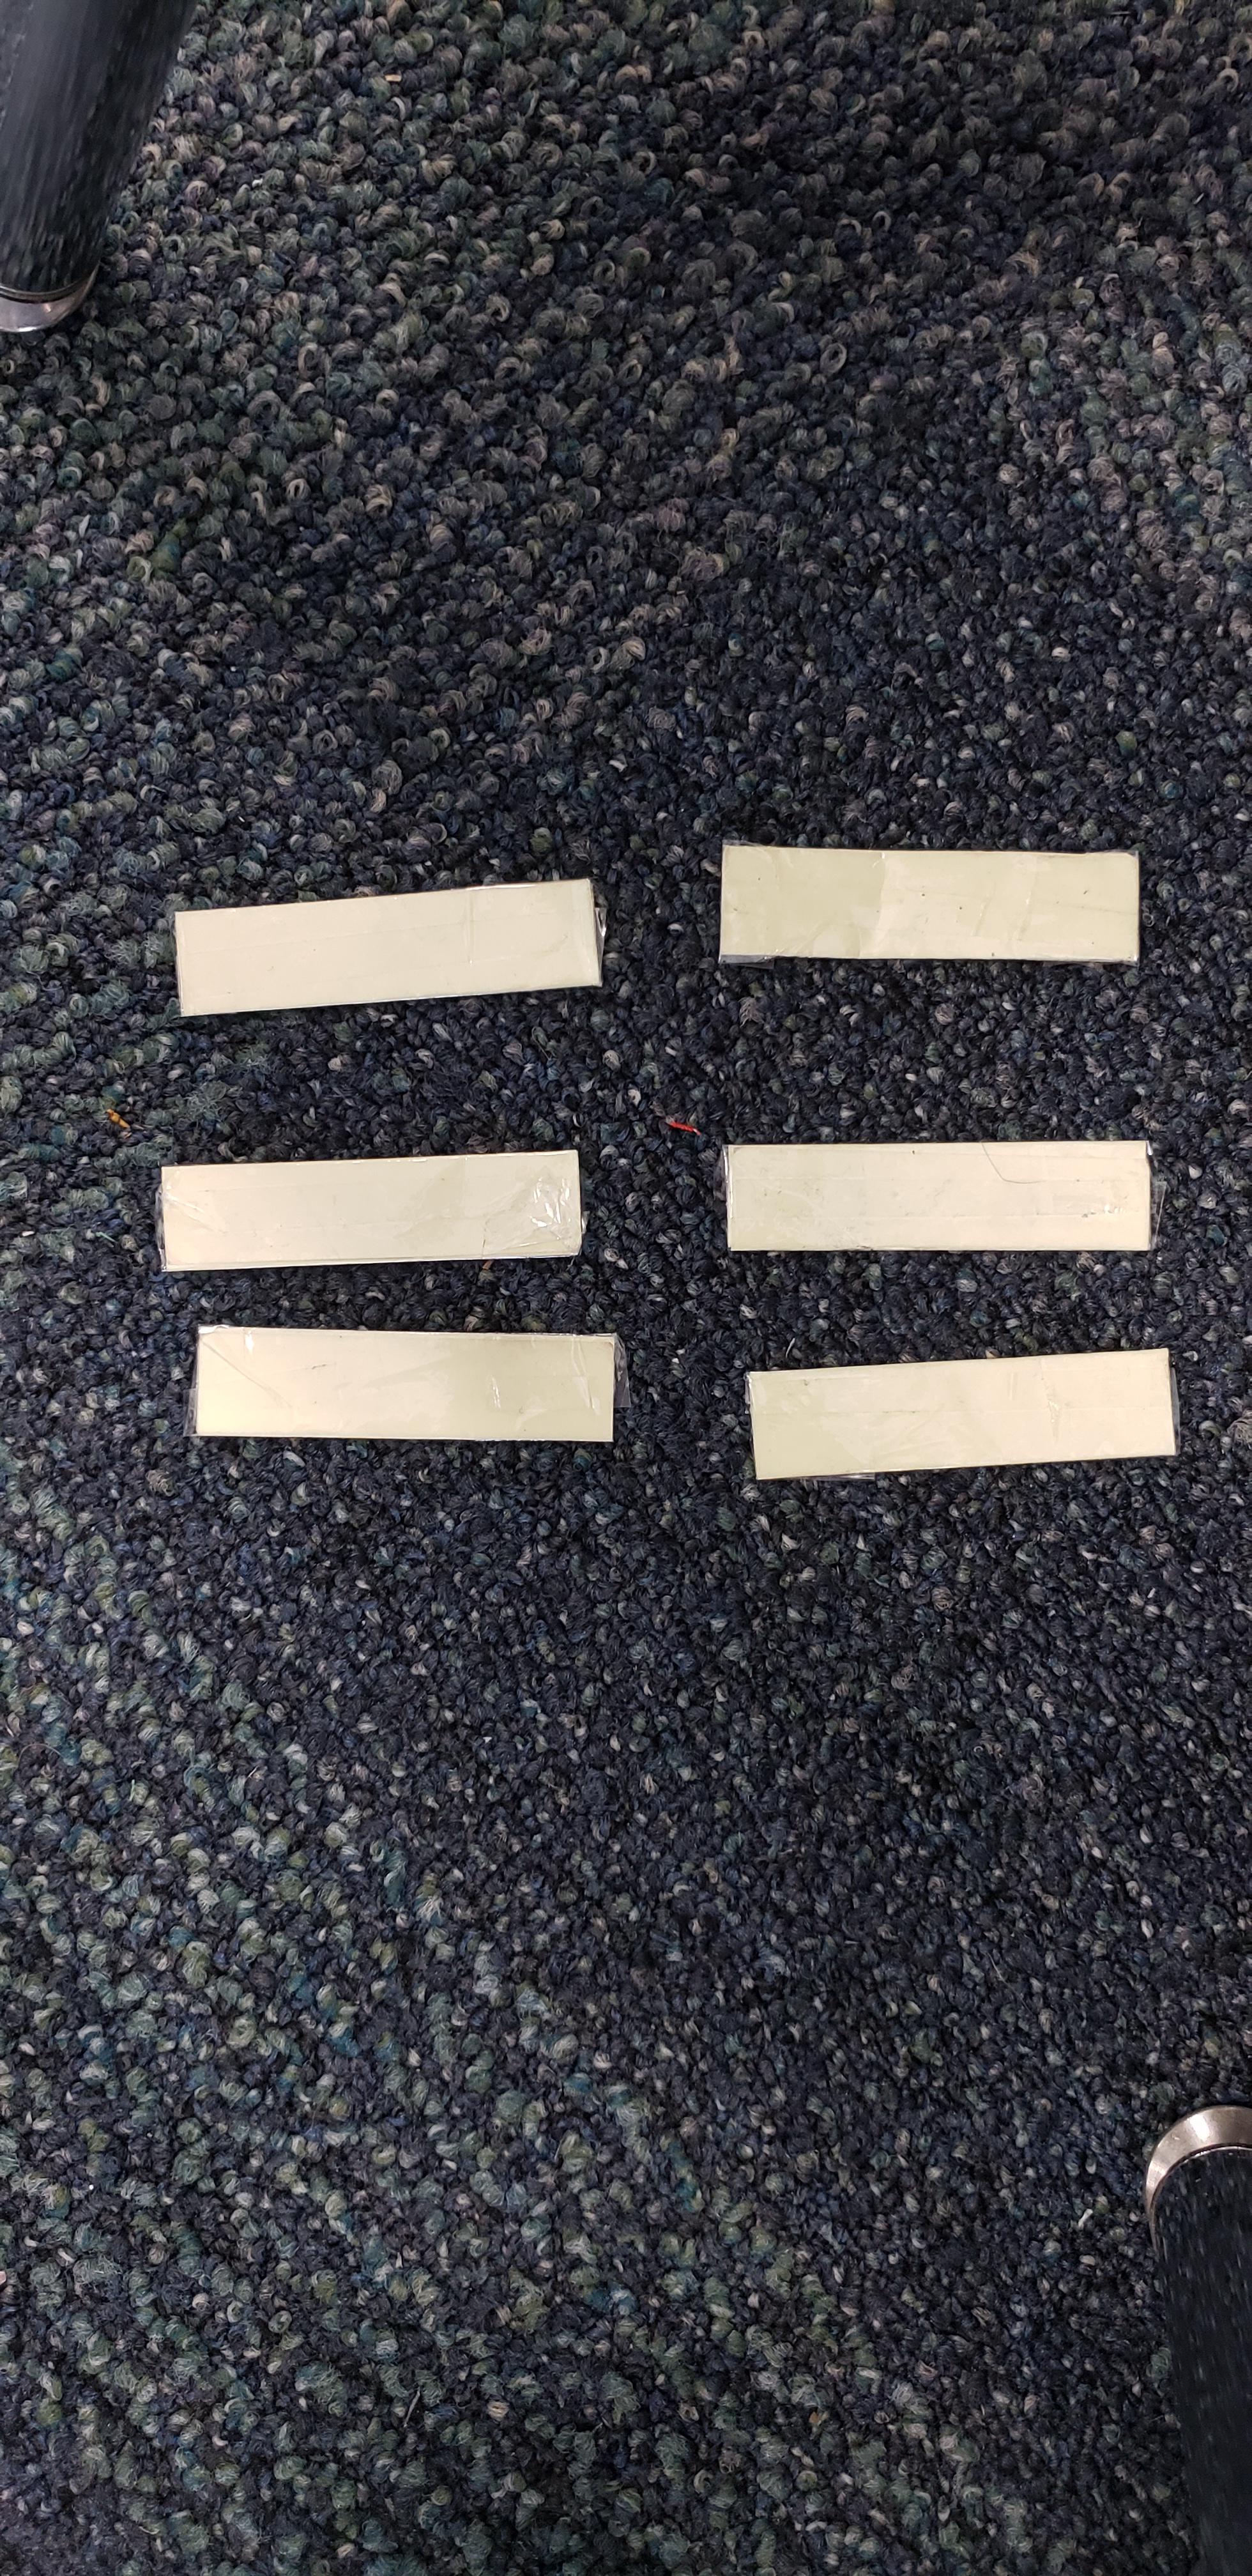
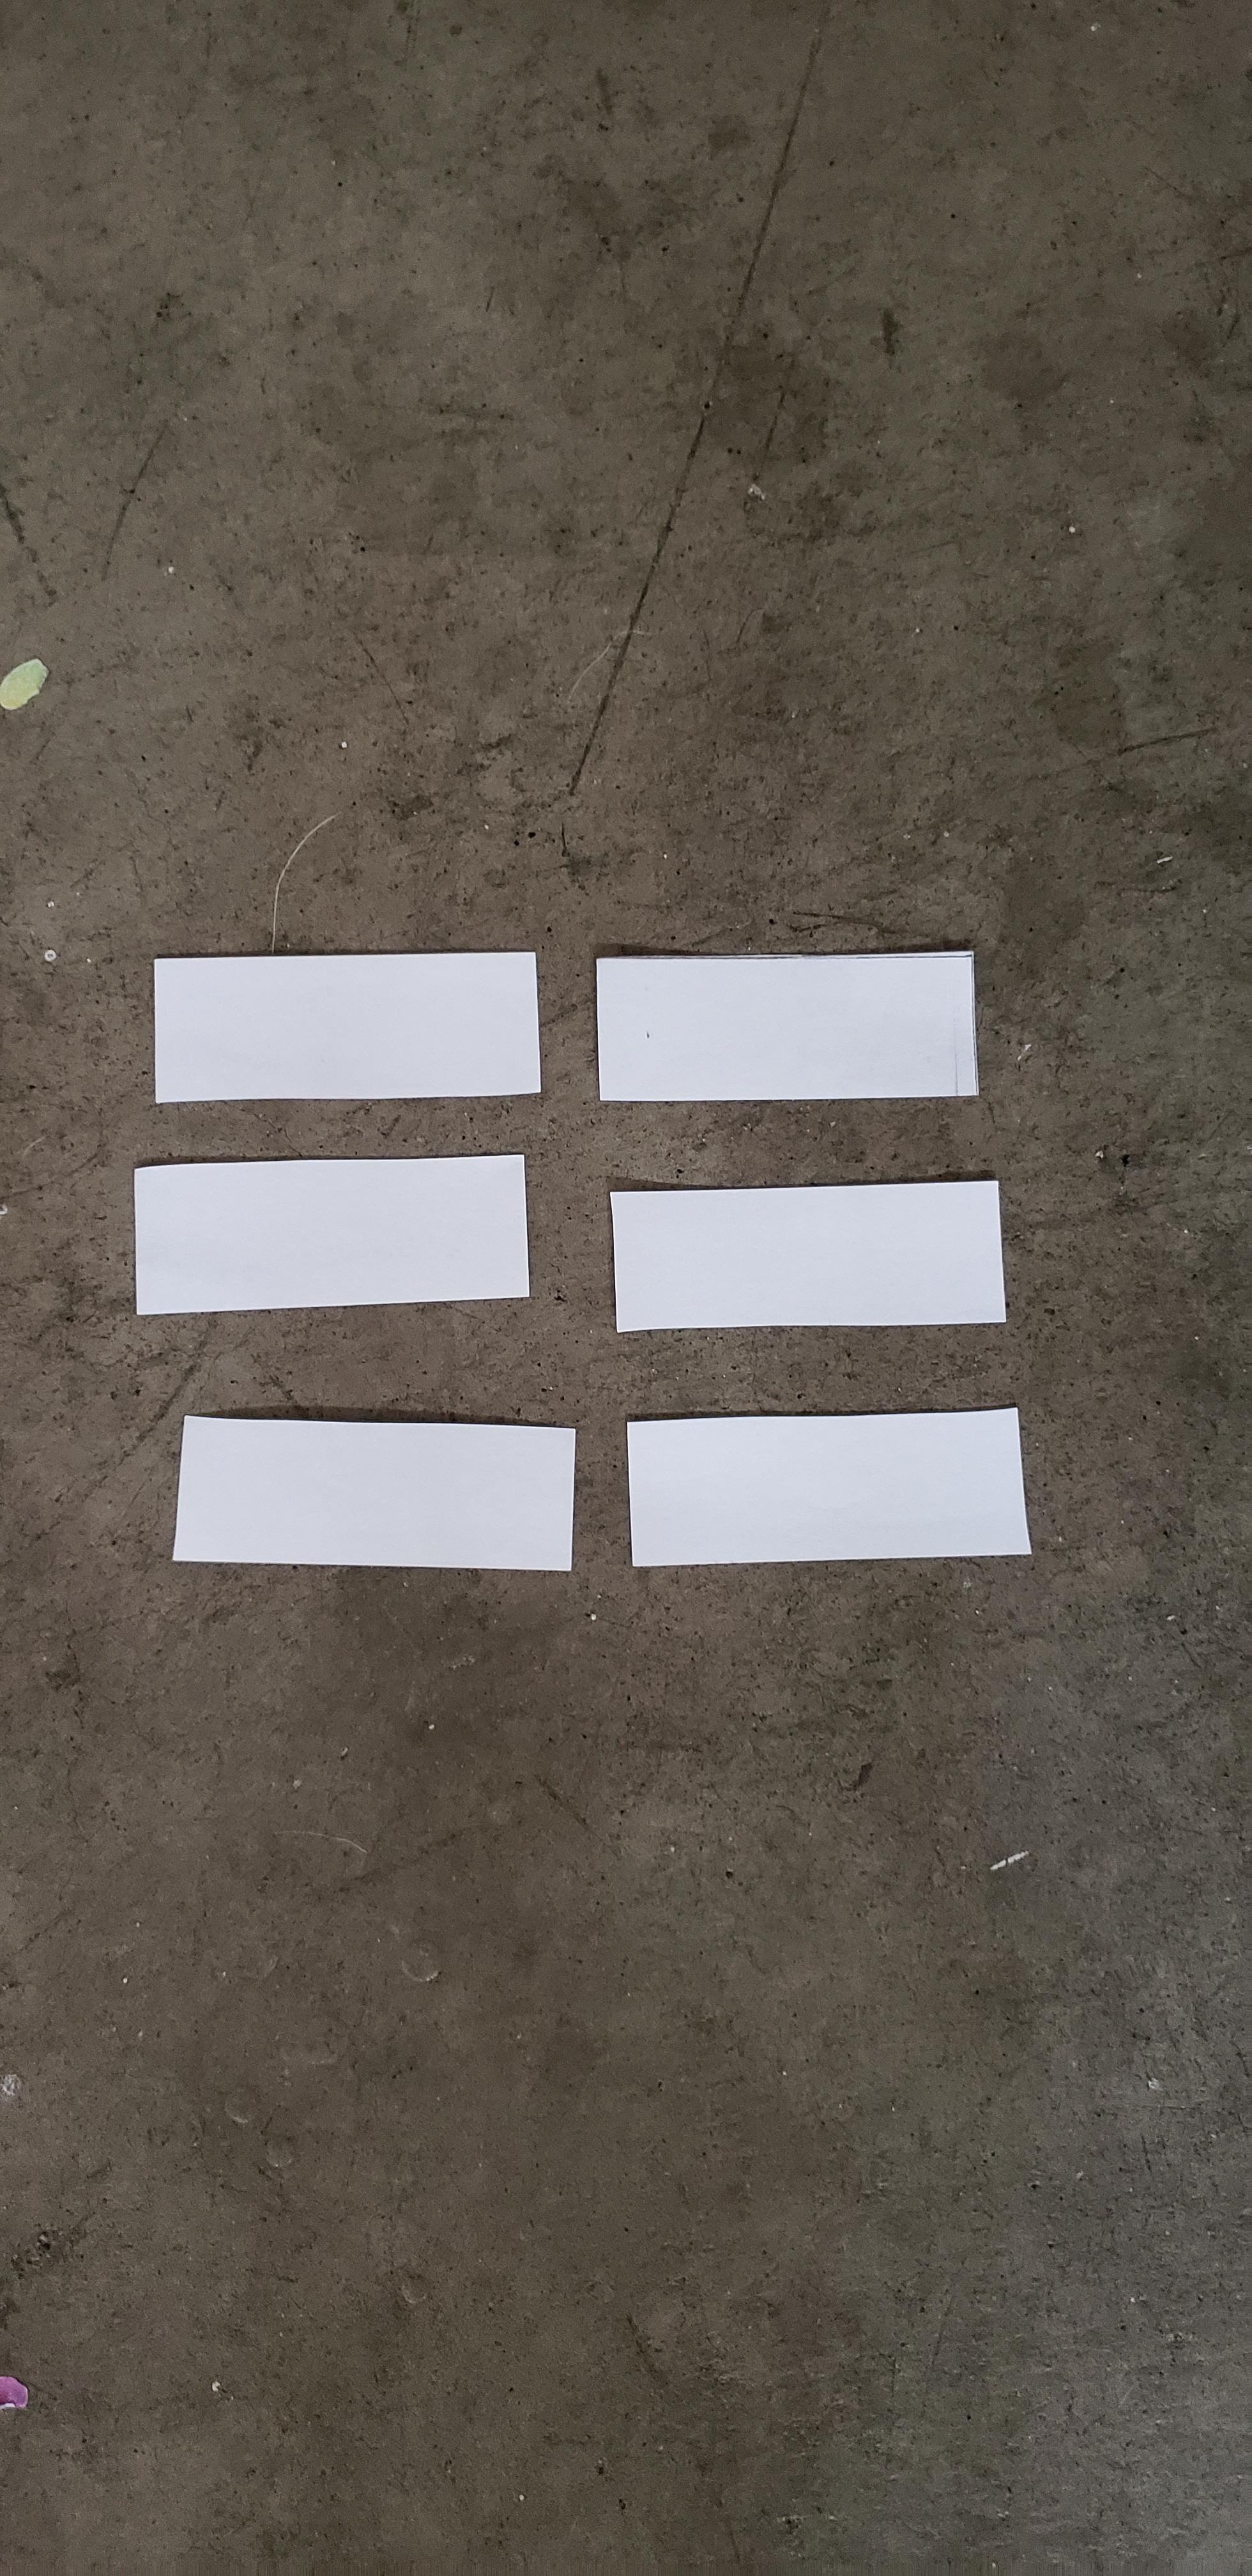
Repeat this section two more times to have 6 halves of index cards wrapped in clear tape.
Make the Checklist
On one side of the reminder board, there will be a checklist. If you have 2 plastic sheets like the kind on a binder, you can use one and tape it onto one side of the board, covering all sides except one. You can write what you need to do for getting ready for school or something else. If you only have 1 plastic sheet, save it for a step that will come later and follow these steps on how to make your own.
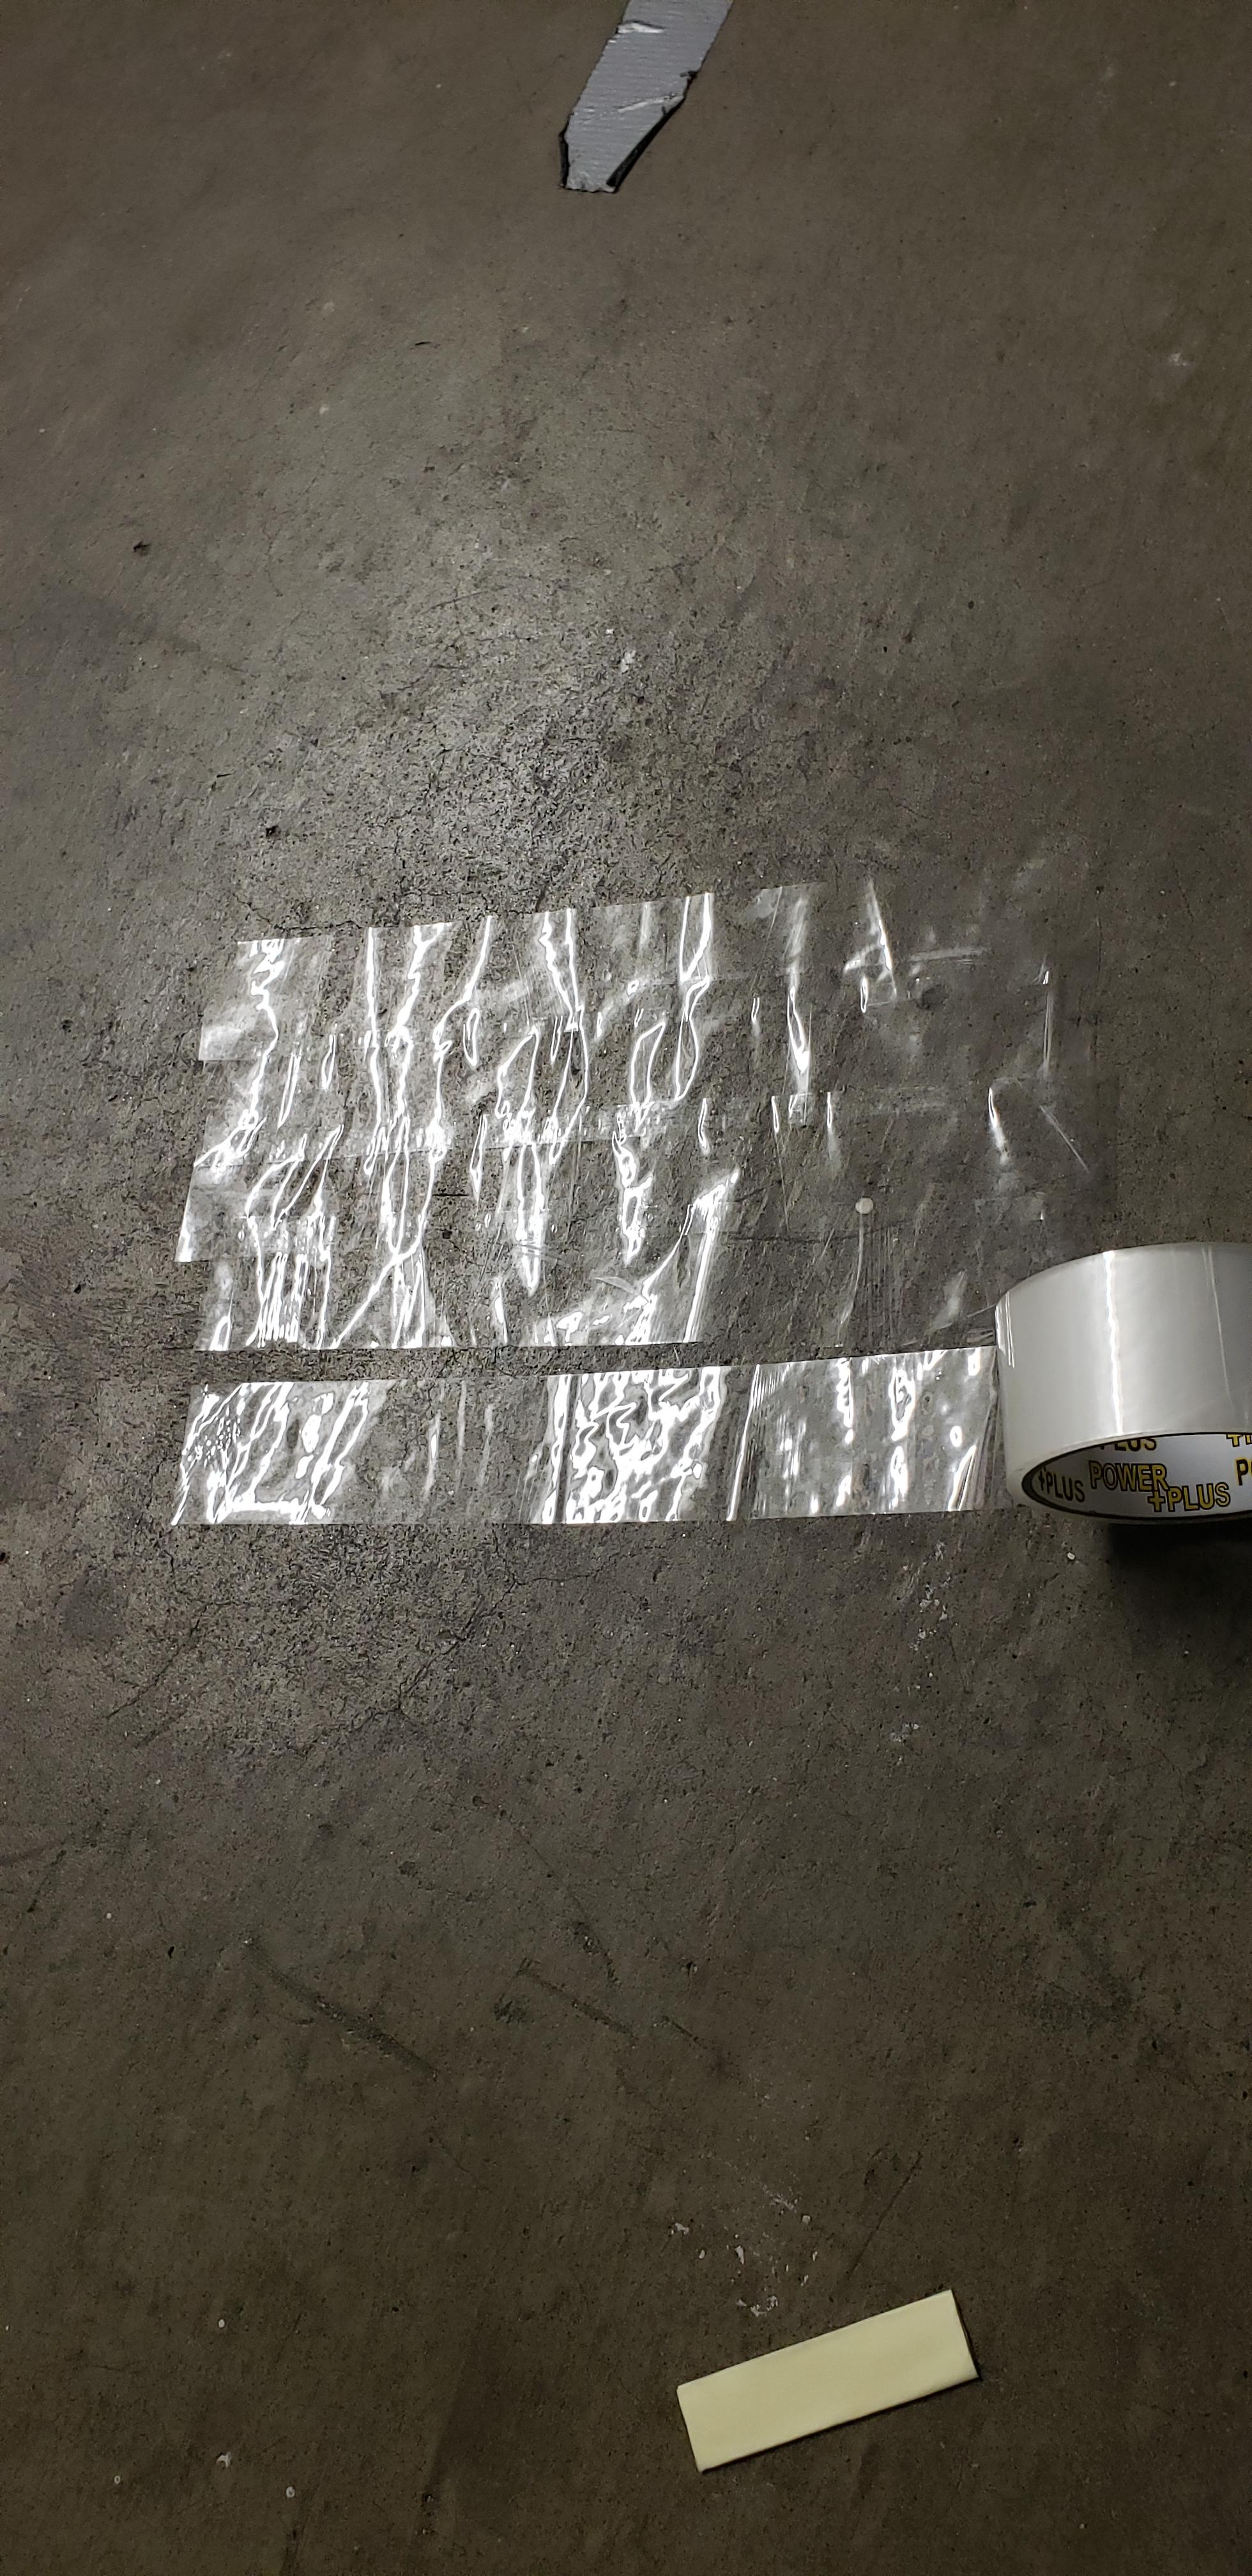
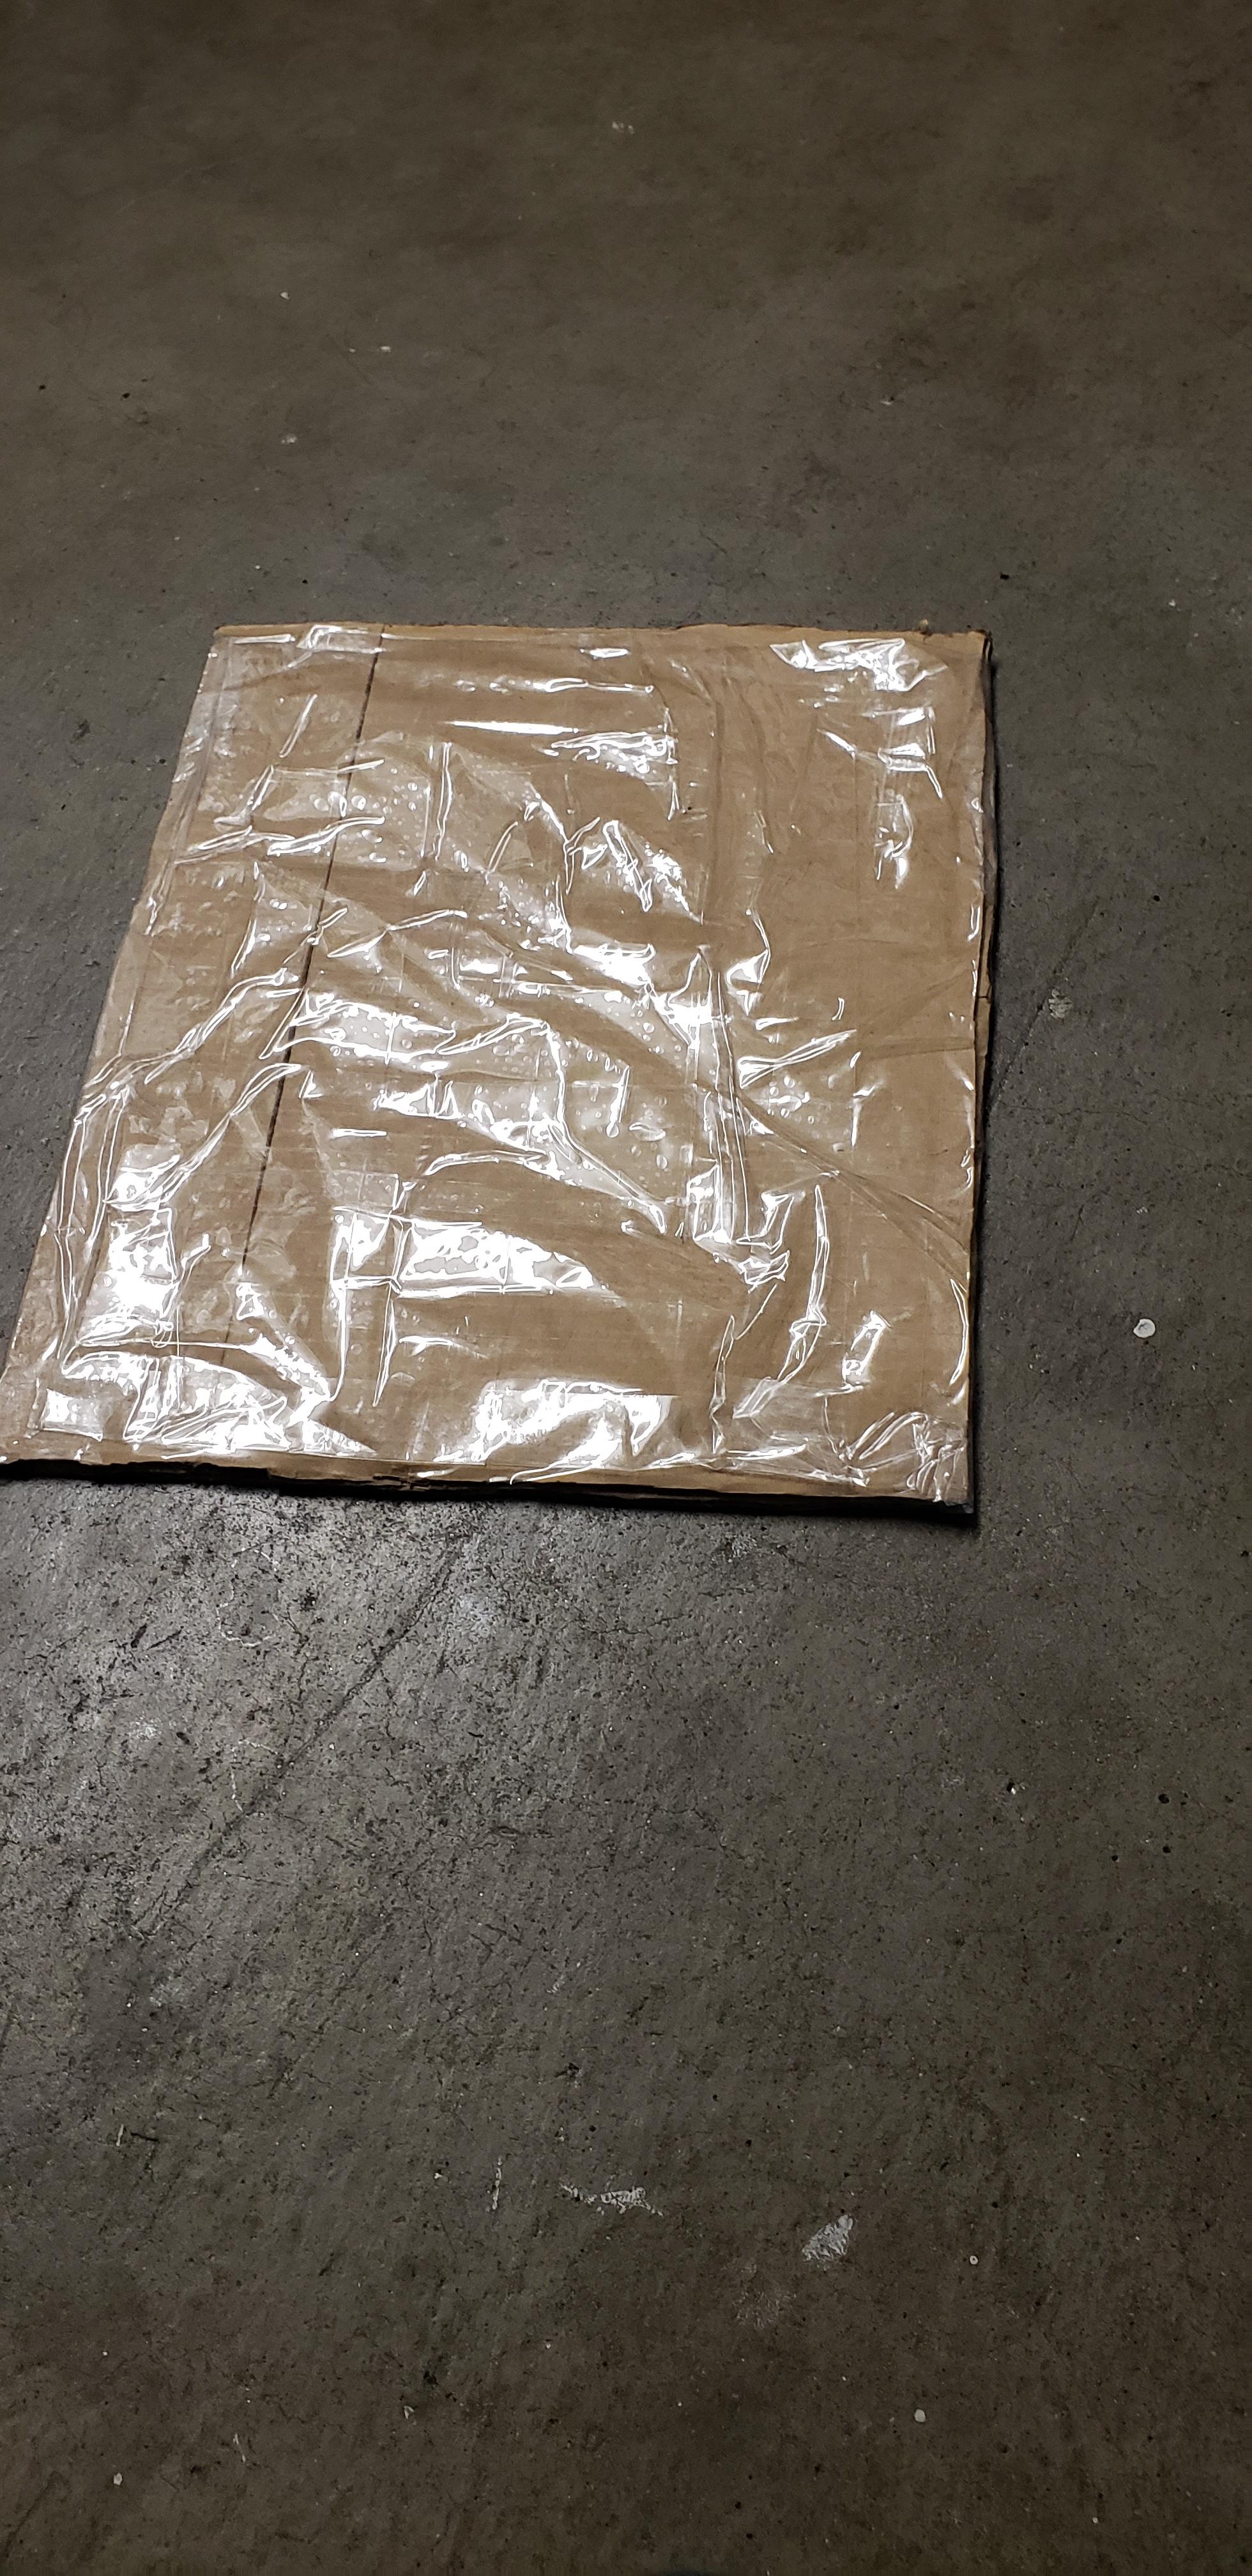
- On a hard floor, make multiple rows of tape, like the picture with the roll of tape, that slightly overlaps and makes one big sheet that is about 12 inches in length and 14 inches in width.
- Once you do that, make another sheet that is about 12 inches in length and 10 inches in width but do it in columns.
- Place the sheet you just made onto the other with both sticky sides touching. Try to center it as much as you can. It should be connected as a plus with the columns going vertical over the rows that are horizontal. The sides should have some tape not covered and still sticky. That will be used to attach the newly combined sheet onto the board.
- Place the combined sheet onto the board with the column side of the sheet facing the board. Try to make the sheet a little baggy so that it isn't too tight.
- Tape the bottom of the sheet closed to prevent the paper from falling through.
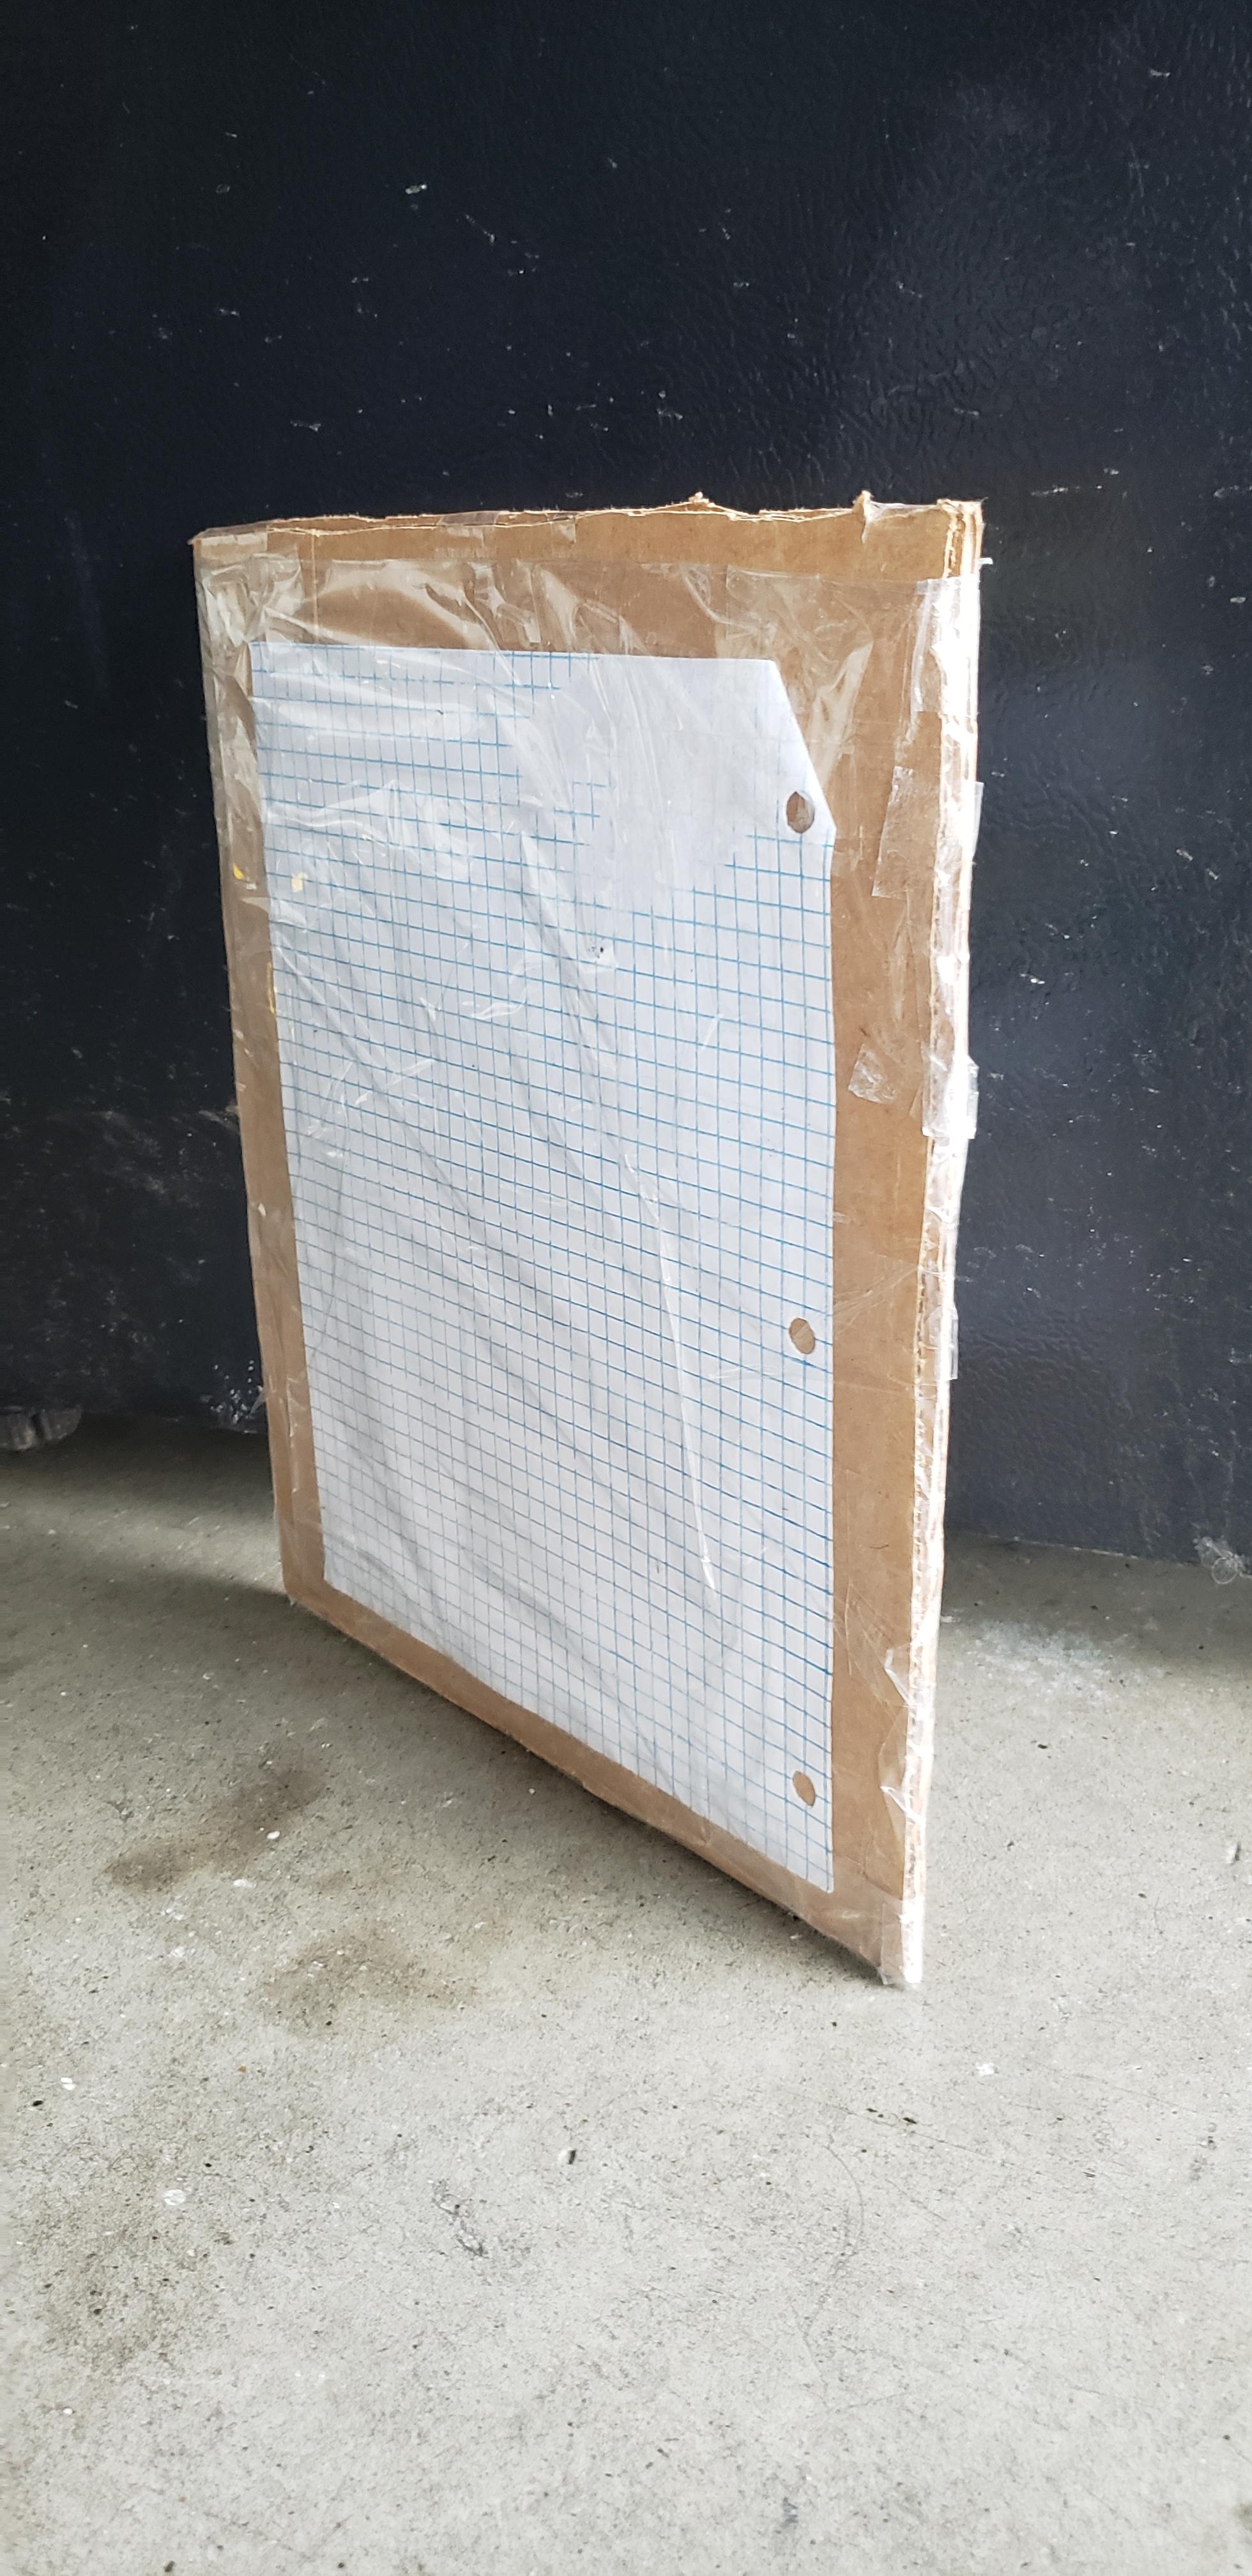
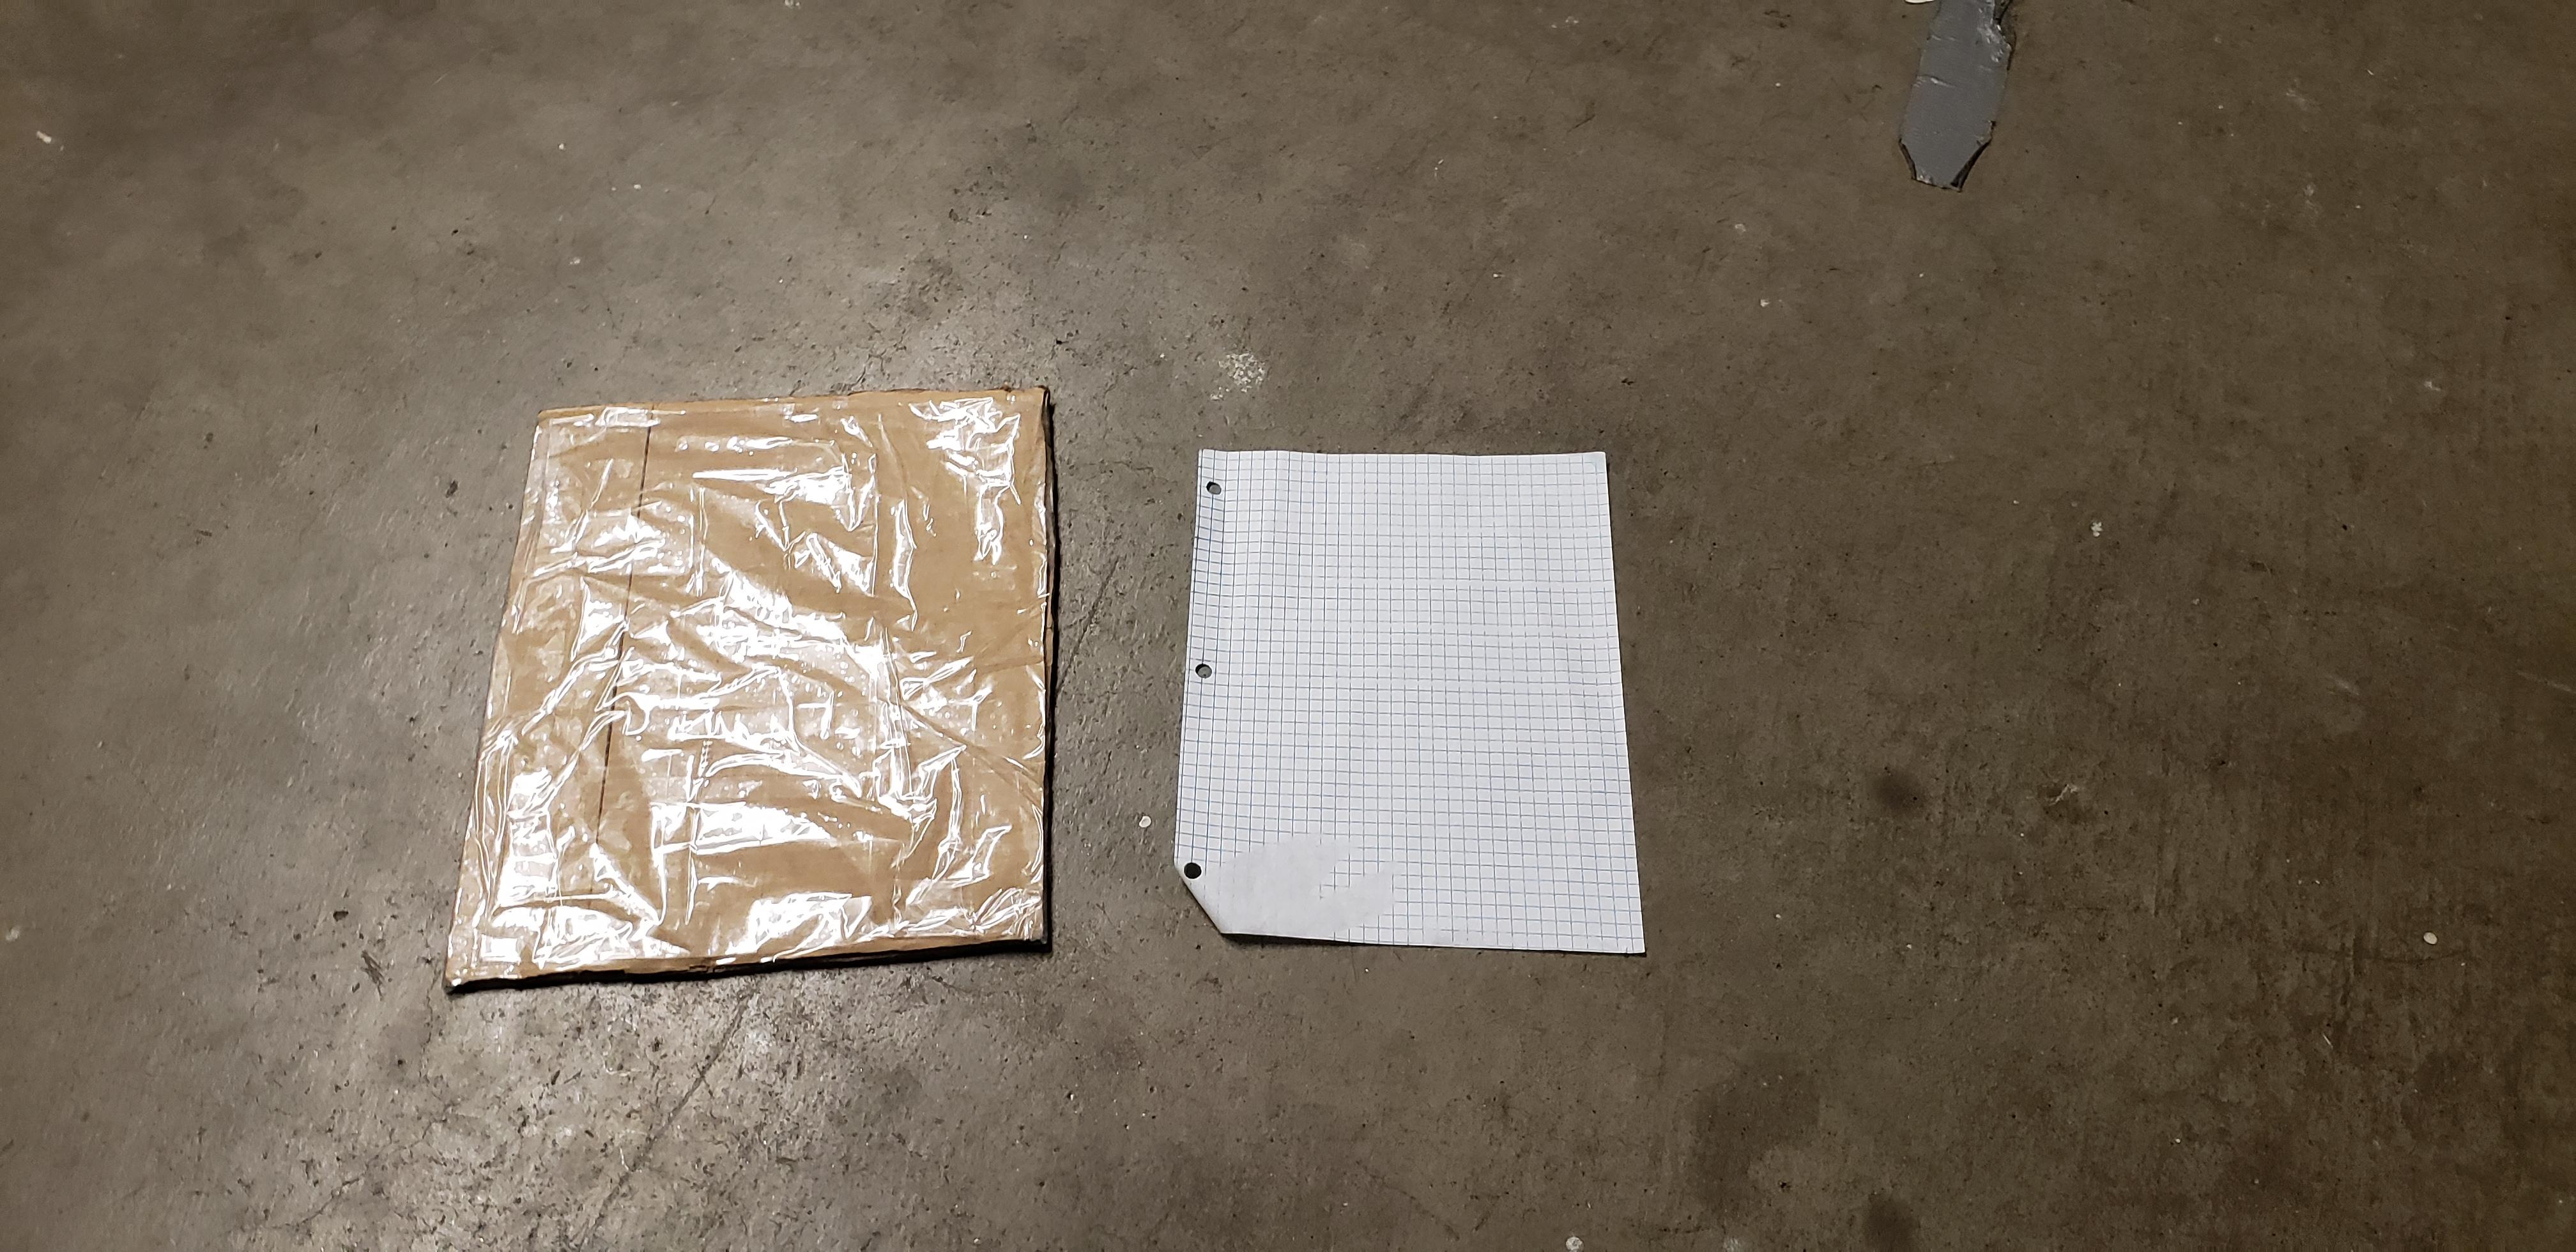
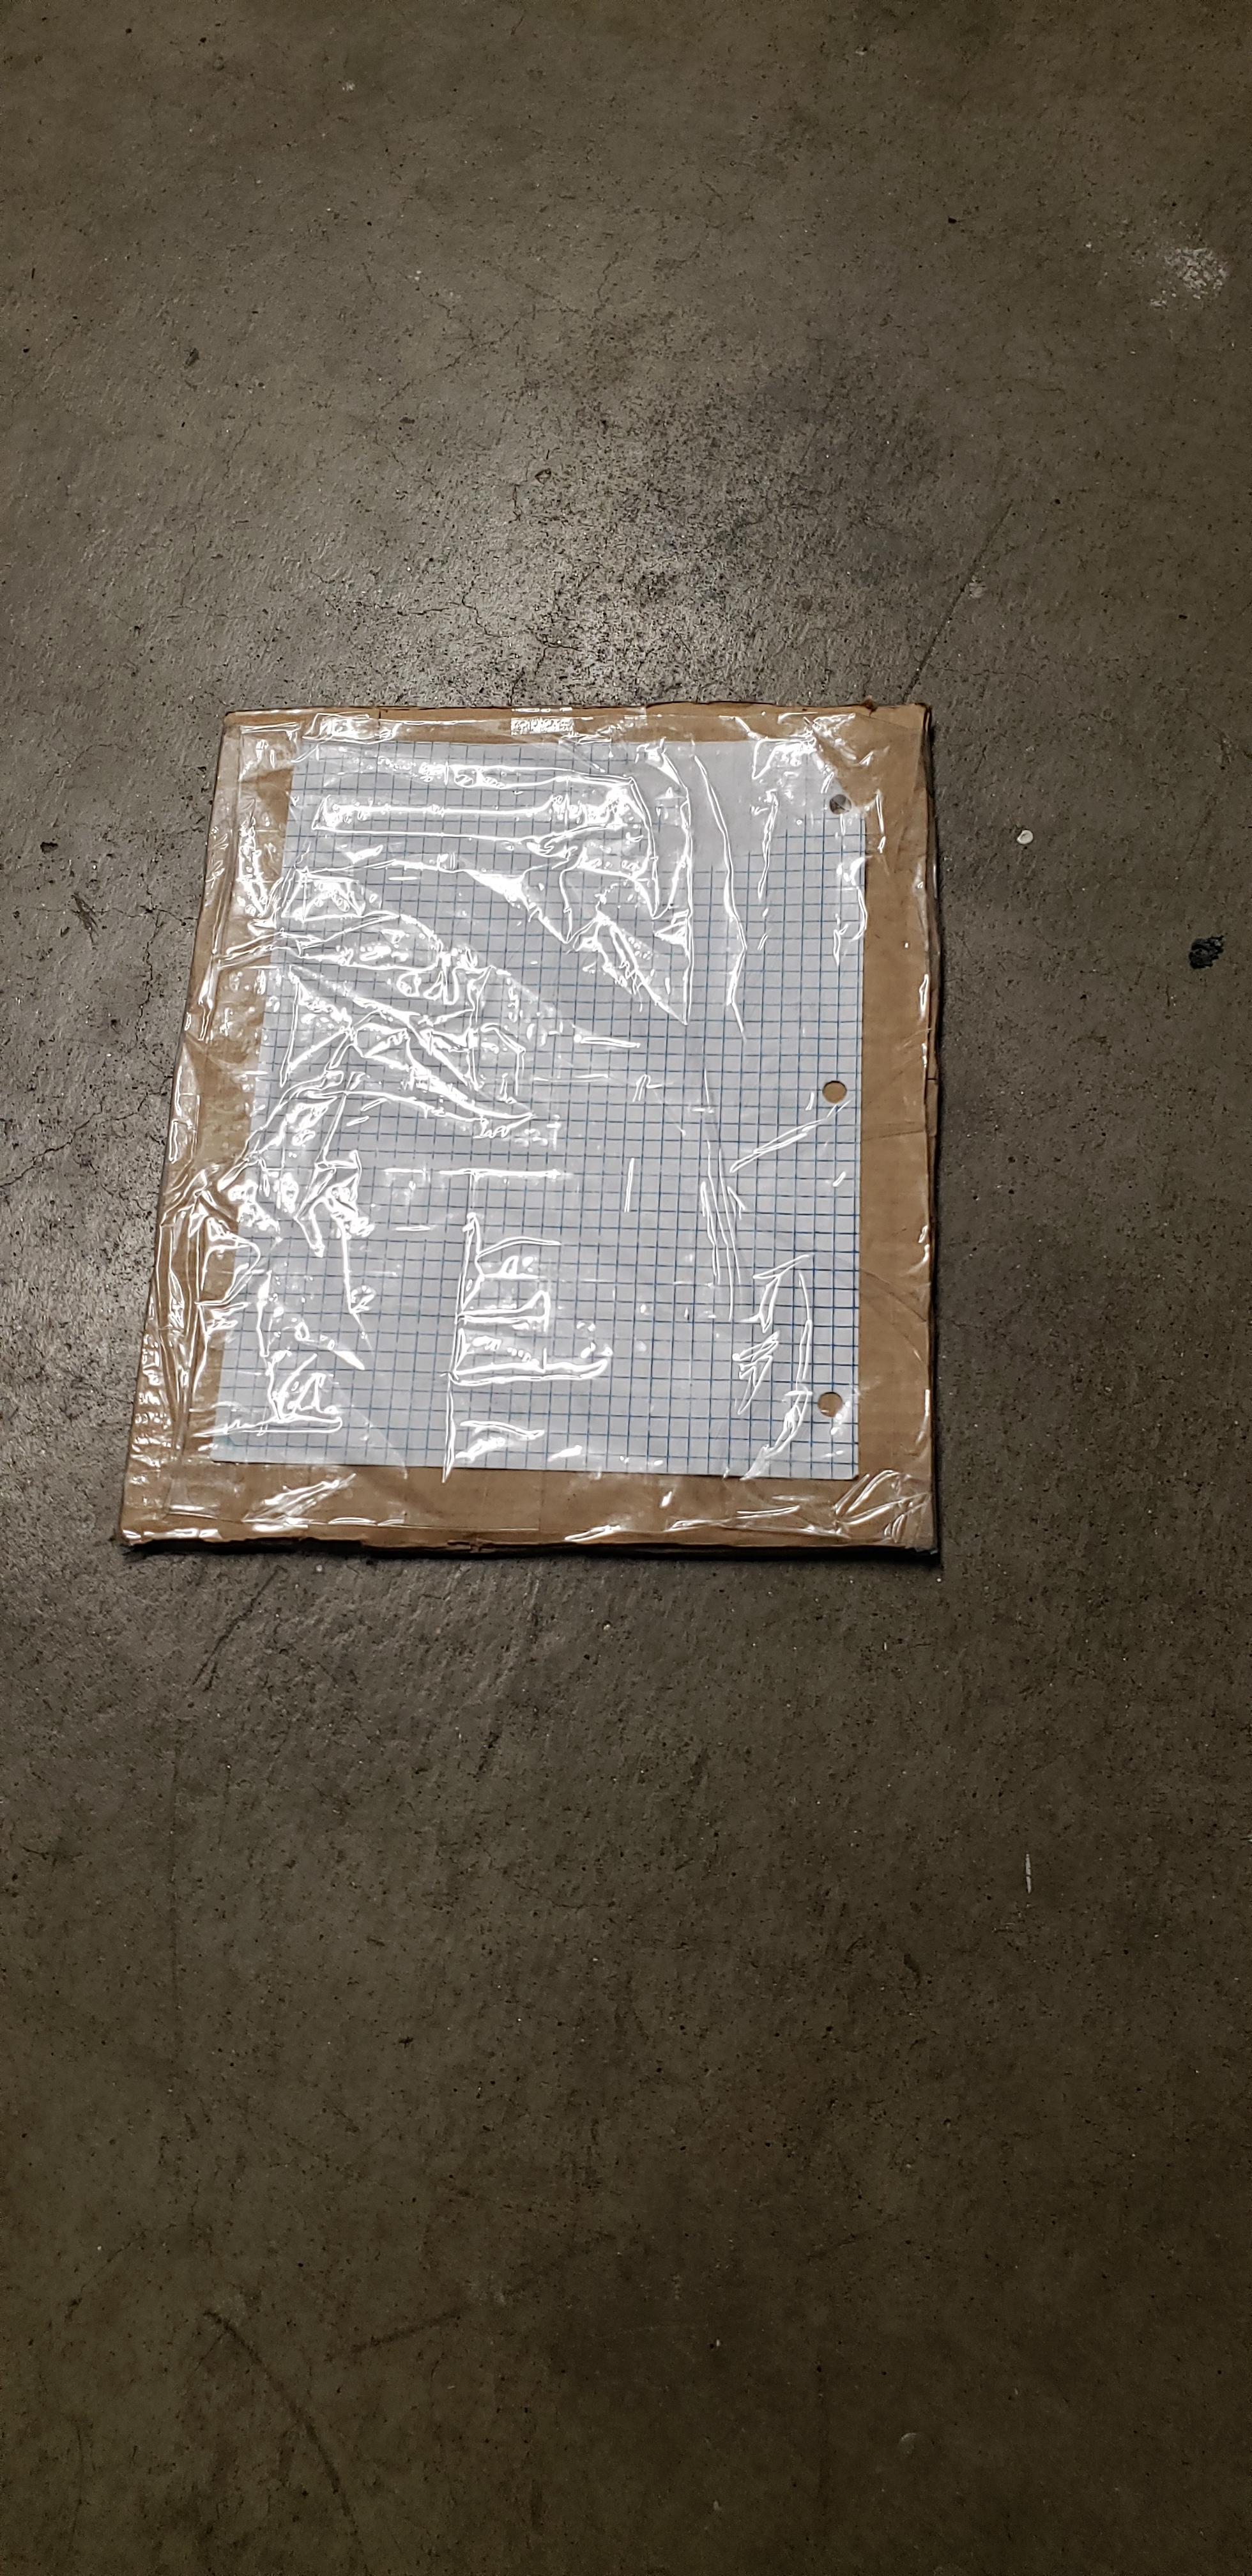
After all the steps, you can grab your piece of paper and it should fit in the pocket like it would in a binder.
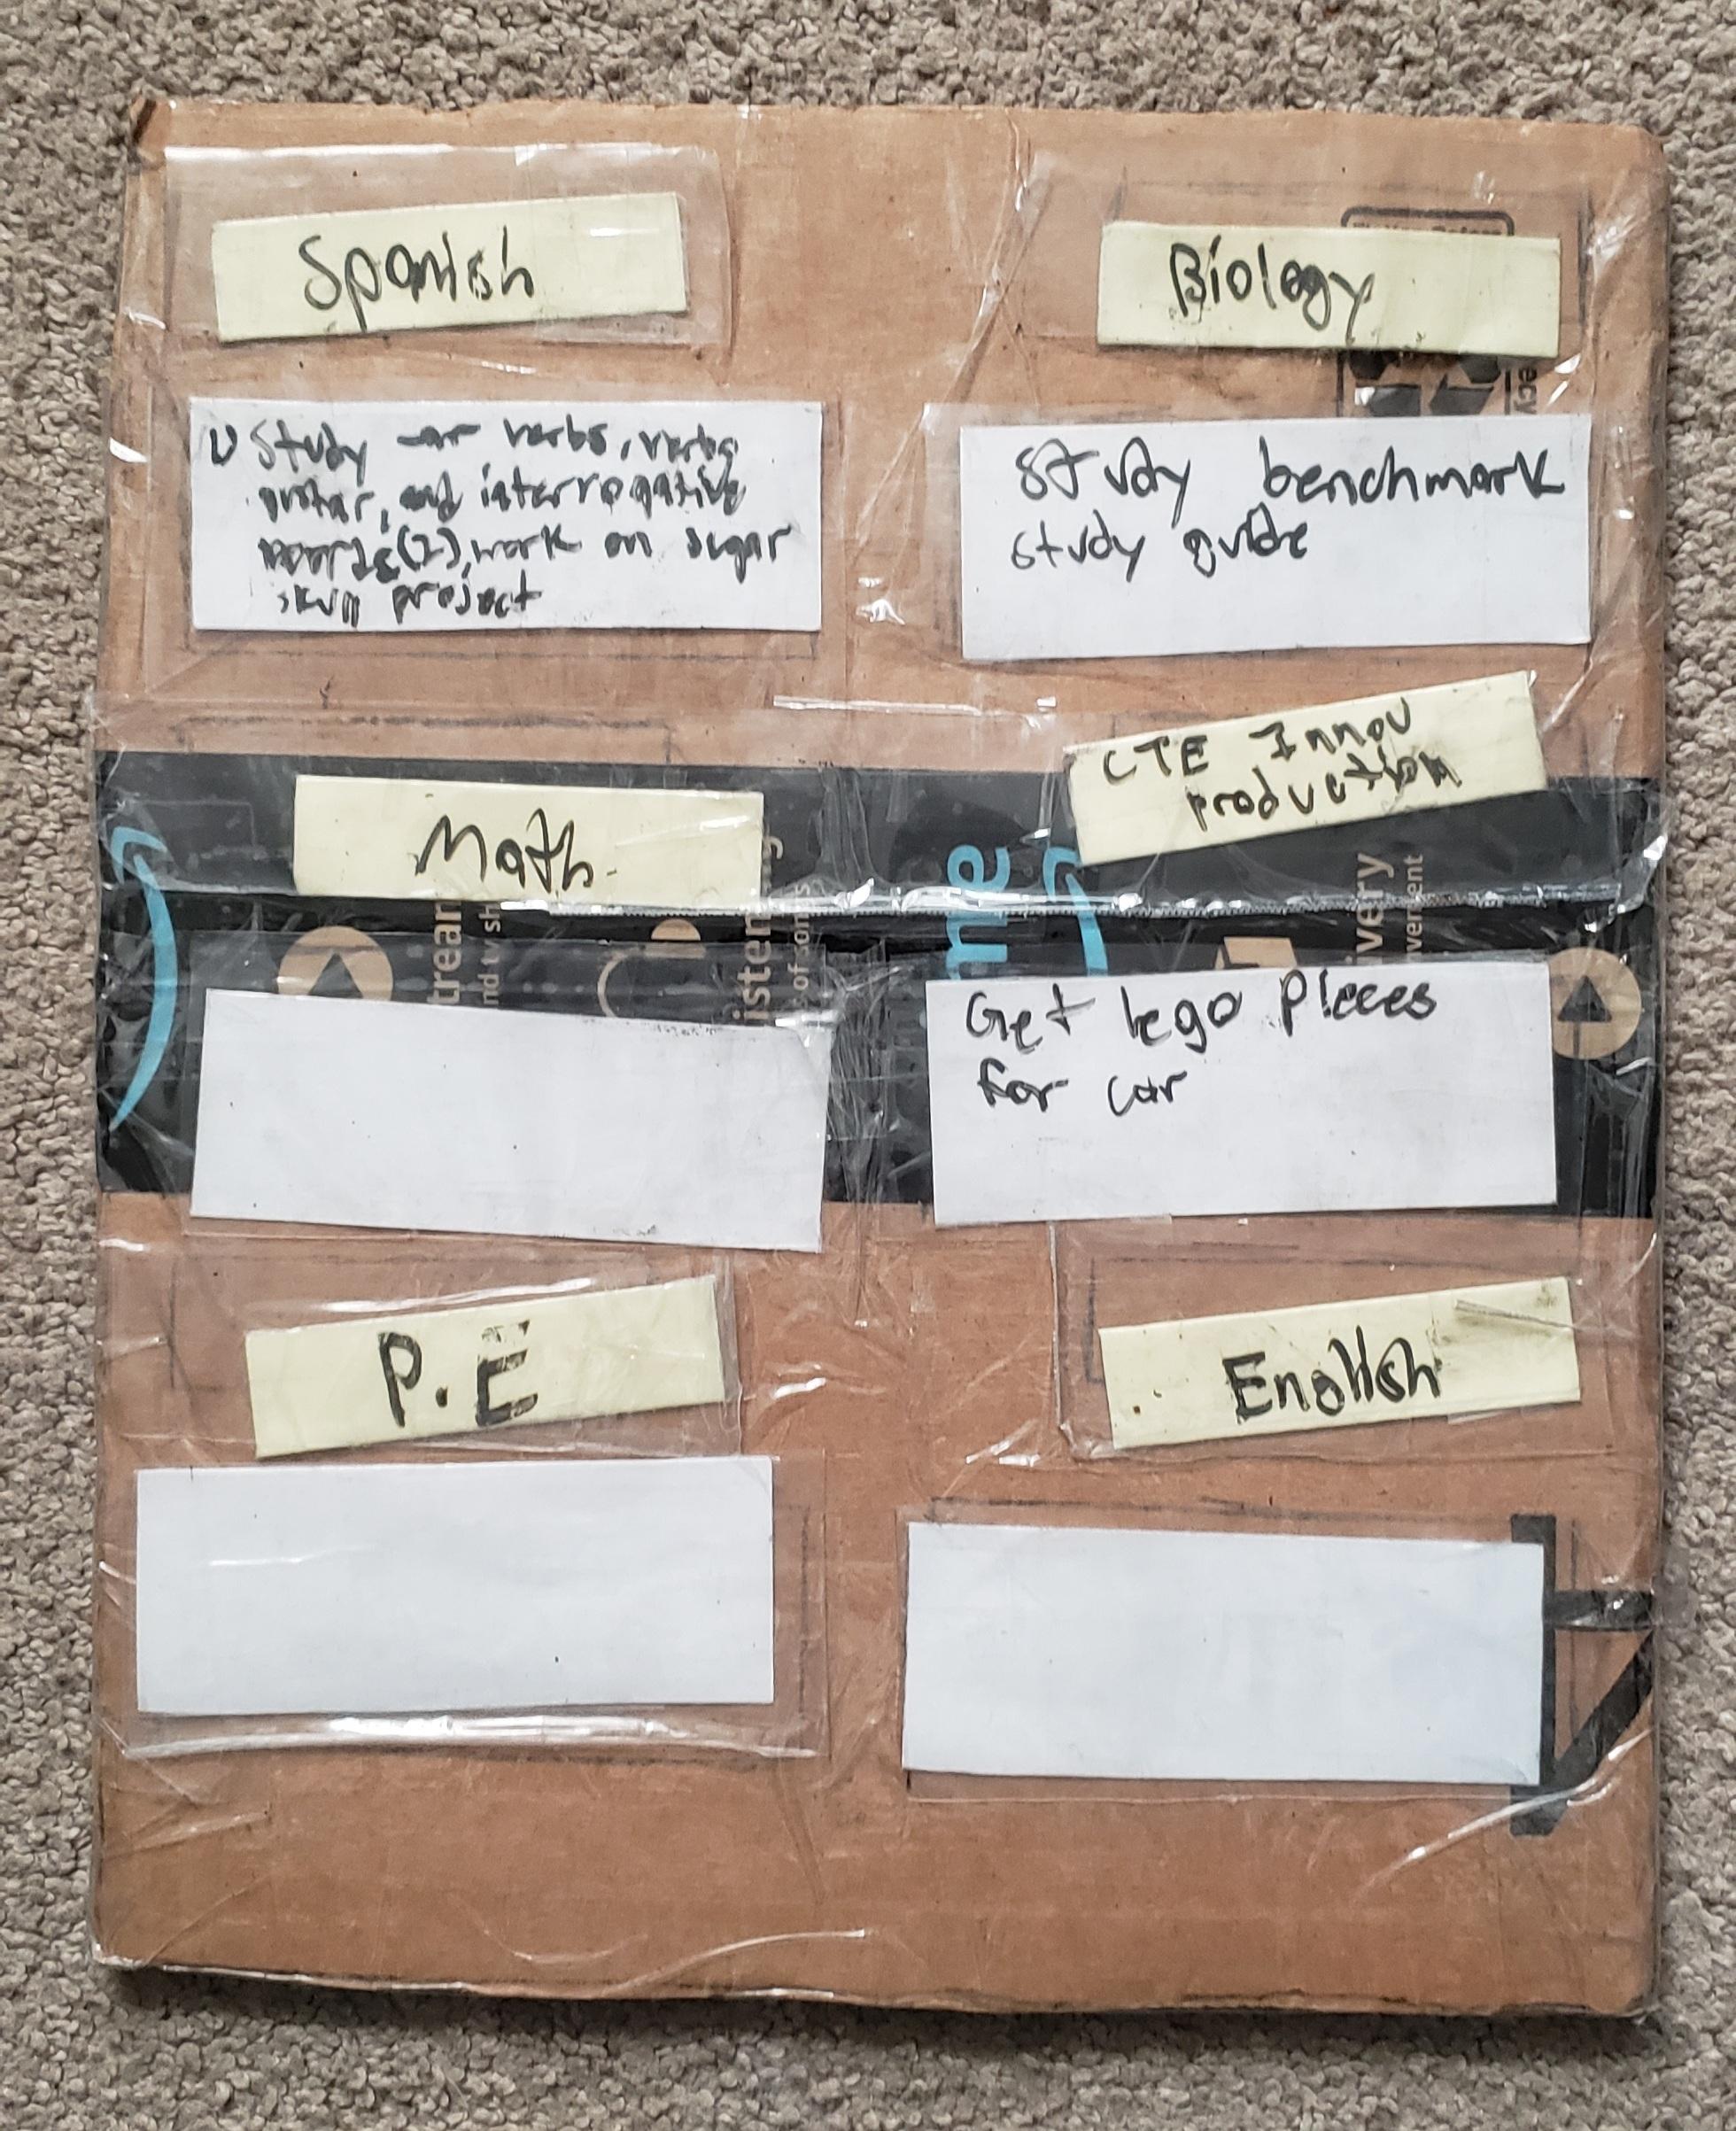
Plan Placement
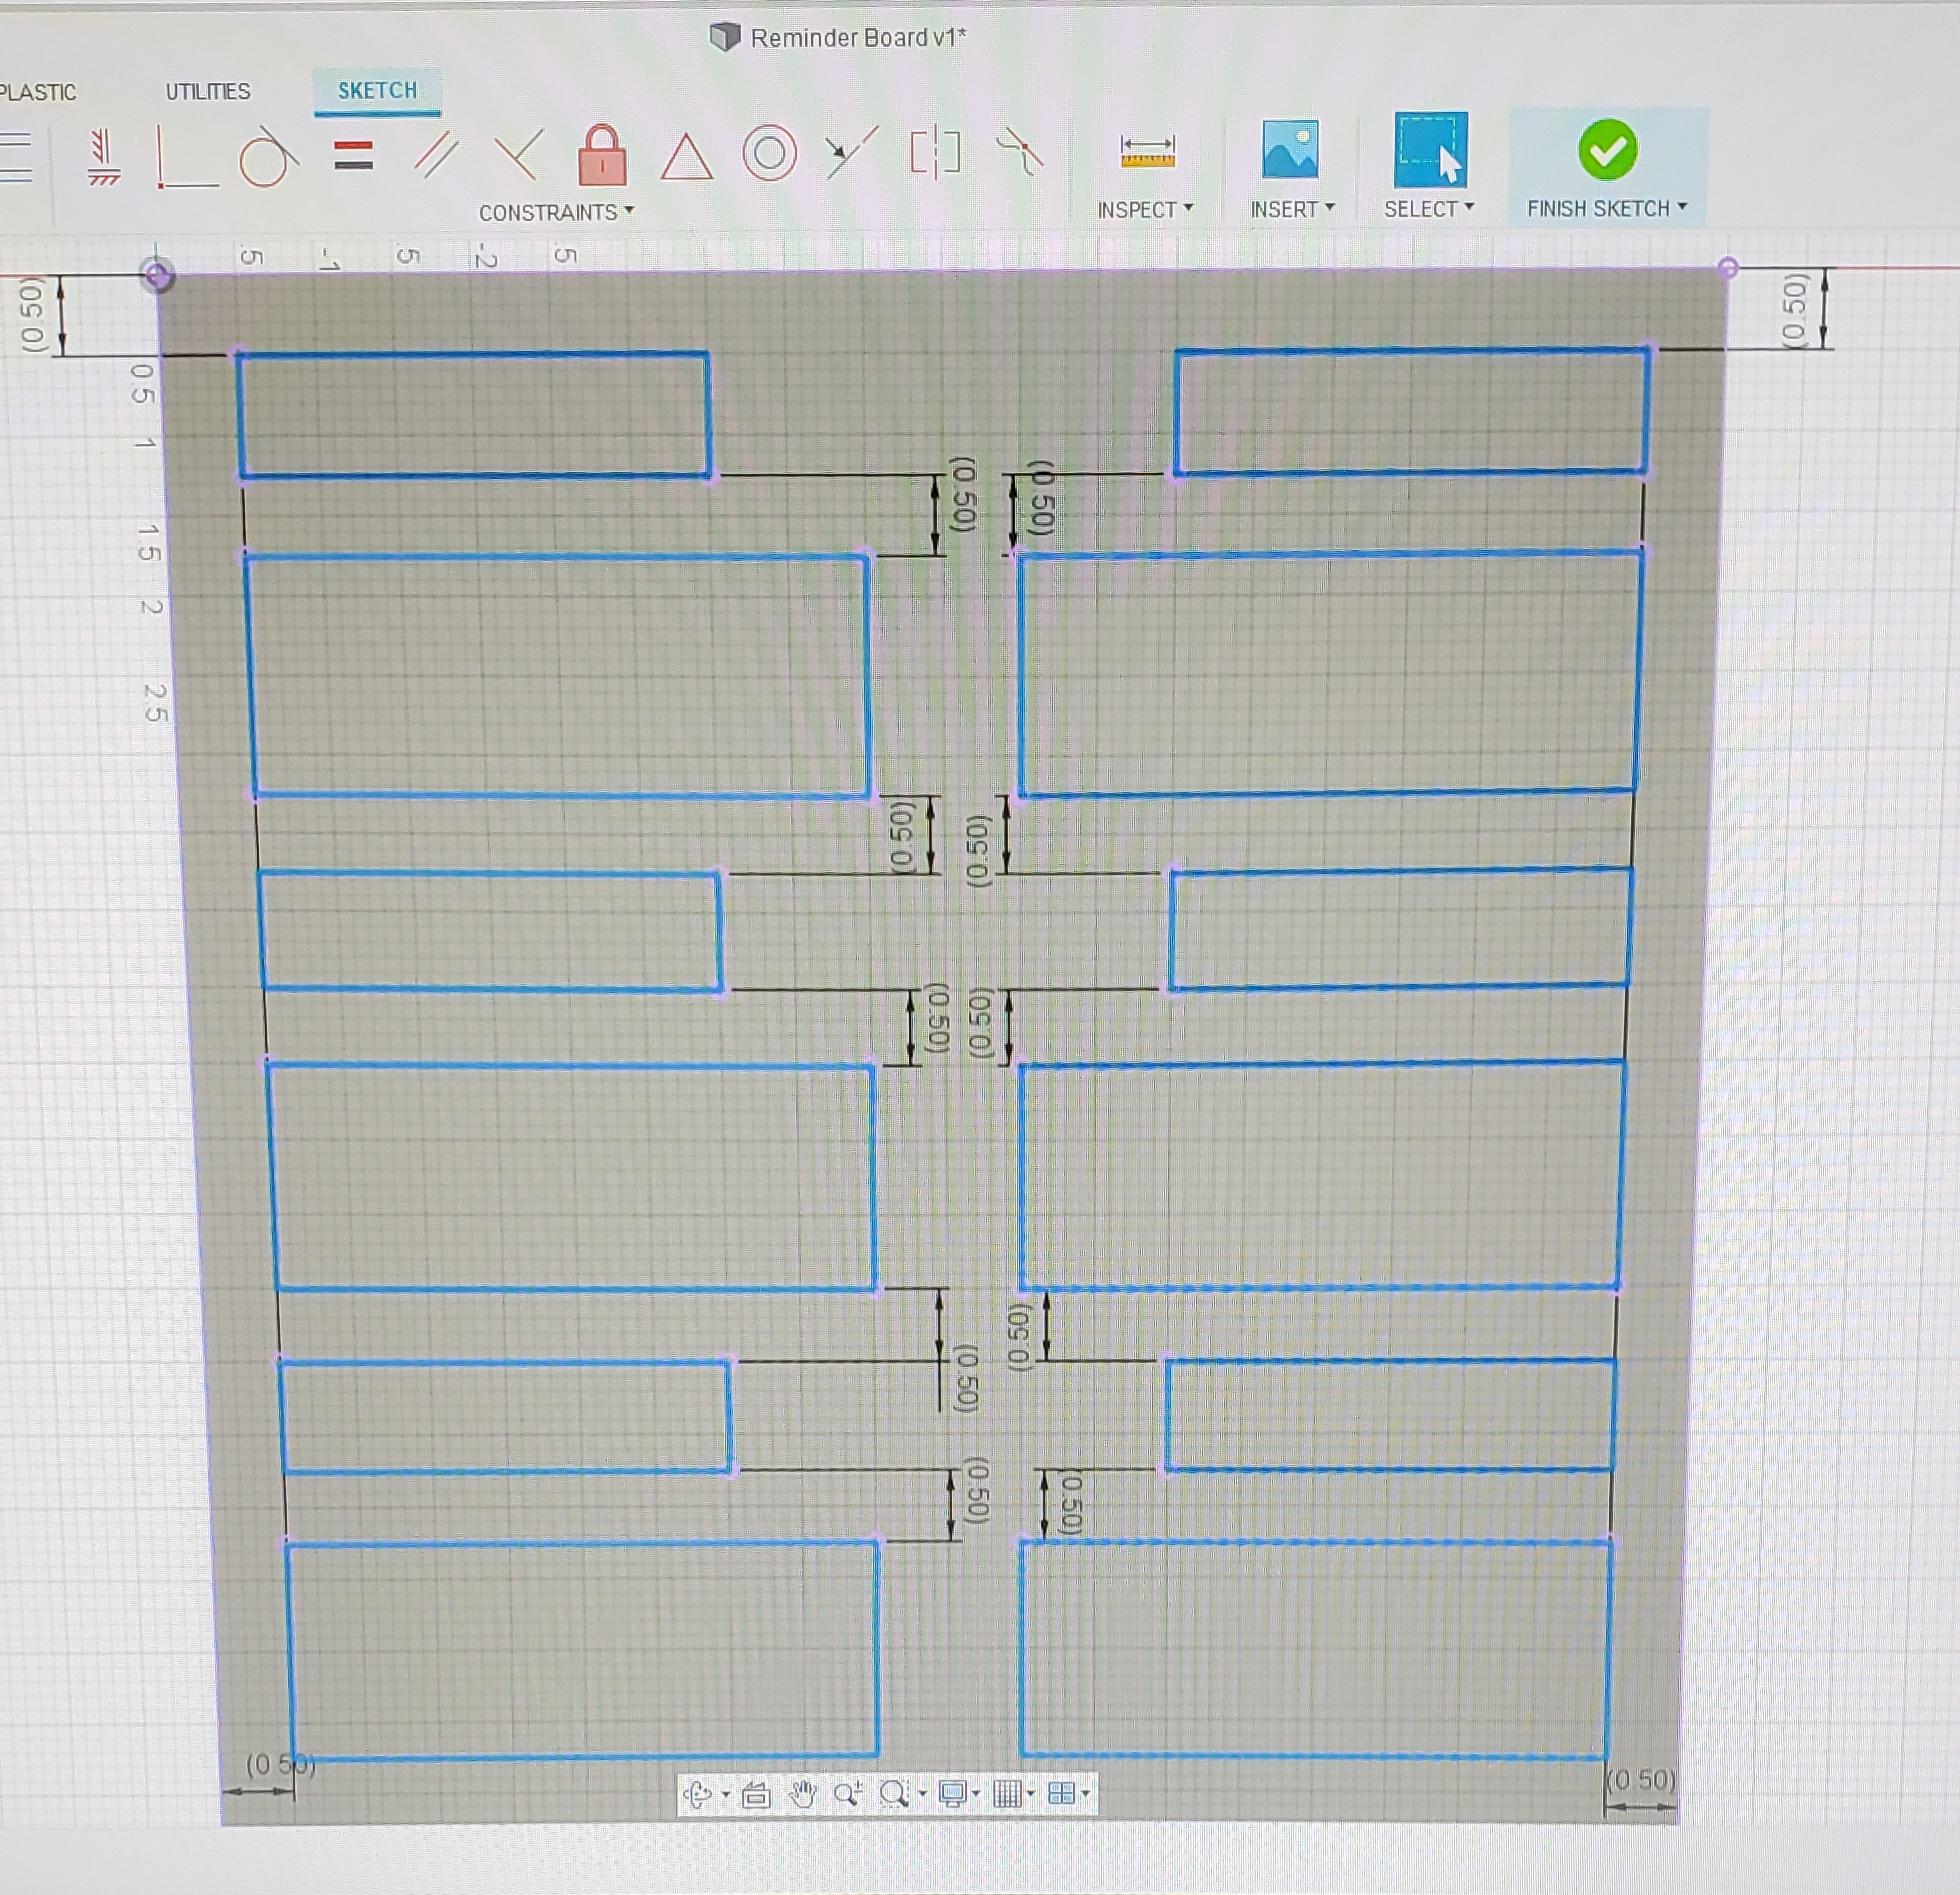
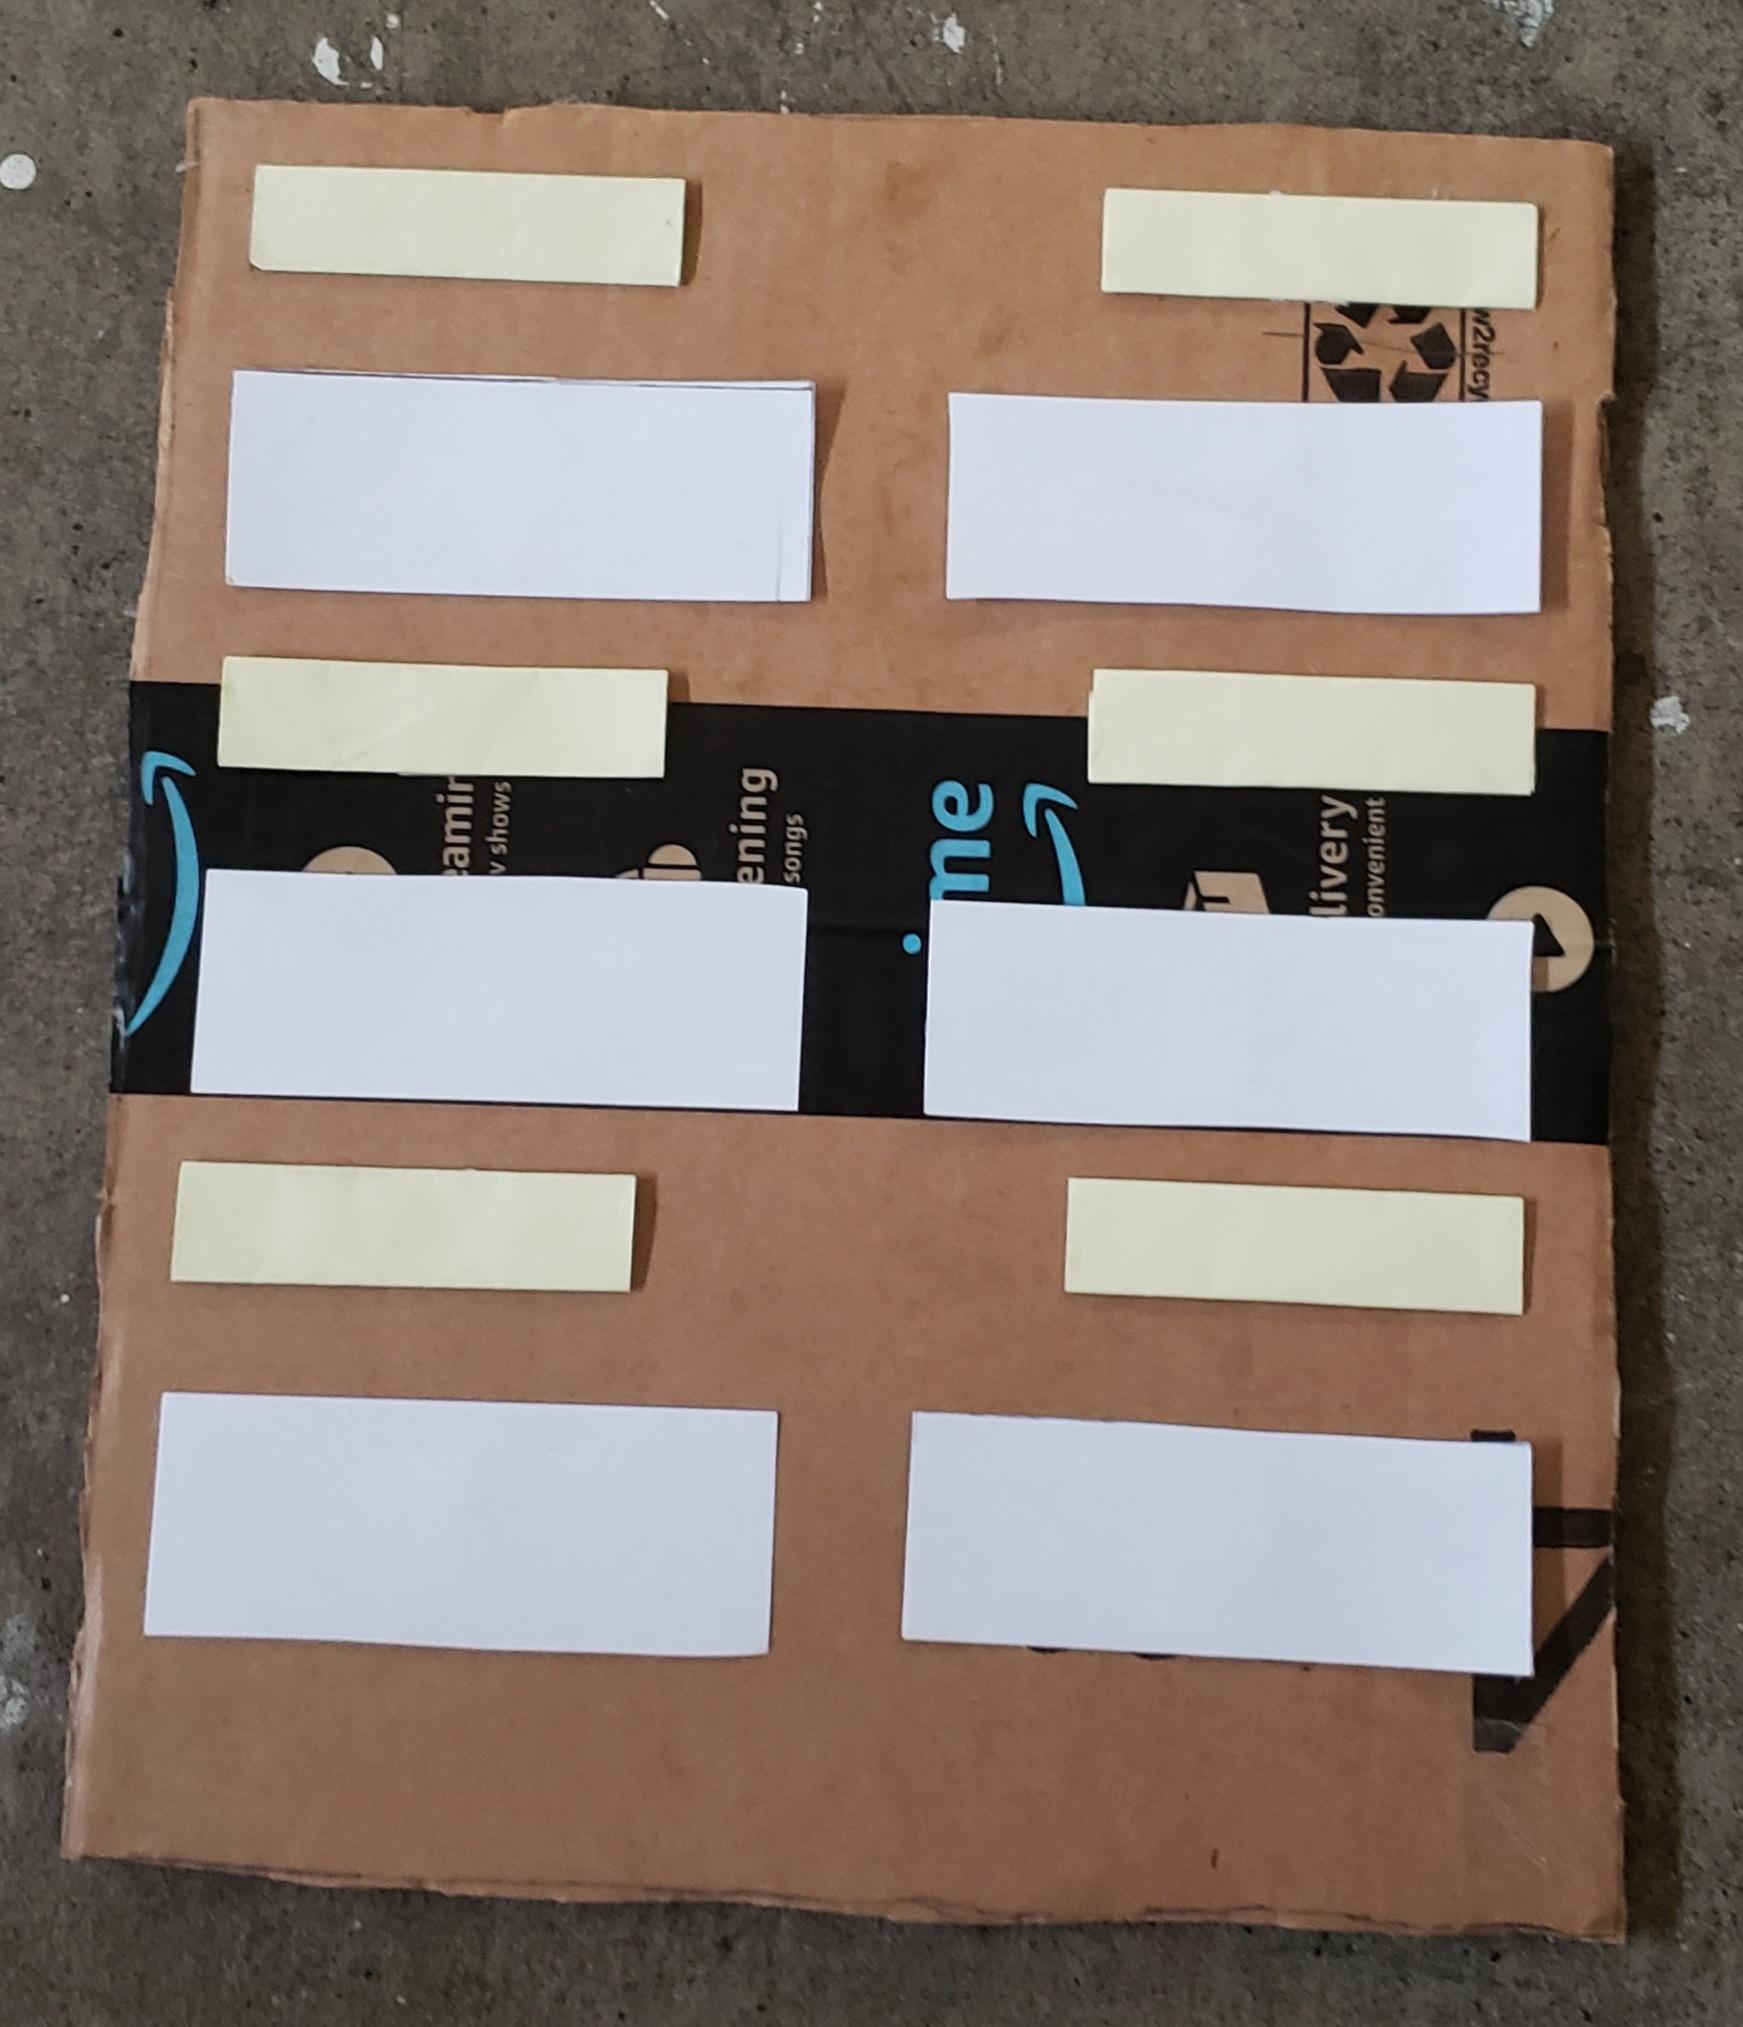
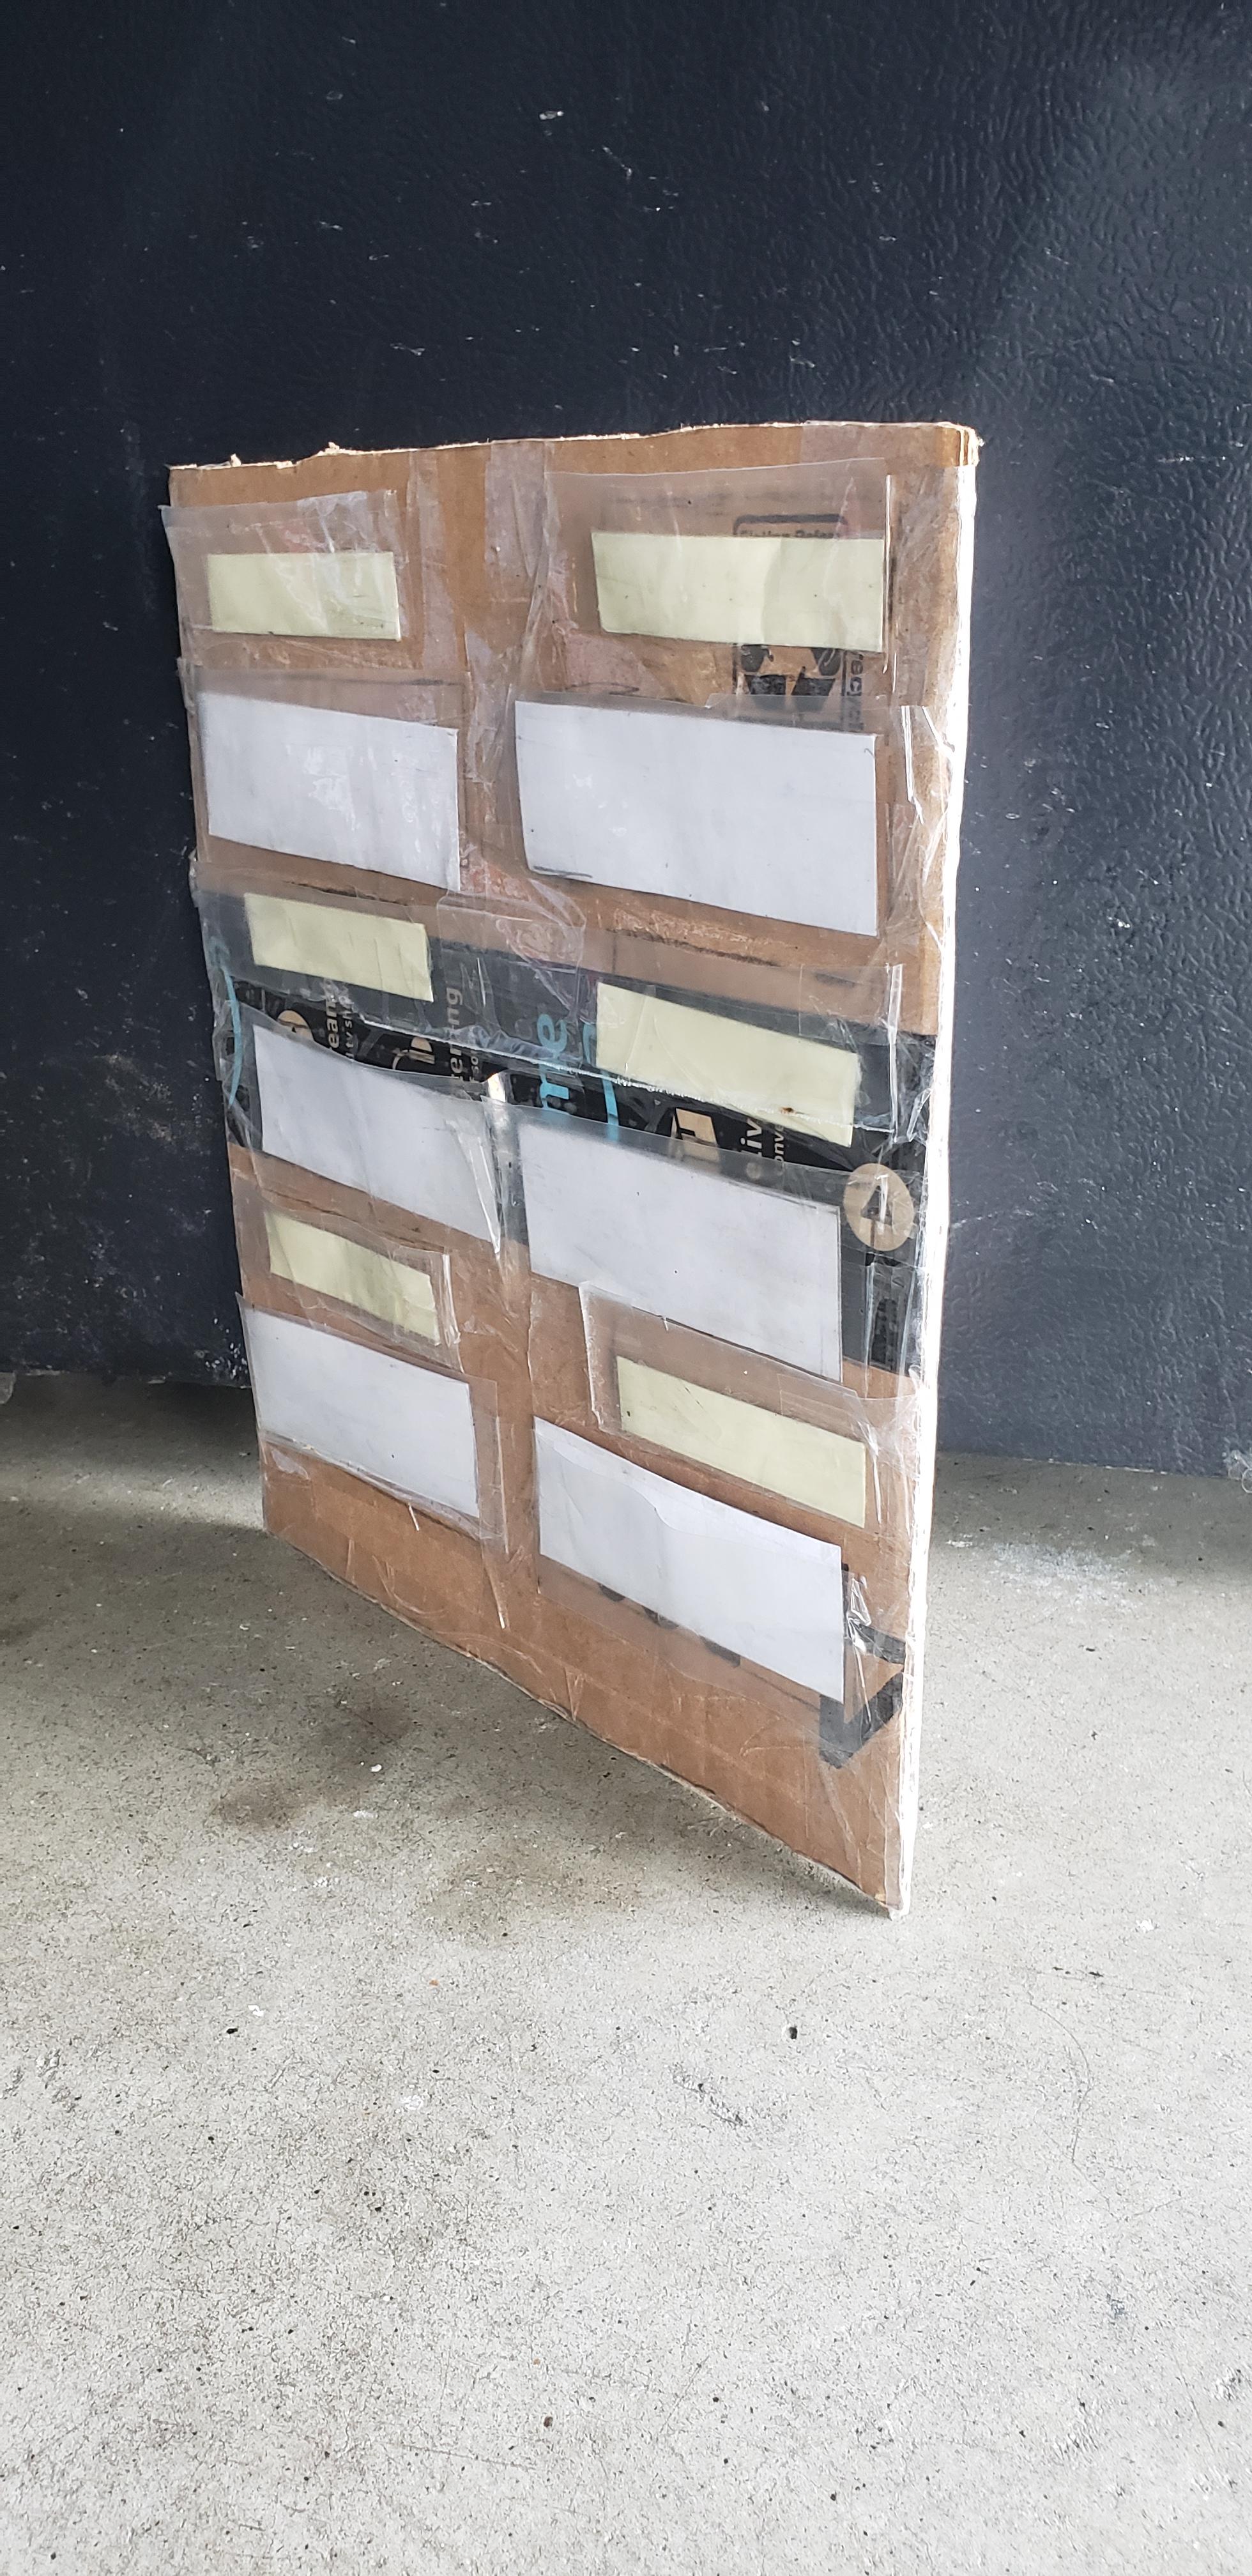
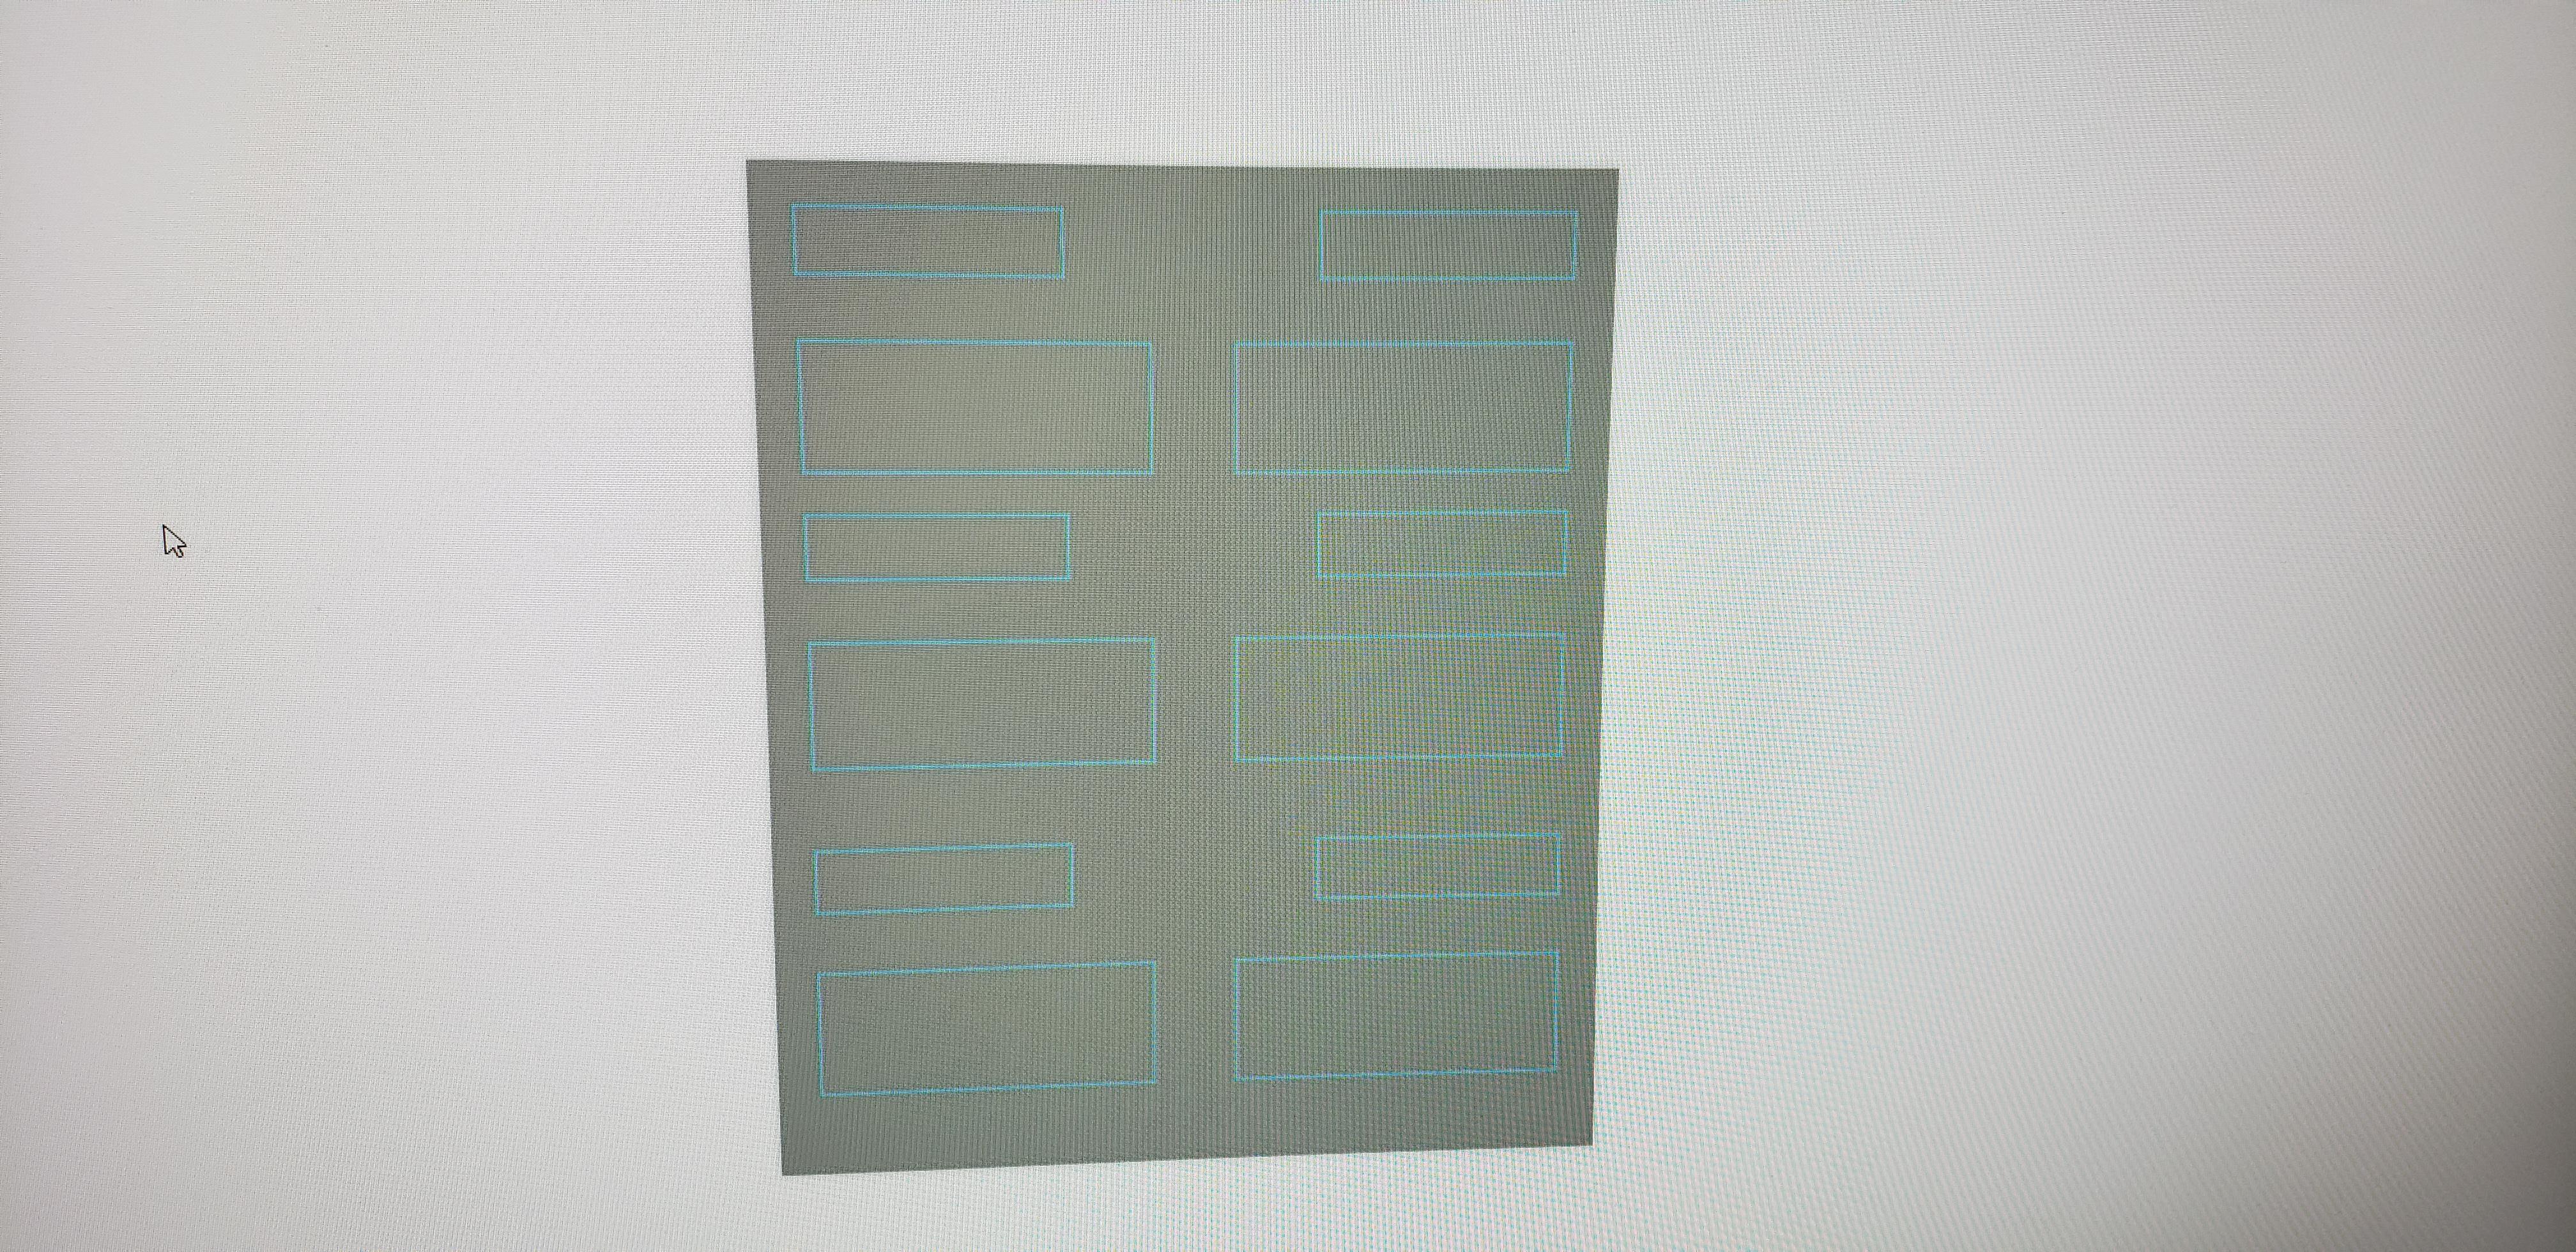
I also used Fusion 360 to get measurements to accurately place everything. Following the measurements in the picture, it should look something like the picture with the actual board. All the spaces should be about 0.5 inches.
I would suggest putting a little piece of tape on the back of each index card and sticky note to make sure it stays in its spot.
Afterwards, lightly trace around them.
Cut Out Pockets
After planning where everything should go, put the plastic sheet over the index cards and sticky notes and trace a rectangle around it.
Make sure that there is space between the trace and actual card so it will be easier to grab the cards and sticky notes.
You can remove the piece of tape from all the index cards and sticky notes and place them aside.
Trace and cut out each pocket for each individual sticky note and index card.
Tape Each Pocket to the Board
Once all the rectangles from the plastic sheet are cut out, you can tape the rectangles to their corresponding spots.
- Starting with the top row for the sticky notes, cover all the sides except one long side of the rectangle.
- Starting with the top row, stick the plastic rectangle(s) onto the trace and place it a little baggy for easier access.
- Once you finish the top row of sticky notes, move to the second row that are index cards and take two big rectangles, cover all sides except one long side, stick in onto the trace, and make it a little baggy for easy access.
Repeat this section moving down one row at a time until finished.
Write Your Titles and Checklist
As the final step, you can write your titles and your checklist and write what you need to do on the index cards.
Folded sticky notes: They will be used as the title and placed in the small pockets. You can write on it with a dry erase marker so you can change it later if you need to.
Index card halves: They will be used as the description and placed in the bigger pockets below the sticky notes. You can write on them with a dry erase marker so you can easily erase what you have written.
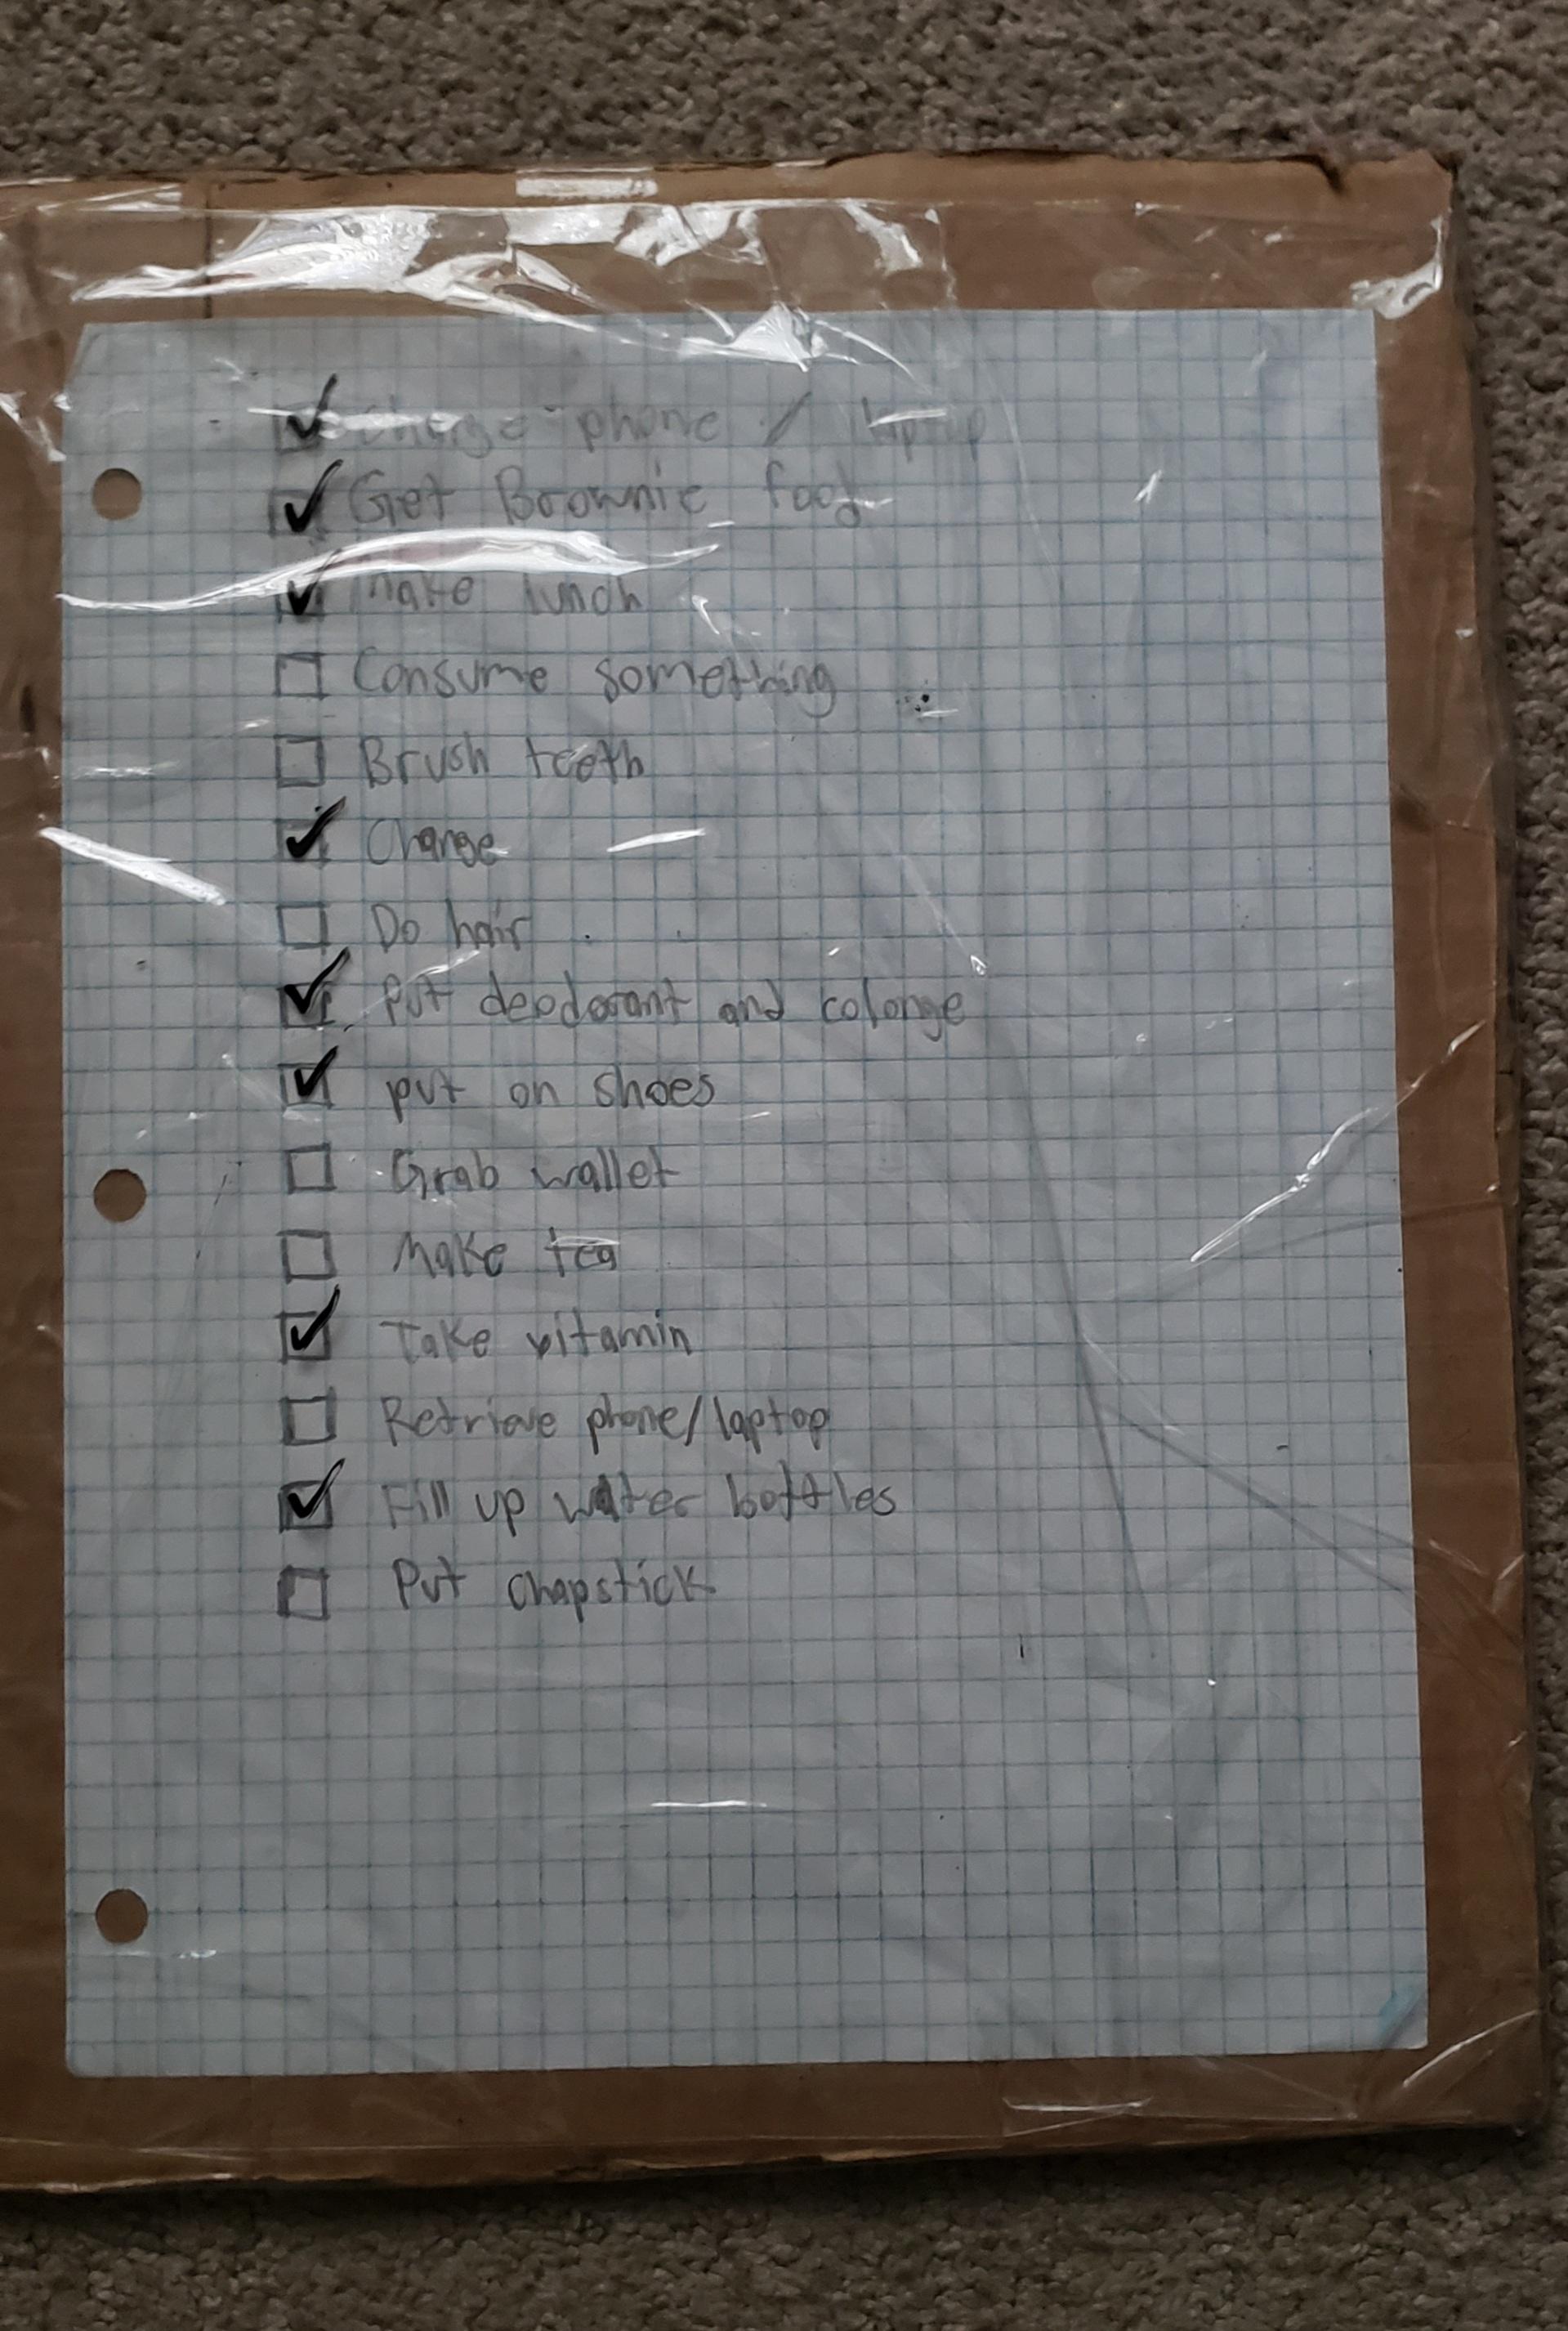
The piece of paper: It will also be used to write what you need to do but instead of writing a paragraph, make a box for each thing you have to do. Next to each box, write a short and simple sentence briefly stating what you need to do and slip it into the giant pocket you made. Once you do it, you can write a check or fill the box in on the tape. When you complete your checklist, you can erase everything on that side and put it away.
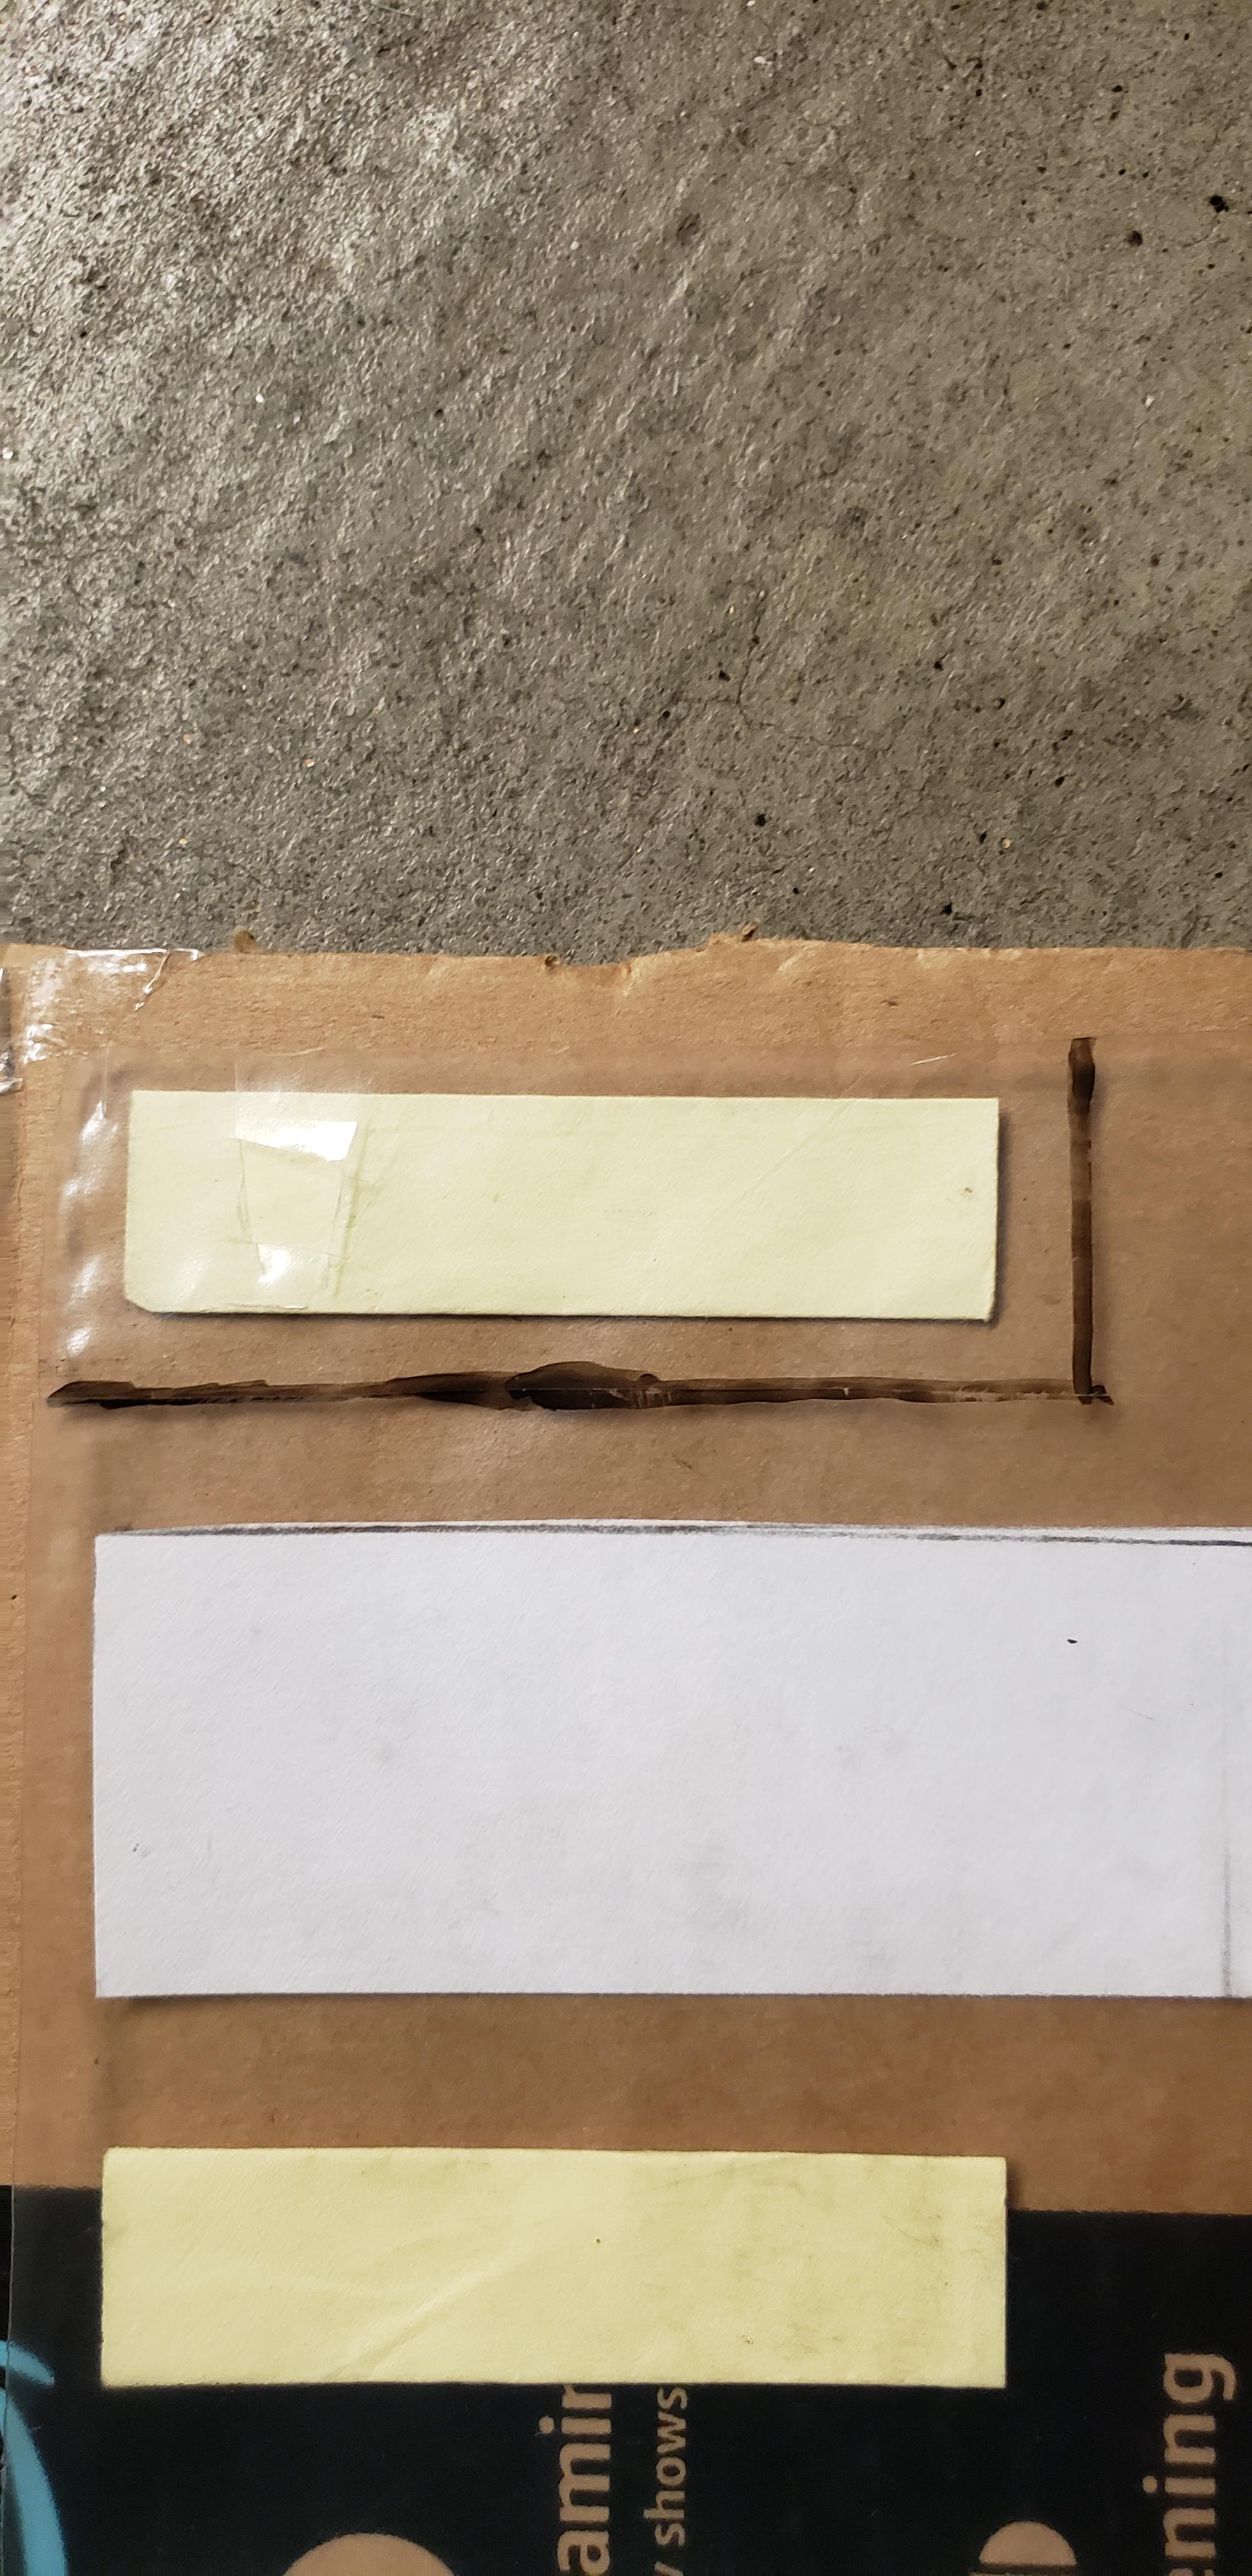
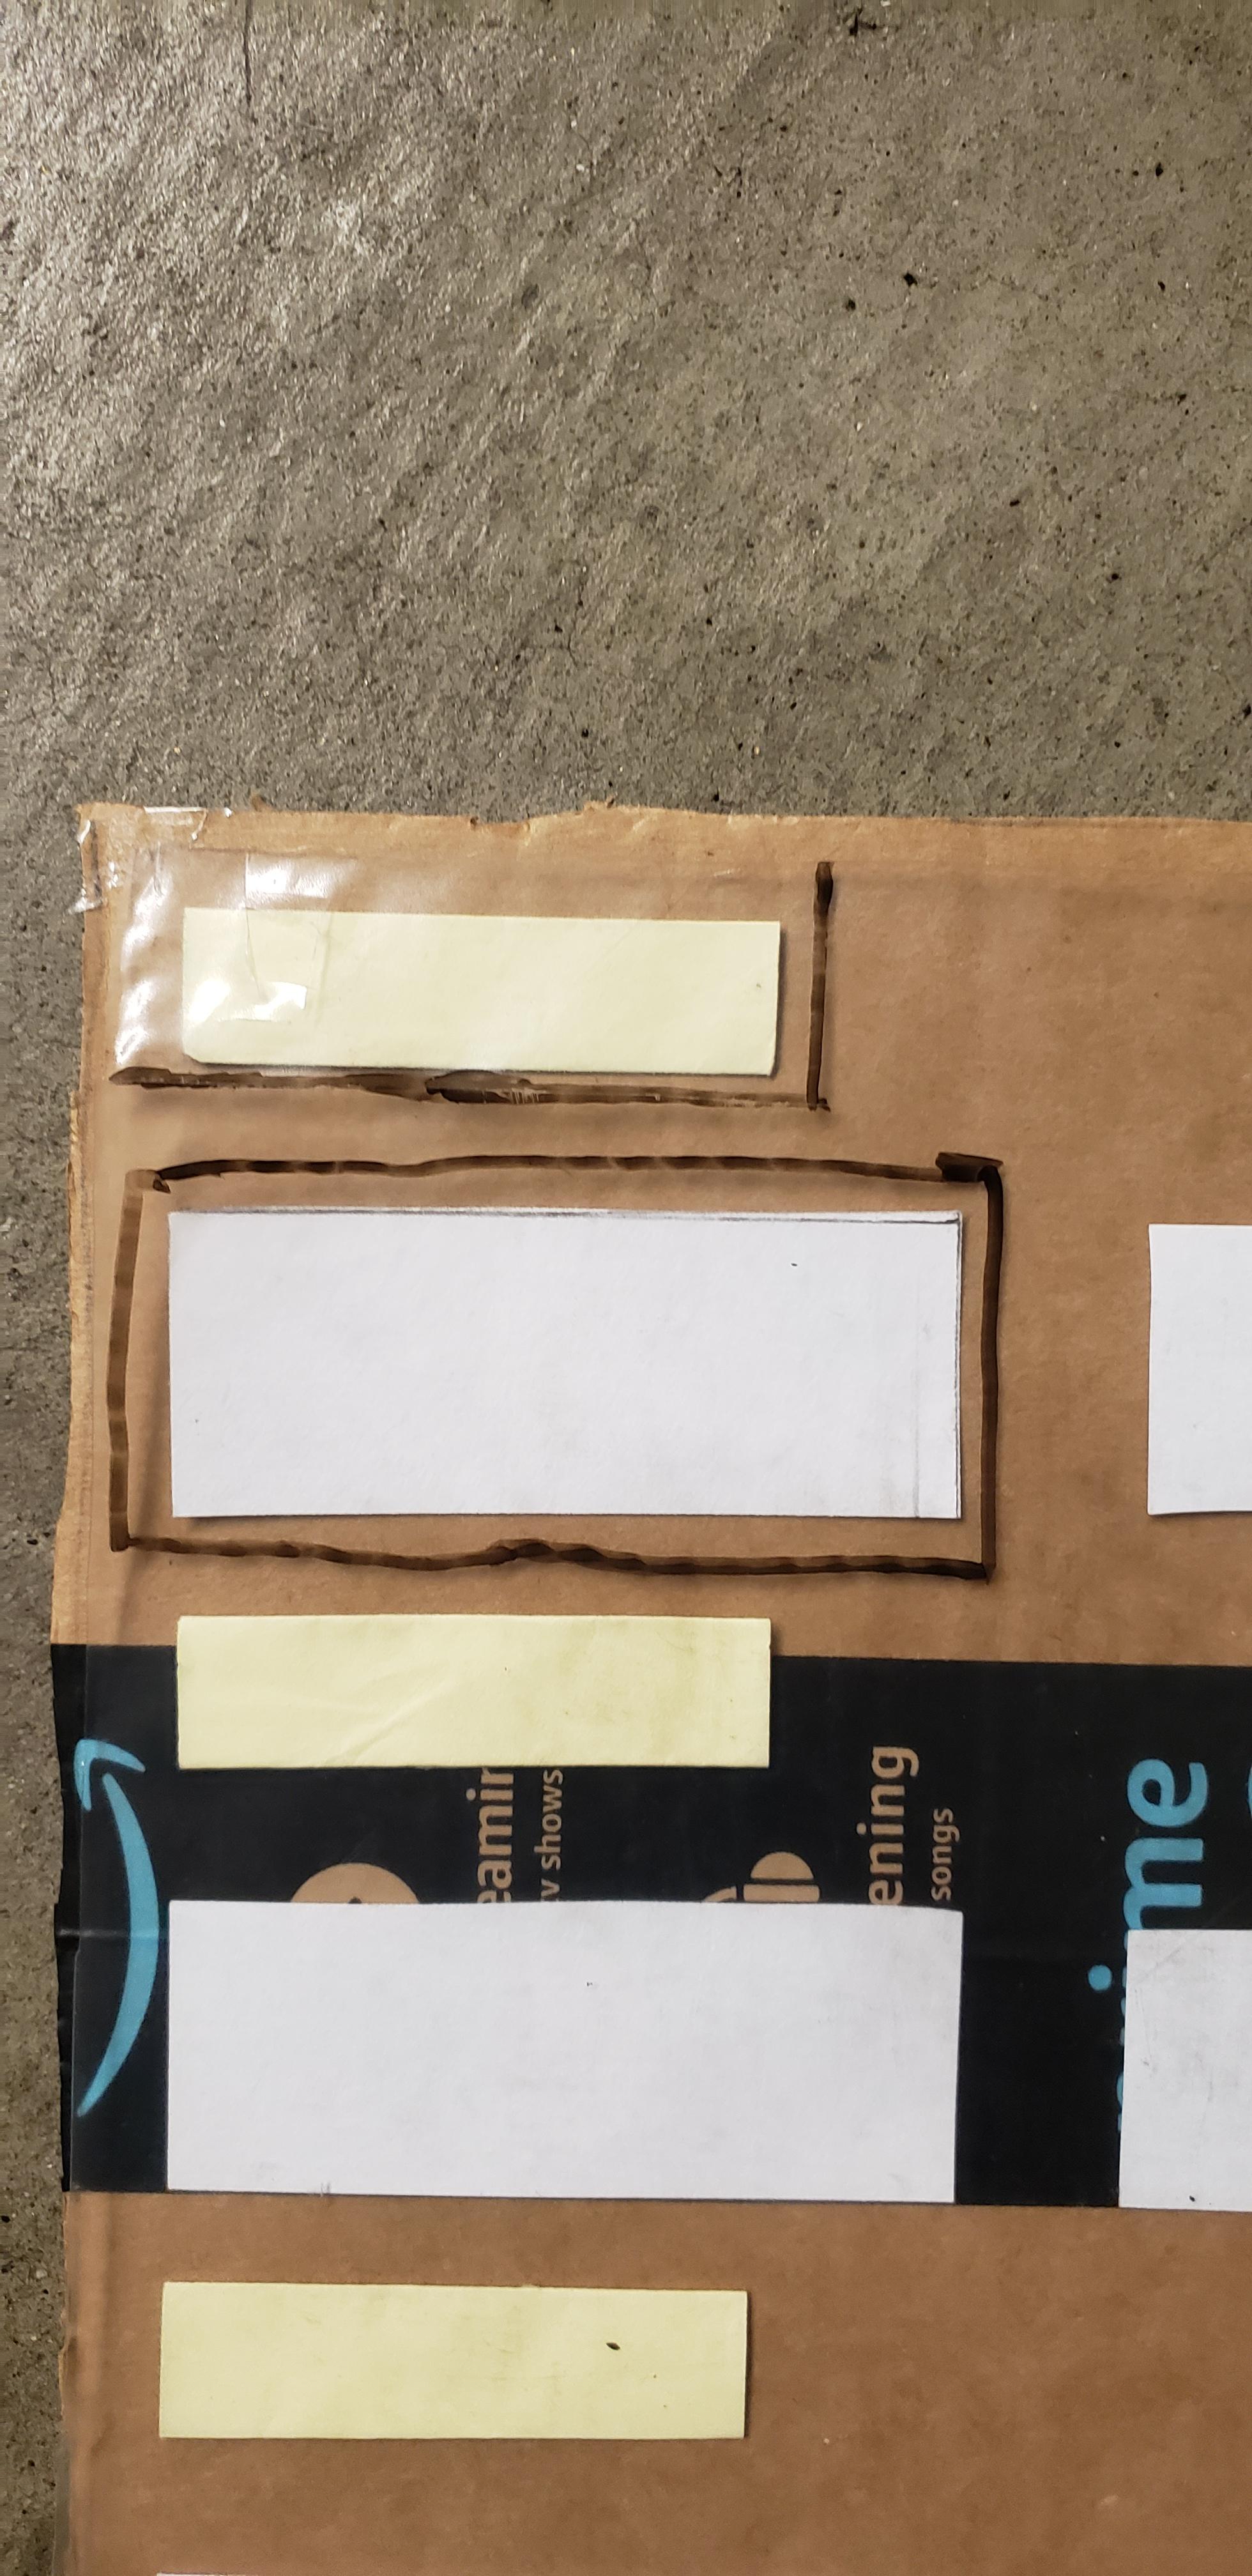
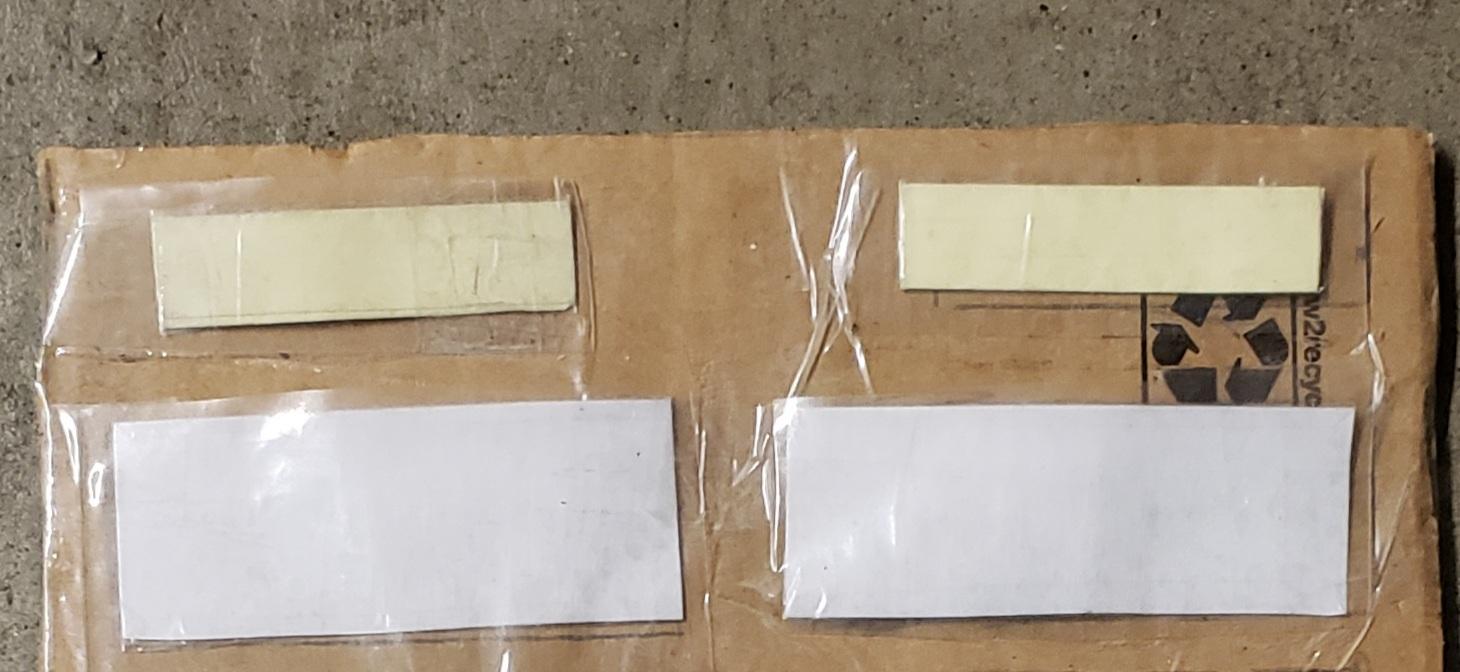
(The pictures are an example of what the board might look like and how it is used)