Reframe: Turn IPhones Into a Wall Widget
by purincess in Workshop > Laser Cutting
28987 Views, 350 Favorites, 0 Comments
Reframe: Turn IPhones Into a Wall Widget
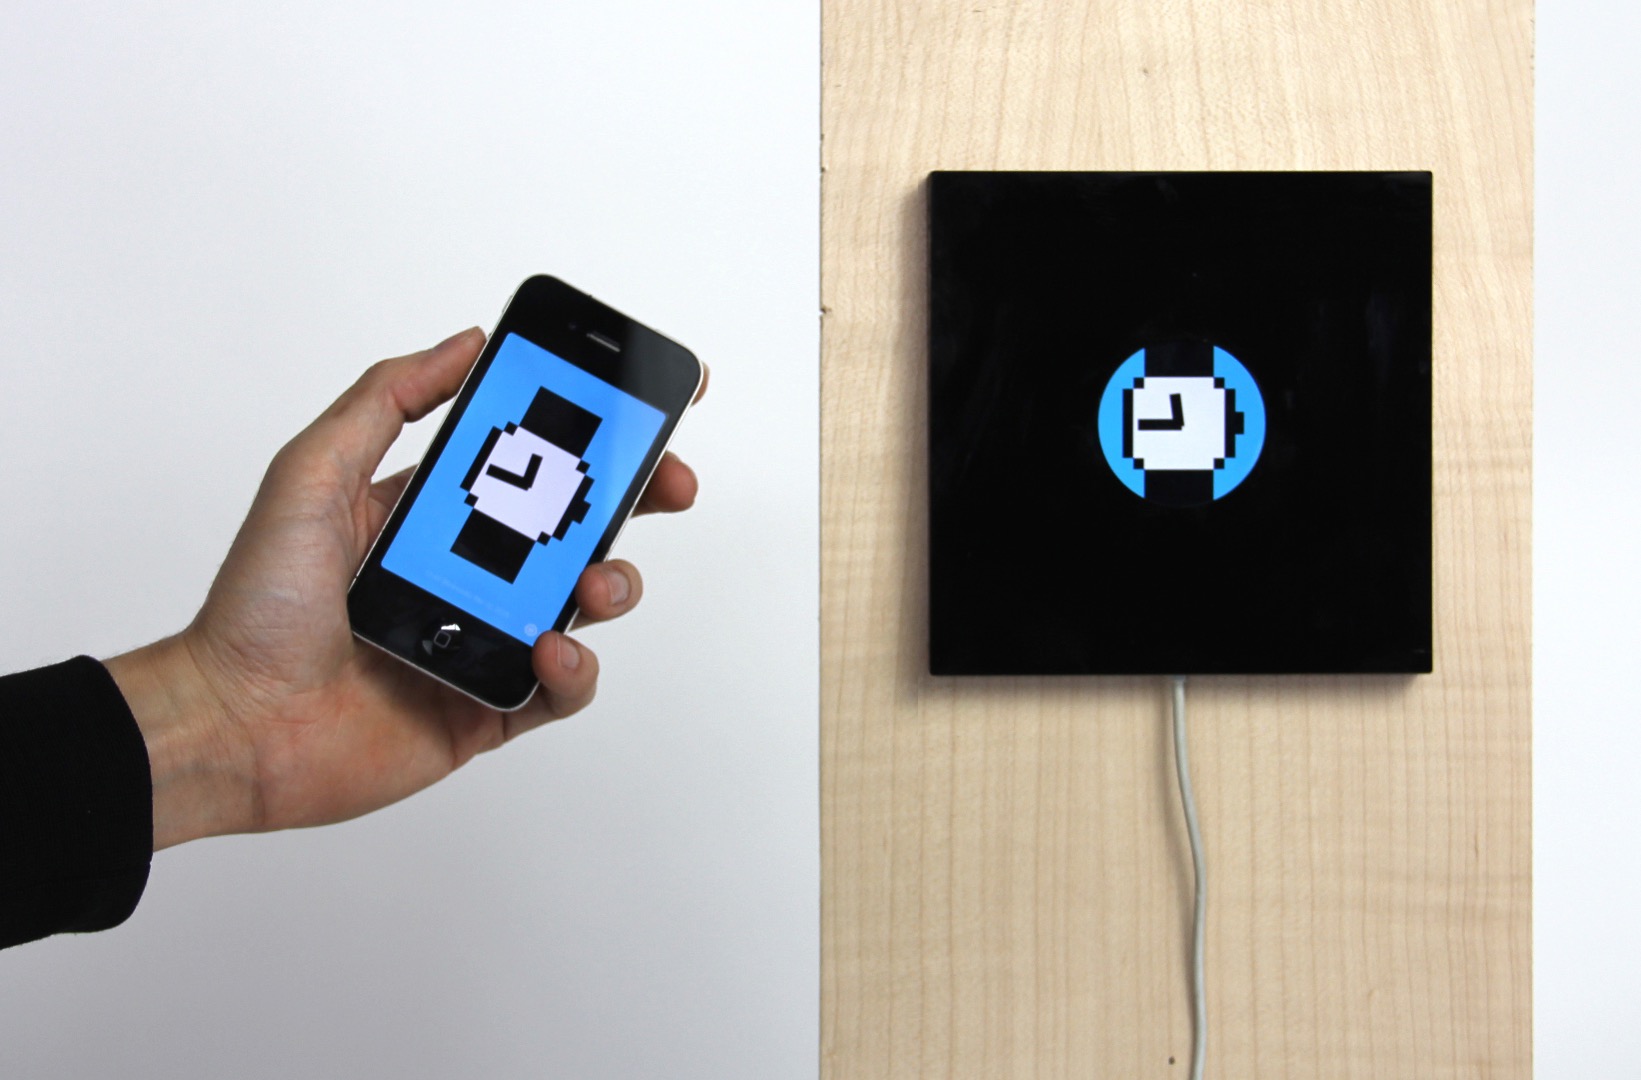
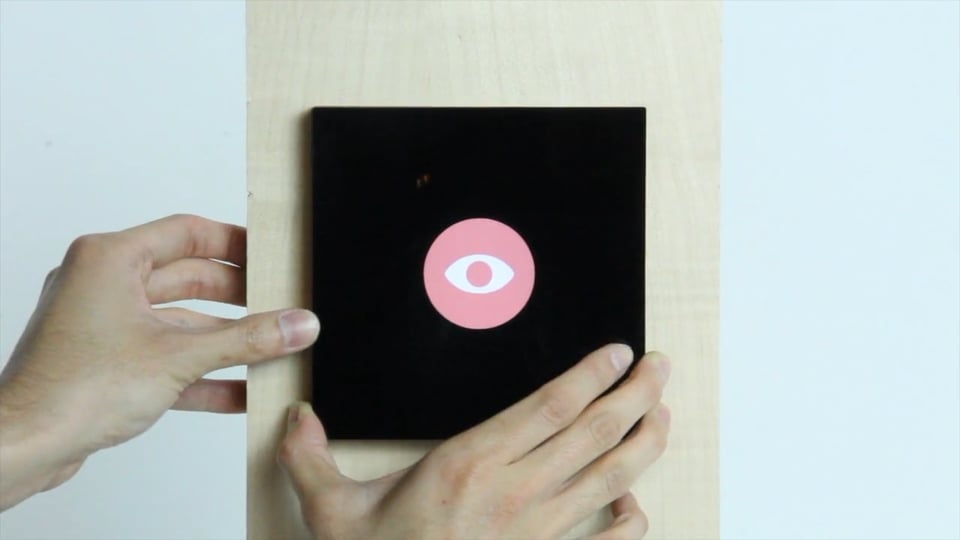
This Instructable is a revision to Reframe: turn old iPhones into wall clock or wall art! with the following benefits:
- Support for more devices: iPhone 3G/3GS, 4/4S, 5/5S
- More streamlined steps (laser-cutting only)
- Built-in hole for hanging.
Here's a back story:
If you're like me, you might have an old iPhone (or an iPod touch) sitting around collecting dust. Think about it, the device is a completely functional super-advanced mini-computer with a wonderful screen, speakers, microphones, and a ton of sensors built in. I set out to find an elegant way to repurpose them, and one solution I found is this: building a “frame” around it — I call it “The Reframe.”
While the possibilities with what you can do with the Reframe is endless considering all the apps out there (or if you are so adventurous, feel free to write your own app), the few uses I found particularly compelling are: a wall clock, a piece of art (think slideshow of images, video loop, GIF display), and a weather forecast widget.
You phone has poor battery life? No problem! You leave it plugged in — just like an appliance. It draws about 2 watts (less than $3 per year). It even has a backup battery in case the power goes out!
What you need:
- One of the old Apple devices mentioned above that is functional.
- Access to a laser cutter
- Material: 1/16" acrylic sheet and 1/8" birch plywood. Sizes depend on what device model you have (see step 2).
- Wood or latex glue
- A wall with a screw to hang the Reframe on, ideally close to a power outlet
Time required: Less than 1 hour
Grab the Appropriate File
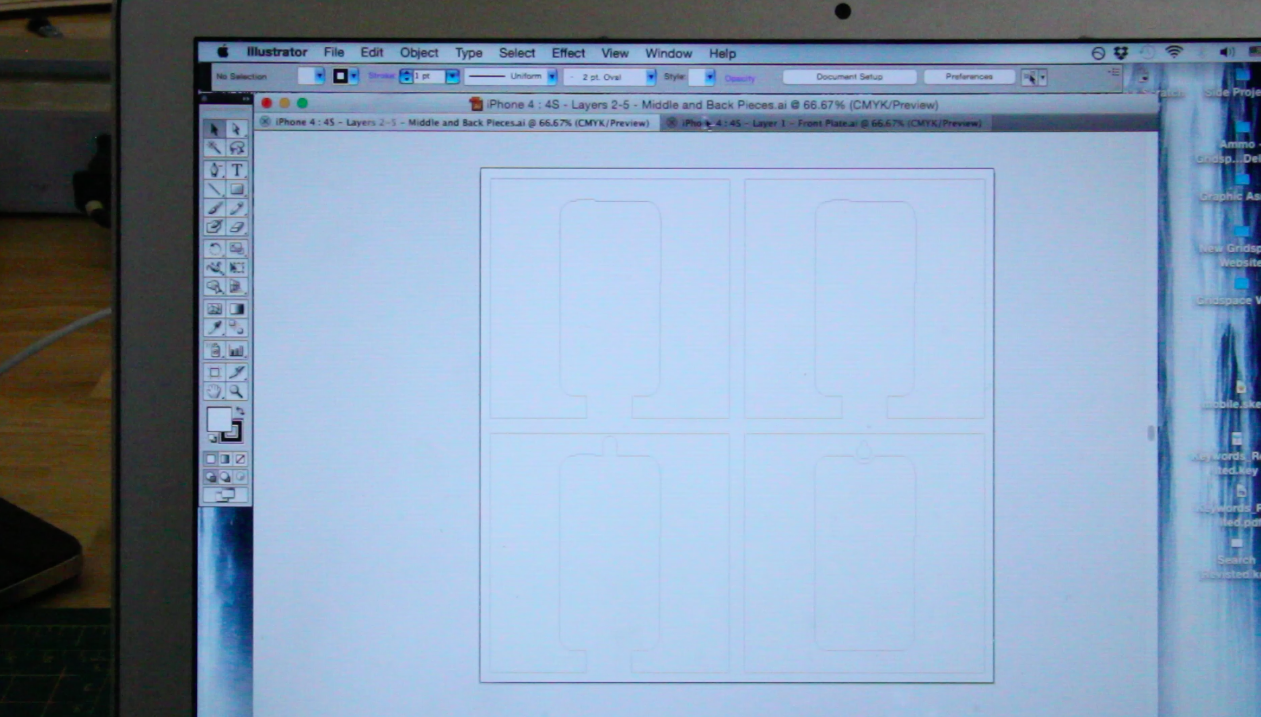
Download the appropriate laser cutter file (zipped .ai files) for the iPhone model you have:
If your device is not listed and you are so adventurous, take a stab at designing the template file yourself. I found this schematic document by Apple pretty useful: https://developer.apple.com/cases/Case-Design-Gui...
Laser-cut the Sheet Materials!
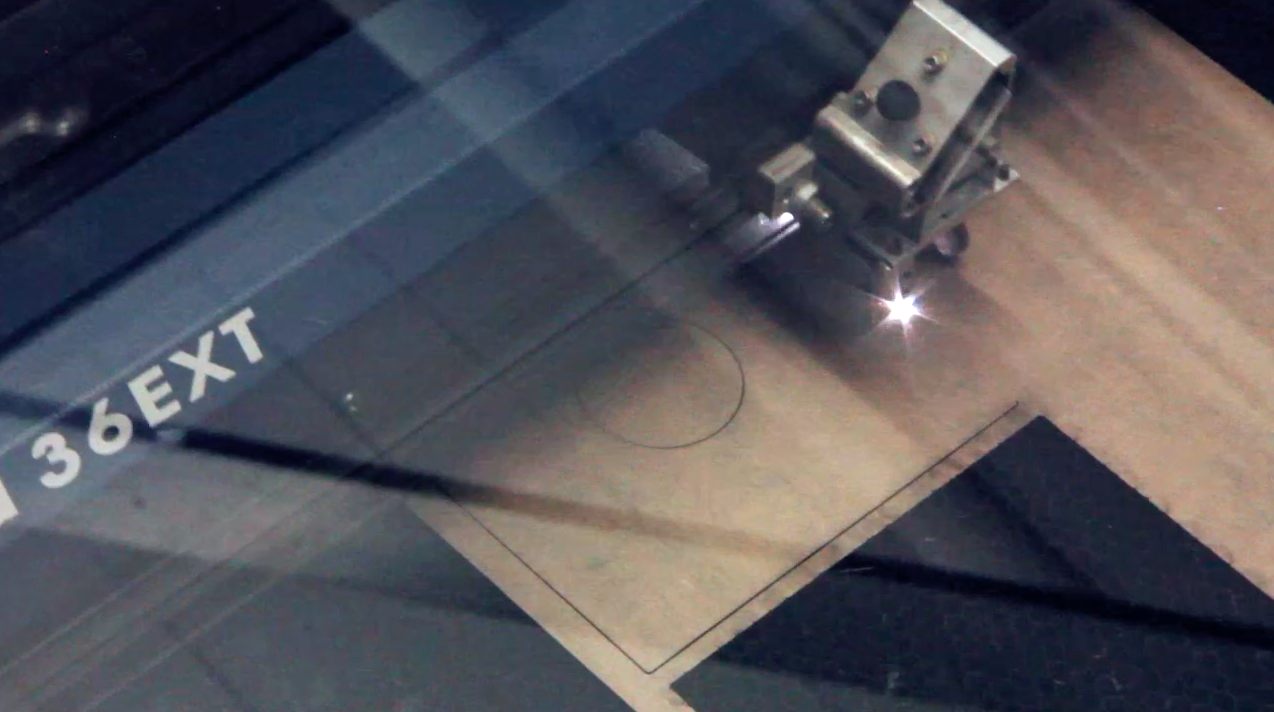
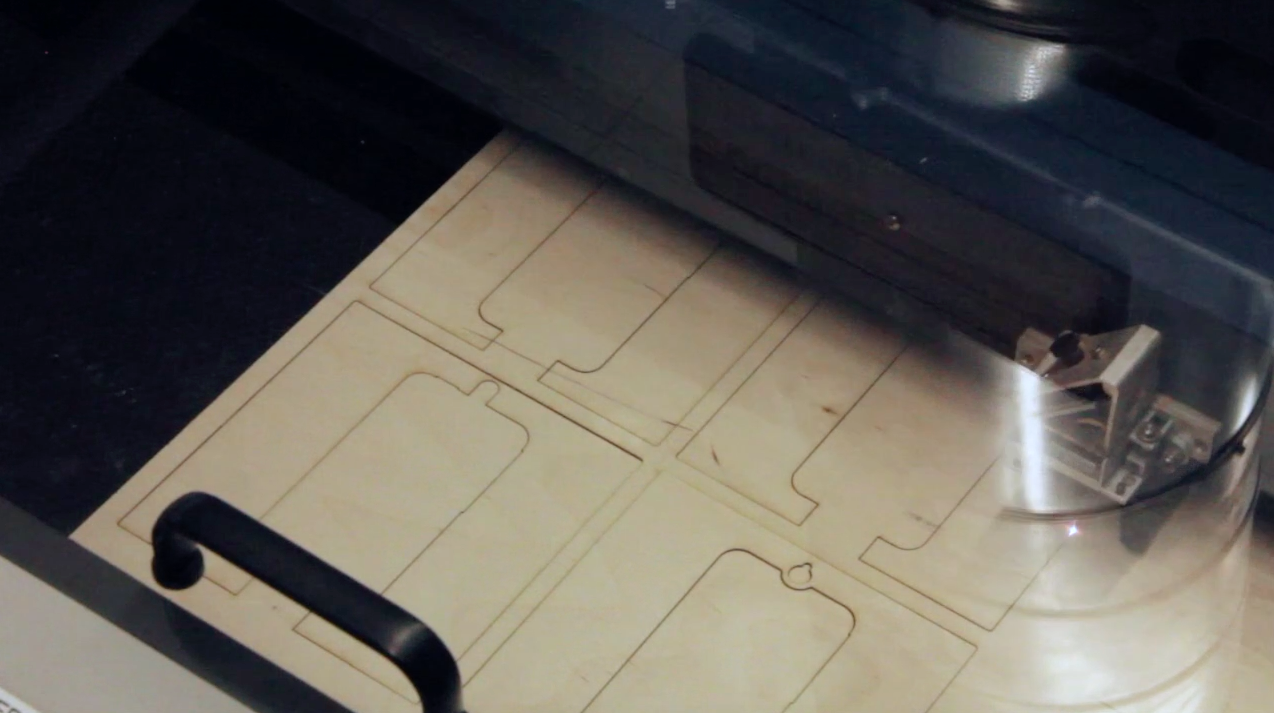
iPhone 3G / 3GS
- Cut “Layer 1 - Front Plate.ai” on a 1/16” (1.5 mm) Black Acrylic Sheet. The cut area is roughly 6” x 6”.
- Cut “Layers 2-6 - Middle and Back Pieces.ai” on 1/8” (3 mm) Birch Plywood. The cut area is roughly 18” W x 12” H
iPhone 4 / 4S
- Cut “Layer 1 - Front Plate.ai” on a 1/16” (1.5 mm) Black Acrylic Sheet. The cut area is roughly 6” x 6”
- Cut “Layers 2-5 - Middle and Back Pieces.ai” on 1/8” (3 mm) Birch Plywood. The cut area is roughly 12” W x 12” H
iPhone 5 / 5S
- Cut “Layers 1-2.ai” on a 1/16” (1.5 mm) Black Acrylic Sheet. The cut area is roughly 13” x 7”
- Cut “Layers 3-5.ai” on 1/8” (3 mm) Birch Plywood. The cut area is roughly 20” W x 7” H
The 1/16" black acrylic sheet should be available at TAP Plastics or from various vendors online, for example: https://www.inventables.com/technologies/black-ac...
The 1/8" birch plywood sheet should be available at most home improvement and art supply stores, or from various vendors online, for example:
https://www.inventables.com/technologies/baltic-bi...
Feel free to get creative with the materials selection. Besides the thicknesses, my only suggestion is that the front faceplate should be opaque (non-transparent).
Note: The speed / power / frequency of the laser cutter varies from machine to machine, but for your reference, I used the Epilog Legend 36EXT 120W laser cutter. The setting for the 1/16” acrylic sheet was Speed 20 / Power 70 / Frequency 5000. And the setting for the 1/8” birch plywood was Speed 25 / Power 90 / Frequency 500.
Glue the Pieces Up!
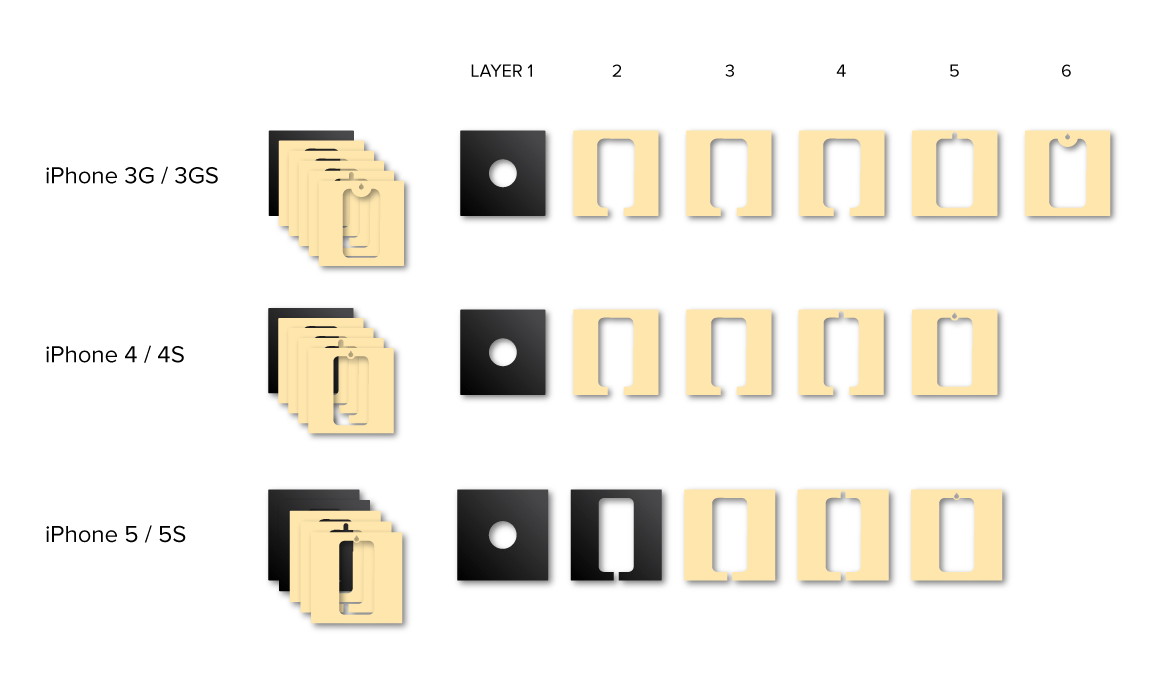
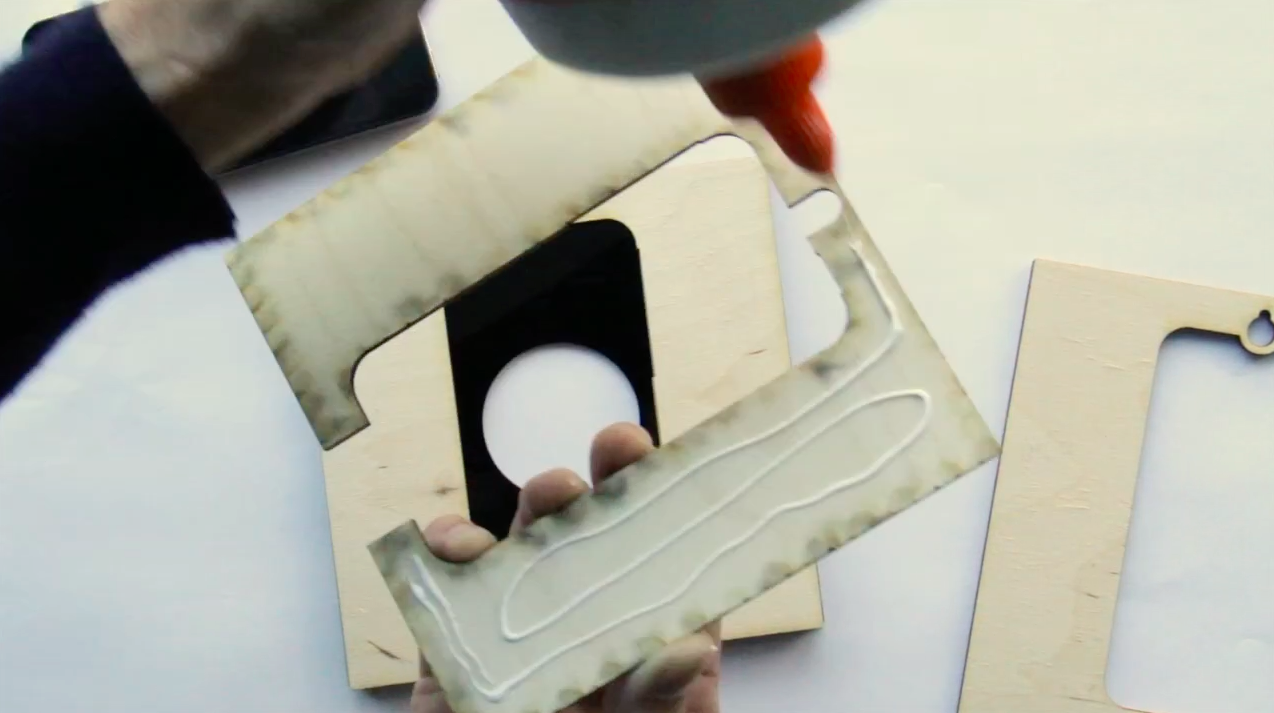
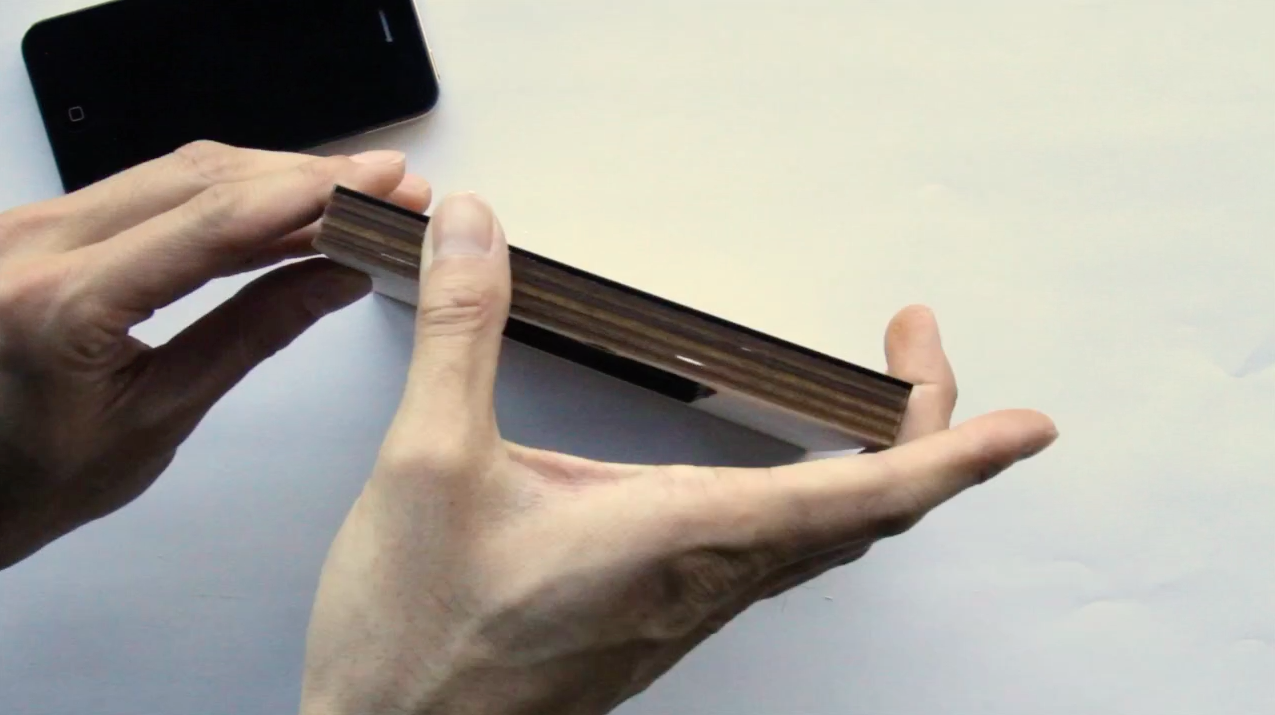
See the above diagram on which layers go on top of each other. If you're confused or unsure, stack the pieces up and test the fit with the phone first before gluing.
Elmer's glue or wood glue works great. Apply the glue sparingly to avoid excess glue seeping off the edges. If that happens, wipe off any excess glue with wet towel. As the glue begin to dry, insert the phone to make sure it fits, and try to make the edges of the layers line up on all sides as much as you can. Clamps or big butterfly clips can help a bit, but make sure to keep the edges lined up!
Pro tip: not removing the paper that covers the acrylic (except for the frontmost faceplate) reduces the chances of the acrylic to come off the wooden pieces.
Change IOS Settings, Download & Launch Apps
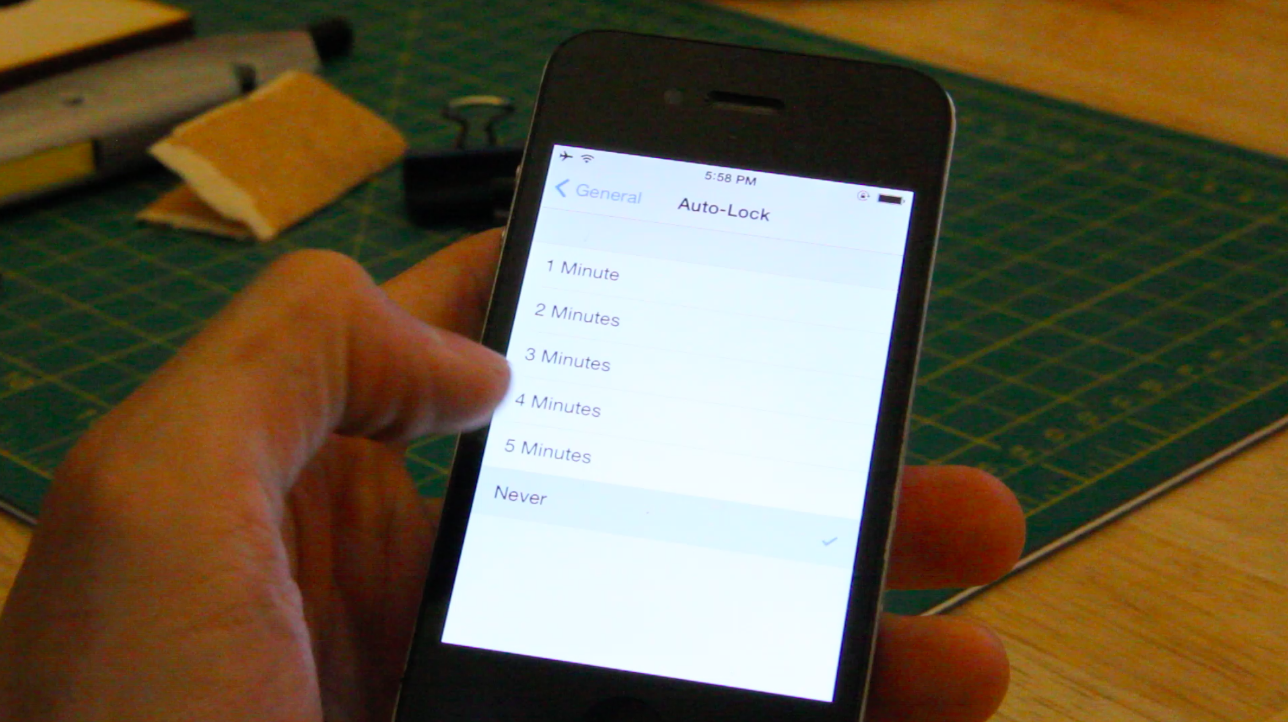
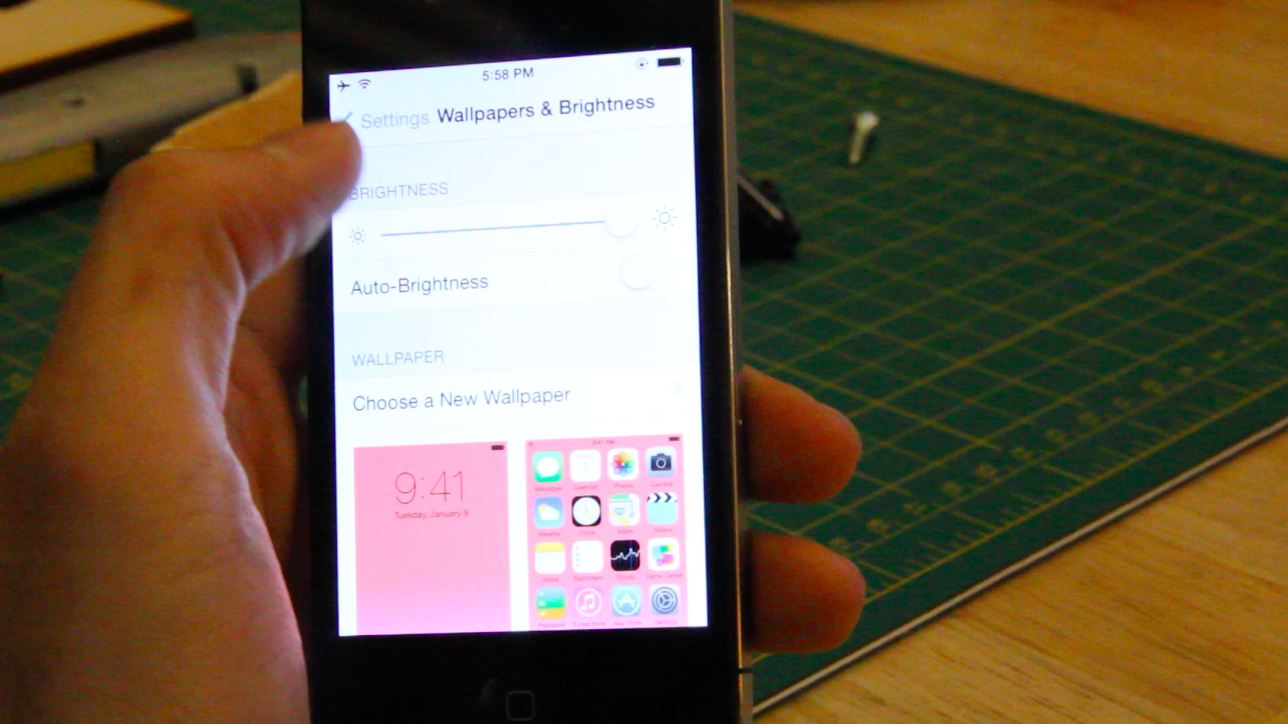
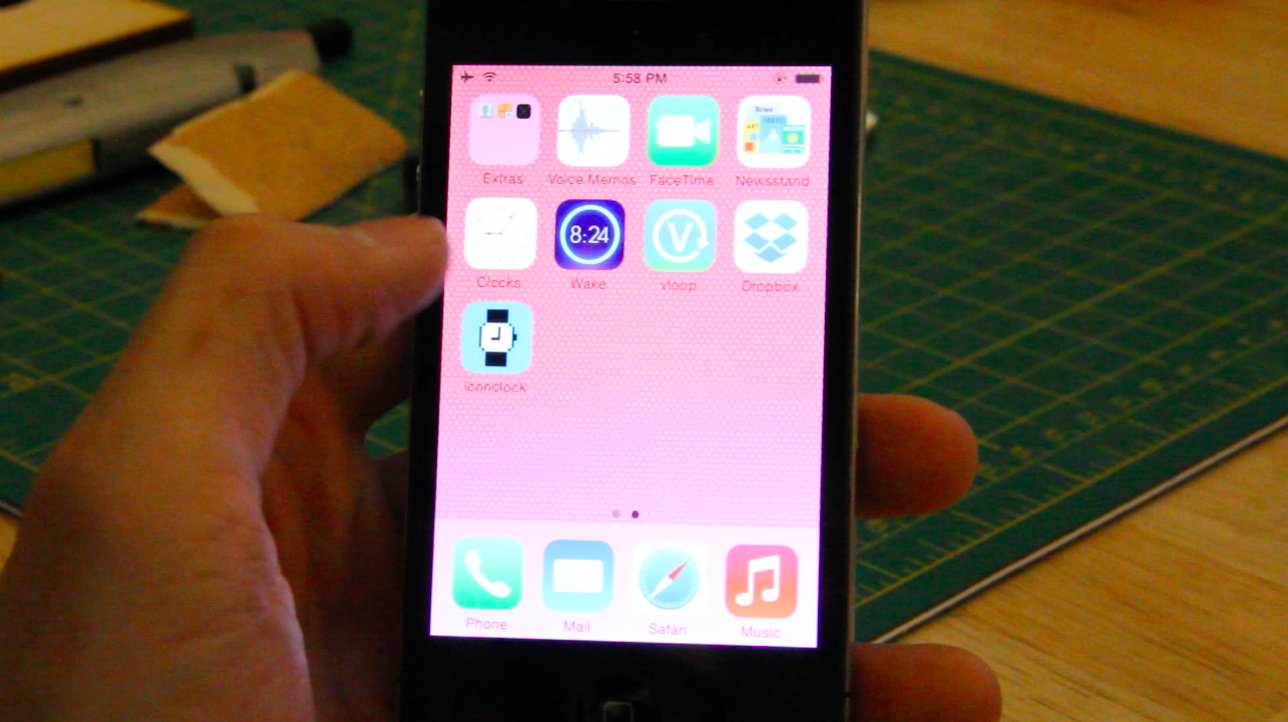
On your iPhone, go to Settings > General > Auto-Lock > Never. This will prevent the phone from ever turning off. Also, under Settings > Display & Brightness, be sure to turn off Auto-Brightness and set the level of brightness you want.
Here are some ideas for apps you can run on the Reframe:
1. Use it to run an animated GIF!
- This get you the most bang for your effort! Simply look up a cool GIF on the internet that you want to display, copy the .gif link file (i.e. http://45.media.tumblr.com/92b598b679c5ab1699bd68...
- Go to bit.ly to shorten the URL into something easy to type.
- Enter the bit.ly URL into Safari on your iPhone. Try these examples:
- Pinch to zoom in/out as appropriate so that it looks good through the circular faceplate.
- The only small catch is that the GIF playback might be a little bit sluggish on iPhone 3G.
2. Use it to display a slideshow of photos (i.e. family photos)
- Sync the photos from iPhoto to the Photos app via iTunes
- Launch the Photos app and run a slideshow.
- Additionally, you can edit timing, repeat, and shuffling options under Settings > Photos & Camera.
3. Use it to display time
- with your iPhone connected to the internet, go to the App Store and download a clock app.
- I found the Wake Alarm Clock - Free app to be the most elegant of all. The paid version has a different color ring. Update: this app now only works with iPhone 4.
4. Use it to display video
- Try this free app called vloop. It’s not the best interface, but it's free and does the job.
- Because of the way files work between your computer and i-devices, you might have to upload your video onto dropbox, then download it onto your device using the dropbox app in order to get it to view on vloop.
You're in luck if you have iPhone 4S or above, but for older devices, certain apps won't work and iOS can't be updated to newer versions. I find the website http://www.findoldapps.com super useful for finding apps for these old devices, for example, here are some decent and apps that would work with old devices:
iOS 7.1.2 (iPhone 4)
- icon clock (free) https://itunes.apple.com/us/app/iconclock/id30454...
- wake alarm clock (free) https://itunes.apple.com/us/app/wake-alarm-clock/...
- vloop (free) https://itunes.apple.com/us/app/cwgs-video-loop-p...
- gif viewer (free) https://itunes.apple.com/us/app/gif-viewer-animat...
iOS 6.1.6 (iPhone 3GS)
- Haze ($2.99) https://itunes.apple.com/us/app/haze/id594476963?m...
- black clock ($4.99) https://itunes.apple.com/us/app/black-clock/id335...
iOS 4.2.1 (iPhone 3G)
- Light Pixel (free) https://itunes.apple.com/us/app/light-pixel/id468...
- ryclock (free) https://itunes.apple.com/us/app/ryclock/id3345547...
Hang It Up & Done!
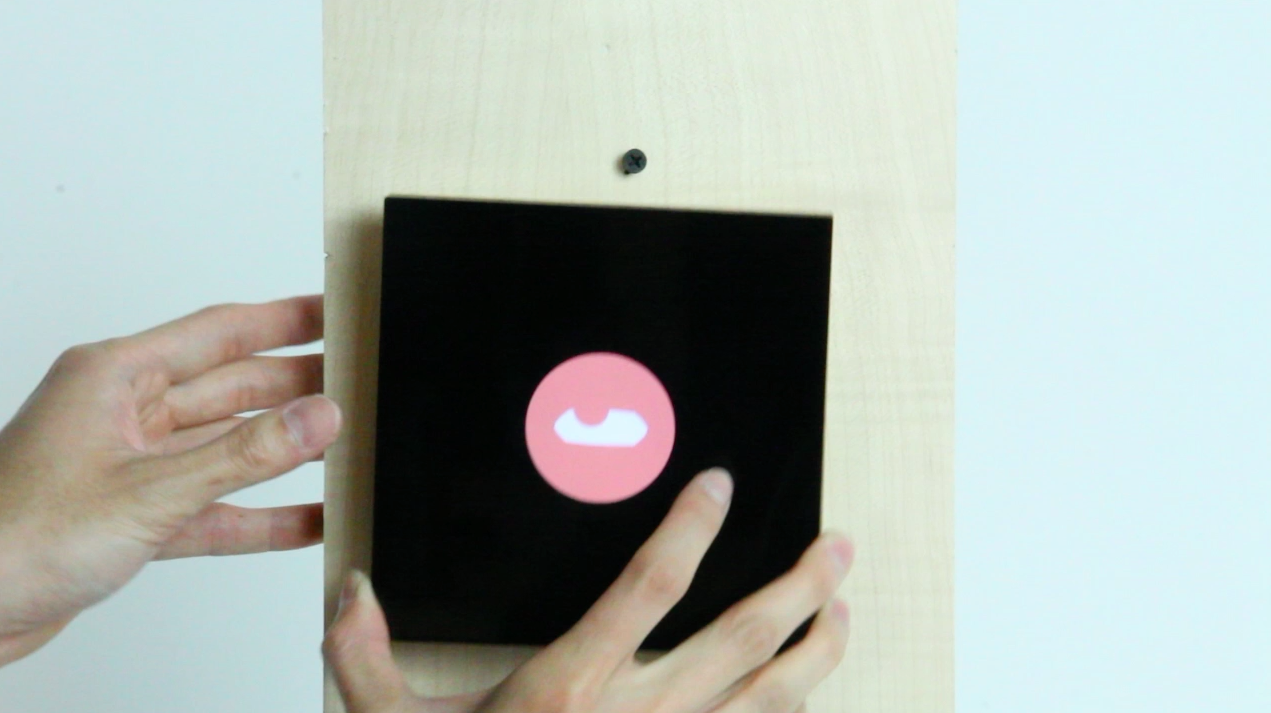
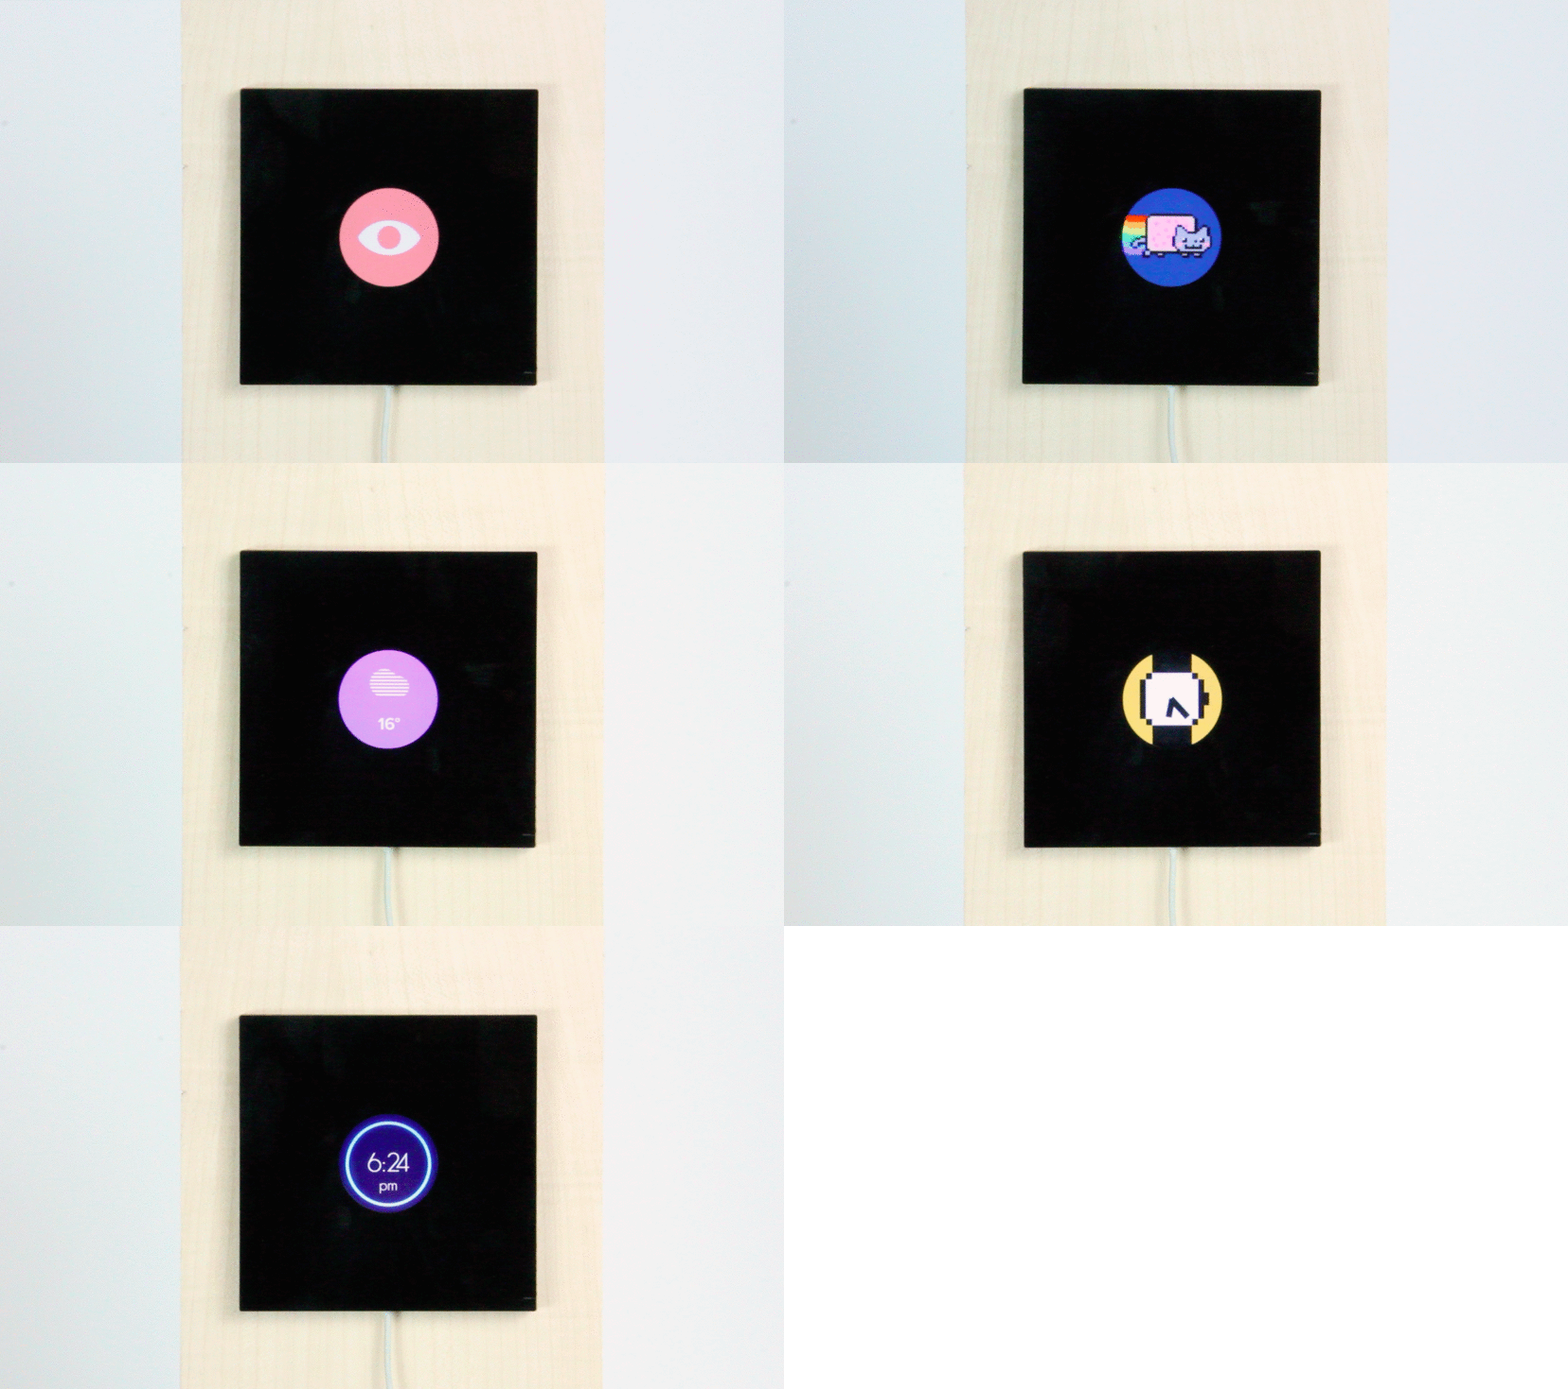
Finally, place the iPhone with the desired app loaded into the frame. Plug in the 30-pin or lightning connector. Insert a small piece of cardboard/paper/shim near the connector to hold the phone tightly in place. Plug USB into the adapter and the outlet. Hang the Reframe up. And done!
Let me know in the comments how it turns out for you (there's also the "I made it!" button) or if you have any suggestions for apps!
PS: Here is a treasure chest of GIF art that can be displayed on the Reframe!
- http://bigblueboo.tumblr.com
- http://patakk.tumblr.com
- http://www.thisiscolossal.com/2015/03/captivating-...
- http://www.thisiscolossal.com/2014/06/dizzying-geo...
- http://www.thisiscolossal.com/2013/07/hypnotic-ani...
- http://www.thisiscolossal.com/2015/08/new-hand-dra...
- http://thecreatorsproject.vice.com/blog/a-guide-to...