Reed Switch With Arduino
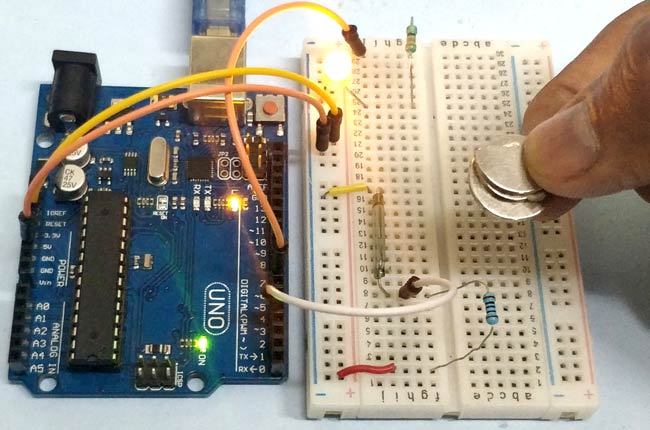
Reed switch is used in many of the real-life applications such as magnetic door switch, laptops, smartphones etc. In this instructables, we will learn about Reed Switch and guide you, how to Interface a Reed Switch with Arduino.
Things You Need

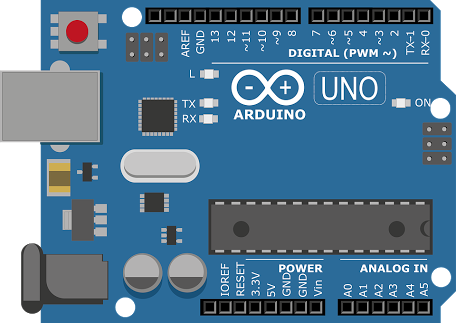
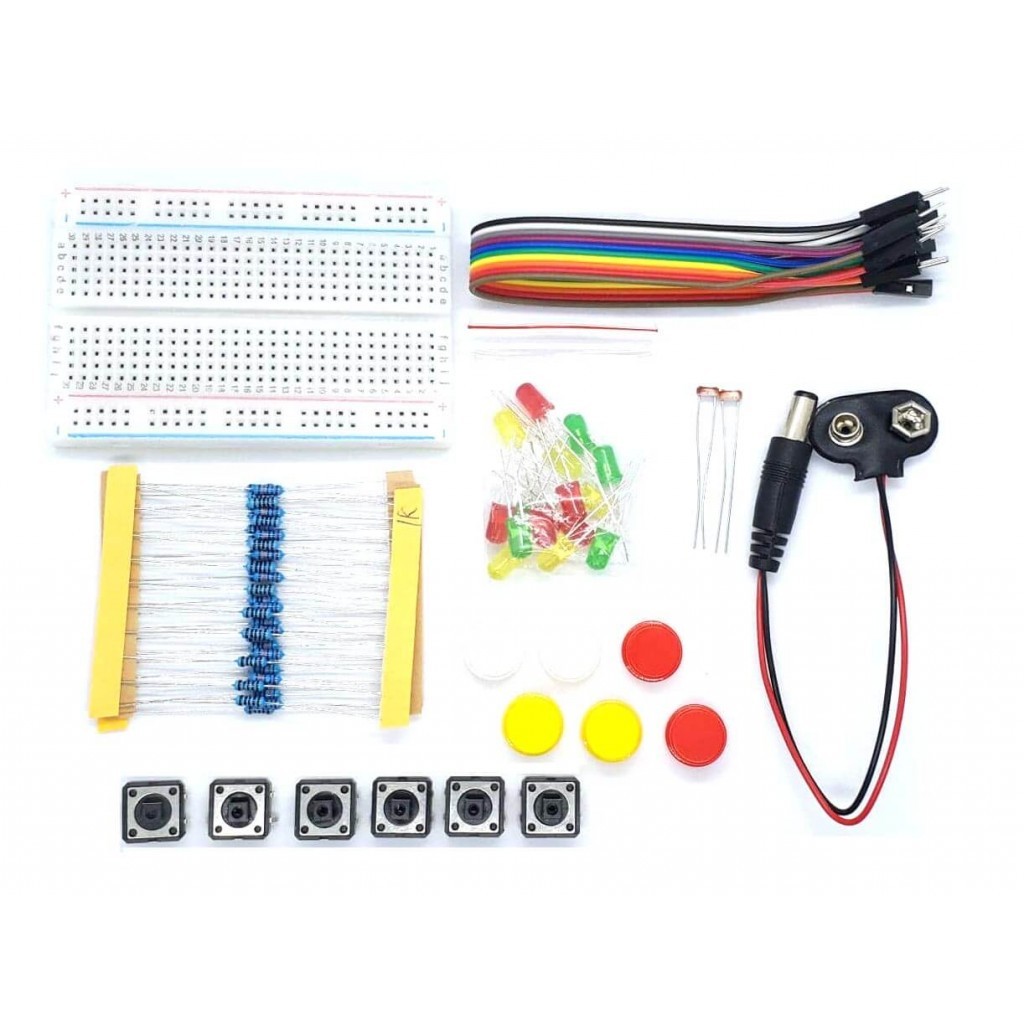
For this instructables we will need following things :
Arduino Uno
Reed switch
Resistors
LED
Magnet
Connecting wires
Breadboard
Schmatics
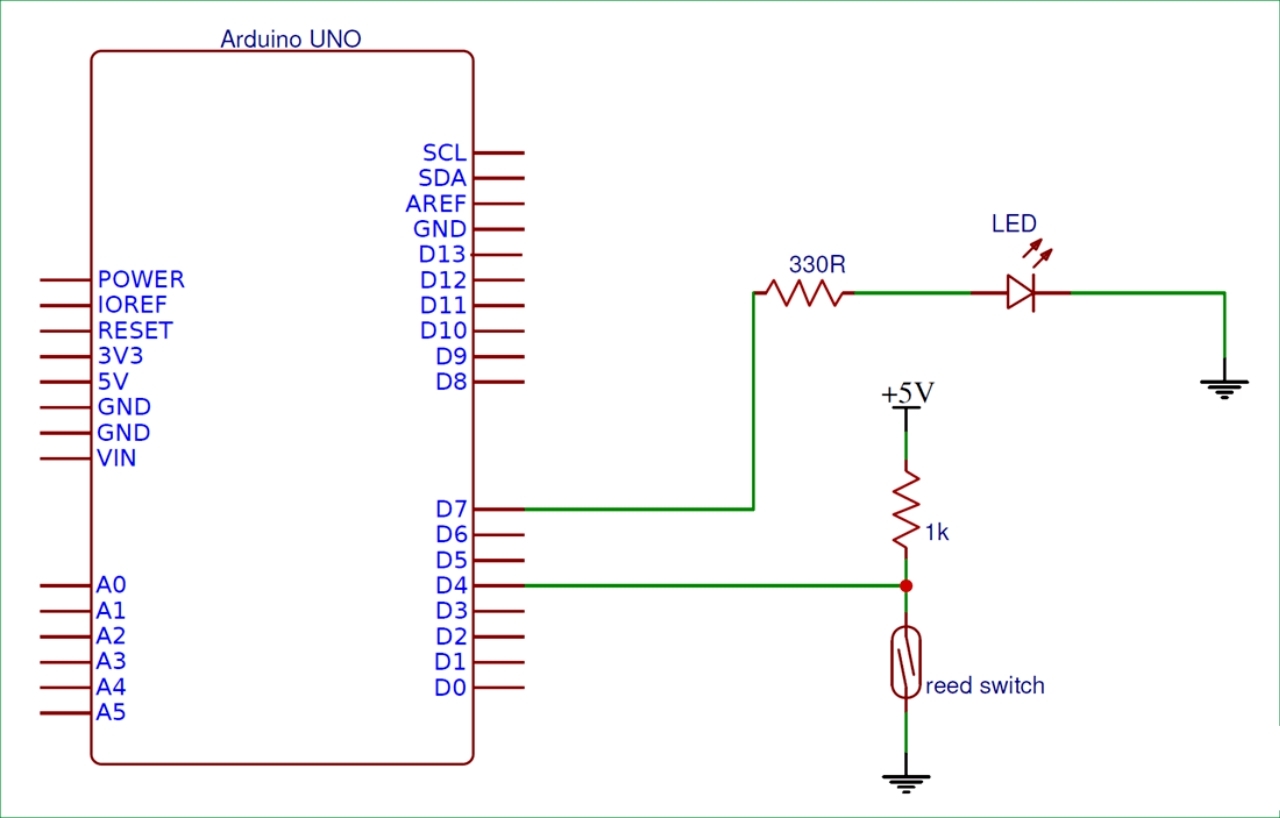
To interface reed switch with Arduino we need to build a voltage divider circuit as shown in the figure below. Voltage is +5V when the switch is open and 0V when the switch is closed. We are using a normally open reed switch in this project. Switch is closed in the presence of magnetic field and it is open in the absence of magnetic field.
Code
.jpg)
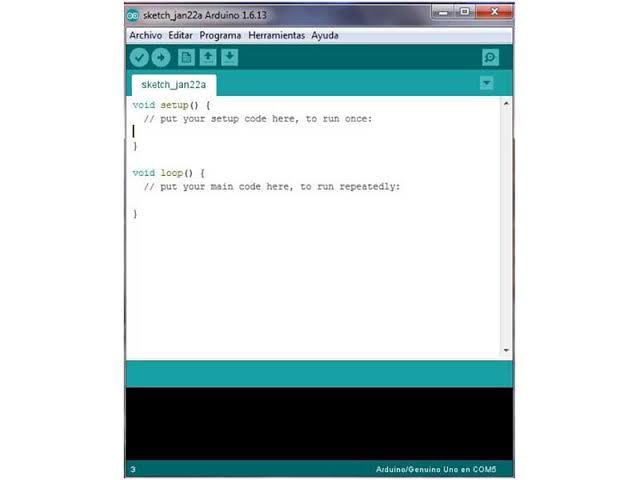
Please copy the following code and upload it to the arduino Board :
int LED = 7;
int reed_switch = 4;
int reed_status;
void setup()
{
pinMode(LED, OUTPUT);
pinMode(reed_switch, INPUT);
}
void loop()
{
reed_status = digitalRead(reed_switch);
if (reed_status == 1)
digitalWrite(LED, LOW);
else
digitalWrite(LED, HIGH);
delay(1000);
}
Reed Switch in Action
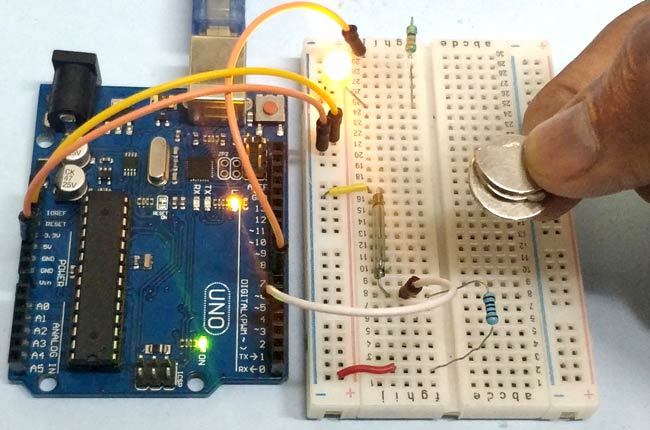
After connecting everything together and uploading the code to your arduino so whenever i put a magnet near to the reed switch it gets triggered and LED turns ON.