Reduce Your Liquid Soap Usage - FOR FREE
by denkbert in Craft > Soapmaking
33311 Views, 43 Favorites, 0 Comments
Reduce Your Liquid Soap Usage - FOR FREE

Liquid soap has many advantages over "normal" soap - it smells better, is a bit cheaper (depends on where and what sort of liquid soap you buy), easier to use and, to a certain degree, more hygienic than sharing the same piece of soap with several other people (if you live in a dorm, for example).
It does have a disadvantage, though: If you mindlessly push the dispenser head too far down, you get way more soap than you actually need. A third or a quarter of that amount is normally sufficient to clean you hands - that is, if you don't have bucket-wheel excavator-sized hands.
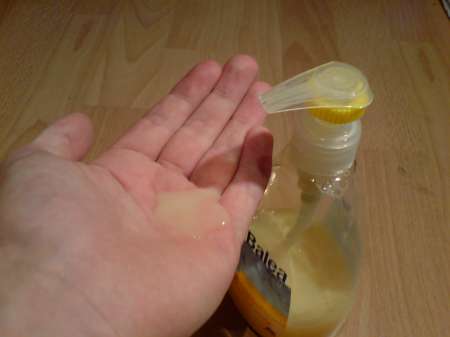
I've modified my soap dispenser a little bit in order to limit the dispensed amount to this sufficient minimum. I didn't actually spend anything for this modification and it took me less than five minutes to finish.
Sidenote: I'm not a native english speaker, so please bear with my writing style :)
Bill of Materials


You need the following items and tools to create the soap dispenser modification:
- the soap dispenser, of course
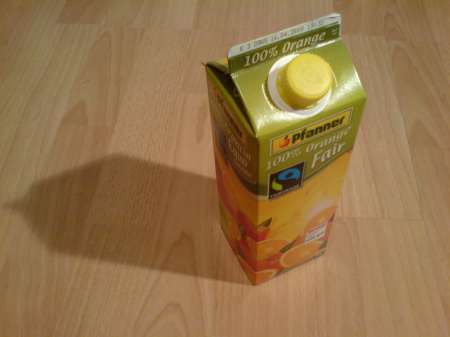
- a plastic screw-on bottlecap (I recommend the ones from tetrapack packages, their plastic is a bit softer)
- something to drill a hole in the bottlecap (I used the corkscrew of a swiss army knife)
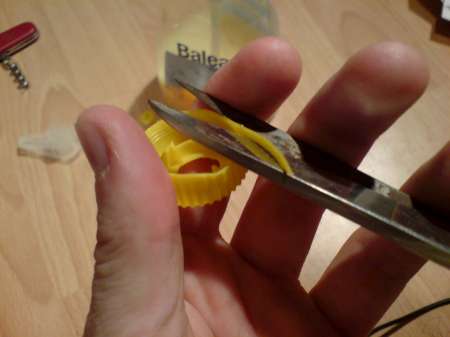
- scissors or small knives for enlarging and carving out the hole in the bottlecap
Trimming the Bottlecap


Start by making a small hole into the bottlecap. Use your knives/scissors to enlarge the hole. Be careful not to cut yourself!!
Disassemble the Dispenser


Carefully move the dispenser head. If you have problems getting it off, you may have to pull a bit stronger. I advise you to do this at a basin since it can get a bit messy when the soap leaks out.
Adjust and Mount the Bottlecap


This part took up most the five minutes. Adjust the bottlecap to your dispenser and make sure the dispenser head still fits after mounting the bottlecap.
Be CAREFUL not to make the bottlecap too small. You won't have a soap saving effect if you do.
Be CAREFUL not to make the bottlecap too small. You won't have a soap saving effect if you do.
Final Assembly


Put the dispenser head back on the bottle. Push the head down with force to make sure that it fits tight - you should do this at a basin because the dispenser is likely to spill some soap when mounting the dispenser head.
Congratulations, you have just reduced your liquid soap usage and made your soap dispenser a little bit more environment-friendly at the same time :)
Congratulations, you have just reduced your liquid soap usage and made your soap dispenser a little bit more environment-friendly at the same time :)