Recycled Tupperware/Storage Container From a Milk Jug
by MattTheMaker in Craft > Reuse
19855 Views, 307 Favorites, 0 Comments
Recycled Tupperware/Storage Container From a Milk Jug
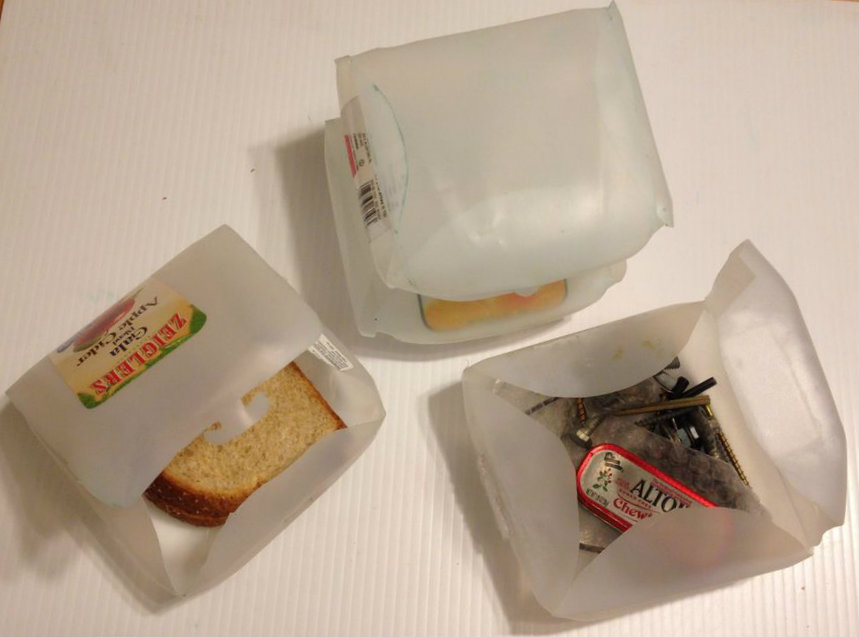

This tutorial will show you how to make a locking tupperware storage container out of everyday stuff you can find at most households. I have seen similar projects on the internet but they involved using a button or another piece to lock the lid, I wanted to keep it as simple as possible by using one piece. These little containers are great for organizing or preventing sandwiches from getting smushed.
Material:
- A milk or juice jug
Tools:
- Scissor
- Knife
- Dry erase marker
Draw the Guidelines

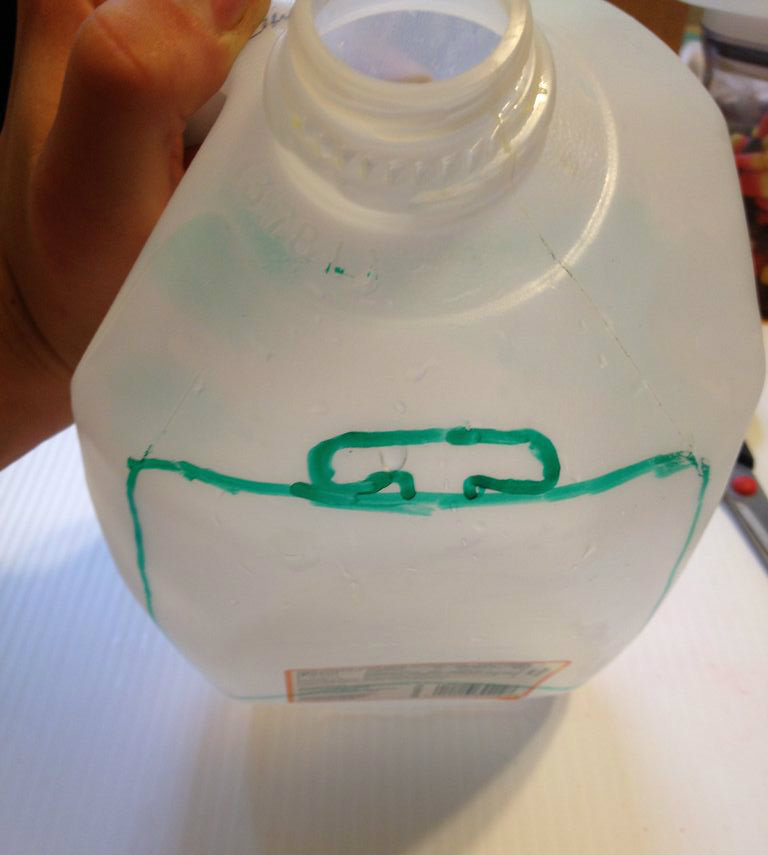
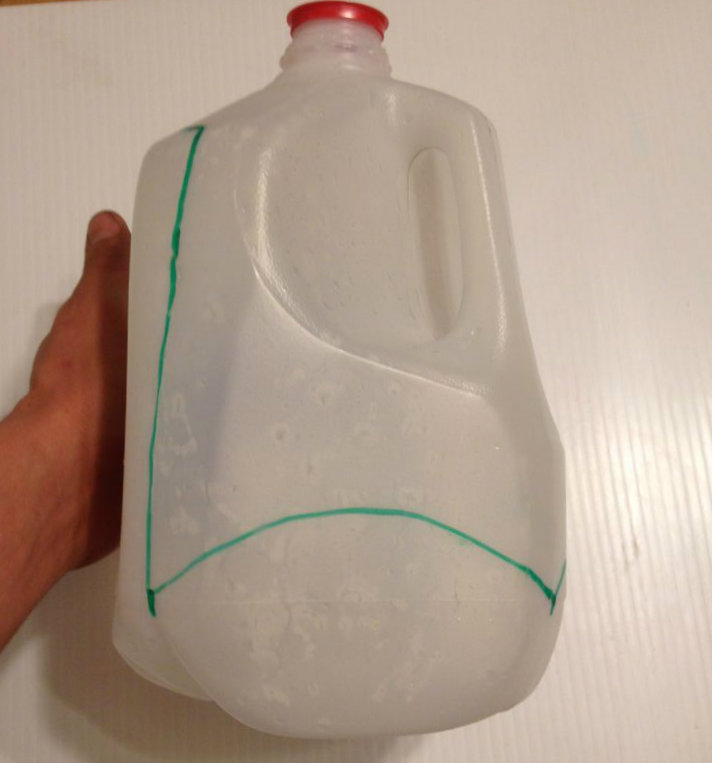
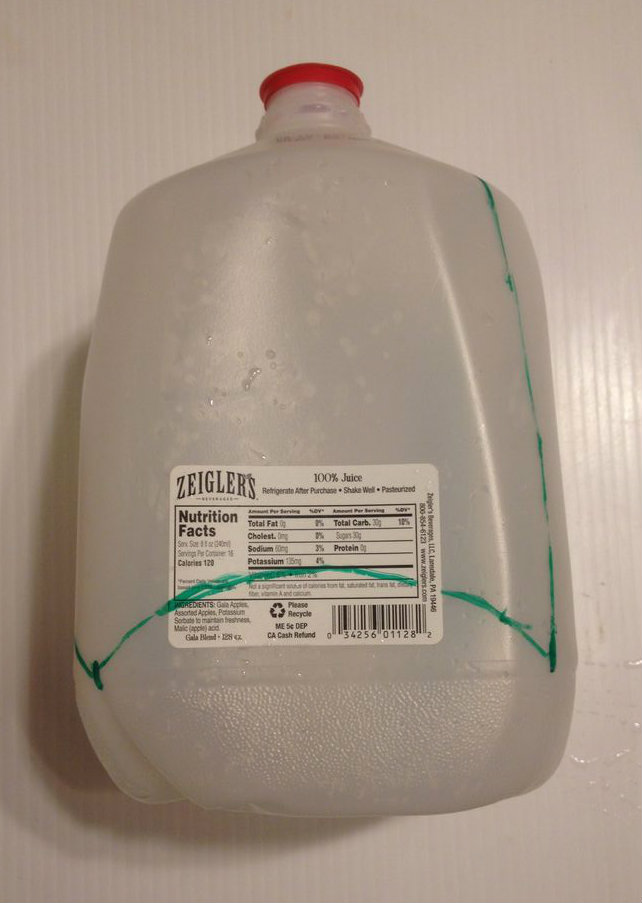
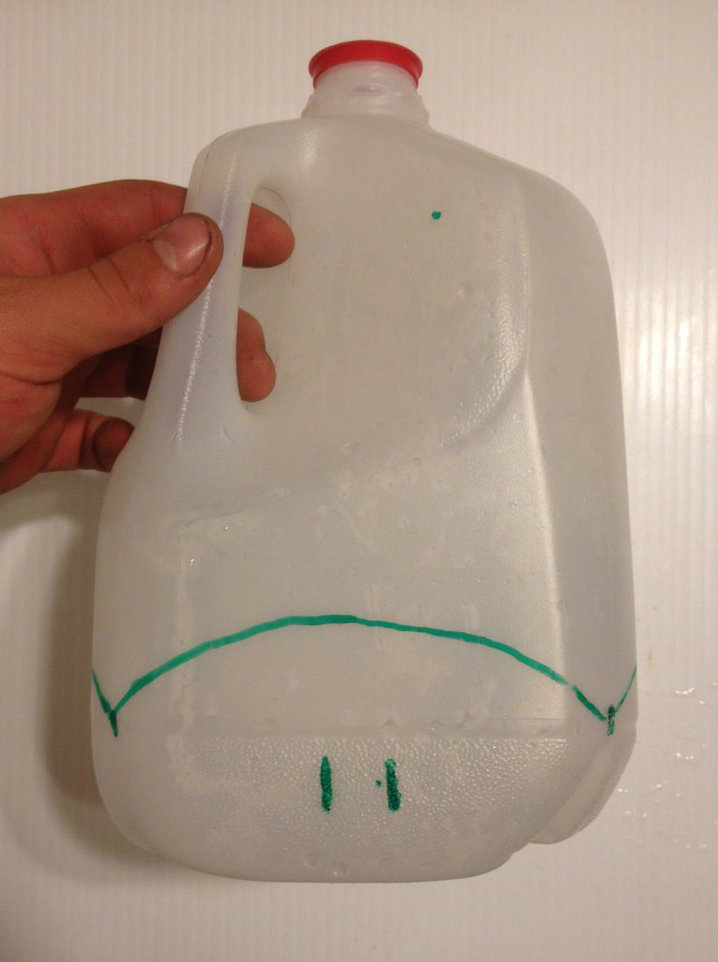

1. The 1st picture outlines the lid, this whole side will fold over after the cut. Notice the tab at the top, this will be the lock. The following picture shows a close up of the most locking successful tab.
2. The next three pictures show the arcs made between the remaining corners. These arcs will fold in once the lid is down to help hold food inside.
3. The set of parallel lines in the 5th image indicates where the slots for the locking tabs will go. You can mark this out now but I would suggest doing it after everything else is cut, that way you can make adjustments later if your tab doesn't line up with the slots.
4. To make folding easier I usually go a 1/8th of an inch or so passed where the arcs meet in the corner. The last image demonstrates this.
Cut It Out
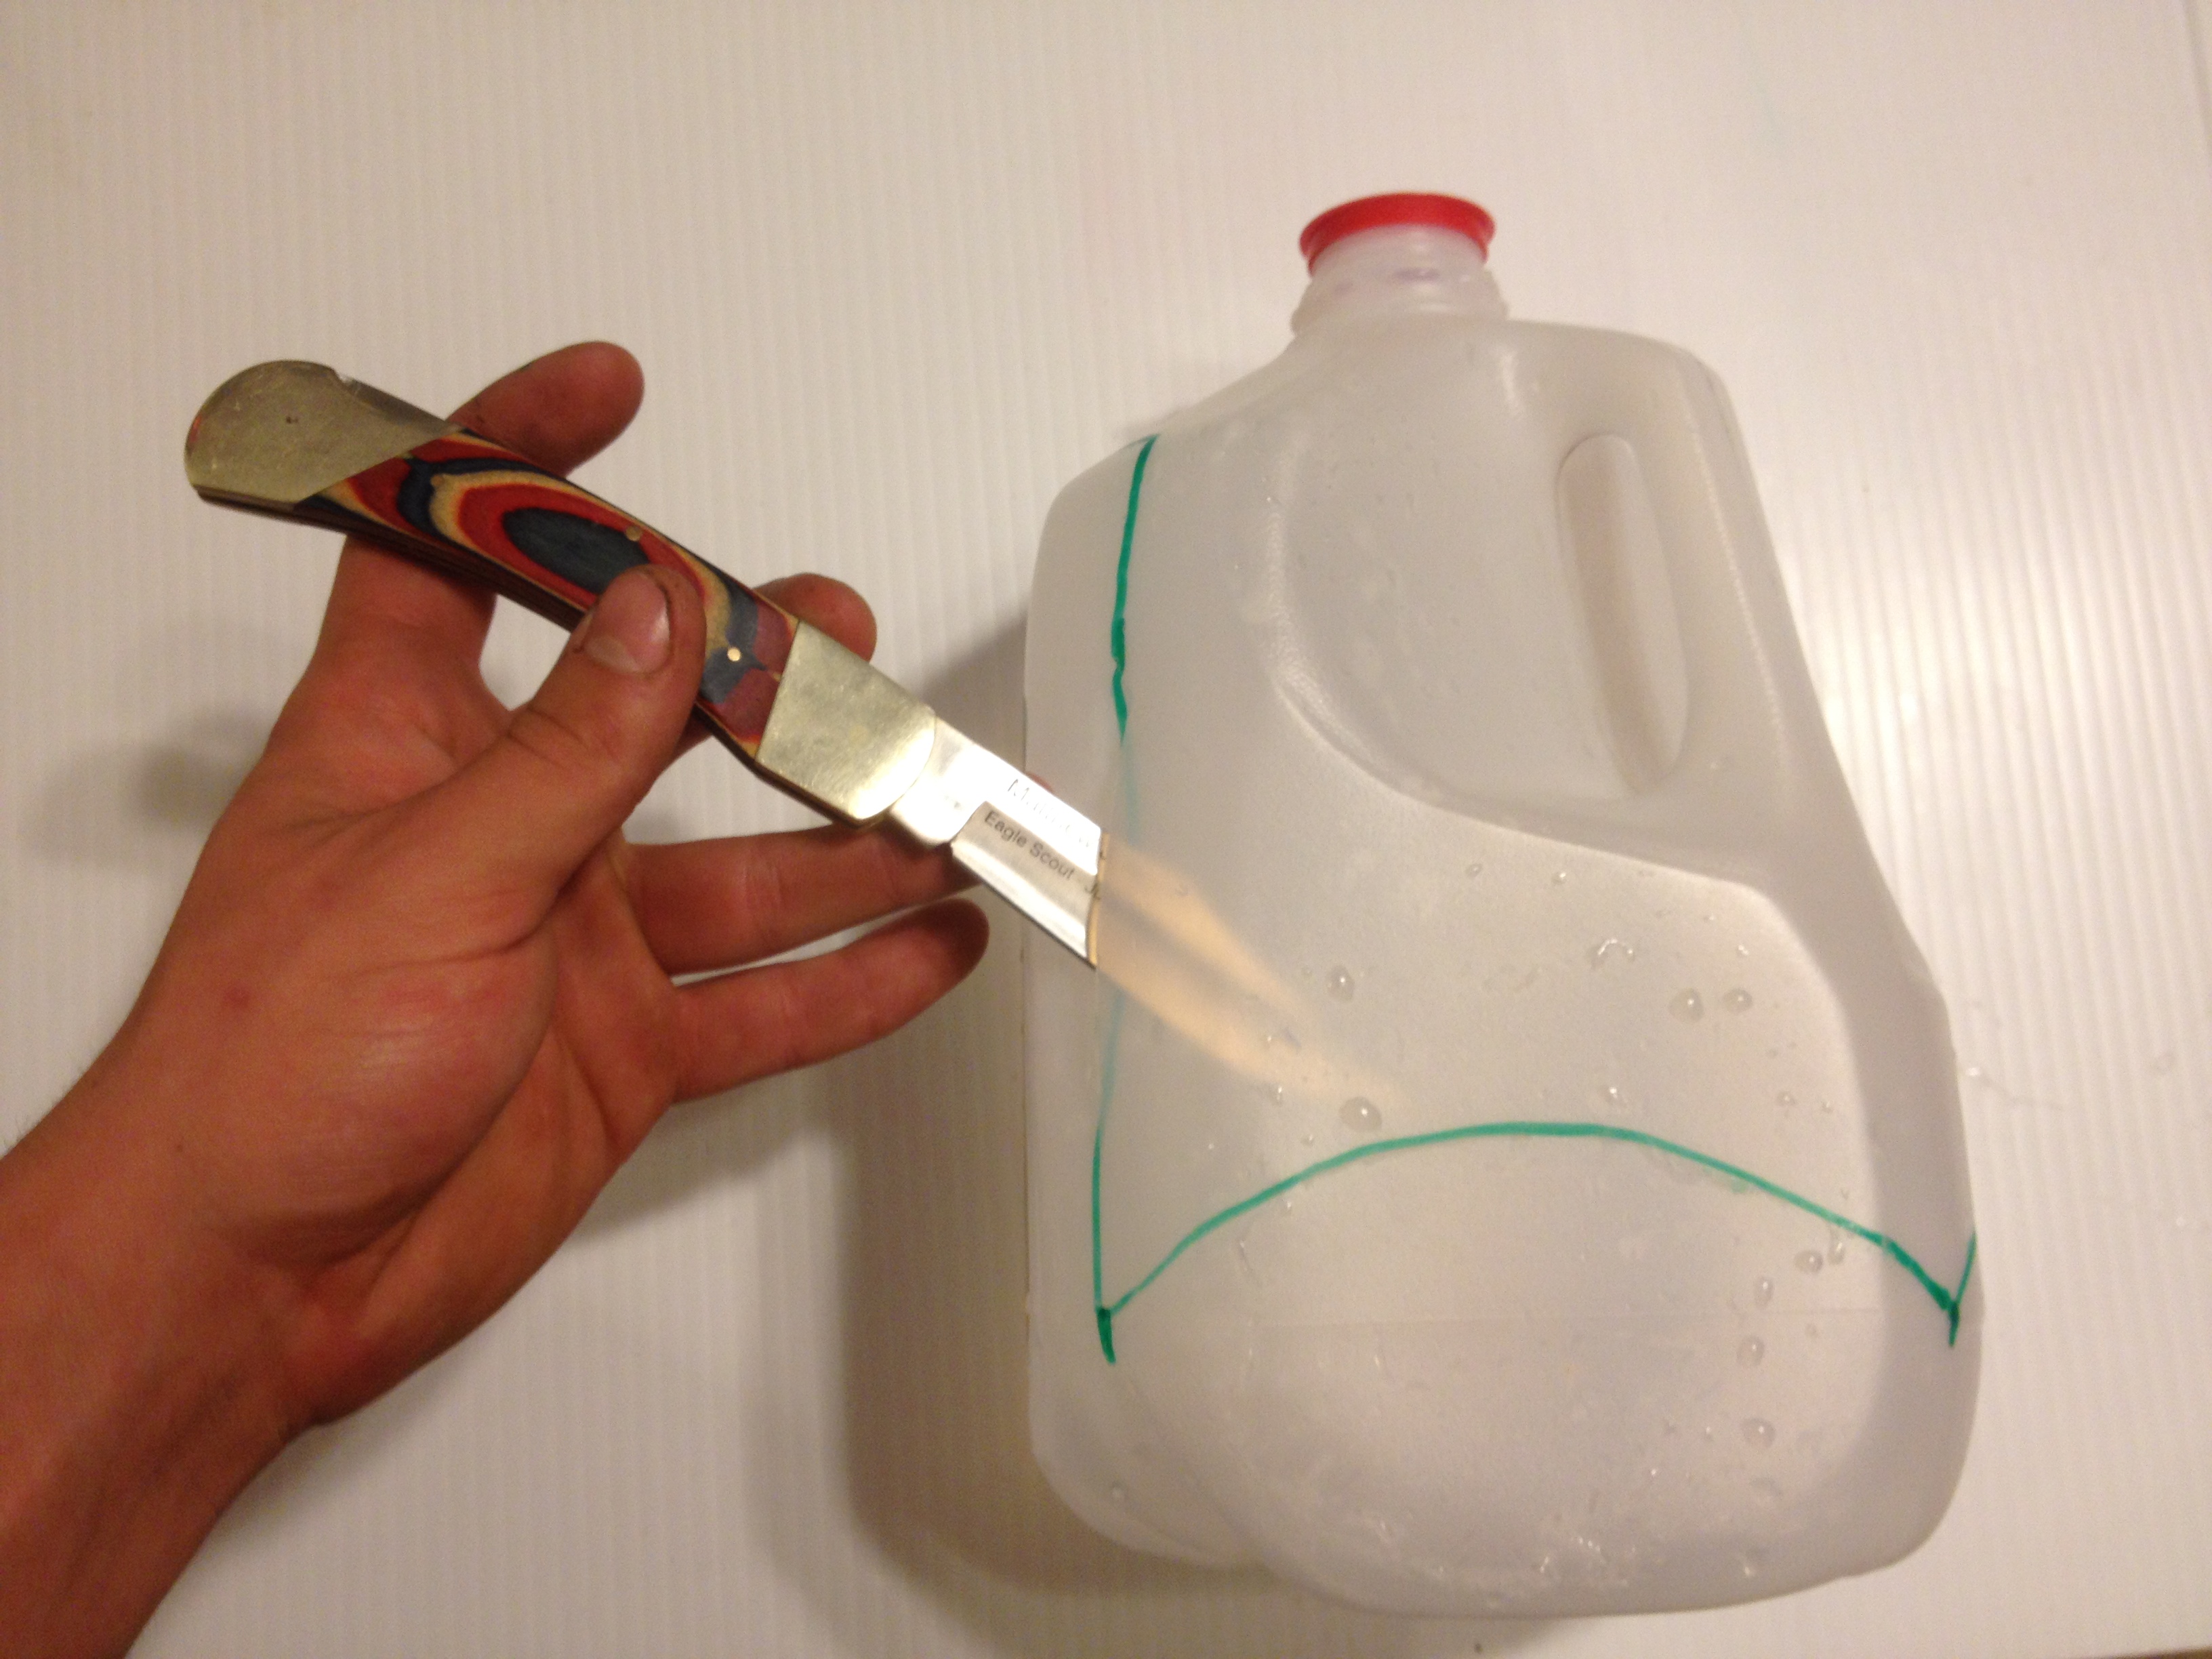


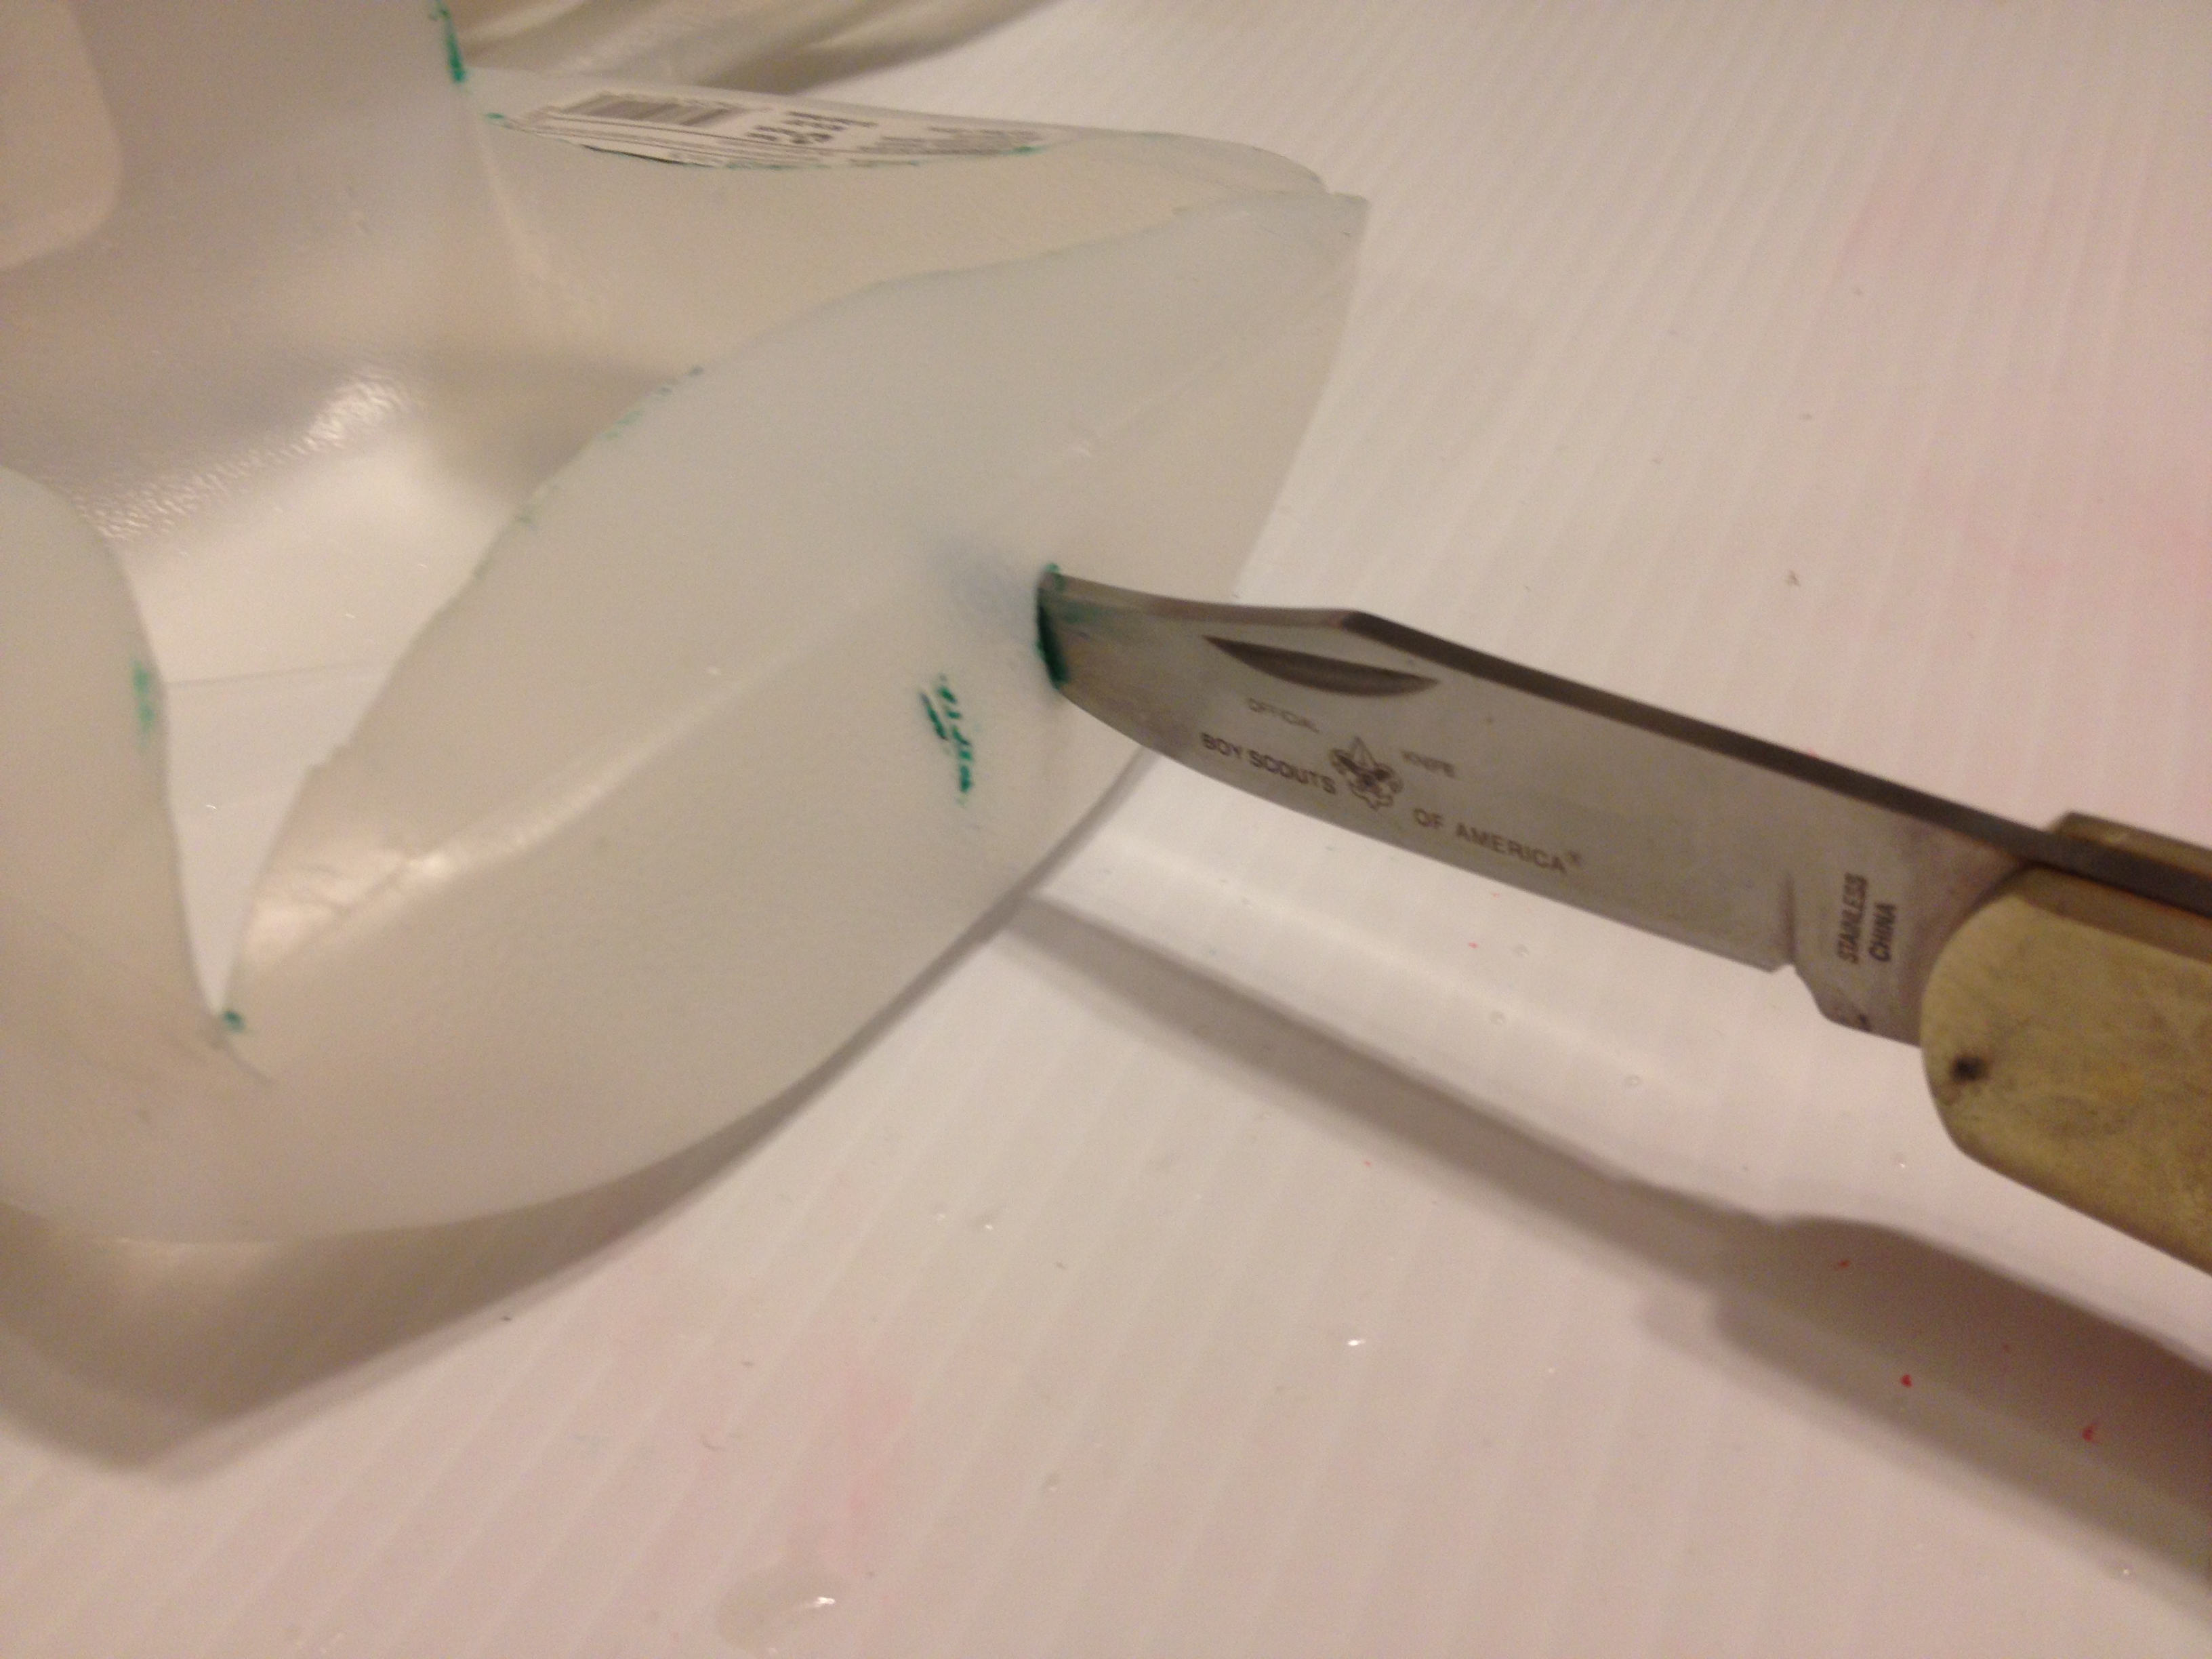
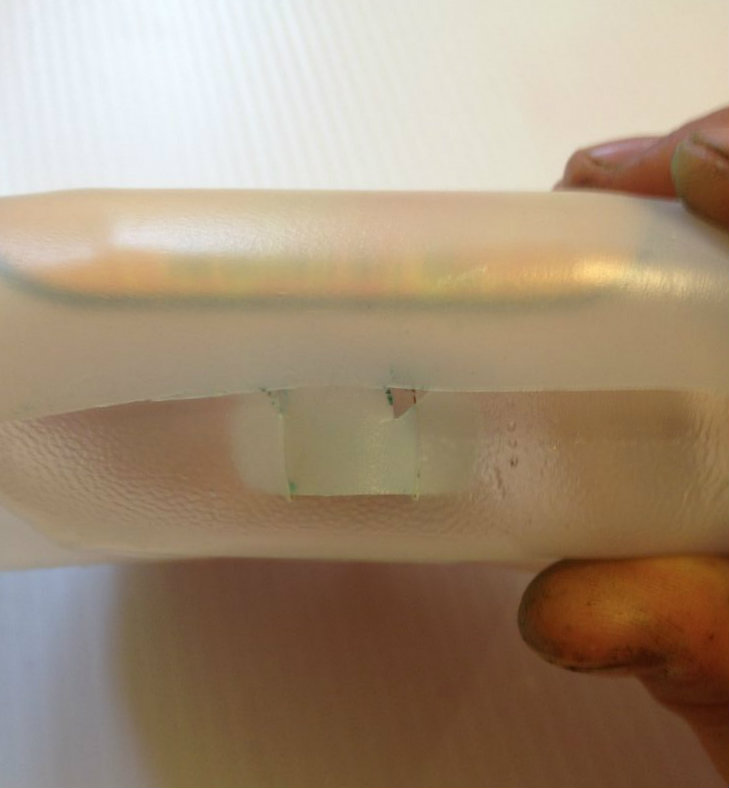
Once the lines are made your'e ready to cut it out.
1. Start by cutting into a milk jug, this is the most dangerous part so be careful and use a knife to start a small starting slit.
2. Once the slit is big enough for your scissors switch to them and cut along the rest of the lines.
3. Be extra precise when cutting out the locking tab. The little ramps or triangle which will be cut keep the tab in place.
4. Carefully and slowly cut the two slits for the locking tab by gently poking the knife through the plastic. Initially the plastic is hard to cut but once it starts going it likes to tear through quick. Please be careful not to ruin your project or your fingers!
5. Wash the remaining dry erase marker off and remove the stickers if thats your preference (I like to leave them on so it shows what there made of).
6. Use for storing/organizing sandwiches, screws, electronics components, and much more!