Recycle Plastic Grocery Bags, Wire Hangers and Newspaper Into Loons!
86475 Views, 124 Favorites, 0 Comments
Recycle Plastic Grocery Bags, Wire Hangers and Newspaper Into Loons!


You can make a loon, or any other wee beastie out of things you would normally throw out! Absolutely no harmful ingredients are used!
Did you know that well over 90% of plastic grocery bags go into landfills each year? You can do your bit to re-use and recycle them. There are the normal ways - i.e. use them again, or give them up all together by using cloth bags. However, here's one off-beat way to use them up and create something completely different! You can use them when making papier-mache loons. Of course you will need a few other rubbish things too....
Don't forget when 1 ton of plastic bags is reused or recycled, the energy equivalent of approxmately 11 barrels of oil are saved! Save the world, make loons...
I would encourage everyone to shop at grocery stores where you can bring your own bags (and maybe get 5 cents back per bag in the process!)
Things You Will Need!

Loons and other critters can be made out of things you would normally throw out, plus a few other things you will have around the house.
You will need
Lots of old newspapers
Lots of old plastic grocery bags (don't you hate these?)
One(or maybe two)nasty wire hangers from the dry cleaners
A few small pieces of cardboard from old boxes, i.e. cereal boxes, cat food boxes, or any old box you could normally recycle.
Flour, salt and water from your kitchen.
Masking tape (you probably have some lurking in the basement!
You can even use the empty roll of tape for strengthening the neck!)
A mixing bowl
Patience!
(and a few old paints and paint brushes to finish off!)
Not needed - anything harmful or toxic!
Take the Nasty Wire Coat Hanger!

Take one of those nasty wire coat hangers, that come from the dry cleaners, and twist it into a shape similar to the one in the photograph (cat audience optional!)
Take care with the pointed ends!
Note: 3.5 billion wire coat hangers from dry cleaning establishments are tossed into the landfills each year in the United States alone! They don't break down! However, you can get paper coat hangers at some dry cleaners which are made from recycled paper - go for them! They are just as strong. In the meantime, use the wire ones to make loons!
http://blog.cartelagency.com/2008/04/22/saving-the-planet-one-hanger-at-a-time/
Stuff the Bags!

Choose one of the bags to be the stuffee! Stuff the other bags inside it. The finished stuffed bag must be a bit moldable, so don't stuff the life out of it!
Stuff the Coat Hanger!
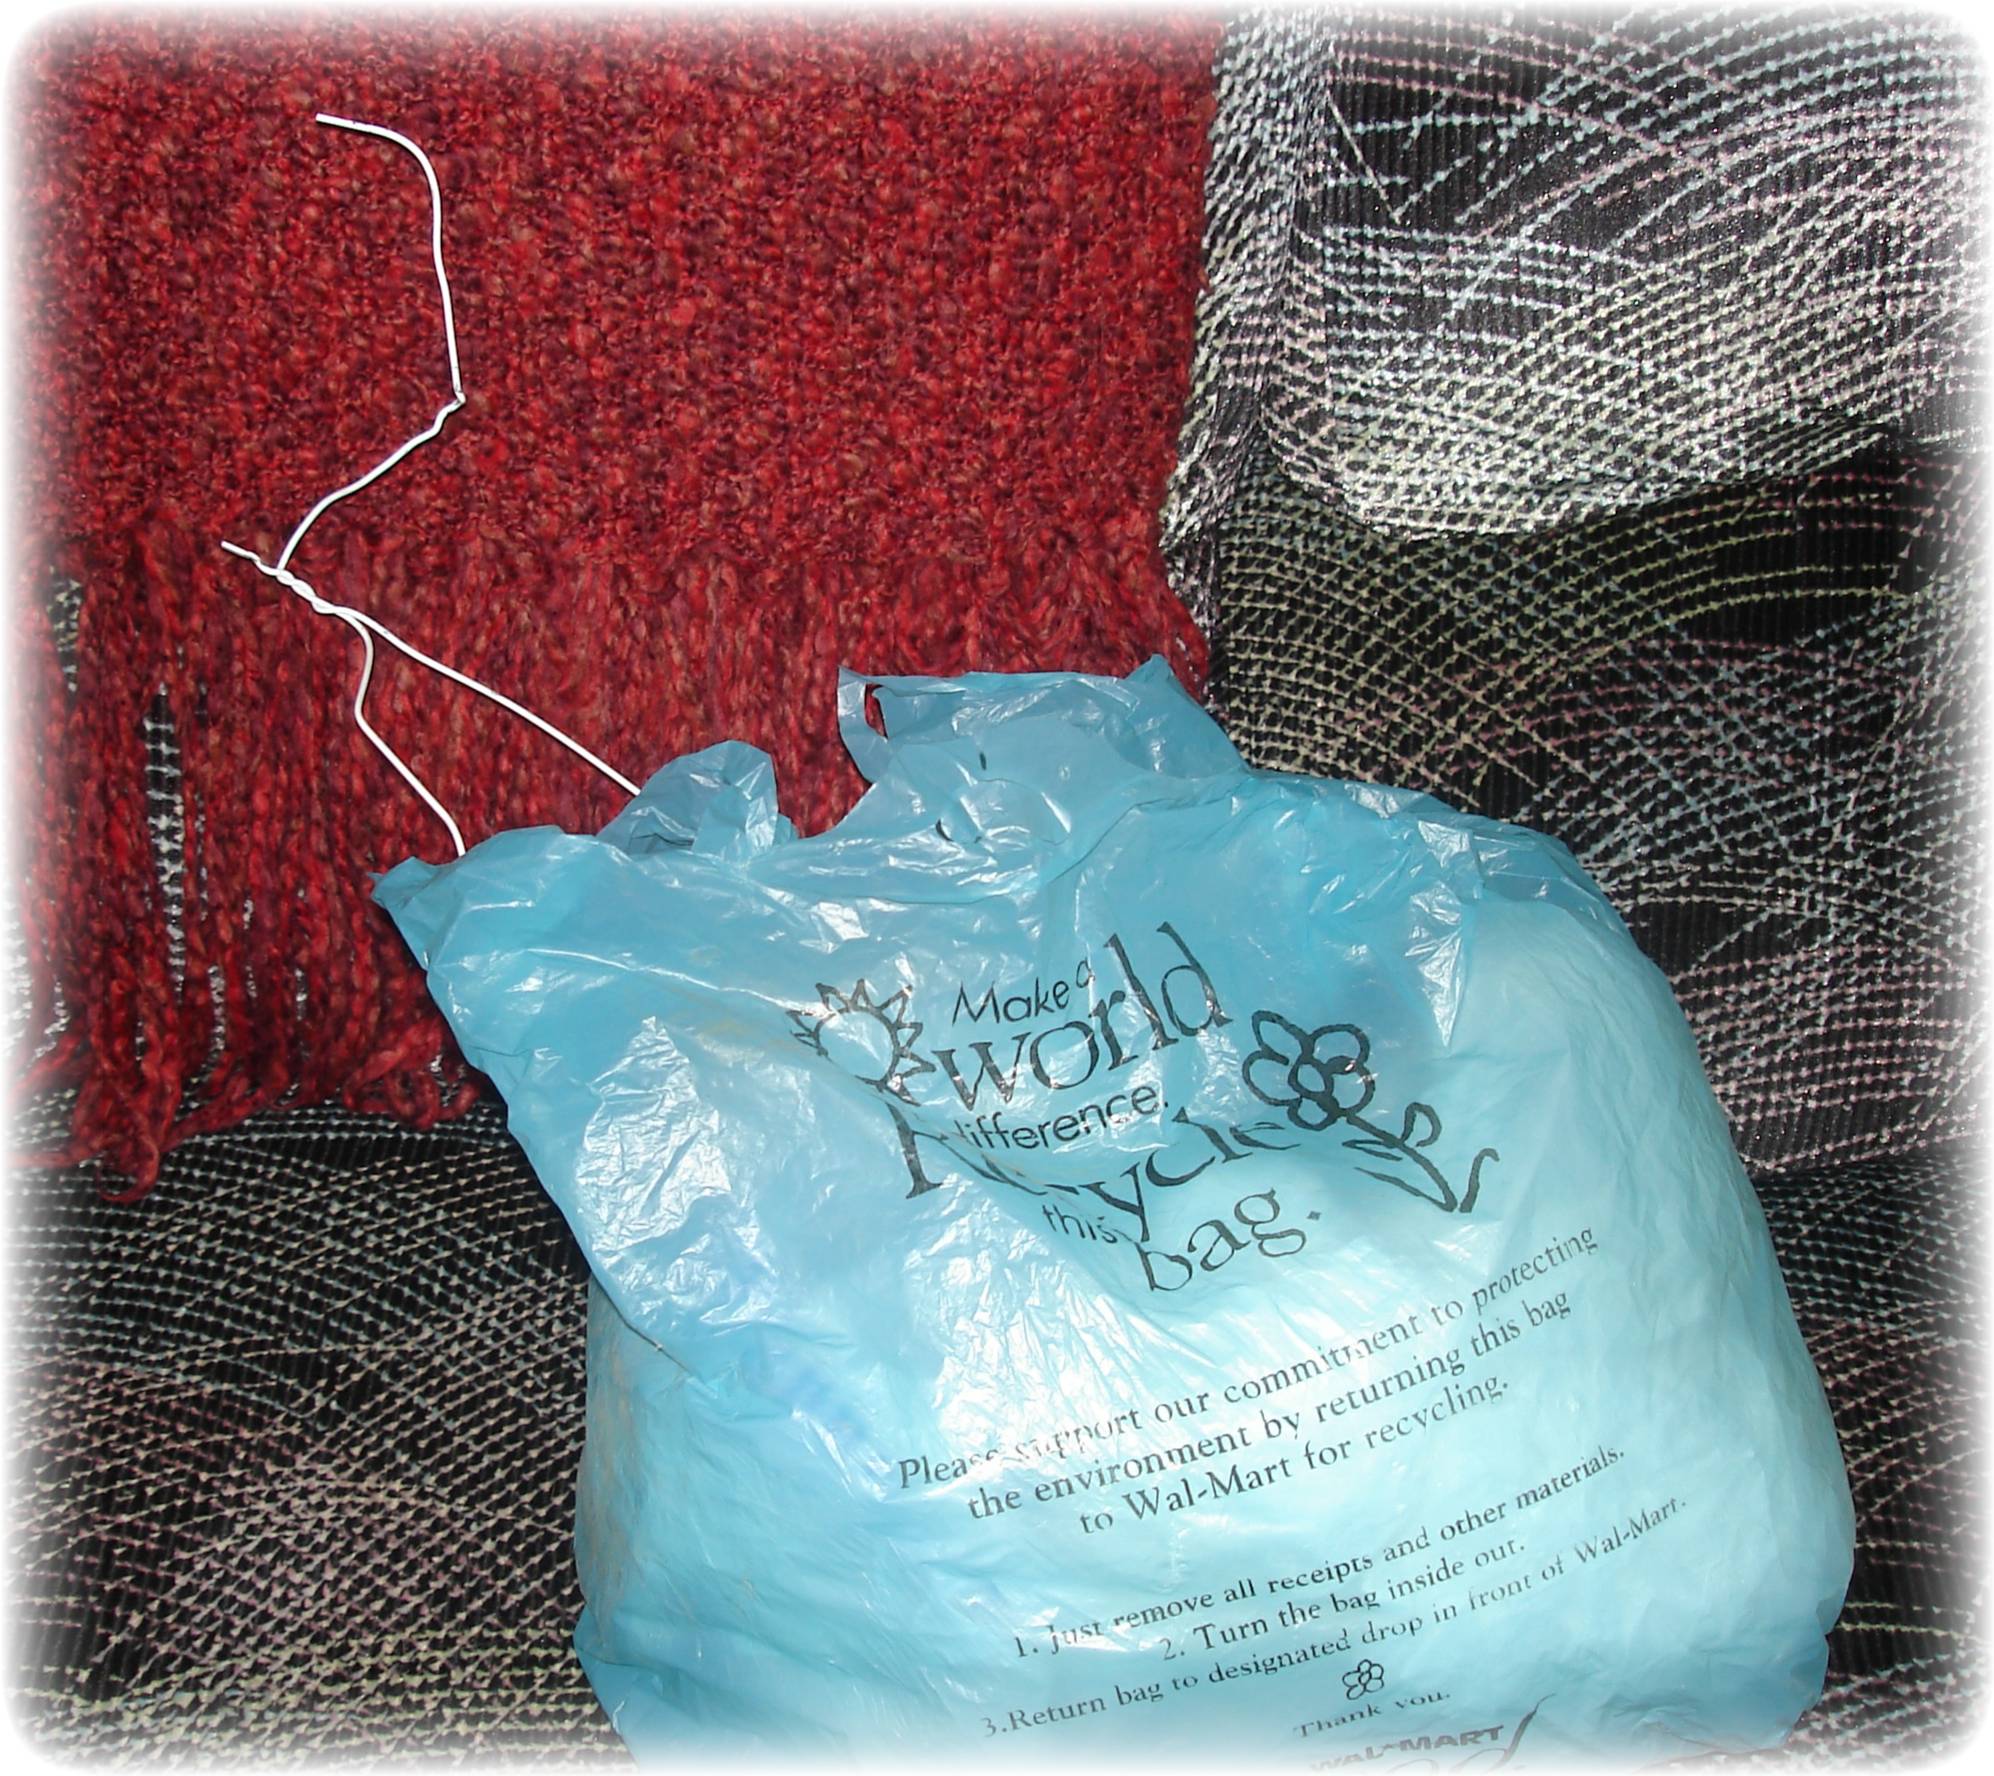

When you have enough bags stuffed in the first bag, put your nasty old coat hanger shape into the bag! Push it down and pull the bags around it, so the bottom is flat and you have a sort of rounded loon body. You can insert an oval of thin cardboard at the bottom if you wish. Keep bags in place round the "neck" with a piece of masking tape. See picture two for what it should now look like...(again cat is optional)
Creating the Neck

Take another plastic grocery bag and bind round the exposed part of the coat hanger to form the basis of the neck. Keep the bag in place by using masking tape. You do not have to be neat at this point in the process!
Binding the Body With Masking Tape!


Now you have to cover the body completely with masking tape! Every piece of the plastic grocery bags must be covered. Do not leave any gaps. This is now a controlled form for creating a papier mache critter. You will be able to adjust the shape you want if the bag is not too full. Another reason for covering with masking tape is because the strips of newspaper and paste will stick more effectively to the tape. It is difficult to stick them to the plastic bag.
Using a coloured grocery bag helps as it makes it easy to see if you have covered all of your "form". By the way you can always adjust the shape of your loon when it comes to the papier-mache-ing bit!
Using a coloured grocery bag helps as it makes it easy to see if you have covered all of your "form". By the way you can always adjust the shape of your loon when it comes to the papier-mache-ing bit!
Making the Flour and Water Paste

When you have your basic loon form, prepare a mixture of paste out of flour, water and a spoonful of salt (salt helps prevent your creation from going mouldy after it has dried out).When you mix your paste, take a bowl and put another of those grocery bags in it. This is a good idea, as when you have finished with your paste, you can take the grocery bag and just throw it in the garbage, leaving very little mess in the bowl or anywhere else. Of course if you don't want to waste a grocery bag, just clean up the bowl afterwards and use that bag to help make another loon! Recipe for paste1/2 cup of flour and a large spoonful of salt in the bowl.Add 1 cup of warm water and mix it up with your hands.It should be like thick creamy soup. Add more flour to thicken it or more water to thin it. If you want more paste just double or triple up the ingredients in this ratio.
Using Up Your Old Newspapers

Although most places will let you recycle your newspapers with trash pick-ups, you can use them up this way instead - it's still not a waste! So take your old newspapers and start tearing them into thinnish strips. Tearing is better than cutting, as the torn edges will meld and blend better as you apply them to your loon with the paste.
You need to have smaller irregular shapes too!
(By the way I read recently that in 2007 a record 56 % of used paper in the US was recycled. That's 360 pounds for every man, woman and child in the country! However, we need to work on reclaiming that 44% still out there which is being wasted!)
Every ton of paper recycled saves more than 3.3 cubic yards of landfill space http://www.paperrecycles.org/paper_environment/index.html
Apply the Newspapers to Your Loon Using the Paste!
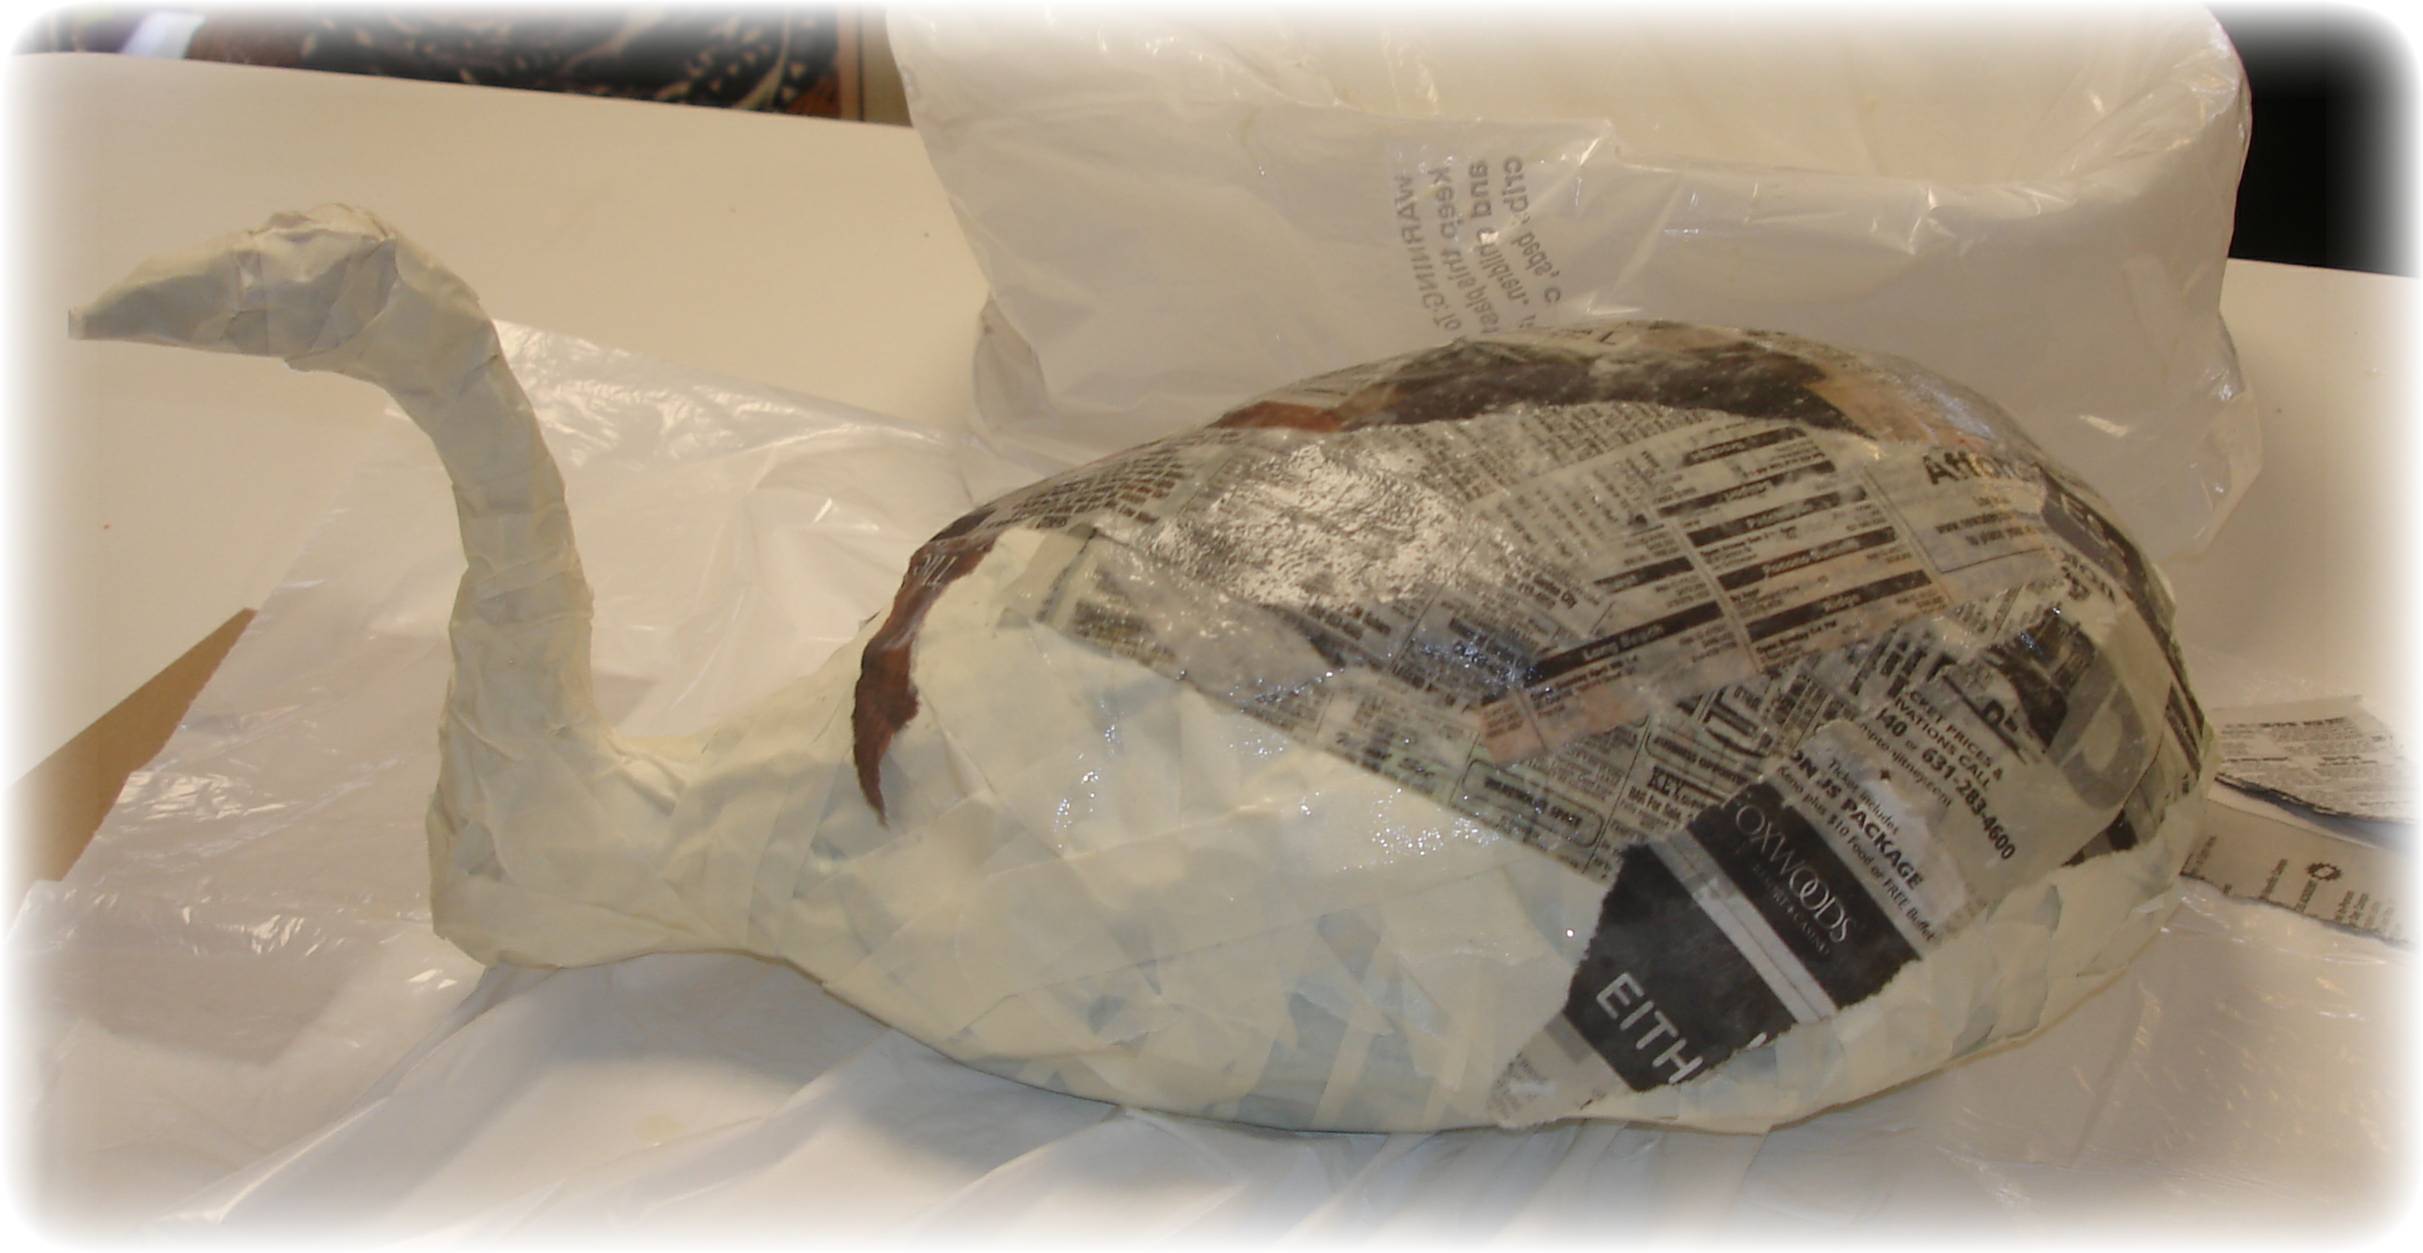
Take the strips, or pieces, one at a time and paste them onto the loon shape. You can either dangle the strips in the paste and then apply, or you can use a brush or piece of foam to apply the paste to the loon and then put the paper on that way. Overlap the pieces well. Smooth the paper strips or pieces with your hands with paste on your fingers too!
Make sure you cover the entire form, with NO masking tape showing at all! This will be your first coating of papier-mache. You will probably have to apply three or four coats of paper before you are through and after each application you have to let the form dry. This is where the patience comes in, as at this time of year you can't dry outside unless you are somewhere warm (which I am not!) If you strategically dry with a hair drier, you are wasting electricity!
Make sure you cover the entire form, with NO masking tape showing at all! This will be your first coating of papier-mache. You will probably have to apply three or four coats of paper before you are through and after each application you have to let the form dry. This is where the patience comes in, as at this time of year you can't dry outside unless you are somewhere warm (which I am not!) If you strategically dry with a hair drier, you are wasting electricity!
The First Layer of Newspaper Has Been Applied!

Here you can see that I have applied the first layer of newspaper all over the loon shape (including the underside, which you can't see) It is very wet. You will need to let this dry before adding another coating of newspaper. I hate this waiting part!
As you build up the extra layers you can "fill in" any lumps, bumps or dips in your form by adding extra layers of newpapers in a selective manner. I will need to build up my loon's head and neck as it is too small at the moment, and I can do this by using the scrap pieces of cardboard strategically affixed with masking tape and then covered over with the newspaper and paste mix. I can even pad the head and neck part out with extra plastic grocery bags and reapply the tape, etc. until I get a shape I am happy with.
As you build up the extra layers you can "fill in" any lumps, bumps or dips in your form by adding extra layers of newpapers in a selective manner. I will need to build up my loon's head and neck as it is too small at the moment, and I can do this by using the scrap pieces of cardboard strategically affixed with masking tape and then covered over with the newspaper and paste mix. I can even pad the head and neck part out with extra plastic grocery bags and reapply the tape, etc. until I get a shape I am happy with.
Revamping the Neck and Head

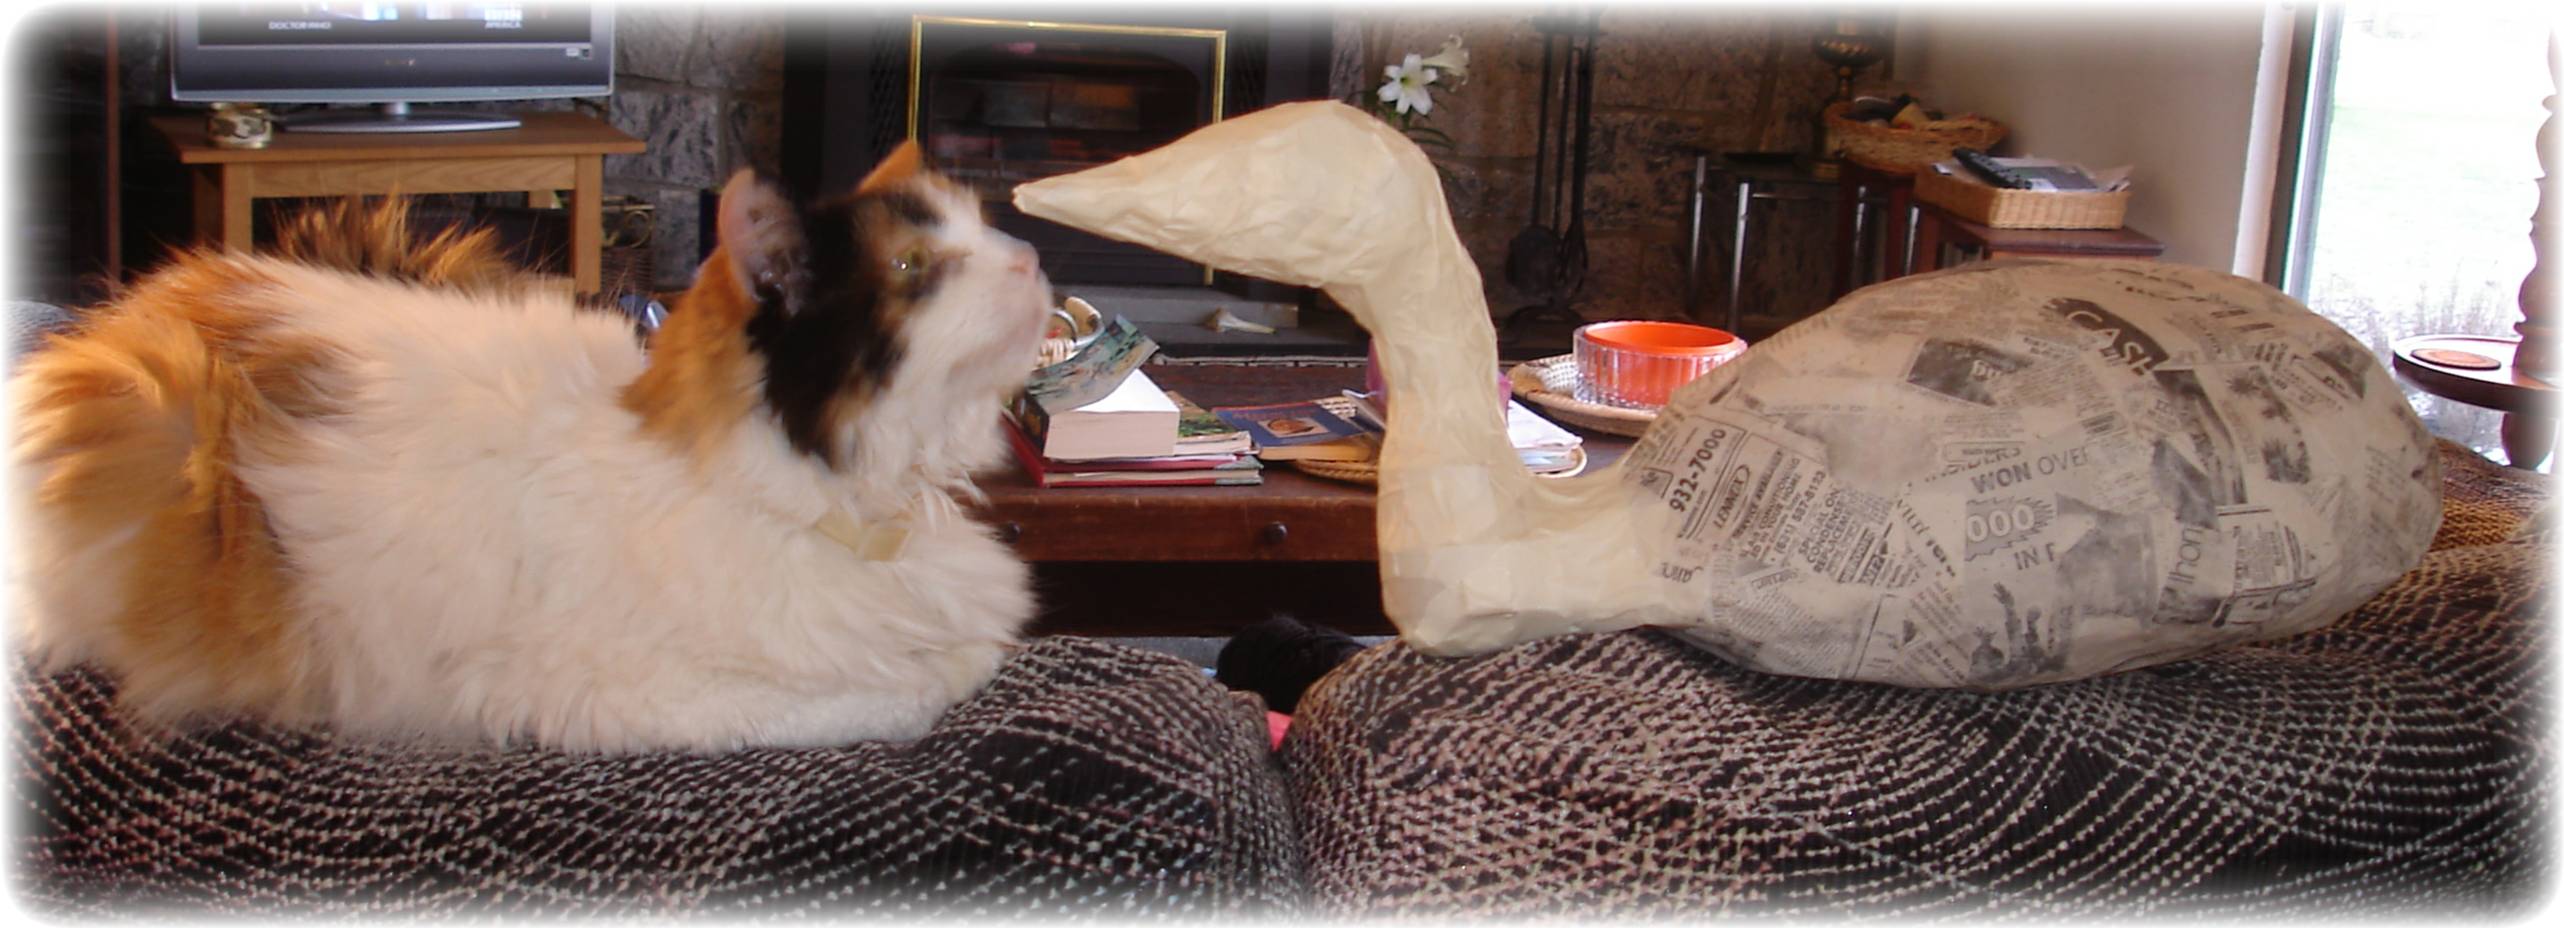
As I was not satisfied with the shape of the head and neck, I took another piece of grocery bag (a corner) and fashioned it into a better head and taped it on with the masking tape. I will now have to go over this new part with more of the newspaper papier-mache, but that's o.k. However, I now have a form that I really like. I also strengthened and reinforced the neck by cutting pieces off the empty roll from one of the rolls of masking tape and taping them on. This makes the neck really strong and thicker too.
Final Coat of Papier-mache Has Been Applied
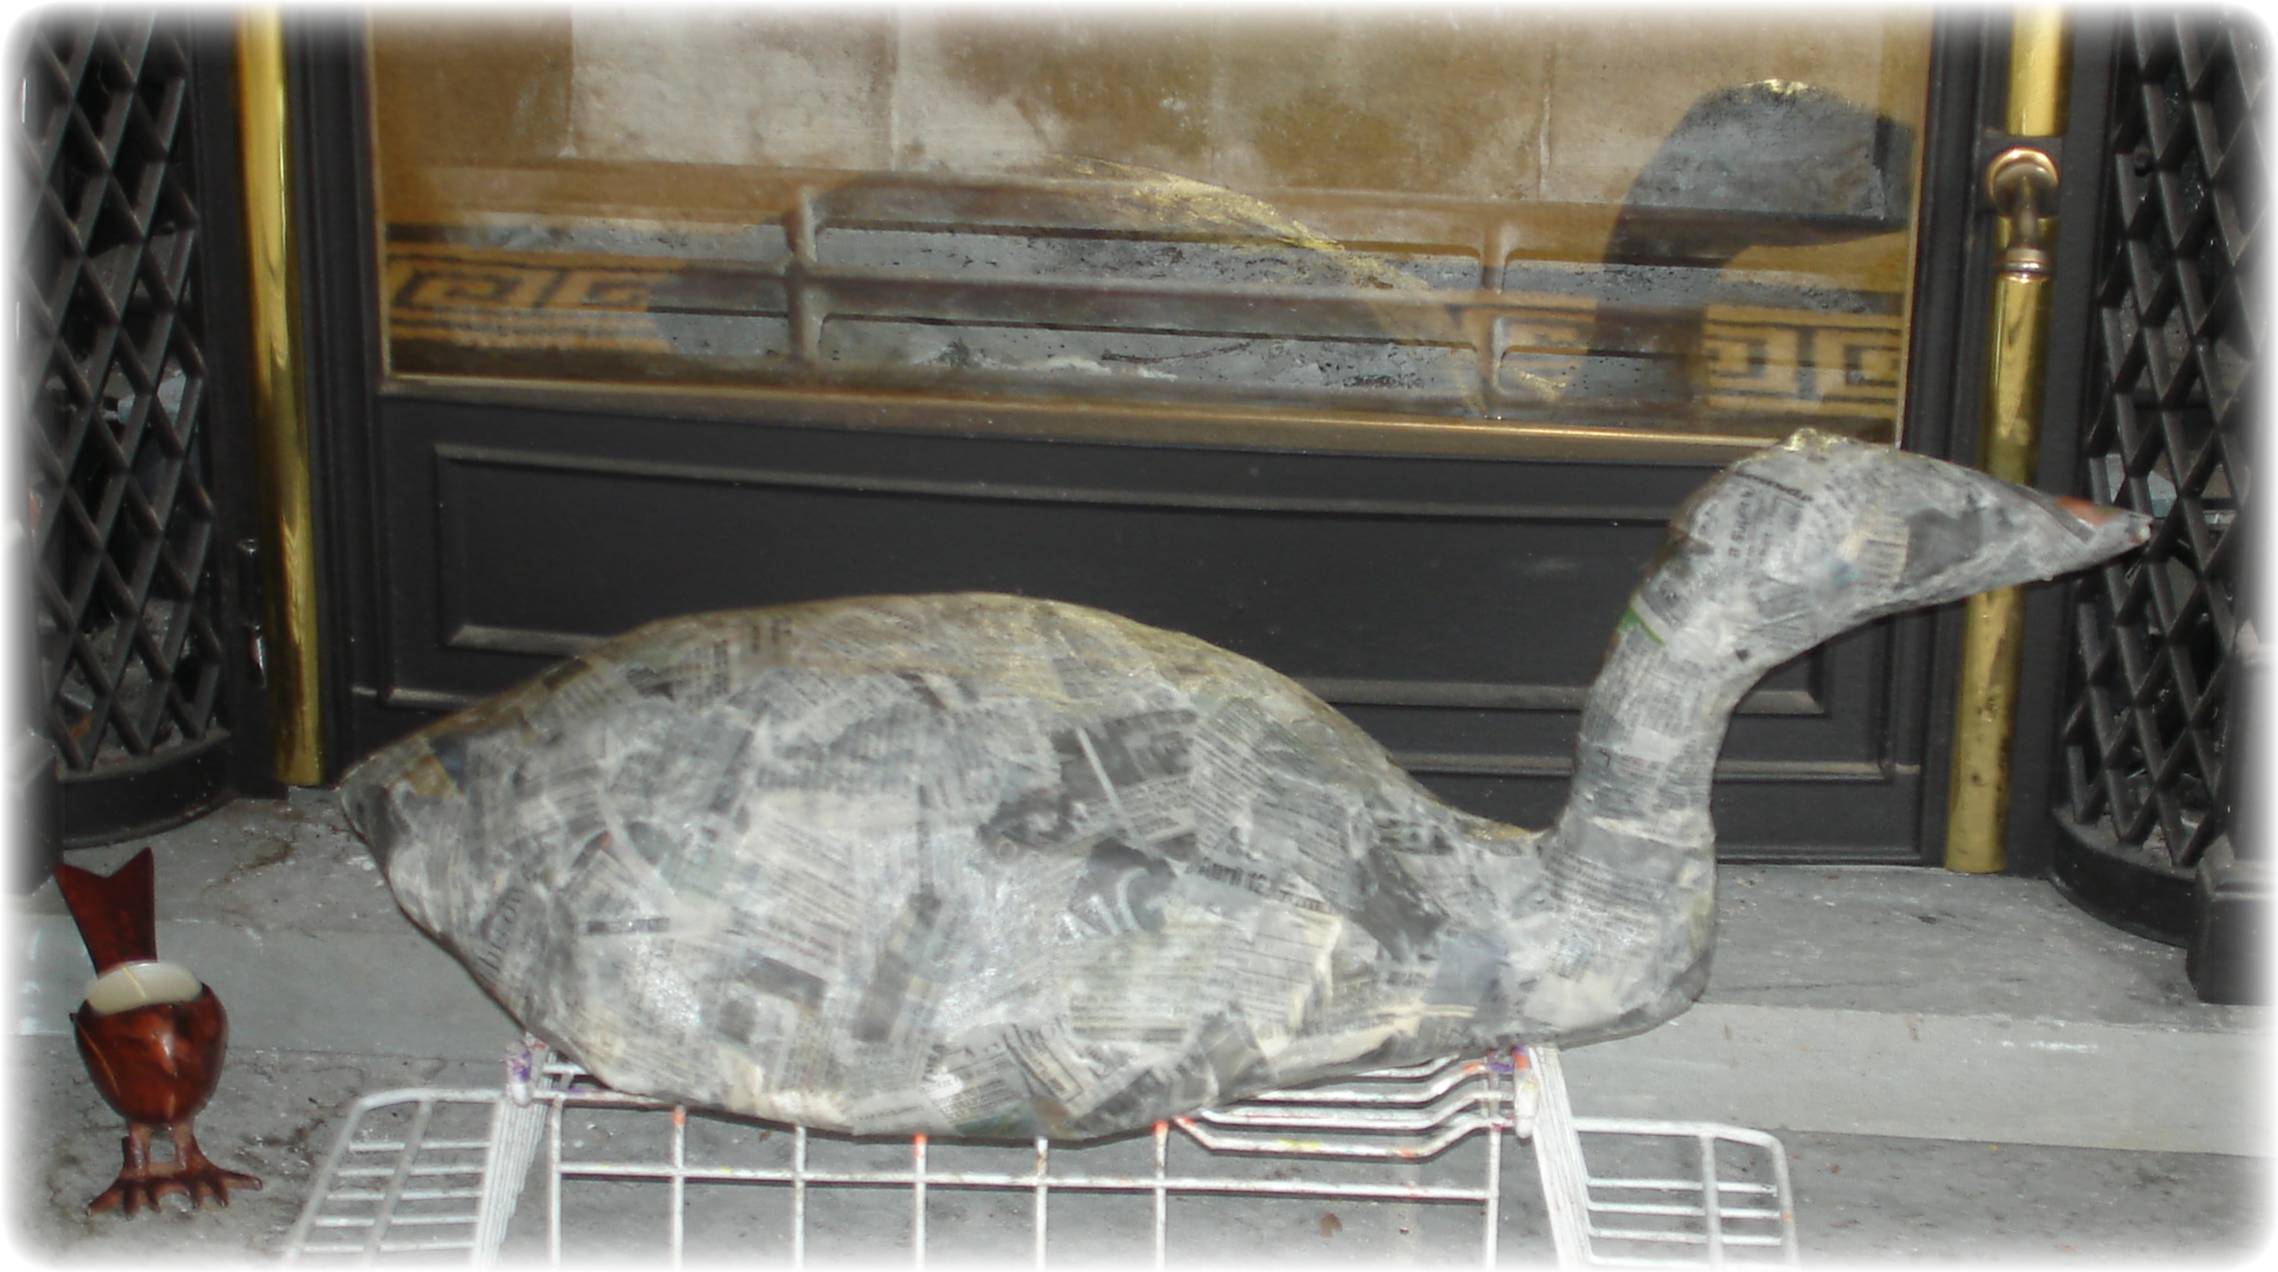


I have now applied 4 coats of papier-mache to my loon. Now I have to wait for it to be completely dry before painting. If it were warm and sunny outside, I could dry it quickly using the sun's energy, which is free! As it is still wintery here in NY, I have been placing my wet loon overnight in the cupboard with the gas heating boiler, where the heat from there has been drying the papier-mache nicely. Before you paint, get a piece of sand paper and rub over your loon to smooth out any rough spots, and bumps. Make sure the loon is completely dry before you do this, or you will rip it apart!
Paint the Loon White!


I have put a base coat of white acrylic paint on the top side of my loon. When it's dry I will turn upside down and paint the underside. I would recommend a couple of coats to get a smooth finish and to hide the newsprint that shows through. Even if you are going to paint it red, white and blue, I would recommend a coat of white paint first.....Then put on a coat of black paint over the head and back. You can add the white dots and black lines later.
Painting the Loon


Add the details to your loon. I use cheap acrylic paint. If you make a mistake you can always wait for the paint to dry and re-do. Don't forget loons always have red eyes!
The Finished Loon (and Friends)


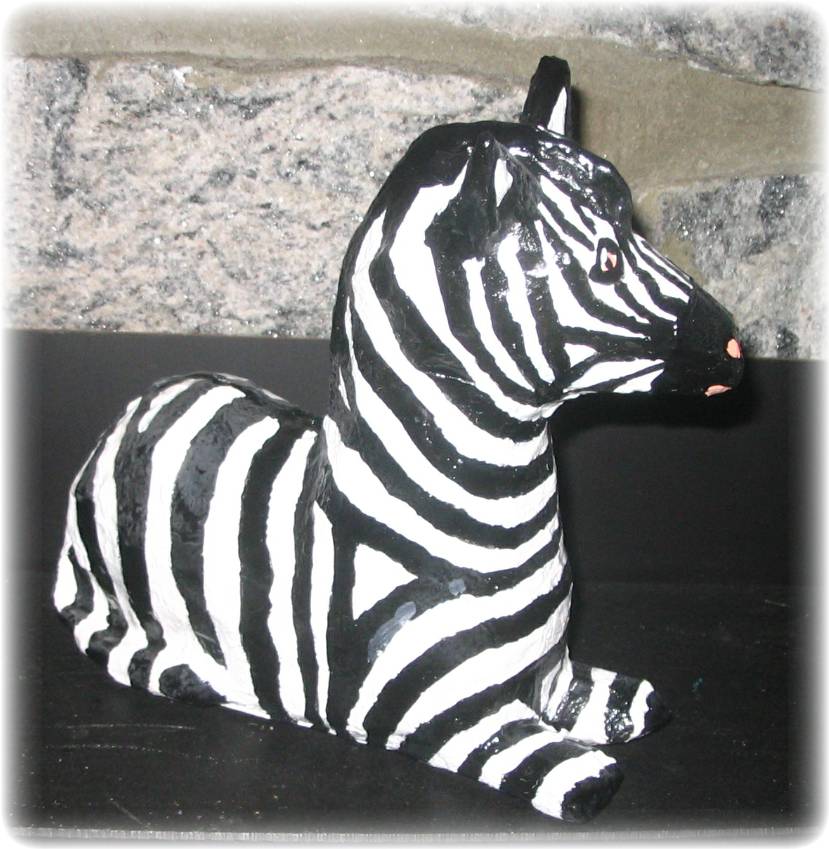


Here is the finished loon in glorious black and white (and red eye!). However you can do your own thing. You can make a psychdelic bird - you are the artist! You can make anything you like out of those grocery bags if you use this instructable as a guide.
To preserve your critters for the next generation, you can cover them with a clear varnish, which makes them nice and shiny as well. (Do not use one of those spray varnishes, as these are definitely NOT green!) Behold, you have created "art" out of "trash"!
Note: for more ideas on how to recycle plastic bags here's a great website:
http://www.plasticbagrecycling.org/00.0/