Recursive Object Creation in Maya Using MEL and 3D Printing
15936 Views, 57 Favorites, 0 Comments
Recursive Object Creation in Maya Using MEL and 3D Printing
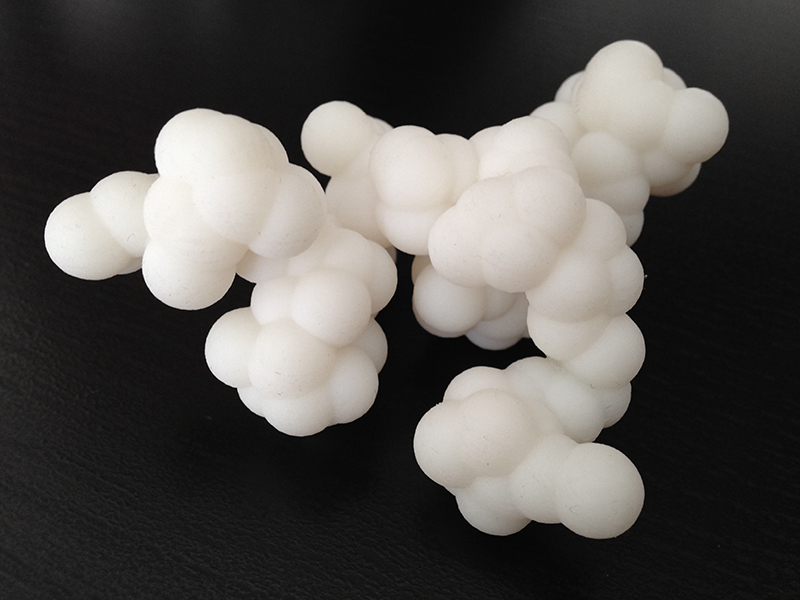
This instructable will show you how to create a recursive object in Maya using the MEL (Maya Embedded Language) scripting language. In addition, it will cover how to 3D print these objects using an Objet Eden 260V.
Materials you will need:
1. Autodesk Maya 2014 Software
2. McNeel Rhinoceros Software
3. 3D printer
What Is Recursion?
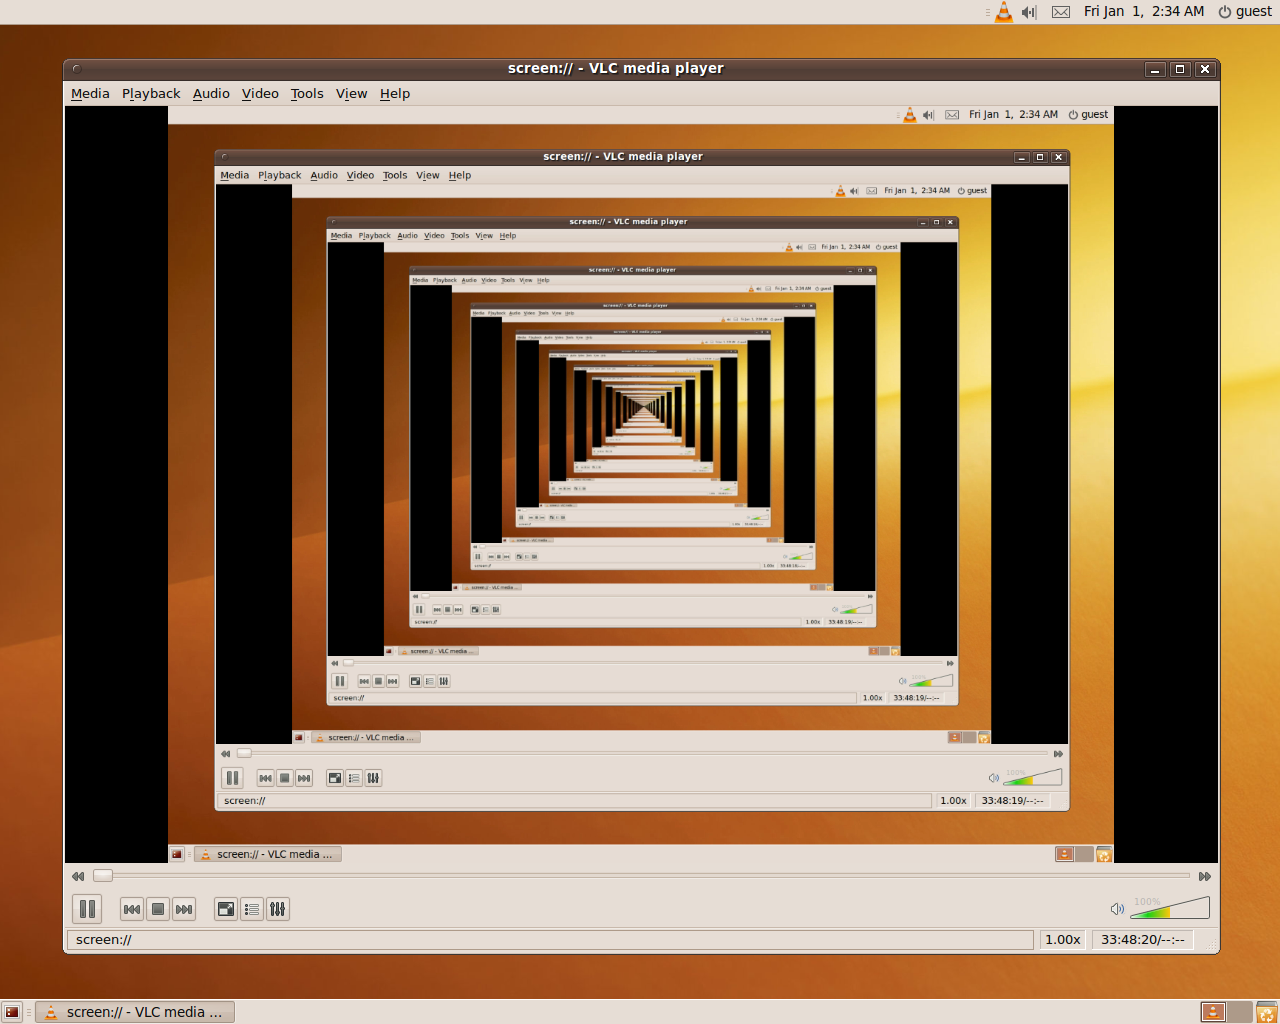
Recursion is the process through which self-similar items, or objects, are repeatedly duplicated. A common, real world example of this is when you orient two mirrors to face each other in parallel and they continuously reflect a single image into infinity - this is known as infinite recursion. For this instructable we will simply focus on the duplication of a single geometry in order to create a larger, three dimensional object.
Opening the Maya File and Preparing the Recursive Script
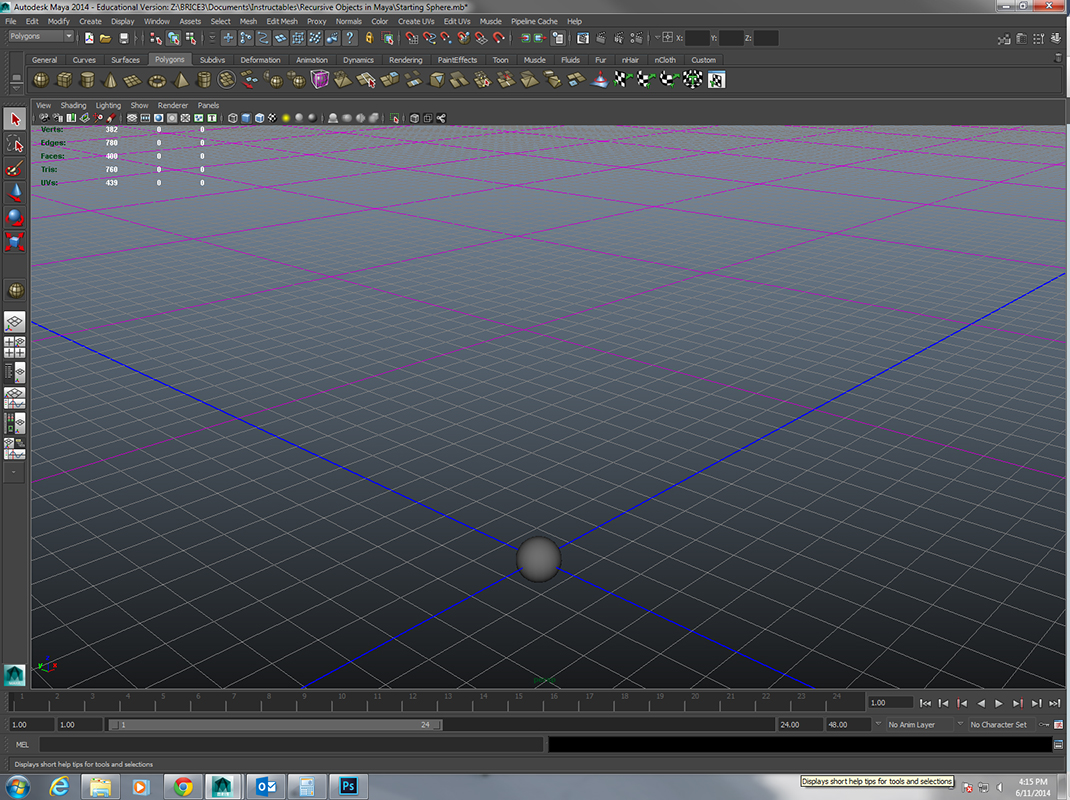
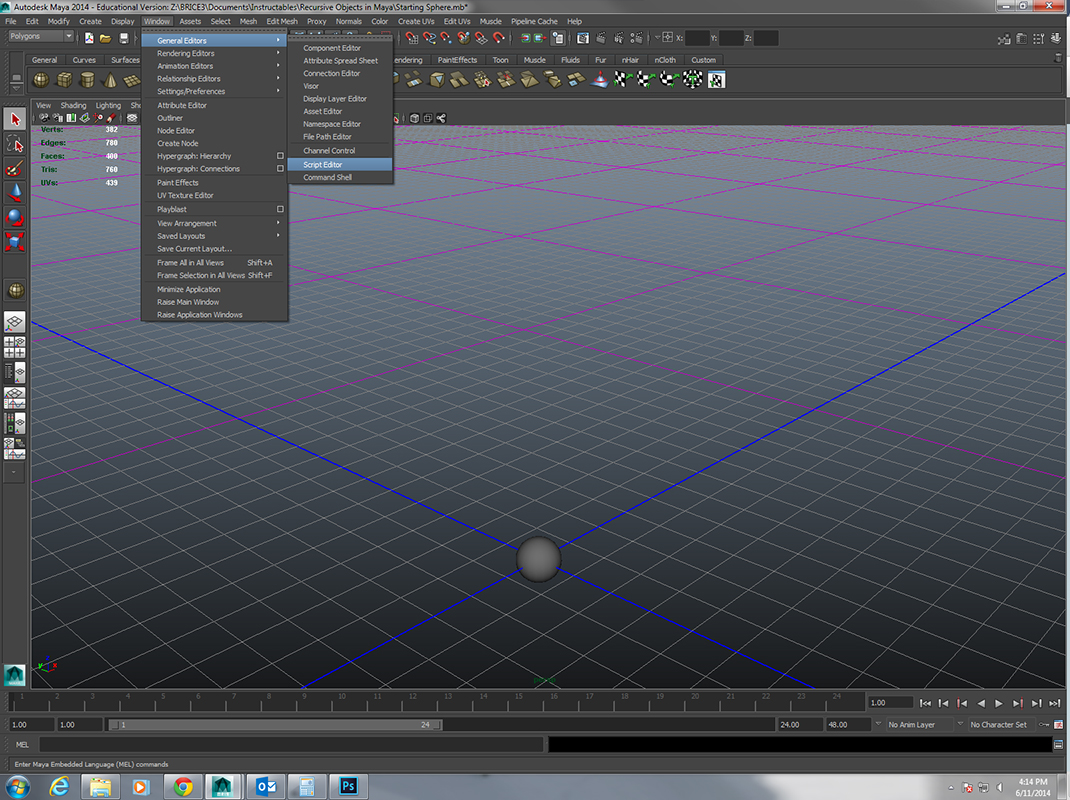
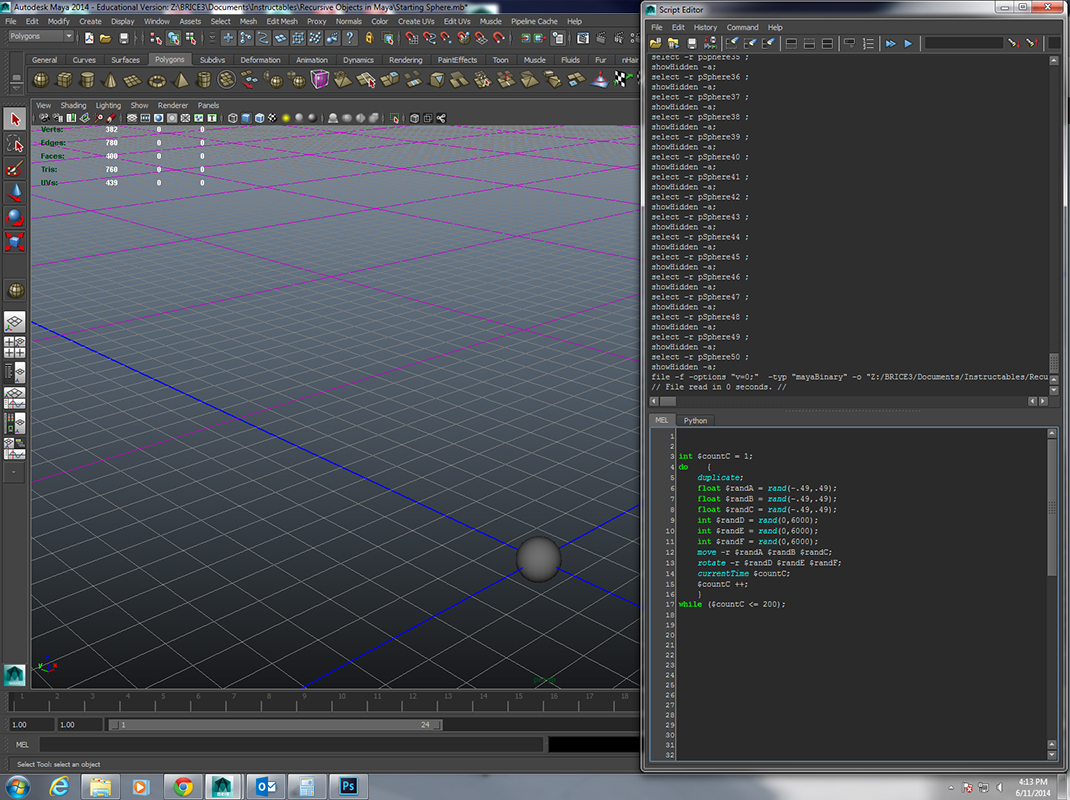
To begin creating a recursive object in Maya open the "Starting Sphere.mb" file provided in this step. It will automatically set both your Maya units and Maya grid to an inch configuration and provide a .5" sphere to begin playing with. Next, go to "Window/General Editors" in the menu bar and select "Script Editor". Once open, copy and paste the text from "MEL recursive sciprt.txt" into the bottom section of the Script Editor as shown in the above image.
Running the Recursive Script
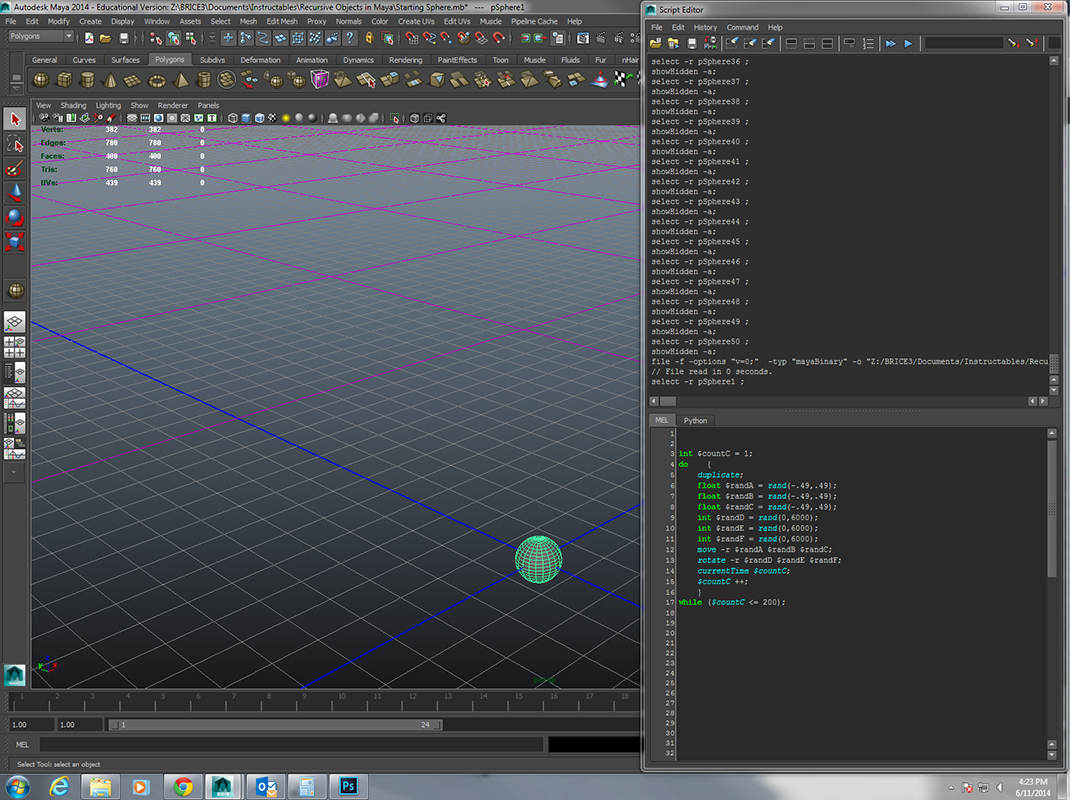
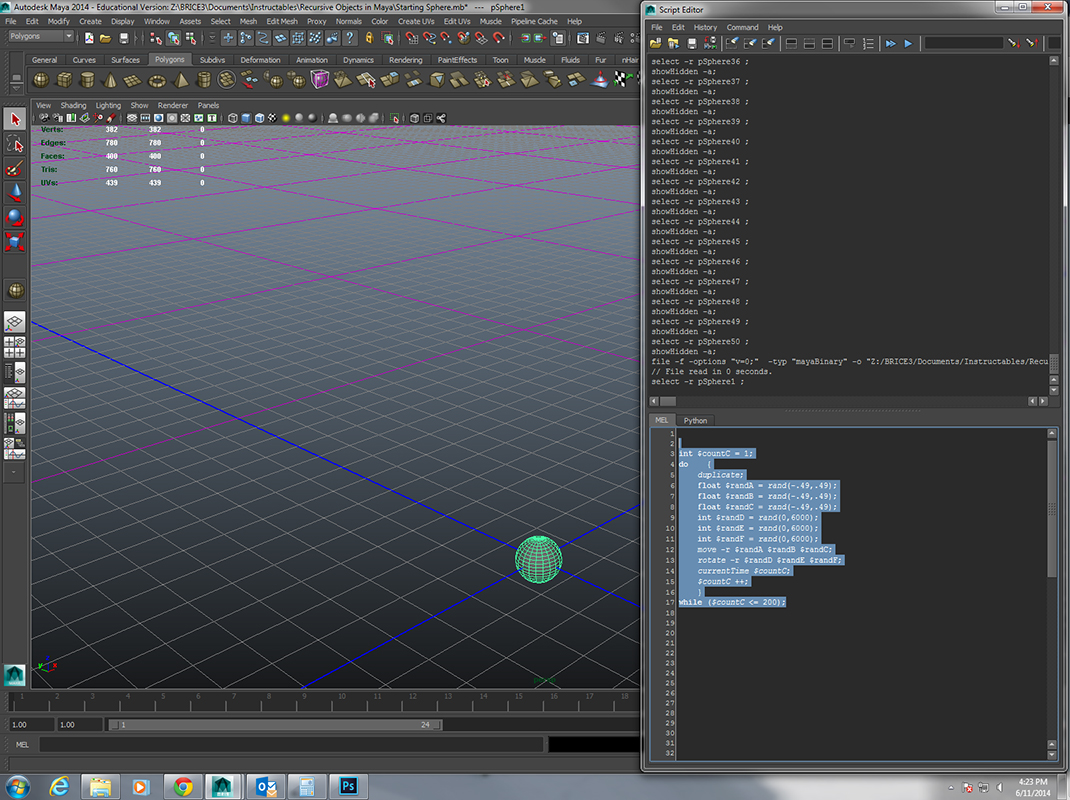
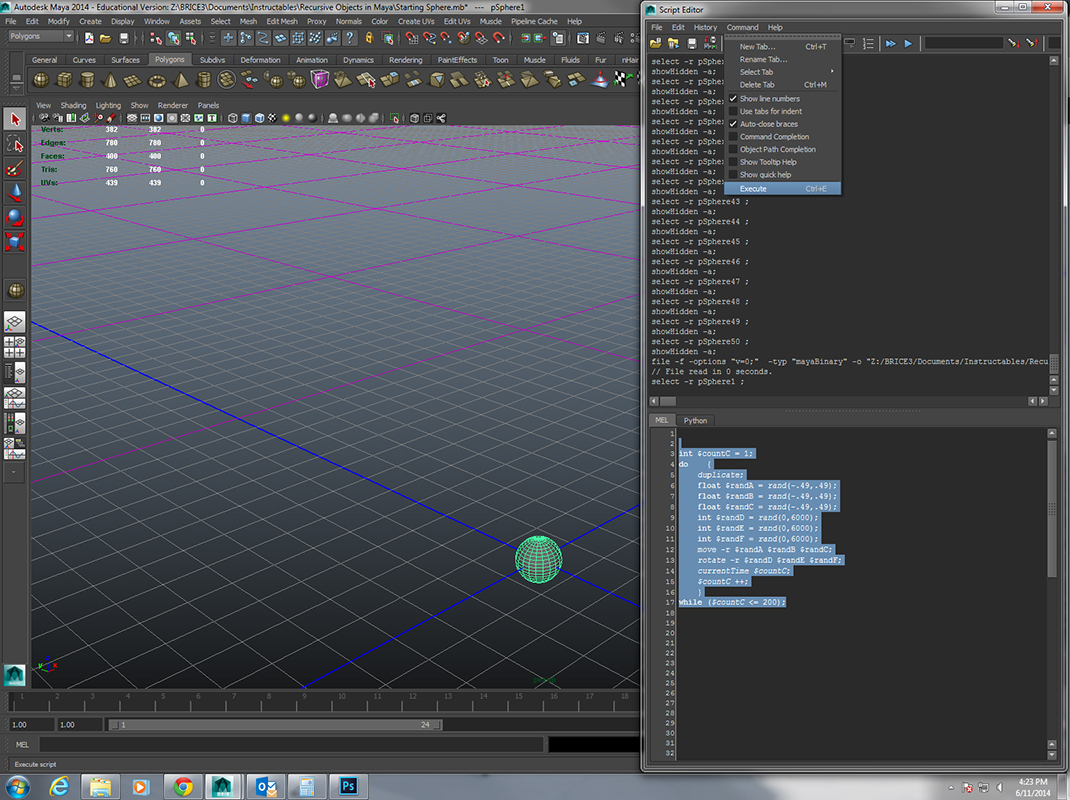
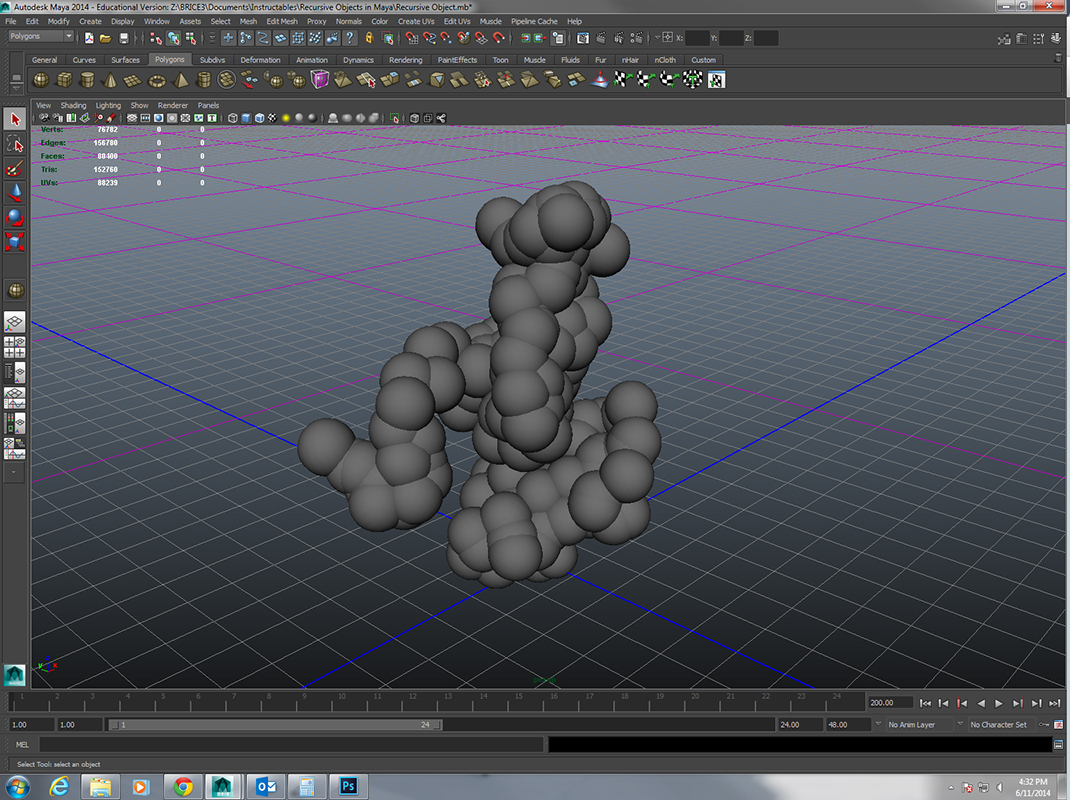
To run the script you must first select the sphere that currently exists in the scene - do so by single clicking it with your left mouse button. It will illuminate green when selected. Next, highlight all of the text that you copied into the scipt editor by clicking and dragging over it all using the left mouse button. It will illuminate blue when selected. After you have both the sphere and the script selected, go to "Command" and select "Execute" in the Script Editor menu bar. This will run the script and create all duplications of the sphere in the Maya scene.
Downloads
Changing Script Variables
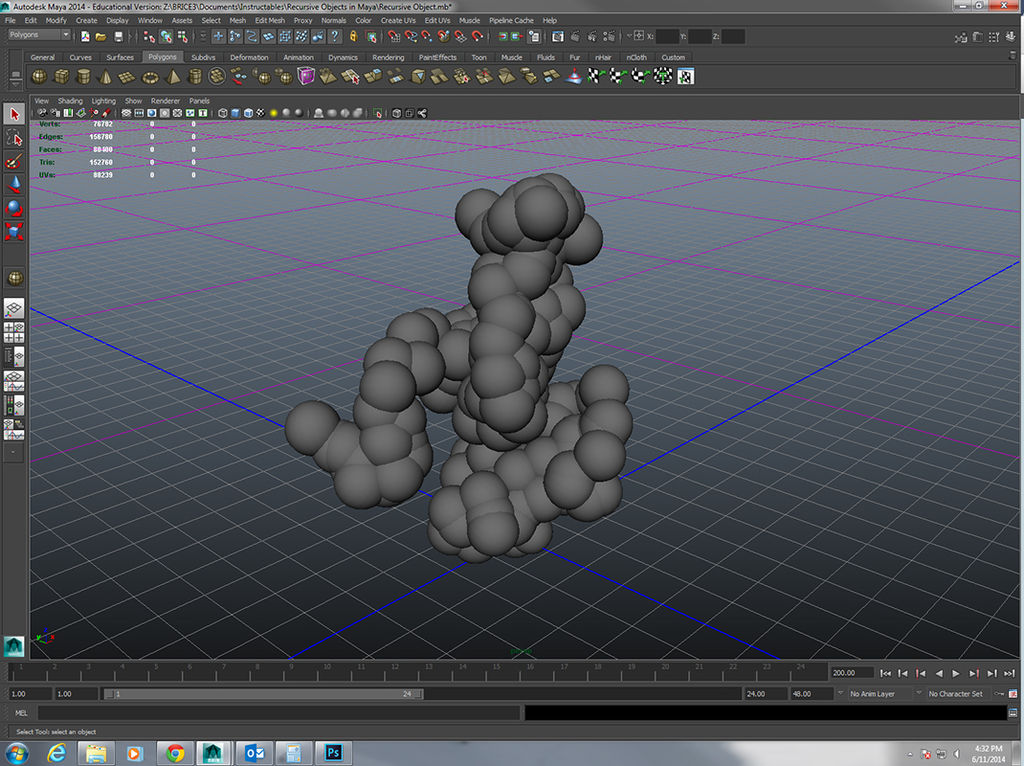
You may have noticed that your recursive object doesn't look the same as the one in the image I provided. That is because this script is using random variables to decide where to place each sphere. You can freely change these variables to generate different effects - simply alter the numbers within any "rand" variable to do so. For example, "rand(-.49,.49)" could be changed to "rand(-2,2)" - this would make the script move the duplicated spheres up to 2" as opposed to just up to .49". Be careful, though - if you remove or change any of the additional objects, such as a "(", ")", "=", or ";" the script will no longer run. This is because these are specific objects within the script that give it specific instructions and not having them will simply cause the script to fail.
You can also make the object much larger by having the script run longer. Currently, the script only makes 200 duplications. If you want it to run longer simply change the "while ($countC <= 200);" to "while ($countC <= 1000);". At the end of the day that count number can be whatever you like. A fun exercise is to see how many objects you can make before crashing the program - my current computer begins to really slow down around 10k spheres...
Exporting the Object for 3D Printing
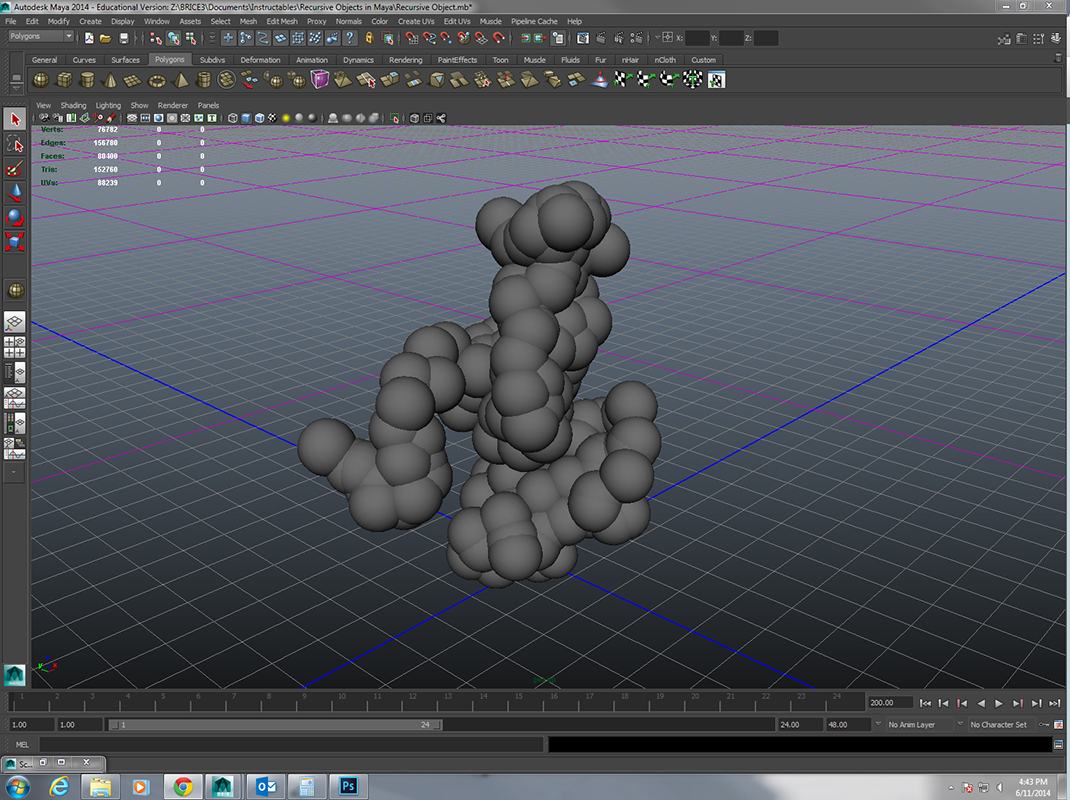
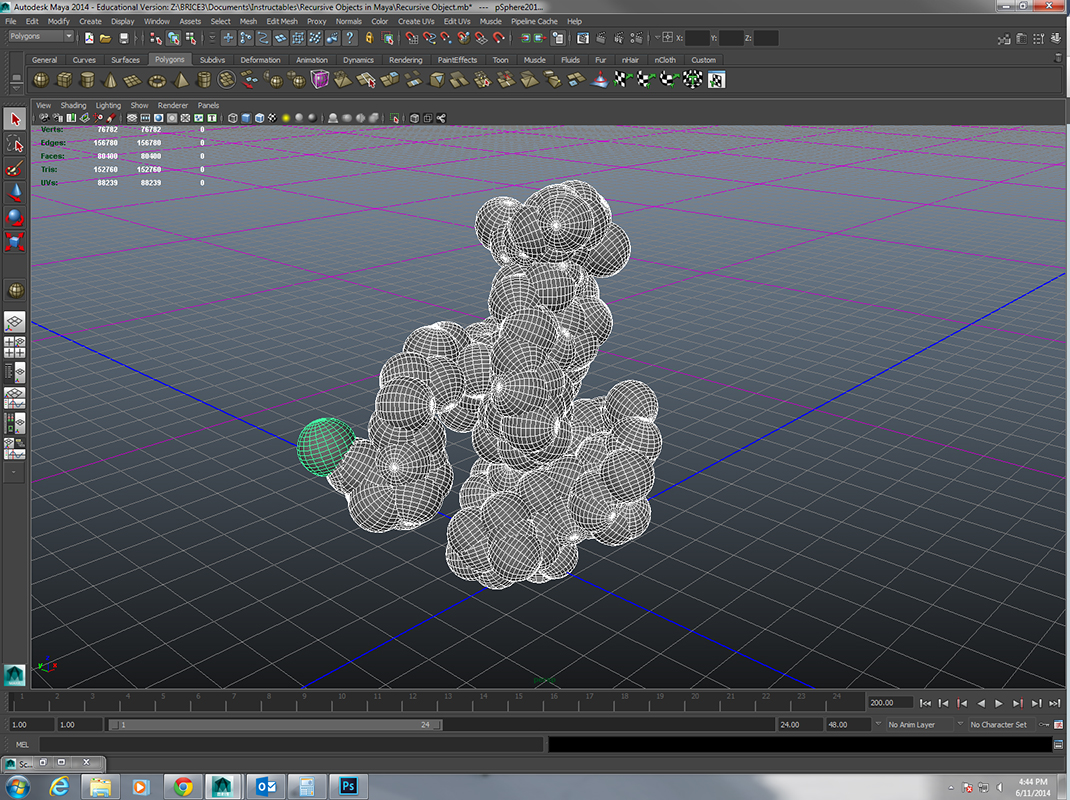
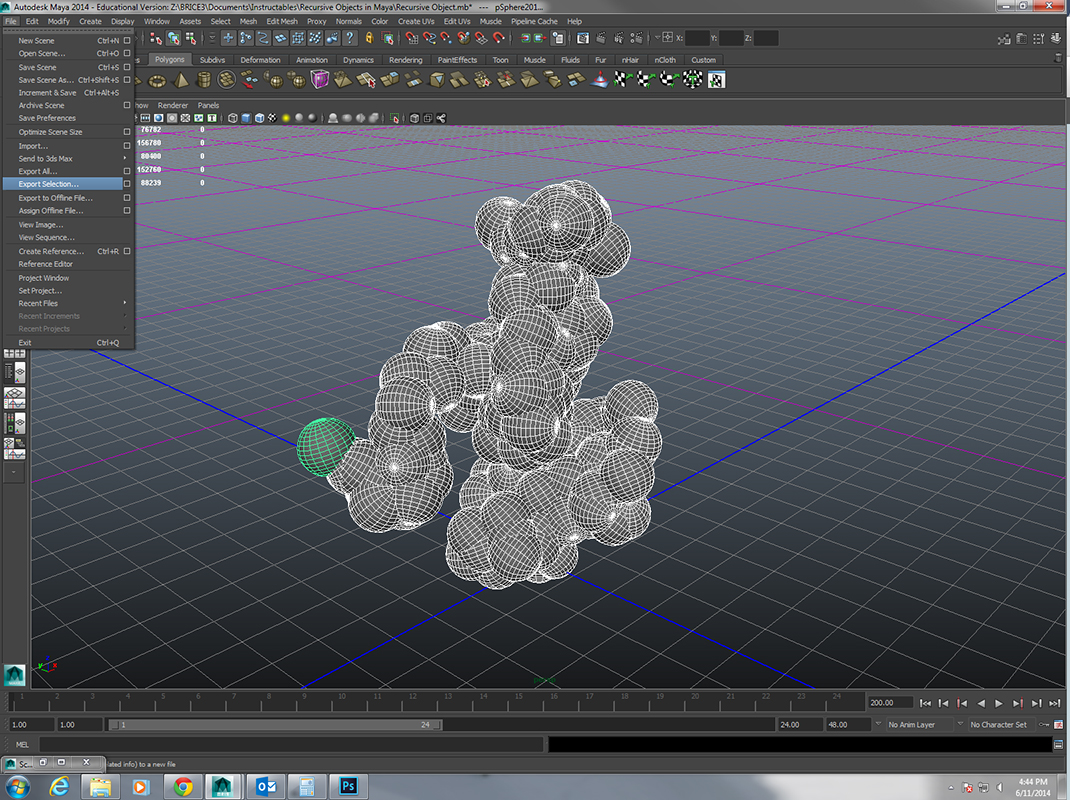
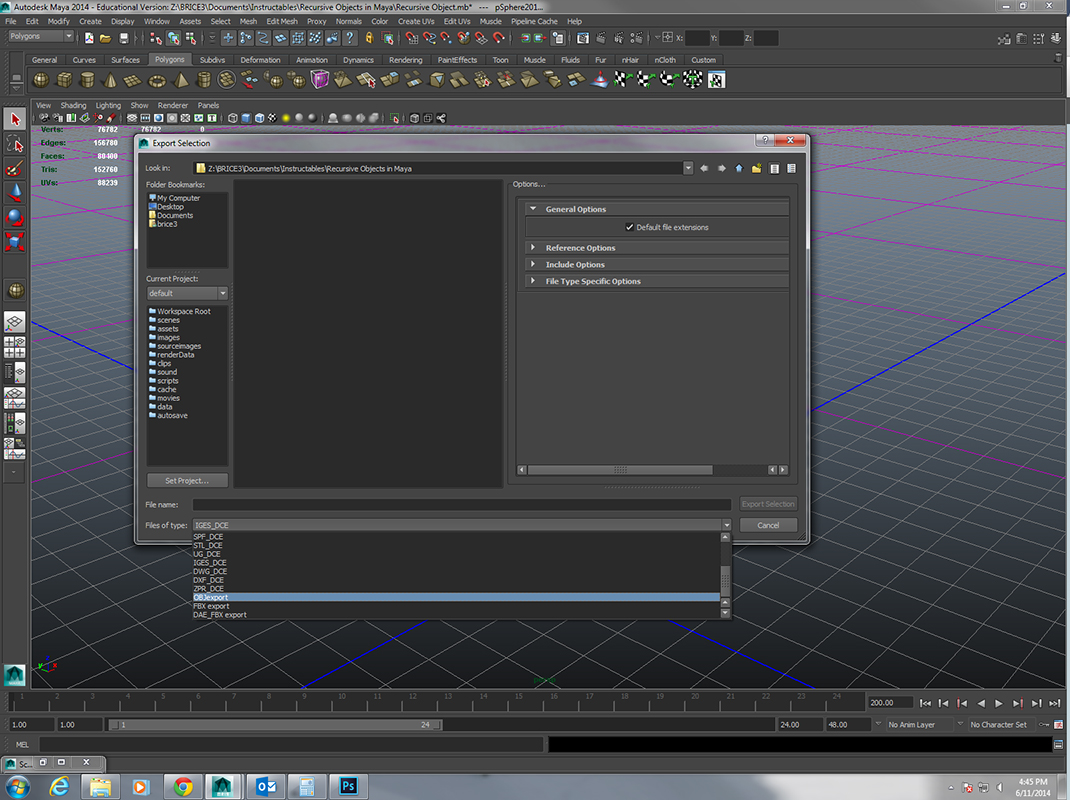
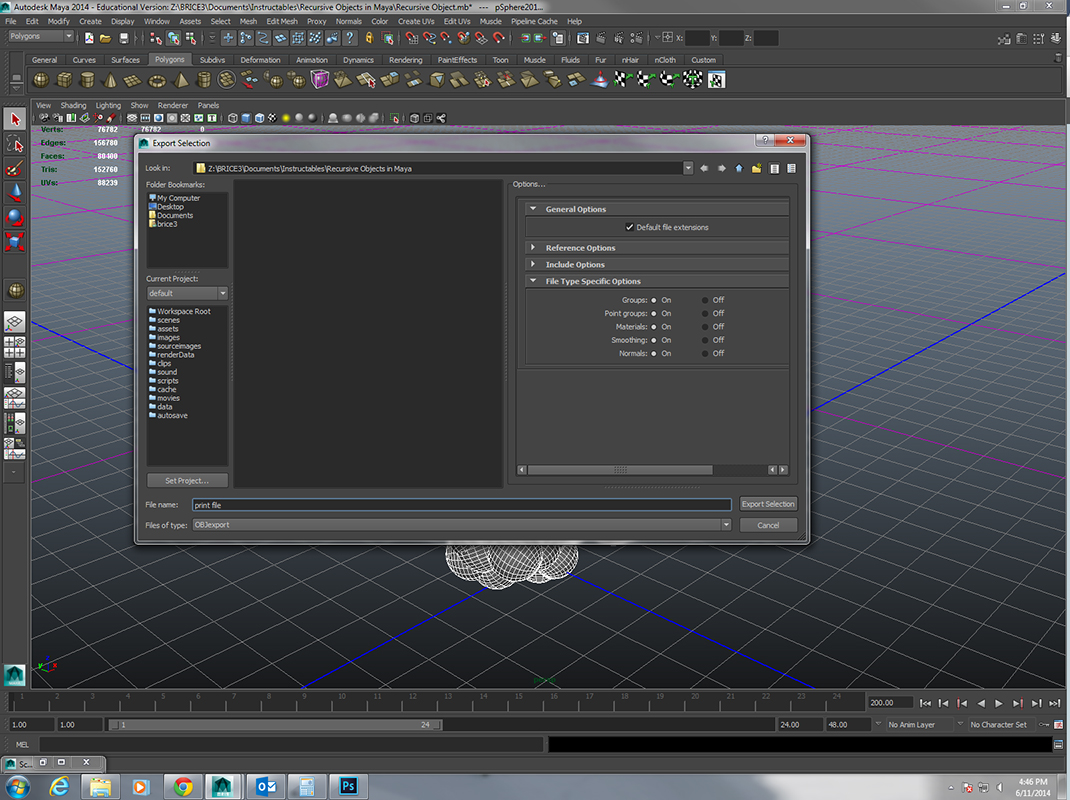
To export the object for 3D printing, select all of the spheres by clicking and dragging with your left mouse button over all of the objects in the scene. Once selected, go to "File" in the menu bar and select "Export Selection". In the window that pops up drop down the "Files of type" menu and select "OBJexport". Then name your file as you see fit and click "Export Selection" to finish the export process.
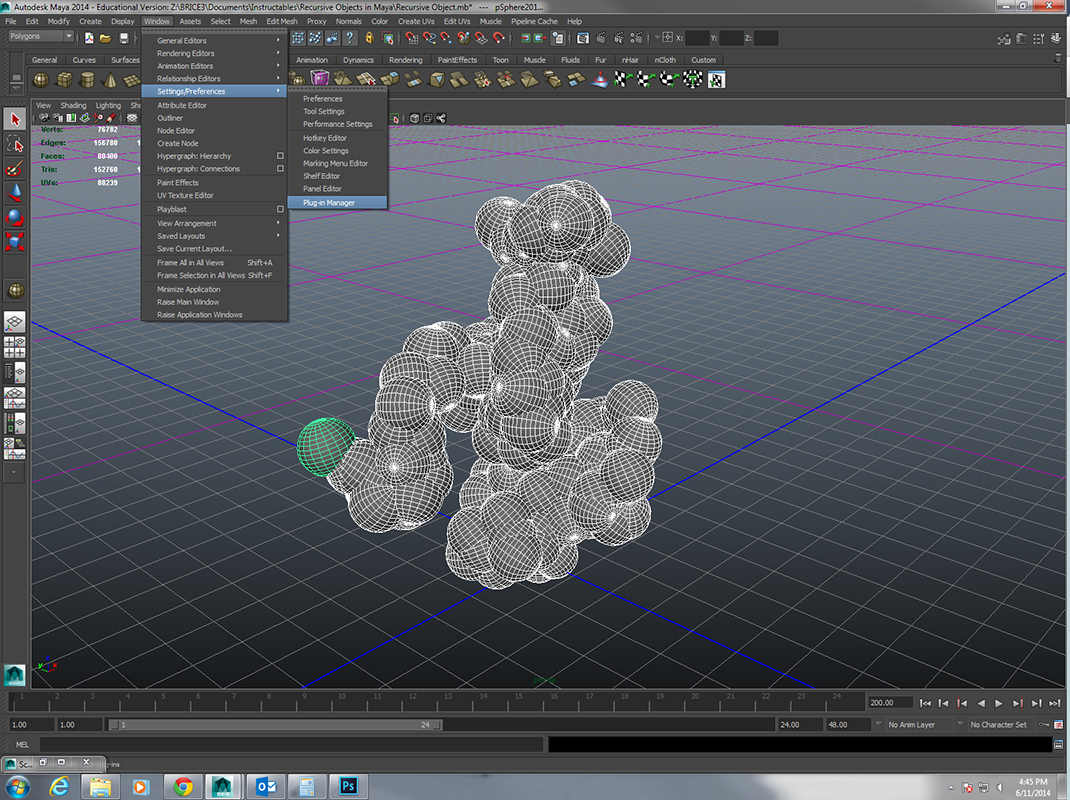
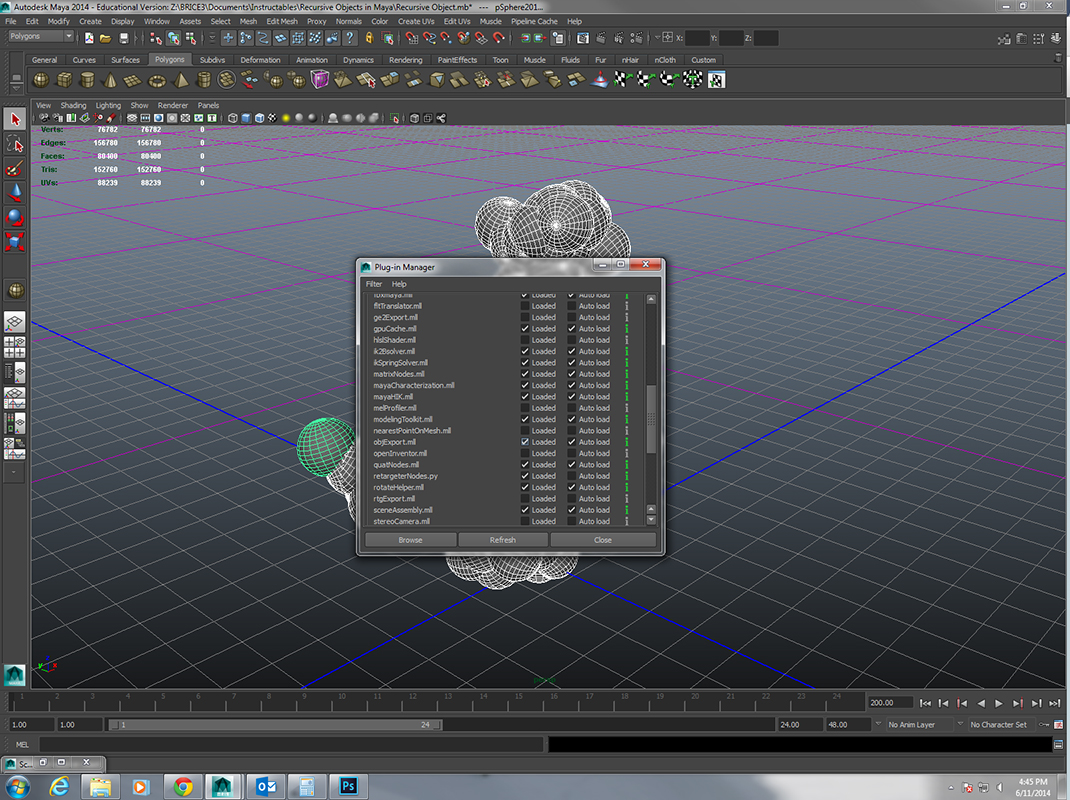
If when you drop down the "Files of type" menu you don't see "OBJexport" it means that the OBJ plugin isn't loaded. To load it for use simply go to "Window/Settings/Preferences" in the menu bar and select "Plug-in Manager". Once the plug-in manager window has opened, scroll down and check the boxes to load the "objexport.mll" file. Once completed, close the plug-in manager window and begin the above process over again.
Arranging Your Object for the 3D Printer in Rhinoceros
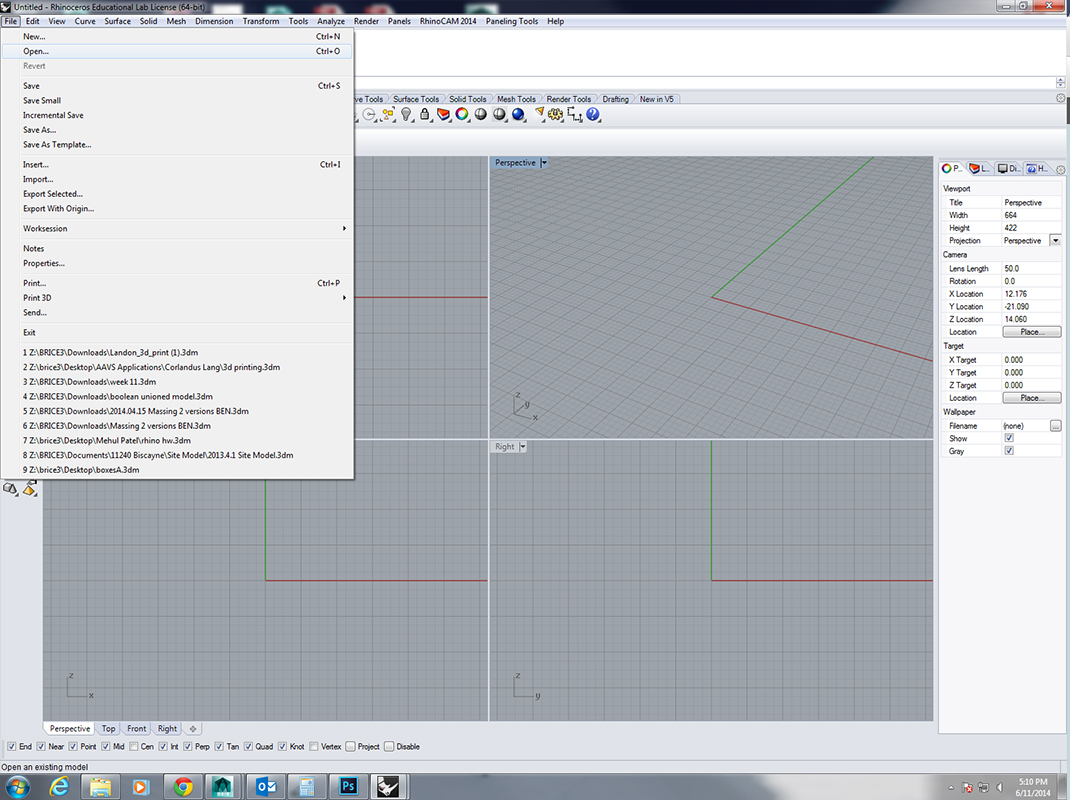
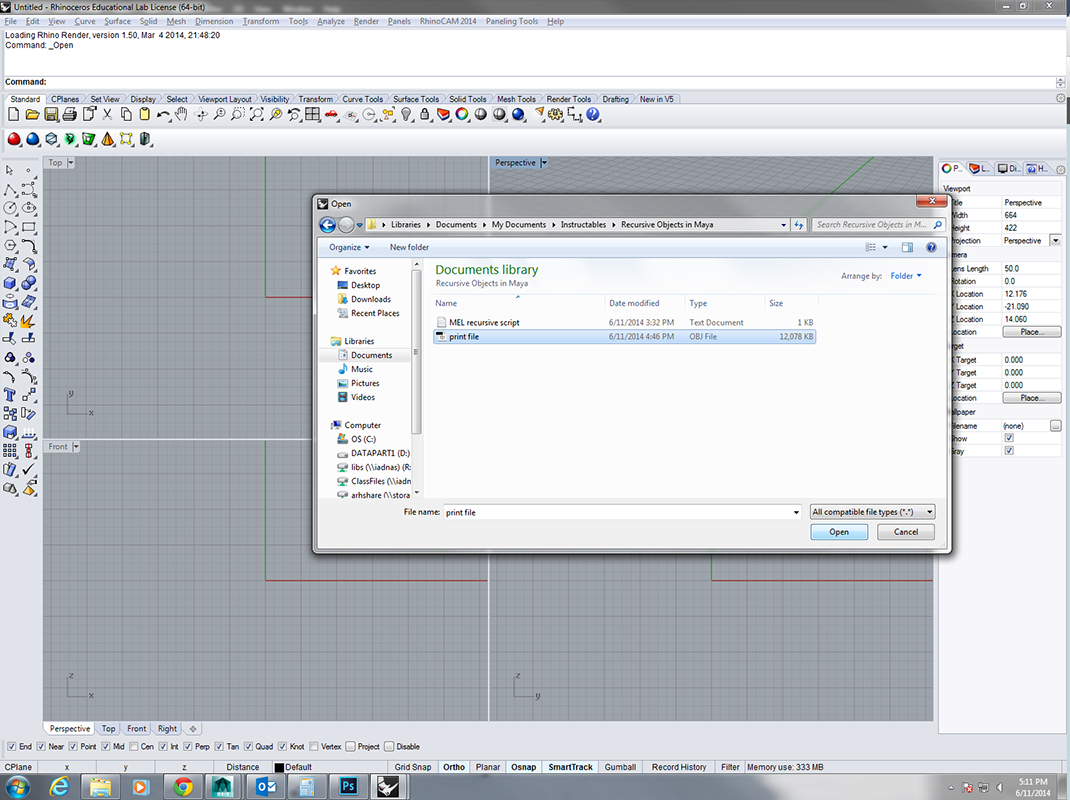
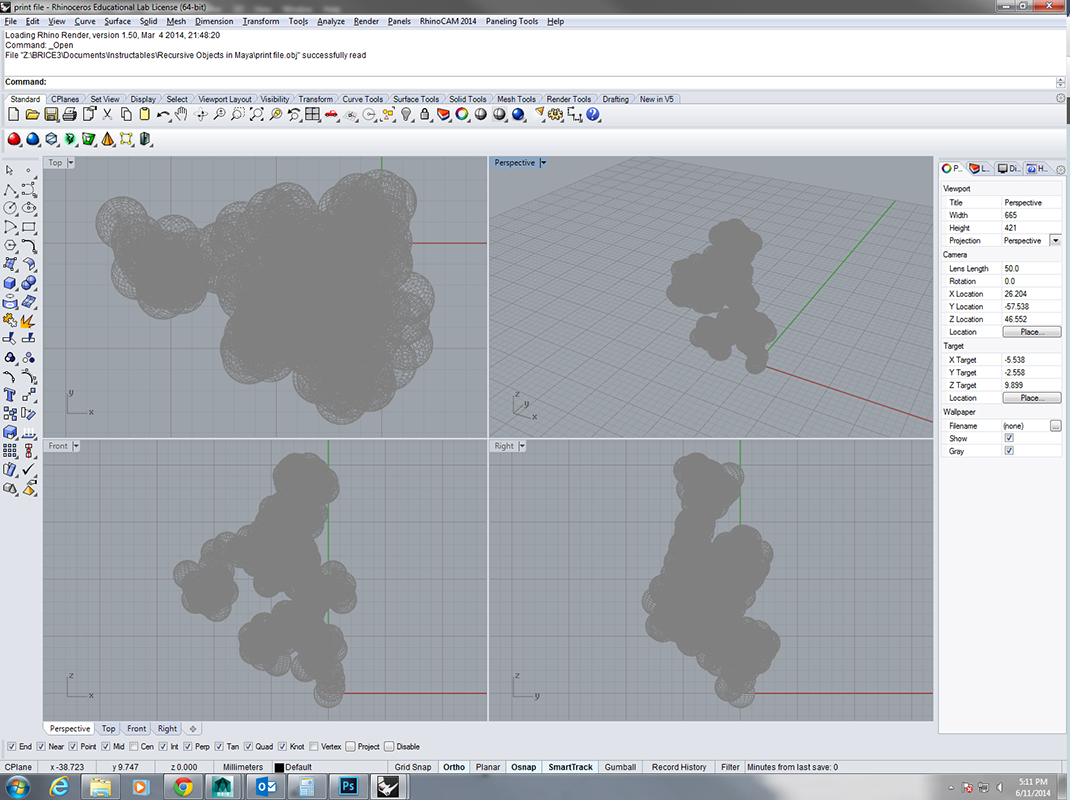
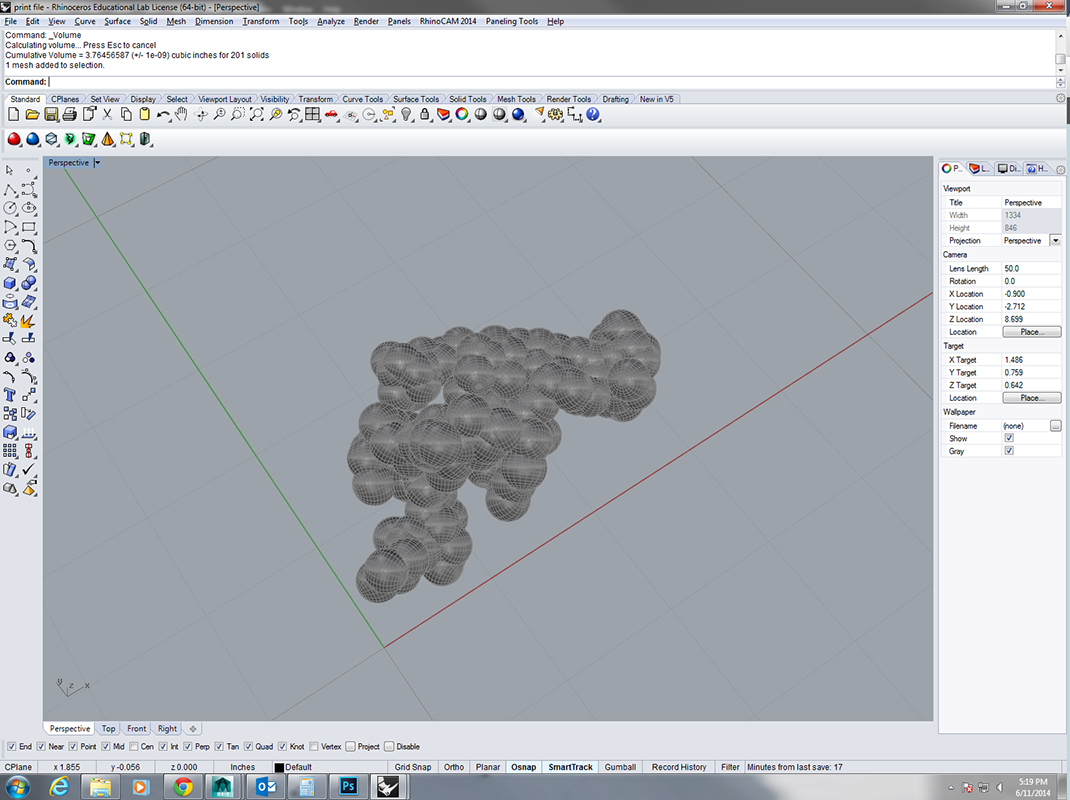
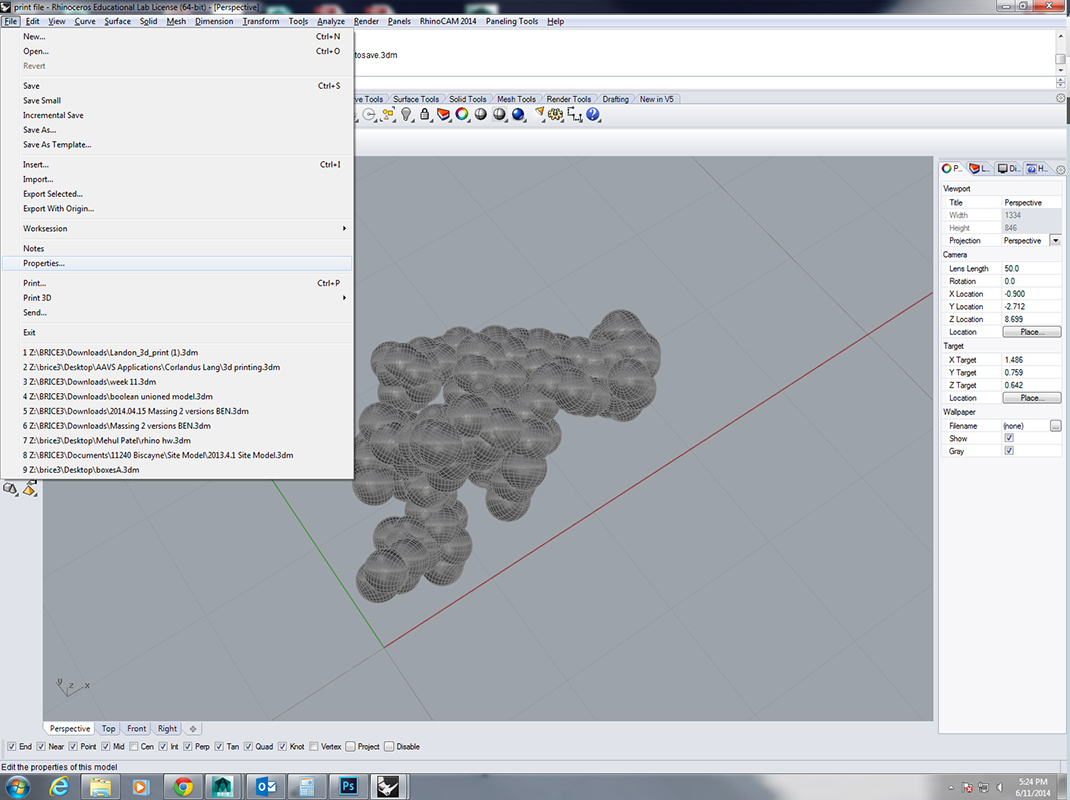
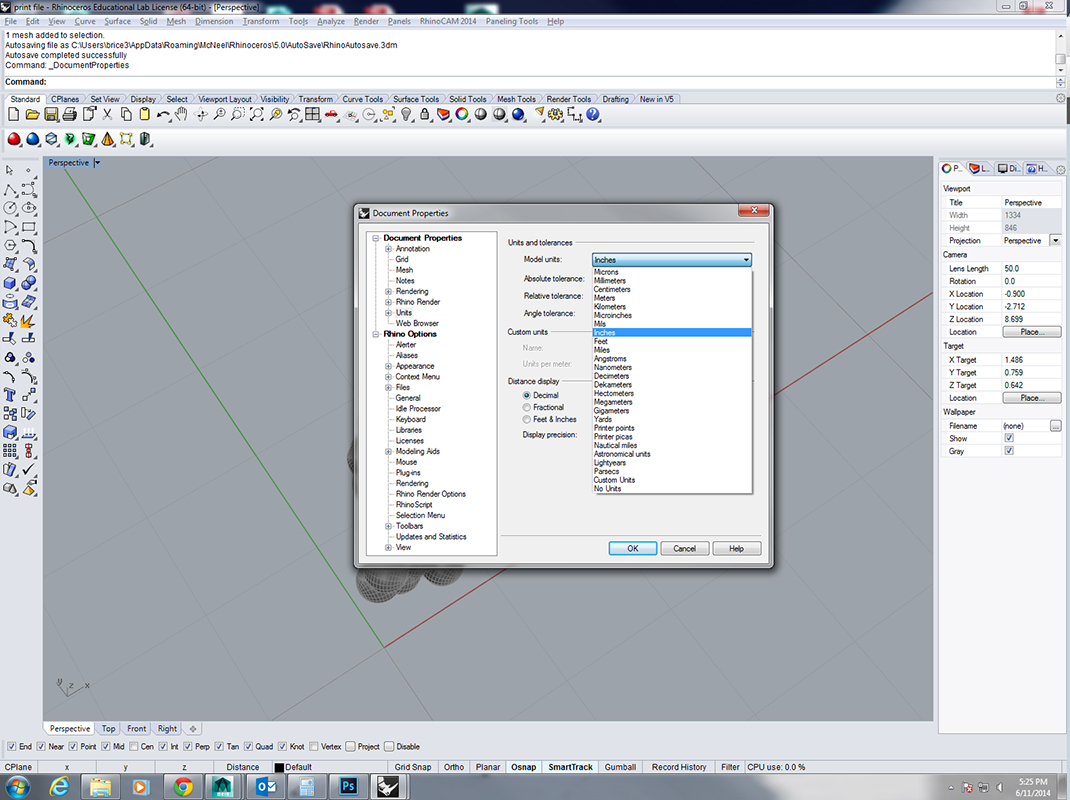
In Rhinoceros go to "File" in the menu bar and select "Open". Select your recently created OBJ file in the pop-up window and select "Open" to bring the file into Rhino. An OBJ import window will pop-up, but no changes to this will need to be made and you can simply click "OK". Usually, an OBJ file will open in Rhino in millimeters. You can change this to inches, if you want, by going to "File" in the menu bar and selecting "Properties". When the "Document Properties" window pops up, select "Units" and drop down the "Model Units" menu and select "Inches". Of course, you can simply leave the model in millimeters as well.
You can now freely use the "Move" and "Rotate" commands to move and rotate the objects in order to orient them properly for your 3D printer. These commands can be used by simply typing "move" and hitting "Enter" on the keyboard and "rotate" and hitting "Enter" on the keyboard respectively. Before activating any commands be sure to select all geometry in the scene by clicking and dragging across it all using your left mouse button.
The Objet Eden 260V prints faster in the X and Y axis than it does in the Z axis - therefore, I have oriented my file to place as much of the object in the X and Y axis as possible. Given that 3D printers can take some time to print, as well as be expensive to run, I've also used the "Scale" command (type "scale" and hit "Enter" on your keyboard) to reduce the size of my print to no longer than 3" along its largest axis. This will speed things up and prevent the print from costing too much.
Downloads
Exporting an STL
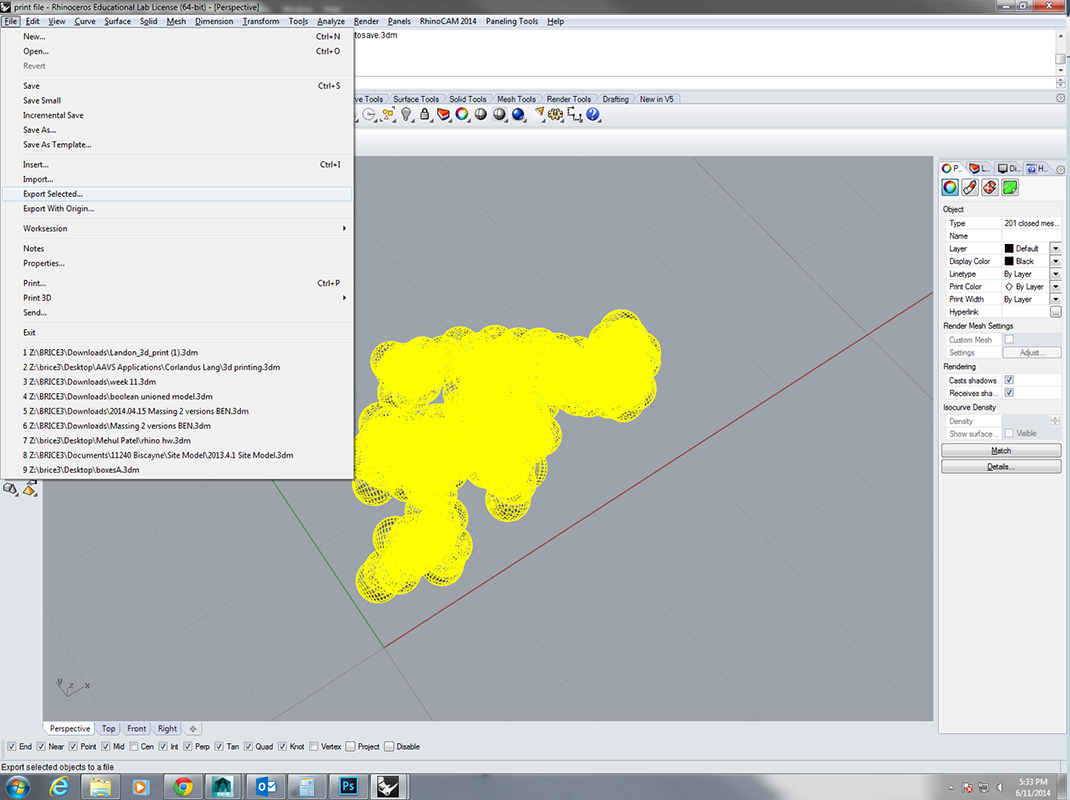
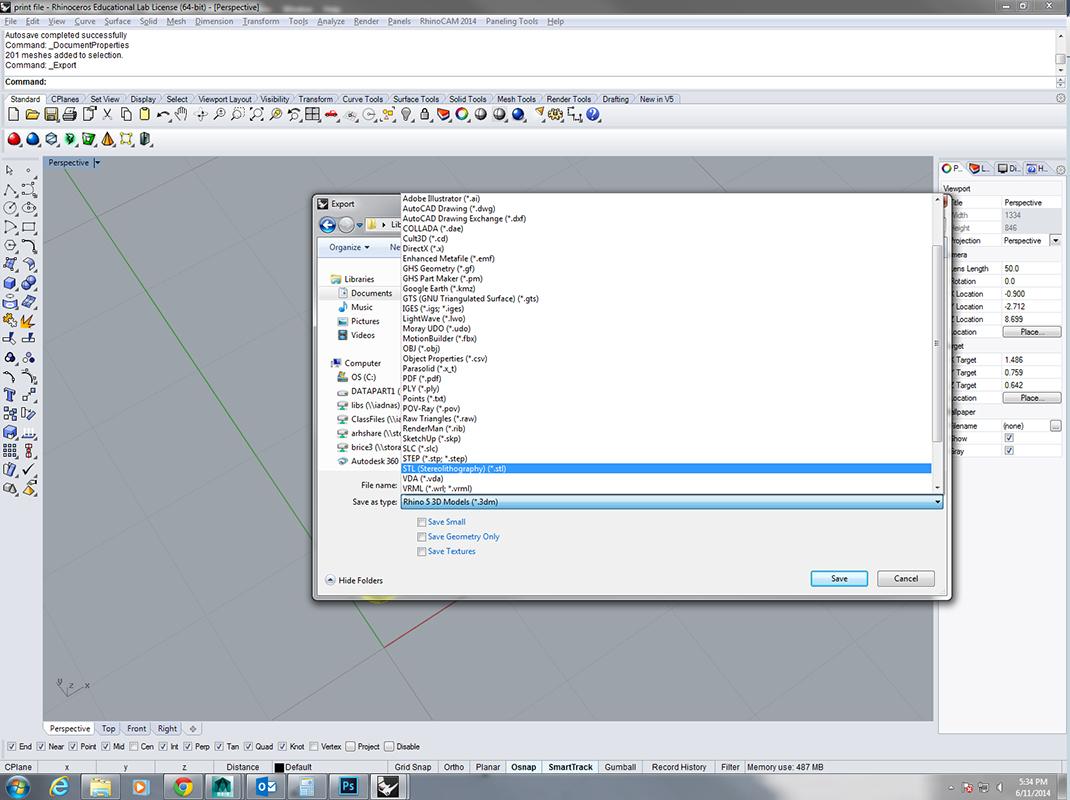
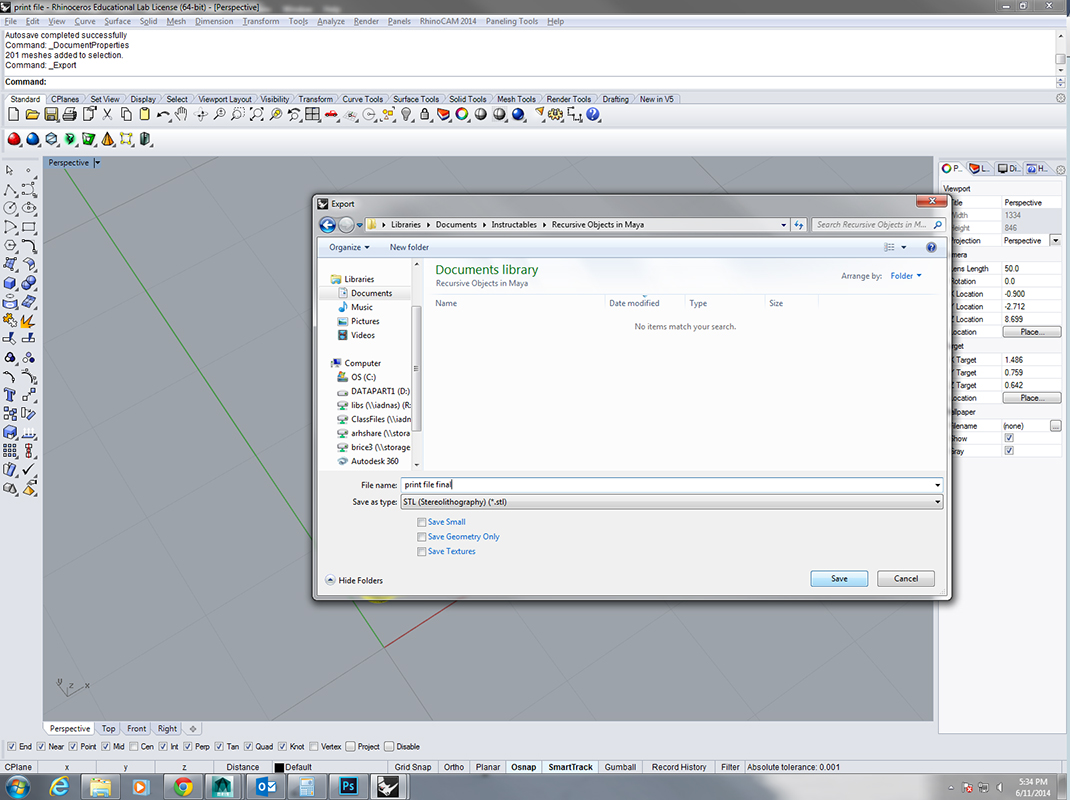
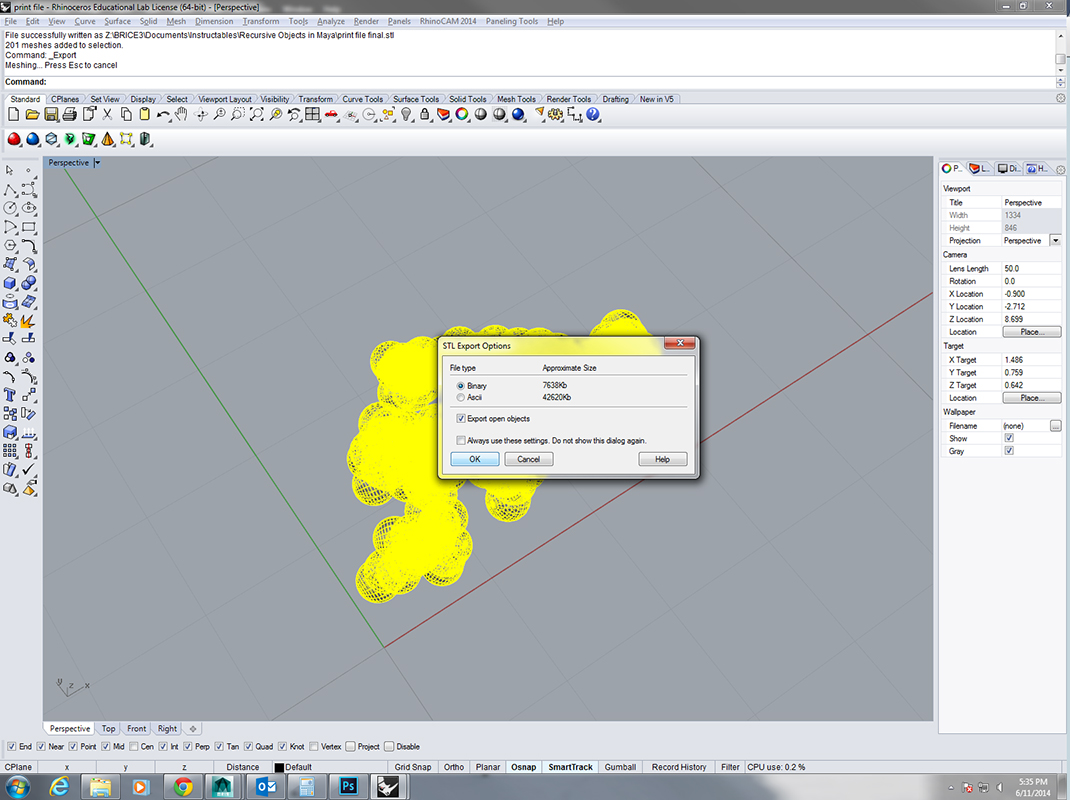
Once you are finished orienting your object you need to export it as a STL for the 3D printer. To do this, simply make sure all of your geometry is selected and go to "File" in the menu bar and select "Export Selected". When the "Export" pop-up appears, drop down the "Save as type" menu and select "STL (Stereolithography) (*stl)". Then name your file as you see fit and click "Save". A pop-up titled "STL Export Options" will appear - select "Binary" and click "OK".
Downloads
3D Printing
Load the STL file into your 3D printing software and send it to your machine. Each 3D printer and printing software works a bit differently - therefore, you will have to use the settings that work best for your specific setup. For the Eden 260V, I was able to simply let the geometry overlap and then print. For some other printers, such as the Type A Machines Series 1, you would need to "Boolean Union" the geometry together before exporting from Rhino for the print to be successful.
Final Object and Summary
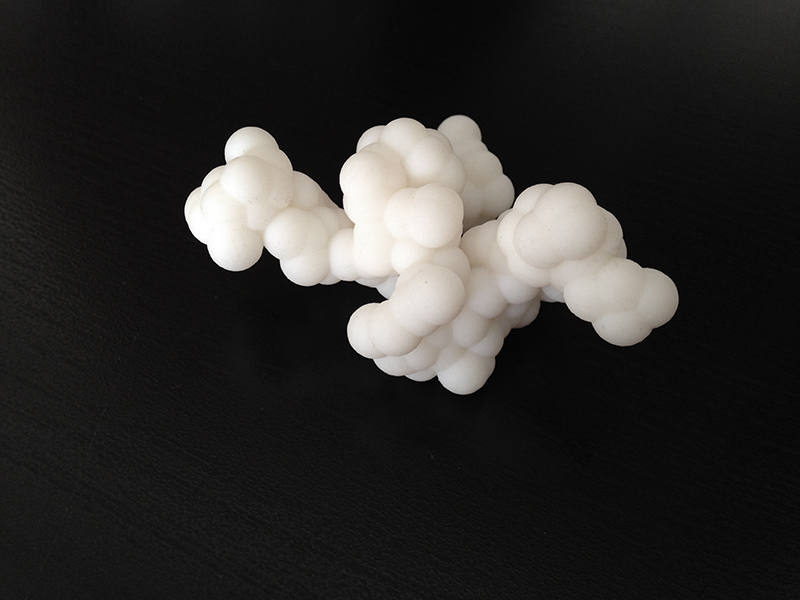
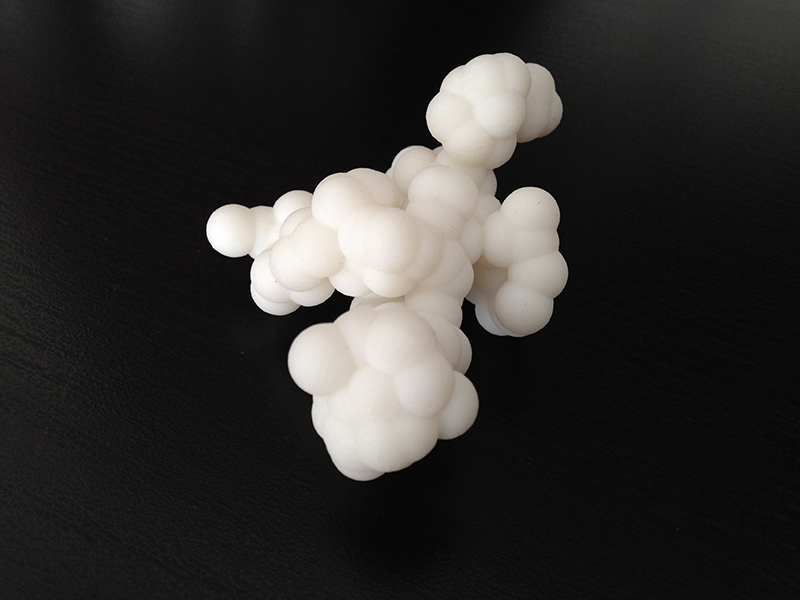
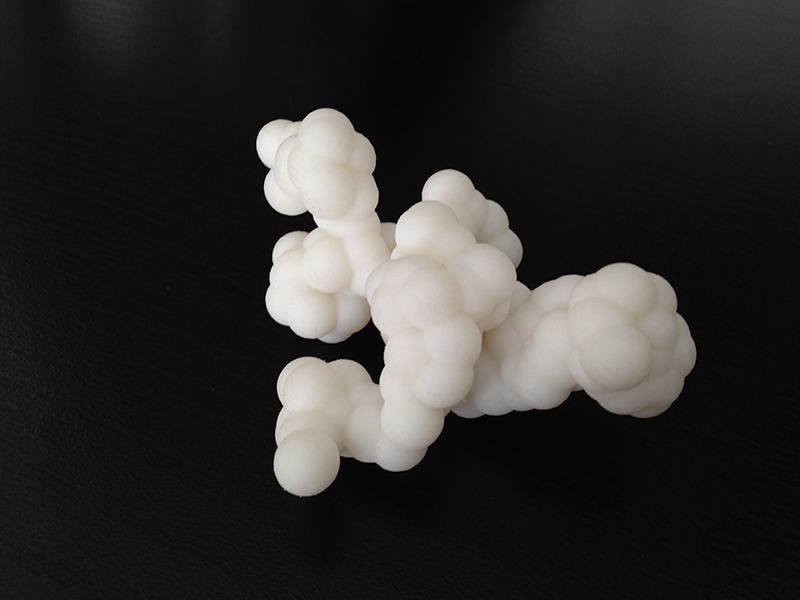
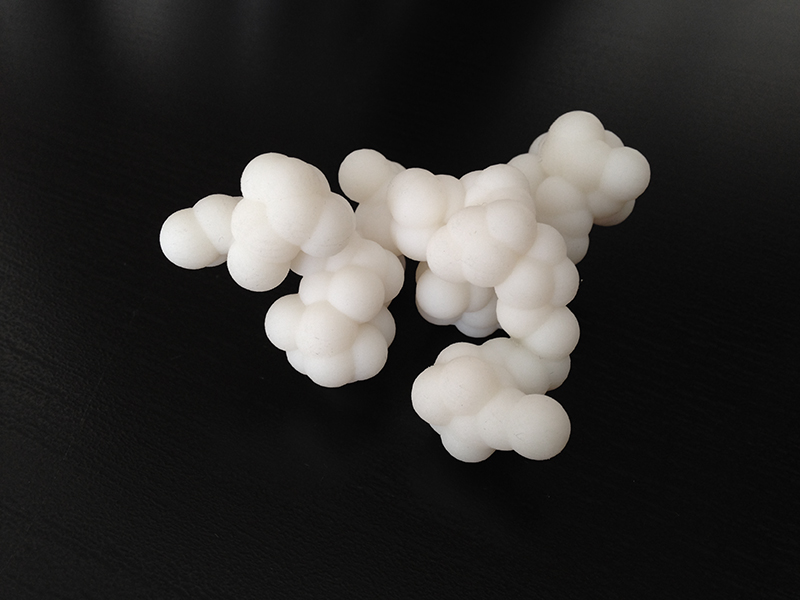
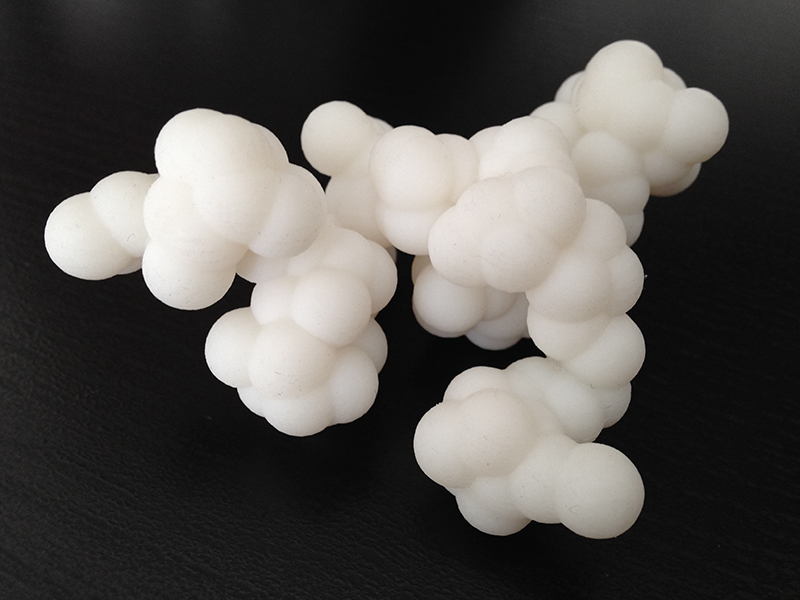
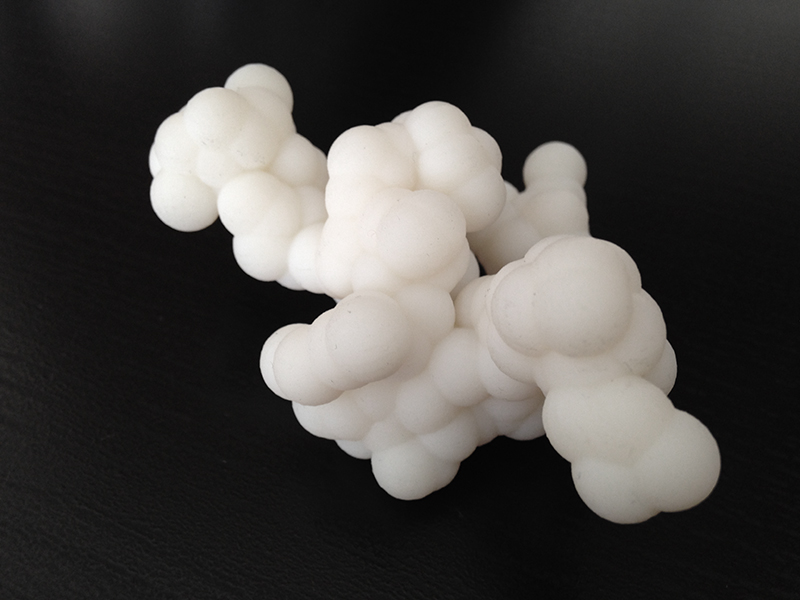
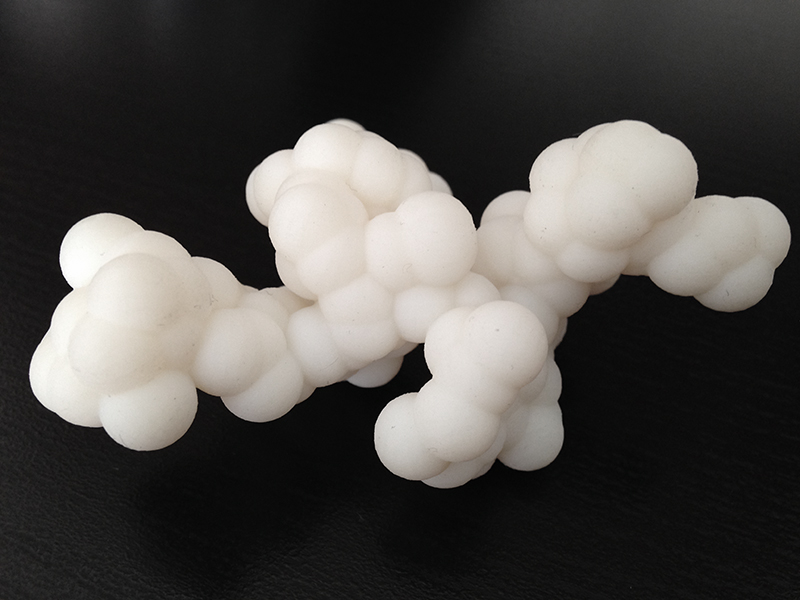
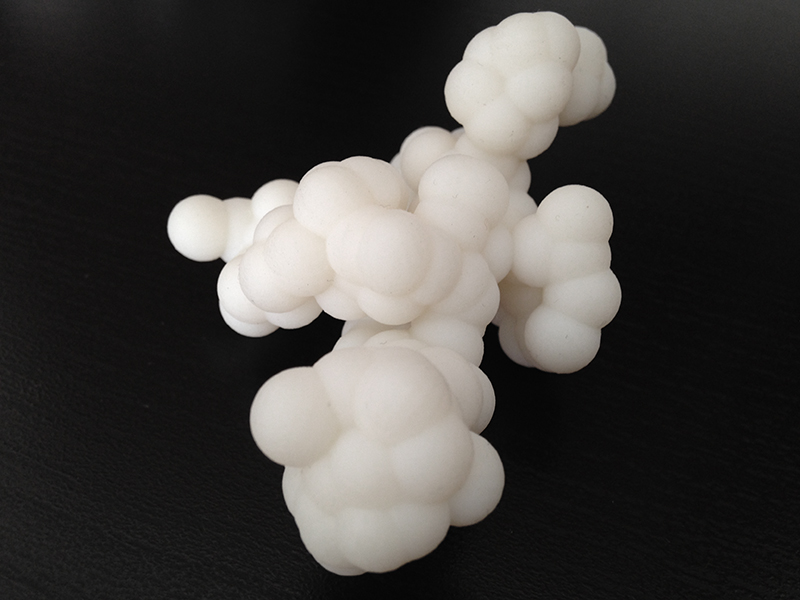
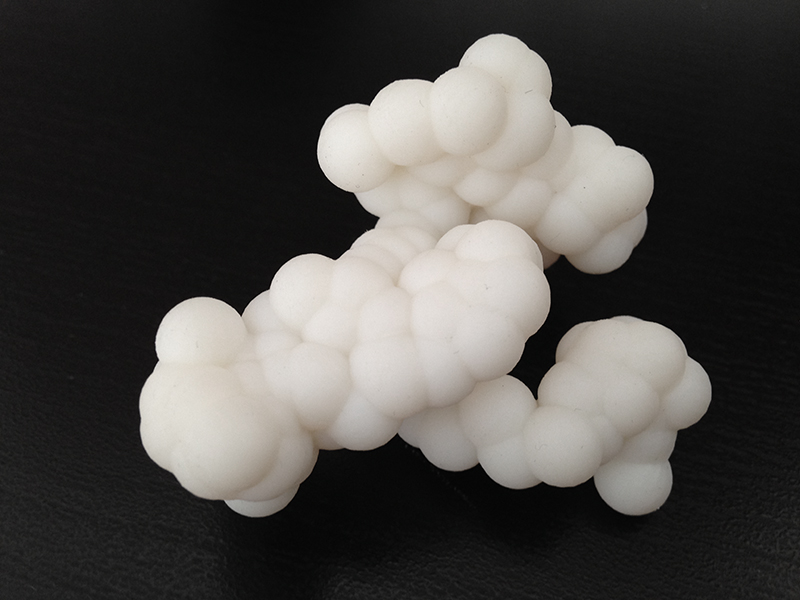
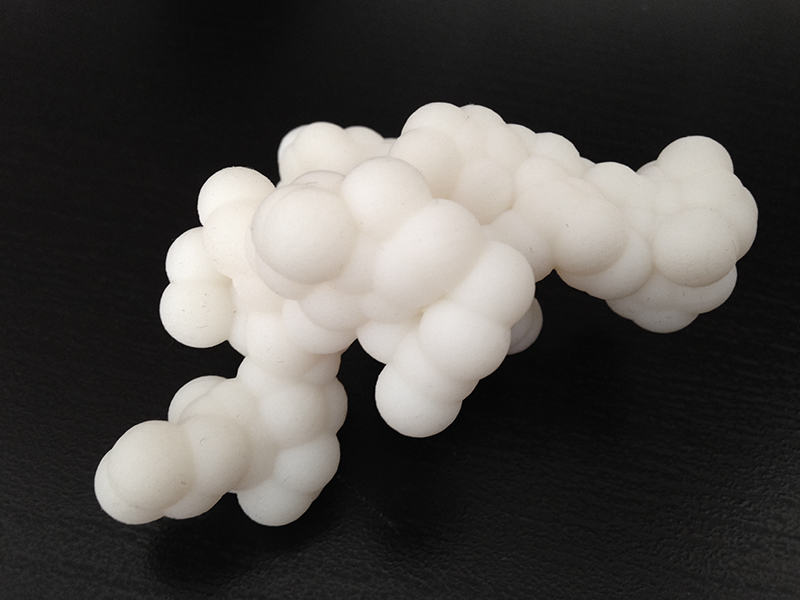
Here are some pictures of my final printed object. I decided to print it in a basic white material.
Summary
For this example I decided to use a sphere as my beginning geometry. Keep in mind that this kind of recursive script works on any type of geometry in Maya. If interested, you can continue testing the script on a box, a plane, a torus, or any other geometry you like! Please post images of your results in the comments below!