Recursive Infinity Earrings - 3D Print
by Penolopy Bulnick in Craft > Jewelry
6839 Views, 65 Favorites, 0 Comments
Recursive Infinity Earrings - 3D Print
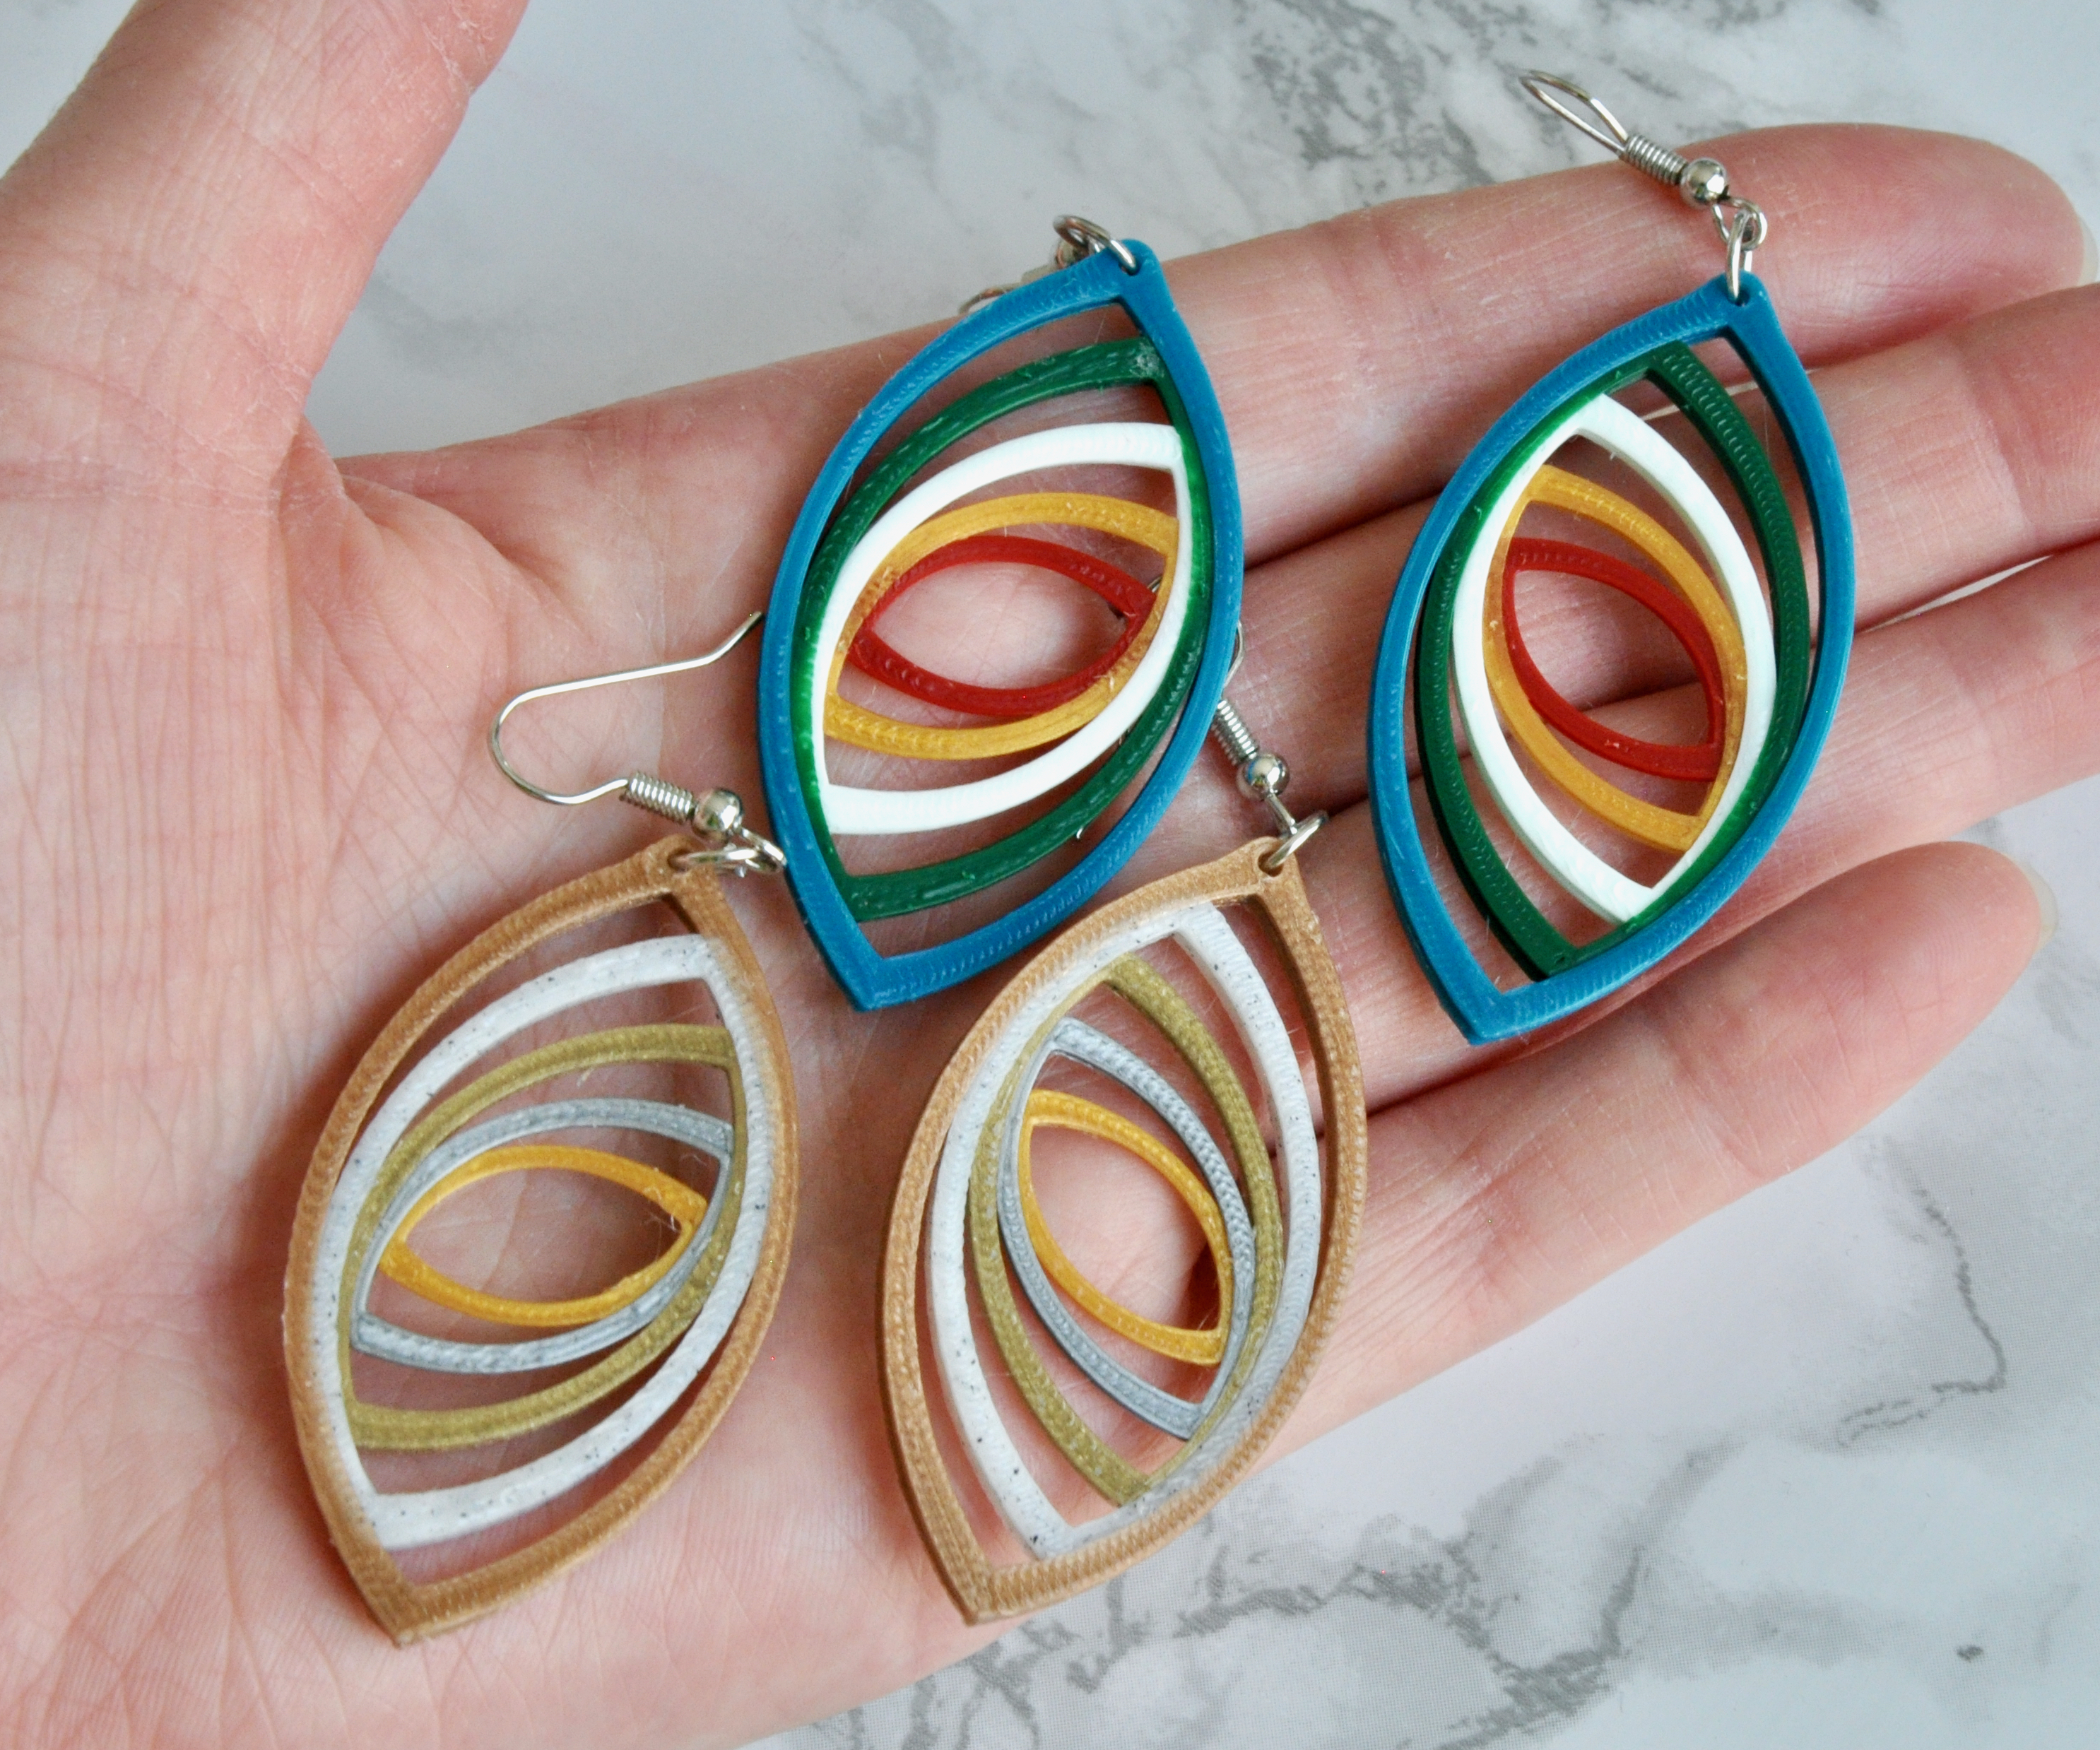
I was playing around with shapes in Tinkercad and came up with this fun idea for an earring. I wasn't quite sure how to describe it so it's a recursive, infinity, layered, fractal, inscribed, concentric-like design. It's a fun design that can be done in a variety of color combinations and can be done simply by changing color between layers or with a multi-media extruder.

Check out my shop on Etsy! You can also purchase these earrings on Etsy!
Instructable 282
Instructable 339
Supplies
- Design program - I'm using Tinkercad (as I always do)
- 3D Printer
- Filaments of choice
- Jewelry Findings - Jump Rings and Earrings
- Jewelry Pliers
- Glue - I'm using Weld-On 4 Acrylic Adhesive - I also use pipettes to transfer the glue from the can to the mini bottle
*I participate in the Amazon Associates program
Basic Design
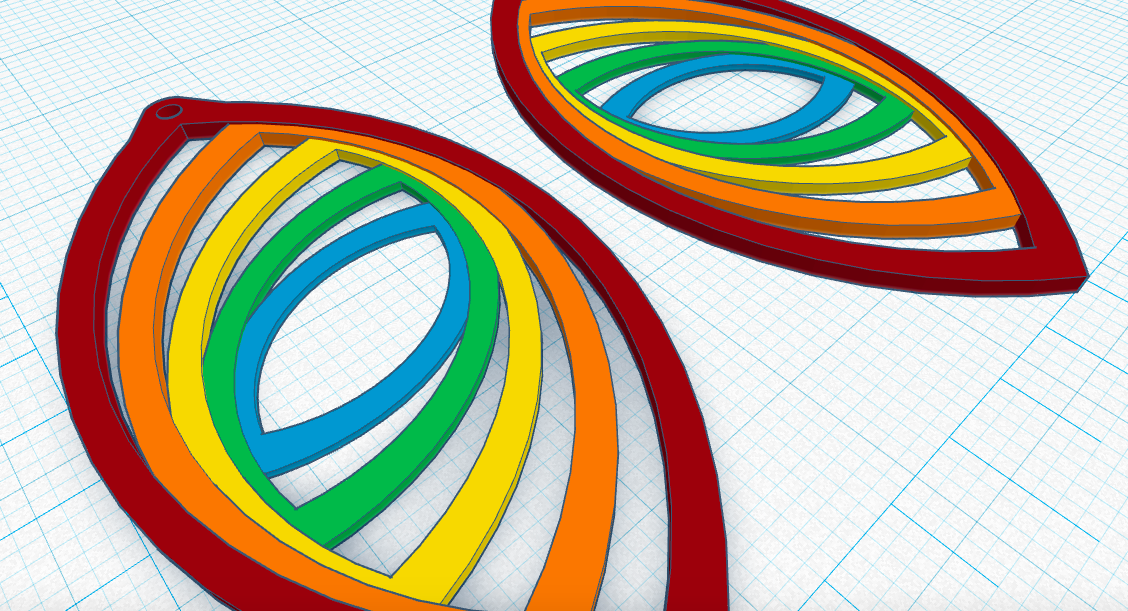
You need to figure out what shape you are going to start with; I decided to use an almond shape. A shape with some symmetry is desirable. I don't think it will work very well with a wonky shape.
Now, figure out what's the biggest you want it to be. Mine is about 50mm tall by 26.5mm wide.
We want the shape to be cut out so we'll do that now. I just eyeballed this.

Next we make it smaller and rotate it. To start, I wanted the thicknesses of all the shapes to be about the same. To do this you have to shrink the shape, then ungroup it, resize the cutout so it is the same difference in size as the big shape (for me this was roughly 3.11mm in the width direction, and then regroup them.
Otherwise, you can kind of eye ball this, but I shrank the shape to about 43 by 22.5 and rotated it about 11 degrees.

Now we're going to do this again, do it with the large shape as we don't want to distort the shape so we have to shrink it, and then rotate it.
I did this until I had a total of 5 shapes. I did a bunch of testing, undoing, and retesting to get these amounts, so just play around.
To get this right, I recommend figuring out the sizes first and then rotate them until you are happy with them. You can see mine fit out inside of each other.
As you can see below, I made them all just slightly smaller the the one before.

Here are the rough measurements for the size of each and how much they were rotated from their center position, but remember, I rotated it until I liked it and then I figured out the degrees for you.
- Outside/1st Shape - 50mm by 26.5mm - start position
- 2nd Shape - 43mm by 22.5mm - rotate 11 degrees from start position
- 3rd Shape - 35mm by 18.6mm - rotate total of 26 degrees from start position
- 4th Shape - 27.5mm by 14.6mm - rotate total of 45 degrees from start position
- Center/5th Shape - 21mm by 10.8mm - rotate total of 66 degrees from start position
Below you an see how you can rotate them all together dropping one at a time until you get to the center and are happy with the spacing.

Add your hole! I kind of added more to the top to give me space for the hole but you can also just add a loop. I try to avoid loops since I don't really like them.


With all the shapes, you need to layer it. The amount you layer it will depend on the style of printing you are doing, which I'll talk about in the next steps.
But once you have it all figured out you can copy it, and flip it so you have mirror images for the earrings.

Downloads
Multi-Colored Print
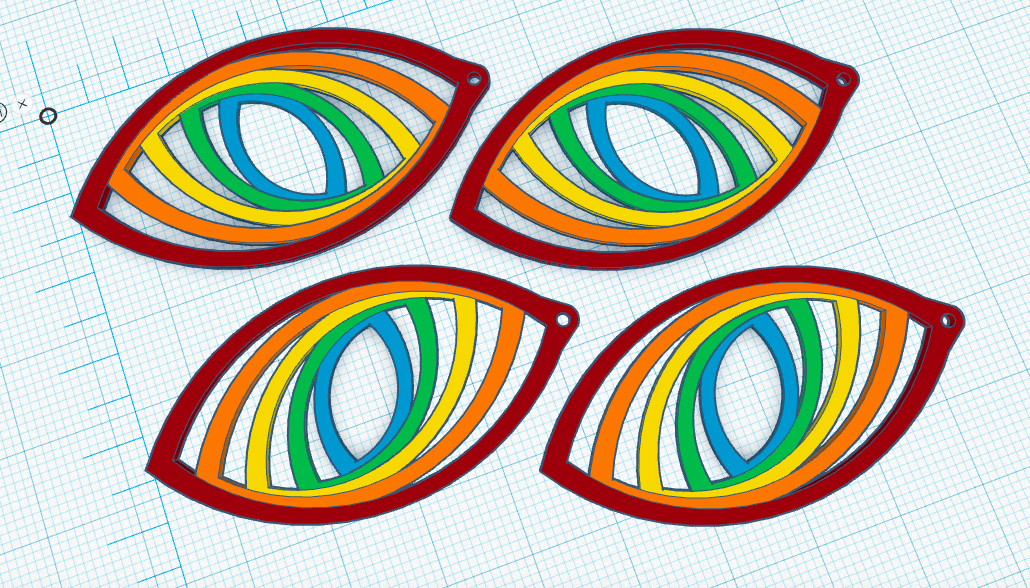
Like I mentioned in the last step, you need to decide how to print it to get thickness. Since I have the ability to do a multi colored print, I definitely had to try that and for that design the layer thicknesses are:
- Outside/1st Shape: 1.2mm or 6 layers
- 2nd Shape: 1mm or 5 layers
- 3rd Shape: .8mm or 4 layers
- 4th Shape: .6mm or 3 layers
- Center/5th Shape: .4 or 2 layers

Each print is meant to be 1 half of 1 earring. And since I wanted a mirror pair I started by copying and mirroring my design.

How this is the front of each earring meaning I need two more of the same for the back.

In order to print these with the multimedia extruder, I lined this up how I wanted them and exported all the same color so I had 5 pieces. Though you can do these in any color combination. I've done 5 different colors and just 2 different colors too.
Layered Print - Change Color
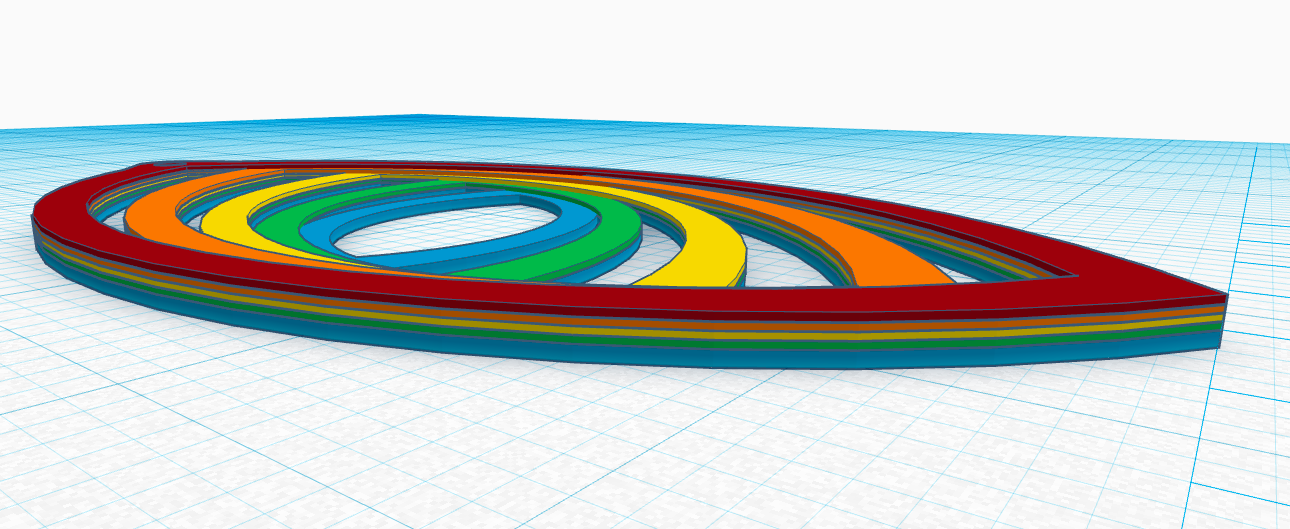
If you don't have a multi media extruder, but still want the layers different colors, all you need to do is change the color between layers.
You'll want to make it a bit thicker since it won't be doubled up. So then I recommend going with the following dimensions (any thicker than this and you'll probably have trouble getting it on a jump ring):
- 1st/Base Layer: .6mm
- 2nd Layer: 1.20mm
- 3rd Layer: 1.80mm
- 4th Layer: 2.40mm
- 5th Layer: 3mm

I separated out the layers so you can kind of see what will be printing each layer.

You can do this as just one print for each earing, or you could do this like with the last step and do each earring as 2 parts that are glued together. In that case you use the same thickness as the last step.

Here is what the 4 pieces would look like if you wanted to glue them back to back.
Printing
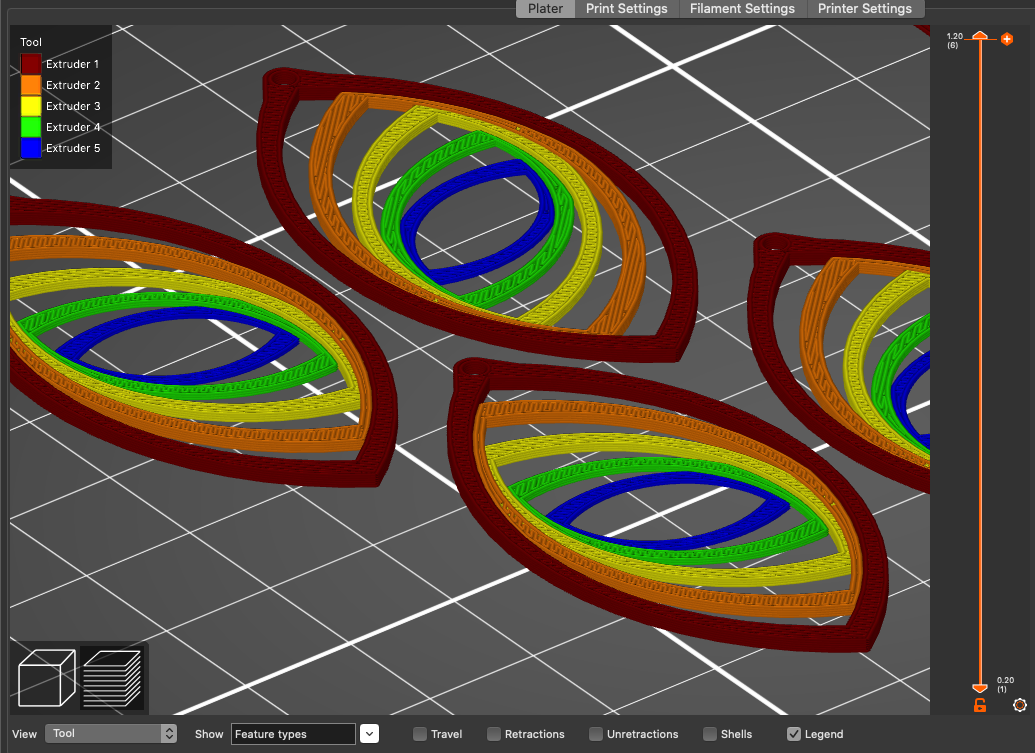
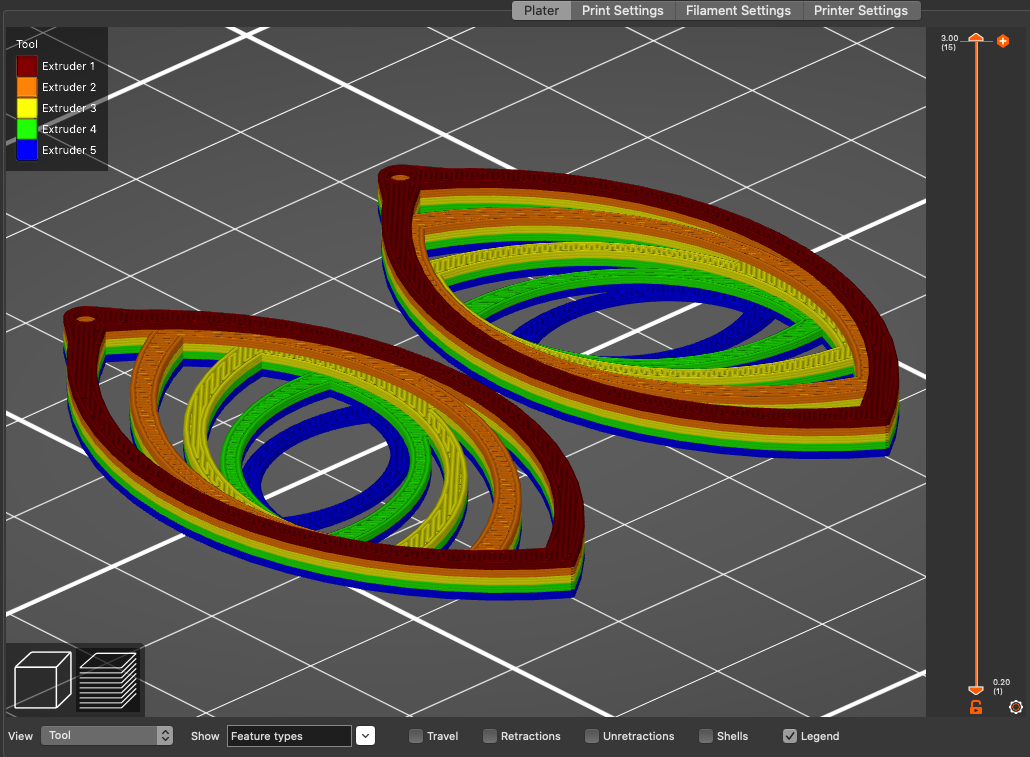
Just a quick look and what you'll probably see when you slice. You'll either be doing multimedia like the first image, or changing color between layers as the second image shows.
Depending on your printer, you could pause and change filaments between the layers you want, or you could add to the gcode in your slicer:
{REPLACE "; layer ???, Z =" "M600\n; Color Change, Z ="}
{REPLACE "; layer ???, Z =" "M600\n; Color Change, Z ="}
{REPLACE "; layer ???, Z =" "M600\n; Color Change, Z ="}
{REPLACE "; layer ???, Z =" "M600\n; Color Change, Z ="}
Remember to replace ??? with the layer numbers. You should be able to do as many changes as you want to. Whatever number you put, it should change before that layer.
Gluing
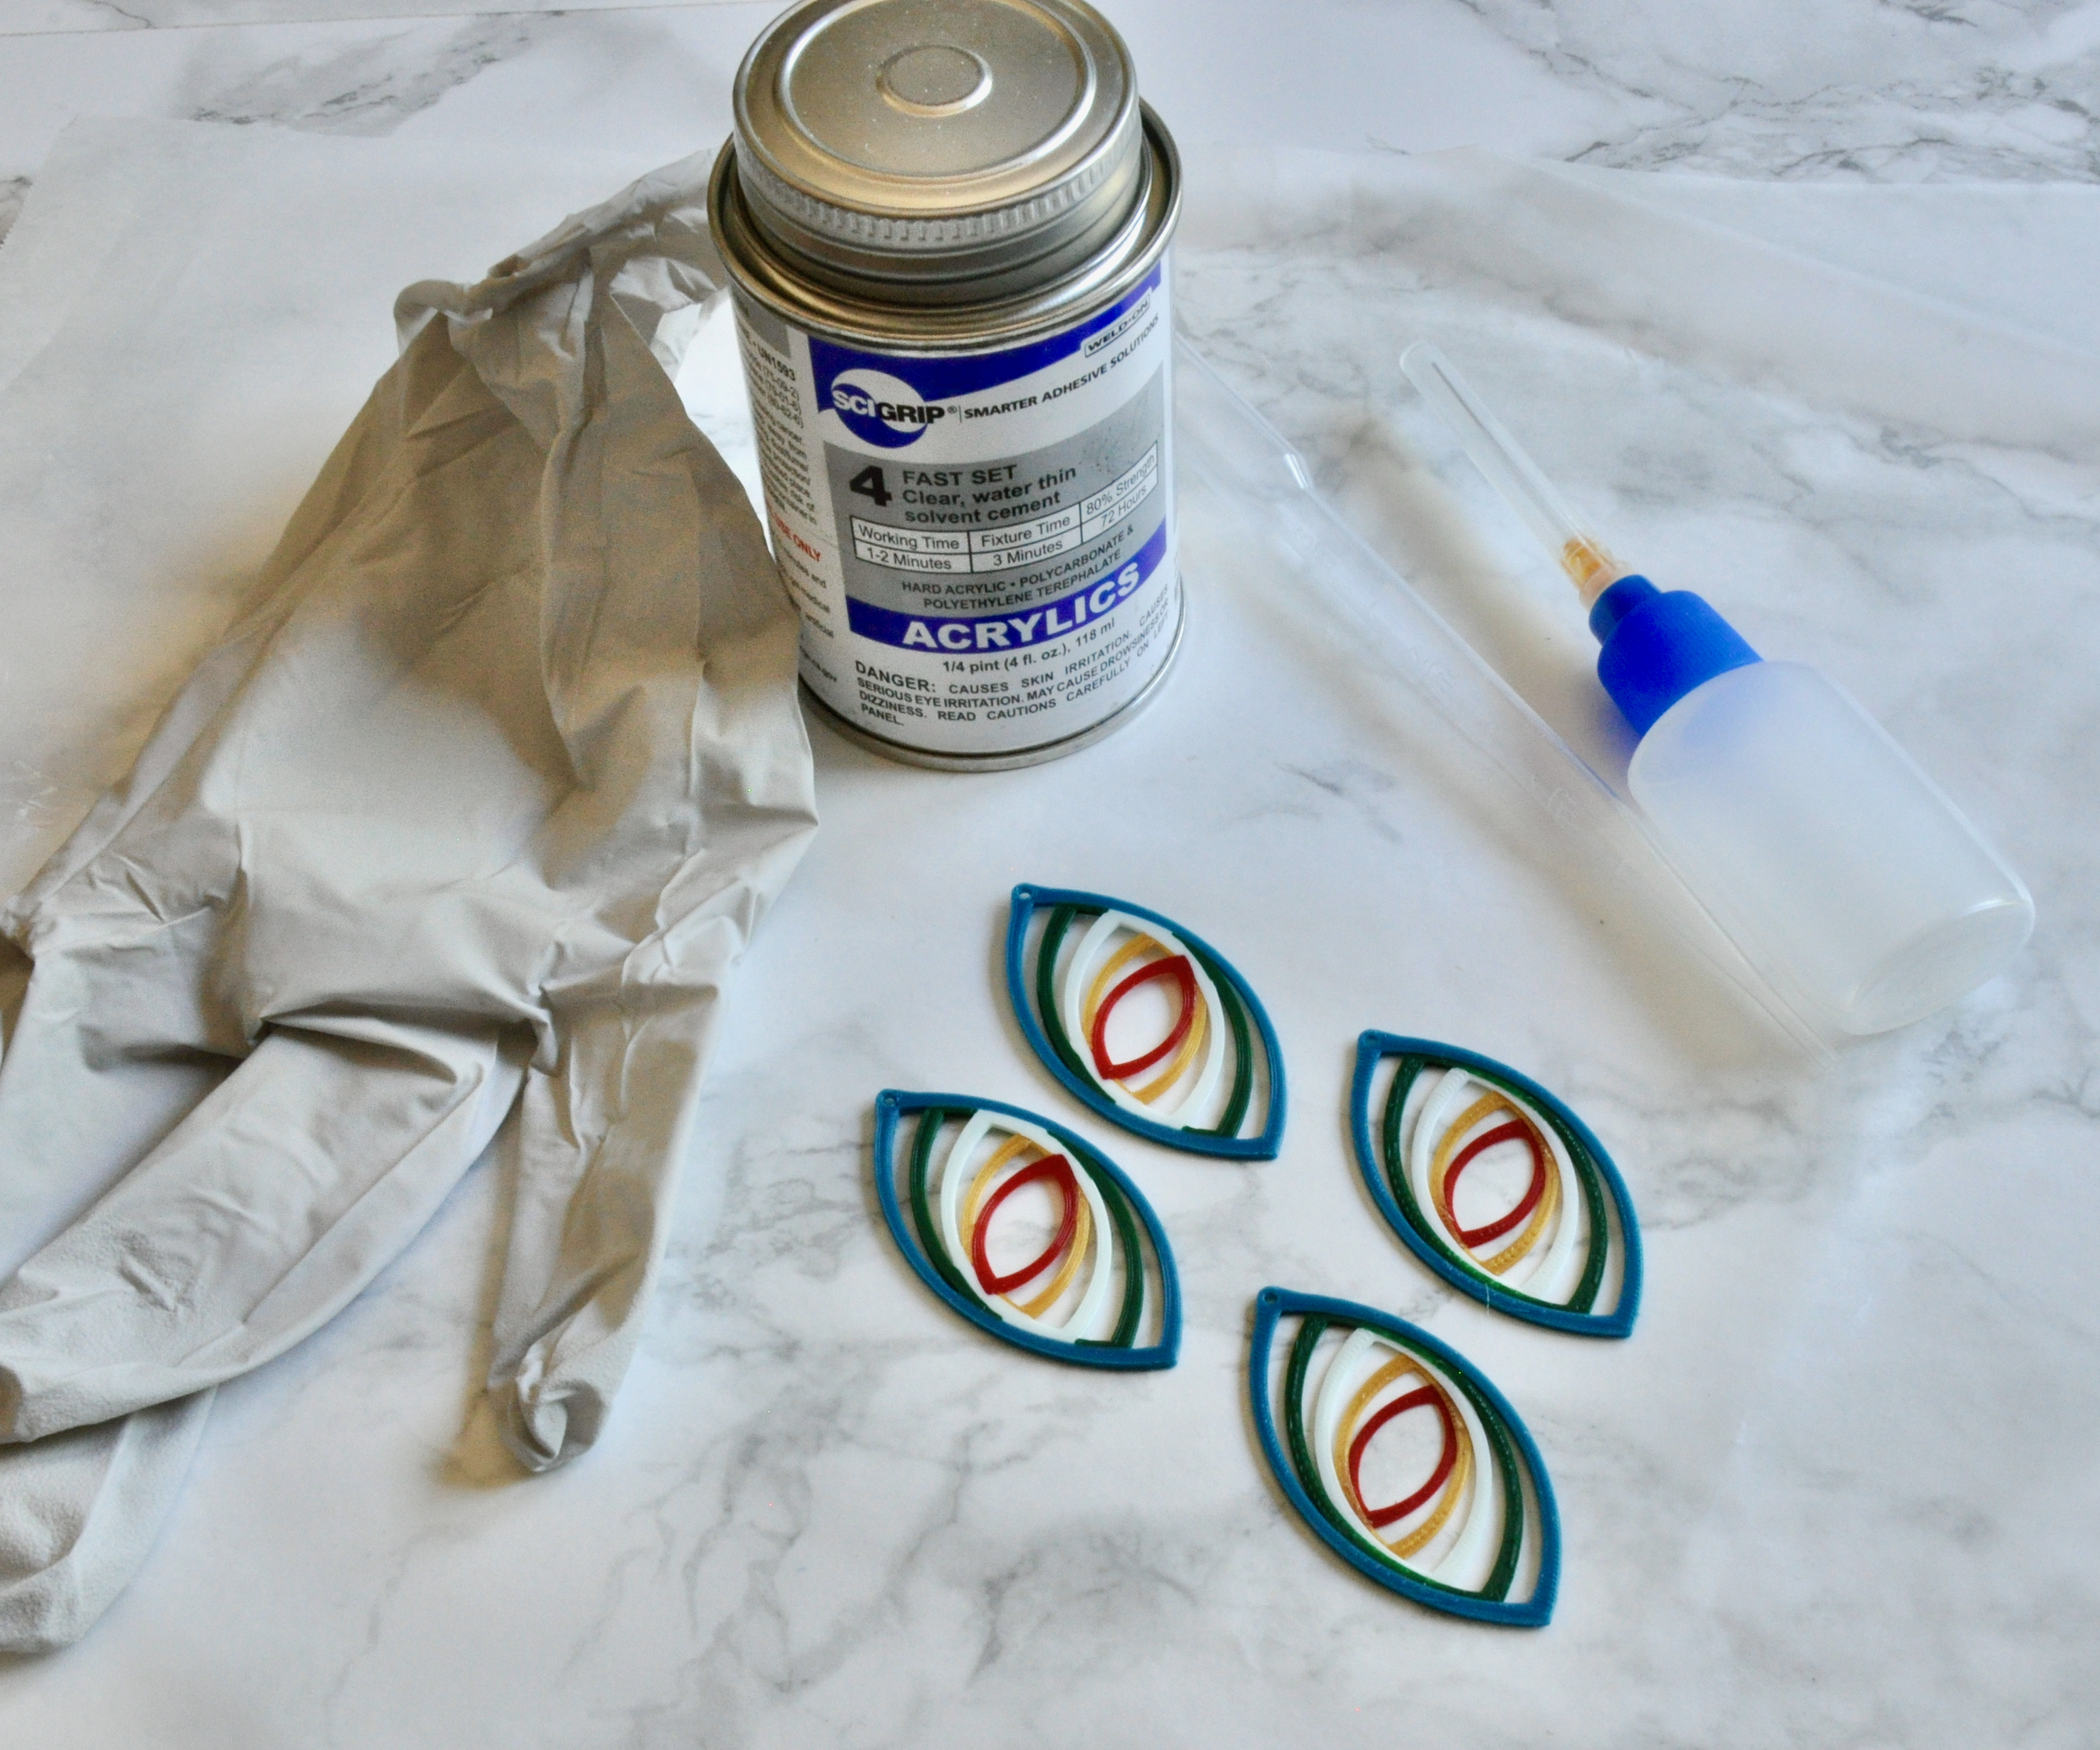
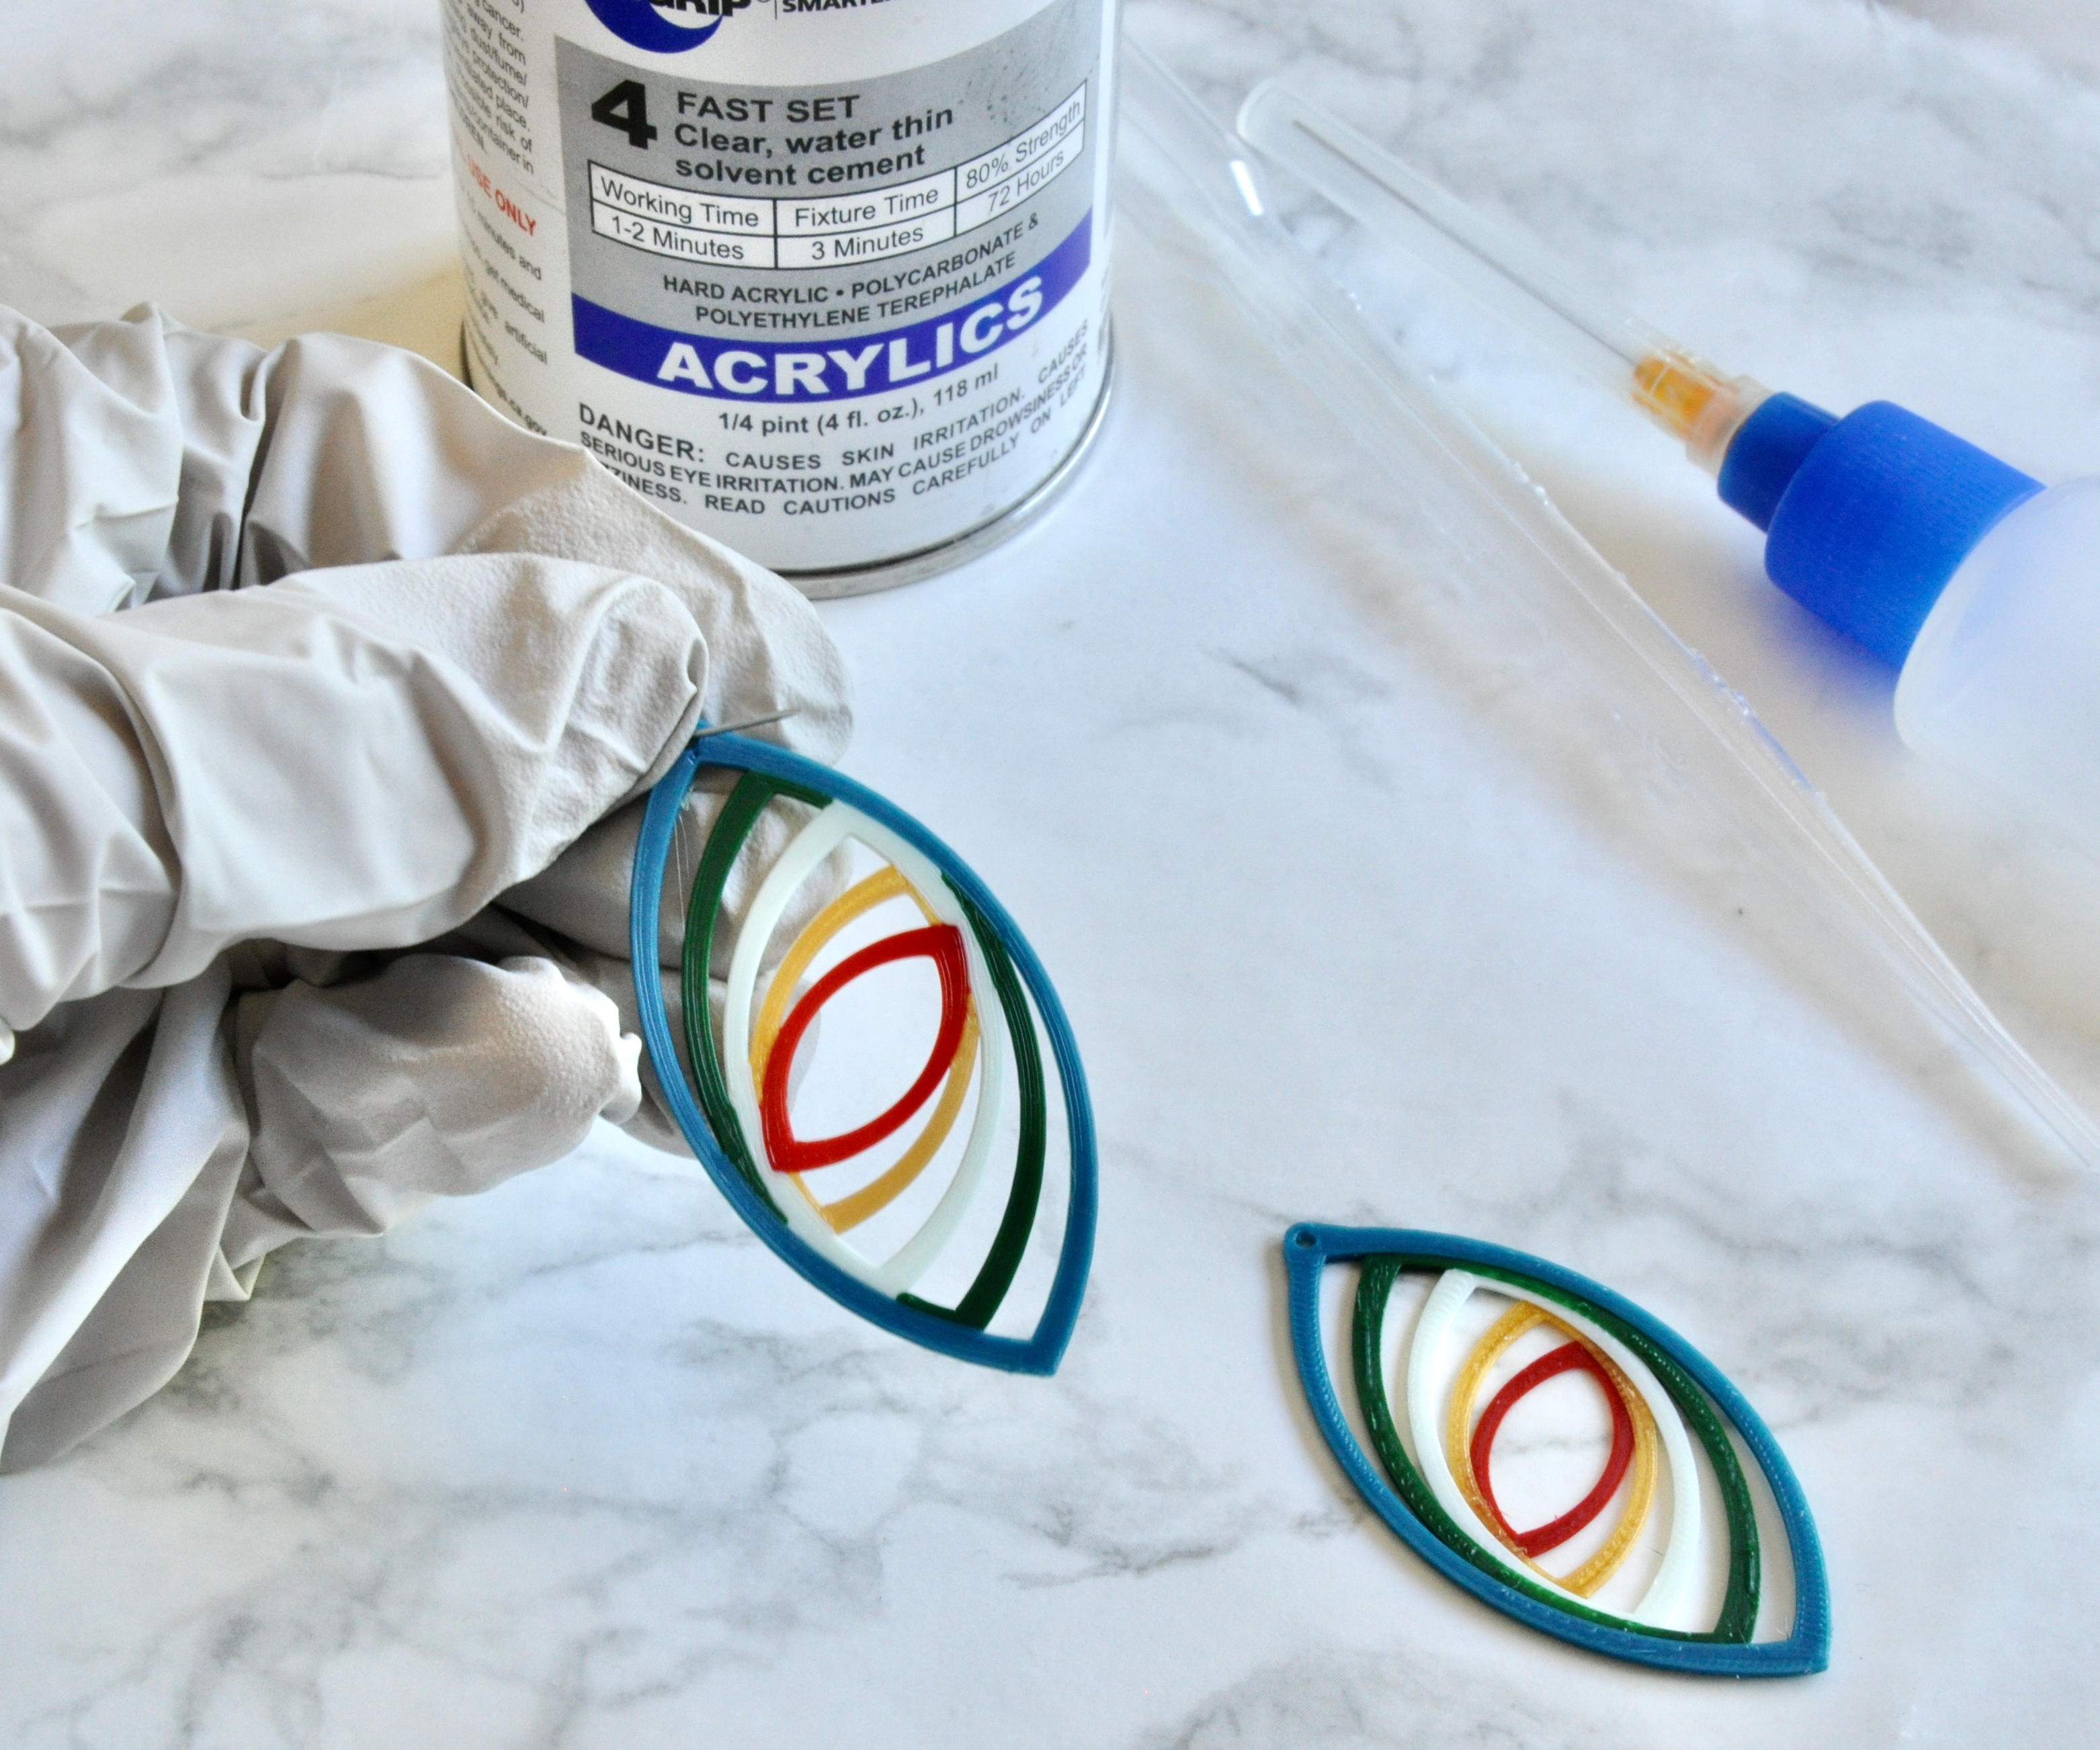
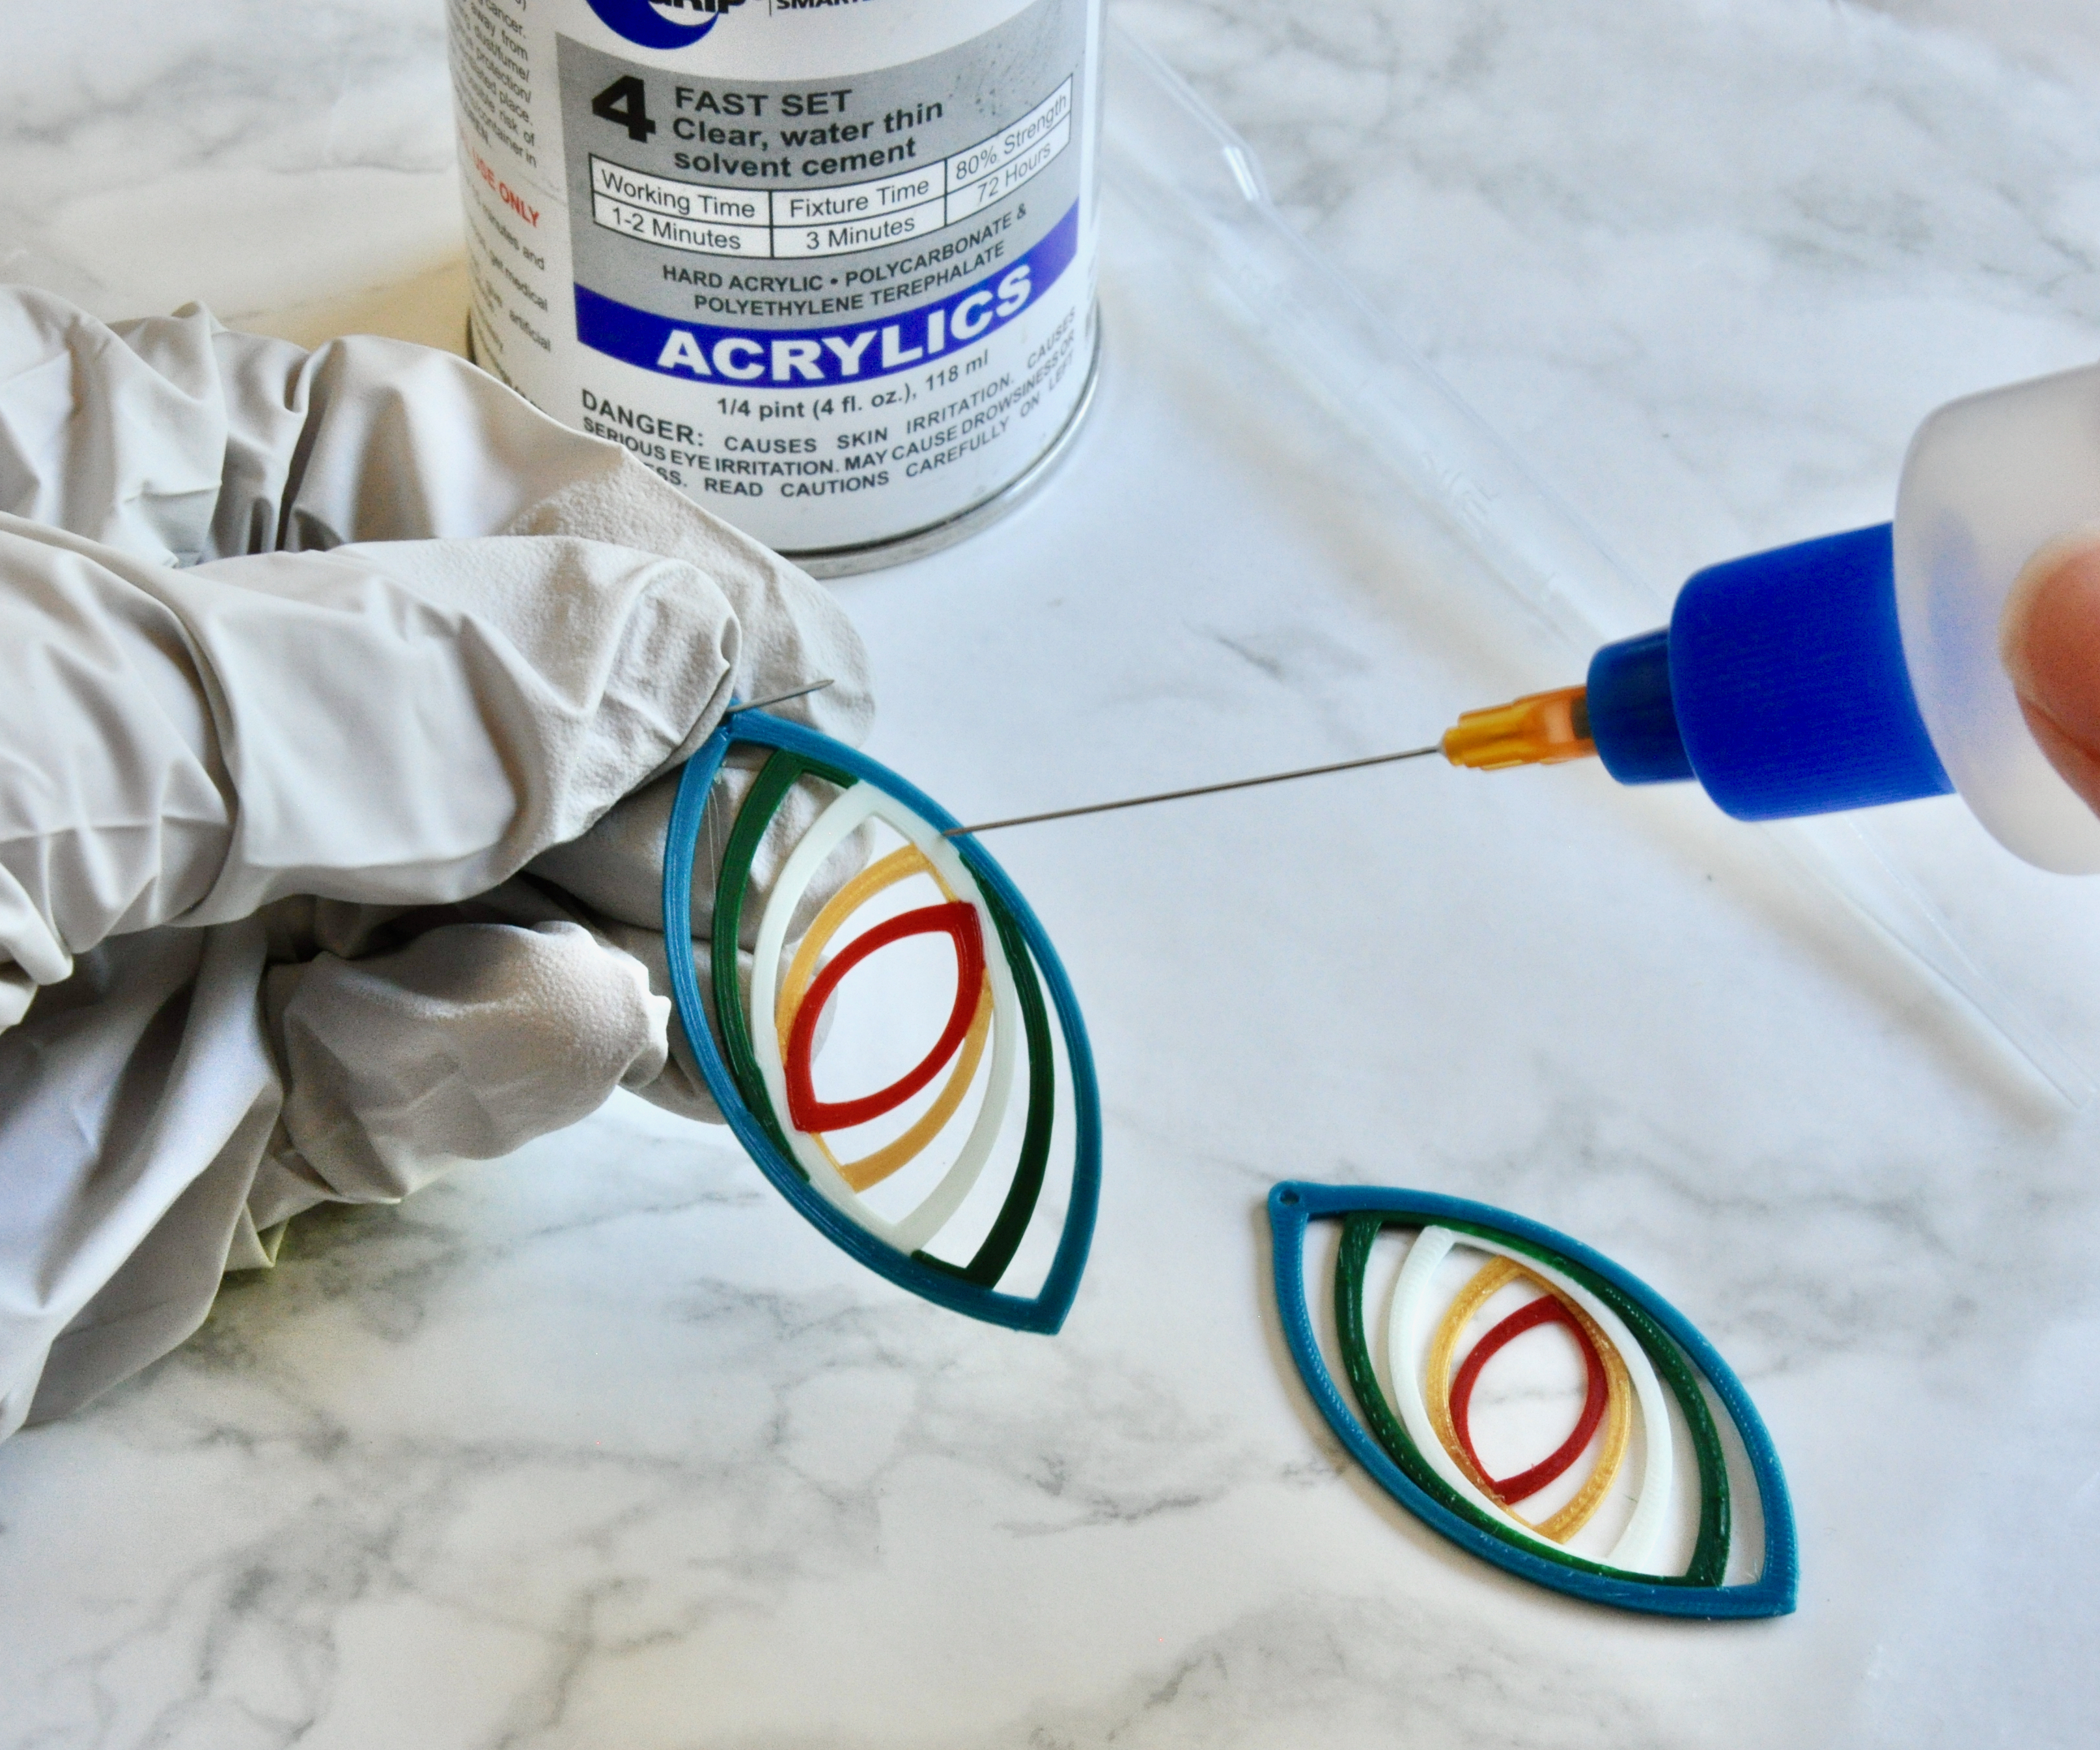
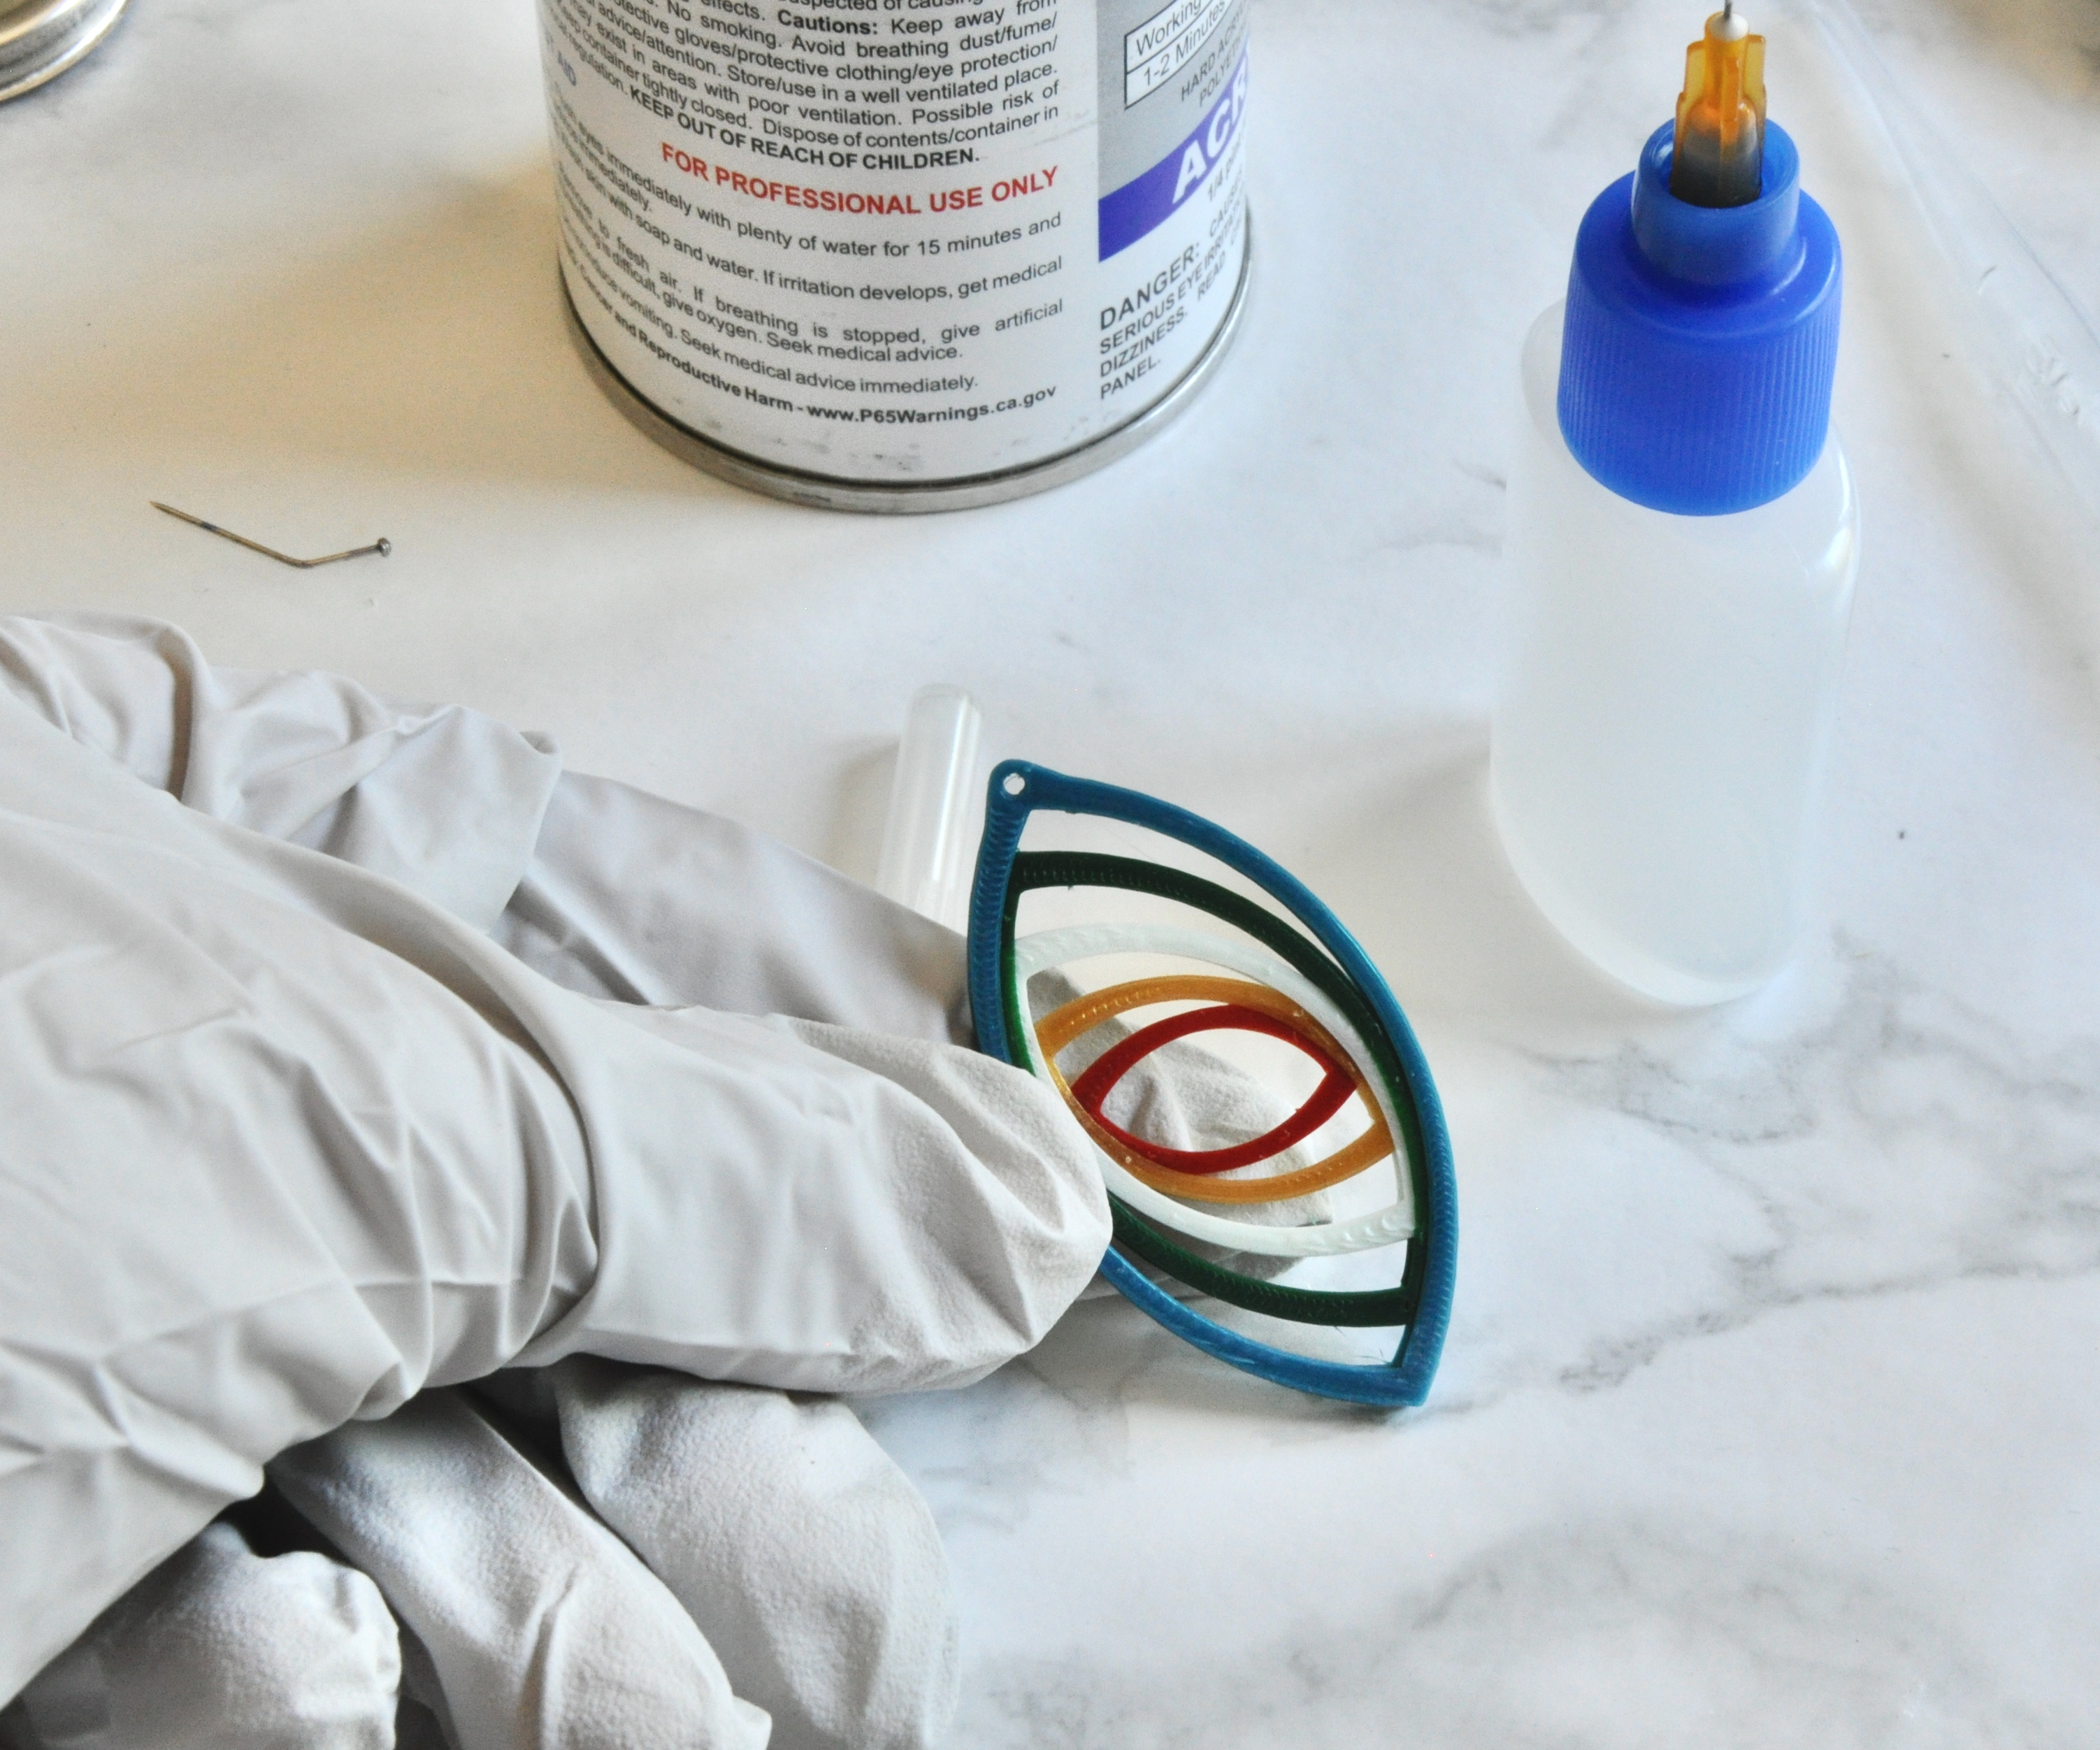
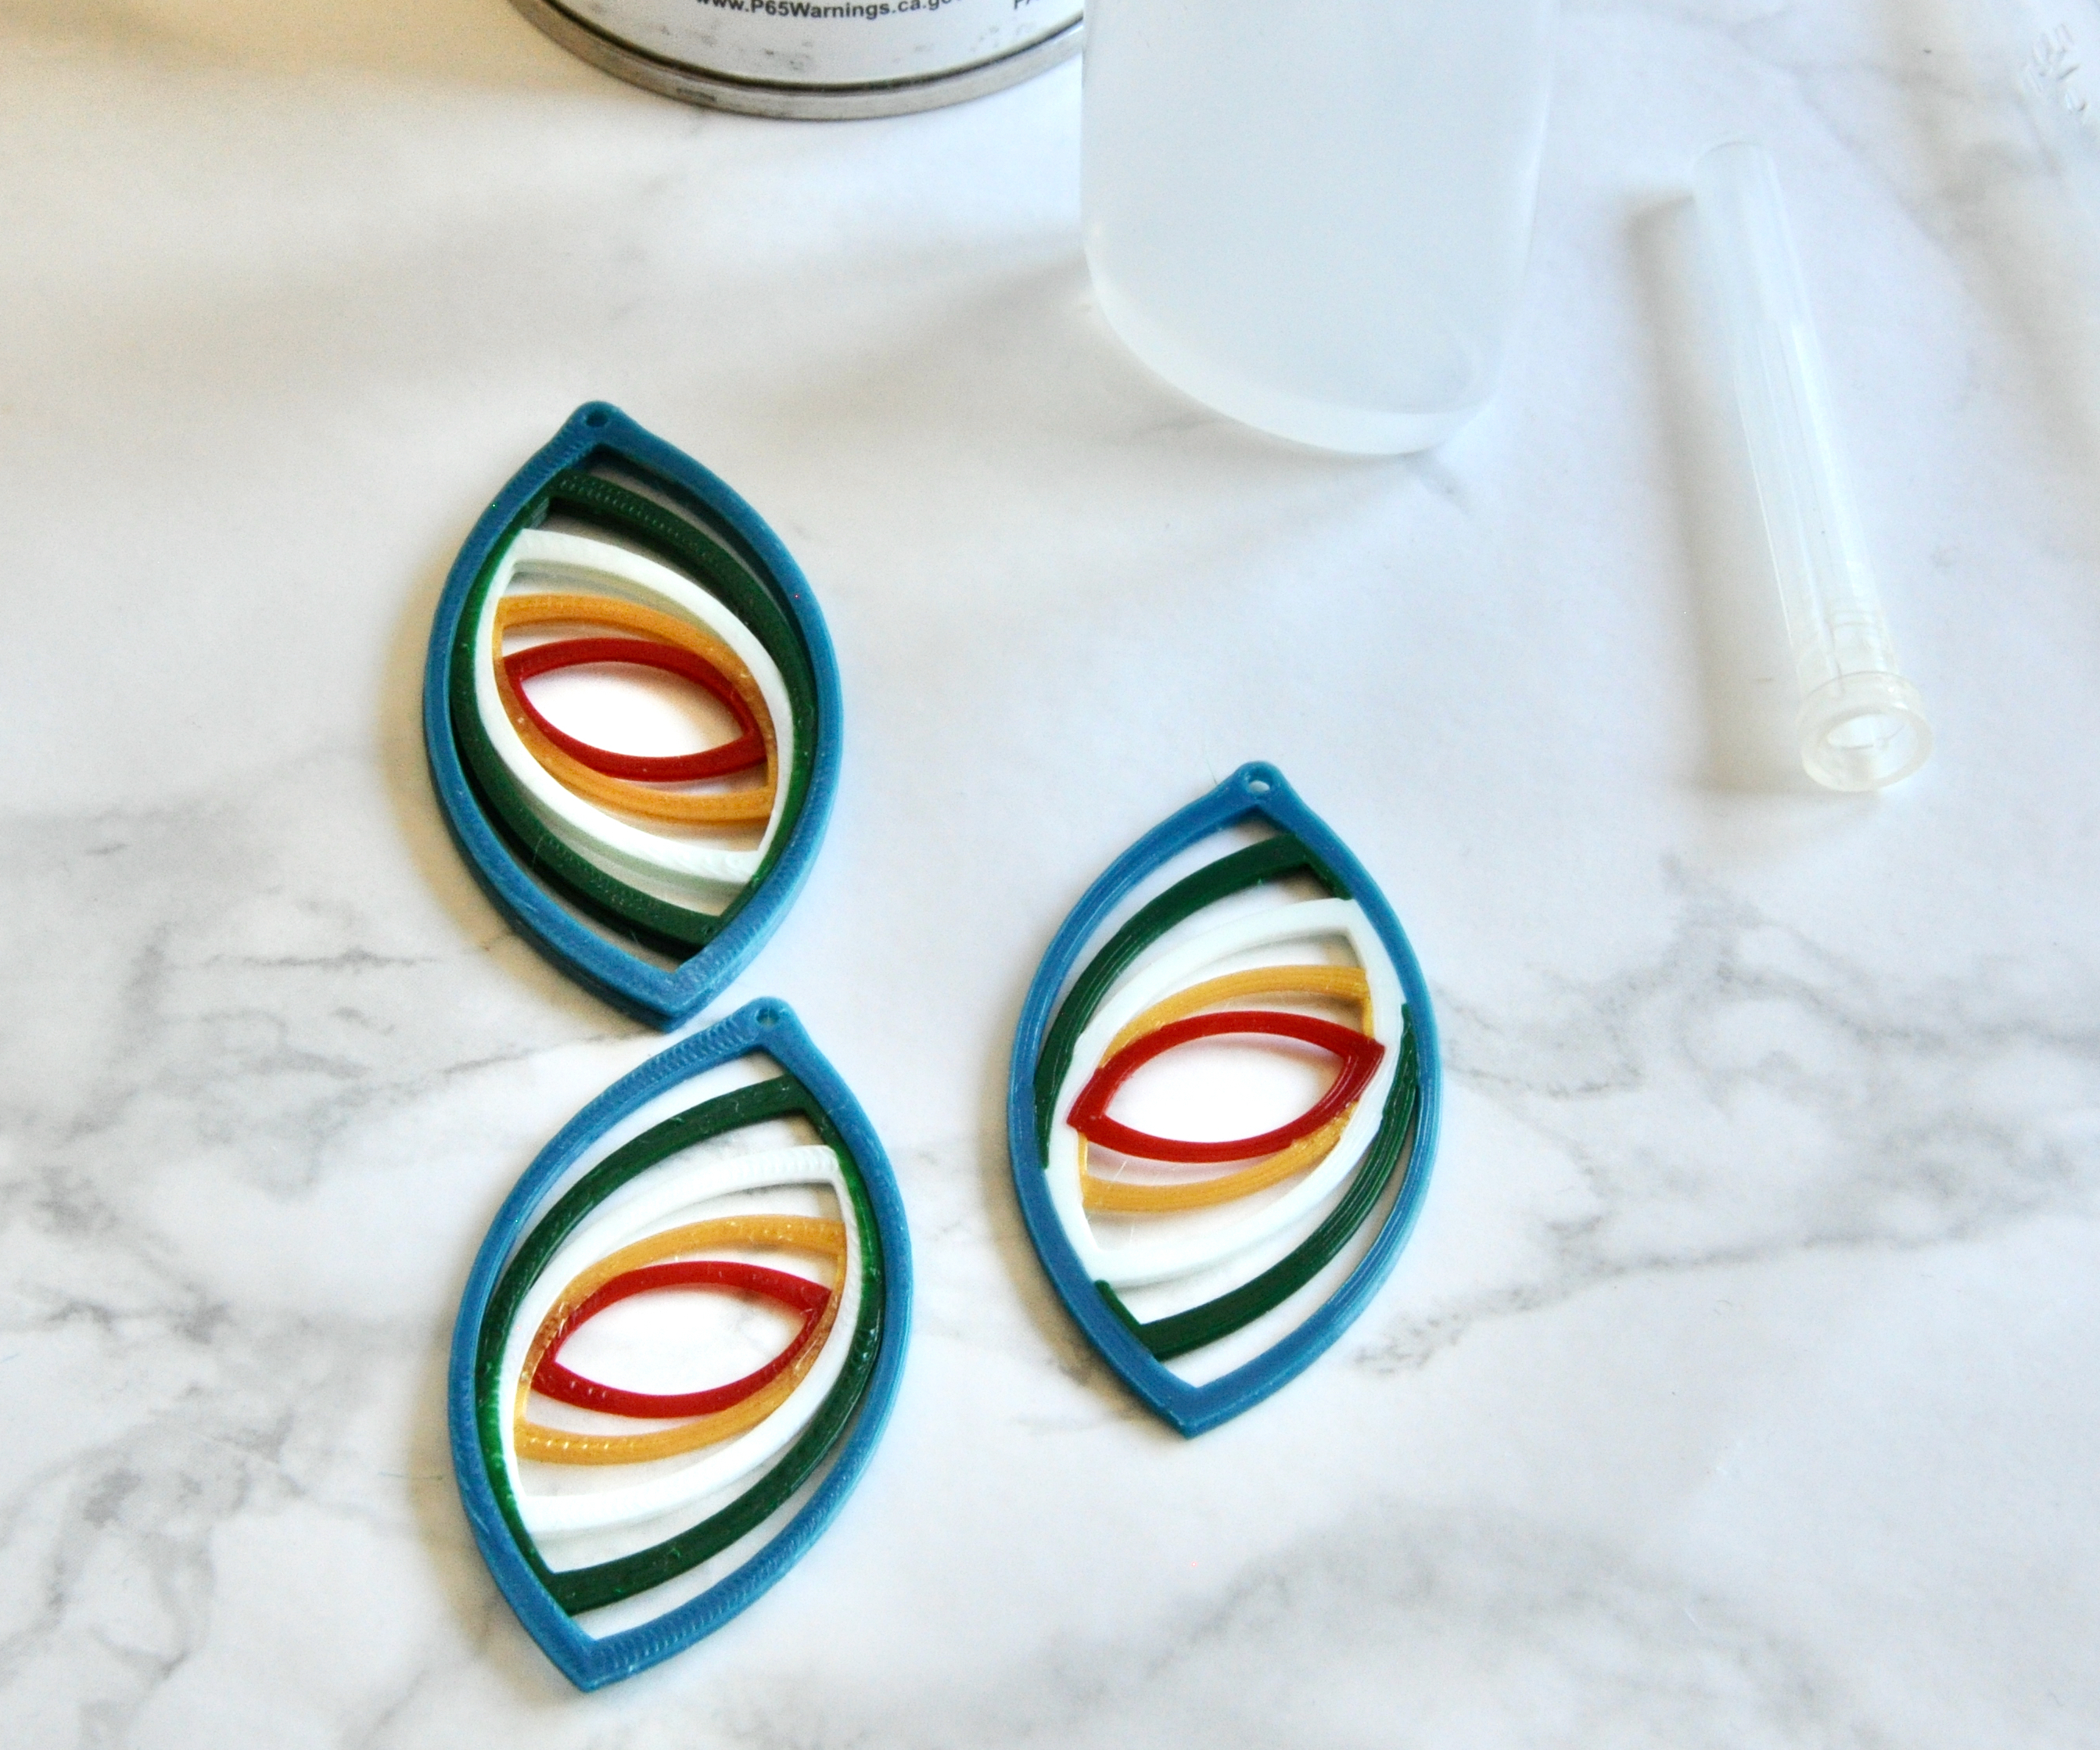
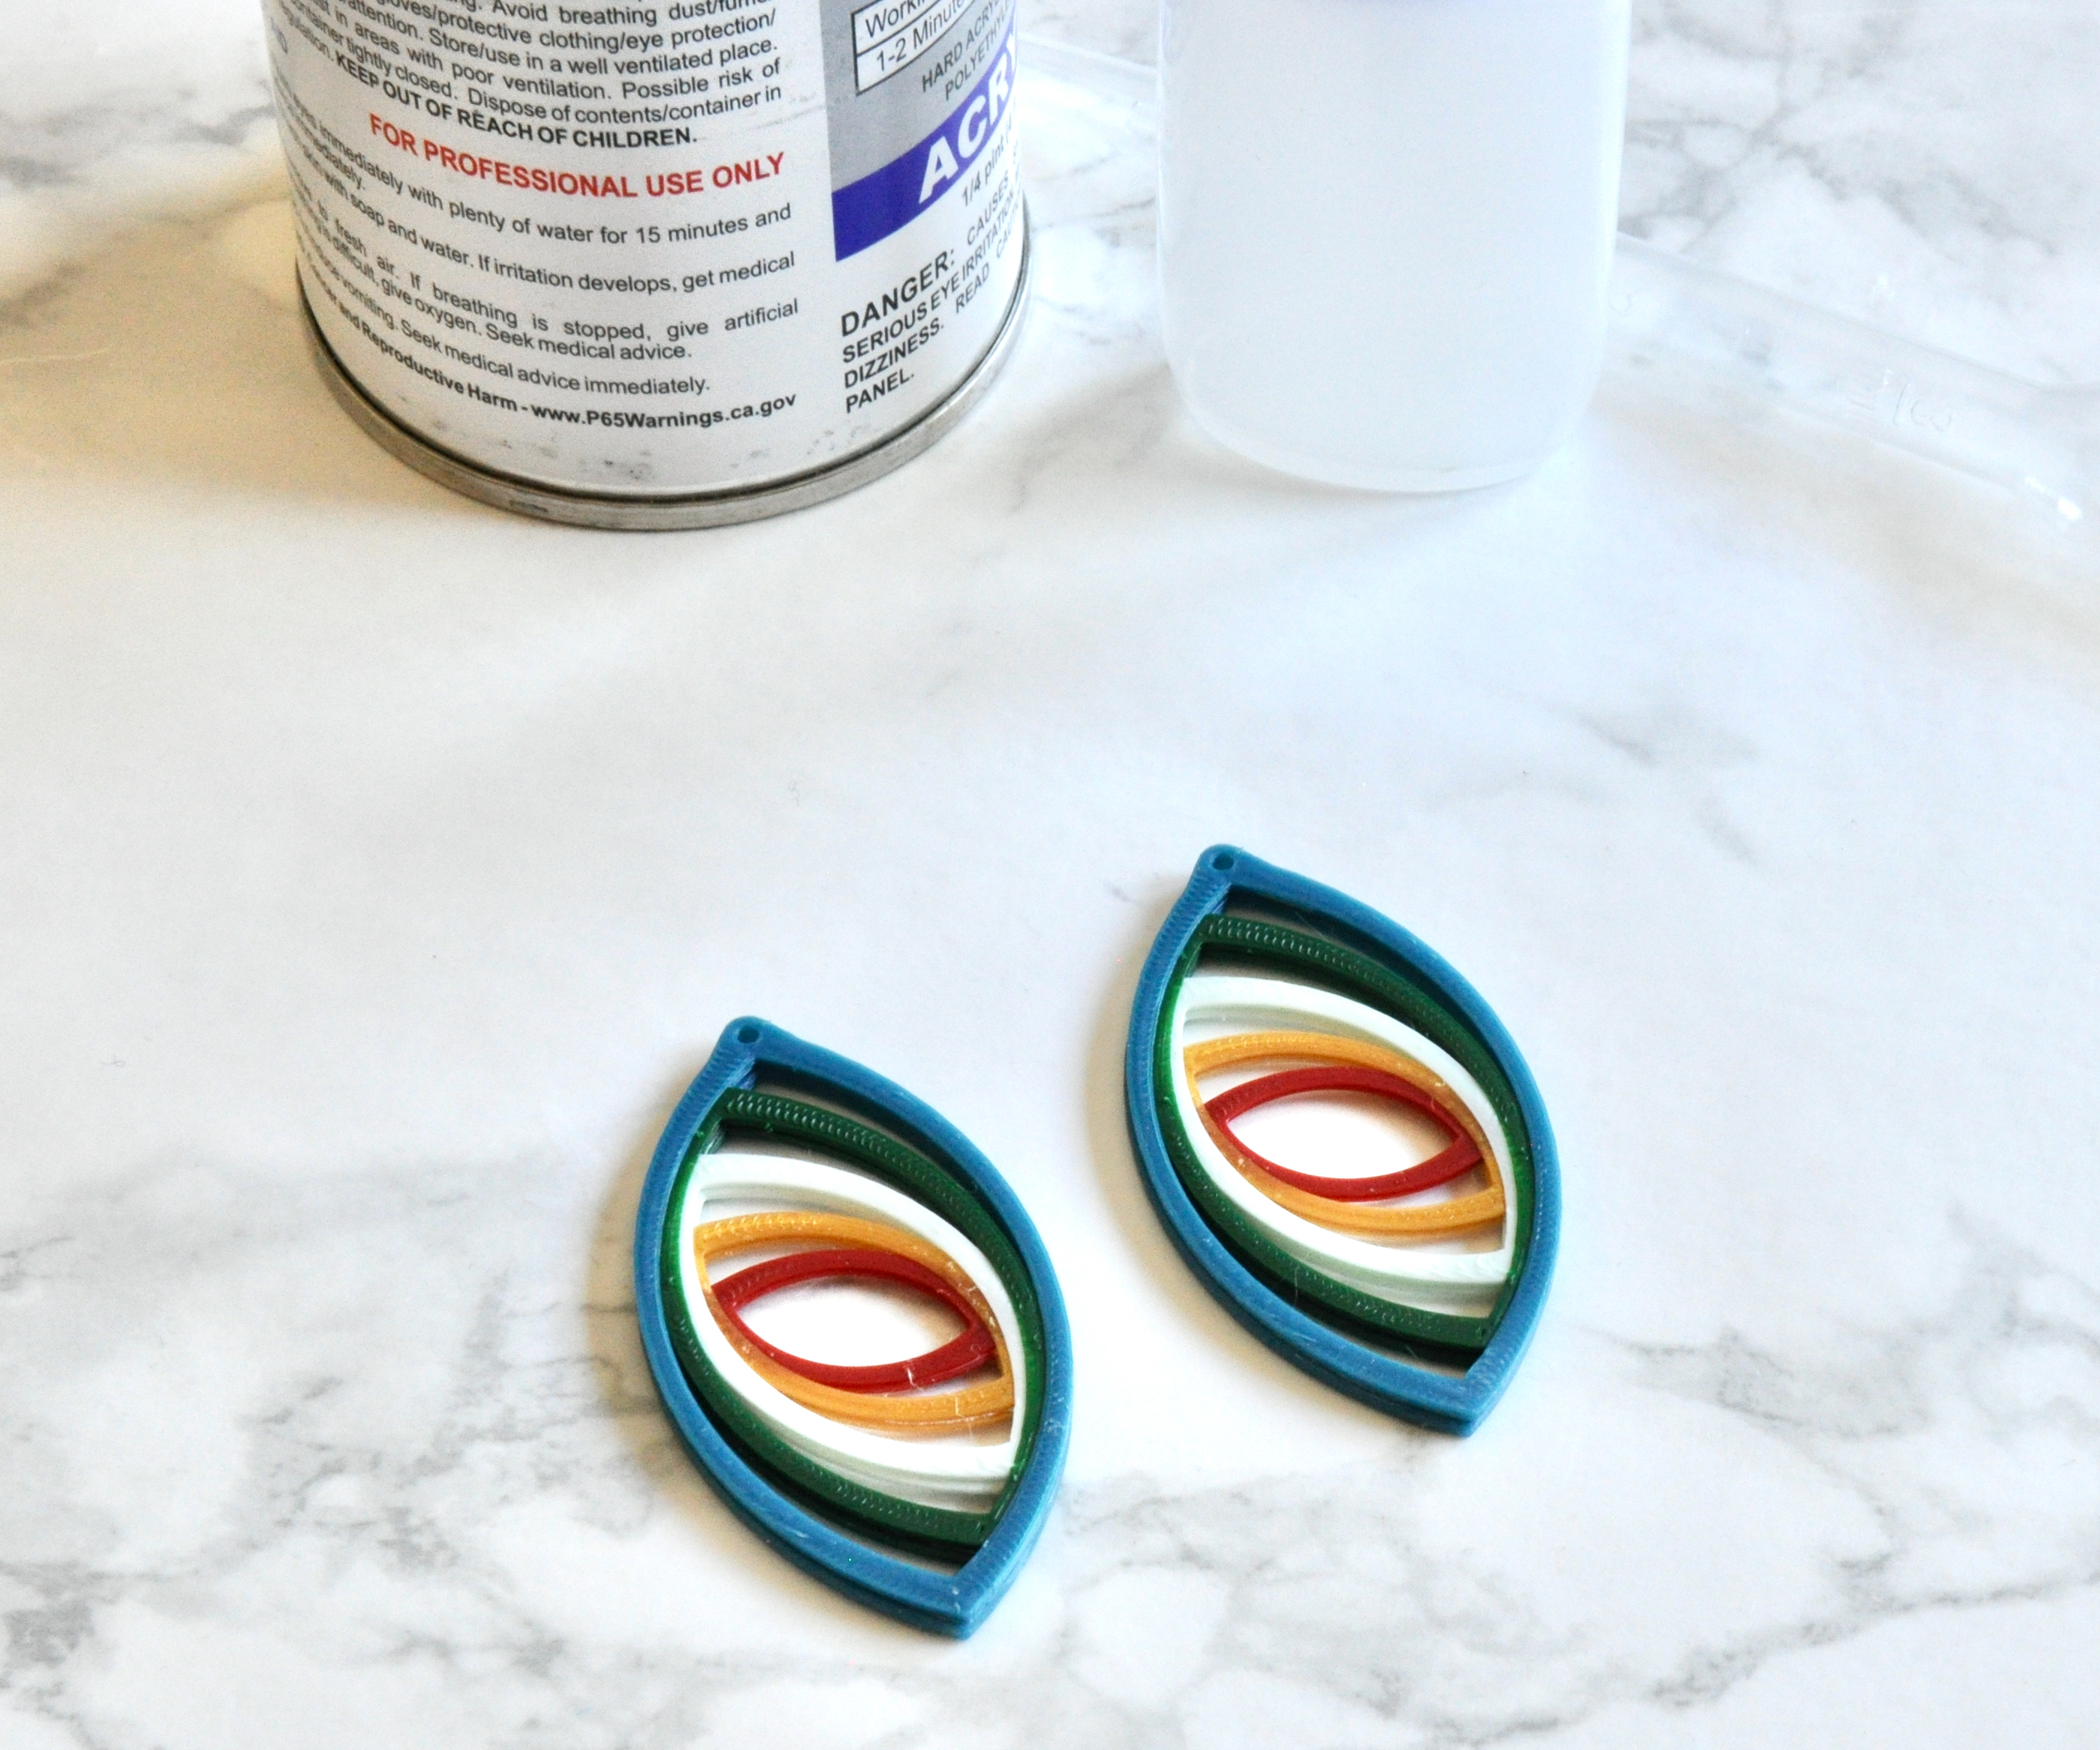
If you decide to glue pieces back to back to get a better overall (front to back) look (regardless of if you use the multimedia print or not) you can follow along here.
You can use your favorite 3D printing glue if you want. I have found Weld-On 4 Acrylic Adhesive works well for getting a strong hold, just be careful as it sticks super fast, so make sure you are lined up and sure when you press them together because there is no adjusting.
This glue also dries really fast which is nice.
Make Earrings
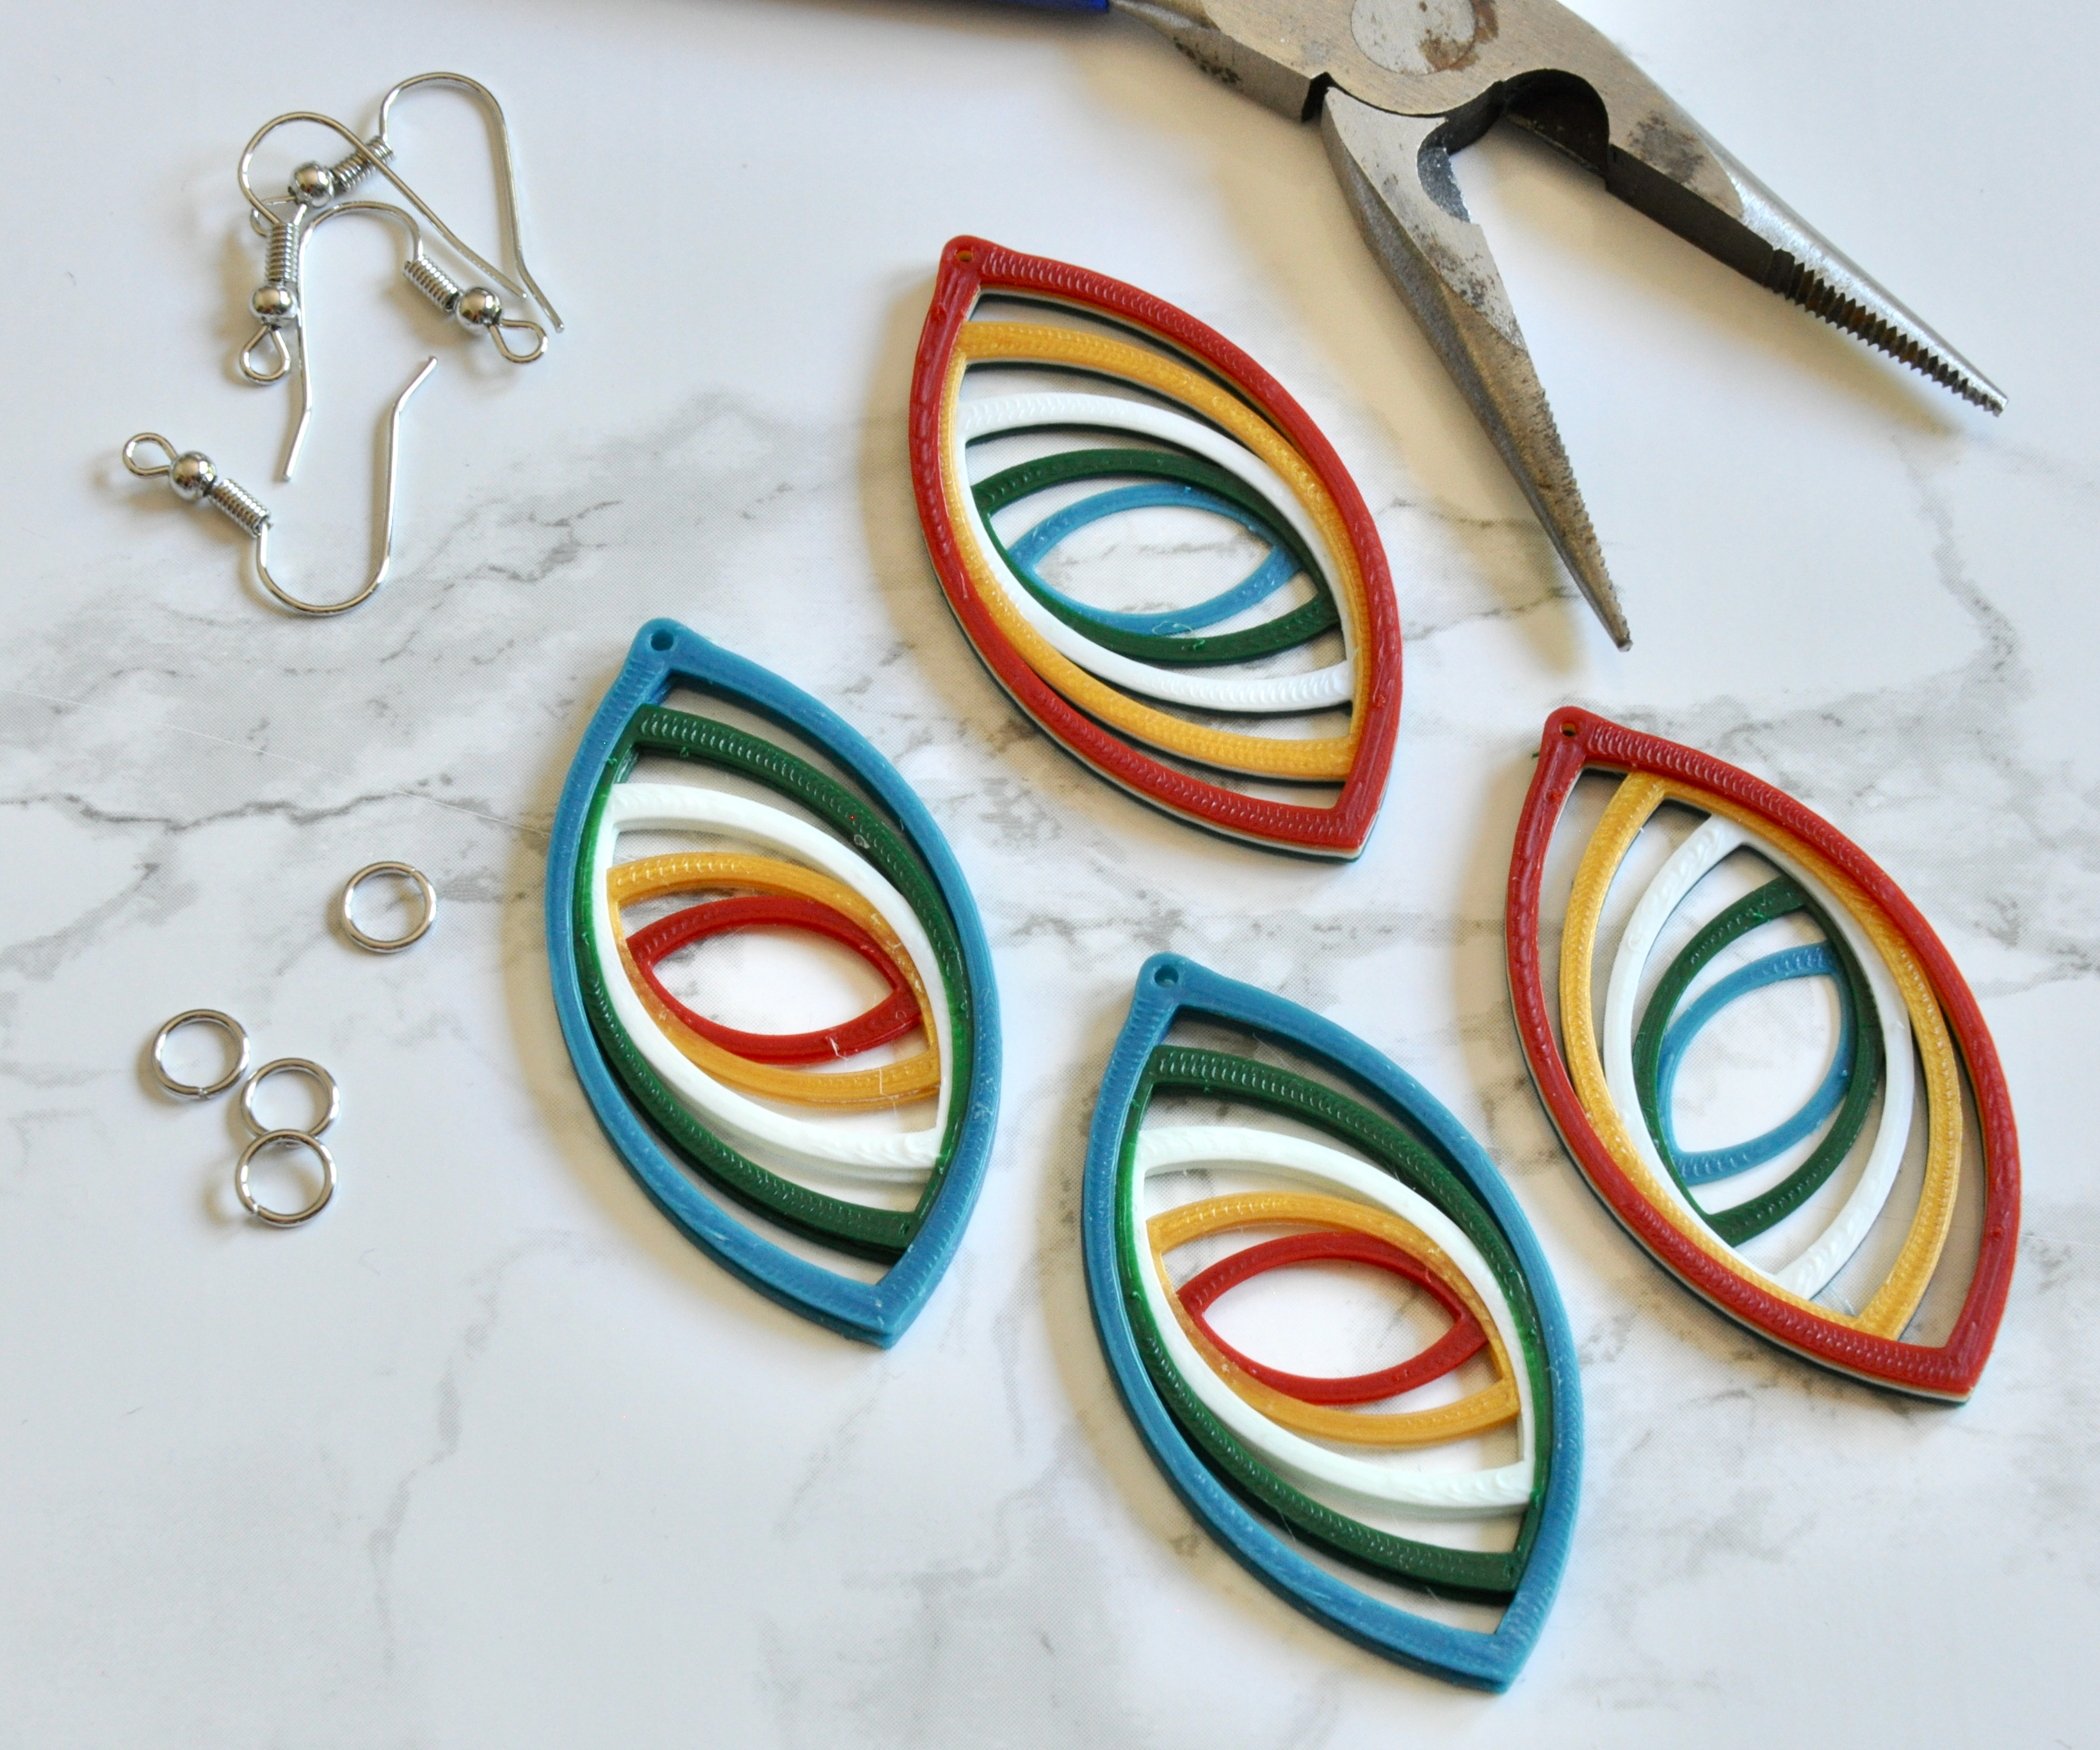
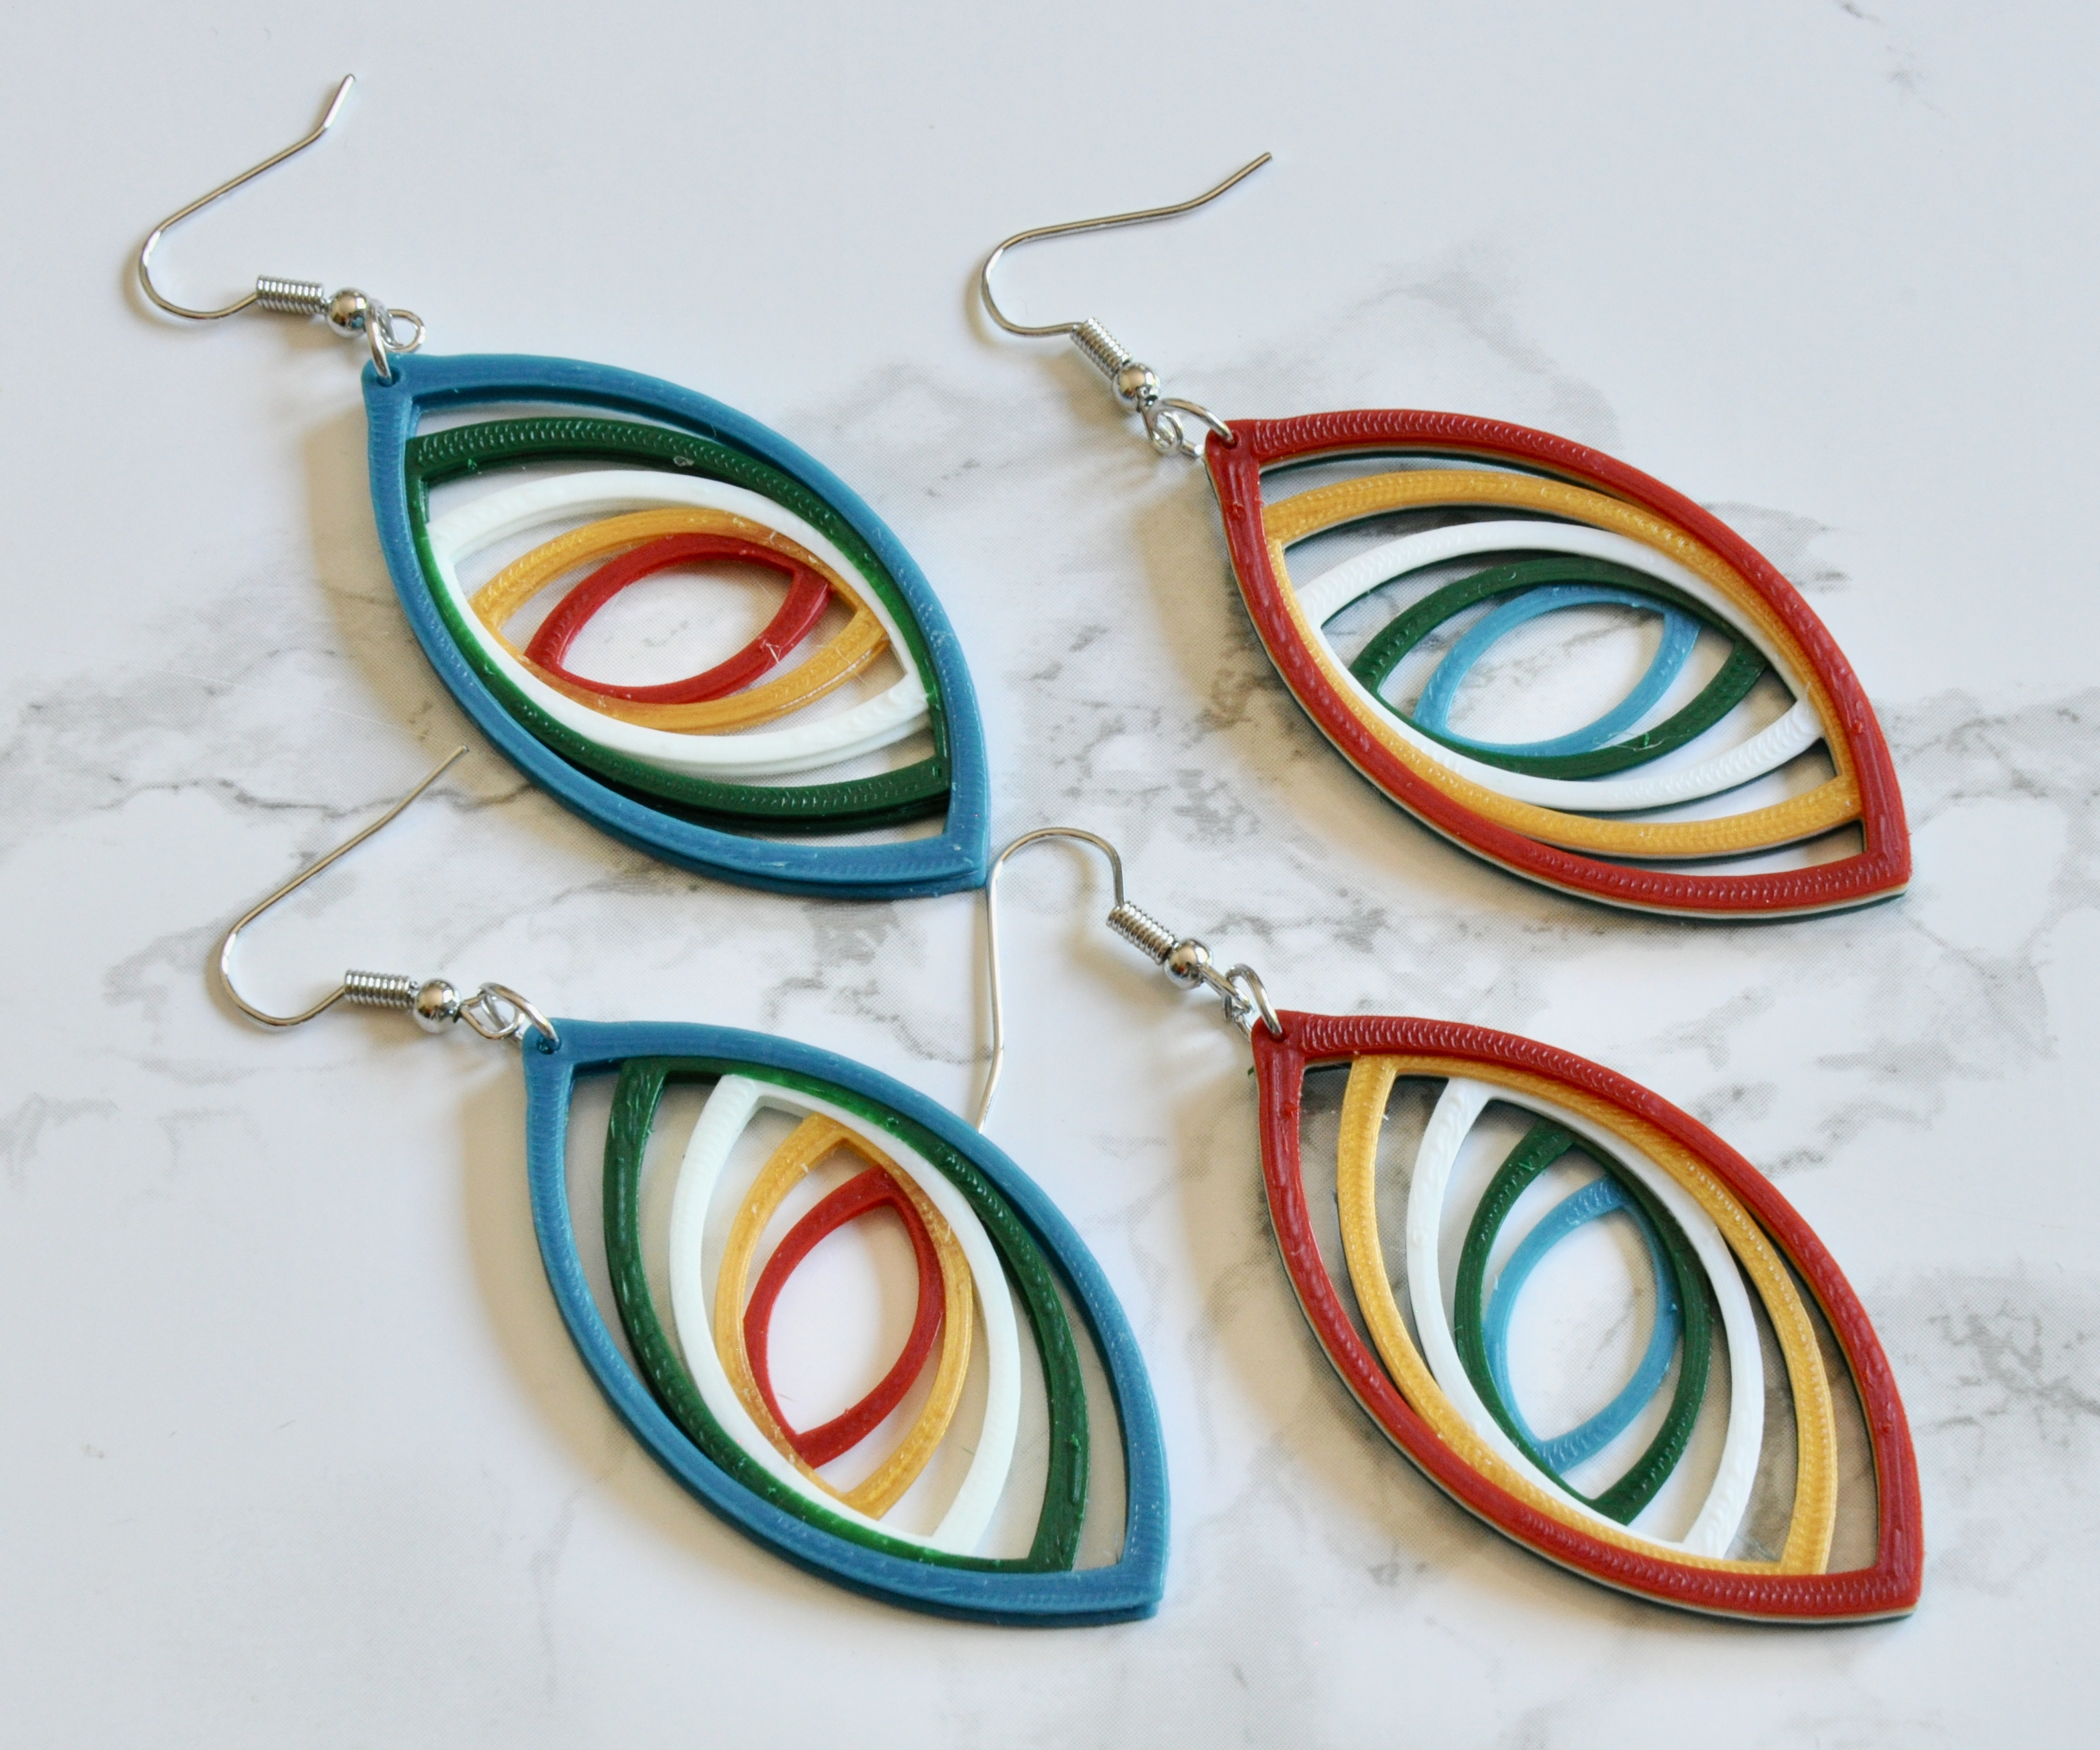
WIth your finished prints or finished glued prints, you are ready to add the earrings. I find it works best if you use a jump ring between the design and the earring.
Multi-Media Versus Layered
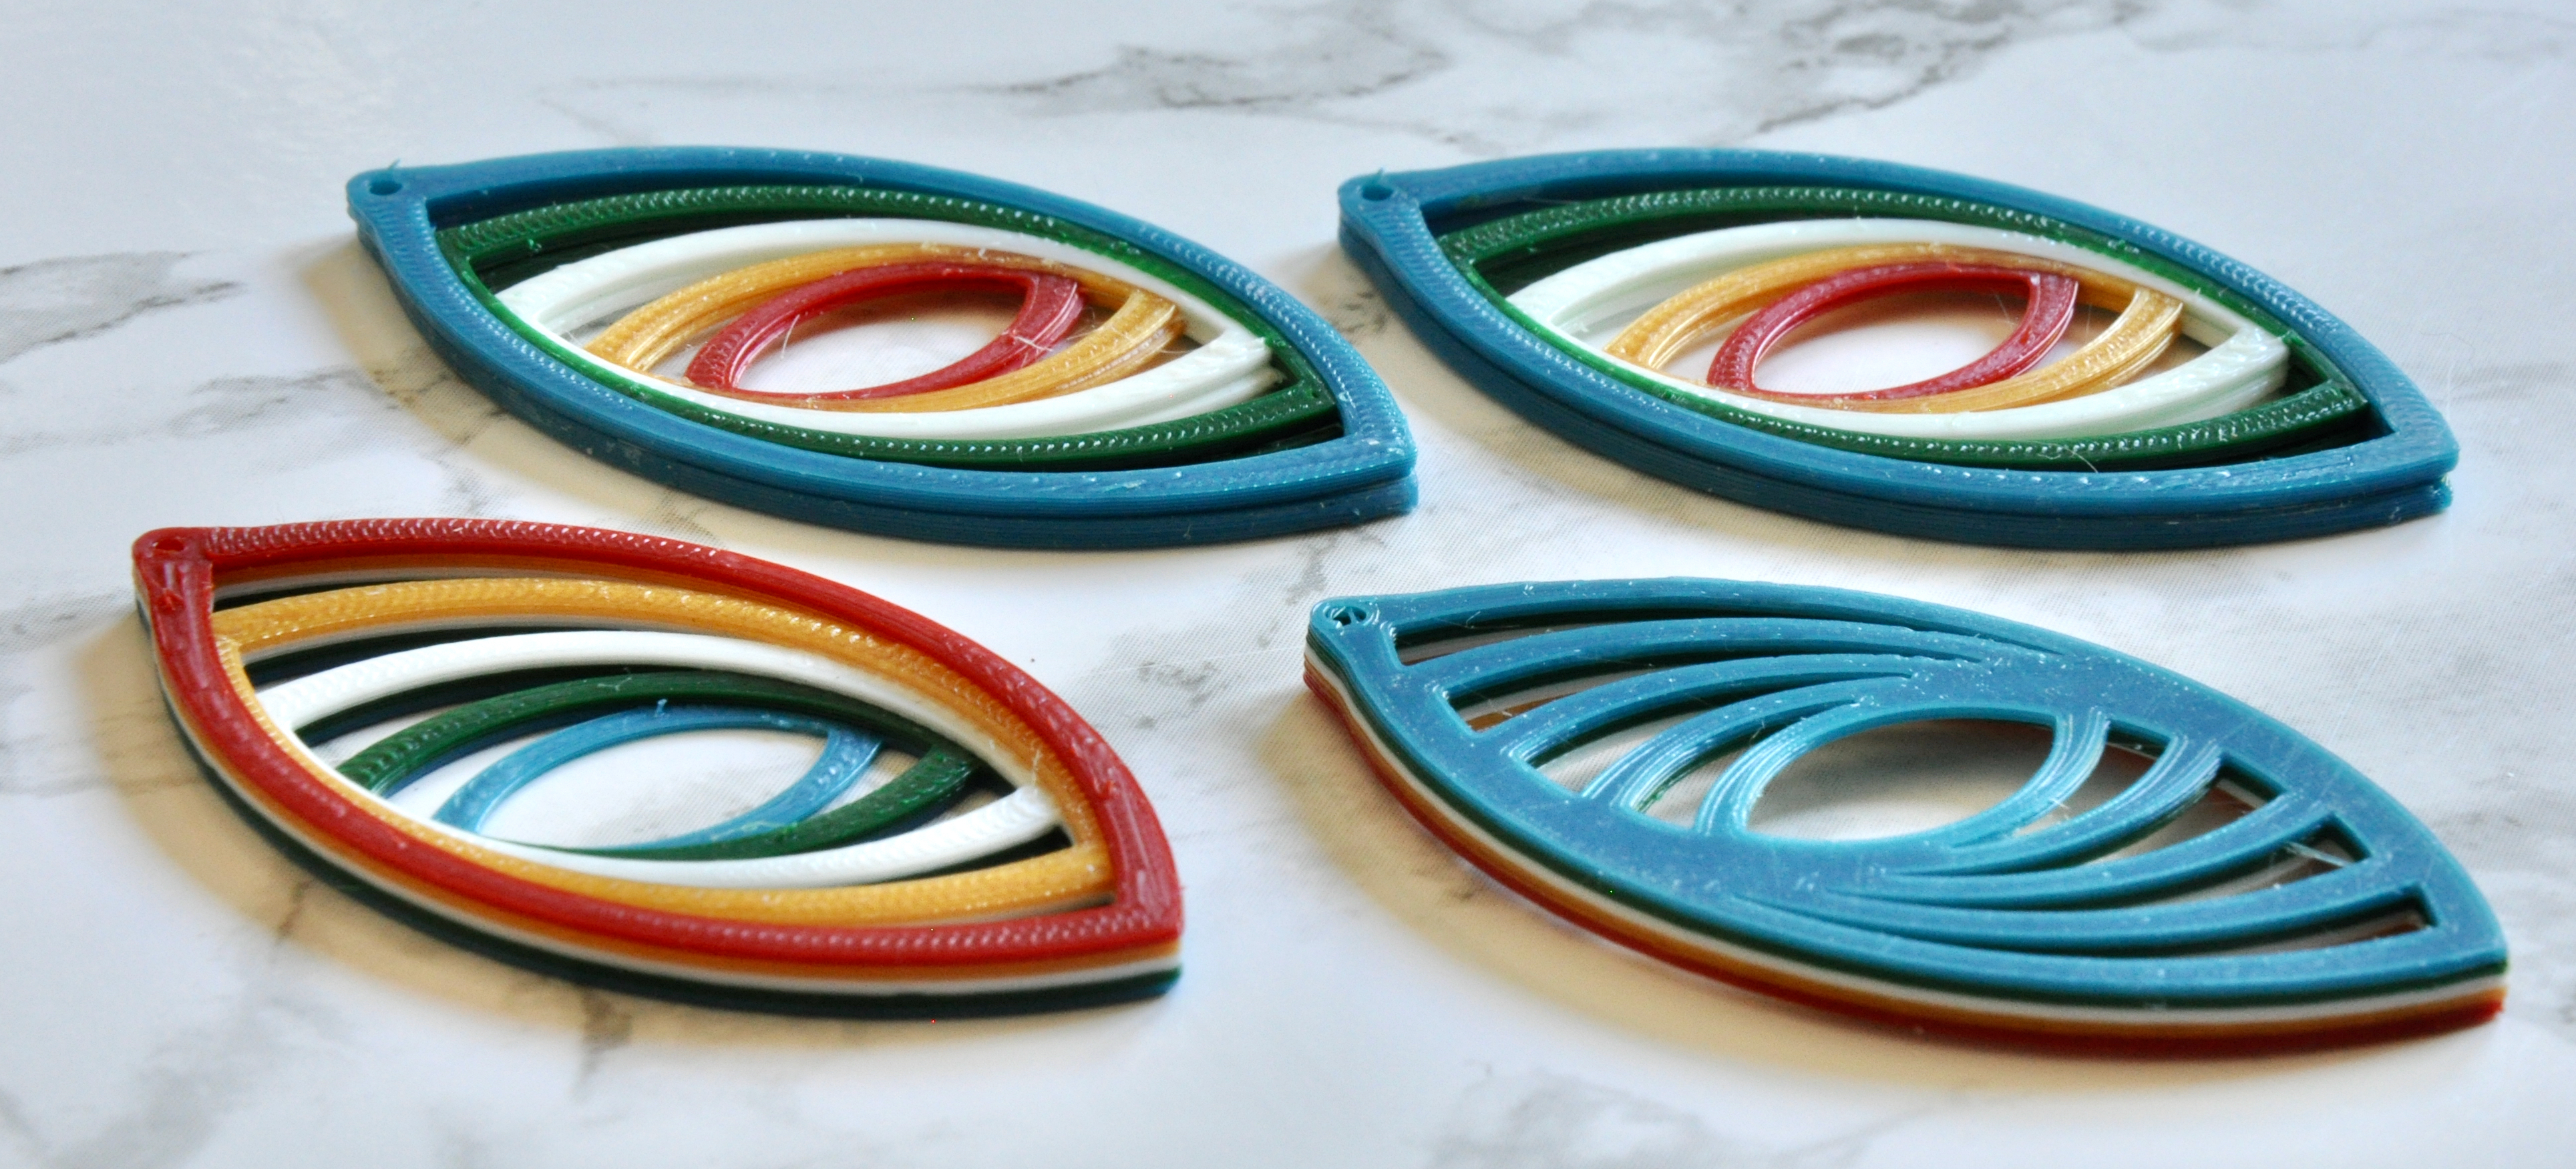
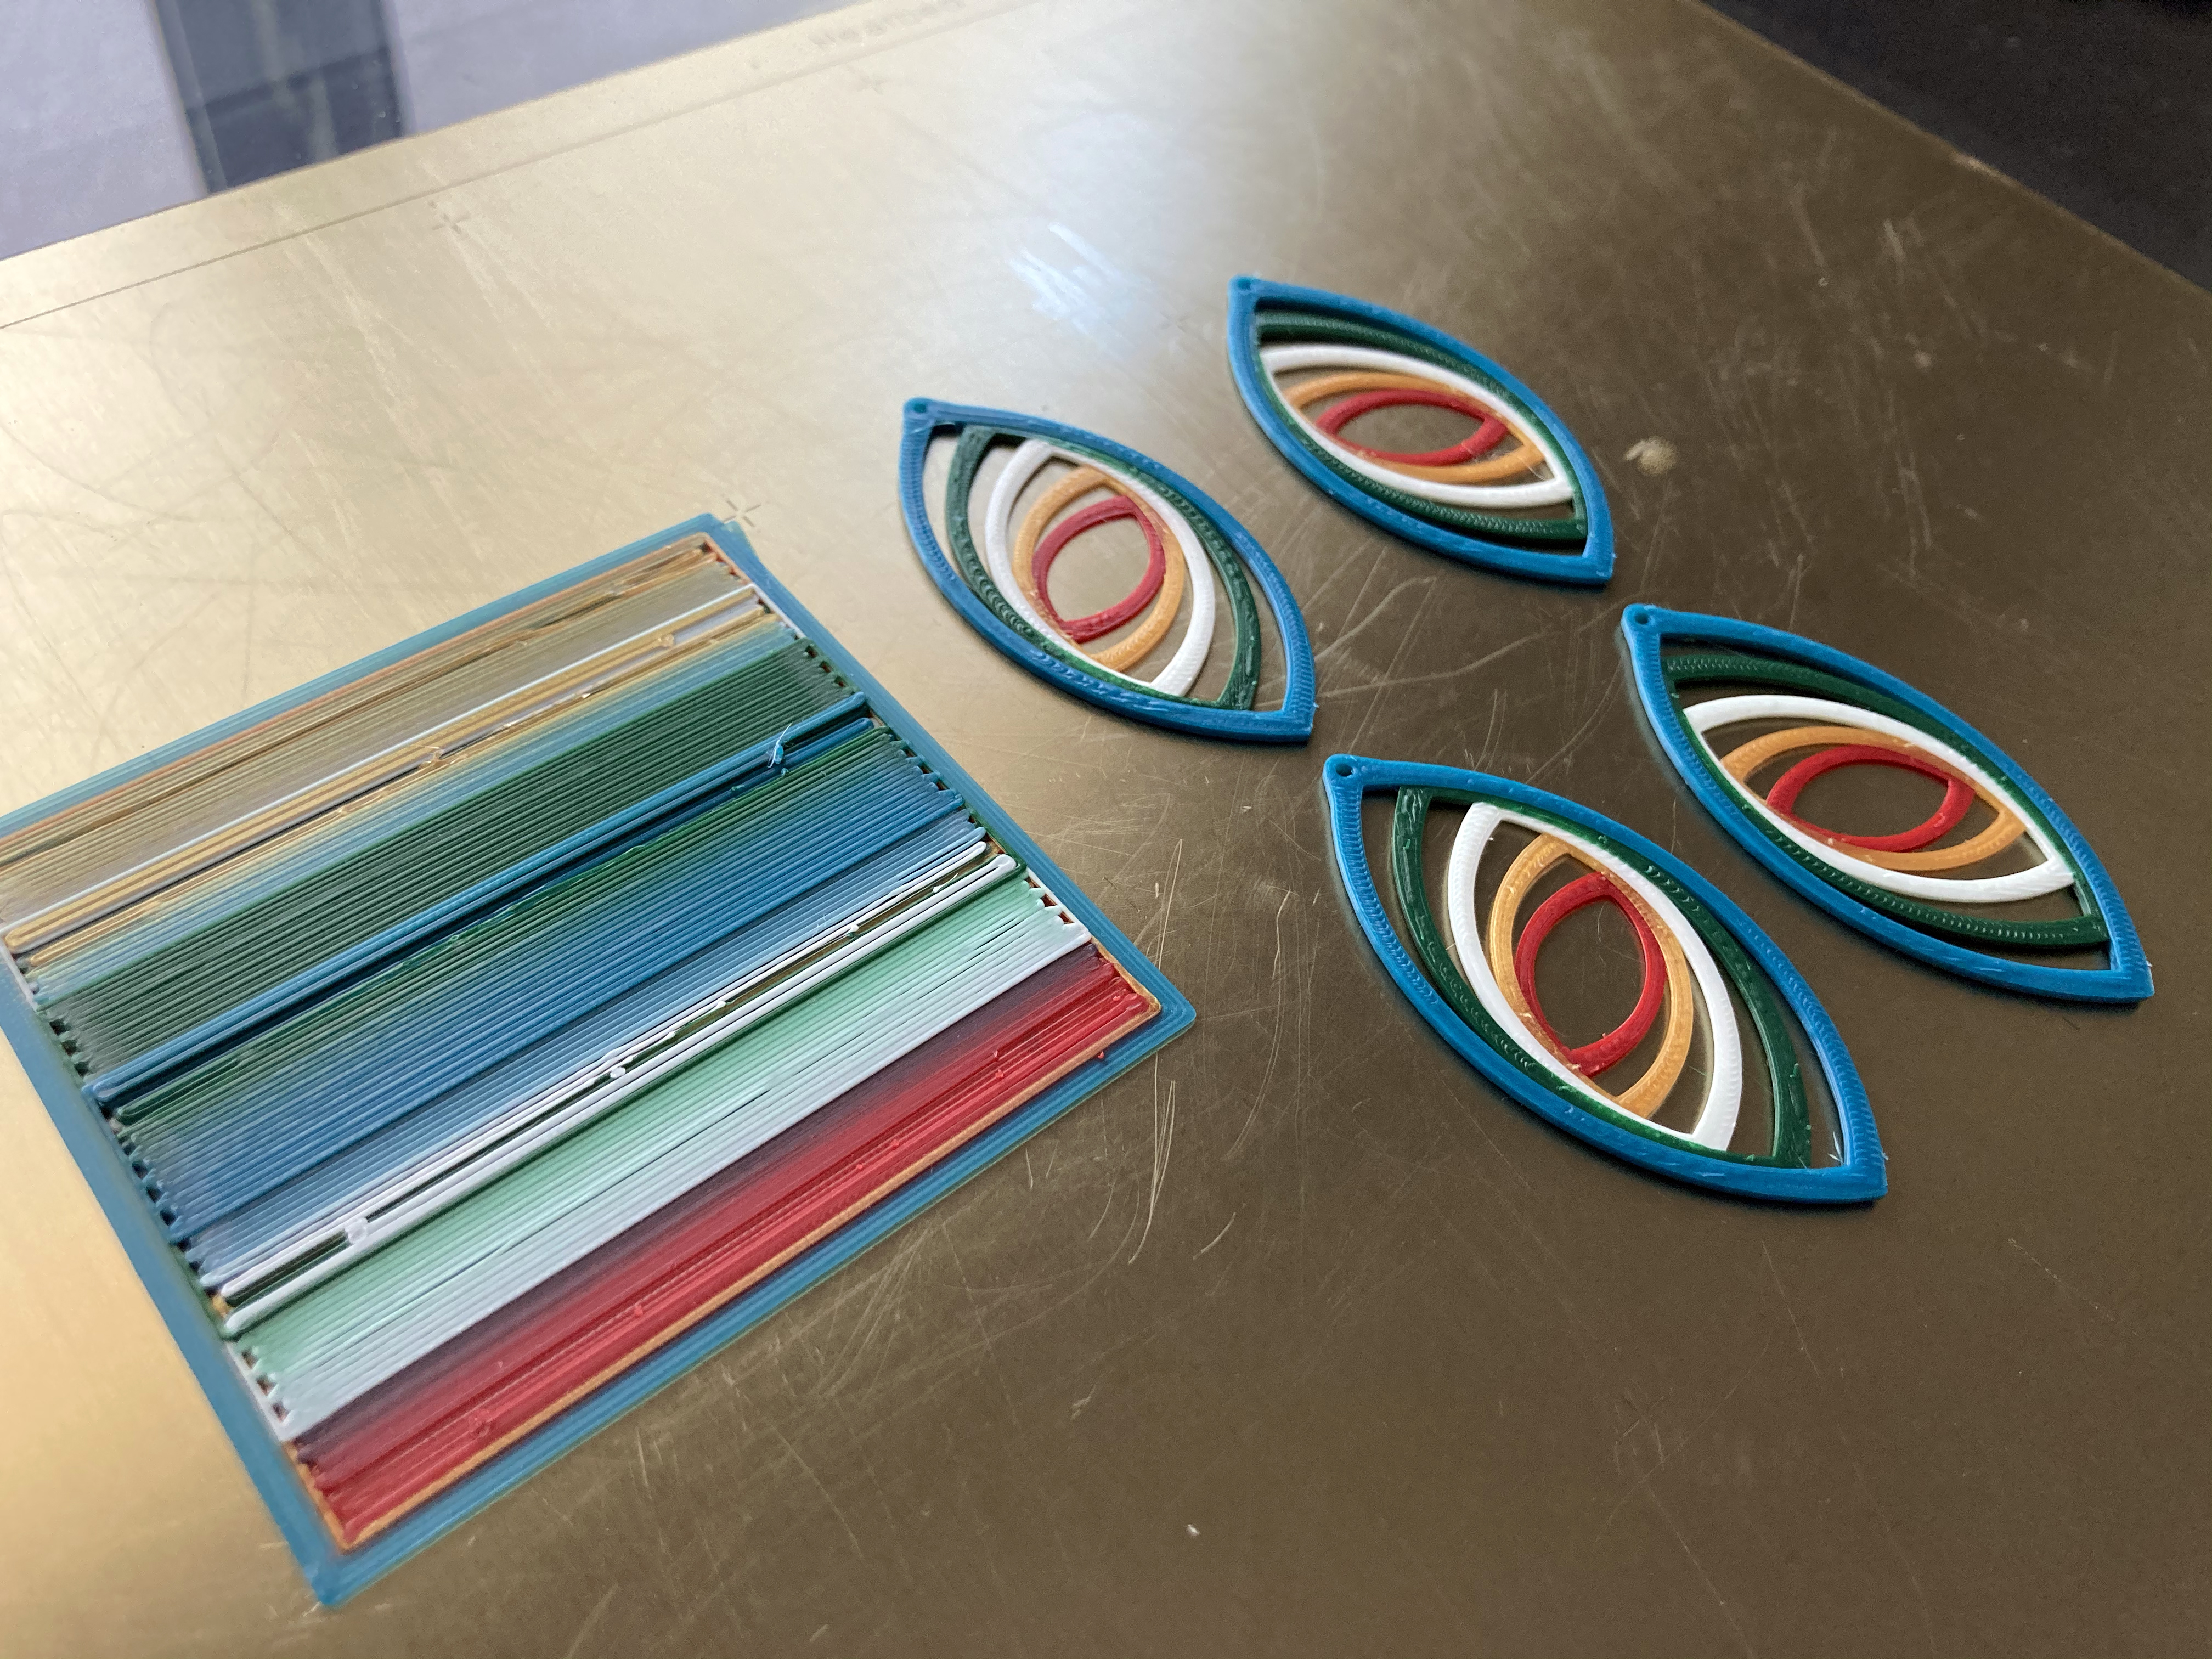
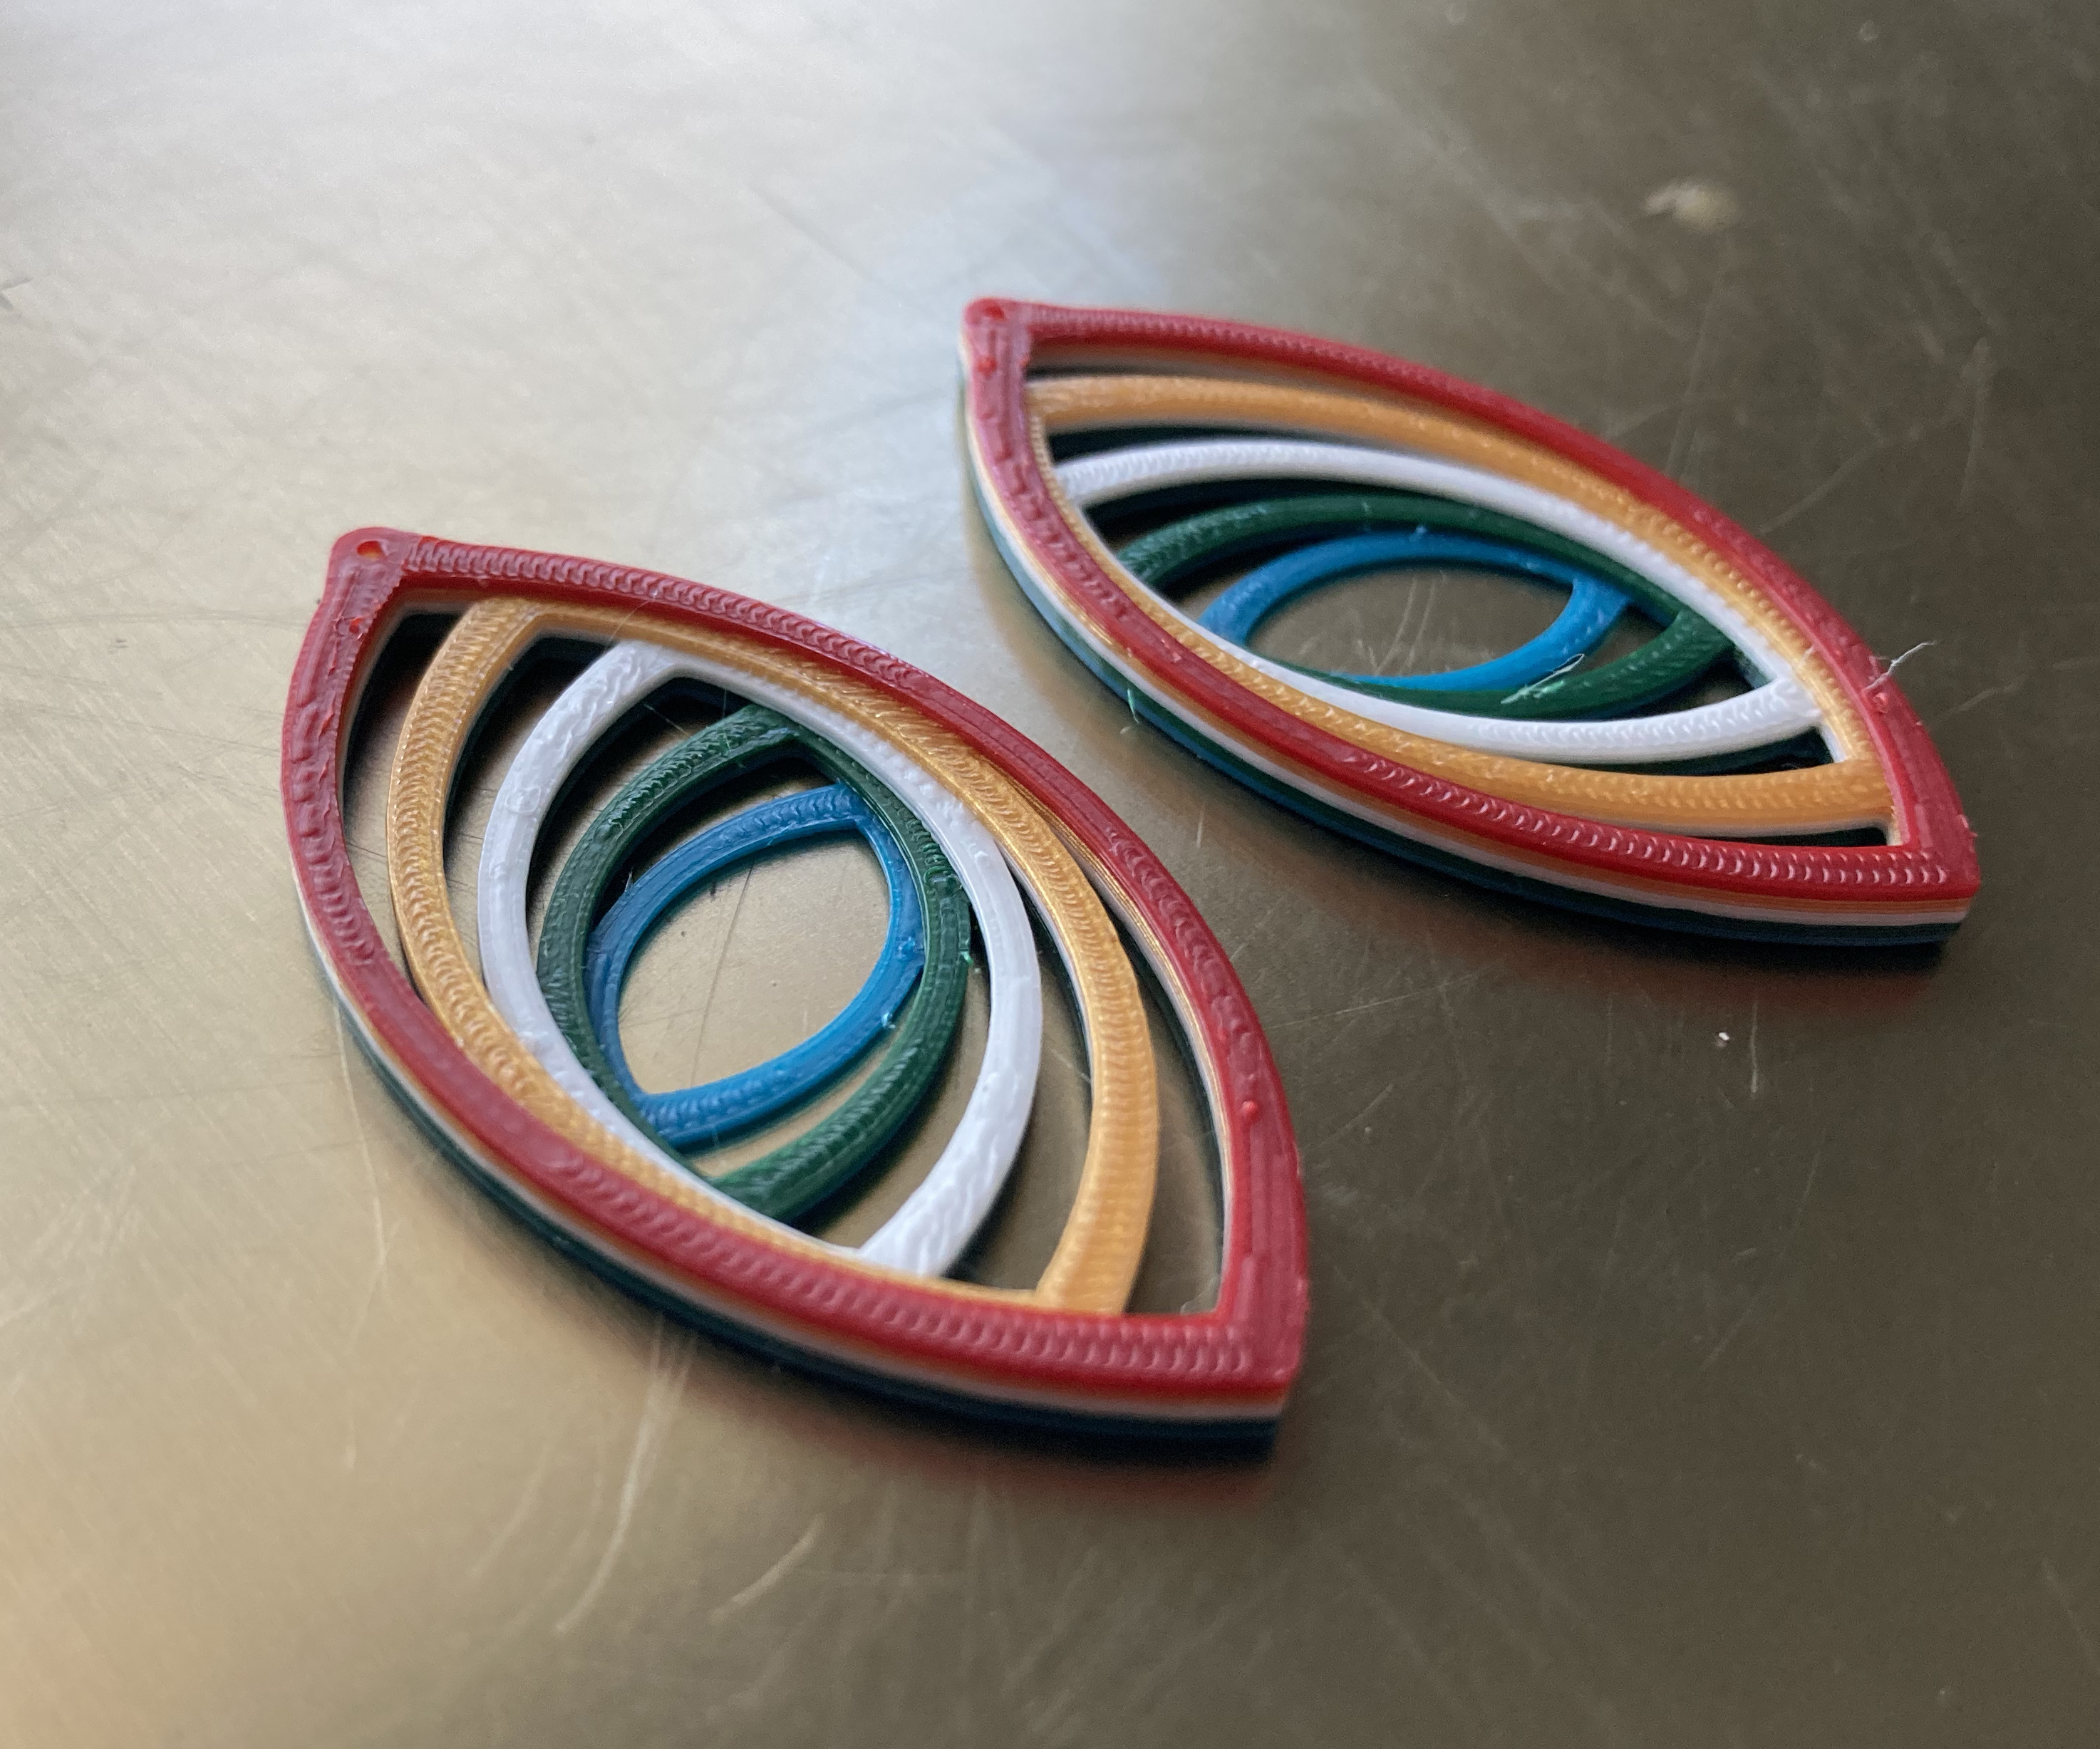
Here's a look at the multi-media, in the back, and the layered ones, in the front to see a clear difference.
You can see front and back; there isn't a difference for multi-media, but with layered you can see the back is all one color, the base color.
More Color Combinations
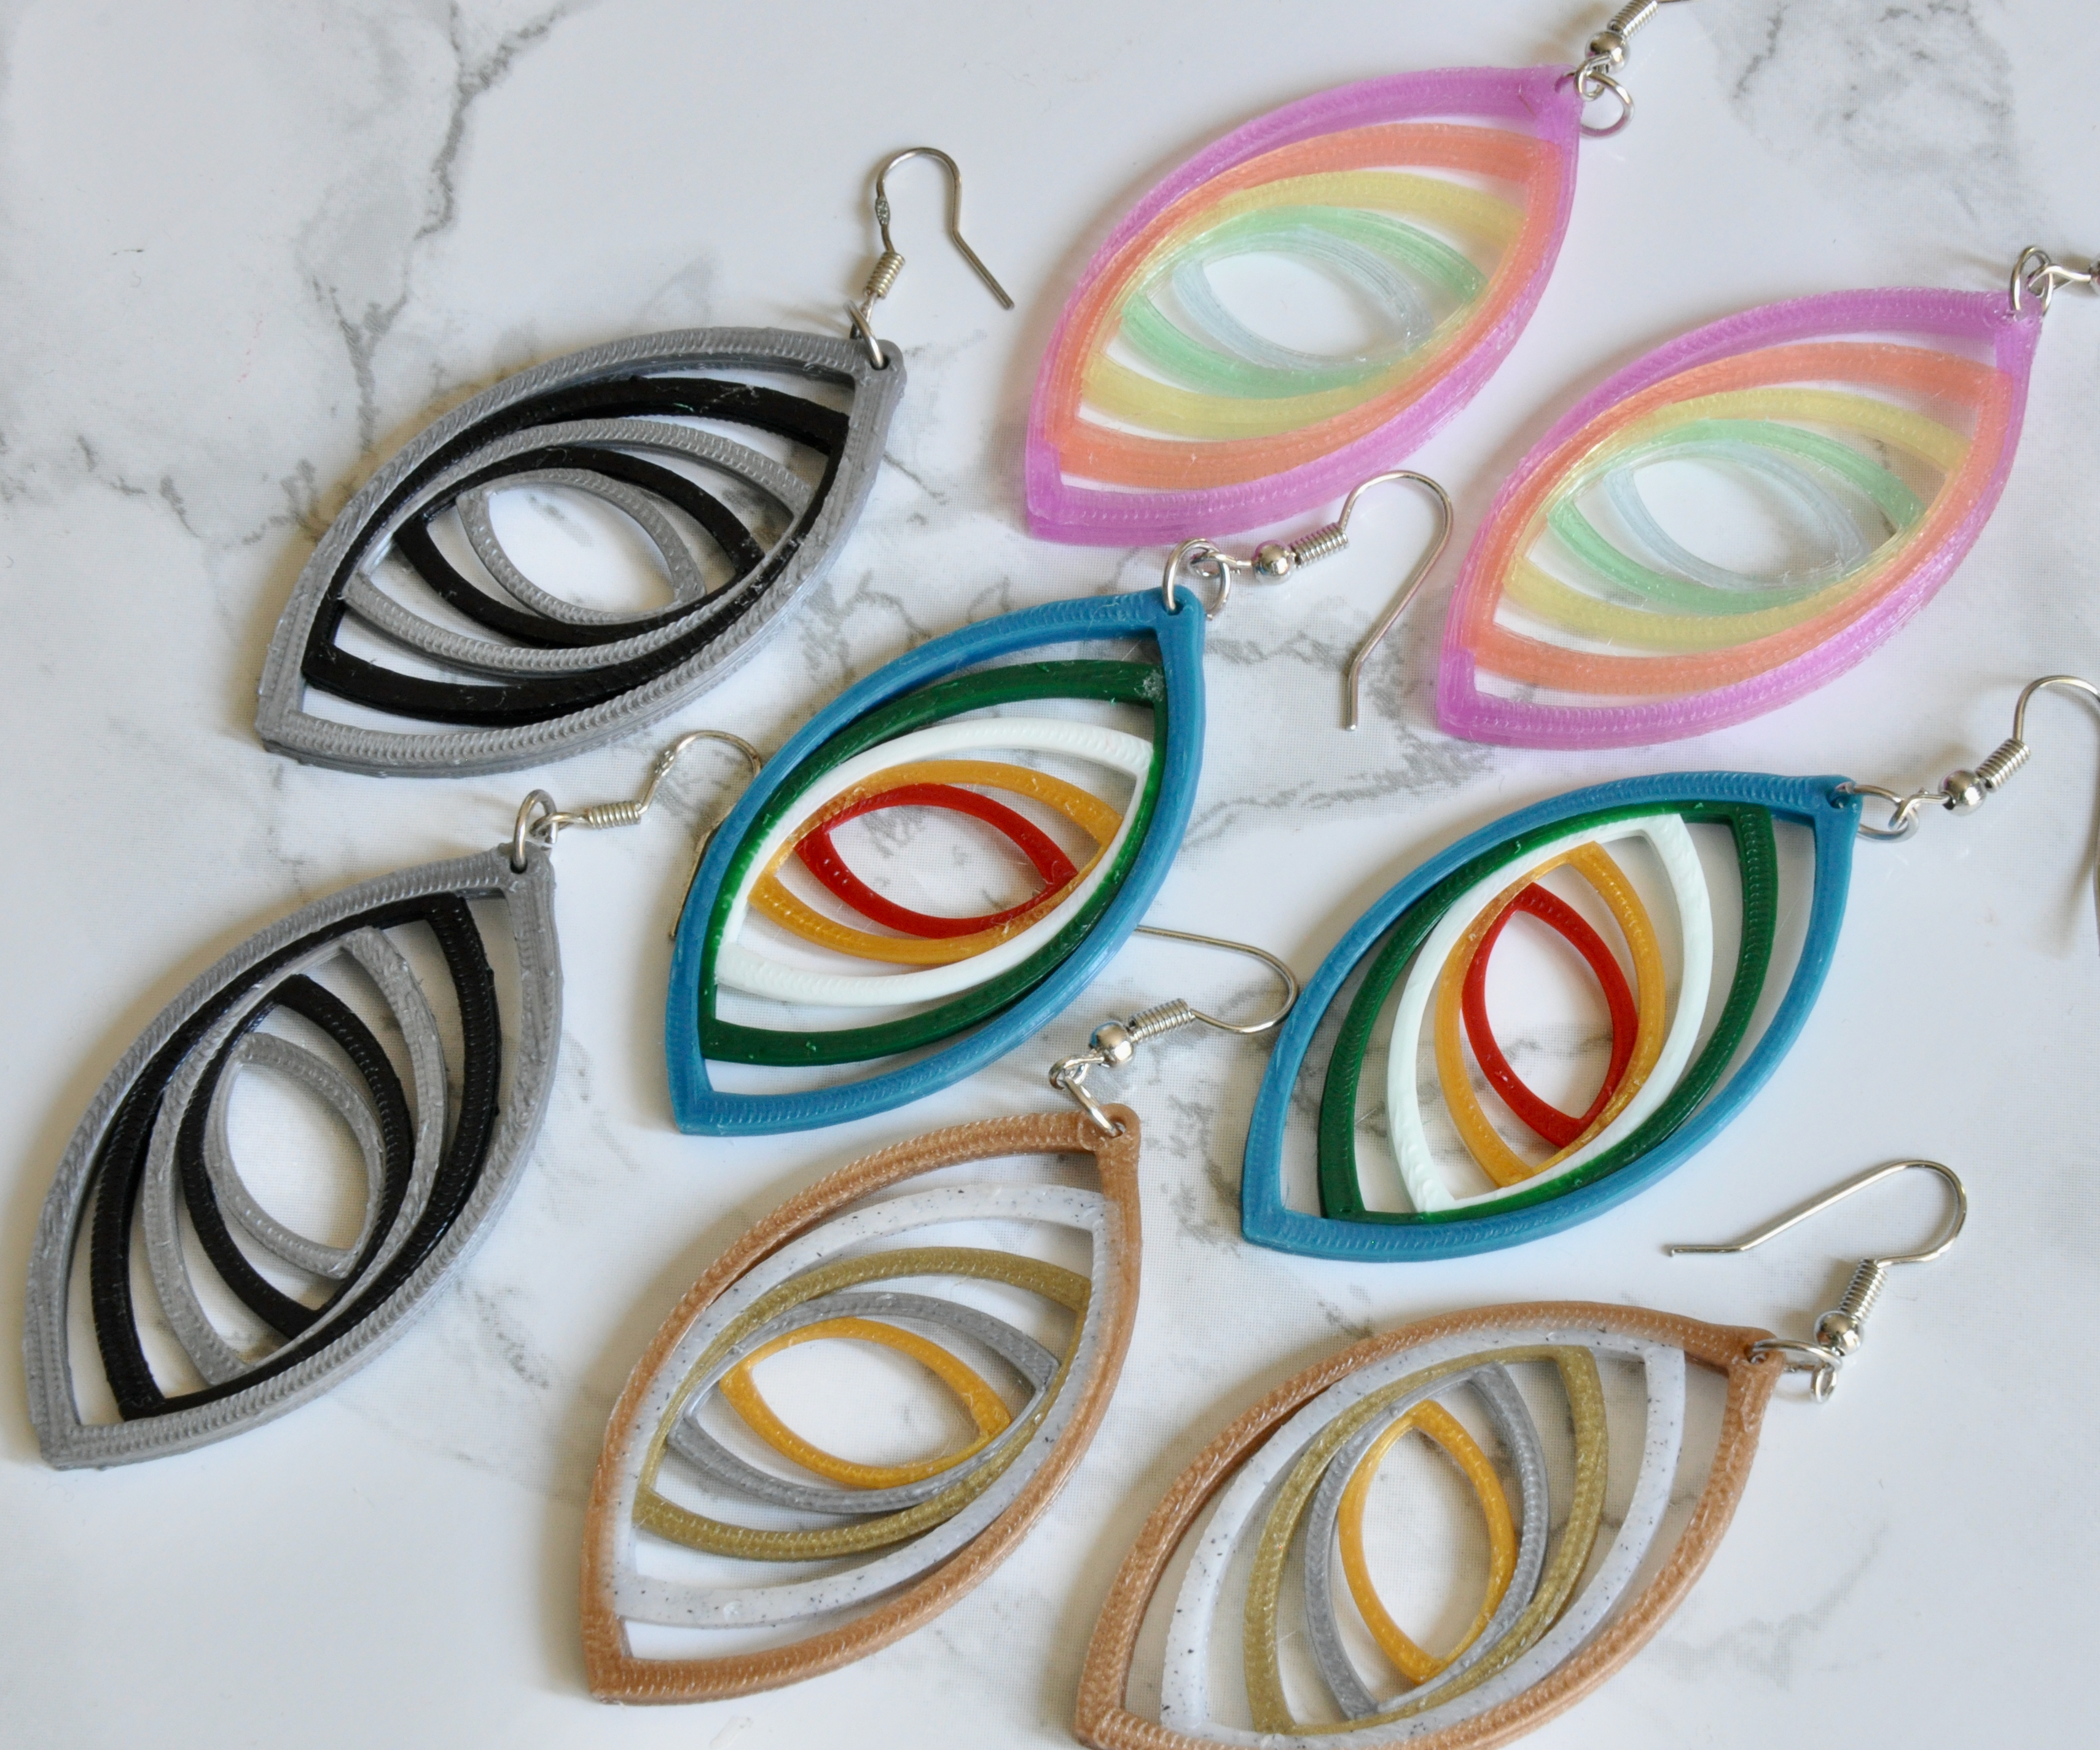
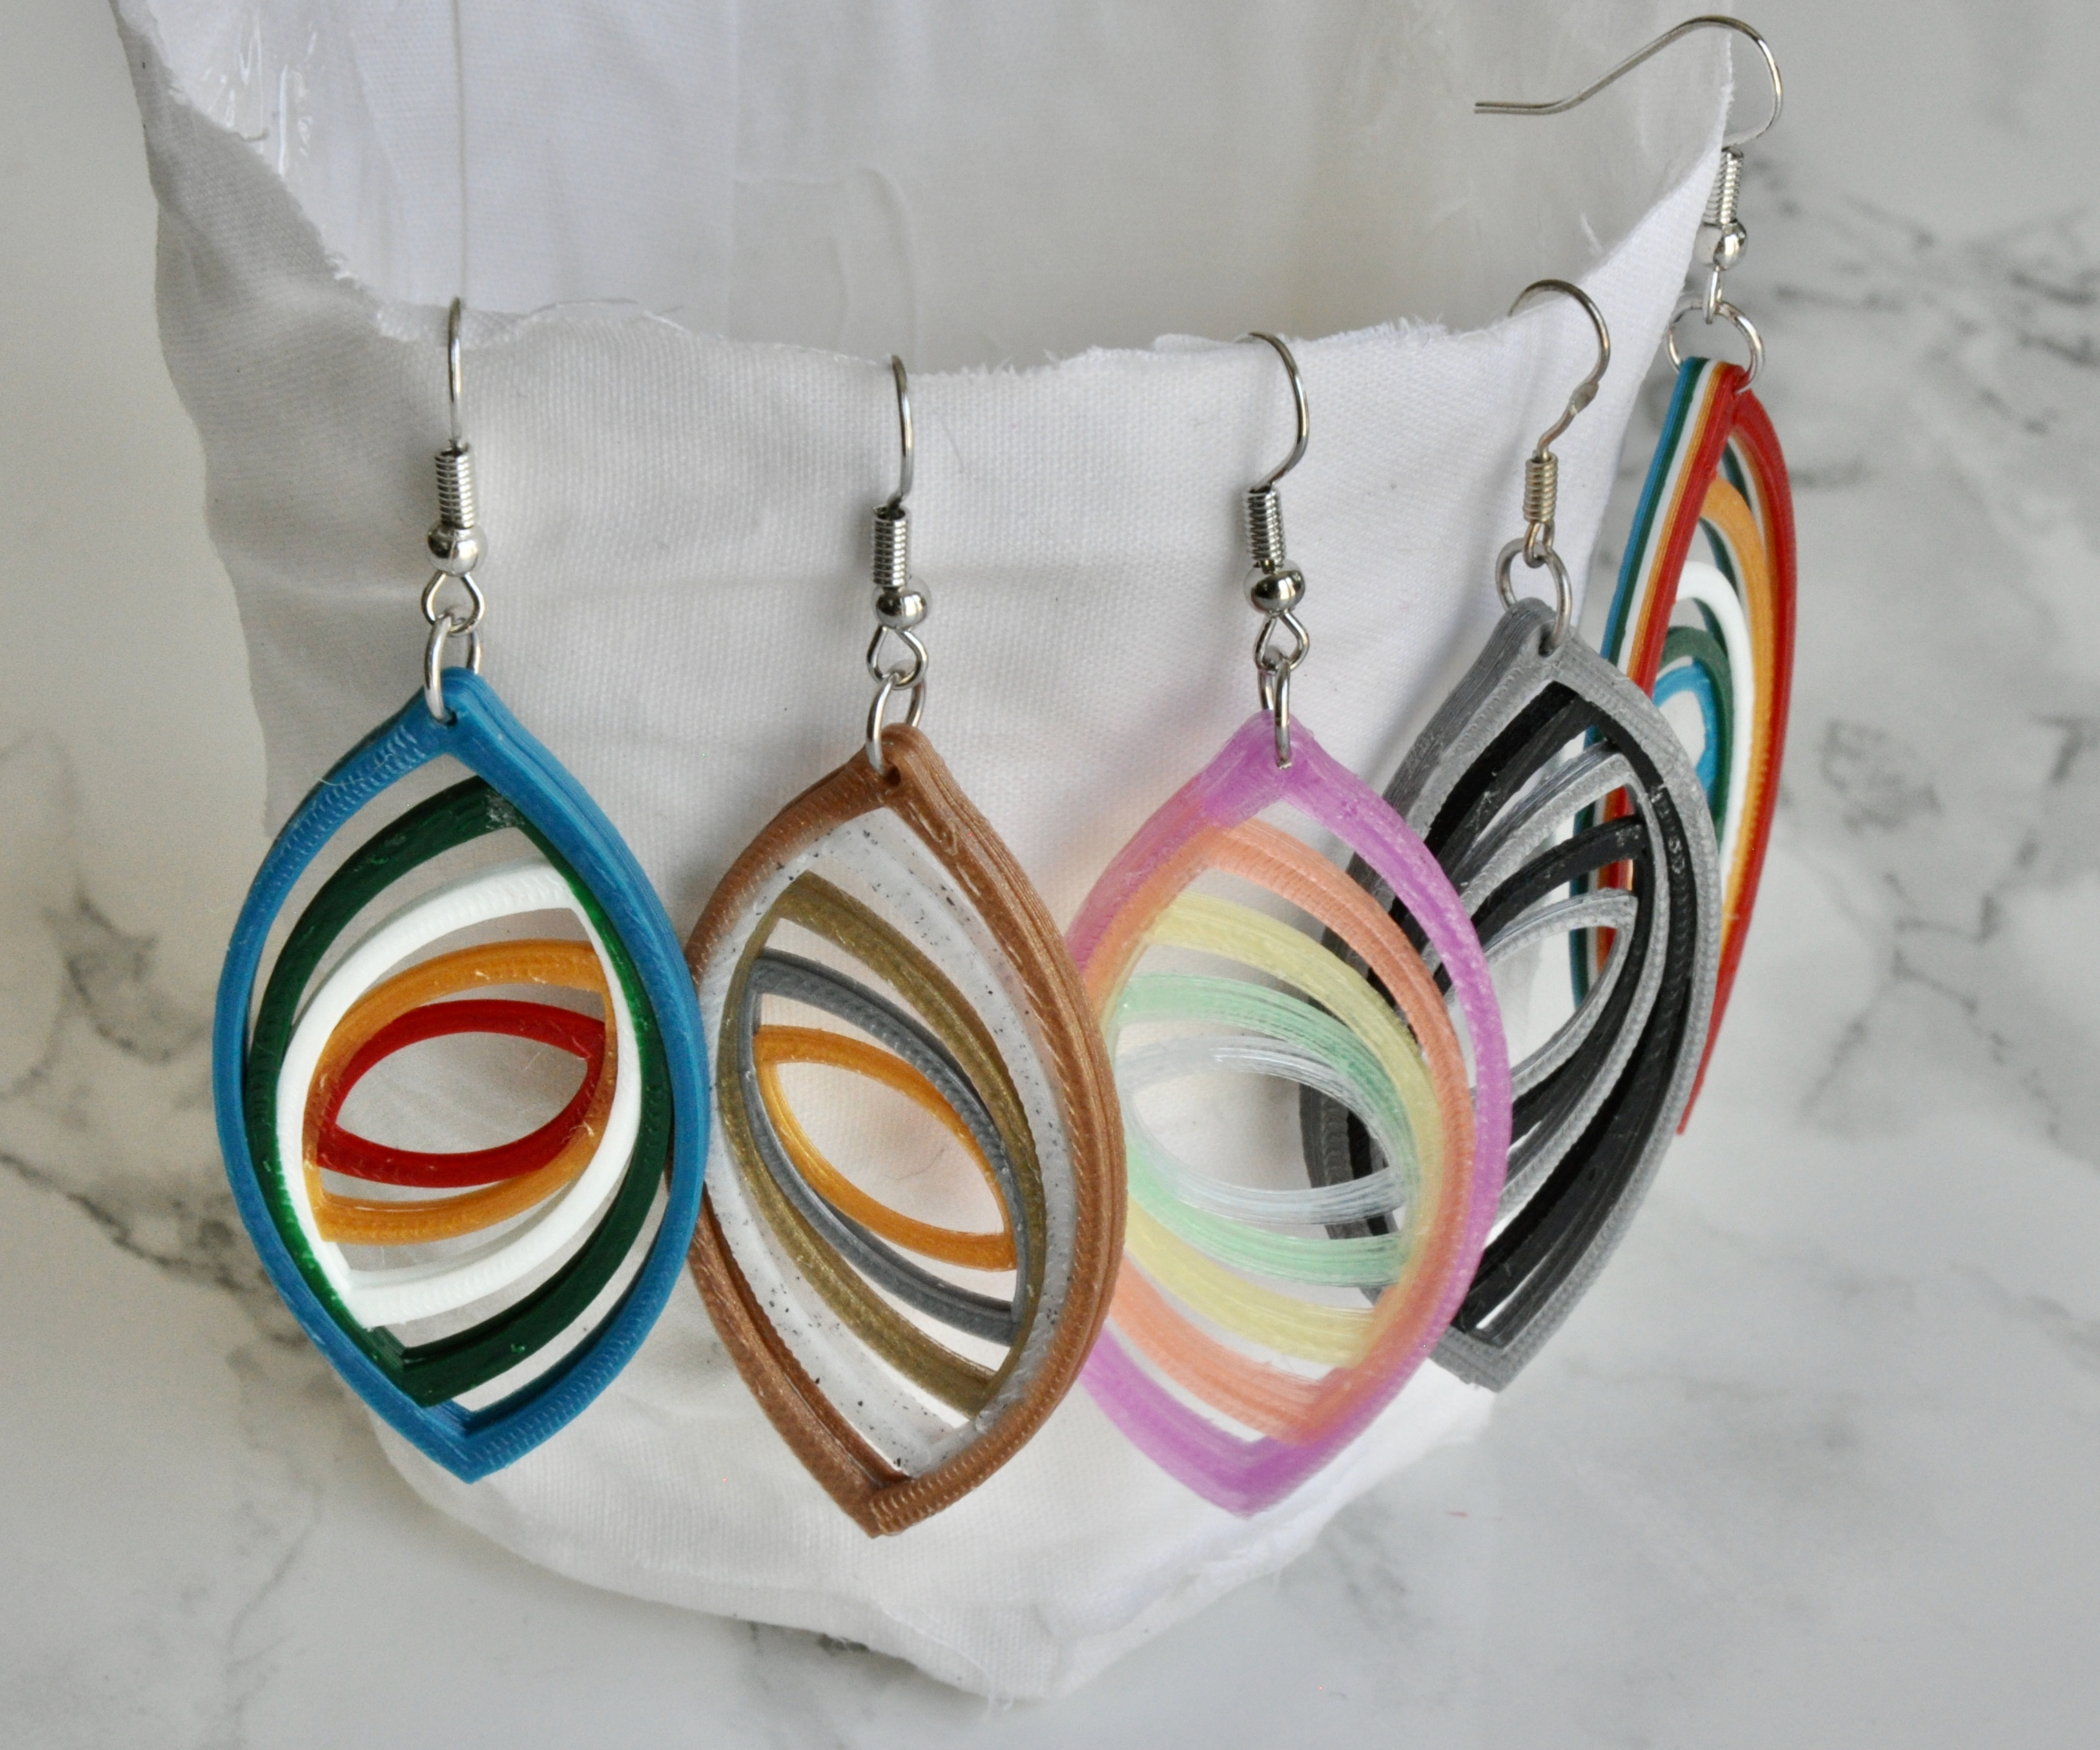
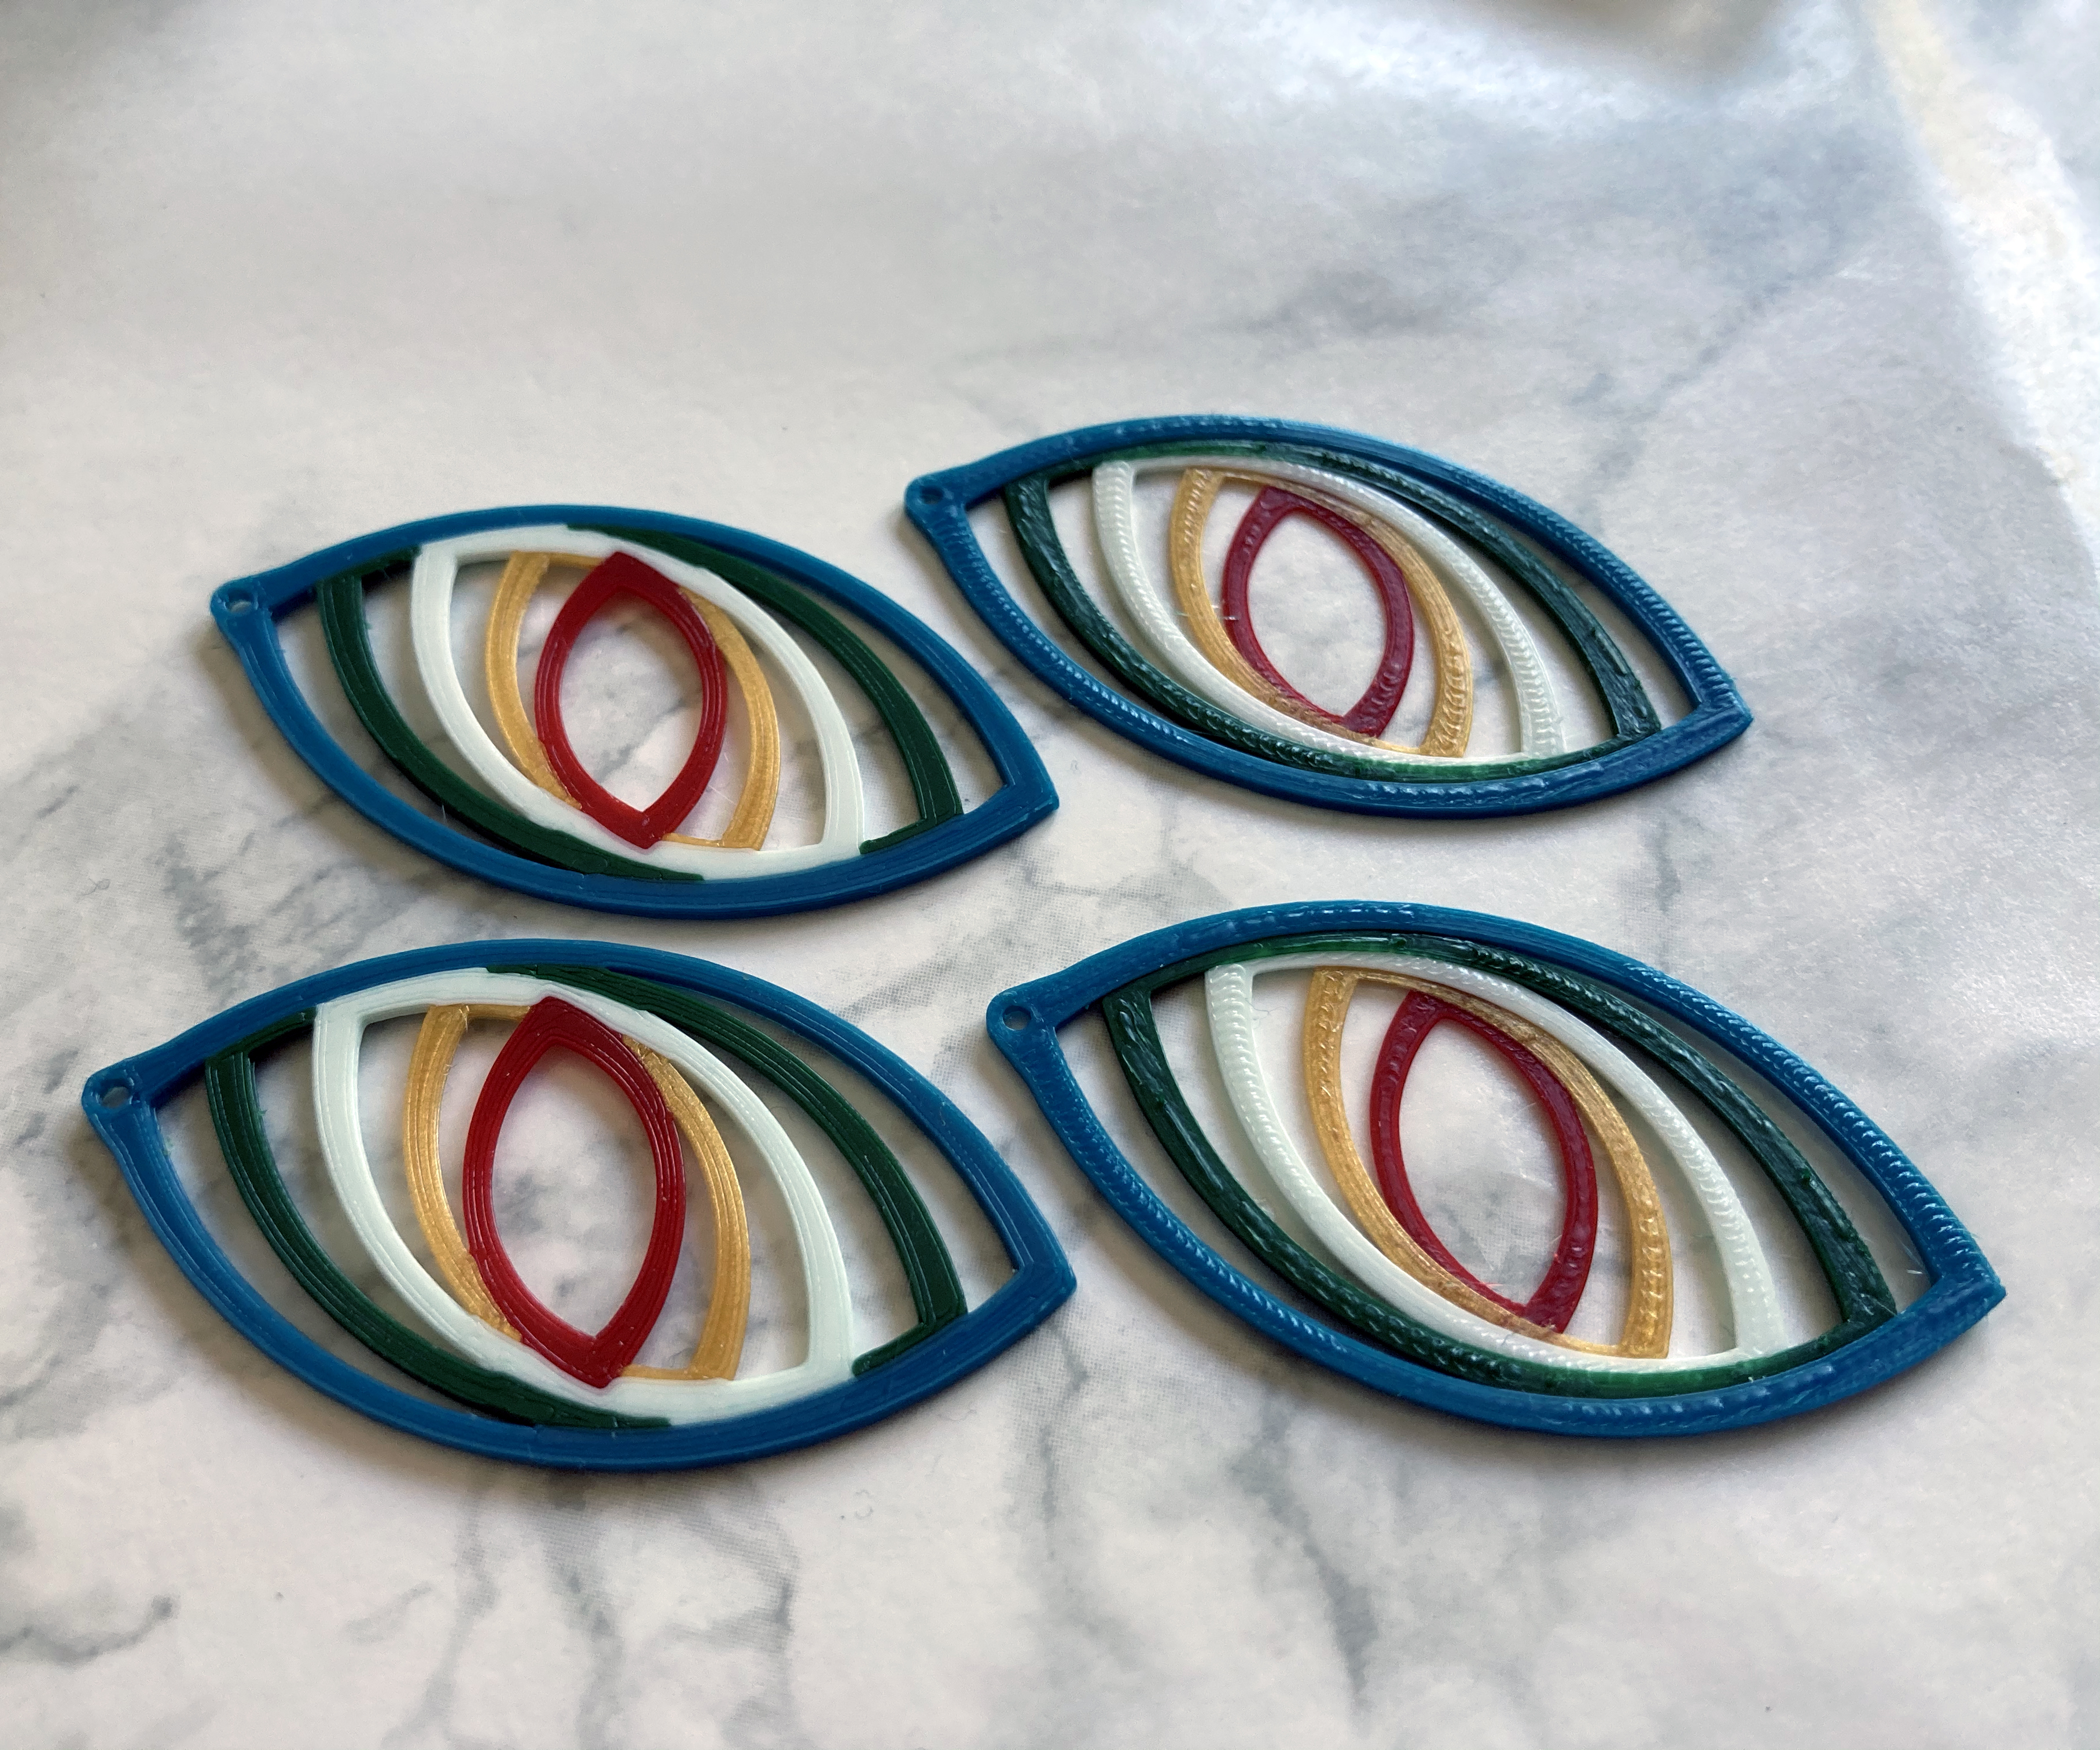
I've done a variety with 5 layers, but you can also get a good look with 2 and changing color every other layer.