Recreate Masterpieces in Chocolate
by creativesocialworker in Cooking > Cake
1395 Views, 19 Favorites, 0 Comments
Recreate Masterpieces in Chocolate
.jpg)
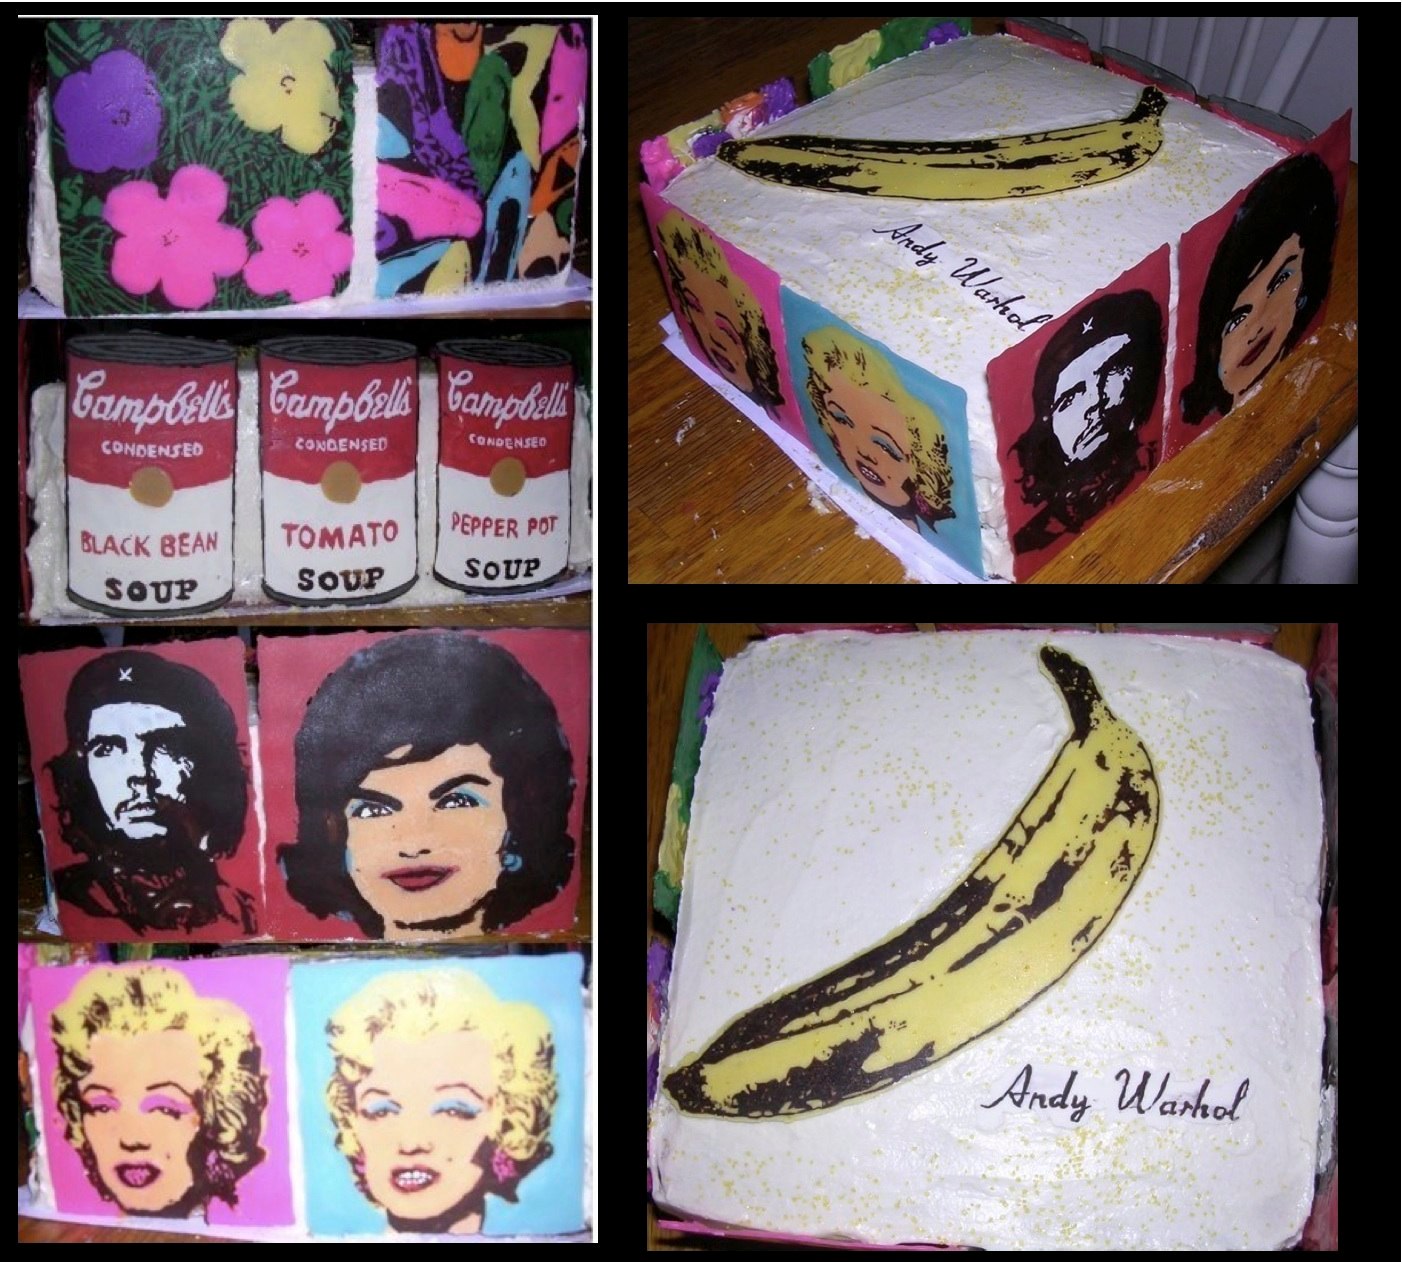
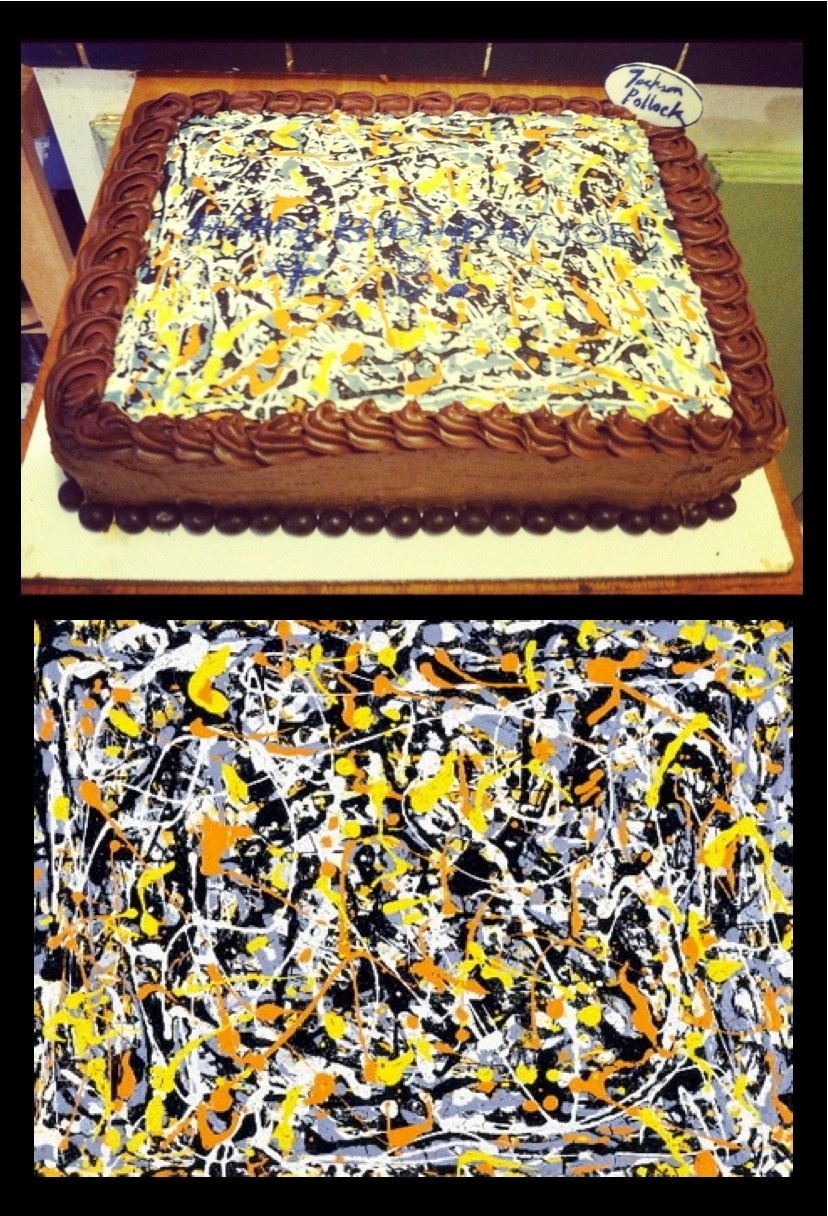
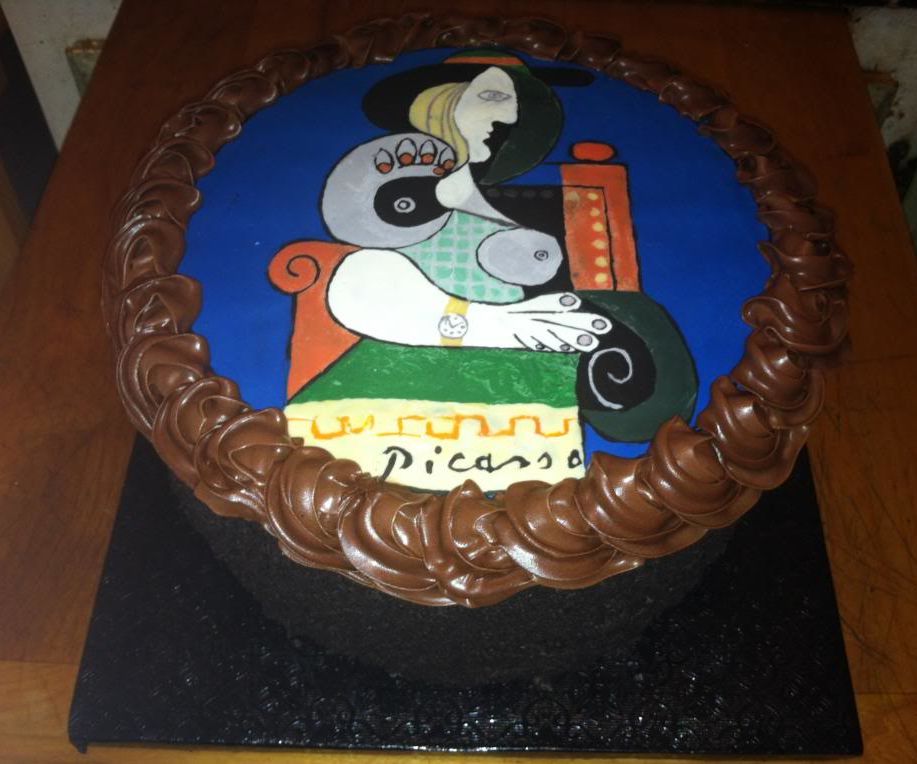
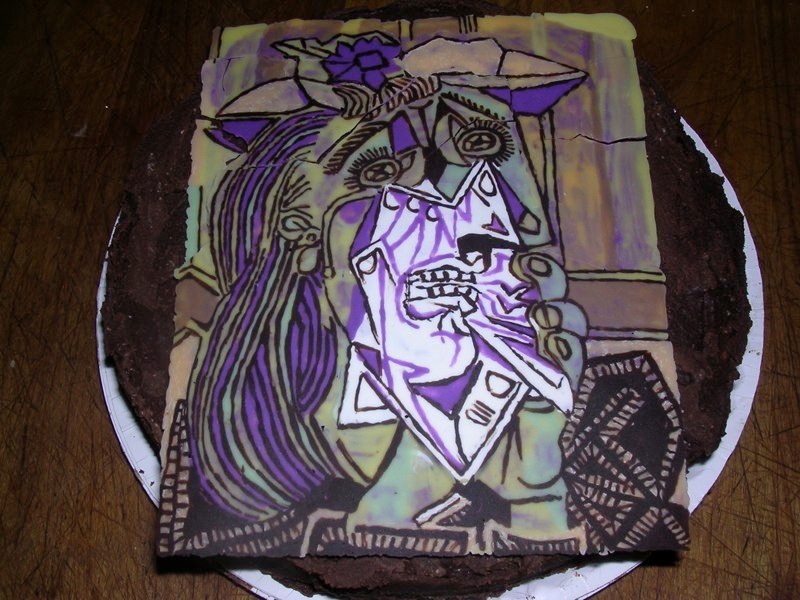
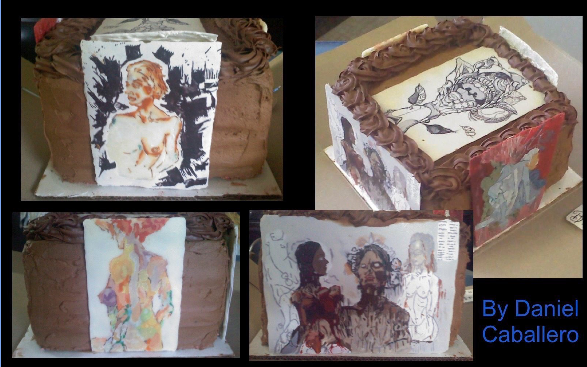
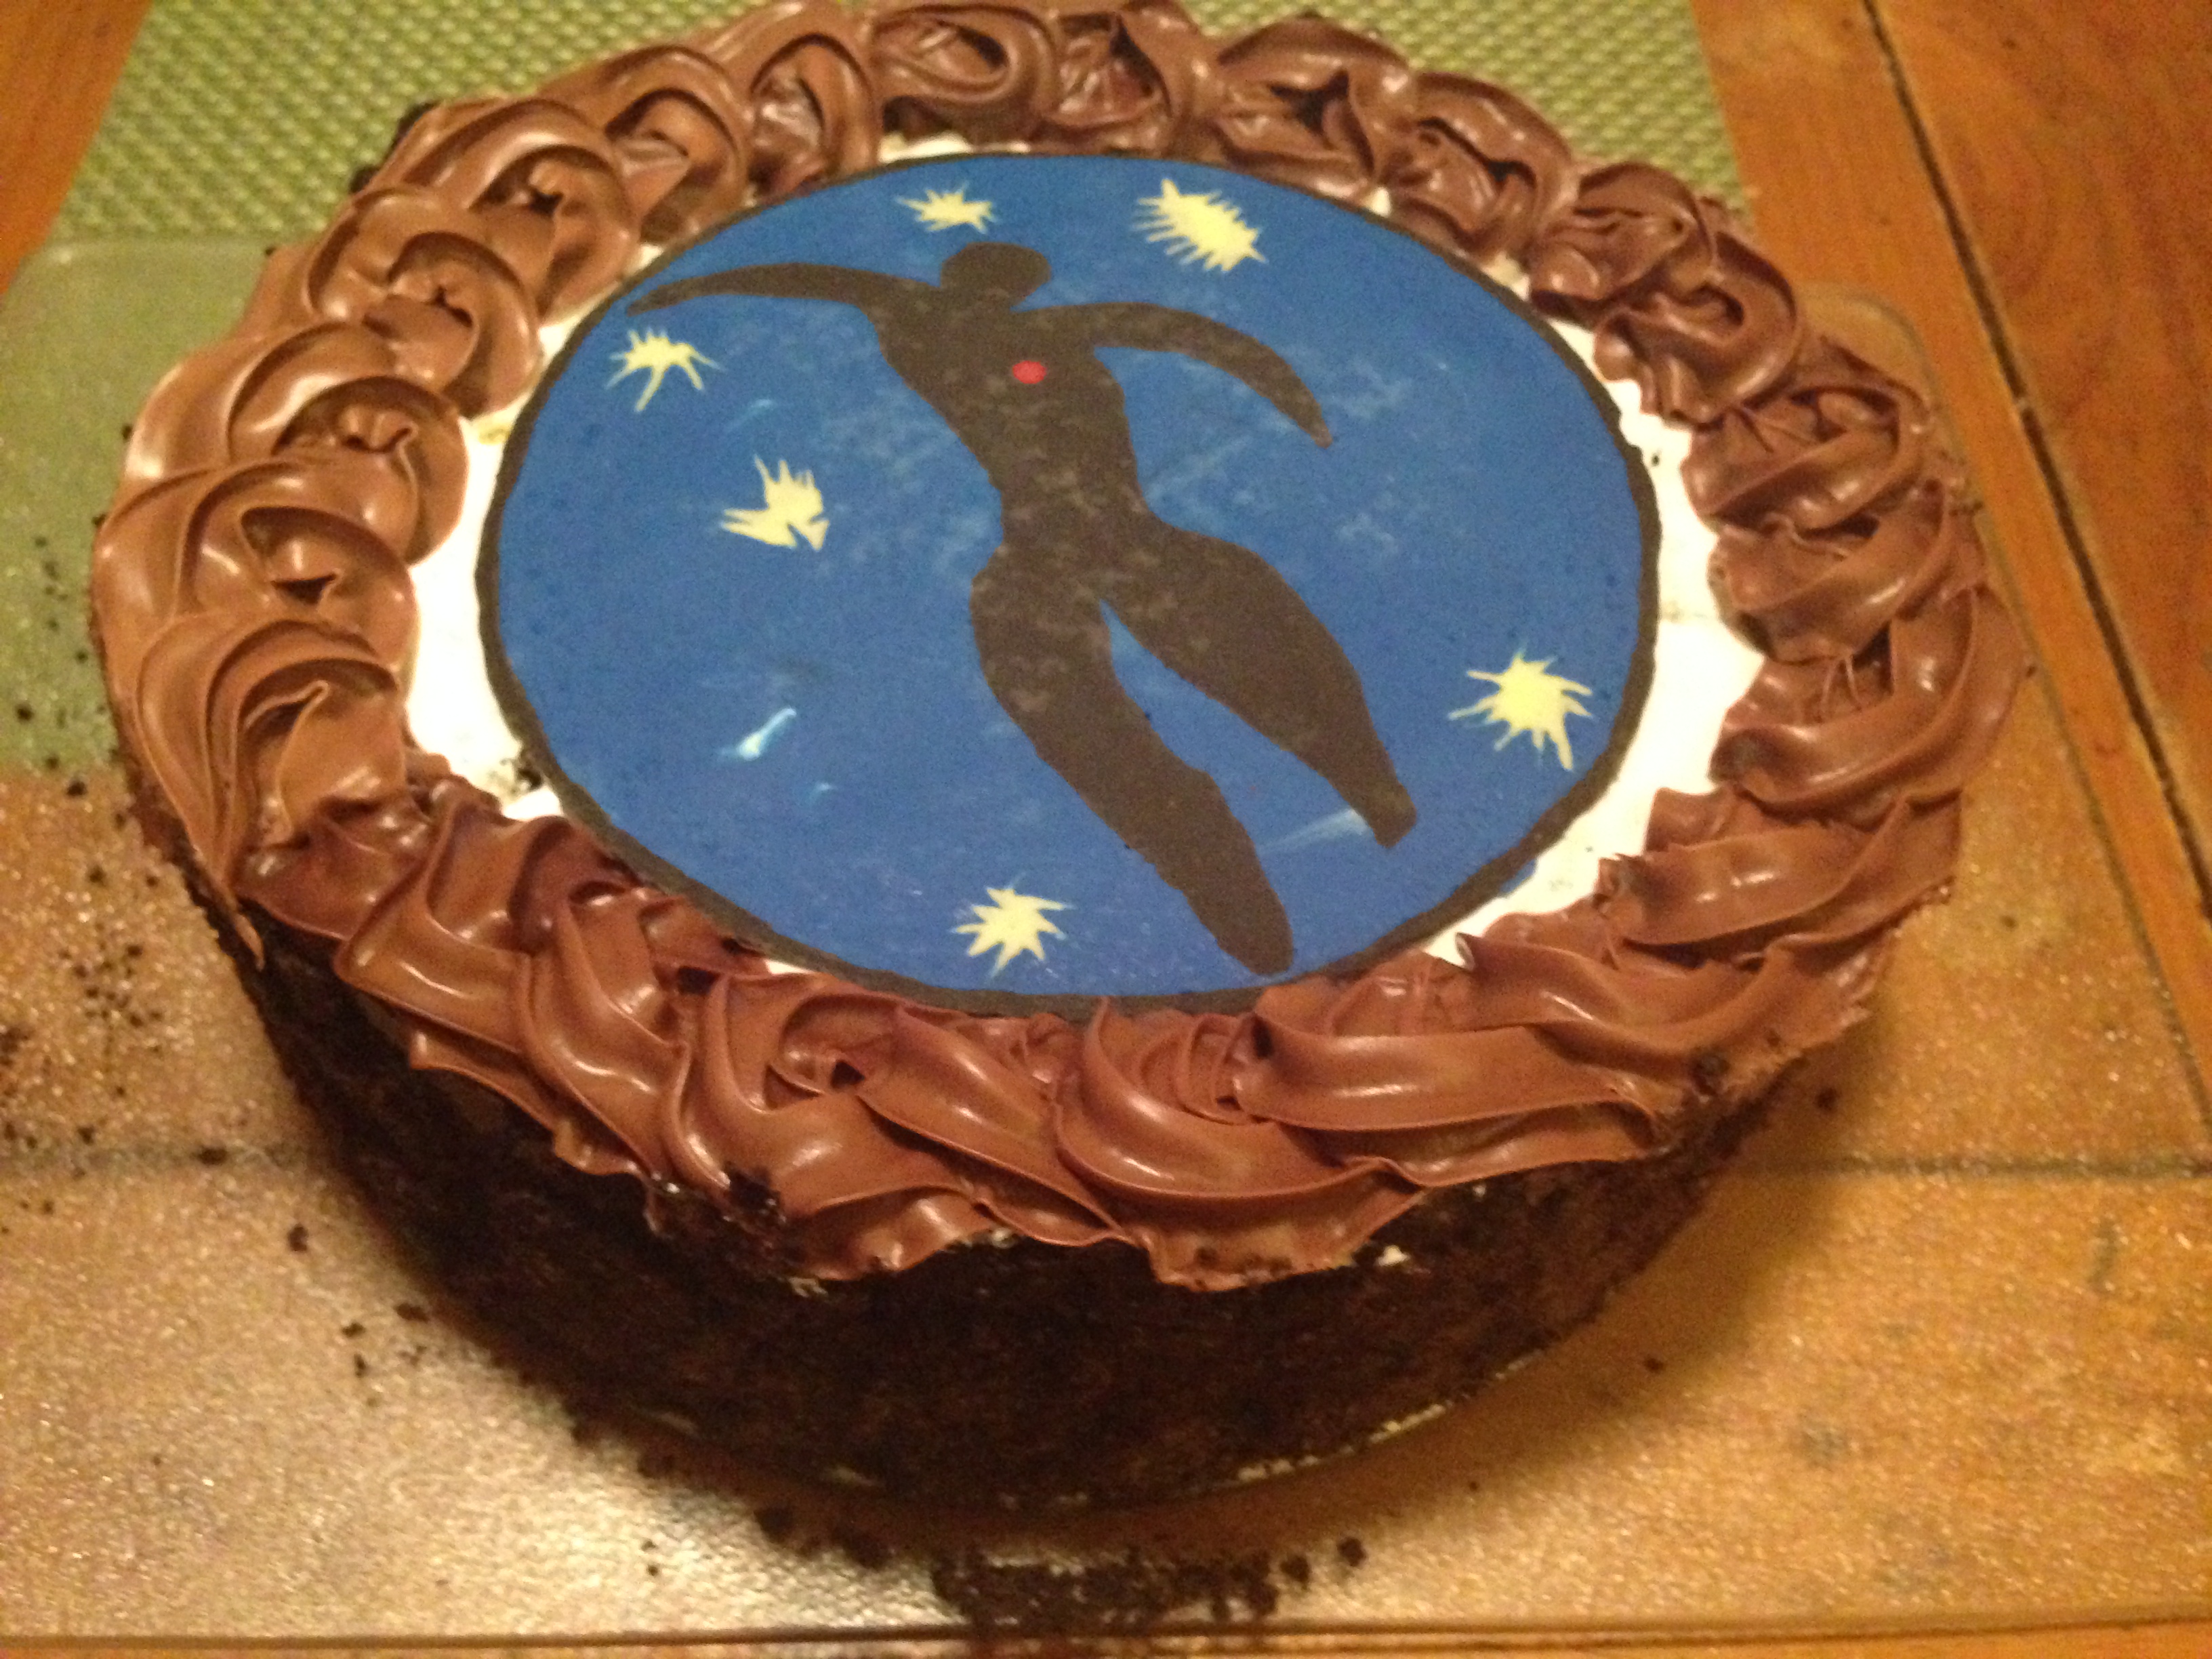
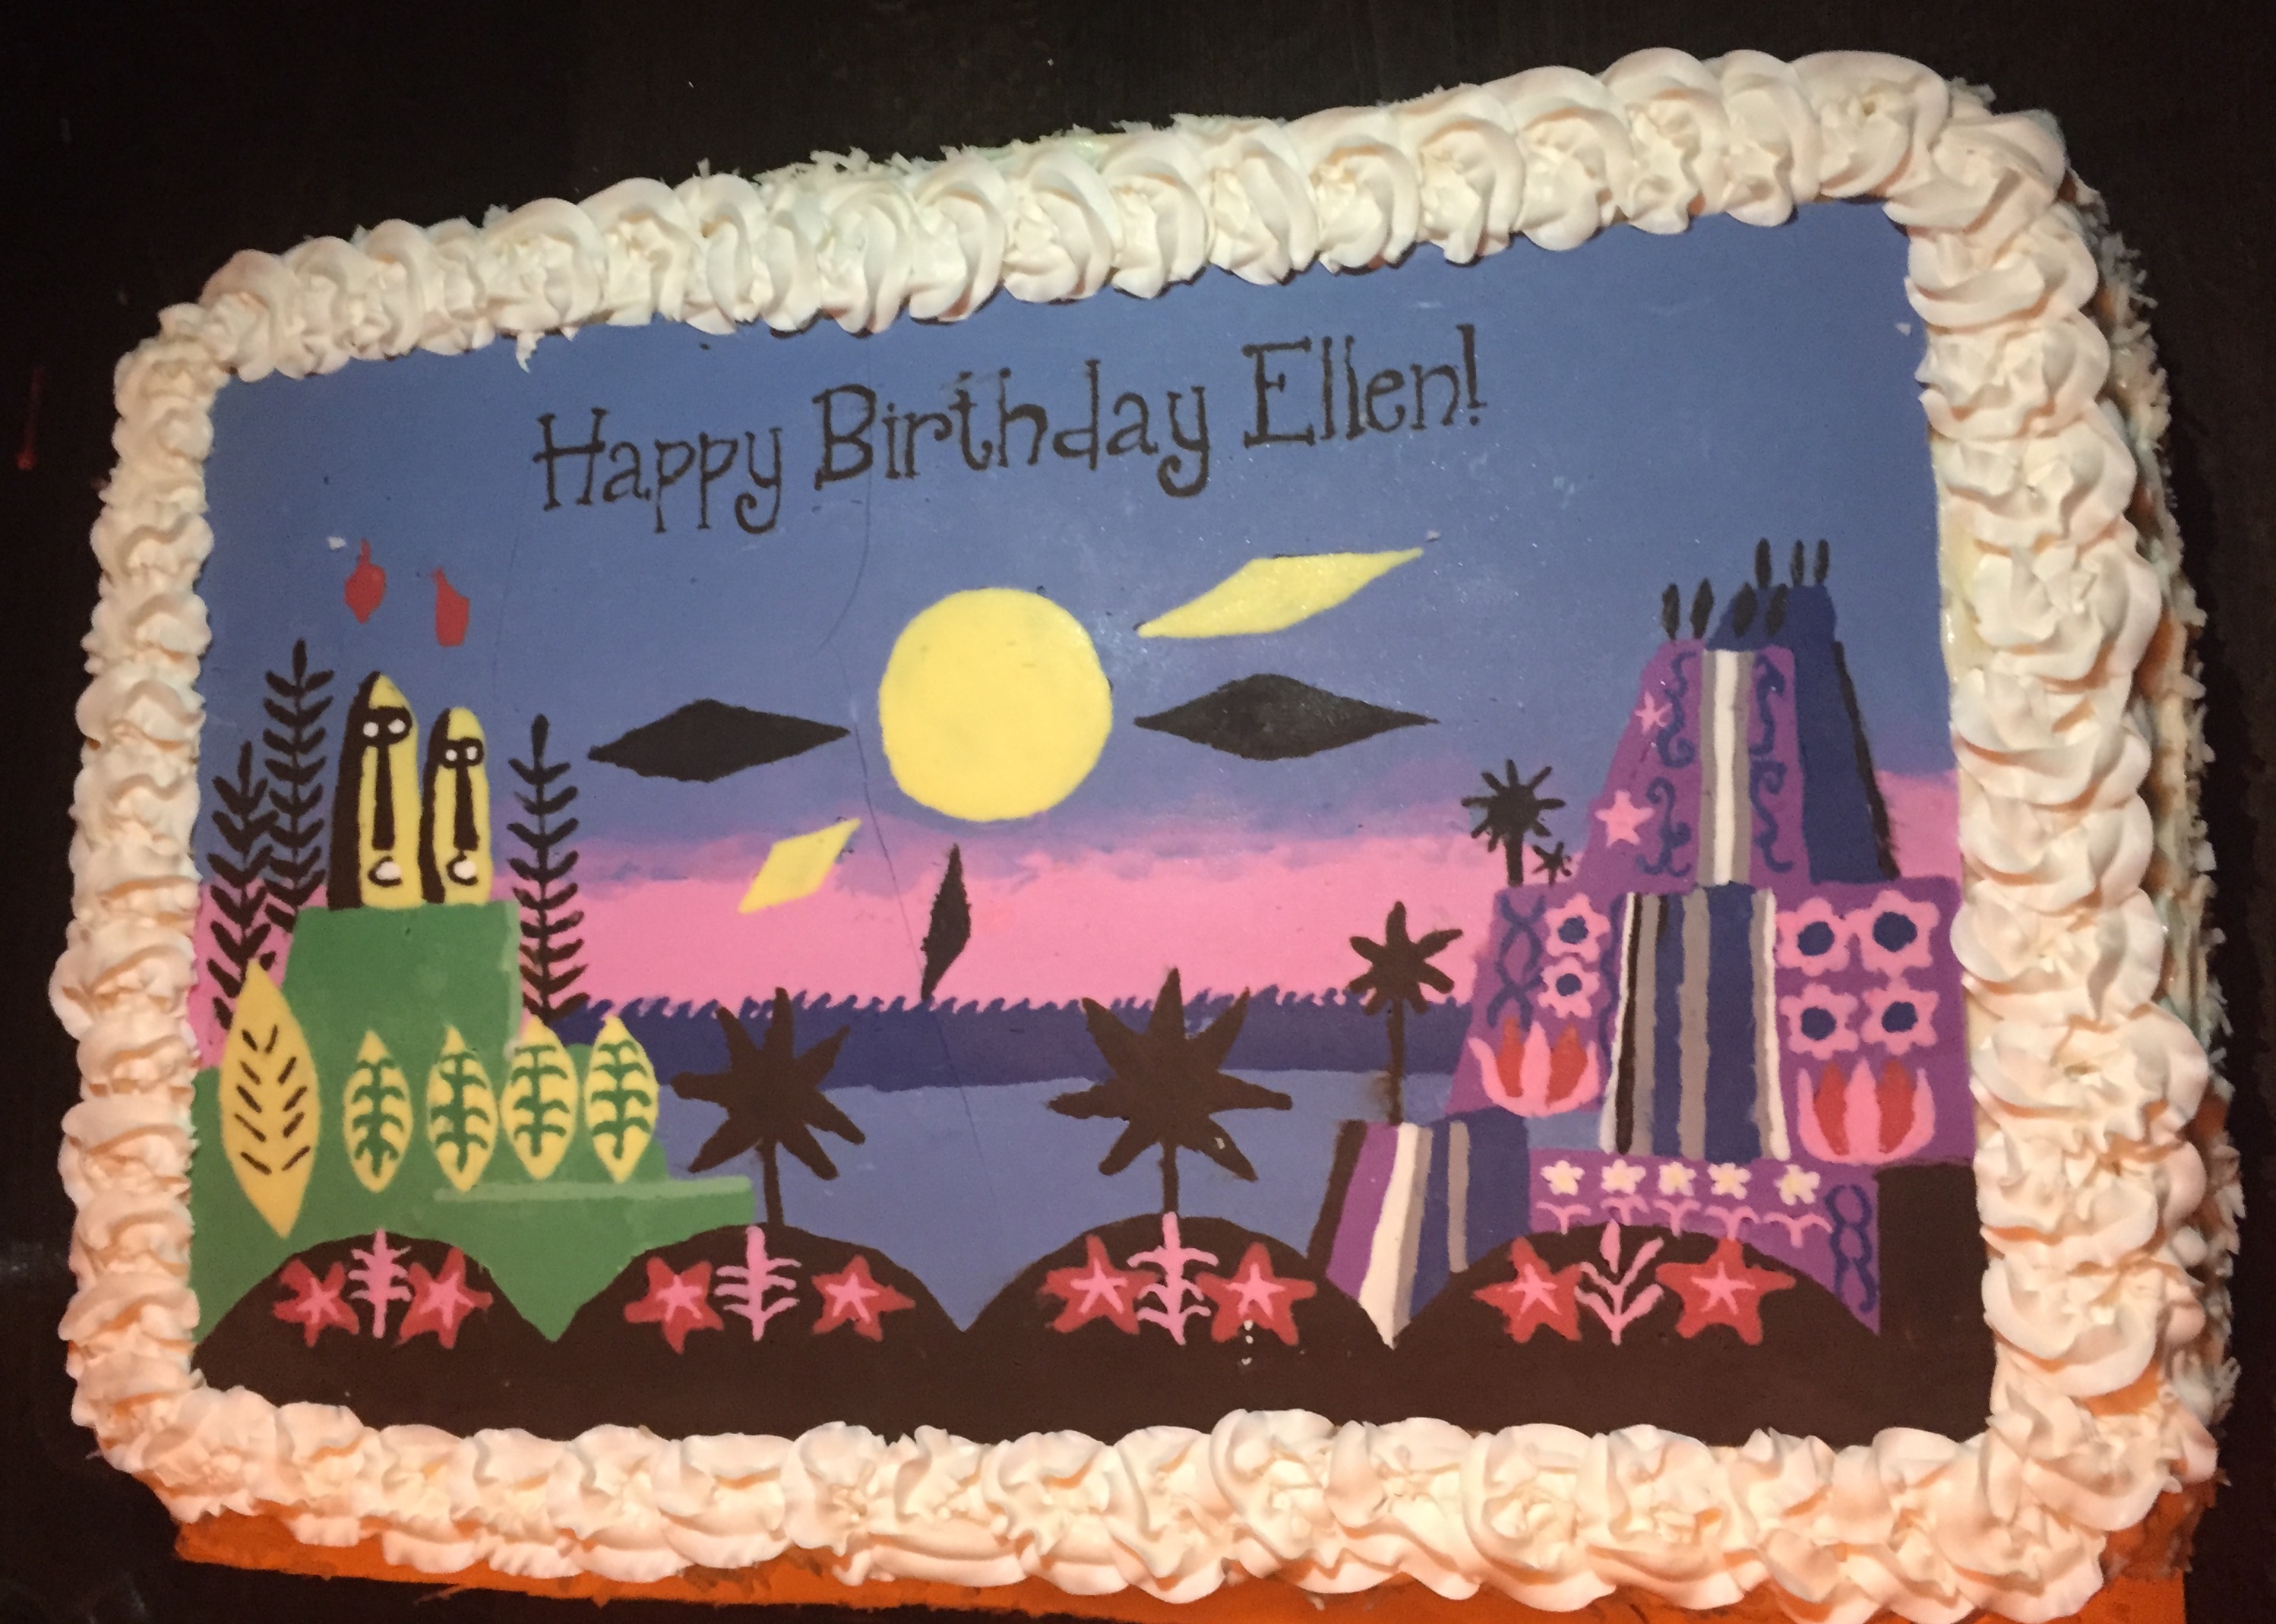
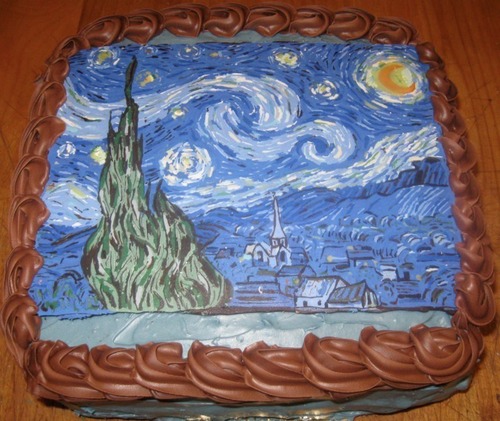
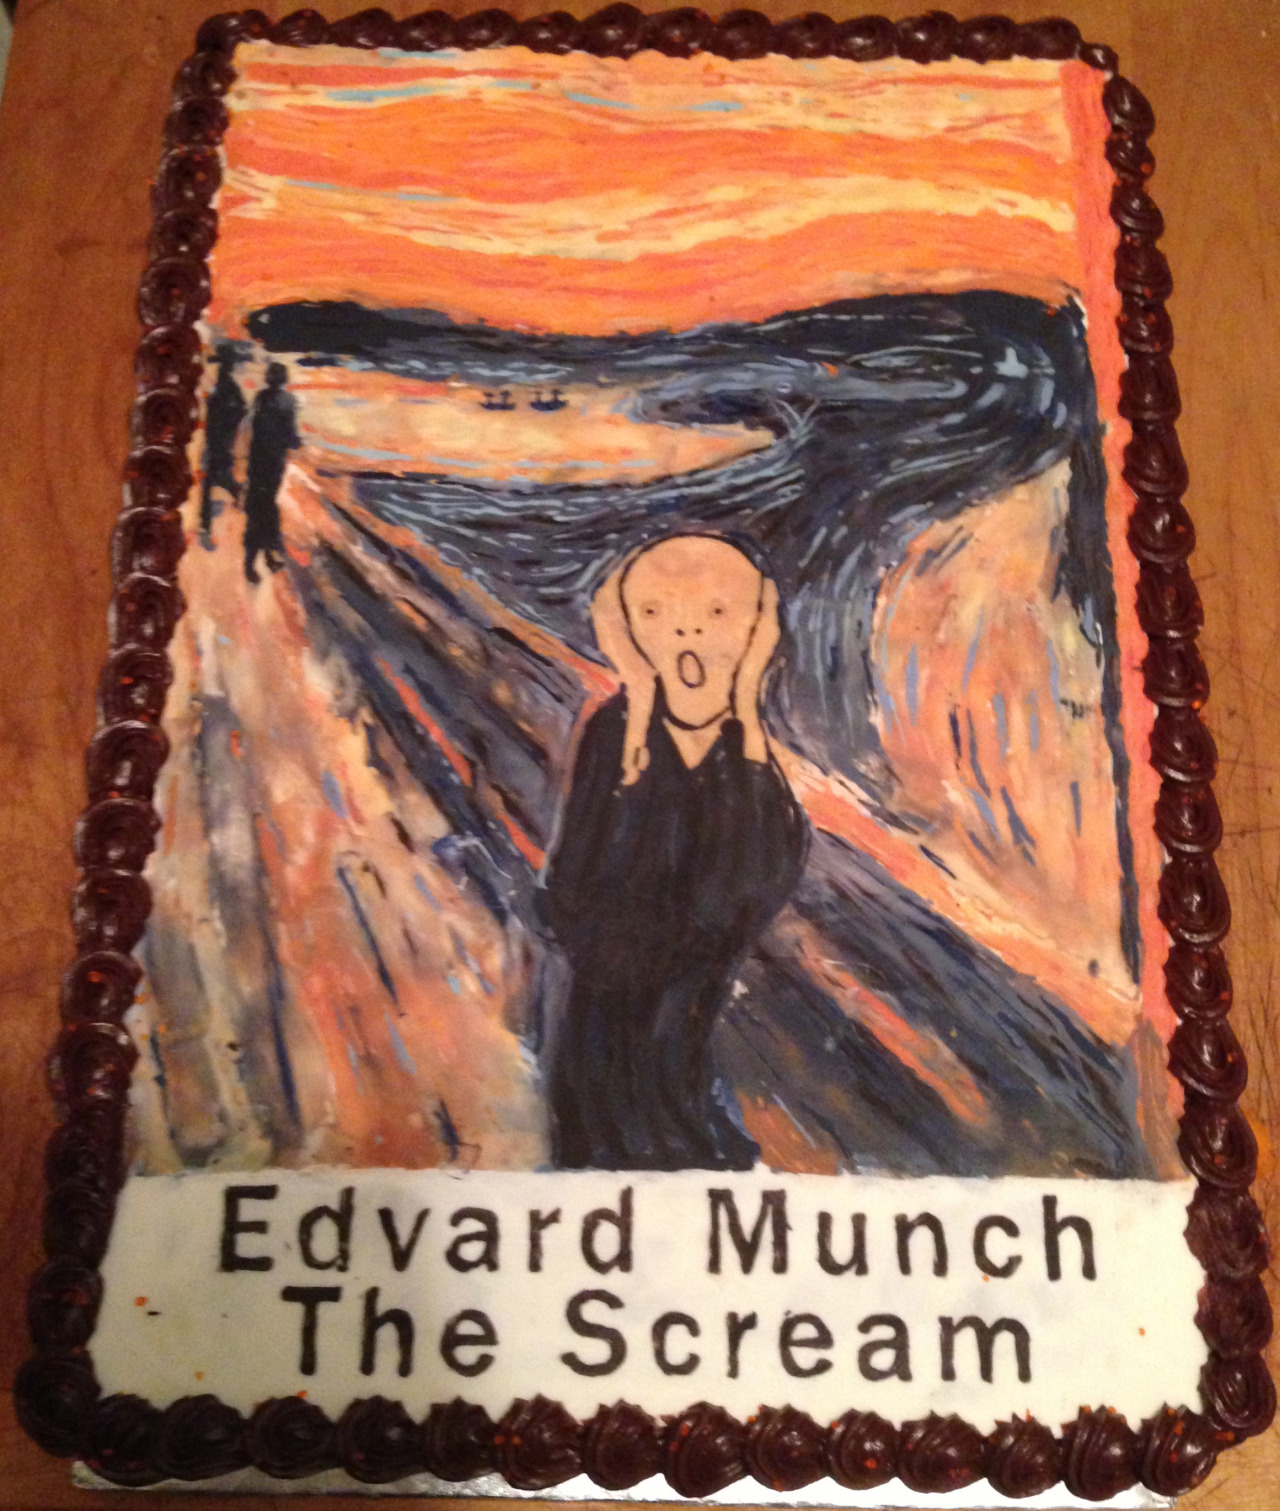
I came up a unique technique for decorating cakes that involved doing intricate drawings in melted chocolate. My favorite thing to do is to replicate works of art. See moe examples of this technique at my blog, Half-Baked Art
Materials
- Colored Candy Melts
- Tooth Pick
- Small Paint Brush
- Color Printer
Bake Your Cake and Select Your Design
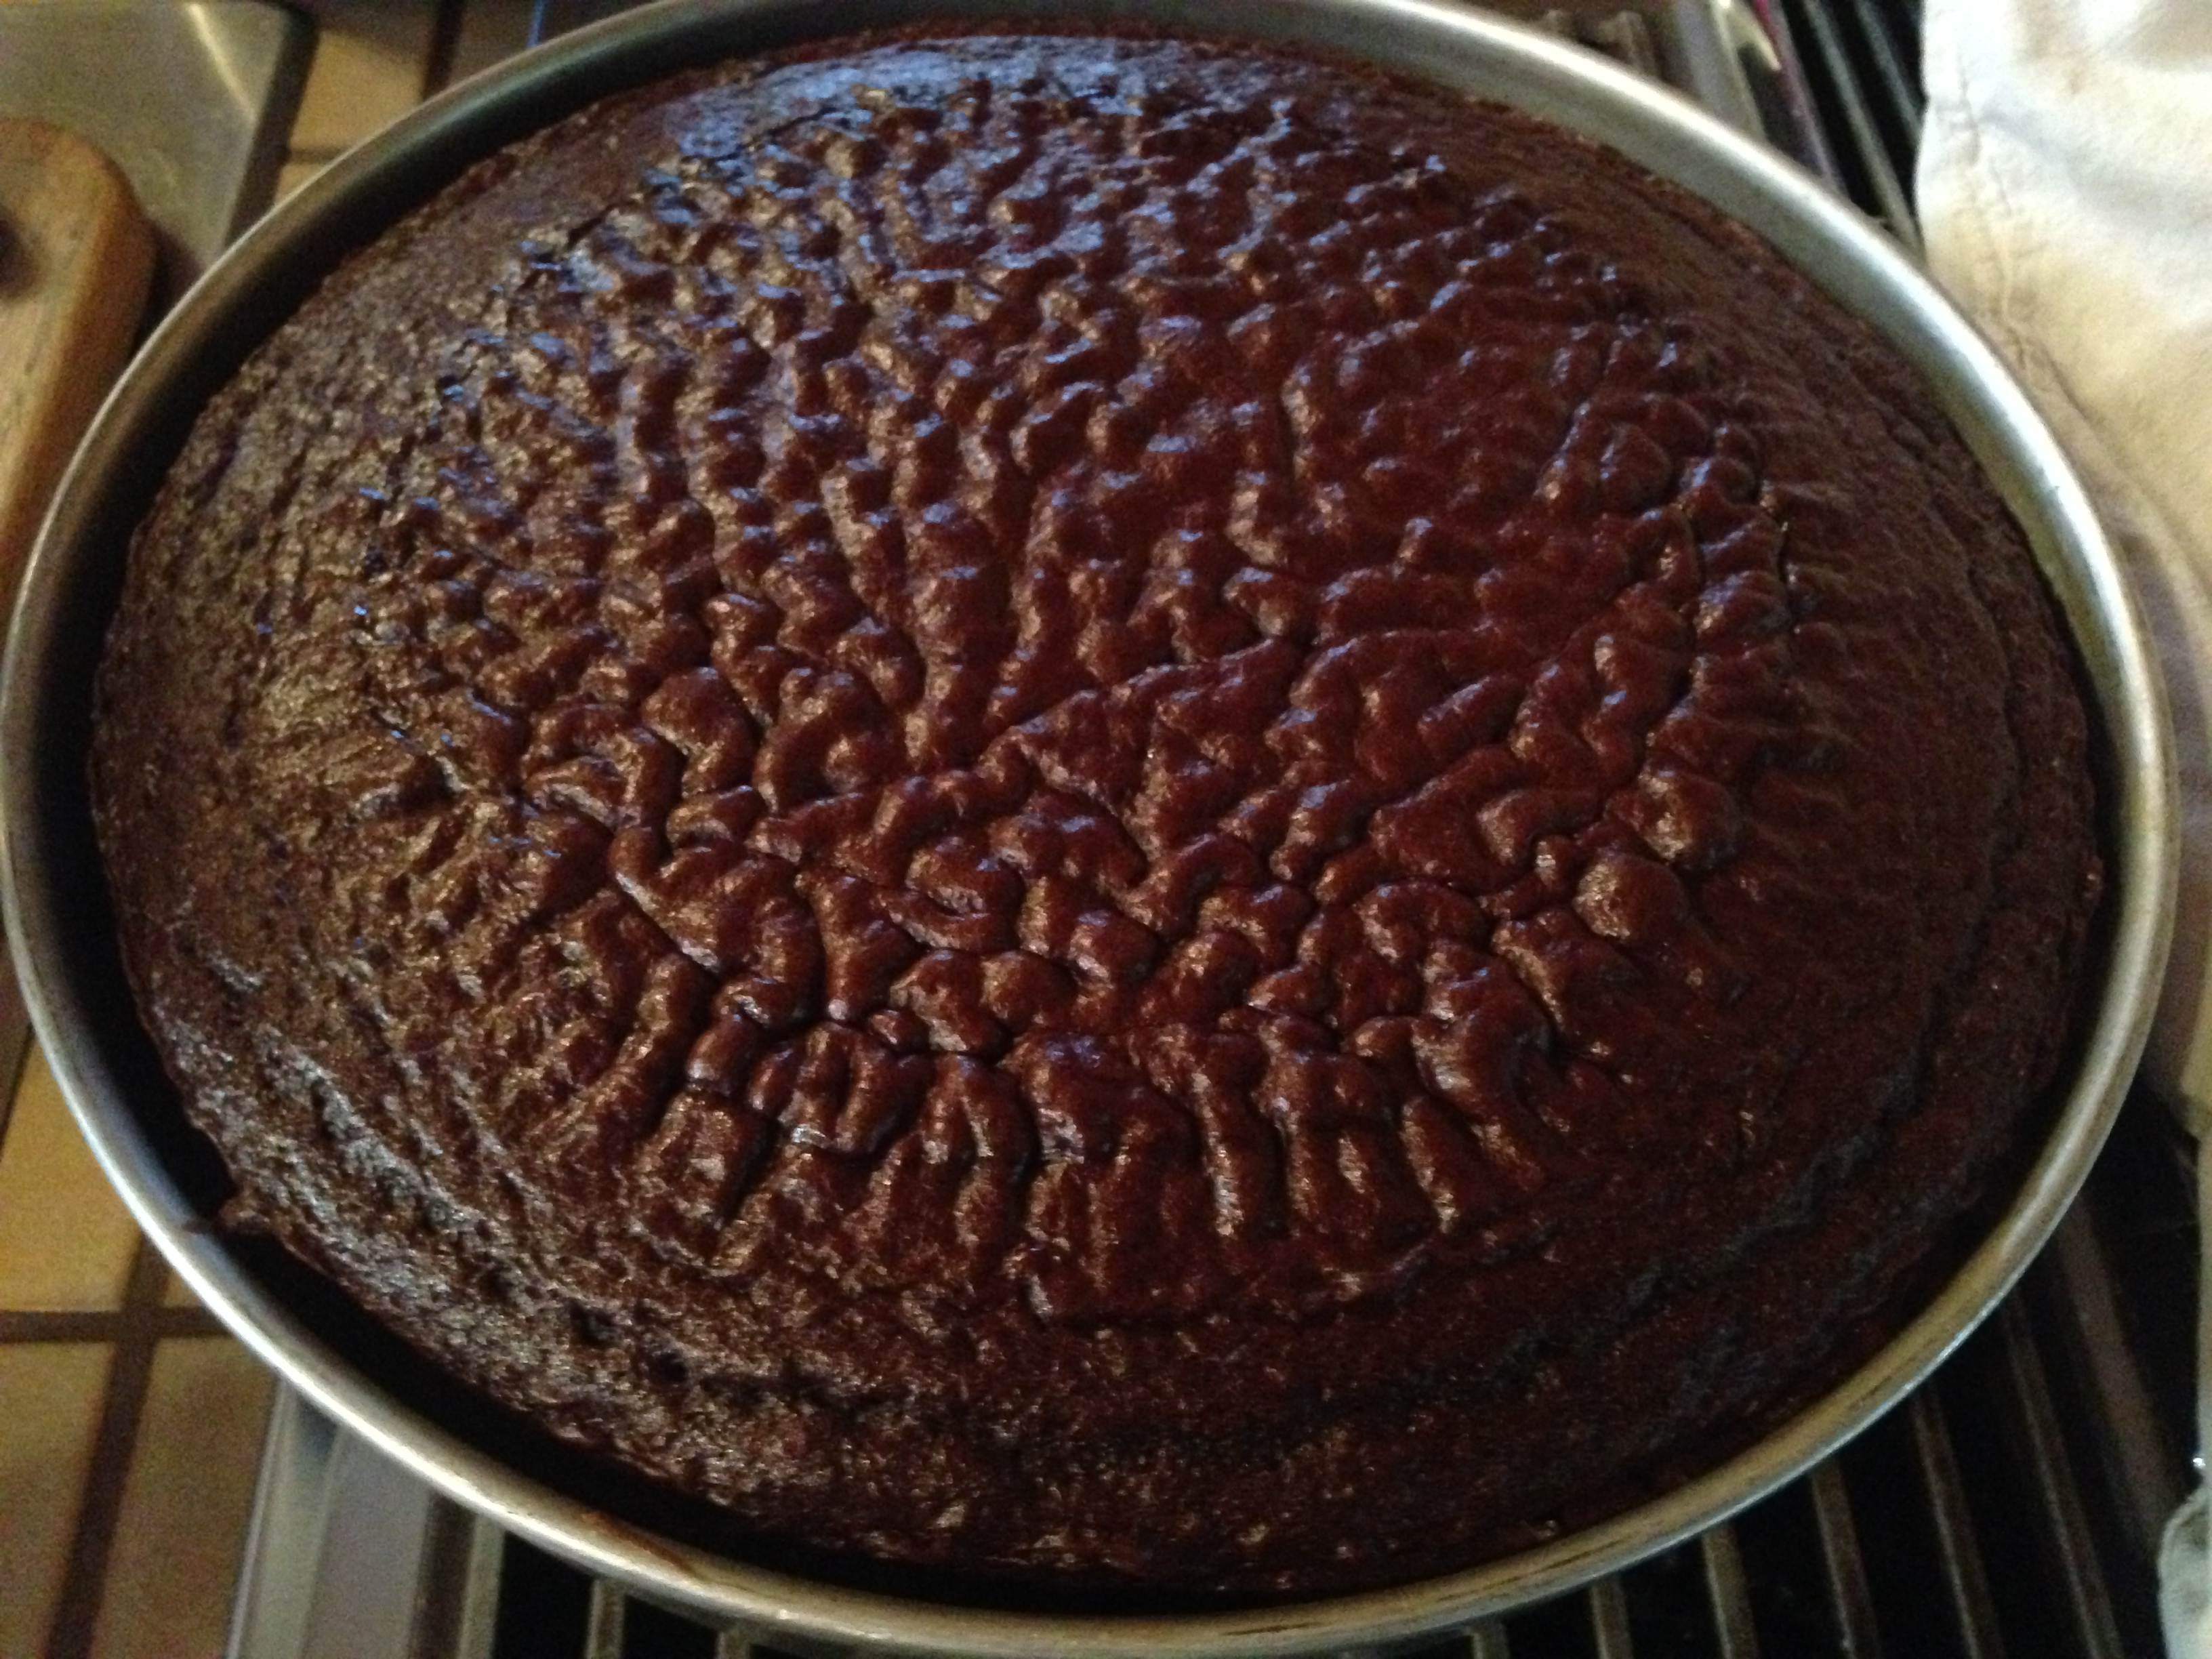
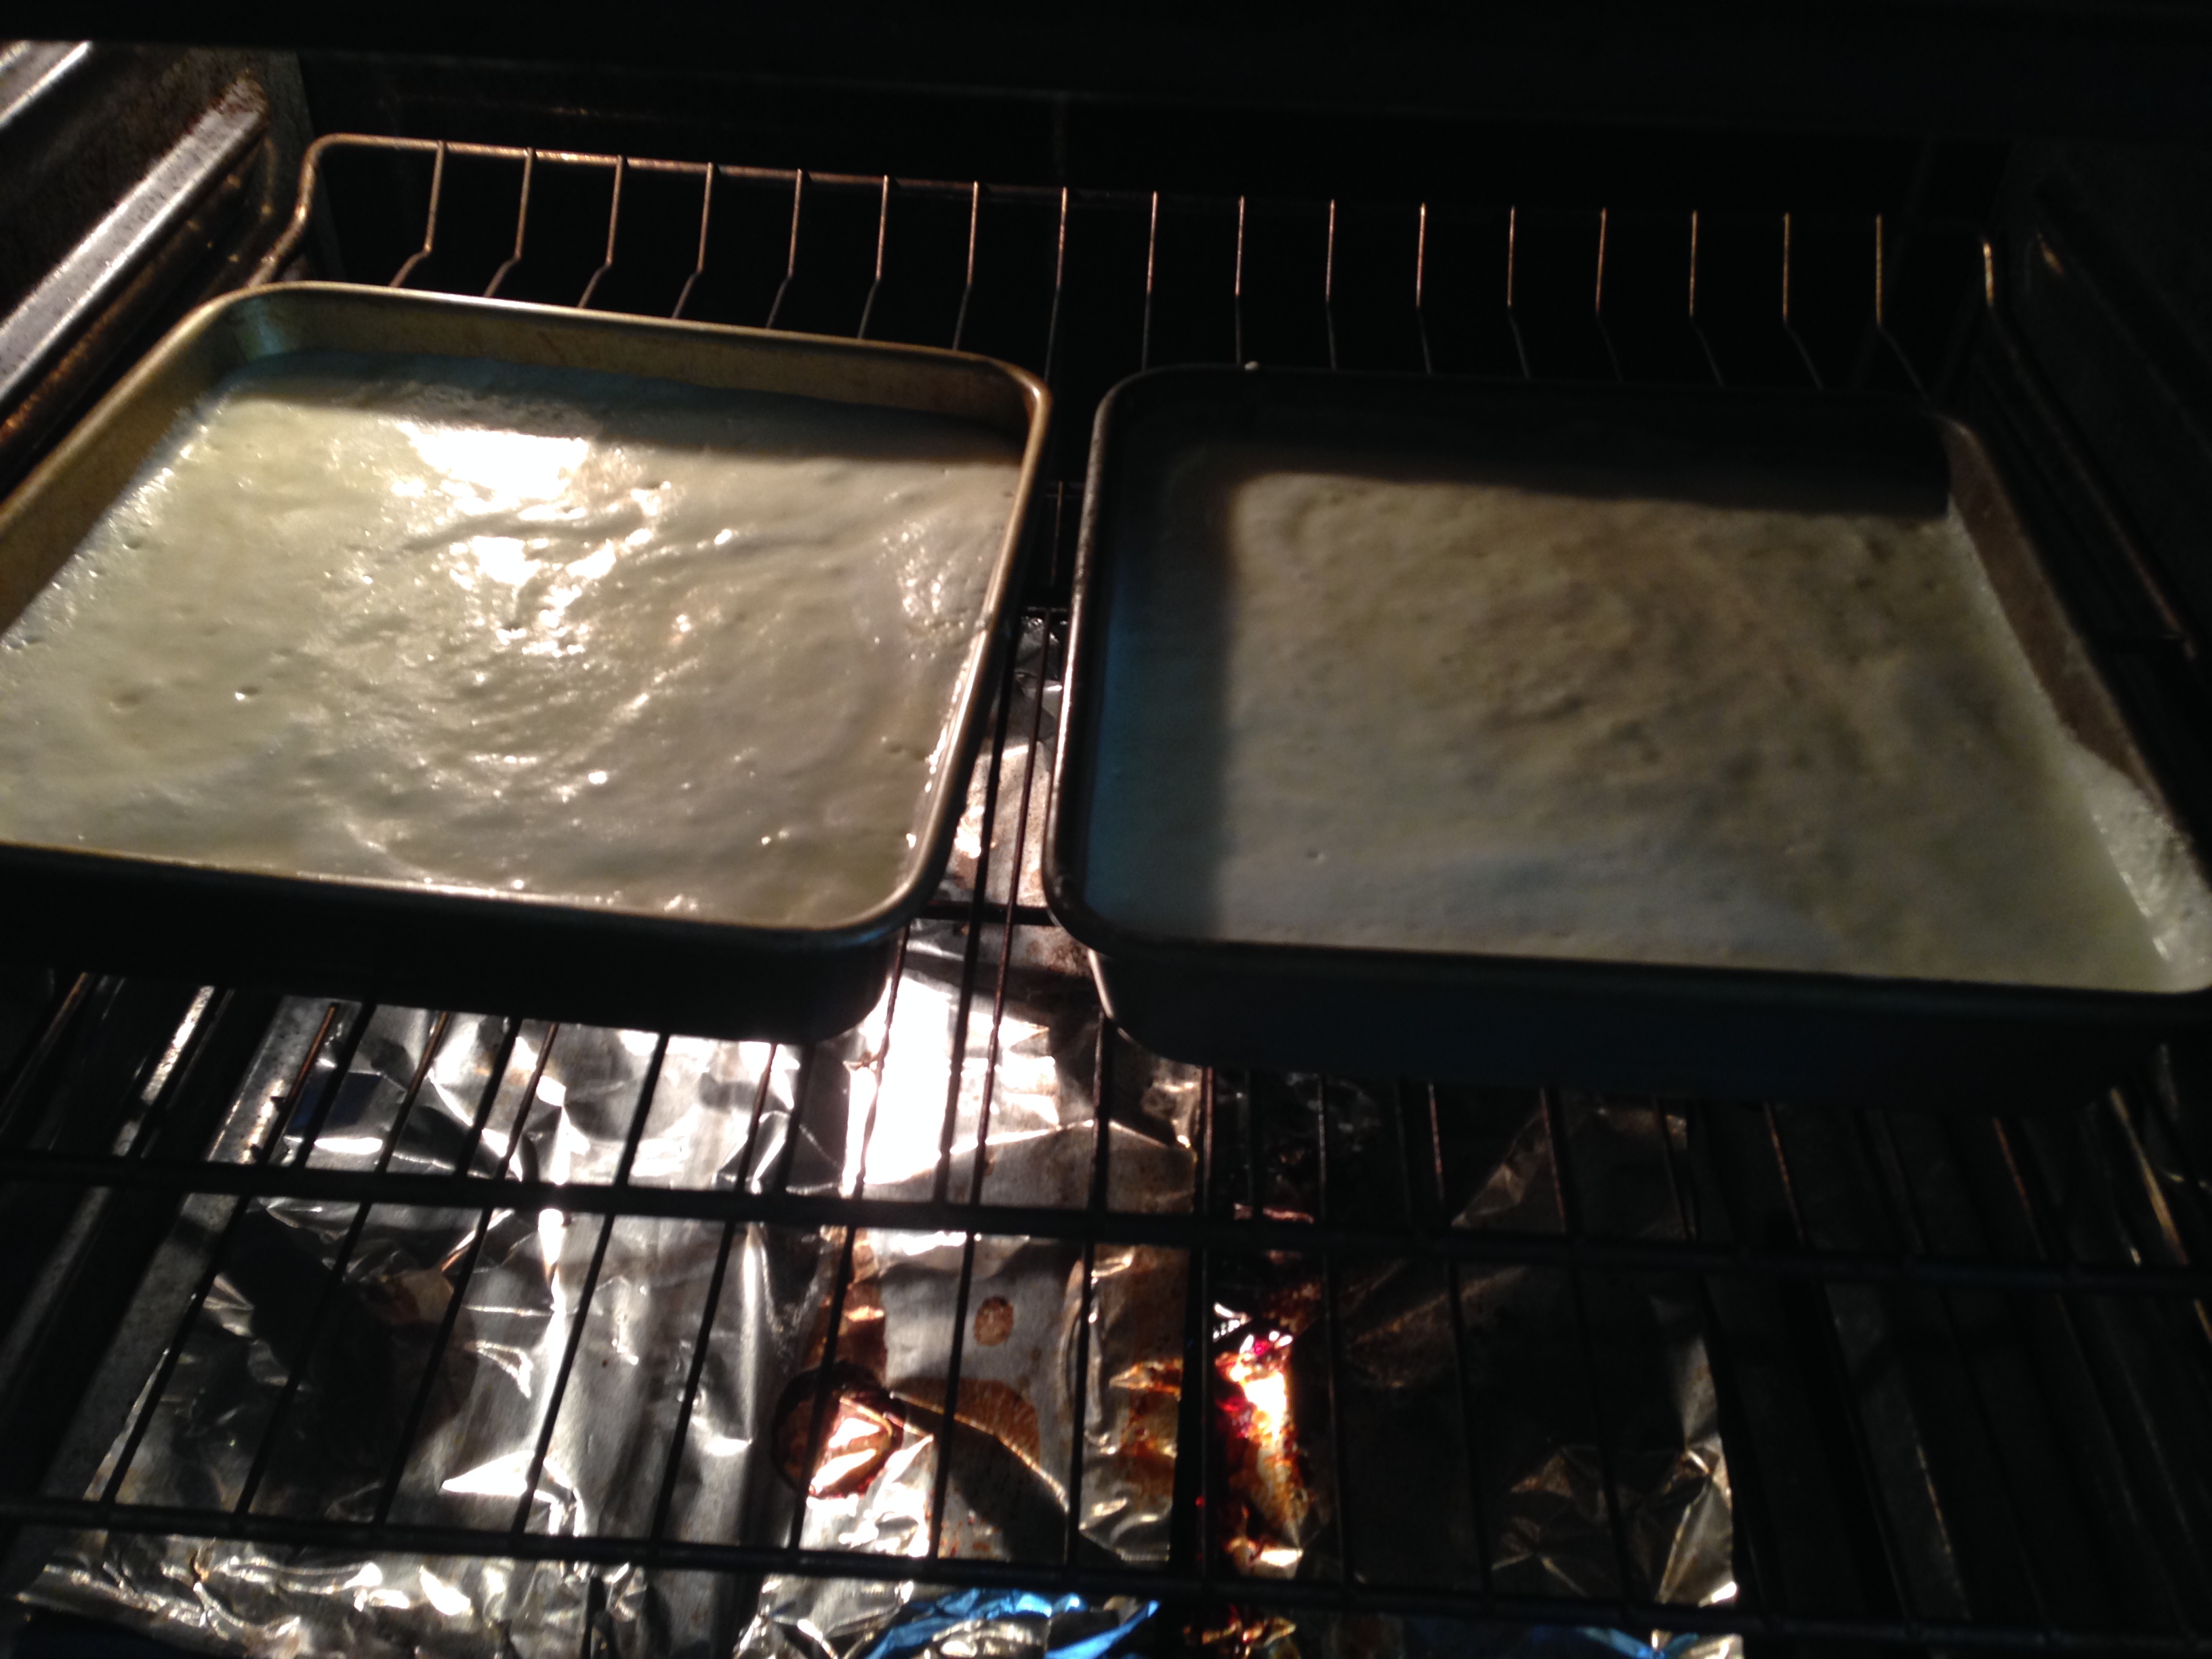
Baking: The resulting chocolate piece is rigid so it is important that the top of the cake is level. To achieve this make sure that you flip your top cake layer upside-down so that it is flat (alternatively you could level the cake with a knife by cutting off the dome). Attach the piece to the cake with a dollop of frosting.
Selecting the piece of art you want to replicate: There are a number of factors to consider that will increase the difficulty level.
- Artists that outline their work are generally easier to copy
- When looking at the level of detail, determine how much is important to the piece and what you can ignore.
- Getting the color right is one of the hardest parts. Pieces with clear cut, blocks of color are the easier to capture. Blended colors are difficult to get right
- Details are what take the longest so consider your time commitment when closing which piece to replicate.
Printing: When sizing the image I set the dimensions to be 1-2 inches smaller than the dimensions of the cake, and then pipe a boarder to cover the edges. Flip the image horizontally before printing, or the final product will be backwards. For complicated images it makes it easier if you print in color. Take the printout to a clipboard on all sides to prevent curling.
Chocolate Paining
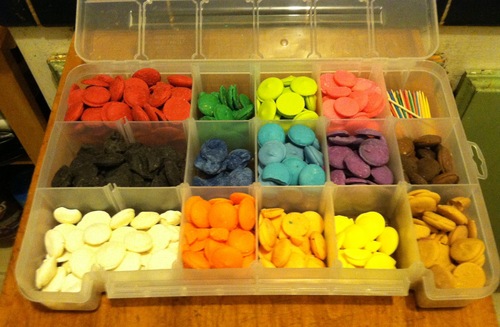
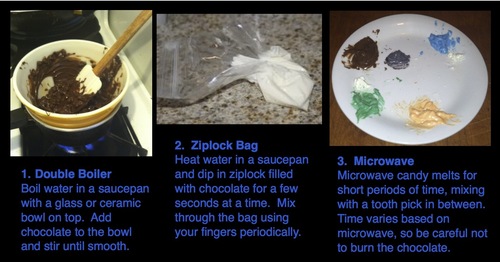
I created a basic tutorial for how to paint with melted chocolate that needs to be practiced with simple designs before moving onto more complicated art pieces (see here). This tutorial builds on the first and offers tips for more advanced pieces.
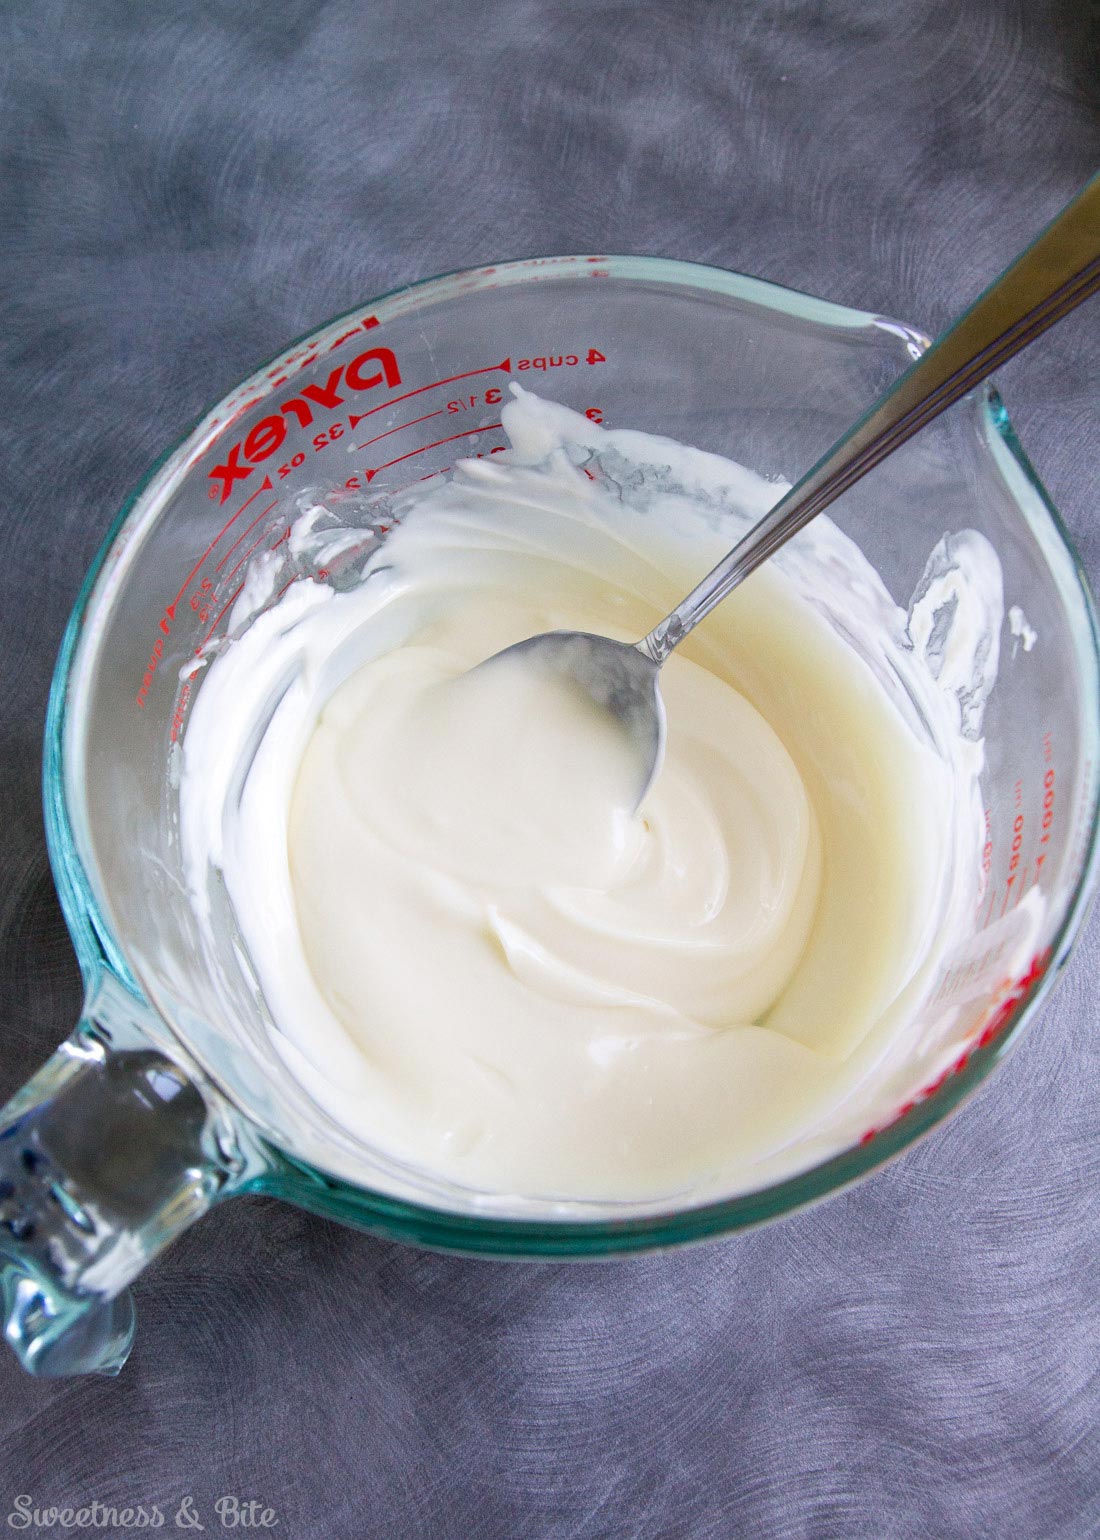
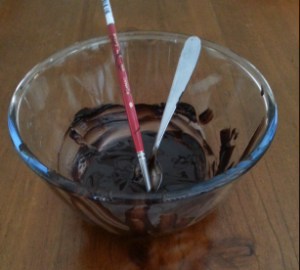
- If the chocolate is not runny/smooth it makes detail work very difficult. Three melting techniques are featured in a photo above. The chocolate will seize if it is overcooked. If the chocolate you use is stale then it will be difficult to get to the right consistency.
- Determine what details are the most important and do those first. As you go you can decide which lesser details you want to omit without it impacting the overall effect.
- Test your colors because they sometimes look different after they dry.
- Many paintings feature blended colors which are hard to capture. Mix a number of shades of a color on a pallet (adding white to lighten). Outline and draw details and put in the fridge for a few minutes before starting to add colors. Dip the tip of your finger in the various colors (one at a time) so that it is coated with a very thin and even layer. Lightly pat your finger over the area and continue to layer on color.
- Mix colors that are close together in the painting and add this in between to create a smooth color transition.
- Sometimes I like to include the artist's name. I google the artist's name with "signature" and copy/pate it on top of the original image.
- I created a separate tutorial about how to create a Jackson Pollock cake here
- Check out the first step for examples that will help you get the idea of how these tips play out. I have more examples on my blog, Half-Baked Art