Recoil Reducer

Prevent that purple welt from holding your gun improperly, increase your high/low tower score, even get your girlfriend to try shooting... For about 10 dollars and 45 minutes you can build a hybrid recoil reducer.
I will admit, before you read further, that I have only gotten a chance to test this device with a ballistics pendulum so far. It proved itself beautifully though.
However if you go to a gun shop the "extended magazine clamps" (look like an '8' with a screw in the center to tighten the halves together) cost about 11$. You need two to hold the reducer to the bottom of the barrel, one end against the stock, which technically brings the cost to 32 dollars.
Also, before someone says something, I know that generally recoil reducers are in the butt of the weapon and I know why they use mercury although some use springs.
Gathering All of the Components.

You will need to go to the hardware store for all of this stuff so bring a list. I recommend ACE, both because I'm partial to them, and because I know they have all the parts.
Okay, the list:
1 roll of 50/50 lead-less solder
1 propane welding torch
1 roll of teflon tape
1 roll of heat duct tape
1 roll of duct tape
1 tube of 5min, chemically resistent epoxy
1 3/4", thin walled copper tube (should be apprx. 1 foot long)
2 3/4" copper caps
1 1/2" copper coupler
1 compression spring* (apprx. 1/2" diameter... it has to fit in the tube)
Also, enough 40 weight motor oil and anitfreeze in a 90/10 mixture to fill the copper tube apprx. 2/3. full.
Okay, the list:
1 roll of 50/50 lead-less solder
1 propane welding torch
1 roll of teflon tape
1 roll of heat duct tape
1 roll of duct tape
1 tube of 5min, chemically resistent epoxy
1 3/4", thin walled copper tube (should be apprx. 1 foot long)
2 3/4" copper caps
1 1/2" copper coupler
1 compression spring* (apprx. 1/2" diameter... it has to fit in the tube)
- Look up the recoil force of your gun and try to find a spring with 50% that force at
Also, enough 40 weight motor oil and anitfreeze in a 90/10 mixture to fill the copper tube apprx. 2/3. full.
Making the Damper Weight.

Now that you have all of the components it's time to make the weight that will force the spring to resist motion. The weight should be roughly 6oz when you are finished.
To make the weight place some of the heat tape on the bottom of the coupler and heat it with the propane torch. Slowly push the solder into the coupler so that it melts and eventually fills it completely. After the solder cools pull the heat tape off the bottom and you have a great fitting, wear resistent weight.
I know this isn't the only way to make a weight, but it fits really nicely in the 3/4" tube.
Attaching the Spring

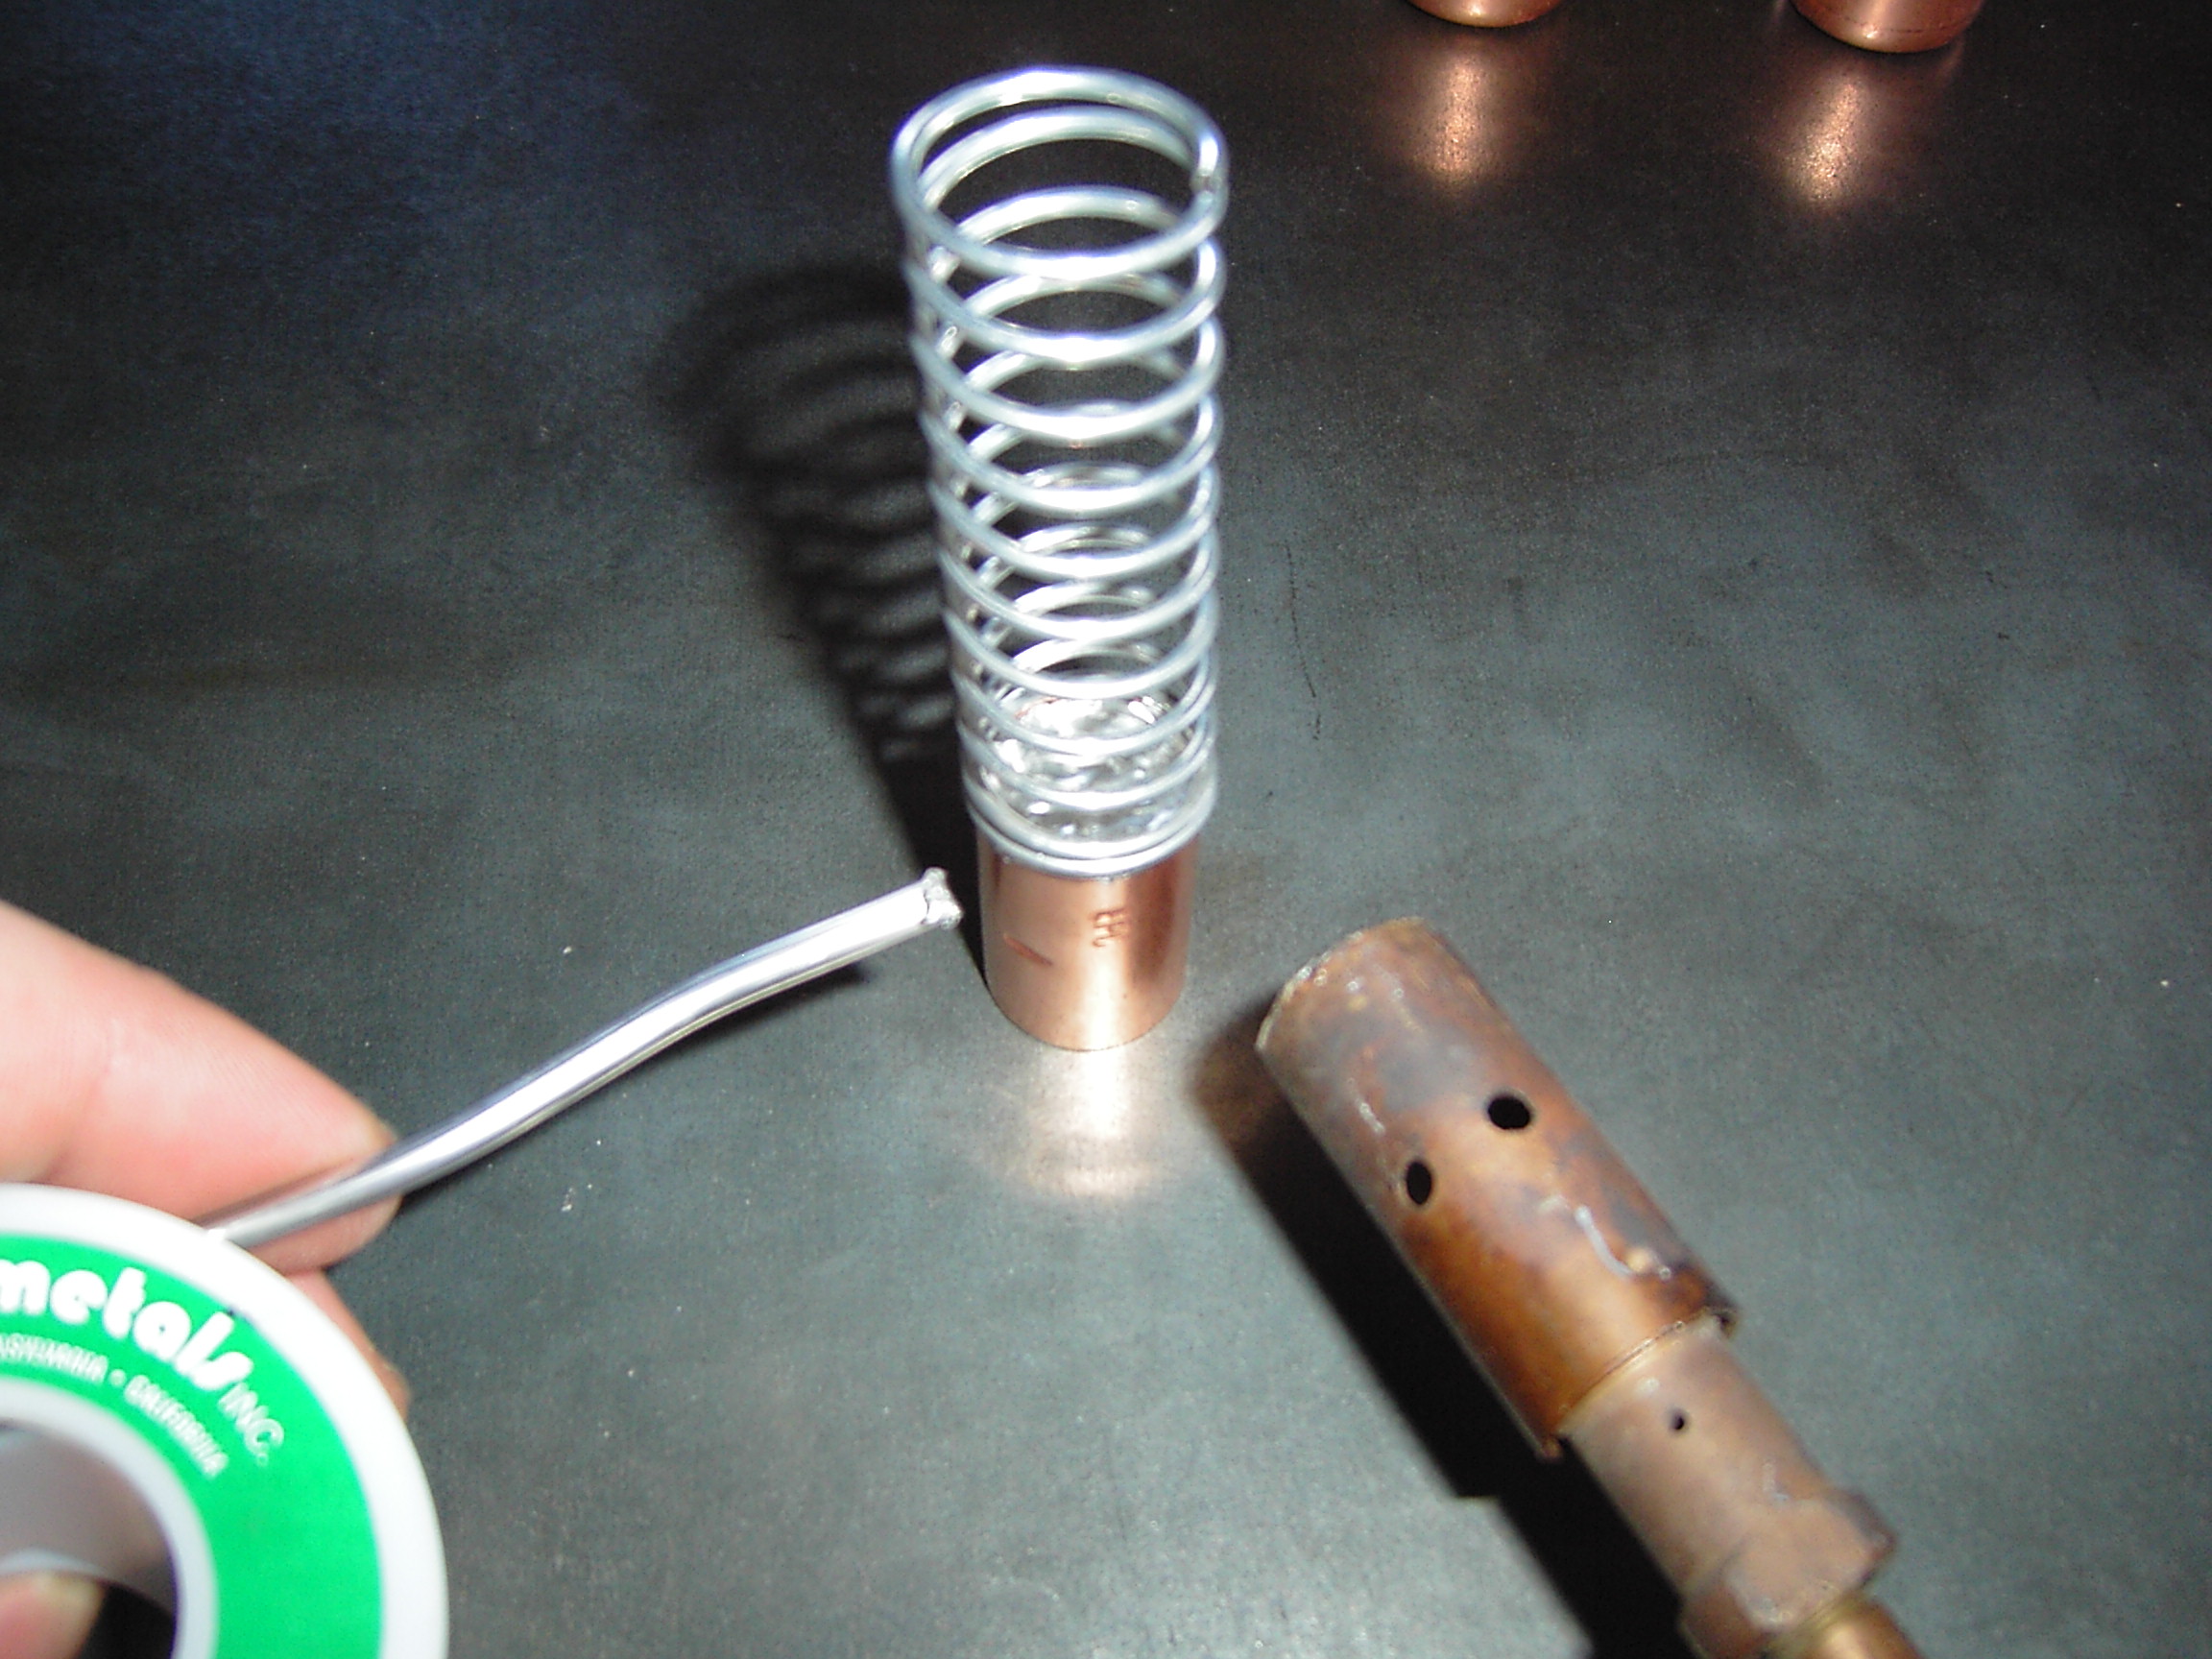
Place the spring on top of the weight and use the solder and torch to bond the two components. After the part cools use some of the 5min epoxy to secure it better.
Finishing the Weight


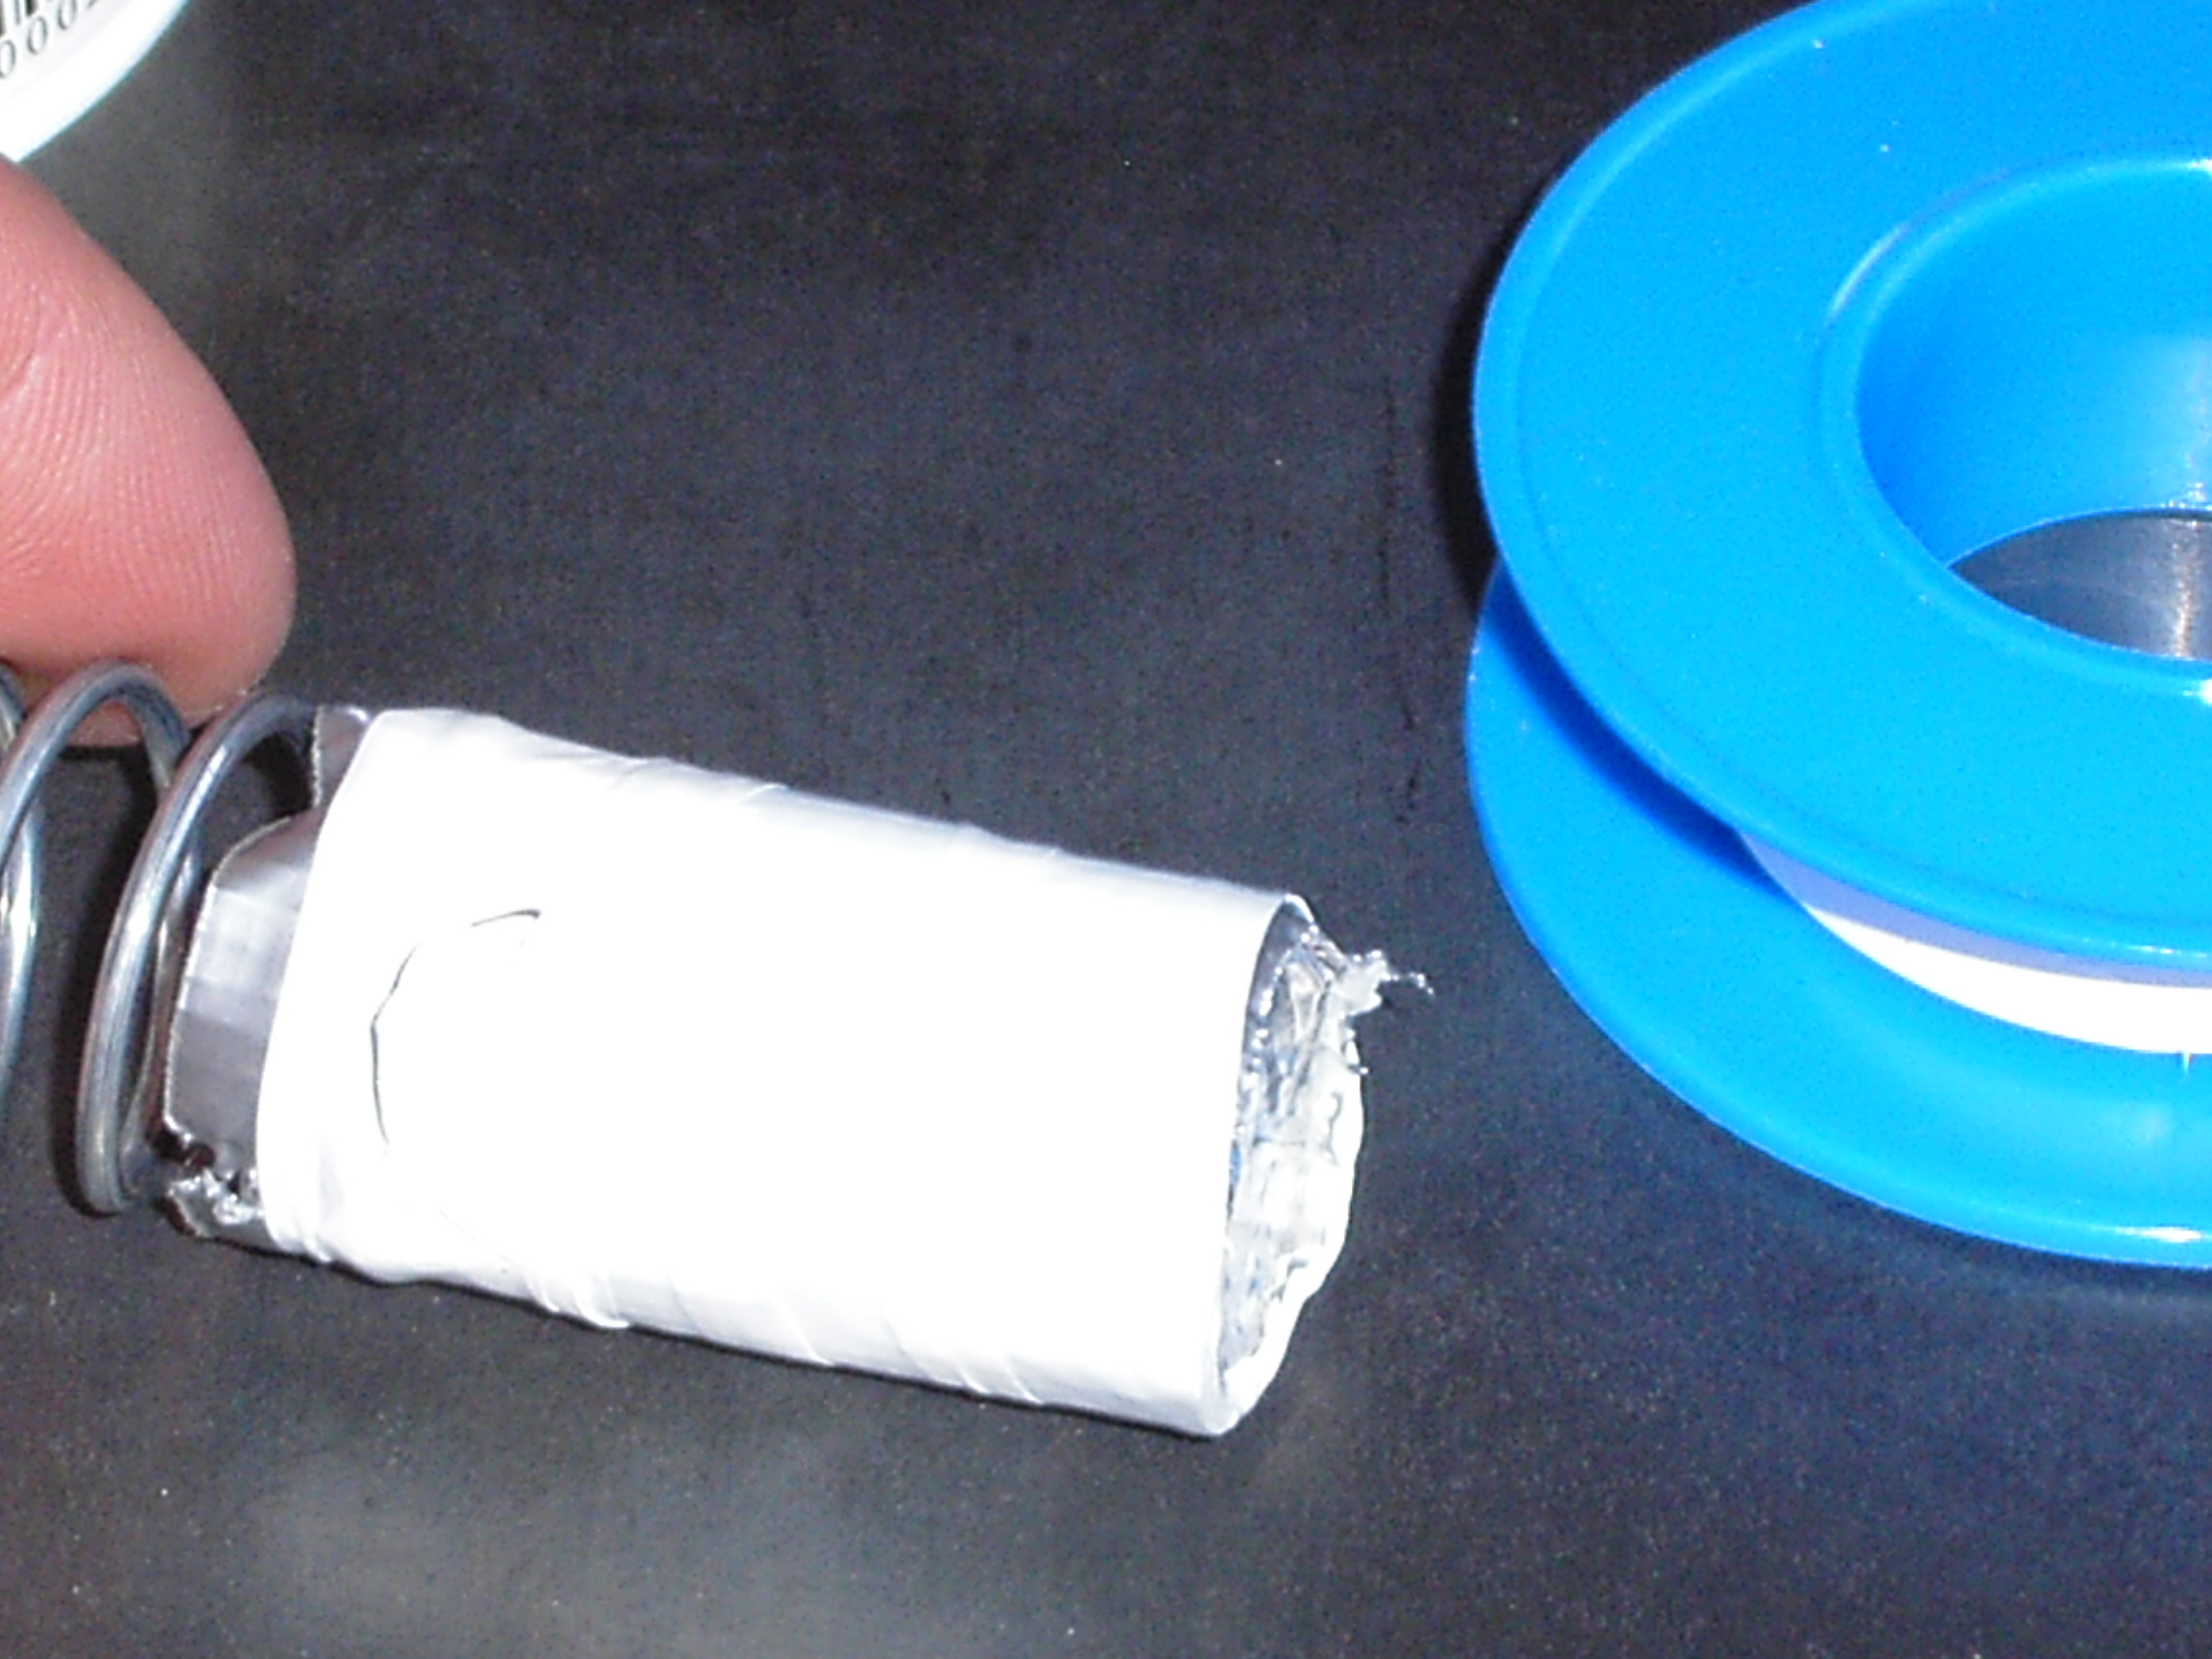
Now wrap the weight in one layer of heat tape, then one layer of duct tape with the sticky side facing out and then several layers of teflon tape. This make a strong, quiet coating so the weight doesn't make noise in the tube.
Attach Spring to One Cap


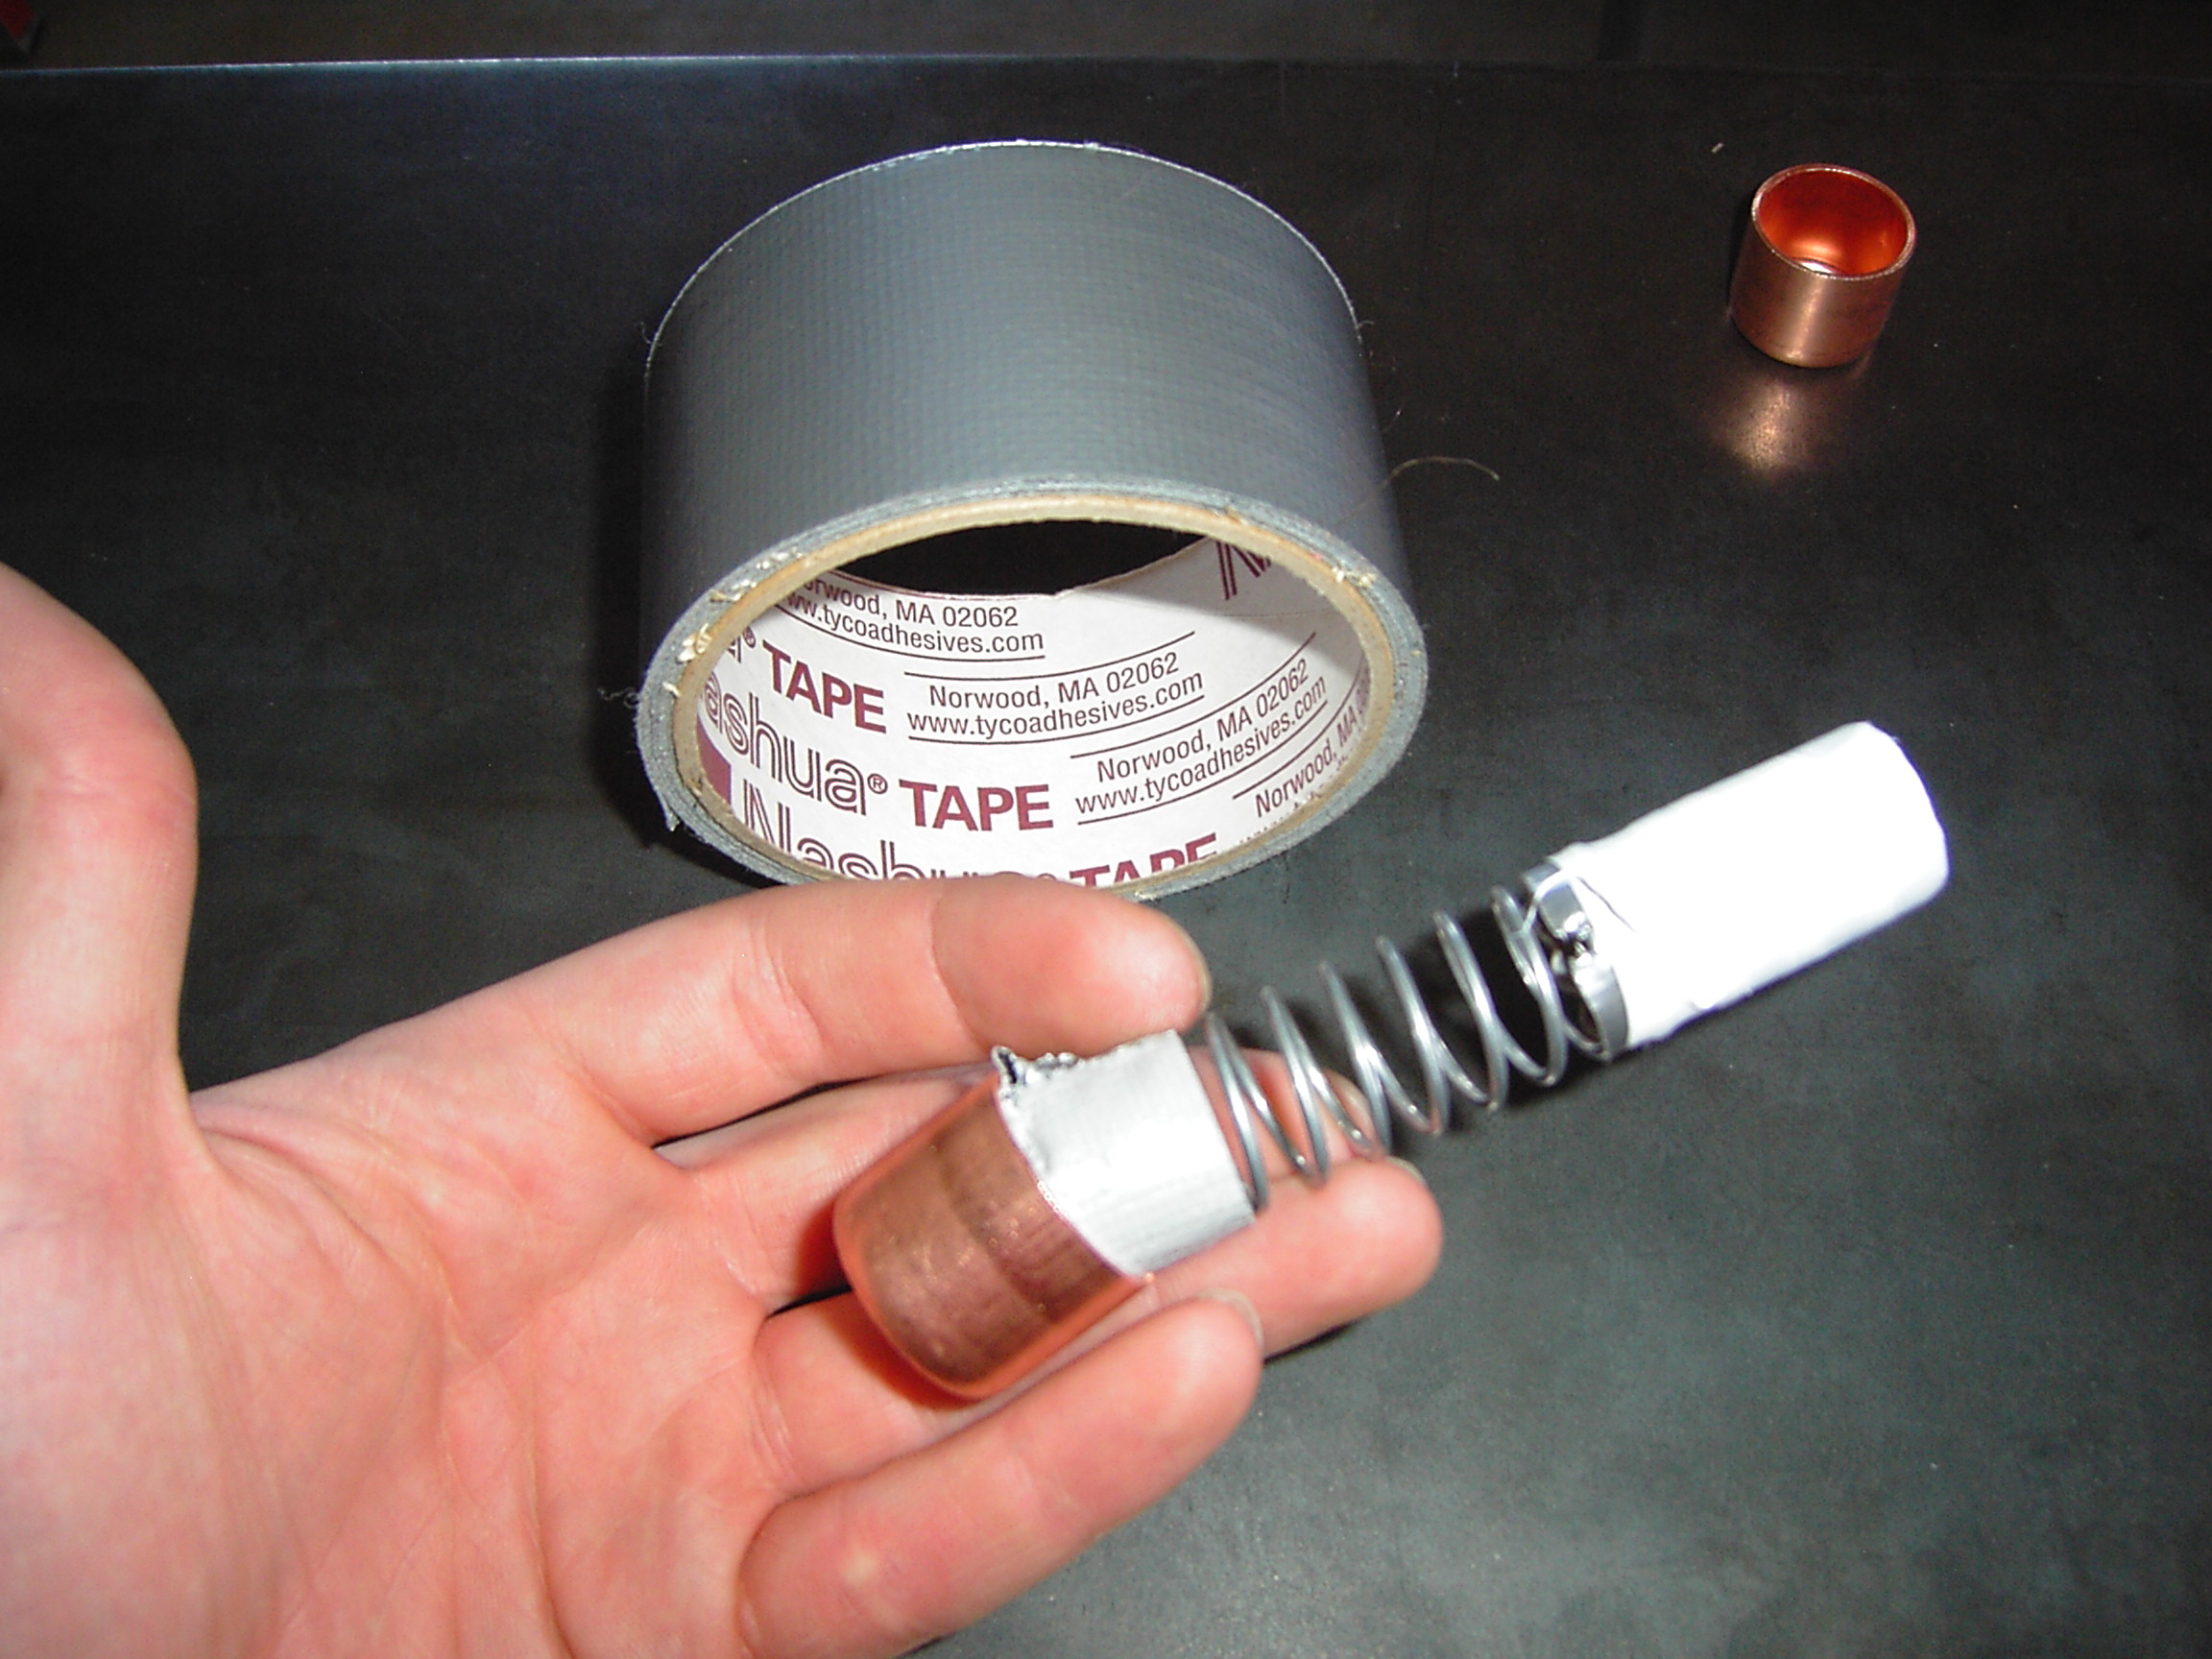
Wrap duct tape around the other side of the spring with the sticky side facing out. The point is to get a really snug fit into the 3/4" cap. The tape will help hold in the spring firmly if you have to use a screwdriver to stuff the end in the cap.
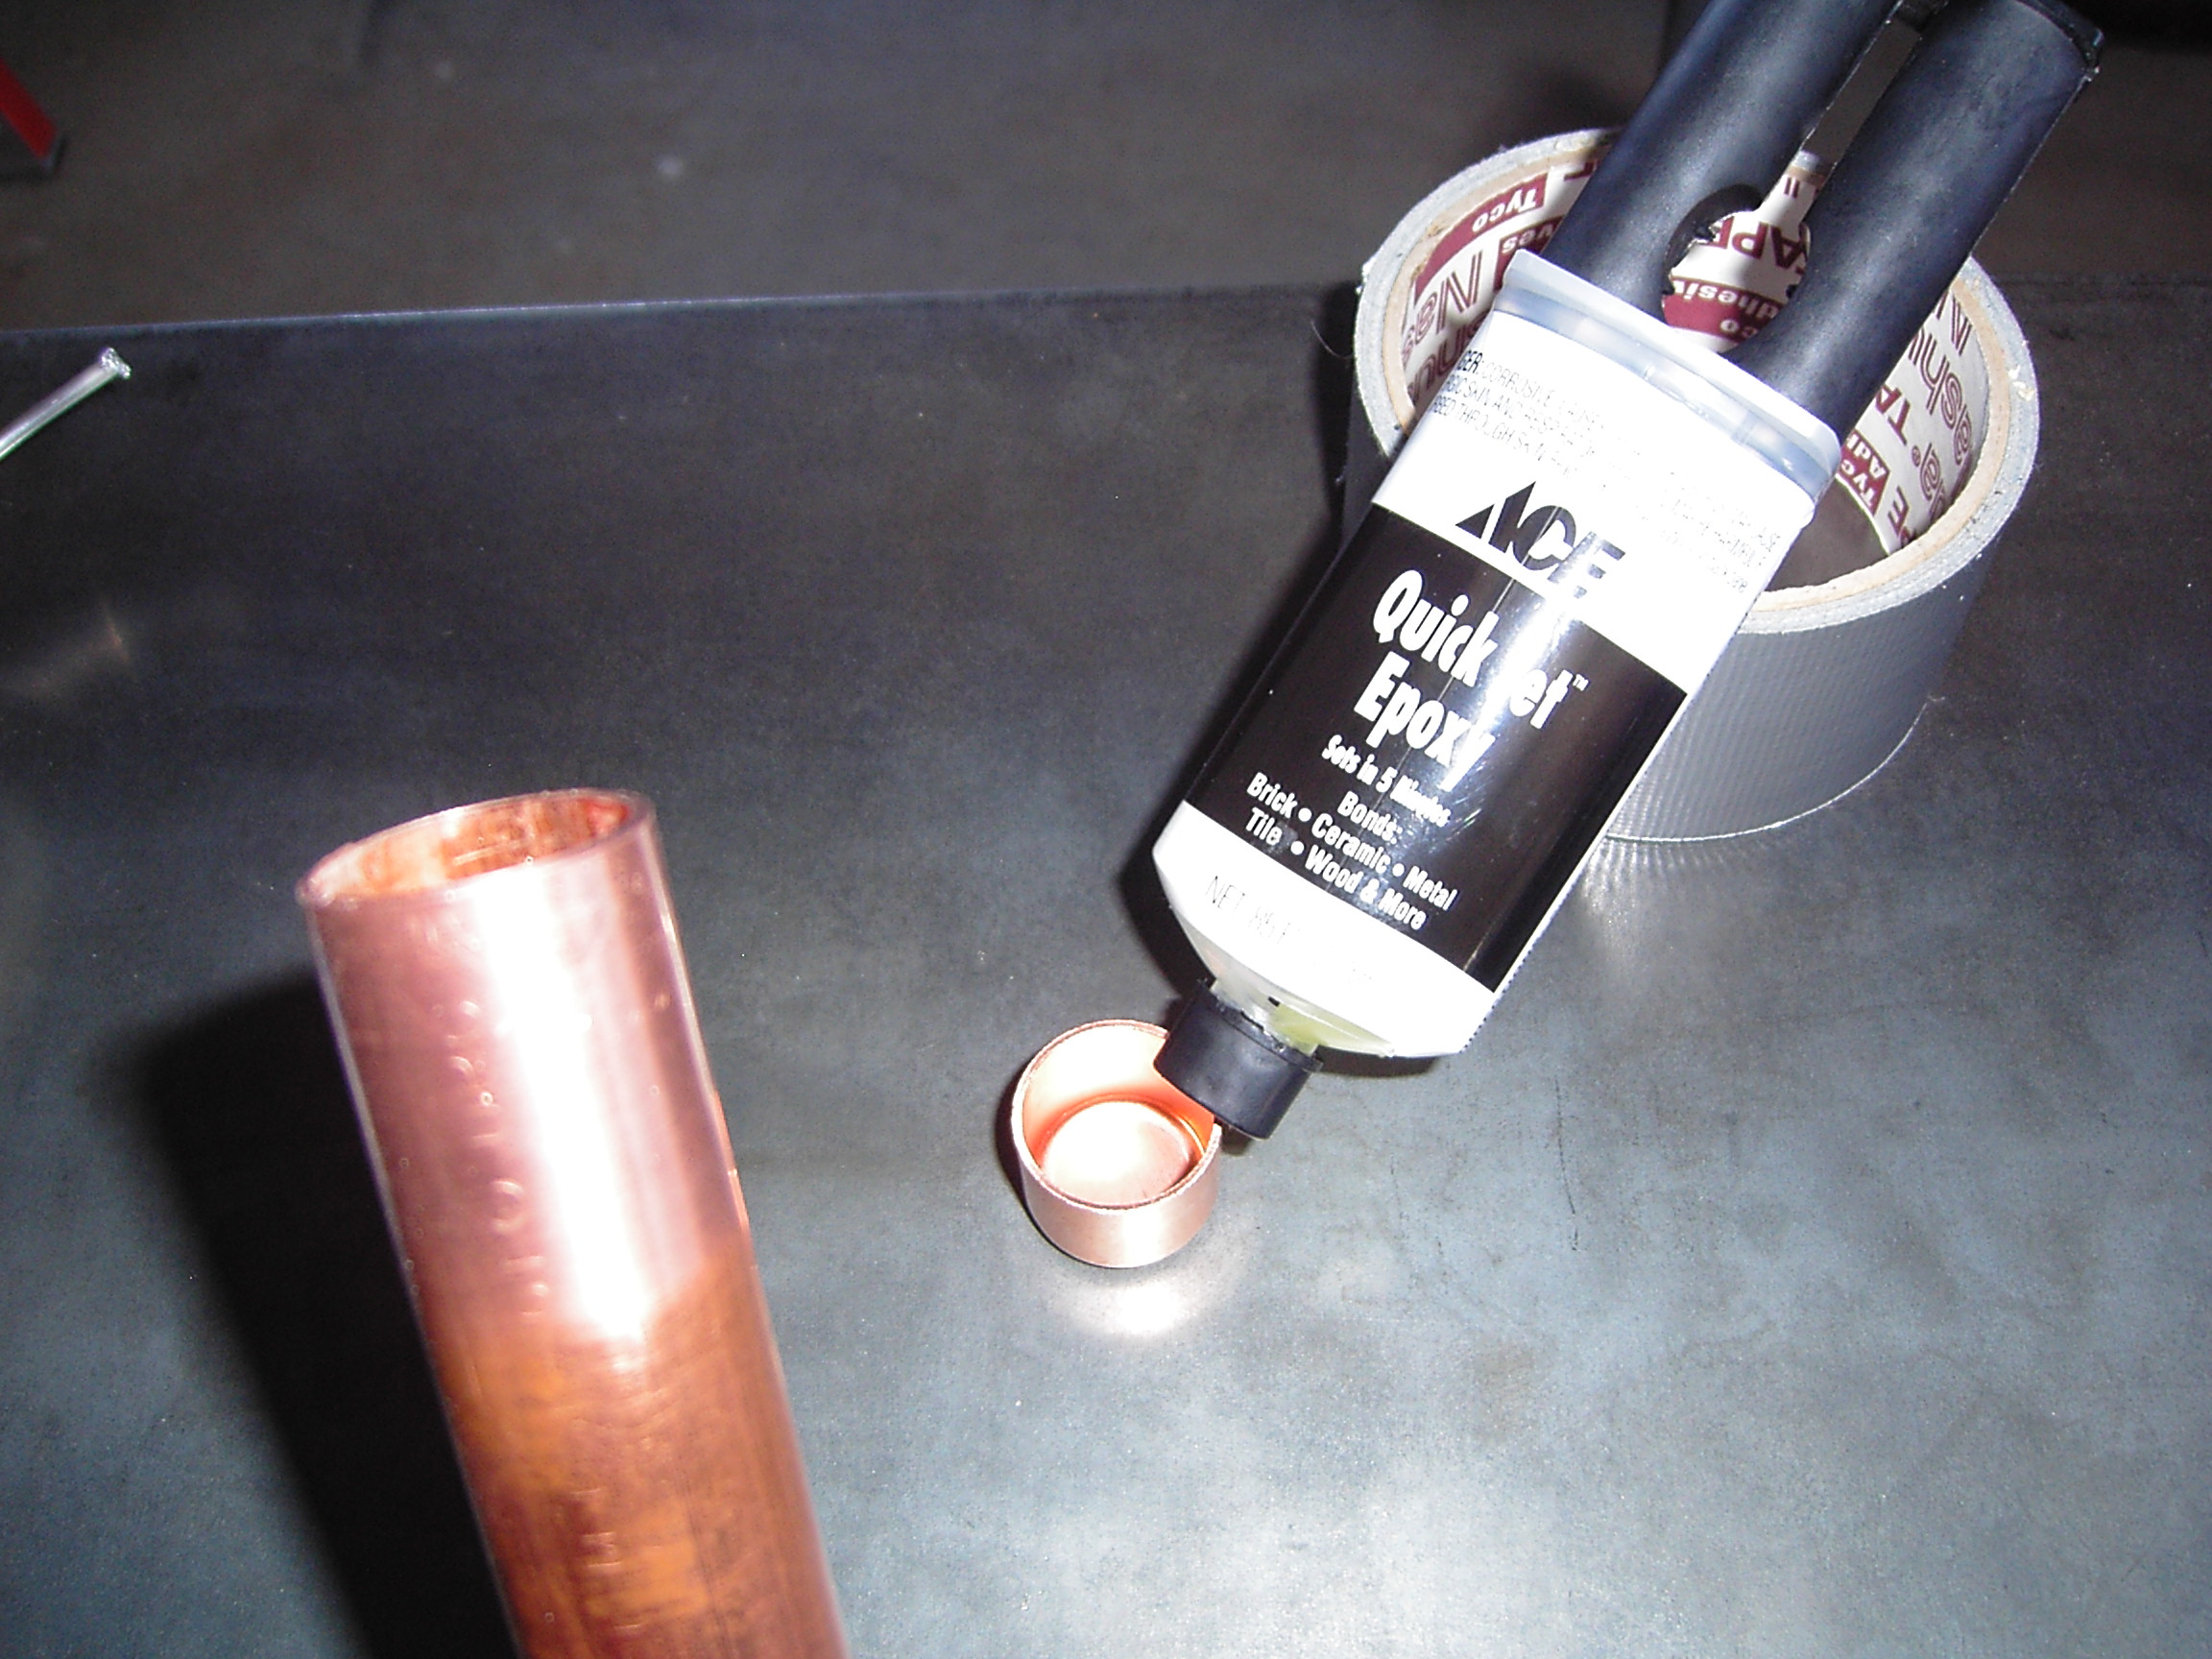
After the spring is secured in the cap you can use some epoxy to fill the bottom to make a really secure hold. *(Remember to sand the surfaces of the copper before you use glue on it)*
After the glue has filled the cap push the copper pipe onto it and hold it until the adhesive begins to set.
After the spring is secured in the cap you can use some epoxy to fill the bottom to make a really secure hold. *(Remember to sand the surfaces of the copper before you use glue on it)*
After the glue has filled the cap push the copper pipe onto it and hold it until the adhesive begins to set.
Sealing One End and Filling


Okay. Now that the epoxy is dry you can use some heat tape to wrap the end. This step might not be necessary but it will make you feel better when you fill it with the oil...
Now that the end is dry and secure, pour the oil to about 2/3 full inside the tube. The oil acts to lubricate the weights motion, resist the motion of the firearm and dampen the oscillation of the spring.
Now that the end is dry and secure, pour the oil to about 2/3 full inside the tube. The oil acts to lubricate the weights motion, resist the motion of the firearm and dampen the oscillation of the spring.
Finishing the Tube


Now you have to glue the other cap on the open end. Fill it with a little epoxy and stir it in the cap to coat the walls and base. When the epoxy is starting to gel press it firmly on the open end of the tube and bring it somewhere to weight down the cap.
*(The cap will try to pop off because you are compressing the air inside. You will need to keep it weighed down and upright so the oil doesn't touch the epoxy while drying.)*
Now that the glue has dried all you have to do is put some more heat tape on the end, polish it up and, if you want, paint it.
Final Product and Information


This is the final product; a polished sleek tube. Mark the end where the spring is attached because that is going to be the side that faces you when the device is mounted.
As the gun is forced back from recoil, the spring with expand due to the weight tending to rest. This, in combination with the resting oil being hit by the other end, produces a dampening effect.
To mount it to the bottom of your weapon go to any local gun shop and purchase two "extended magazine clips". The clips are the perfect size to hold 3/4" pipe to a barrel. When mounting it put a piece of felt between the spring end and the stock of the weapon and you have a hybrid, home-built recoil reducer.