Reclaiming Clay the Easy Way


Stop wasting your money and our natural resources. Reclaim your clay with just a little work and a few minutes here and there.
Materials Needed:
Two buckets, preferably 5 gallon
1 pillowcase
Zip Tie
Shop Rag
Collect Clay


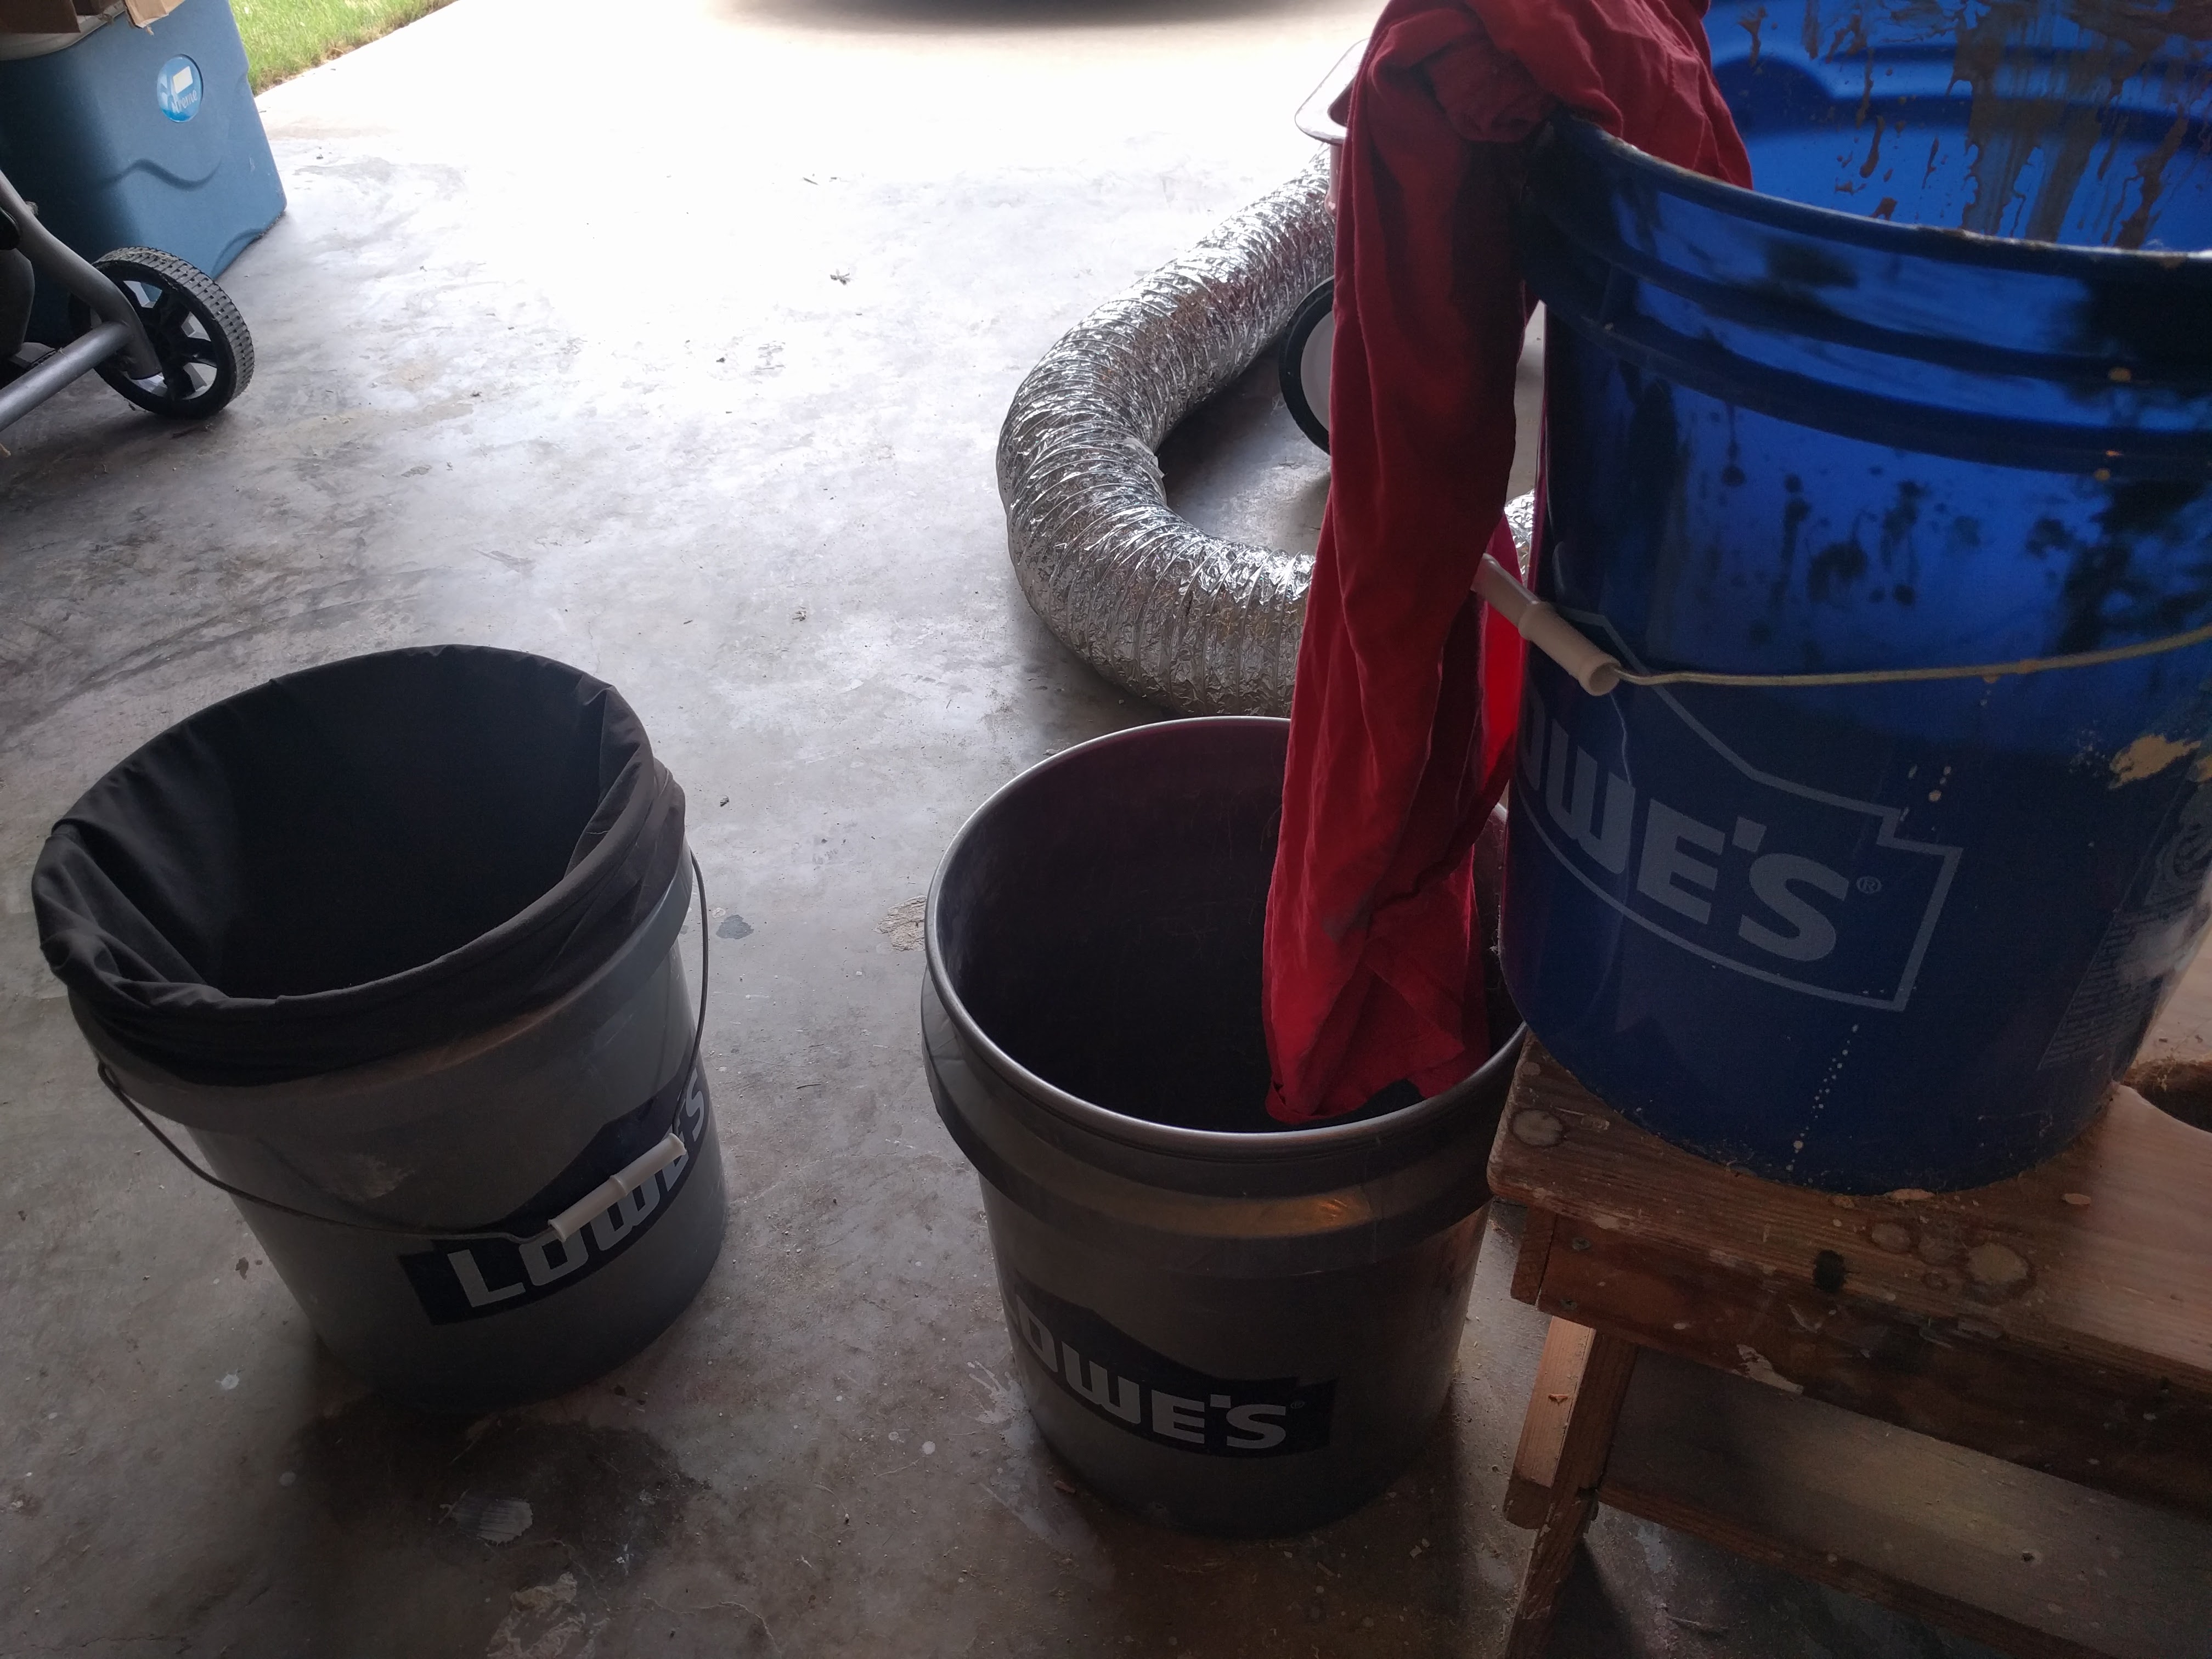
Put a pillowcase in a 5 gallon bucket and set it in your studio space
Collect your used clay
Slop buckets, wonky greenware, trimmings, splash pans etc.
Place used clay in bucket
Dry and Slake


The jury is out on whether its easier to reclaim clay if its fully dried, or it doesn't matter. You can decide.
When the reclaim bucket is ready to reclaim, place water over the top of the upmost clay and let it slake for a few weeks...I usually keep my clay out to dry and add it to the water filled bucket.
I keep a towel draped, barely touching the surface, so that the excess water siphons out into another bucket.
When the clay as all melted and slaked together as one, you are ready to move on.
It will smell, you can add vinegar. Keep it covered to keep bugs out.
I wait until my bucket is full. Which is why I dislike reclaiming, so it's easier in small quantities.
Remove and Let Dry


Remove the pillowcase and zip tie.
Let it sit out on concrete for a few days, depending on humidity/temperature of your climate.
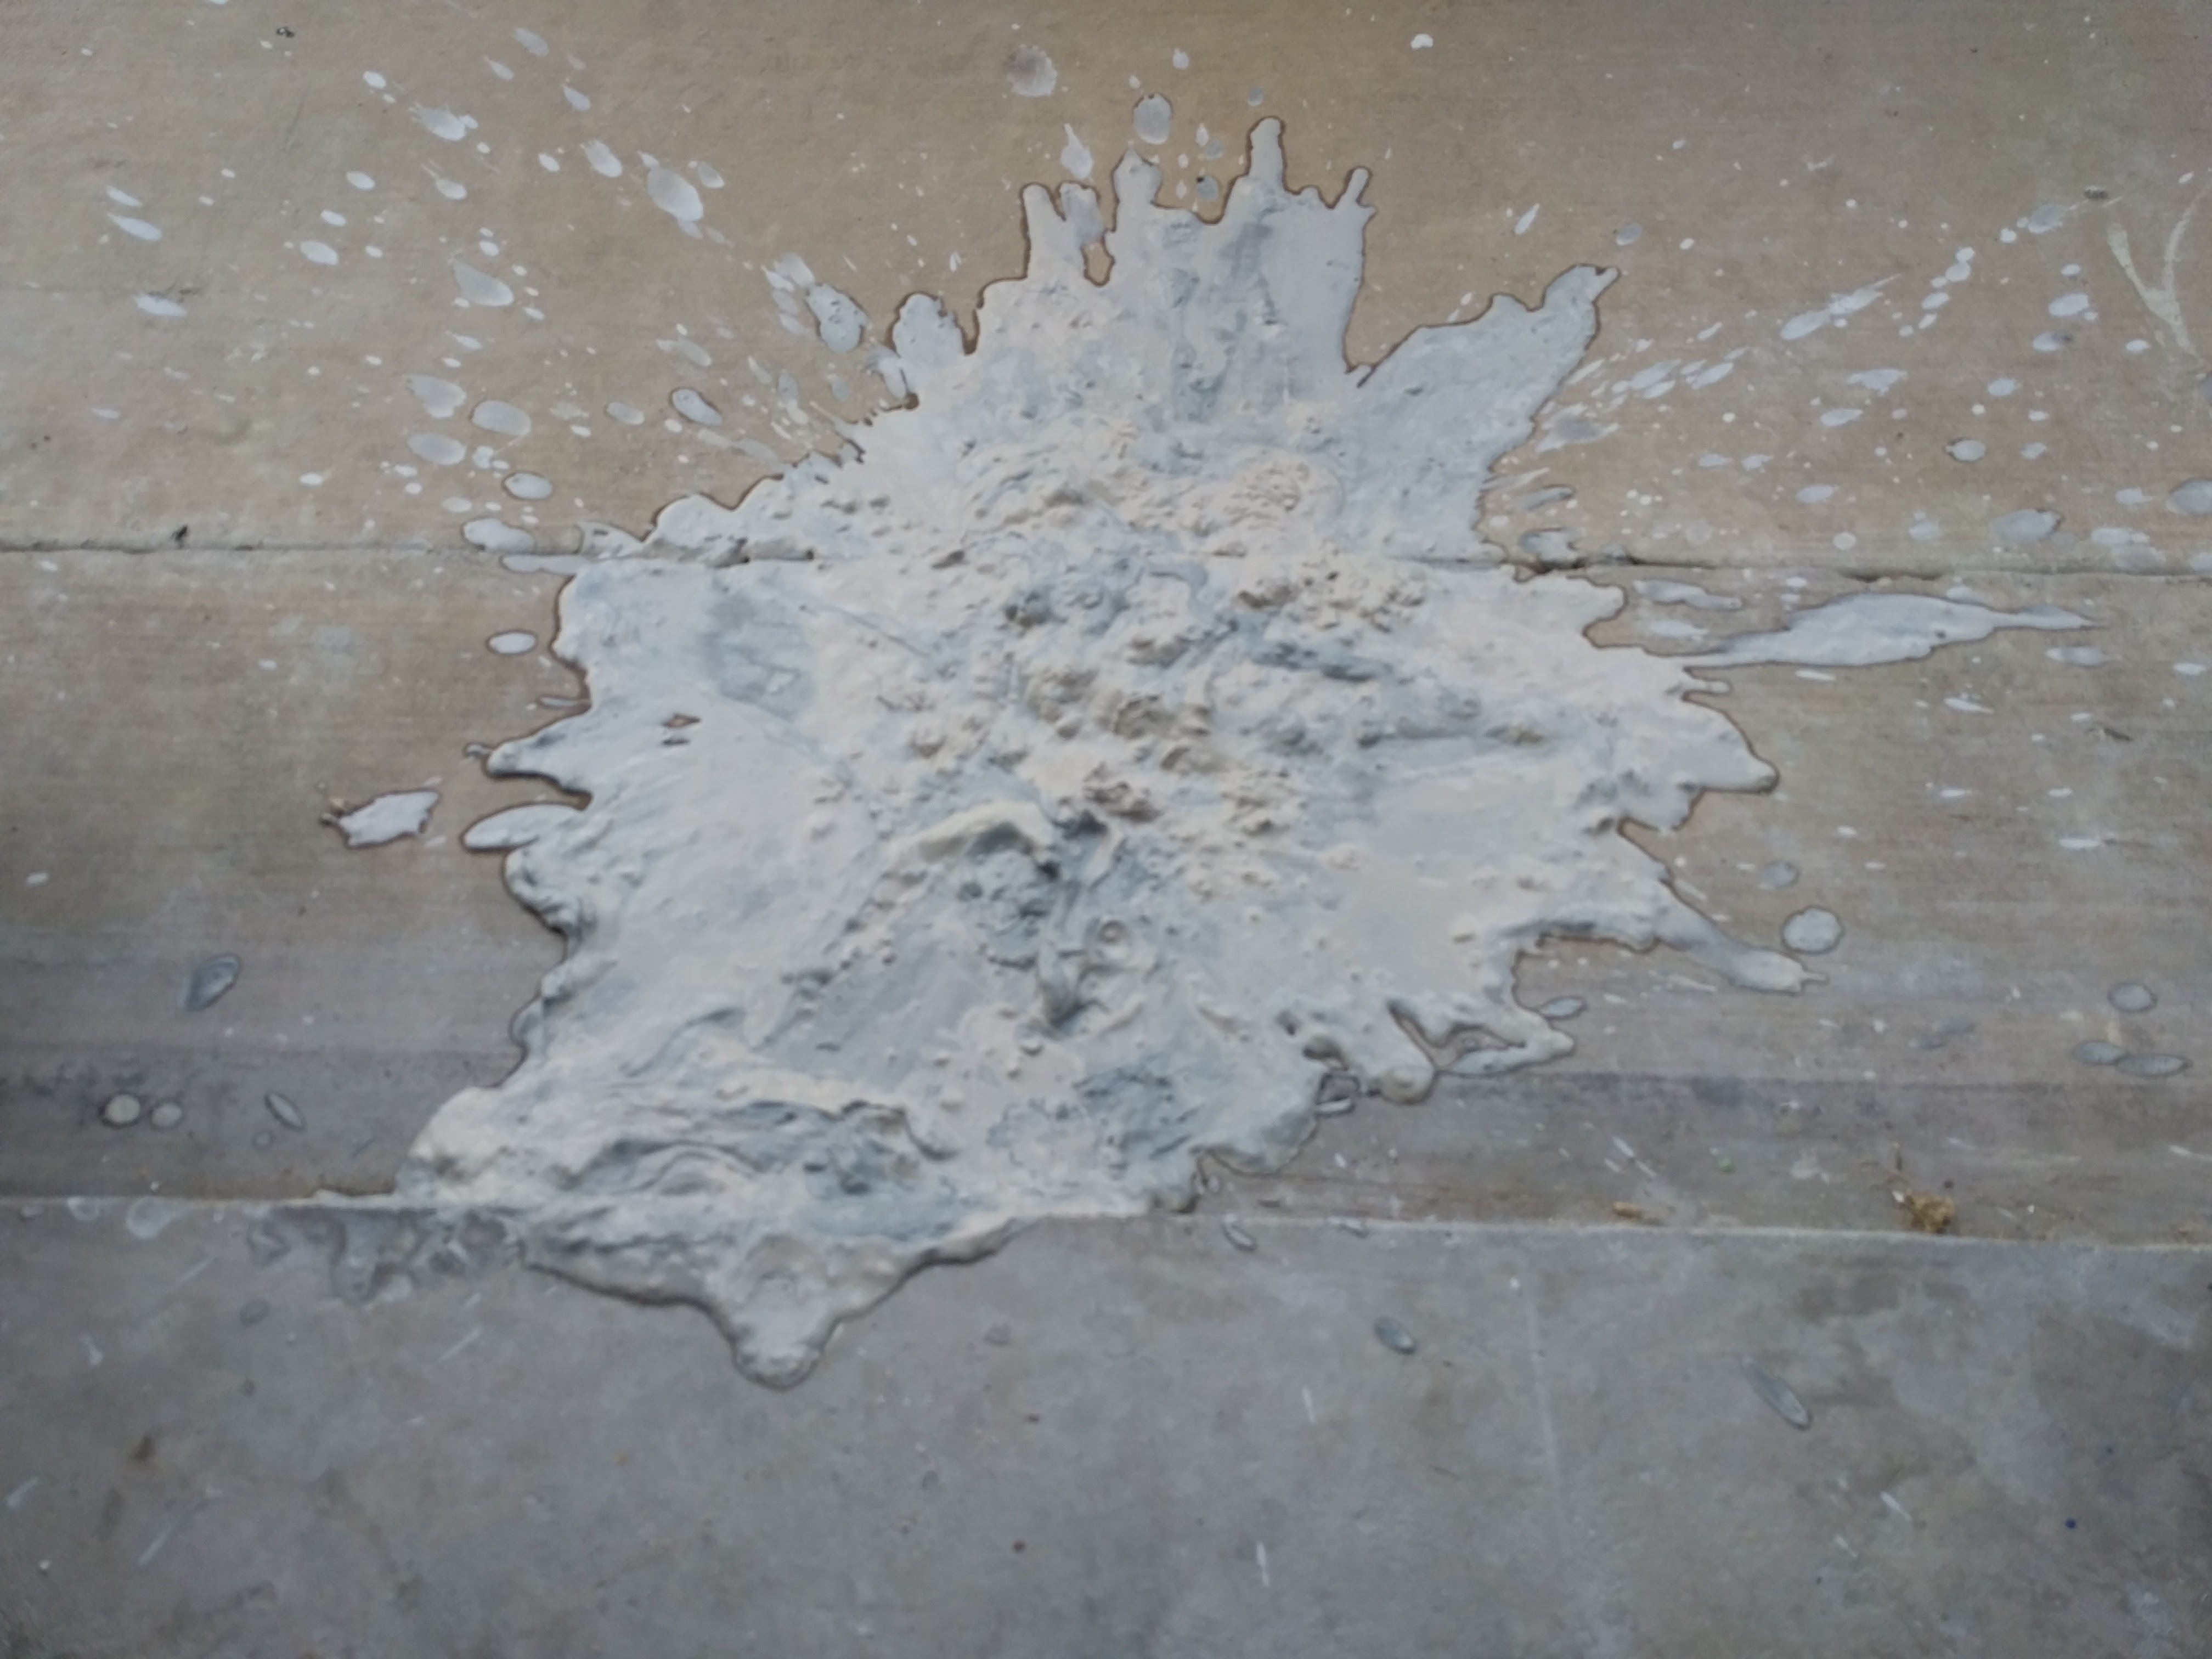
I spilled mine! Oops!
A couple times a day, I would pick up the case, and slam it down, it helps force the air bubbles out. I would also turn it over, so it would dry evenly.
Keep in Bucket and Use Again
After the clay was the right consistency, I put it in a 5 gallon bucket and sealed it up for a few days. I wanted the moisture content to be consistent througout.
Use the clay as you normally would, just make sure to wedge well!
Thanks for looking at my instructable, I am hoping to win one of the fabulous prizes in the clay contest. Please vote for me!
Keep on Muddin'