A Recipe to Scan and Print a Dessert
829 Views, 2 Favorites, 0 Comments
A Recipe to Scan and Print a Dessert
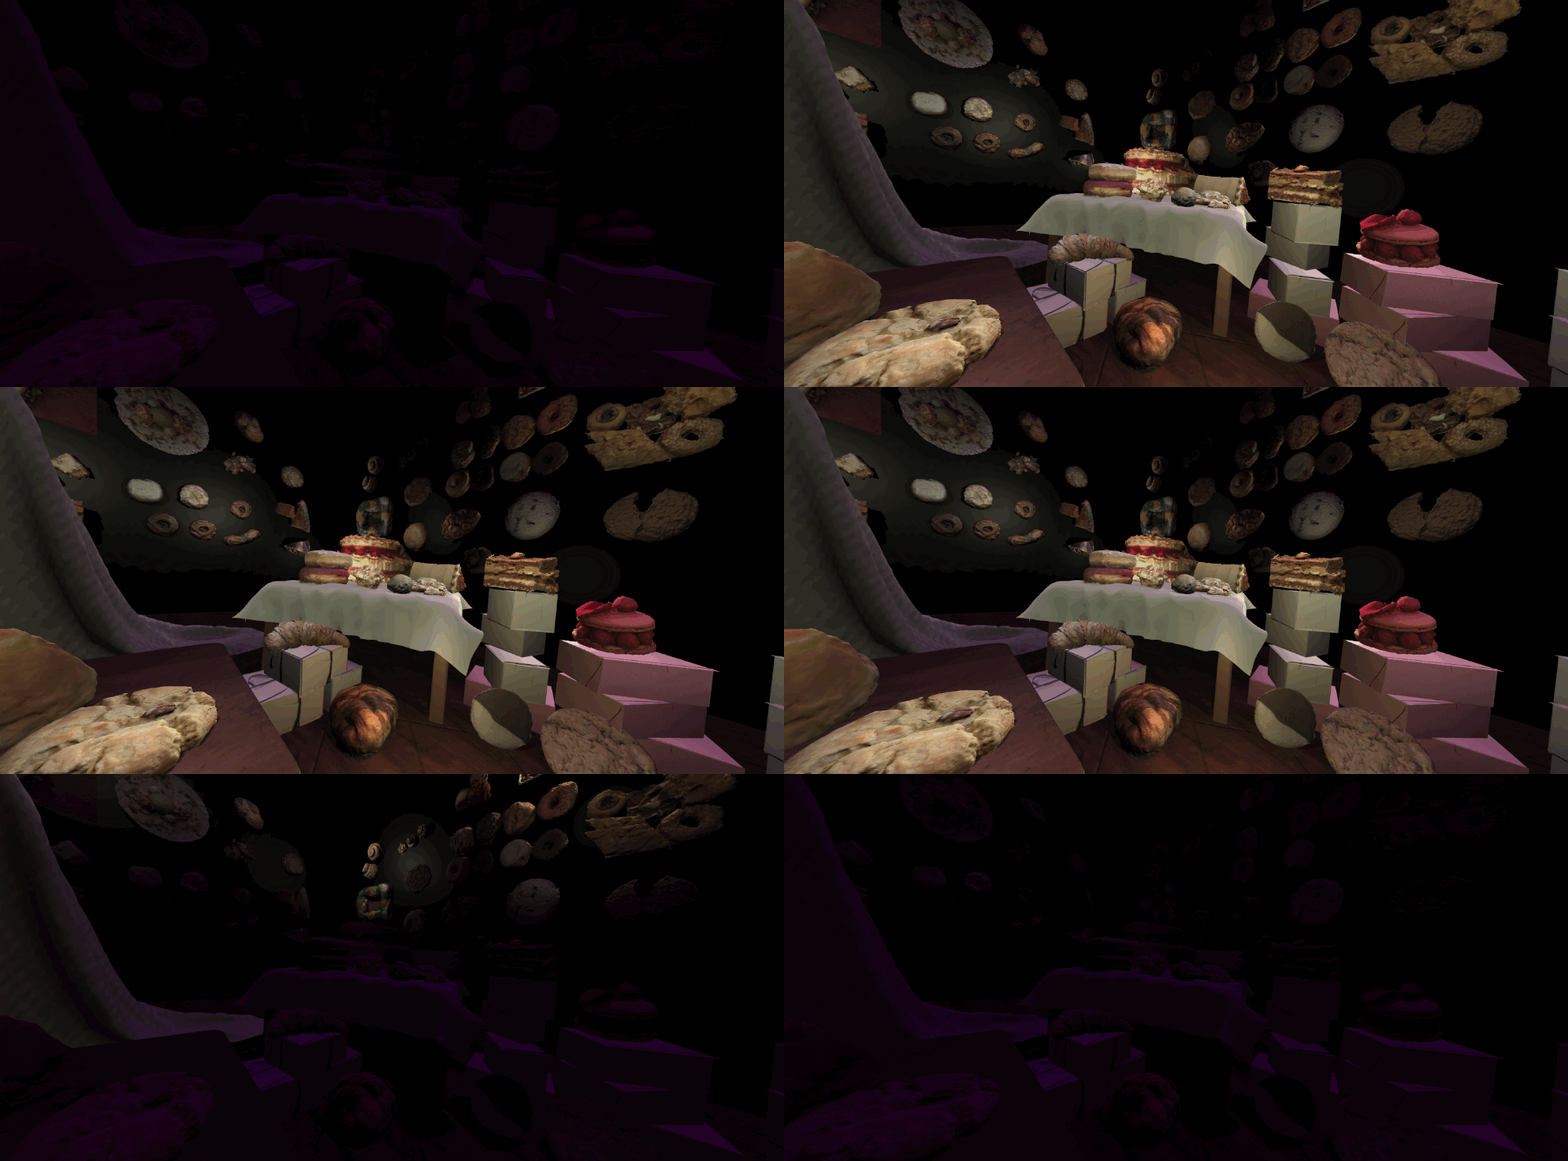
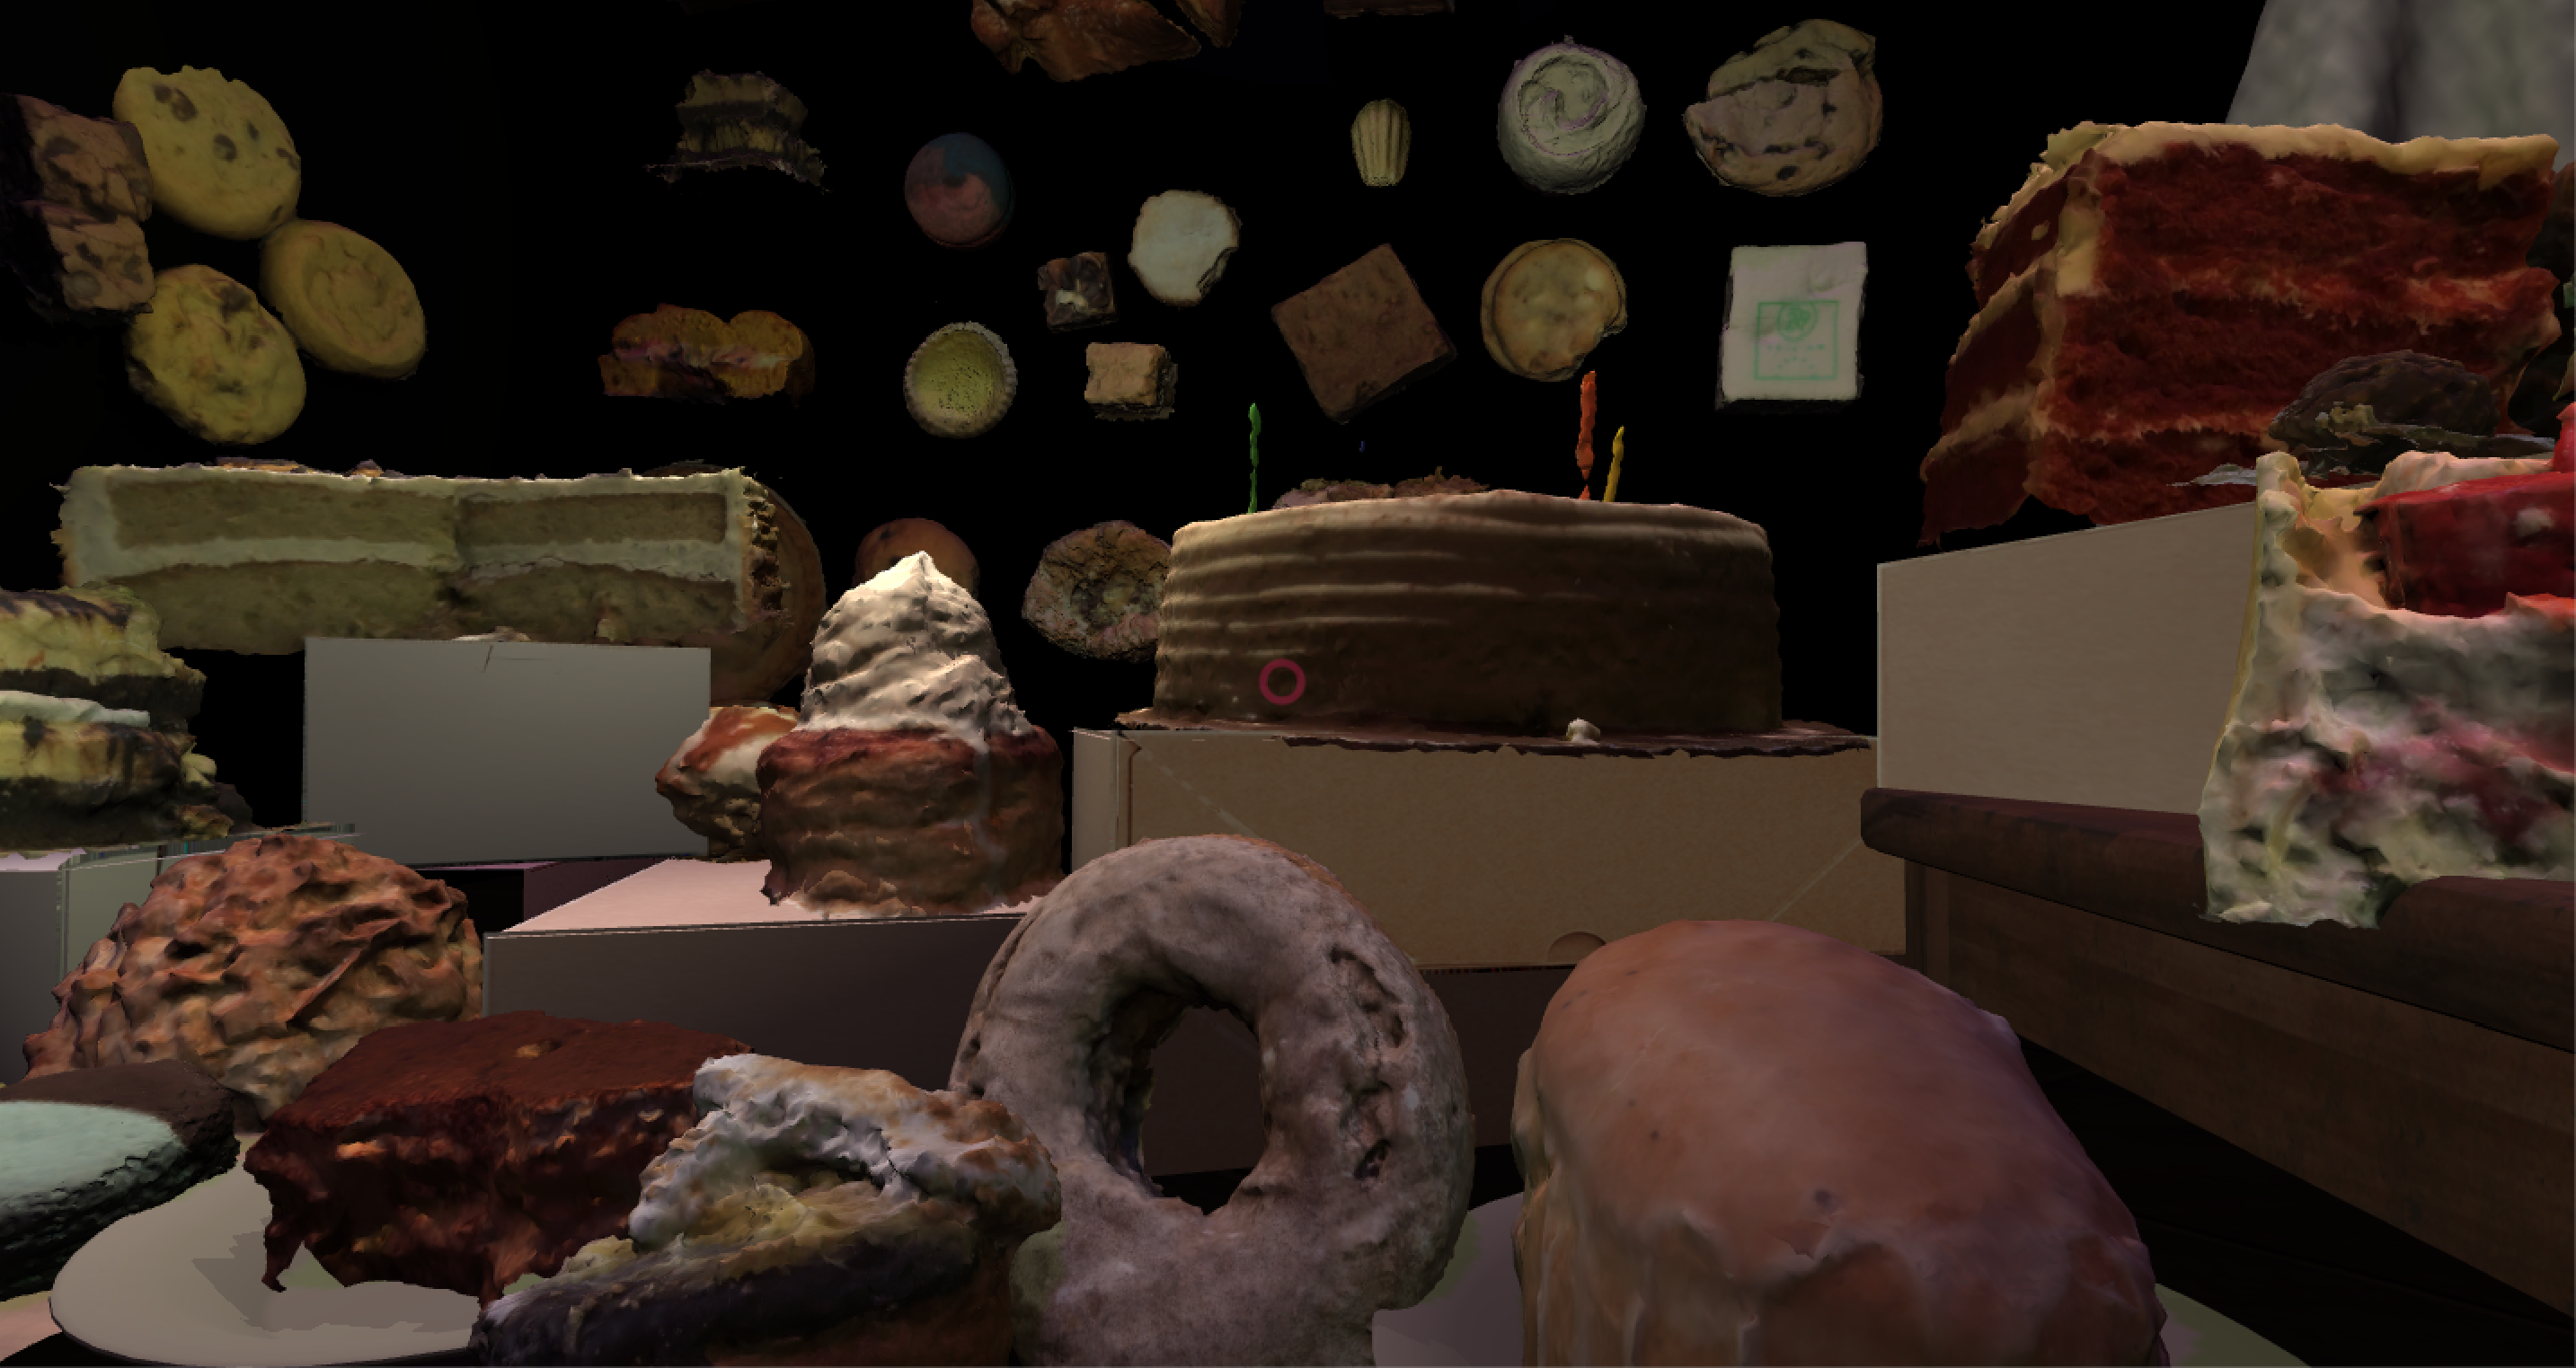
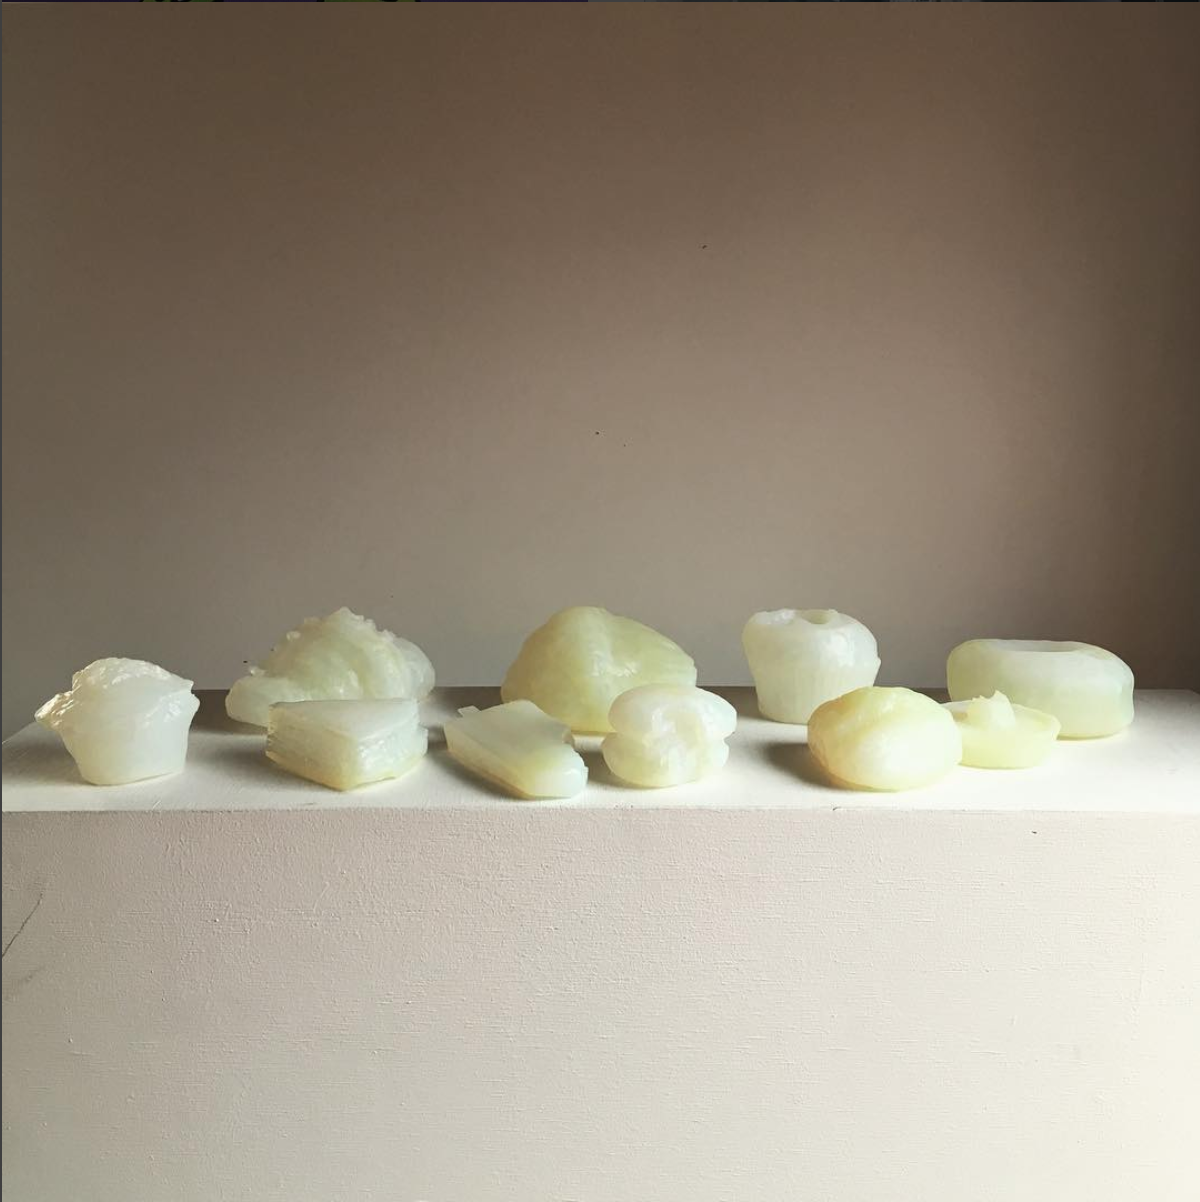
Over the course of two years, I cataloged images of everything sweet in my diet, turning these sugary confections into digital memories. In this Instructable we will go through a 3D scanning method called photogrammetry, and SLA 3D printing.
View all the digital desserts here, more information.
3D Scanning (photogrammetry)
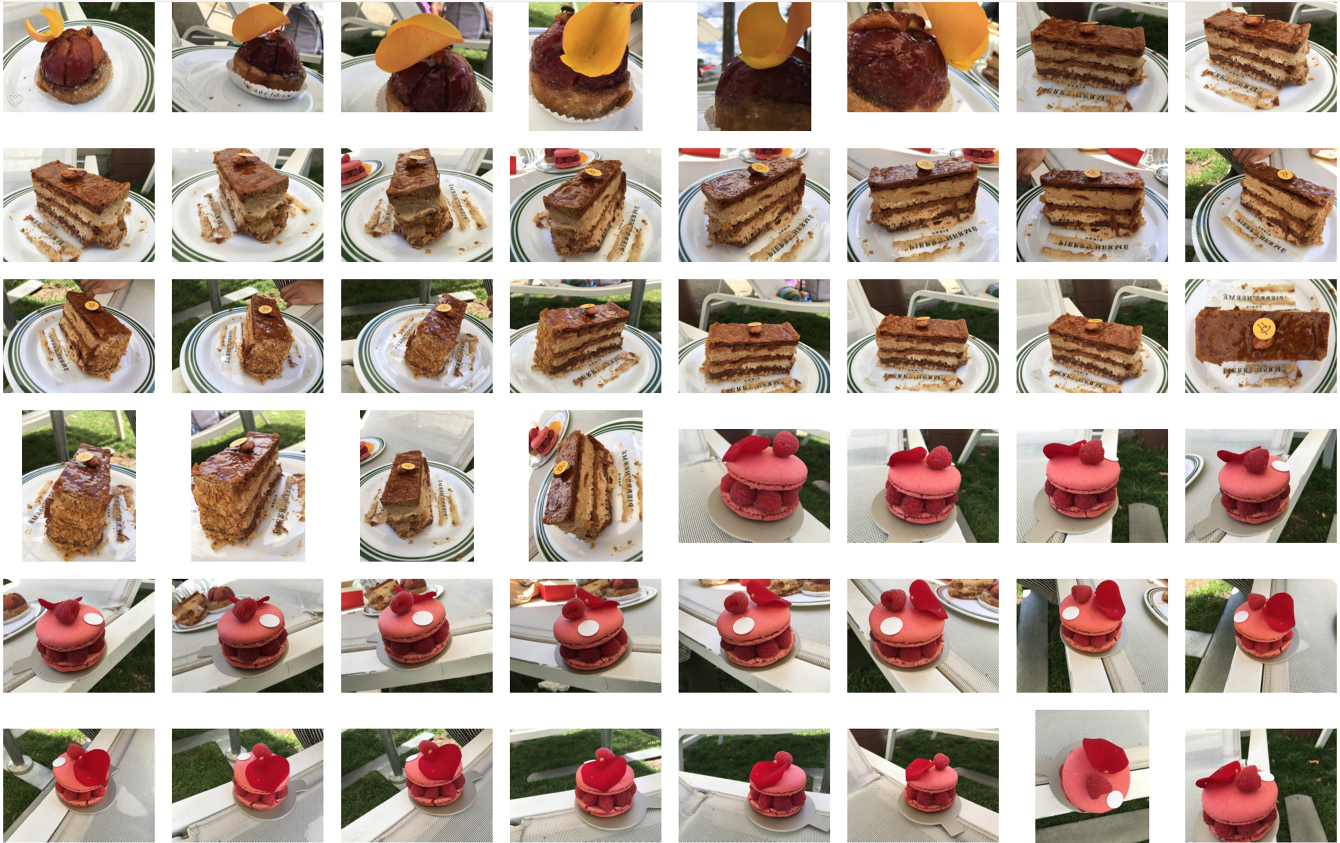
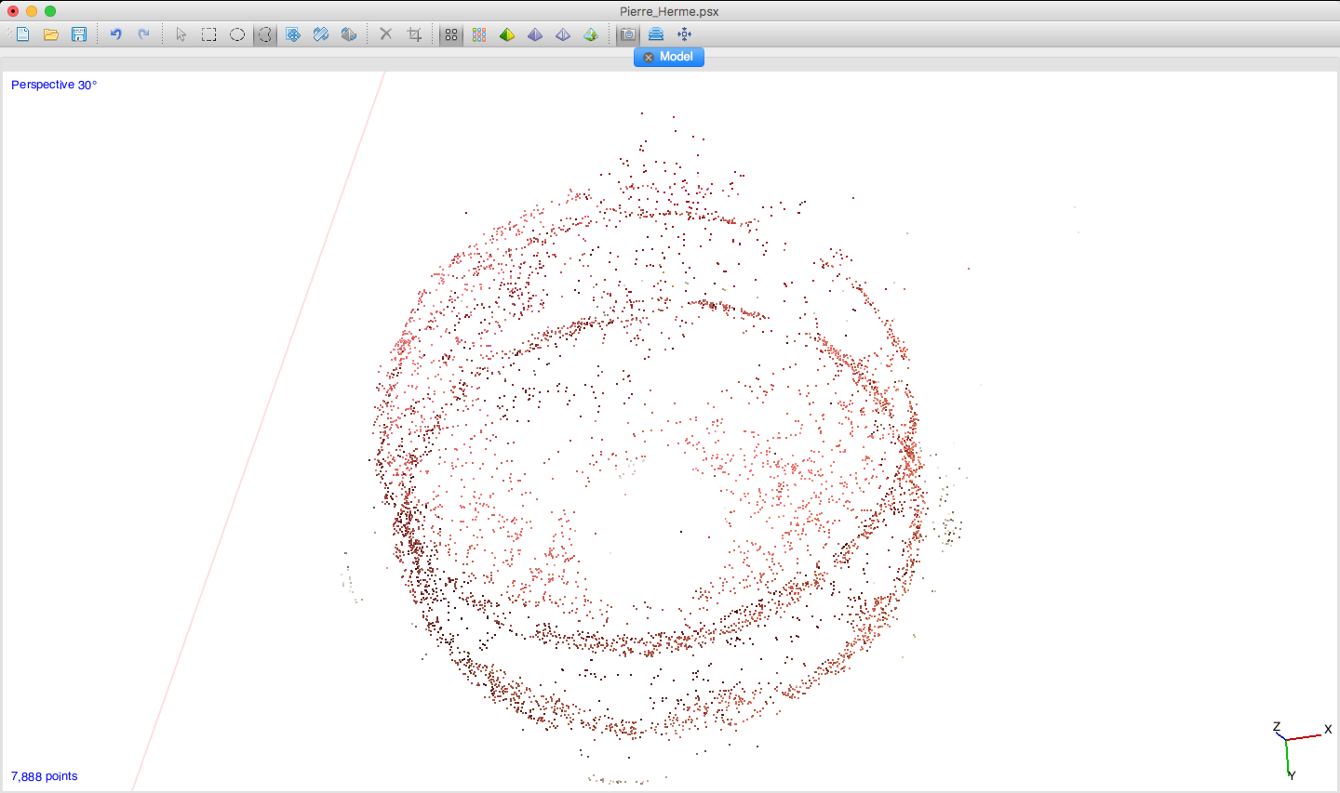
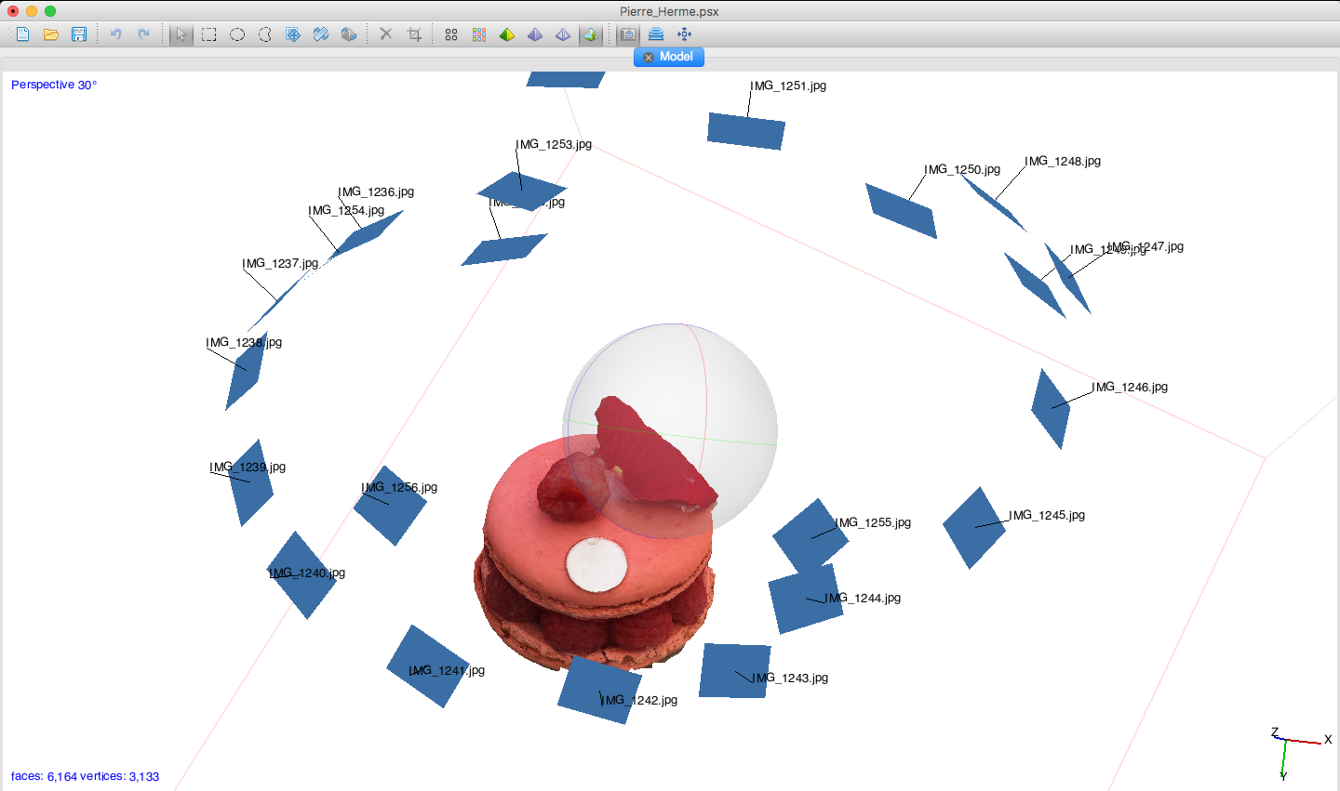
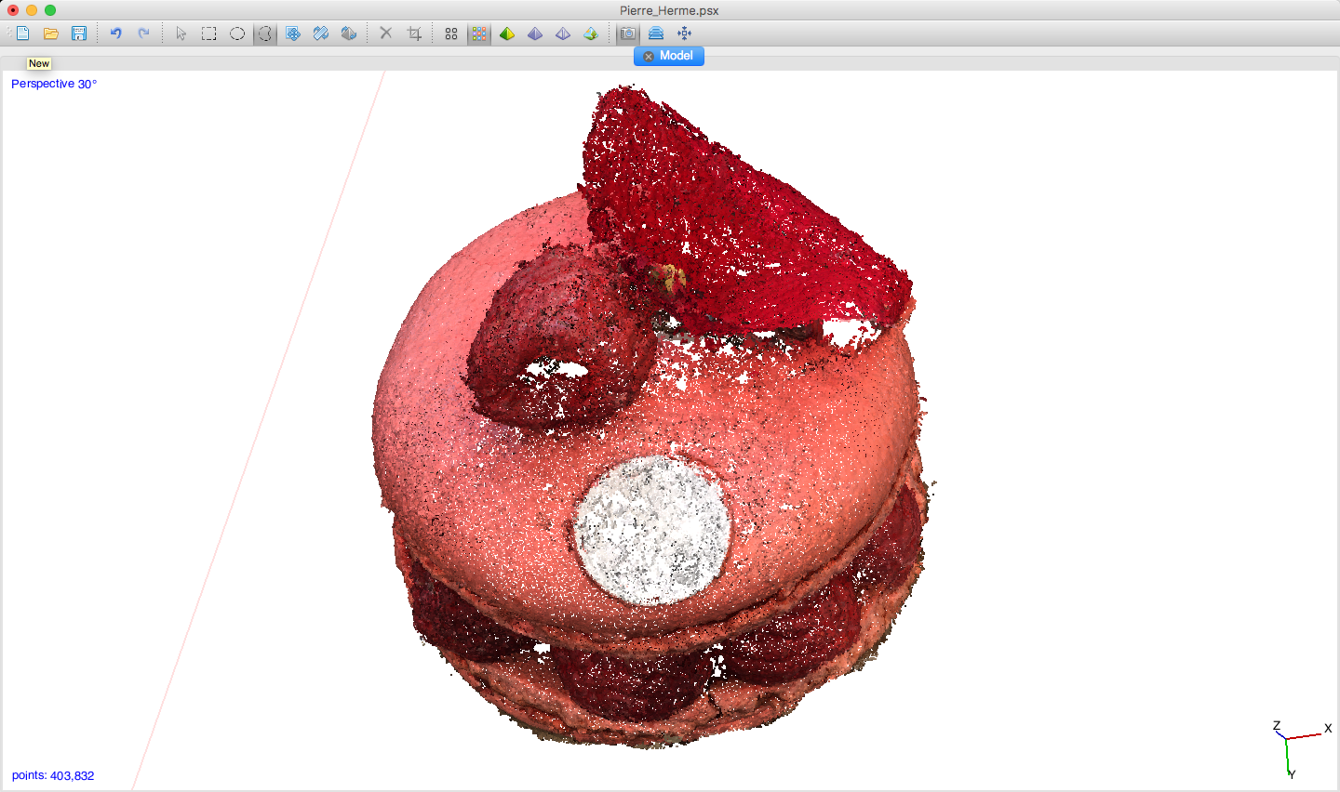
Photogrammetry A method of 3D-scanning that takes multiple photos from different angles to generate a hyperrealistic 3D model. The process takes about an hour but yields excellent texture compared to infrared sensors. Additionally, smartphone devices allow for on-the-spot capture (for spontaneous indulgences) with a high resolution.
Photogrammetry is about getting all the information from the surface of an object, and that often requires additional lighting sources. Oftentimes when I am dining in a restaurant, I will have to gather all the candles to light the scene, or have someone hold a flashlight for me. I didn’t really plan it this way, but the candles actually transform the space, making it seem like we are waiting for a ritual to begin.
Unlike humans, machines are not impressed by shiny objects. There can’t be any reflective surfaces for photogrammetry. That eliminates some of the desserts that are most visually appealing. Anything with a glaze or egg wash, fudge, jelly, or melting ice cream will be too shiny to work with photogrammetry. Also, sweets are often served on reflective dishes, so before I scan them I have to move them onto a napkin.
- Capture: Place a dessert on a non-reflective surface and fill with soft light. Use a smartphone camera to ‘paint’ over it horizontally from all angles. The object should fill 70% of each frame, and each frame should overlap 40% with the previous frame. After a loop is completed, go back to get close-up details. Take at least 20 photos.
- Process: After capturing a dessert from all angles, transfer the photos from your mobile device to PhotoScan, a desktop photogrammetry app. Put the photos through the process of camera alignment, building a dense cloud, meshing, and applying texture.
3D Printing (Formlabs 2)
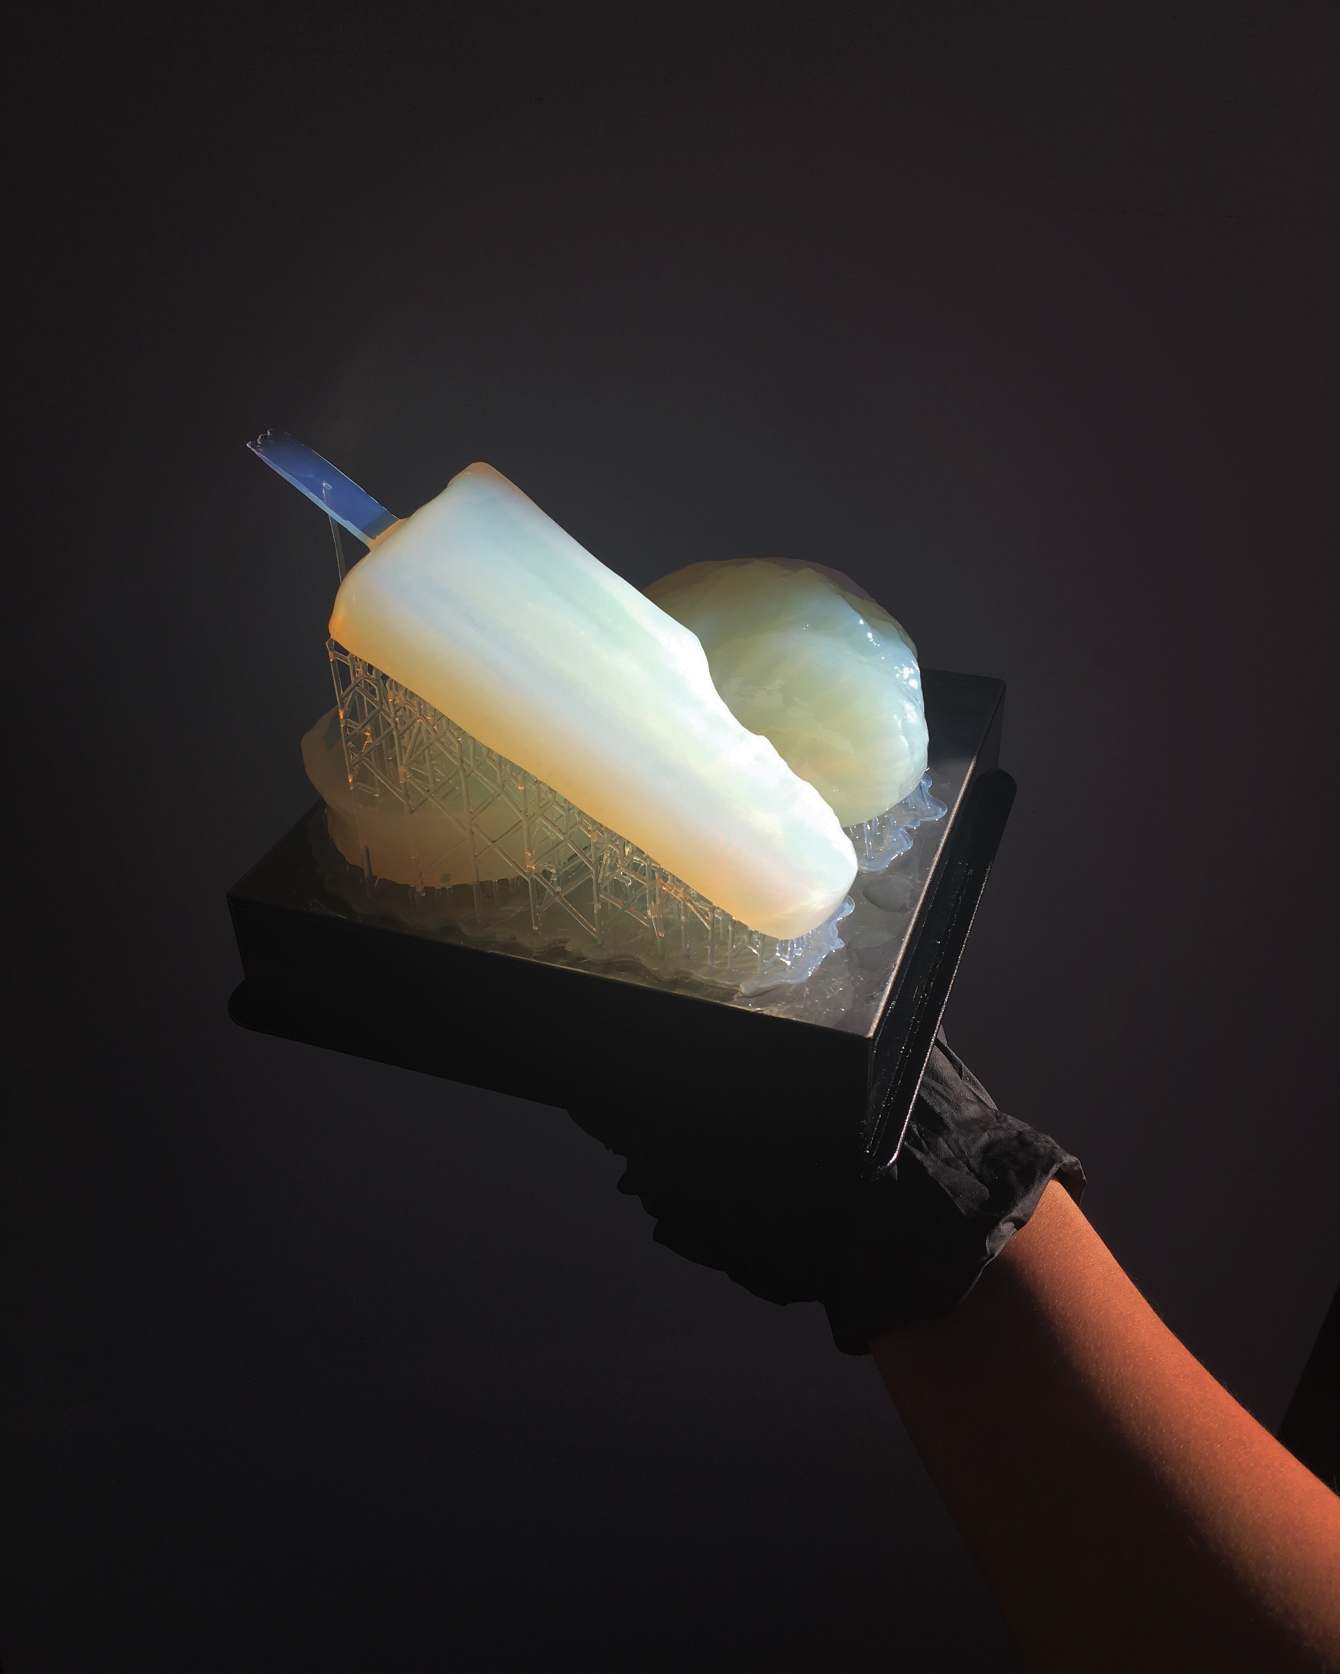
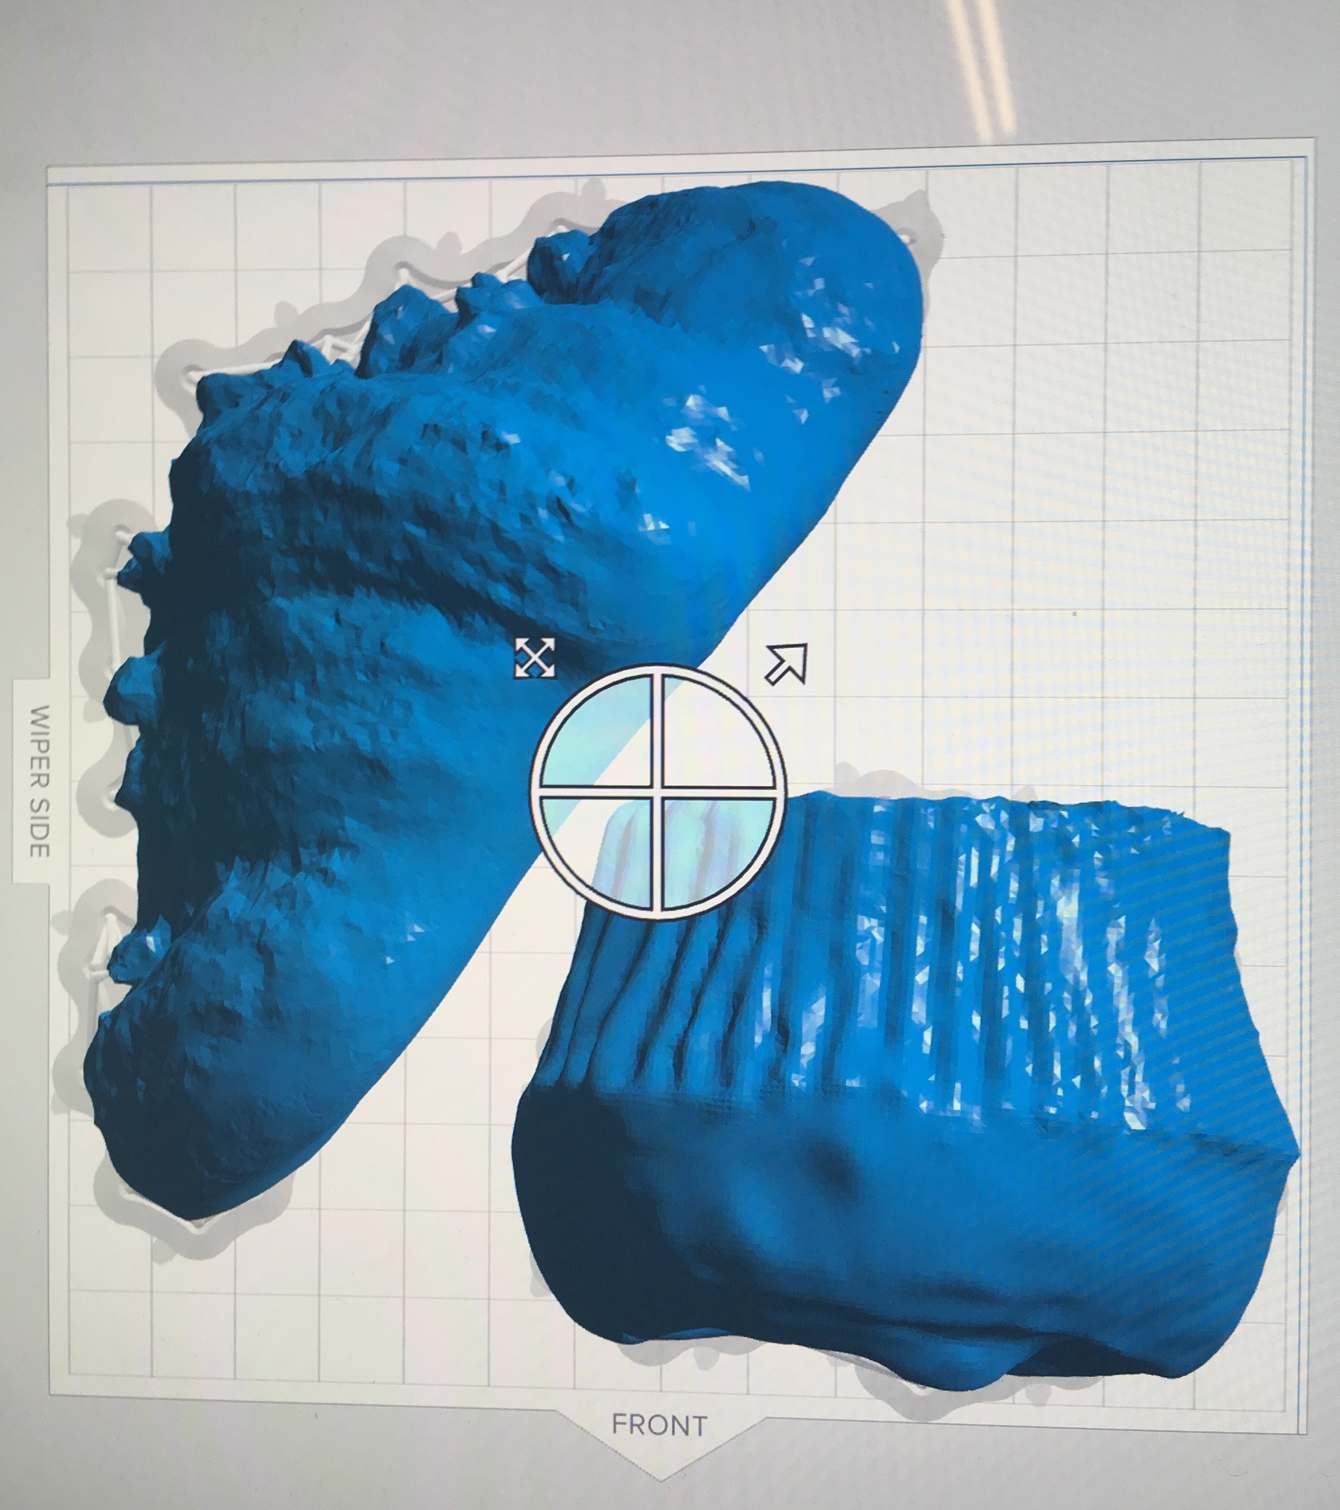
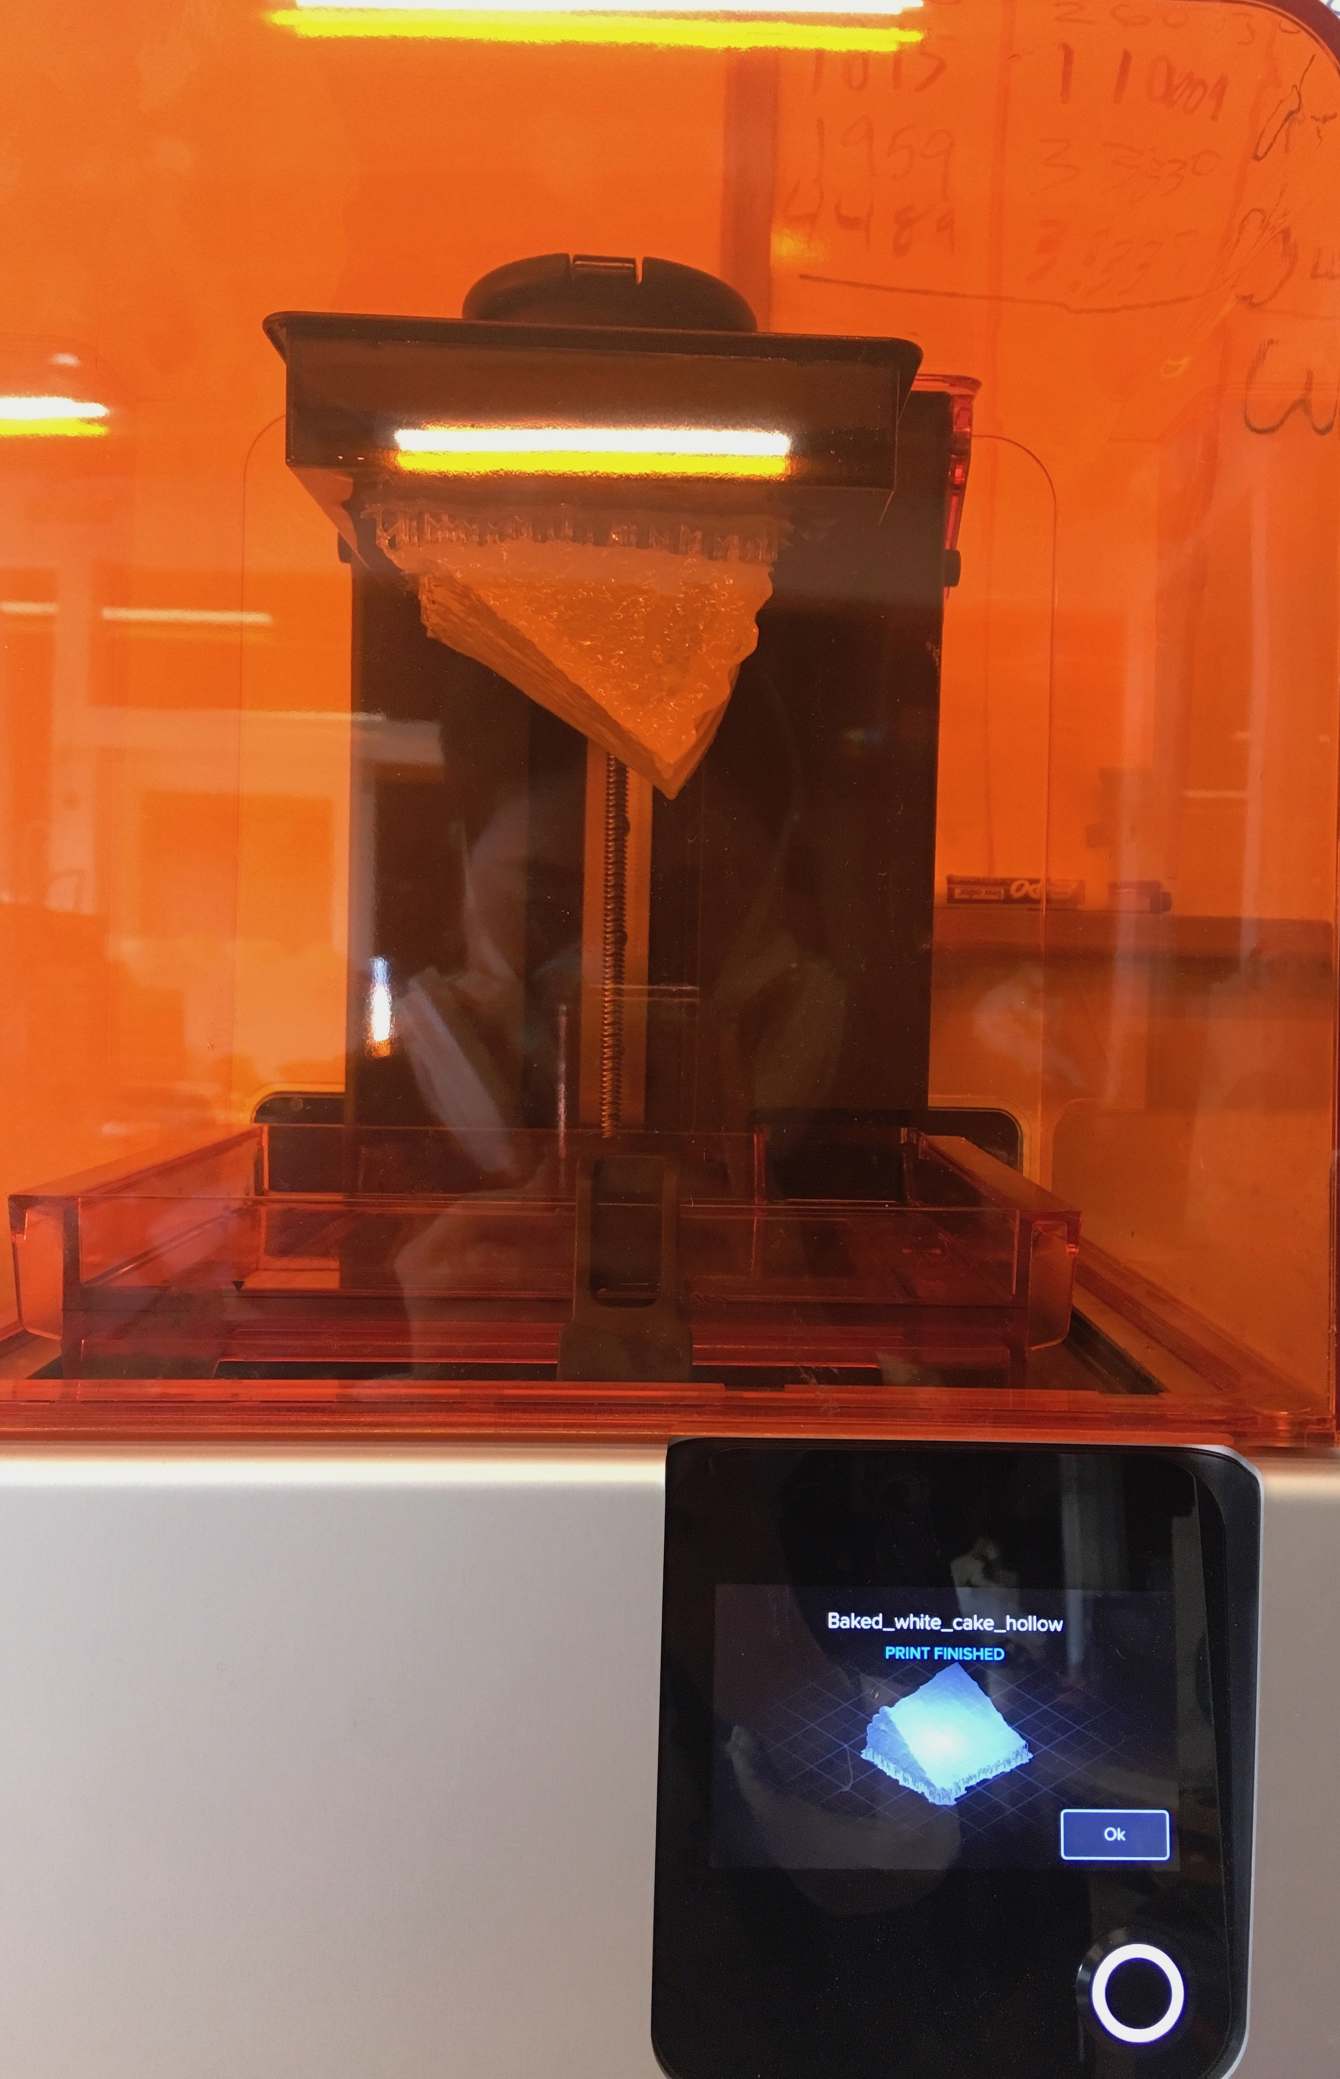
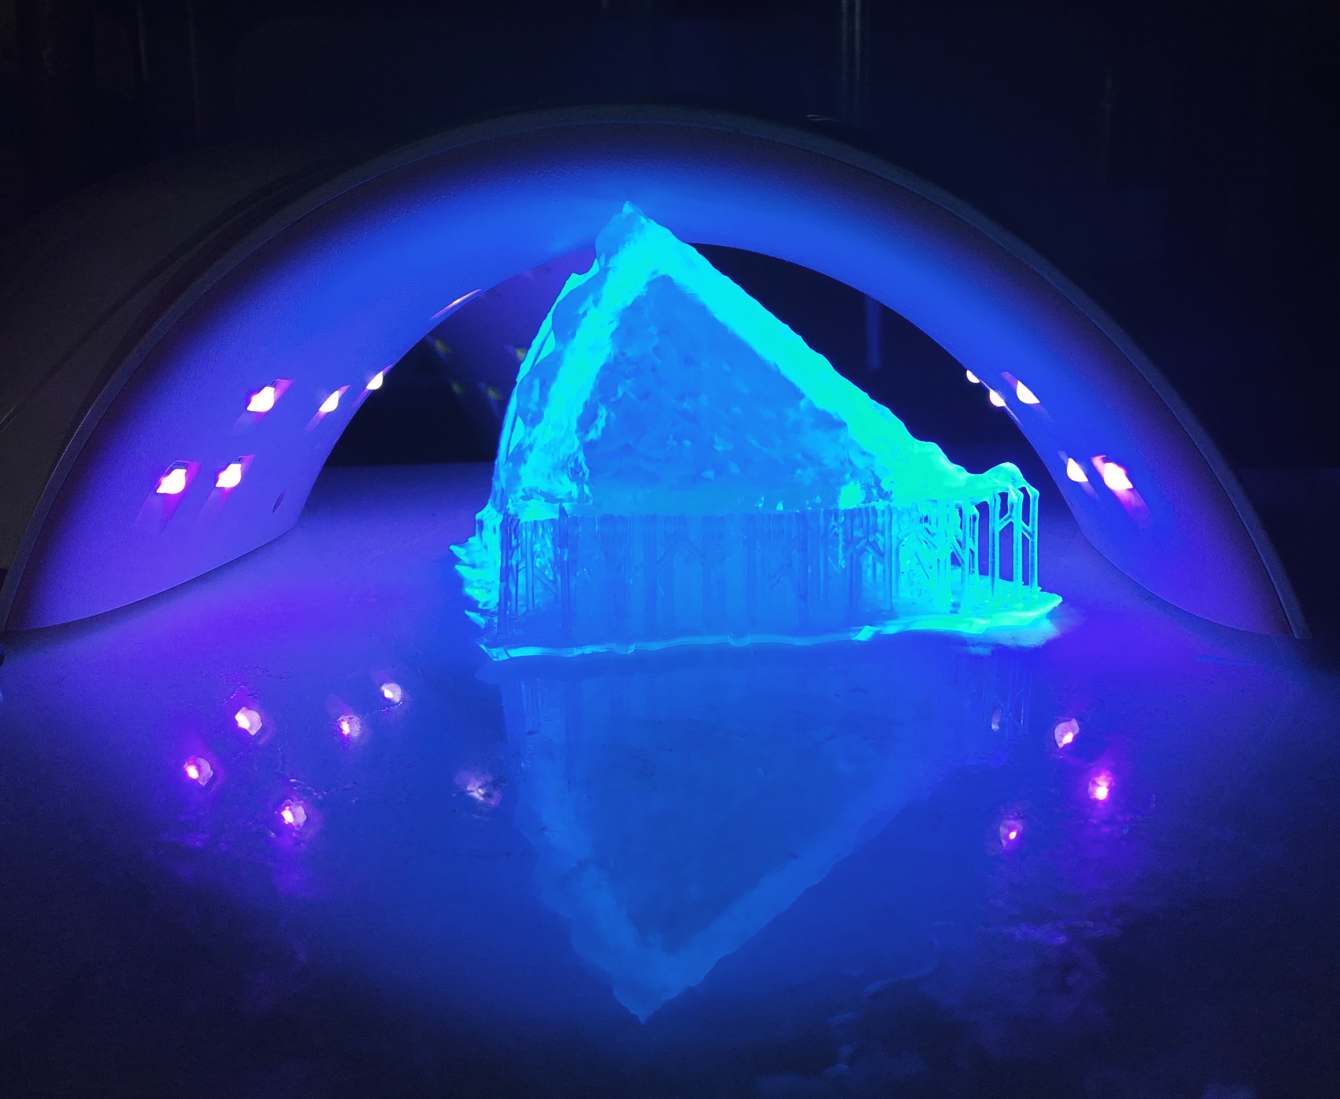
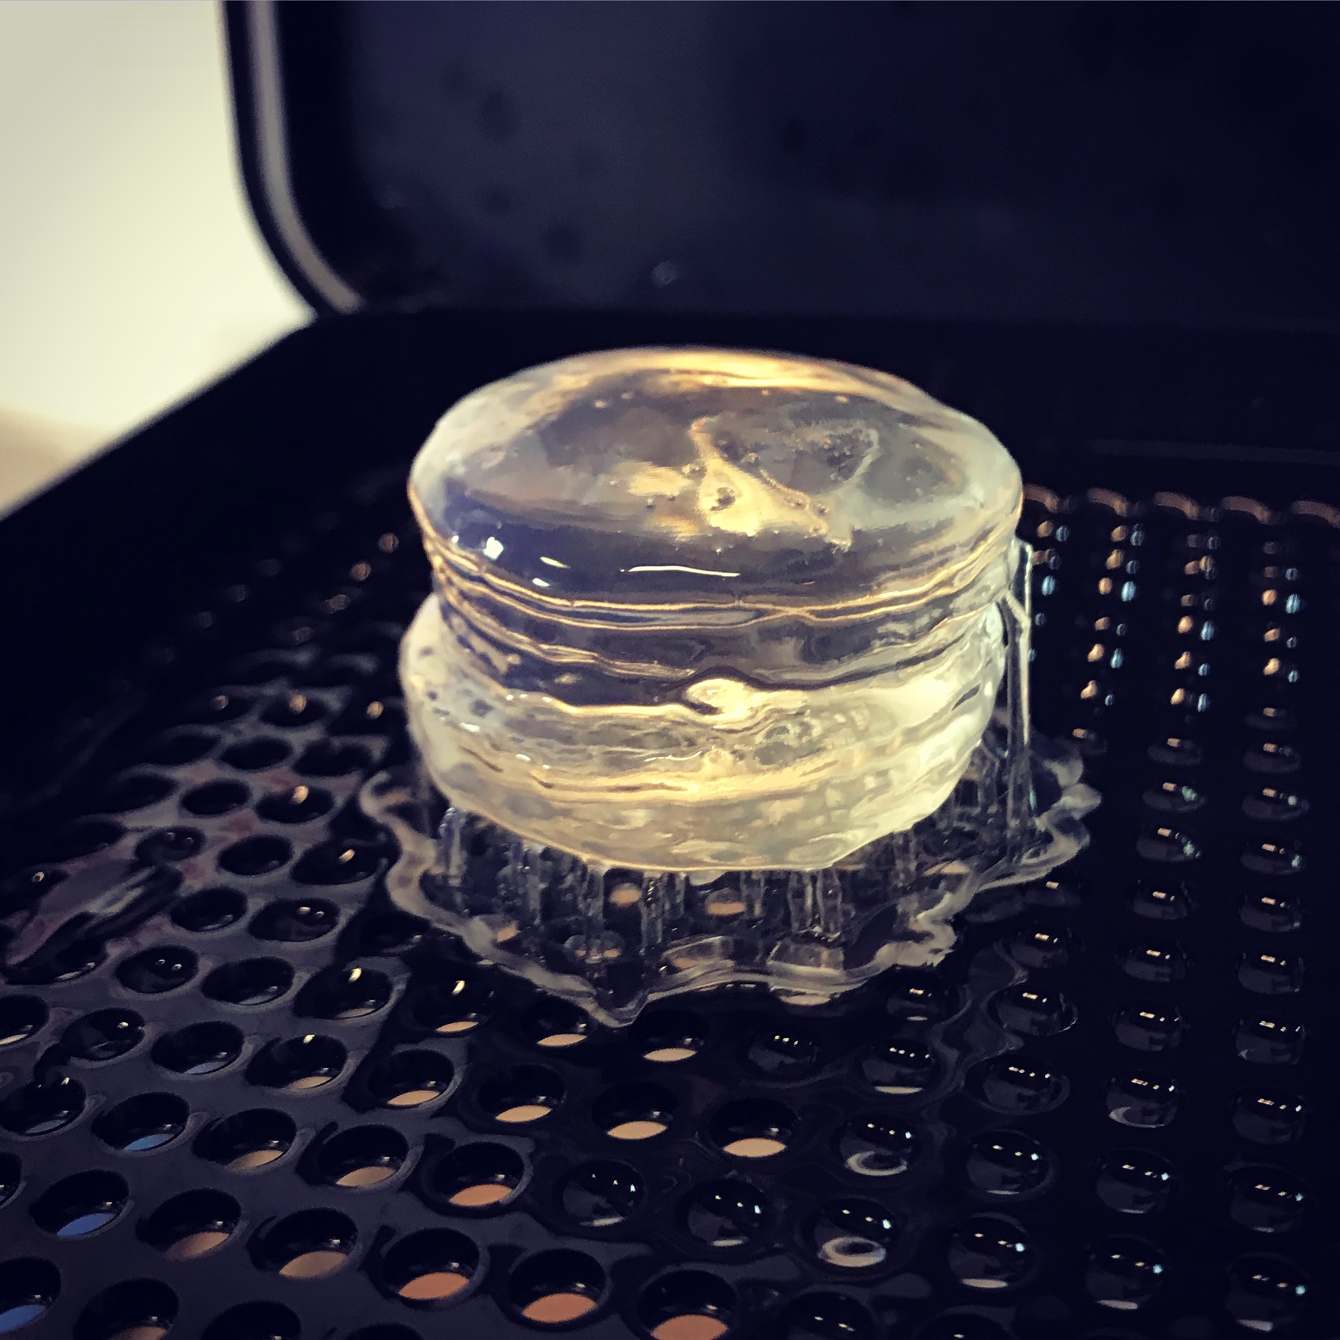

Stereolithography (SLA) printing, a method where liquid resin is hardened by fine laser (UV) light. The printer I use here is Formlabs 2.
Select the material: Open PreForm, the native software for preparing 3D prints. Make sure the setting on your computer is the same as the material in the resin cartridge.
Prepare the file: Open the 3D file in PreForm software. Scale, reposition and build support structures. You can adjust the size of the print by calculating the print time.
Print: Send the file to printer and hit print on the machine.
Post processing: Take the print out of the printer and go through an isopropyl alcohol (IPA) bath and baked with UV light.
Paint and Enjoy!
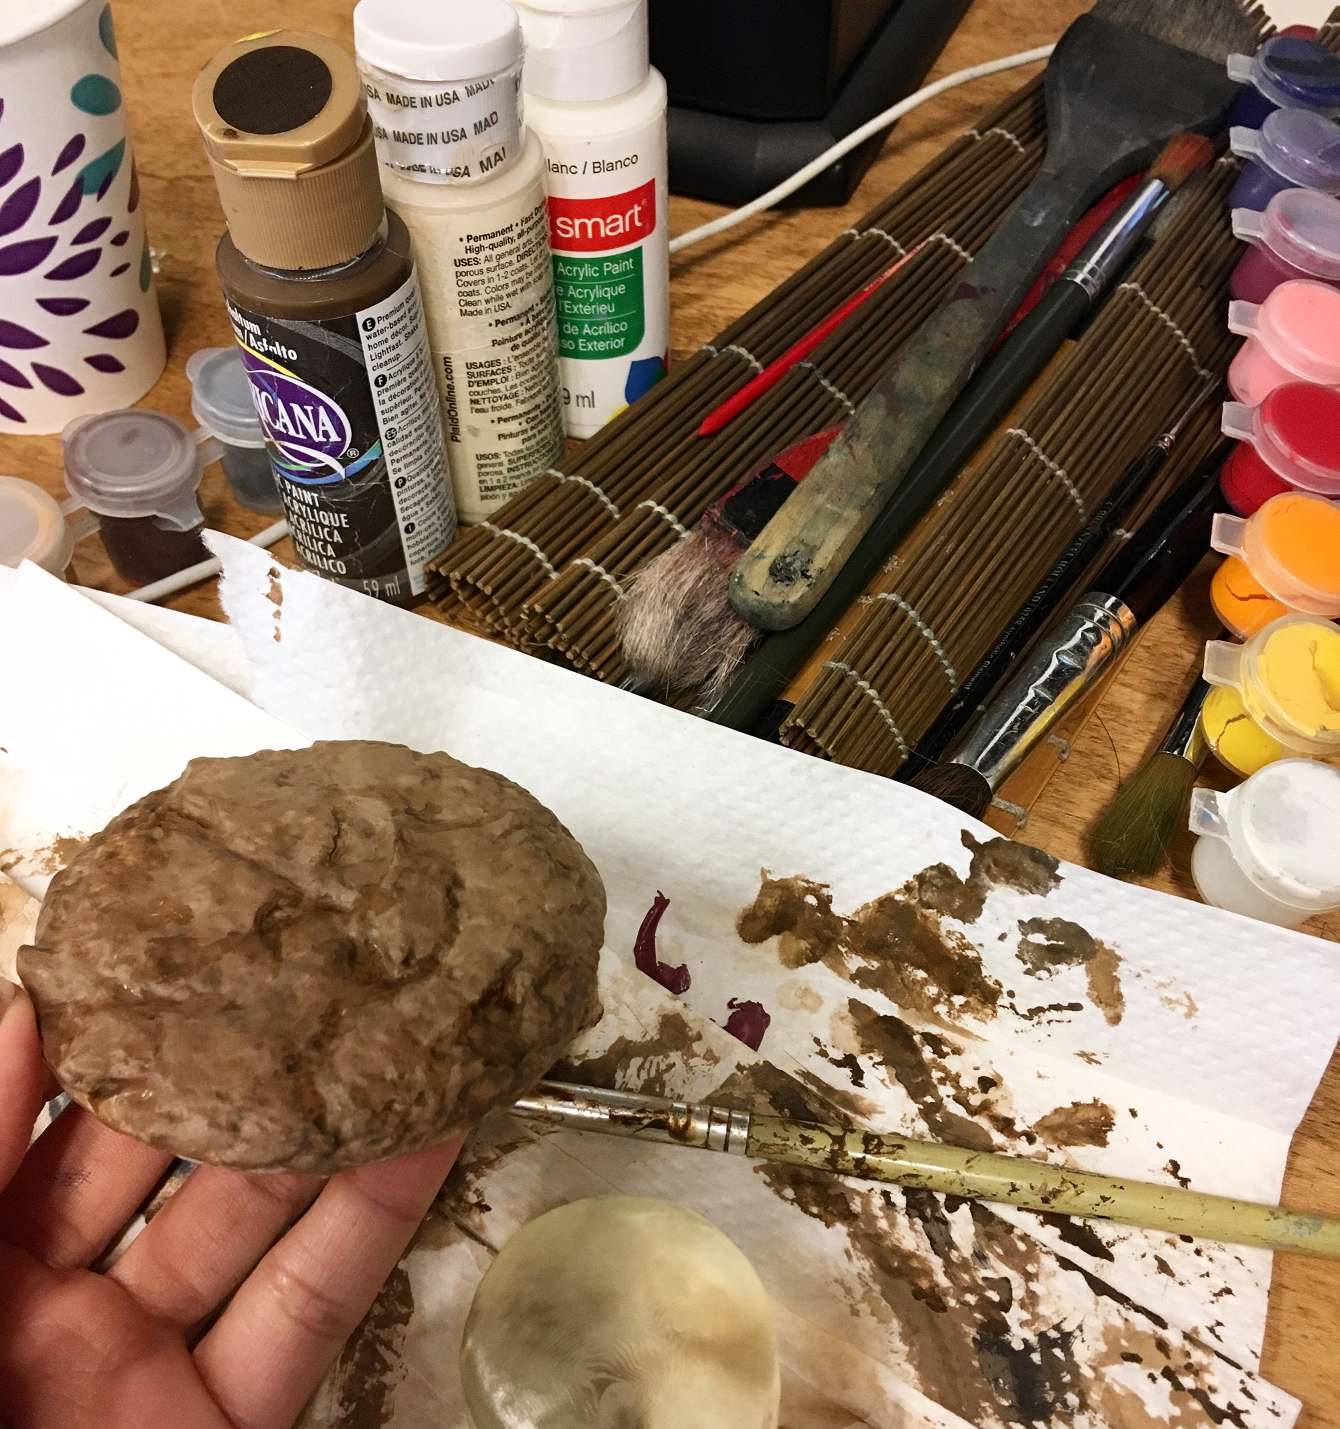
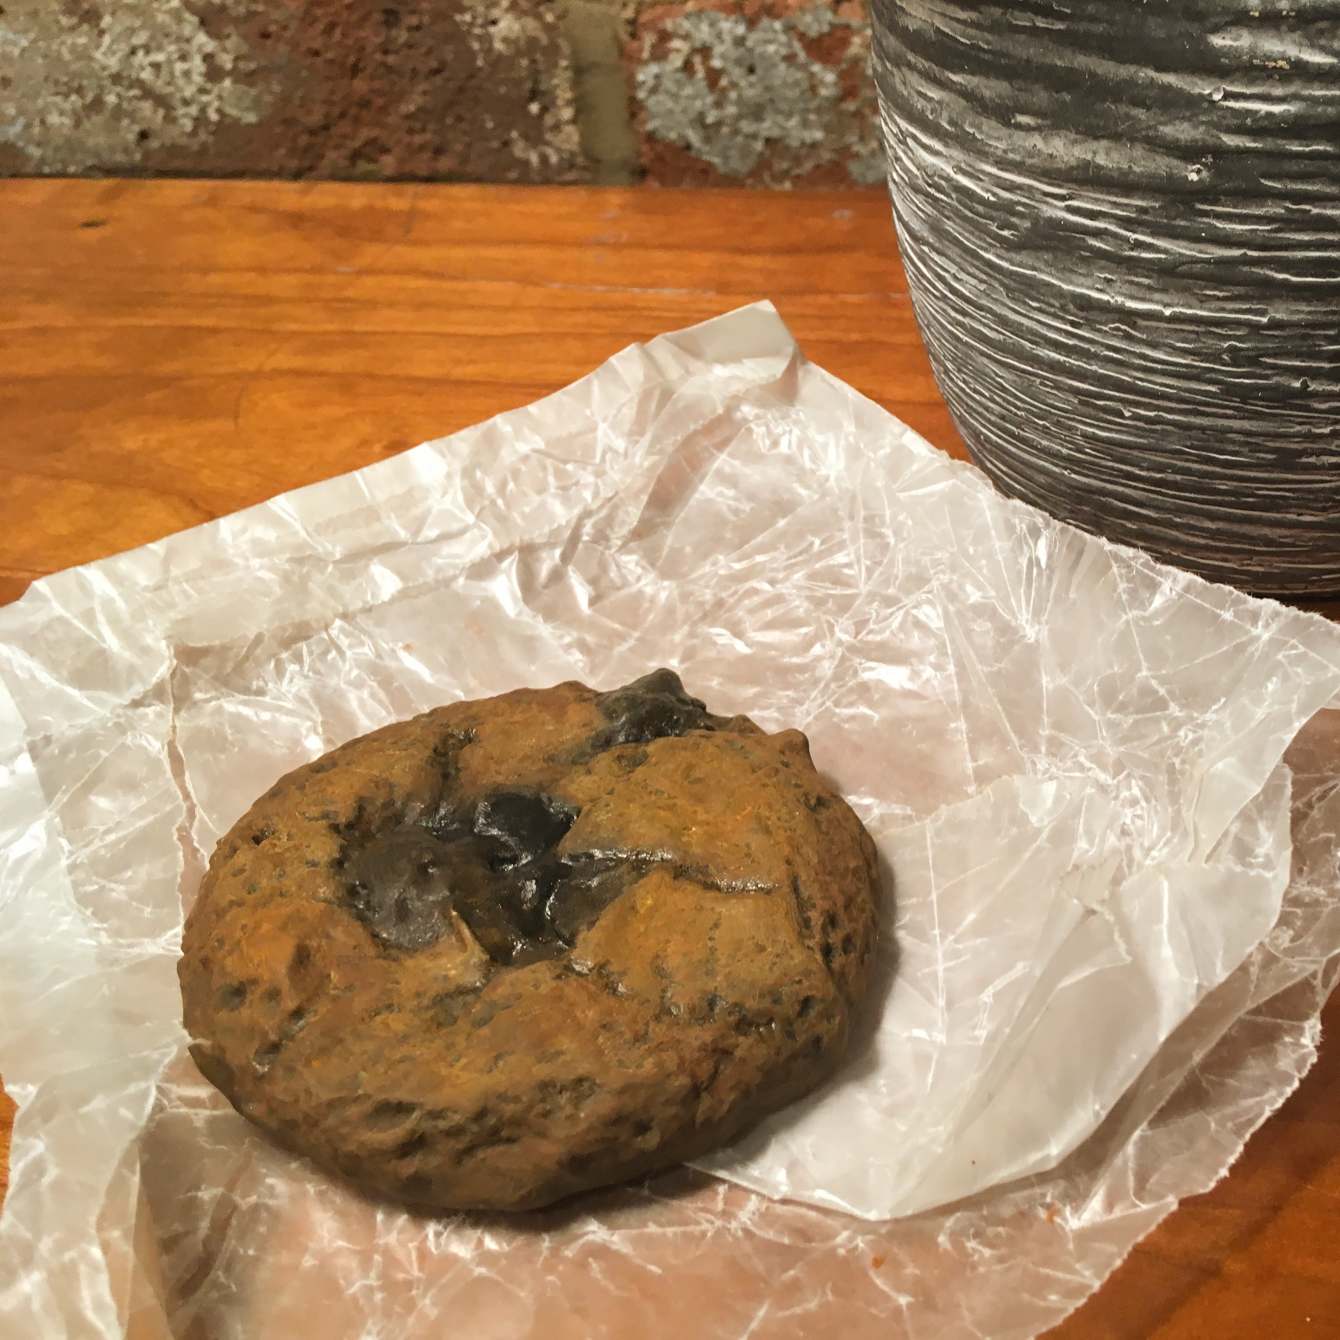
Coloring
- Prime: Spray paint the print with primers
- Color: Use acrylic and pastel to add colors
- Finish: Use acrylic medium to add different finishes (matt or glass)