Realistic Watercolor Macaw
Hello to all my Instructables community friends!!
I have always wanted to paint a macaw because they are so colorful and one of the most beautiful birds in nature. But I always refrained because I thought it will be too difficult to paint a perfect macaw but trust me guys its not!! You don't have to be a professional painter or an artist to make this, you just need to follow a few watercolor technique's which I will be sharing with you through this Instructable and I'm sure you'll enjoy painting with watercolors and create your own masterpiece. I am not a professional so if I can make it, literally anyone with a little skills in drawing and interest in painting can do it.
Let's Get Started!!
Supplies
- Drawing sheet
- Watercolor
- Round tip painting brushes
- Pencil
- A bowl of water
- A cloth to clean brushes
Making the Sketch
The main theme of this instructable is that I will be sharing some simple watercolor techniques so you can make anything.
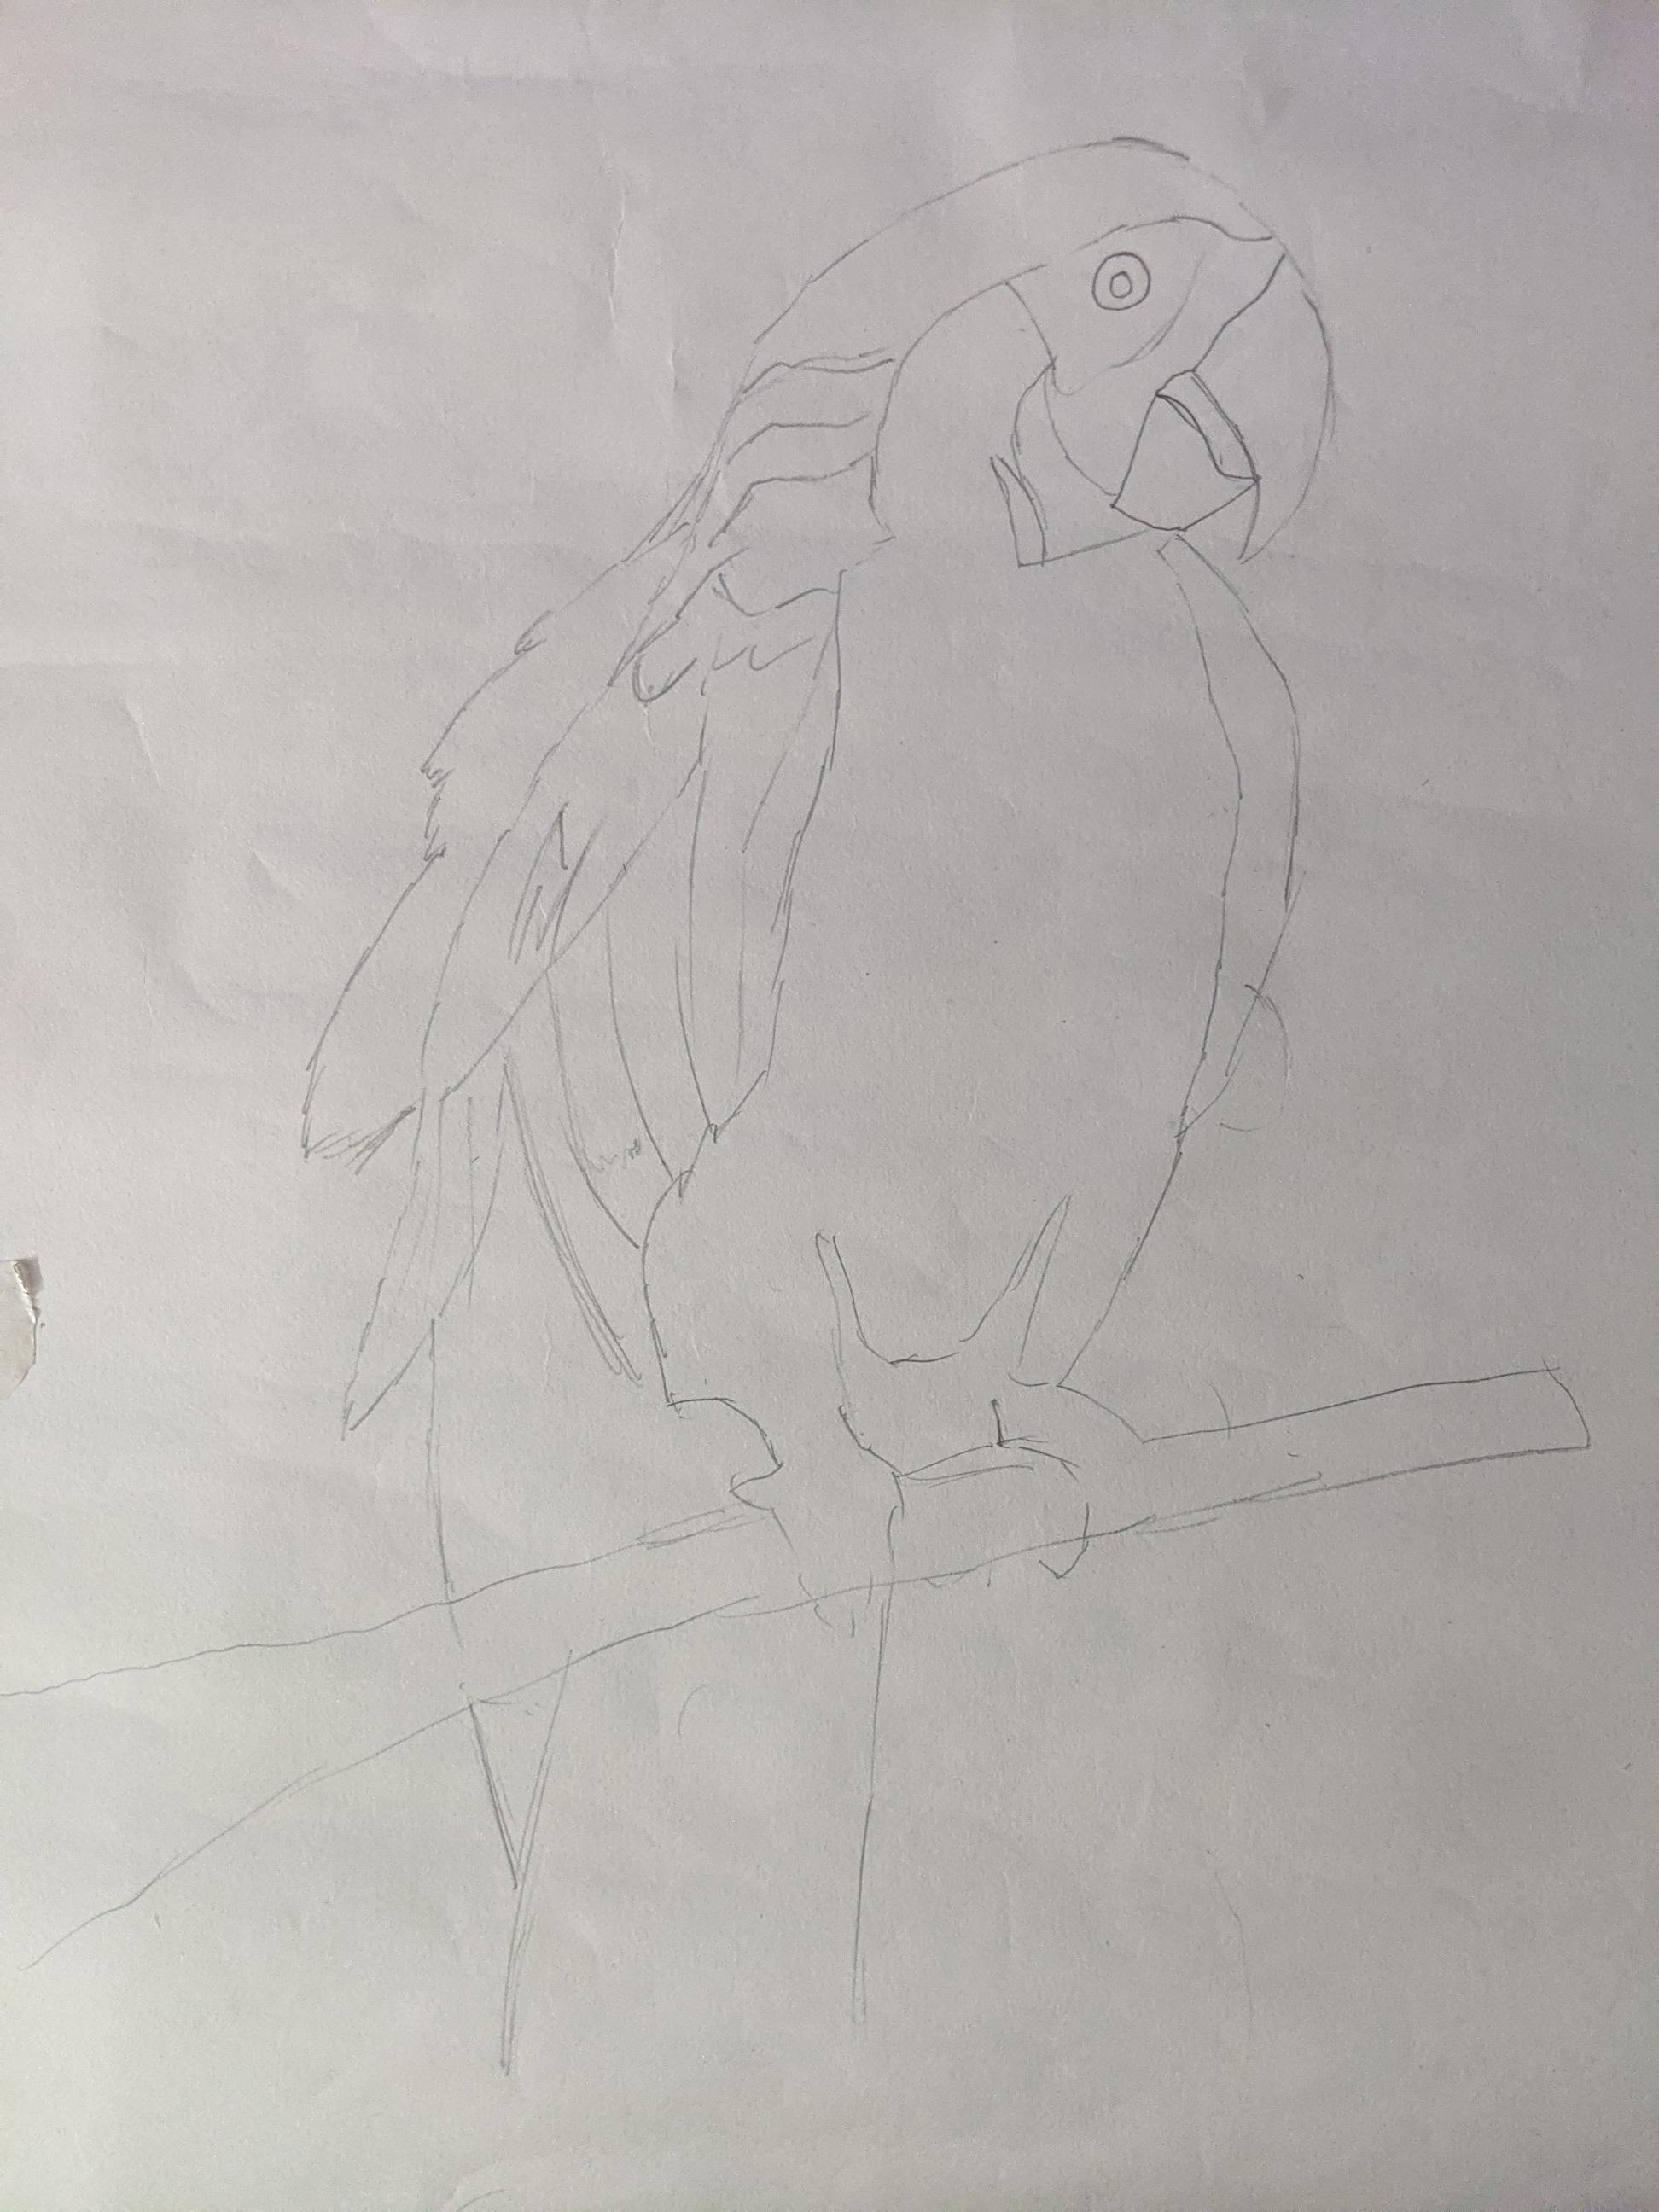
For this drawing I drew a rough sketch of the macaw from an encyclopedia. You guys can take this sketch as a reference for your drawing or select any drawing and sketch it or trace it.
Just to be clear the sketch docent need to be perfect. it is just to get an idea of the boundaries so that the painting doesn't look out of ratio.
The Base Coat/layer
First of all, a few point to remember while working with watercolors:
- Always apply little water on the area you are working on, but not too much, just to make it damp
- Start with the least amount of paint and apply a very light and thin layer to start with
- Make very light and gentle strokes
- Don't forget to clean brushes when changing color
- Test the shade of color on a rough sheet before applying to drawing
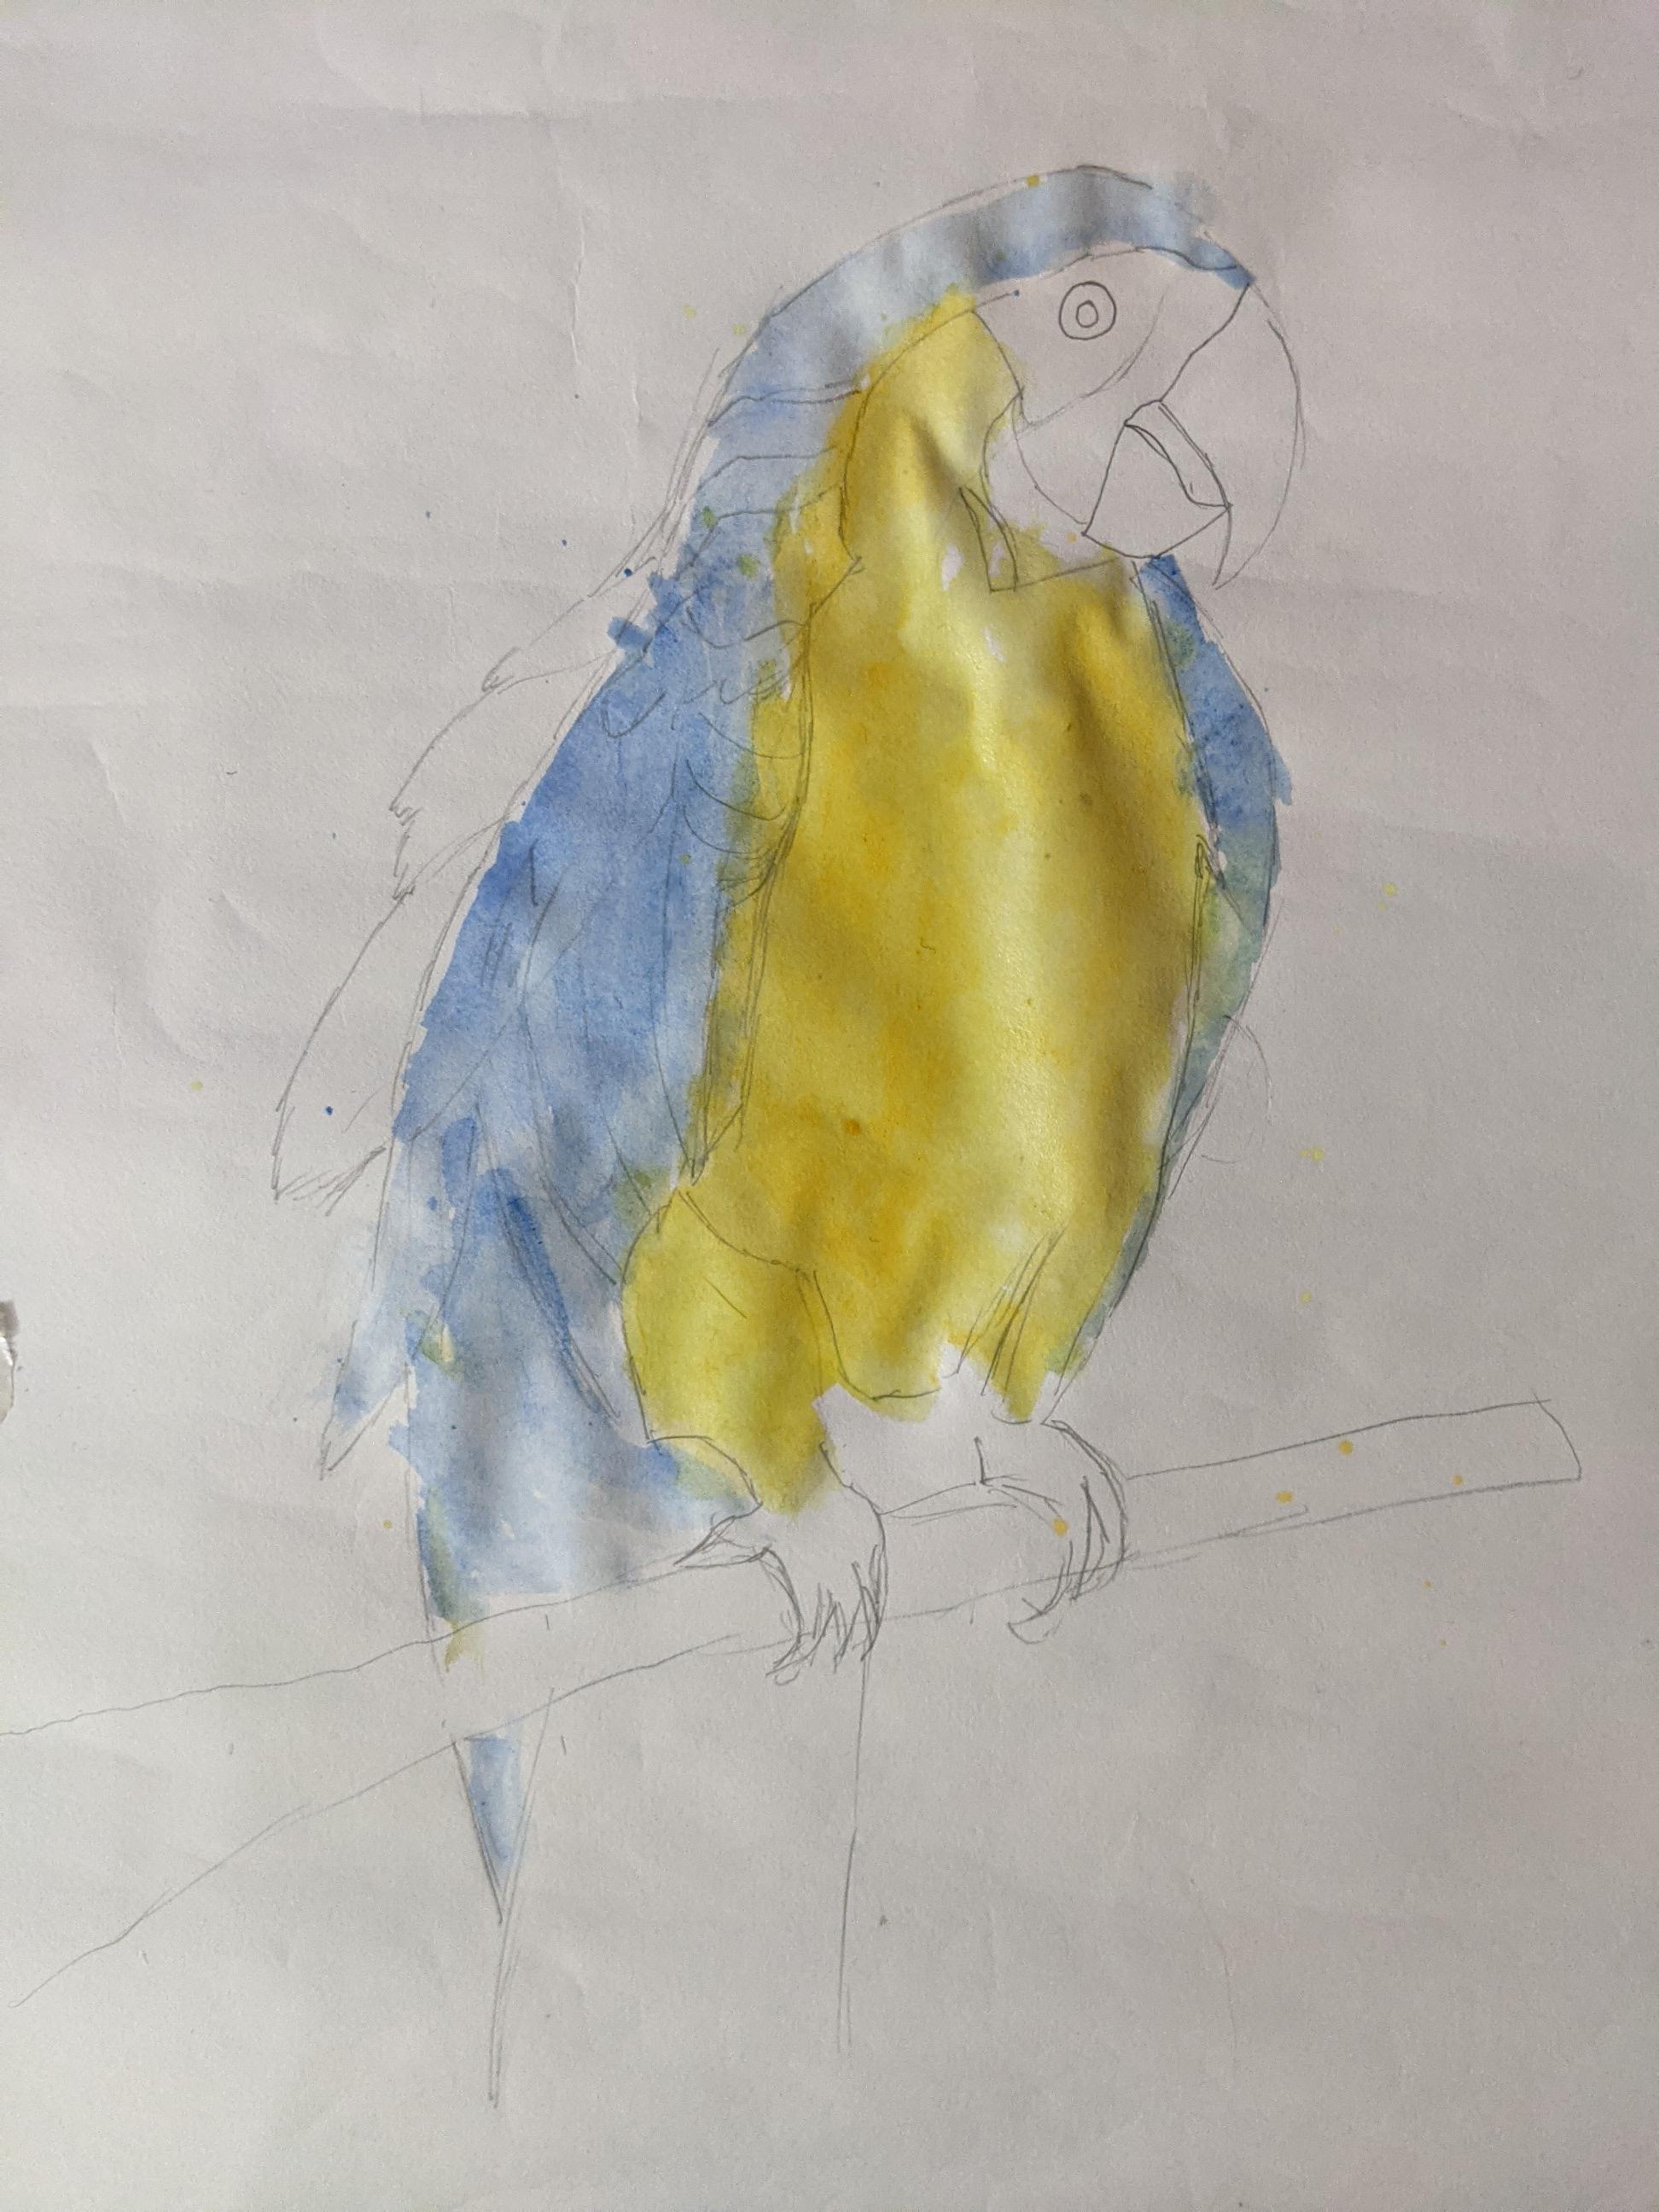
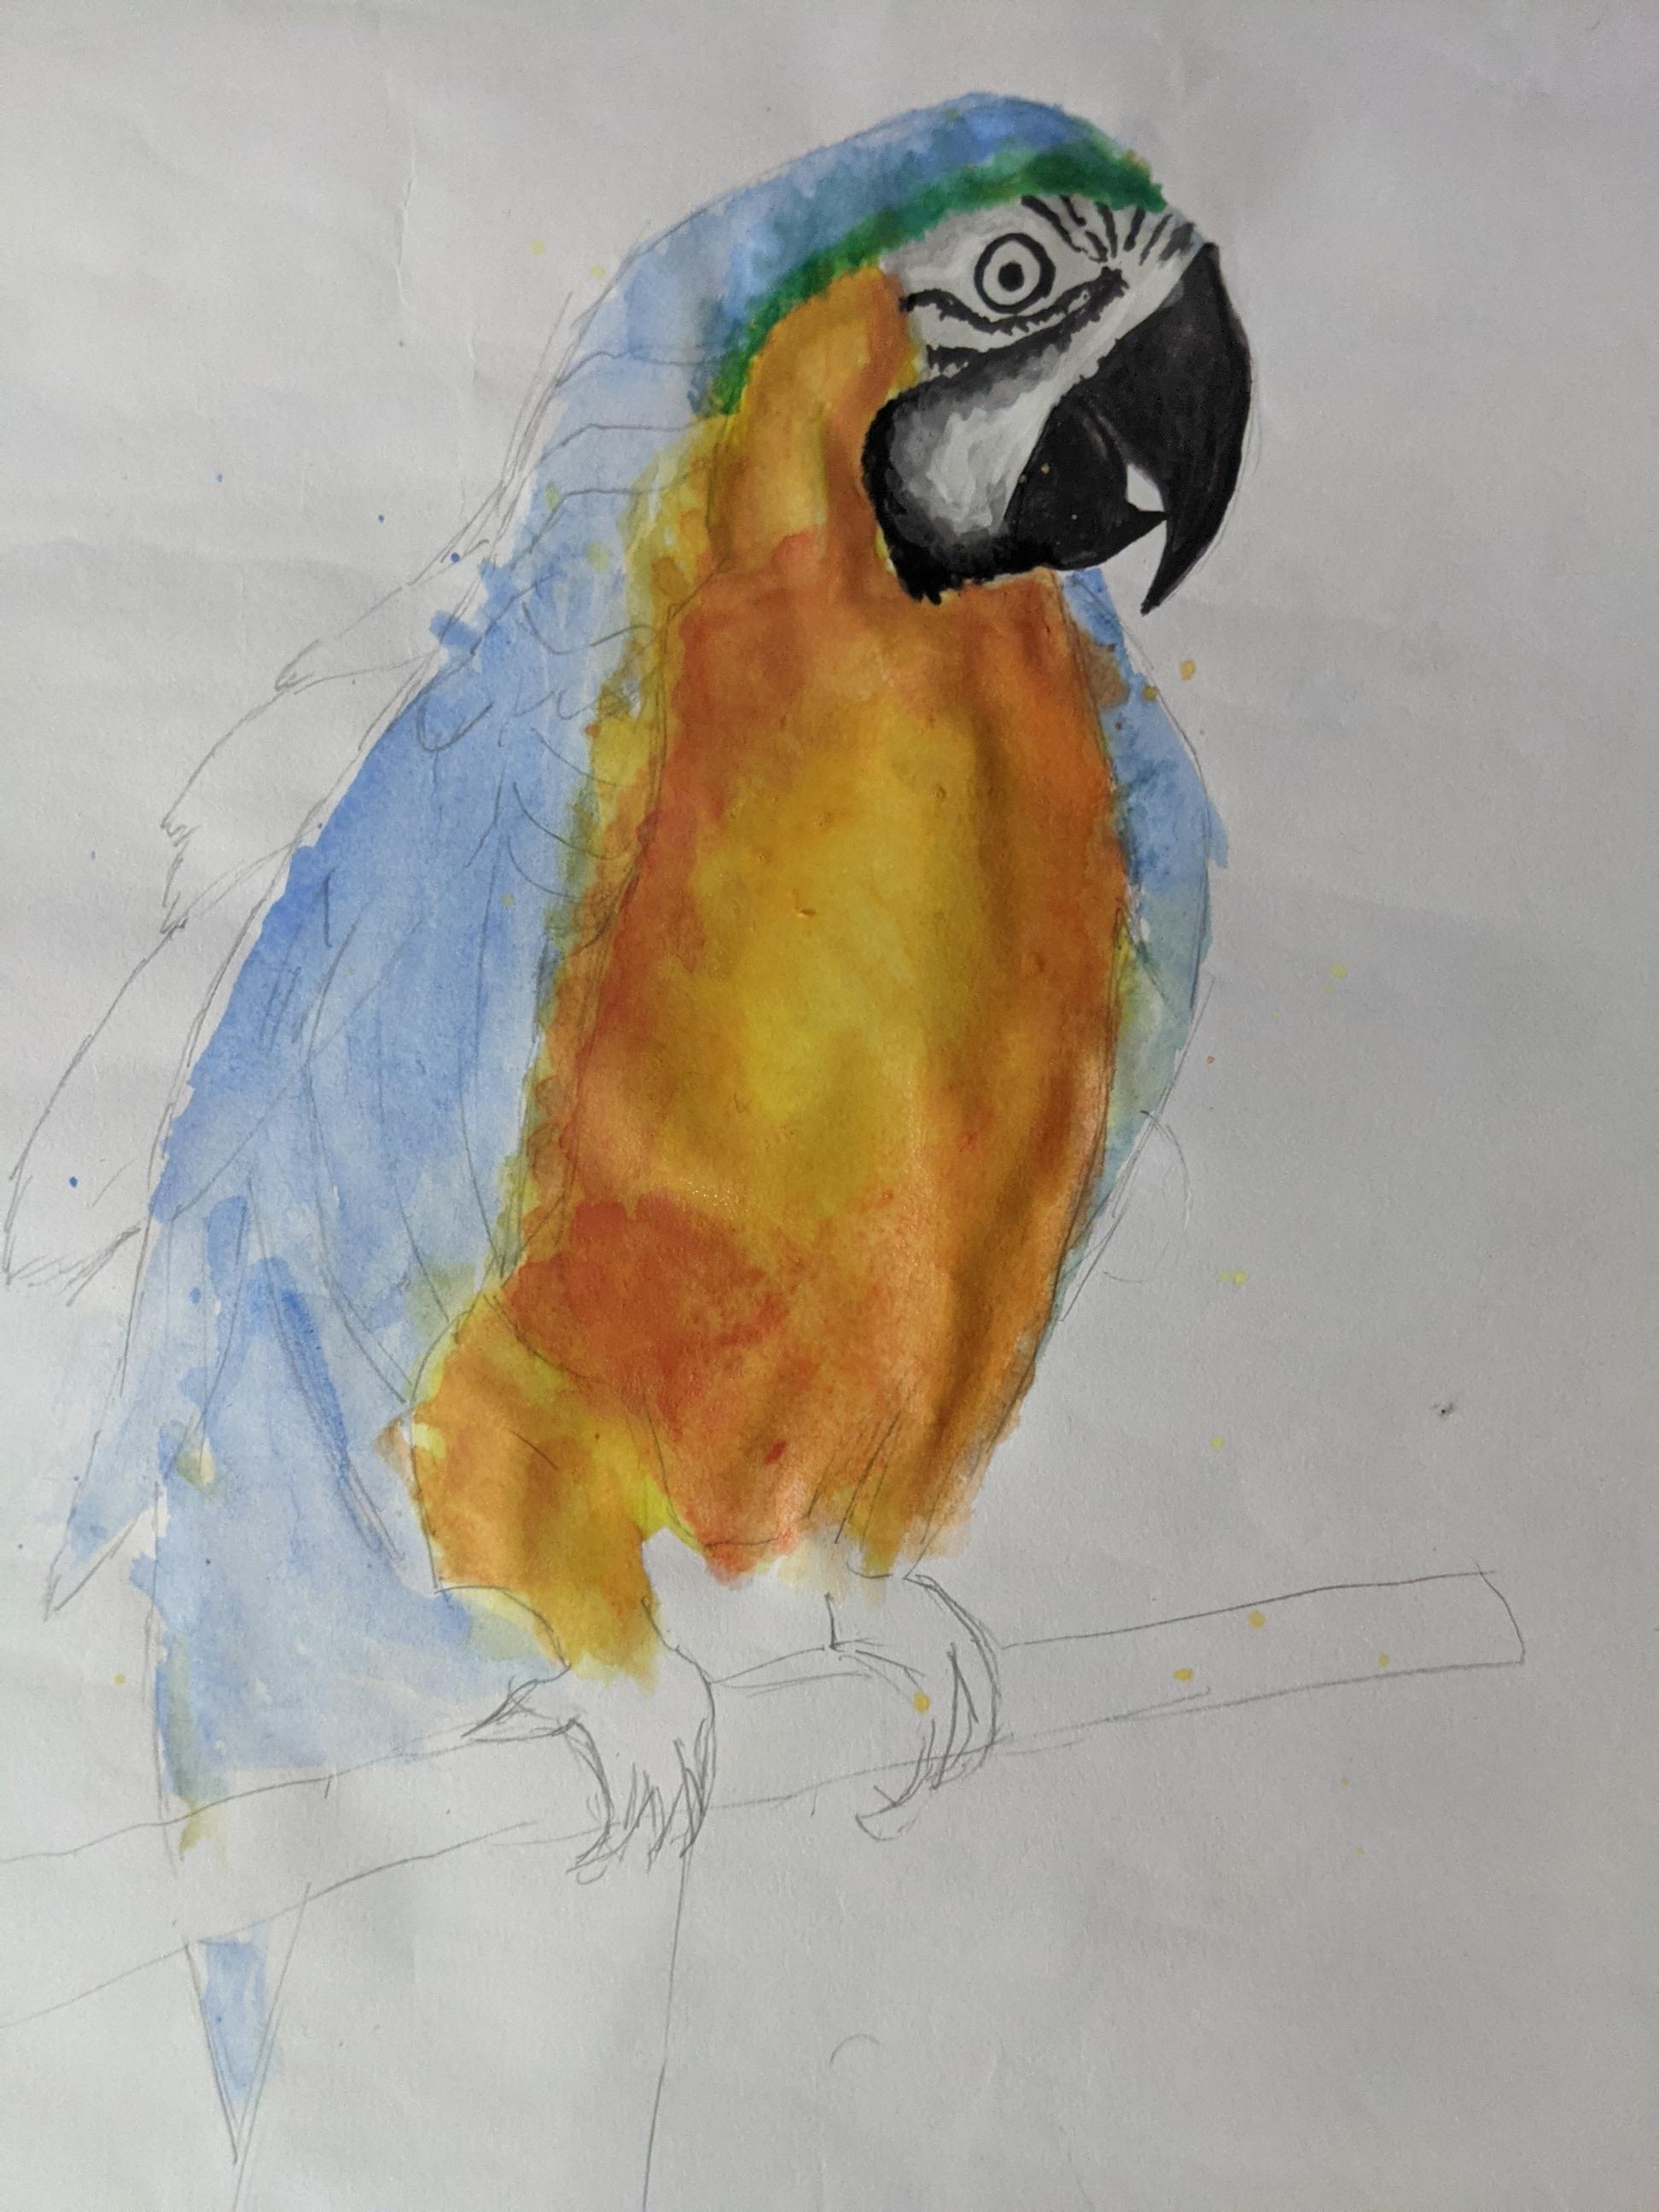
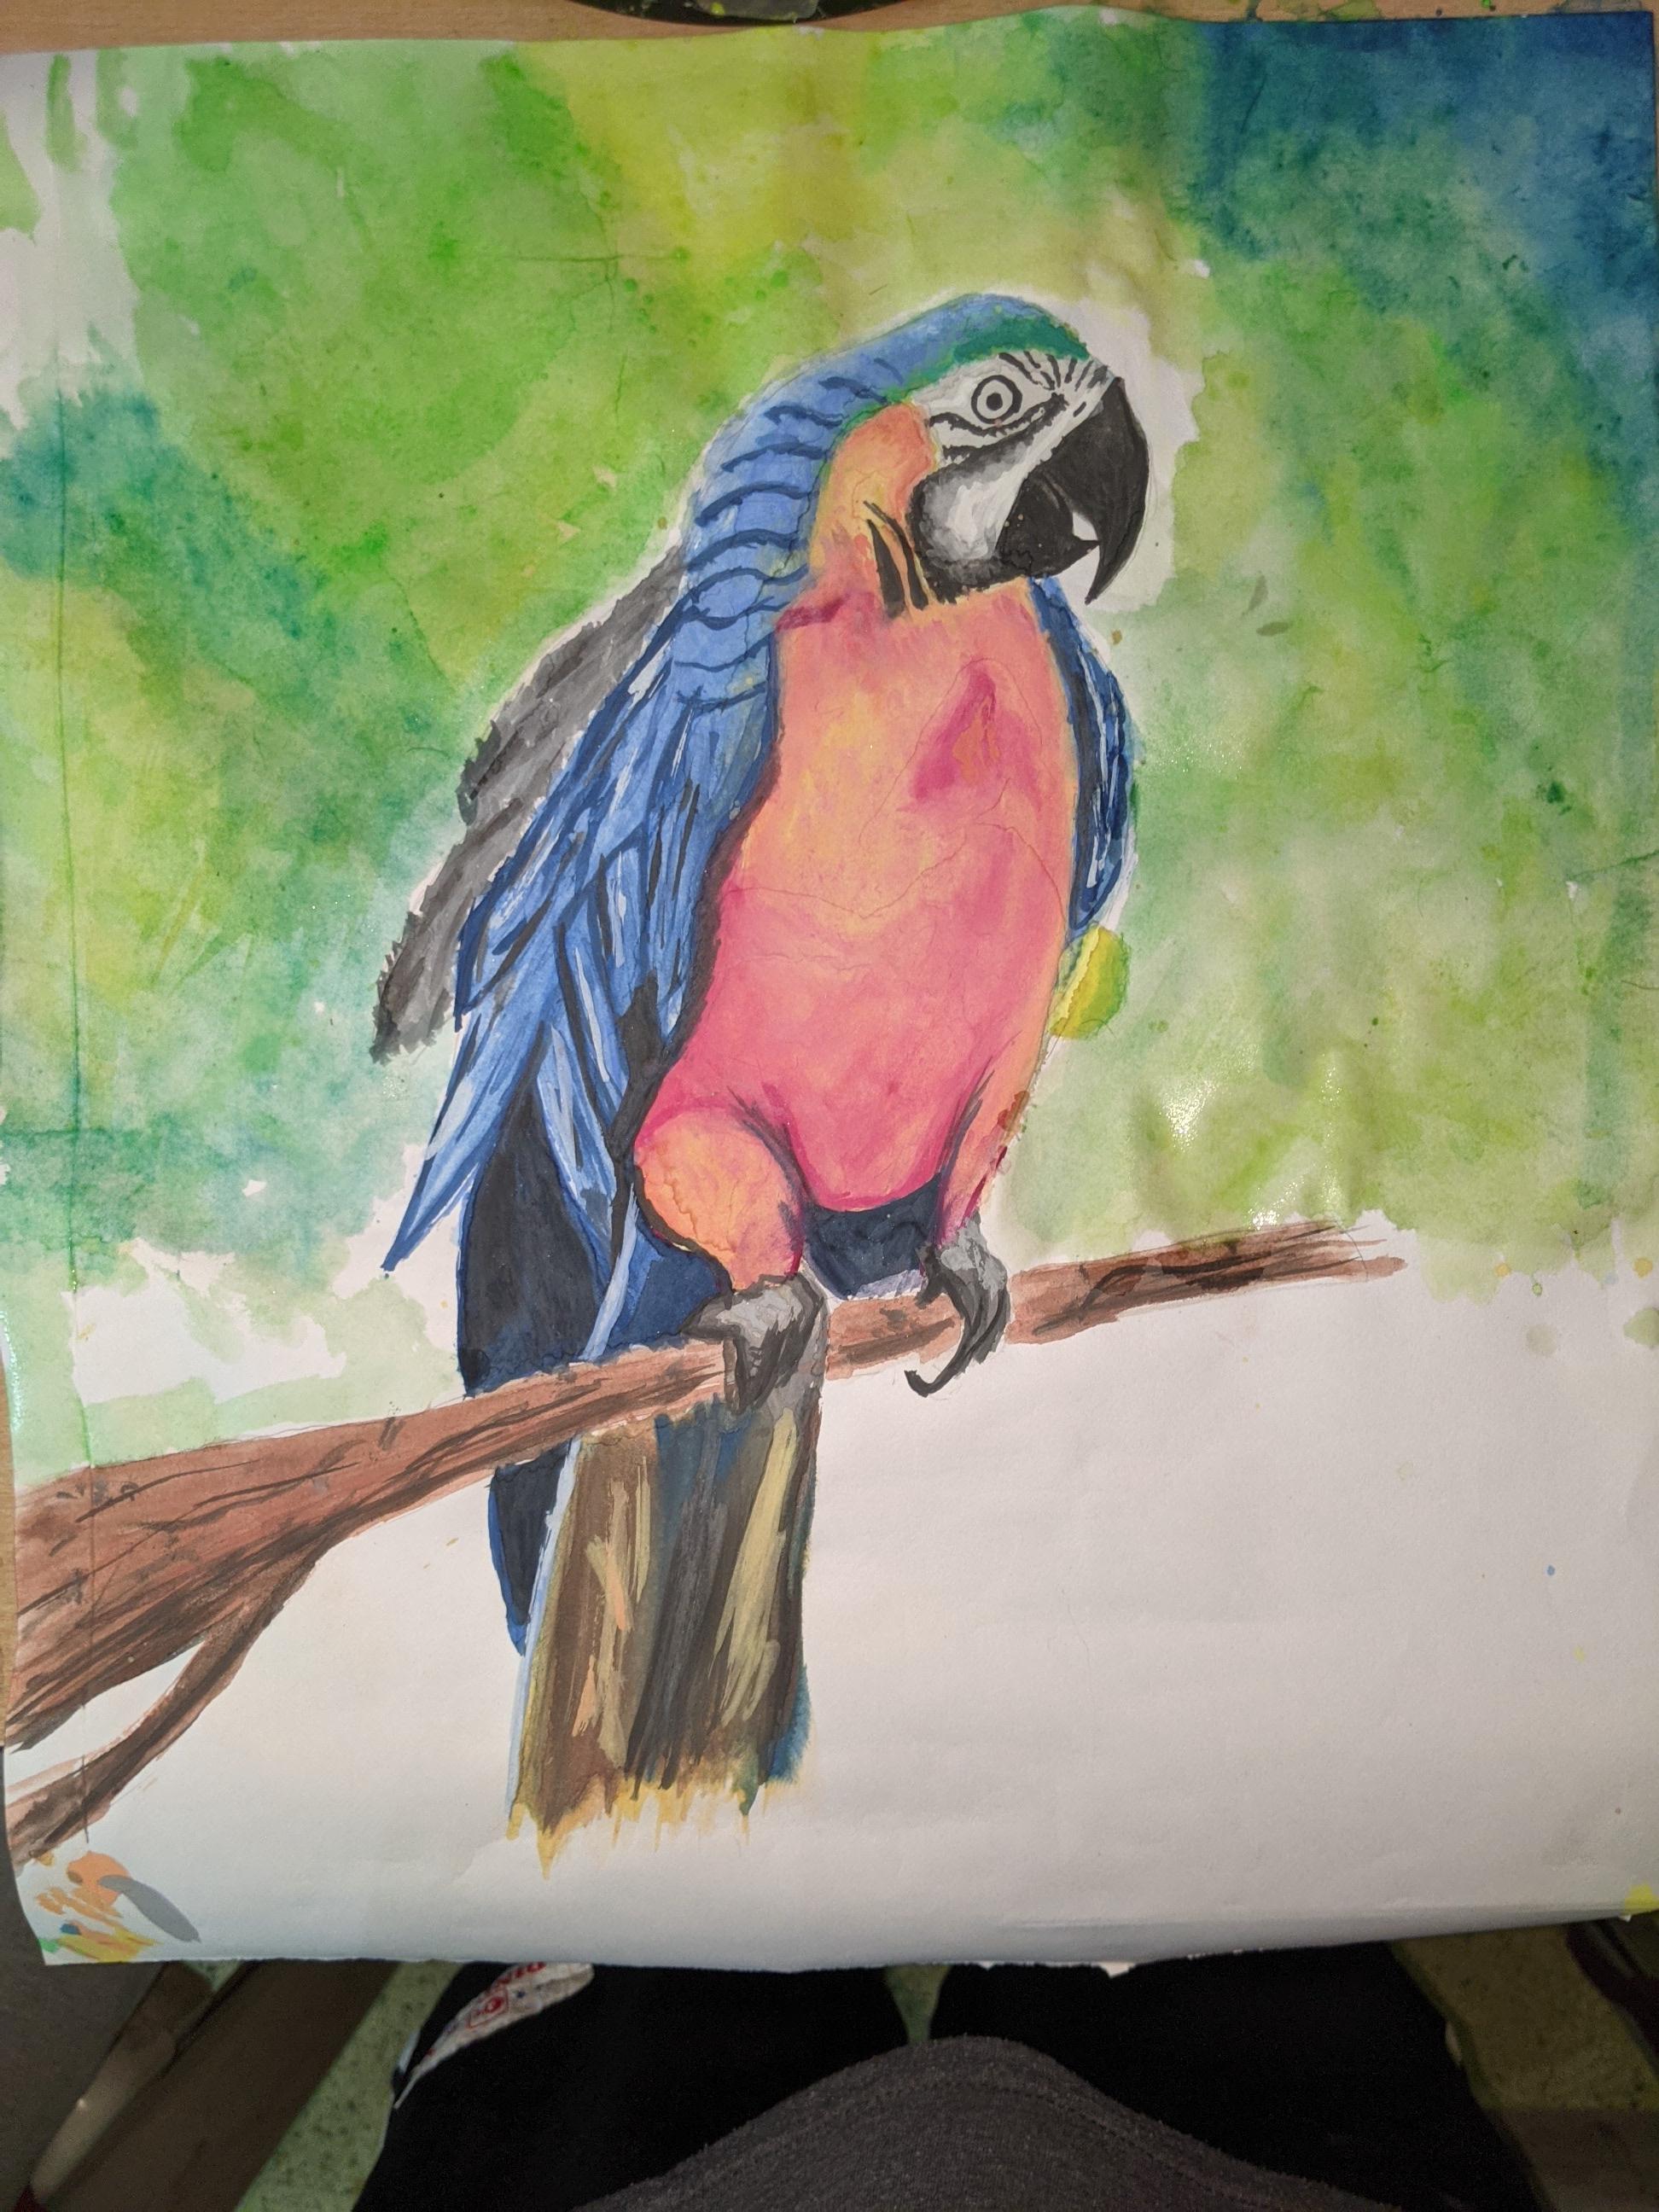
to start, we will put a base coat of light yellow and light blue on the drawing working on the body and feathers of the parrot, the base coat should be very light and don't worry if the colors spill out of the boundaries a bit. It doesn't need to be perfect. We will take care of that later when we work on the details.
Painting the Face and the Beak
- For this part, we will use shades of grey and black.
- Use number 0 or 2 brush for this part.
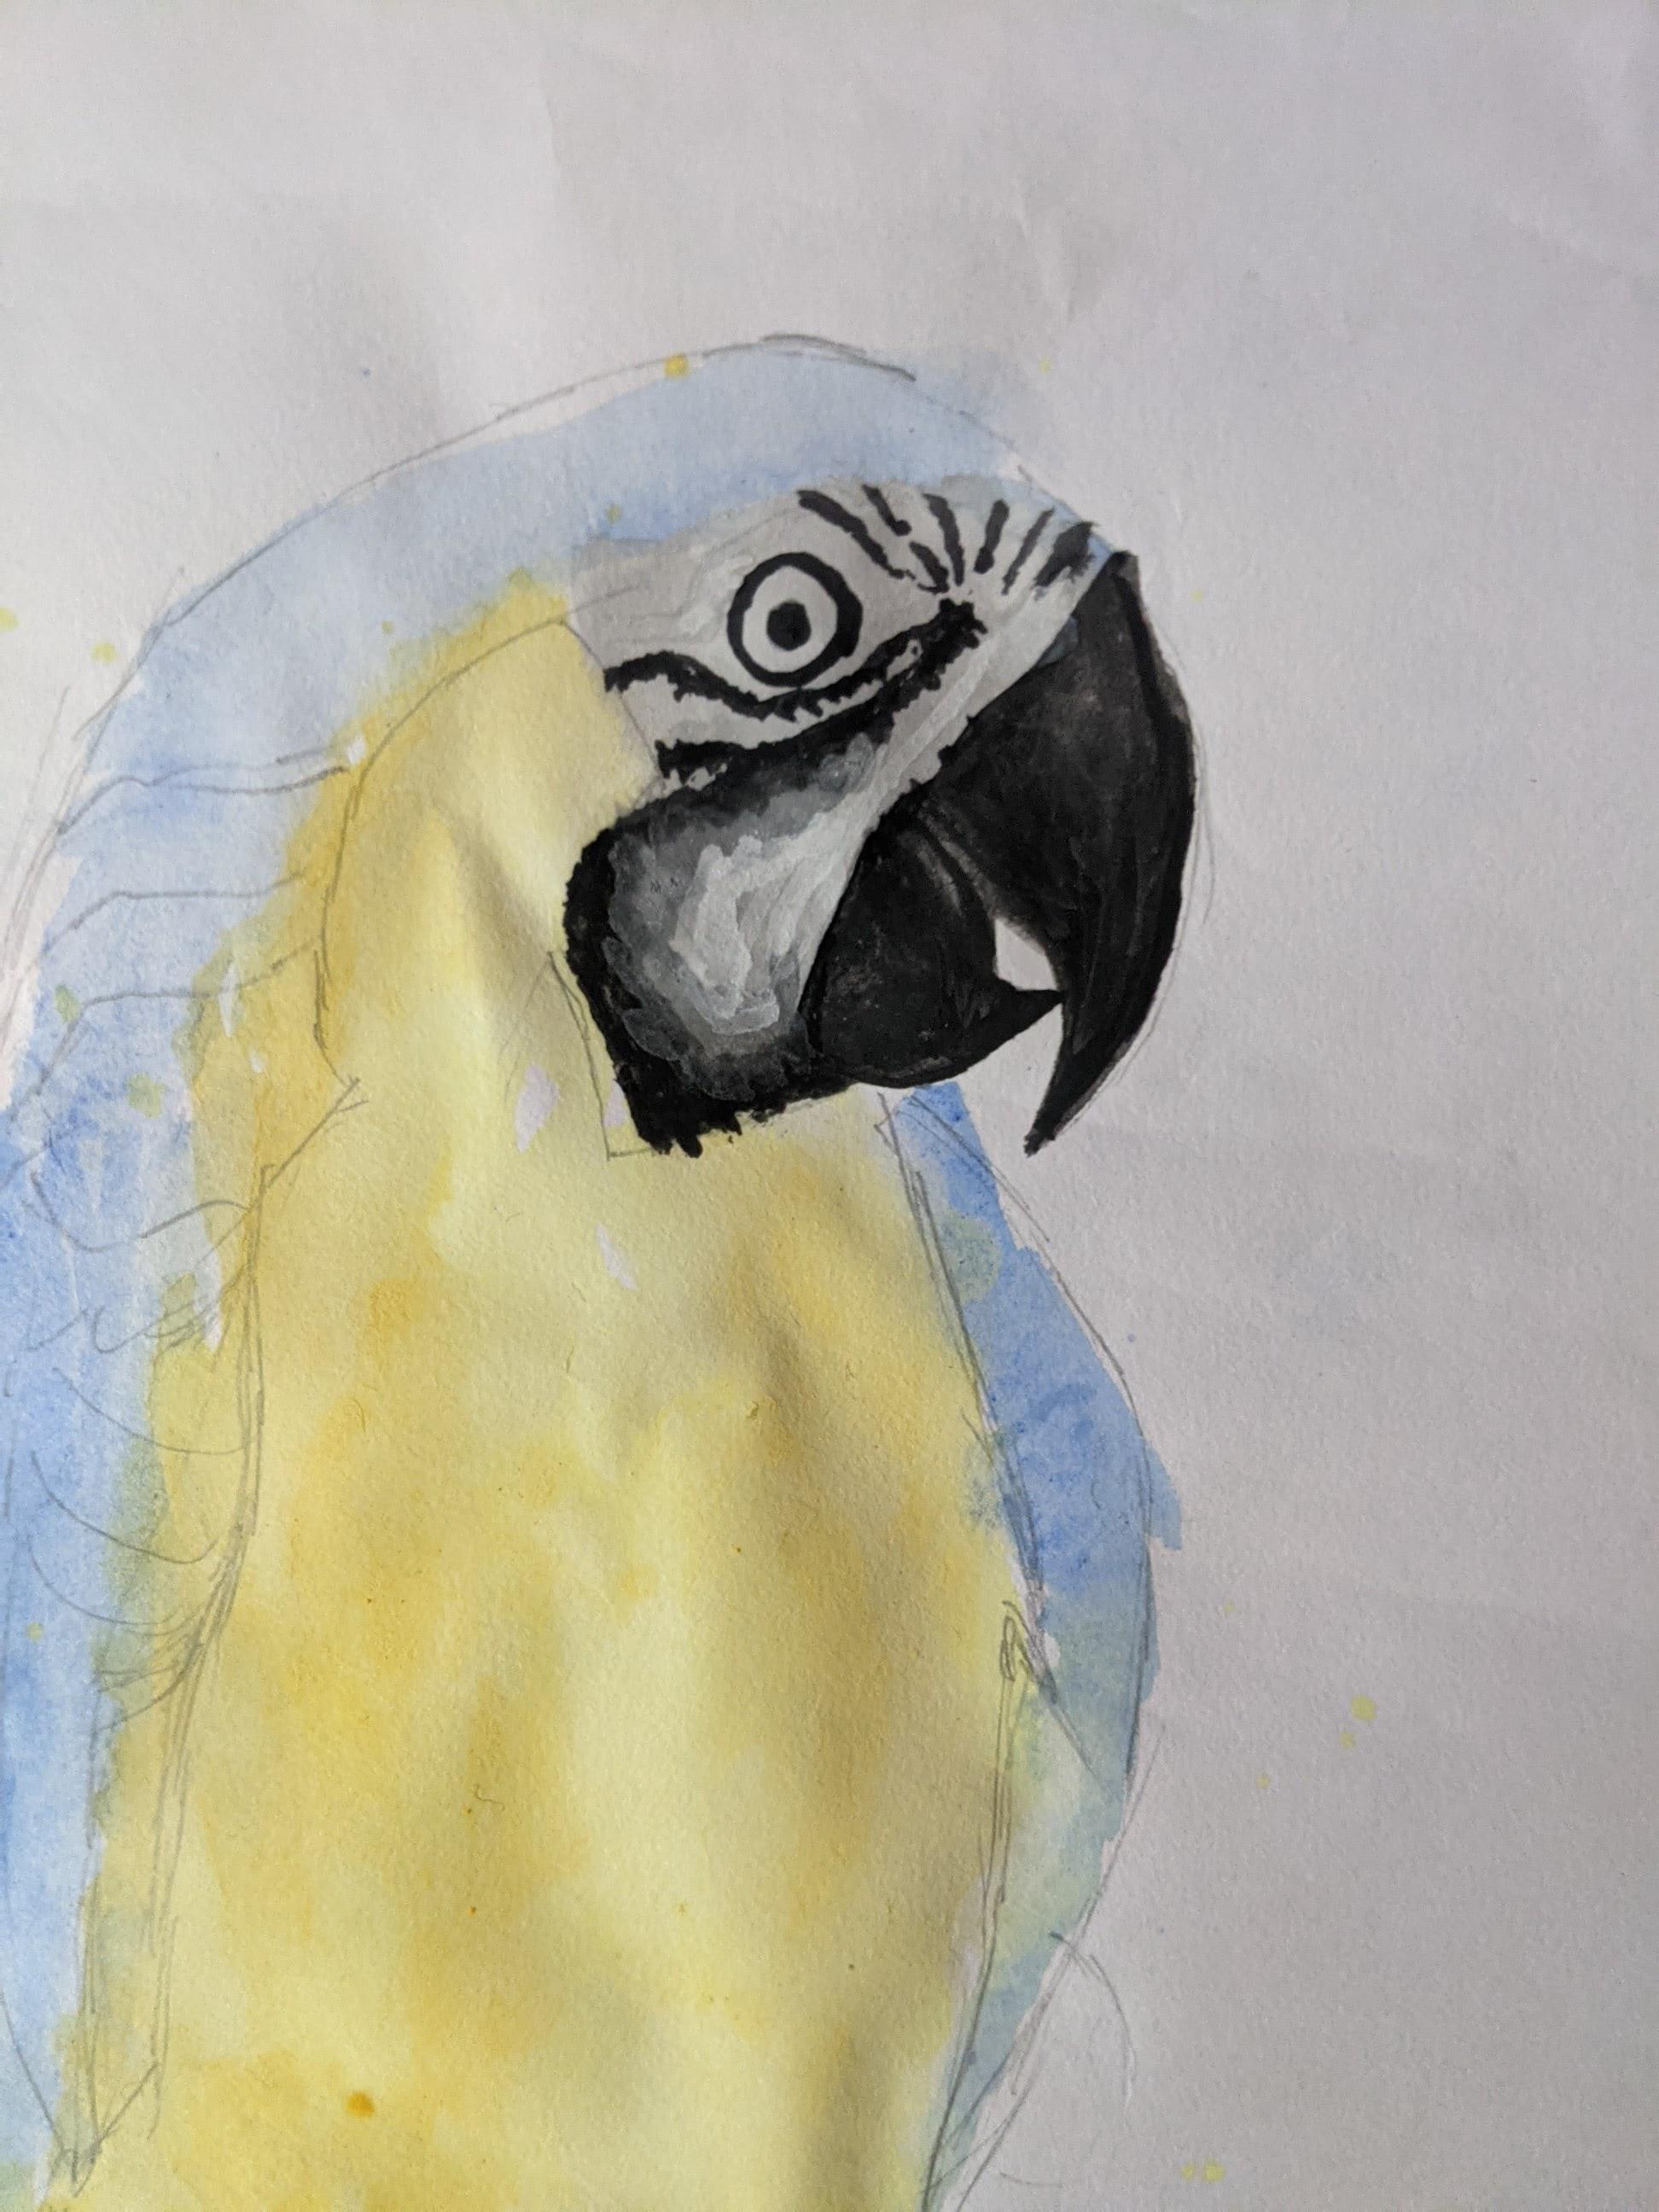
Start with a very light coat of grey and paint the full face and beak. once this layer dries paint the beak black, keep in mind the light is coming from the front of the parrot so the areas in front will be light and highlighted and the areas in back will be dark so shade the beak and the patterns on face as shown in the image. For the line patterns in the face use very light strokes.
Body Shading
Now we will apply a second layer of orange and dark yellow on the body to give it a depth, just keep in mind the the source of light and techniques I showed in the previous steps and paint the body with light strokes of orange and the lighter areas with yellow to show highlight.
Use shades of dark green and light blue on the head feathers.
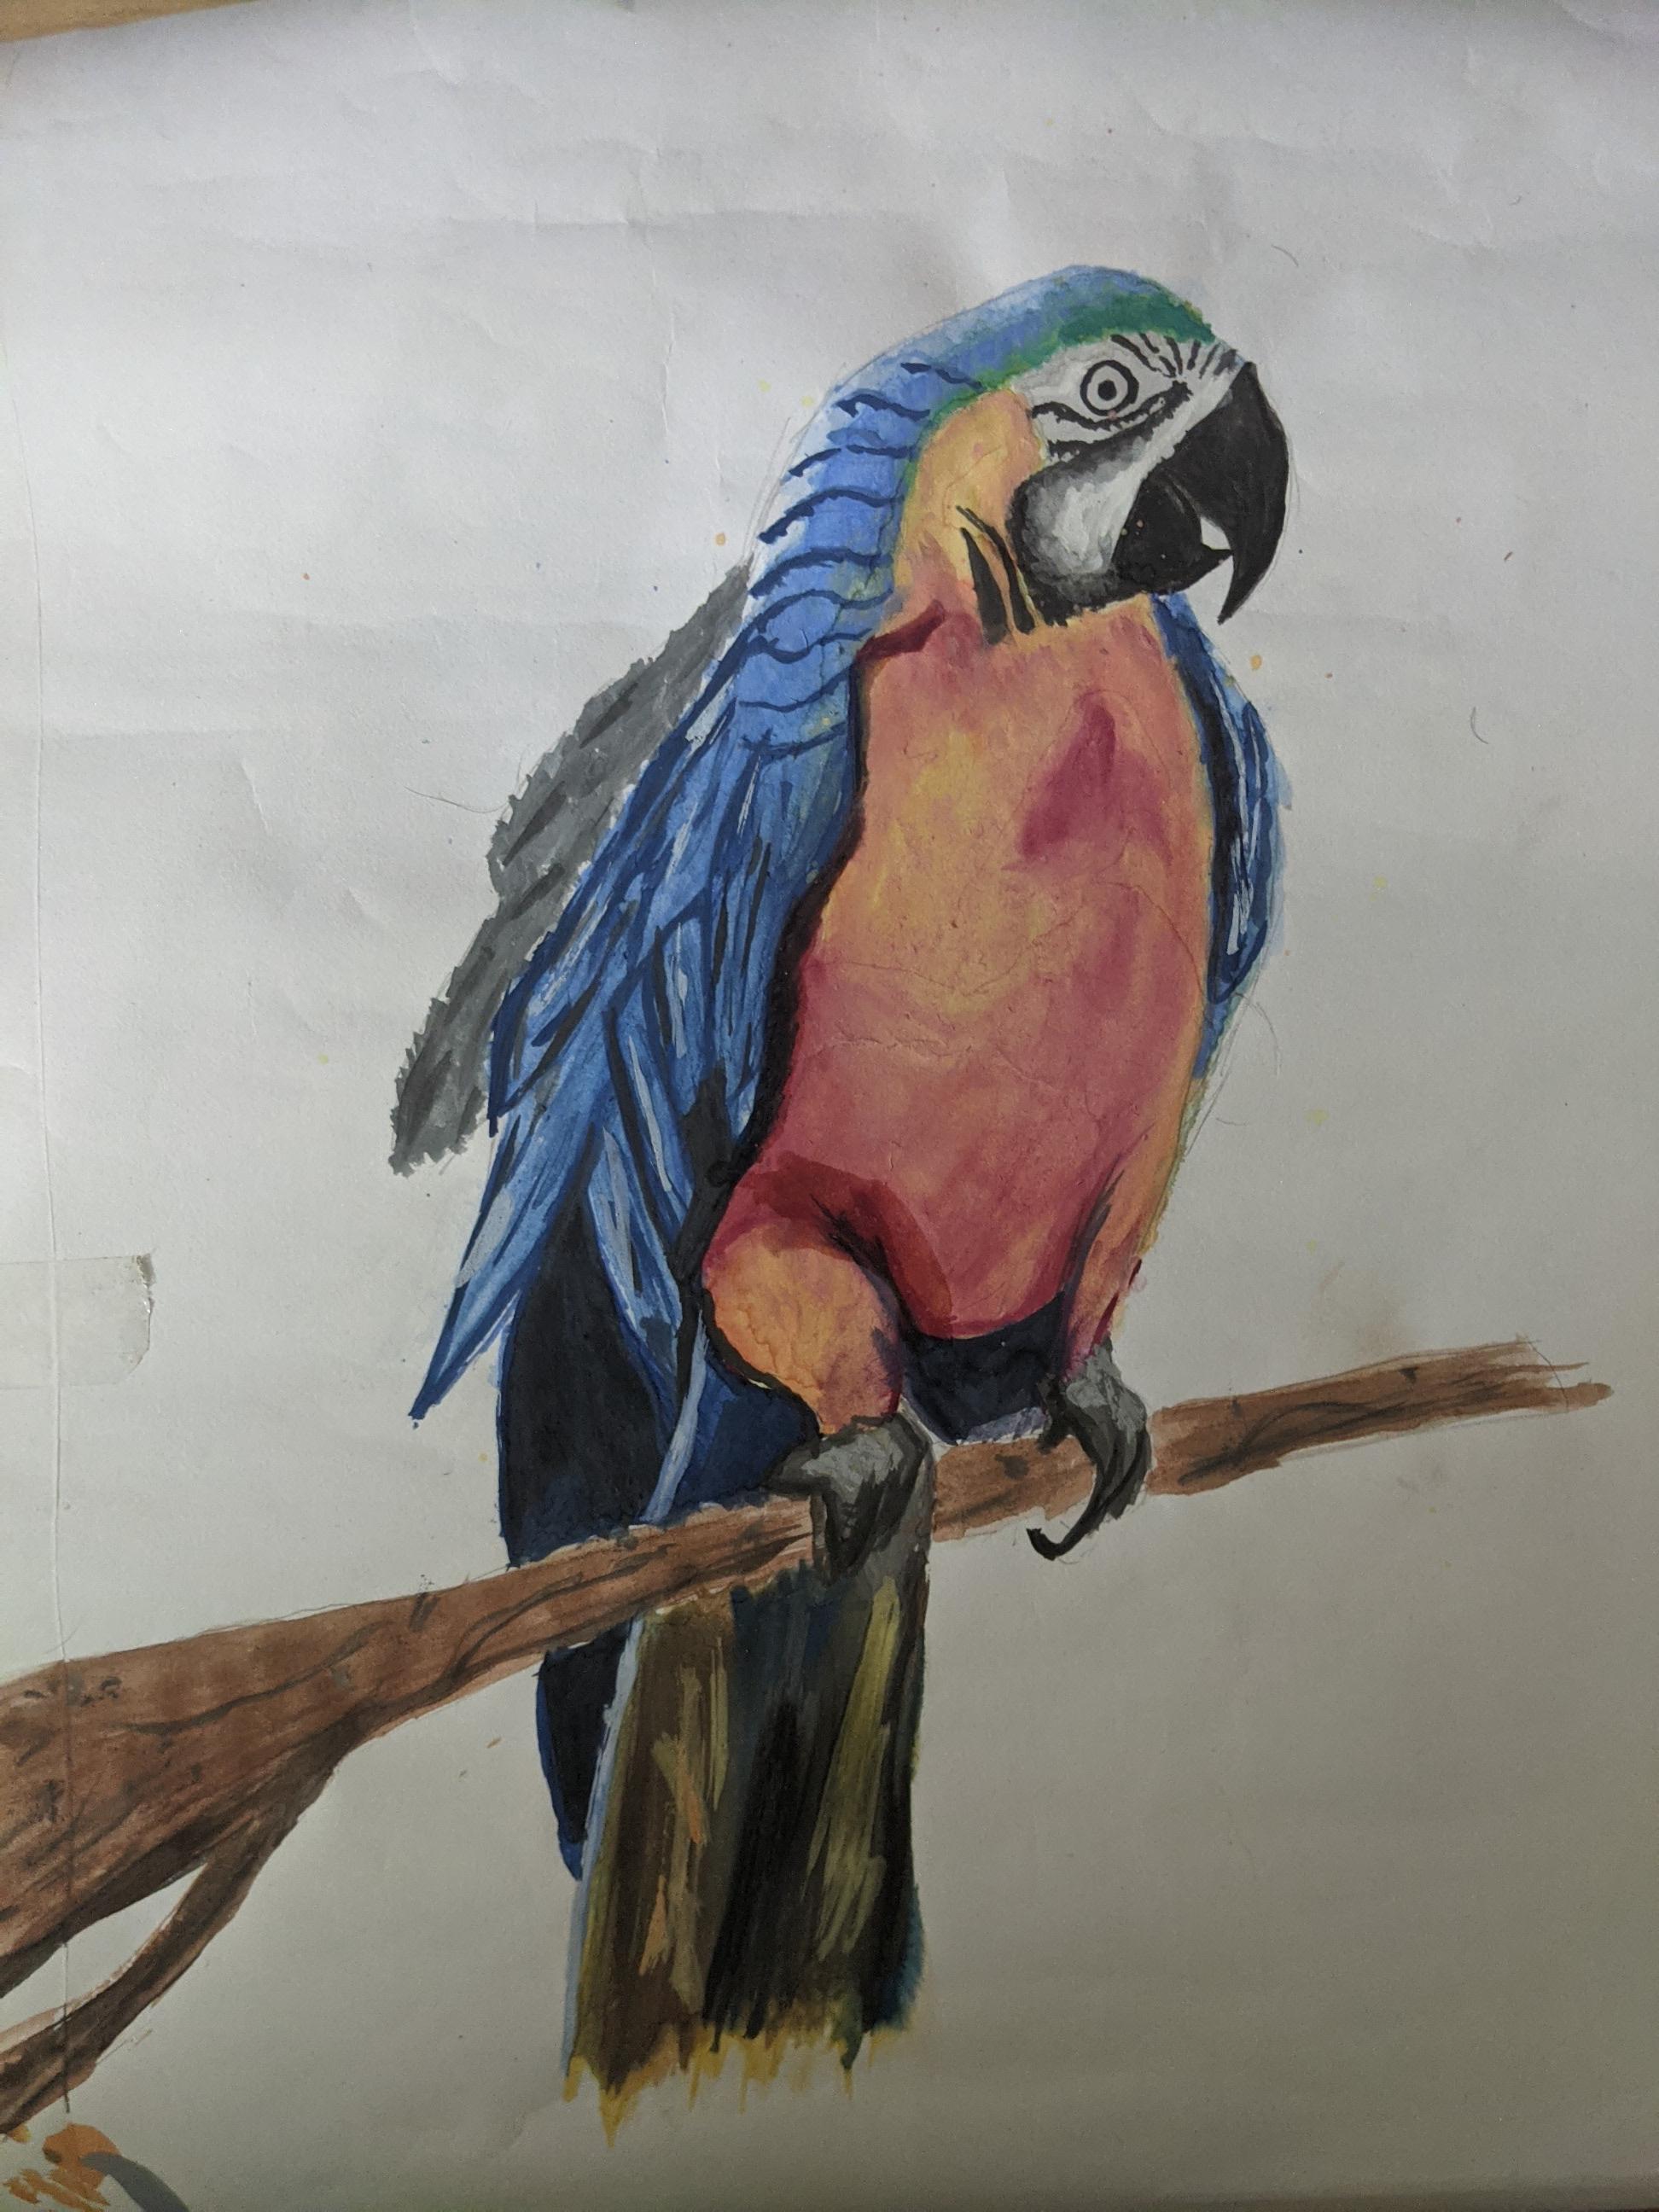
The Feathers

Next, we need to work on the feathers. use a dark blue shade and 0 number brush to make the pattern of the feathers. It doesn't need to be perfect but it should look neat, that's the important thing and also keep the lighting in mind and highlight the lighter areas with light blue and white. we also add some details like black stipes in the face.
The Tail, Legs and the Branch
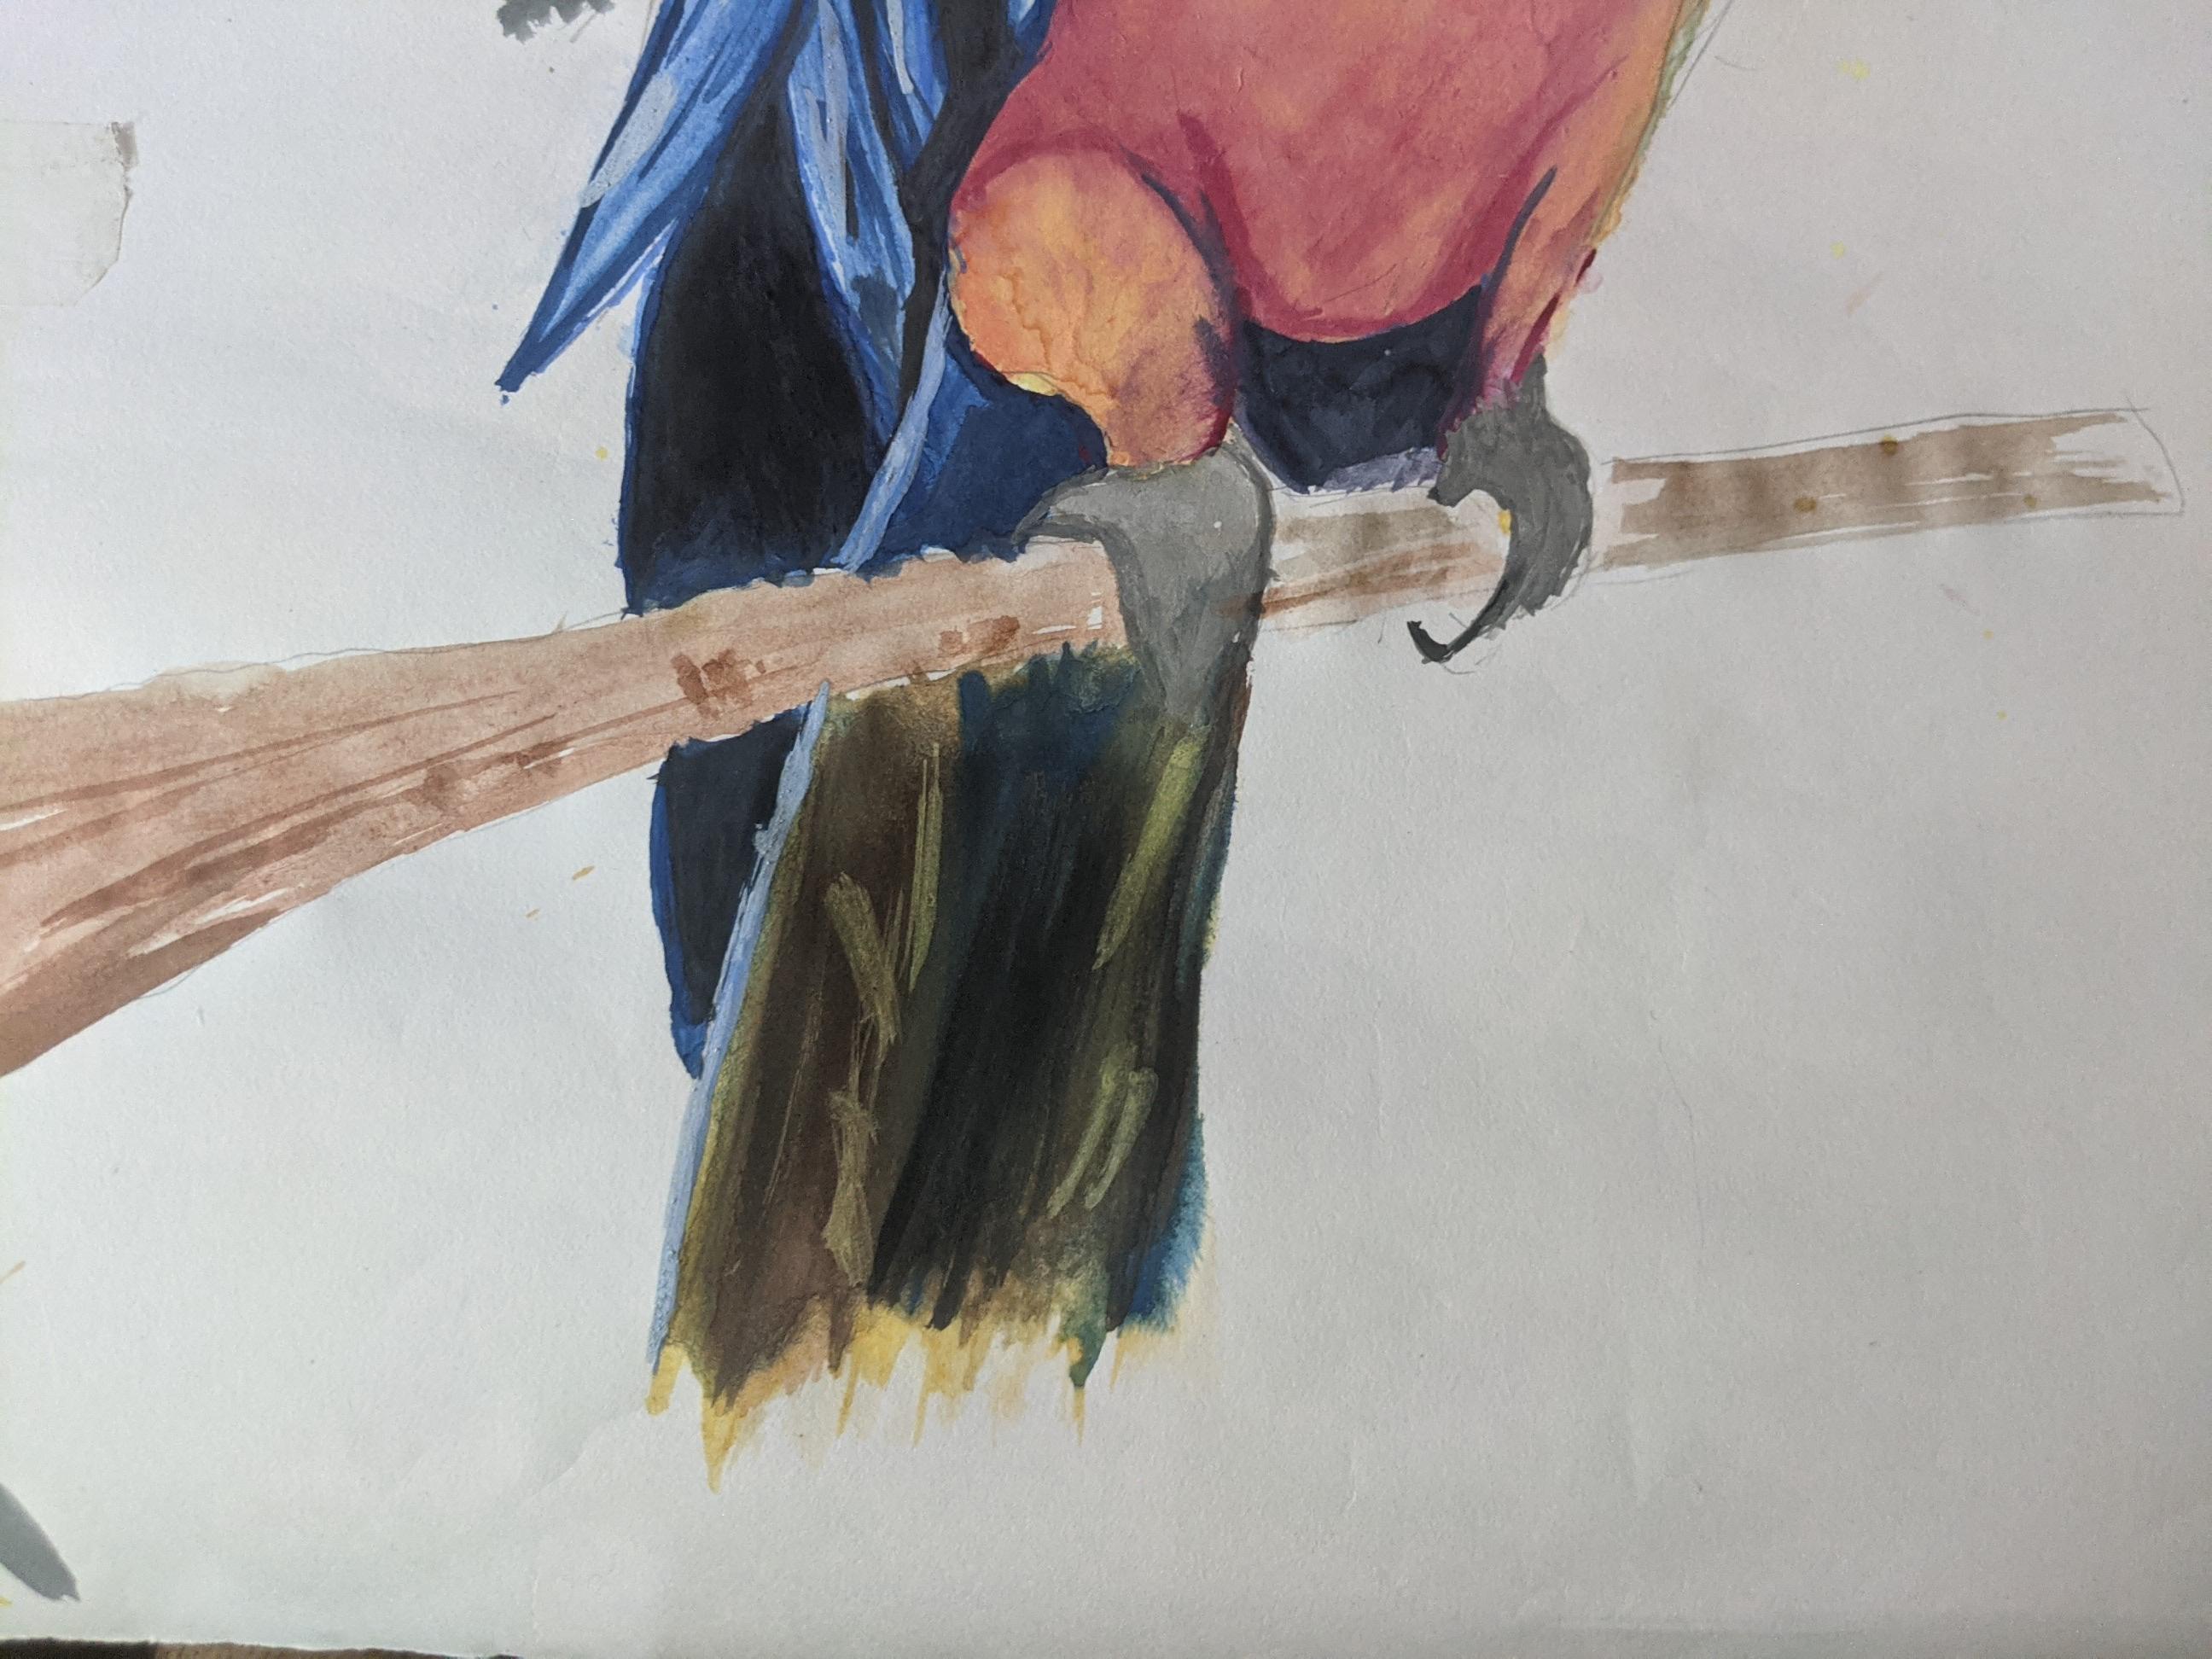

For the tail darker shades of brown, black and dark blue will be painted on a base layer of yellow, for this part keep in mind the highlighted areas should be left yellow and paint only using one directional strokes. for the legs and back wings just use a light shade of grey, the detailing will be done once this paint dries.
Same goes for the branch use shades of brown and black and let it dry for further detailing.
Final Detailing
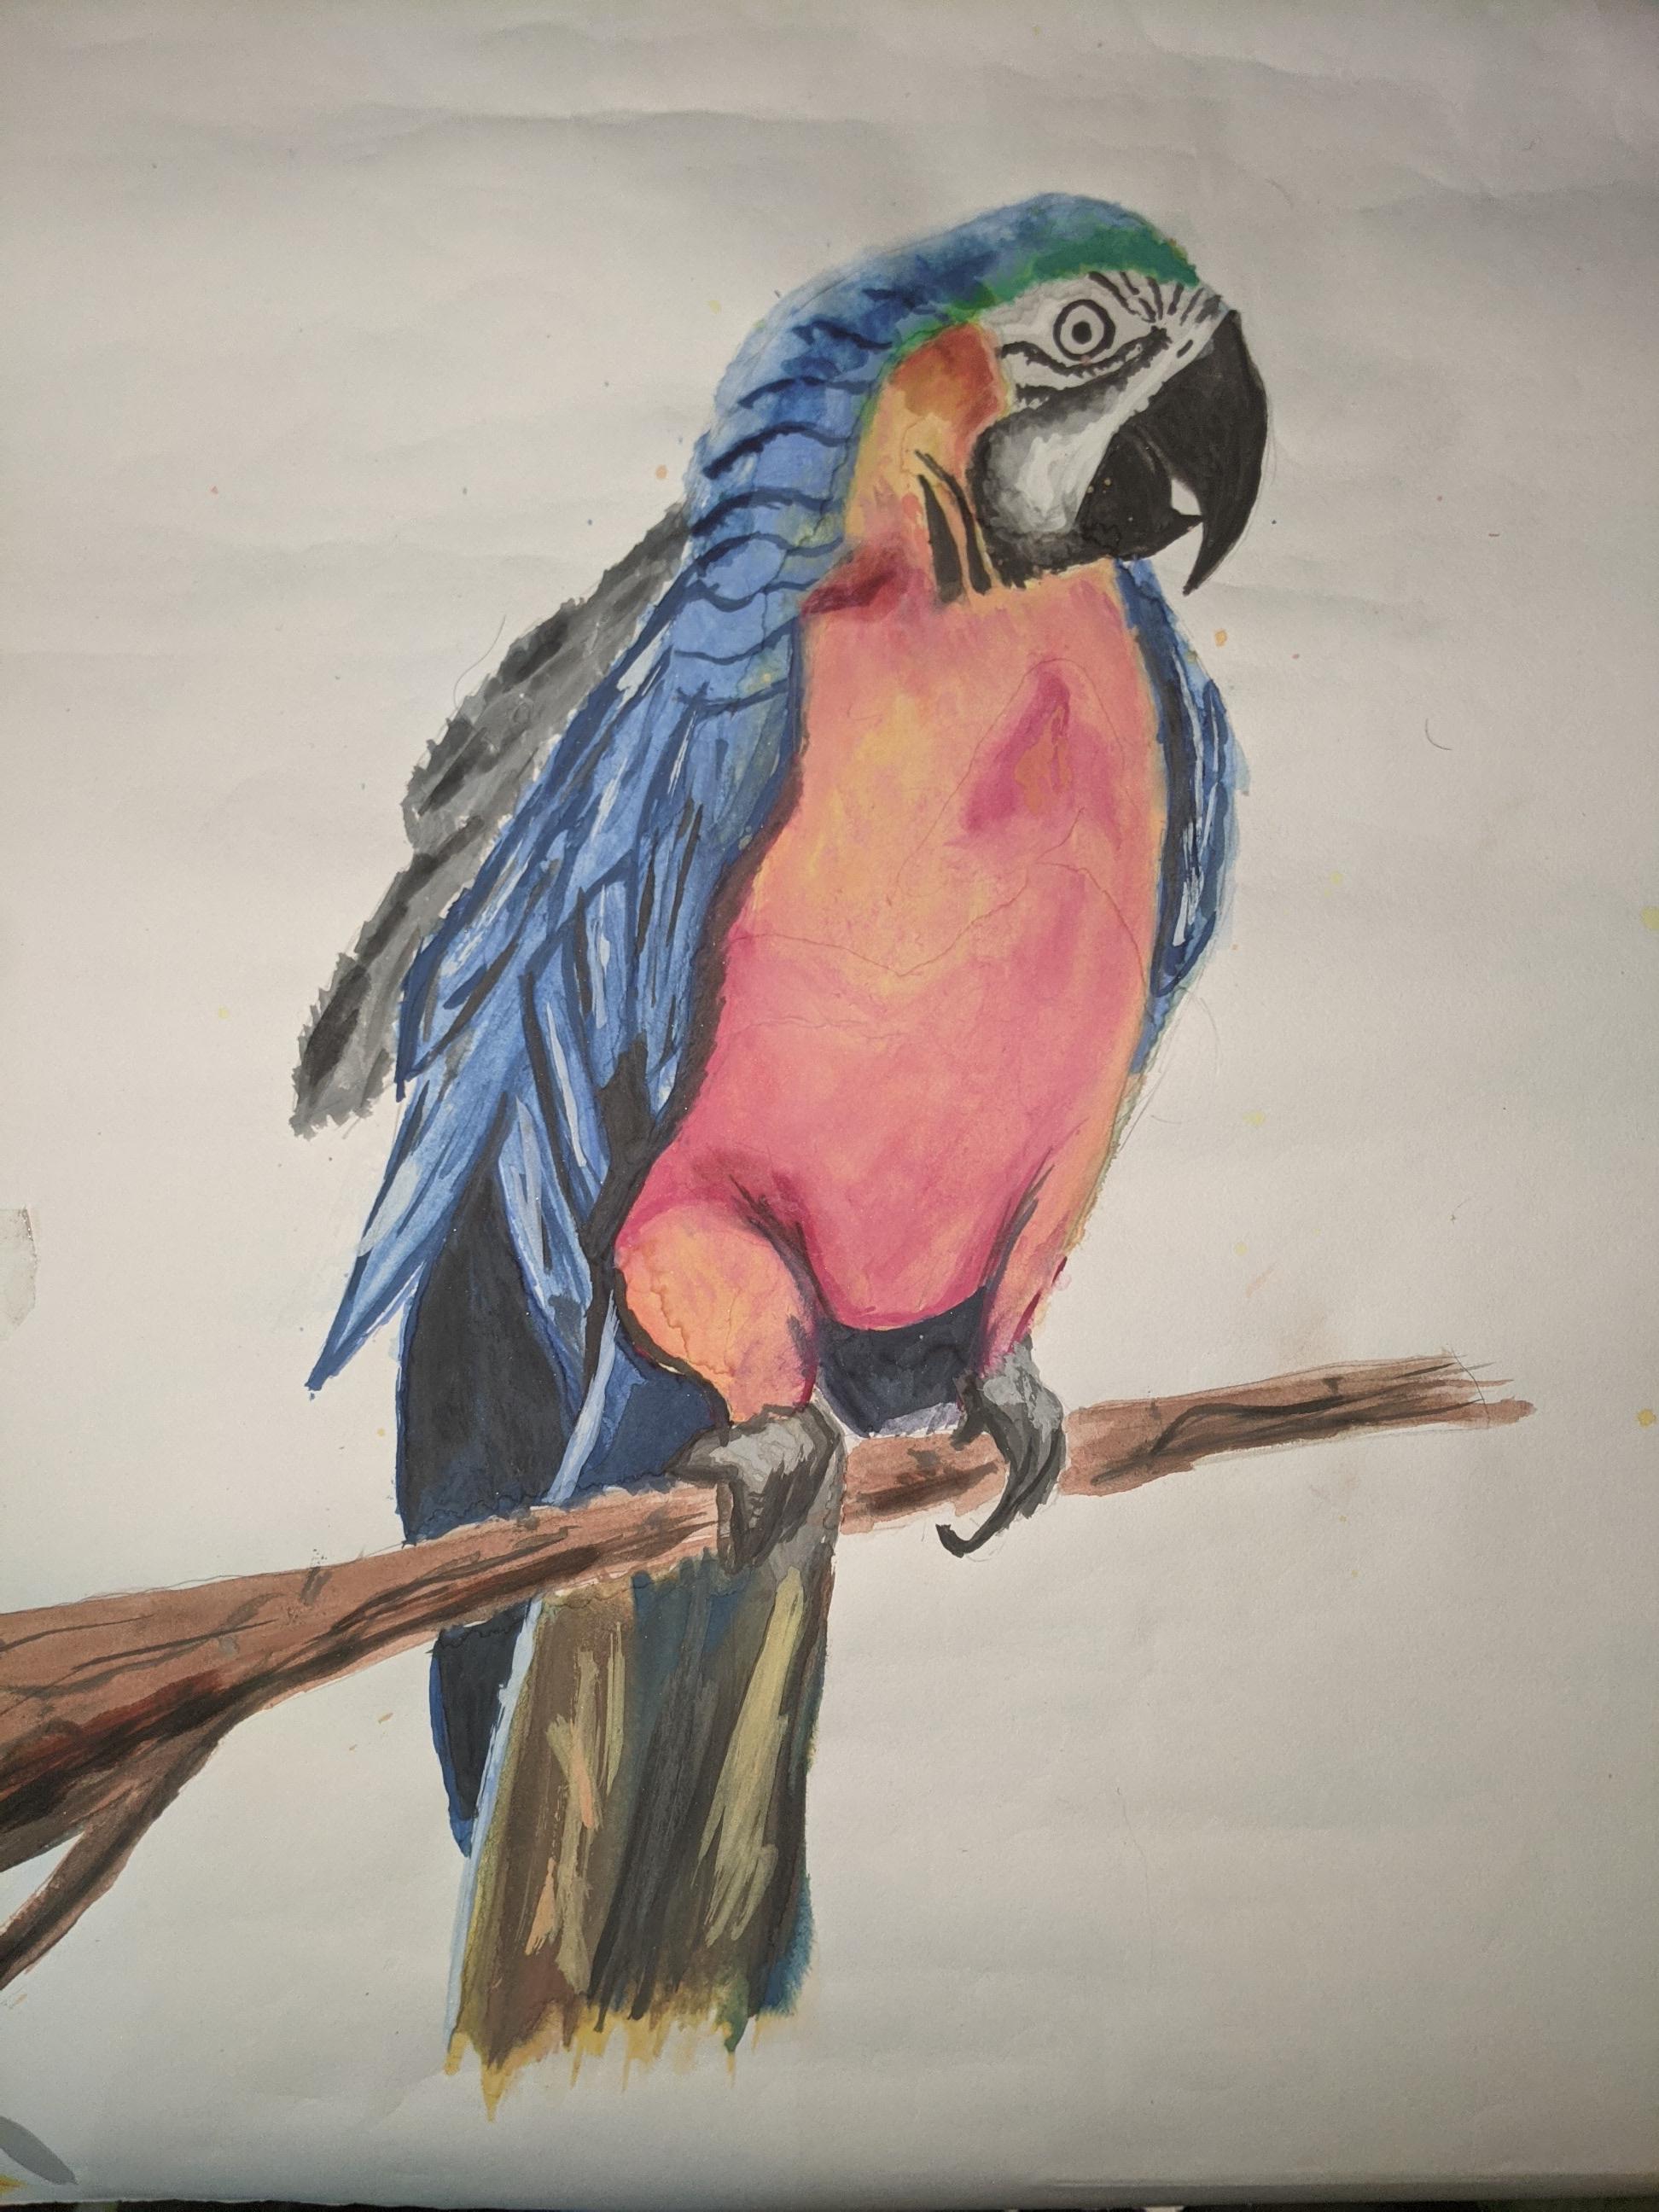
- Once all layers are dry, we will now add detailing's to make the painting look even better.
- For the body use shades of red to enhance depth and shading effect.
- For the feathers and wings add patterns from dark blue and black for covered areas
- For the branch use shades of dark brown and black to create wood patterns
- Outline the legs with dark black
Just keep in mind that use very less water in this part and feel free to add your own detailing's to make your painting looks better.
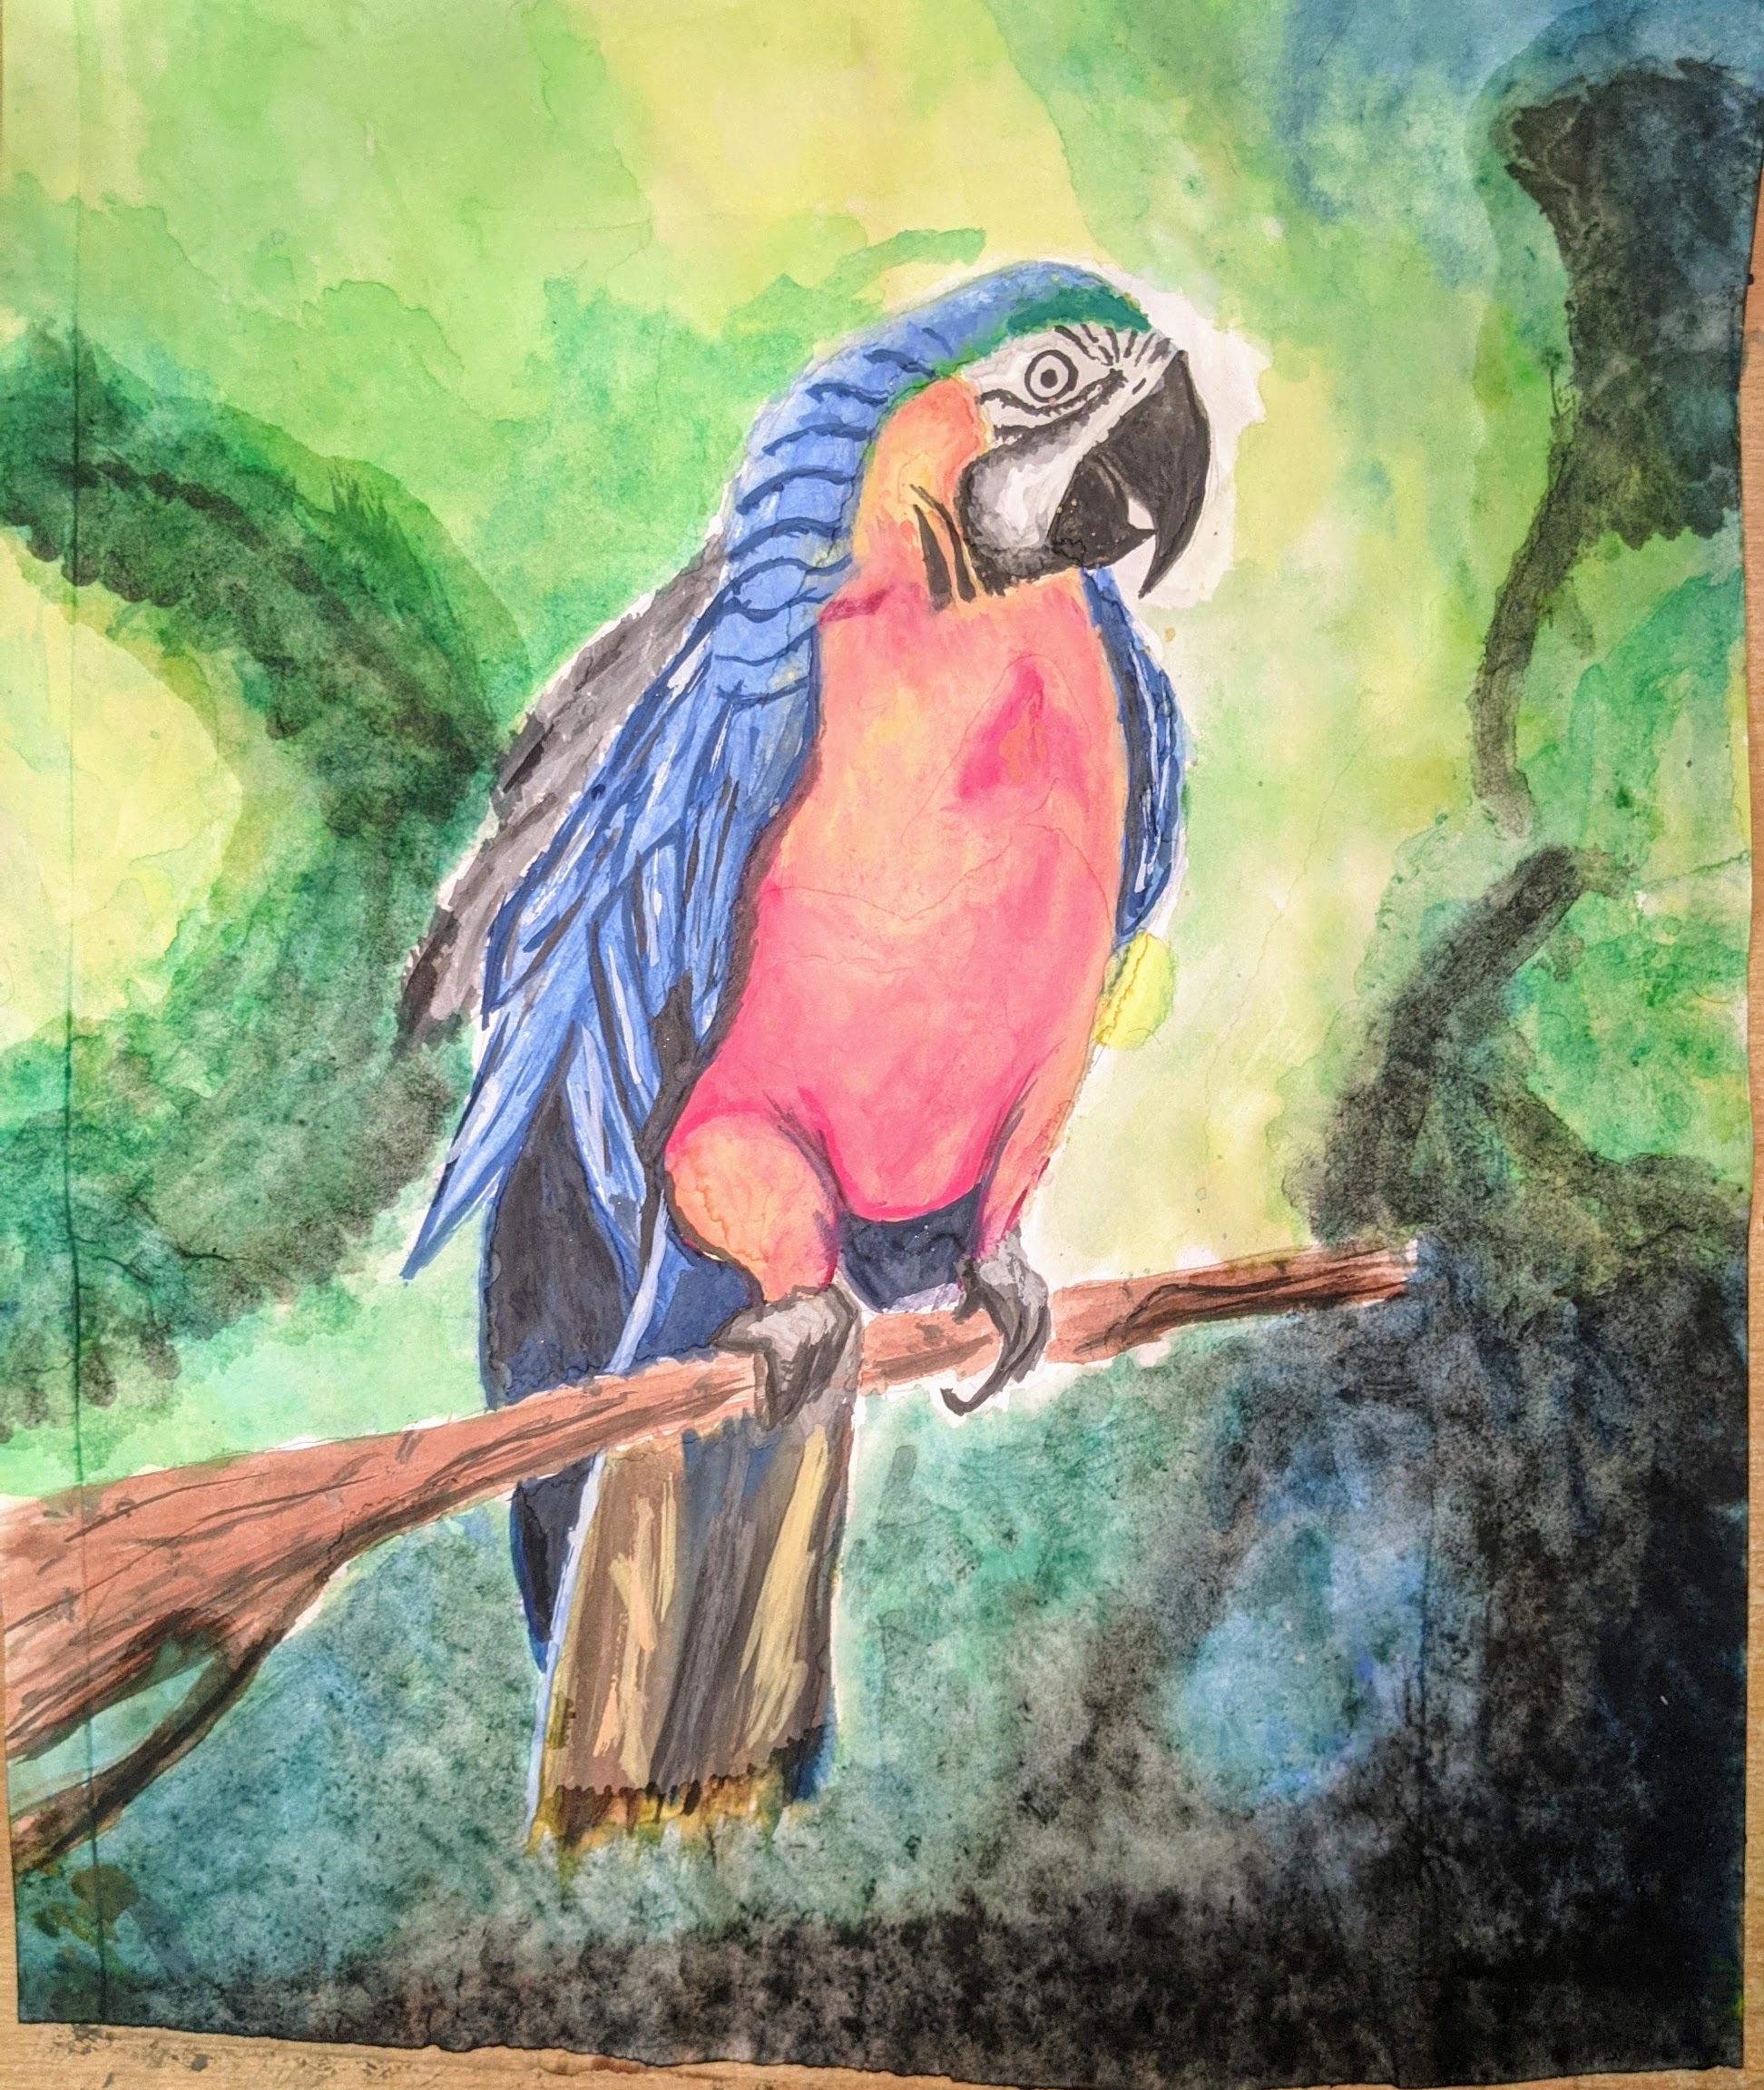
Background
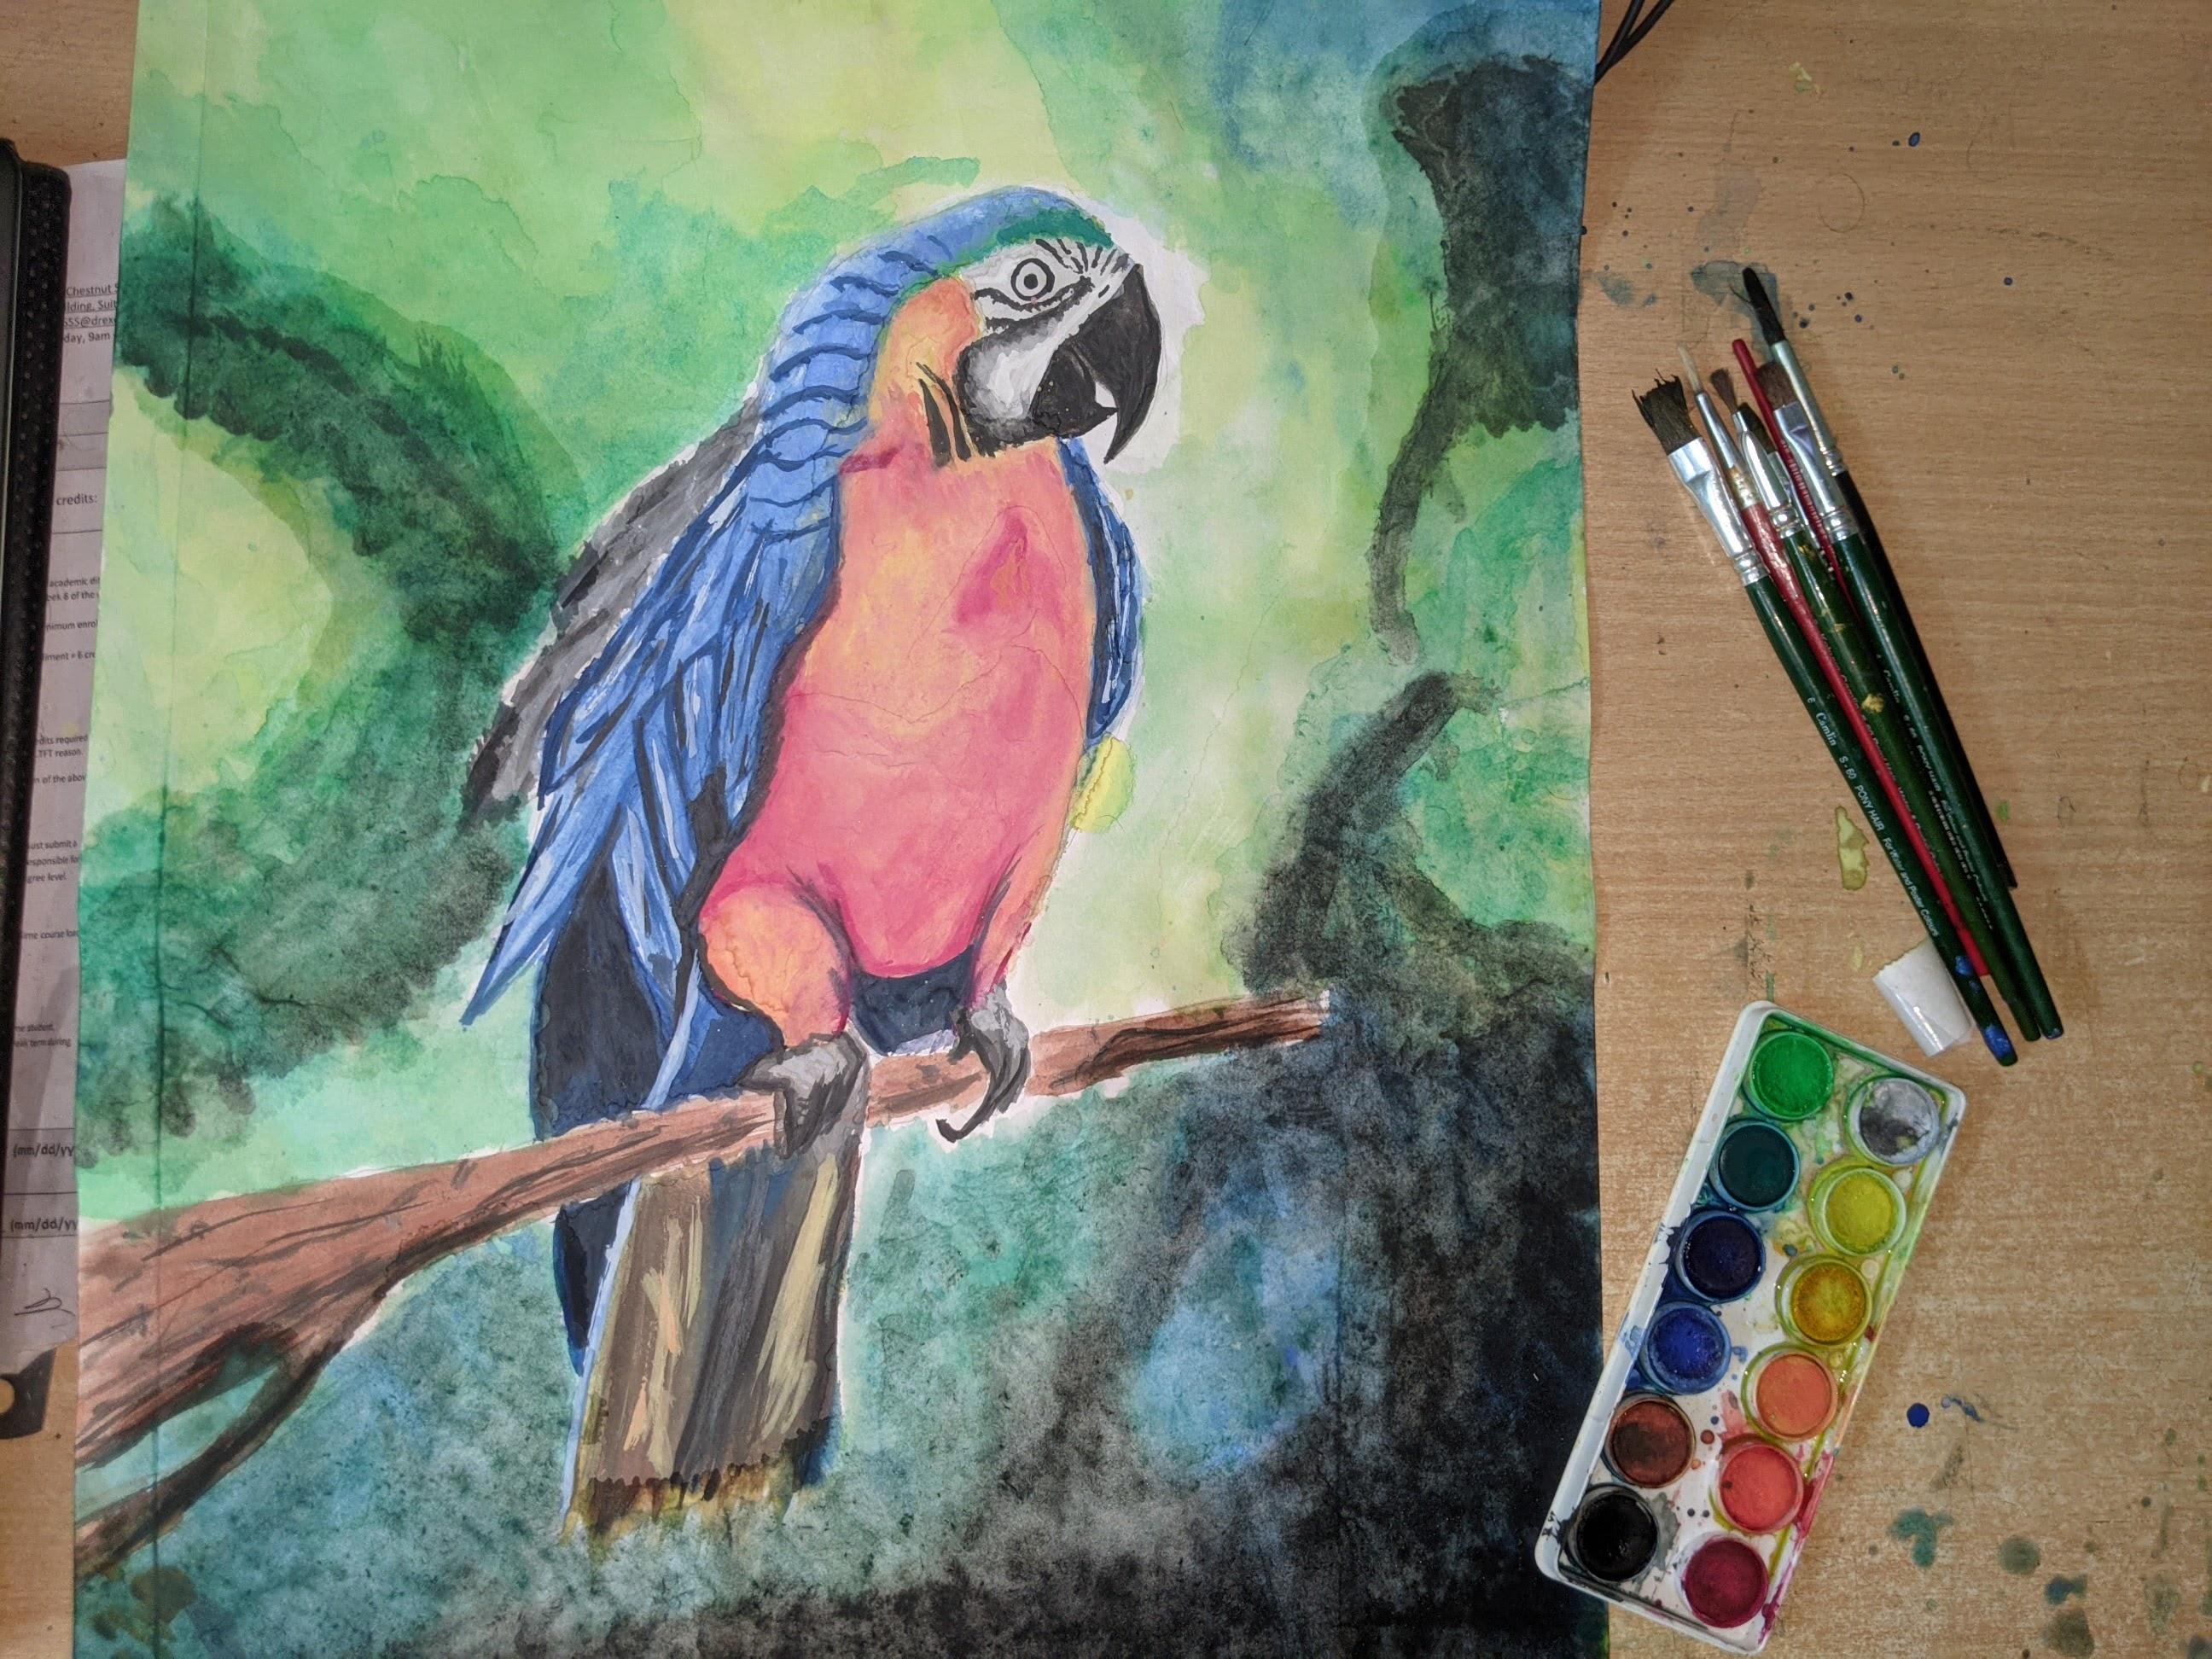
For the background you can do whatever you want, just ;et your imagination take over. you can use all the colors of the rainbow starting from light colors like yellow and green for base coat and add depth using dark greens violets, blue and even brown and black.
For this part you can even use different techniques like spray painting, using a sponge or cotton balls. I did the same thing, I used lighter shades for the top part of the background and darker shades for the lower region.
I hope you guys like this instructable and will enjoy painting with watercolors and draw your own masterpiece. If you do like it, drop a like or comment below and share your artwork.